As is evident, there’s a lot of putty, here:


And that requires a lot of sanding. Before wadding the putty on, I covered adjacent areas with tape to keep as much of the surface detail as possible…and then sanded:


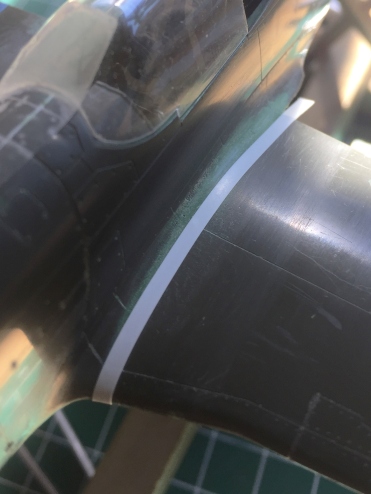
After sanding, panel lines had to be rescribed. I used Tamiya’s tape to lay down the line where I wanted it to be:

Then the rest of the lines obscured by putty and sanding were scribed back in:


Probably because of the previous sanding under the nose, the fit of the wing-plane also needed putty and sanding:

To finish additions of fuselage parts, I added the oil-cooler door (and trust me, if you want to eat up a couple of hours building this bird, drop that door inside the fuselage – a couple of times – to really spin yourself up):

With sanding accomplished, it was time to start putting back the raised details that were casualties of sanding. Below you can see to the right of center where I’ve added a stub of stretched sprue to begin replicating the dzus fasteners used to hold the panels in place and how I did that:


Then I got to do that a lot:


With the stubs in place, careful sanding was needed to bring them closer to the surface without assaulting more panel lines:

Turning my attention to the wings, I started by adding drops of superglue to areas that needed to be sharper. Where the flaps were cut out and that opening met the wing root flare, the join was rounded. Because that area is mostly putty, I needed to make those areas harder so that I could get the sharp angles I needed in a puttied edge that is lousy at unsupported areas. I had been using the standard thin superglue, getting a blob/drop in place, and waiting an hour or so for it to harden enough to file/sand/cut to its final shape. Back when, I’d had good luck with superglue accelerator. Put the glue in place, spray with accelerator, and instant hardness (albeit at the cost of some bonding strength, but since this wasn’t structural…) is achieved.
Well. Either my memory is faulty (and if so, this instance would certainly not be unique) or the formulation of accelerators has changed. I don’t remember accelerator dissolving the surface of the plastic…and that’s just what happened. So after putting the model back down (from where I was ALL wound up to throw it against the wall), I sanded down the texture created when I tried to wipe off the excess accelerator with a paper towel:


I had intended on using the shaped and fitted kit canopy as a buck to vacuform clear sheet over. I had also intended on putting a framework inside the clear, so first I pulled some .010″ (.254mm) over the buck, and then some .010″ (.254mm) clear over both:


Nice idea, and I probably could have gotten it to work. But in the process of fitting the clear, I realized that the edge of the trimmed part, which had started out at a thickness of .010″ (.254mm) and due to stretching was probably thinner, didn’t offer very much surface area for glue (I haven’t yet figured out which type of glue would work) to offer a secure bond. Squadron Products offers very nice vacuformed canopies for a wide variety of kits and I decided to go that route instead (I think):

In looking at the part, I realized that this buck had been formed by gluing the fuselage halves together, gluing the canopies on, then cutting out the areas of the fuselage around the canopy, offering a much larger surface for glue to work on (and this is a great idea that I’ll be using myself in future builds!). But since I’d already gone well past grafting this clear part onto the kit as intended, I had to trim the canopy to fit:

I left a flange on the front canopy part for gluing. The right-side canopy as well as the right side rear window won’t be separated, but the top and left side canopy will. I haven’t cut them free yet because they work well to locate the rear canopy windows in their respective openings. At present the idea is to glue the canopy in front securely down using superglue (with the requisite crossing of body appendages that the glue doesn’t fog the clear parts), then extending the superglue down the right side (which isn’t going to be opened, as per the way these aircraft were used in the field), and around both rear windows. I’ll seal the bottom left side canopy with white glue to keep any paint from blowing into the cockpit.
At this point I turned my attention to the wings.

Once again your research and perseverance shows. i’ve been paying attention to the processes of observation and forward planning as they translate over to other applications which I find useful.
LikeLike
I appreciate your kind words, but I suspect it’s more stubbornness than perseverance.
LikeLike