There was a hold placed on this build, which is obviously now over. The problem was with the tracks. Having never used individual track shoes before, I thought I was being “clever” by gluing the sections that would be flat in the thought that doing so would make the tracks easier to install. Such was not the case. When it came time to install the tracks on the model, the pins of the track shoes kept snapping. I tried drilling out the connectors and the shoes, inserting styrene rod to replace the snapped pins, and as far as that went it worked. Unfortunately, as I fixed one shoe, the one next to it would snap…and the one next to that…and having done five or six that way, I sorta figured that I would end up drilling and pinning ALL the shoes on BOTH tracks:

Time to cut my loss, order a set of new tracks, and start the whole tedious process again. [Insert industrial-grade whining here] And that’s what I did.
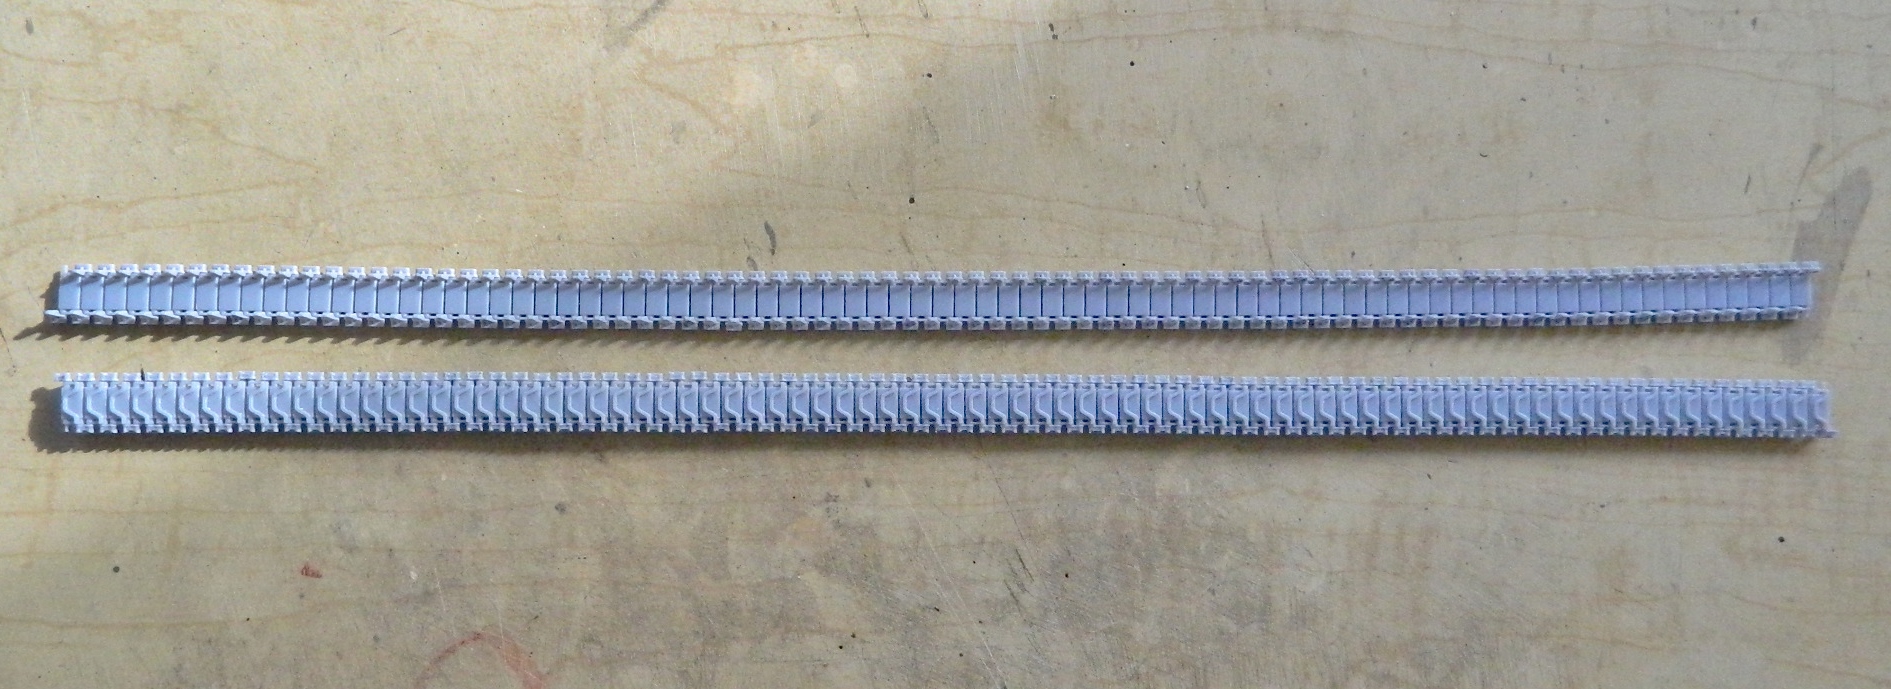
It seems as if even a little bit of experience is a good thing. I figured out a new way to clean up all the connectors and shoes. The first run-through with individual track links took me about 40 hours to clean up 158 track shoes and 316 connectors. The second time it took me about 15 hours to do the same thing (my shoulder is still sore from all the back-patting I did):


During that 15 hours (spread over three days), I spent a lot of time trying to figure out why those pins kept snapping. I mean, I only dry fit each track on both sides a half-dozen times… So the first determination was that I would only fit this set of tracks once per side and then glue them in place. And something about gluing kept nagging me. The pins on the track shoes ARE SMALL. They are also plastic. Hmmm…
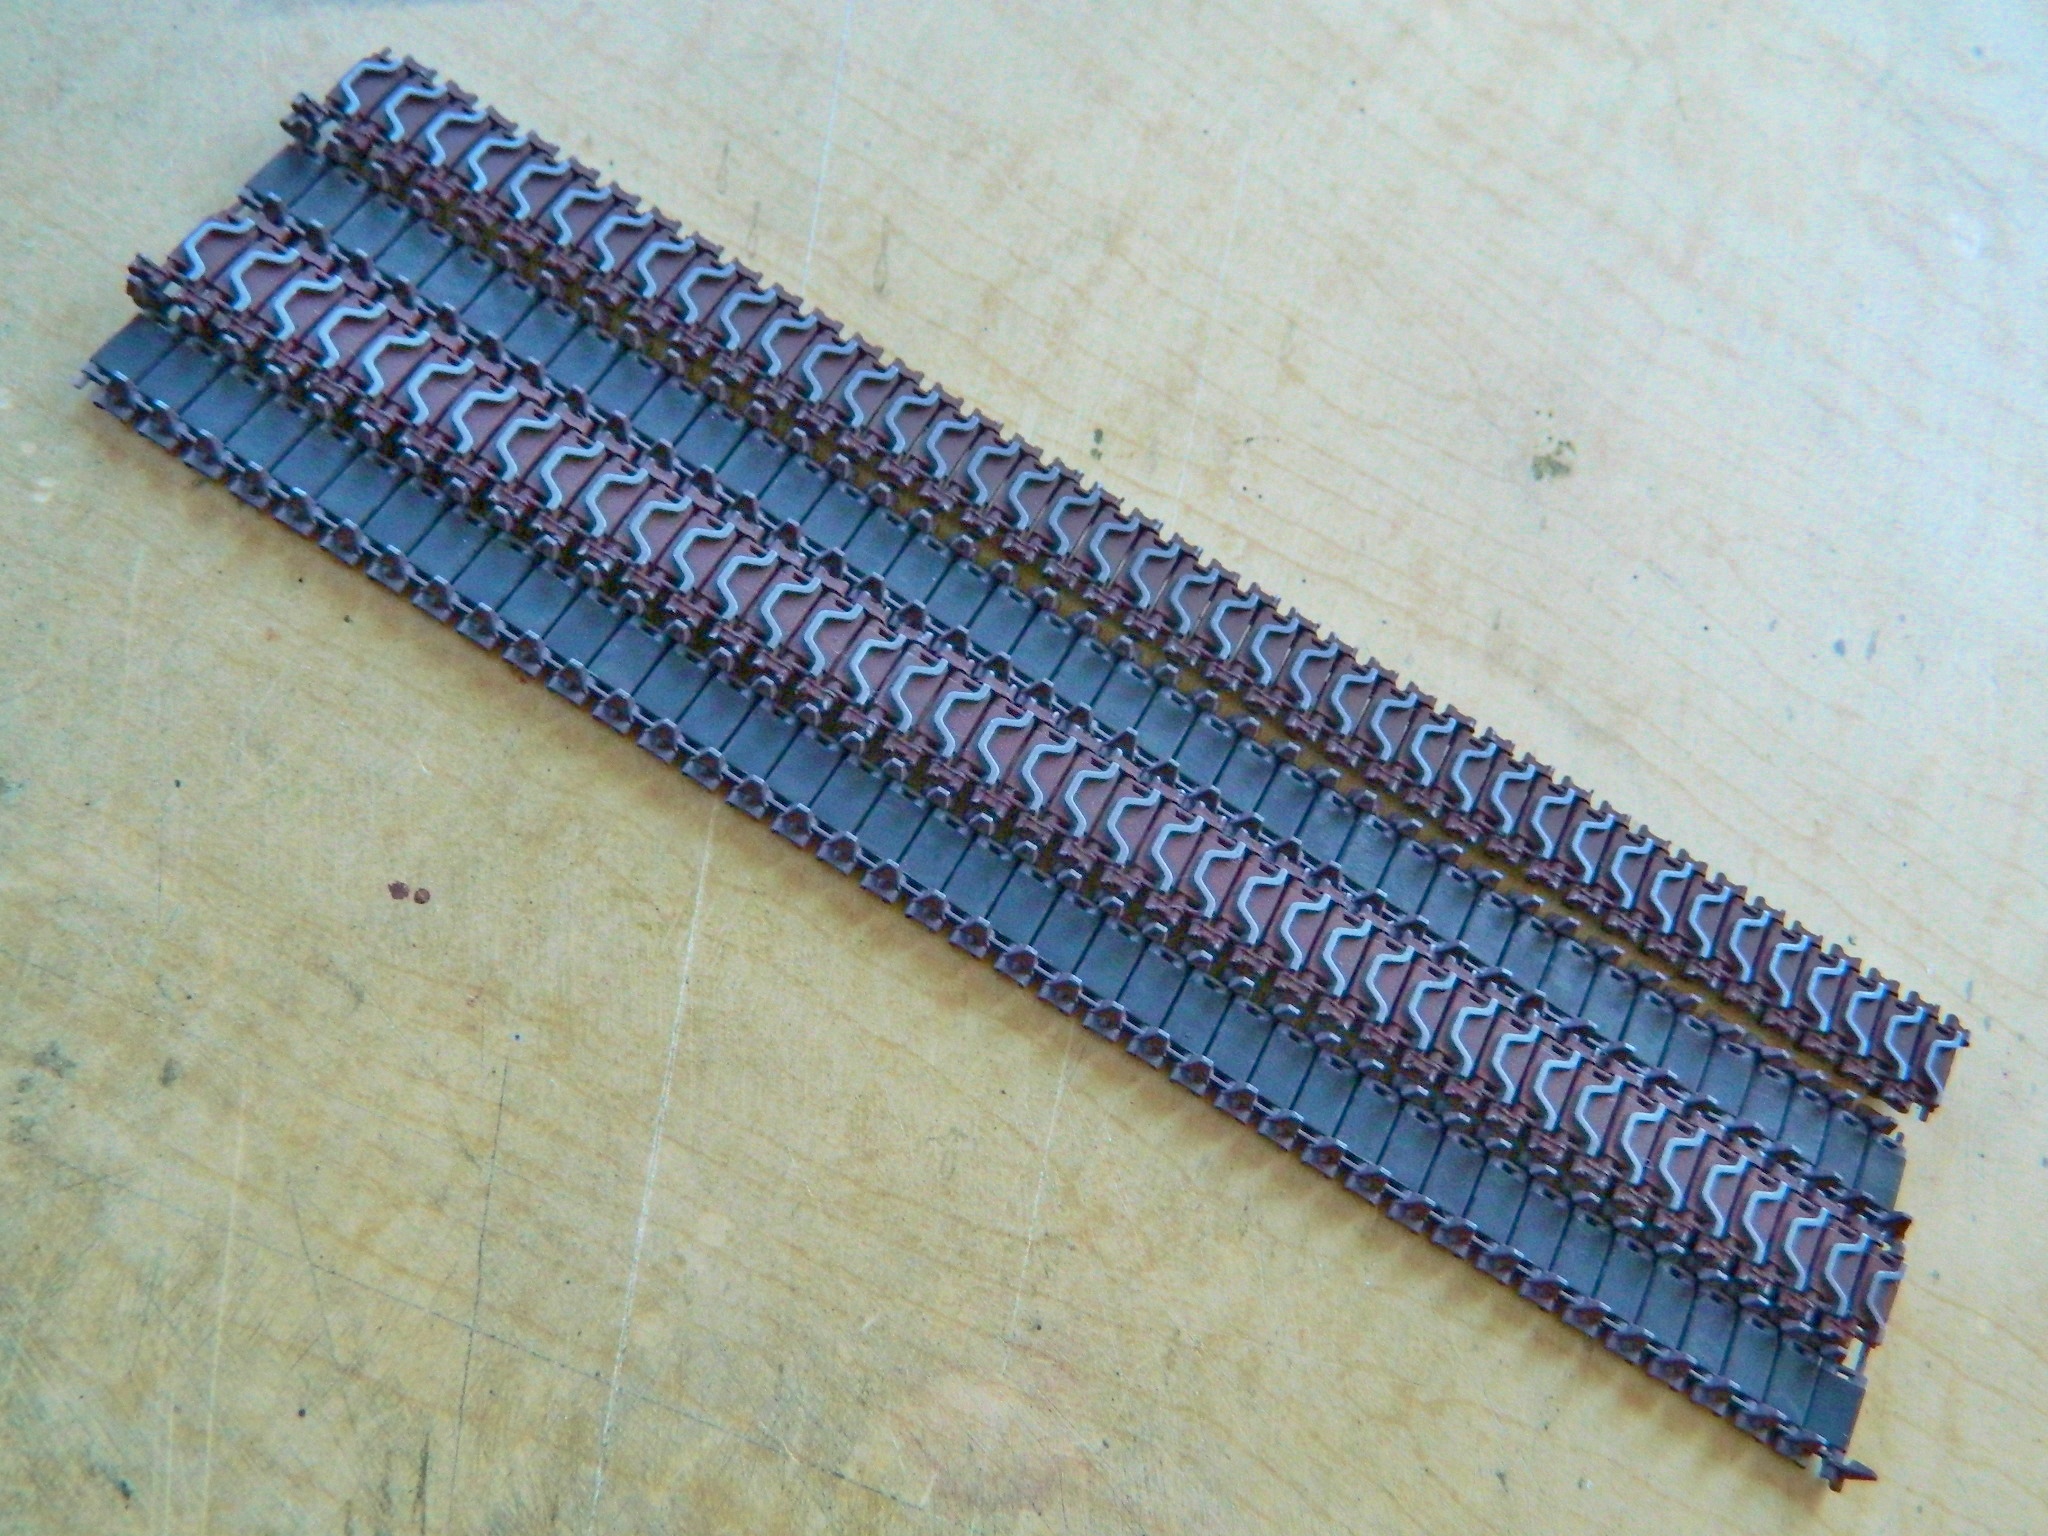
With sections glued, the torque stress of putting them on and taking them off showed the weakest part of the tracks; the little plastic pins. I’m figuring that by not gluing them prior to fitting them onto the model, those stresses won’t be concentrated on those little bits of plastic. Yes, with the connectors only pressed on the tracks will droop and twist. But each time they droop and twist that force will not go to twisting the pins. Okay, now I have two runs of tracks put together but not glued at all:
Next, they get painted the same way the last set did; steel, rusty brown, and rubber black. I start with steel and buffed the track faces (and do please note that this time I got all the chevrons aligned in the same direction):

I was not looking forward to the masking process. So much so that instead of masking the tracks and airbrushing the rubber paint after doing the rusty brown, I brushed the rubber on before the rusty brown, then shot the rusty brown on the faces and connectors, using acrylic thinner to clean the chevrons:

I set them aside to let the paint set up a bit more and turned my attention to other items that need paint. First I did the .50 caliber (1.47mm) and added the ammo box and belt:

I painted the coaxial .30 caliber (7.62mm) and then added the mantlet:

And then I painted the bow-mounted. 30 caliber (7.62mm):
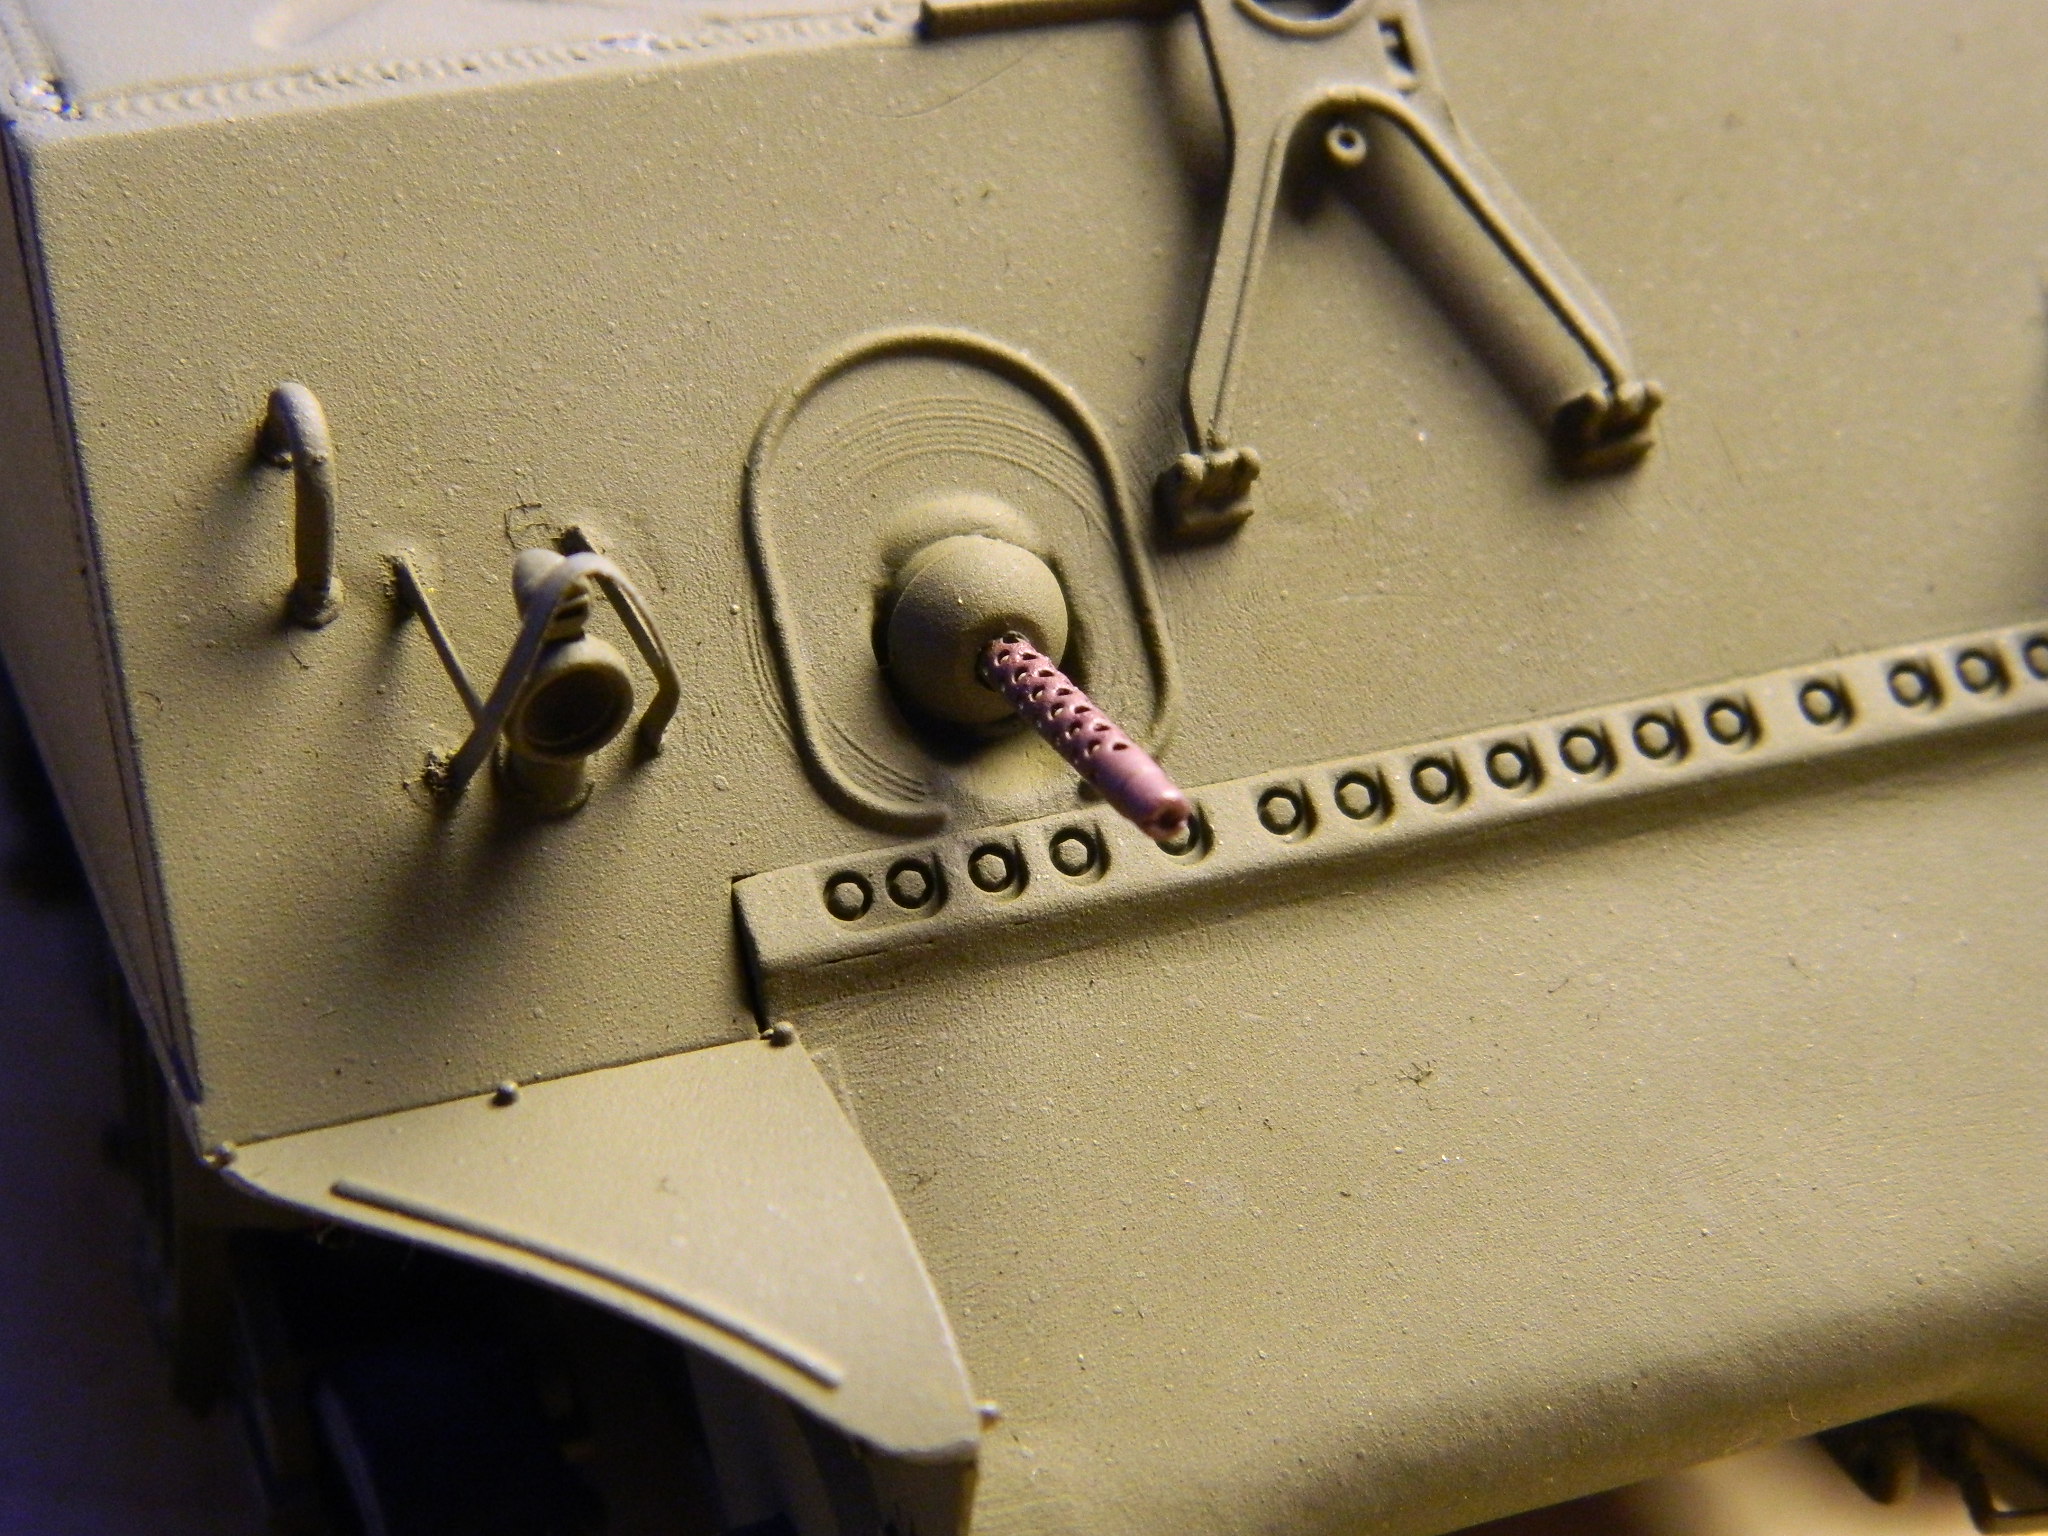
I won’t be surprised if touching up needs to be done after final assembly, but I’ll bridge that cross when I get there. First I have to get the tracks mounted…
