At the start of this build, I hadn’t really considered kitbashing. I figured that between the kit, an AM interior, and being able and willing to diddle really small details into the state/condition I wanted them, I’d end up where I wanted to get with this.
And then there are the headlights.
I did not like what Academy provided, and I spent several evenings lying in bed (waiting to get to sleep) wondering just how the intercourse I was going to be able to diddle the provided headlights into anything remotely acceptable…fruitlessly. One afternoon I was chasing M3 Stuart references all around the Internet and encountered a site that did a quick build of Tamiya’s new-tool M3 Stuart (kit #35360) (okay…so I lied about the porn). I noticed that the headlights Tamiya provided were SO much better and about 99.5% of what I wanted straight out of the box. Okay…so I bought one.
Once I had the Tamiya kit, I cut the headlights off the sprue and did the other .05%, making the bases thicker and more accurate, then adding bolt heads to the bases:
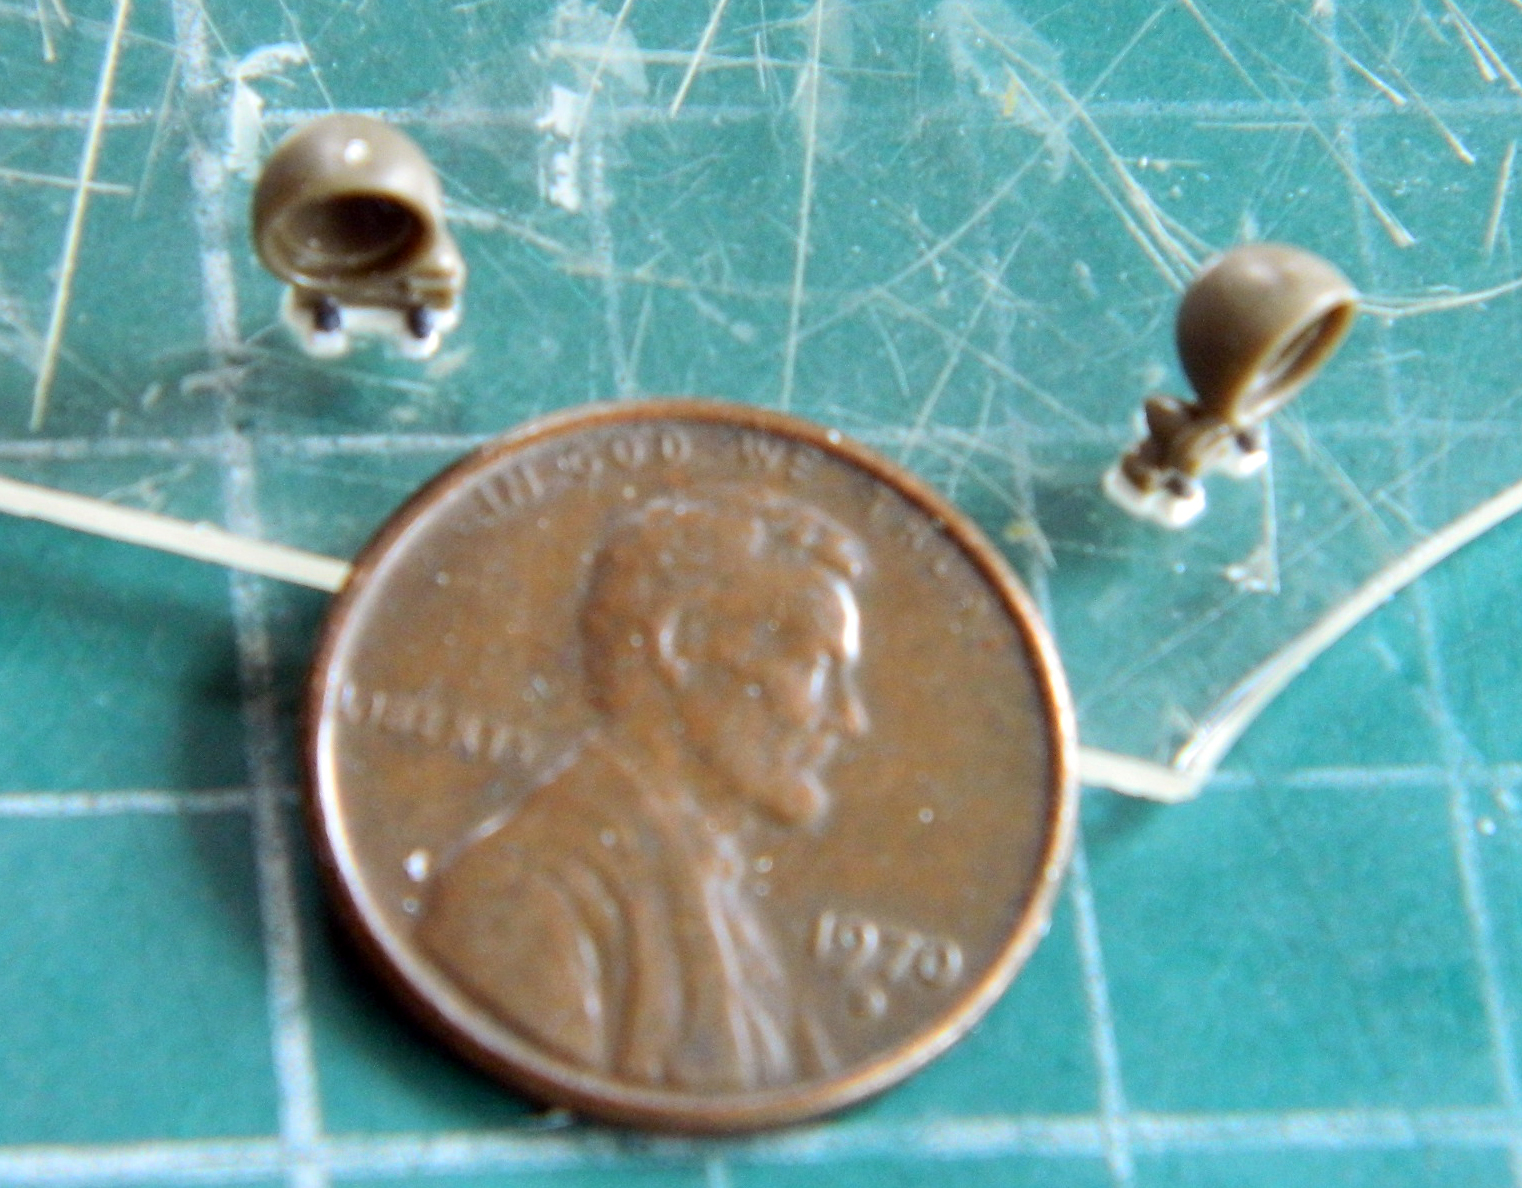
Checking fit, I can see that I’m already liking these bits MUCH more:
It made sense to me at the time (which is a different way of saying, “I have no idea what I was thinking* when I decided to make the headlight guards from styrene), so I cut a bit .015″ (.381mm) scrap to width and then tried (key word, that) to form them using hot water and something (small cable ties) to hold them to shape and set this aside to settle into the shape I was after:

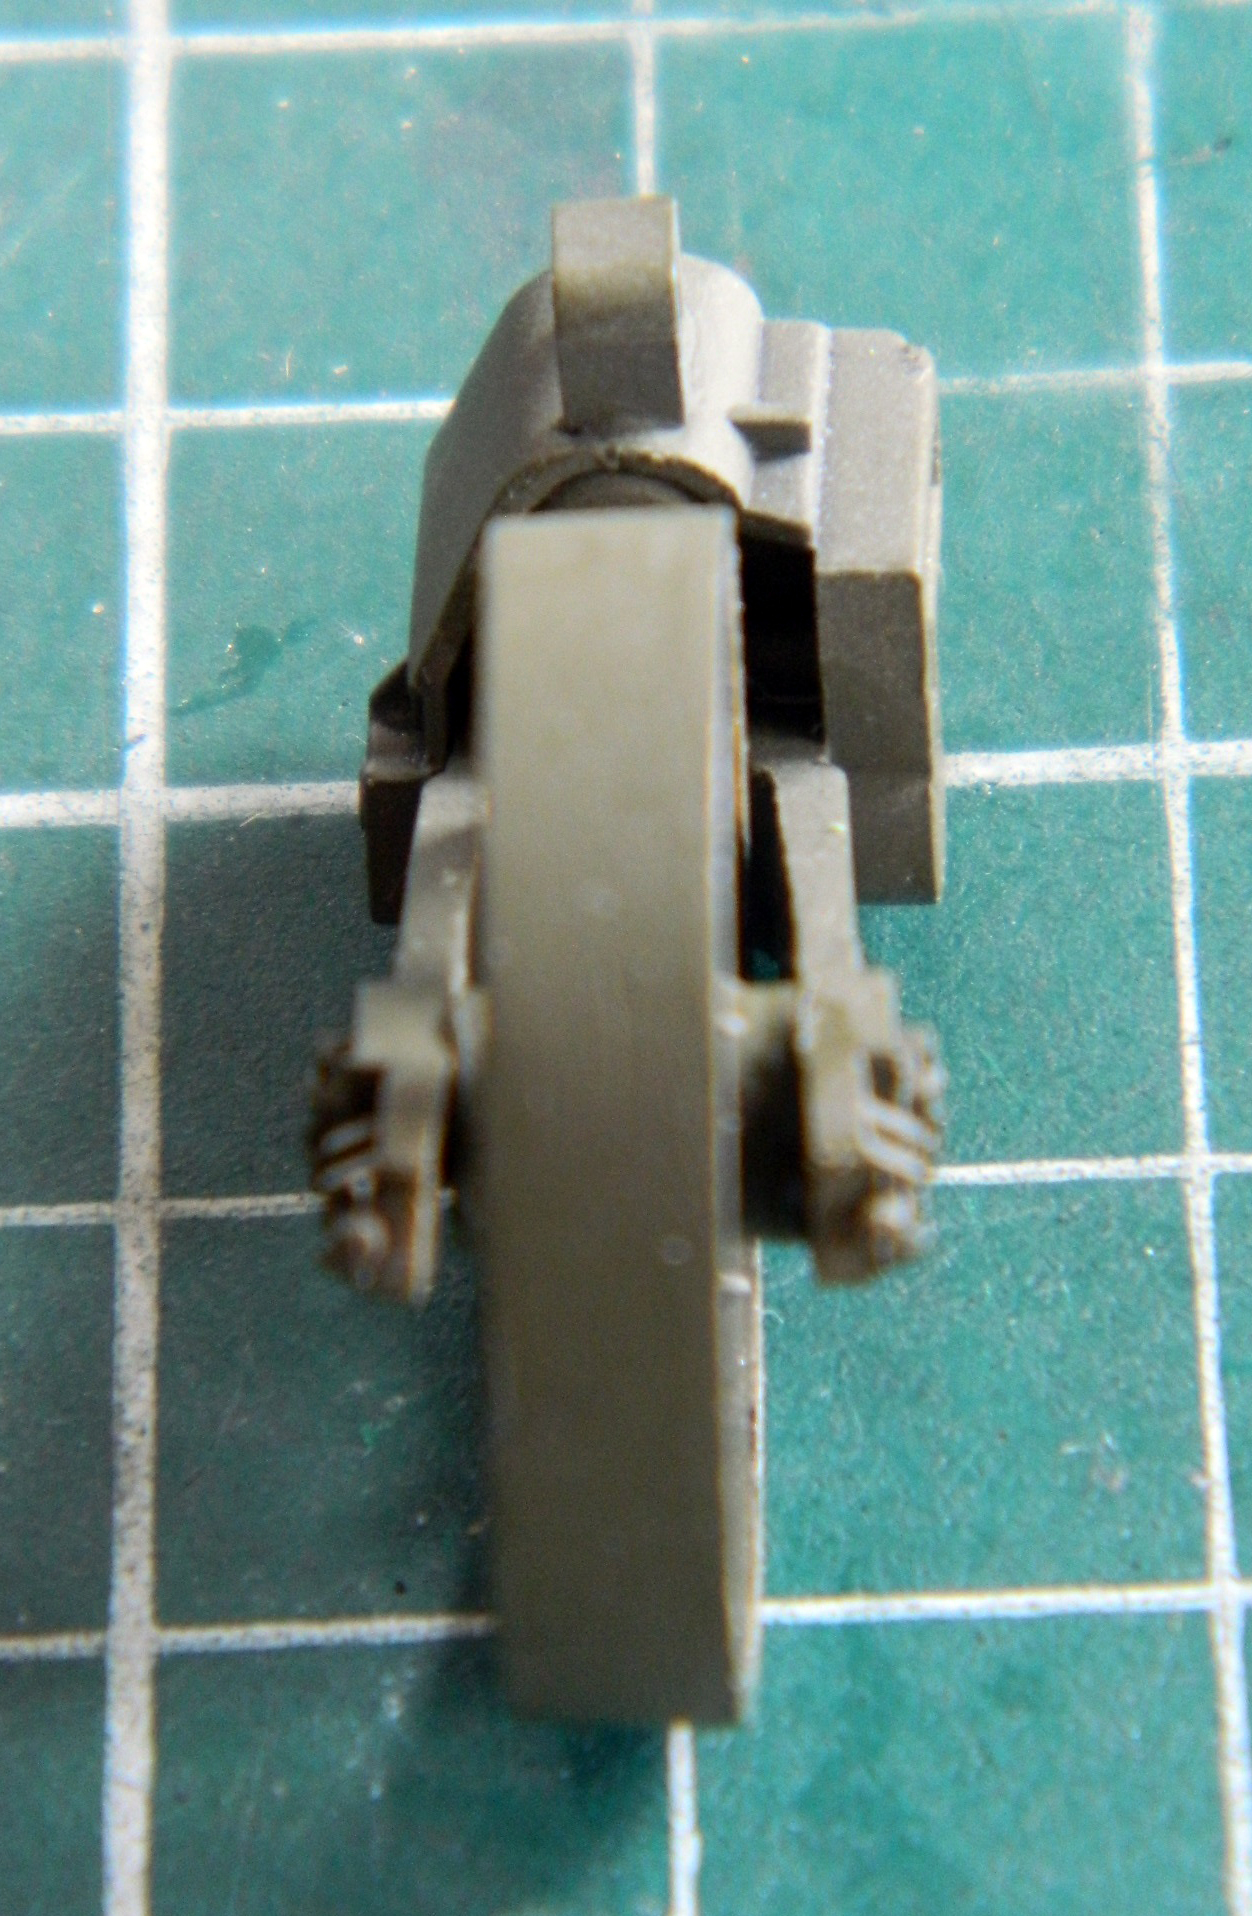
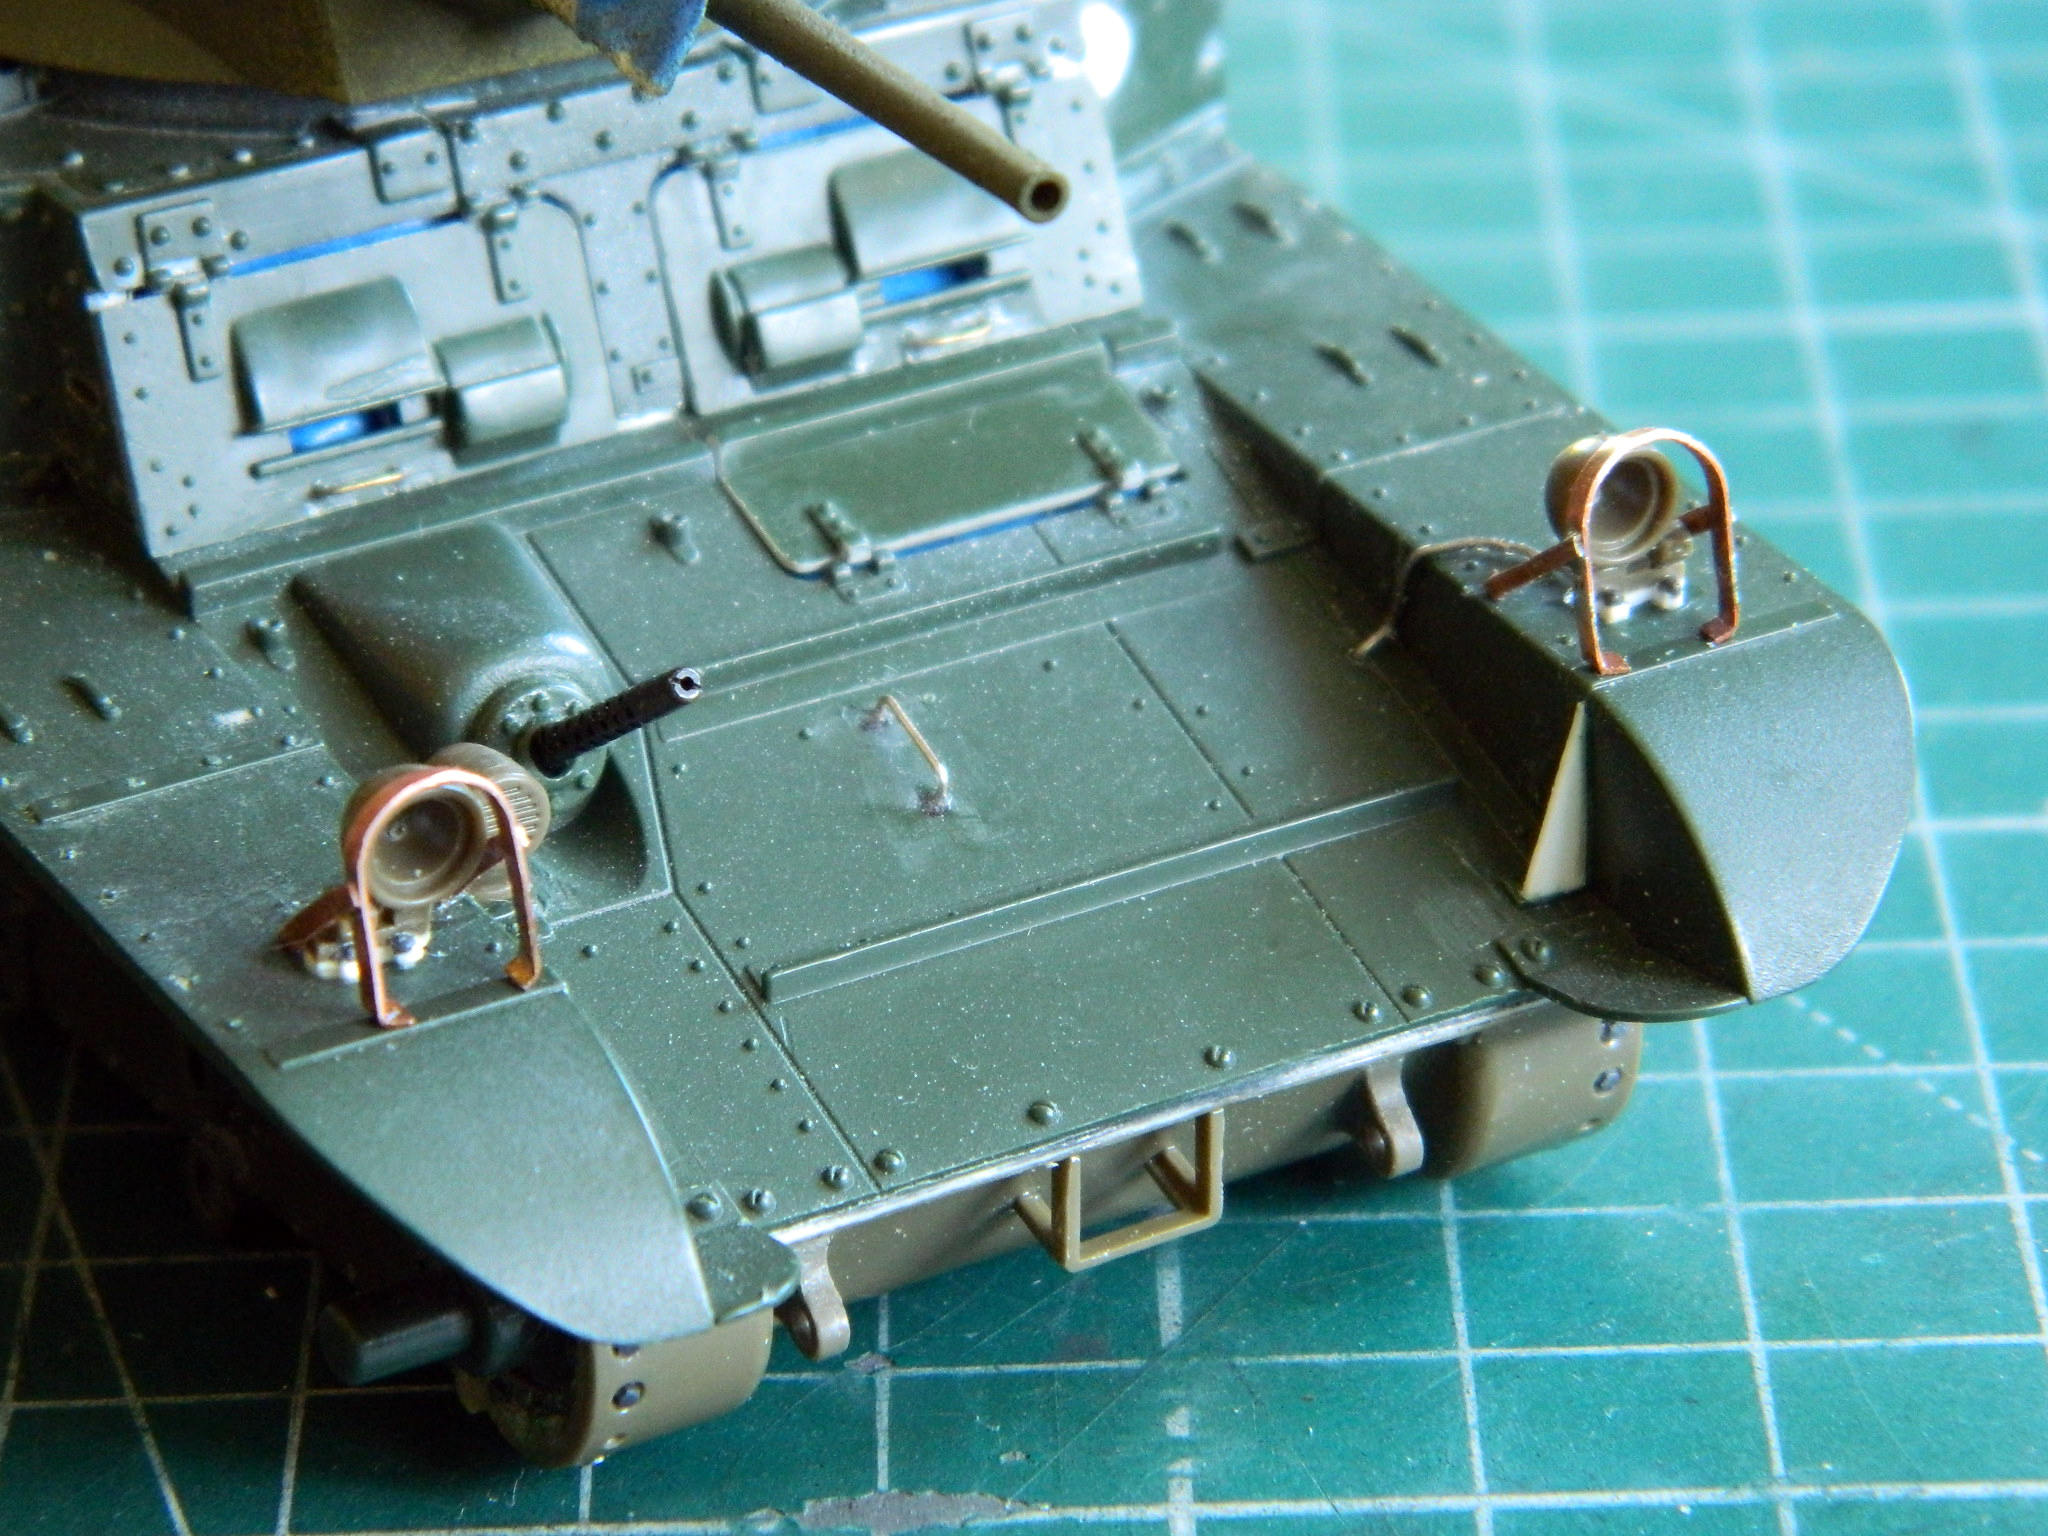
This wasn’t something I was looking for and checking. My eye chanced across the left rear idler wheel and discovered that it’s out of alignment with its mounting arm:
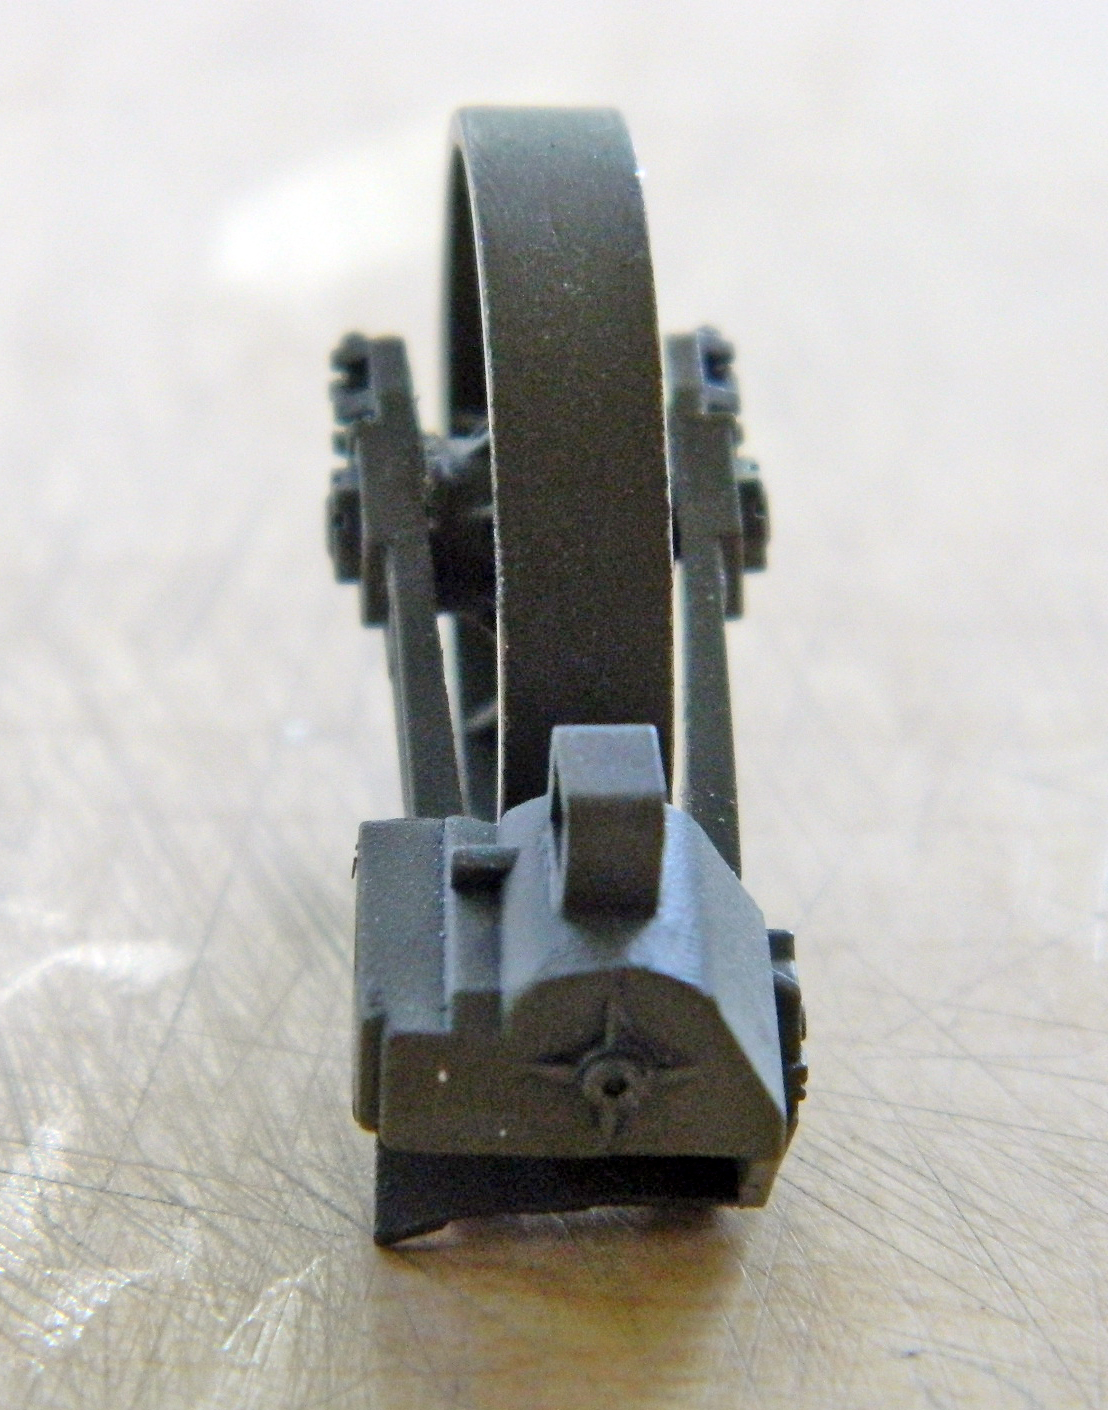
Blast and bugger. That has to be straightened and that puts the assembly at risk because I’m not shy about the application of adhesives. Nothing for it but to go for it and I used a chisel blade to get in there and break the wheel free:
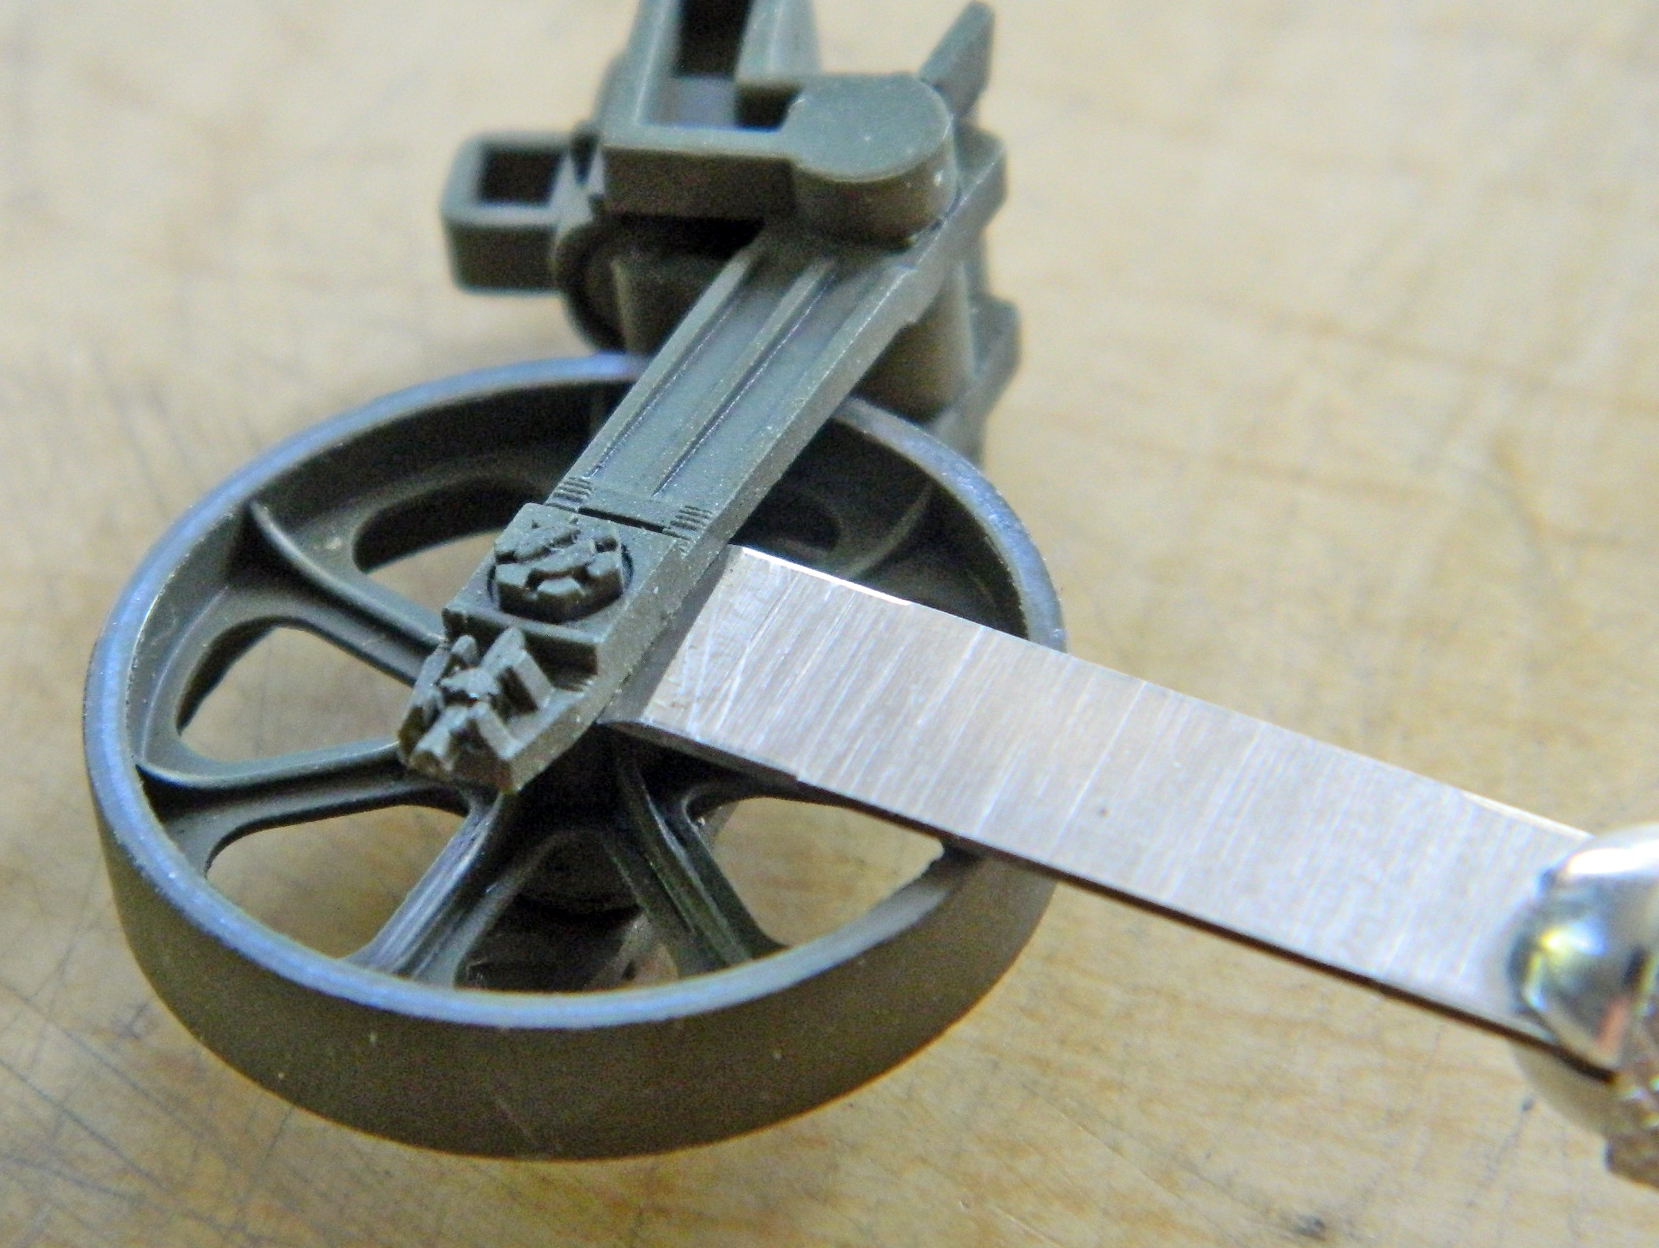
There was MUCH careful rocking of the edge back and forth to get the wheel loose and I managed to do that without destroying anything. After aligning the wheel better than it had been, more (and plentiful, of course) adhesive kept it there:
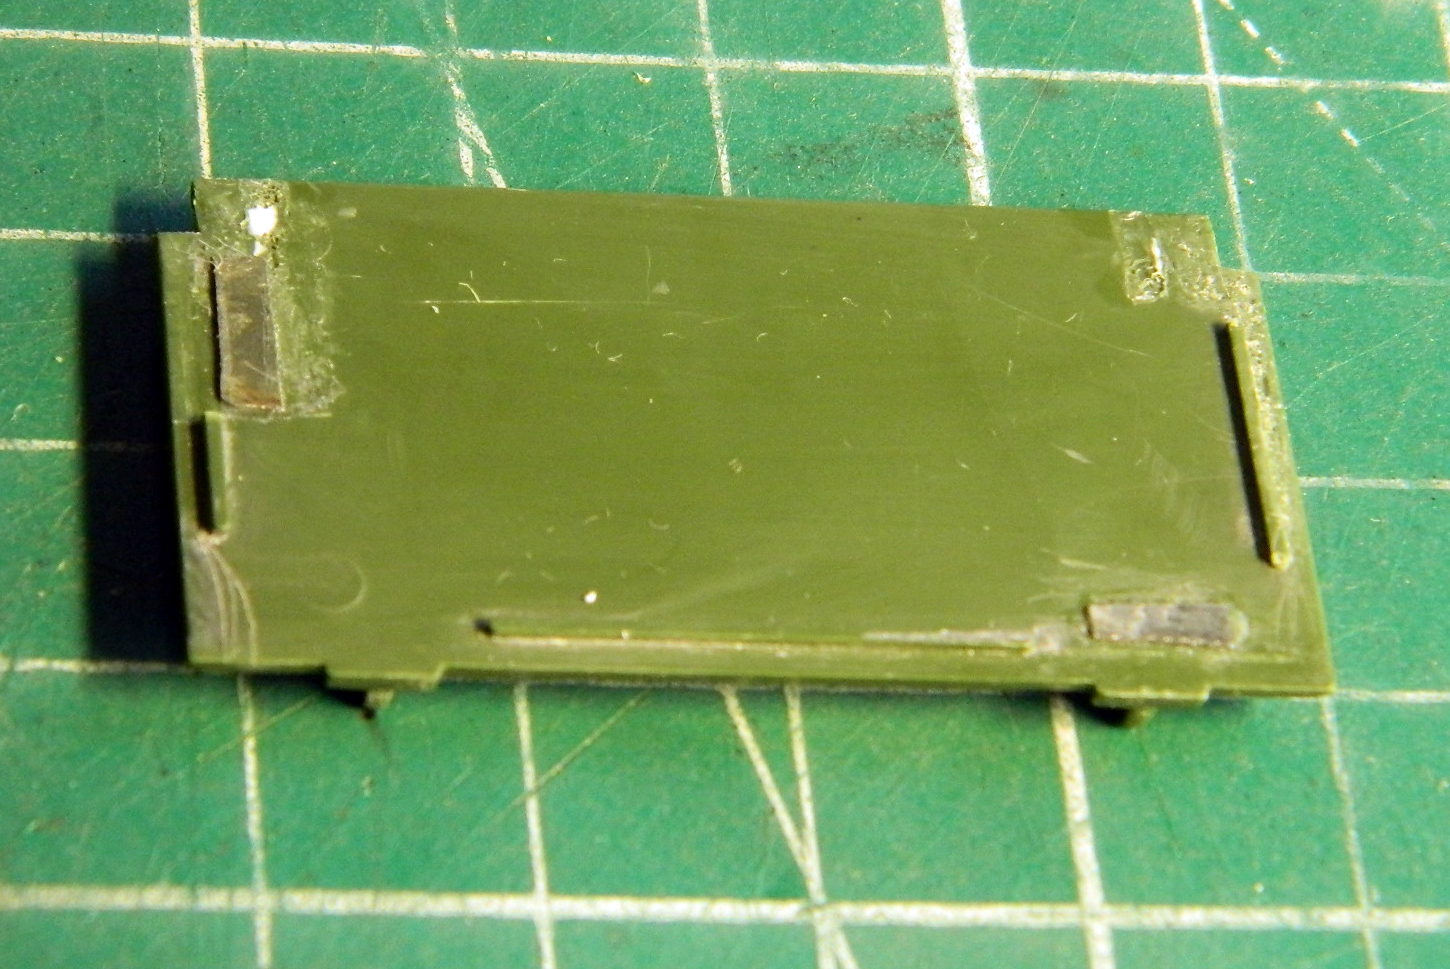
While opening the battery compartment, the hinge broke (and somehow the sodding muffler came loose while all this was going on):

I popped the screen off and reinstalled the muffler, considering how to fix the hinge:
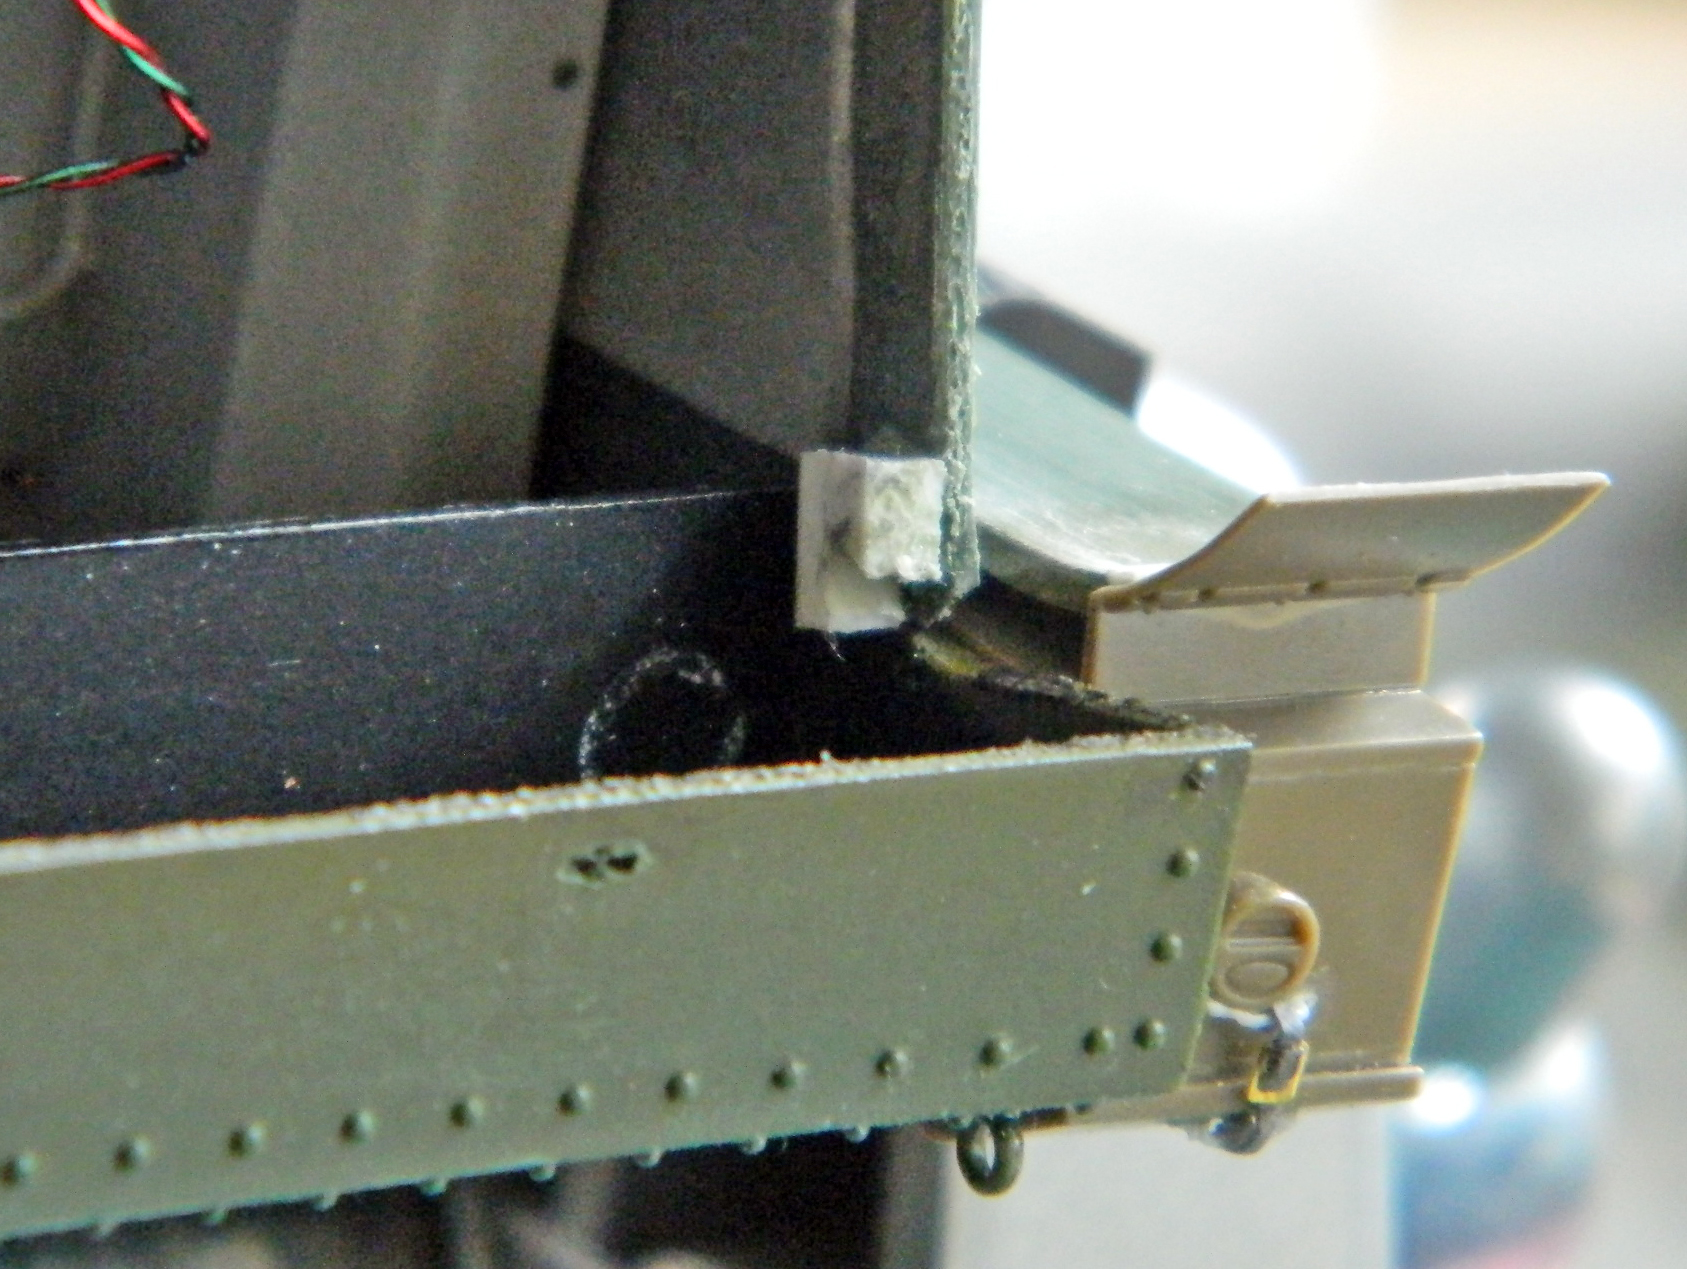
That consideration led me to the opinion that if I repaired the hinge, at some point down the line I would have to fix it again (and the further “down the line” this thing broke again, the worse the job of repair would be). So repairing this wouldn’t work long-term (doing things short-term only creates long-term problems), I would have to do something different. That’s when the Boys in the Back asked me if this had to be hinged…I just needed access.
Oh. Yeah. That.
Instead of repair, I removed the hinge completely and replaced it with another magnet/steel set up:

The result is certainly good enough and even more simple.
Having dealt with that, I went back to the headlight guards…realizing that using thin styrene was rather dumb of me. Where these parts sit, they’re exposed to various unintended contacts. Maybe making them out of sterner material would be a better idea.
About this time, I had someone ask me how involved the process was of using copper sheet for these. My response is, “About this involved.” These are the tools necessary:

The needle is to scribe the outlines of the parts I have to cut from the .010″ (.254mm) copper sheet. The scissors and chisel blade to make the cuts. The anvil (sorry, I forgot to pose the ball-peen hammer for the photo) to hammer the copper flat against after the scissors and chisel blade deform the copper. The smooth-jaw pliers to hold the copper while it’s annealed. The shaped wood to act as the form to curve the copper over. The tweezers to check fitment. (The small clamp was intended to hold the parts in place while being soldered, but instead, I used locking tweezers on bases for that.) The parts were cut out (the kit part in the background for comparison):

Then the parts were aligned and soldered:

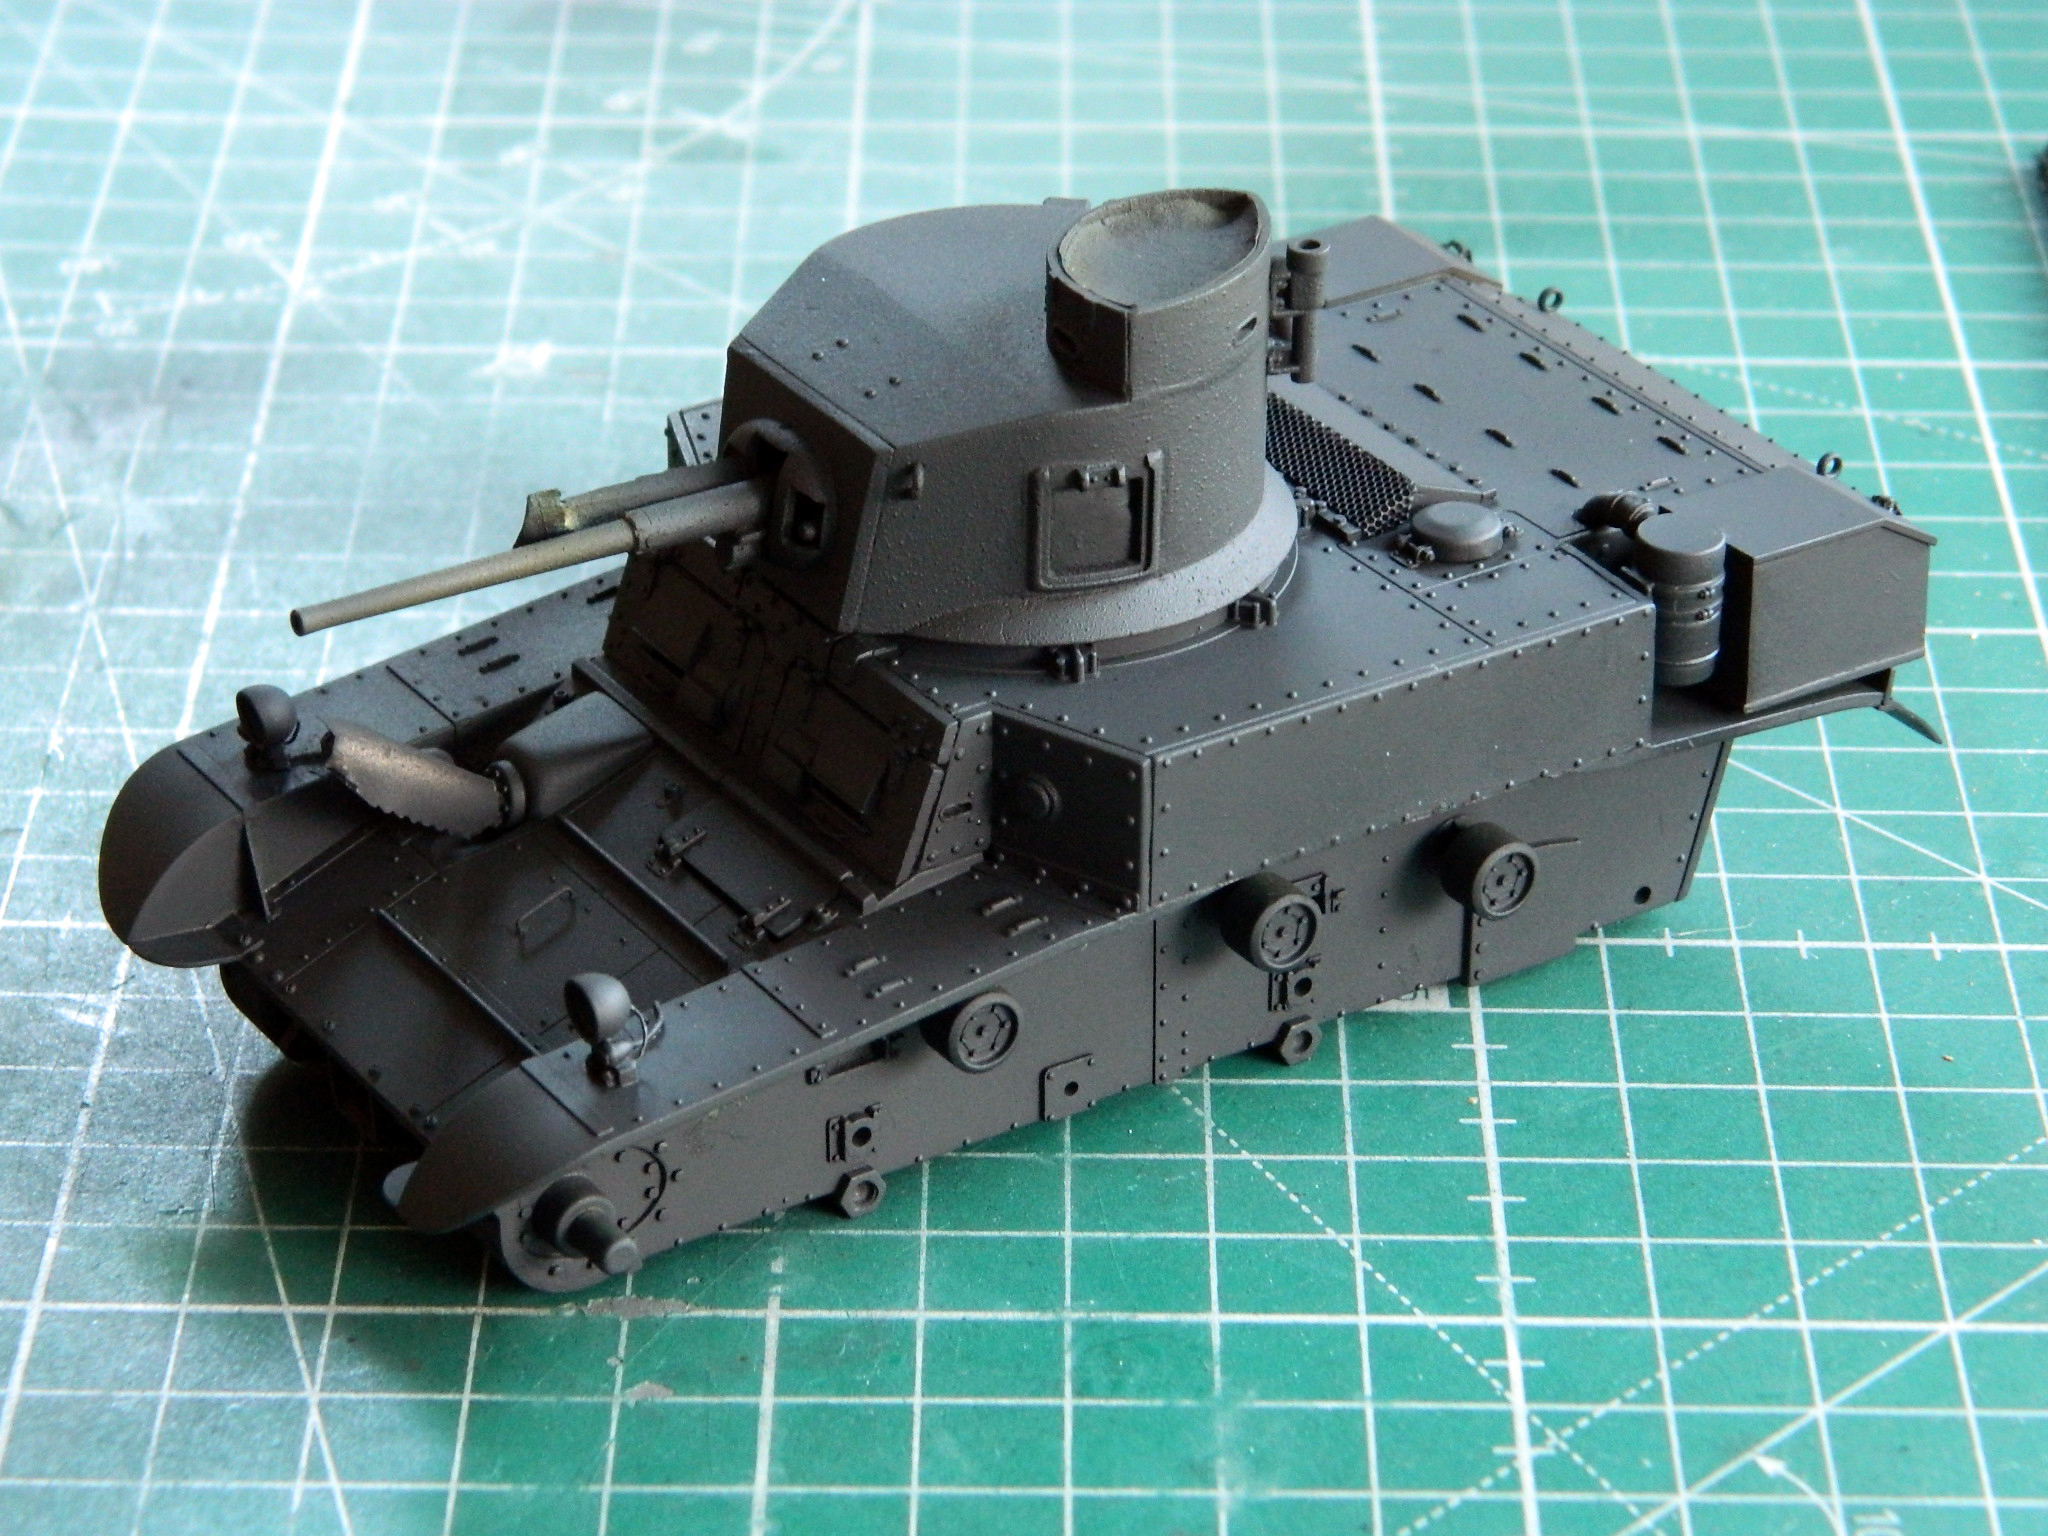
The result was something more to scale and much sturdier:
I let myself glow in the light of accomplishment a bit before I realized that I hadn’t gotten these things quite correctly. There are bends at the bottoms of all the flat sections that I had not either put in nor allowed extra length to put in.
So I redid them:
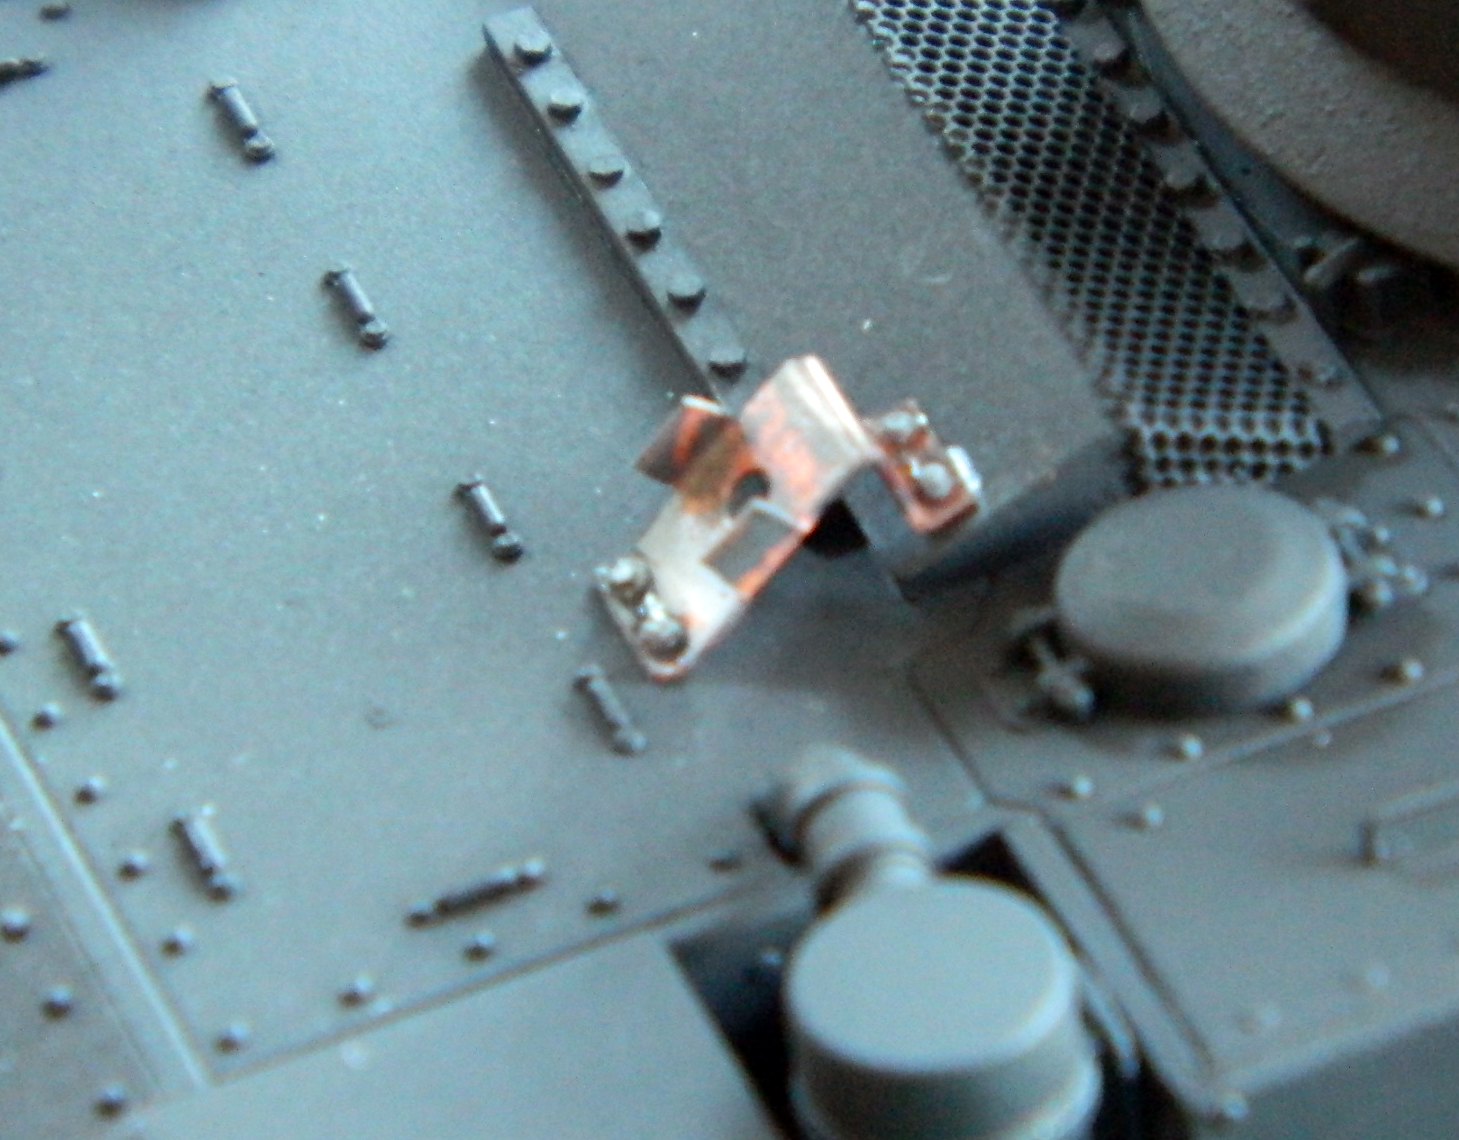
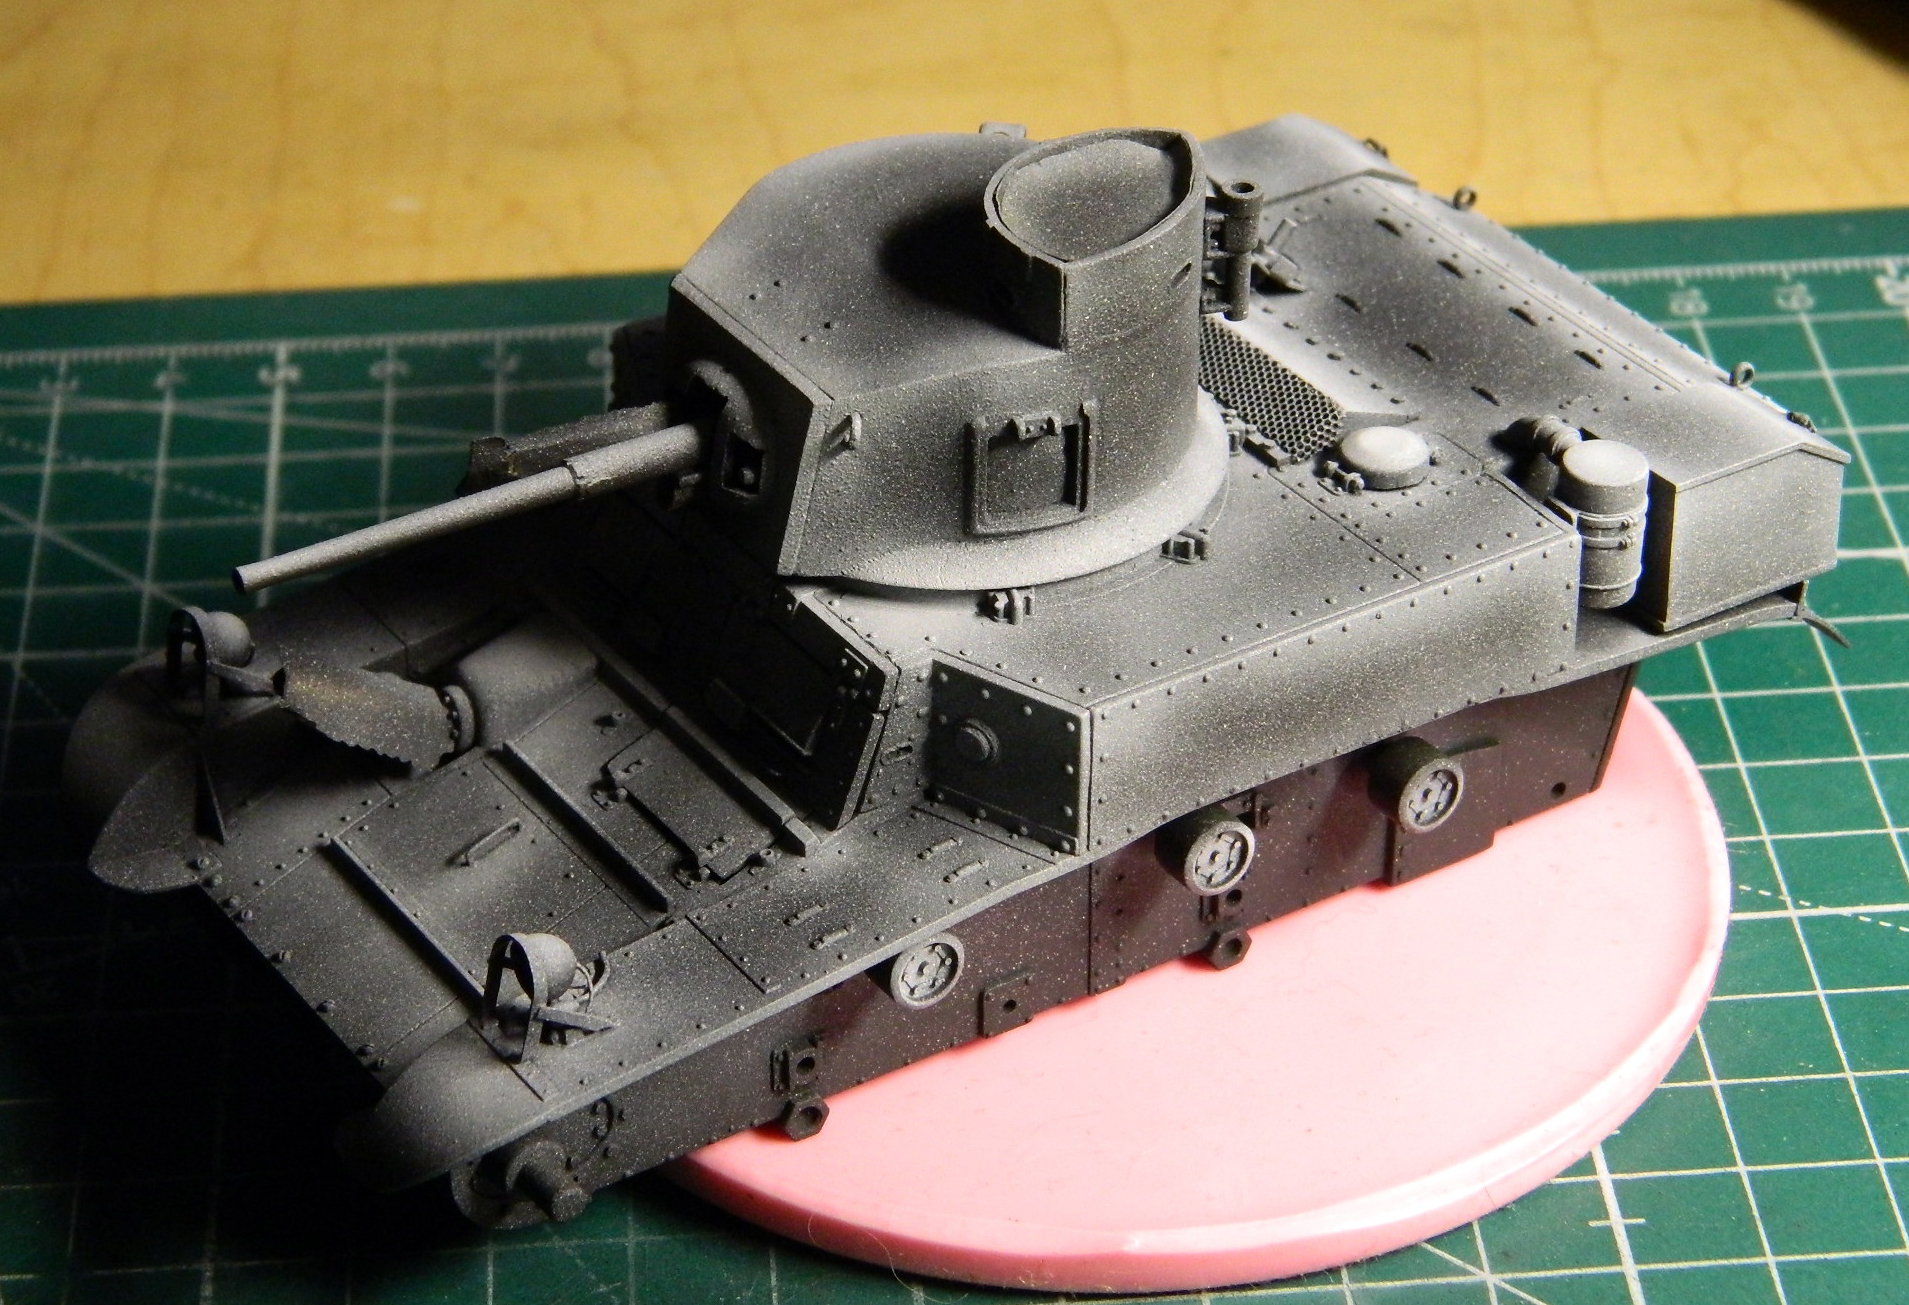
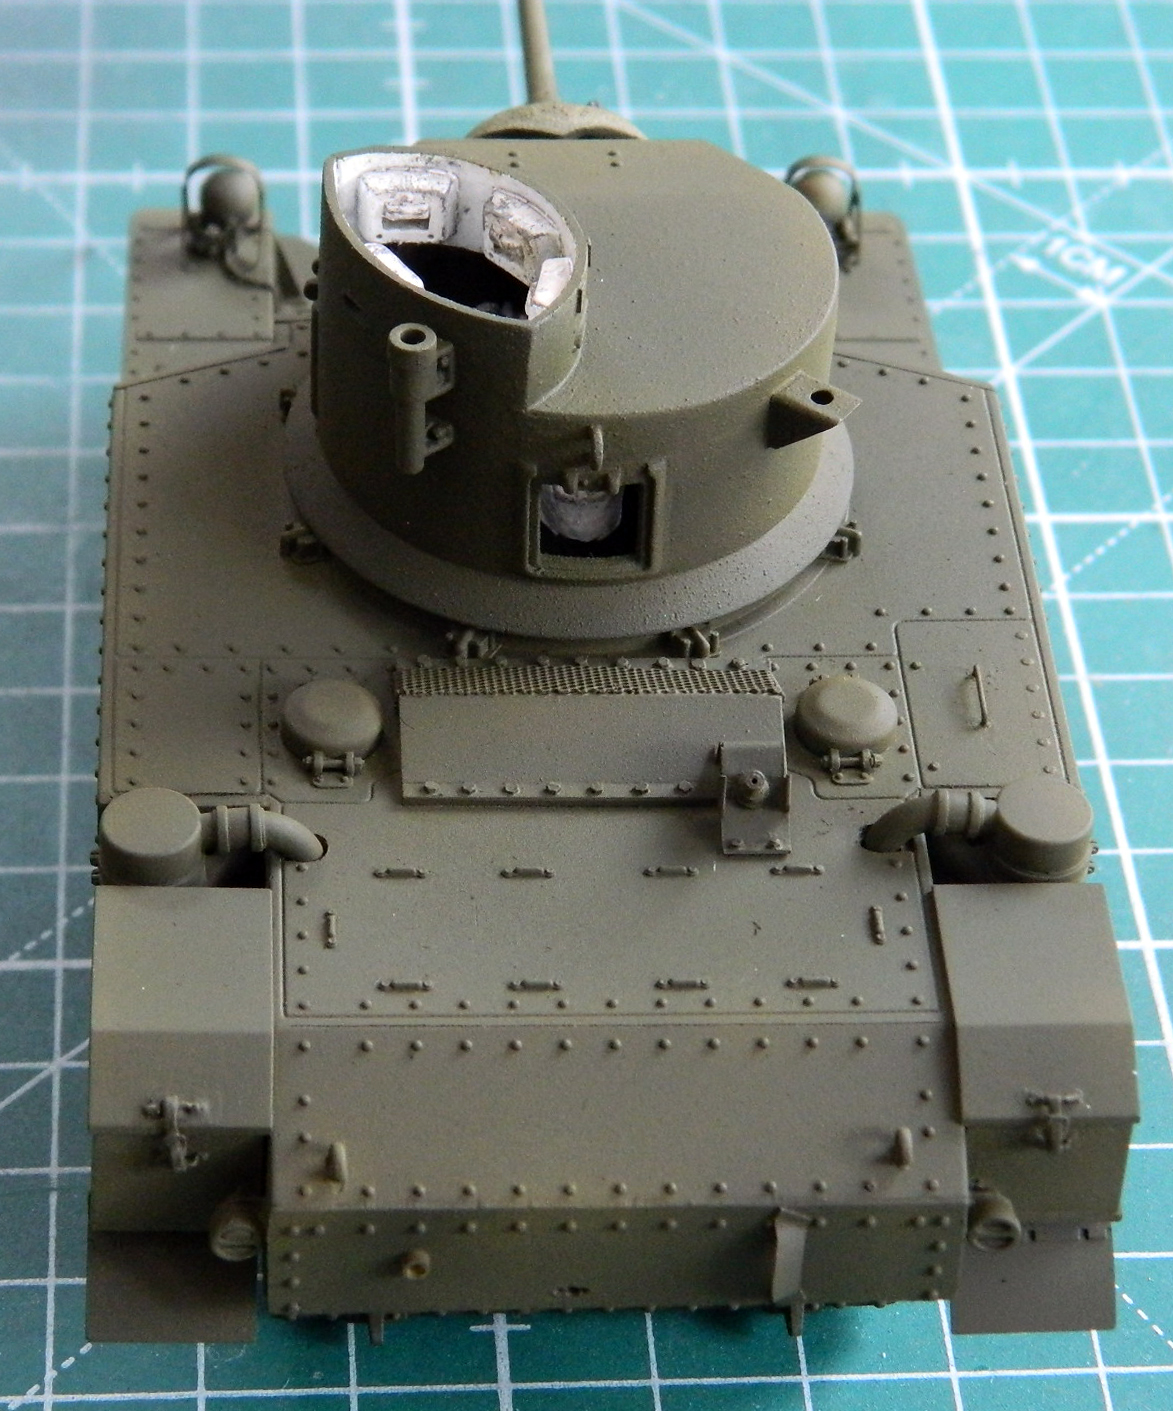
About this point, my brain decided it had other things to attend to*, leaving me sitting at the bench wondering what the hell I needed to do next (actually happens a lot) (stupid squirrels…). I knew I wanted to try a bit more in-depth pre-shading, so I had to paint this flat black. And I know once I did that, I’d find all the things I should have done before I painted it flat black.
Okay…let’s do this pre-shading thing:
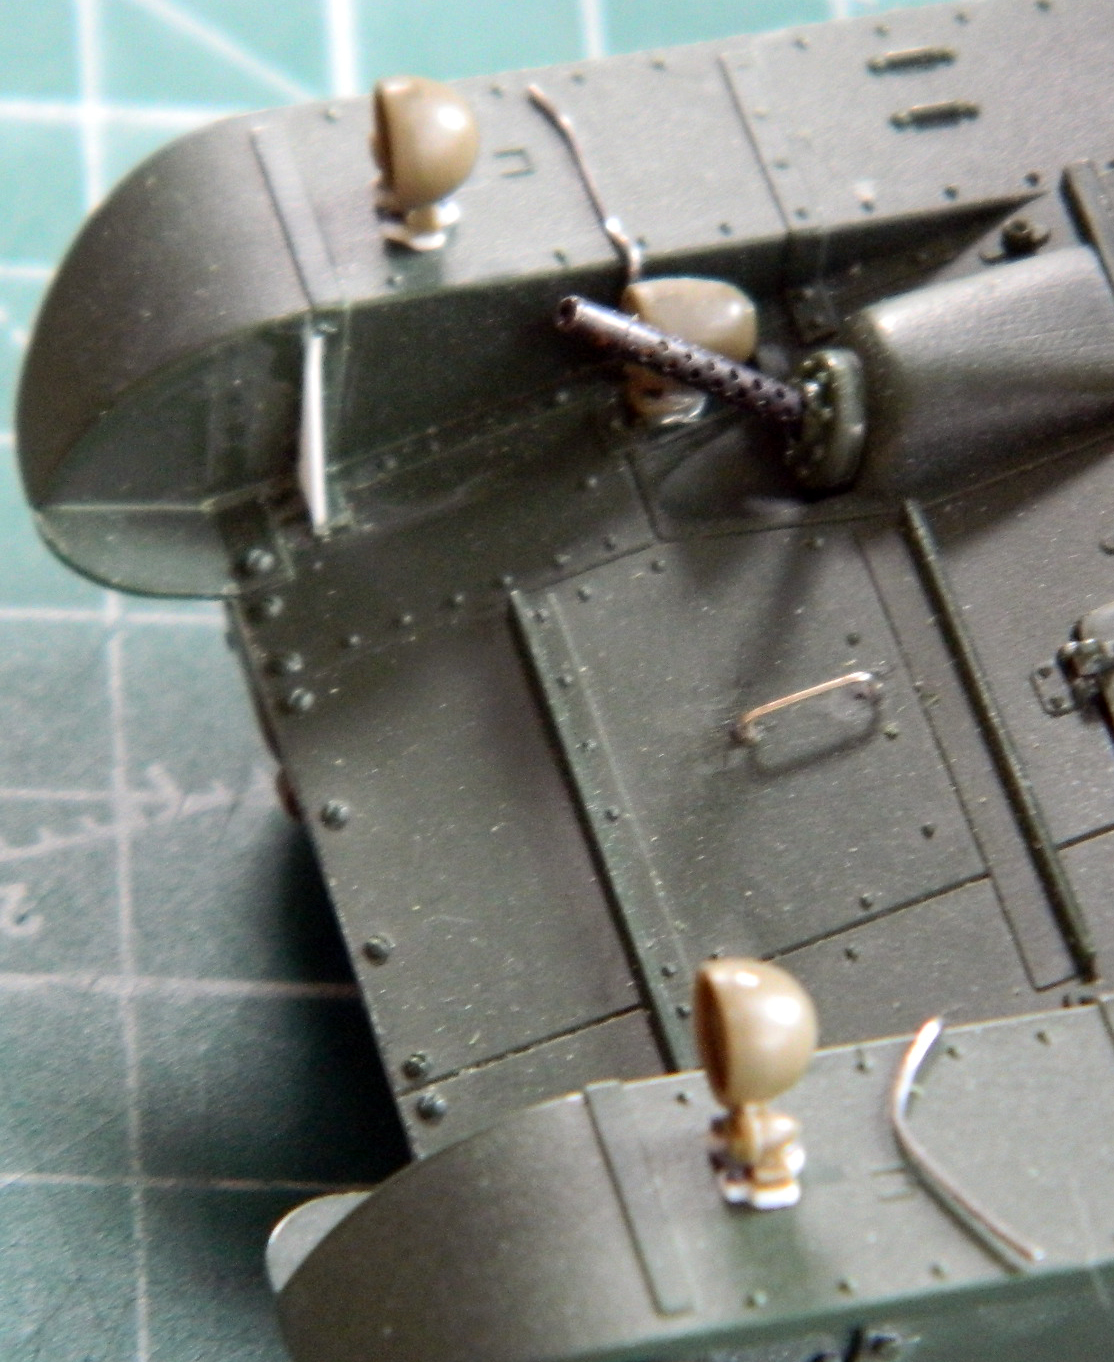
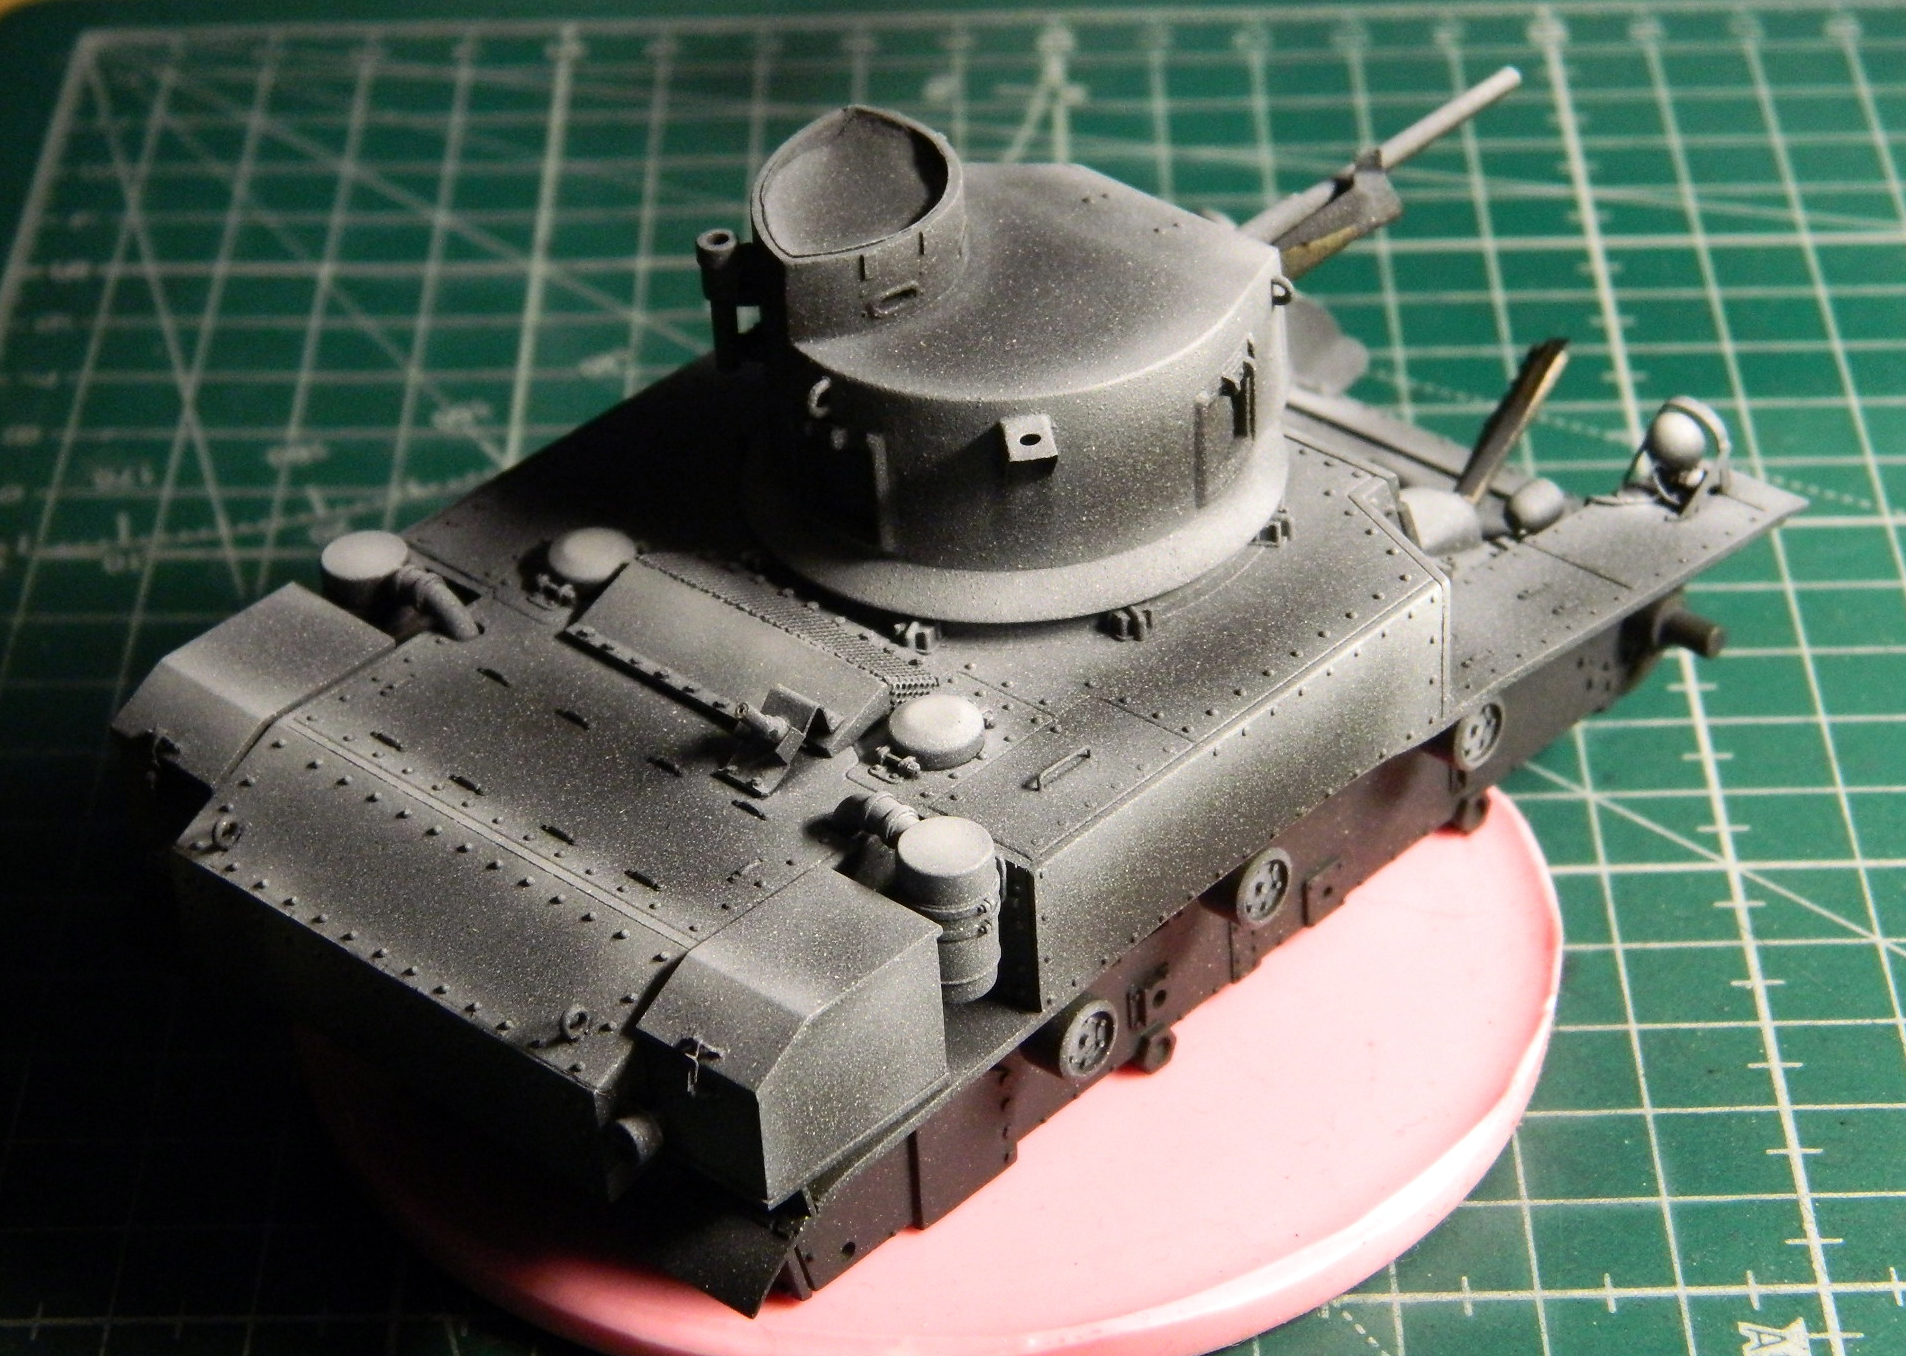
Huh. Whaddya know. I did forget to do a few things. I forgot to add the headlight guards I just spent all damned day on, forgot that I had to add rivets to the strap in front of the headlights (sorry about the blurred photo…I thought it had come out better than it did), and totally forgot to make the antenna mount (and then forgot to photograph the installed headlight guards):
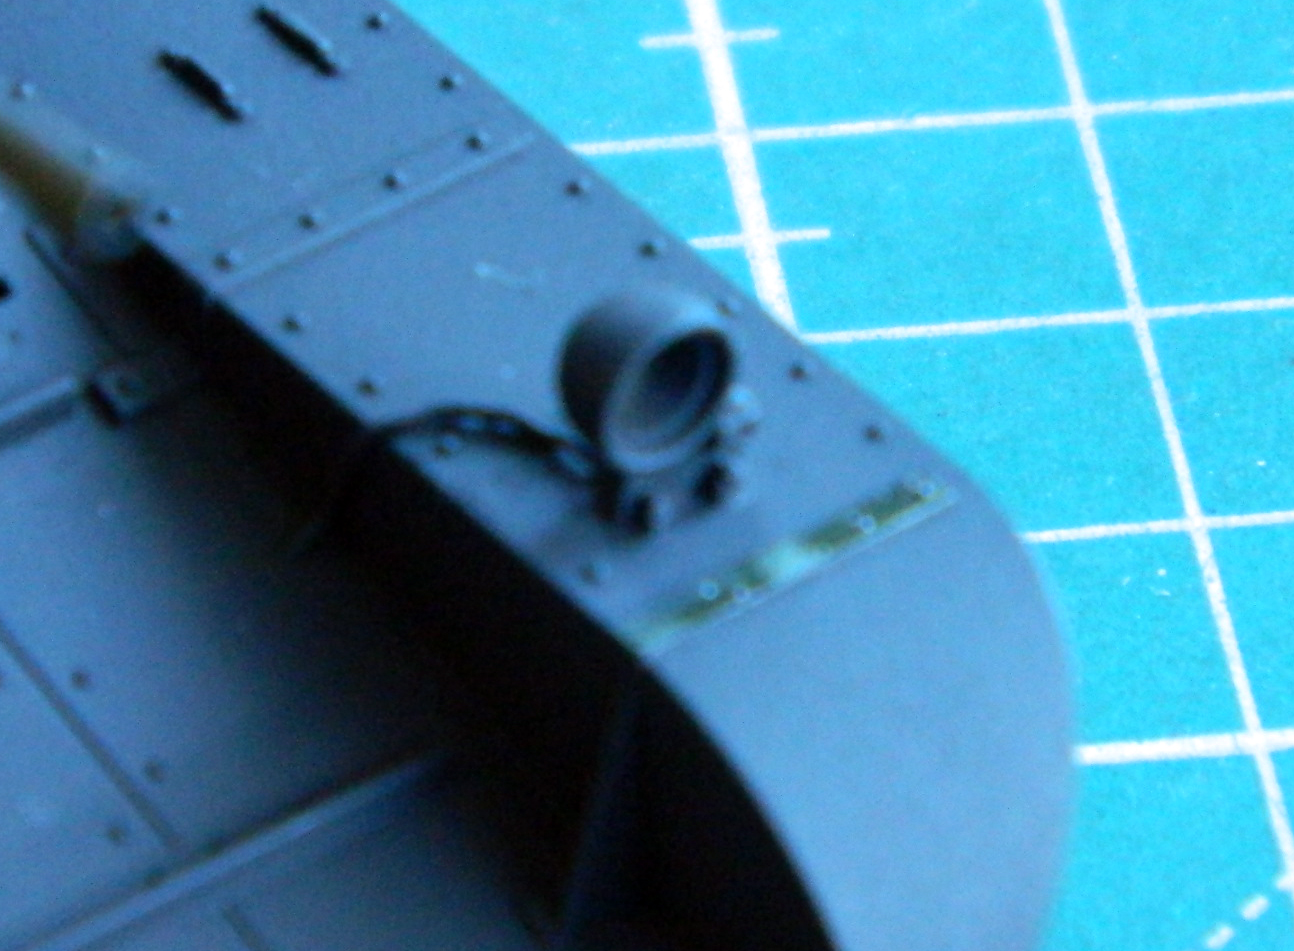
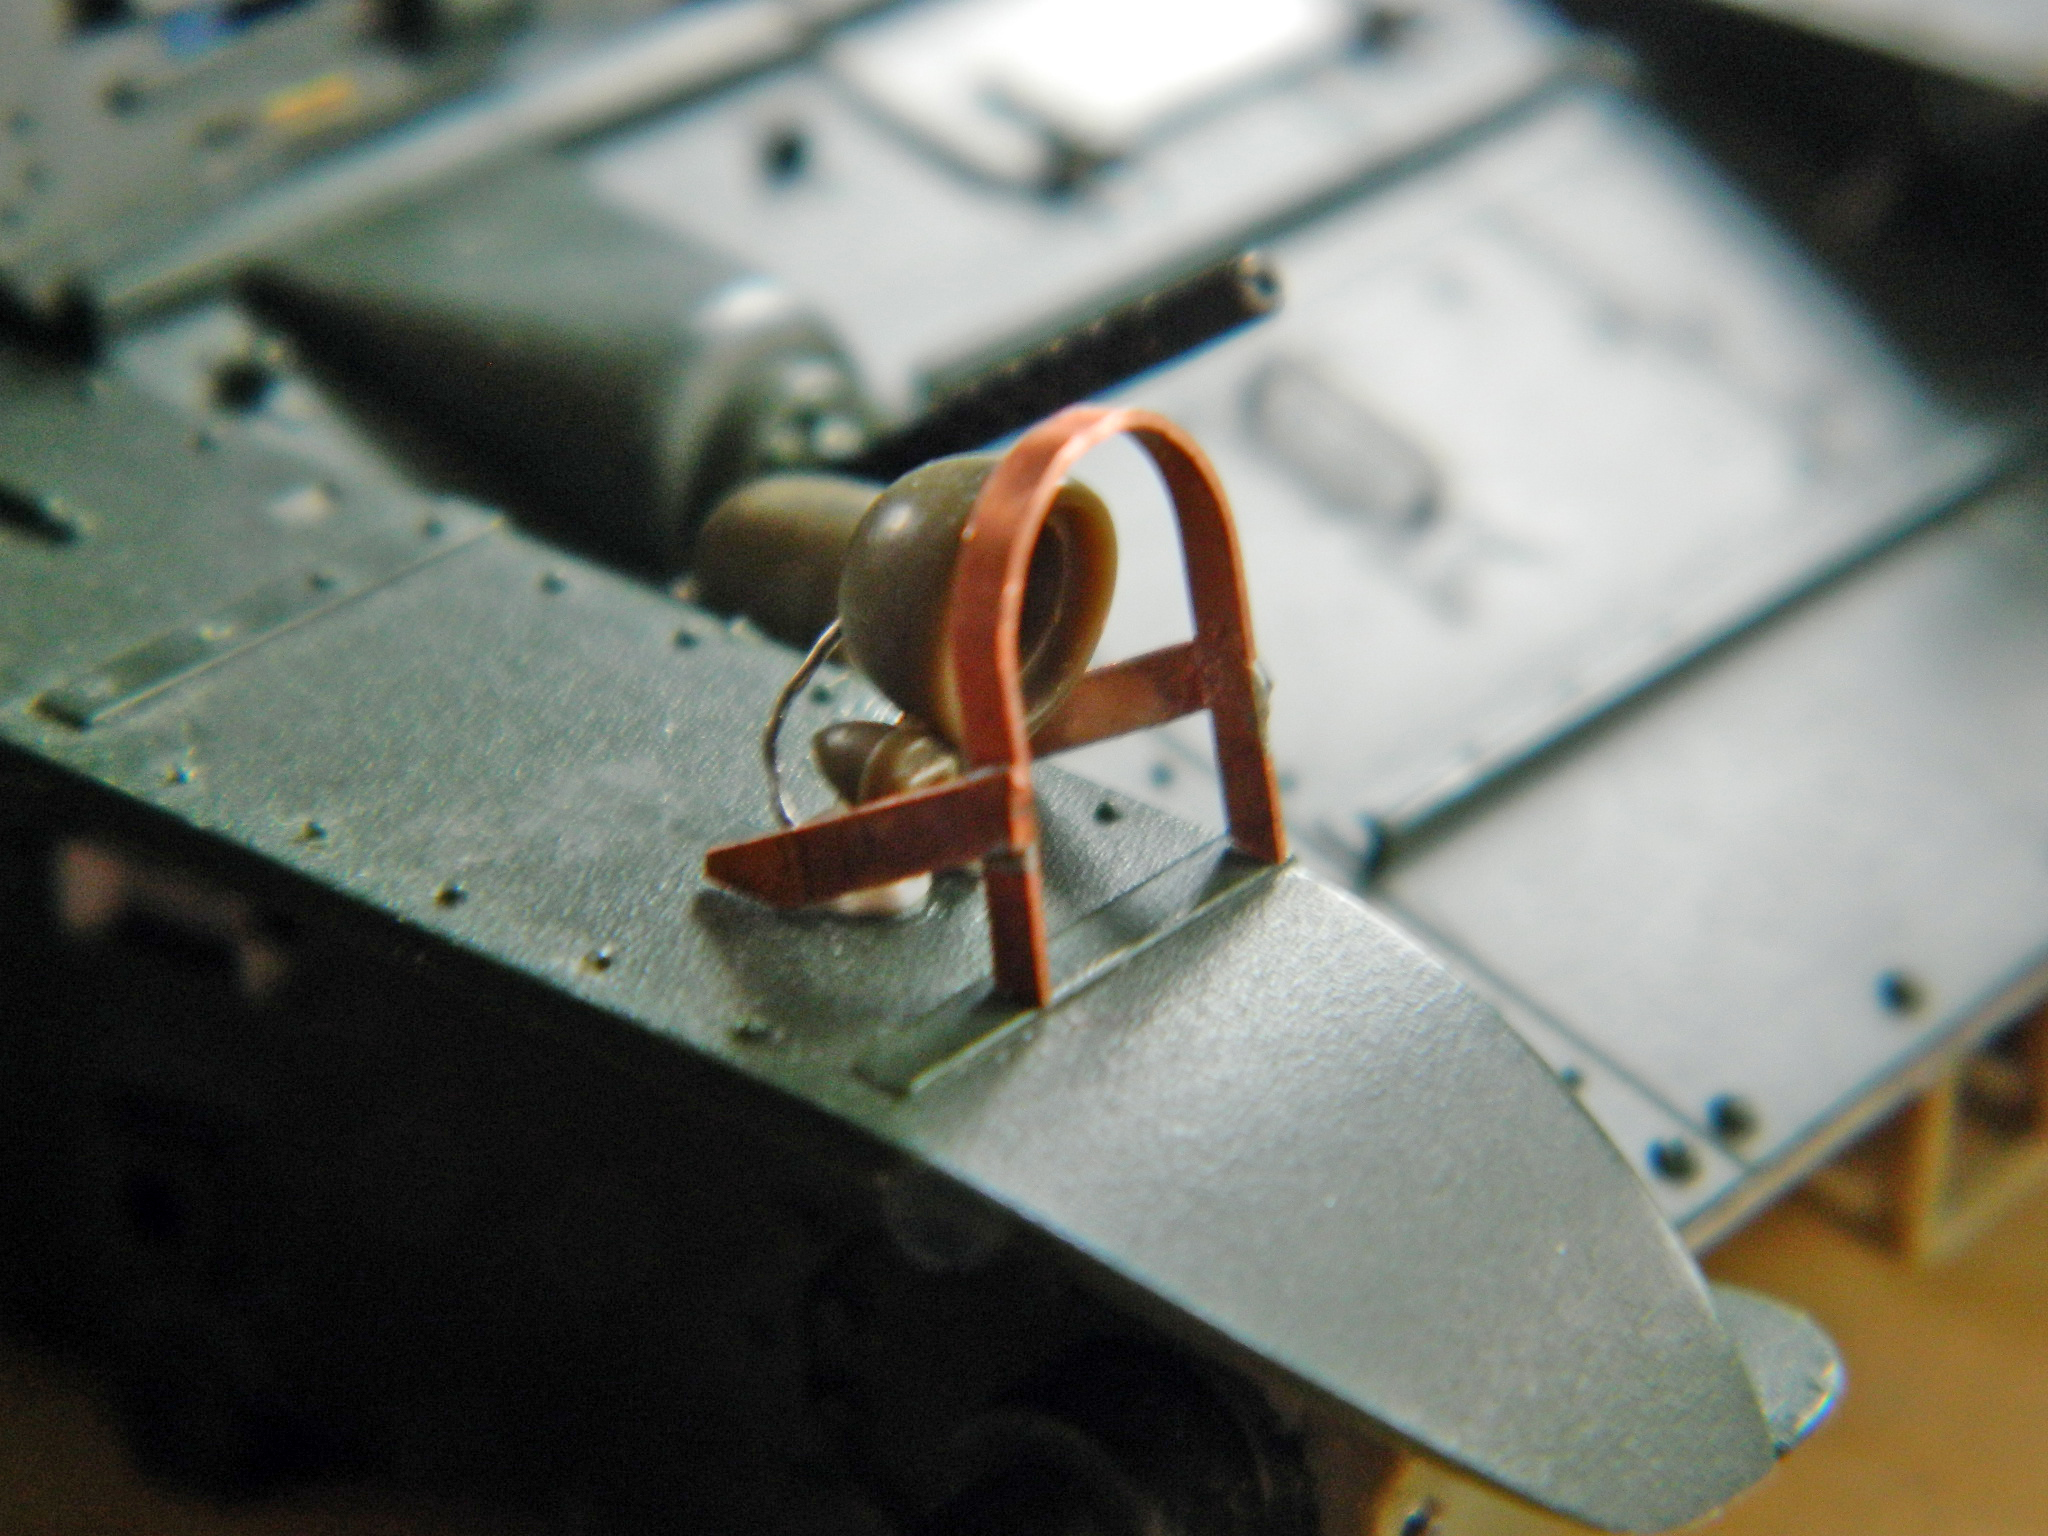
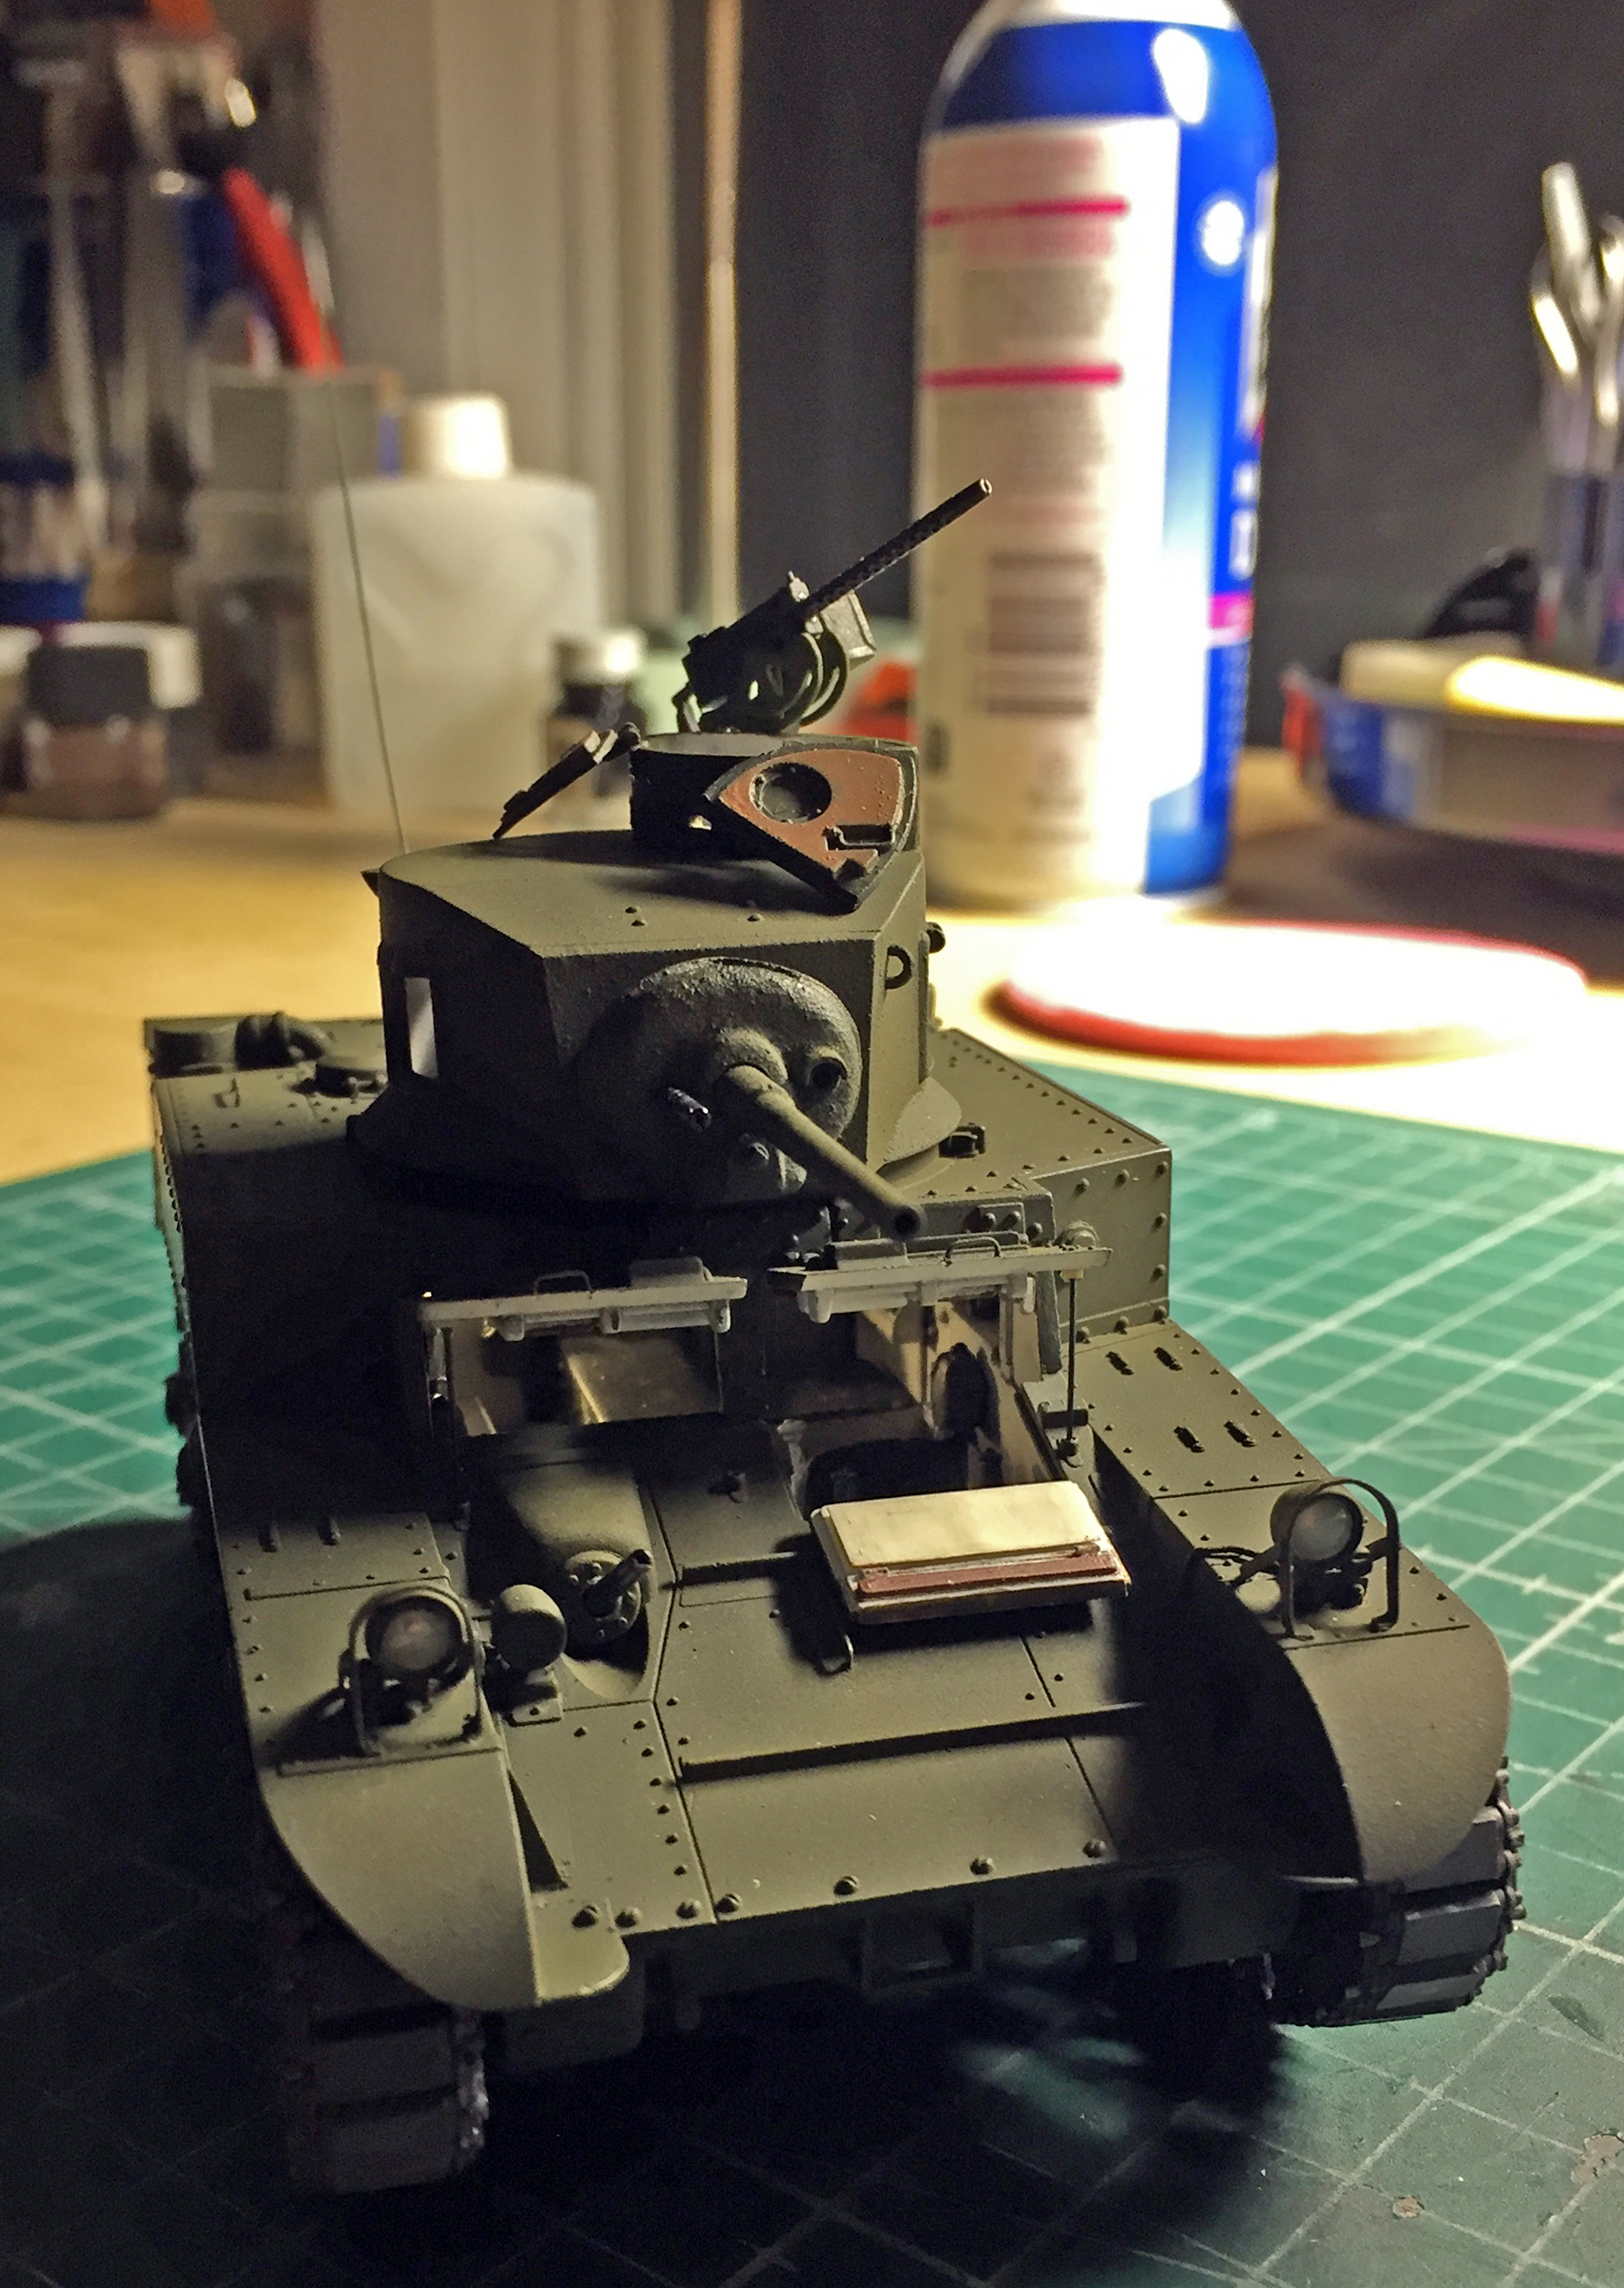
Once the .010″ (.254mm) copper was annealed and folded into the antenna mount, I added the bolt heads and glued it in place:
The next step in pre-shading is to paint all the areas I want lighter in appearance with flat white:

As things turned out later when I hit this with the color coat, I could have laid down a heavier amount of white in some areas. Lesson learned.
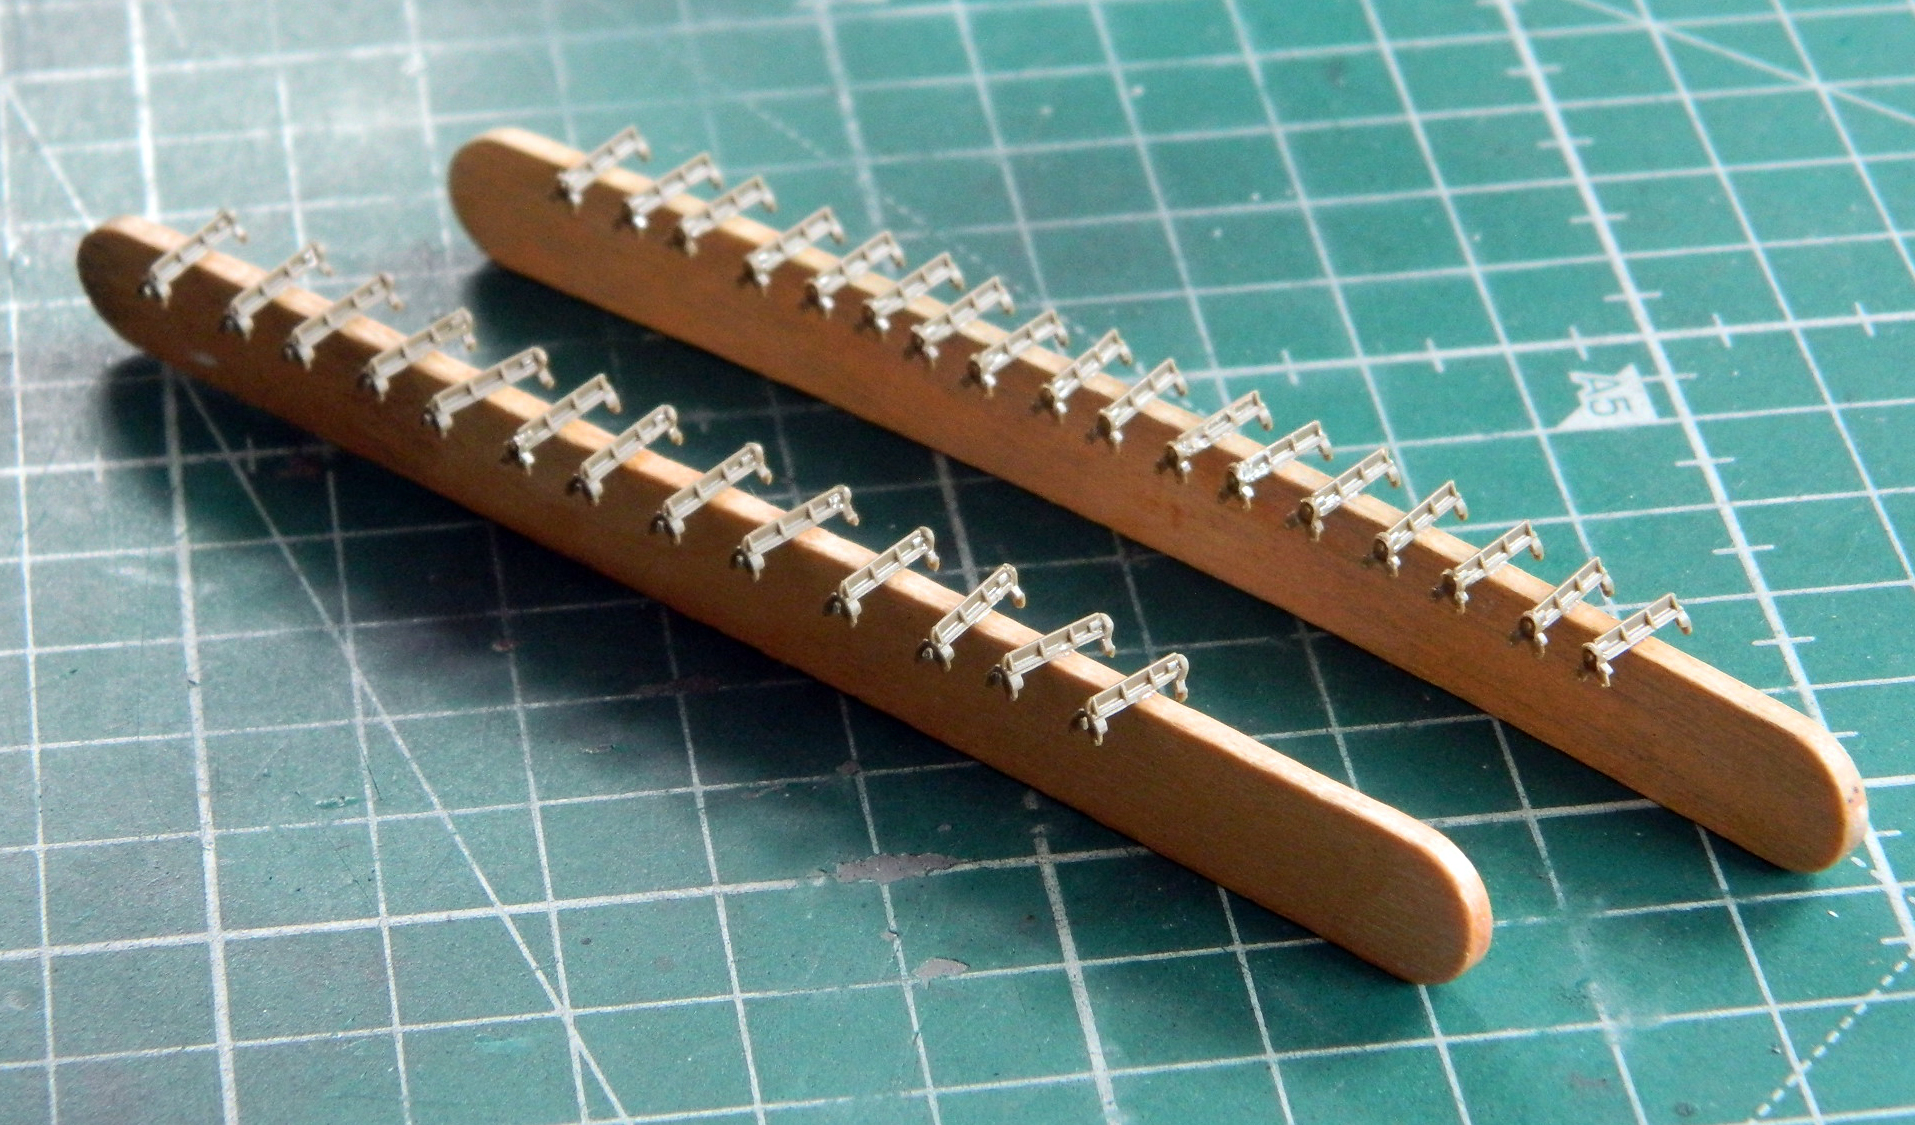
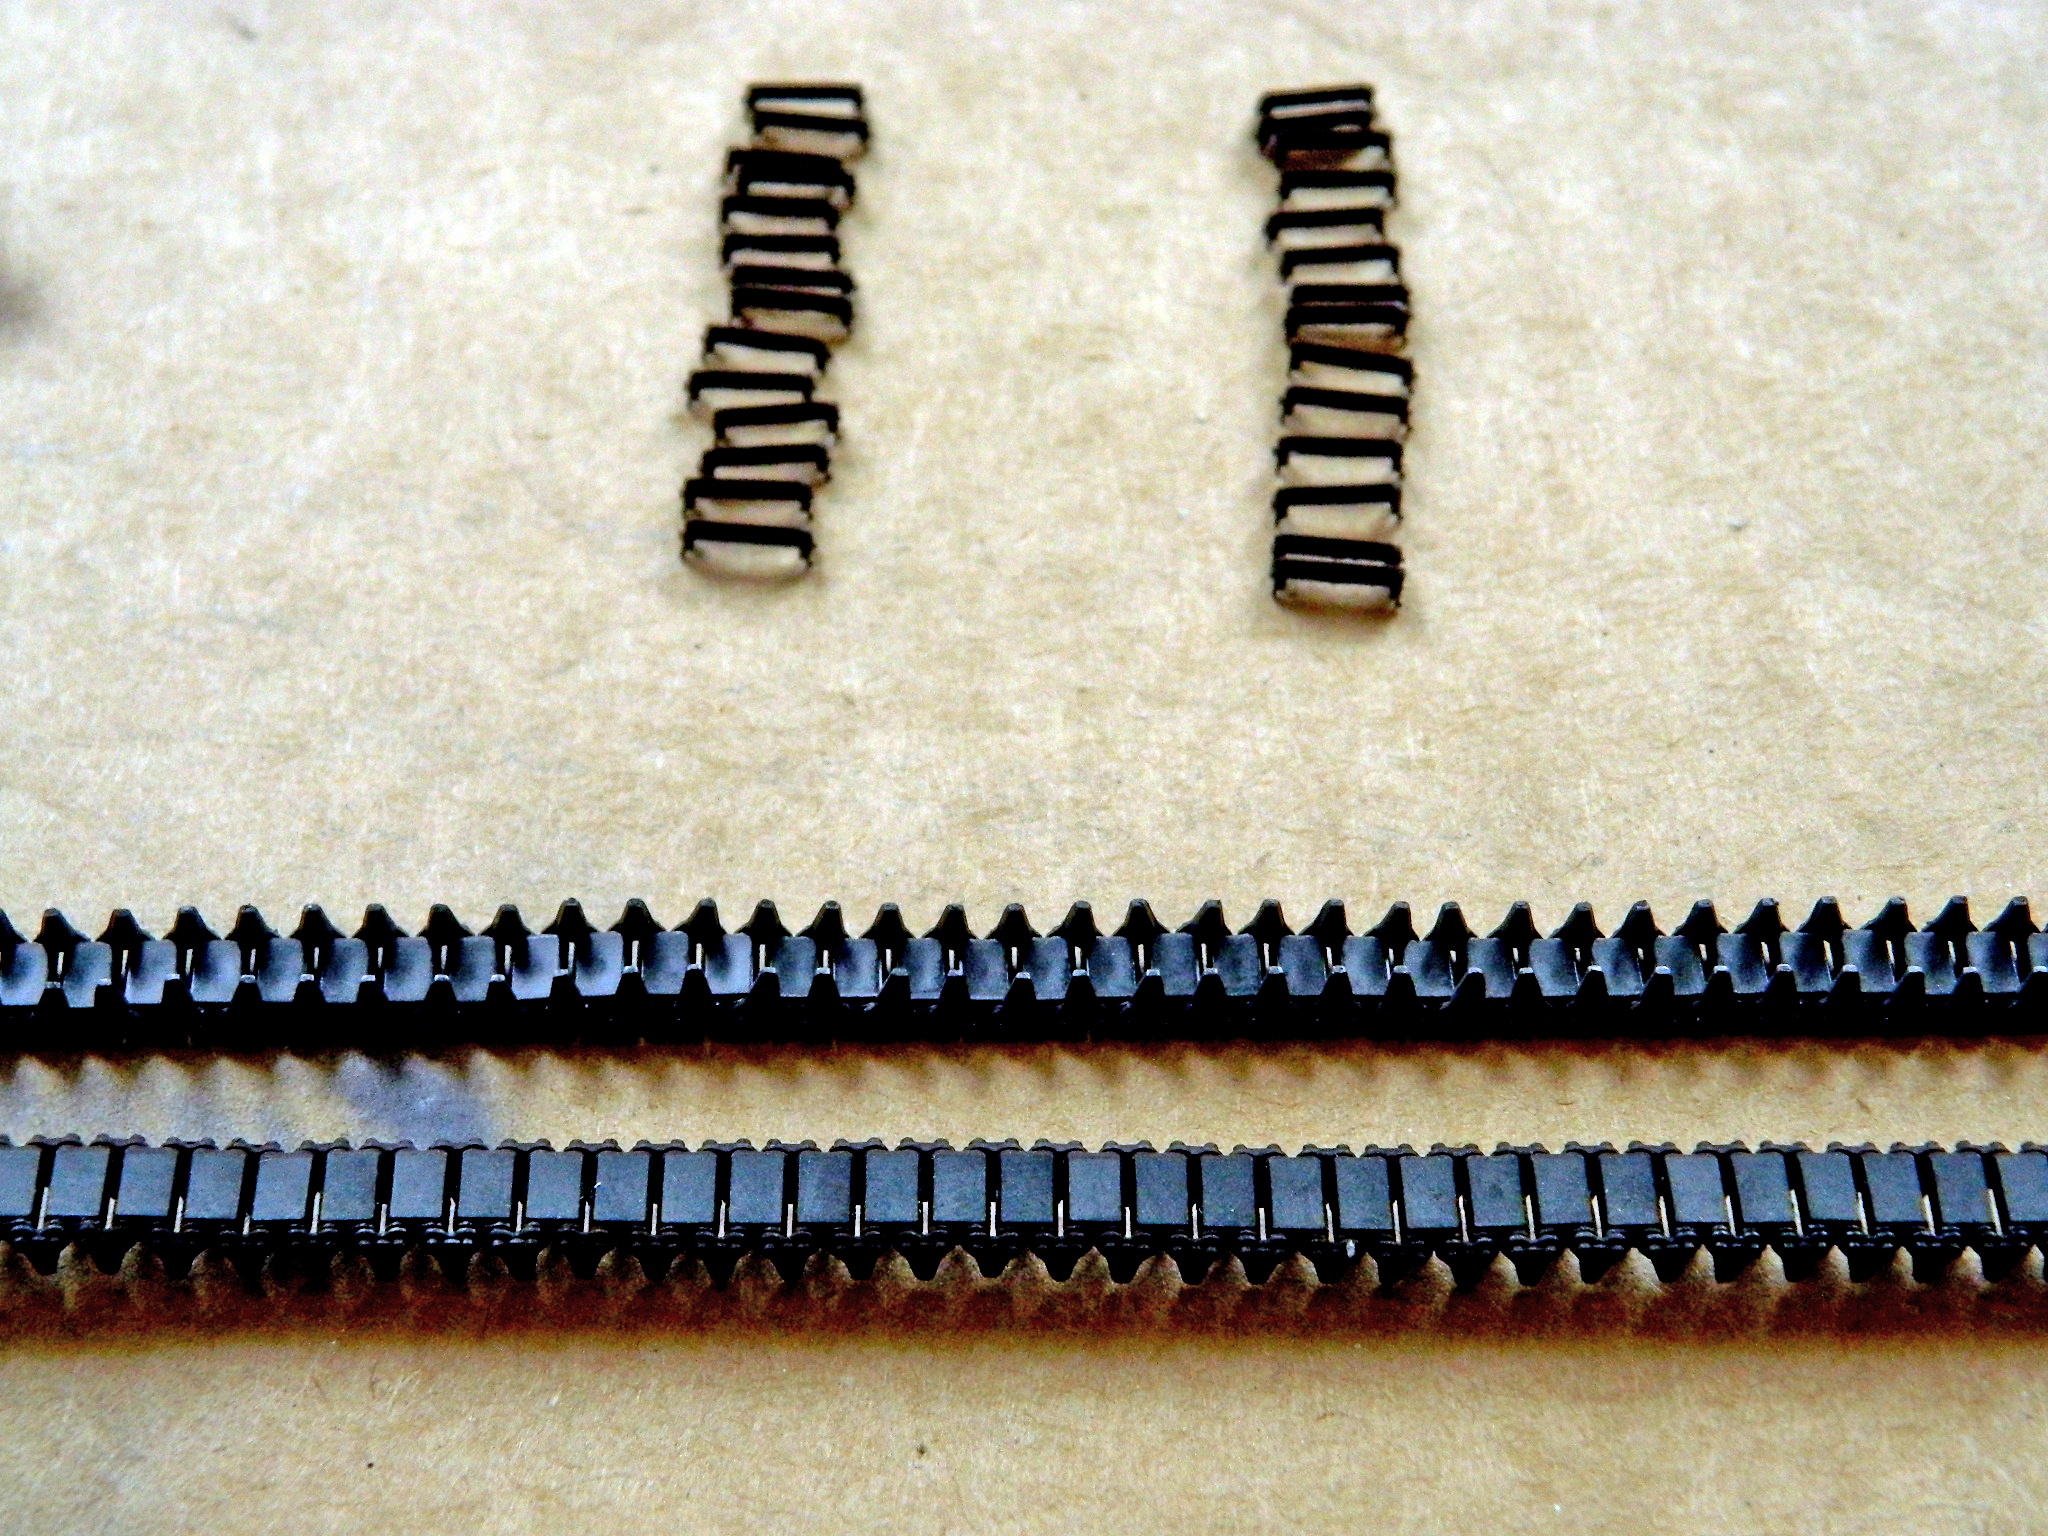
I set that aside for the paint to cure and went at some of the other small details. At present, I’m planning on using the track grousers that came with the AFV suspension upgrade. They were assembled and glued to a flat stick so that I could paint them without the airbrush blasting them into places I’ll probably never see again. I used a small dab of superglue:
The first coat of paint was Humbrol’s “Steel”, #27003 (my FAVORITE when I need plastic to look like steel…you can see the grousers on the right have been buffed as have the tools). While I had the airbrush loaded with that paint, I also did the tools:
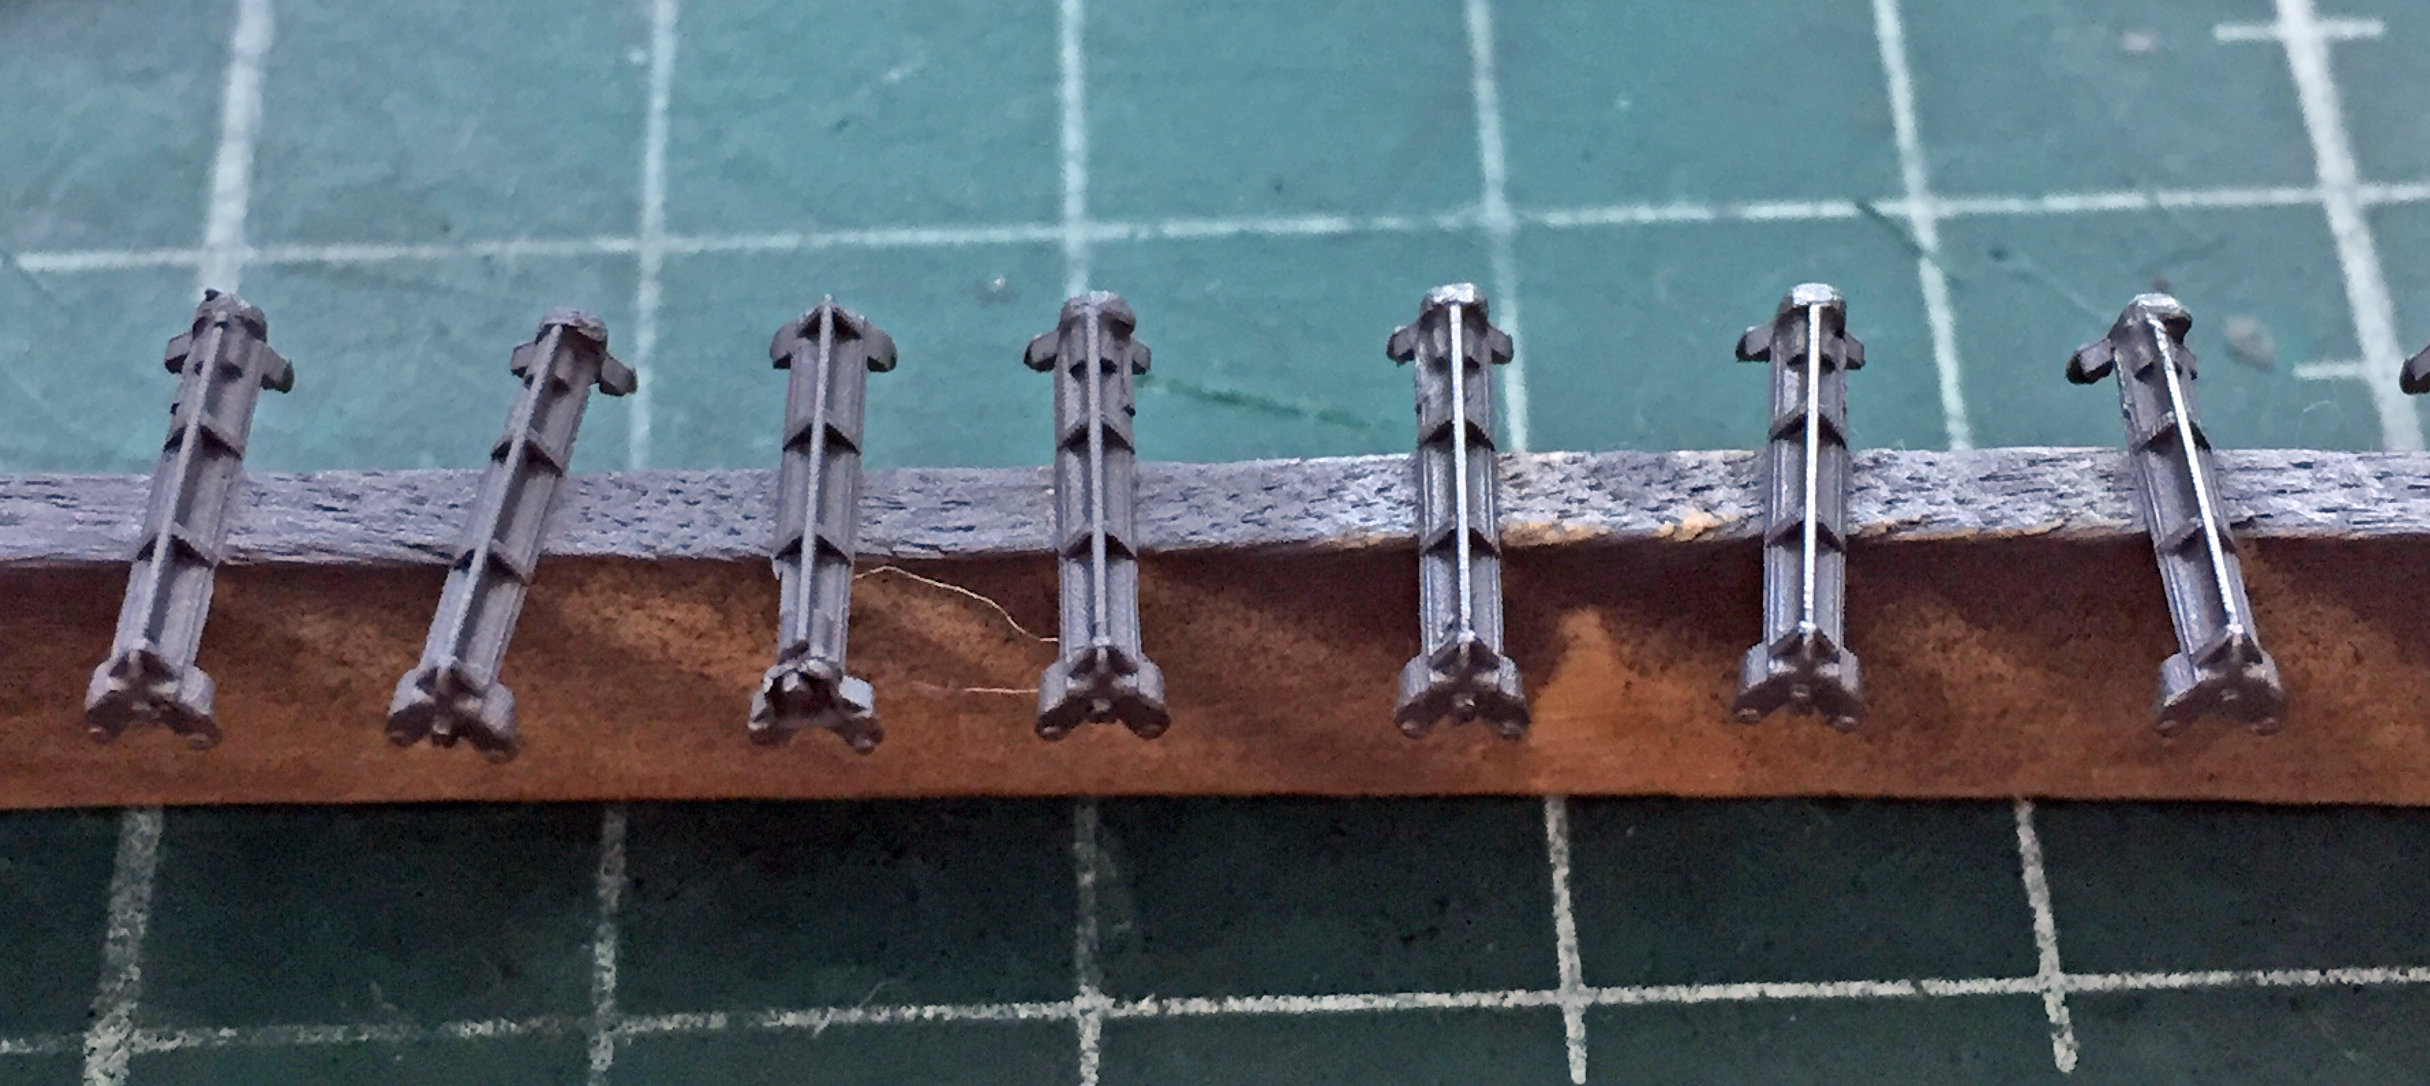

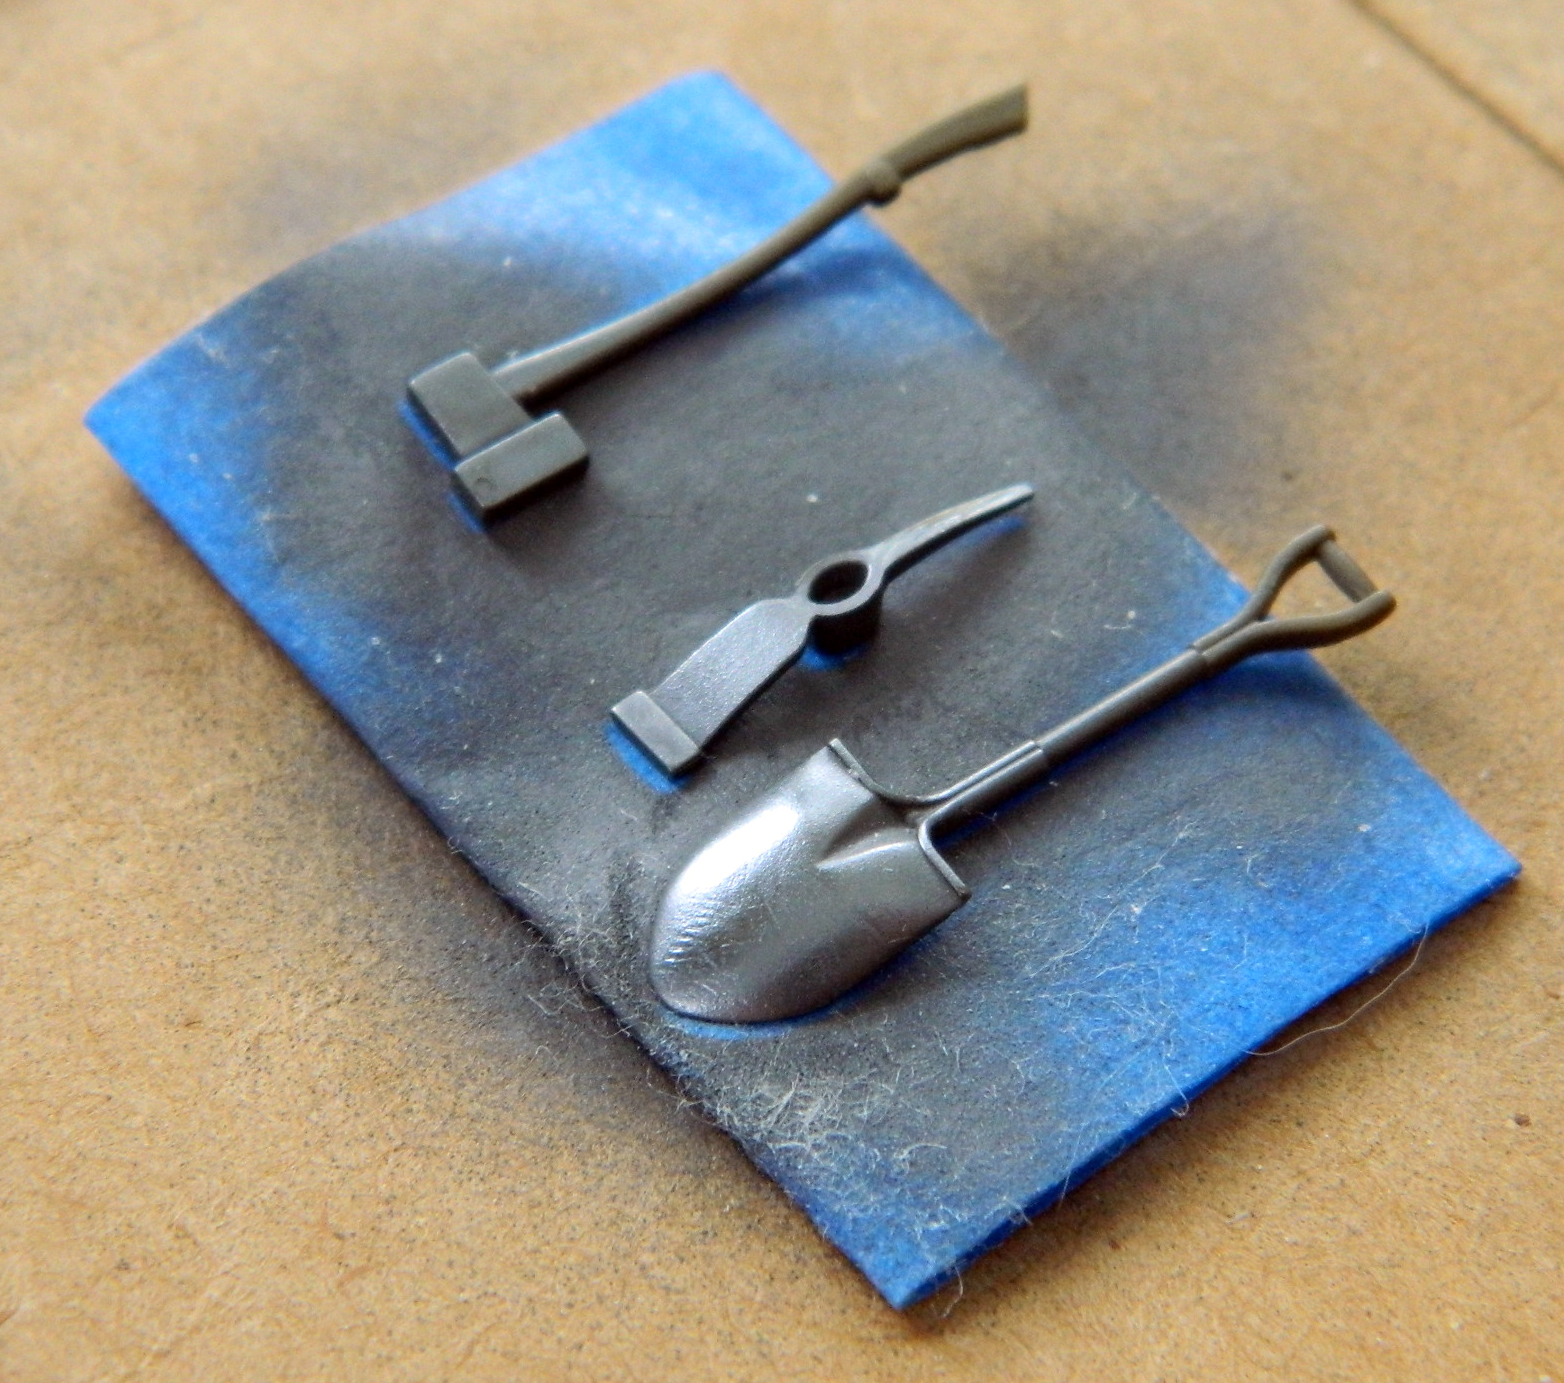
The grousers and track connectors were painted the track color (new formula I found online using Tamiya paints: 70% XF-68 Nato Brown, 25% XF-69 Nato Black, and 5% XF-7 Red) and the tools Tamiya XF-62 Olive Drab:
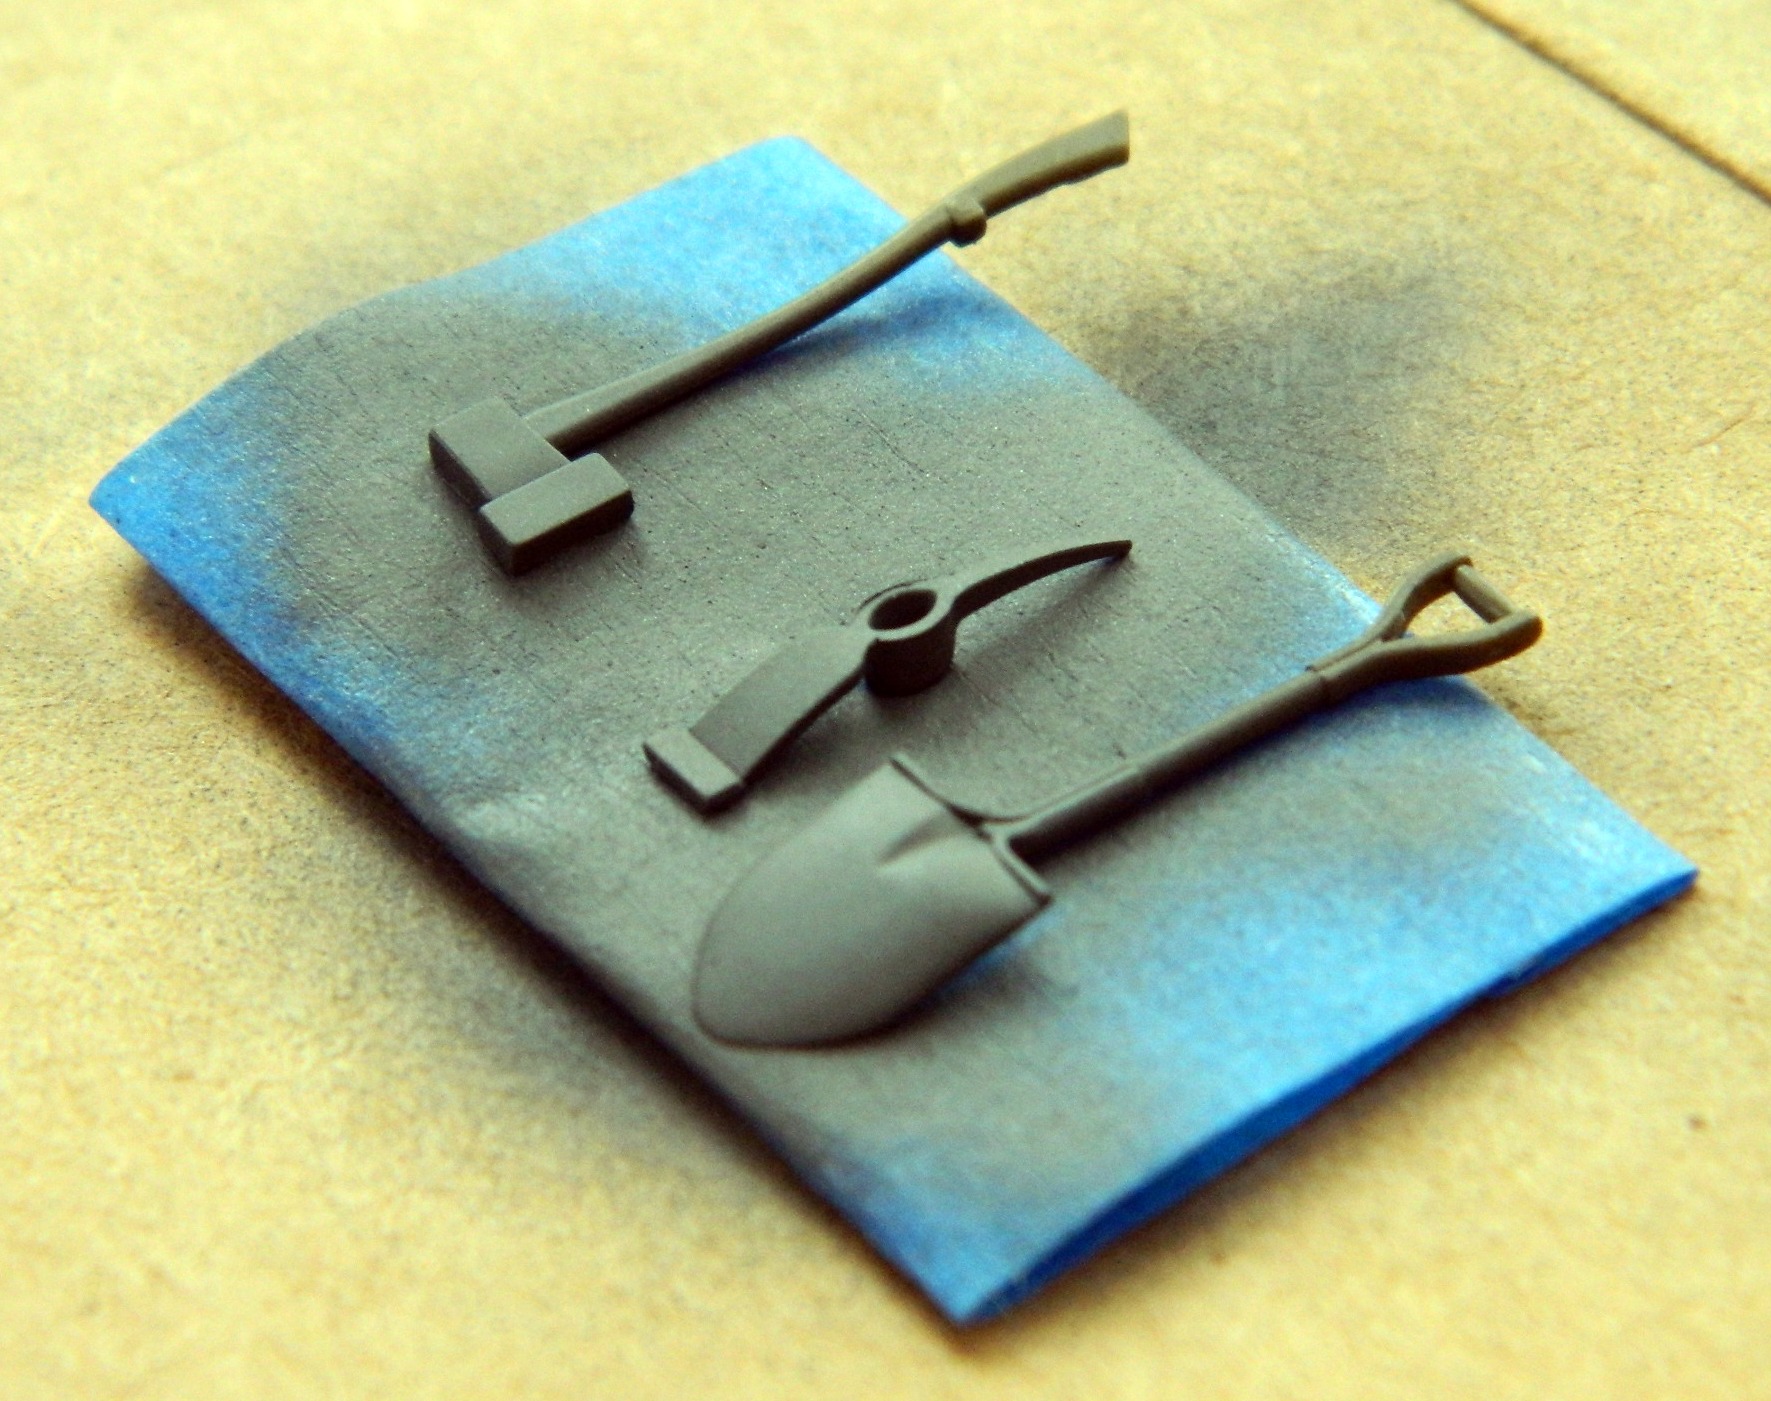
Before the OD set up for too long, I used a fine abrasive (nail polishing sticks from the beauty section of a drug store) (or apothecary, if you prefer) on the shovel and a toothpick on the pickax to replicate wear:


And while I had the OD in the airbrush, I tossed the first color coat at the tank:

At this point is where I realized I could have been a bit heavier with the application of white. But, if I have to err, I’d prefer to err on the side of subtlety. I’ve often thought that some of the shading gets overdone, so if I have to adjust it, I’d prefer to adjust to more (pastels are my friend) than to attempt to tone it down.
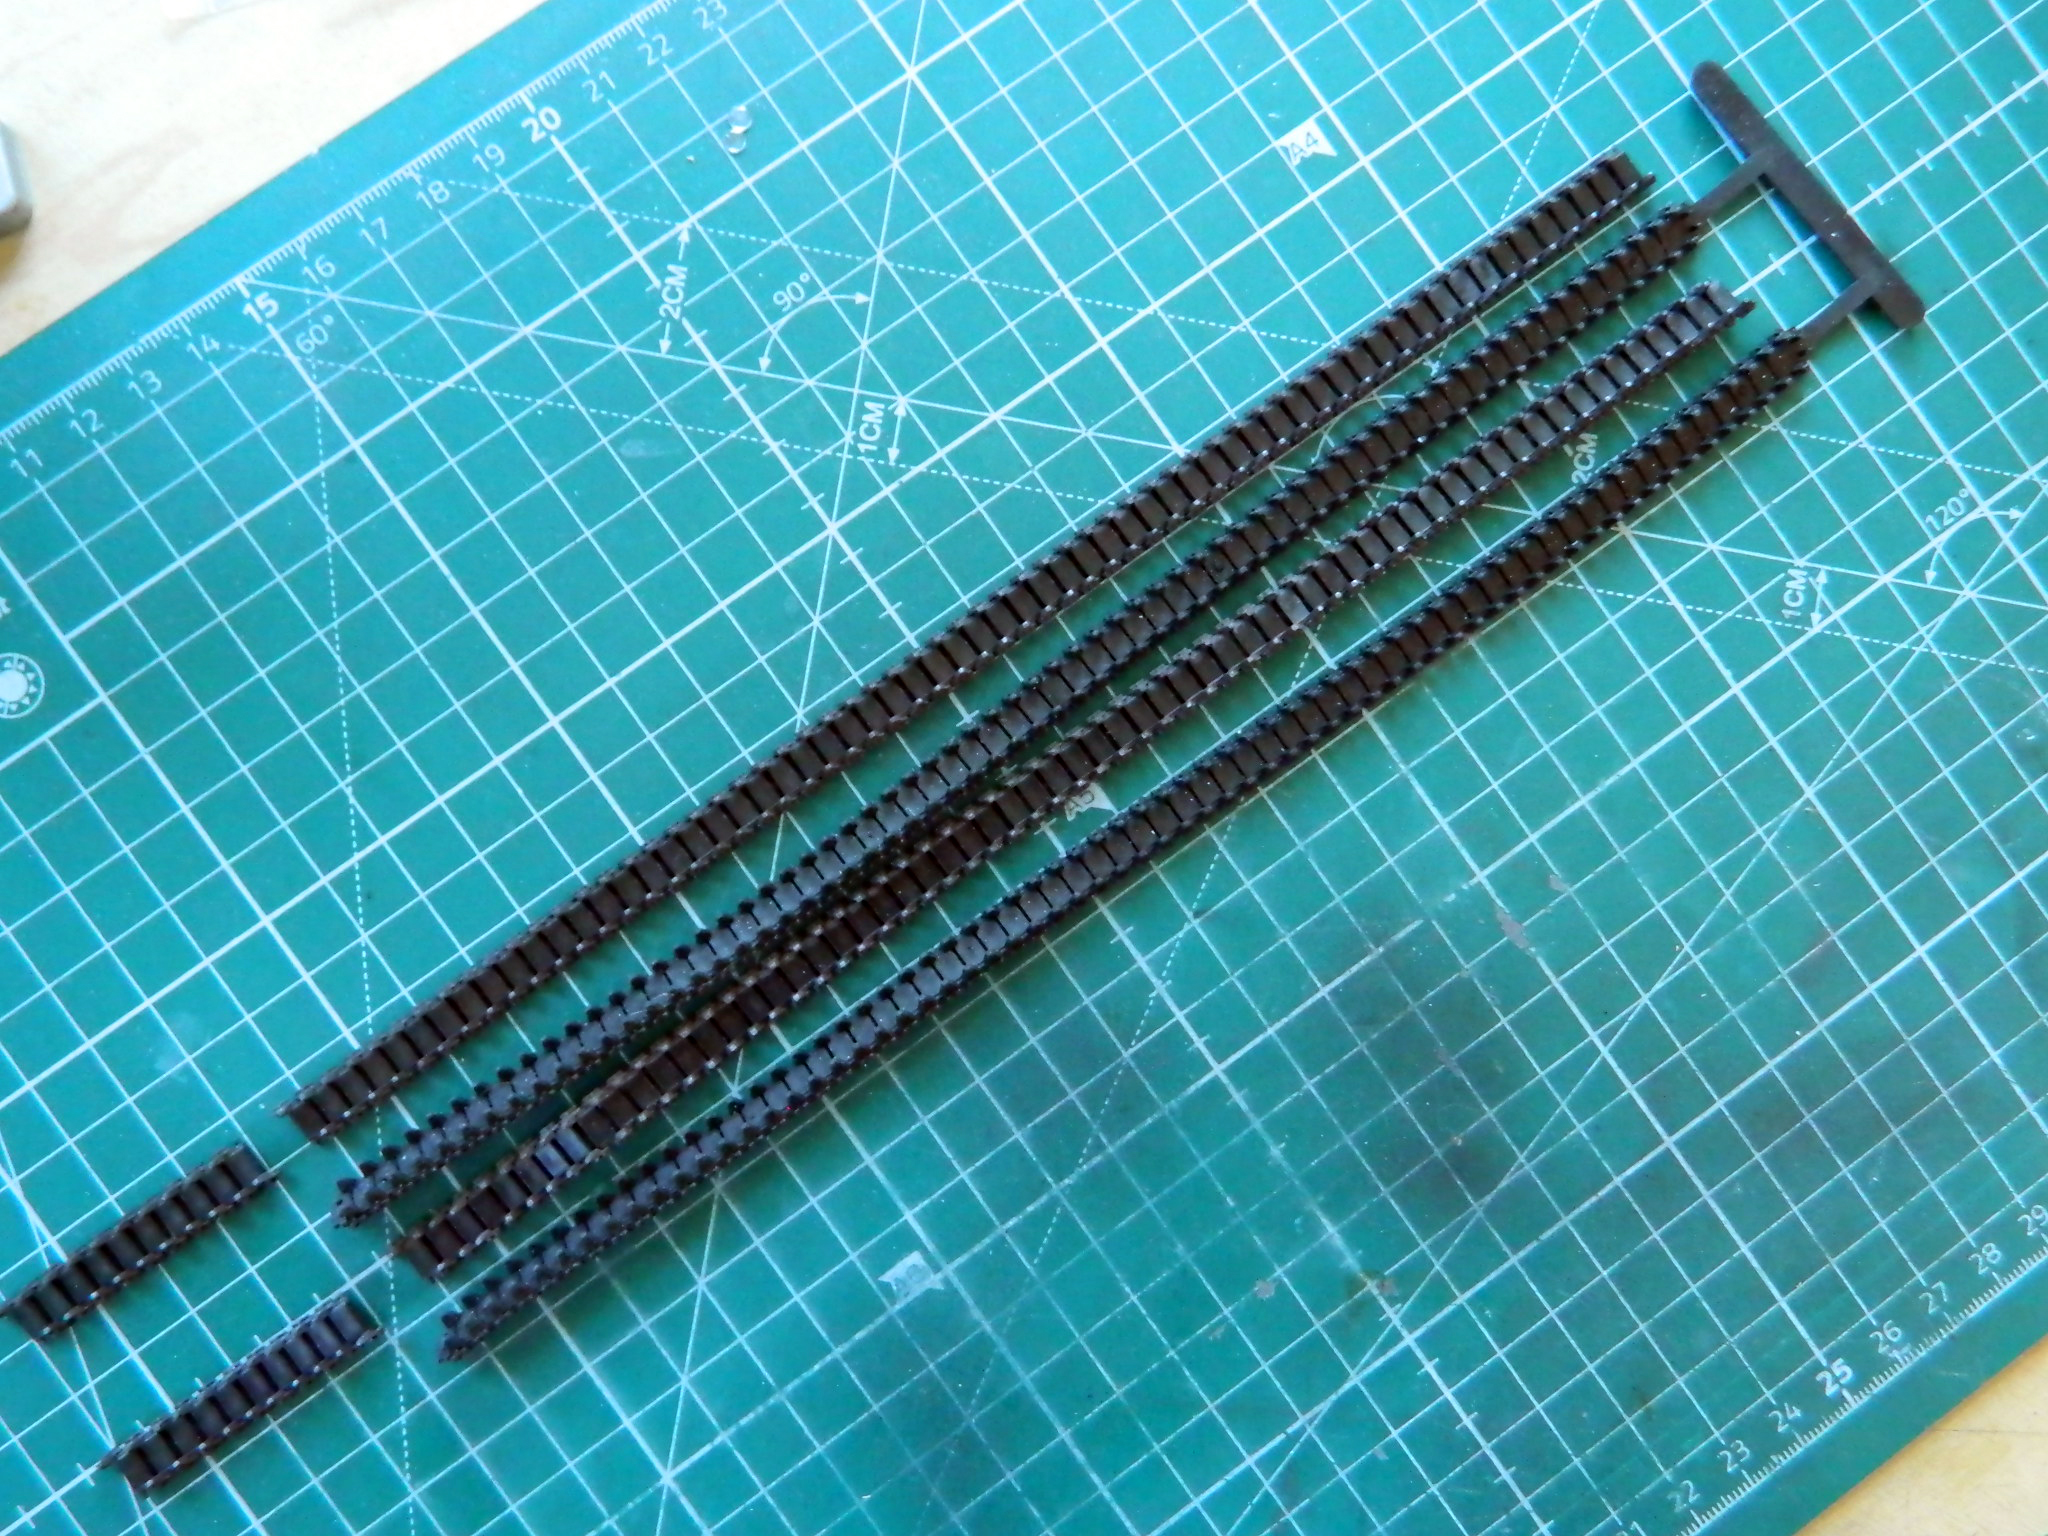
What I’ve been working towards has been being able to attach the suspension and tracks…and now I’m at that point. The suspension did not come with the kit and the individual track links did. So before I could put the tracks on (not to mention the suspension), I needed to know how much track I needed to use. This would establish where the only variable left in the suspension goes; the idler wheel assembly. I thought I had the perfect meter, the rubber-band tracks that also came with the kit. I laid them down, placed the track I was going to use next to them, and ended up removing ten track shoes per side:
But once I tried to do that, hold the track in place while holding the idler wheel assembly in place while holding the tank, trying to get the sprocket wheel in place, AND snake the track over the return wheels, I discovered that just two hands made that all IMPOSSIBLE. If I had four hands it would have been difficult. I went back to reference photos, figuring that without the idler assembly in place, NO track gets mounted, so get the damned assembly properly in place, aligned to the ground, and then diddle with the tracks:
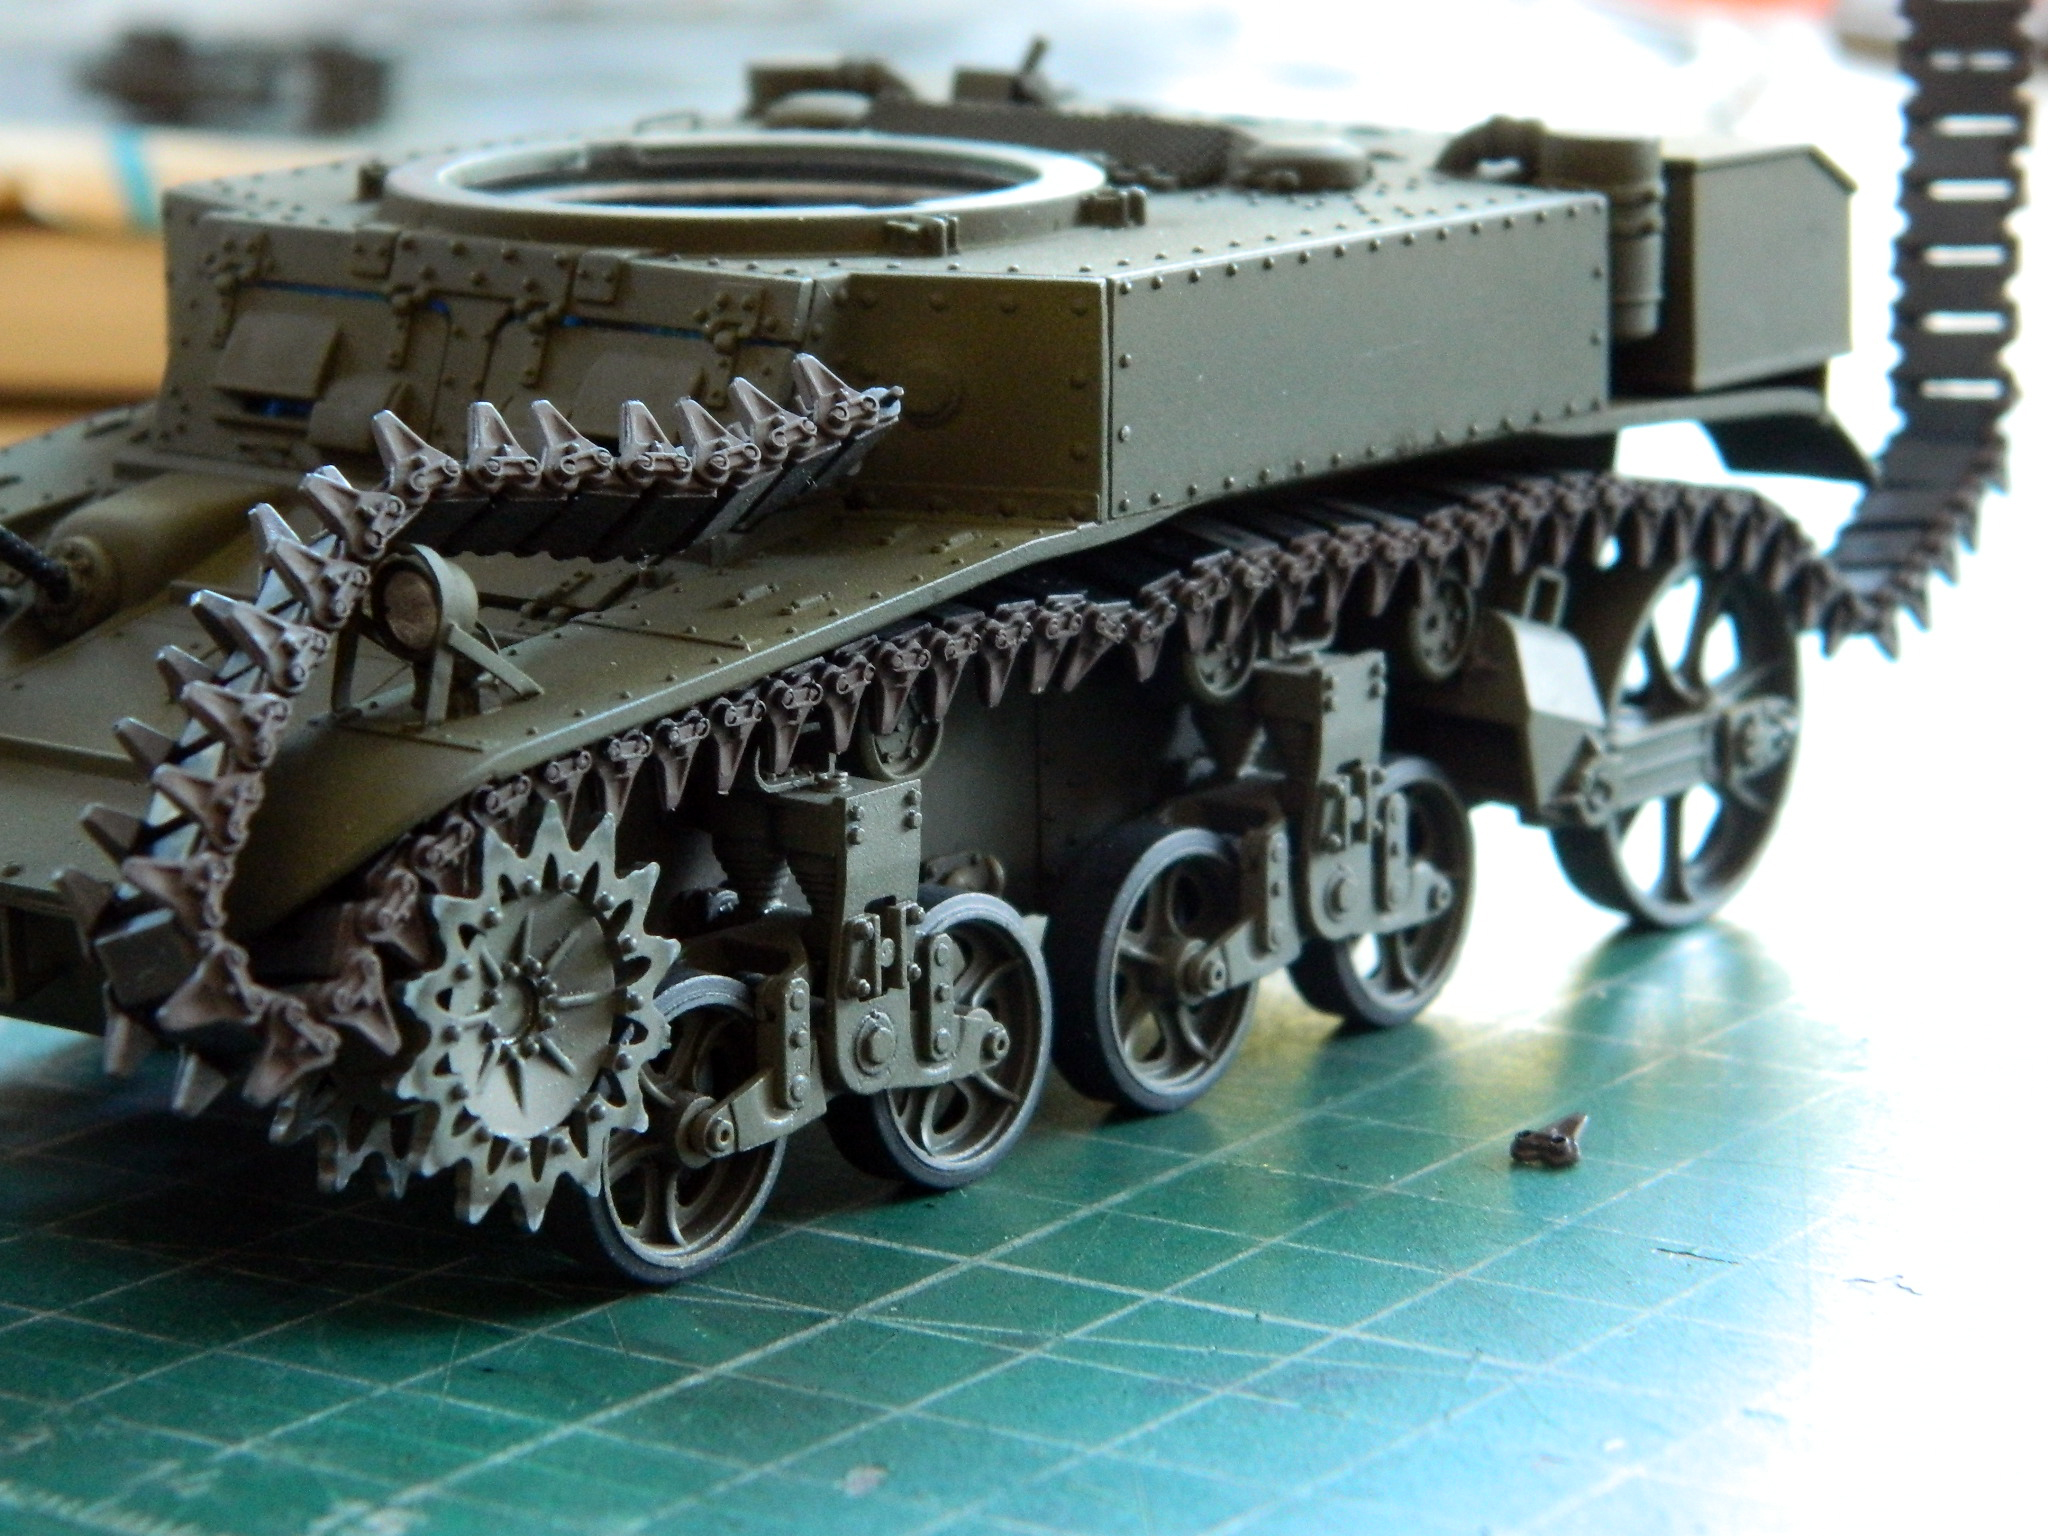
Trust me…MUCH colorful invective was abused getting the GODdamned…er…never mind. It was interesting. But as the above photo shows, not impossible and ultimately accomplished.
And when I tried to join the tracks, I discovered that the length as delineated by the kit’s tracks was just fornicating WRONG:
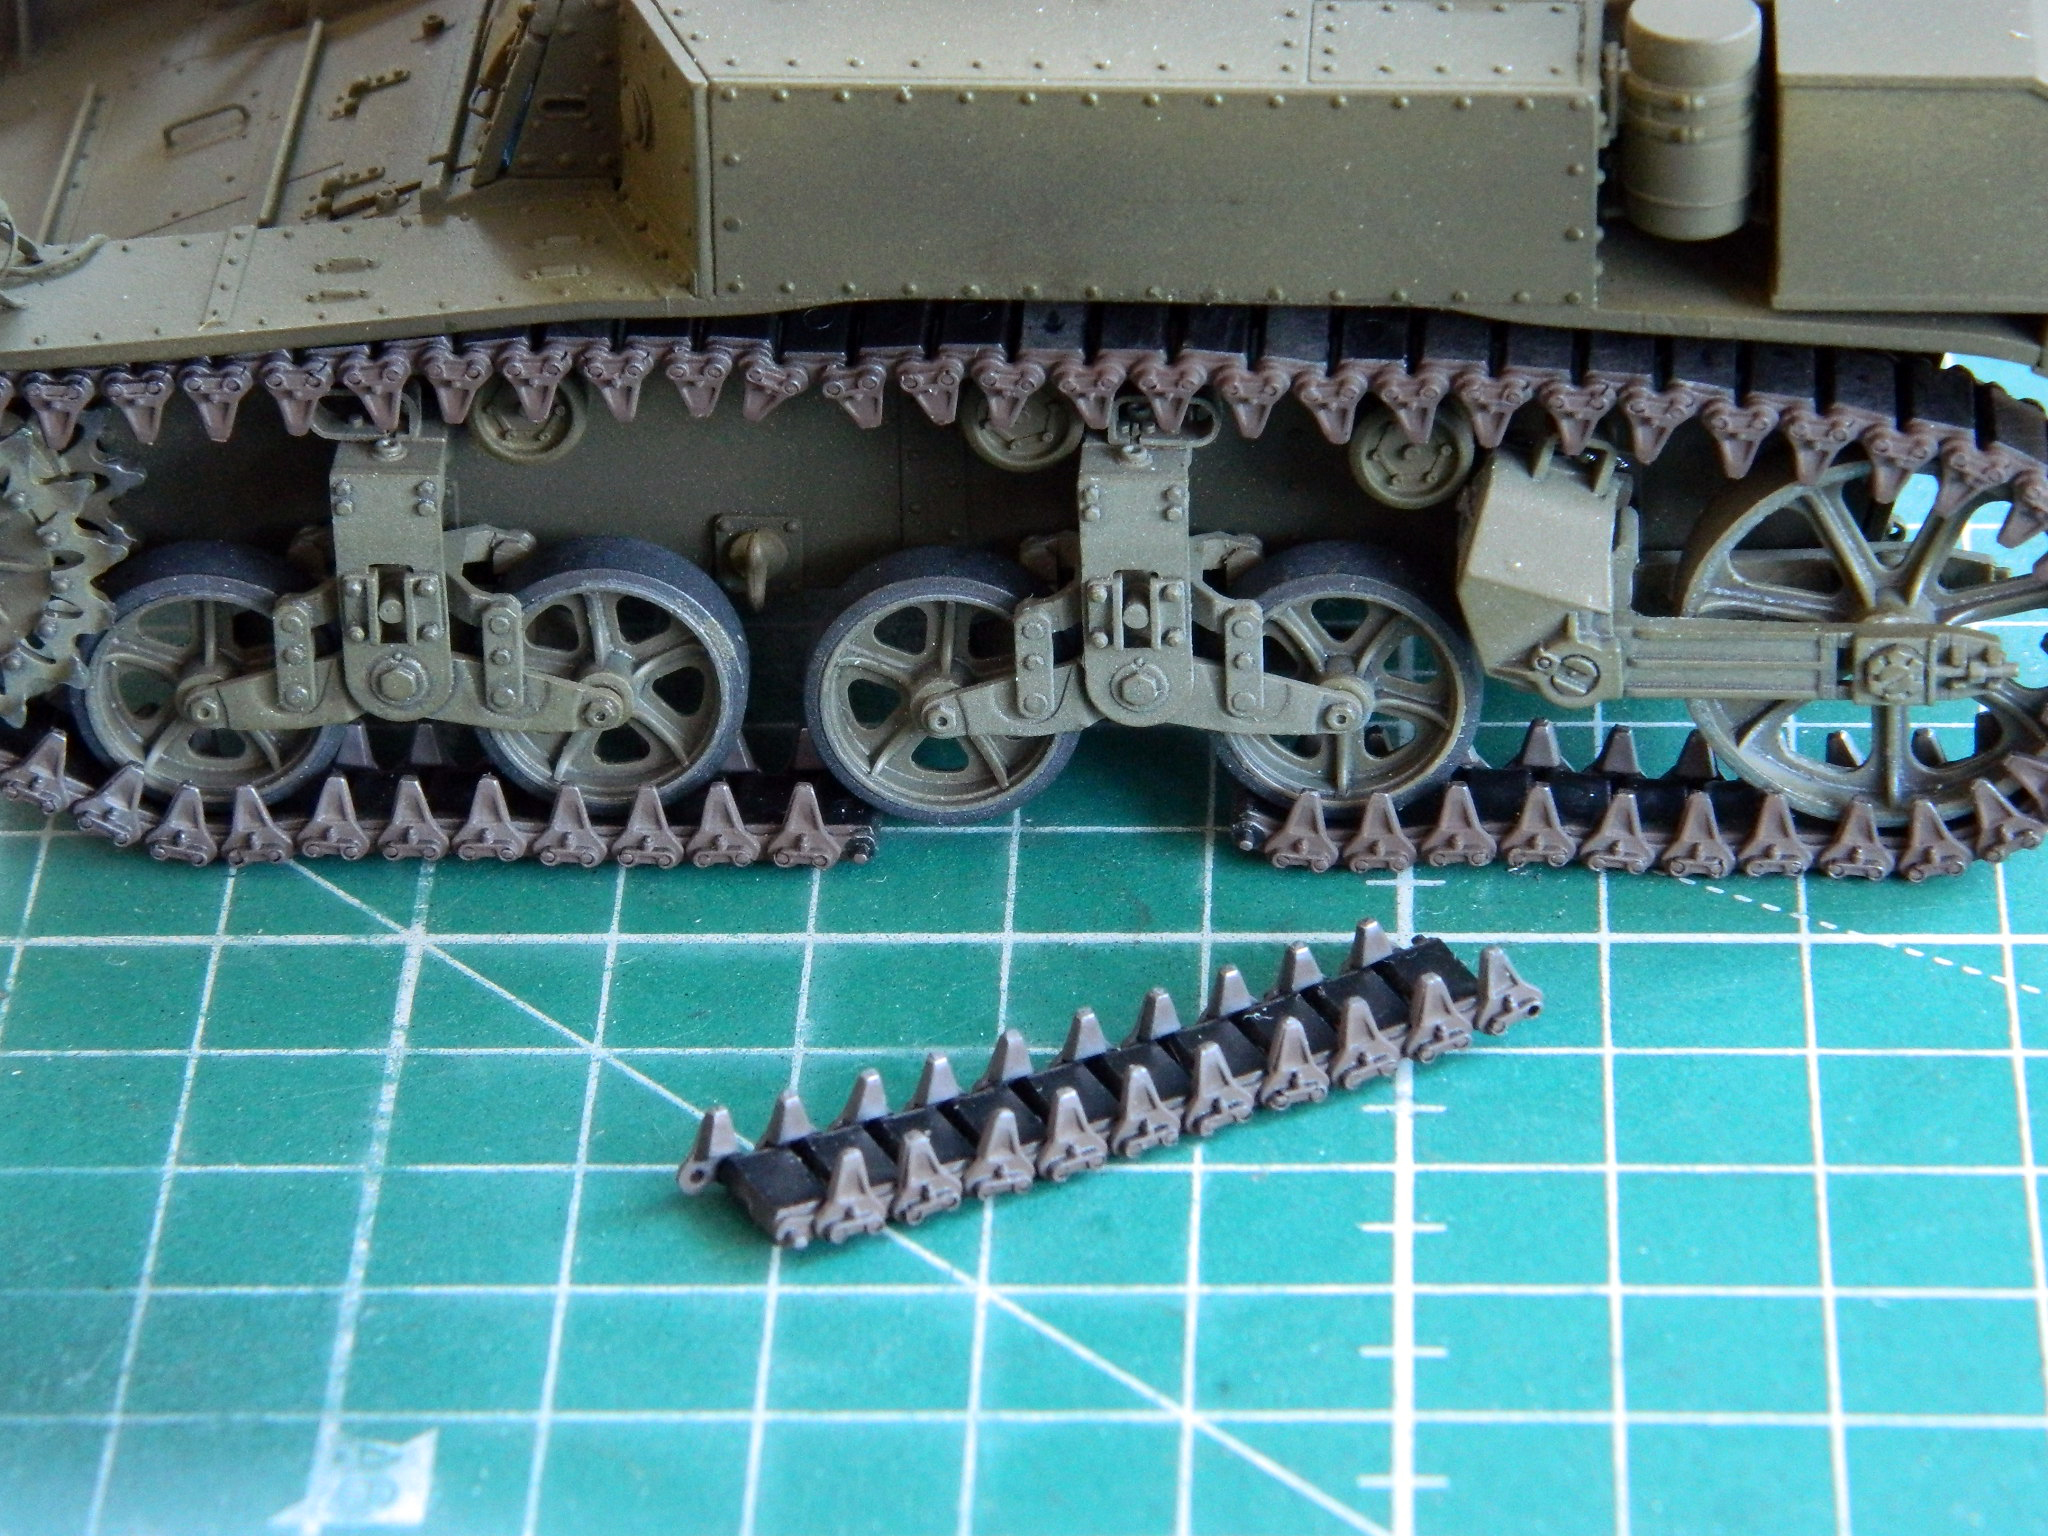
It was four track shoes wrong! Okay…I get that I’m using a different suspension. But I compared what I’m using to what the kit intended to be used and the difference should NOT be four track shoes!
::spits::
Getting the tracks to where they go is just annoying. It can be done with only two hands, though more would have made it easier:

And then I turned the interior light on because after all the sodding tedium, I just wanted to see if it looked as good as I’d thought and hoped for:
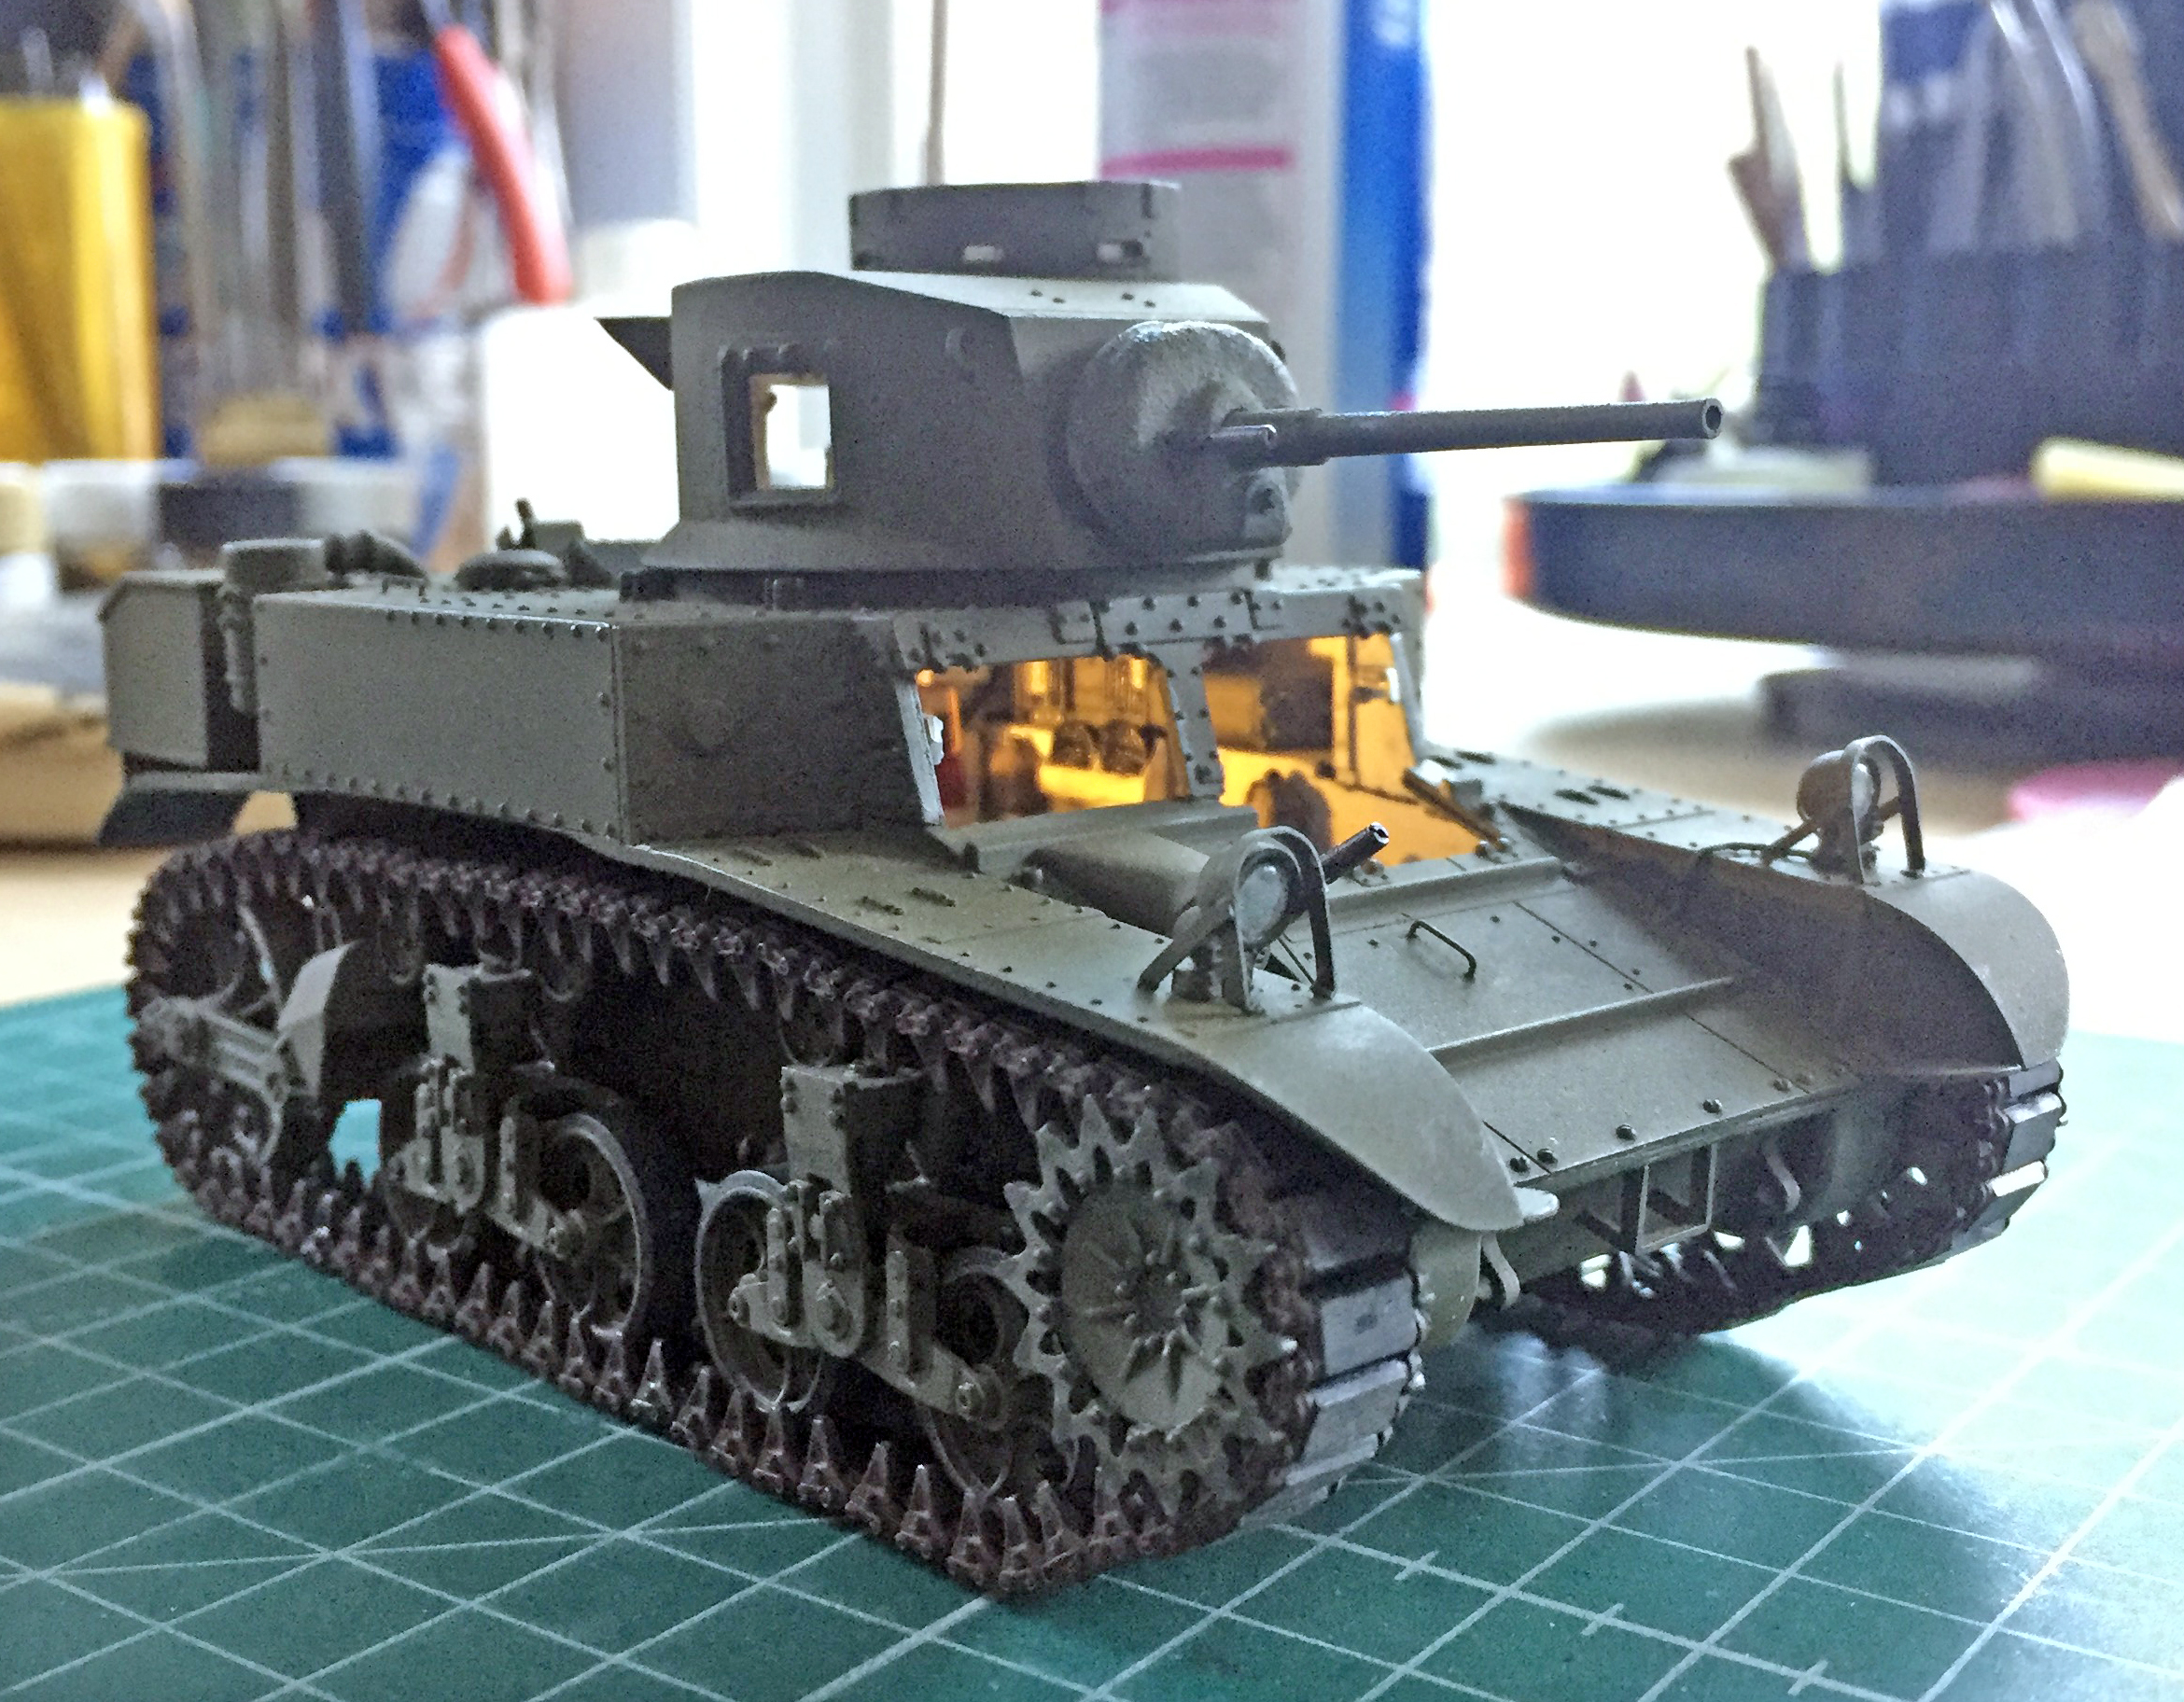
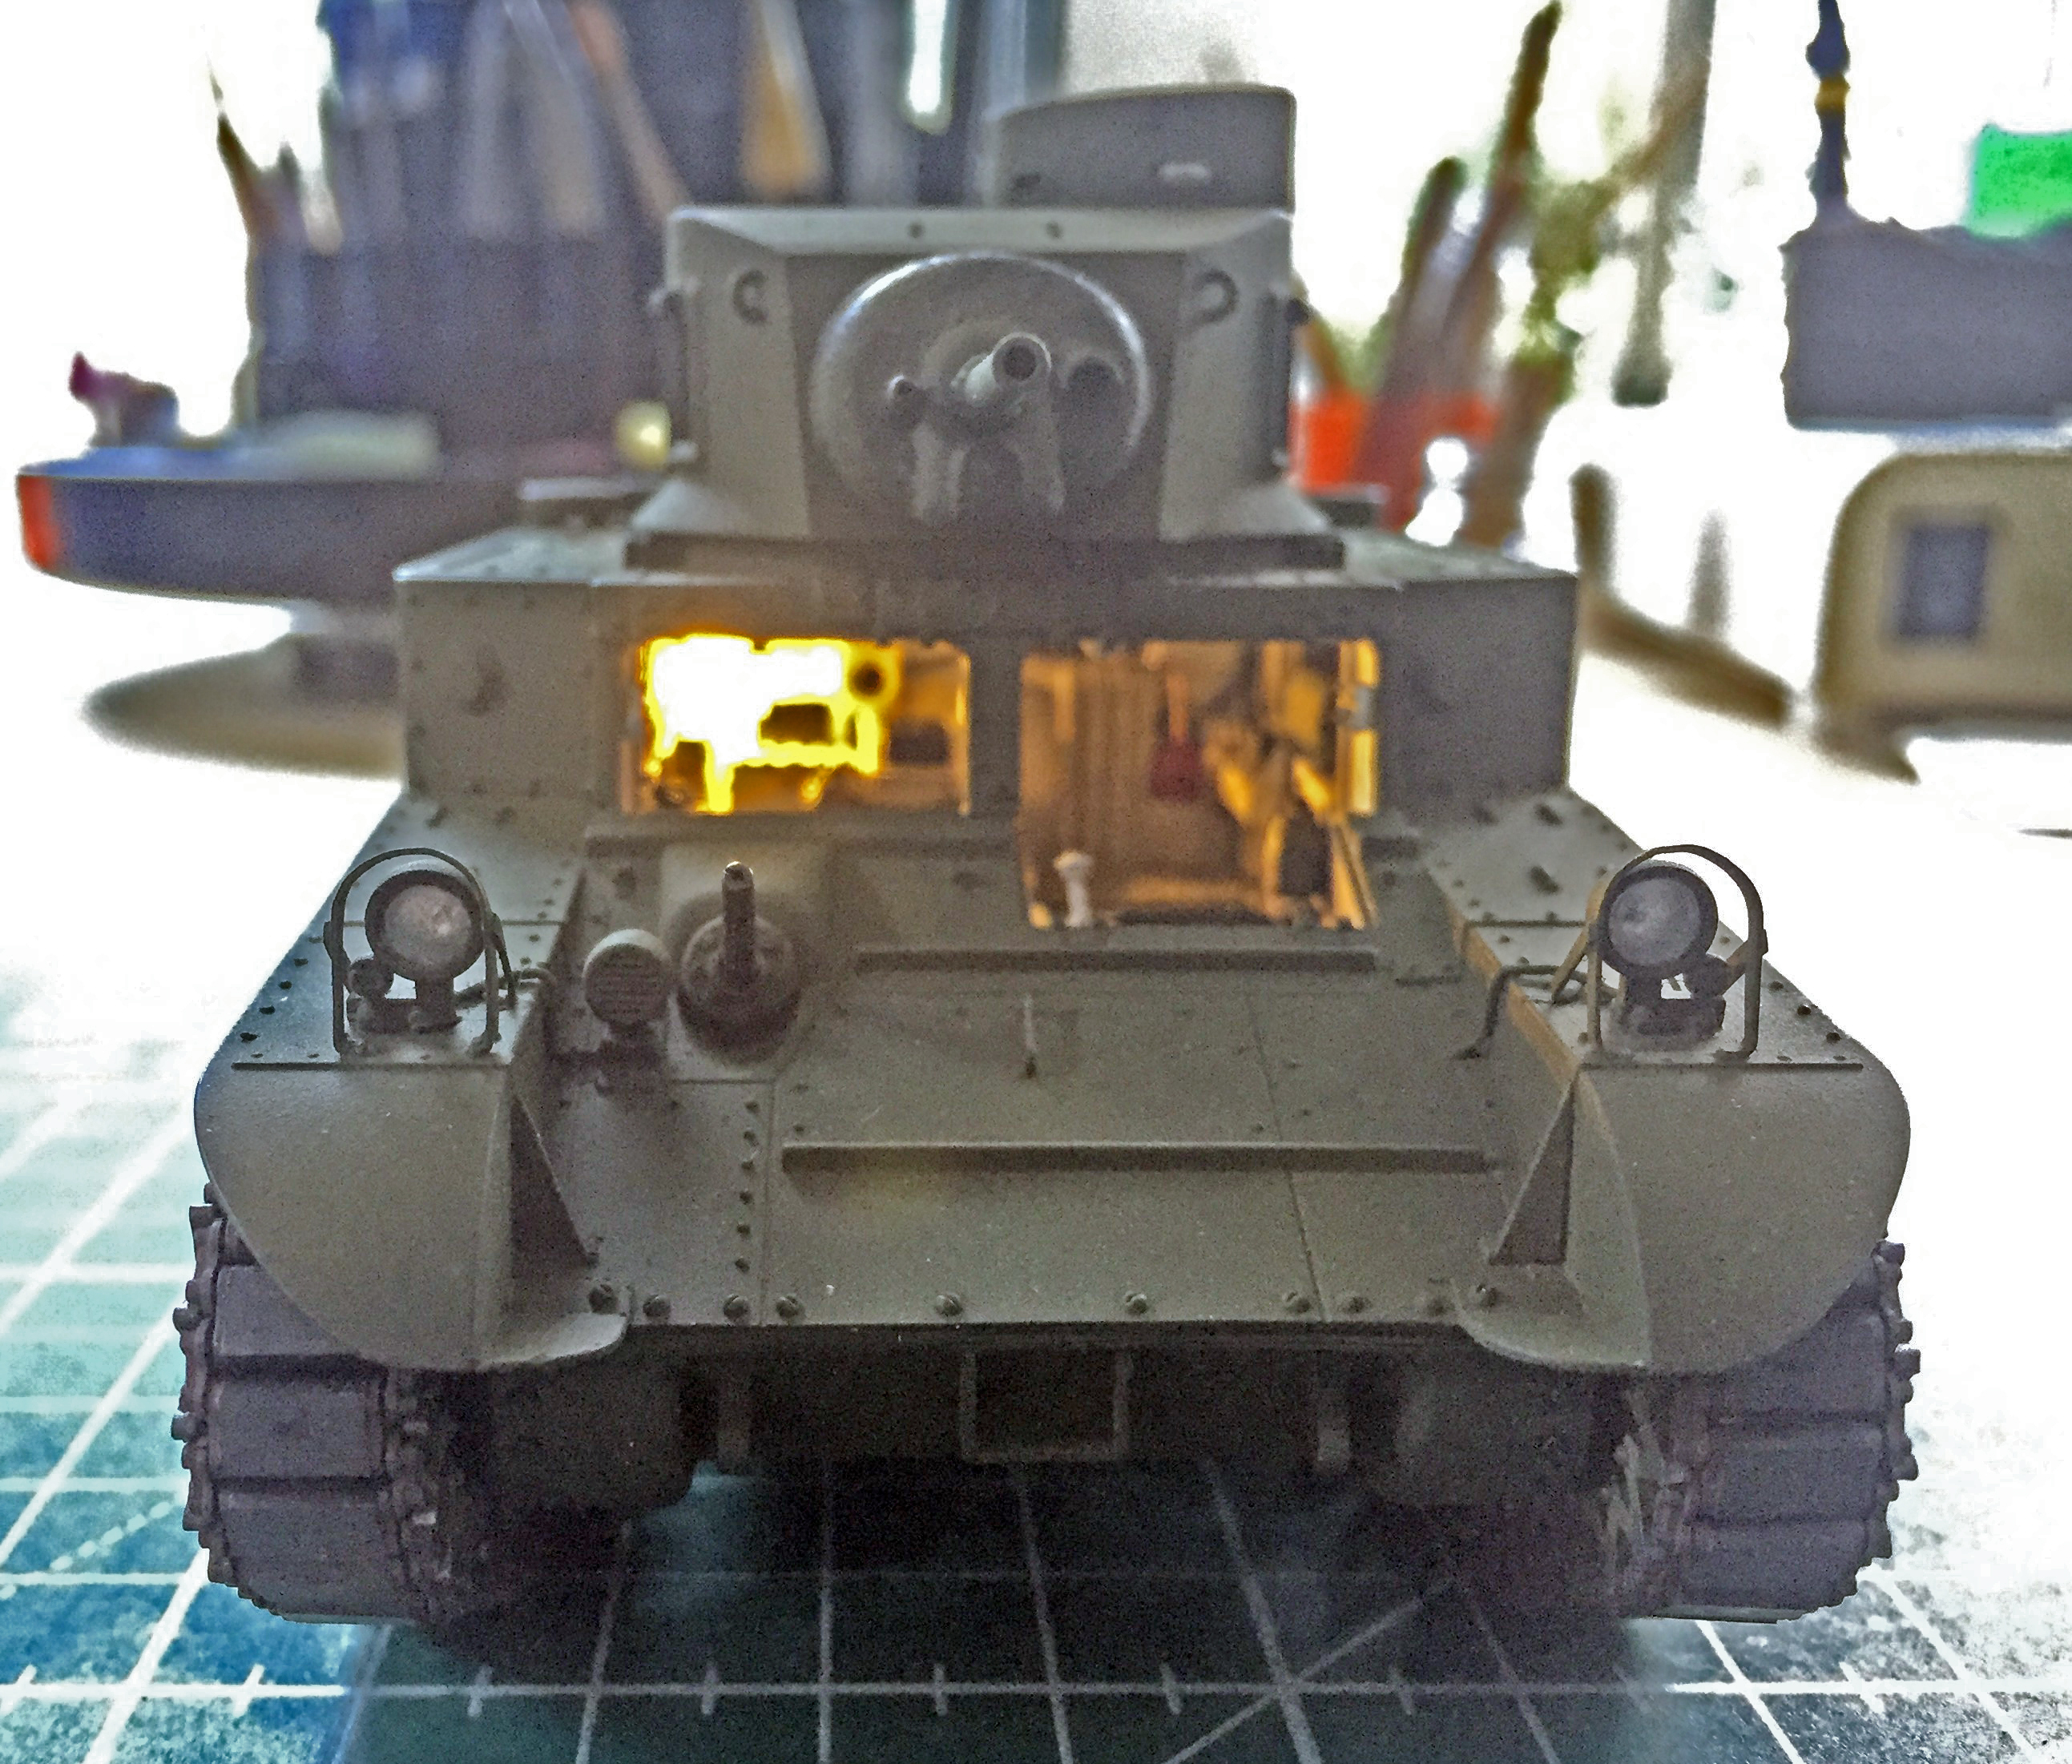
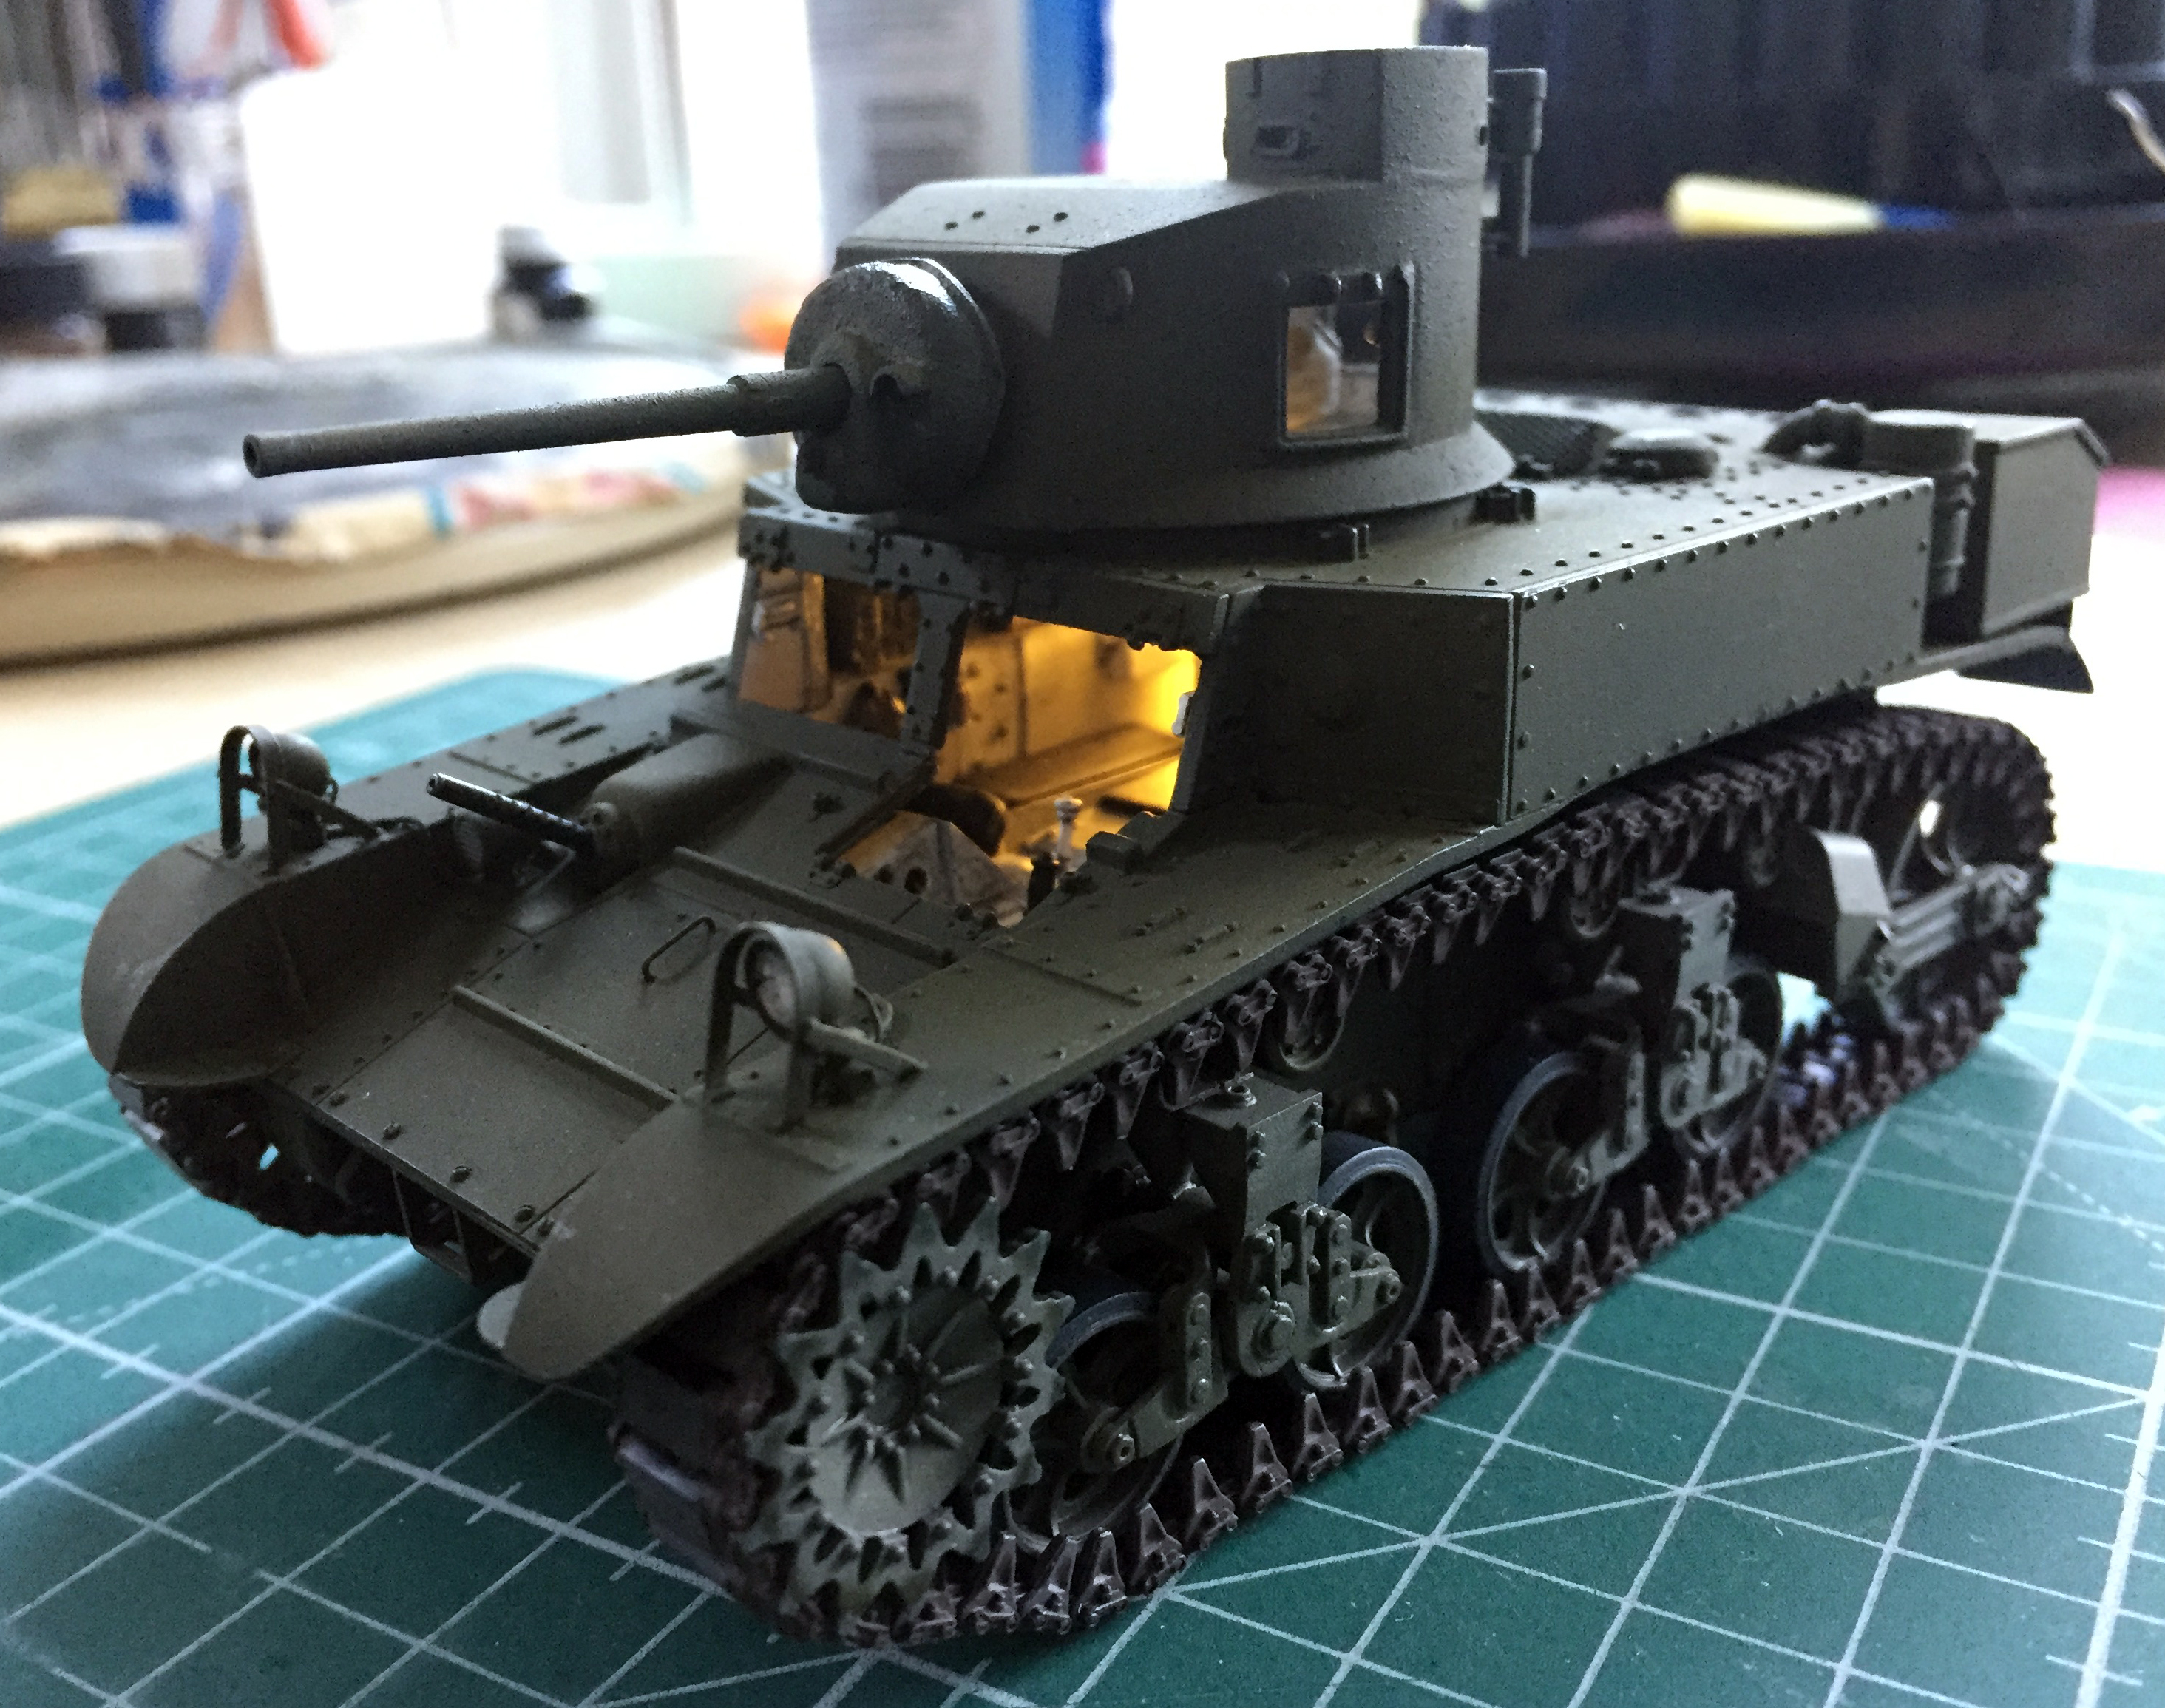
Yup.
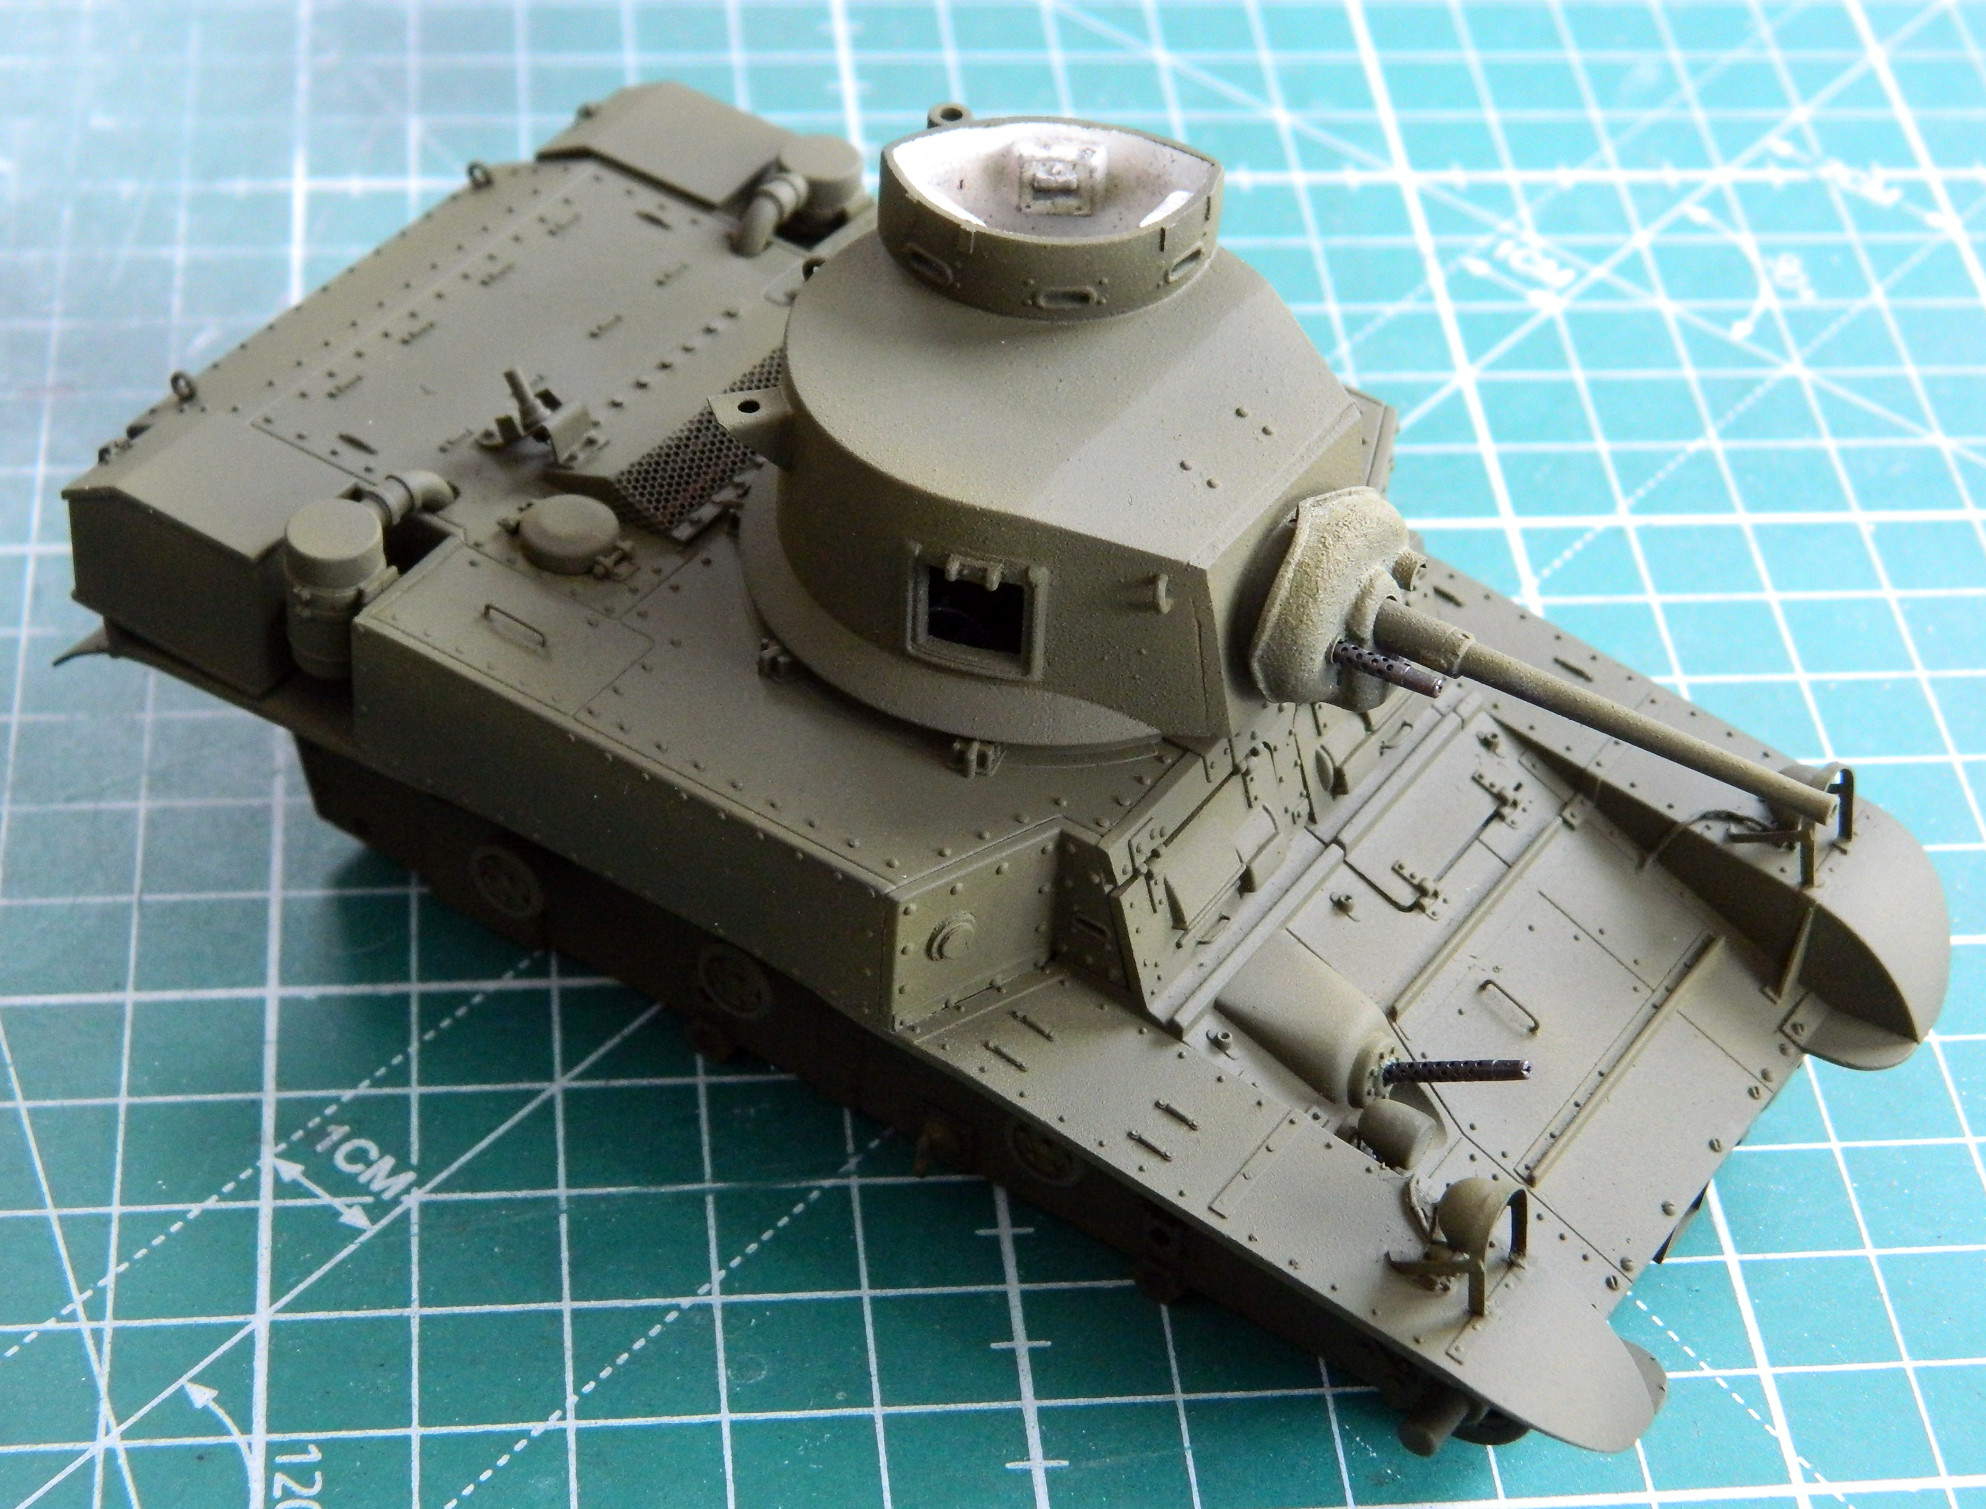
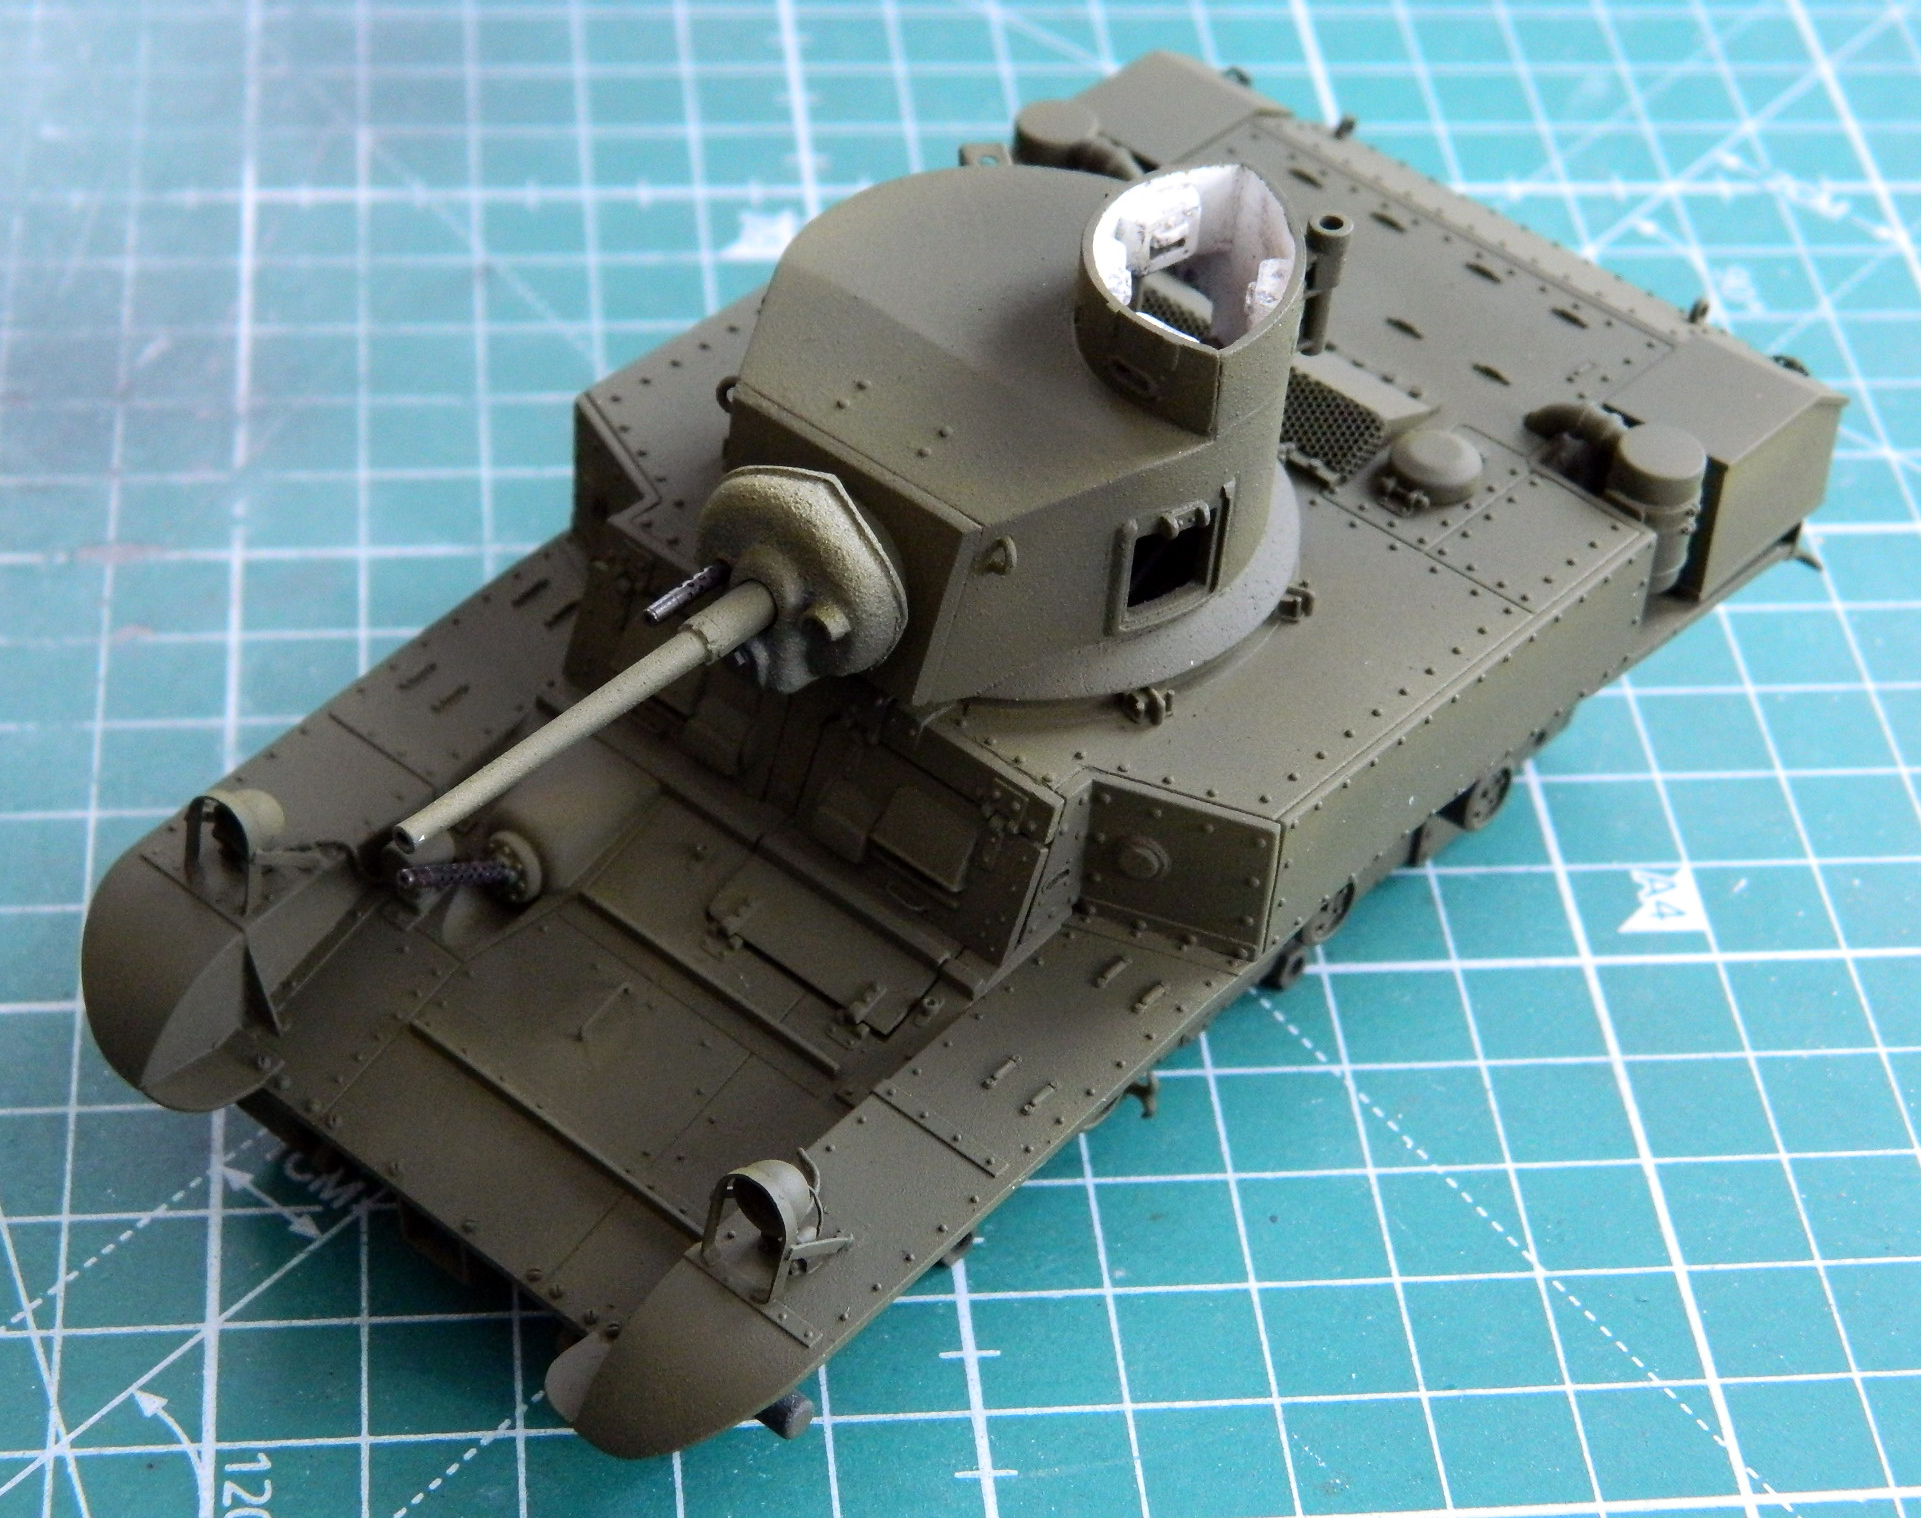
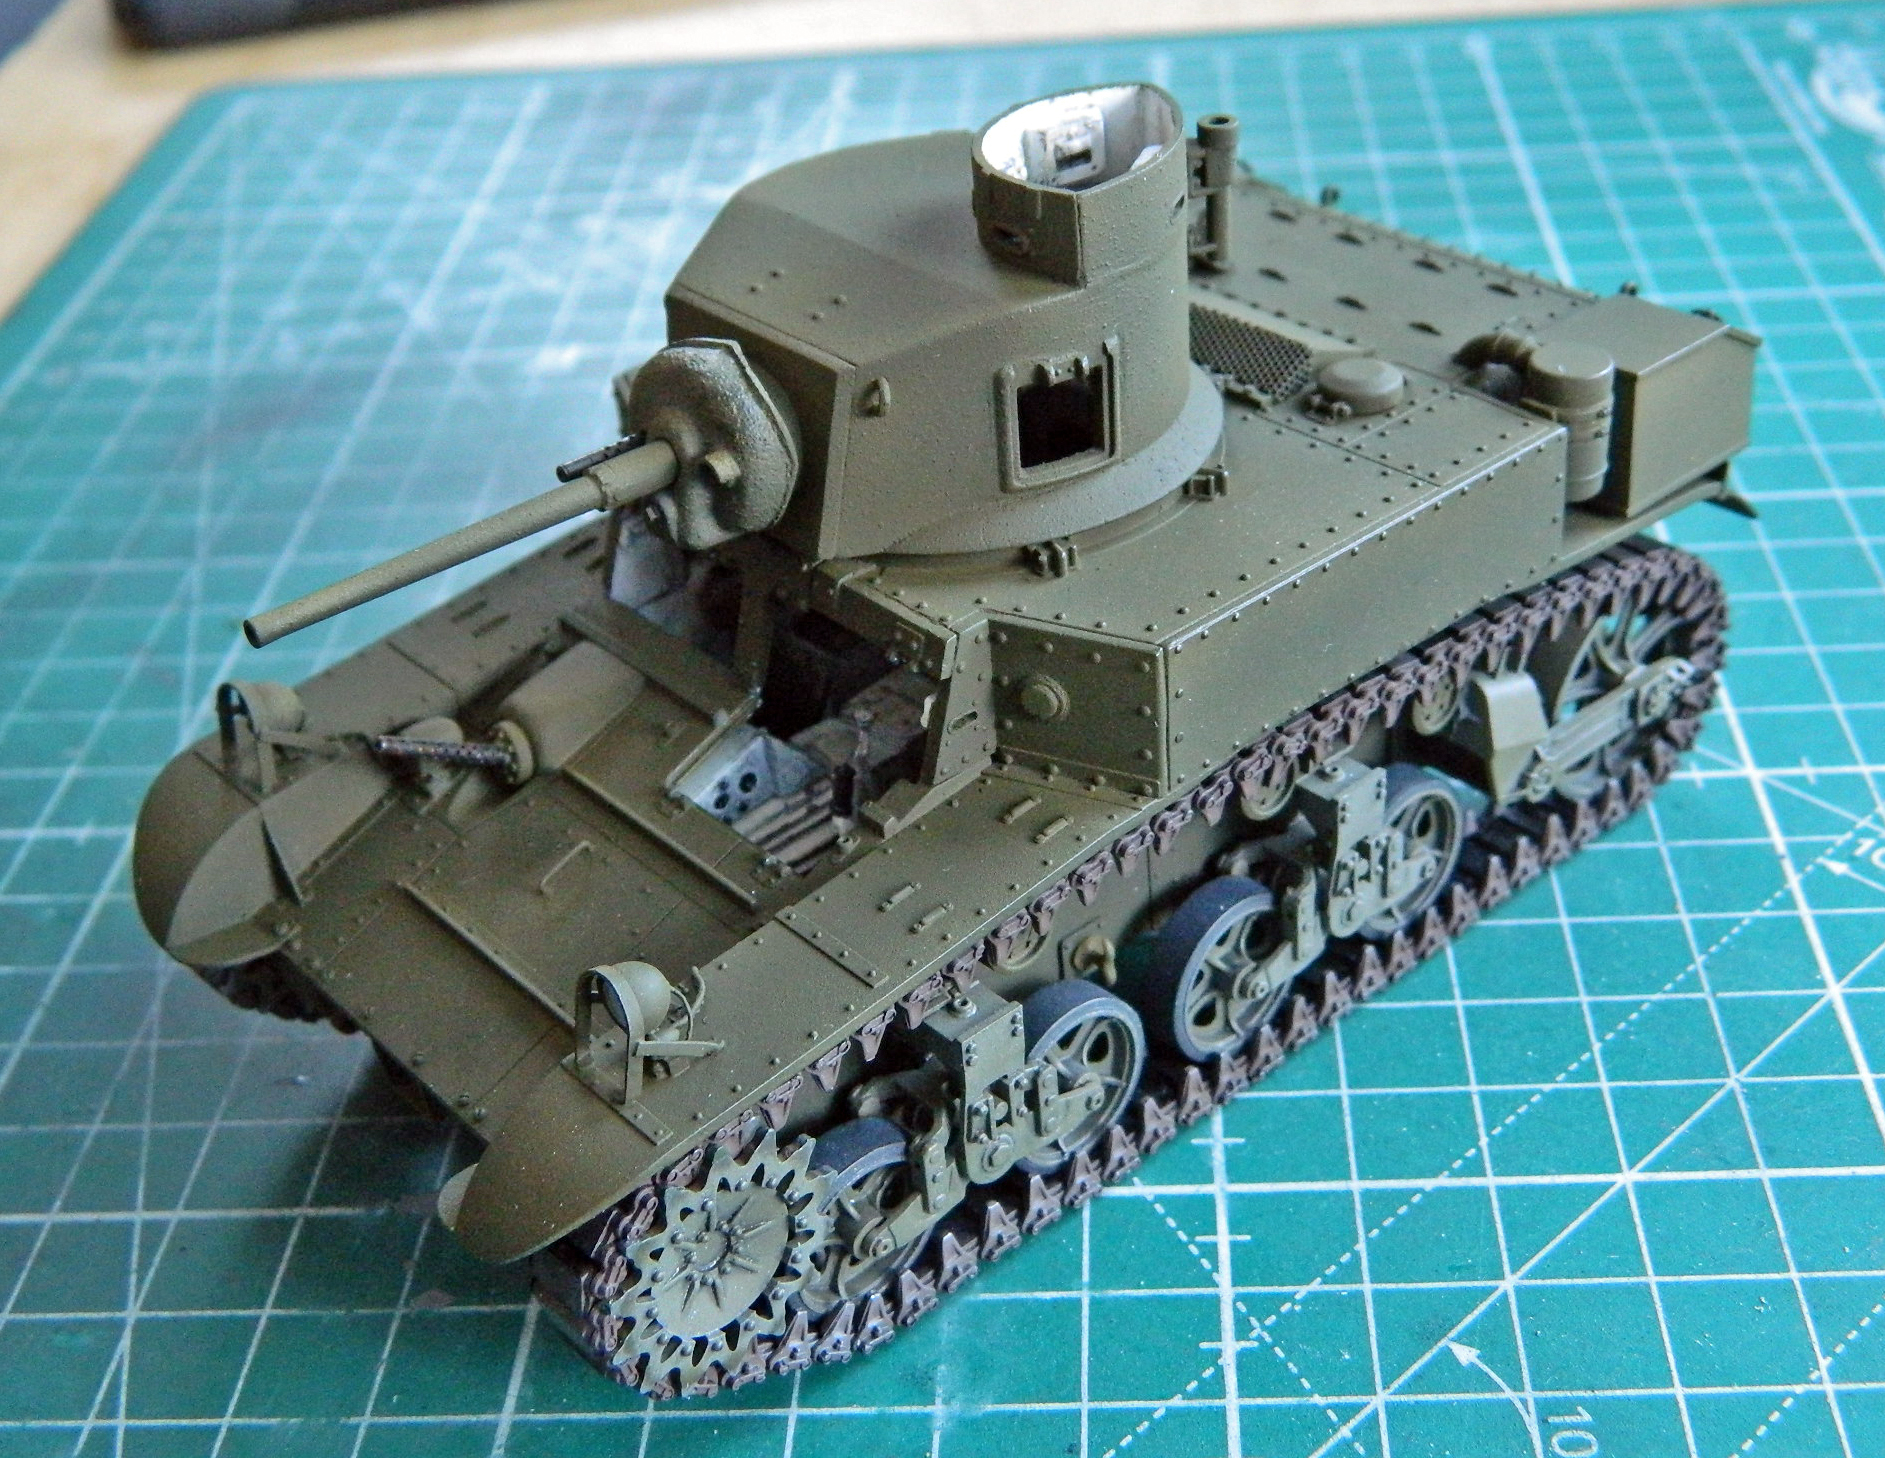
Then I added on the front hatches and their support rods…and then all the parts I could dry-fit just because:
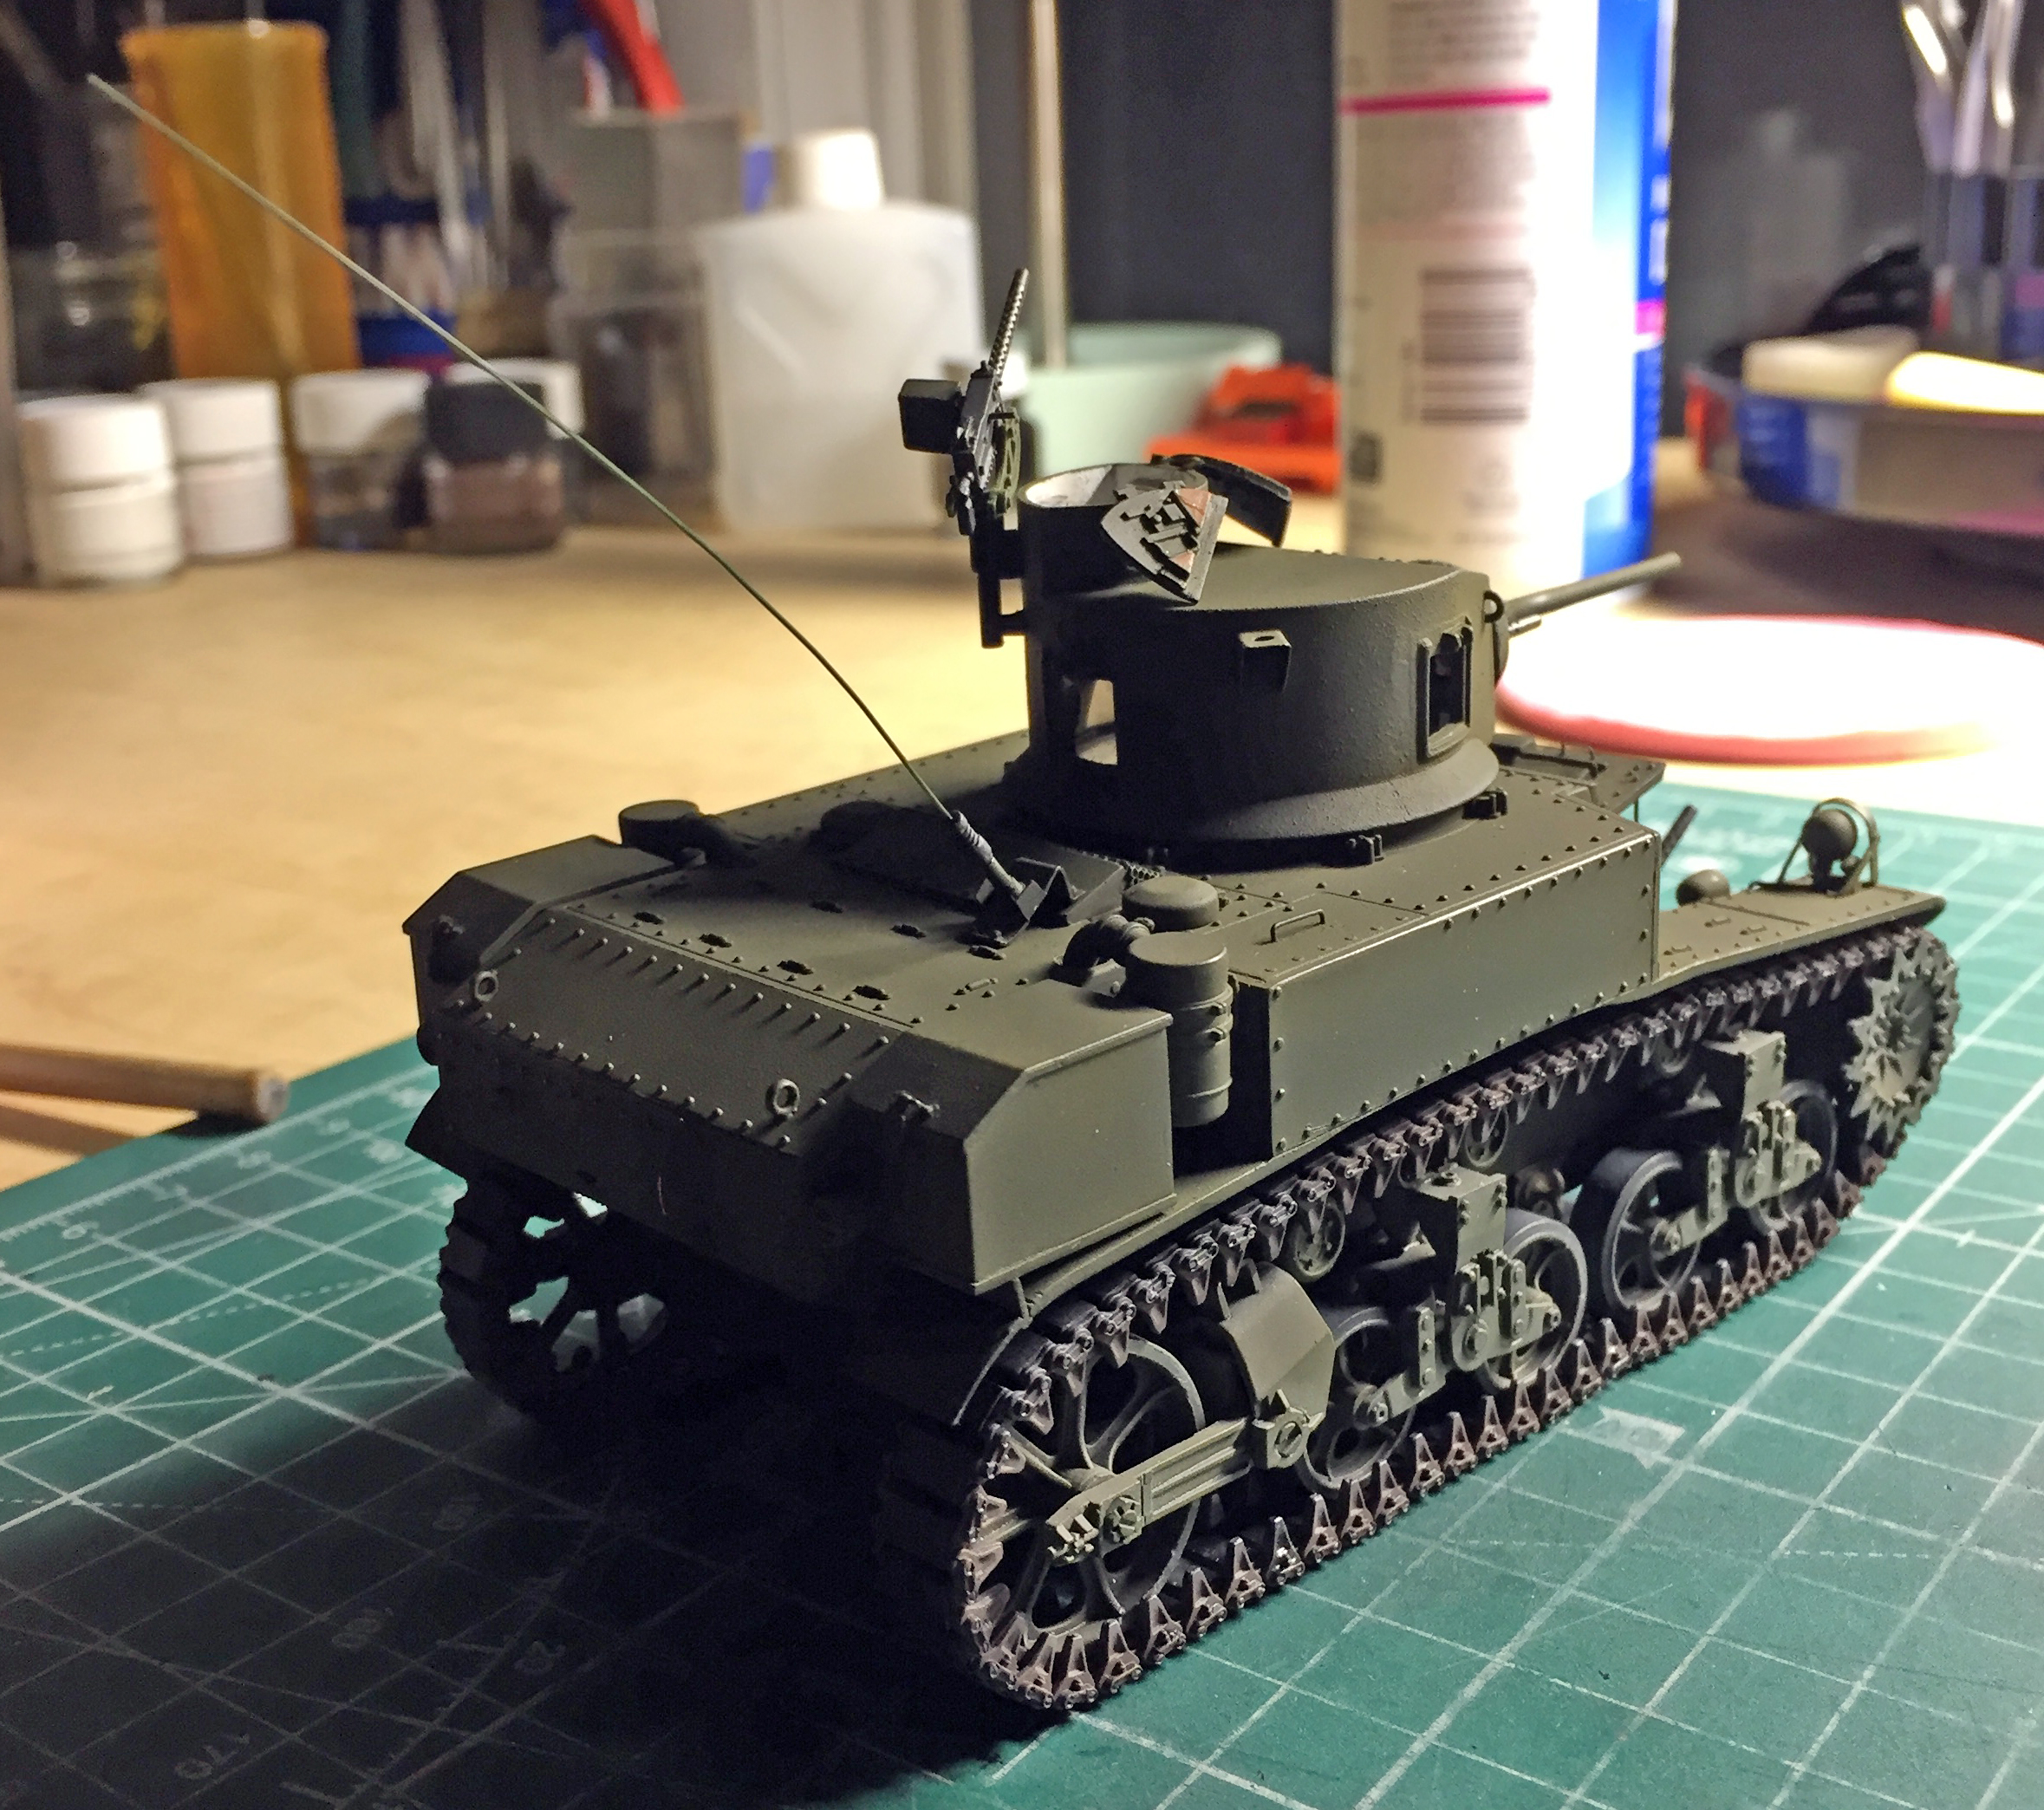
It’s getting there!
When I tried to start adding the markings is when I decided that maybe I’d better wait for the decals (that I just ordered) to arrive. This is what I have, I do NOT like it, and I will be stripping the paint off the turret and doing it over:

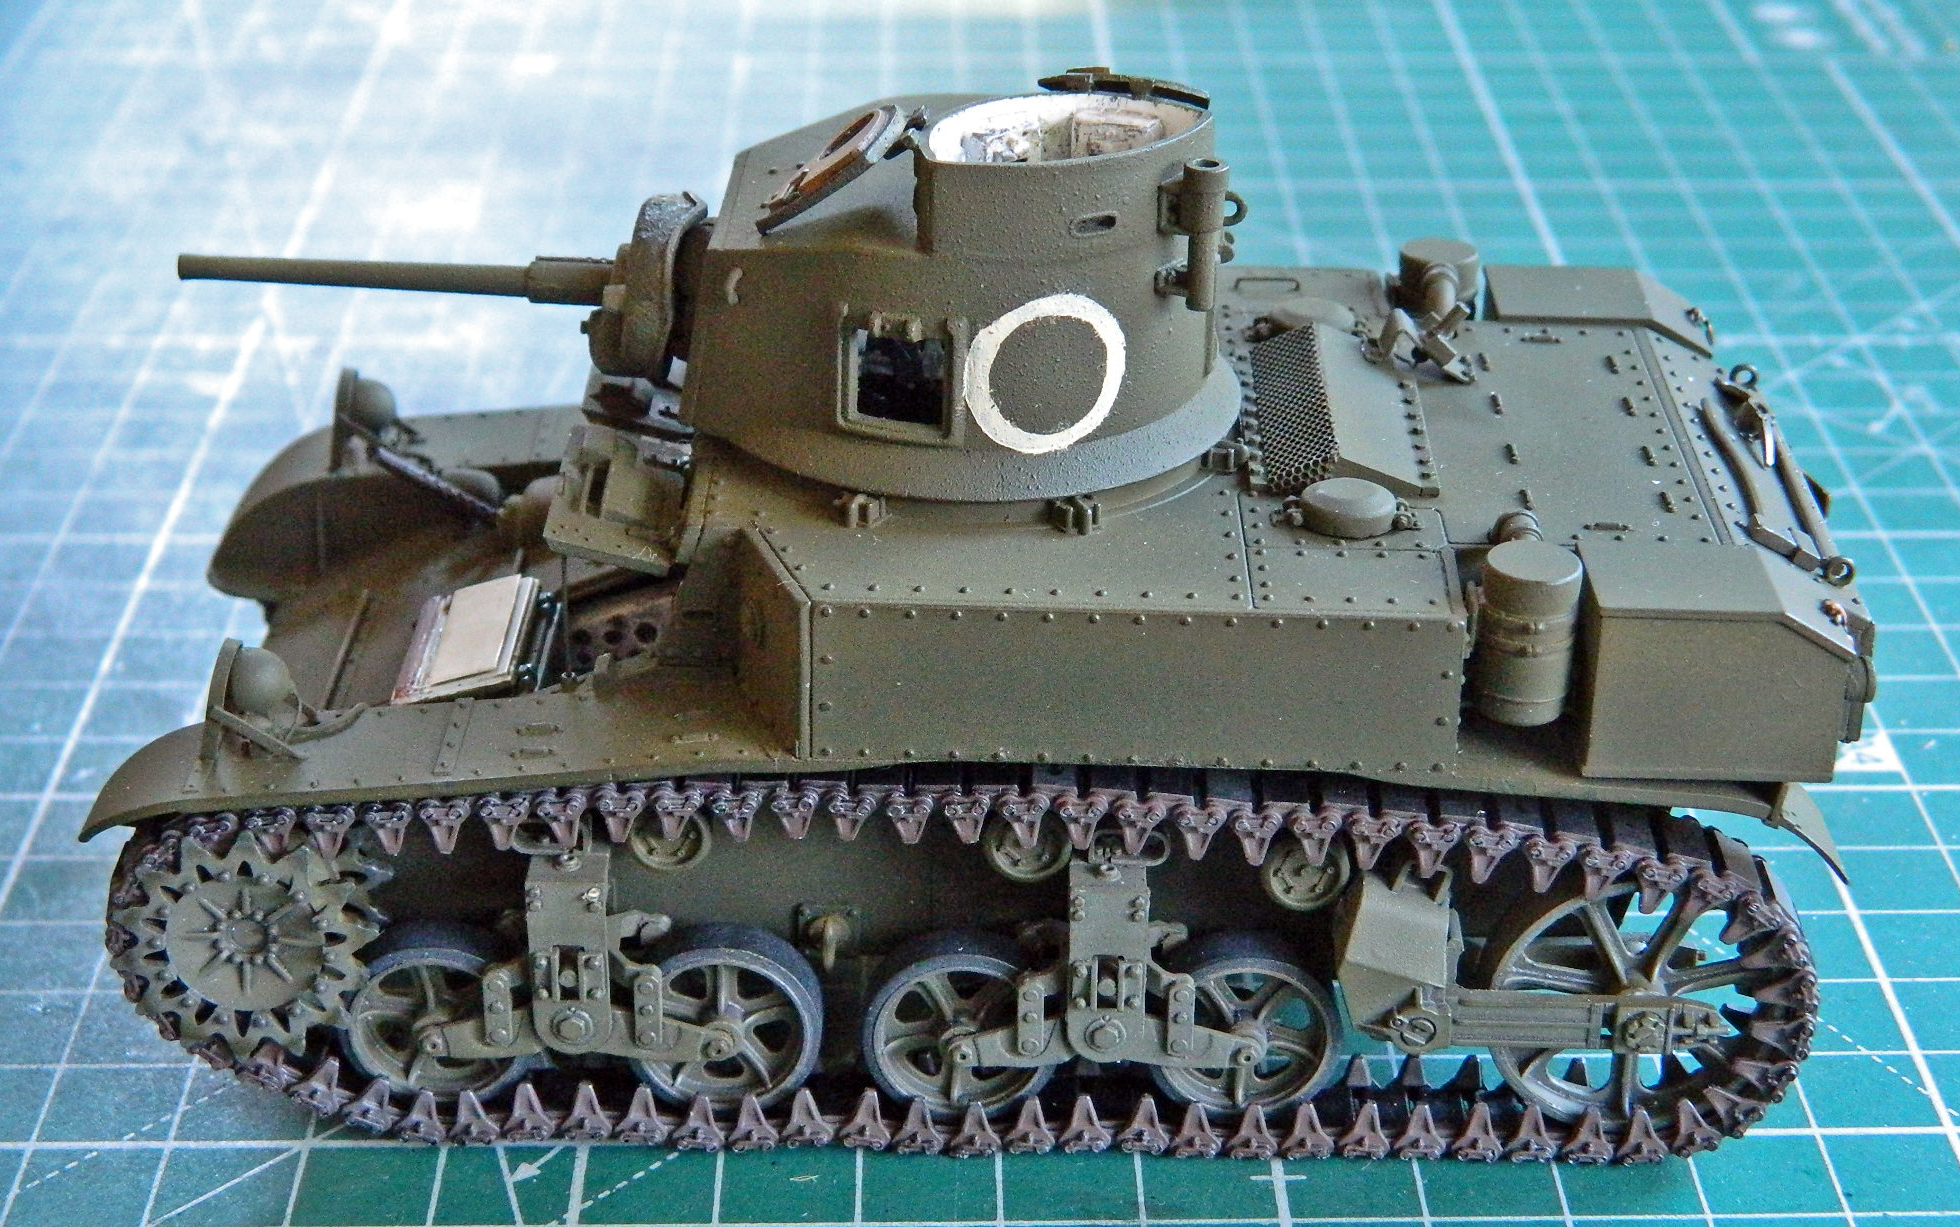
A lot of the early Marine markings were hand-painted over the Army markings (which is where their M3s were sourced), but even the most disinterested Misguided Child would have done a better job than I did.
*See “brain fade” in the glossary

That’s an expensive pair of headlights! I remember Tamiya kits being fairly expensive (at least compared to the Revell and Monogram kits I built in the ’80s).
That LED color is a good match for a low wattage incandescent.
LikeLike
To my way of thinking, “expense” is a relative term and “nailed it” isn’t. (You have been aware I’m crazy for over 20 years.) The Tamiya kit is relatively basic and the part-count is low, two factors which can (do, and will) drive prices up. The amount of time it would have taken to scratch-build acceptable units vs. having something needing a little bit of modification is what drove that bus.
As it turned out, I was pleased with the investment in the Tamiya kit as I used several parts from it; taillights, siren, and grouser storage boxes were taken from the Tamiya kit and used as well.
The LED is the “warm” white and replicates an incandescent bulb well. (The “cool” white is very sci-fi.) Initially, I was concerned I may have to paint over sections of the LED to diminish the light but that doesn’t need to be done. I’m quite pleased with the effect.
LikeLike