Since the surfaces of the resin and PE parts are different, I used both PE on both instrument panels for commonality:
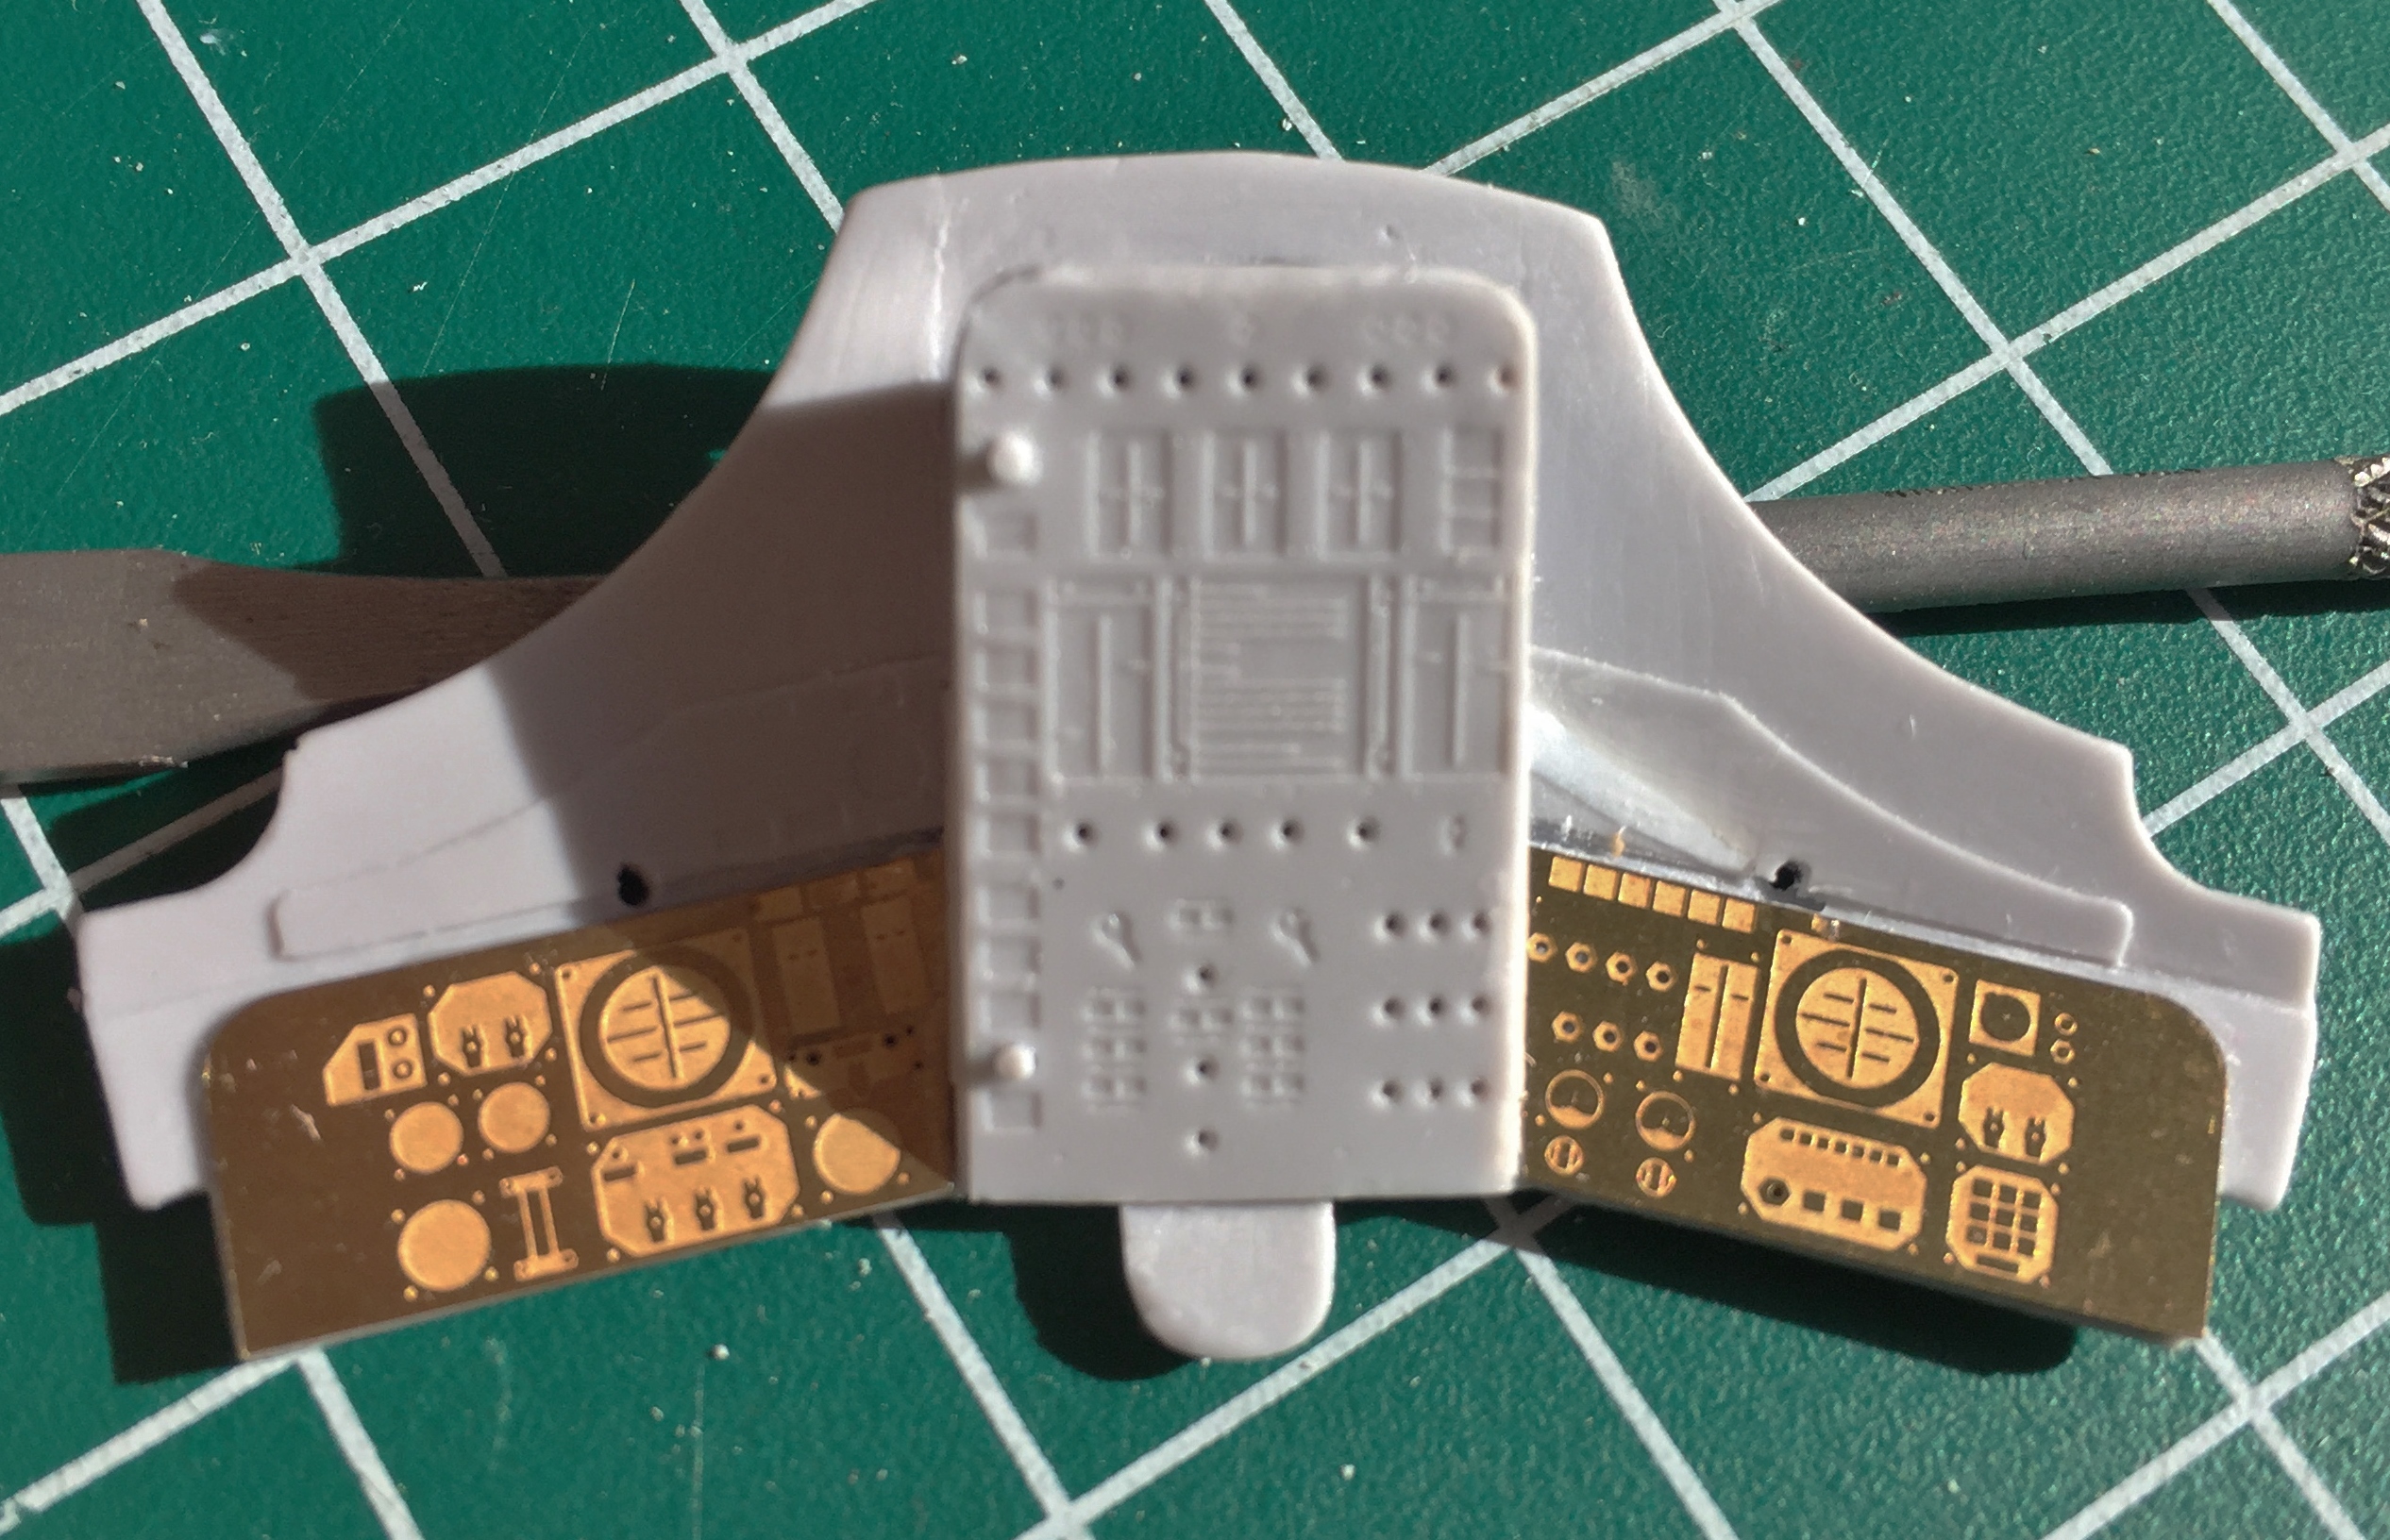
And since I was working with PE parts, I went ahead and did the rest of the panels in the cabin. The center console (lower right) and the overhead switch panel (bottom) both had details molded on that had to be removed. Once that was done, I superglued the PE parts in place:

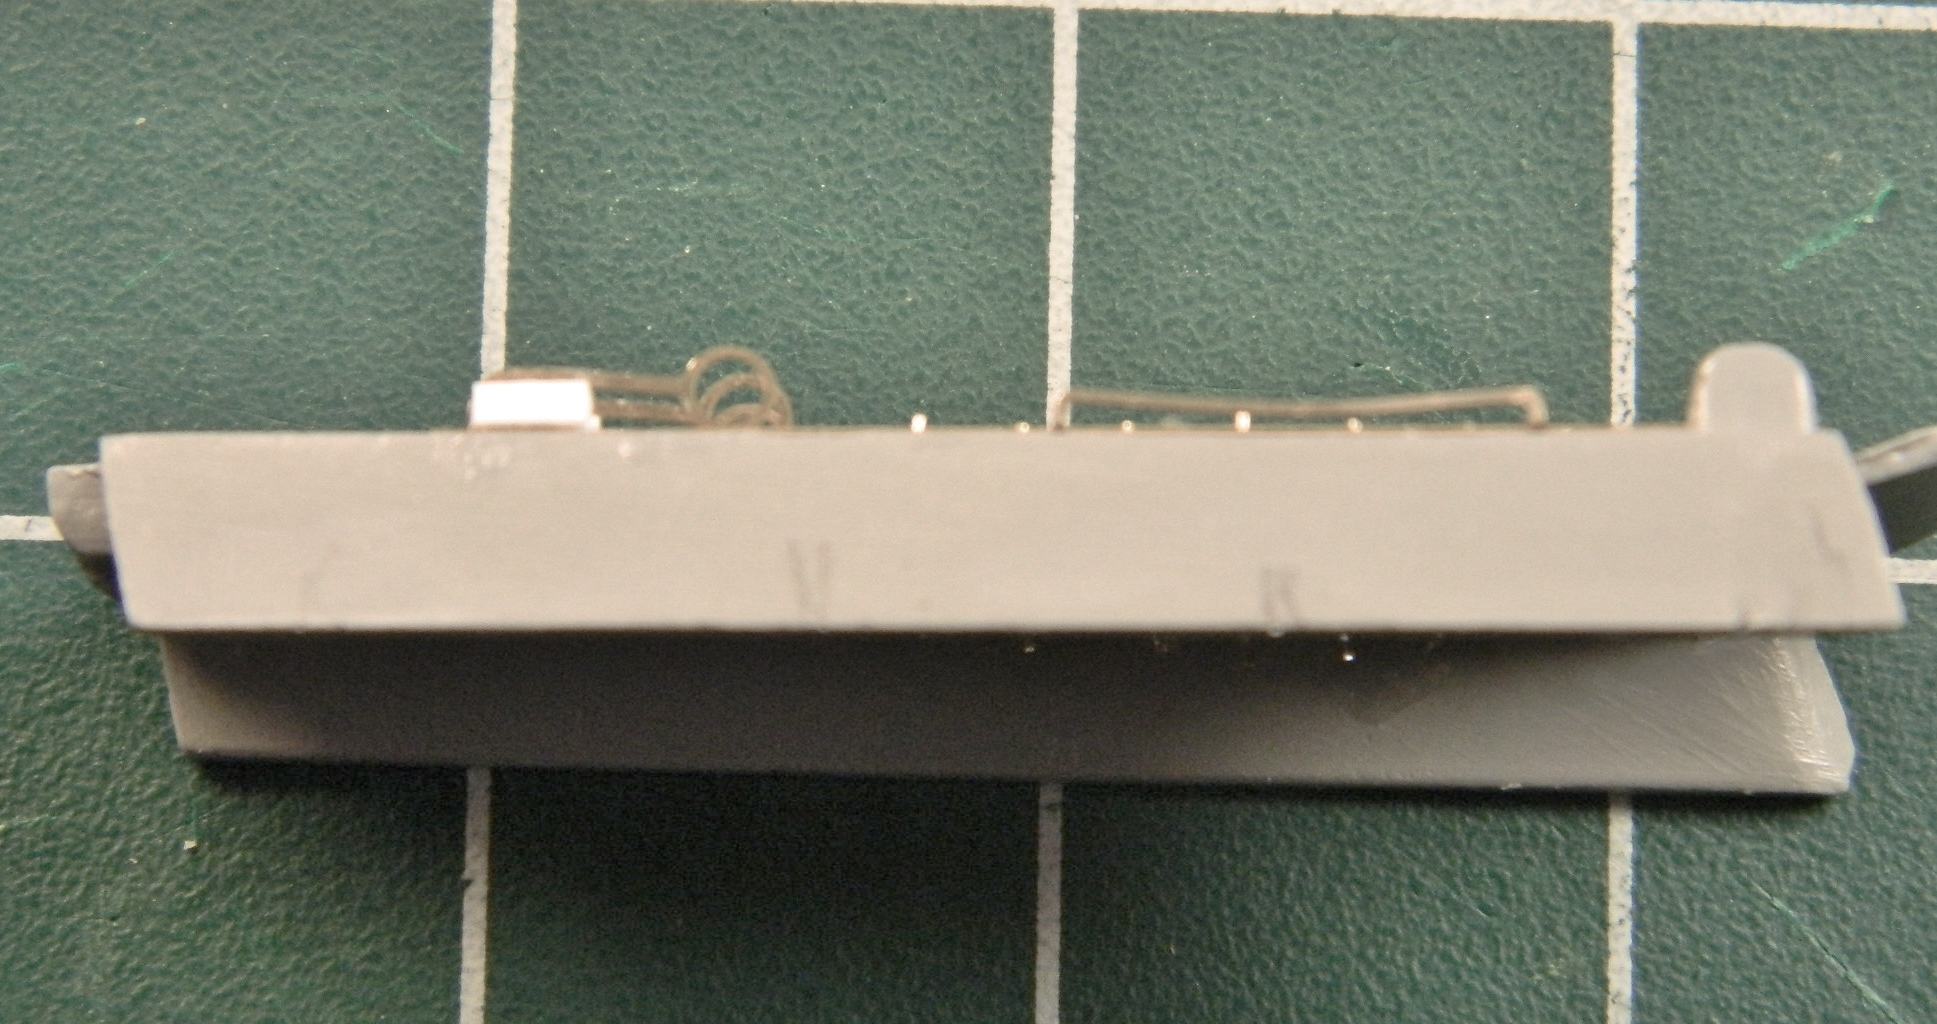
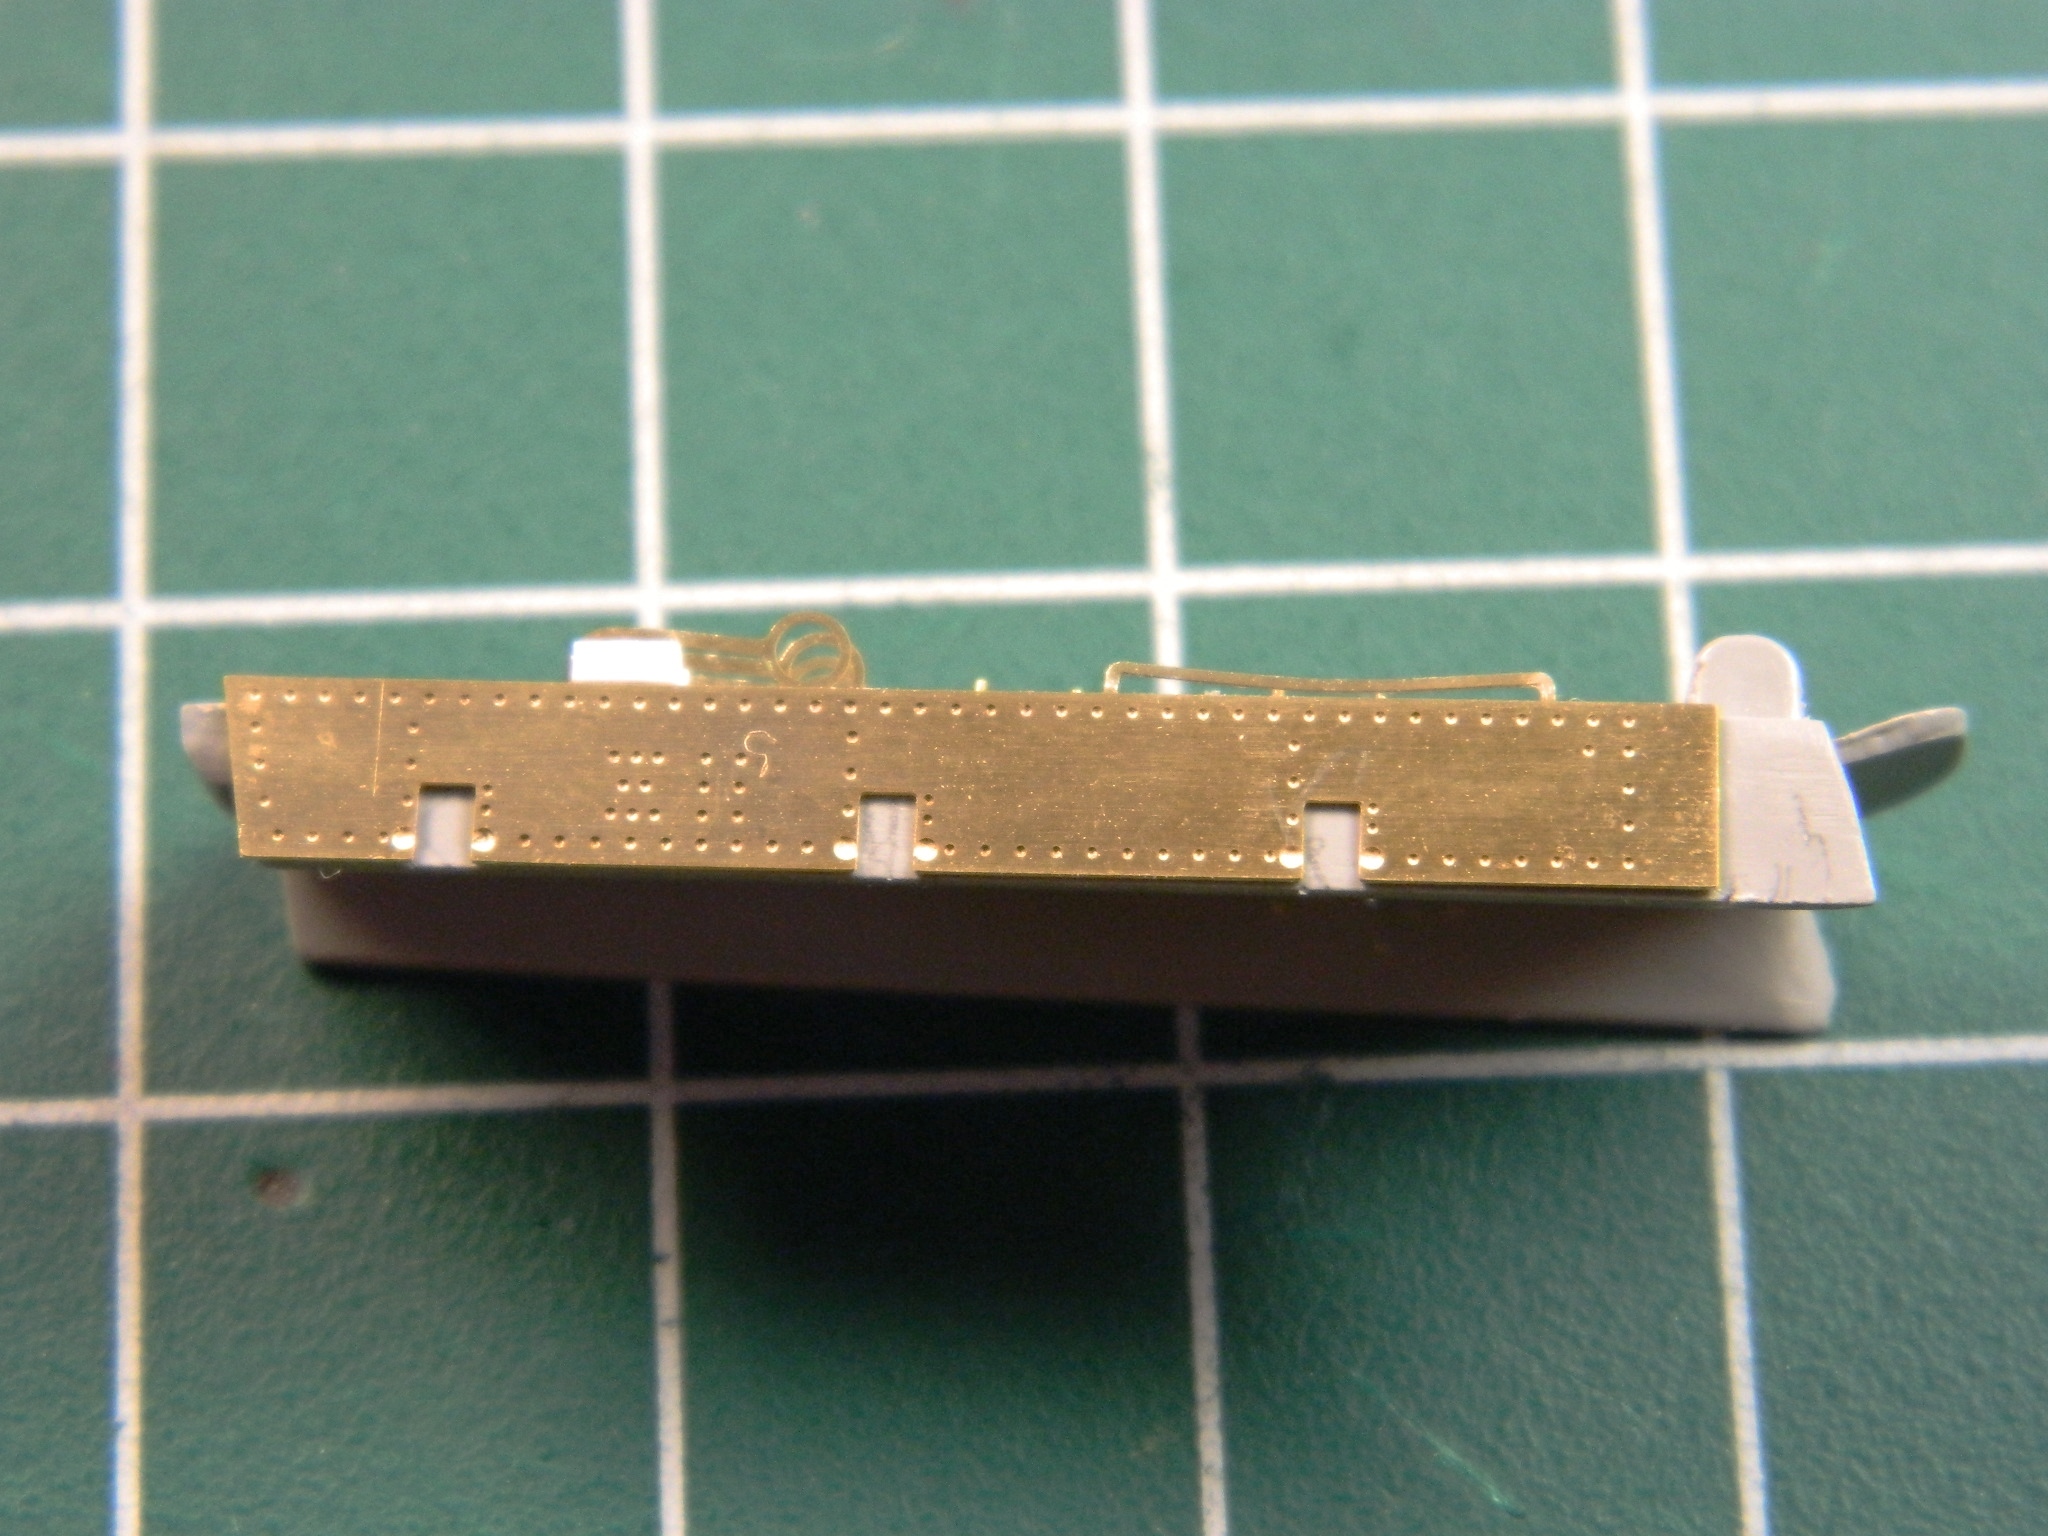
A small console that’s mounted on the rear of the cabin only had a pedestal for the upper section of the main body. I don’t know how visible this part will be once everything is assembled, but I do know that once everything is assembled I won’t be able to get in there to fill in empty spaces that turn out to be visible, so I added some flat styrene to the back and then trimmed it to fit:

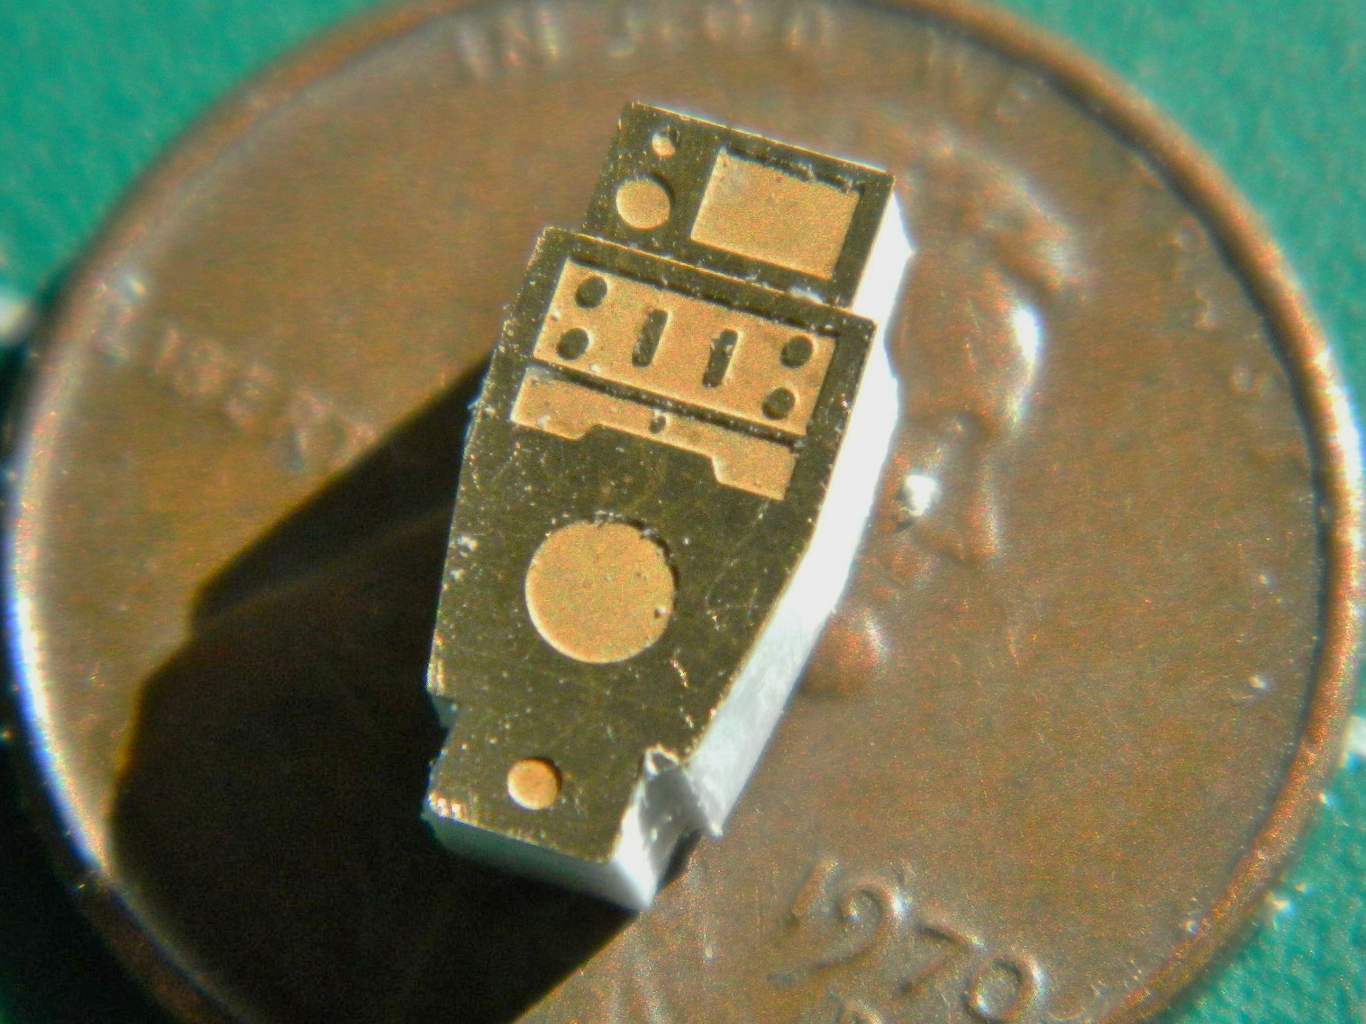
As it turns out, that rear console isn’t particularly visible for most of it, but the top of it is visible so I’m glad I decided to add what was missing:

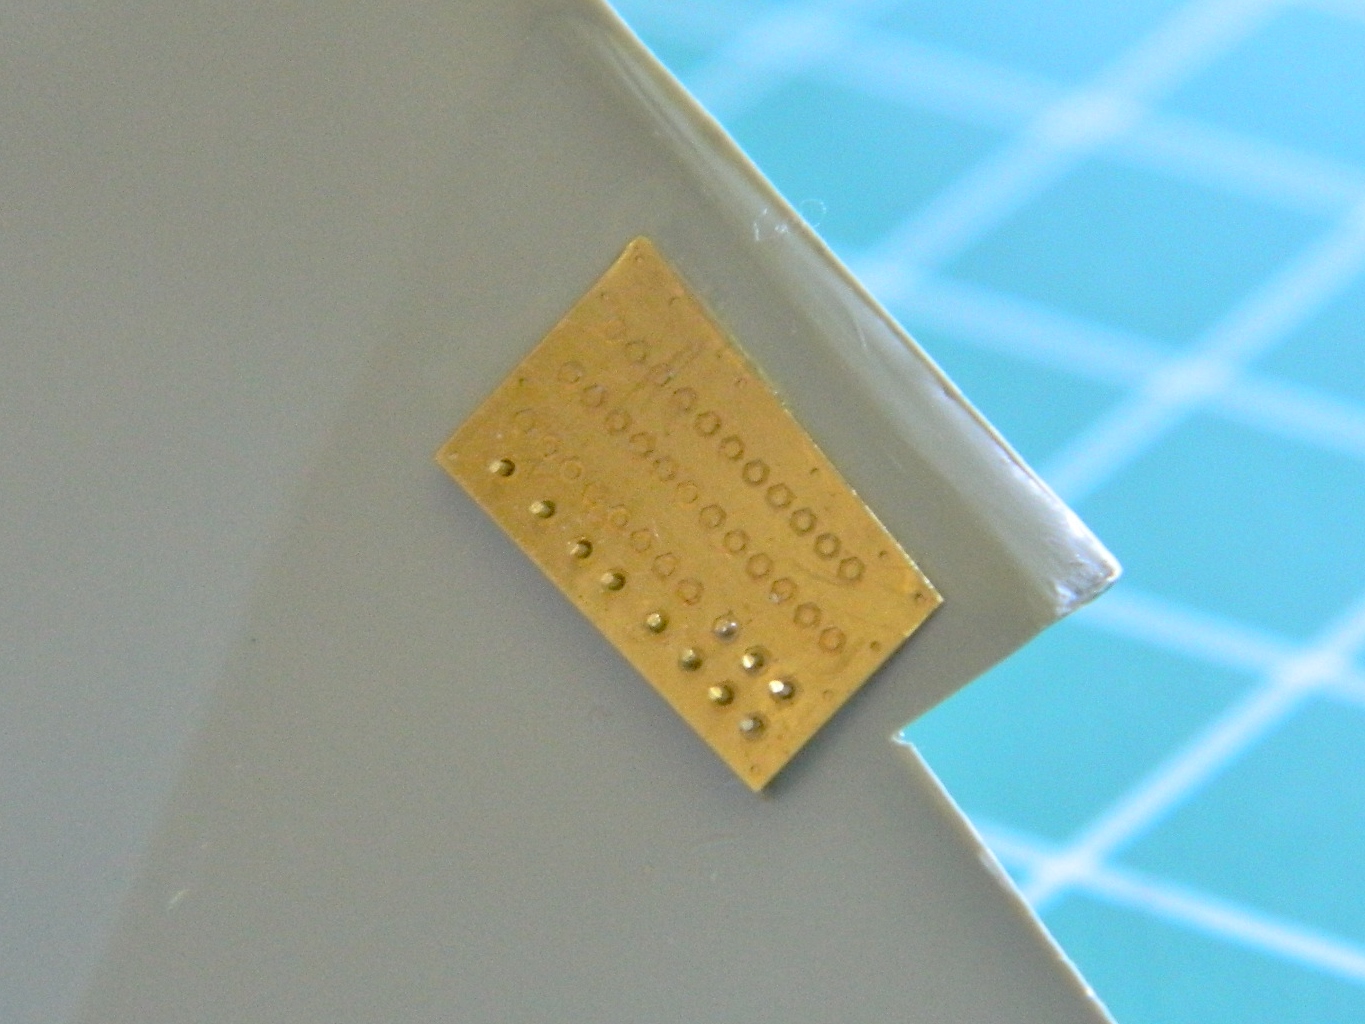
I prefer to get tedious jobs done so that they aren’t hanging over my head. Having to put 63 individual toggle switch bats in place, this classifies as “tedious” to me and that’s where I started:
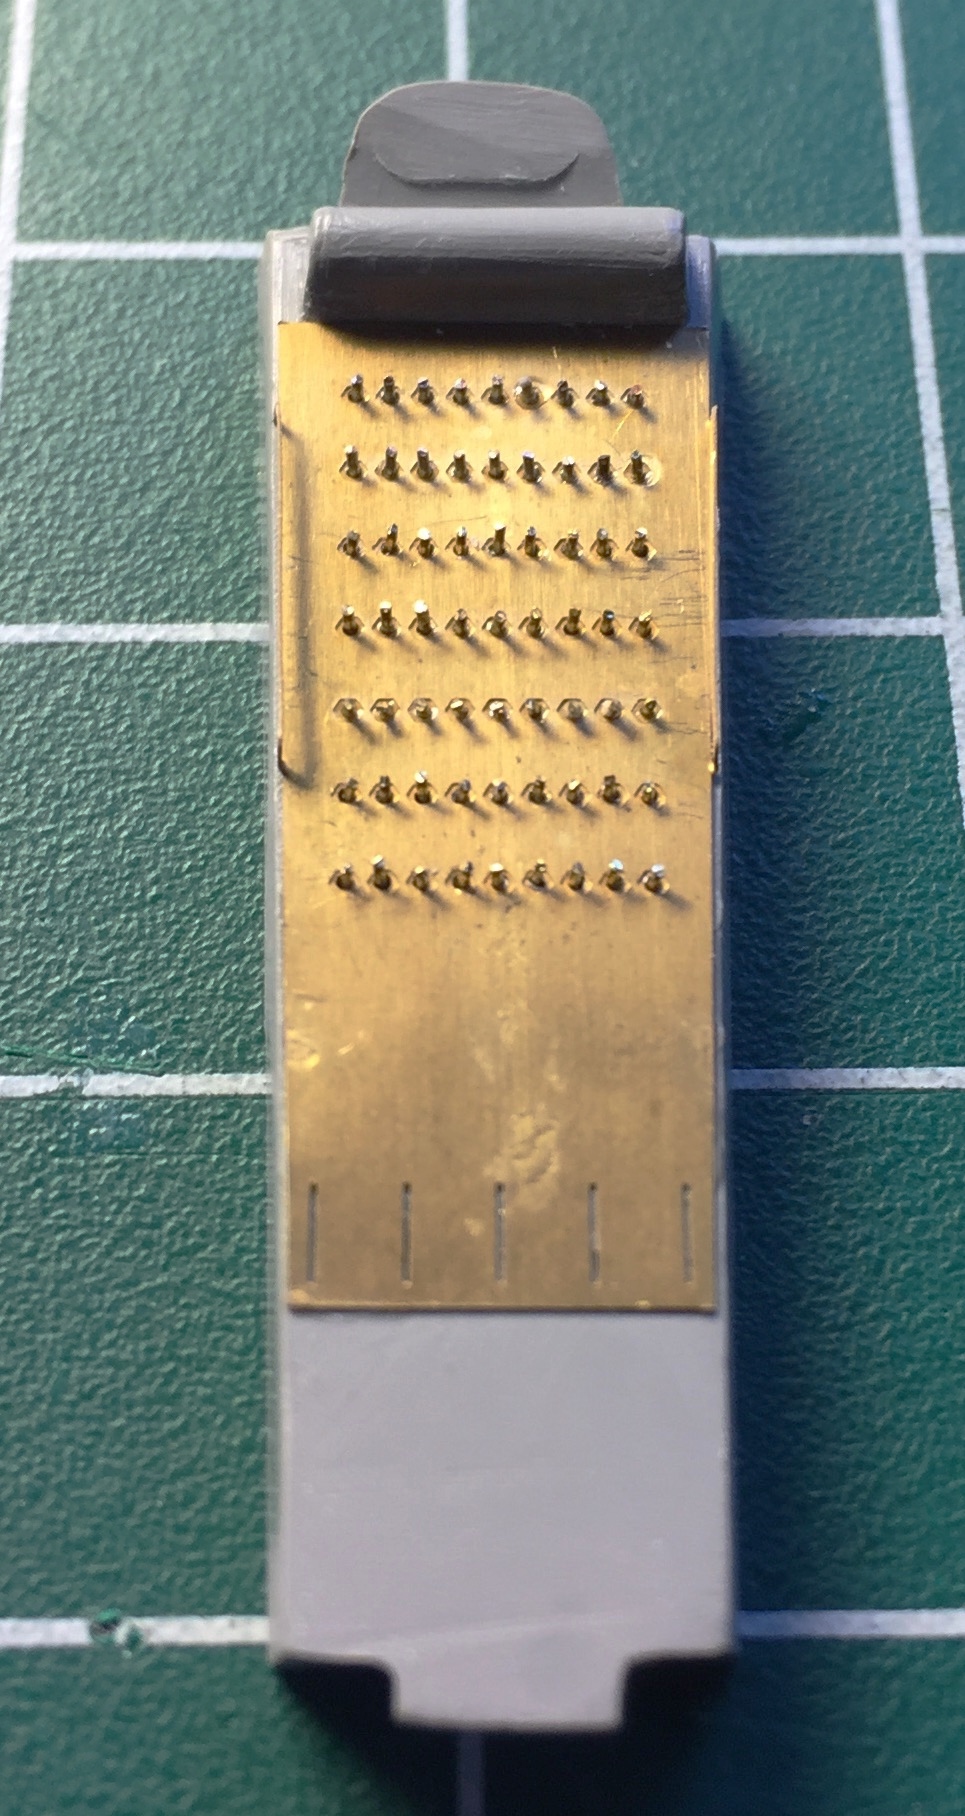
And since I was knocking tedium out of the way, I bent the side panels (more switches) and added scrap flat styrene to the back to allow for more surface area for the glue to hold the wires (24awg) that I’m using for switch bats in place:
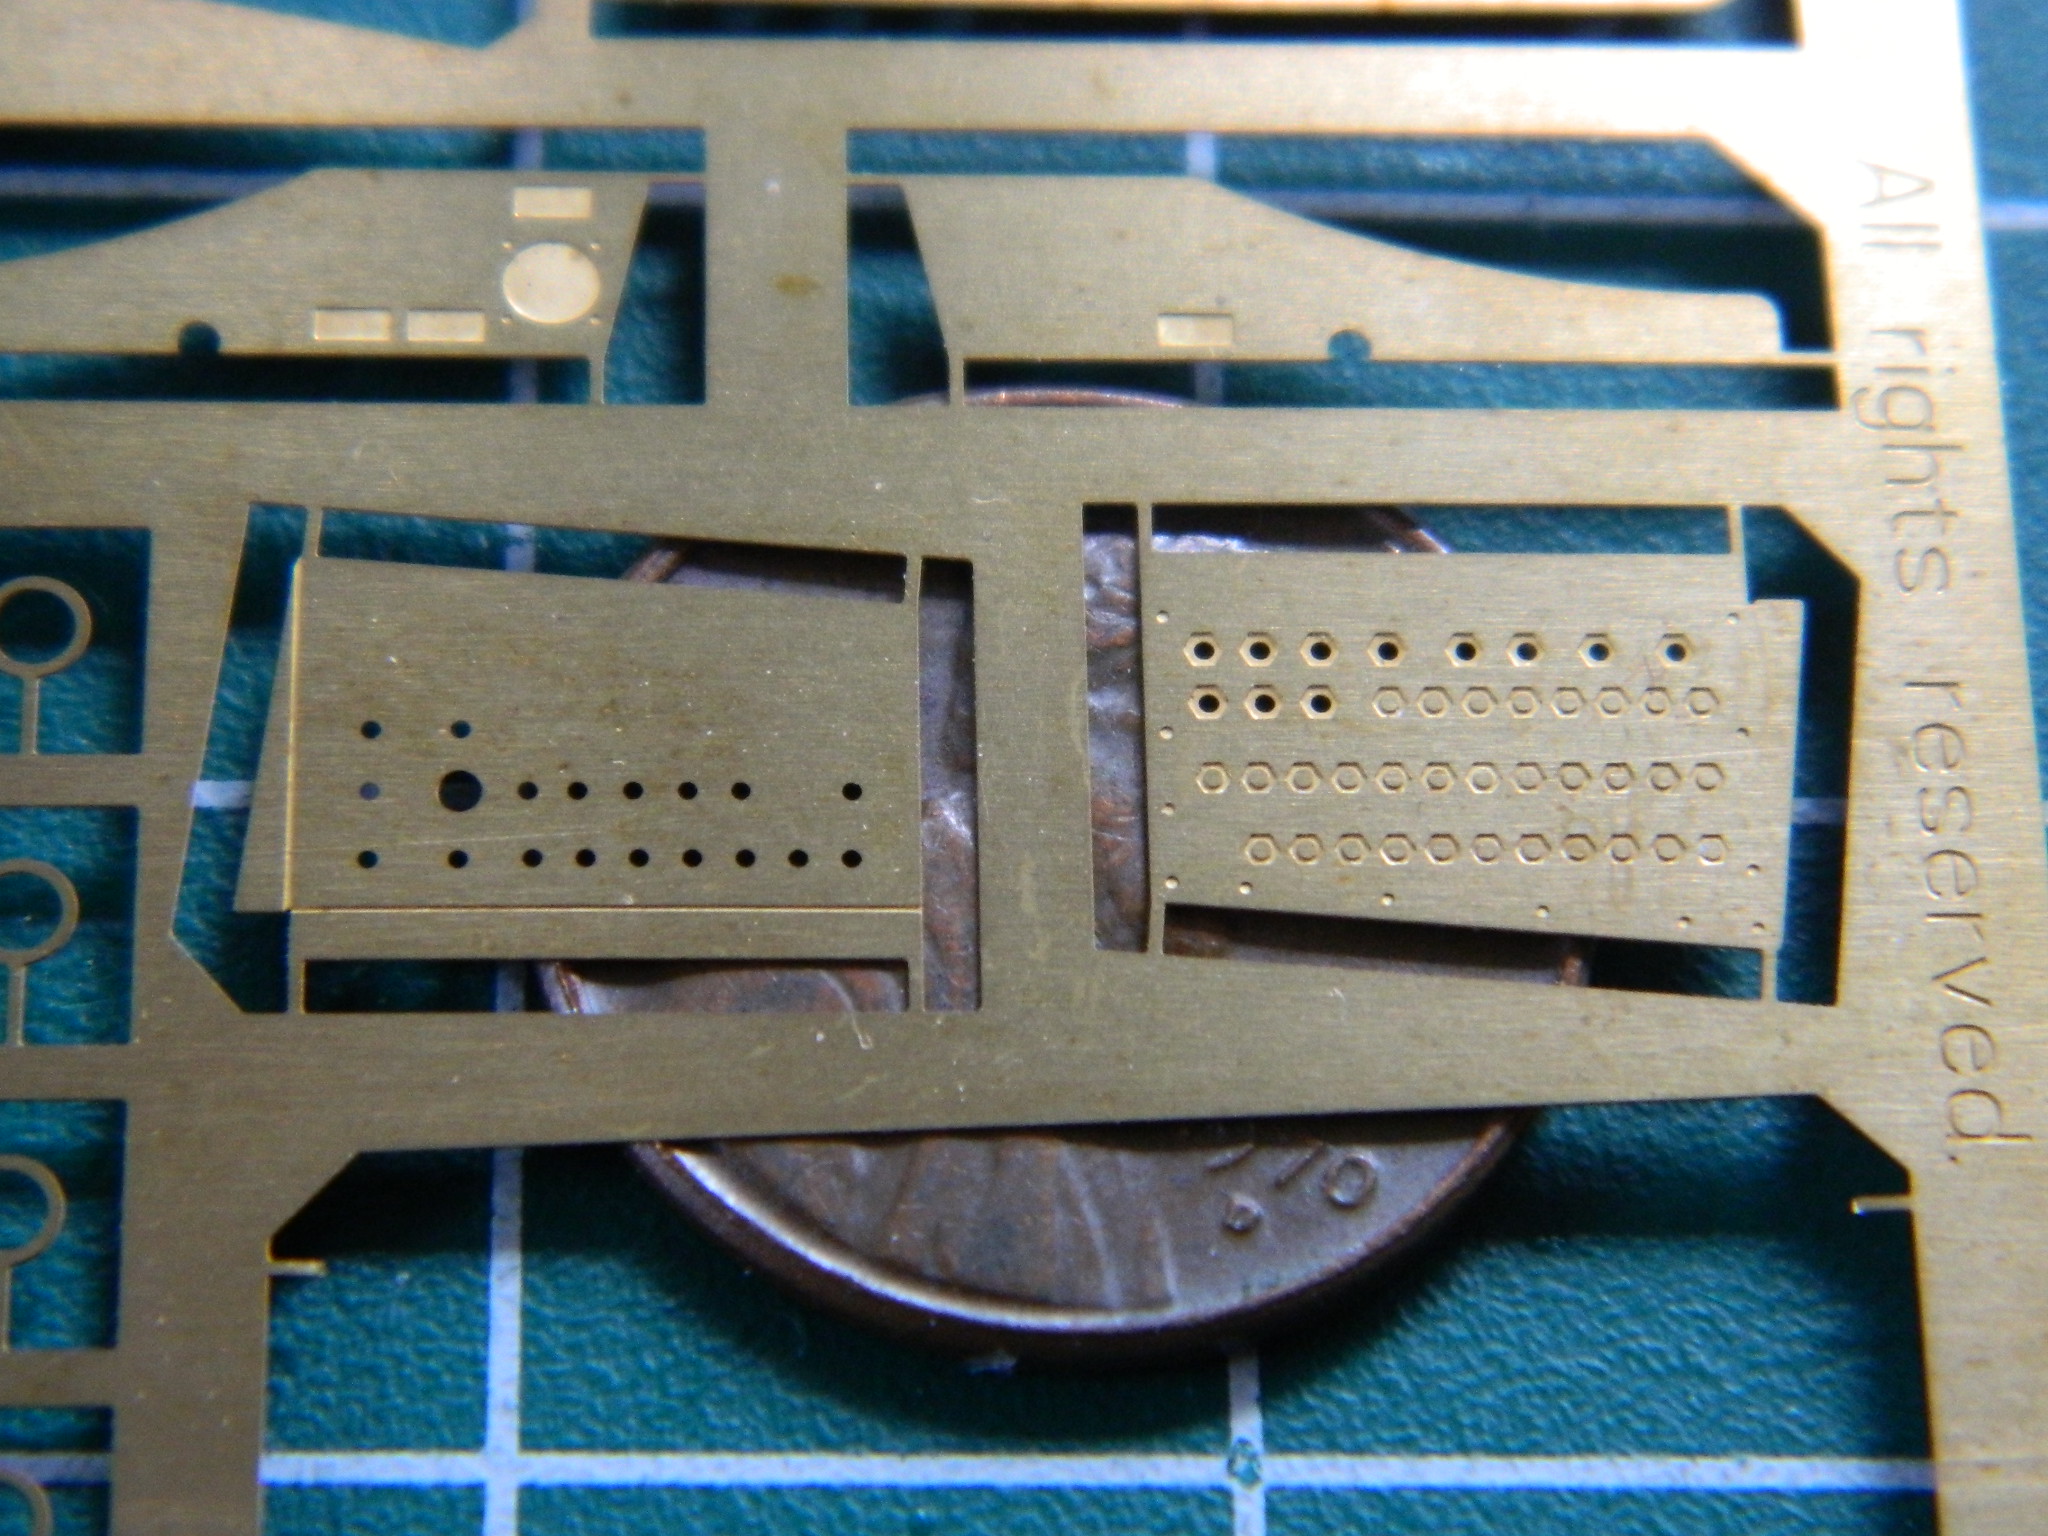


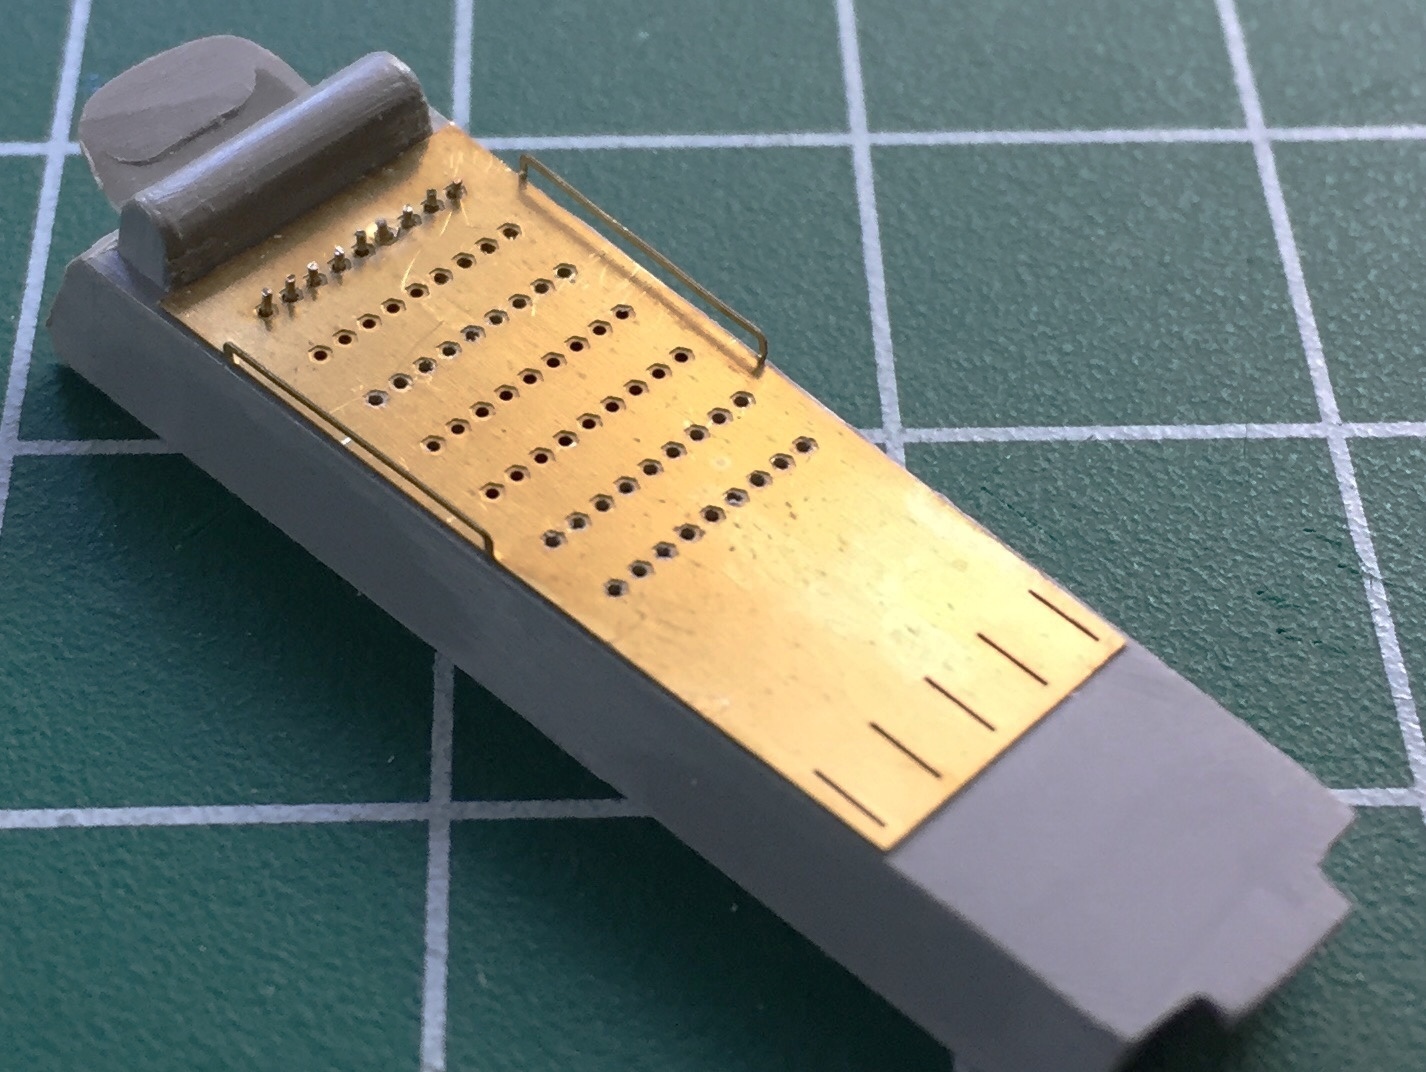
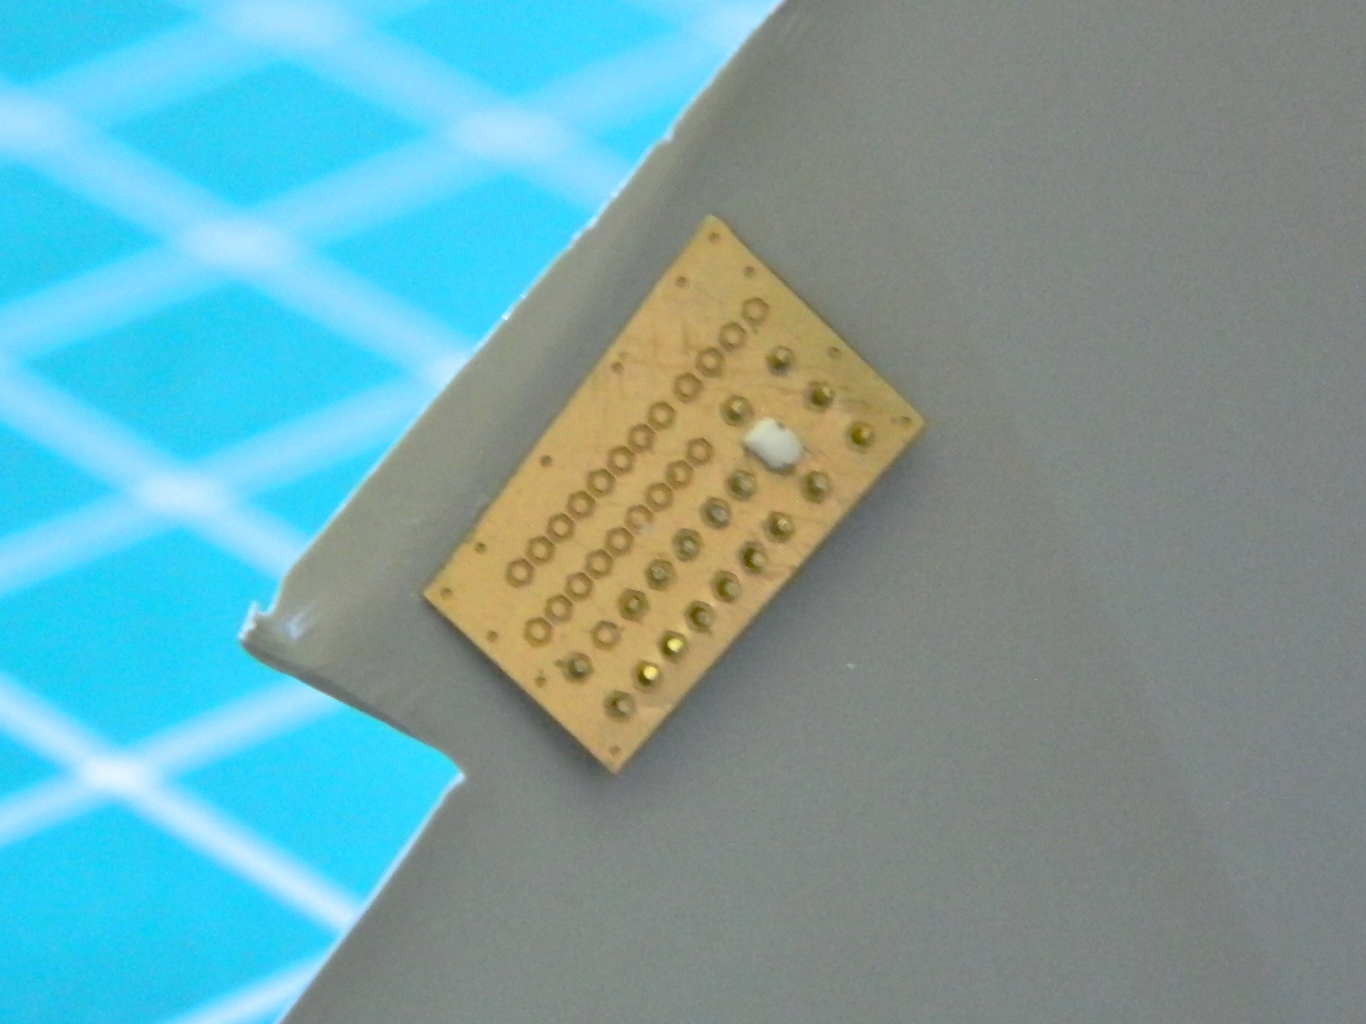
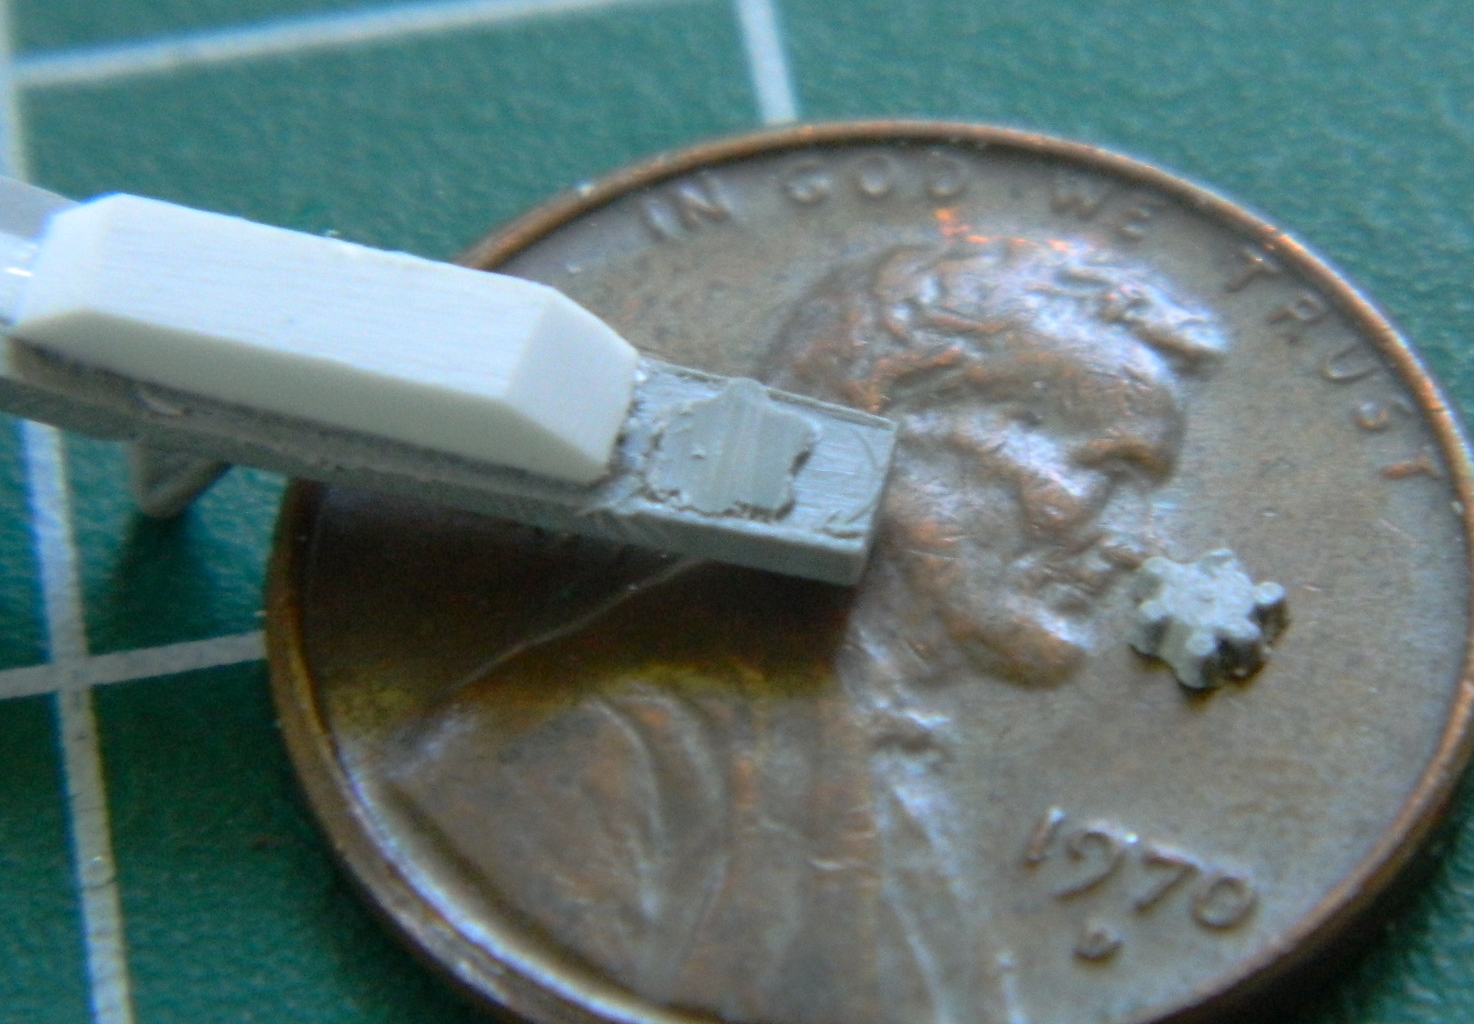
Since there are two panels, I did that twice. There is a larger selector knob in one of the panels. I used styrene rod and a tiny bit of scrap to make that knob:

There are a number of selector switches as well as toggles on the main panel and all those got added:

I taped the major parts in place so that I could determine where the side panels go and then I glued them in place:
(Once I had all the switch bats in place, I looked at a drawing that showed what each individual switch for the main panel and center console were for. I’m not going to add figures to this so that means the capsule isn’t in space. I adjusted the switches to all their “off” positions.)
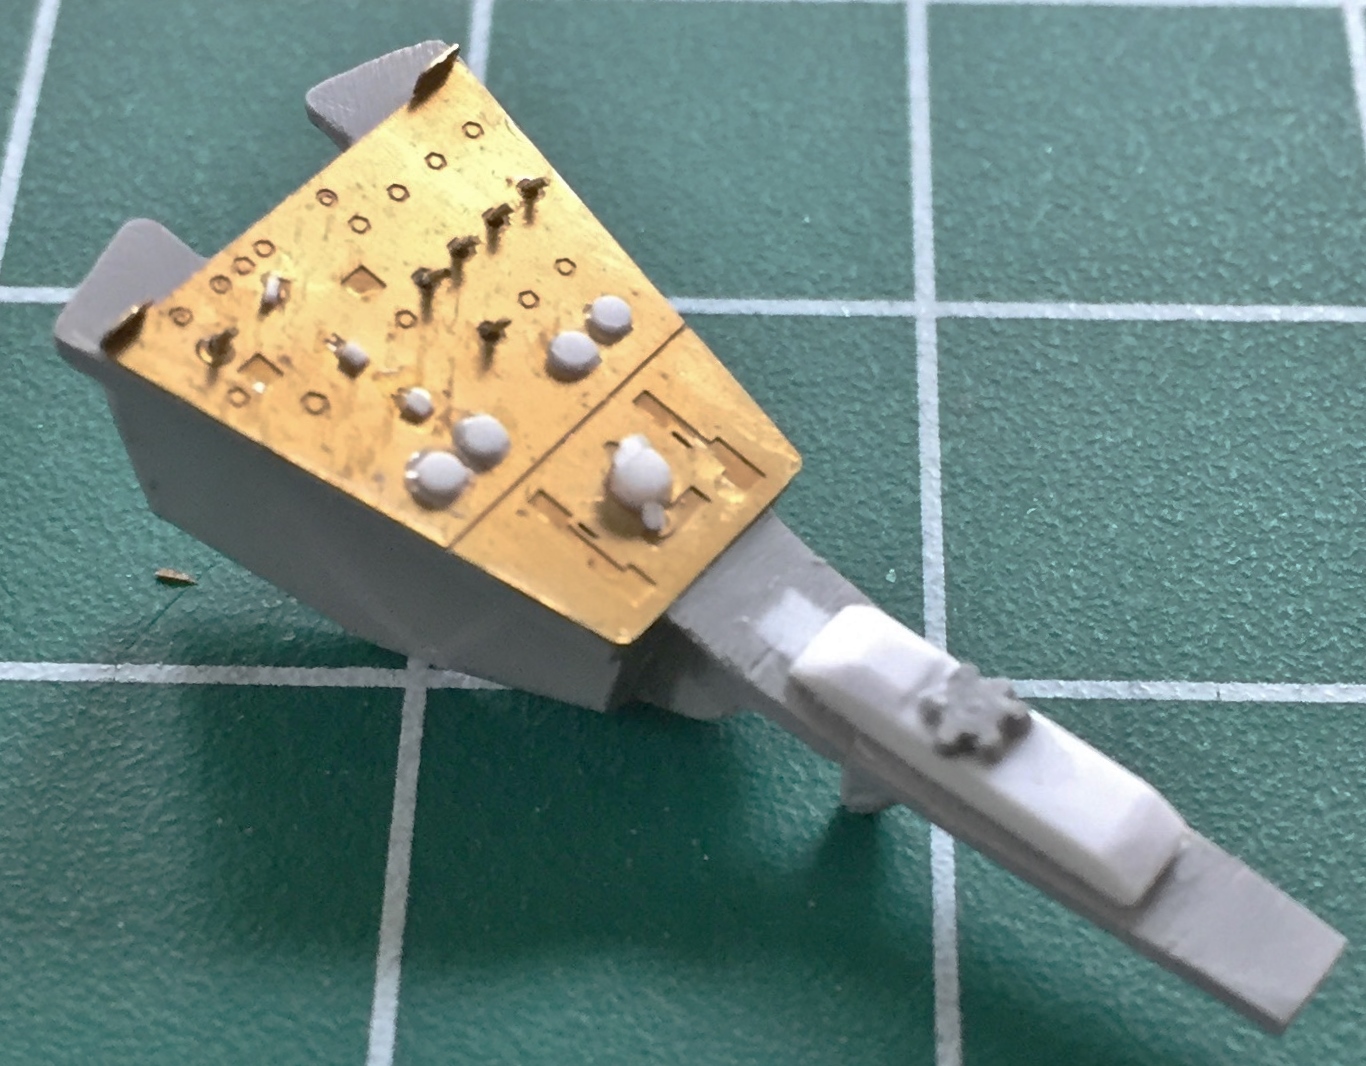
The center console also had another inaccuracy for a production capsule. The knurled knob is the main cabin heat control and it doesn’t go there. However, where it does go wasn’t molded on. I took some scrap styrene and changed the top of the console, then I took a very thin saw and removed the knob. I added the final shape to the addition to the console (the big white section) and glued the knob on:
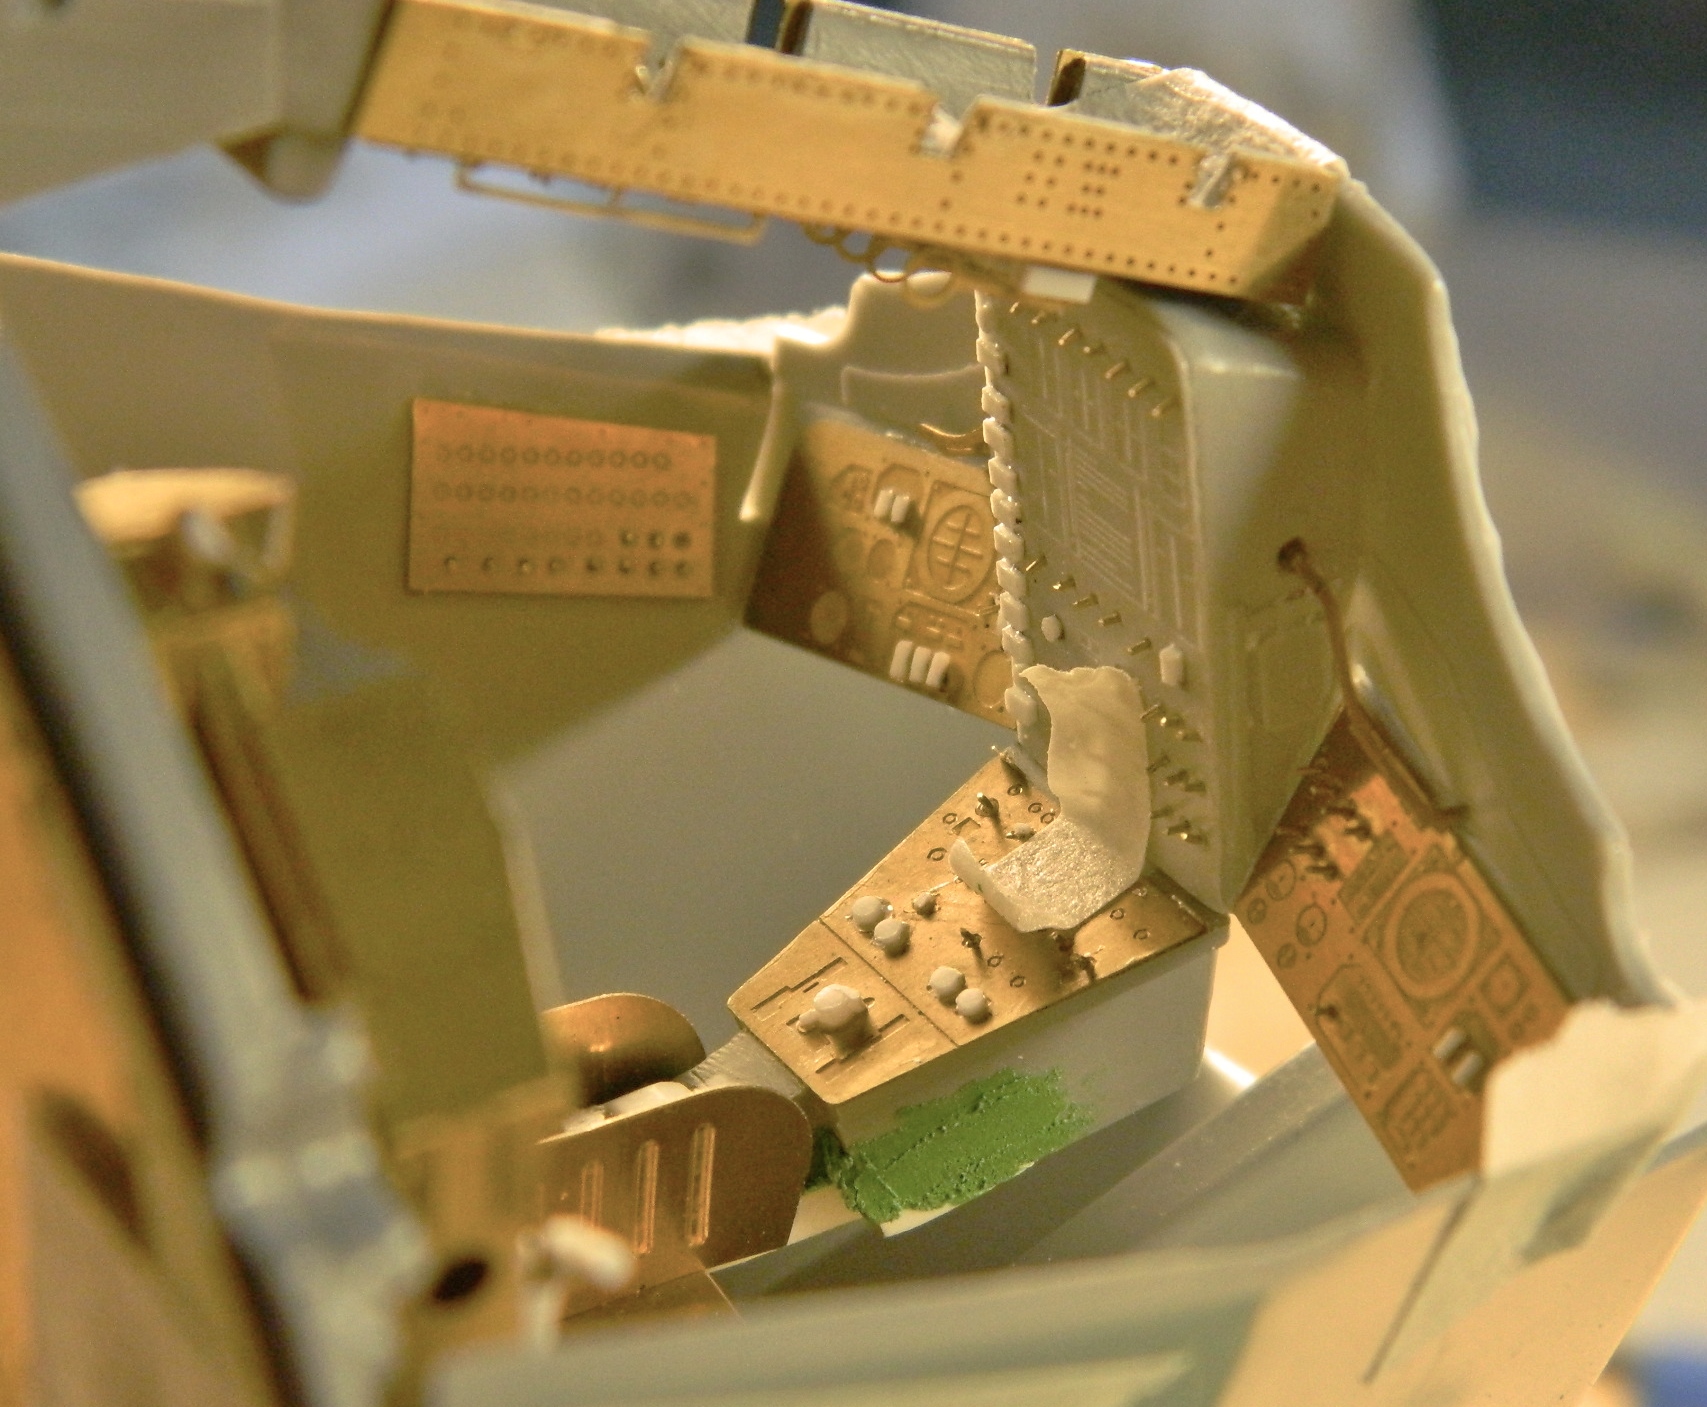
The overhead switch console has PE parts to add details that weren’t molded with the kit. Dry-fitting the PE parts and then checking references show me that I have to cut away sections of the kit part. Doing my best imitation of a four armed, glue-sniffing, rivet counter, I put the PE facade over the part it gets glued to and outlined the areas that needed to be cut away:
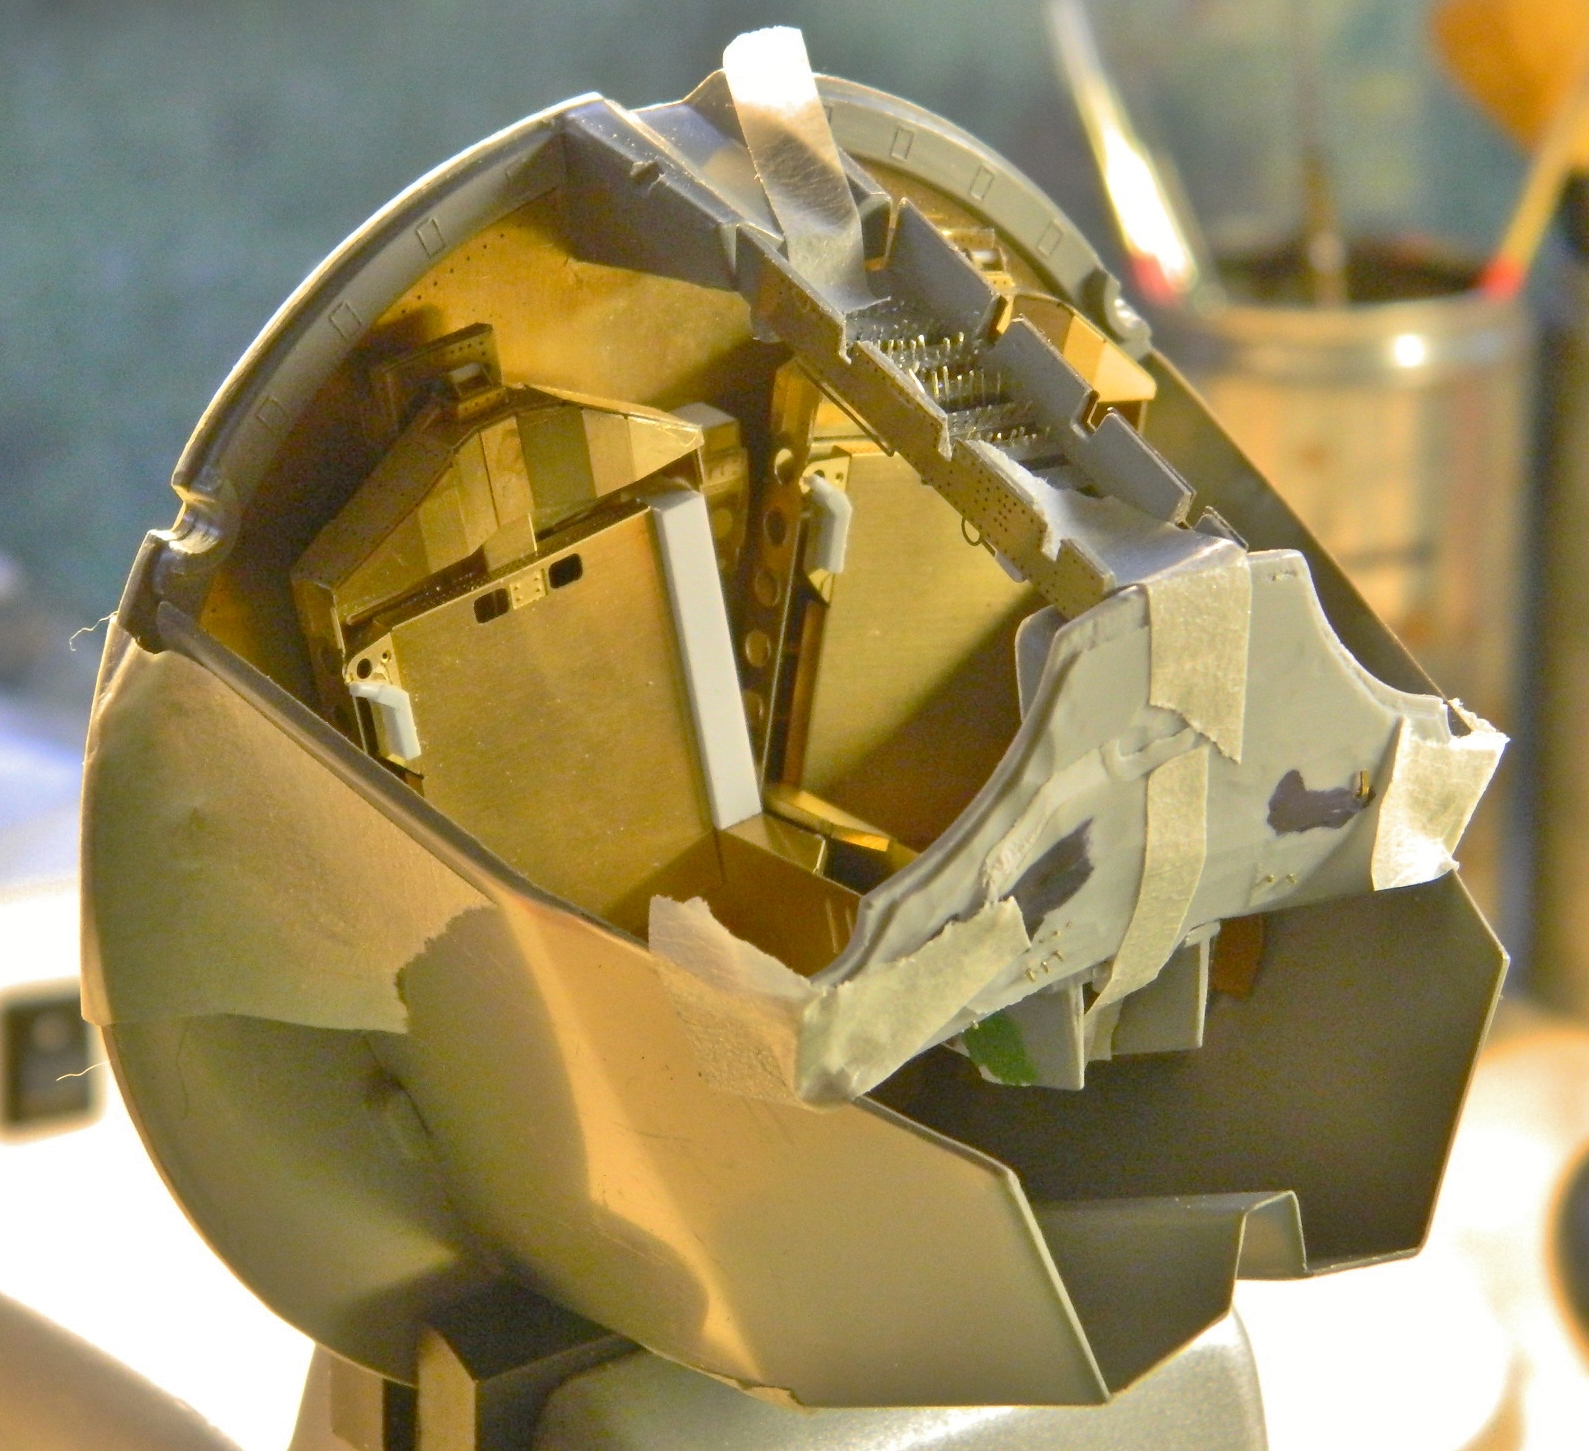
Then I dry-fitted and taped the major components together to see how everything fit. There will be modifications necessary to get all these parts to play nice with each other (if you look at the console at the top of the cabin, you can see where the plastic was cut away from the PE part) (because I forgot to take a picture before I took these):

How goes this build?
LikeLike
Well… Not very quickly! A problem developed in my upper back; a knotted muscle pressing on the nerve for my left arm (think nailing the funny bone HARD) that’s affected fine motor function (or the little that’s left after the Sands of Time have worked their magic) negatively. FINALLY after months the knot is easing off and releasing the nerve so I’ve just recently gotten back to it (somewhat). And yes…I need to update this site. I’ve been bad.
LikeLike