I added scrap styrene and started removing the excess until I had it where I wanted it, then I did the same thing (more carefully with the Dremel) with the other flap and both put back and added surface details:


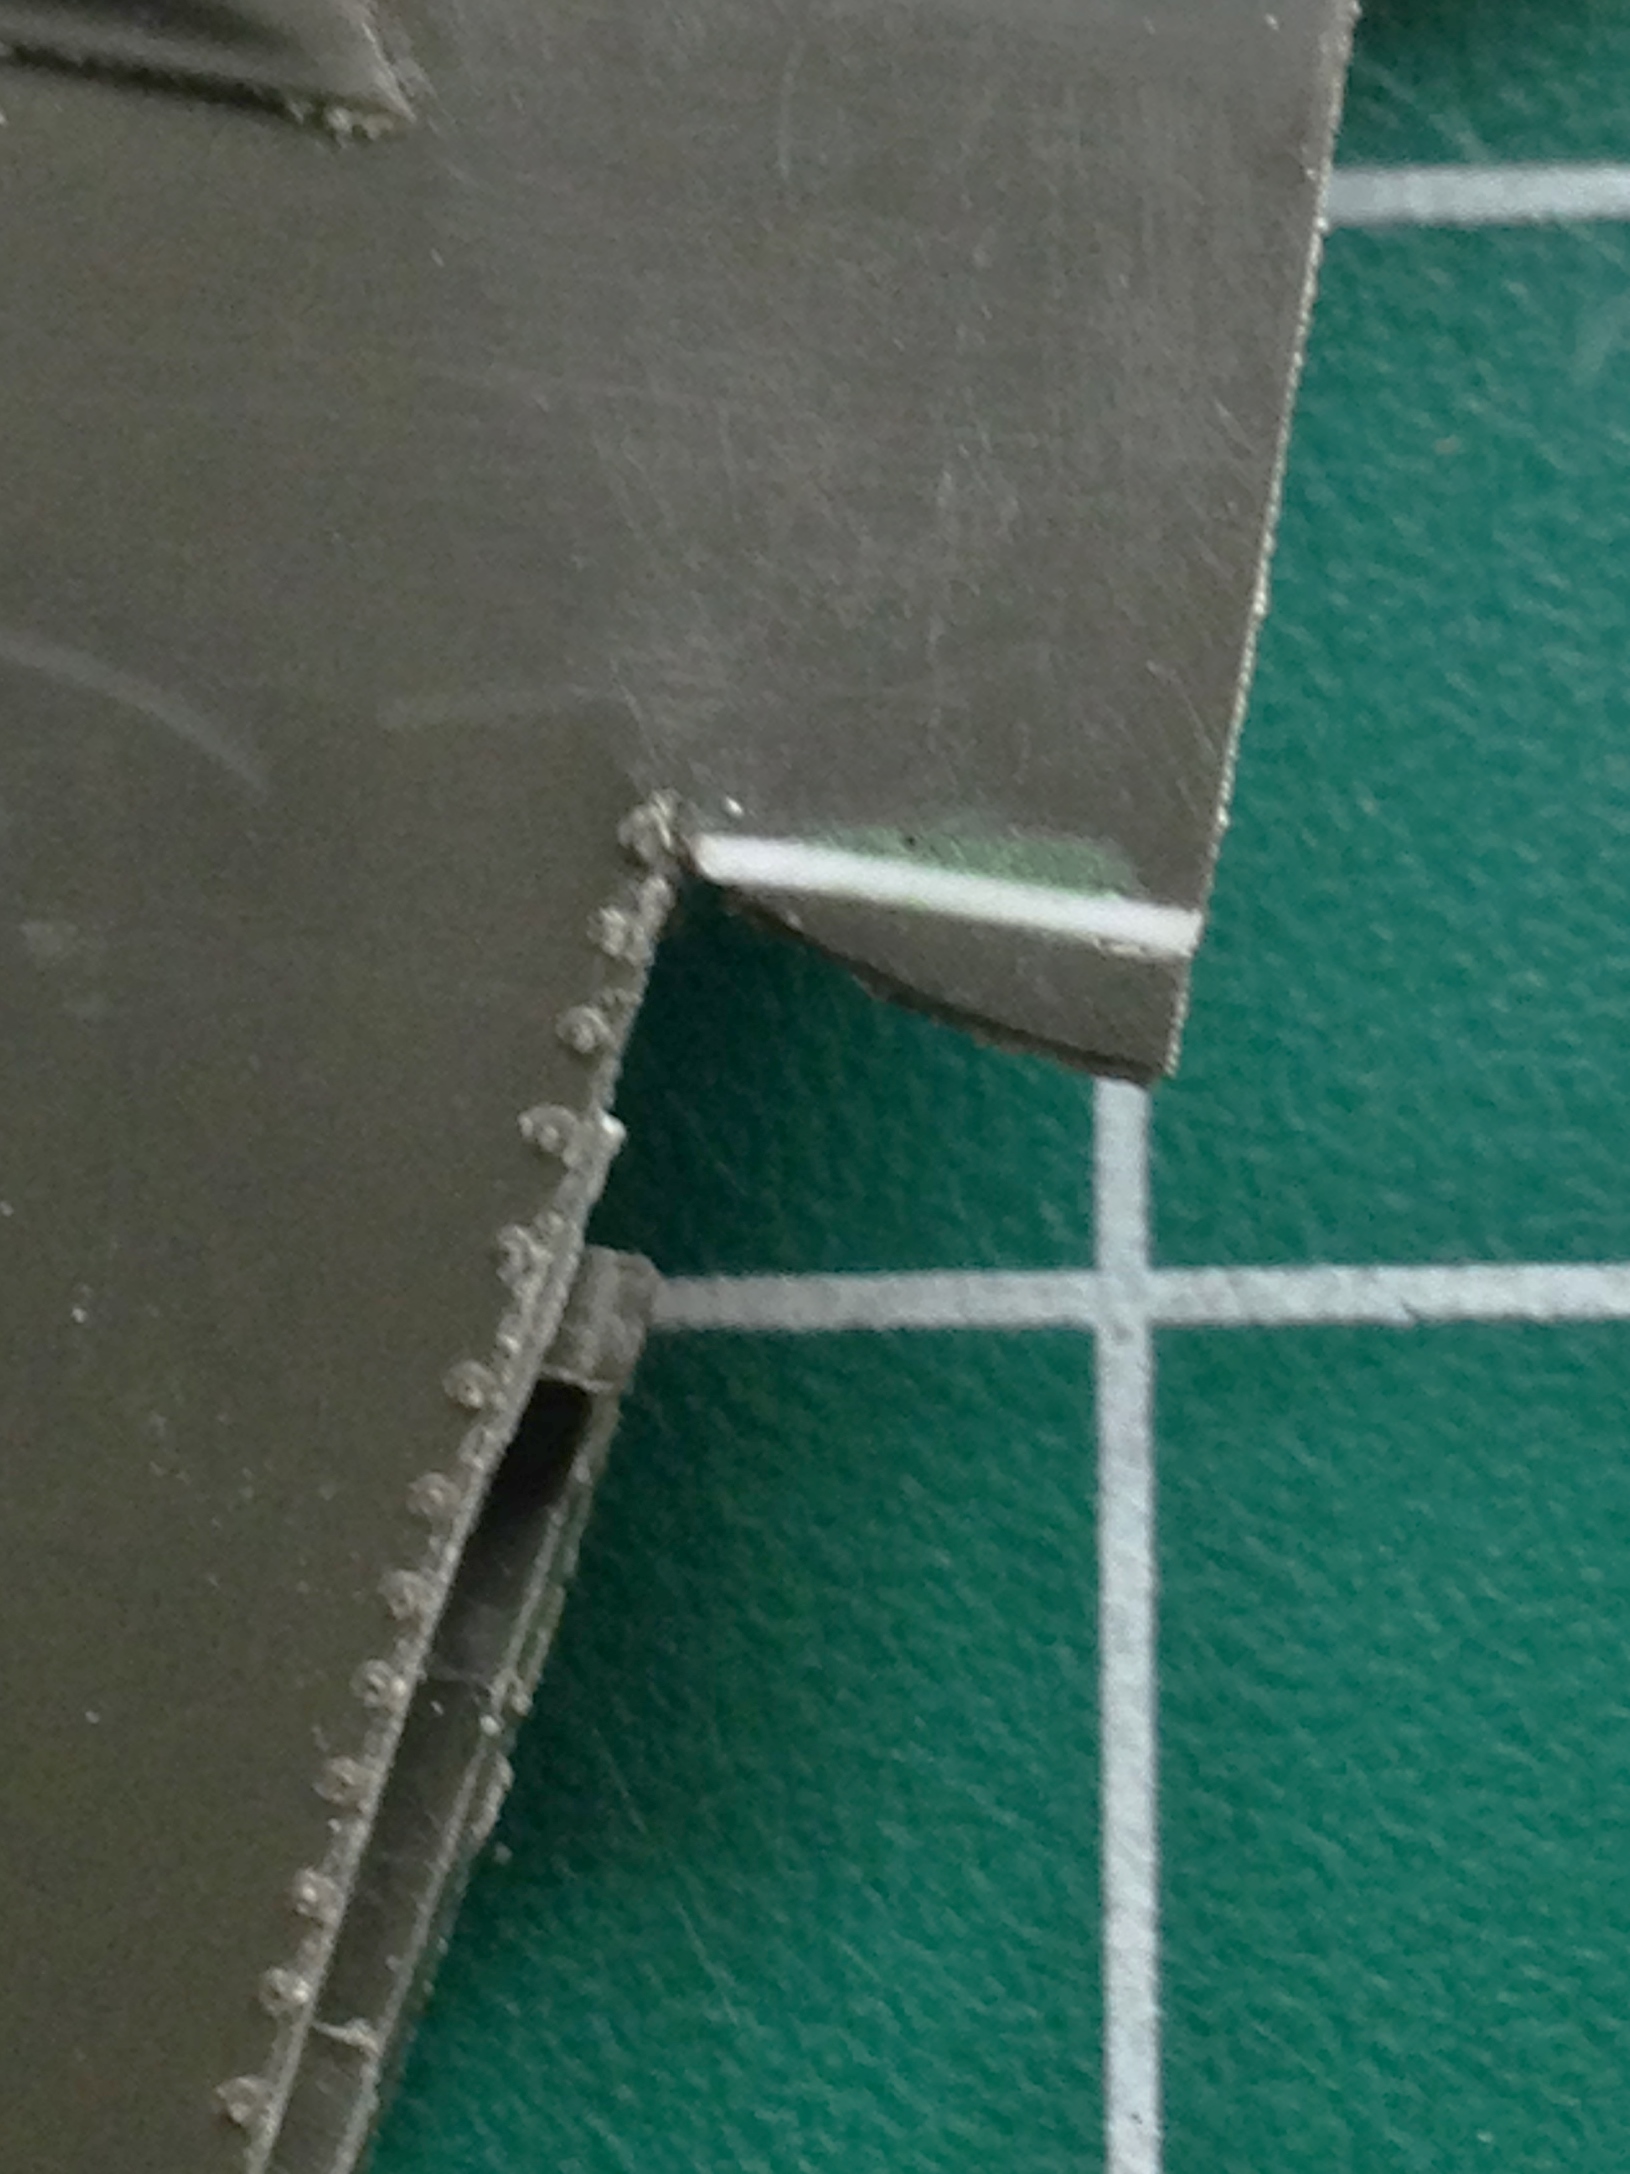
I dry-fit the bottom wing to the fuselage and noticed that I had made the cut in the lower surface in the wrong place. What I had was straight and to clear the belly scoop when the flaps come down, it has to be curved, so I removed that section from the flaps and returned it to the lower wing:
I also needed to thin the section of the wing where the flap meets it. The top piece has been done, the lower piece is there for reference:

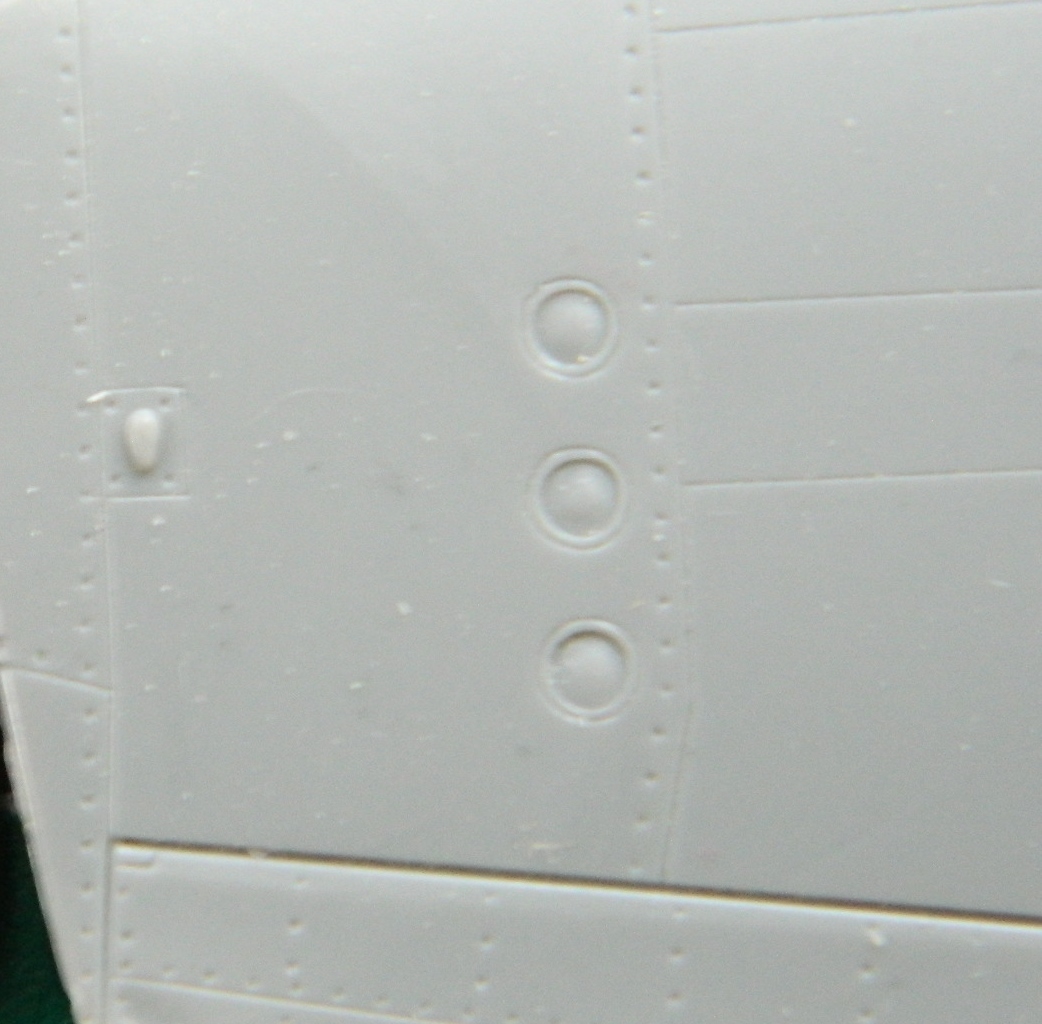
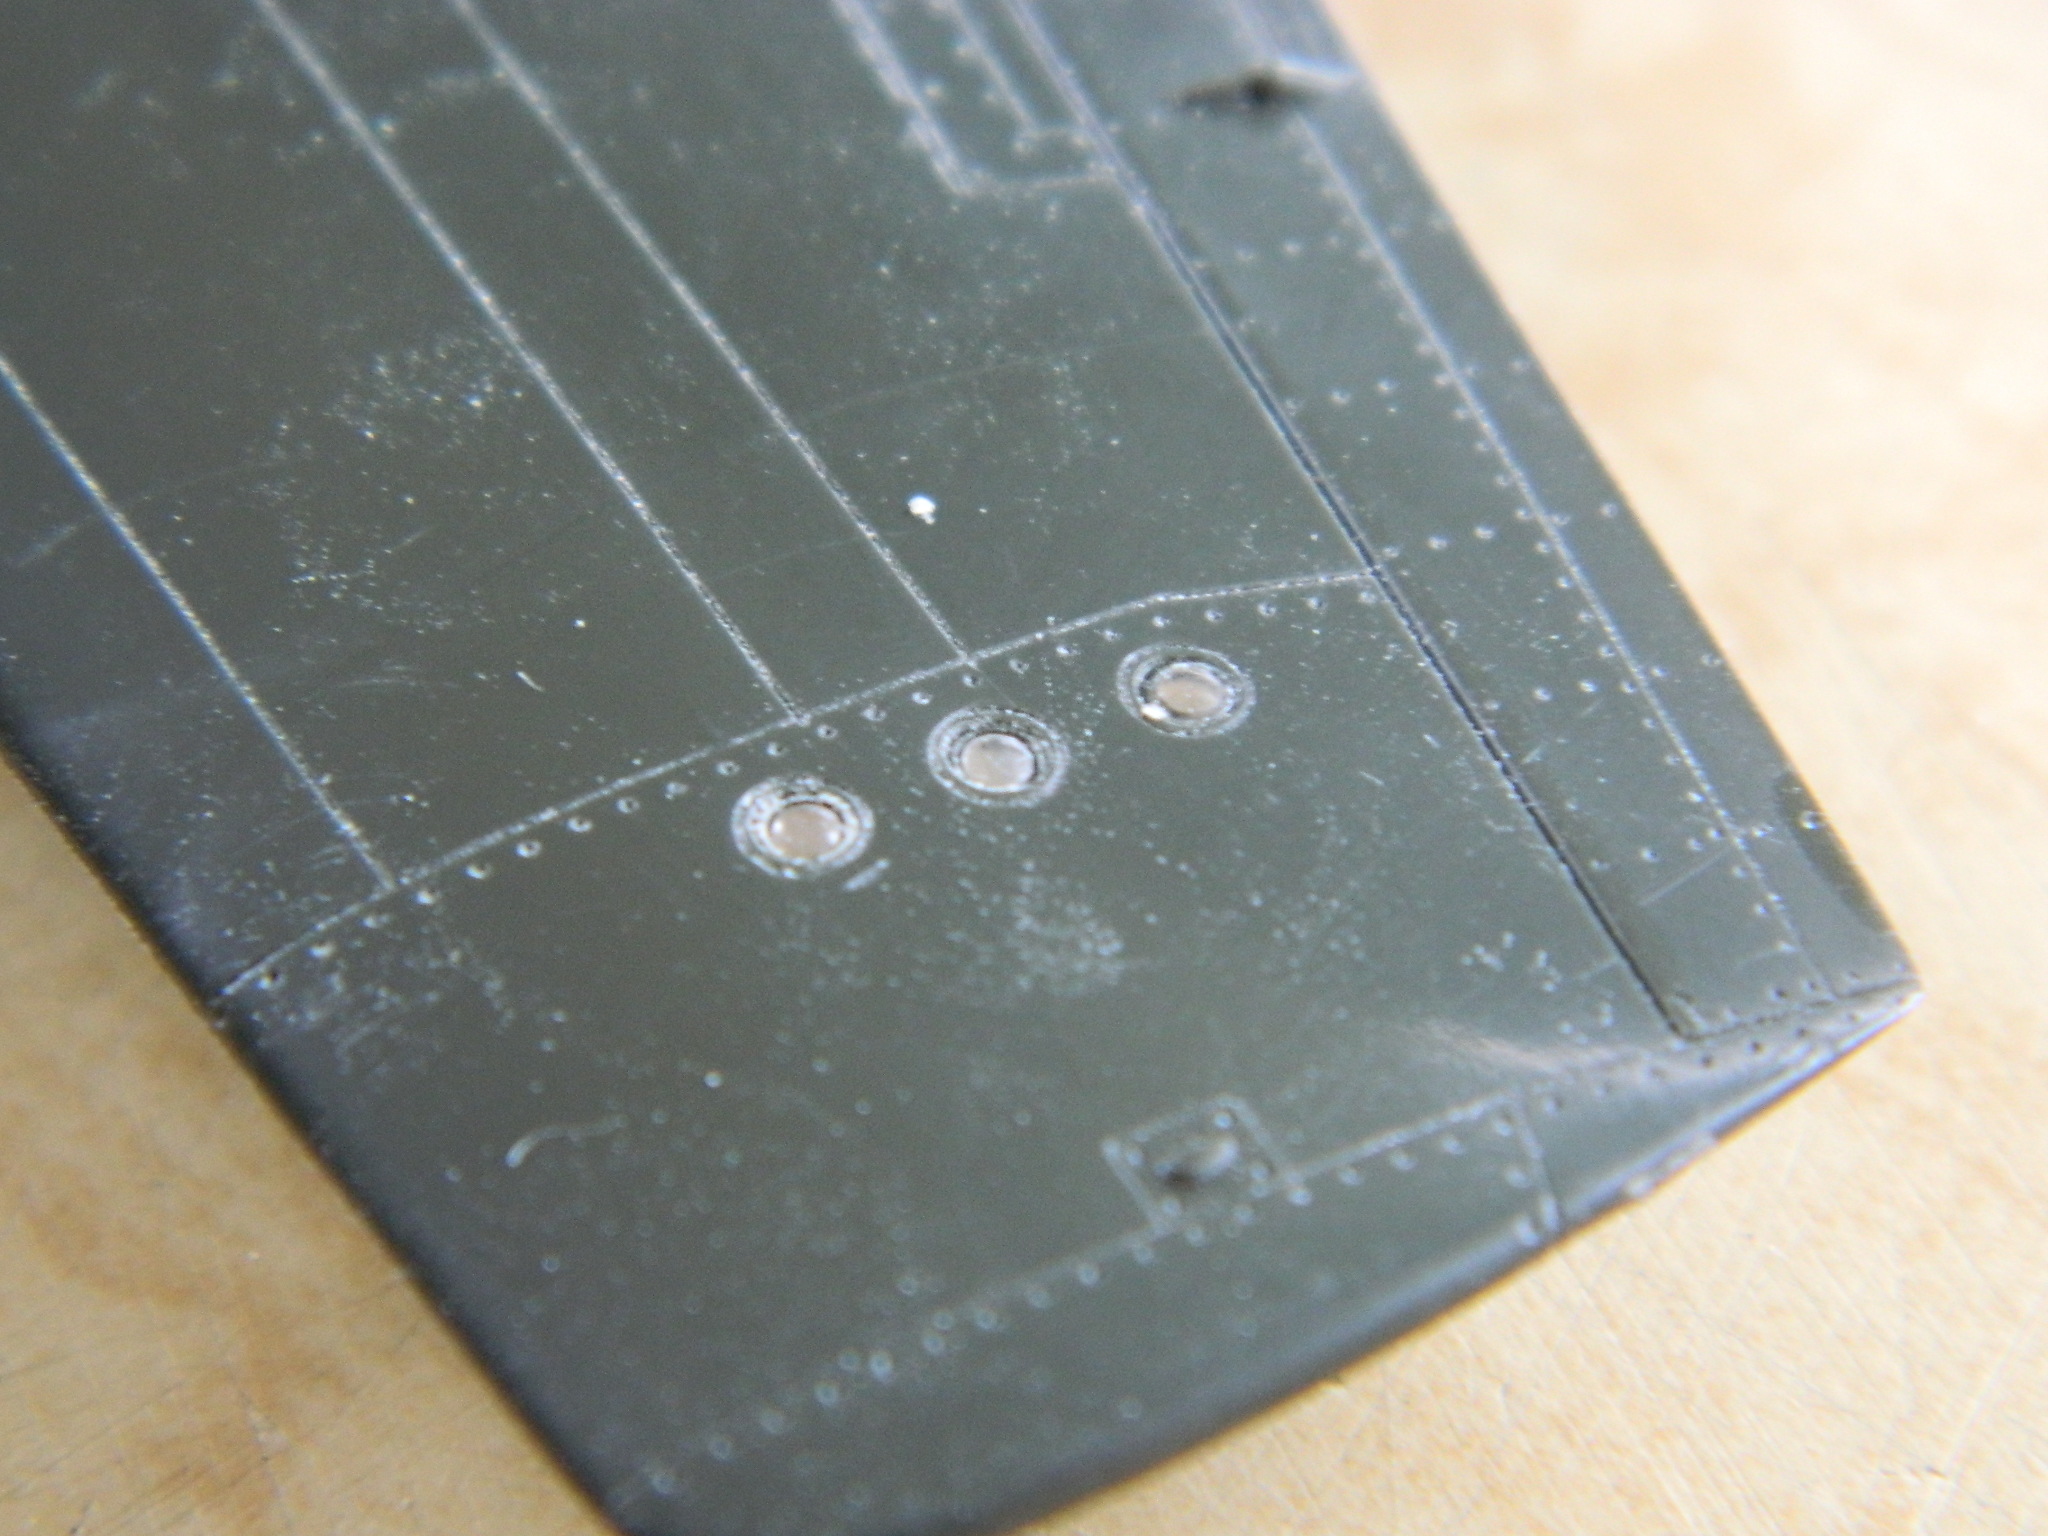
All the Mustangs (at least through the D variant) have three lights under the right wing. Rather than do the easy (and probably sane) thing and just paint the molded details, I decided I’d drill out the lights, replace it with clear sprue, and back paint them the proper colors:

A section of clear sprue was chucked into a drill and spun slowly while I used files, emery boards, and fine sandpaper to create a tapered section large enough to fill the hole:

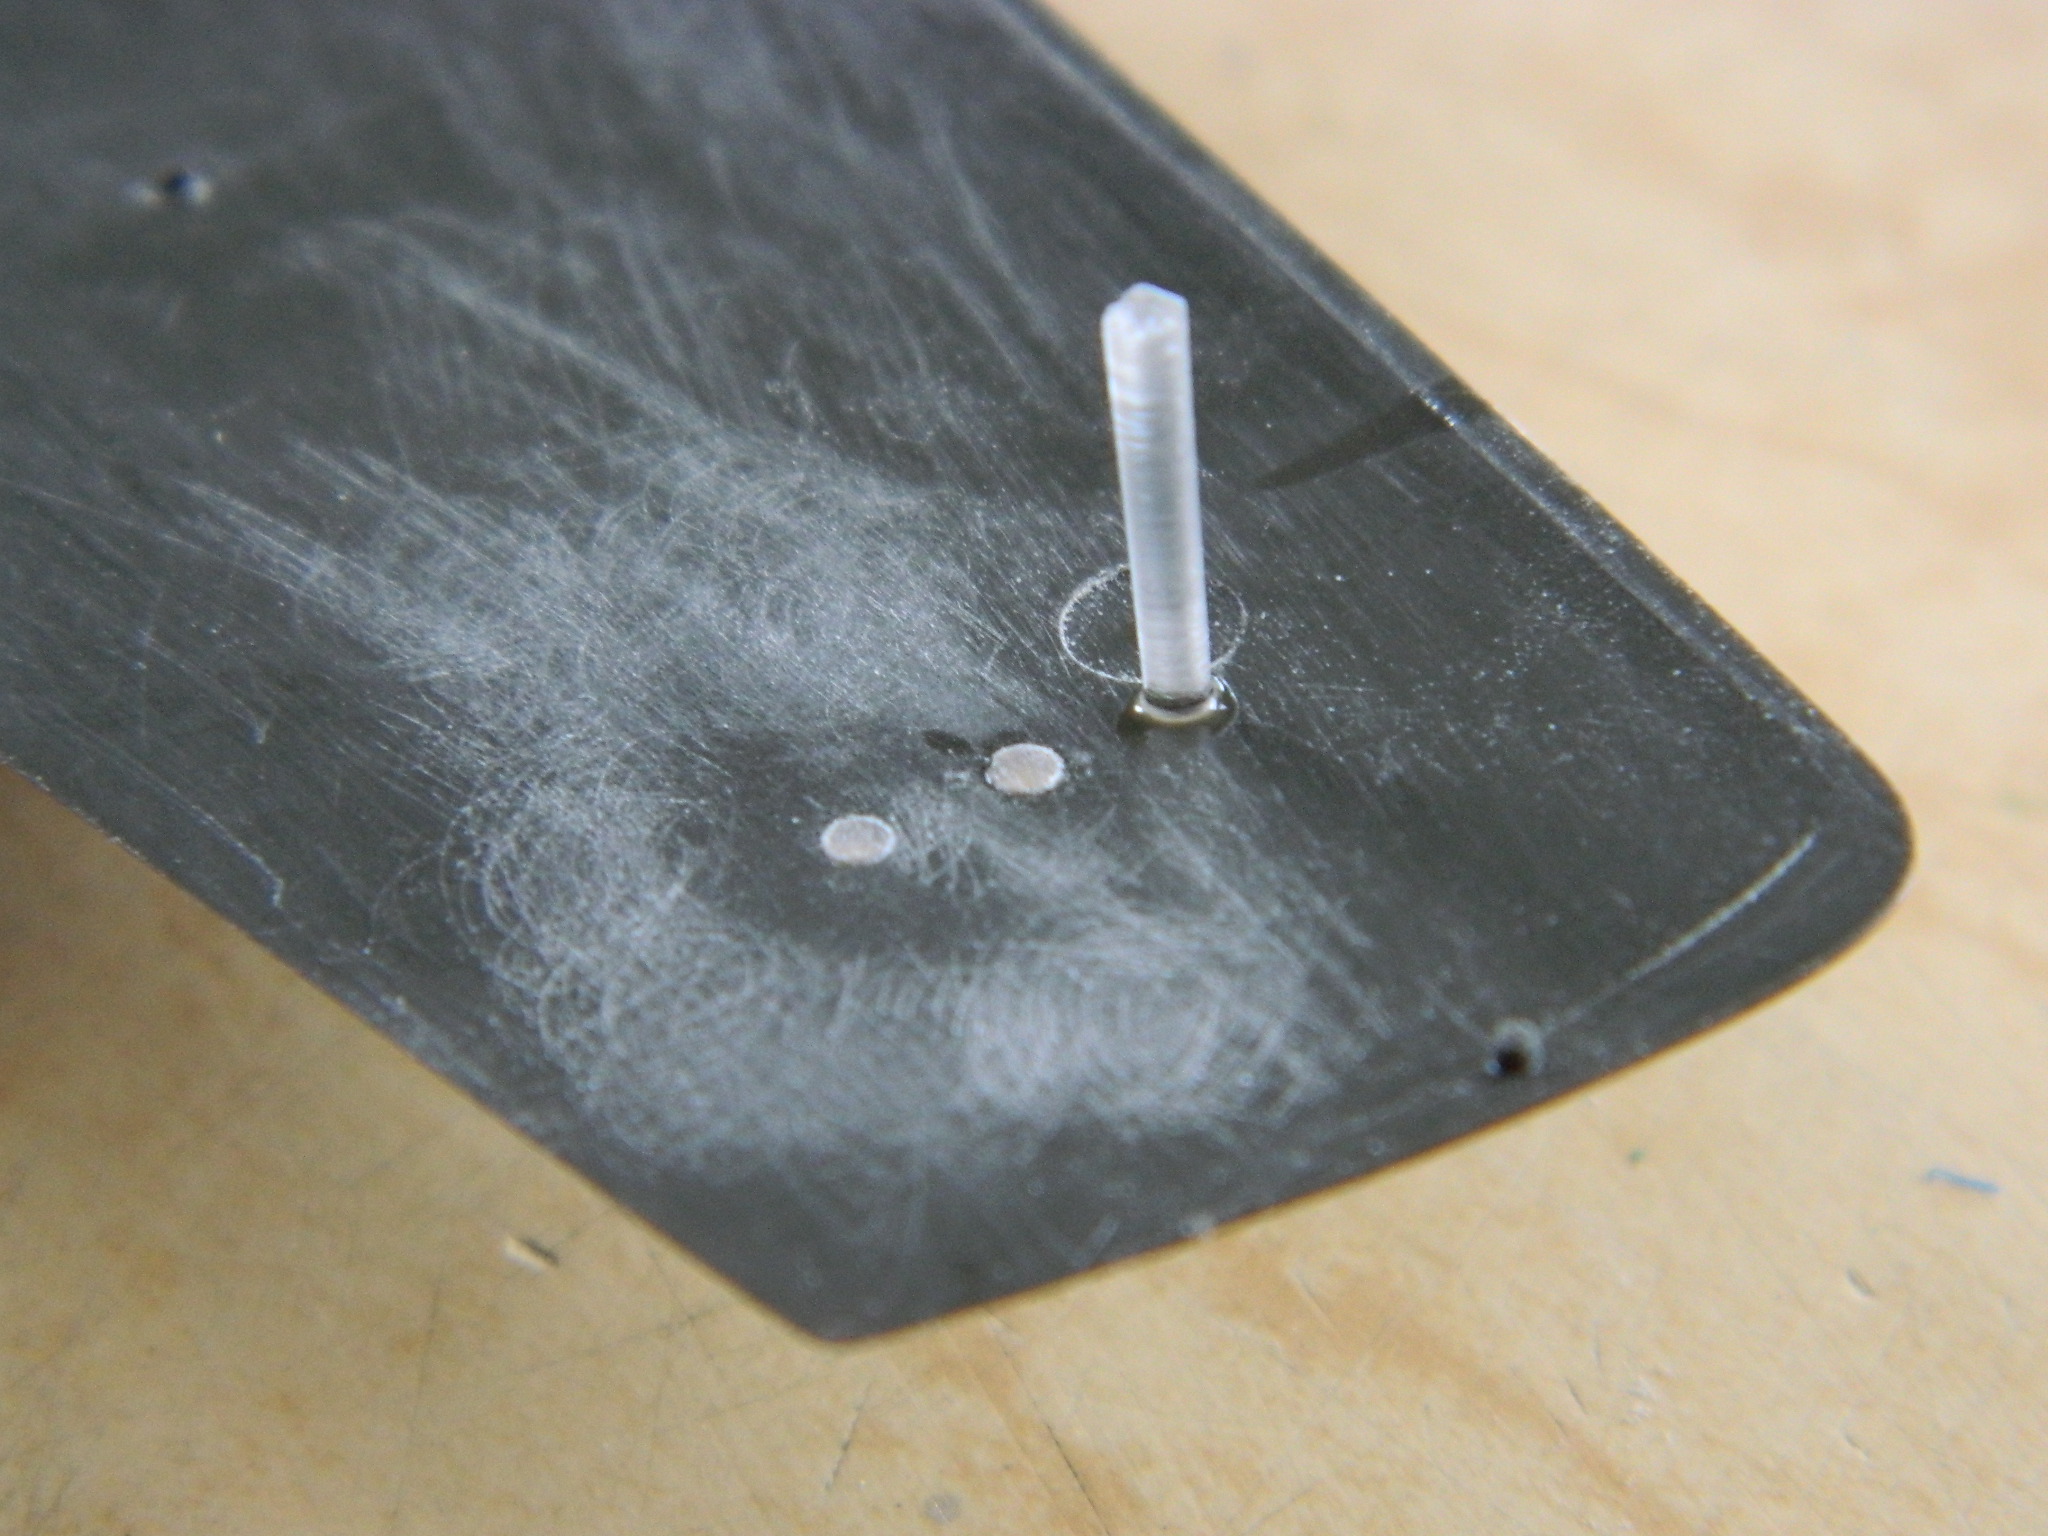
I traced the contact area with styrene cement, cut the clear part flush, and then sanded them up to and including polishing them (which I also did with the lens faces that can be seen) and then applied the proper color paint:
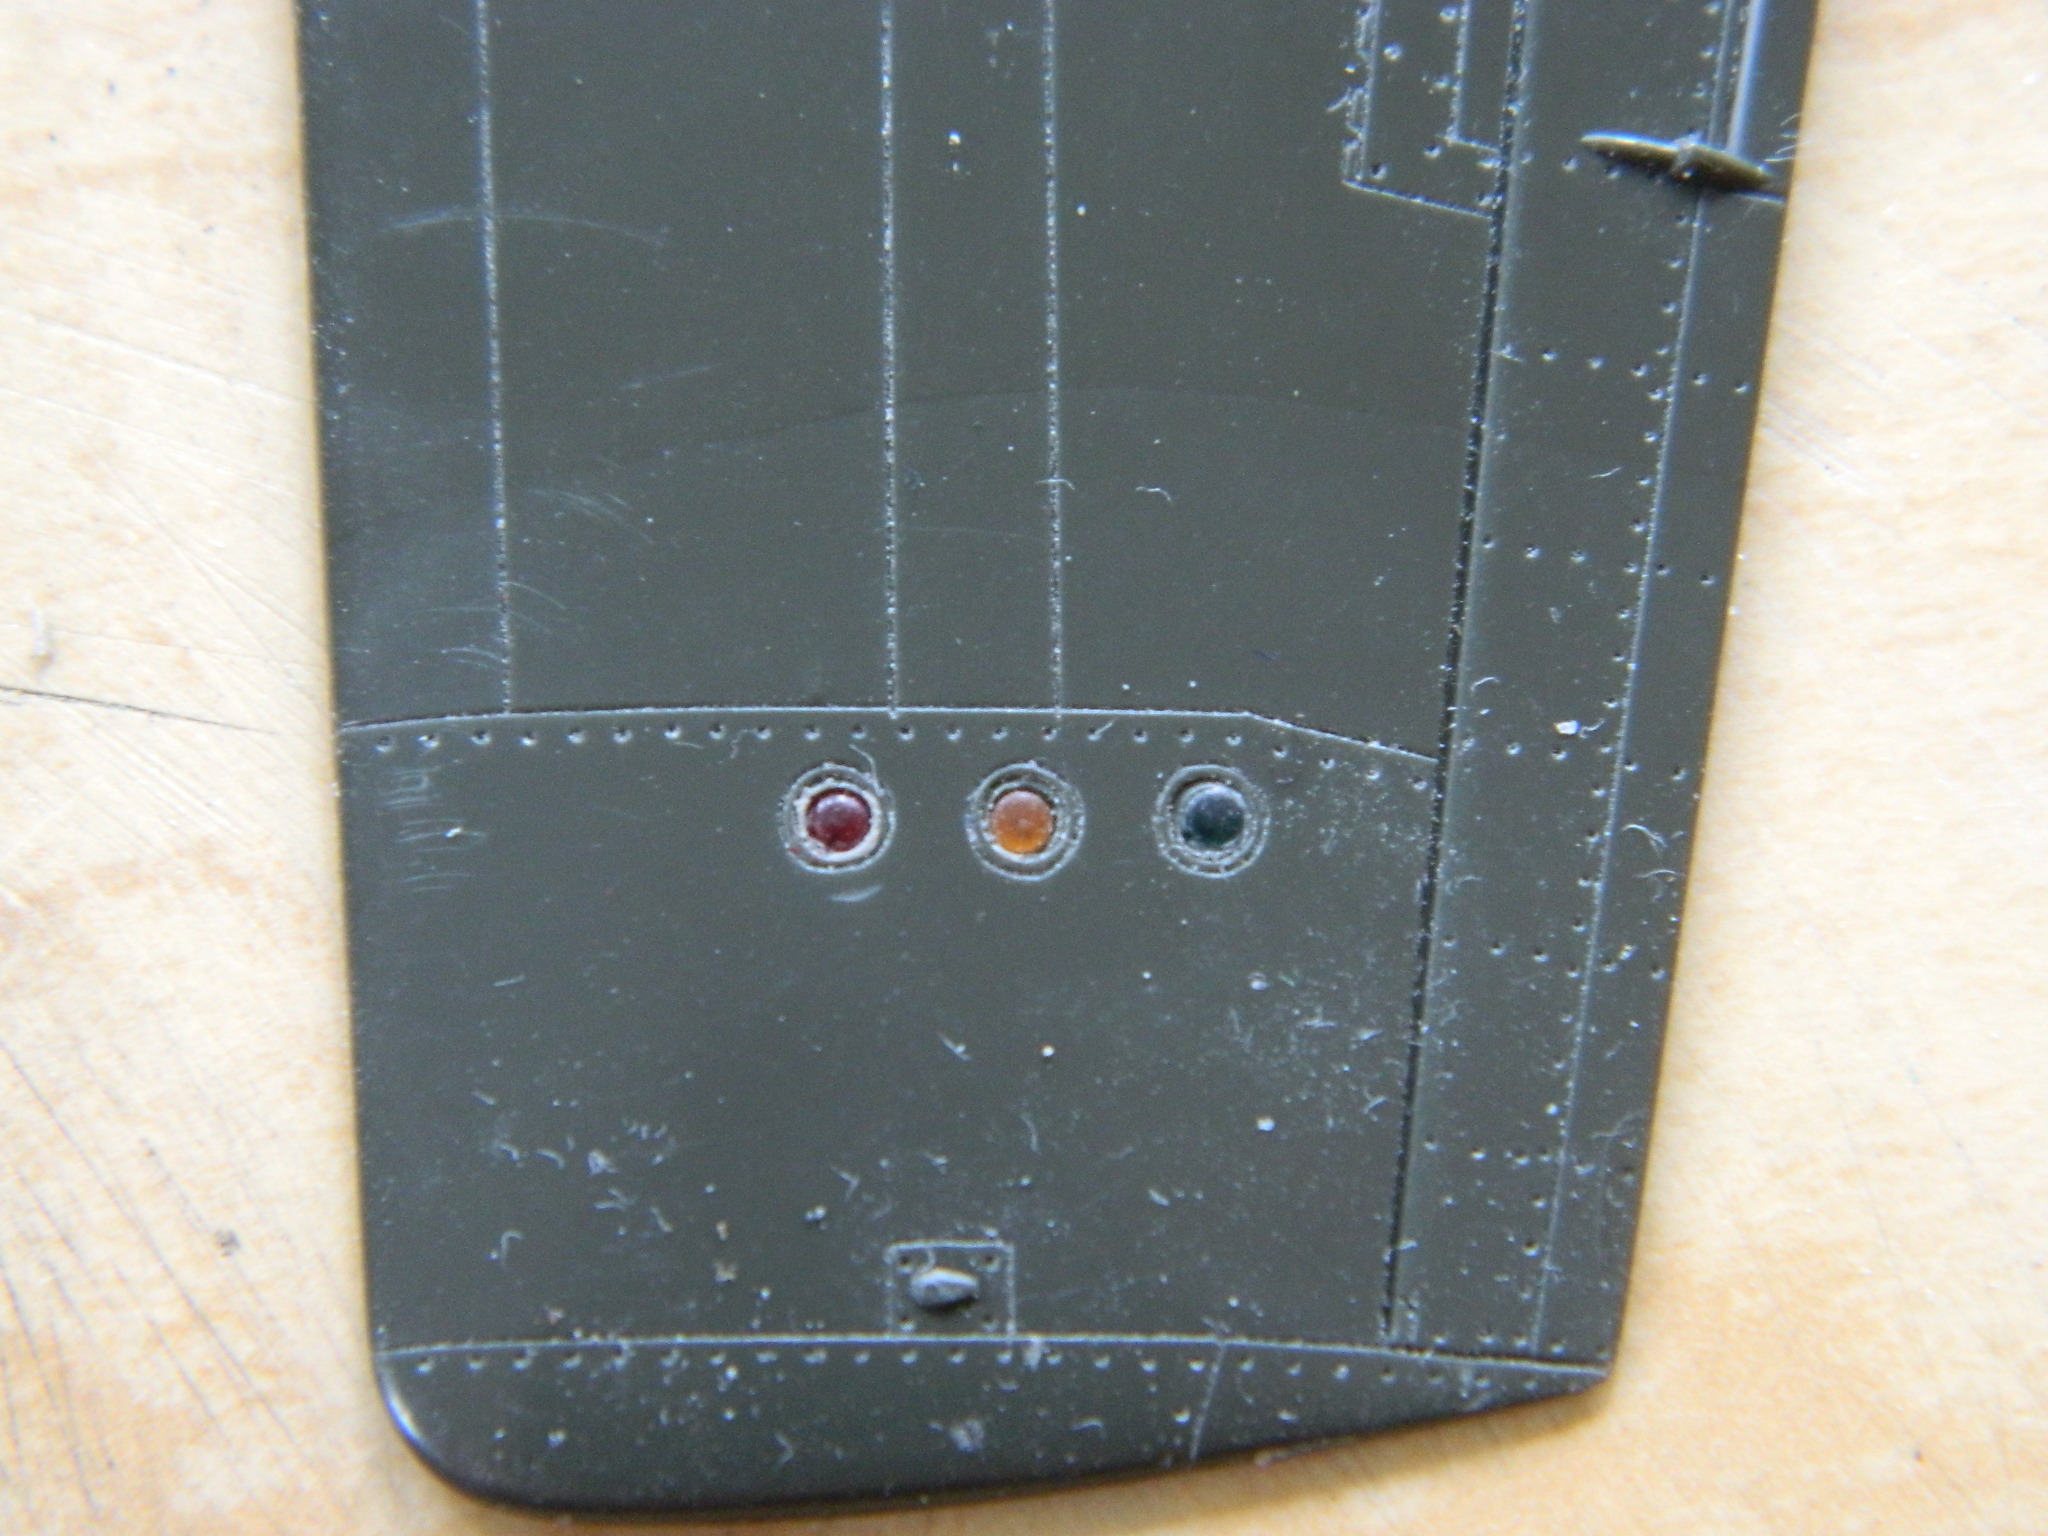
And as these things go, I rather doubt anyone who doesn’t know how that was assembled will ever notice…
With the lights, guns, and flaps all attended to, it was time to add the resin landing gear well tub and glue the wing tops to the bottom:

With the wing tops in place, I could now finish fitting the curved section of the flaps and trim the lower surfaces back so that they droop at the correct (looking) angle, then I added the detail(s) that I lost while puttying the scratches, sanding the added plastic, and added the rivet detail:


Before I add these parts to the wing, I’ll make a mold of them, pour resin, and use the resin parts (this way I don’t have to do this again for the next Allison Mustang build).
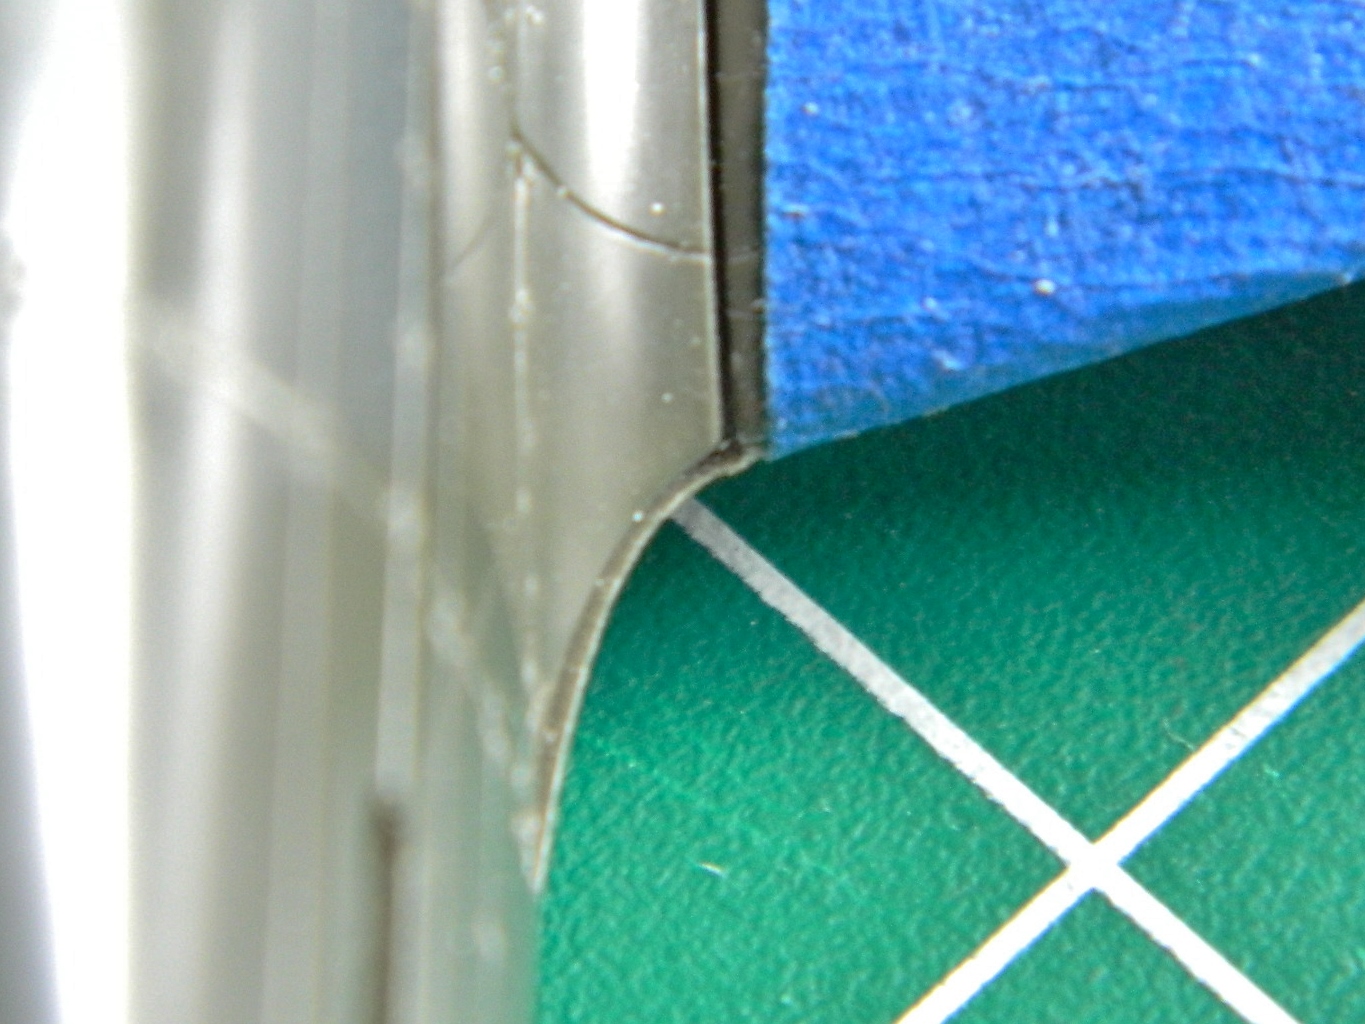
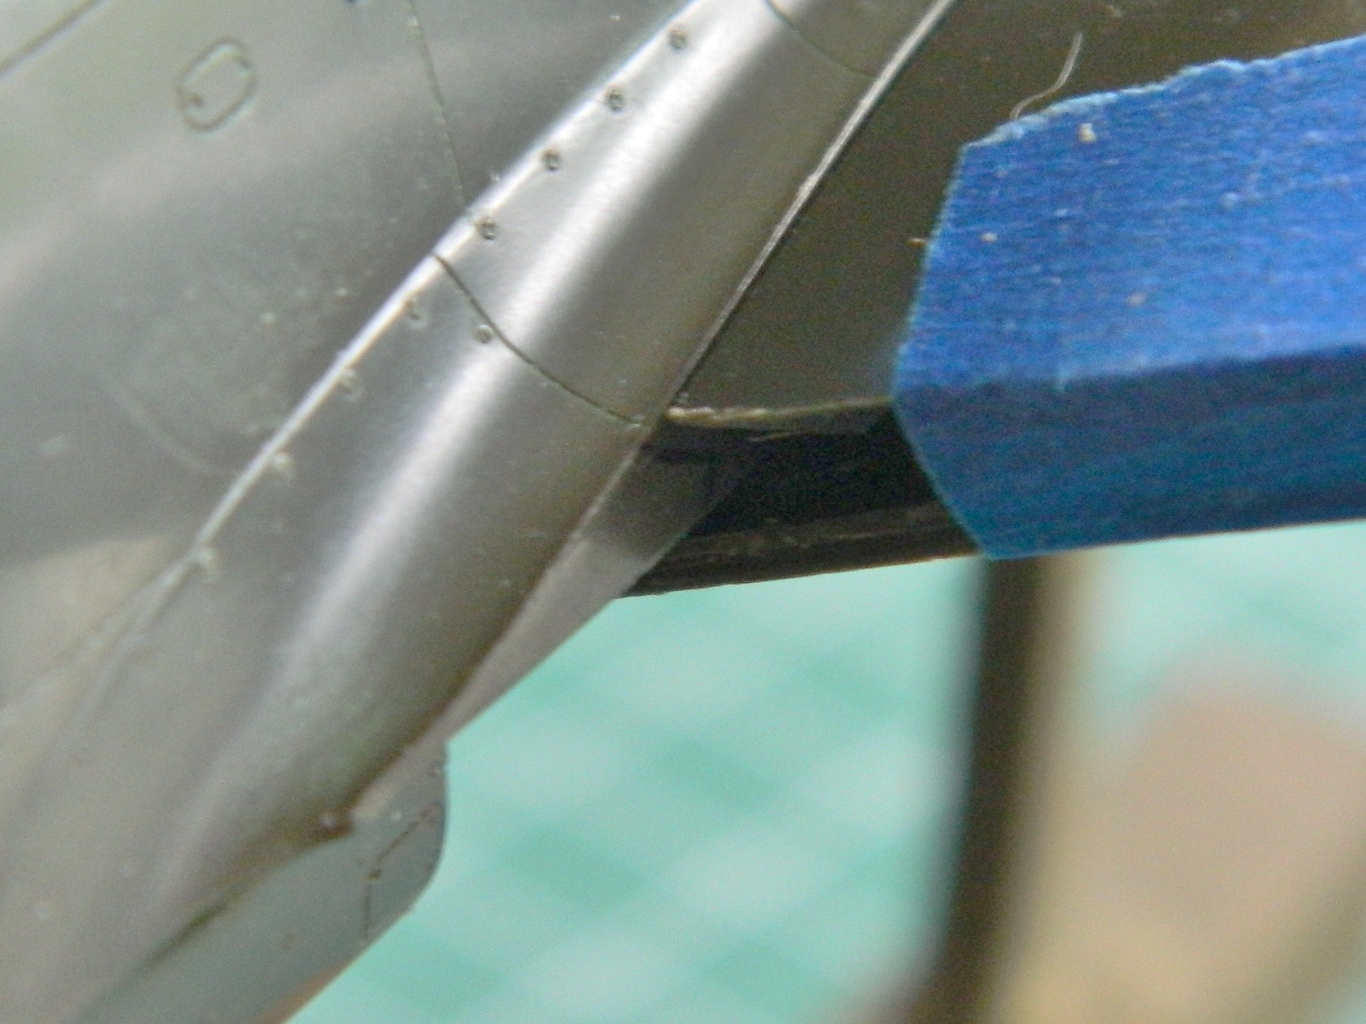
While I was doing the dry-fitting, I noticed other fit problems. Where the lower wing met the fuselage, the fuselage was too narrow (or the wing was too wide, but it was easier to fix the fuselage’s width). There was also too much of a gap where the wing meets the faring and the wing where the flaps were removed needed to be fit to the curve of the faring, now that the flap that did that isn’t there anymore. To fix the narrow fuselage, I diddled about using a piece of styrene tubing as a spreader until I had the fuselage properly aligned with the wing:

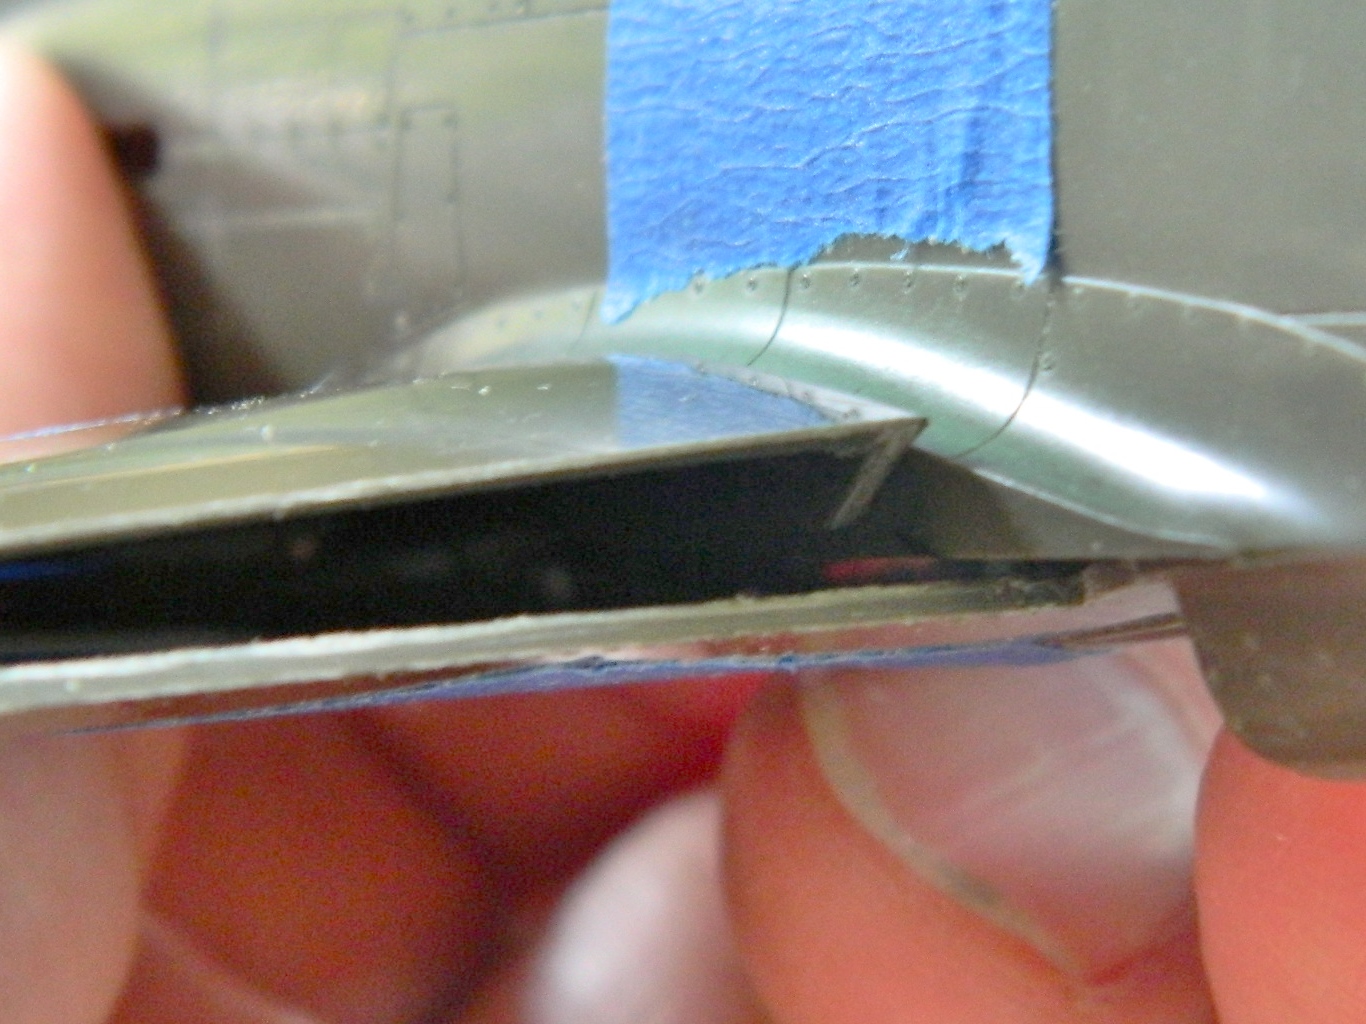
To fix the alignment of the wing/flap area, I used a piece of masking tape to hold the wing’s surface in proper alignment, then used scrap styrene as feeler gauges (you Millennials can google it) until everything was in contact inside the wing and the surface was where it needed to be, then I glued the shims in place:
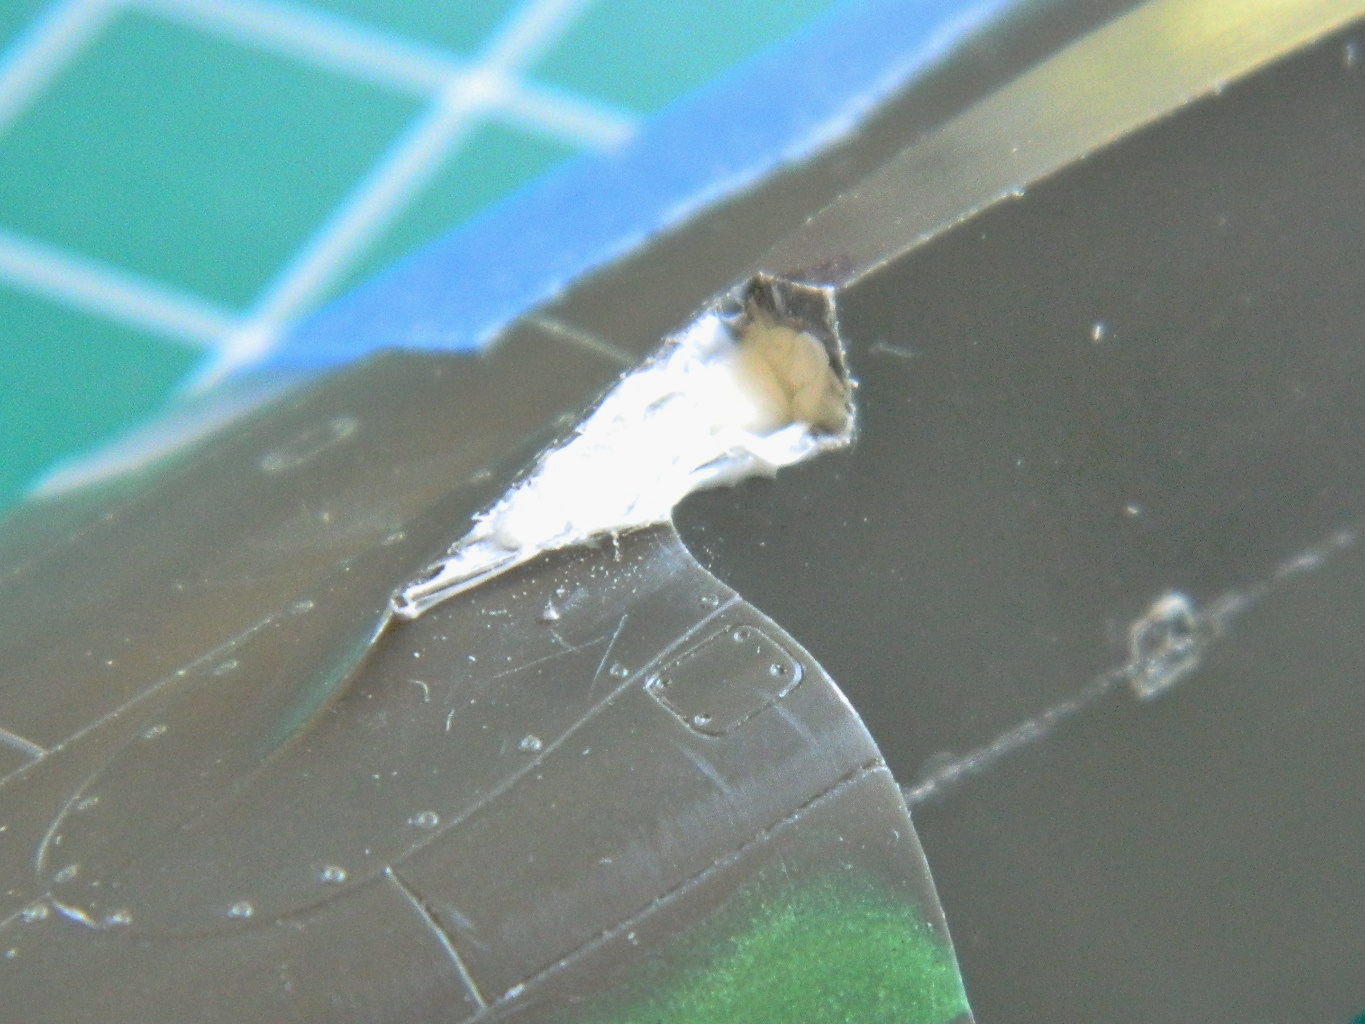
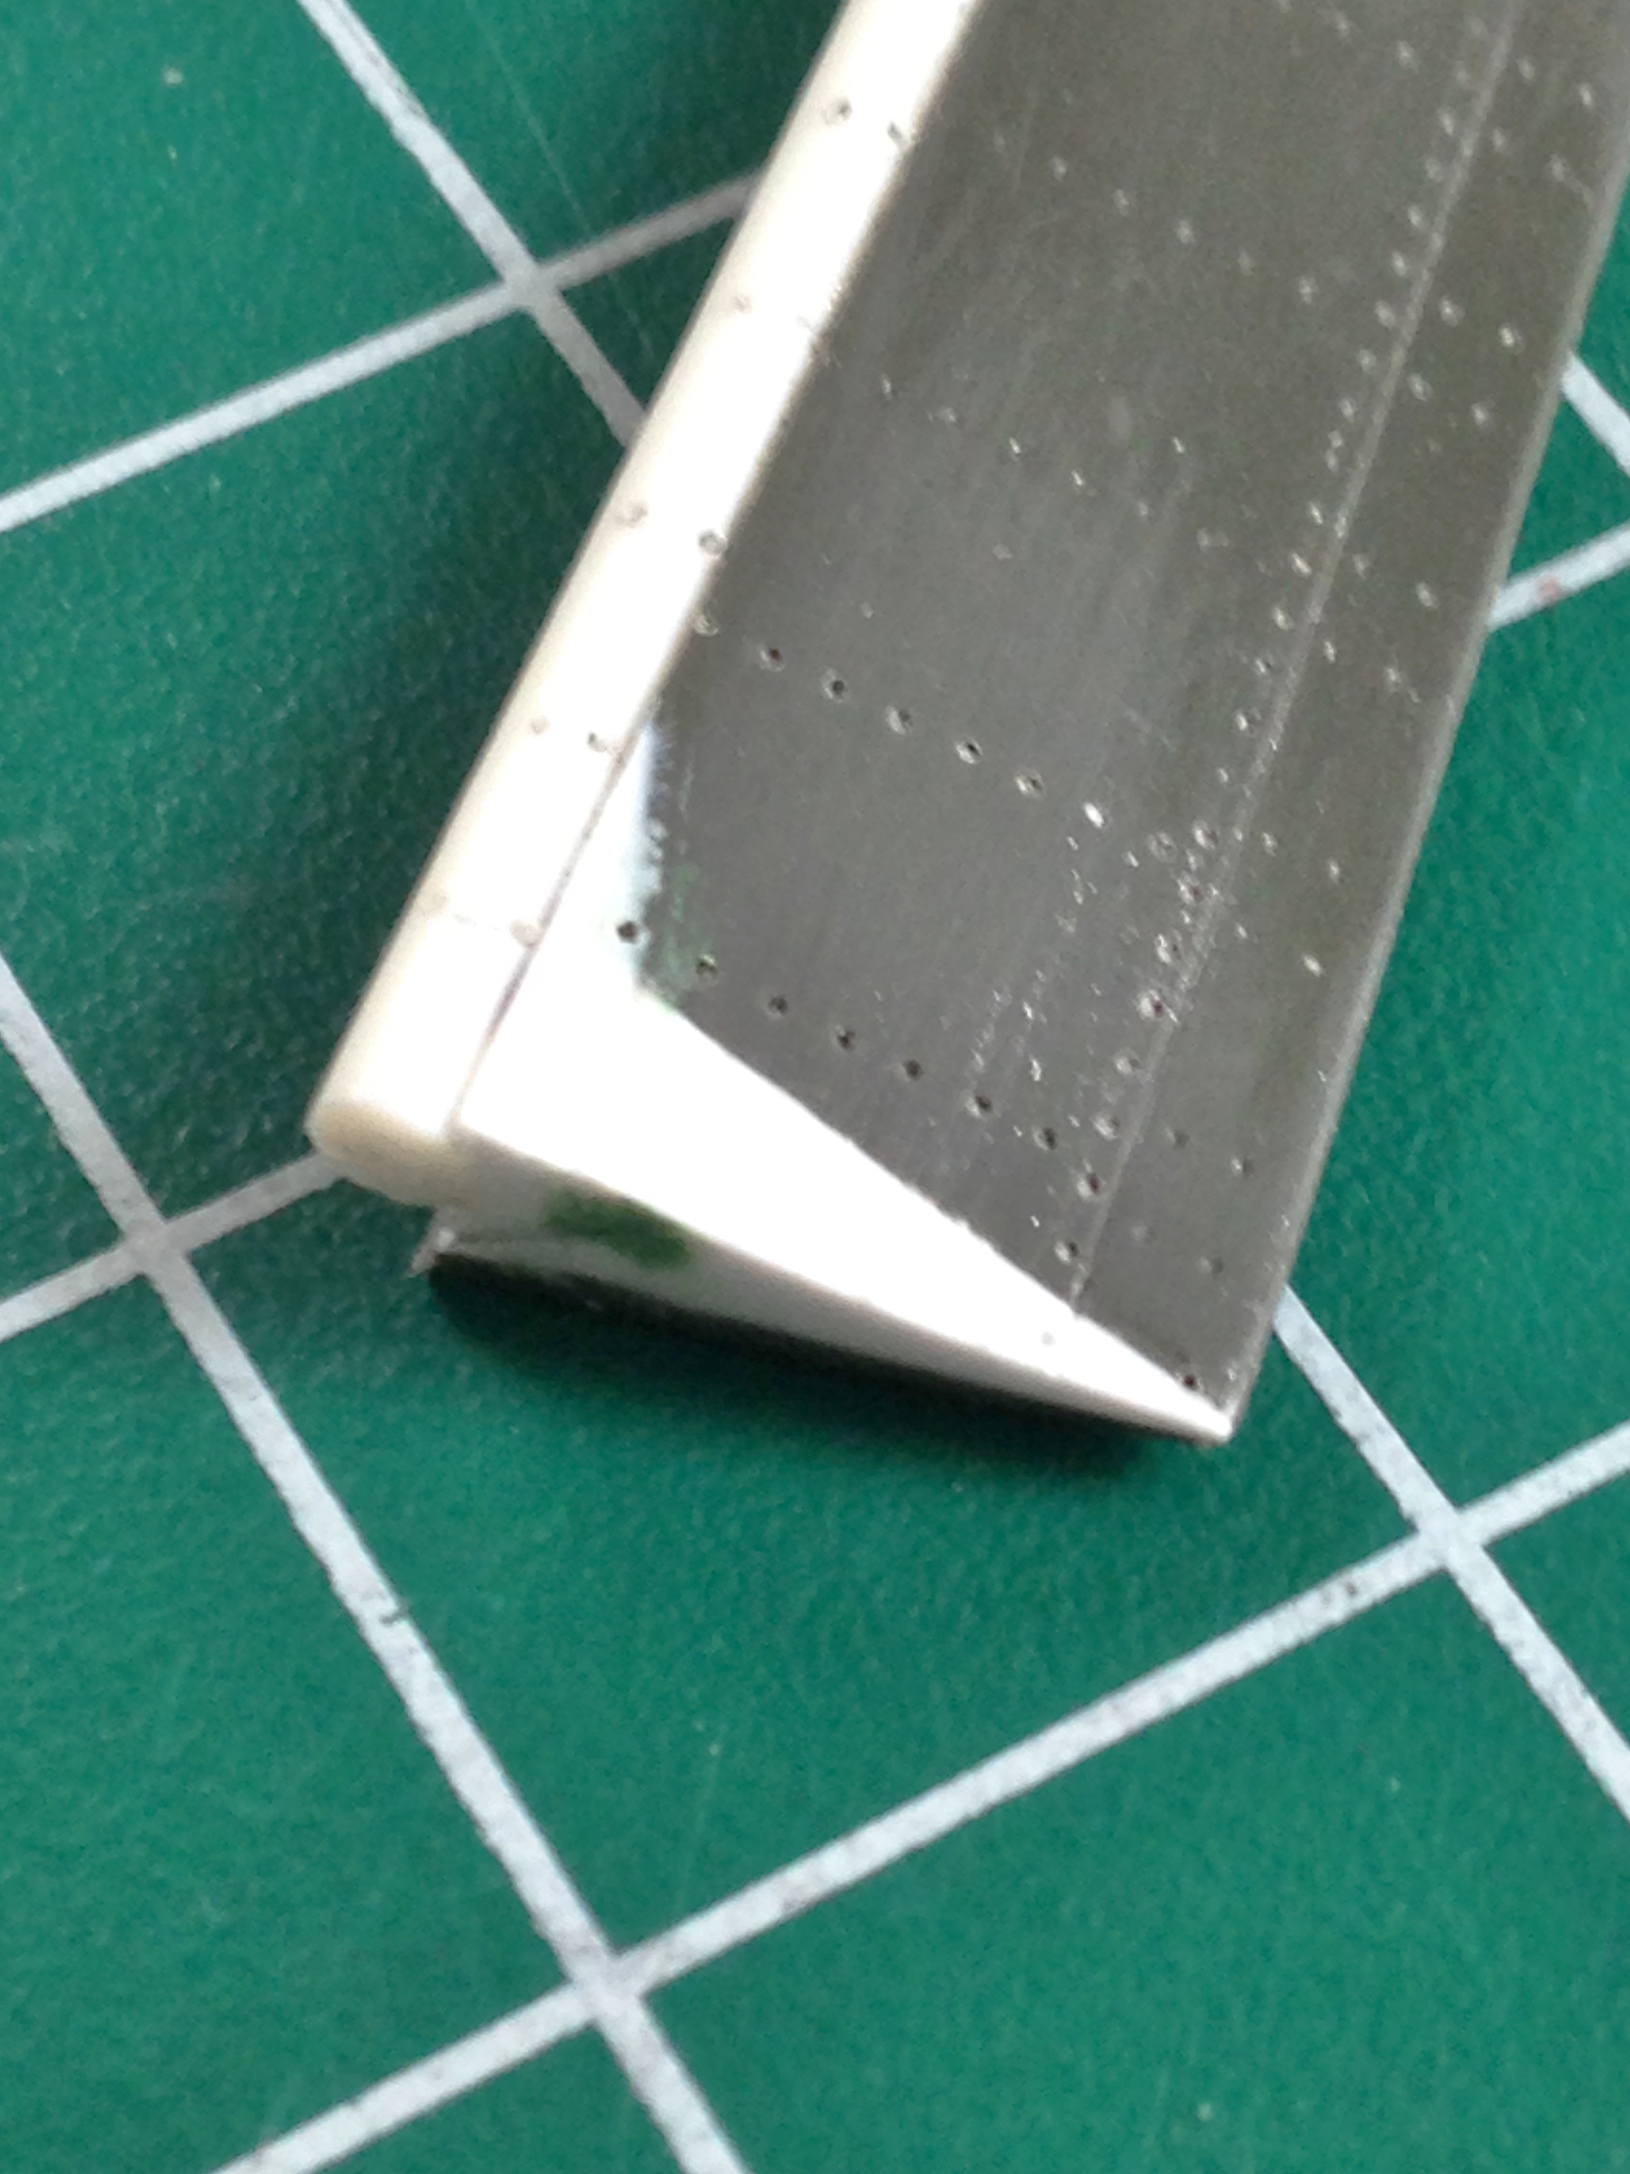
The wing root farings are thin aluminum. That area of the kit isn’t thin at all so that needed to be thinned to scale. With the wing bottom in place, I outlined the area that needed to be removed:

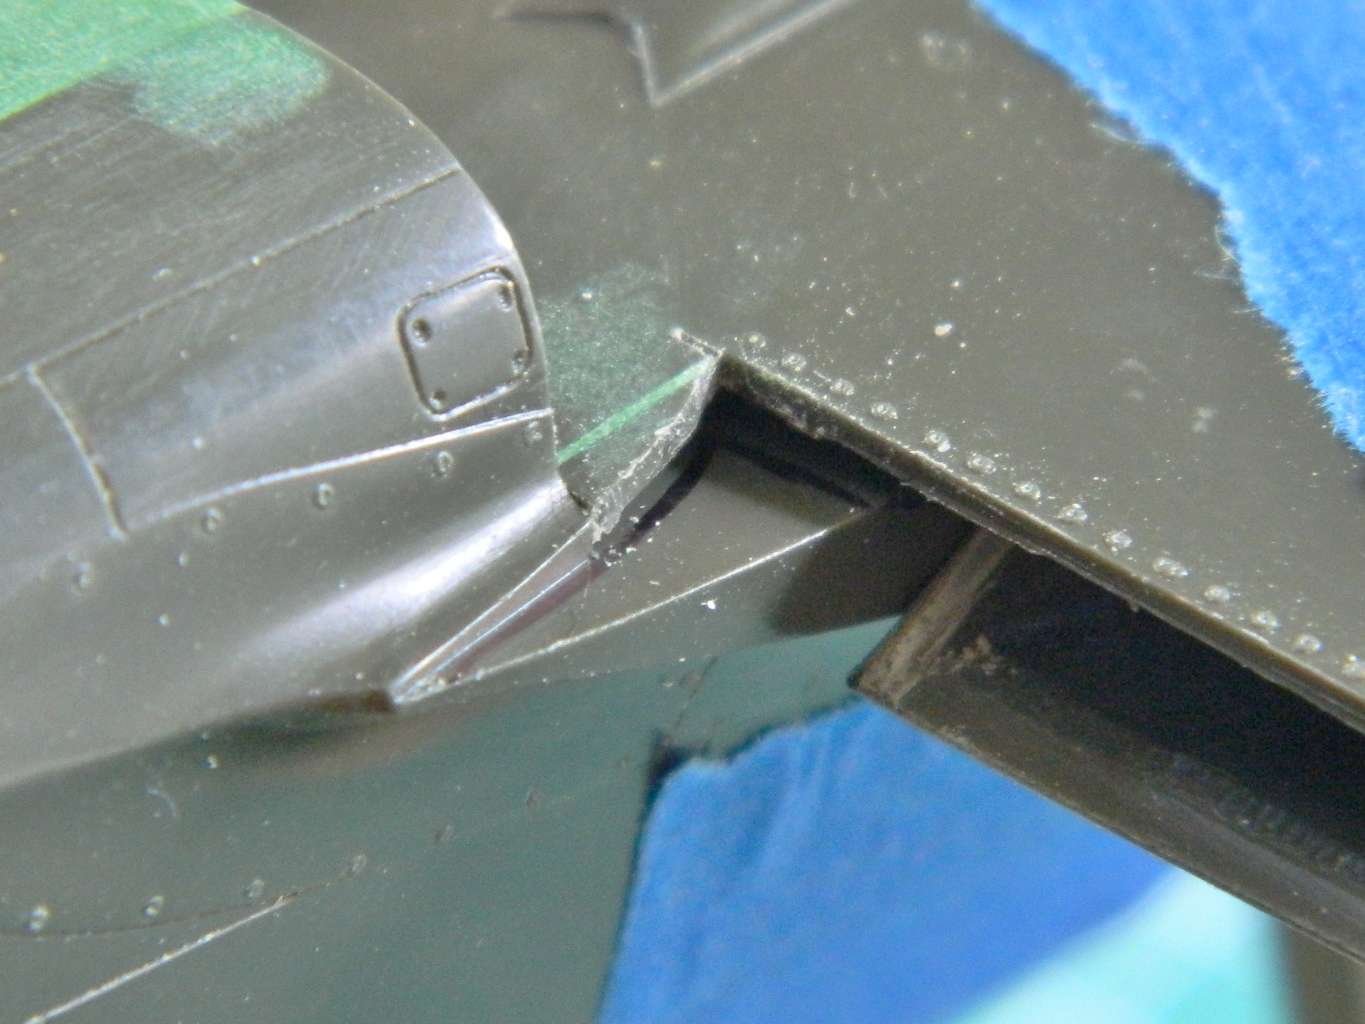
In the process, and as I expected, I cut completely through that area of the fuselage. I used my homemade structural putty to fill the voids: