I know that I haven’t really been doing (or trying to be doing) the decals on this thing forever. It just feels like it sometimes. (The remainder of the time I’m asleep.)
I conferred with the person that I’m building this for about my inability to eliminate the step from the edges of the decals and he wondered if I’d lost my sanity. Odd…I thought it rather obvious that I had, well before he was even born. So if he’s okay with those steps around decals…no, I’m not ever going to be okay with that, but this is for him. It’s not for me. (And that is the only reason I’ve gotten this far with it instead of smashing it to atoms.)
Now that I have the clear gloss put down, let’s try putting down decals. Again. This time let’s do it on the underside…y’know…just in case:
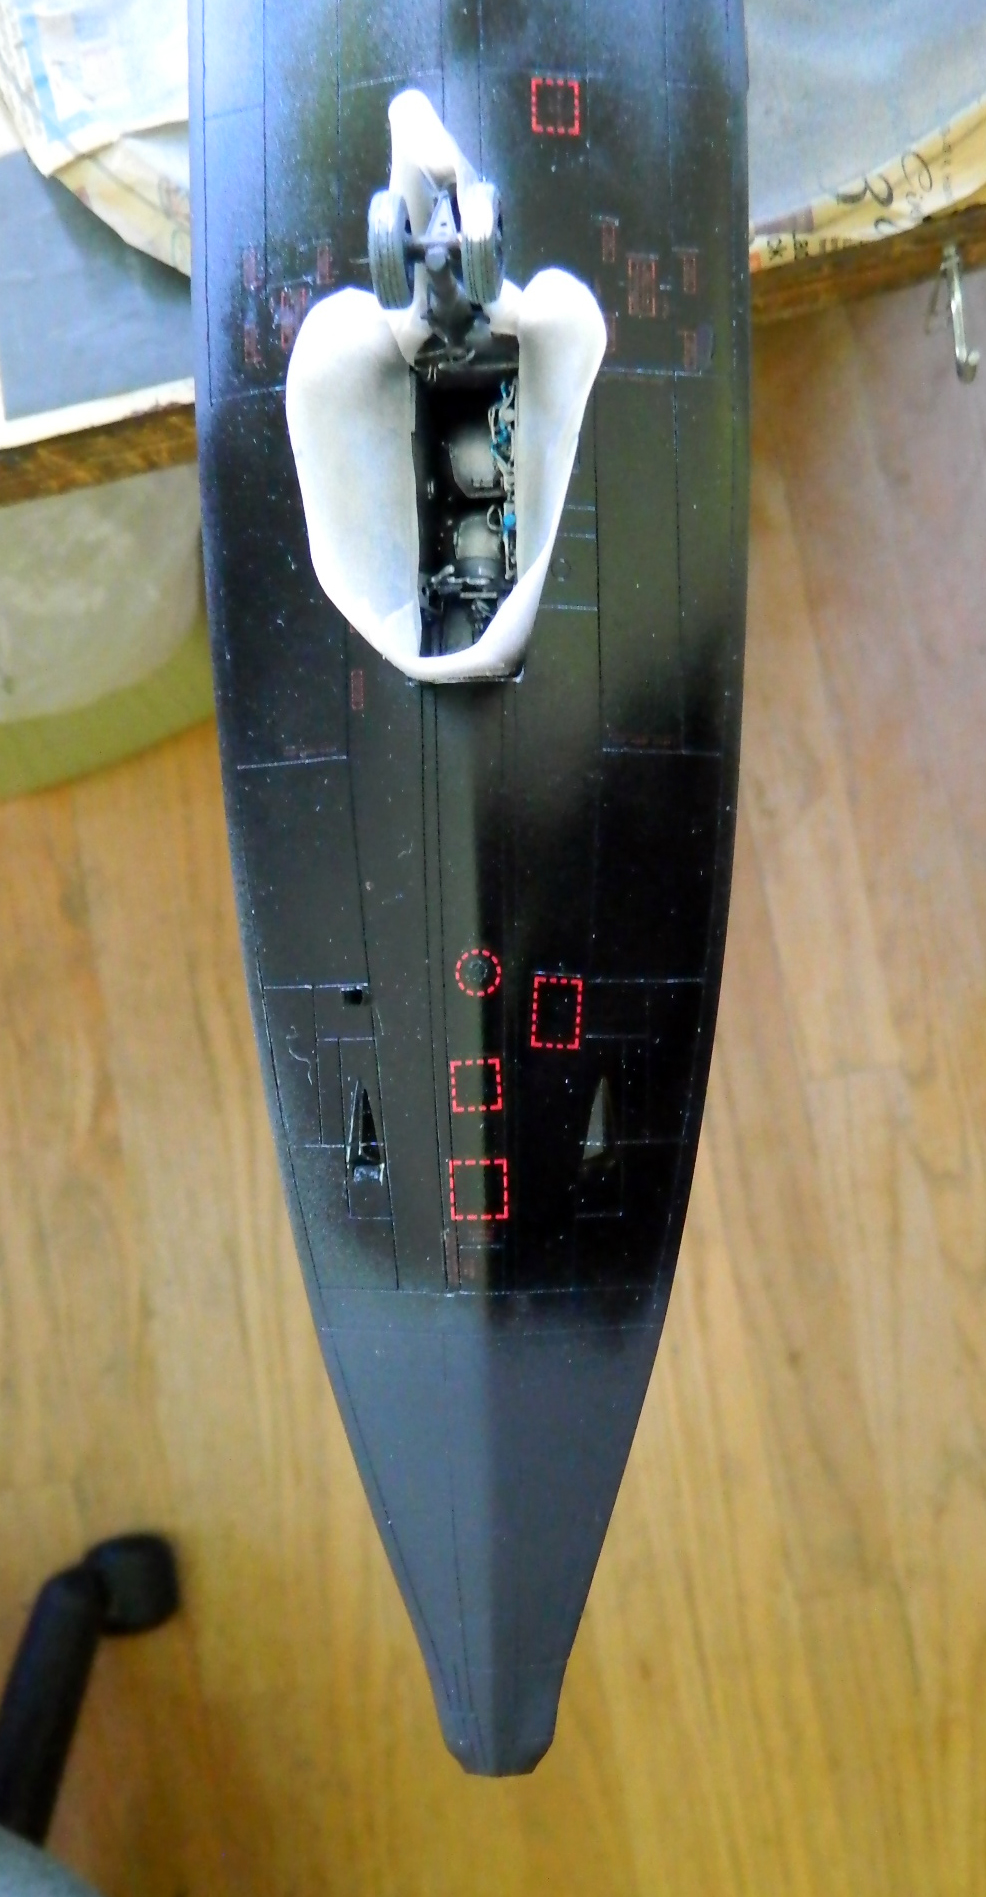

Once those were down, I put down clear matte over them. The results were acceptable…SO acceptable that I forgot to take photos. They were SO acceptable that I decided I’d try something so different for the top side that doing so felt like heresy.
I put these decals down over a matte surface without using clear gloss first. I put them down and then hit them hard with Walther’s Solvaset (the reason being that it’s the strongest decal solvent I’ve yet used):


I did both sides and then put down a coat of clear matte. Shocking myself to borderline incontinence, there was no silvering! Well…that’s what I thought initially. There was a bit of silvering, but very little. When that happened, I used a needle to prick the decals’ surfaces and reapplied Solvaset. The solvent knocked down the silvering to 99% gone, giving me the best results since I started trying to decal this styrene cunt.
Good enough. So I laid down the rest of the topside decals with similar results (and if you’re reading this before you build this bench whore, and you still want to build this bench whore, the long “No Step” stripes on top should NOT BE DONE IN ONE PIECE…cut them into MUCH EASIER to handle lengths) (no, don’t ask):

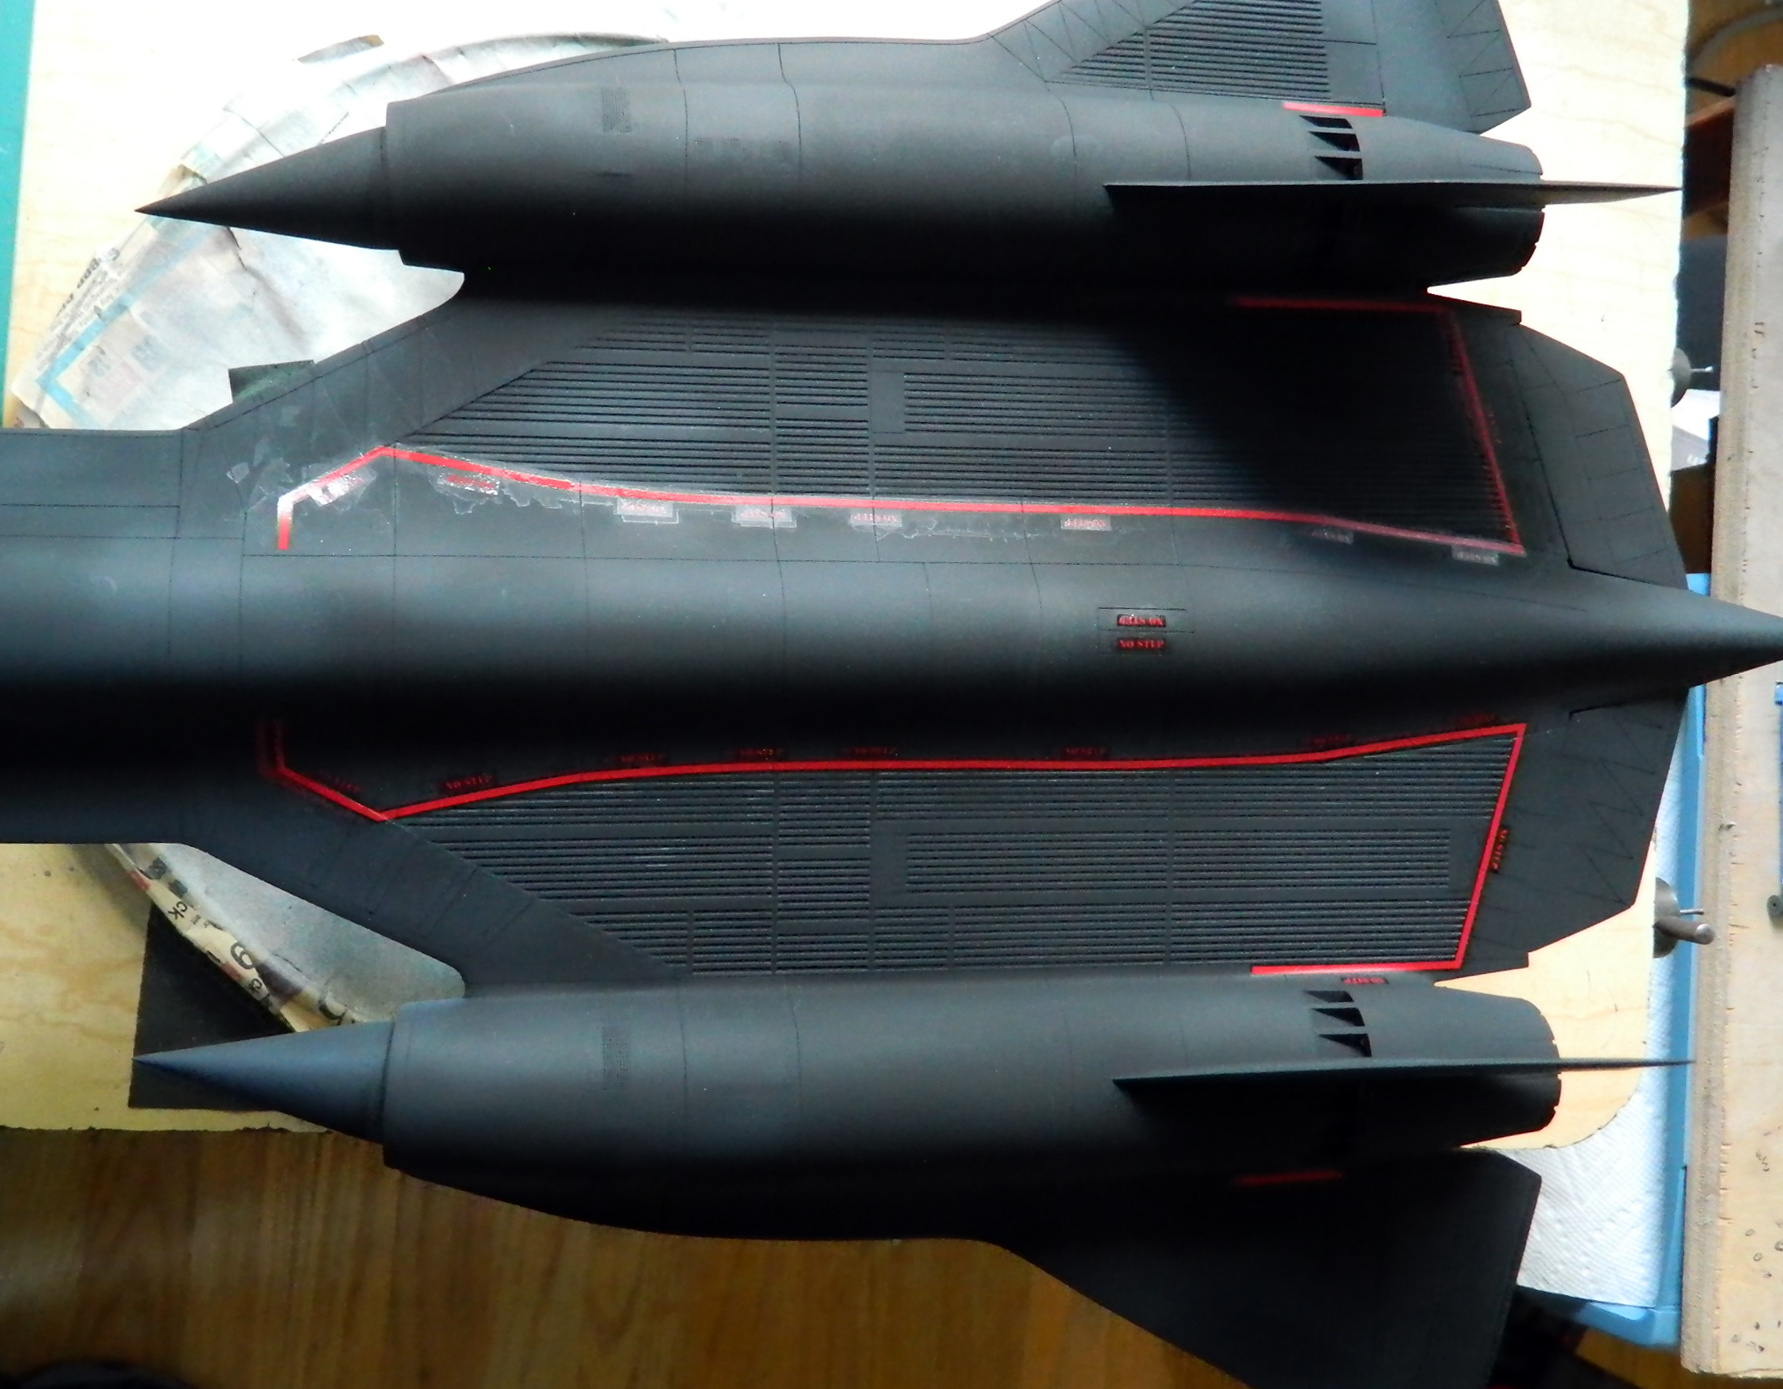

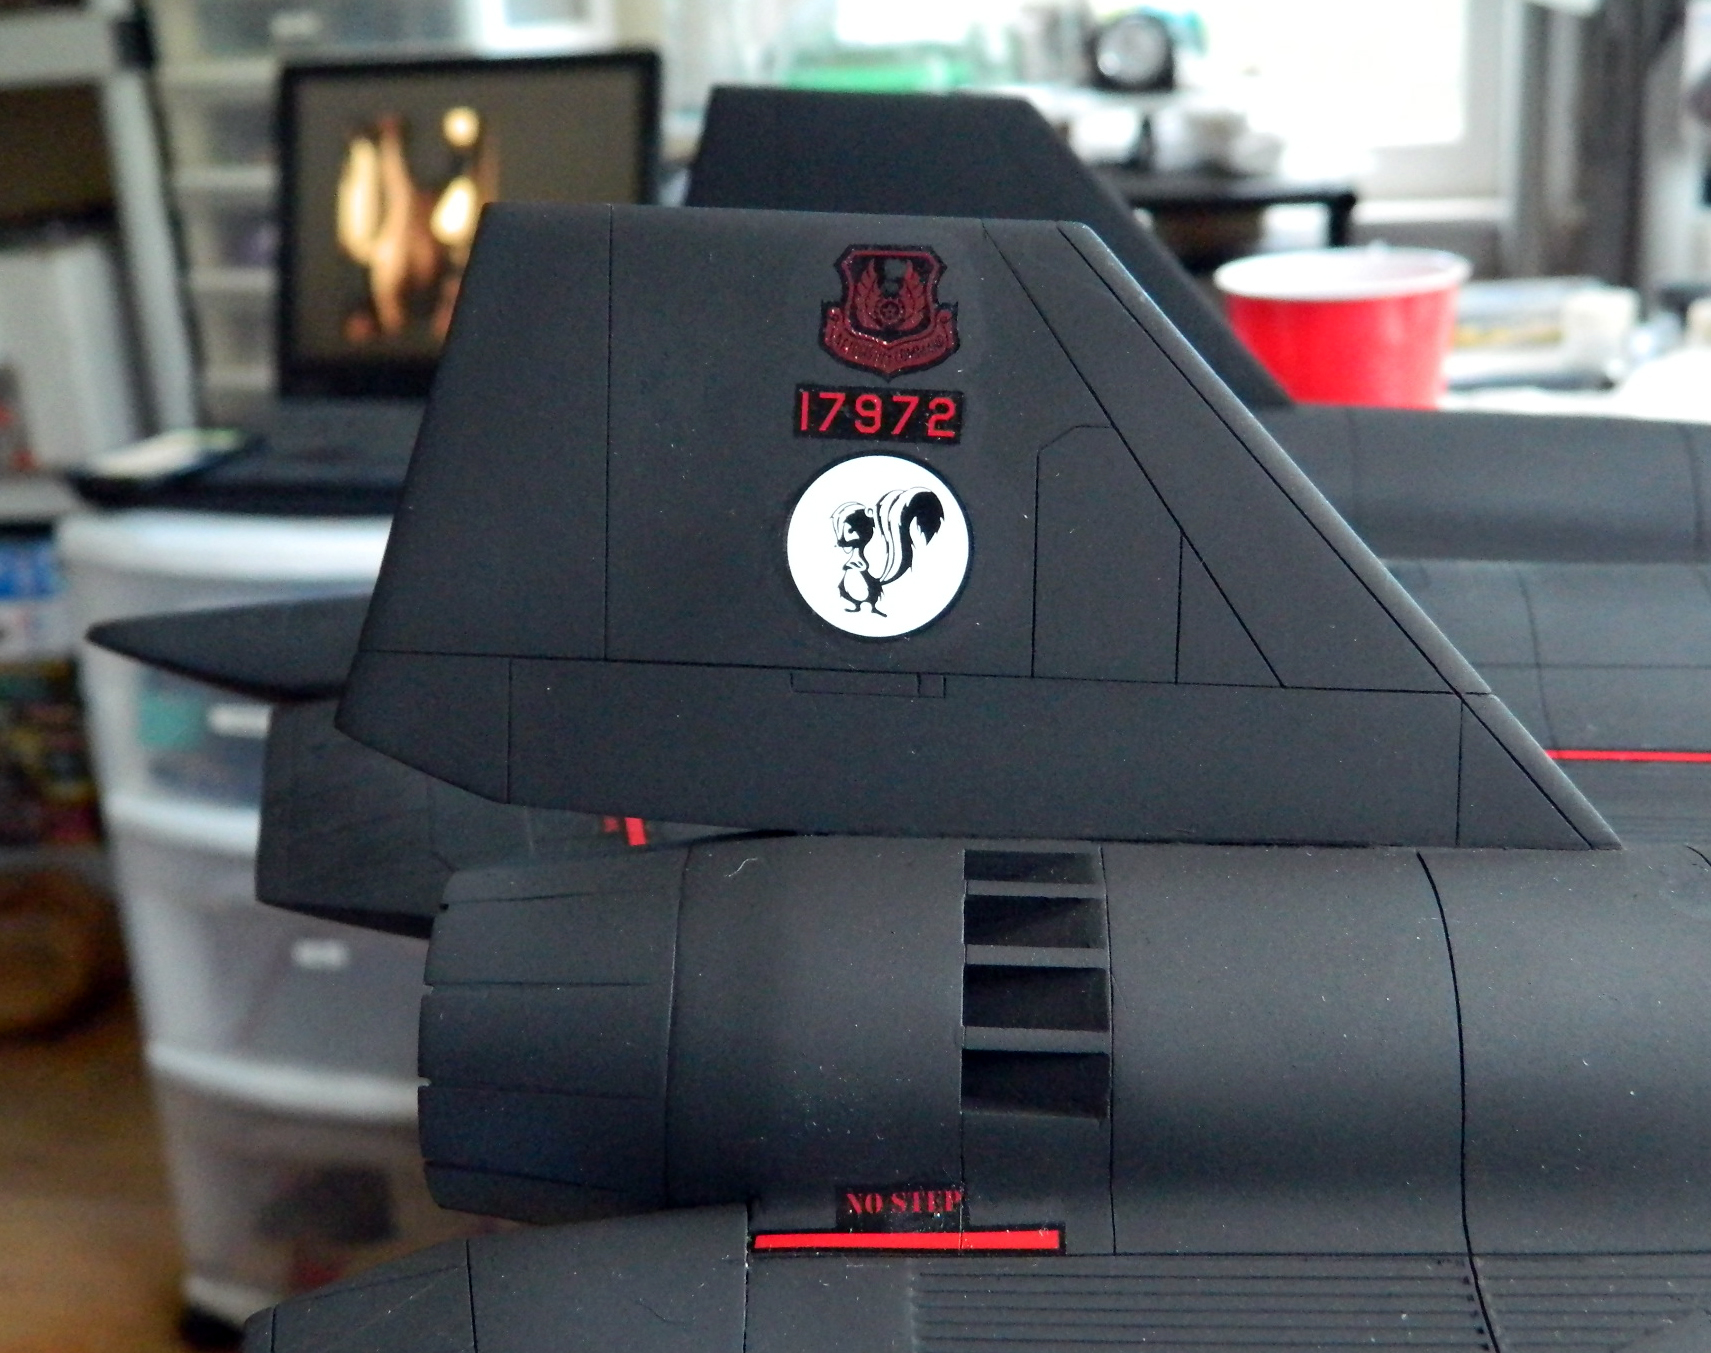
Then everything was treated to a coat of clear matte and the results were again good enough:


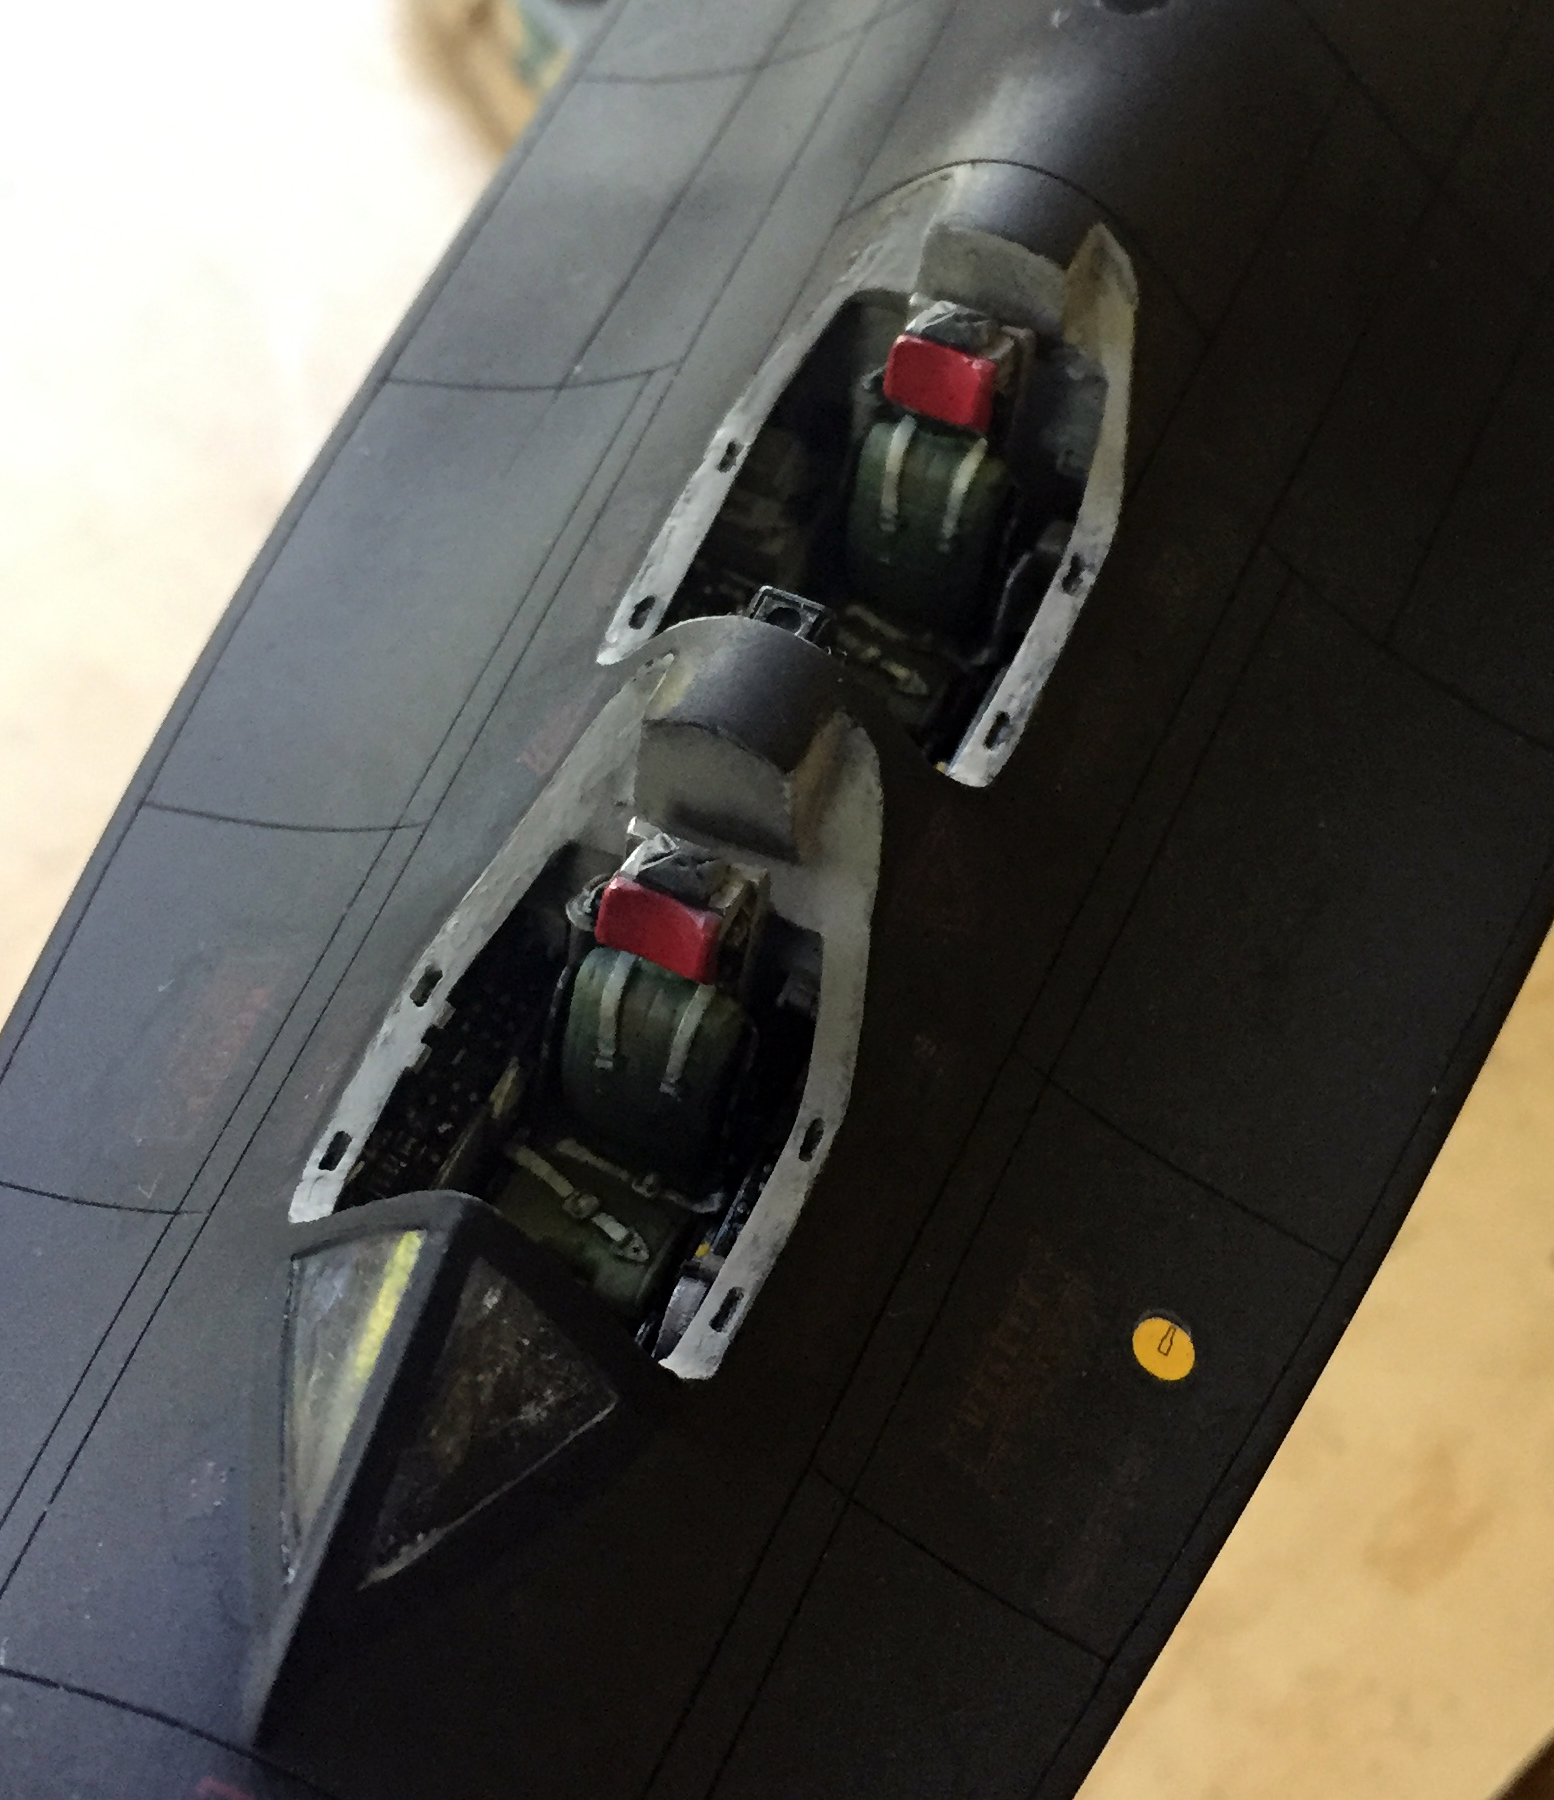
With the decals done (and the first time I had that thought I almost wet myself) and the (final!) coat of clear matte down, it was time to unmask and remove the canopies:

Some damage was done to the sill of the rear cockpit where the front canopy latch is. The fix was to VERY CAREFULLY cut away the side, insert a piece of .020″ (.508mm) styrene, putty it, sand it, and repaint it. I got lucky, it worked perfectly, and the minimal over spray on the decal was lifted off with a cotton swab soaked in denatured alcohol. Whew:
There was the requisite touch-up needed around the cockpit sills. I sanded back the paint with 1200 grit sandpaper to get a nice, smooth, transition. Then what I didn’t want painted was masked and the flat black was put down:


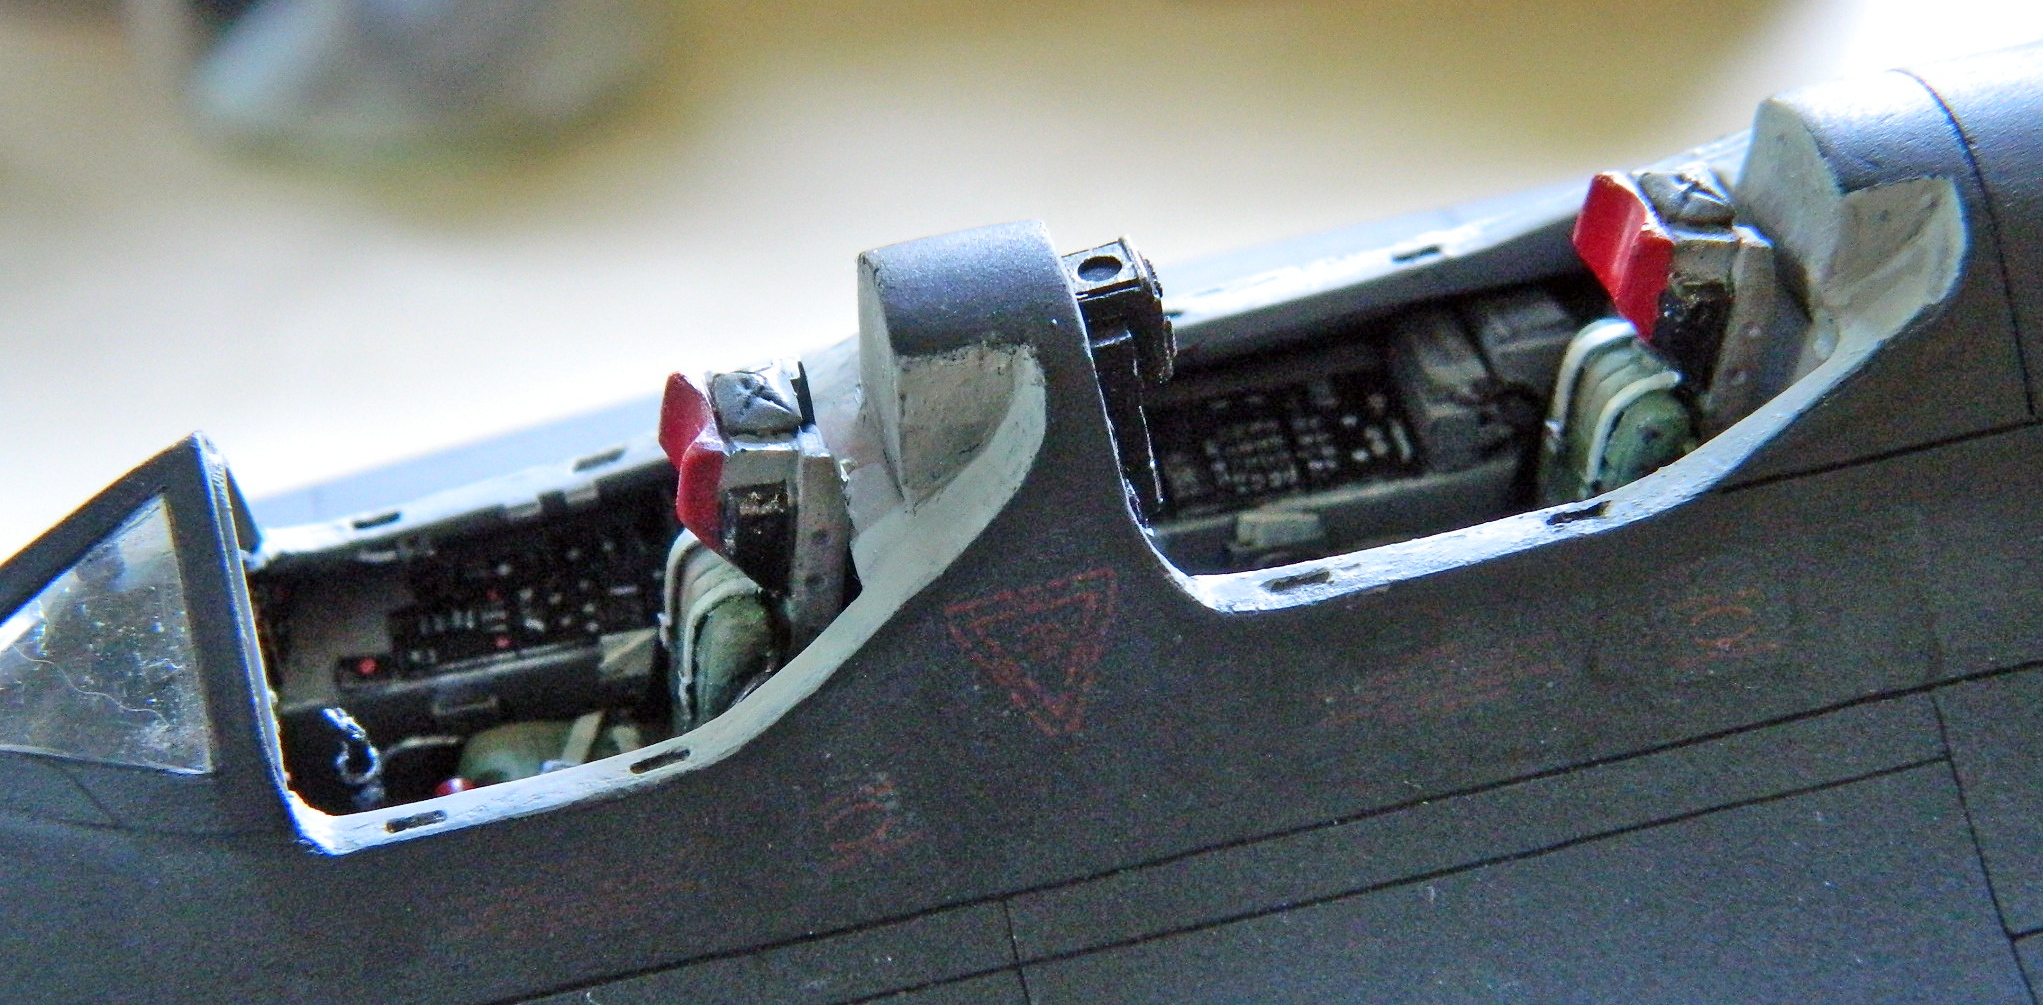
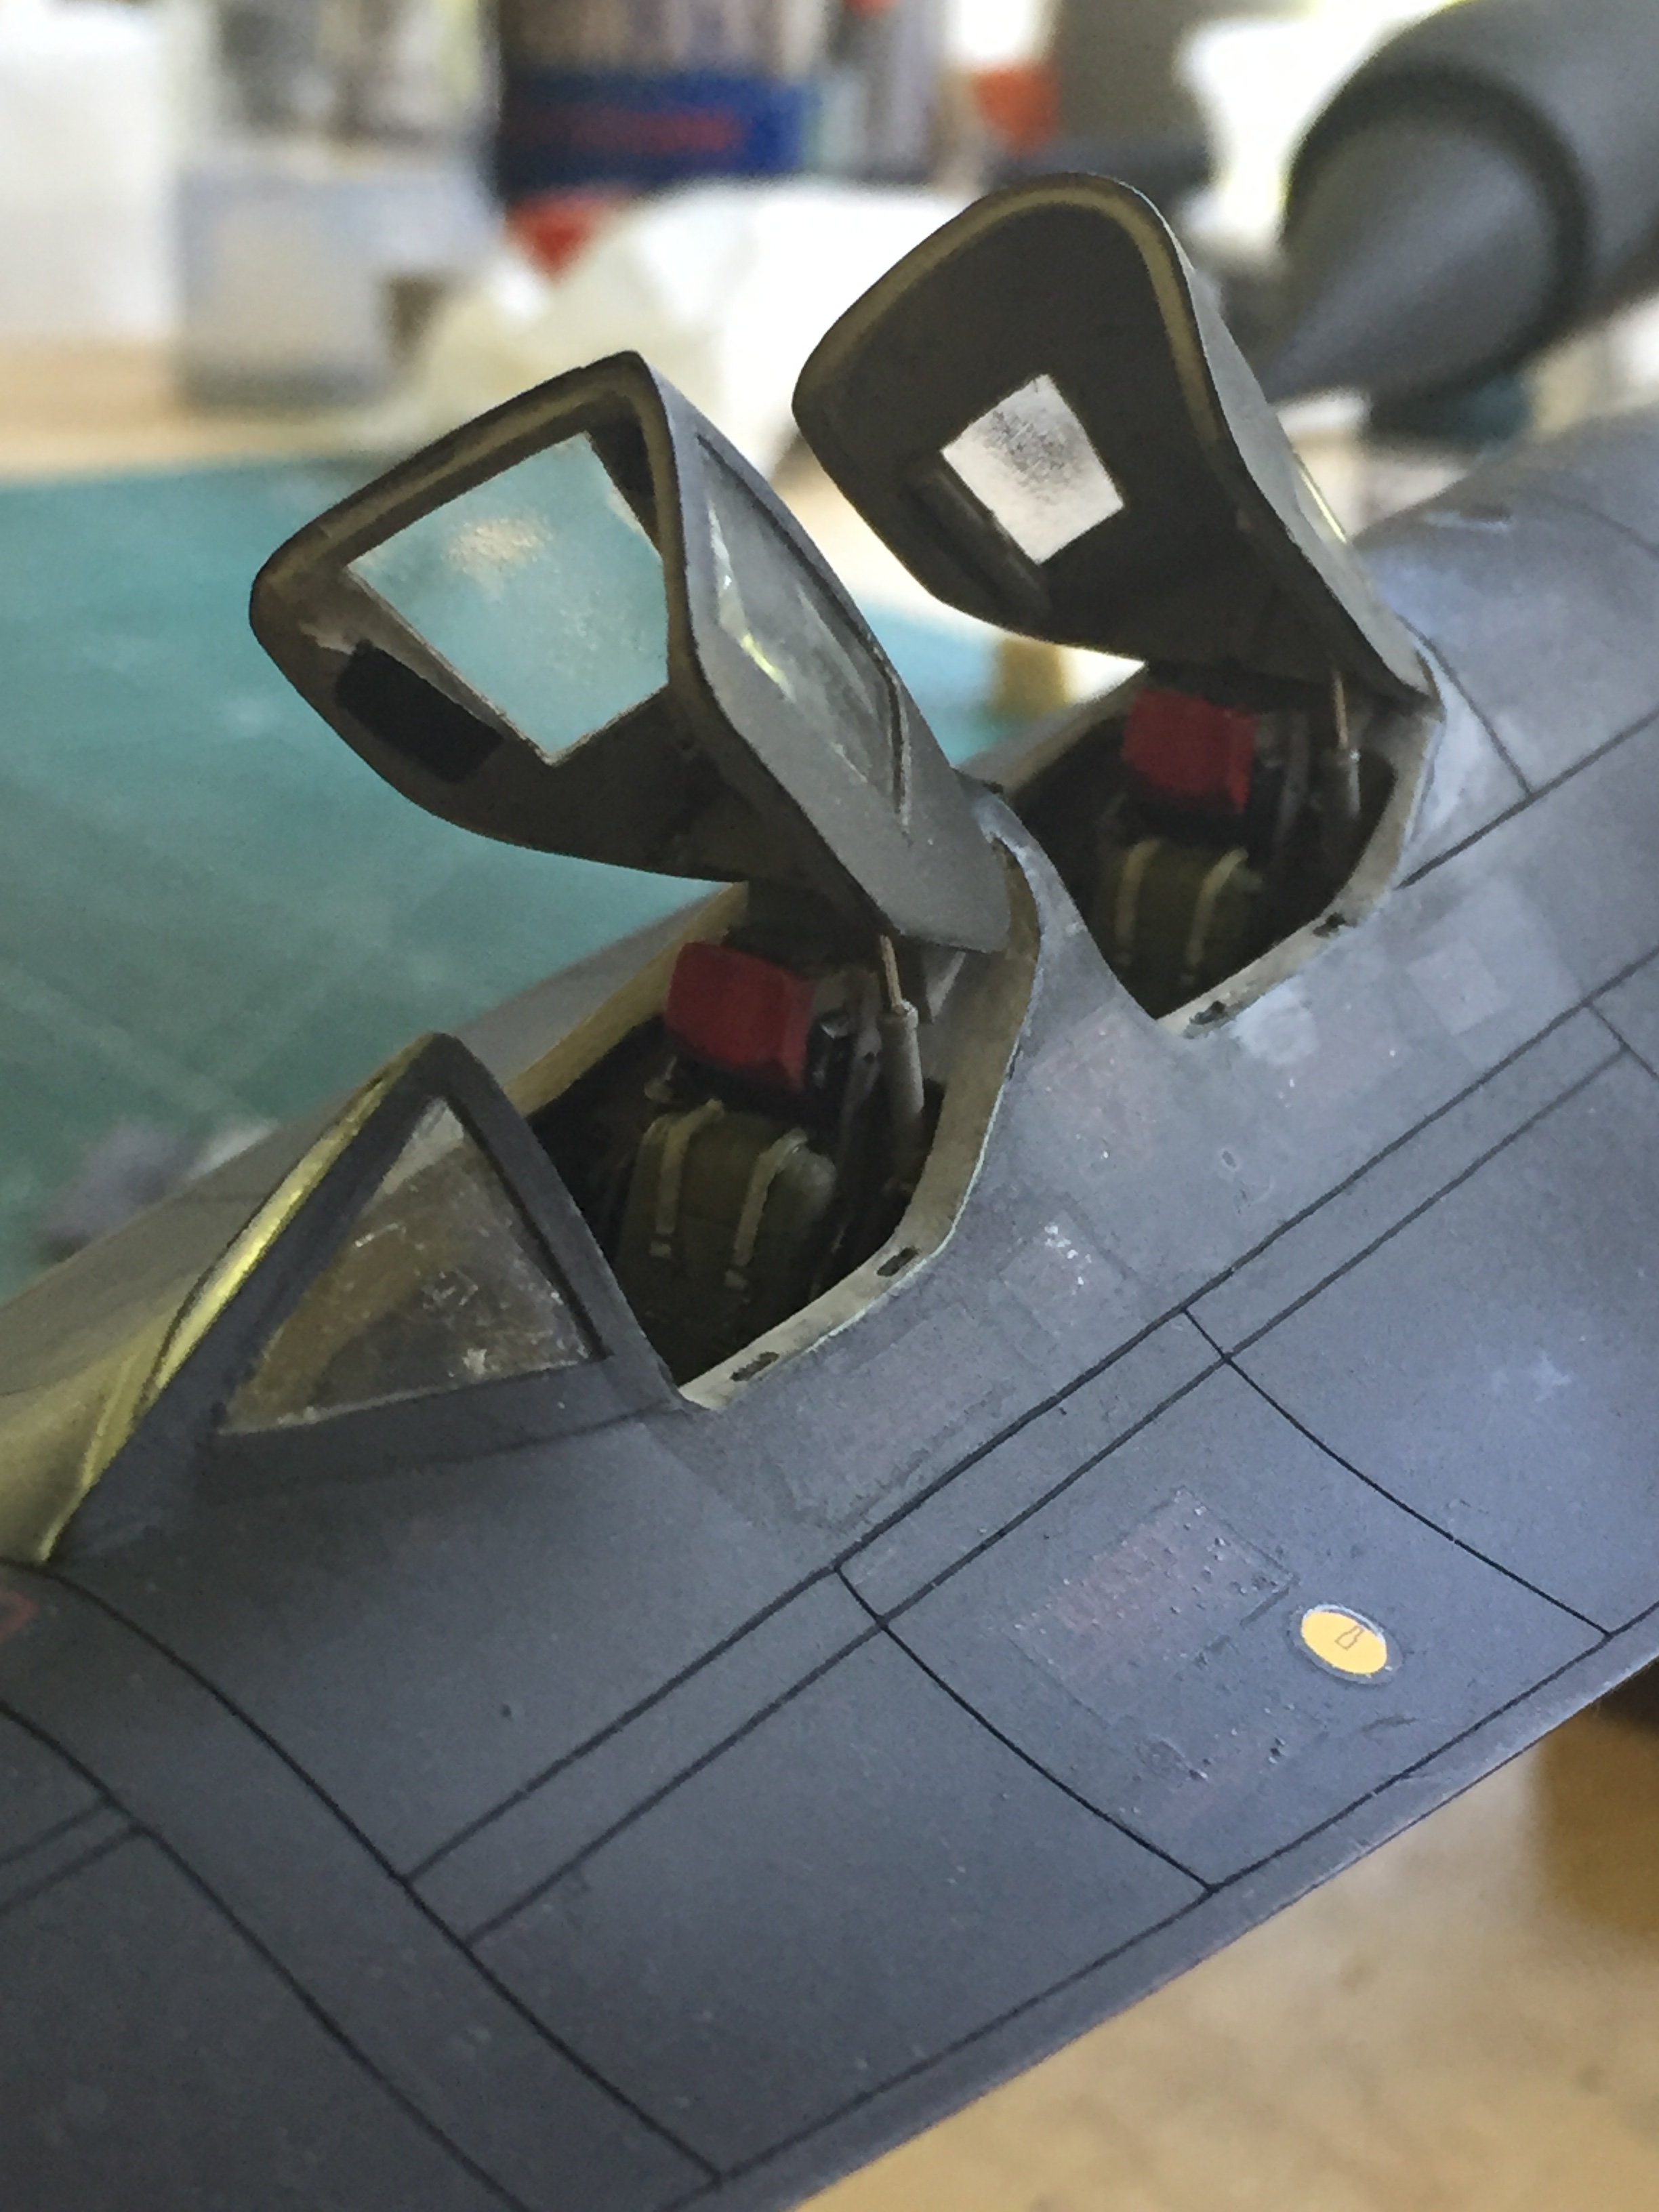
With the sills touched up, I did the same for the edges of both canopies. With that done, I used white glue to attach the roll-up window shades that are attached at the base of both rear canopy windows:
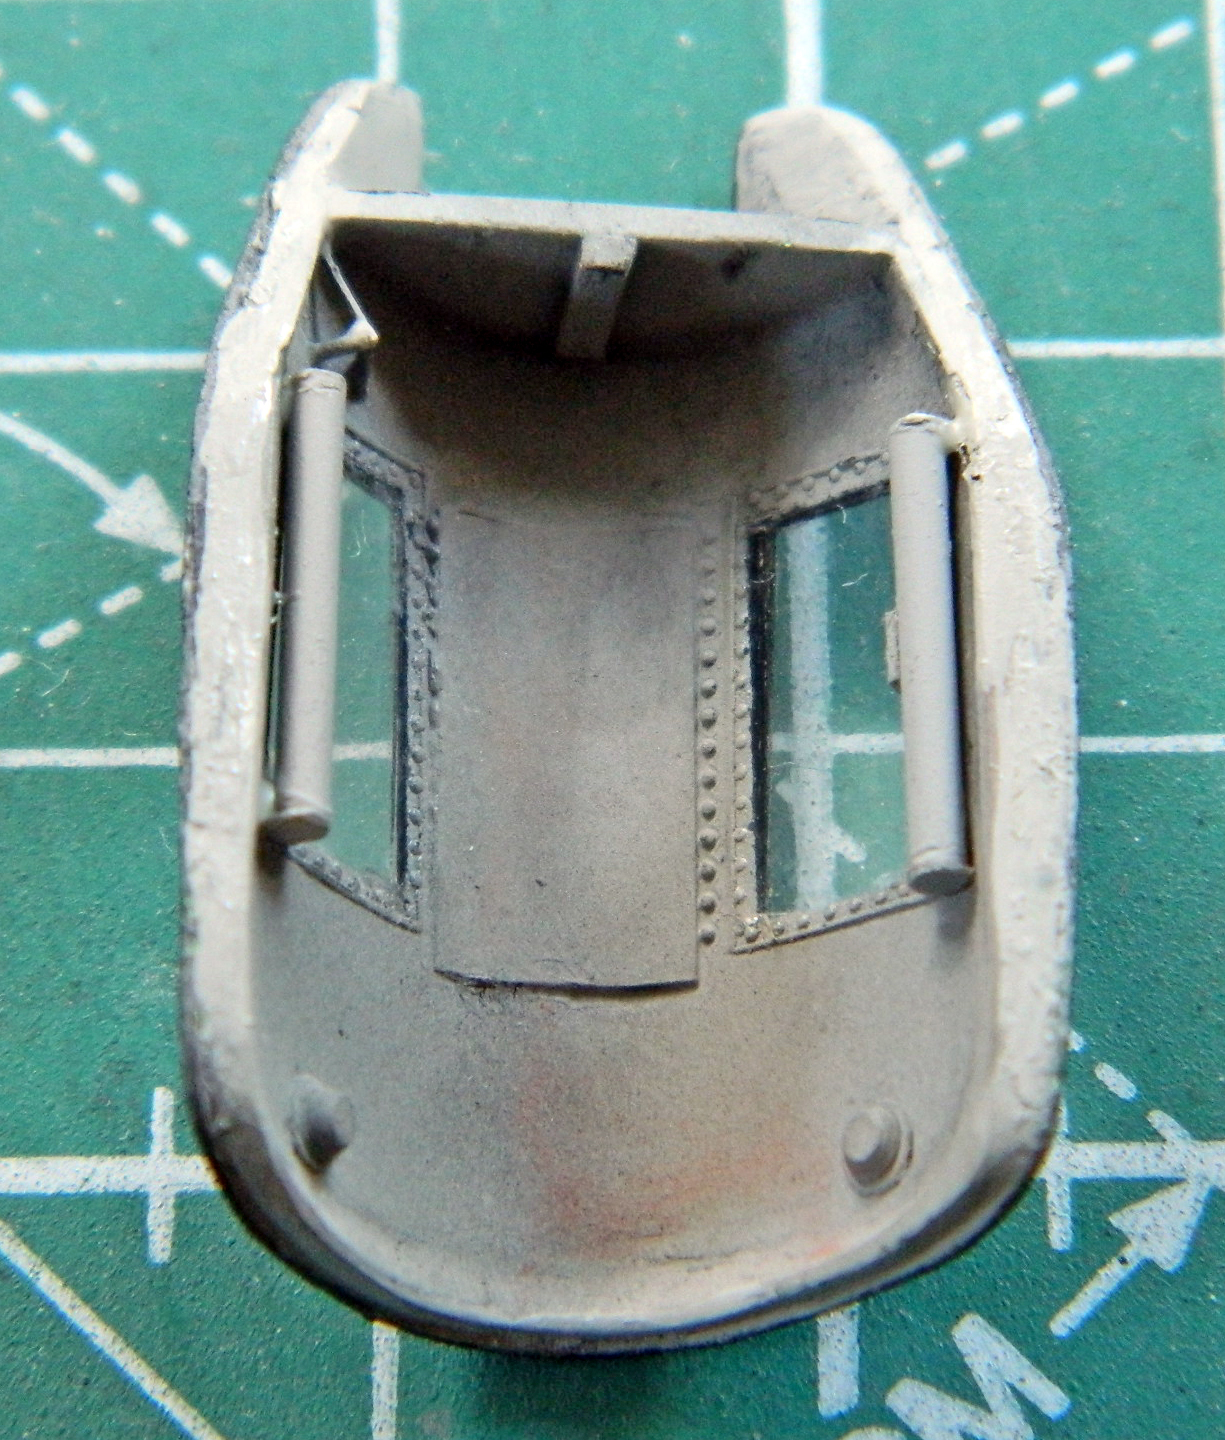
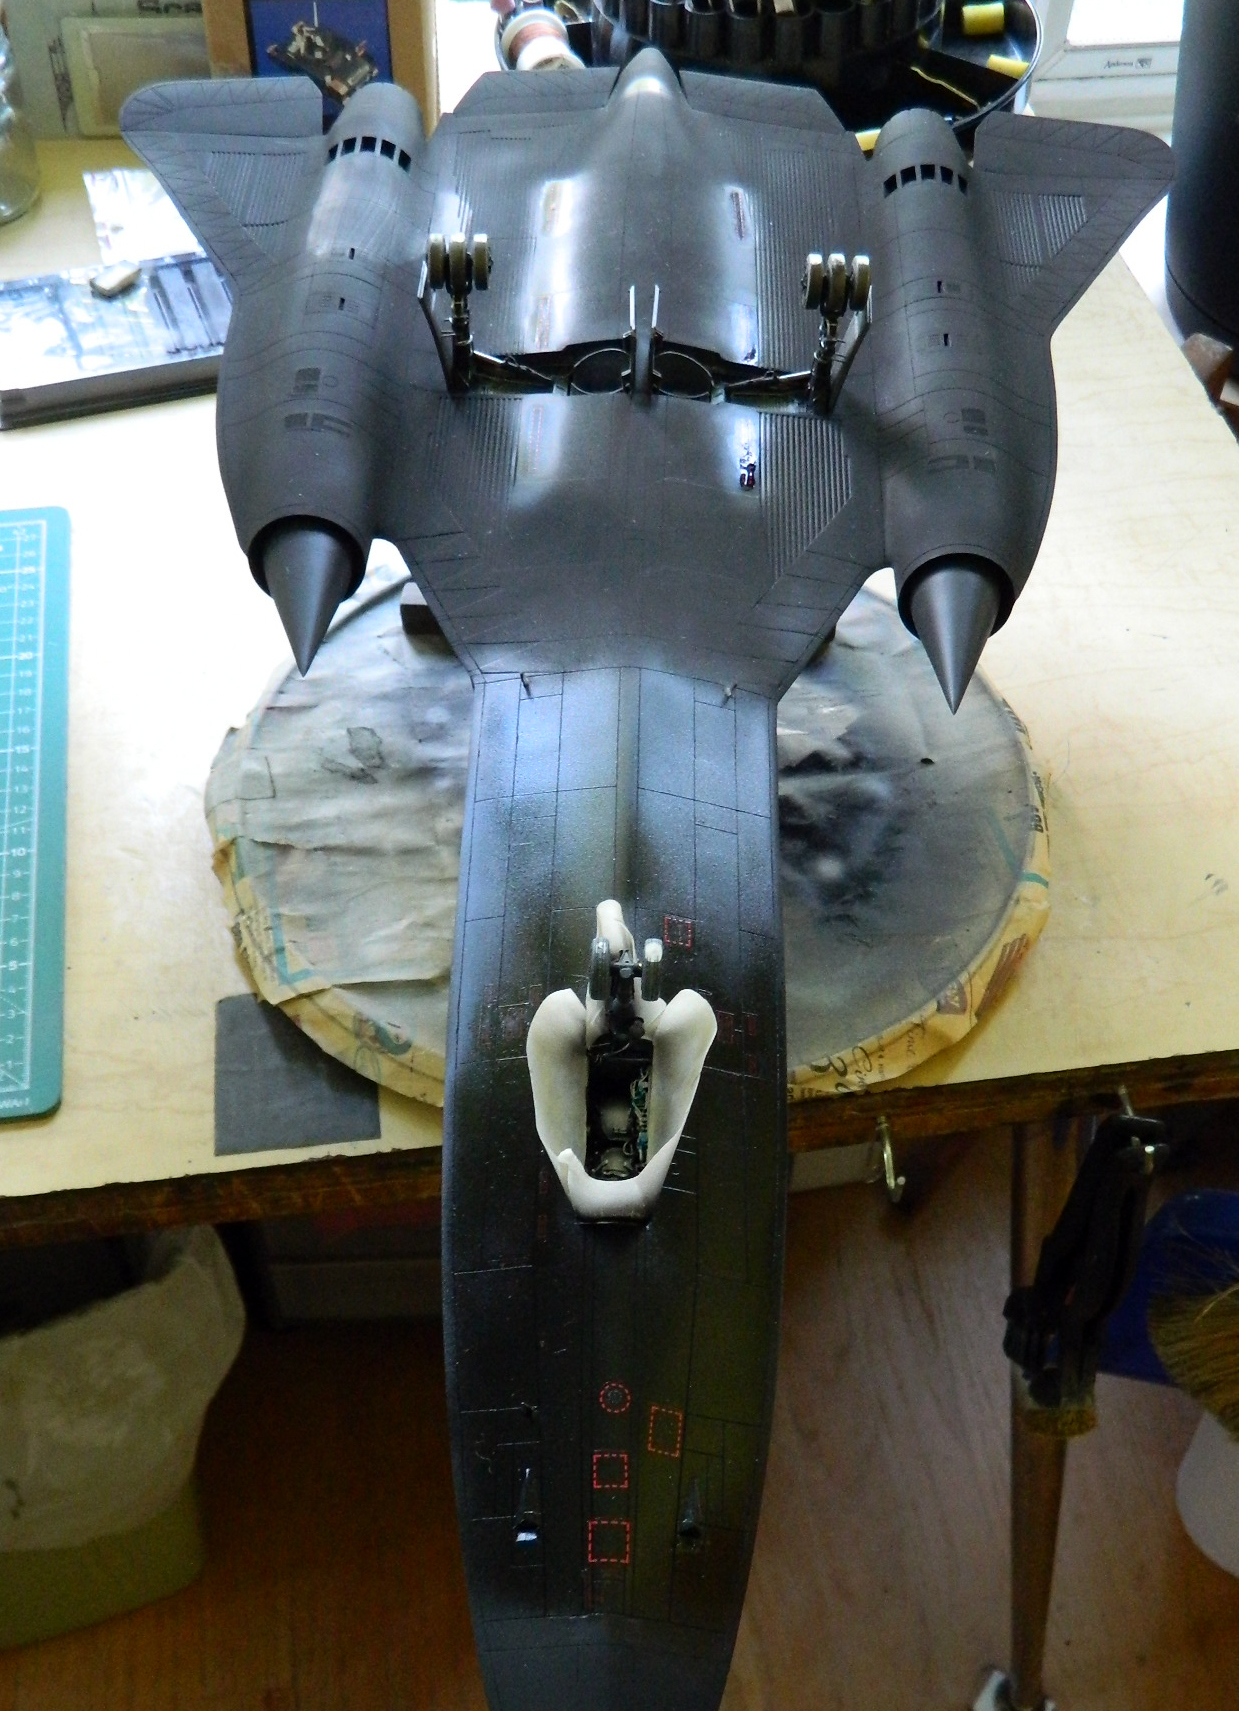
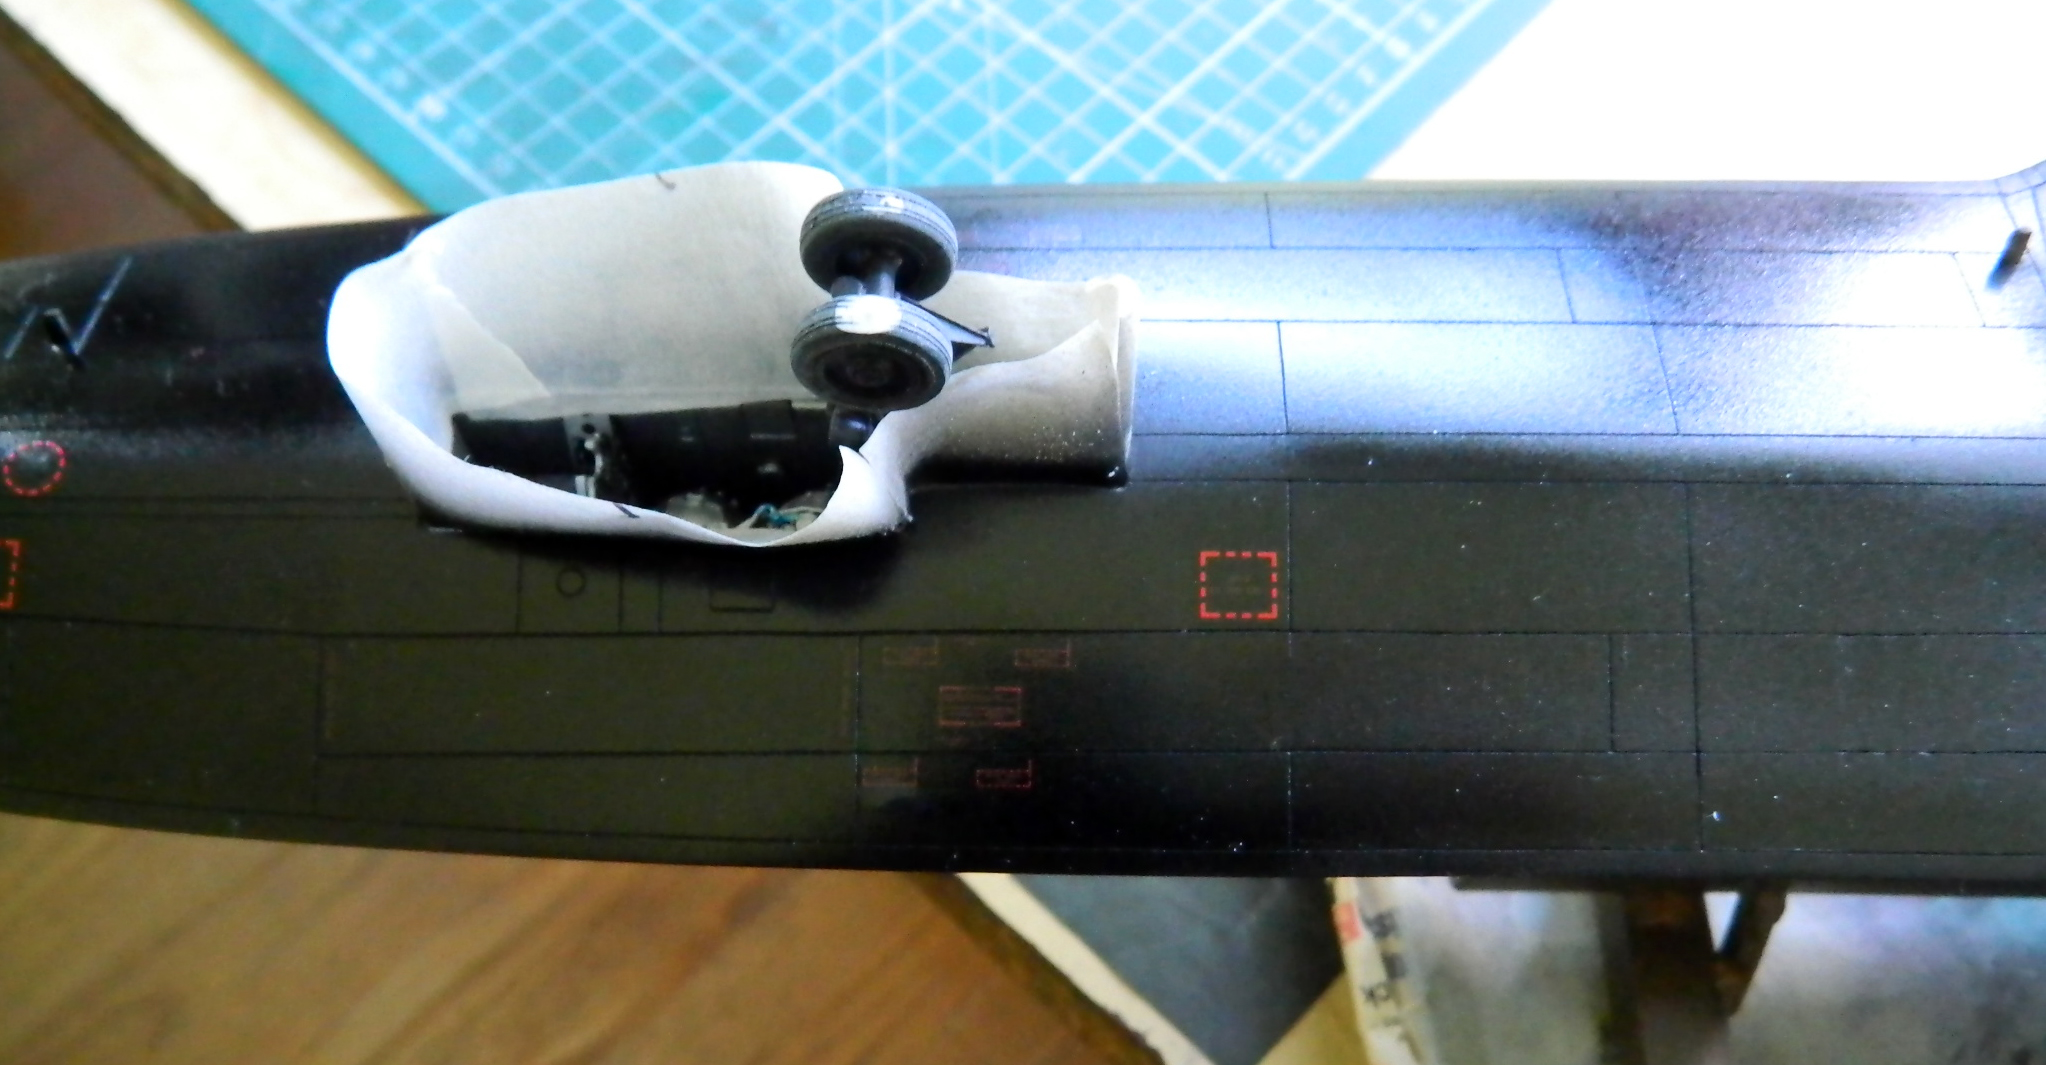
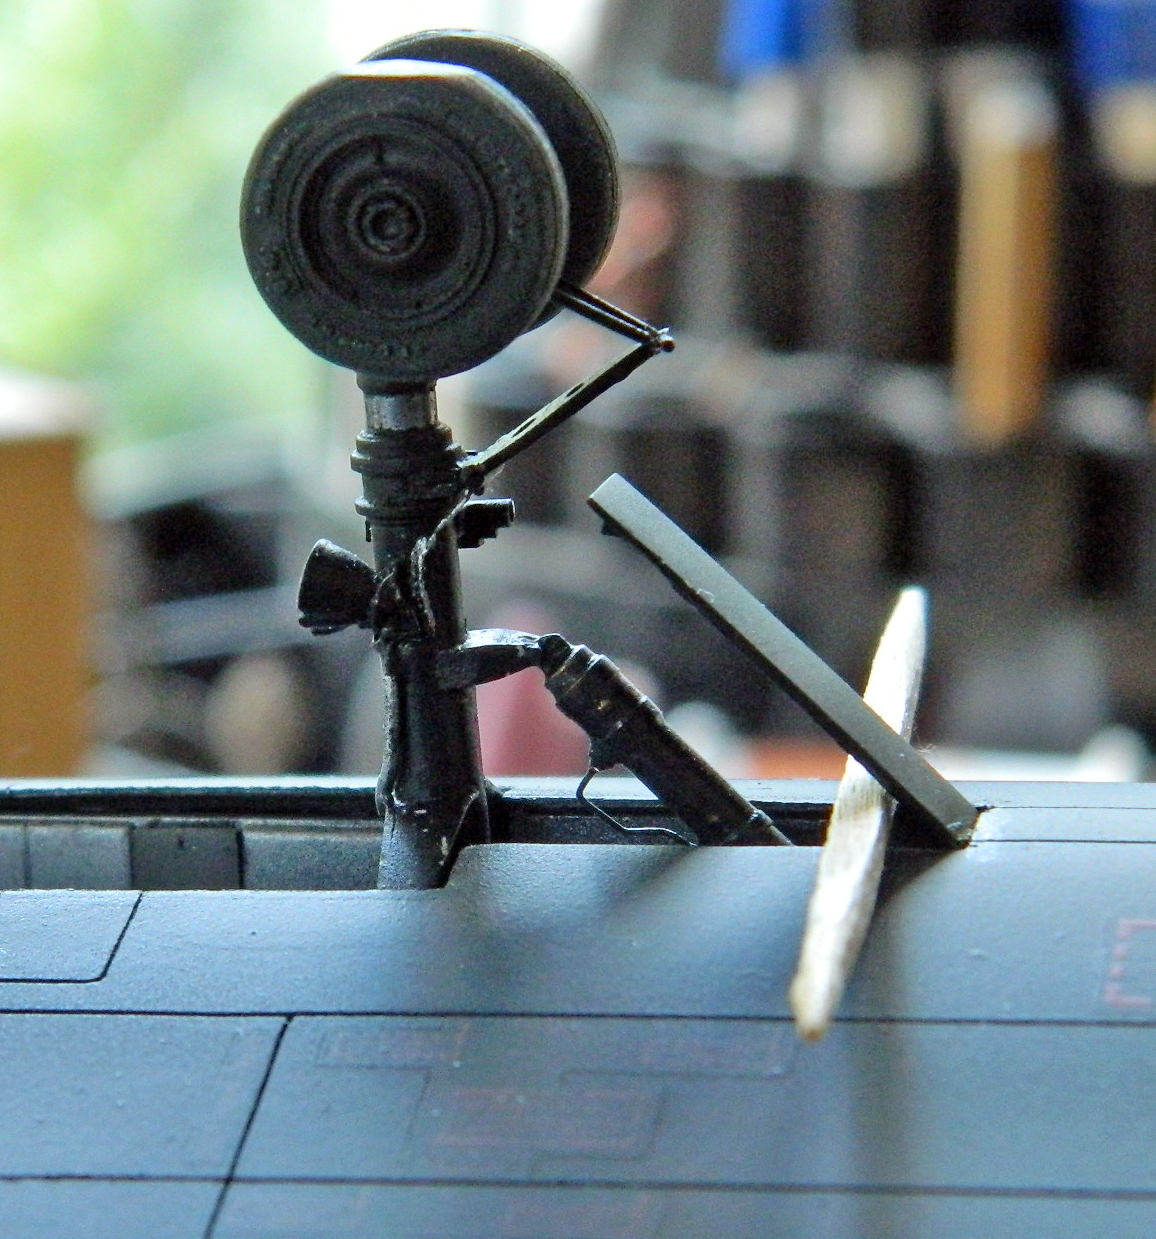
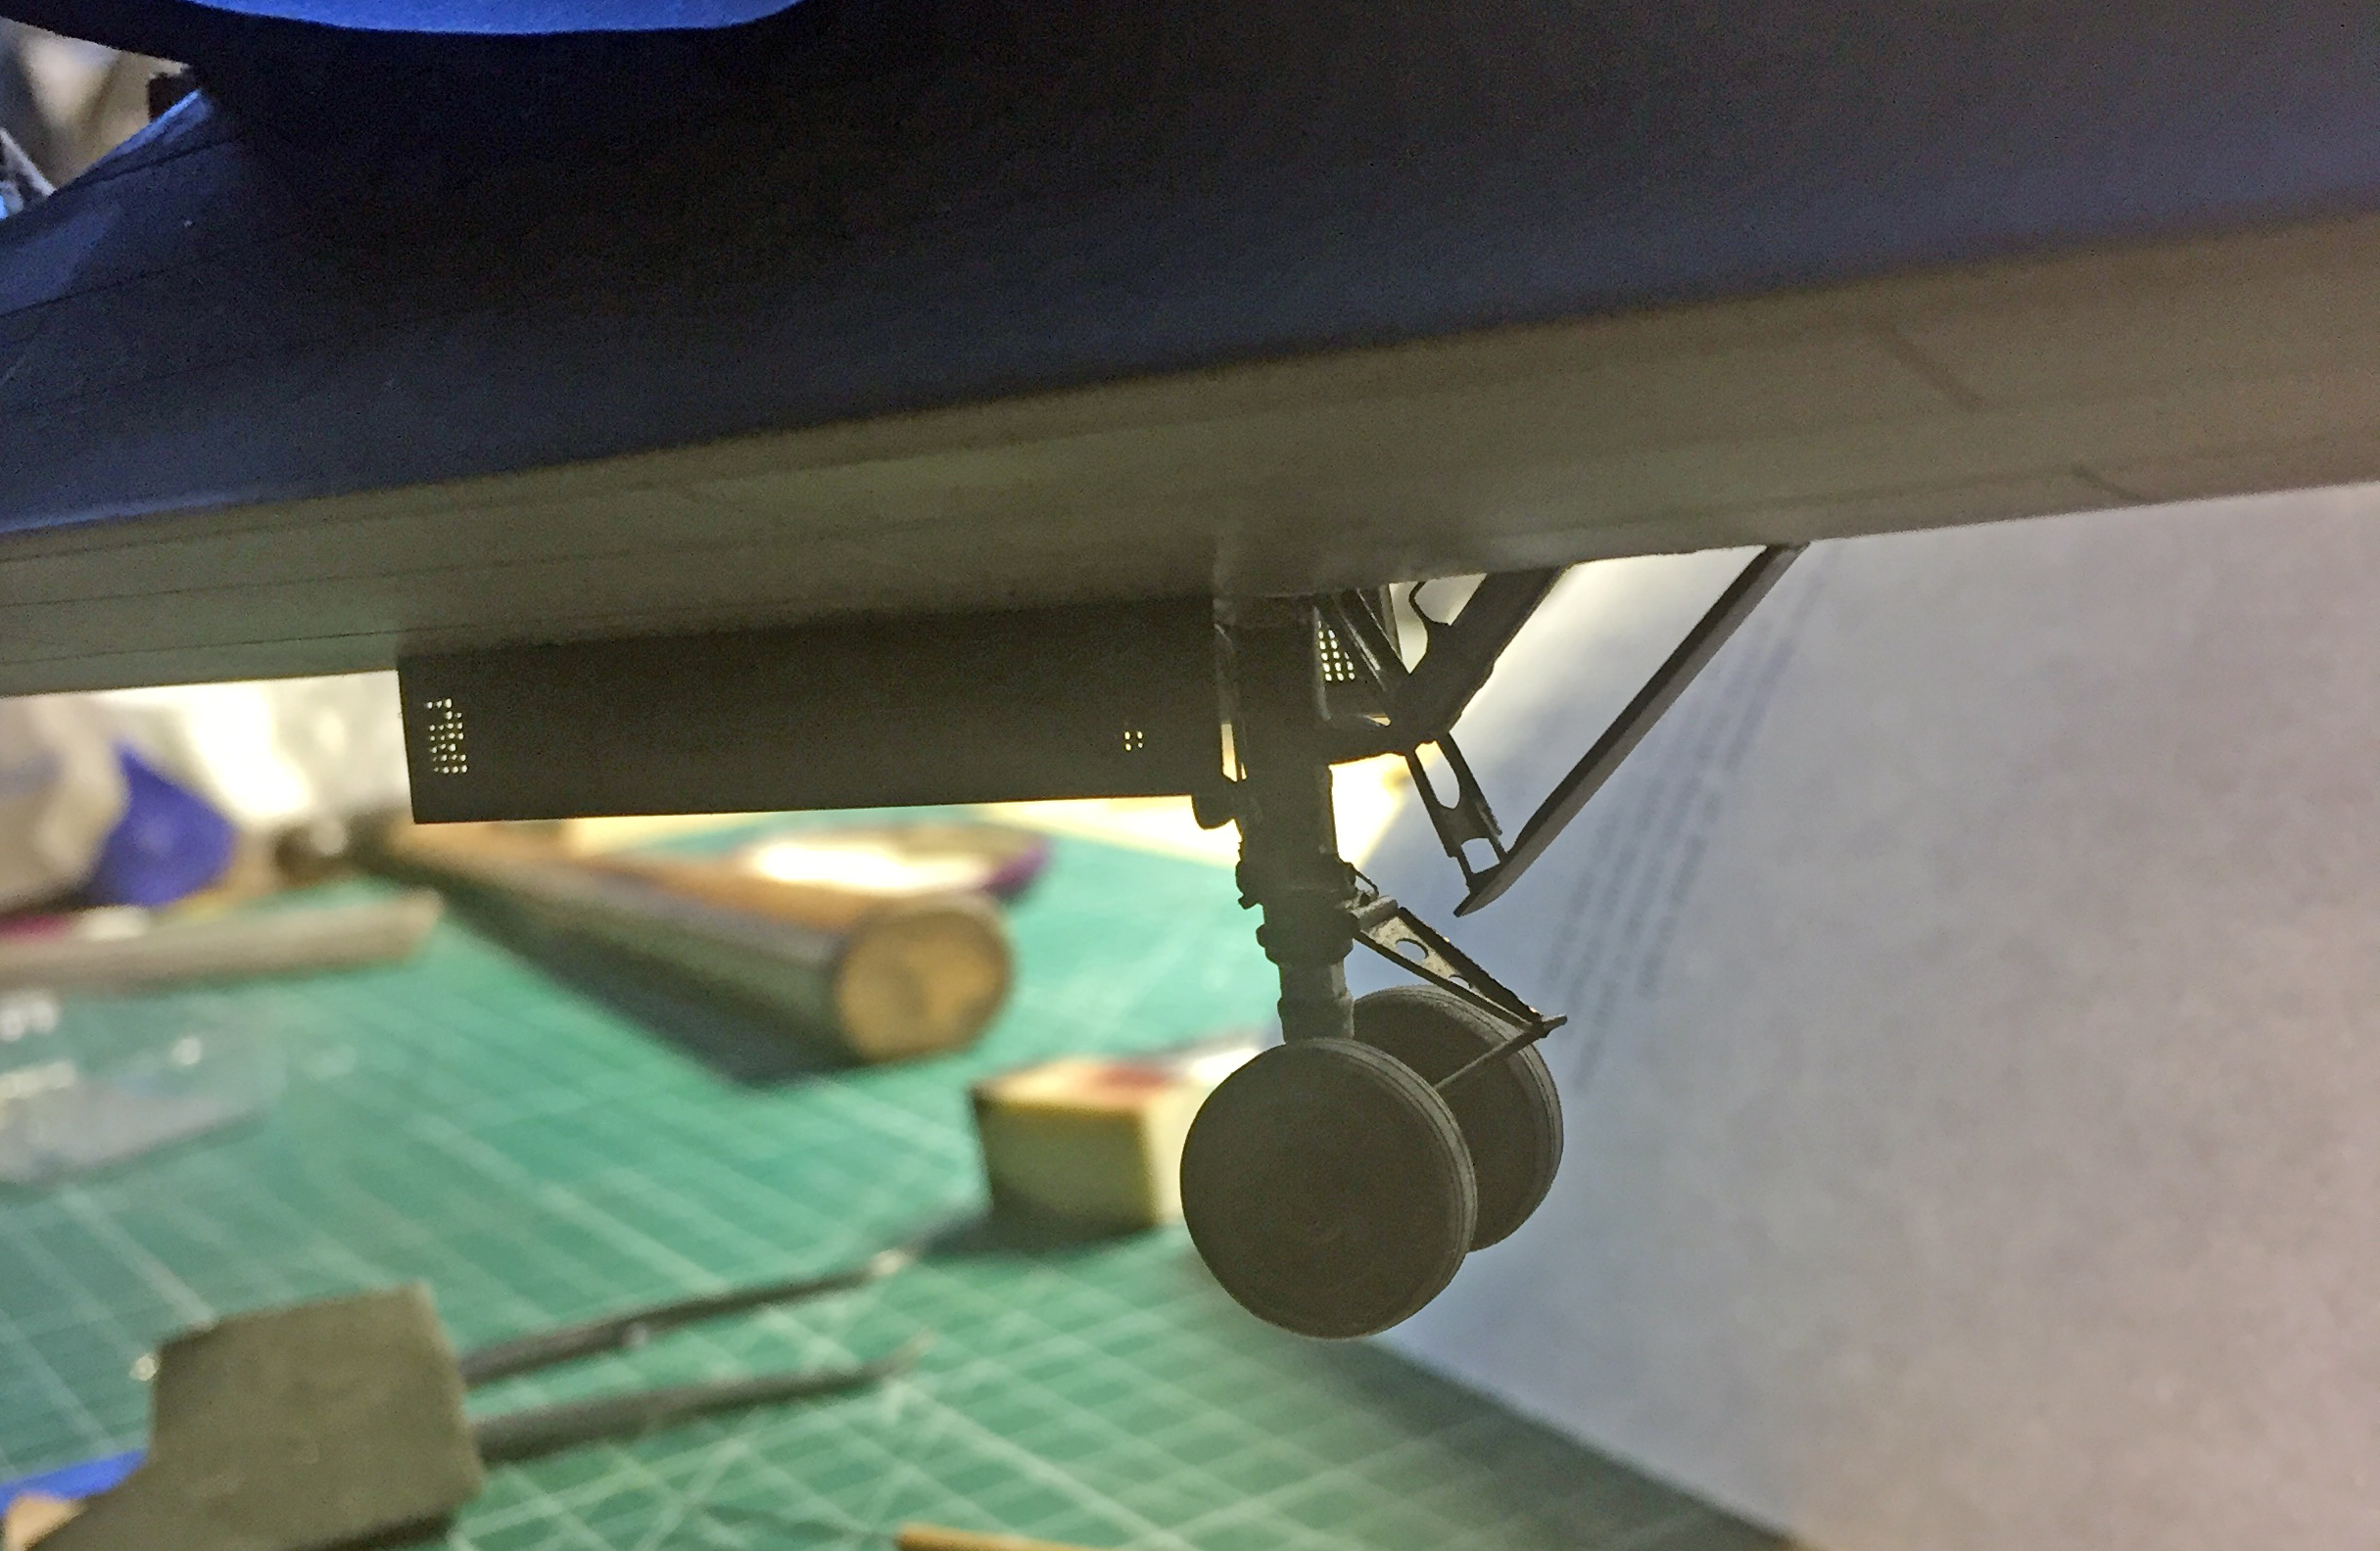
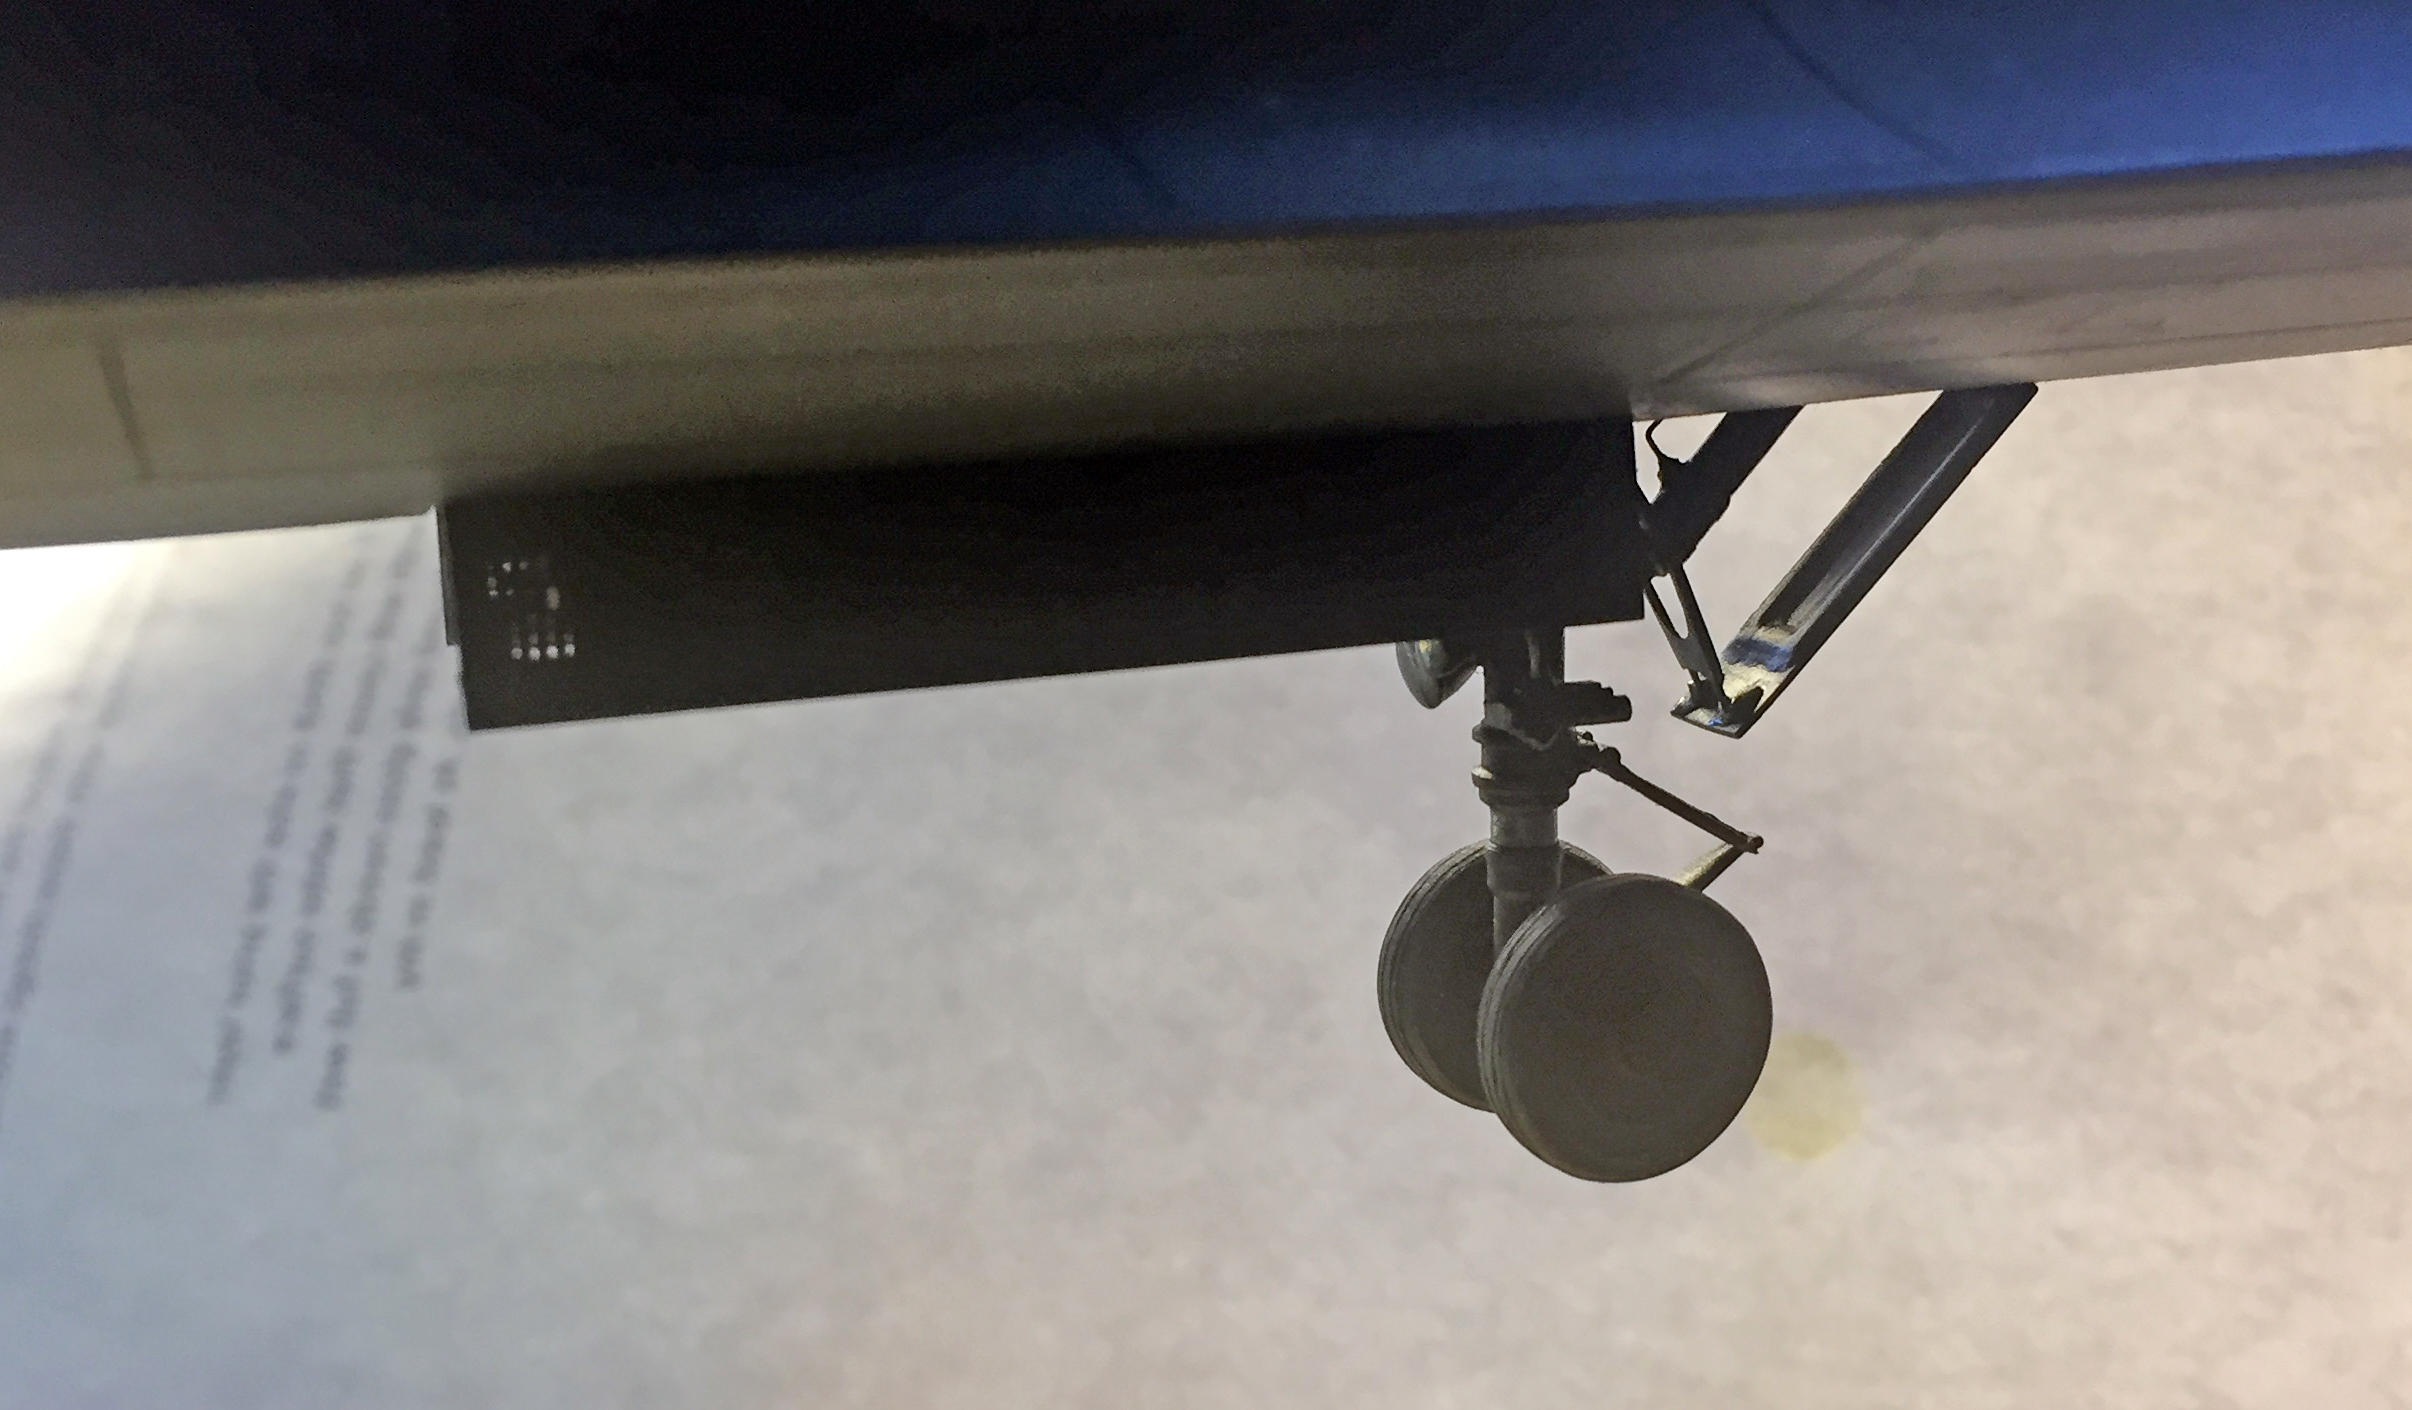
Before permanently attaching the canopies, I wanted to attend to the front landing gear doors. I started that with the rearmost (also note how much flatter the near tire is than the further tire is…that was was necessary to get both tires to touch the surface):
And continued with both side doors:
With those in place, it was time to add the hydraulic cylinders that close and open the canopies (the steel rams look like steel because they are steel…I used straight pins). I’m glad I had the foresight to make those parts with adjustability…it was “snug.” I did the rear canopy first as things were snug enough that had I done the front canopy first, I’d probably still be sitting at the bench and cursing my lack of foresight:
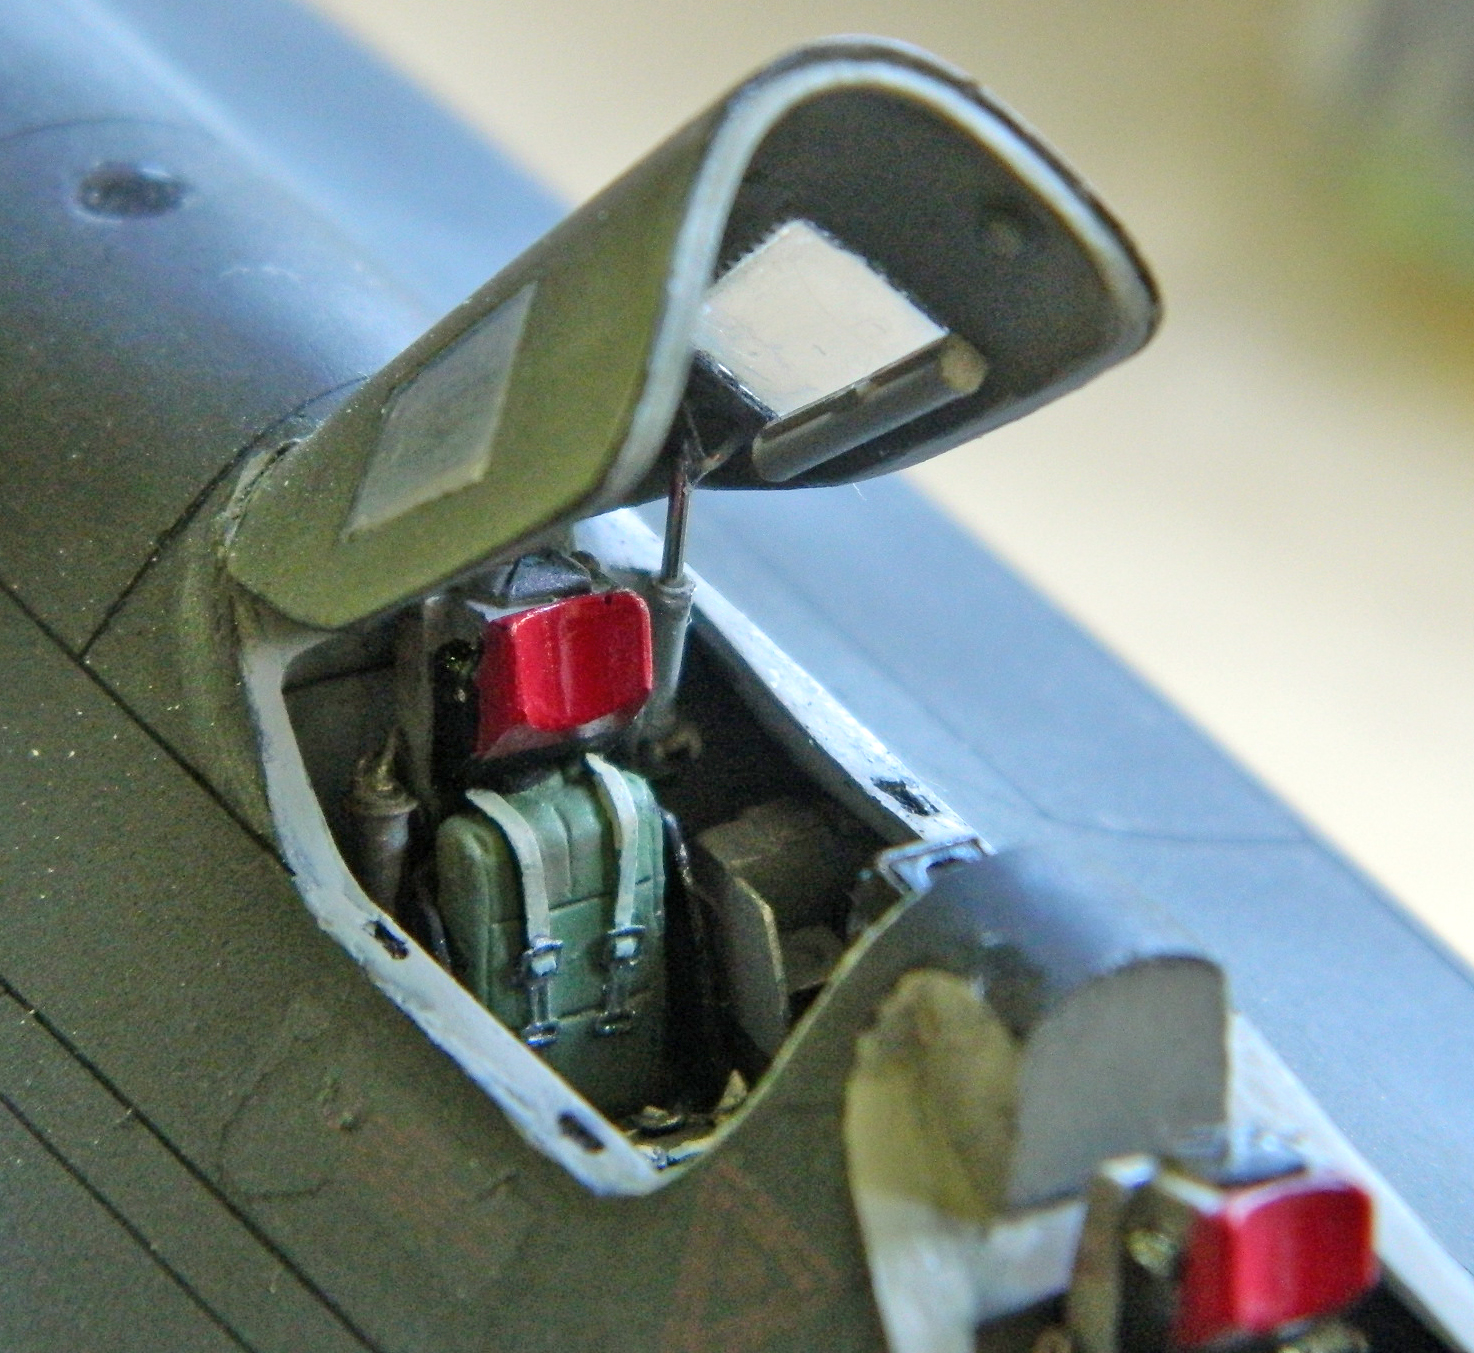
With that bullet successfully dodged, I did the front canopy’s cylinder:
So, this little box probably looks unimportant and therefore undistinguished. The reason I include it here is because that unimportant and therefore undistinguished appearing little box was where I was holding the last few parts I needed to add before construction was done.
AND IT’S EMPTY:

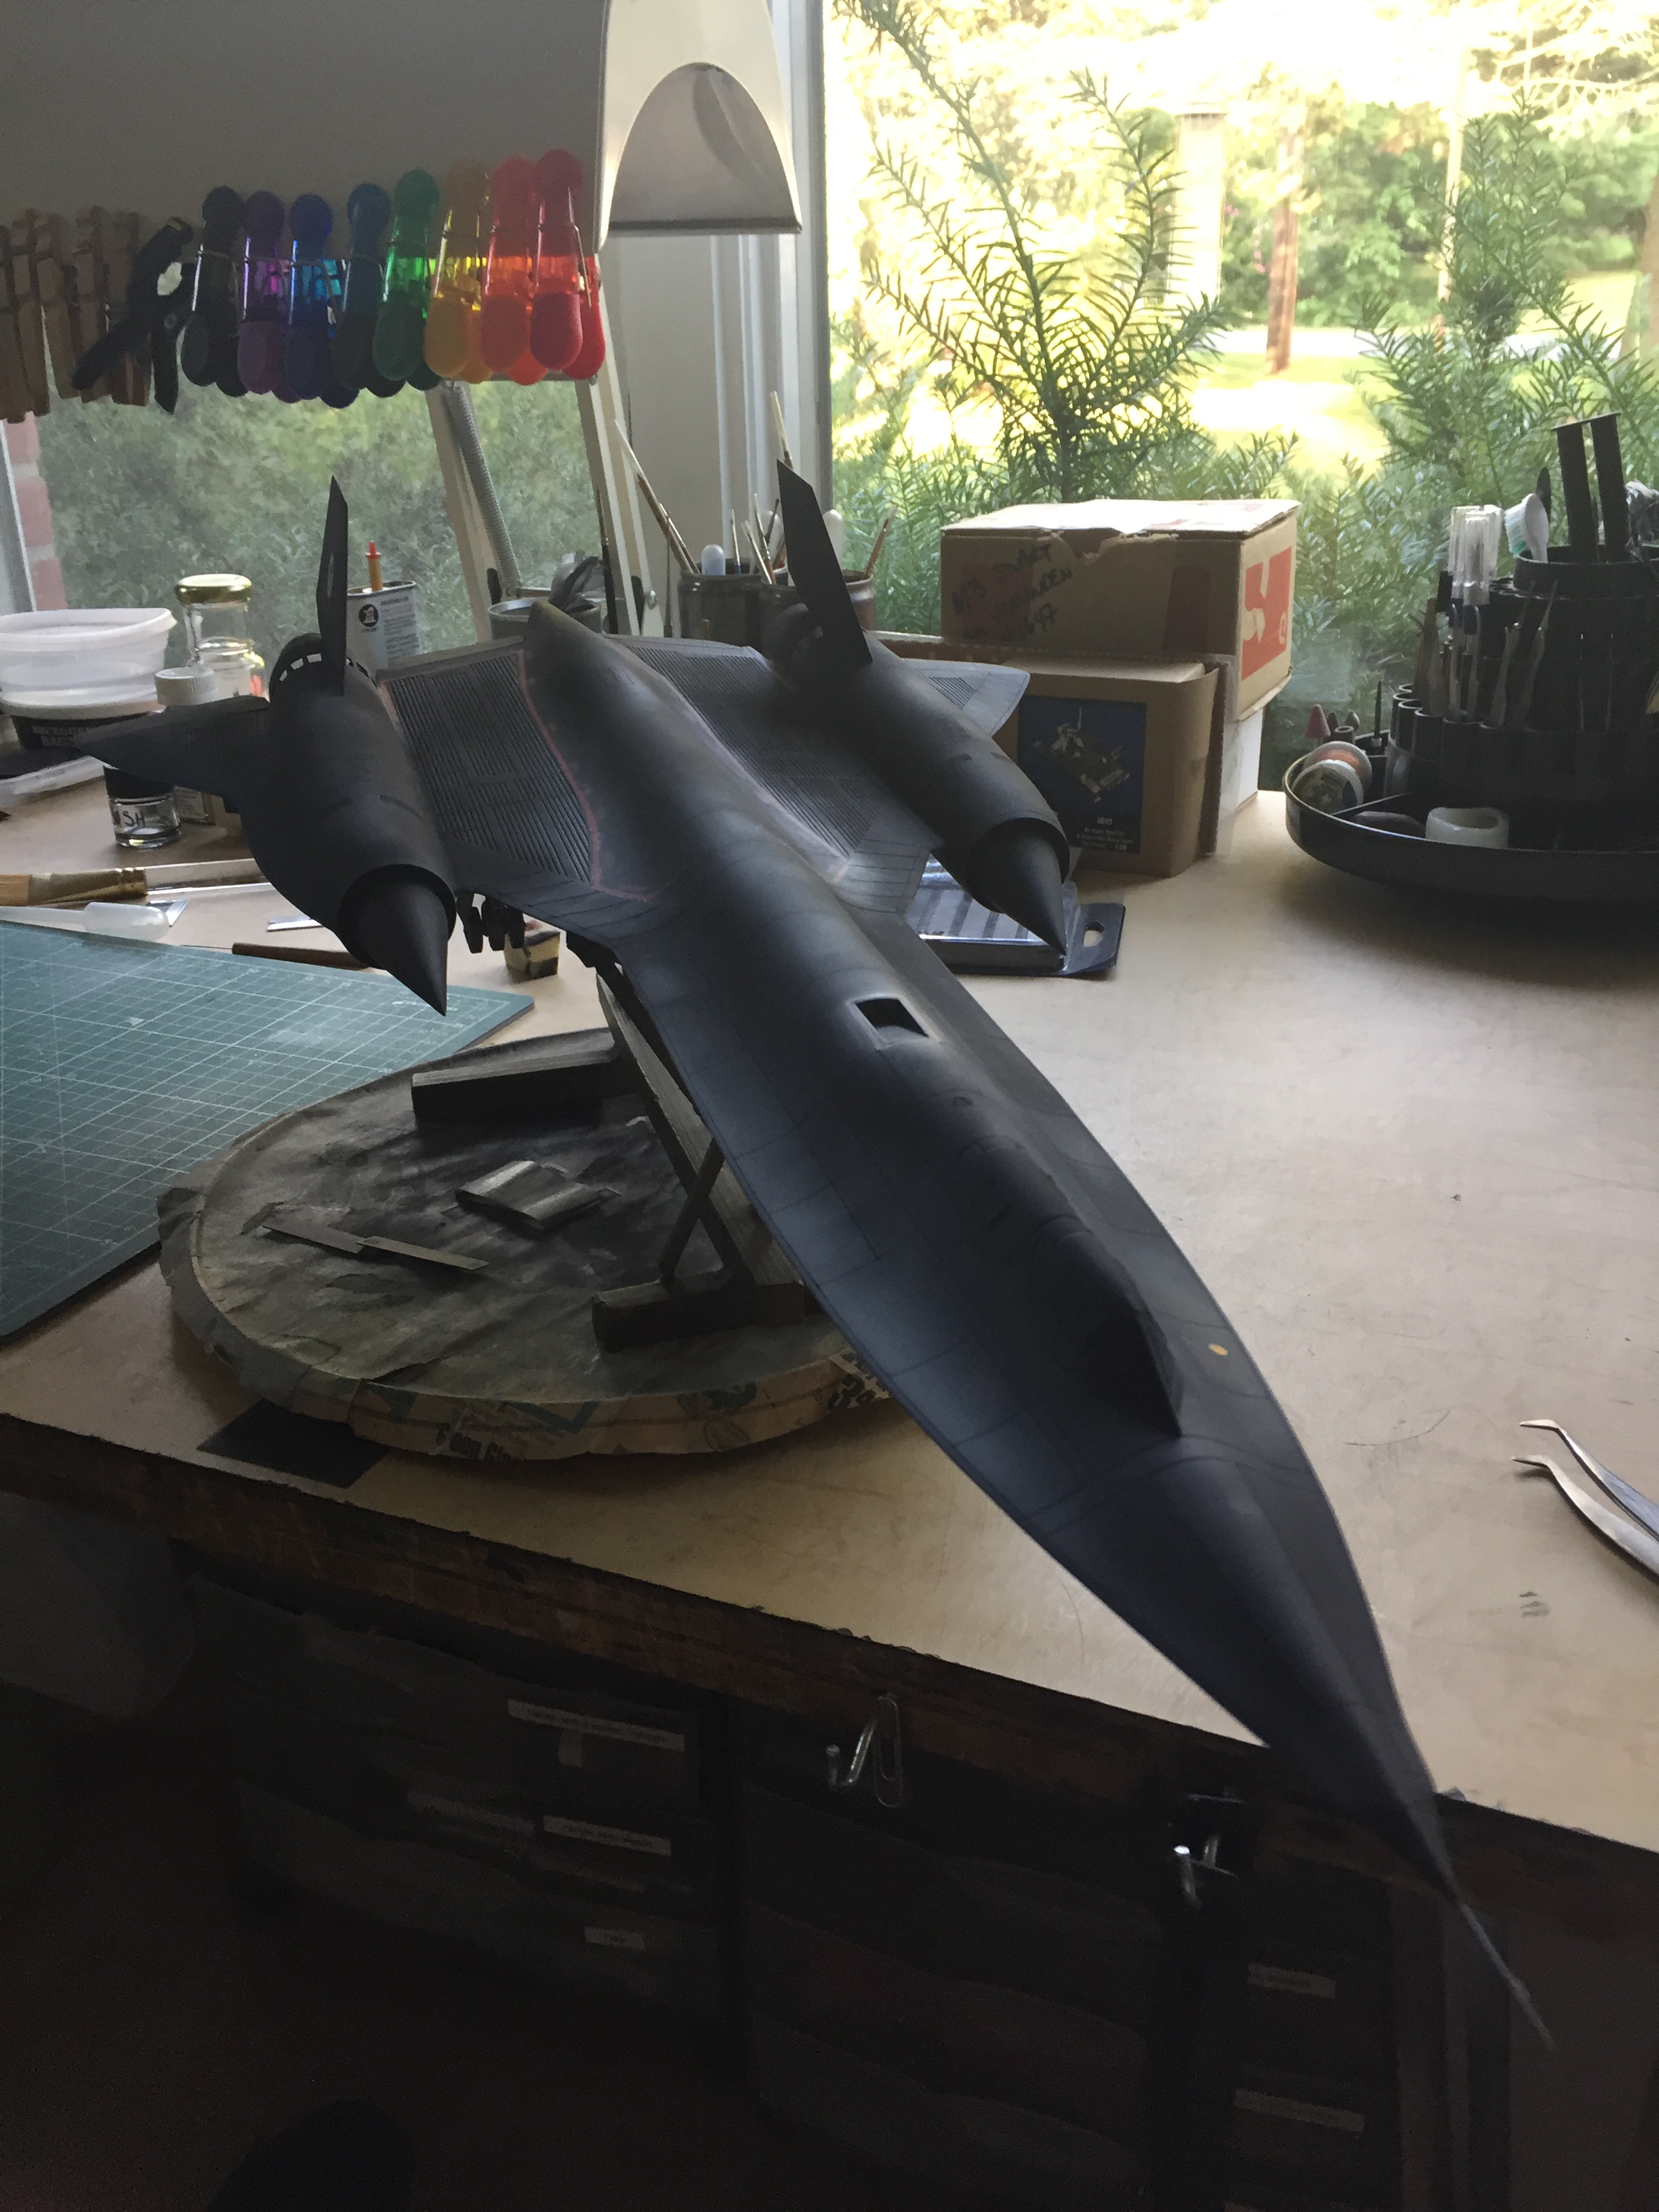
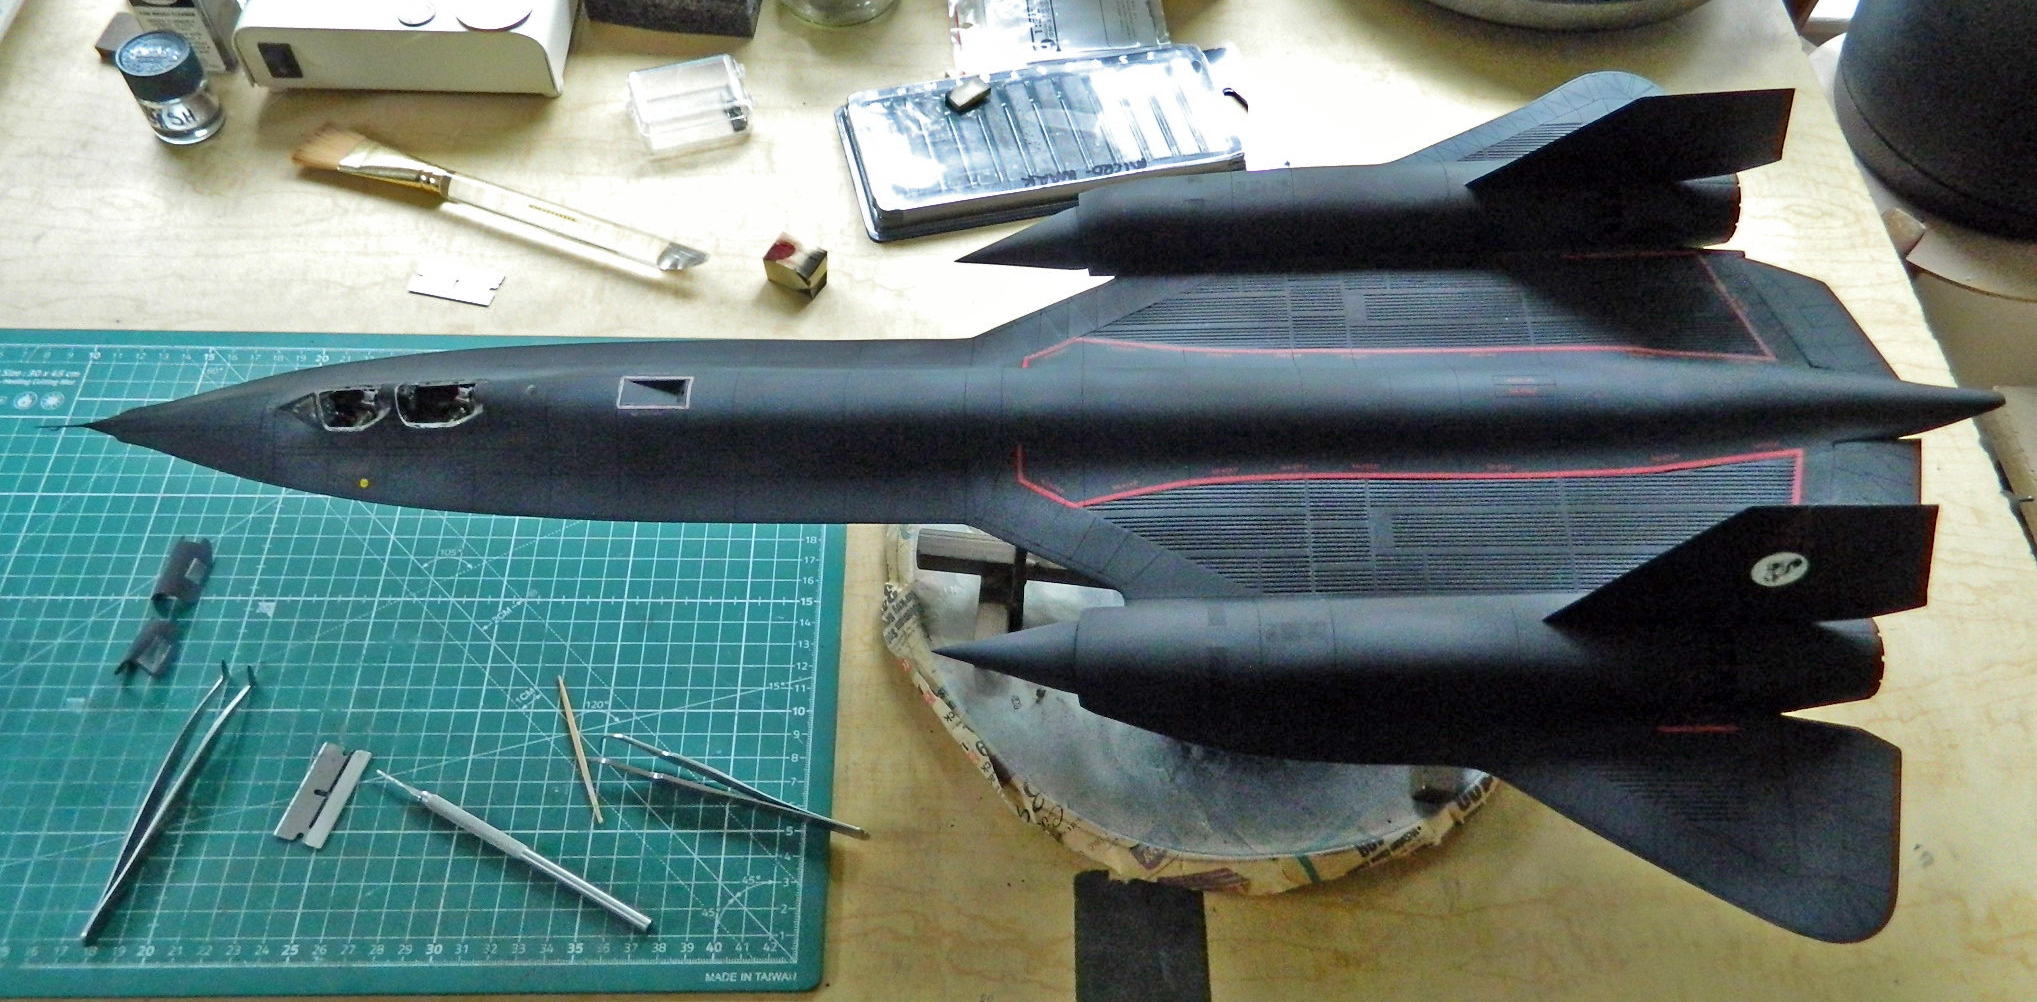
I don’t remember how long I sat there after taking that photo. It was several minutes. Then I took these photos:

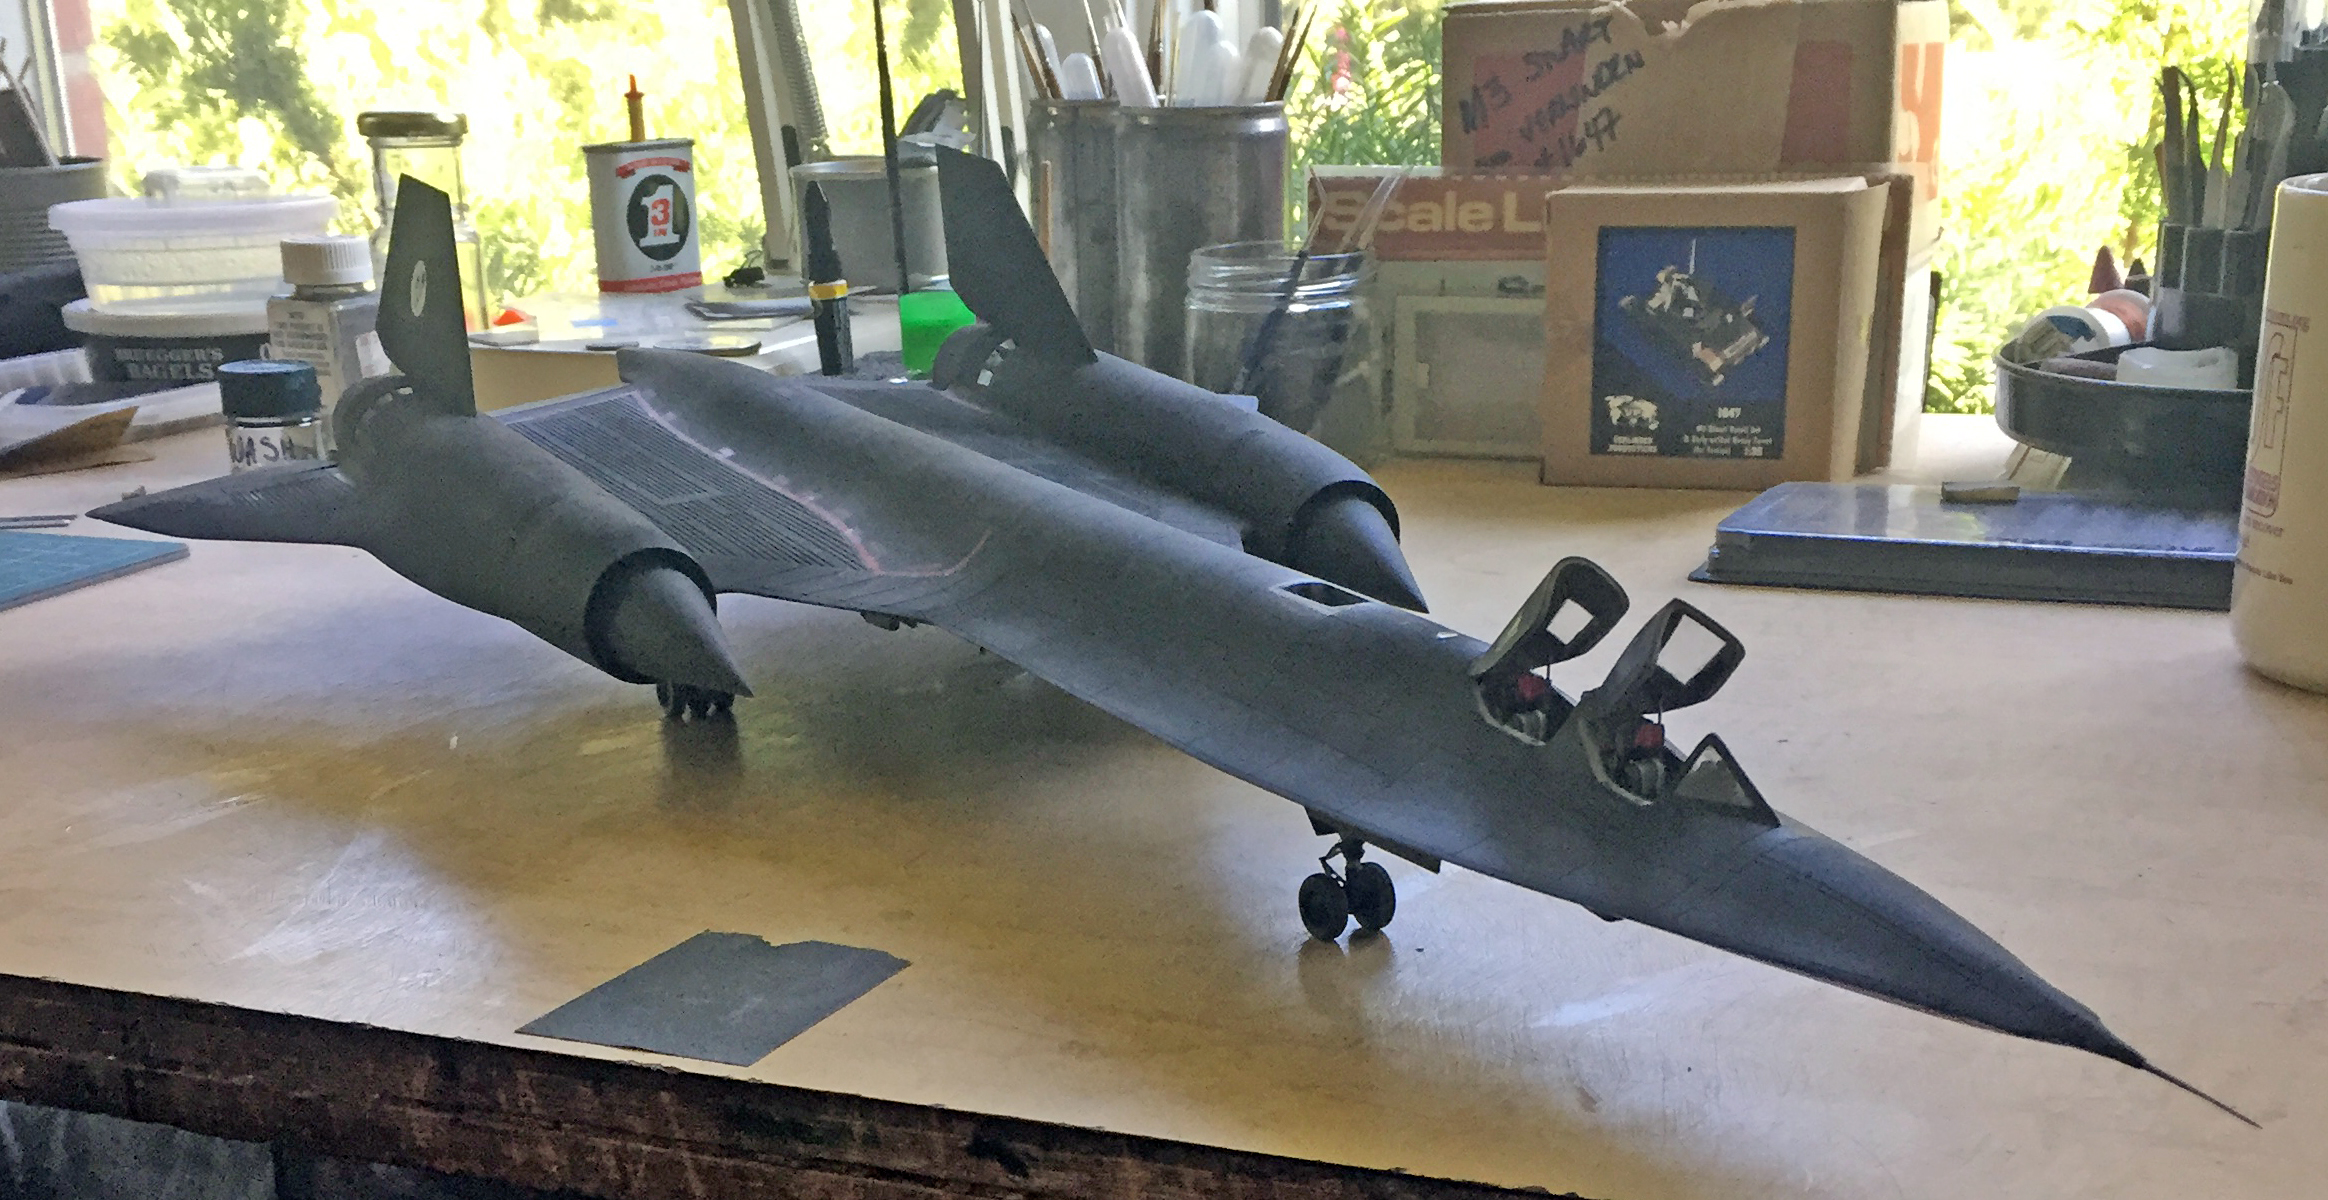
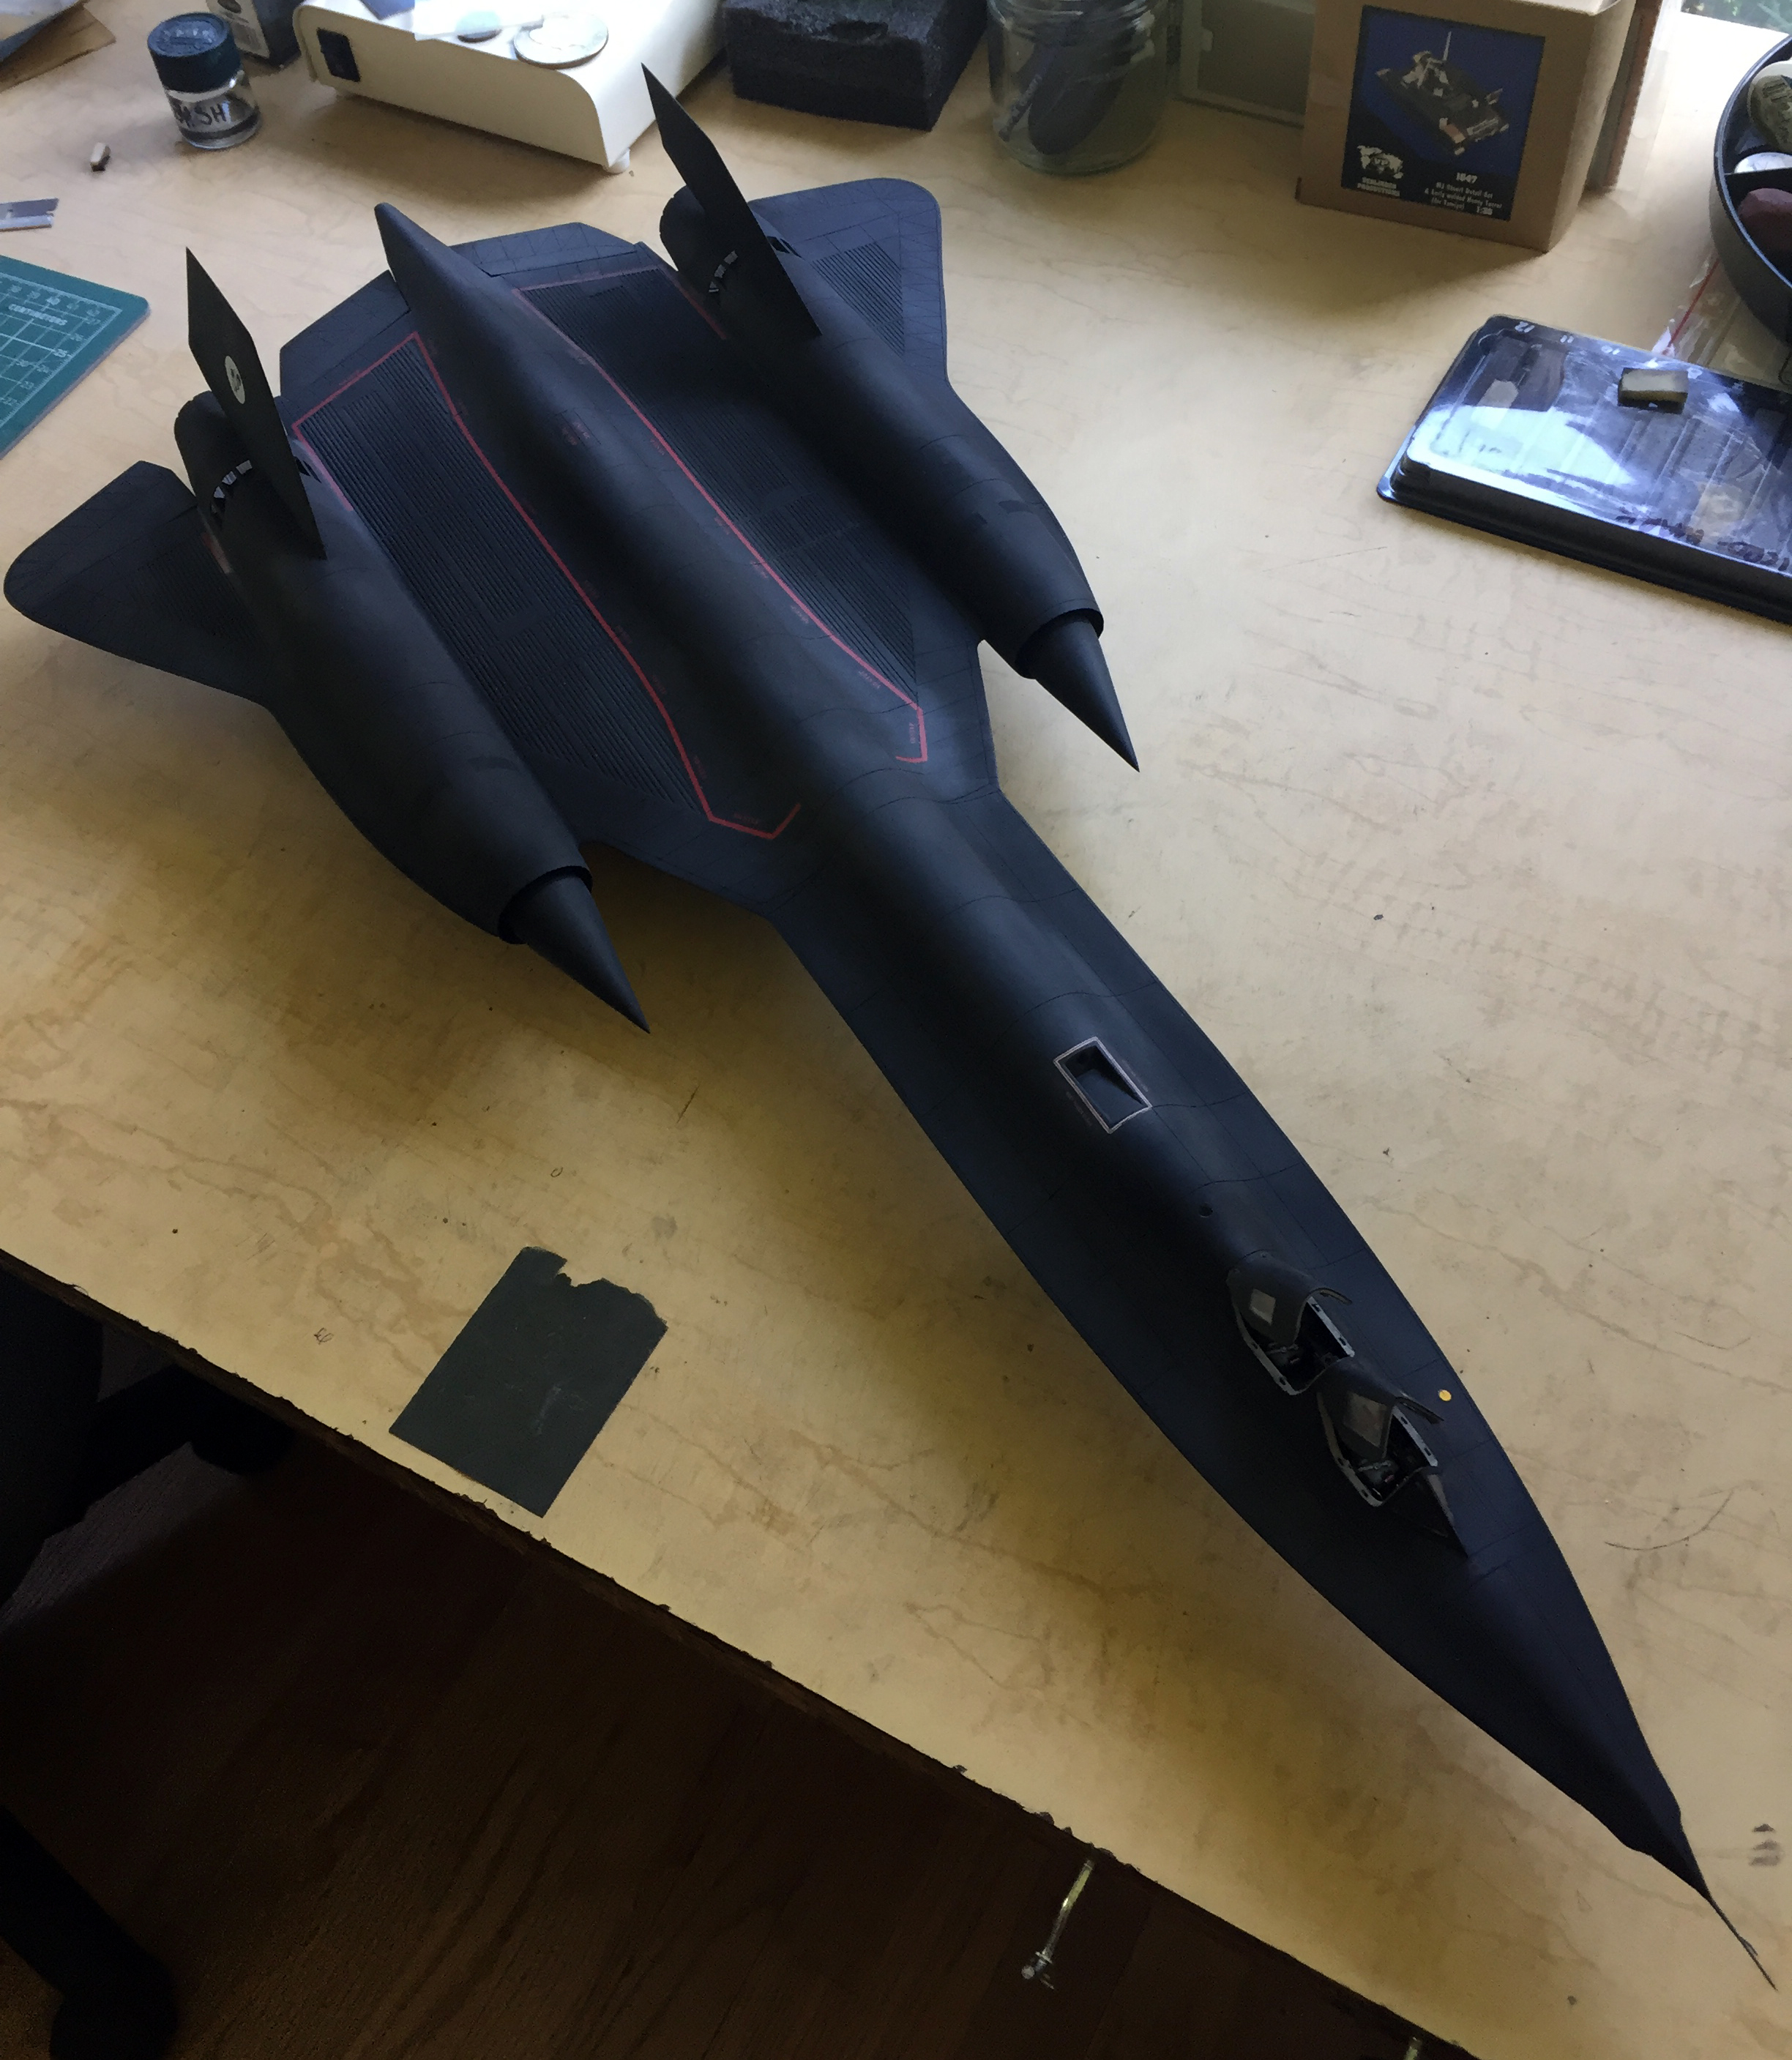
Oh my gawd…I think it’s done. I had intended to do some subtle weathering with pastels to accent panel lines. Sod that. I think this thing looks just fine nicely black and sinister.
Then I turned the shop lights off and went to bed. Giggling. Then the cat jumped up on the bed and gave me a Stern Look. It was time for sleep.
I awoke this morning and realized a couple of things (which seeing as I am NOT a morning person is miraculous all on their own). One was that since this is actually (technically) a commission, I have to sign it:
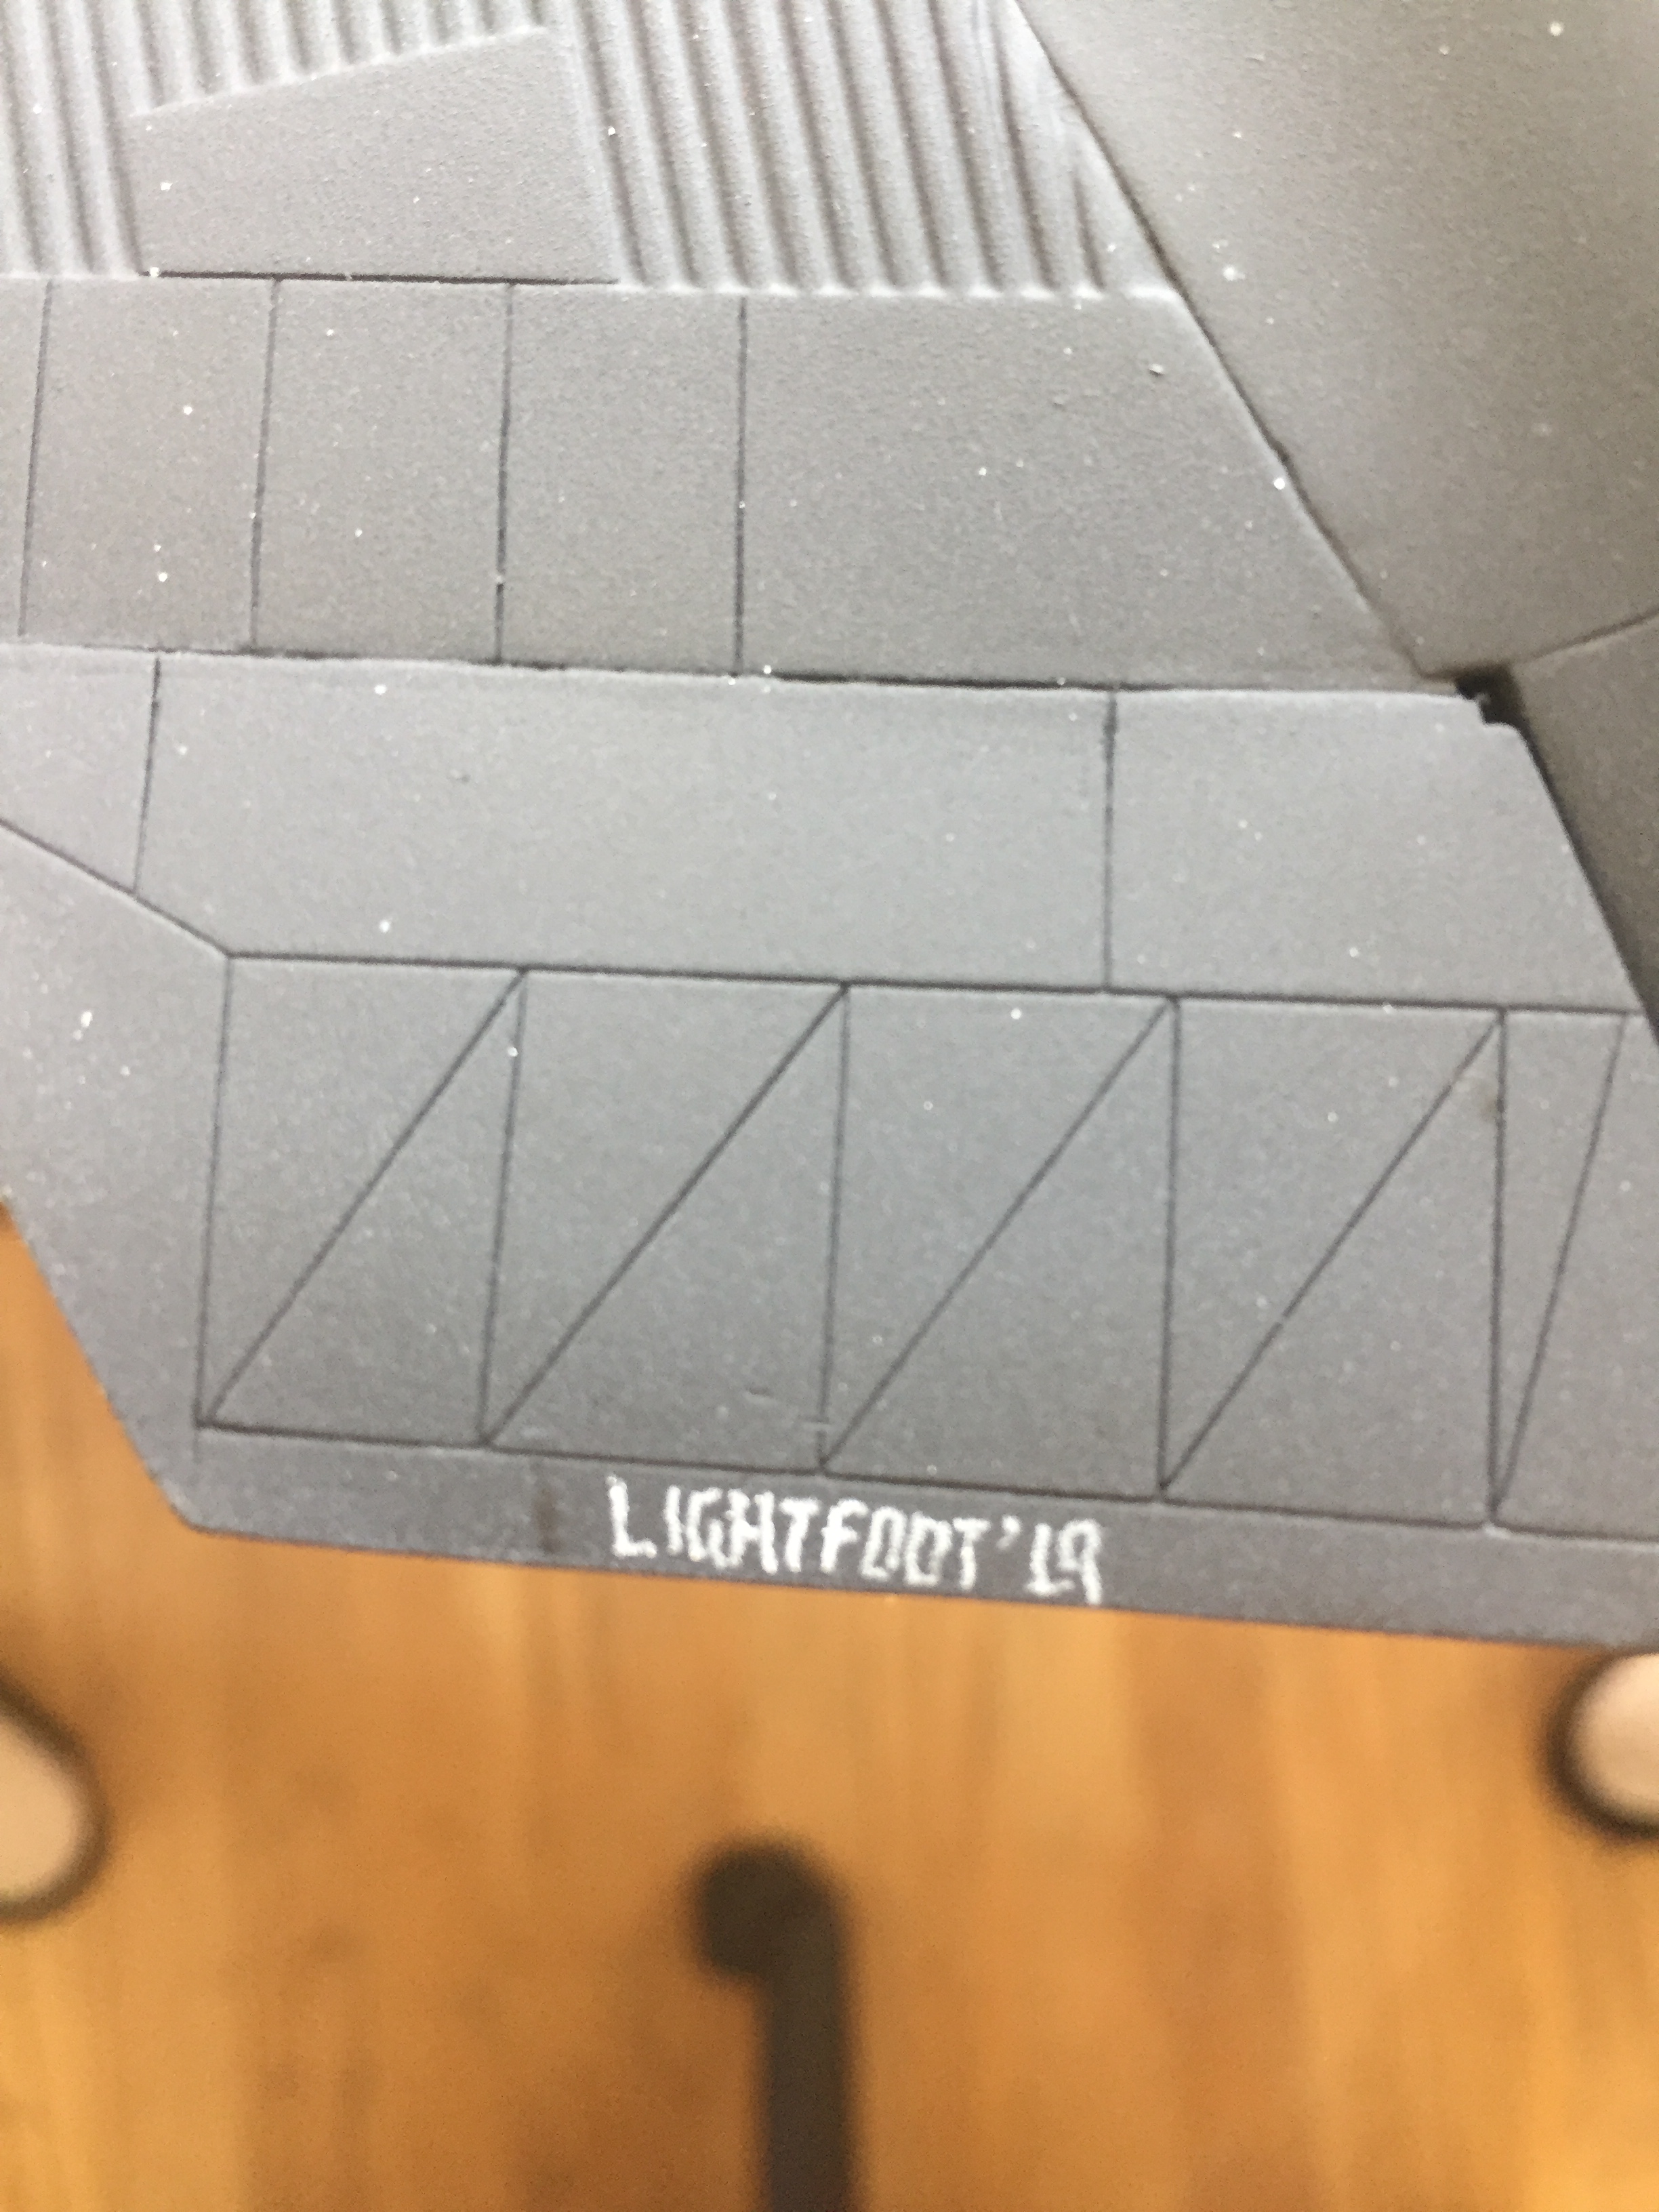
The other thing was that IT’S DONE.
For more photos, see Gallery.
If you’ll excuse me, it’s at this point that I need to go SERIOUSLY deplete my alcohol stock.

It looks great! What a long, strange trip it’s been…
LikeLike