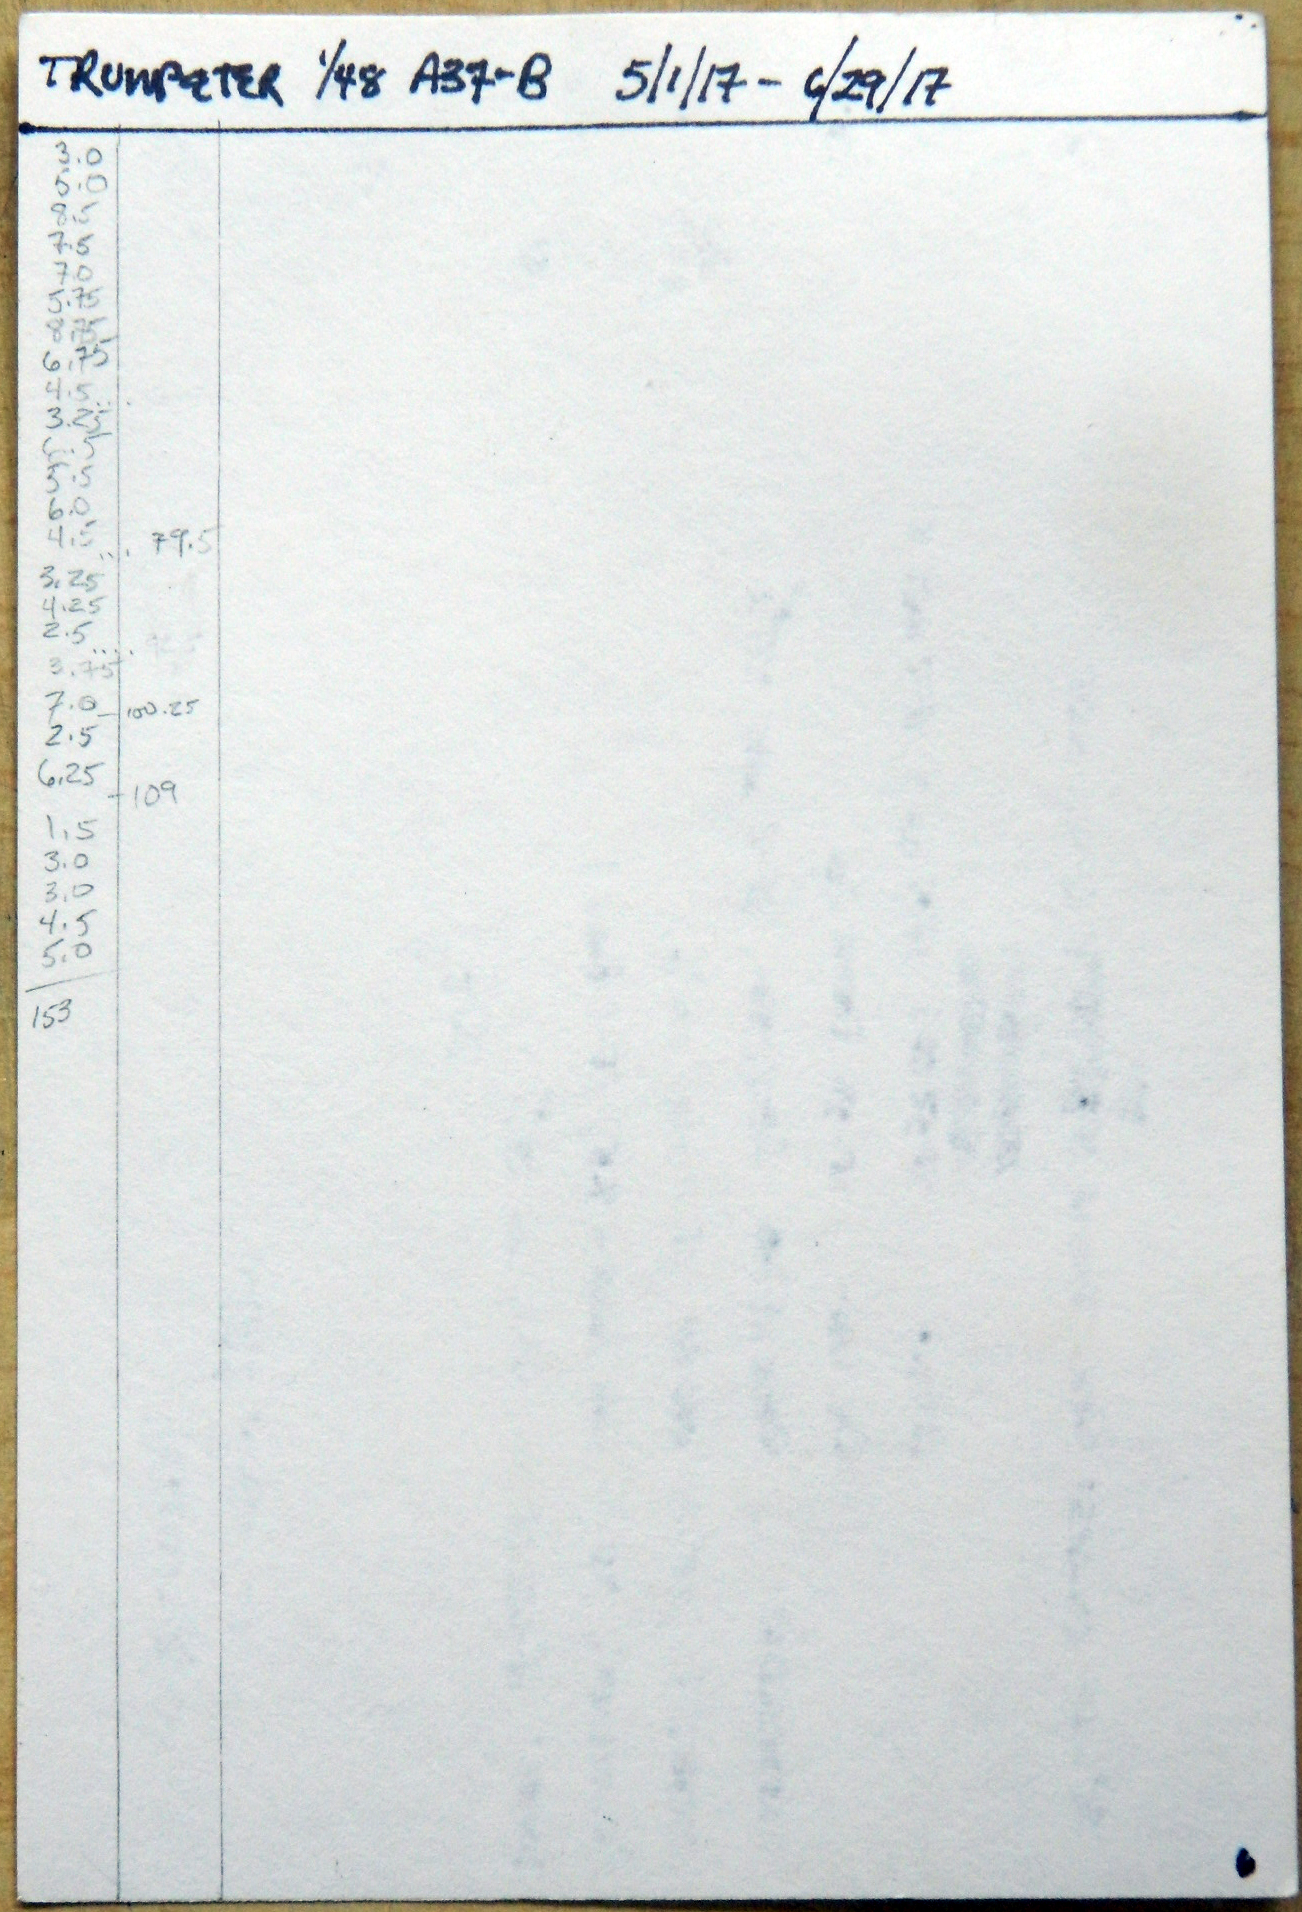
Total time building 153 hours (that’s about 6.375 24 hour days, 3.825 work weeks).
Begin date May 1, 2017; end date June 30, 2017.
Vendors:
Trumpeter
Kit #02889 1/48 scale
Built out-of-box, no aftermarket parts or decals
My Opinion
The molds for this model were cut about 2015 meaning it probably utilizes modern CAD-CAM tooling. Overall the fit of these parts was excellent. As ever, dry-fit the parts before gluing. There aren’t many places where fit needs to be adjusted, but they are there.
You’re going to need nose weight(s) to keep this thing from being like me…a tail-sitter. I used two .44 caliber lead balls delicately and gently coaxed into shapes that will fit using a jeweler’s anvil and a hammer. (Yes…that’s sarcasm.)
The kit’s decals can model one of three A-37Bs; Chile, Grupo 12,FACH, J-632, South Vietnam, 516th Fighter Squadron, 41st Tactical Wing, 1st Air Division, 68-7912, or USAF, 182nd Tactical Fighter Group, South Vietnam, 69-389. I chose the USAF bird. And while I’m on the subject of decals…
The decal for the data plate painted on the left side of the fuselage is wrong. It’s for an A-37A, tail number 67-1505. I put the decal on anyway; one really must look at it under very bright light with magnification to see it’s wrong.
The decals were interesting. The did not want to come off the paper (I tore one finding that out, in my ham-handed way) until they’d been soaked long enough to NOT WANT TO STAY ON THE PAPER and just floated off into the water. I’m still not exactly certain how I managed to fish it out (that’s the easy part…tweezers) and get it onto the model (that was the hard part involving needles to lift and unfold the decal, much cursing, water, more cursing, and at one point I almost resorted to prayer [saw no reason to get struck by lightning so I didn’t]). Once onto the model, blotting with a cotton swab just about made the carrier film disappear. A coating of Solvaset did make the carrier film disappear. The flat coat went down and the decals look like paint.
On the painting and marking guide there were a couple of inaccuracies. The inverted red triangle, “Ejection Seat” is only called for on the left side and it should be on both (not to worry, there’s two on the sheet). The “Armament Bay” decal is called for on the left side of the nose. The gun is on the right side of the nose and the decal goes there.
An error on the painting and marking guide is the color call-out for the right marker light on the wingtip fuel tank. The guide calls for that to be blue (and I even found one photo where it looks blue) but it’s supposed to be green. (Red – left, right – green.) So as ever, check your references…where they’re not incorrect. (What…you thought Catch-22 has gone away?!)
Another interesting omission is in the instructions. There’s a pitot tube near the top of the vertical stabilizer. It’s shown on the box art and the painting and marking sheet. There’s even a socket for it mostly molded into the fuselage halves…but it doesn’t go all the way through to the surface. AND the part is provided. So drill out the mounting socket for it. BUT. DON’T GLUE IT IN PLACE!! I broke that bastid off at least two dozen times. (Yes, it took me at least twenty four times to realize…hey…maybe I should just leave this thing off until I’m done?) (Yes, I’m quick like that.) My suggestion is to not glue it in place but make it removable (which is what I did with the dorsal whip antenna…which wasn’t supplied with the kit – I made mine out of stretched sprue). I should have also done that with the nose-mounted refueling probe. That bastid only broke off a dozen times.
After building old “classics”, the ones that don’t really fit, doing a modern kit was a nice change and it displays nicely. I recommend this one to y’all.
