To paint, some things need to be masked. Masking can be trying but one simply cannot do a decent paint job without it. (An adequate, or even somewhat poor, build can be saved by a sterling paint job; a great build can be ruined by a bad paint job.) I tend to have difficulties masking small round areas. An easy fix for that is to use liquid masking (various manufacturers make it). I apply it with a toothpick and move the masking agent to the edges of what I want masked. A really great feature of liquid masking is that there’s no bleed-through under the edge of the mask. The white over the artificial horizons is the liquid mask (which turns clear when dry):

While I was waiting for the mask to set up, I mixed what I thought was an adequate sage green:
Uhm…no. Not even close. So I added A LOT of medium gray to the mix and ended up with something better:
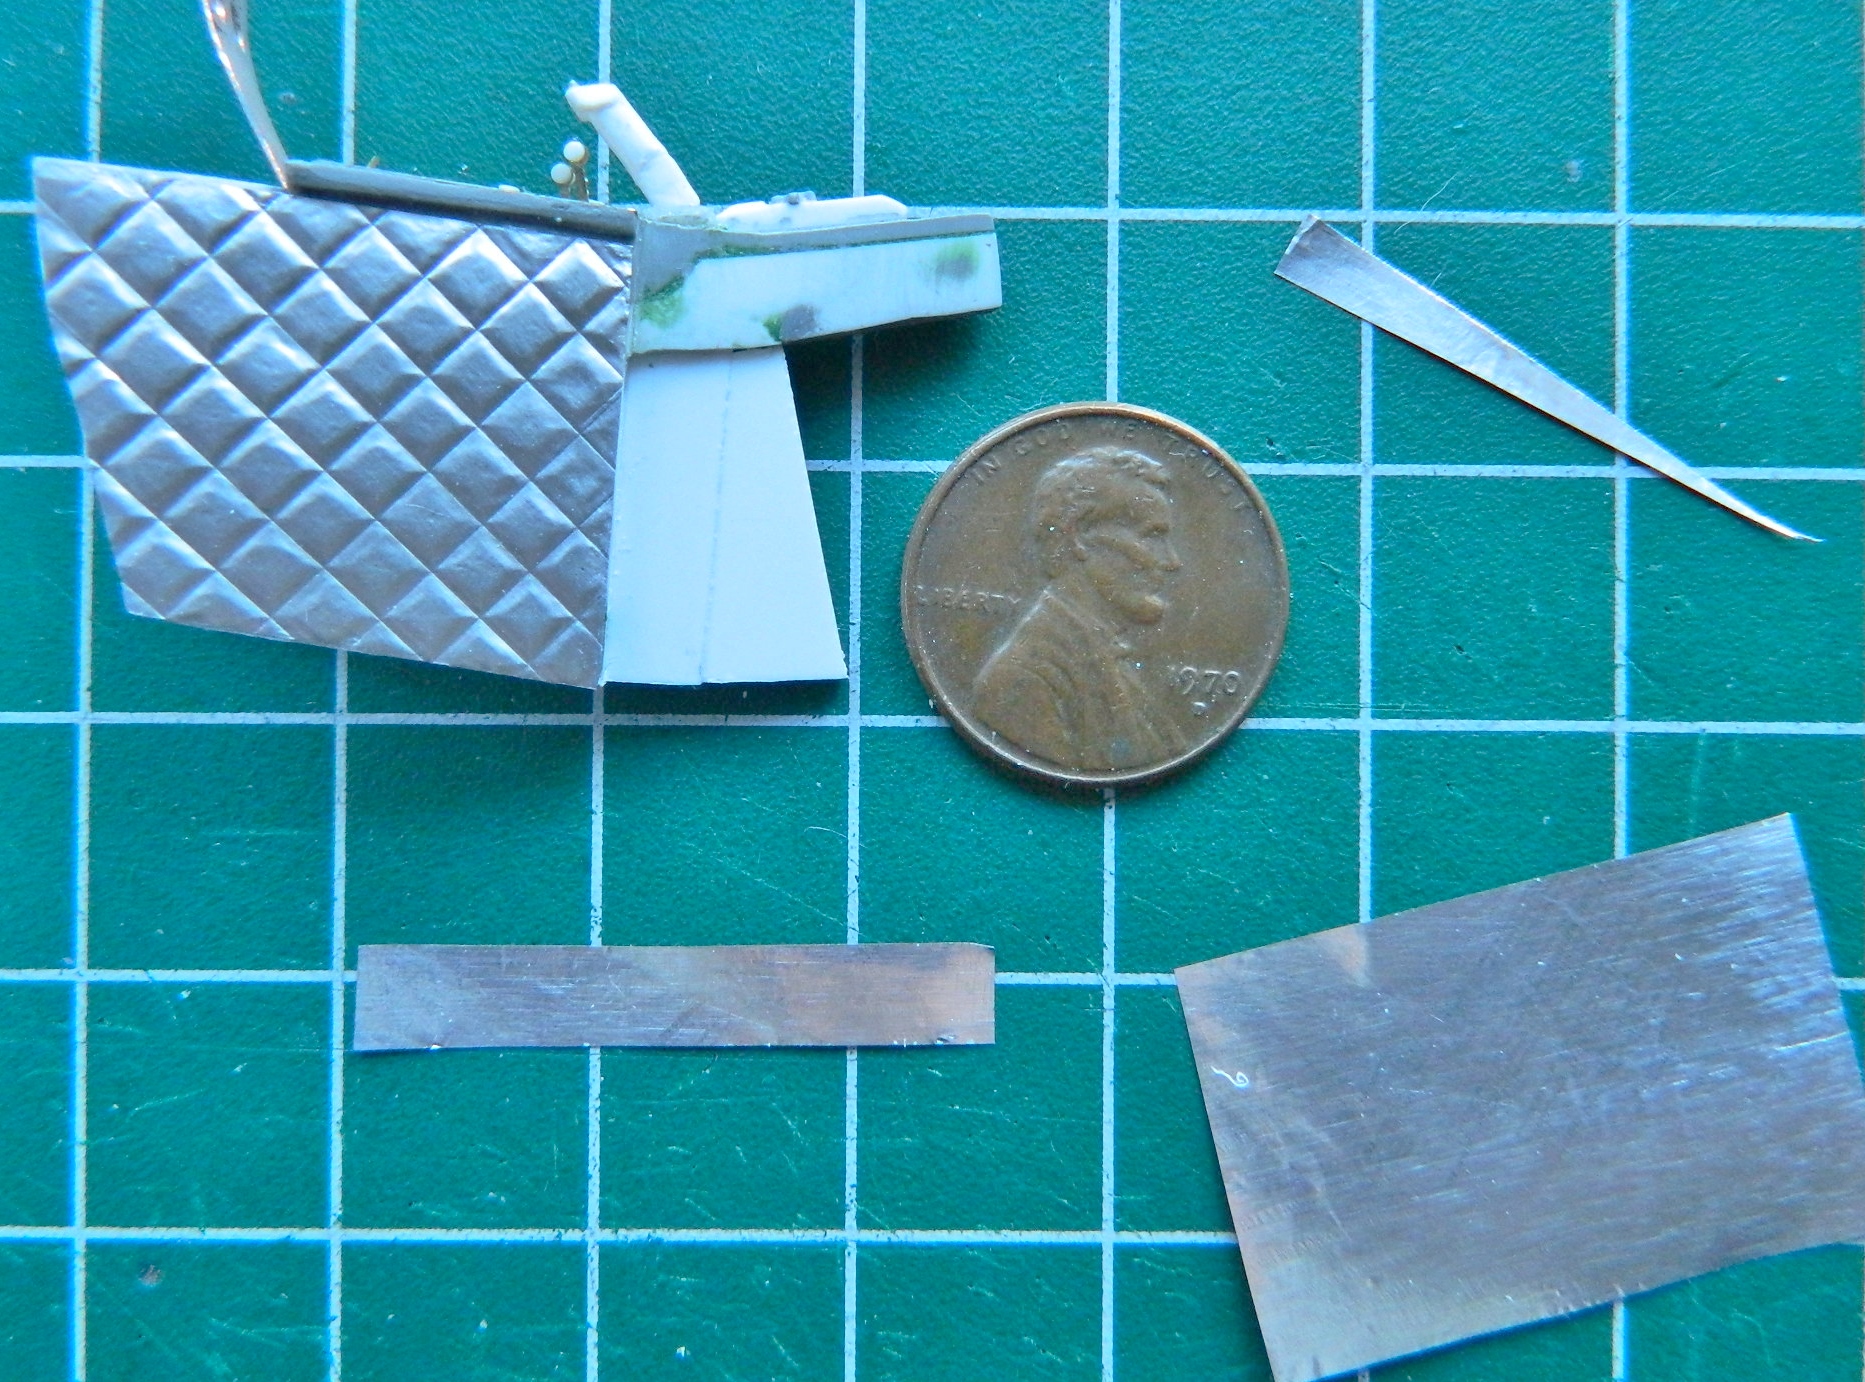
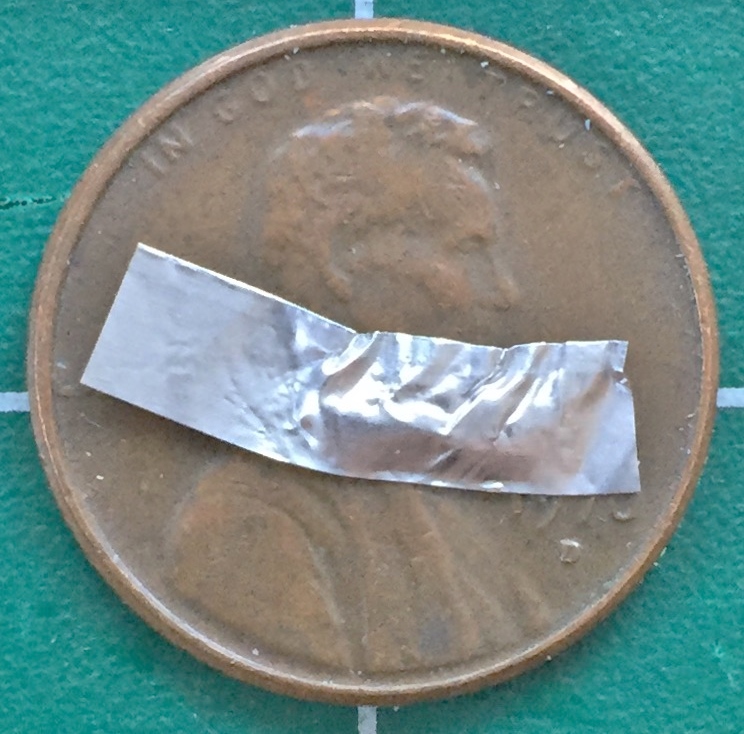
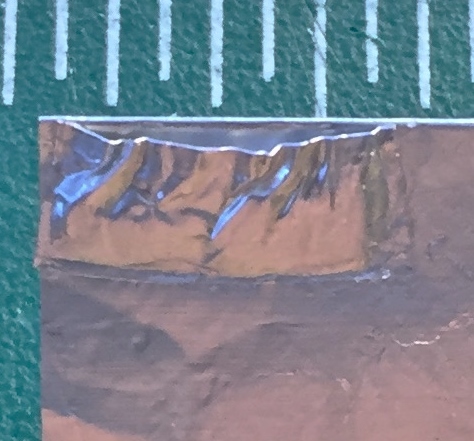
There are pouches on the sides of the center console:

To replicate them I used standard household aluminum foil:

I’ve mentioned the miserable fit of this kit’s parts before. Check out how “well” the insides of the hull meet the edge of the cabin tub:
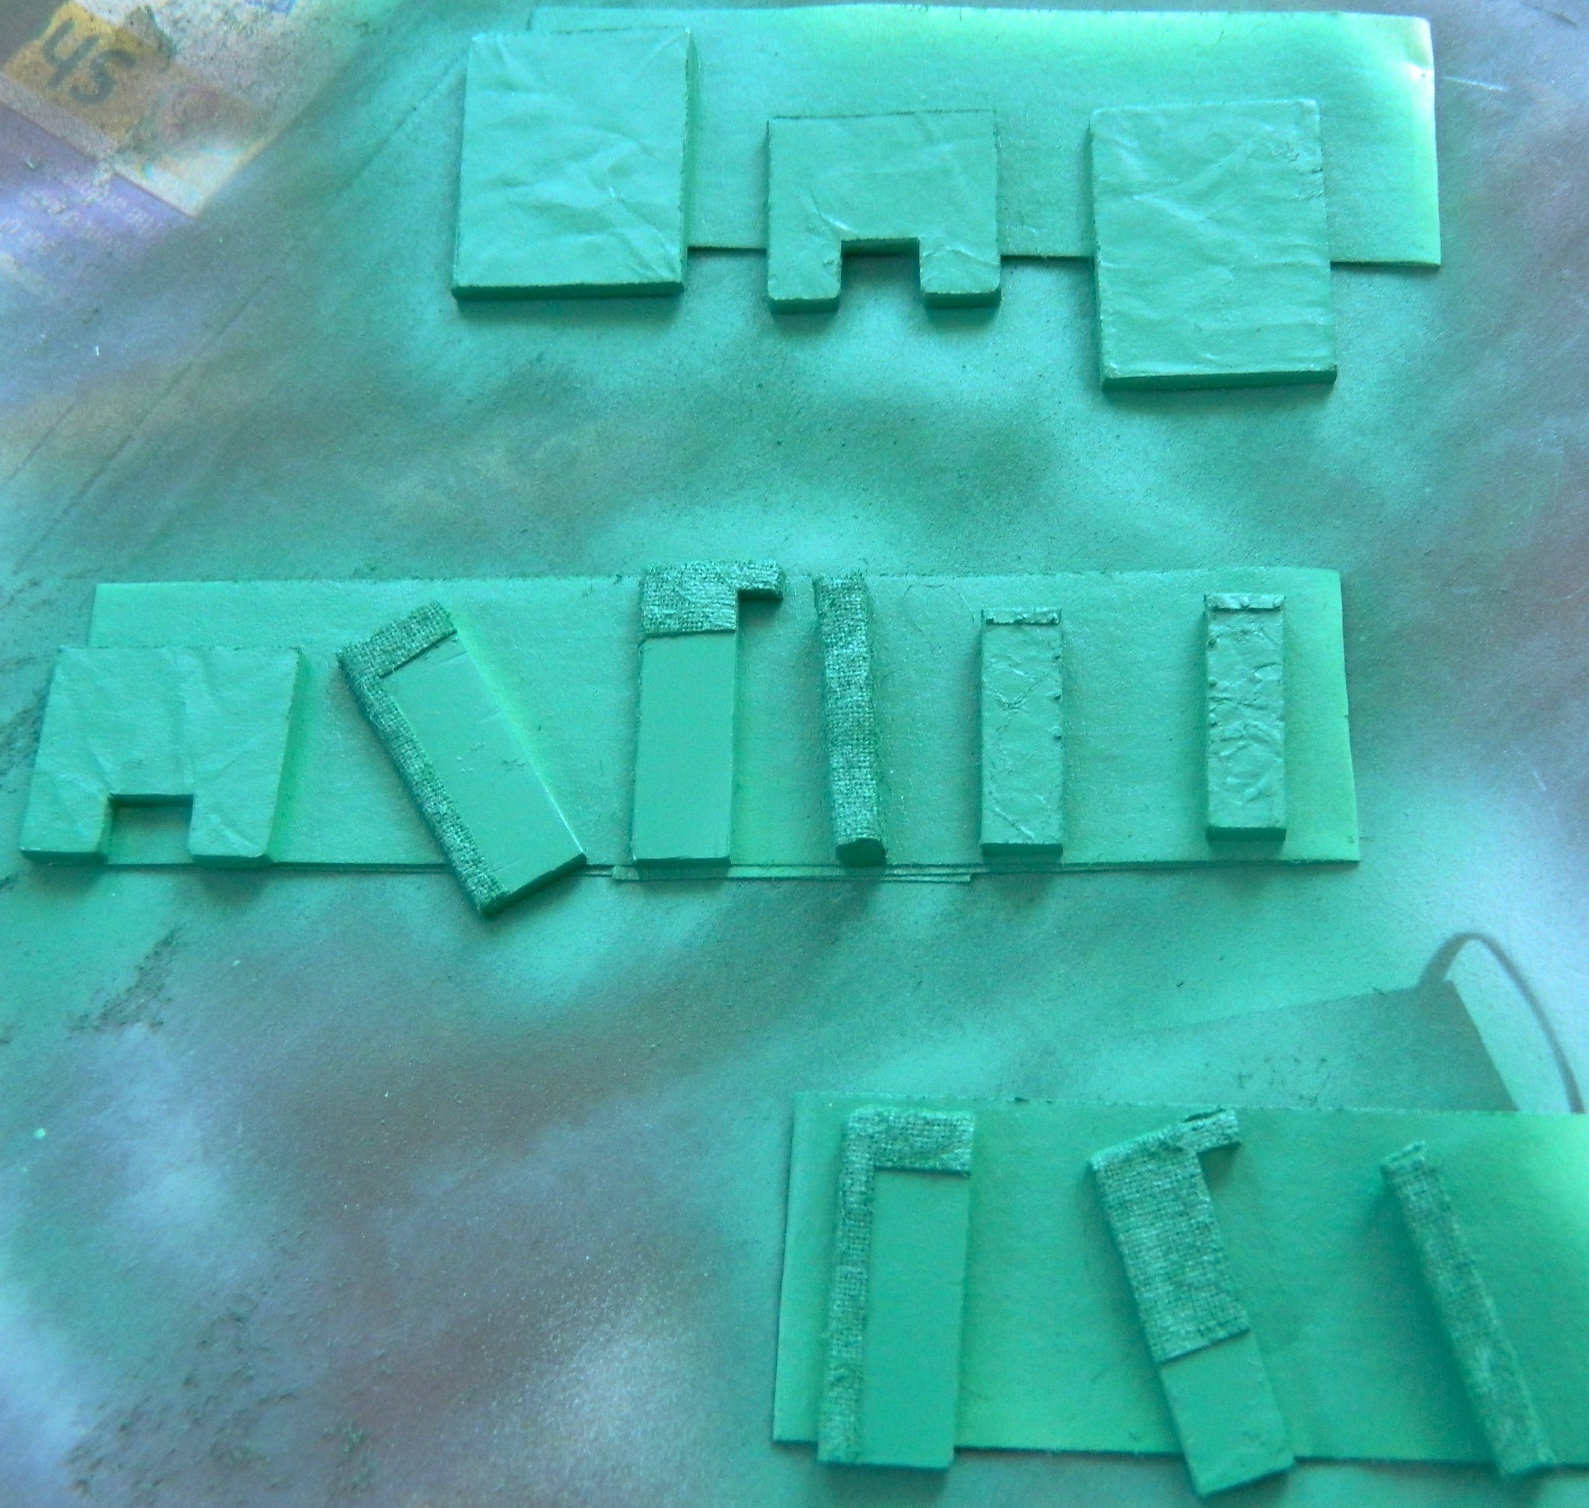
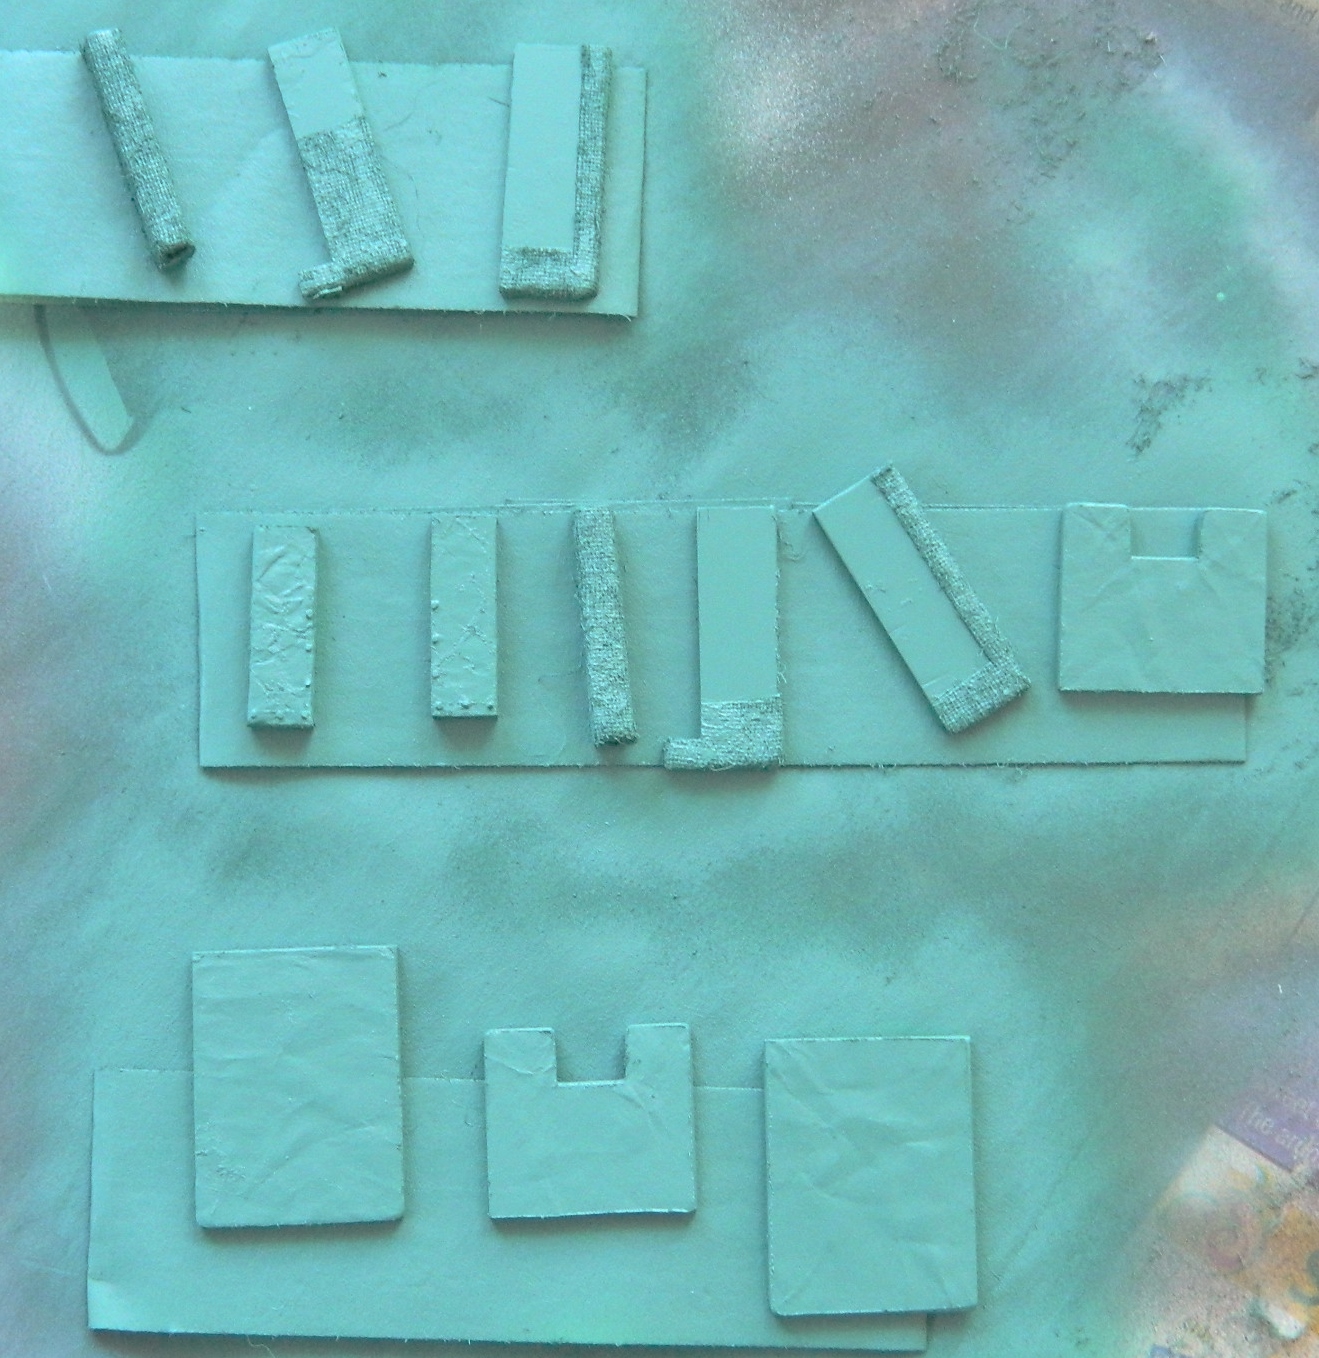
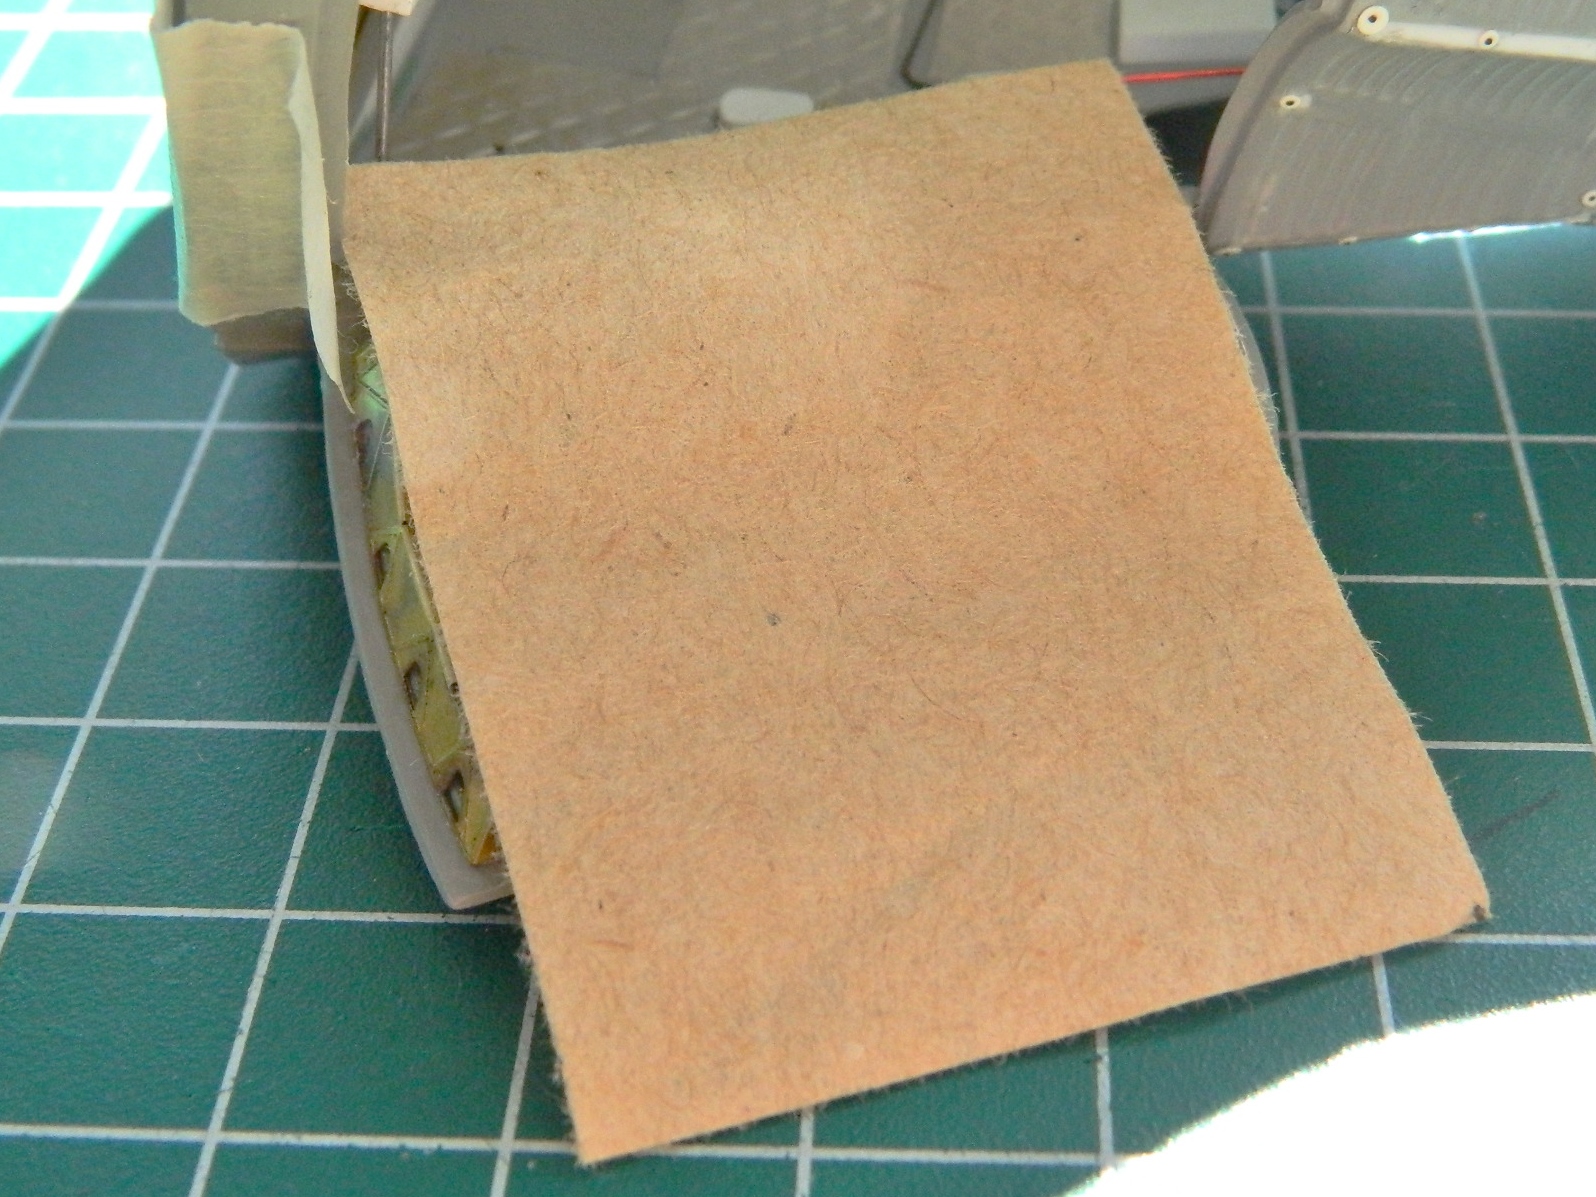
Thankfully I noticed something in reference photos that saved me a metric butt-load of hassle trying to extend the cabin wall to meet the exterior. There were what I can only assume were sun screens that zipped over the inner opening of the hatch. When they weren’t deployed, they were rolled up along the lower edge of the hatch…just where I have a large gap I need to fill! I used the paper towels one finds in public restrooms to make the sun screens. (What I like about this type of paper towel is that there is no cutesy texture embossed into its surface.) So step one is to dimension the towel and cut it:
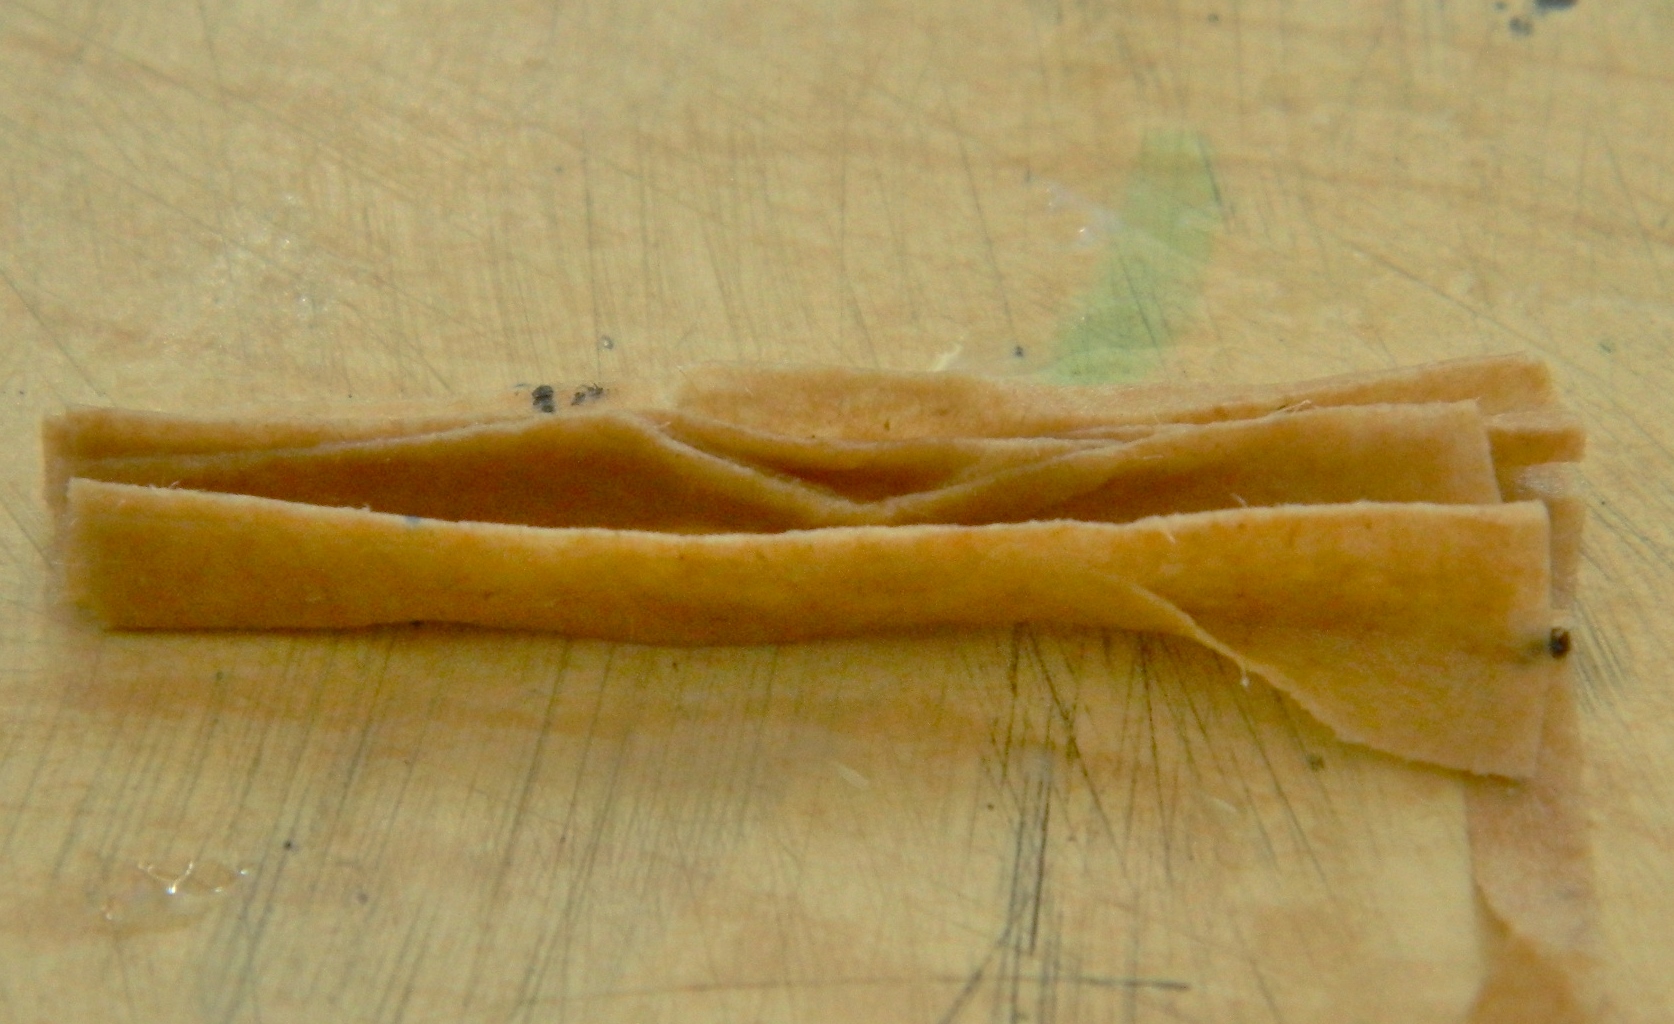
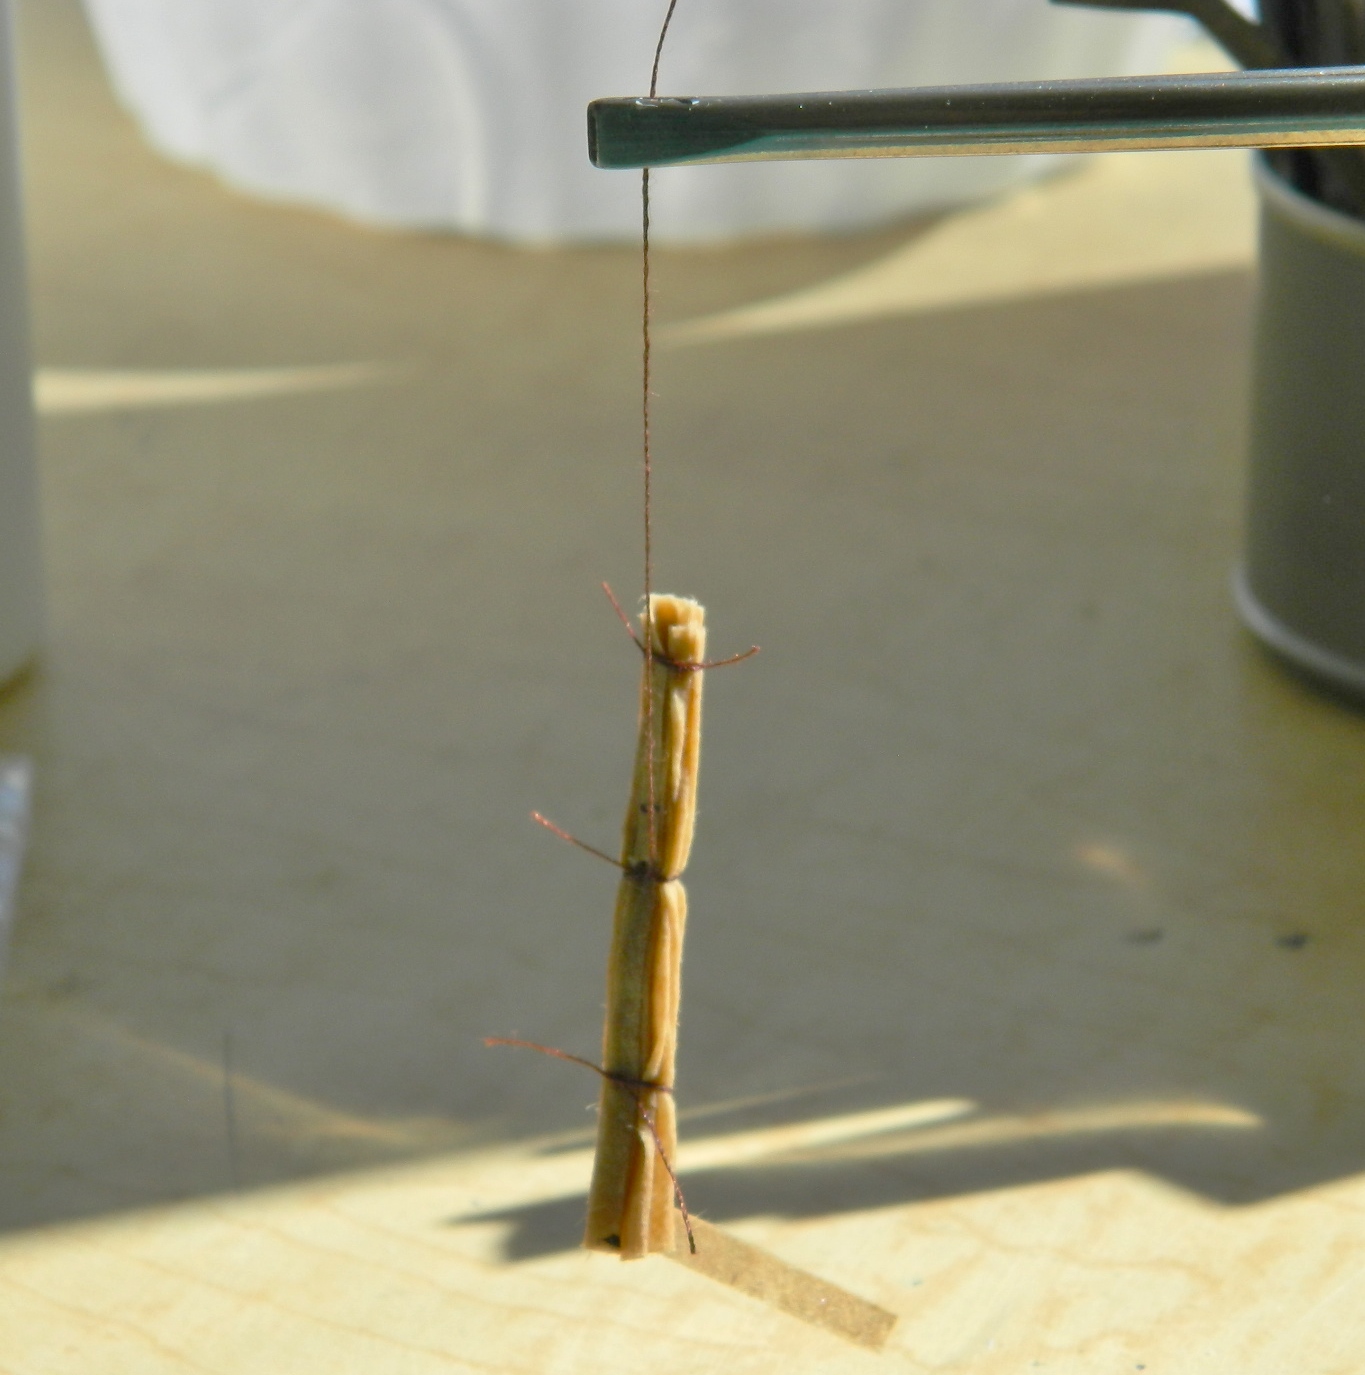
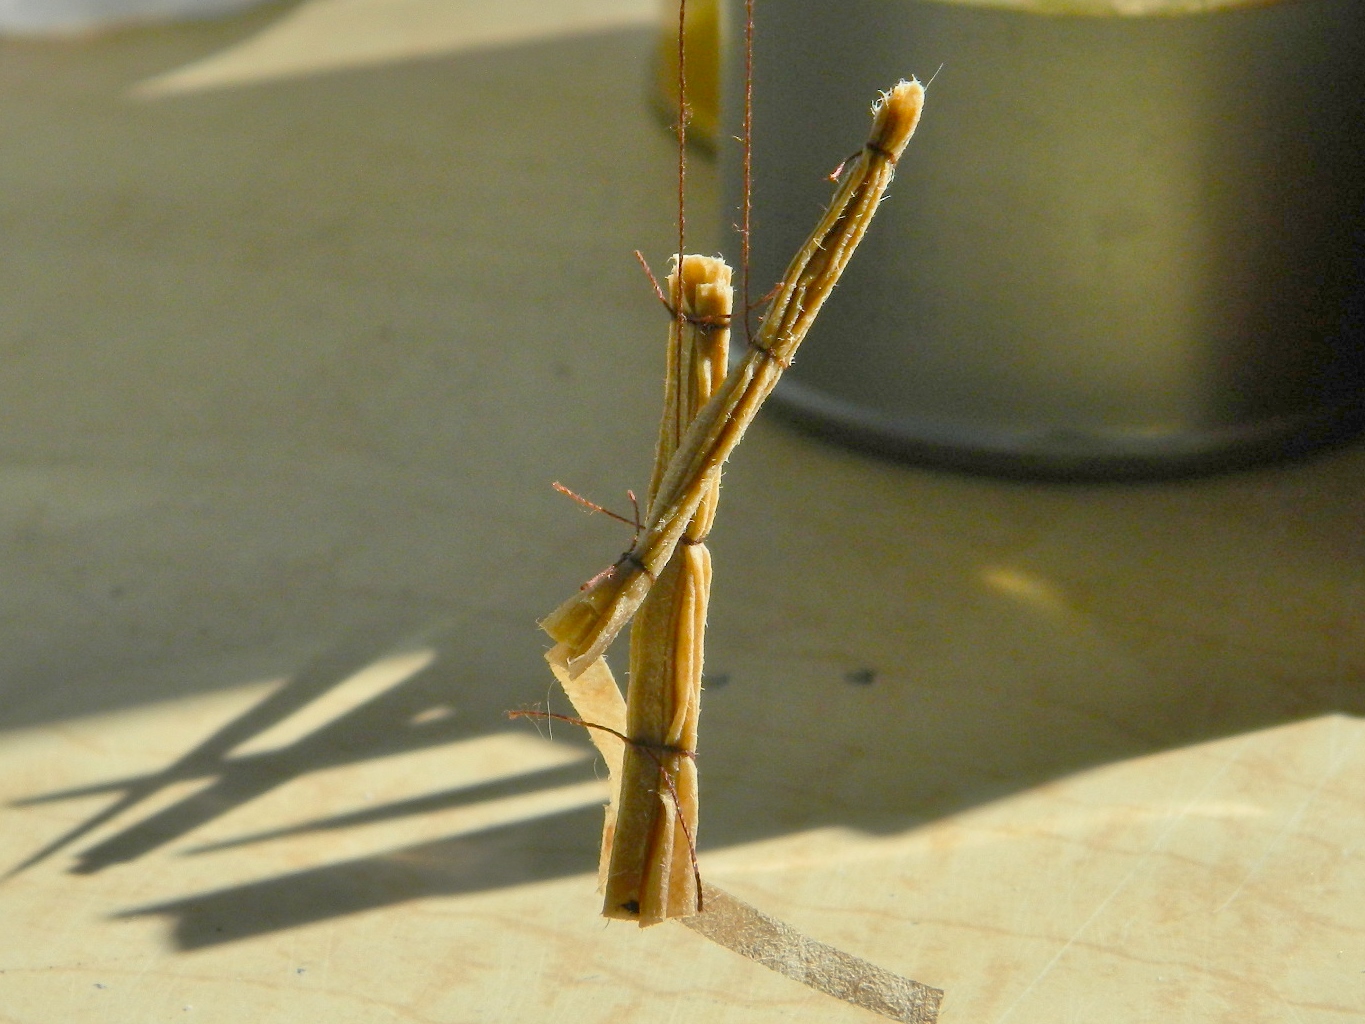
The paper towel is cut to its rough shape then dipped in diluted white glue, folded, tied, and set aside to dry:


I mixed medium gray with white and thought I’d gotten the shade correct…but I didn’t. Too dark. So I mixed more white into the gray (a lot more white) and kept checking to see when I had it correct:

Once the shade was correct, everything gray (and that’s most of the cockpit) got resprayed. I started adding the black details next. A frequent question I get is how I manage to paint such small details. As a smartass, I tell everyone one, “carefully.” But the way I actually do it is like this…
The first pass of paint is to cover what I want to be the color I’m using. Yeah, I try to “stay between the lines,” but that doesn’t always work (in fact, it rarely works):
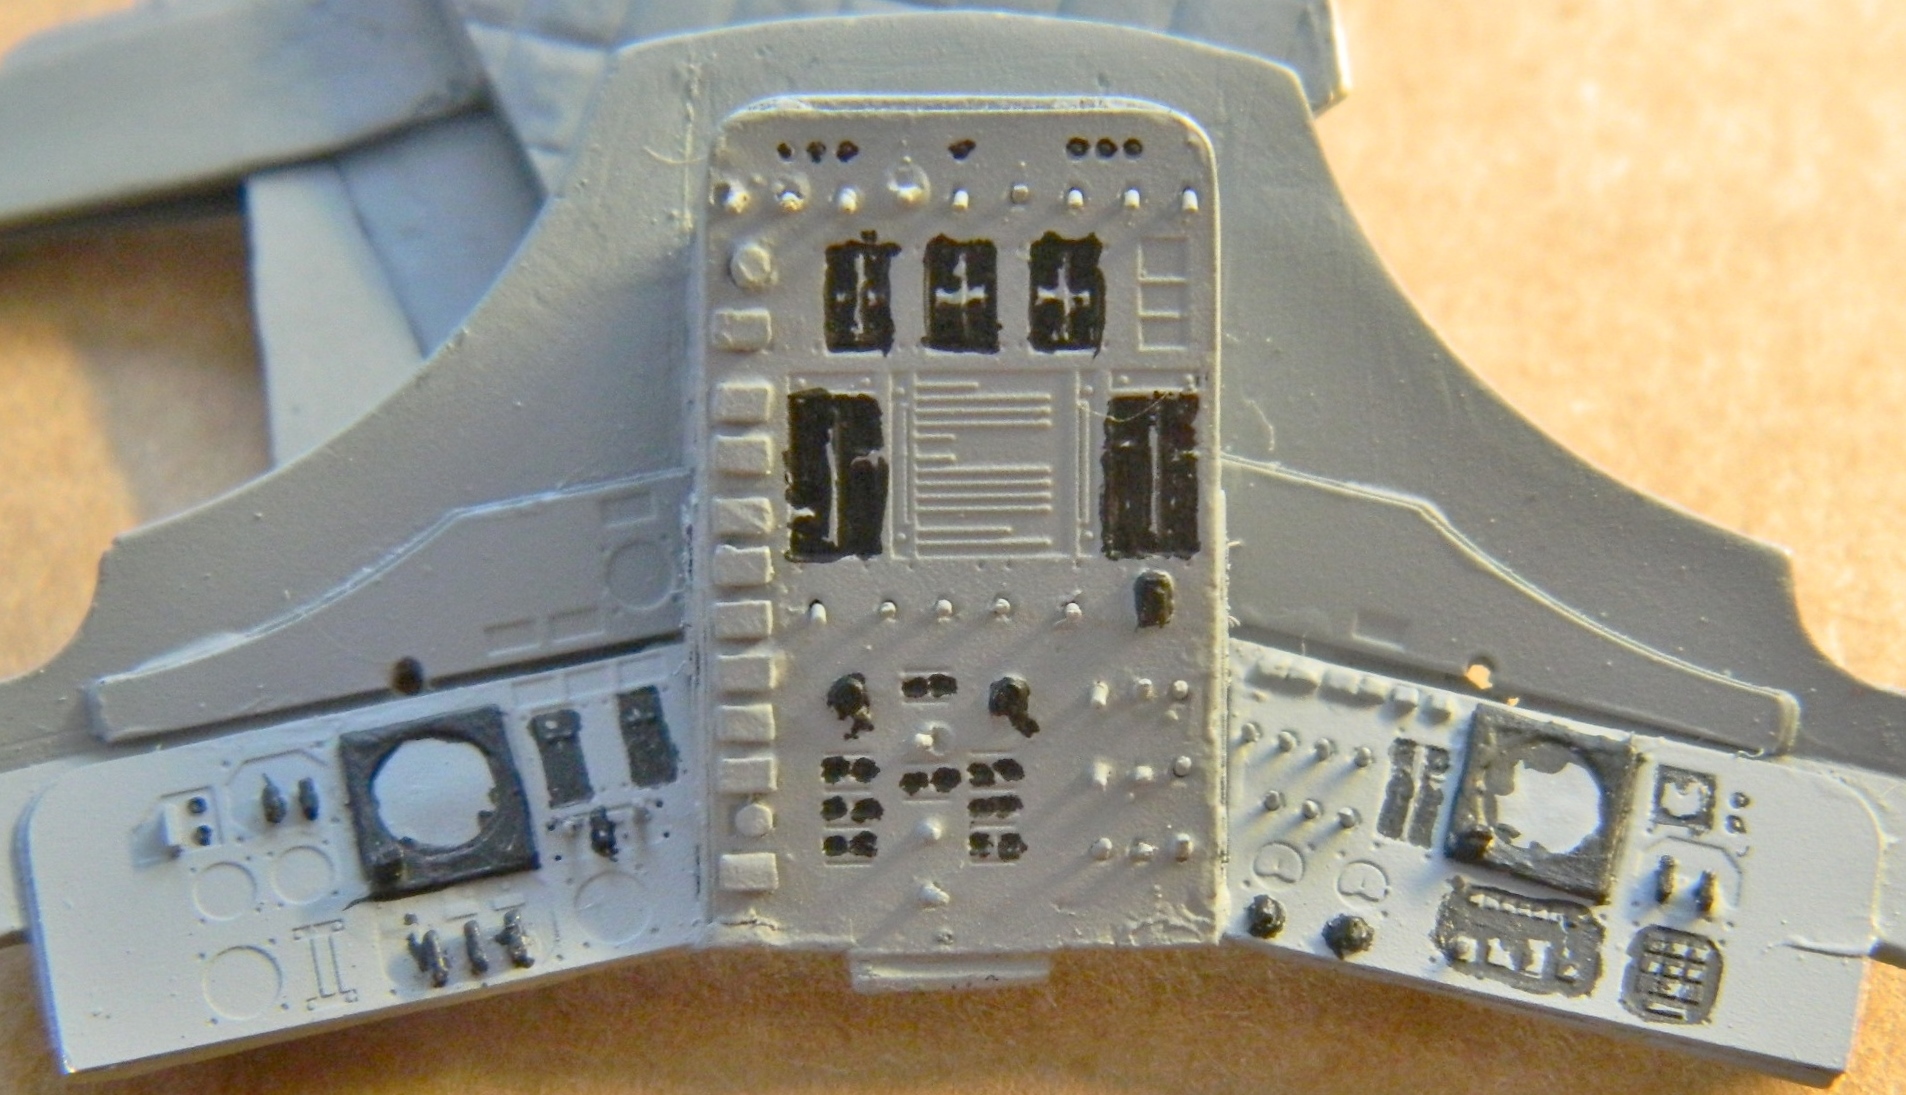
Once the paint I just laid down is touch dry, I go back with a very small brush and cover what isn’t between “the lines” which in this case was gray. A technique I use to bring out (or add) small contrasting color details is to use colored pencils. I can get them to a very sharp point and they’re MUCH EASIER to control than paint, and that’s how I did the details below. I also shot the panel with clear and added decals for the gauges (turns out that though this model is 1/24 scale, the 1/48 scale instrument face decals I have are just what I needed as well as being the correct size!):
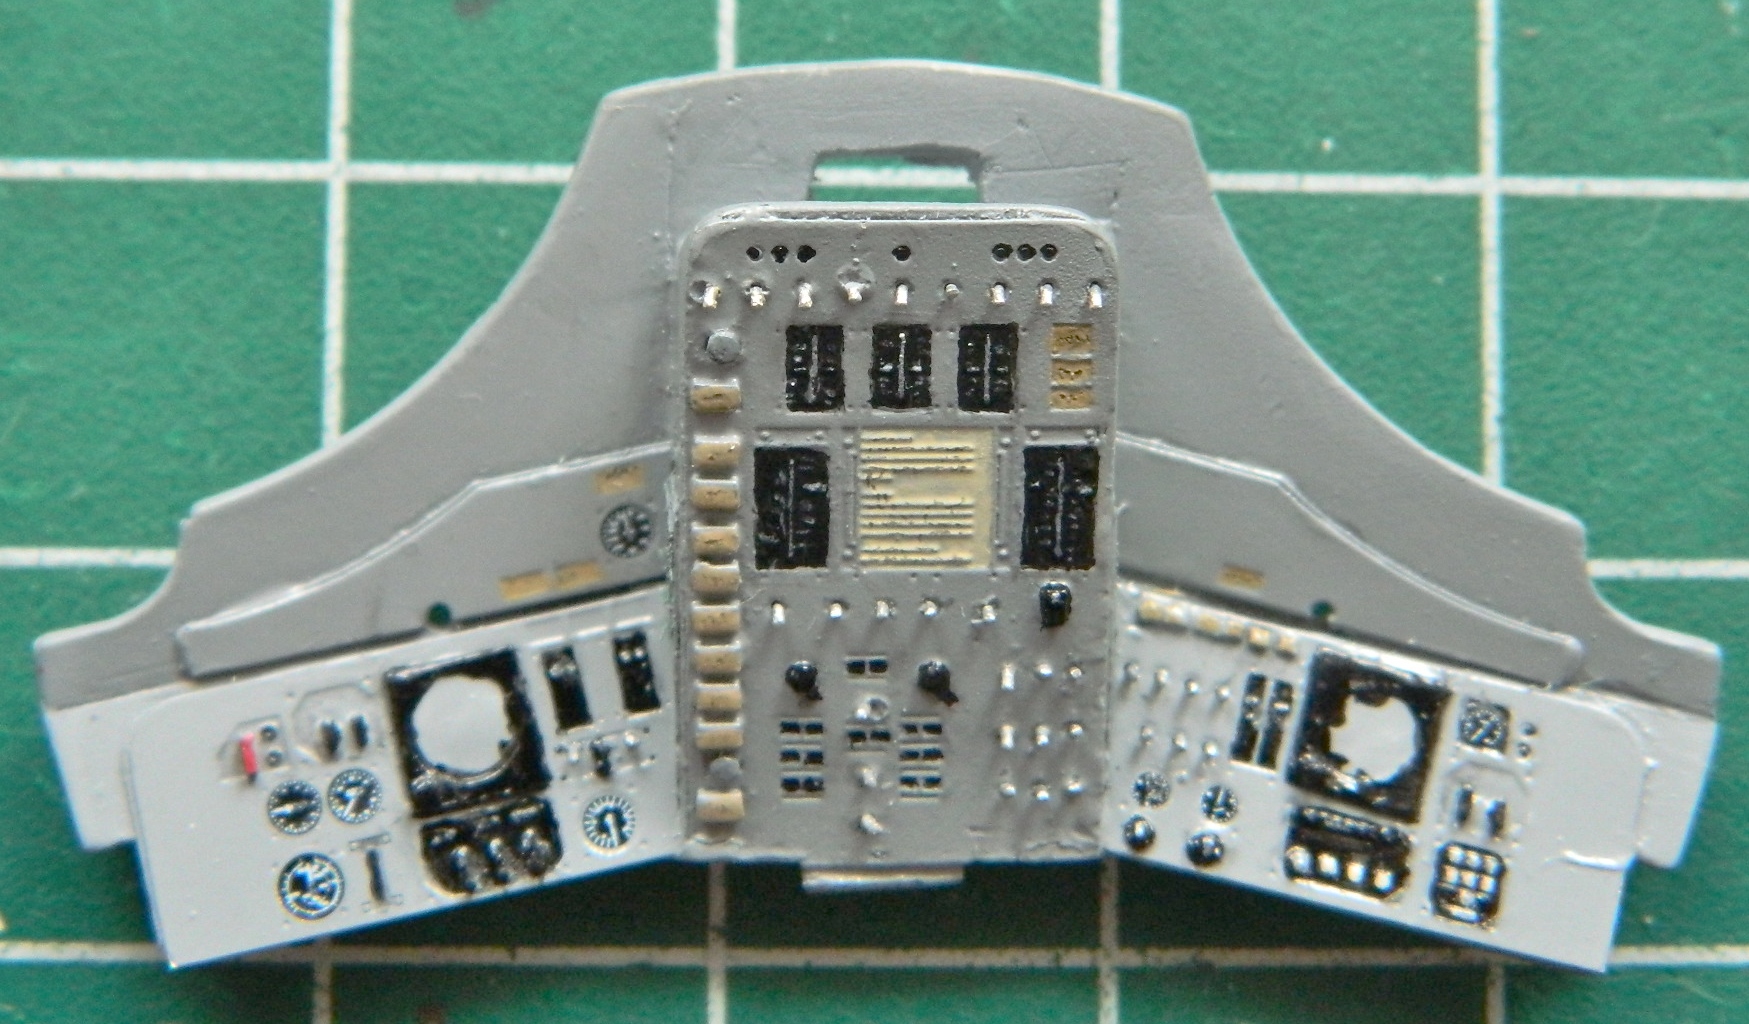
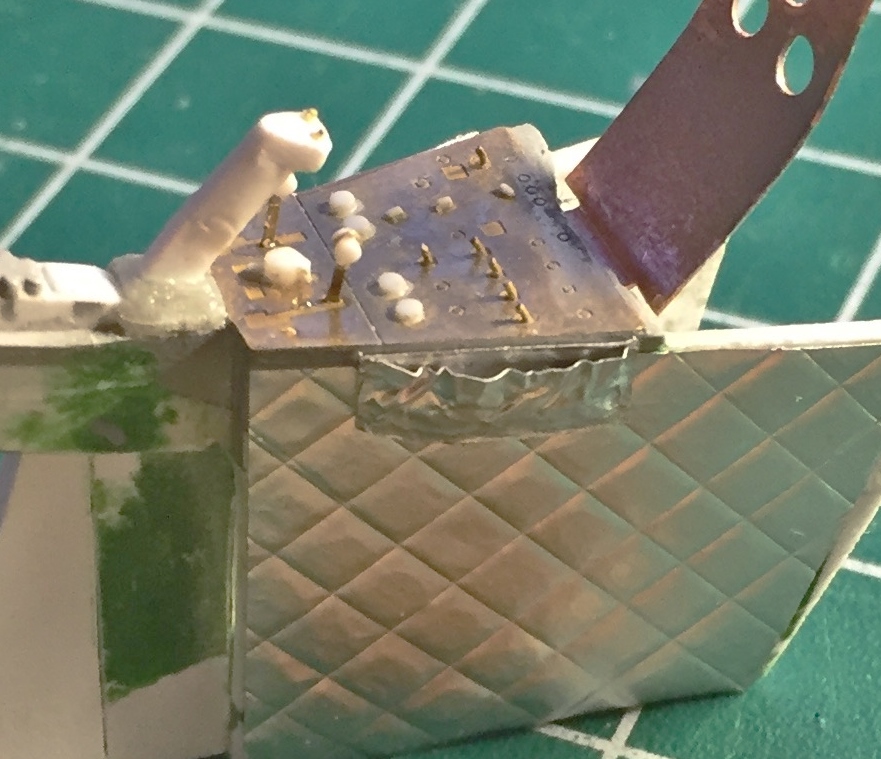
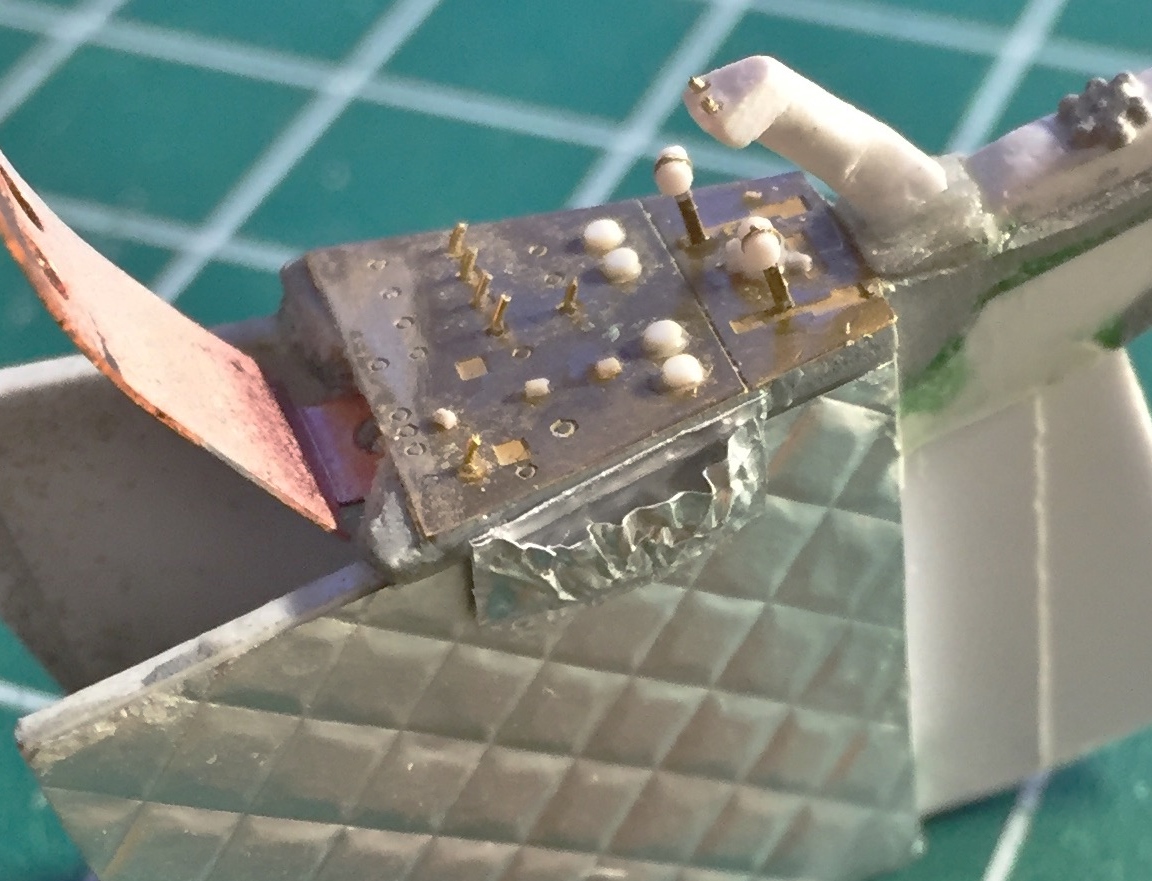
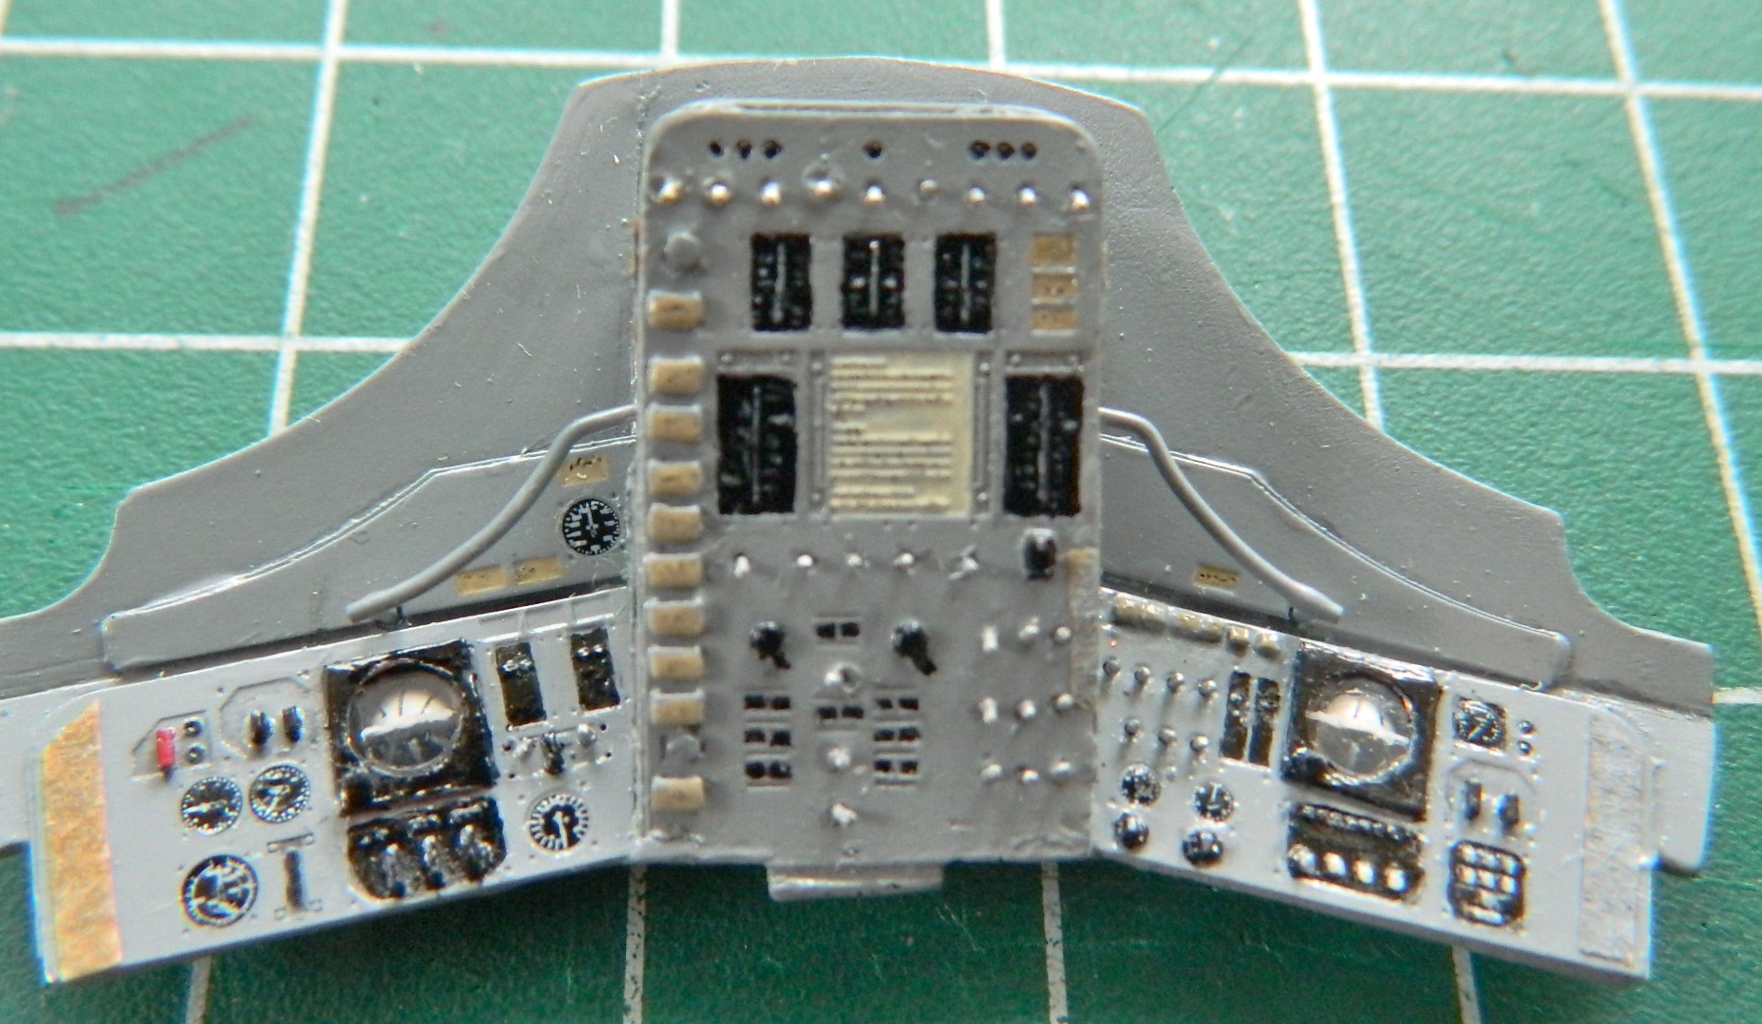
Once the decals dried thoroughly, I put a drop of clear gloss paint over the faces to replicate glass. Then I peeled the formerly-liquid mask of the artificial horizons, added the grab bars to the sides of the central panel, and ended up with this:

Yeah. That gets it…
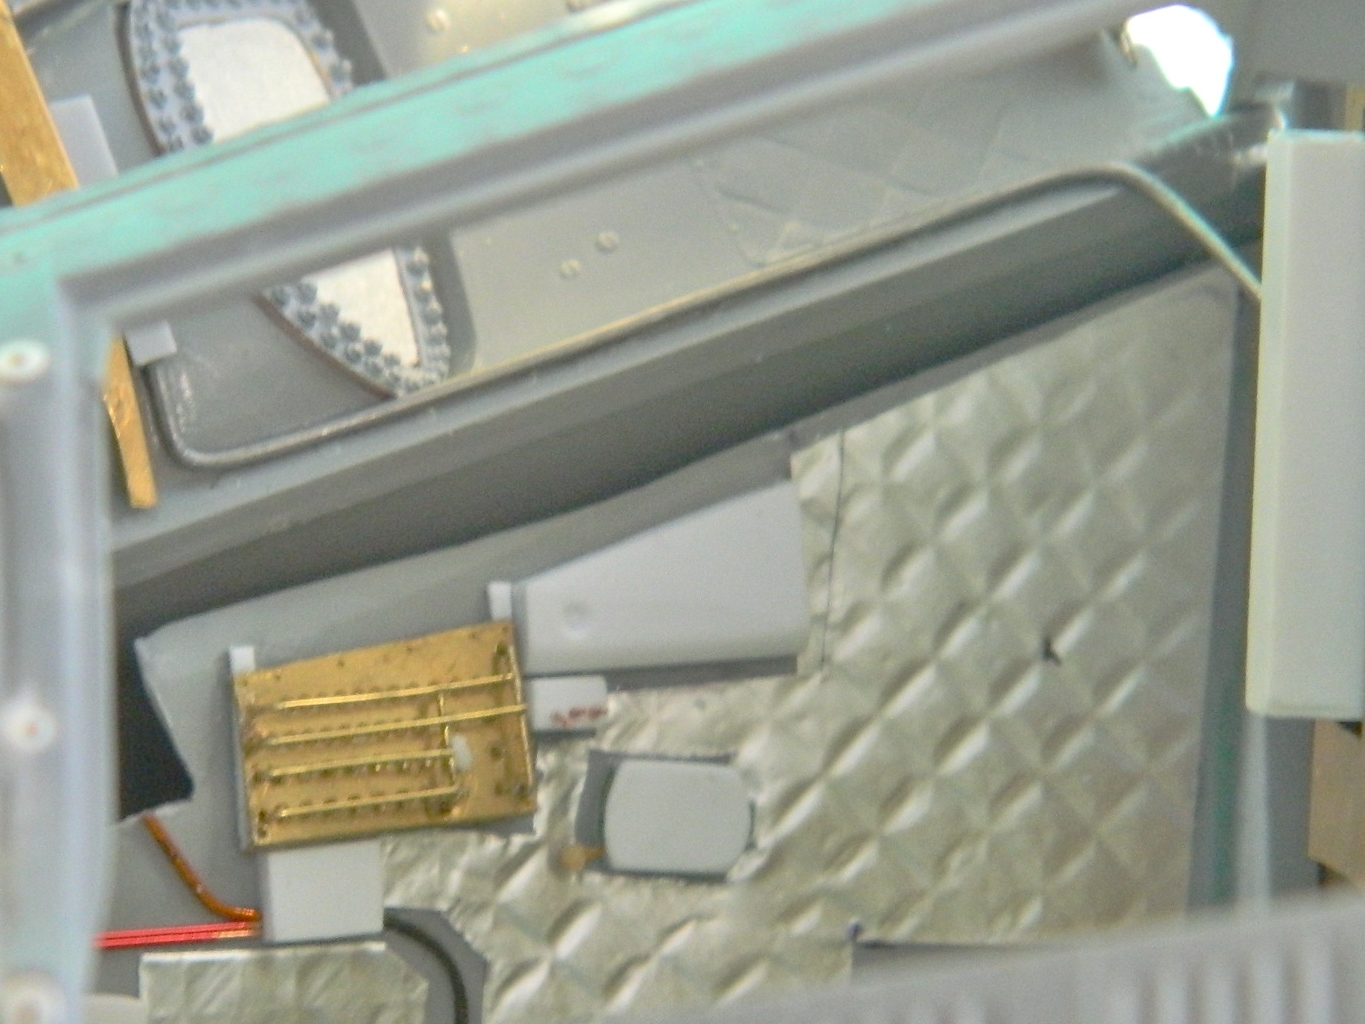
Since a person can’t just “put something down” in micro-gravity, there has to be something to keep things in place. That something is Velcro and it’s pretty much all over the inside of the cabin. I used the same paper towel material I used for the sunshades for Velcro (the superglued pantyhose was out-of-scale). Below, the bare paper towel is on the left of the panel, the painted paper towel on the right (and I’m not satisfied with using the light gray for the Velcro…it looks more tan to me so I’ll be fixing that before assembly):
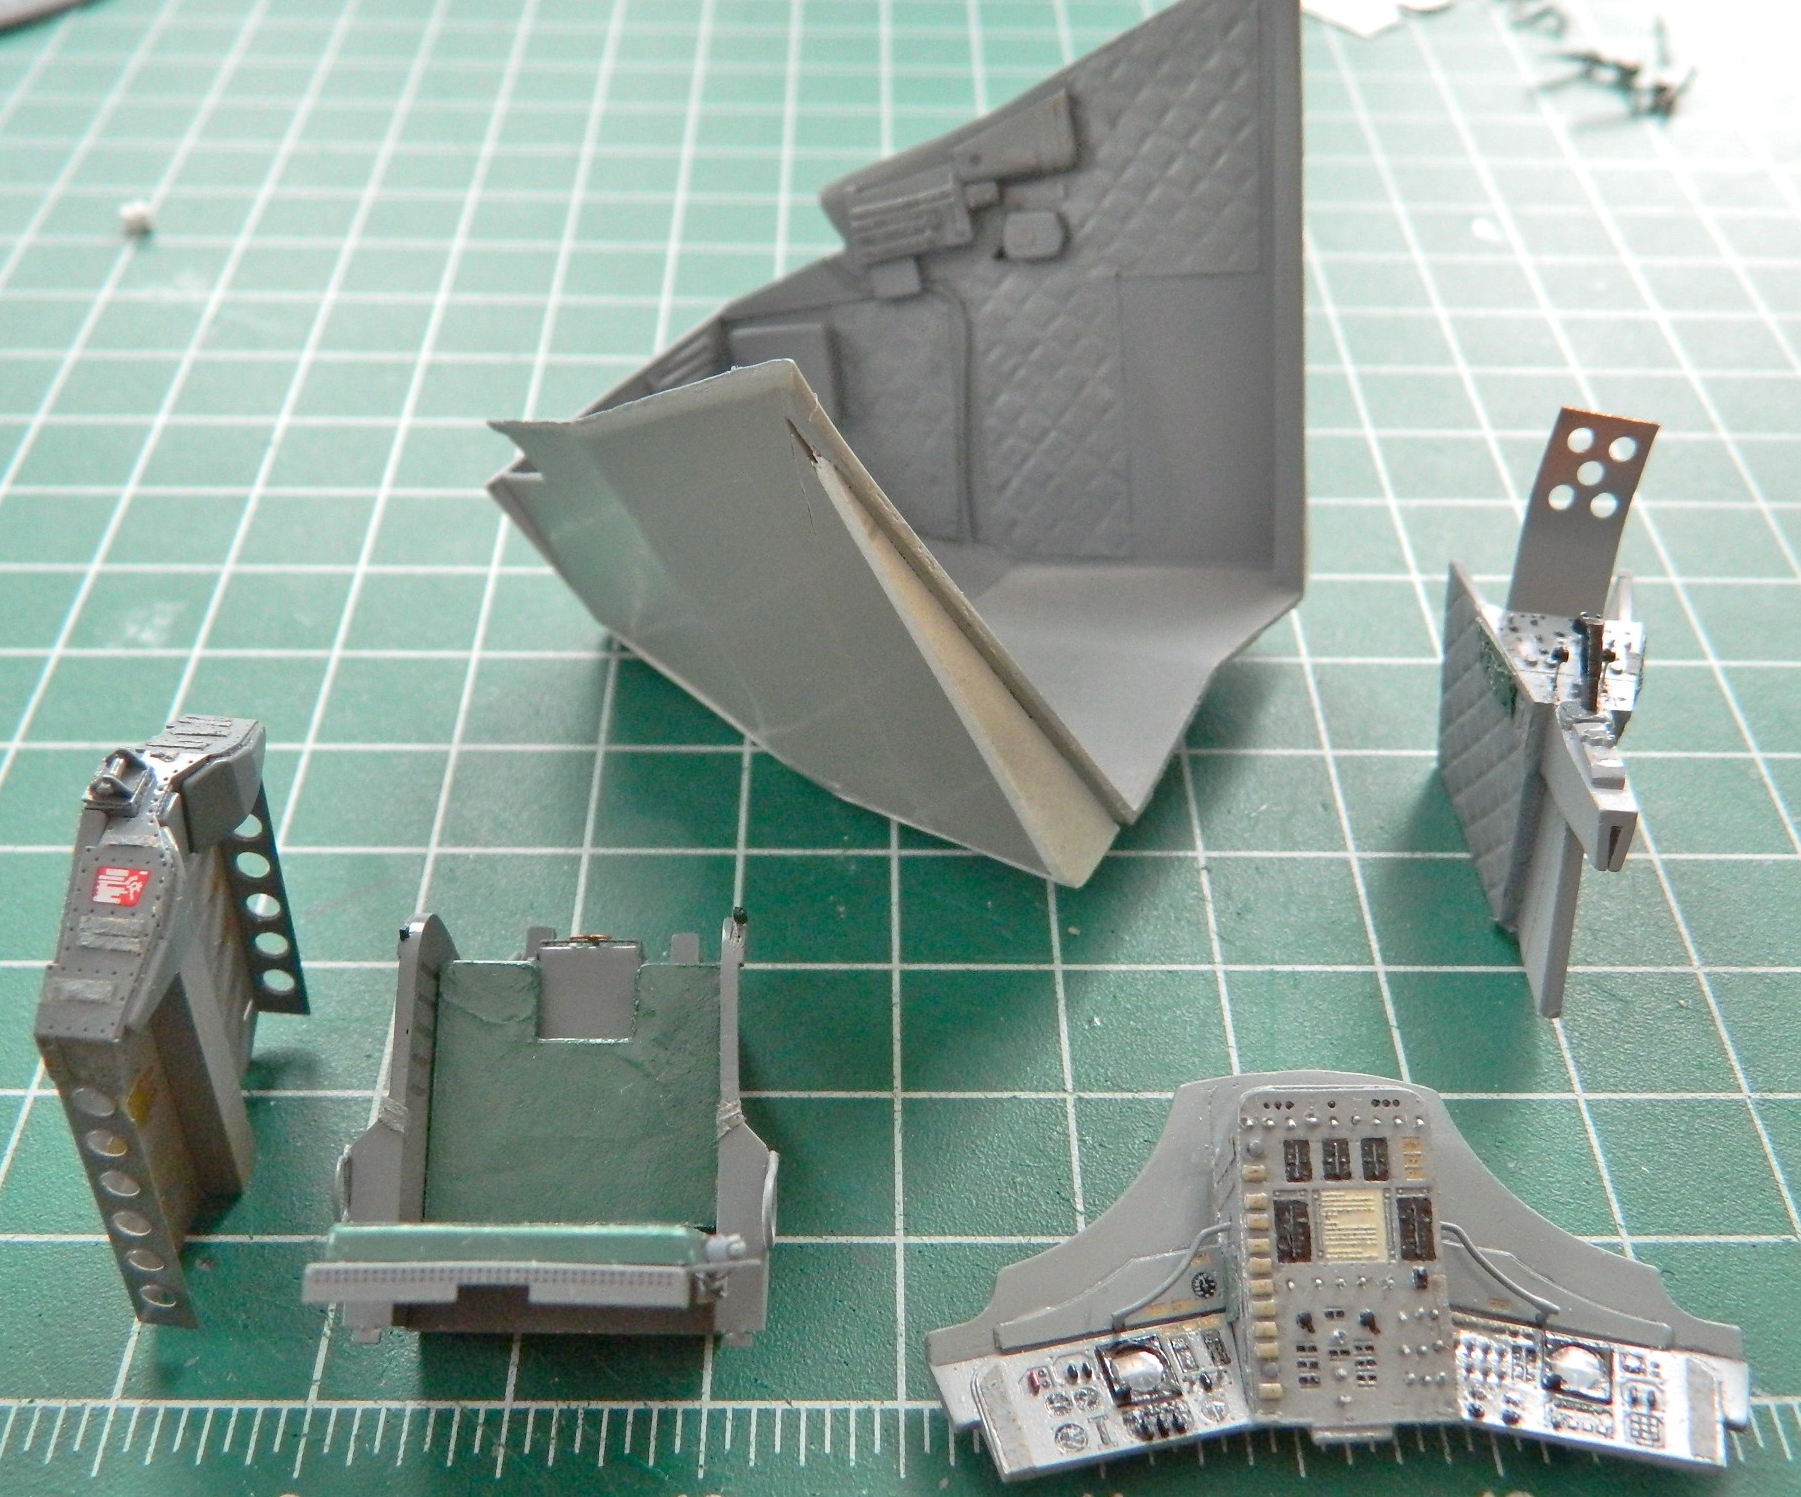
The last thing to add to the cabin parts are the oxygen hoses, get them in paint, and then I can start assembly!
