Now that I can generate vacuum, I need a place to generate a vacuum in and that’s a vacuum chamber.
Commercial/scientific vacuum chambers are expensive…like sometimes into the thousands of dollars expensive. Though one would be nice to have, I have neither the money nor the necessity for that level of chamber. What I need is something vacuum tight that can hold that vacuum long enough to provide utility.
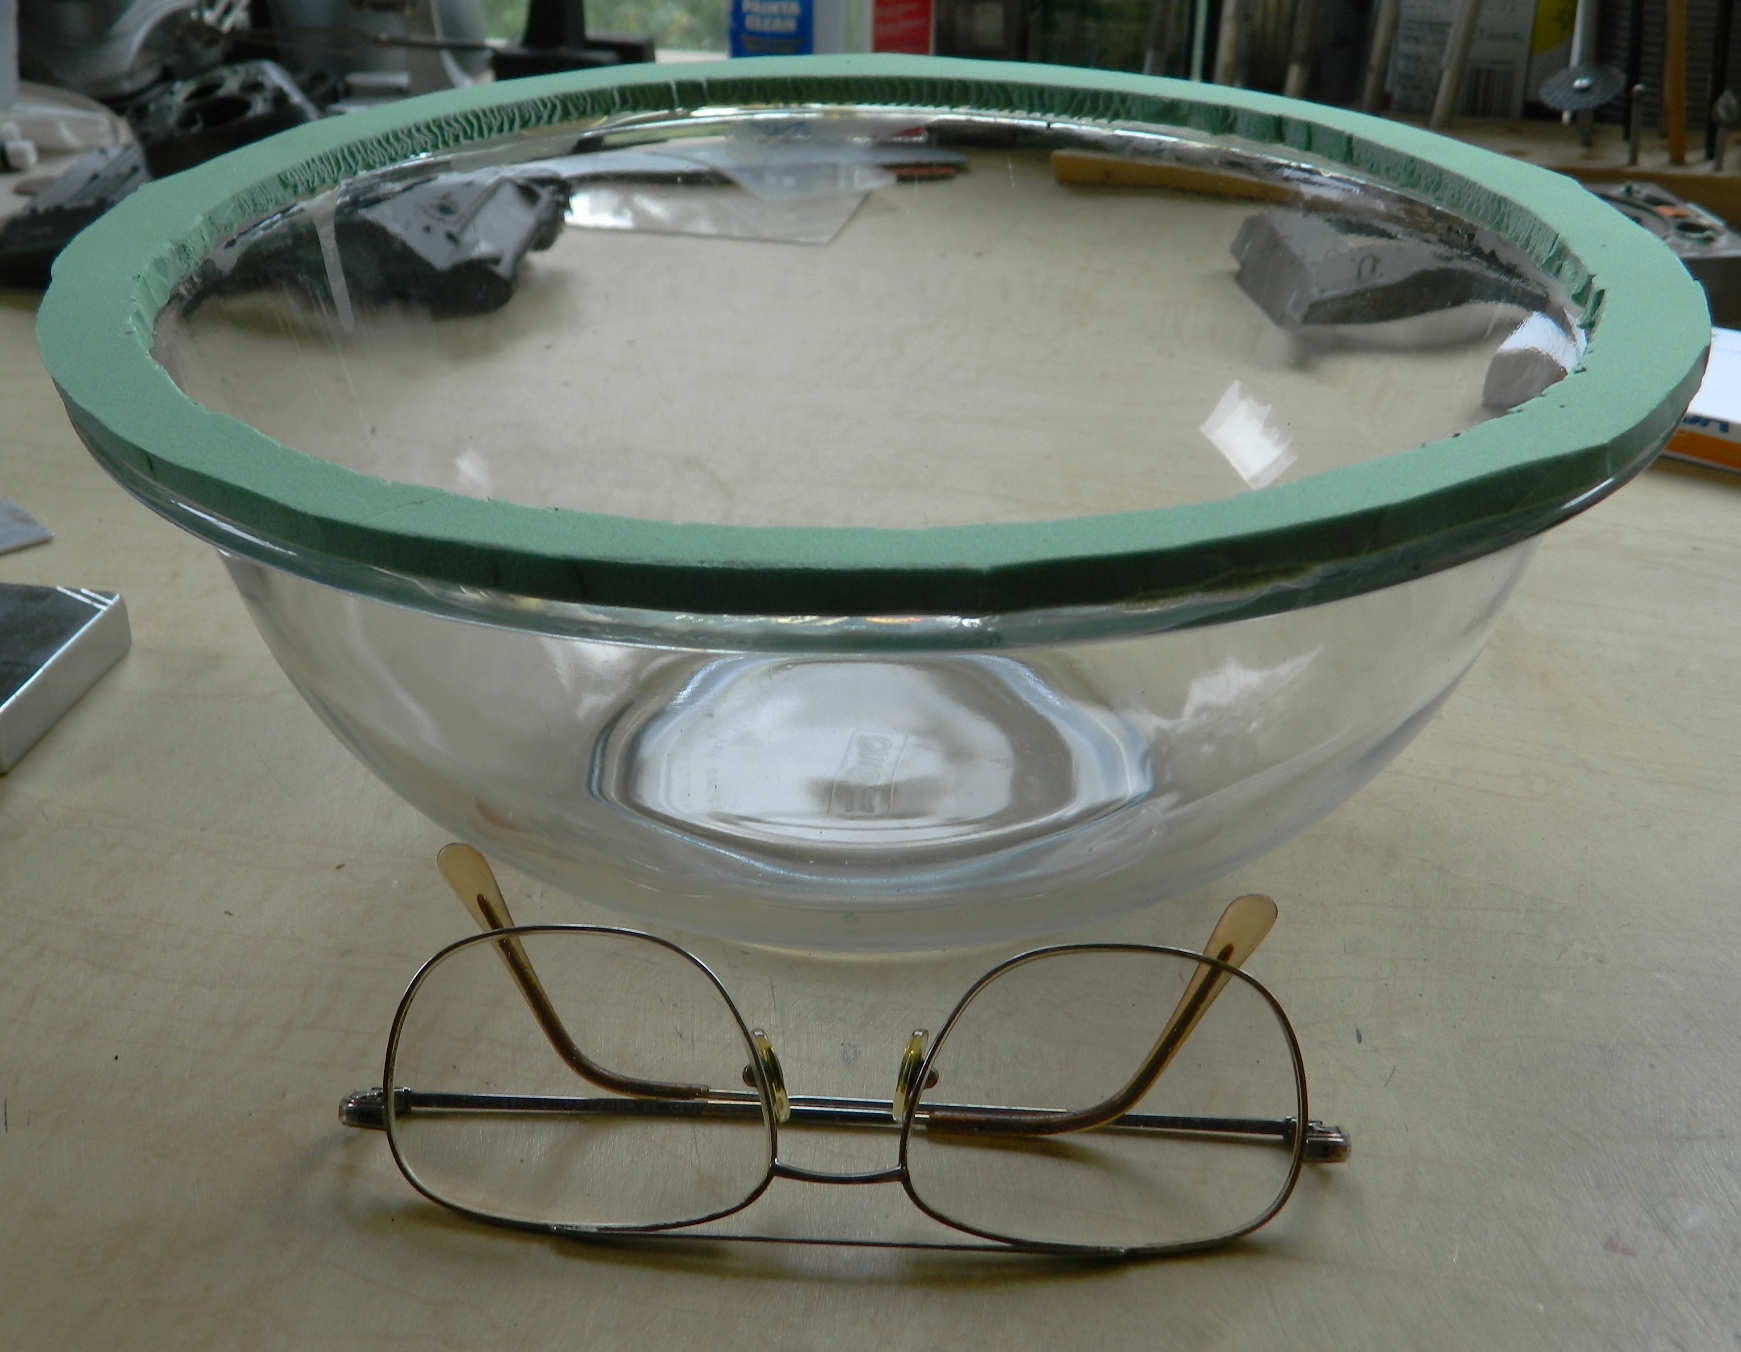
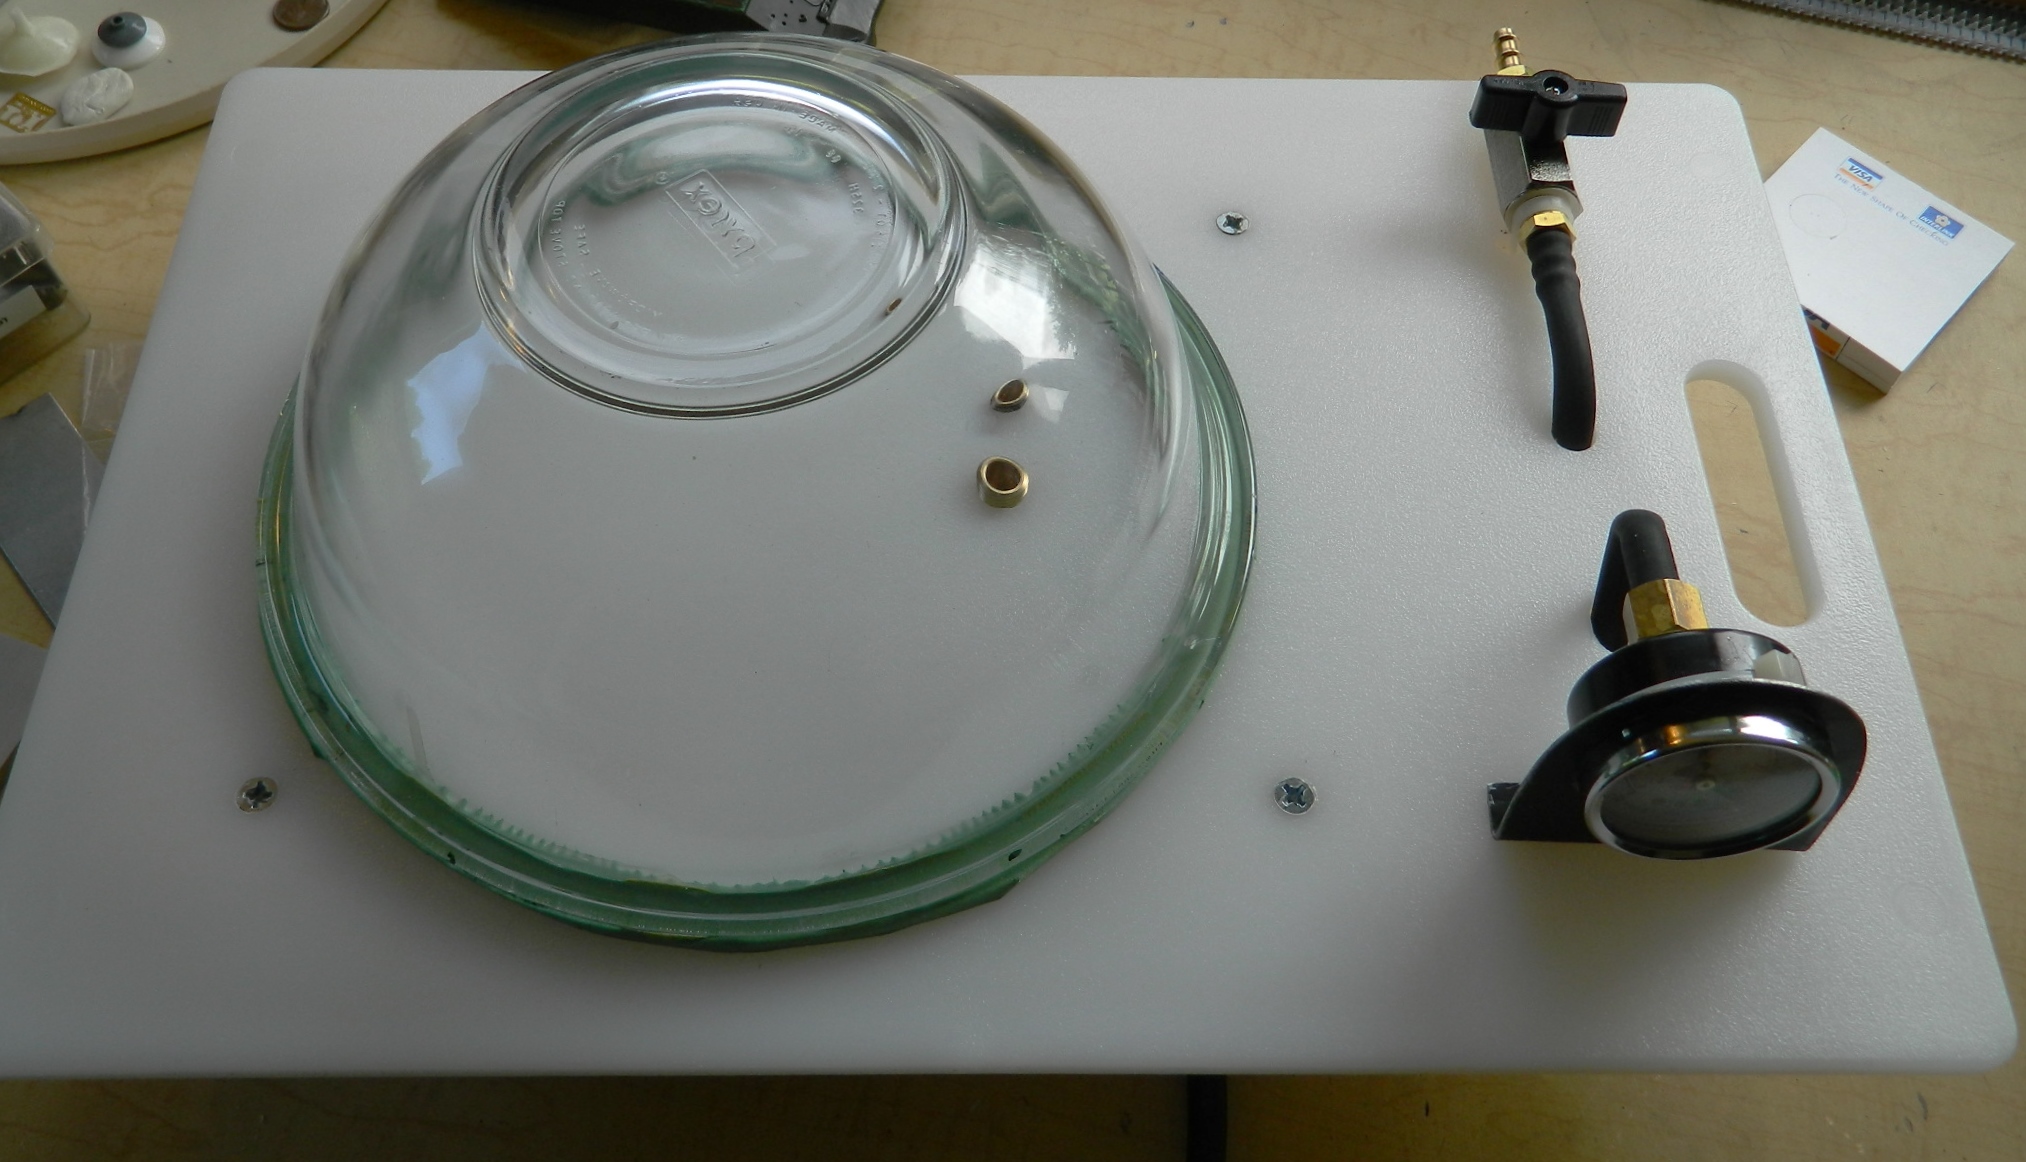
I’ll be using an 8 1/2″ diameter Pyrex bowl, an acrylic chopping board, and some other bits to hang it all together. The bowl will need to seal against the acrylic board and to do that it will need a gasket. I have an old backpacker’s sleeping pad that I use whenever I need closed-cell foam and that’s what will make my gasket. The bowl itself has a 3/8″ lip around the edge which will make attaching the gasket easier.
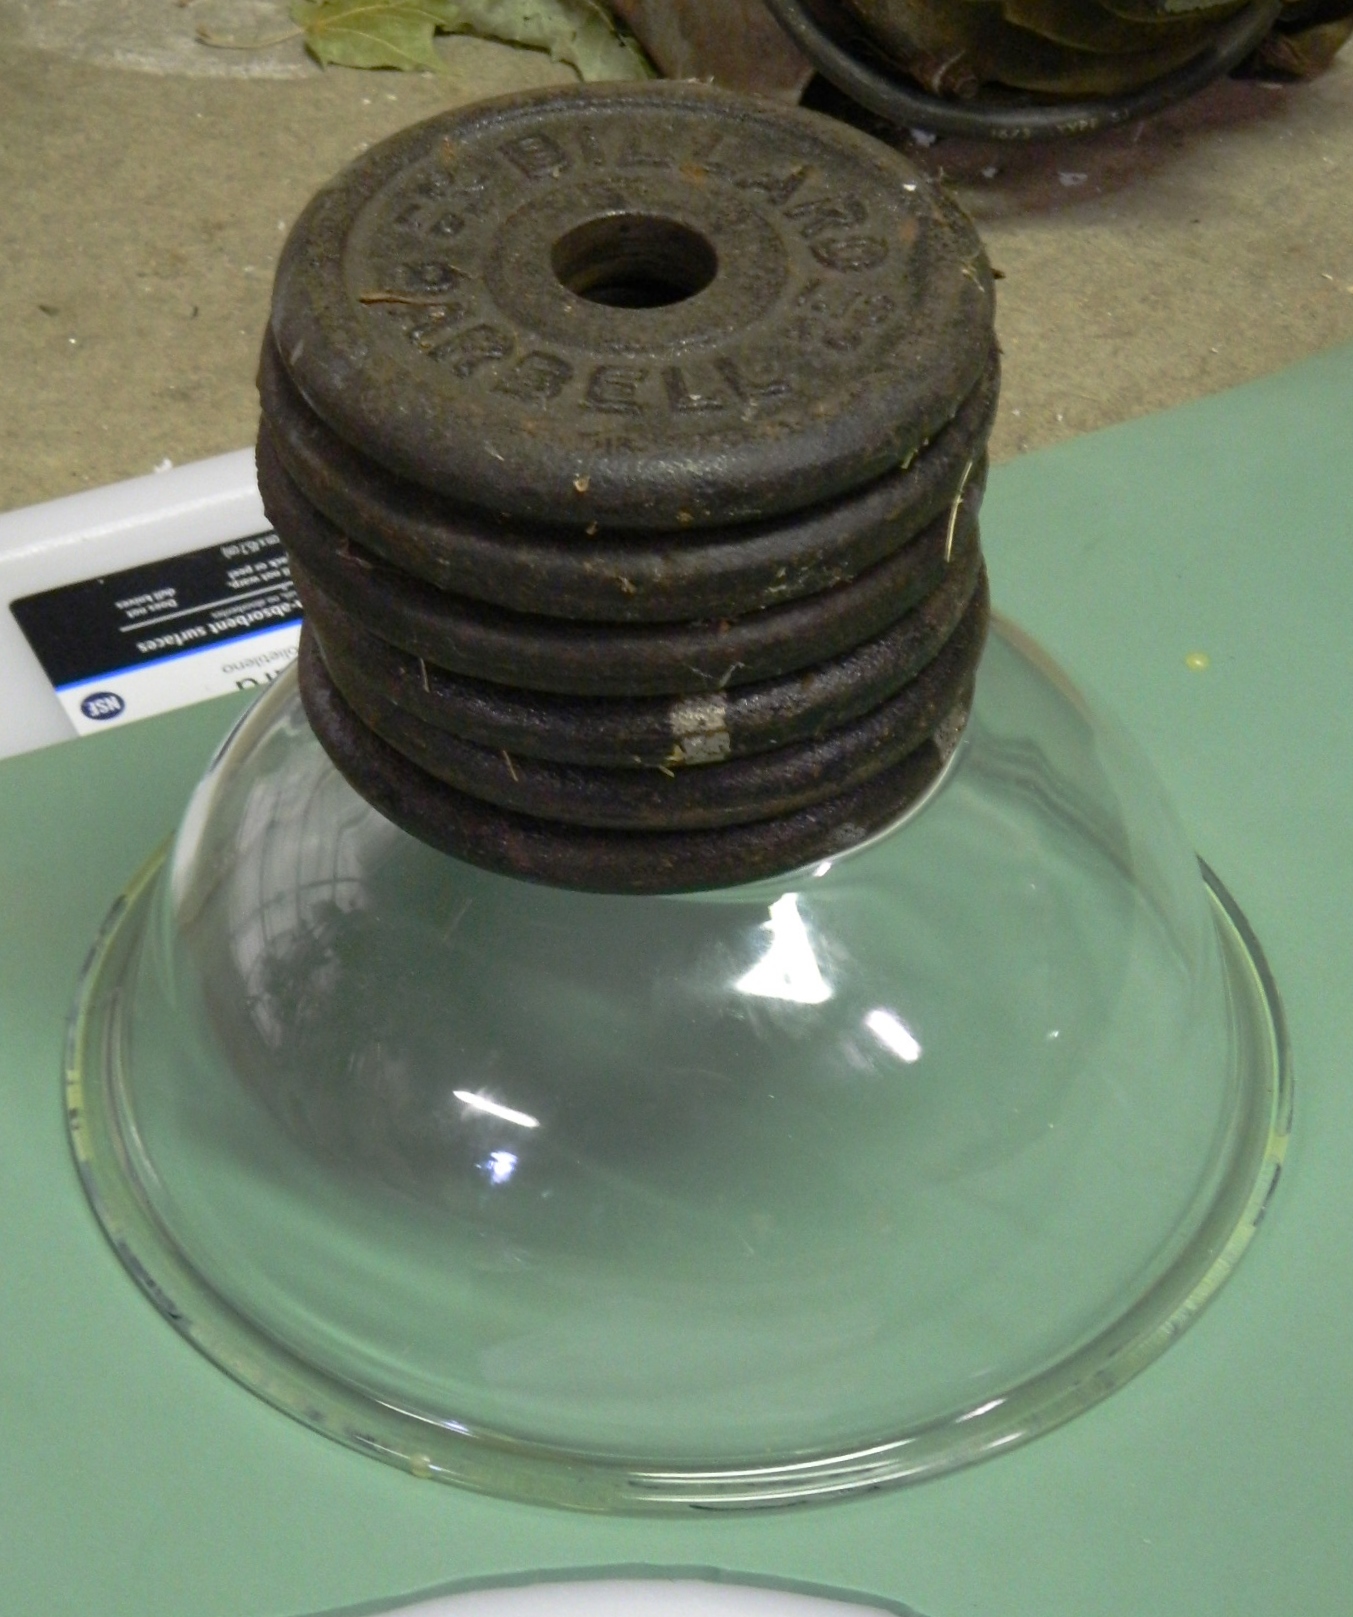
I used Contact Cement on the lip, turned the bowl over and placed it on the foam, then I added a few pounds of weight to the bowl to ensure a good seal and bond:
I let it set up overnight, then cut the foam away, leaving a gasket around the edge of the bowl:
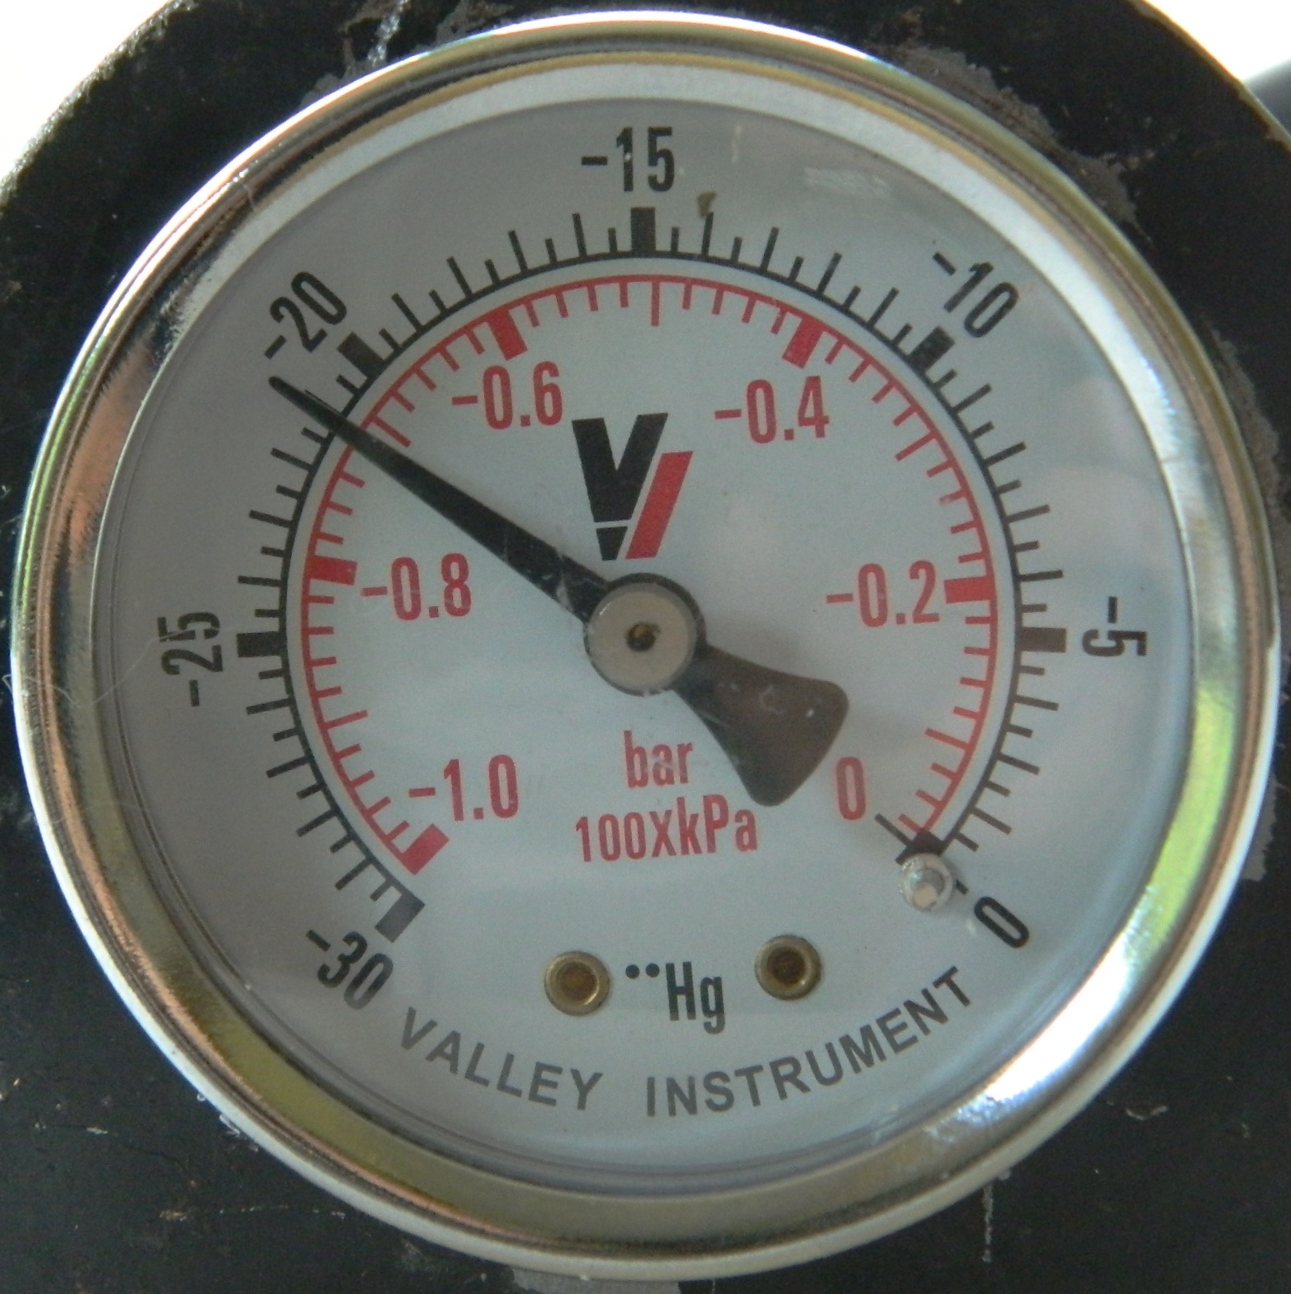
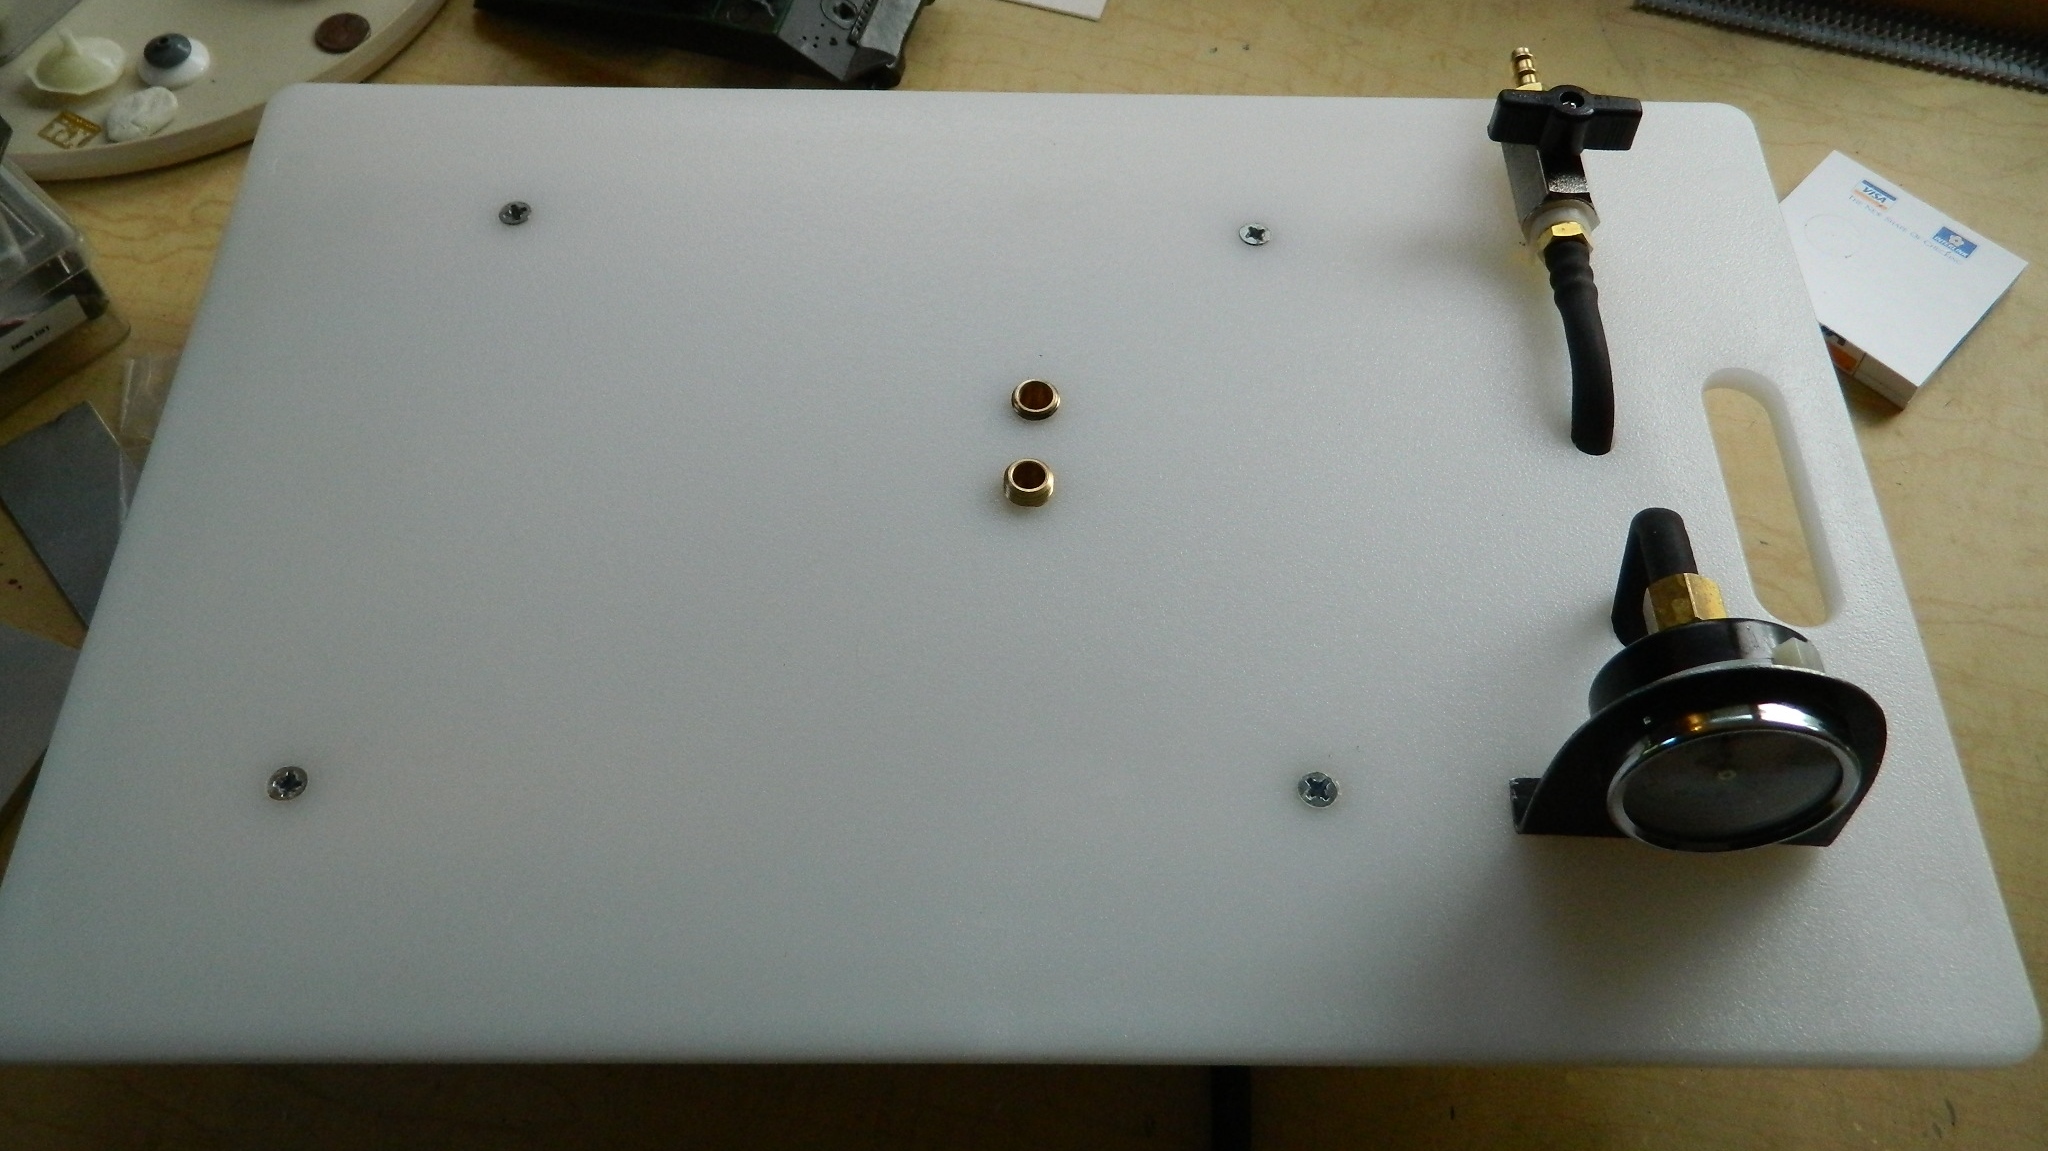
Because each component of this chamber could leak, I decided to test each component as I added it for vacuum tightness to make fixing what leaked easier. As with the V1.0 version of the pump, there was a V1.0 version of the chamber (which didn’t work; don’t use plywood for the base). I’d already checked the gauge and release valve for tightness, so each time I drilled a hole and screw a fitting in, I tested it:
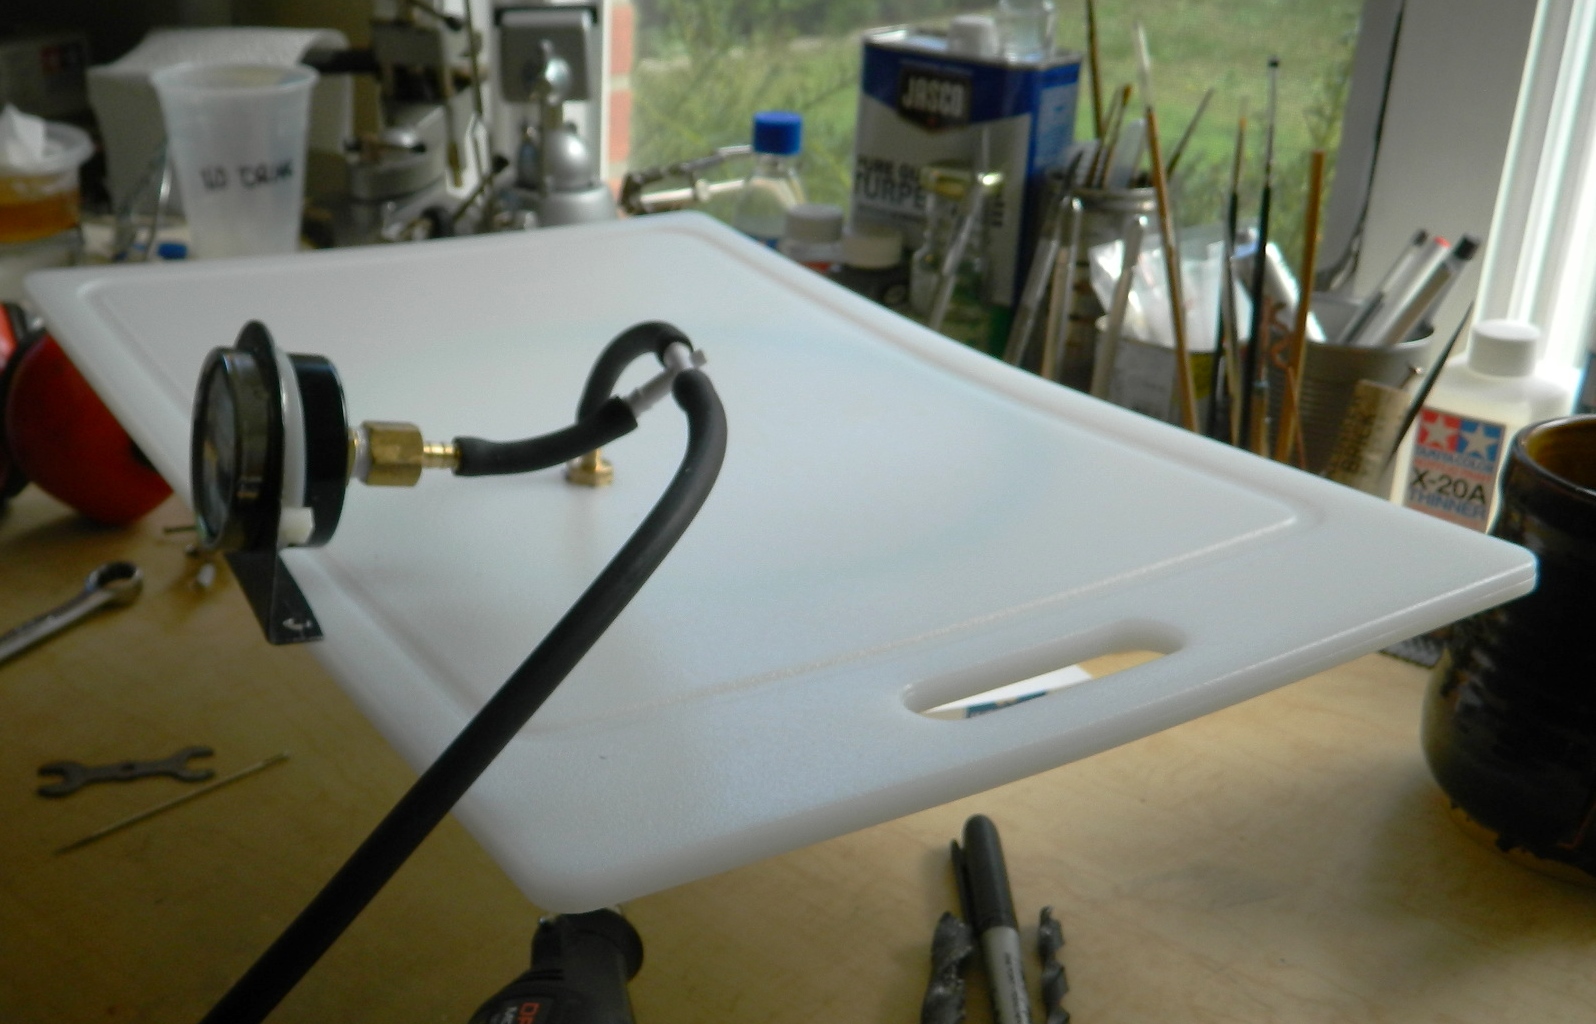
Yes, the acrylic board is a bit thin and under the pressure it bent. I’ll fix this later by adding stiffening legs underneath it to minimize the deflection.
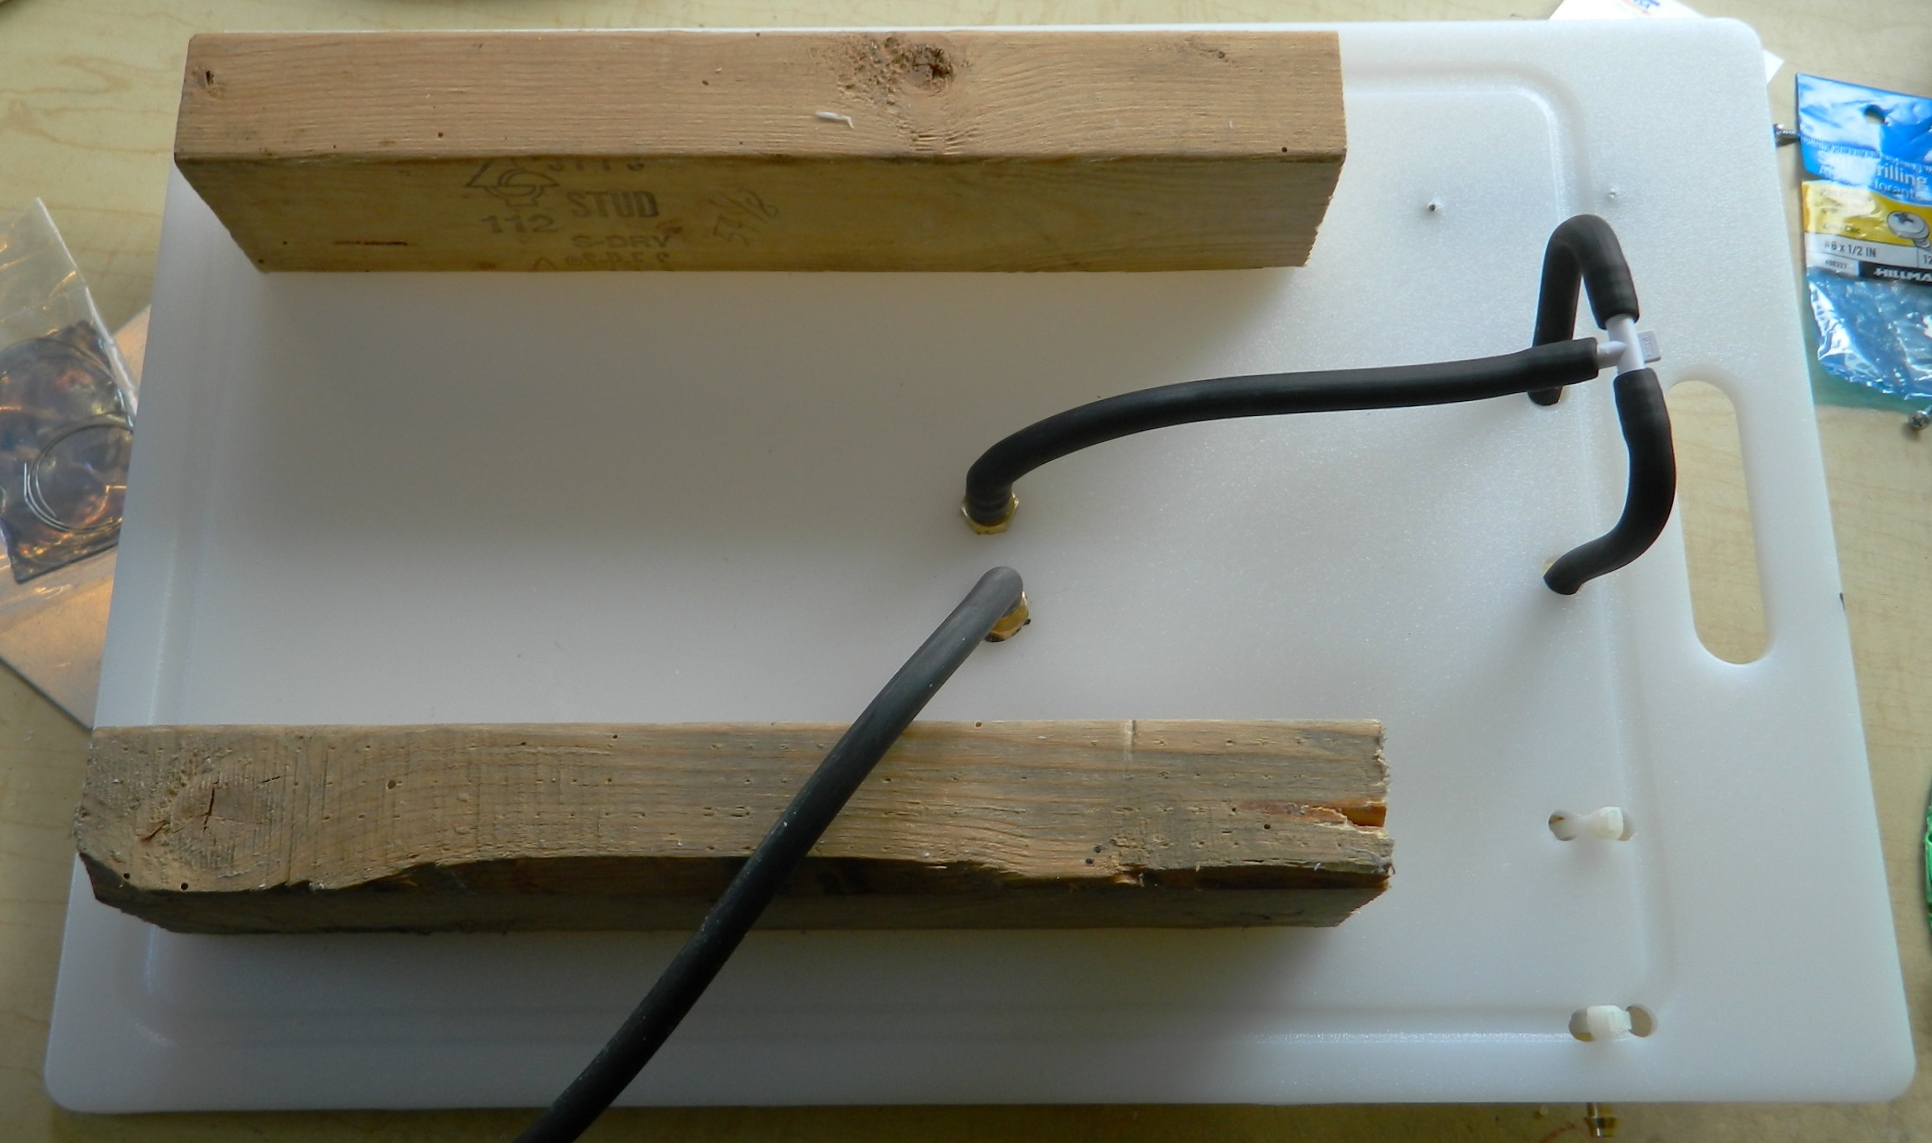
It’s really a simple thing to build and it didn’t take long. This is the (mostly) completed vacuum chamber (because there are always tweaks, y’know). As you can see, I used some scrap wood to make the stiffening legs and they work fairly well. There is still deformation but it’s well within tolerances:

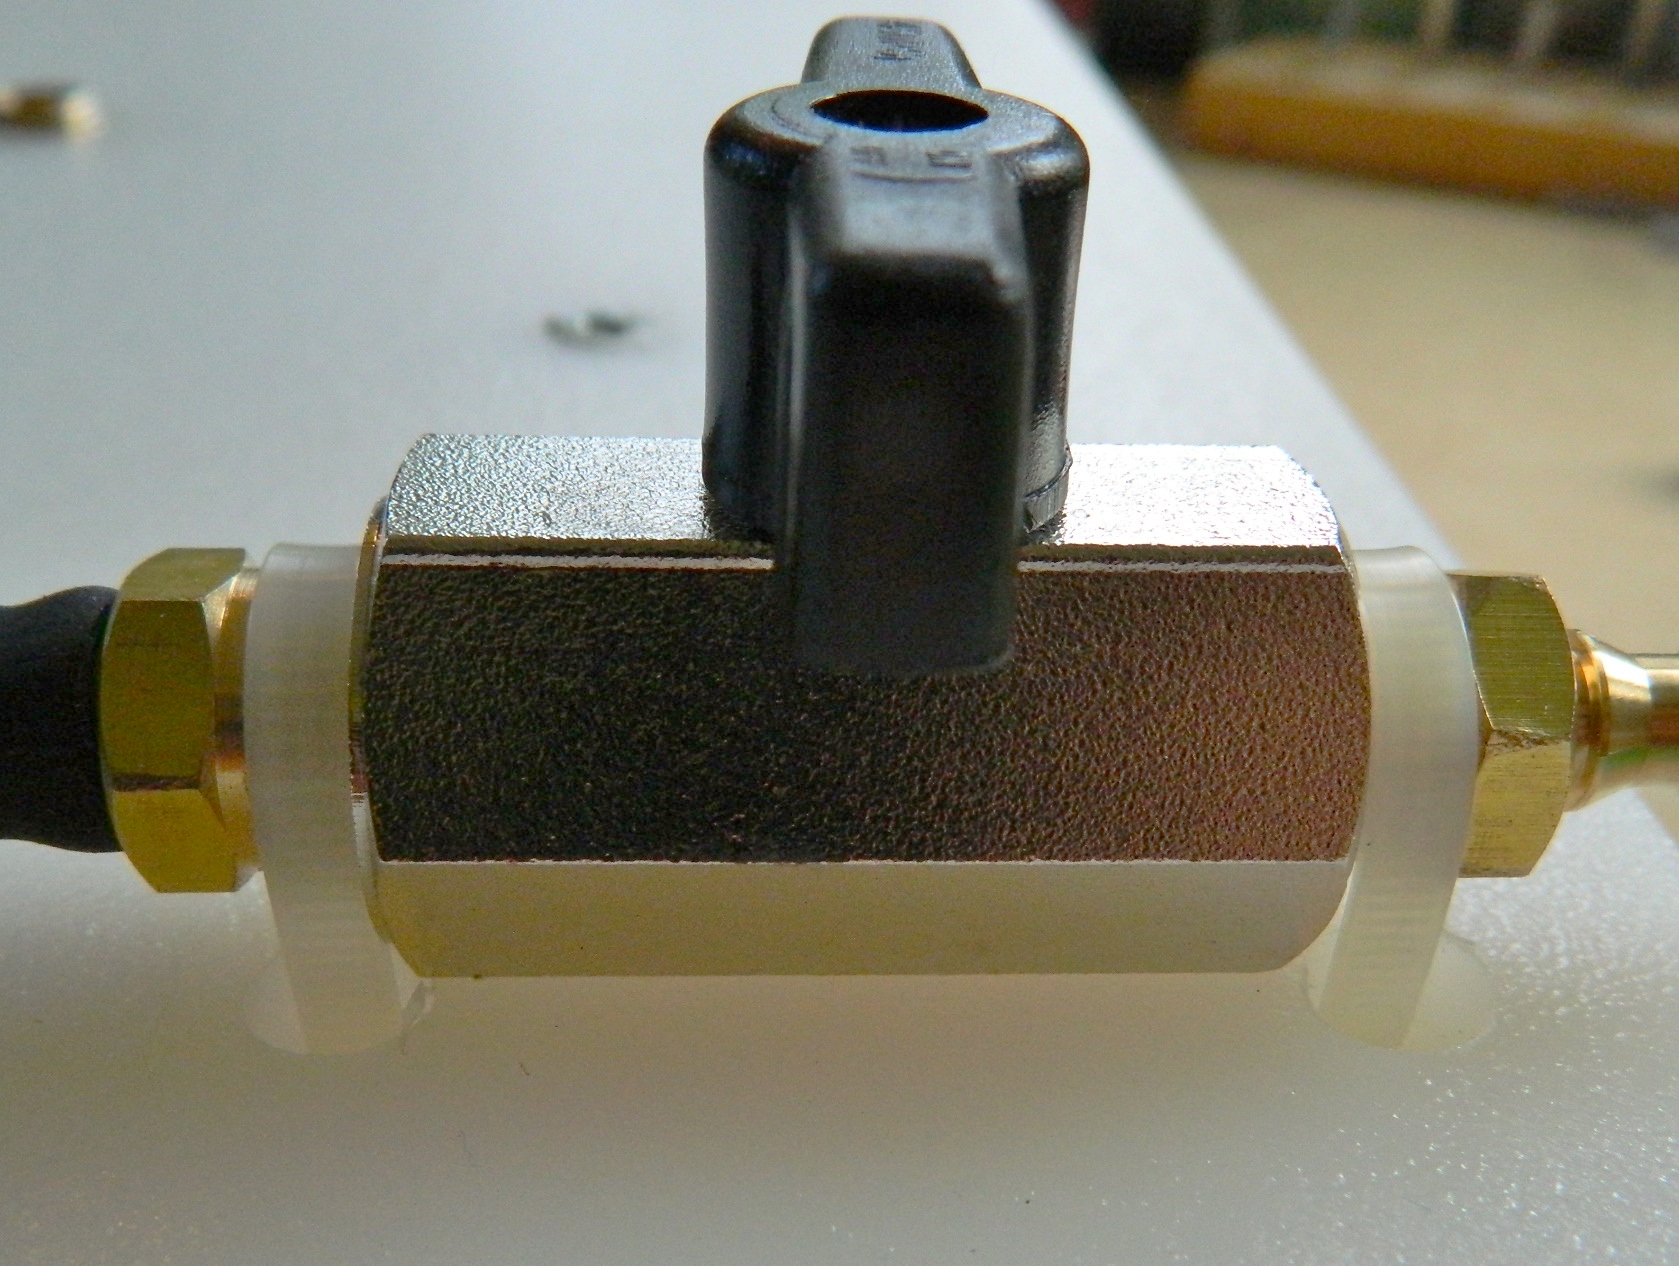
I attached the release valve using cable ties:

Because the surface of the acrylic board has a pebbled texture, I was curious to see if the foam gasket would seal well enough and it does.
During use, I’ve discovered that it’s VERY easy to have the silicone molding rubber overflow the mold boxes. To keep that from happening, I diddle with the release valve, increasing the vacuum, then releasing it when the bubbles threaten to overflow the box until enough of the air has been purged to keep that from happening.
Also be careful of what you’re using as the body of the chamber. You wouldn’t think that atmospheric pressure, 15 lbs. per square inch, would pack so much power…but it does. I haven’t had any problem with using a Pyrex bowl; it’s made of tempered glass and the hemispherical shape distributes the atmospheric pressure evenly. Just be careful AND USE EYE PROTECTION WHENEVER YOU’RE WORKING WITH A VACUUM CHAMBER!!

Victorious!
LikeLike
[…] Making the Vacuum Chamber […]
LikeLike