In my Wild and Misspent Youth ™ a few decades gone, one of the many things I’ve done was to run a small karate school. I used to emphasize to my students, “Be careful of confidence…you could end up not taking proper care.” The keynote here is, not taking proper care.
I was confident with this build. It’s out-of-box so what could possibly go wrong? When one is confident, it will be something one does not see coming… (And when one asks, “what could possibly go wrong?” it’s not uncommon to find out.)
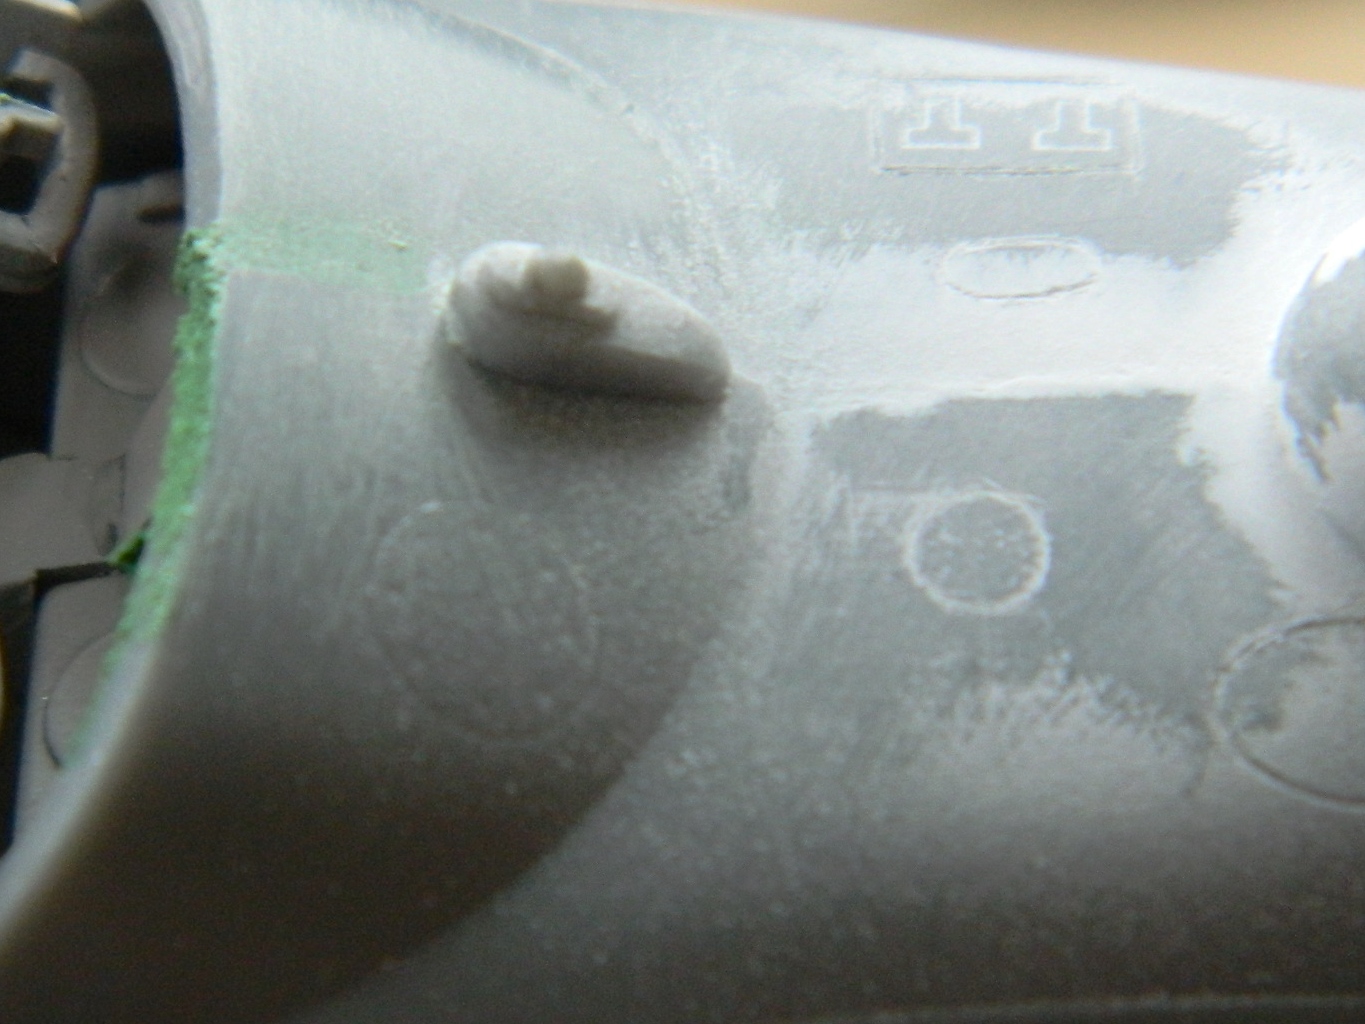
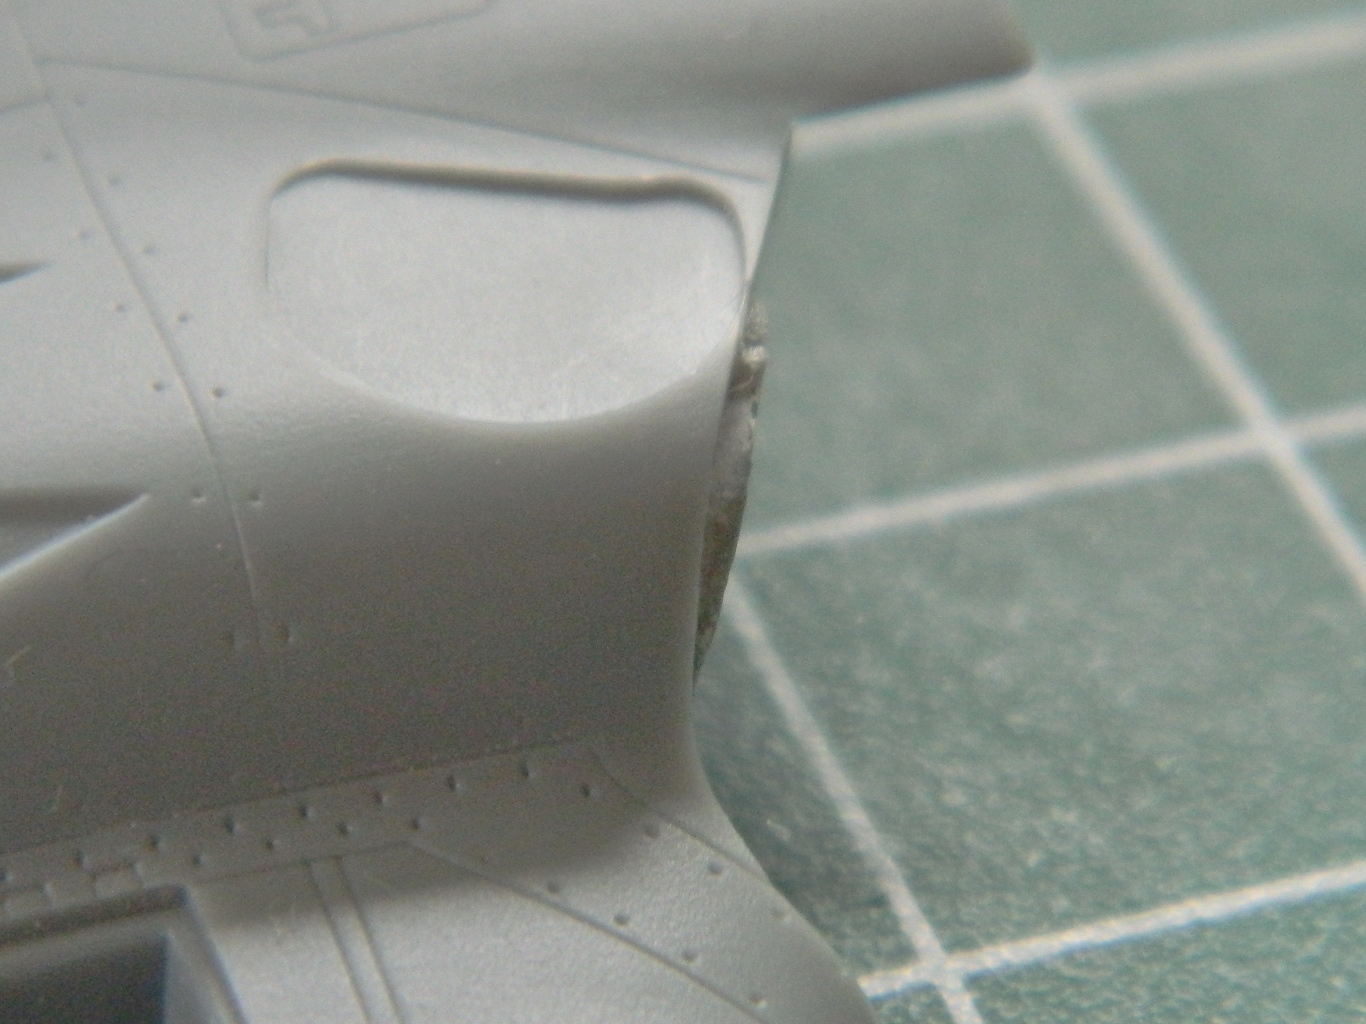
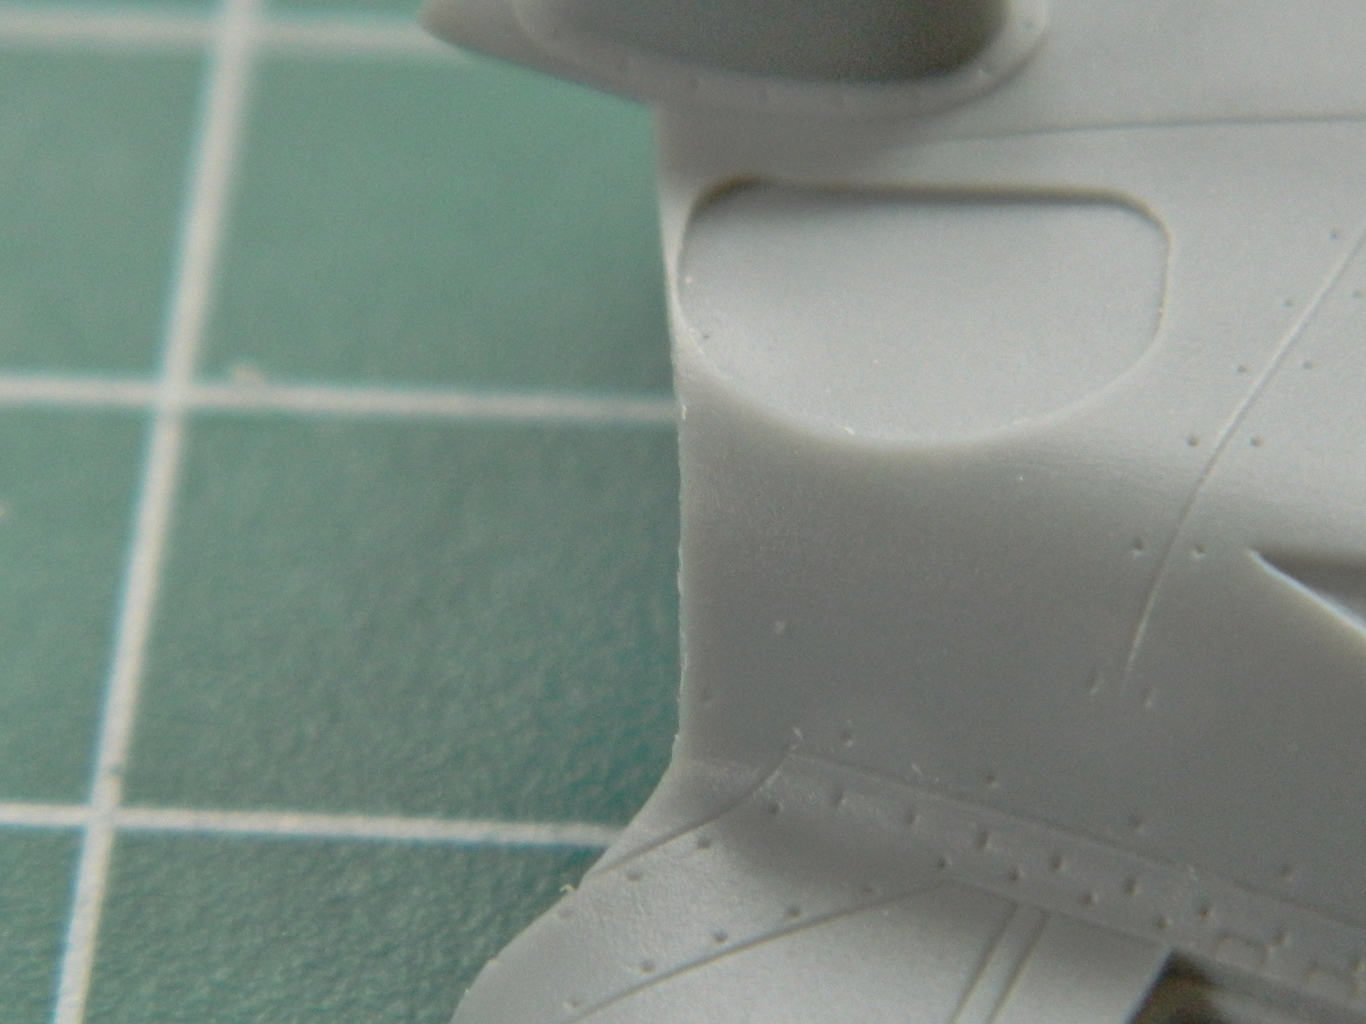
It started well enough. Hitting the seams with flat white showed me the places that still needed attention. Sanding. One of the downsides to sanding is that yes…it gets rid of what you want to go, but it also gets rid of what you don’t want to go. In this case it was some finely recessed panel lines and those will need to be rescribed. However. I am NOT very good at rescribing panel lines (or even scribing them in the first place, which is why I ordered a scribing template from the Ukraine, of all places). I am PARTICULARLY bad at circular scribing, so of course that’s exactly what I need to rescribe and OF COURSE it’s right on top where they’re easily seen:
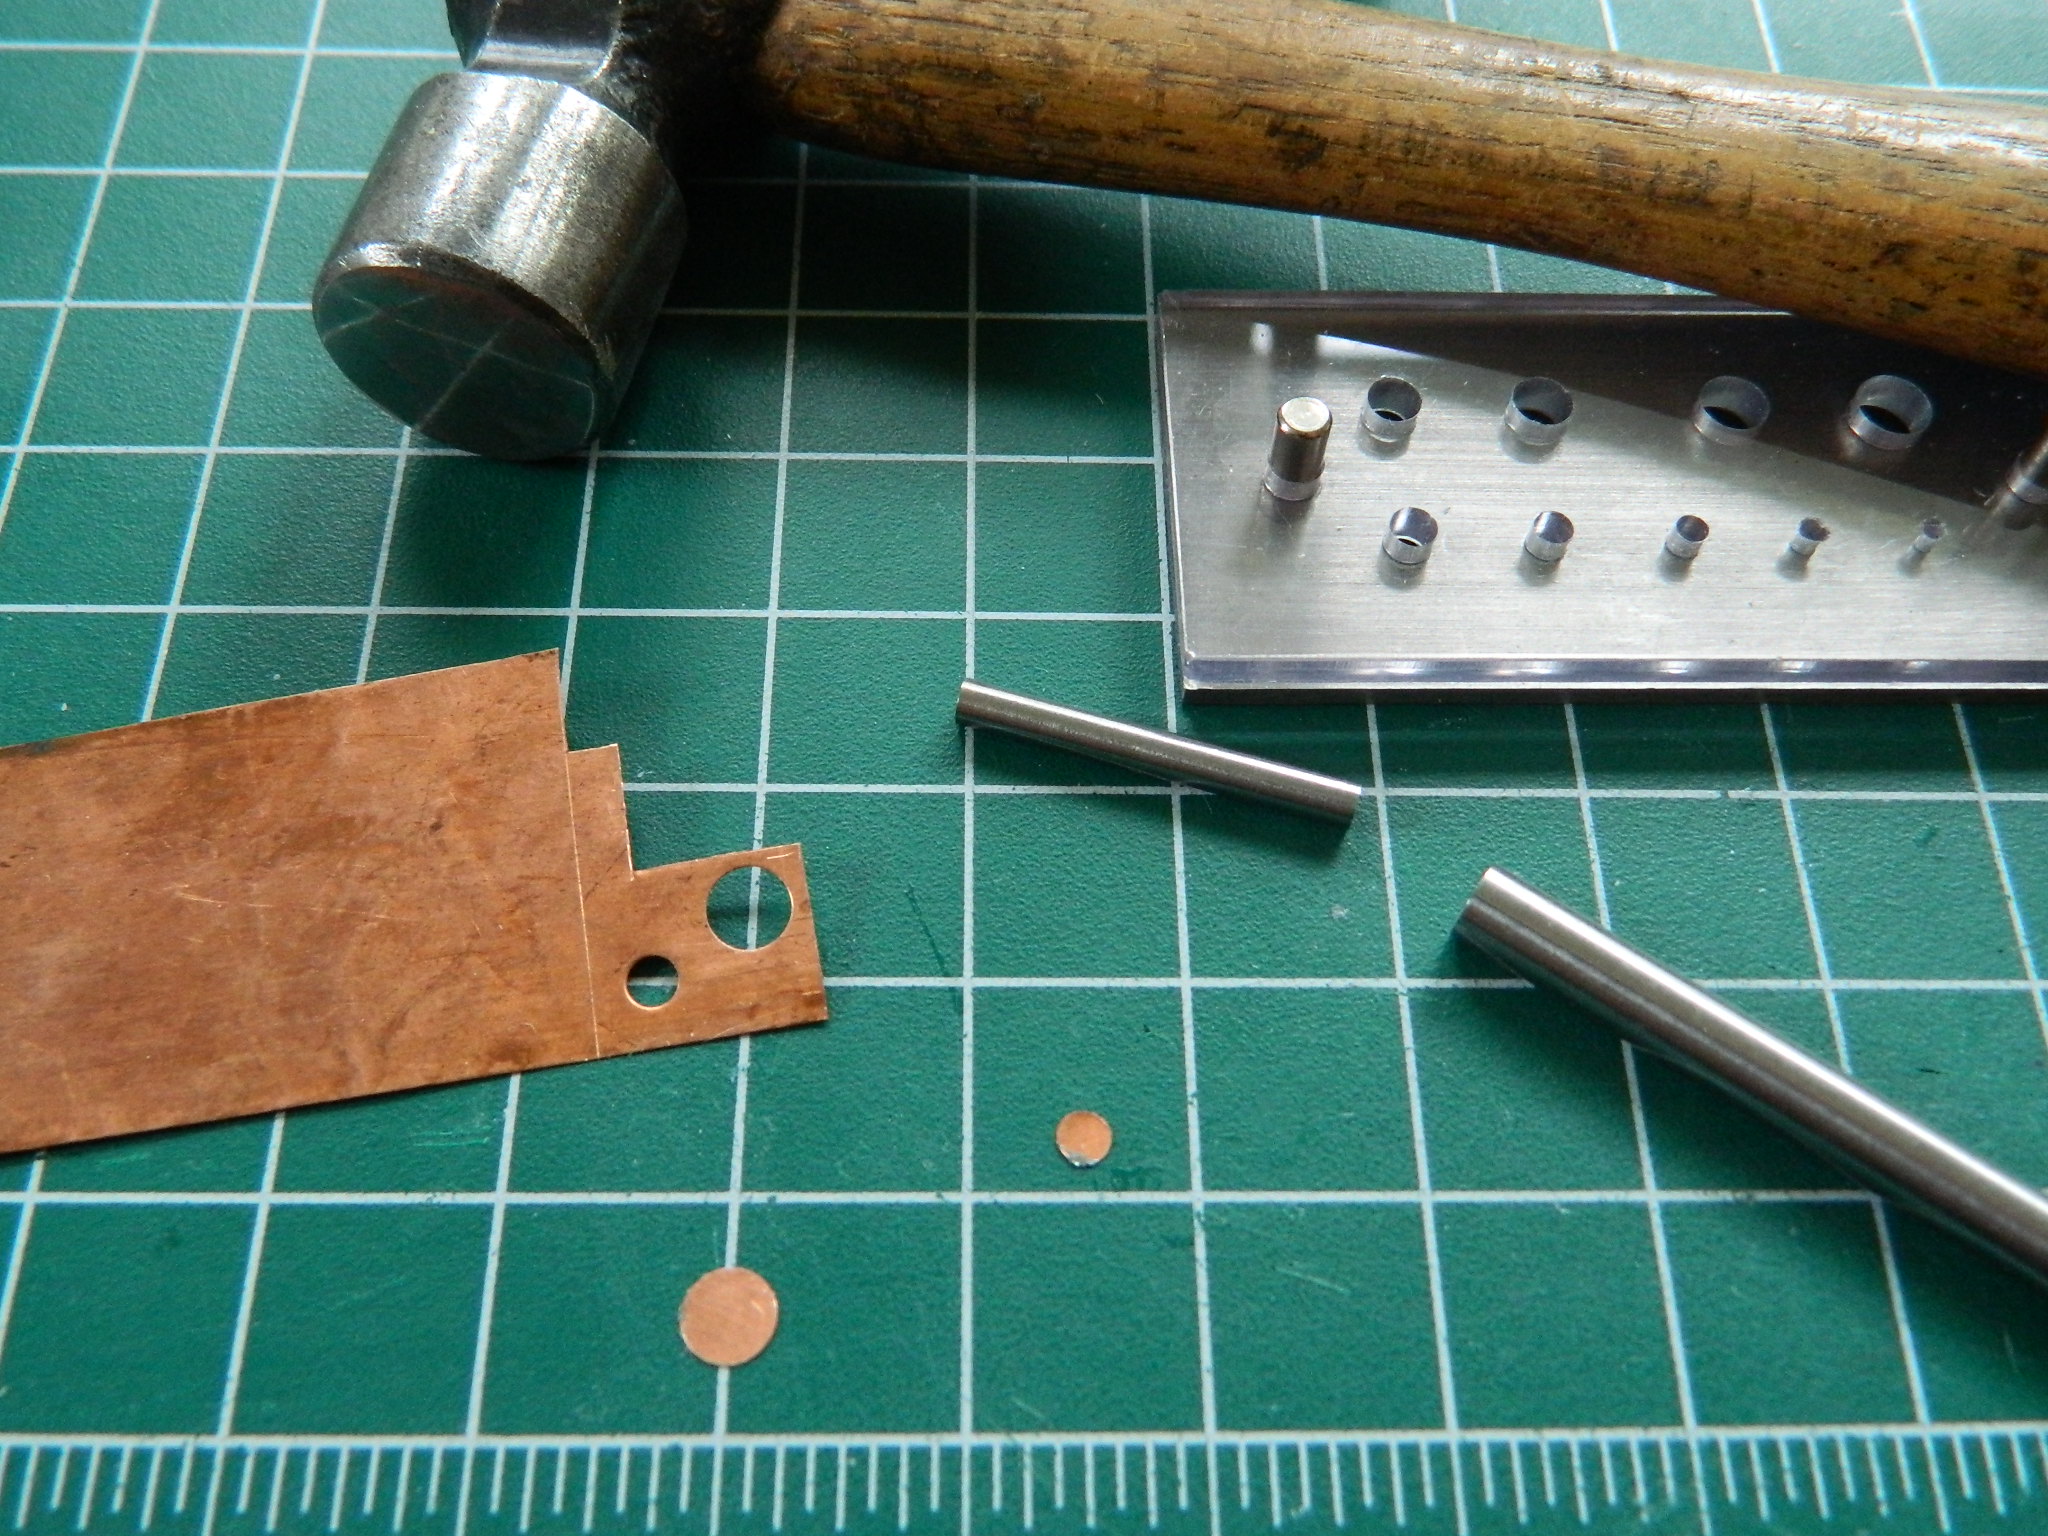
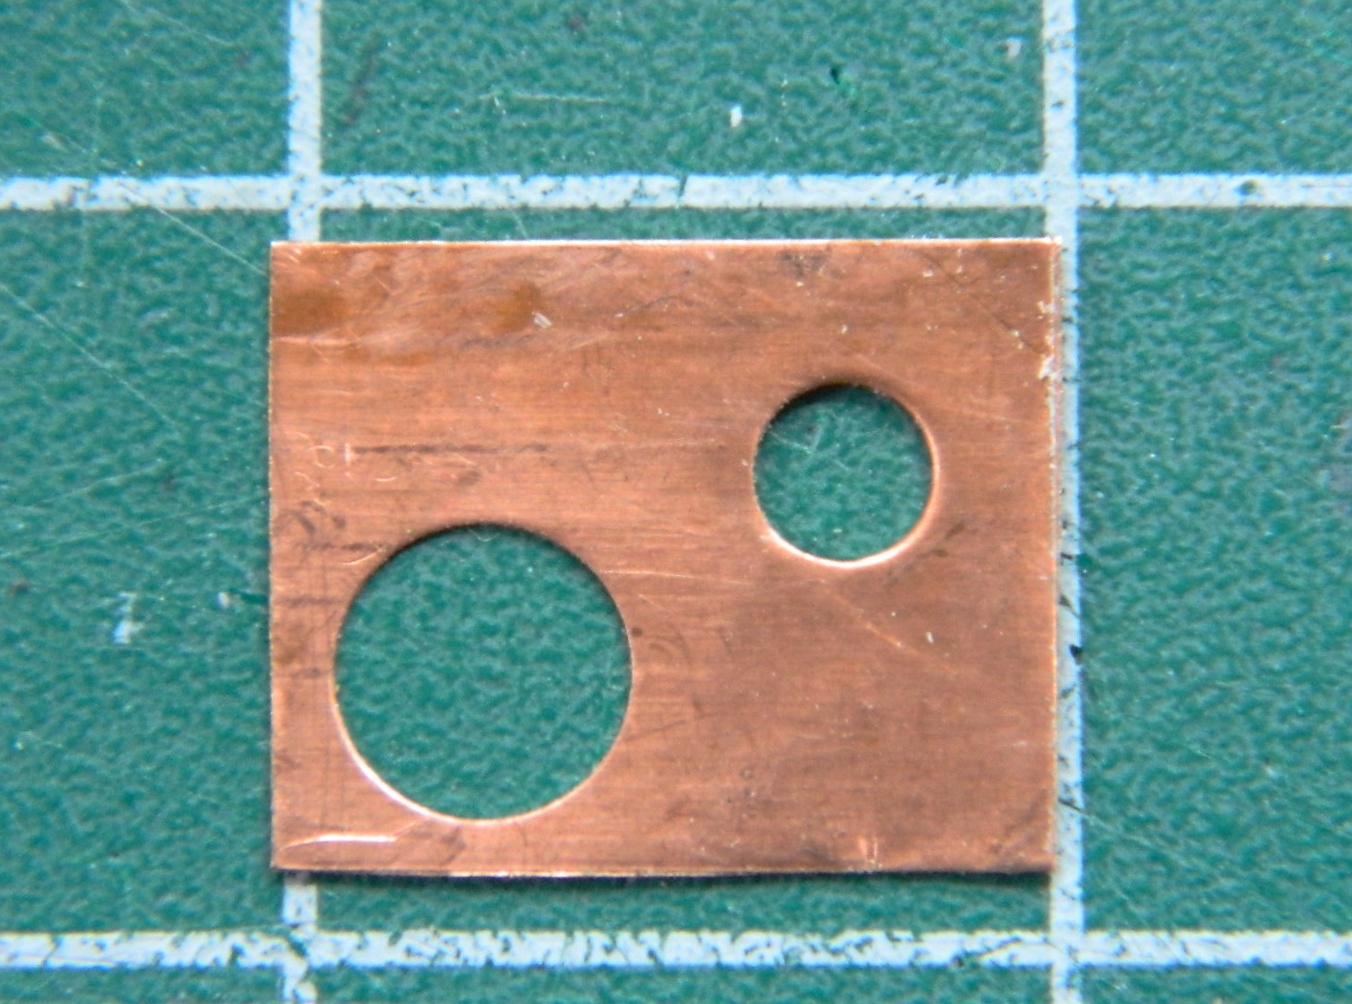
Rather than wait for my scribing template to arrive, I decided to make one. I got out my punch and die set and made circular templates from .005″ (.127mm) copper shim stock:
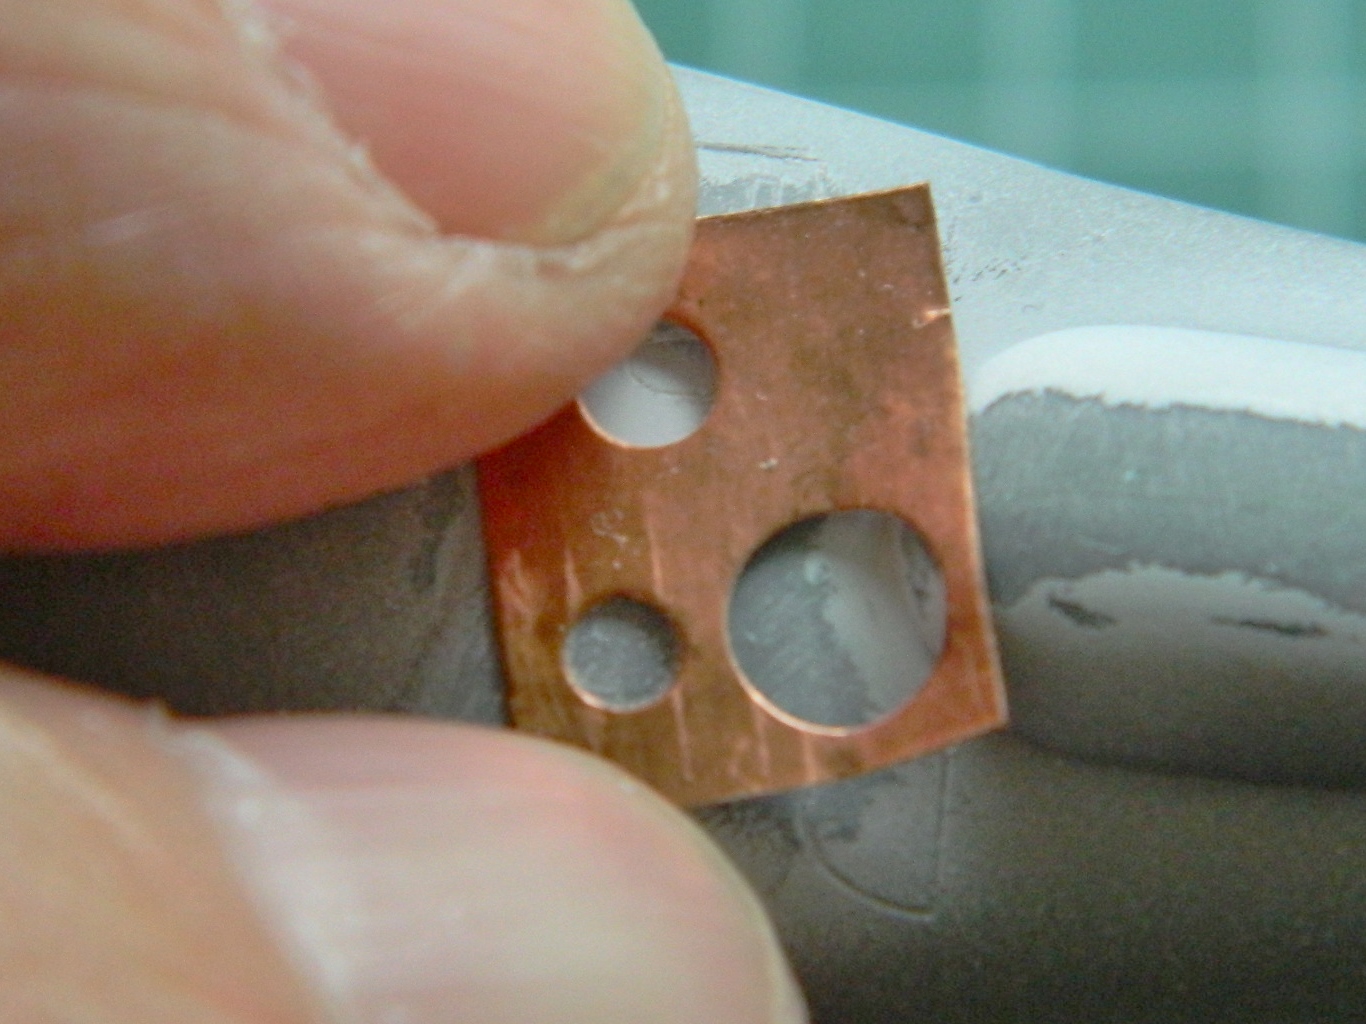
Worked just as I’d hoped. Excellent! Well, let’s get down on these engine intakes and exhausts and get this wing assembled!
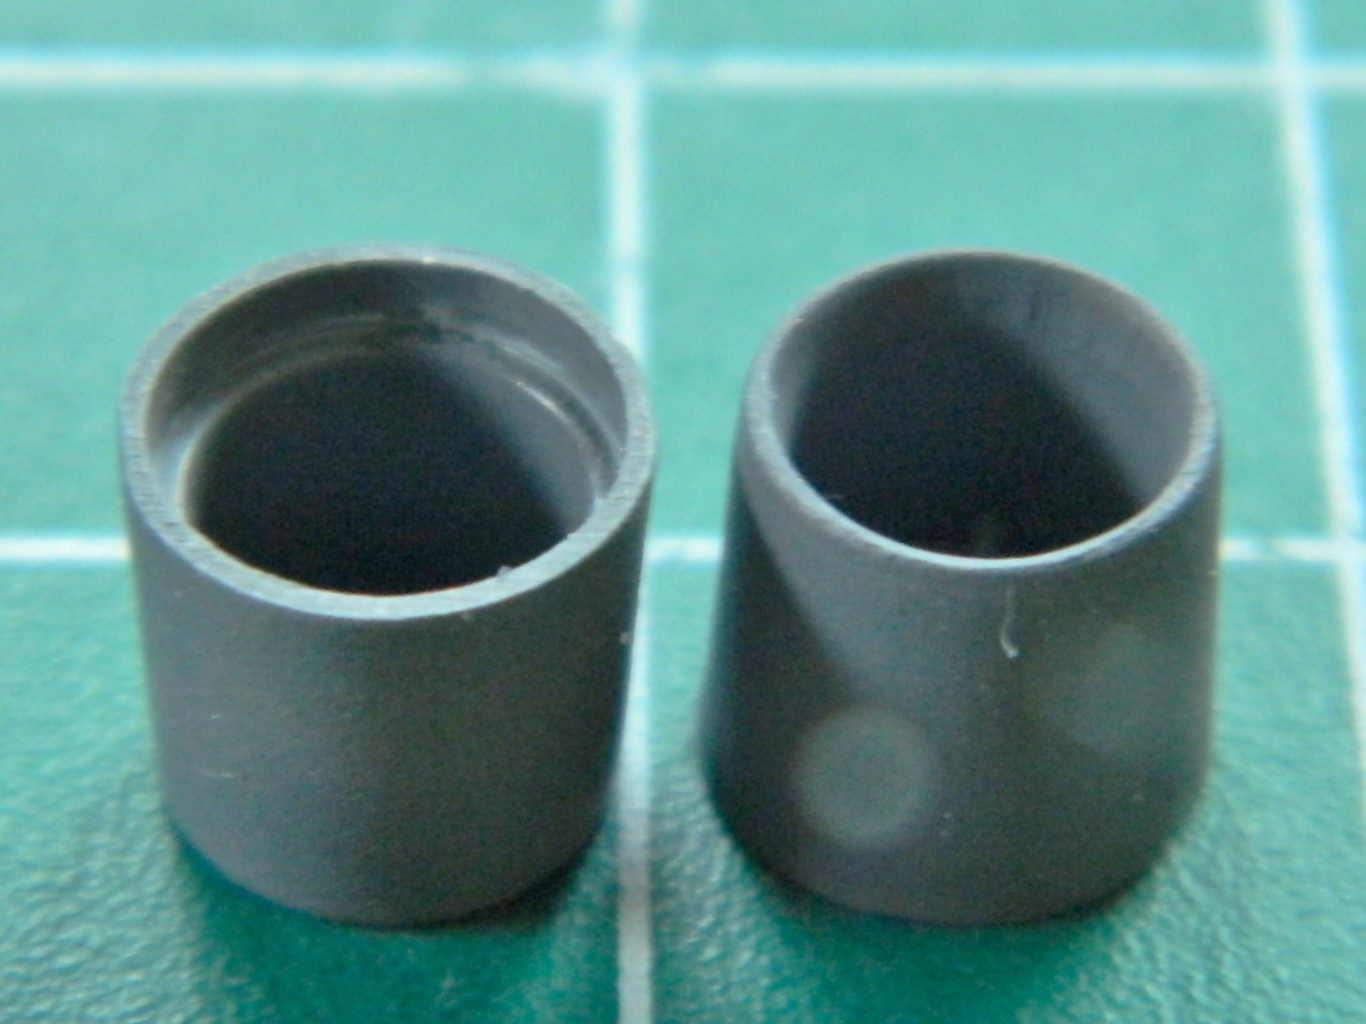
Well…I was too confident yesterday. I thought I knew what I was doing (yes…that’s gotten me into the ER on occasion) and it turned out I was incorrect. When I went to put the exhausts in place, they didn’t fit. Hmm…they should fit… I wonder why they don’t? I looked at the instructions (that in itself is a novelty for me) and noticed that the narrow end isn’t the outer end, the wide end is.
Okay. At this point I walked away (silently…never a good sign) thinking, “Great…now I have to buy another kit!” I had a cup of coffee, gave Her Majesty (the cat) her due attention, and then the Boys in the Back came up with an idea. “Maybe you can knock the flame holders out of the tubes, clean things up, and glue them onto the proper end?”
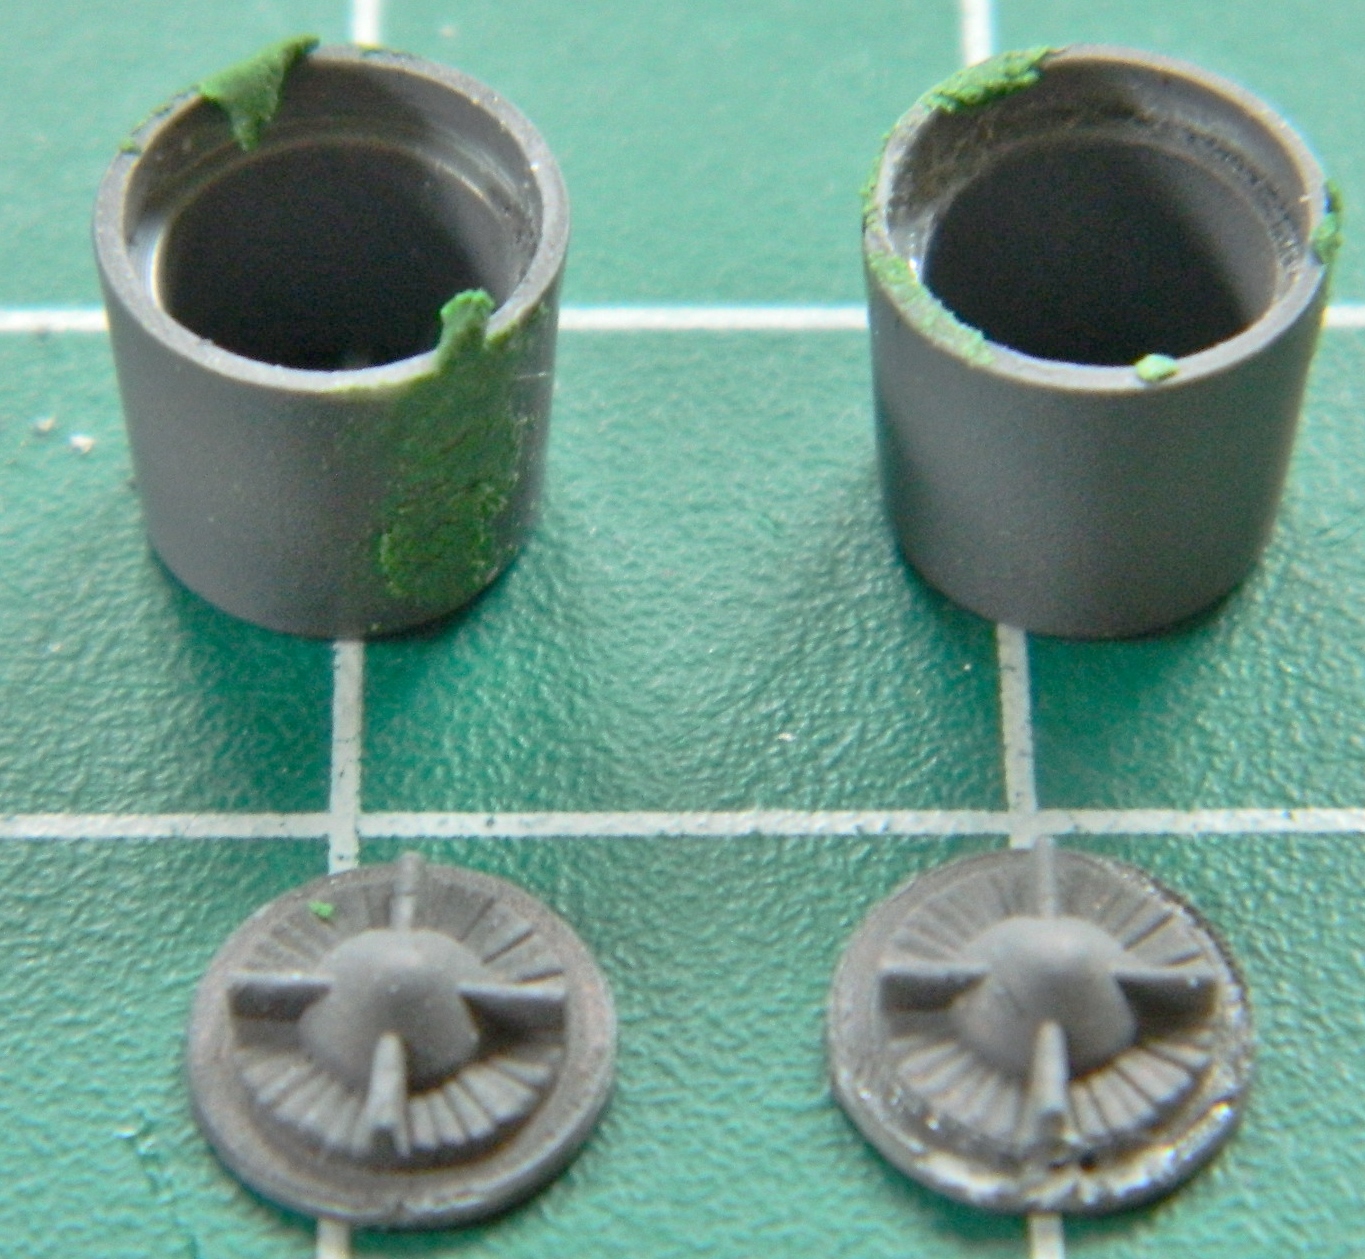
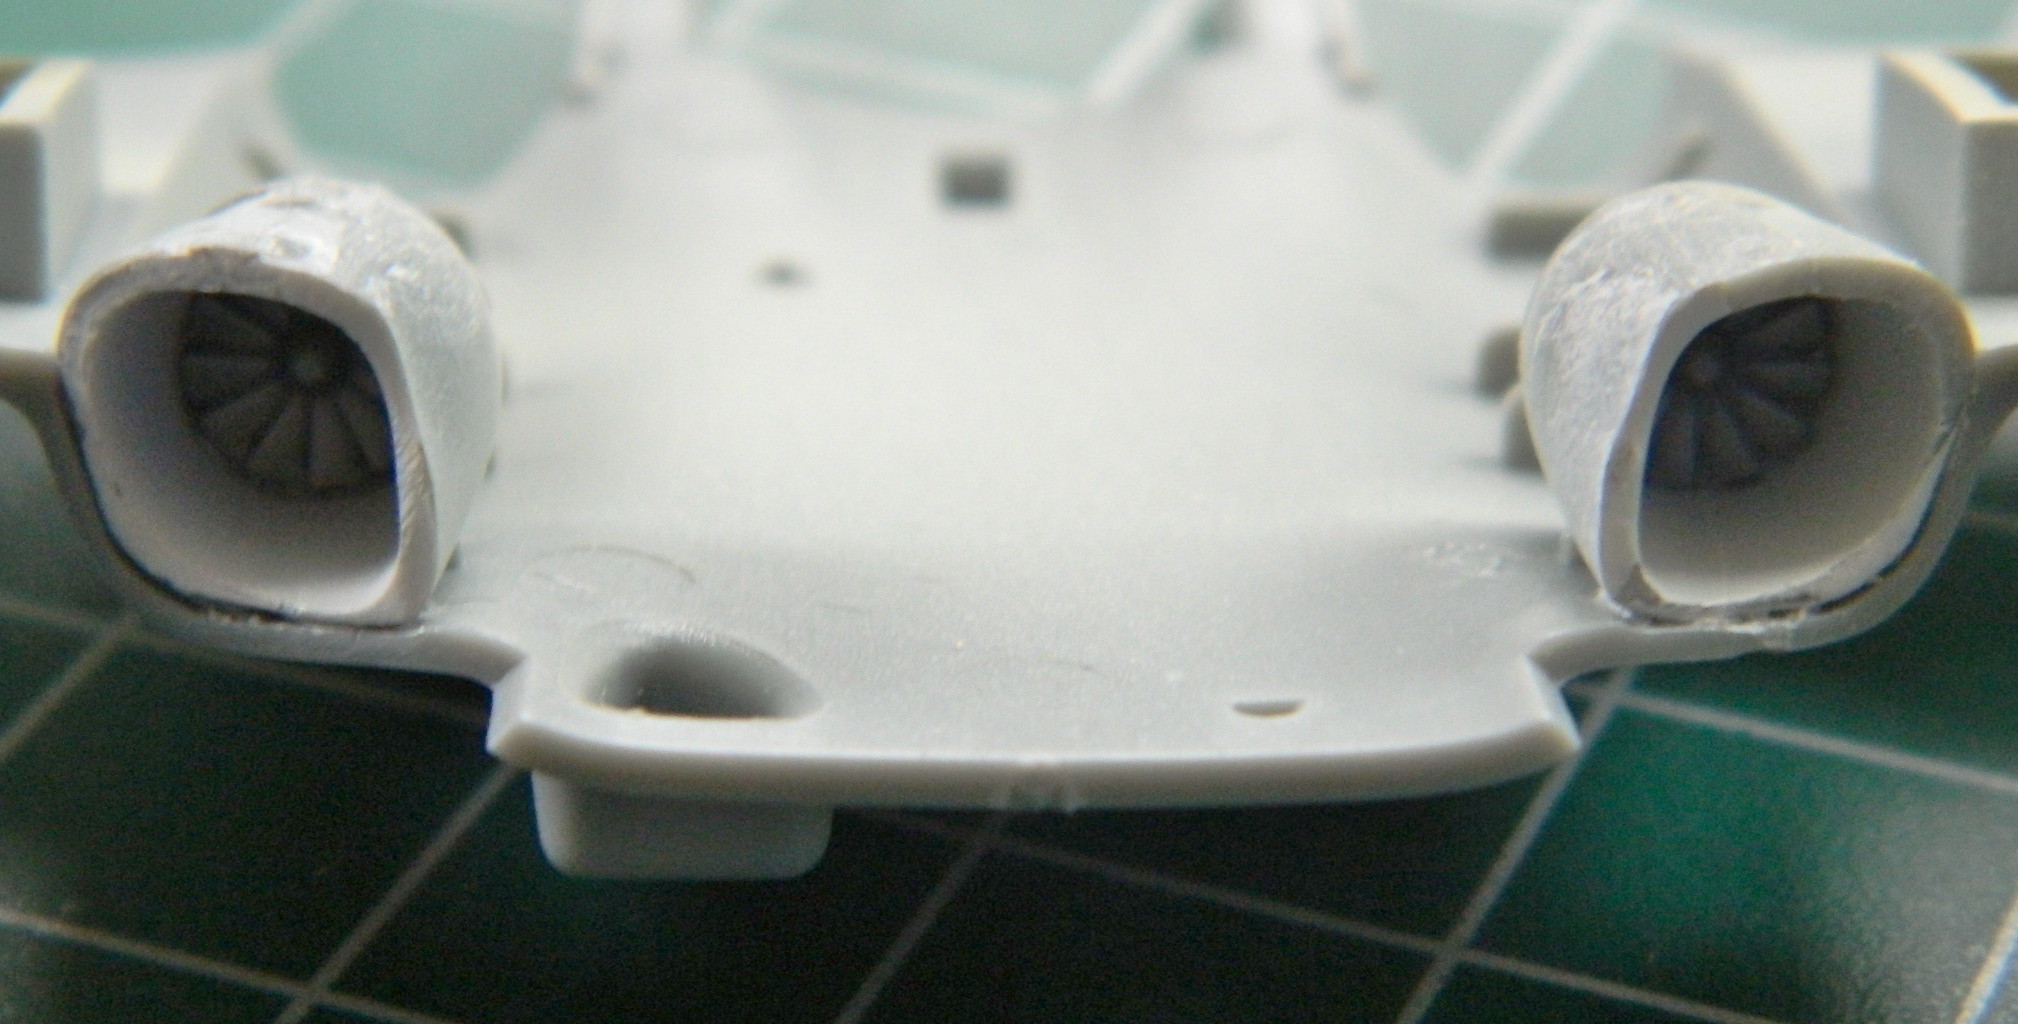
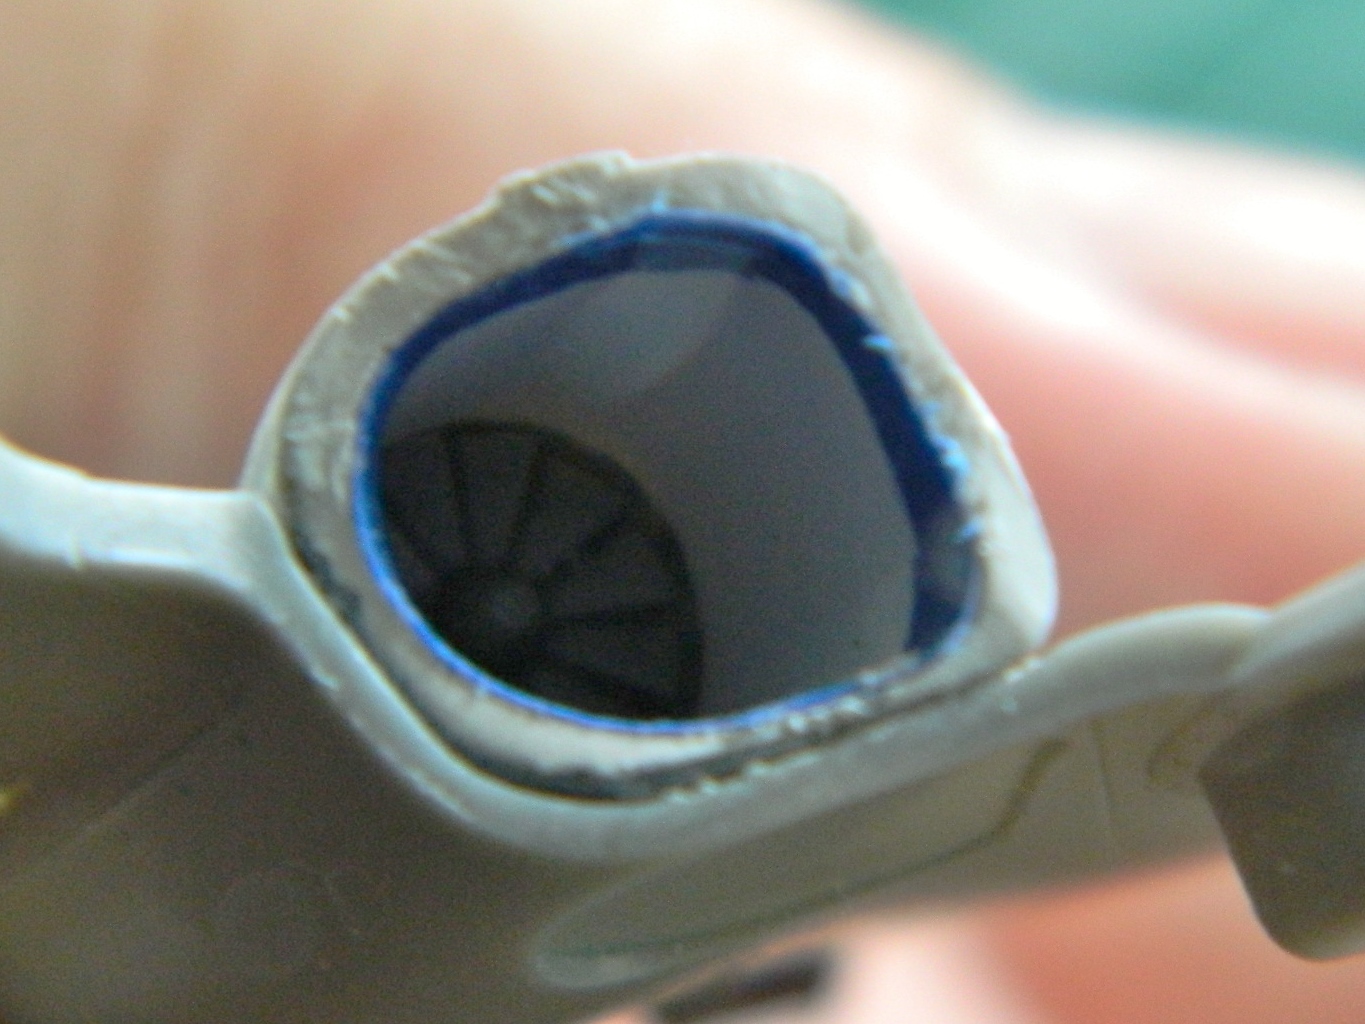
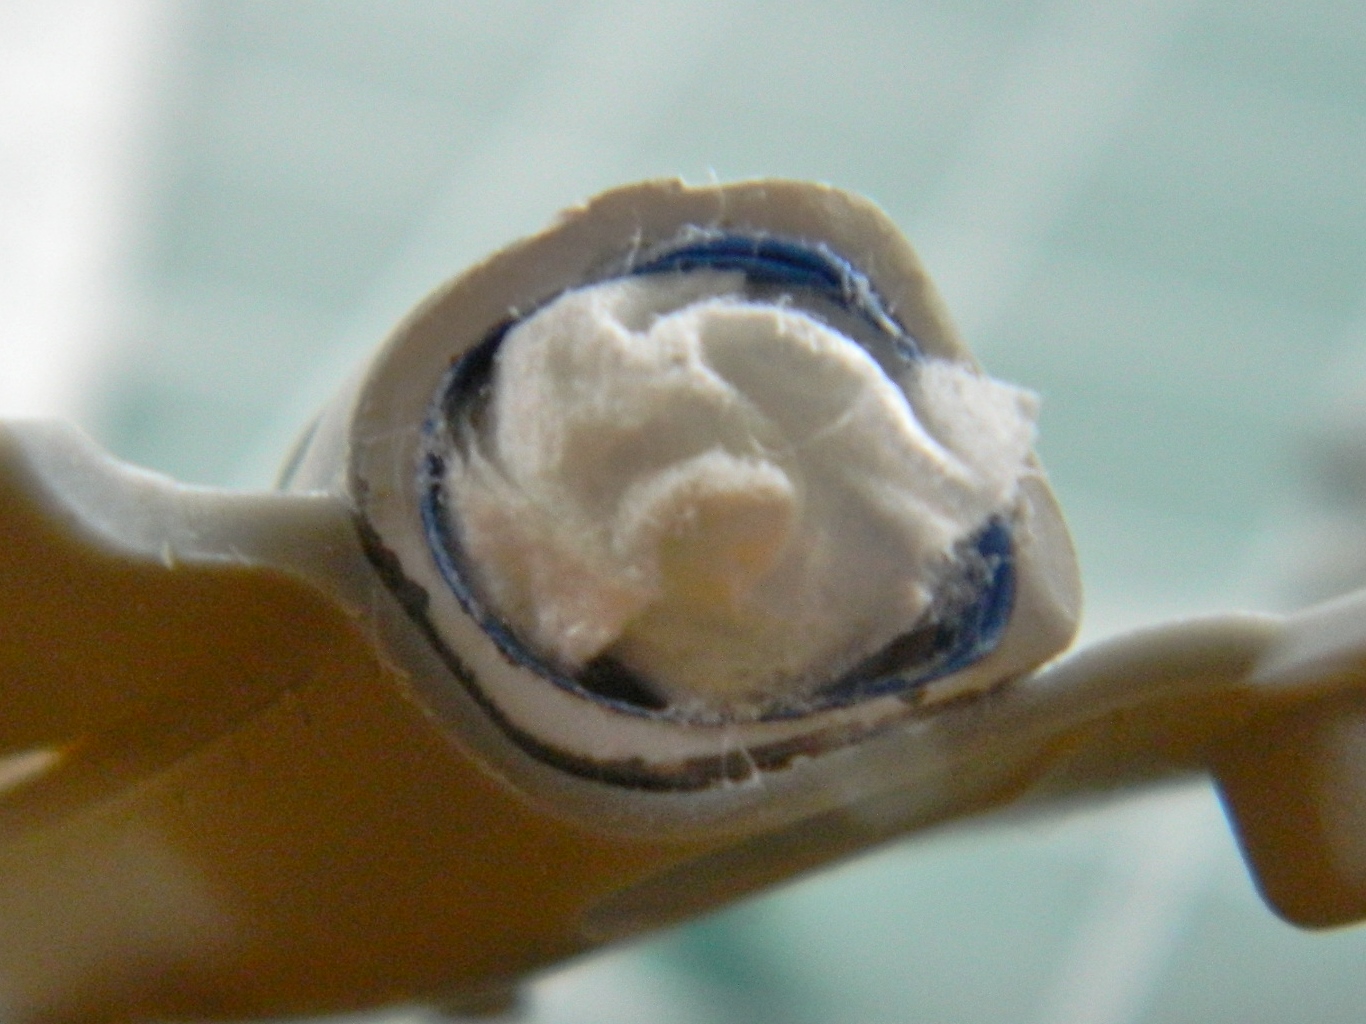
So I did. I covered the flame holders with micro-cell foam so that details weren’t obliterated (or too badly) and used the largest piece of plastic tubing I could fit into the opening, and smacked it with a hammer. It worked so well, I did the other side the same way. Whew! Okay, so I clean up where things were glued, put them back where they belong this time, repaint, and go on (now I know why that one tube split, though):
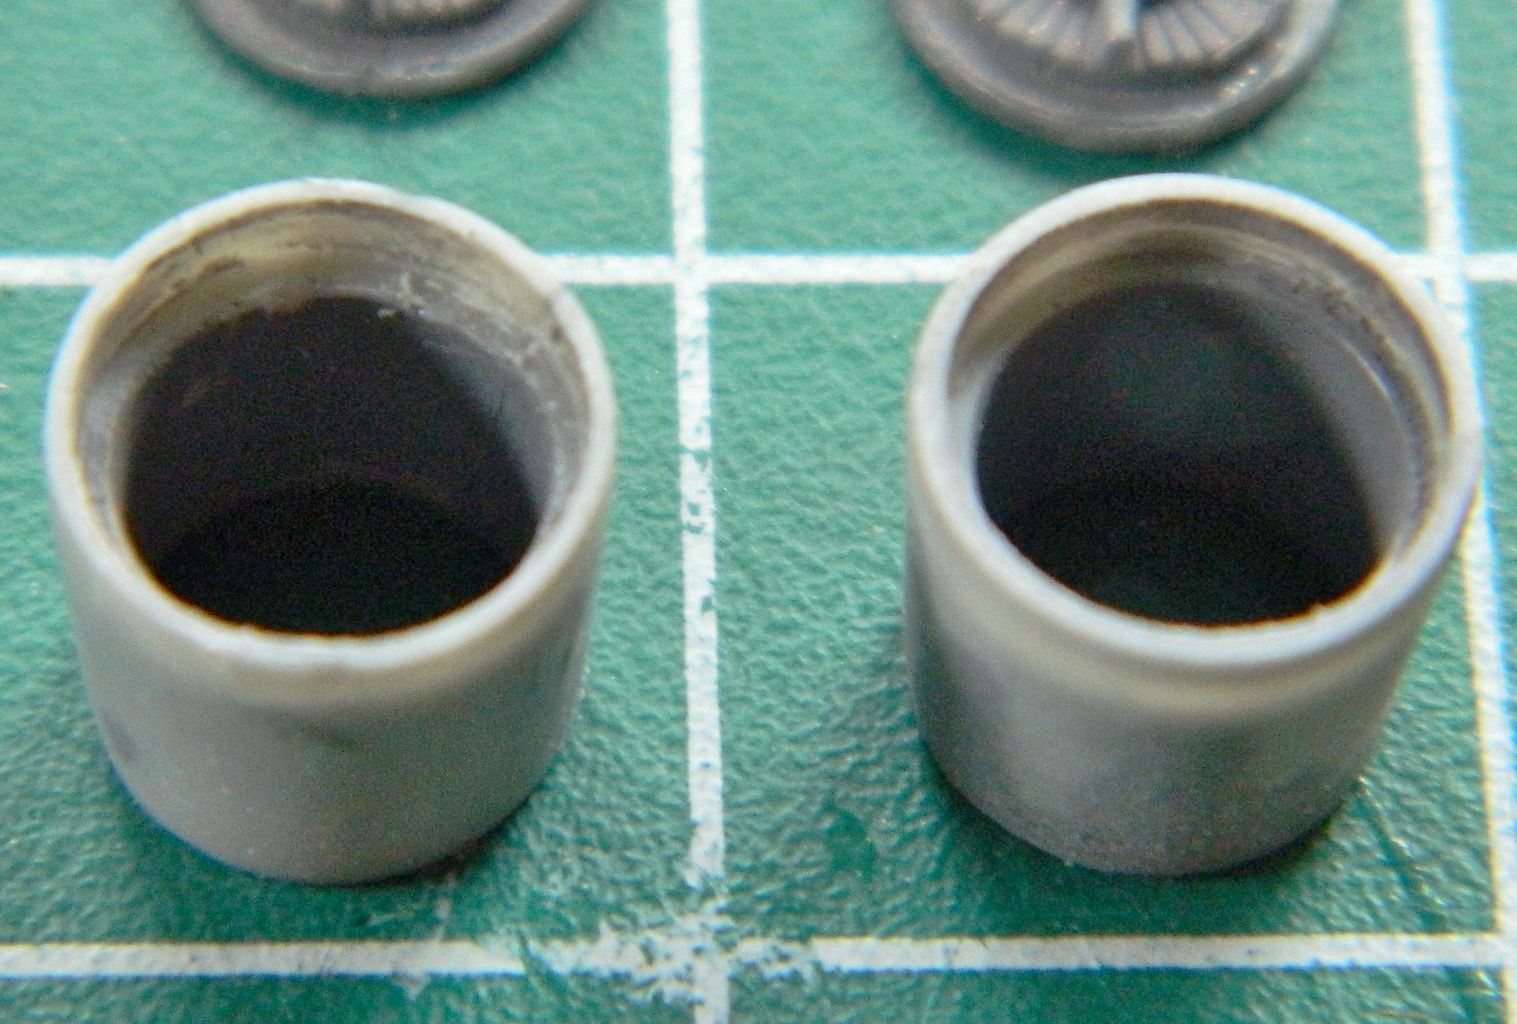
That’s when I noticed that the intakes didn’t fit well (no…the alarm didn’t go off). That protruding lip is supposed to be flush. Did I check to see if maybe there was another reason it didn’t fit? Y’know…something like maybe an ERROR ON MY PART? Noooo…:
So I trimmed it to fit (because what’s an error if one can’t compound it):
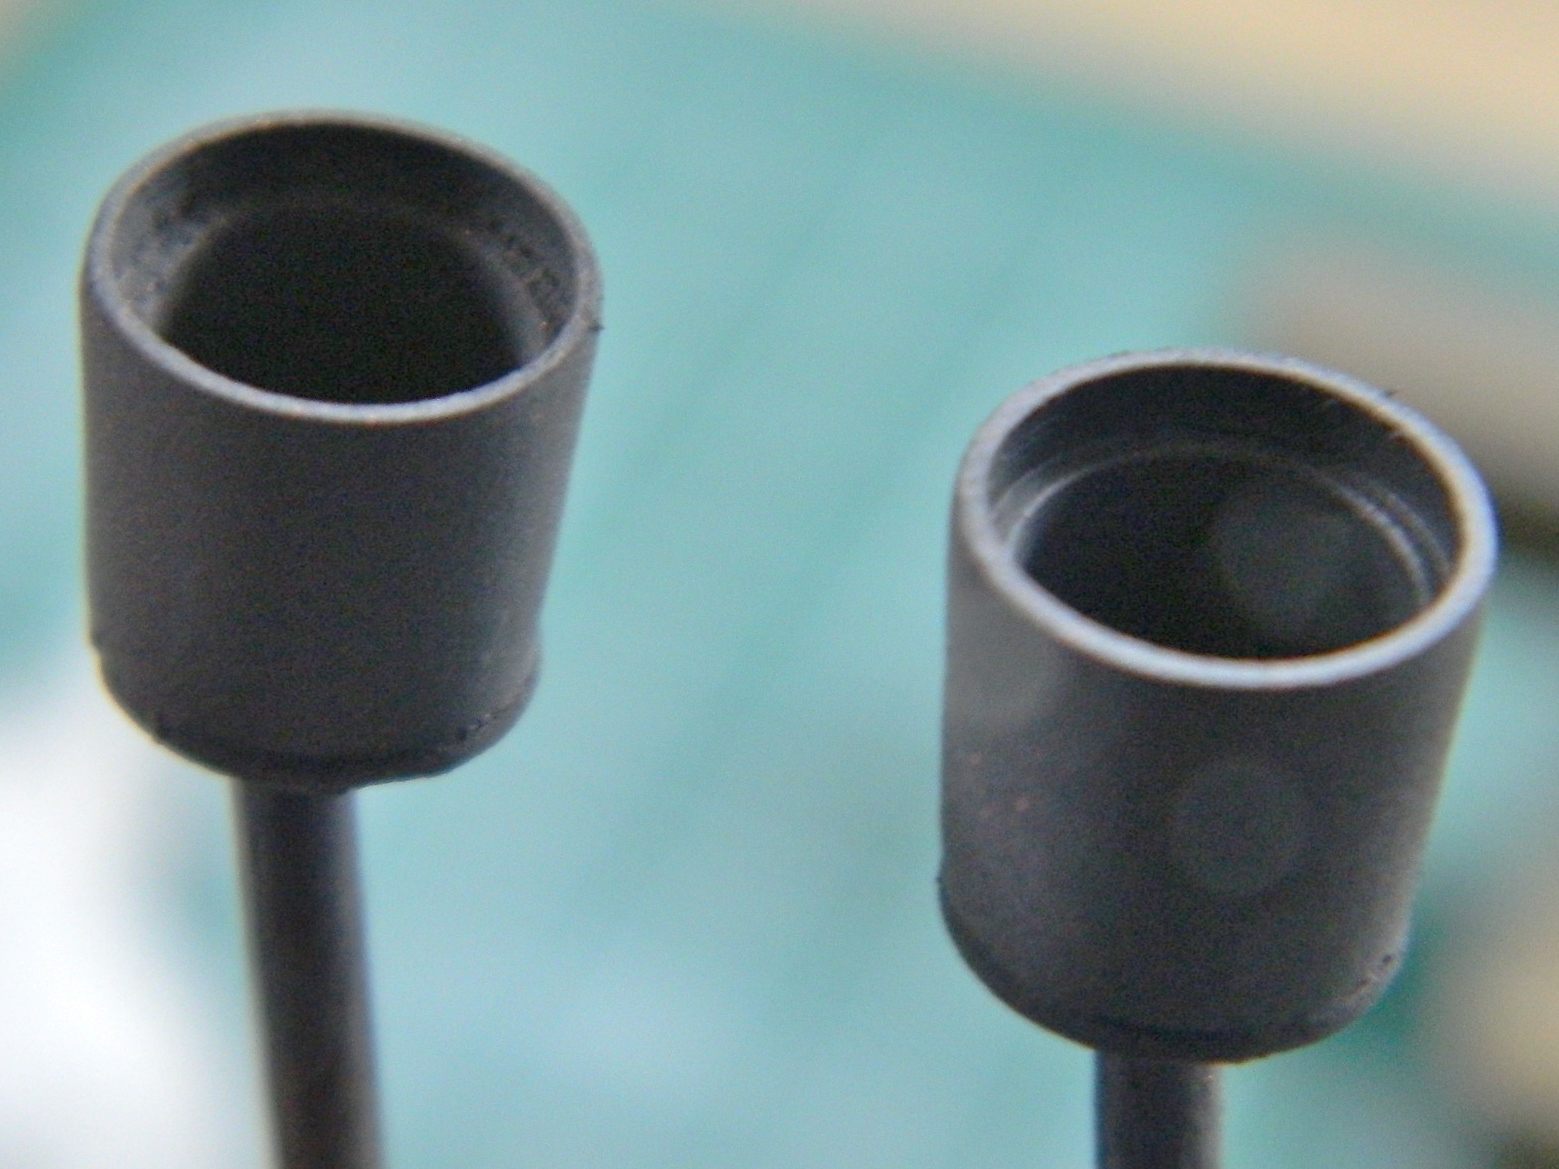
It was only then that the Boys in the Back said, “Maybe you should check the instructions again.” Well, fine. I did. Well, not fine. I put the intakes together wrong which placed the intake trunks on the wrong sides! Well, fine. I popped the intake vanes off, switched them to the proper sides, and gee…whadya know…they fit. Well, they mostly fit. There’s now a gap where Mr. Clever & Confident, here, trimmed it. I’d considered building it back up to where it should be but where it is isn’t very noticeable and I don’t feel like spending 8-12 hours fitting it.
You may now call me Mr. Clever, Confident, & Lazy.
So. With the nozzles correctly assembled (and checked for fit) and the intakes correctly assembled and on the proper sides, it’s finally time to start getting the wings ready to assemble:
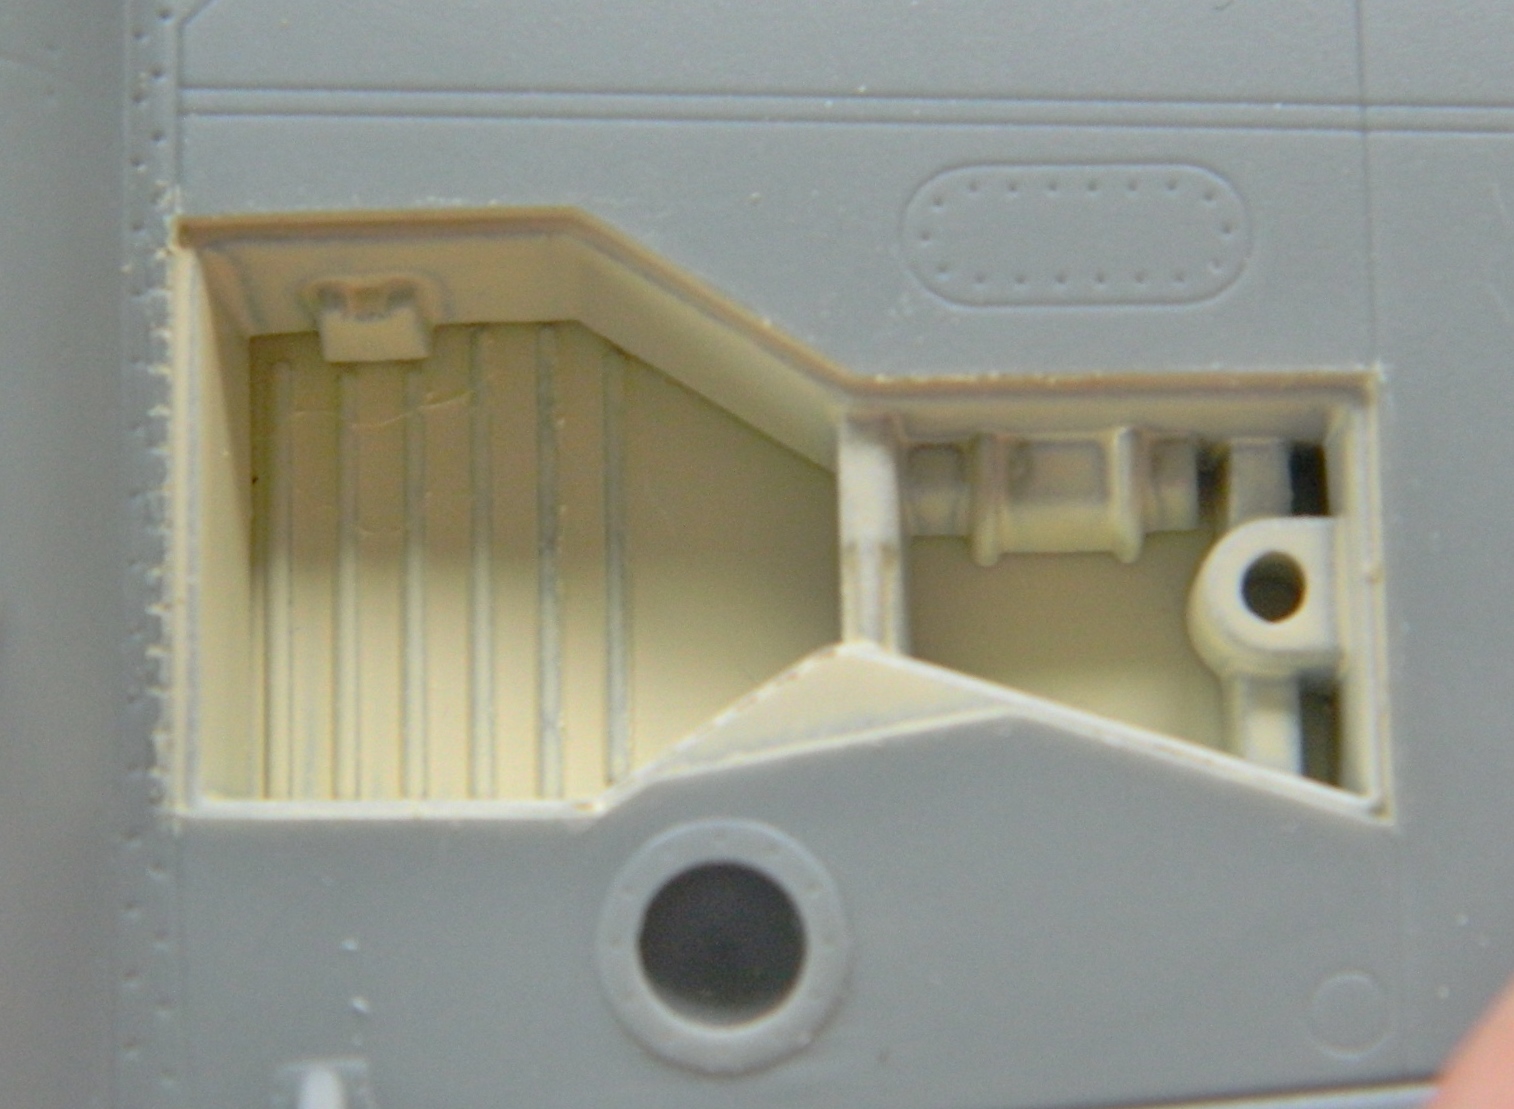
The paint chart calls for interior green landing gear bays. I’ve never seen them painted anything but white so I used aged white and got those under color:
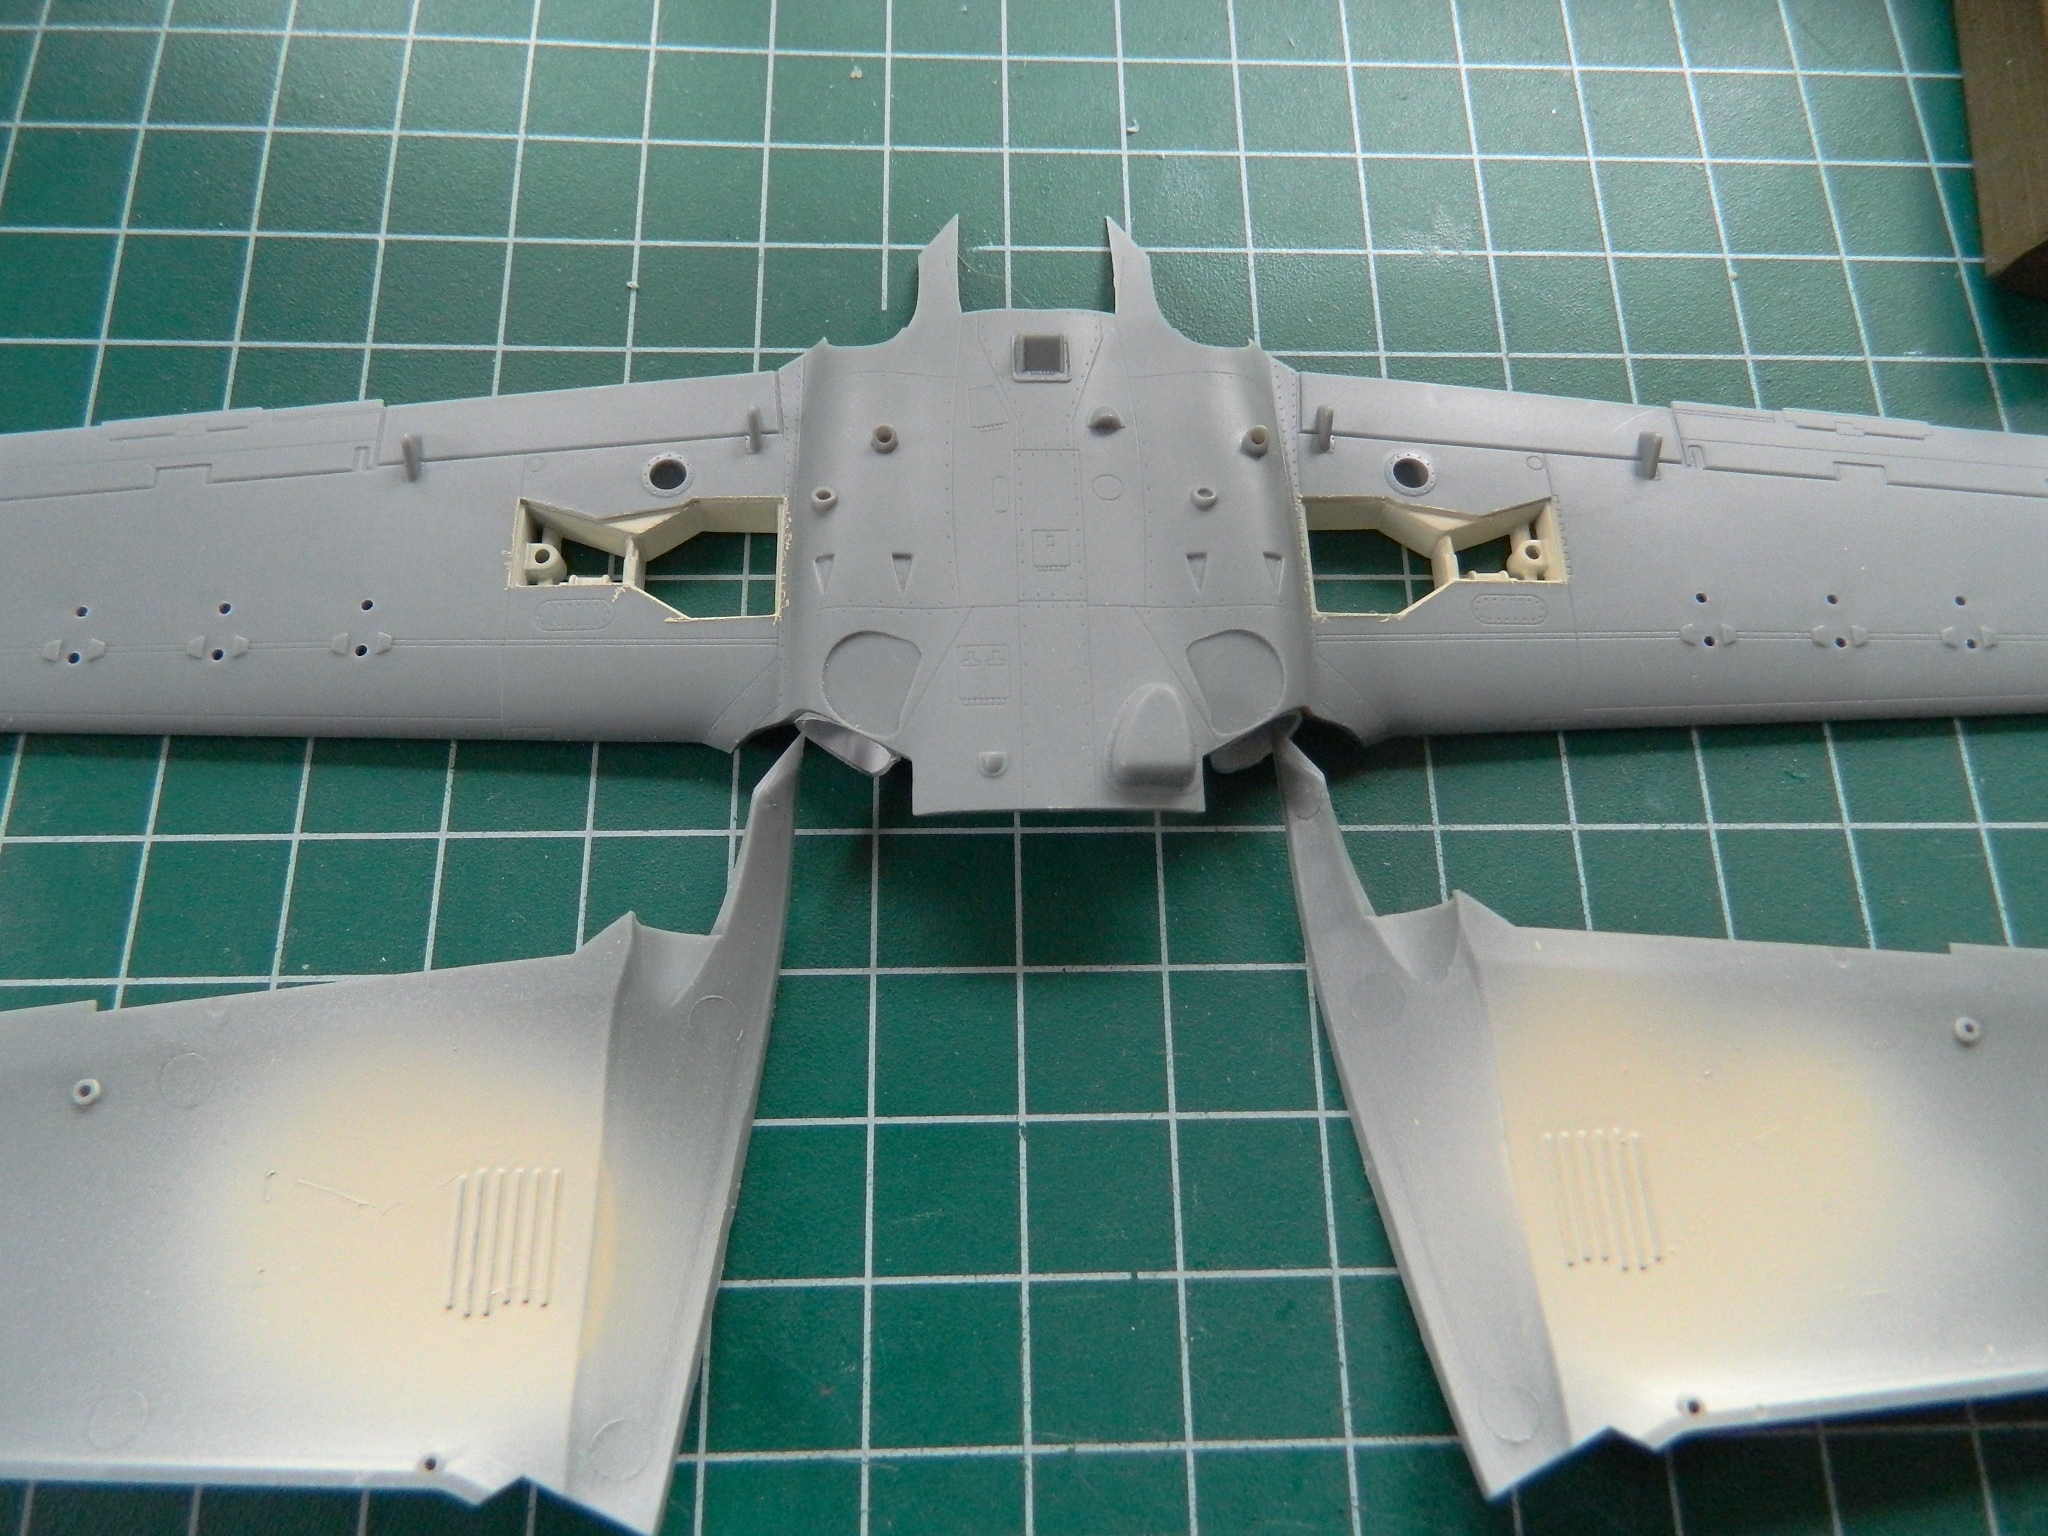
The intake trunks stay white, but the nacelle around the intake openings will be painted a camo scheme, so they need to be masked. However, they need to be masked in such a way to enable the masking to be removed once the painting is done. I lined the leading edge of the trunks with masking tape and filled the space with a paper towel:
Whew…okay. I’m back where I should have started today at. However, I am now properly chastised. So much for sodding confidence…
