Gemini (Revell) Build #1 – Parts Layout and the Start
To the best of my knowledge, only one kit of the Gemini capsule has been produced in 1/24 scale. Revell cut the molds and first released it in 1965. The kit was reissued in 1982, the early 90s, and finally in 2012. The kit is a straight reissue (all but the last reissue were molded in gray, the last reissue in white, which included a better decal sheet). It’s an old set of molds. The parts are thick and don’t fit very well. When Revell tooled up for the kit, they only had the McDonnell prototype to work from, so that’s what the kit represents. There are substantial differences (at least from a modeler’s perspective) between the prototype capsule and the production capsules. There were further differences in detail of capsules optimized for specific missions. One of the differences is that from what I can tell, the prototype did not have ejection seats and the production capsules did.
There are MANY variations of the actual Gemini capsules and the details vary from mission to mission. I’m going to try to replicate Gemini VIII (check the after-action report for more details on that one!).
Here’s where it starts:

The parts:
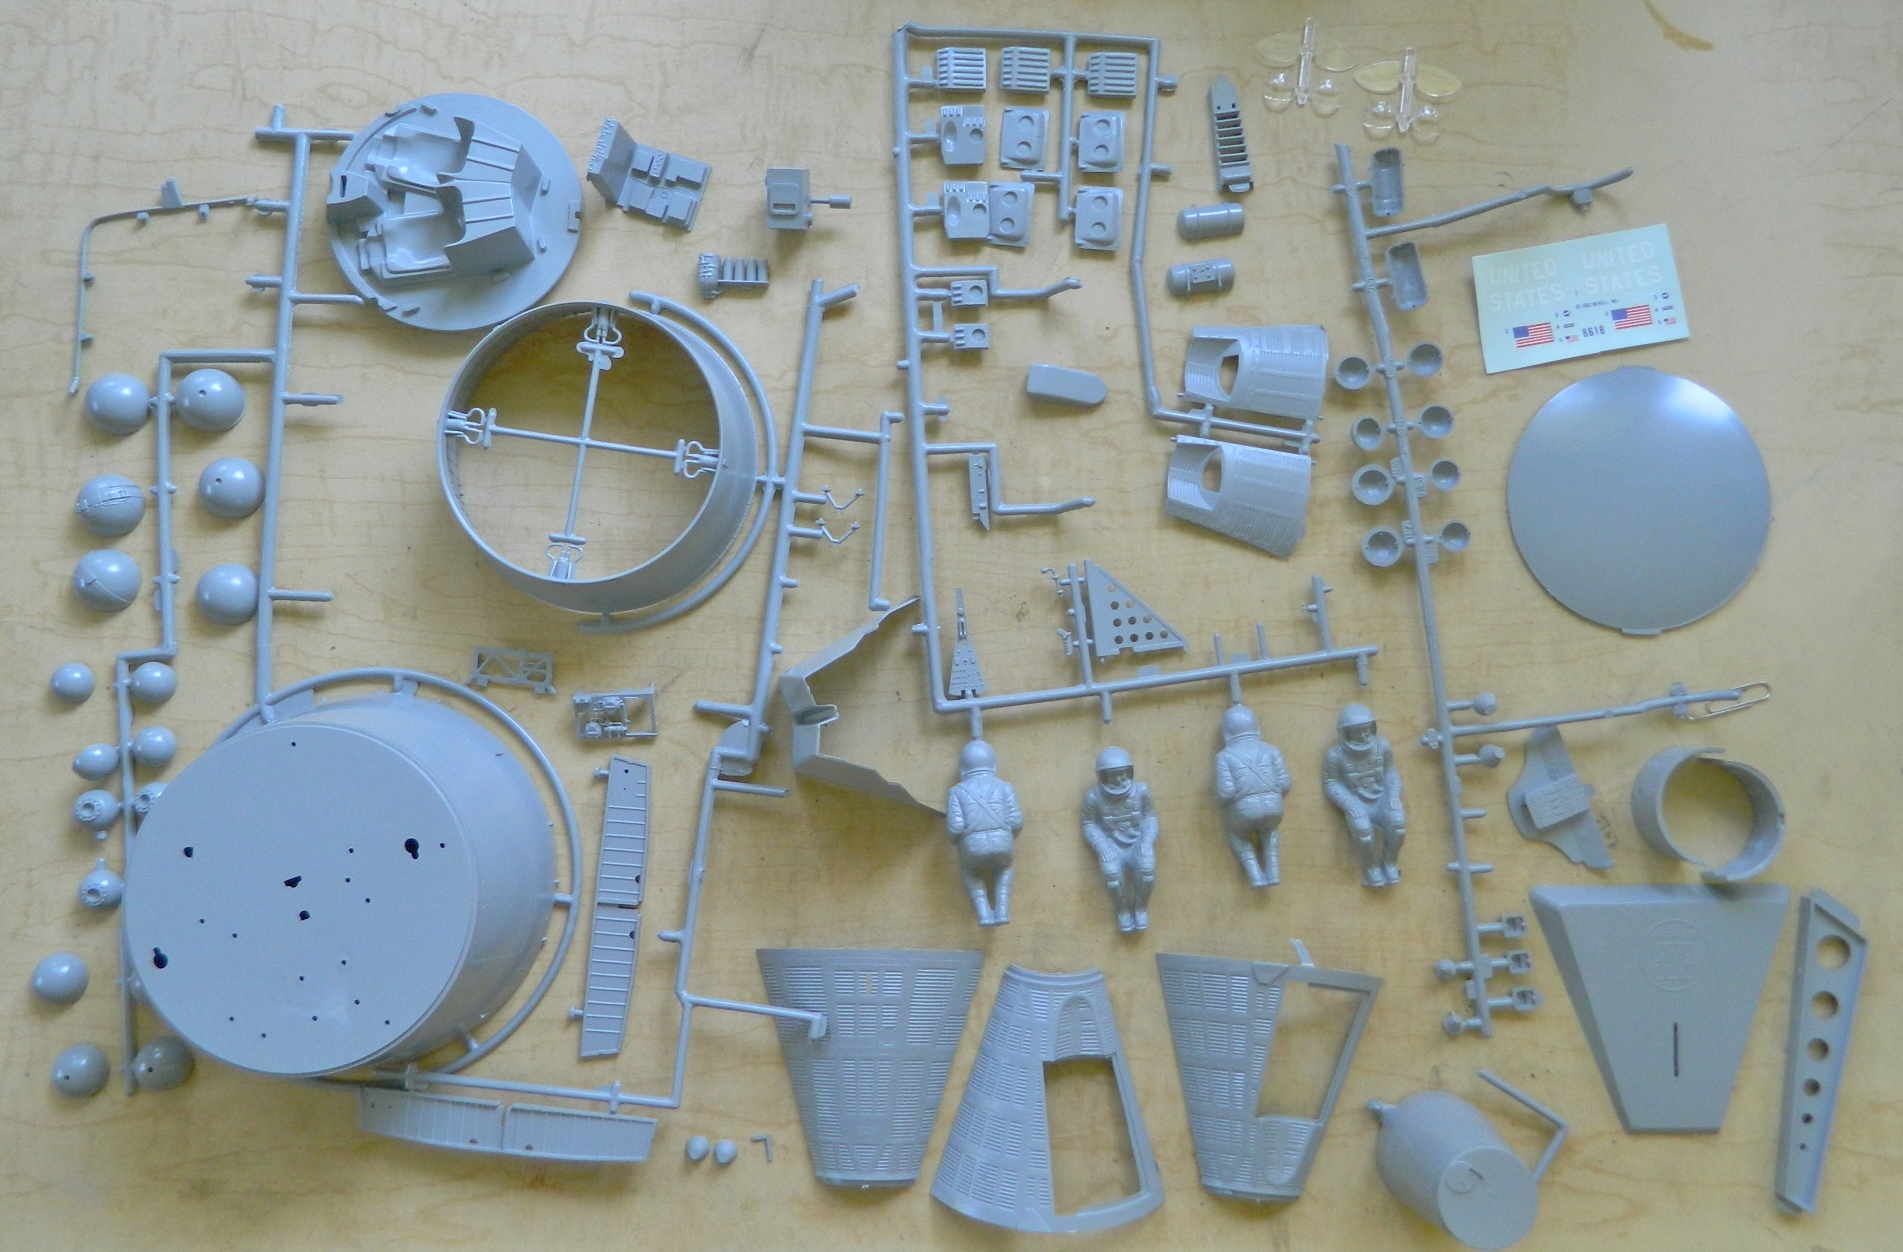
There are differences in the external details, most notably the OMS (orbital maneuvering system) thrusters, and the nose of the capsule was configured differently depending on the goals of the specific missions:
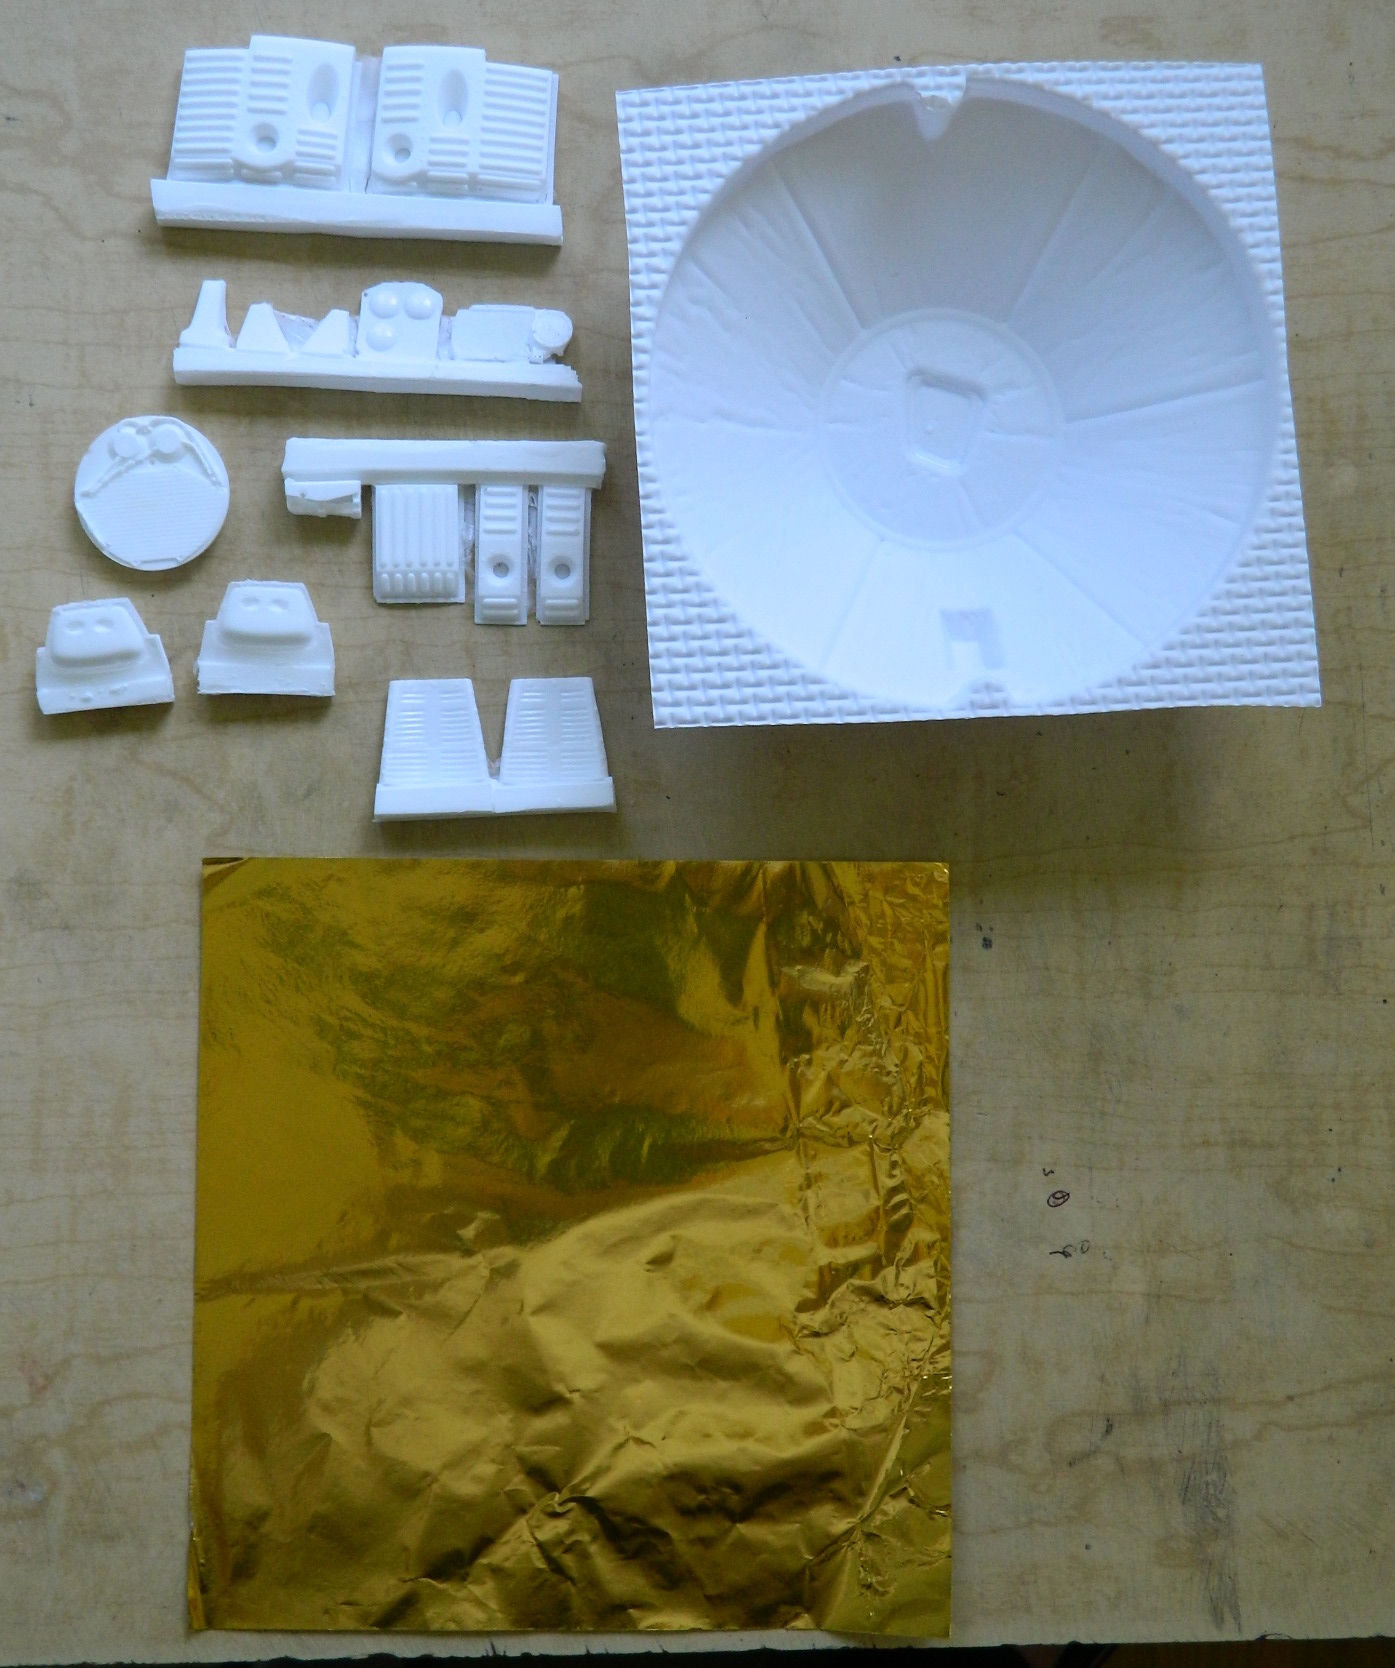
The differences inside the capsule are represented by this set (and it looks like I’m going to get to practice my PE bending/soldering skills):

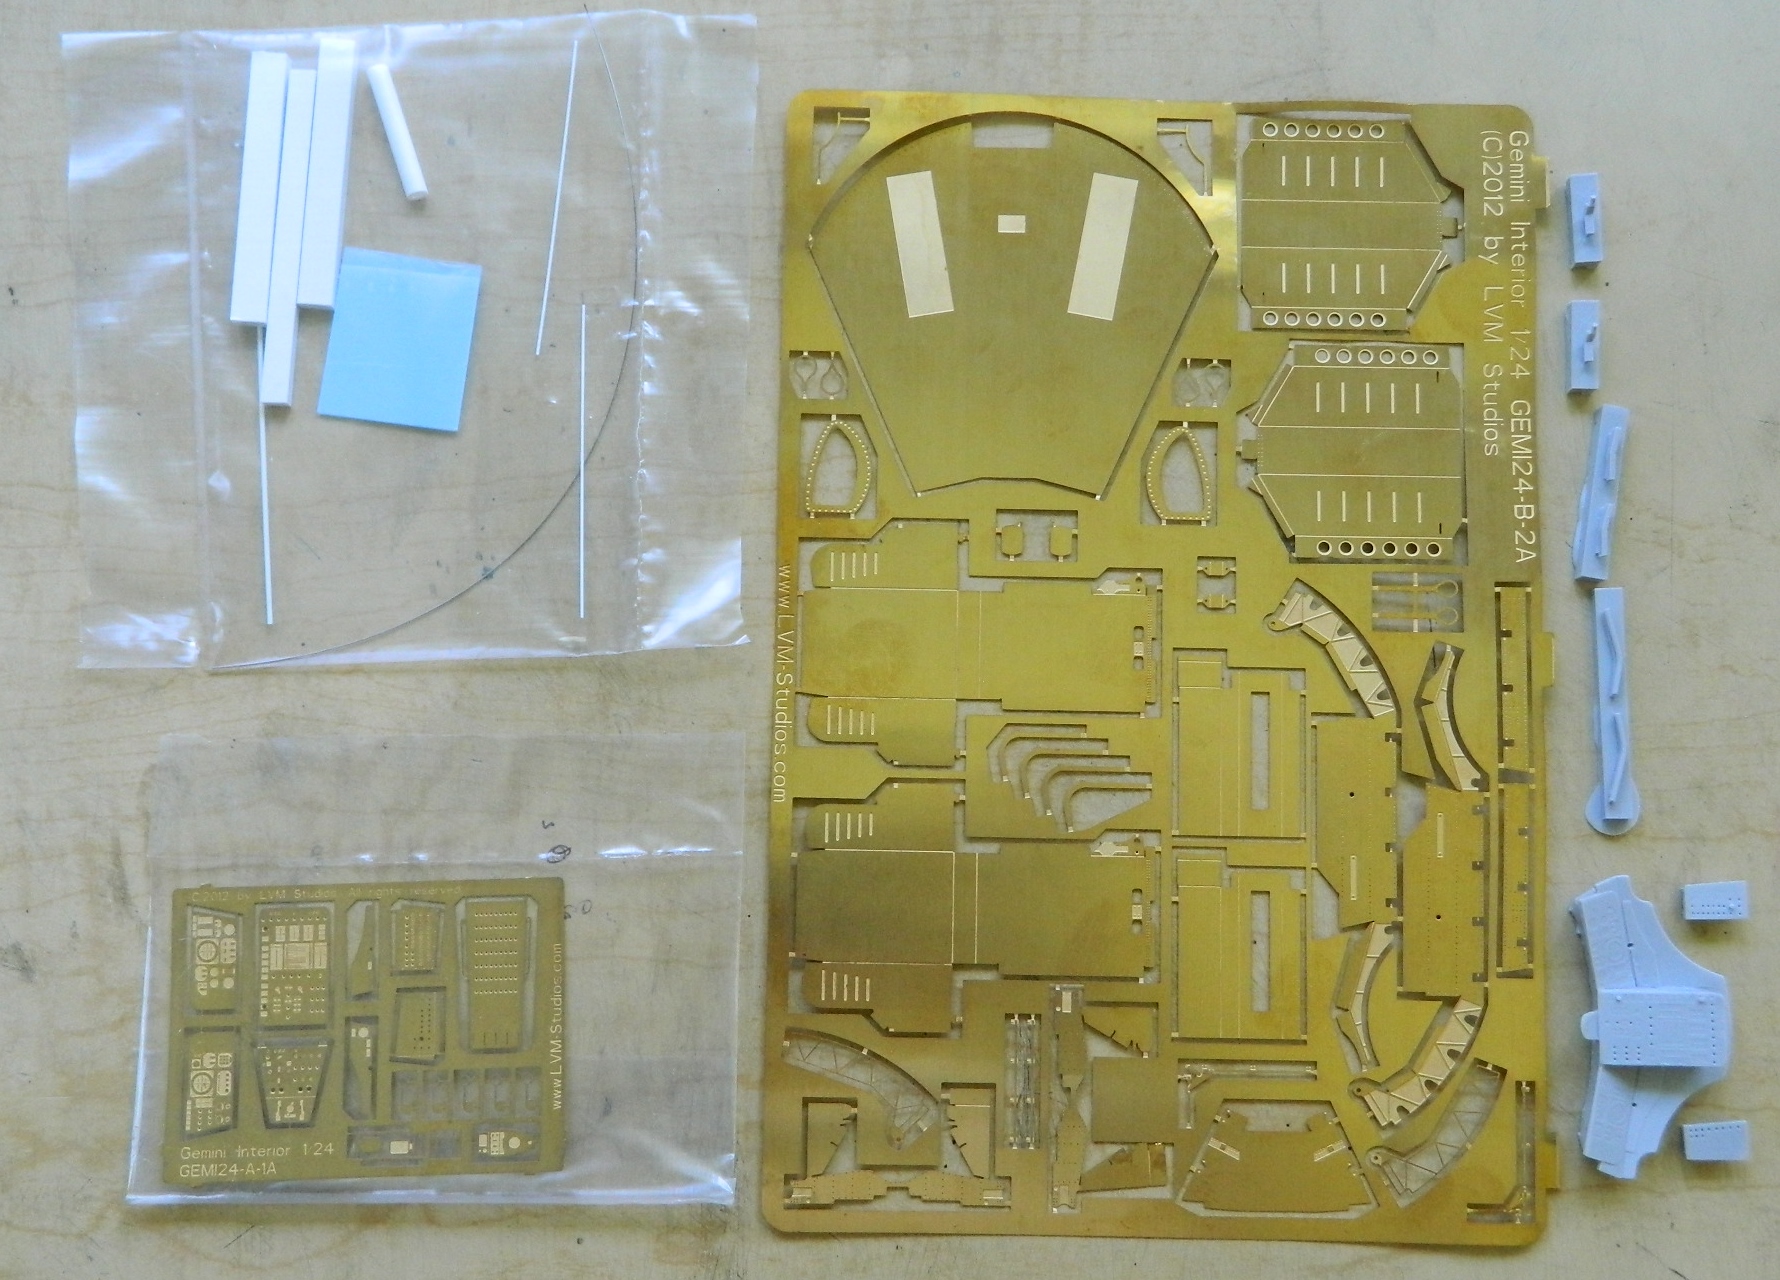
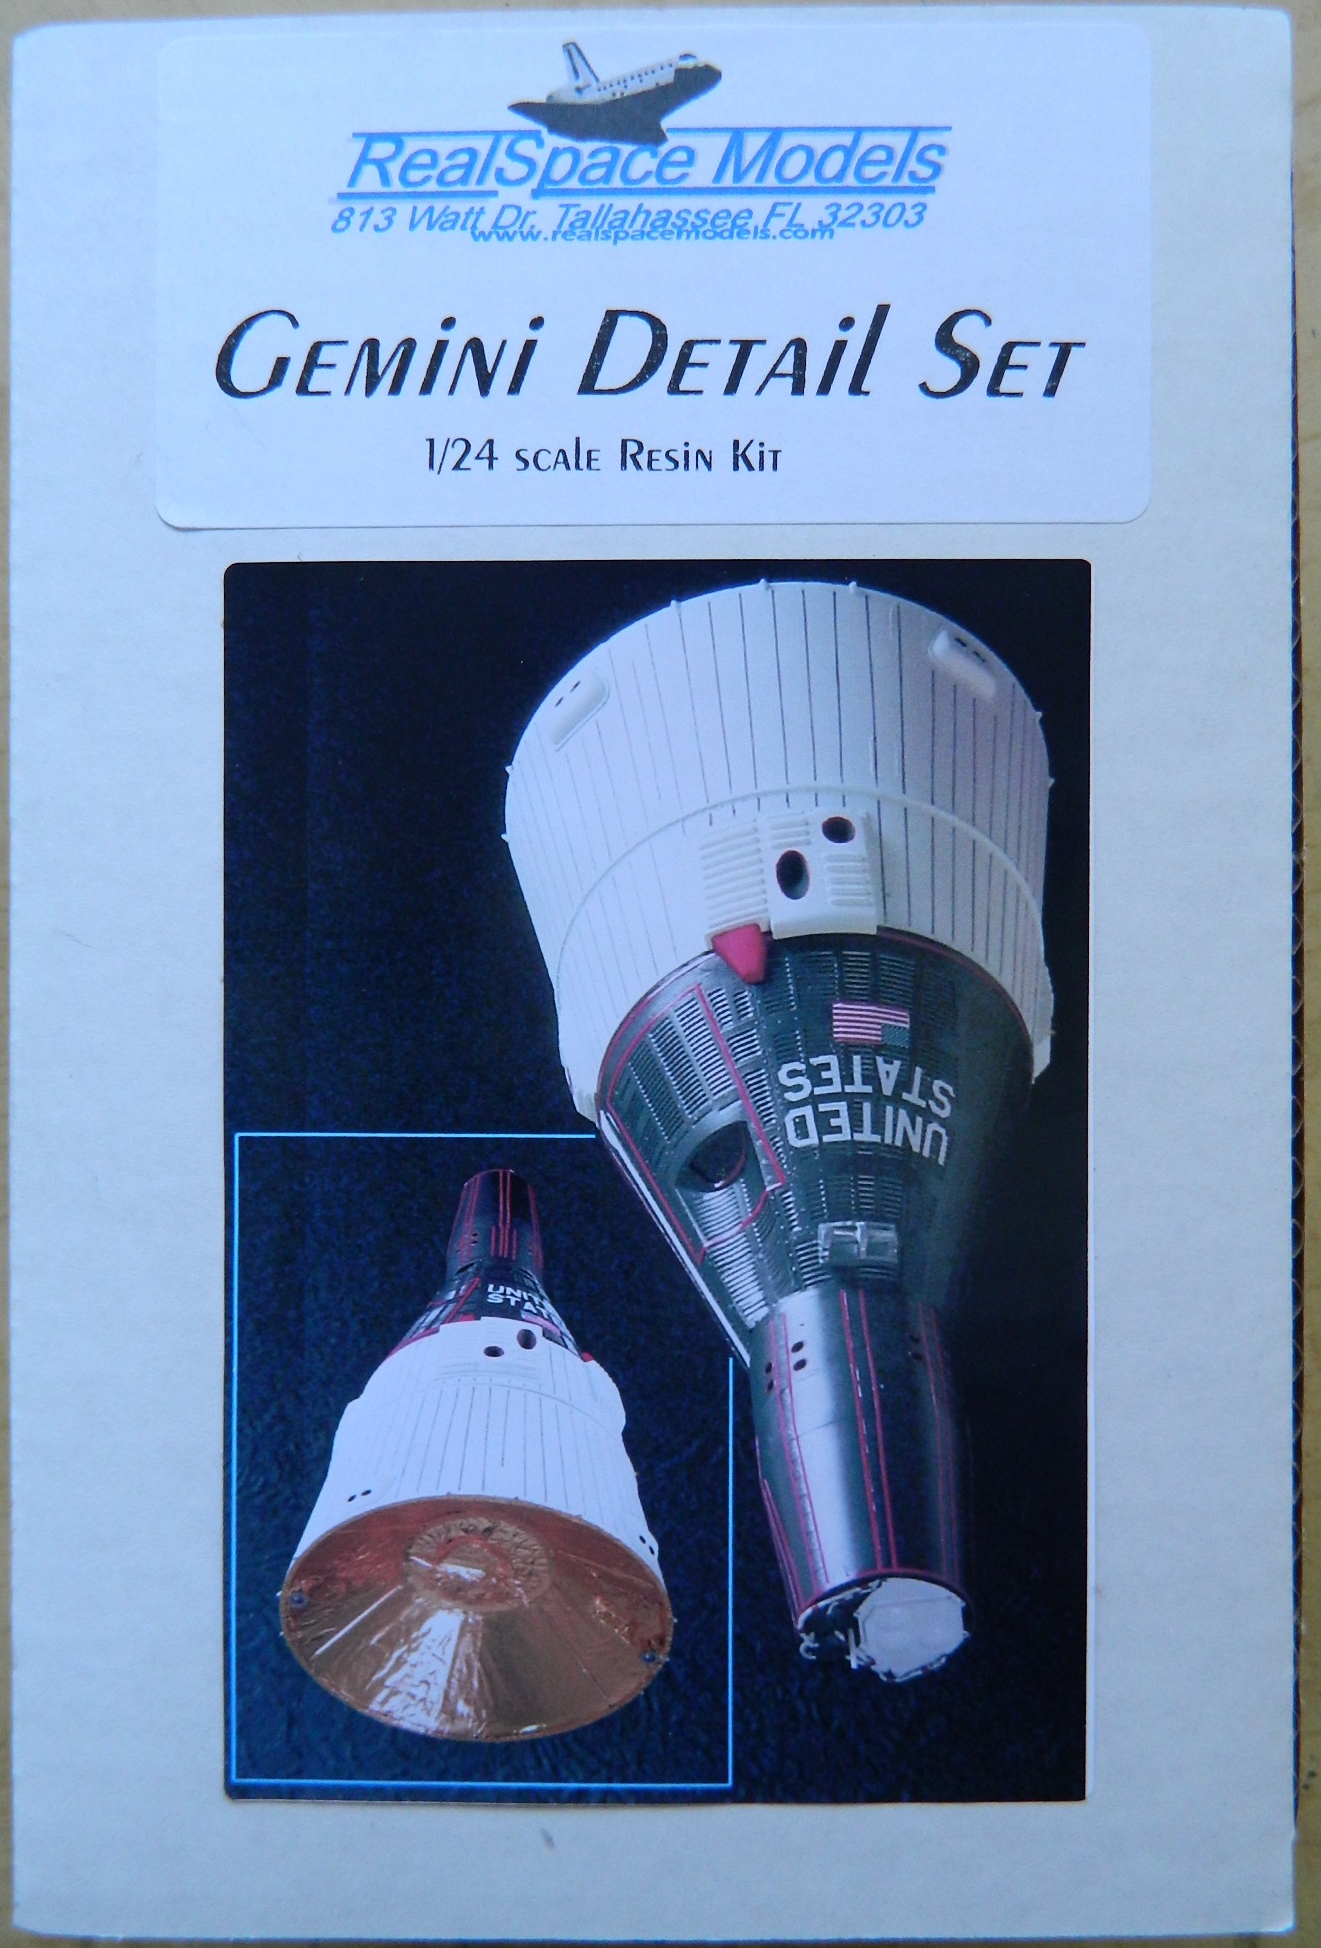
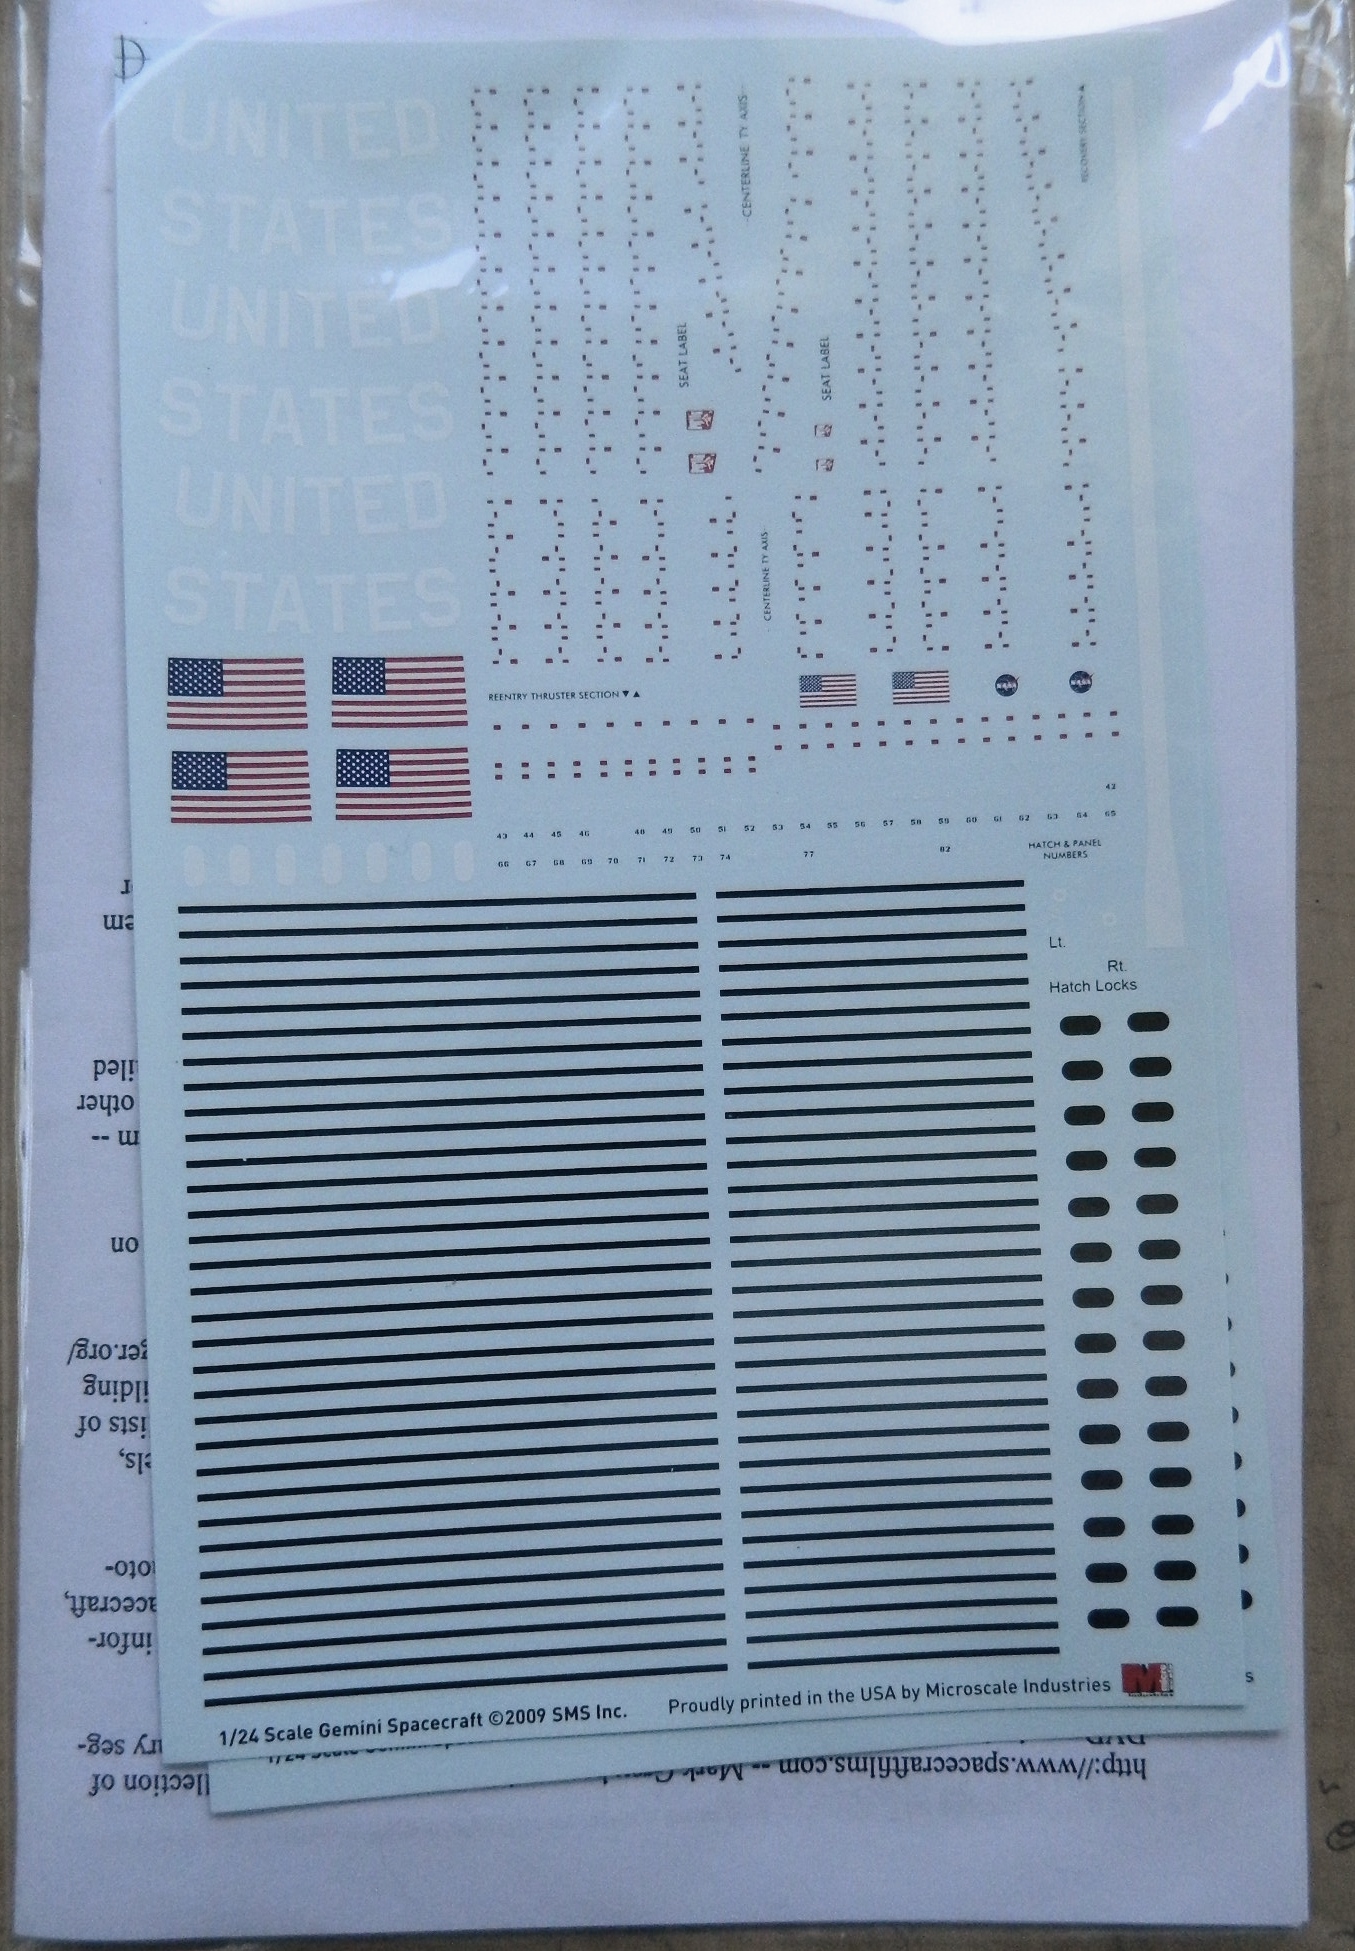
And finally (I think) the markings:
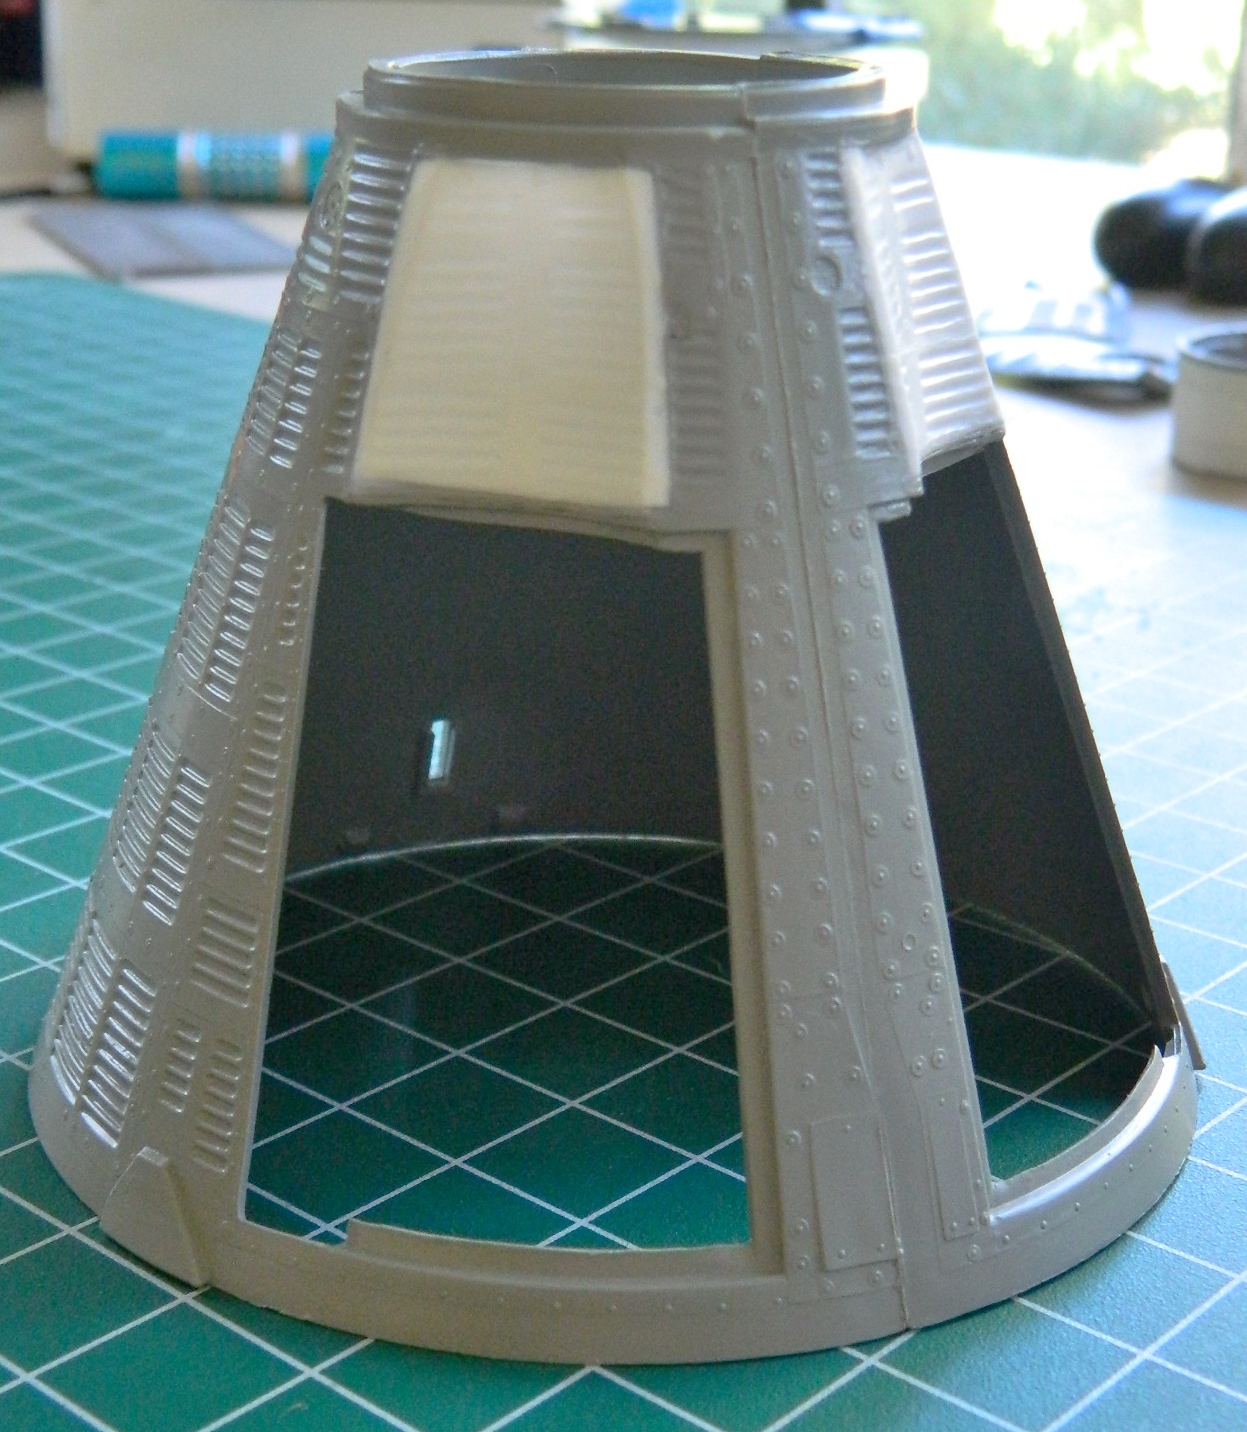
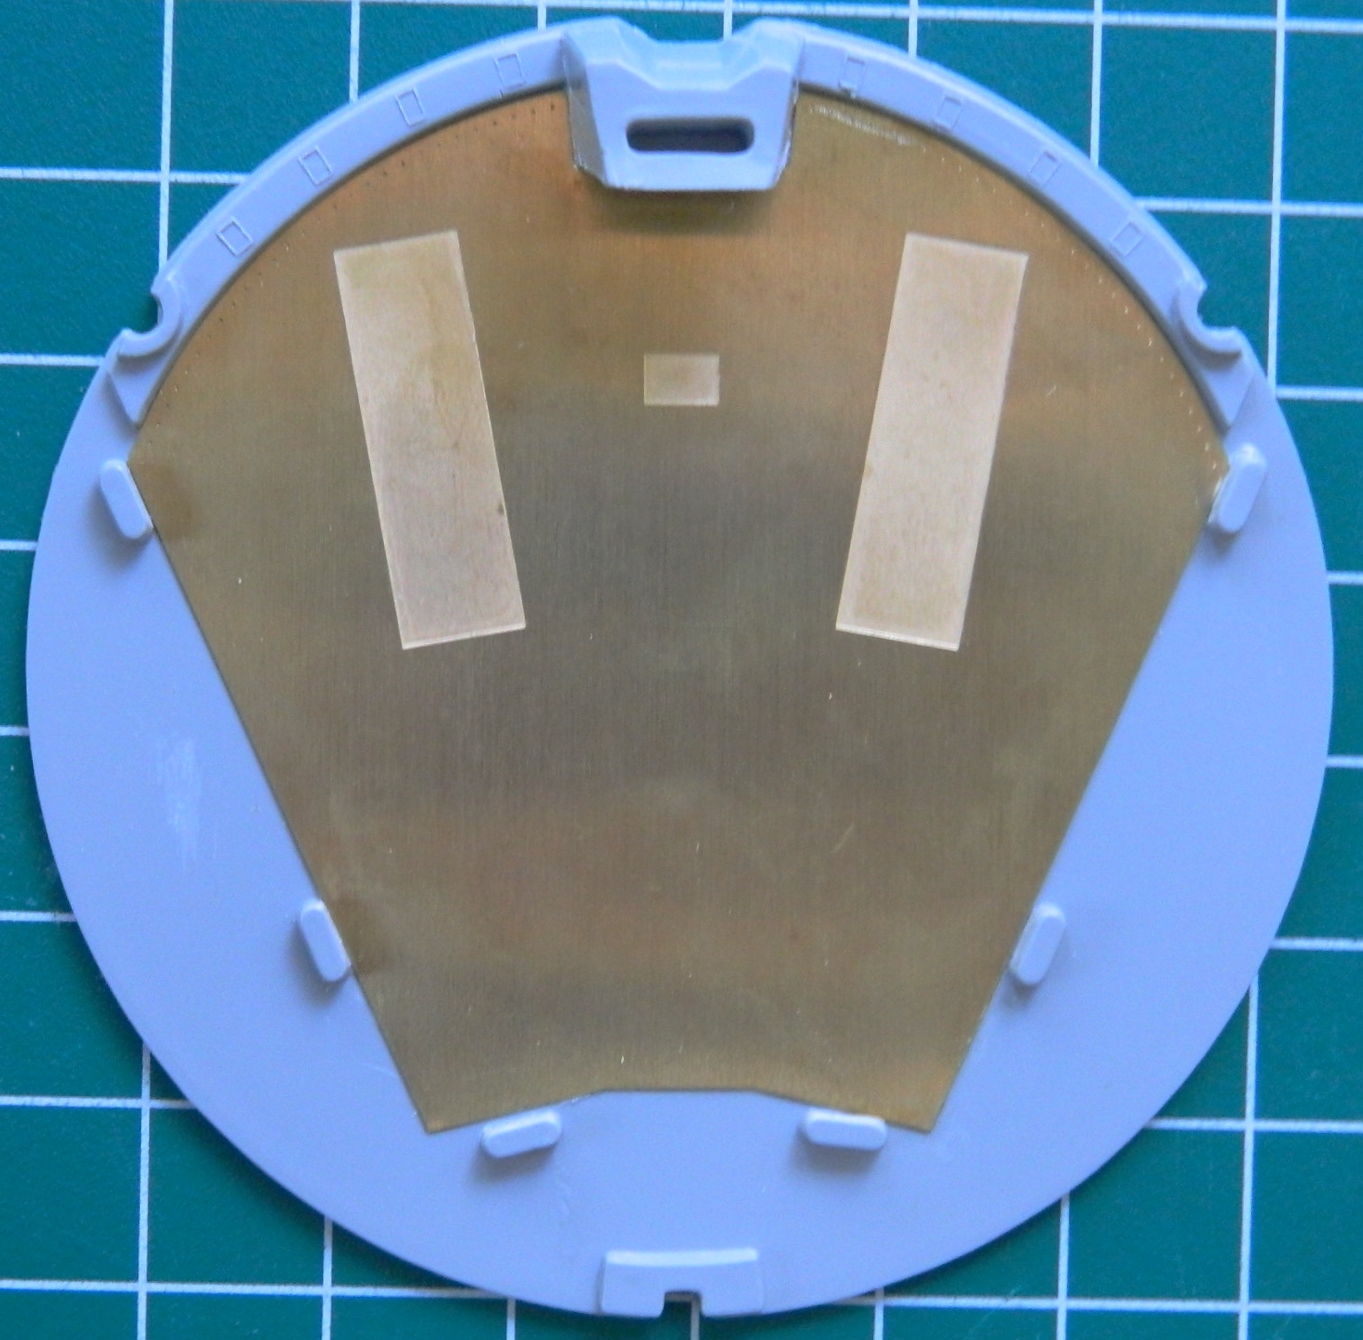
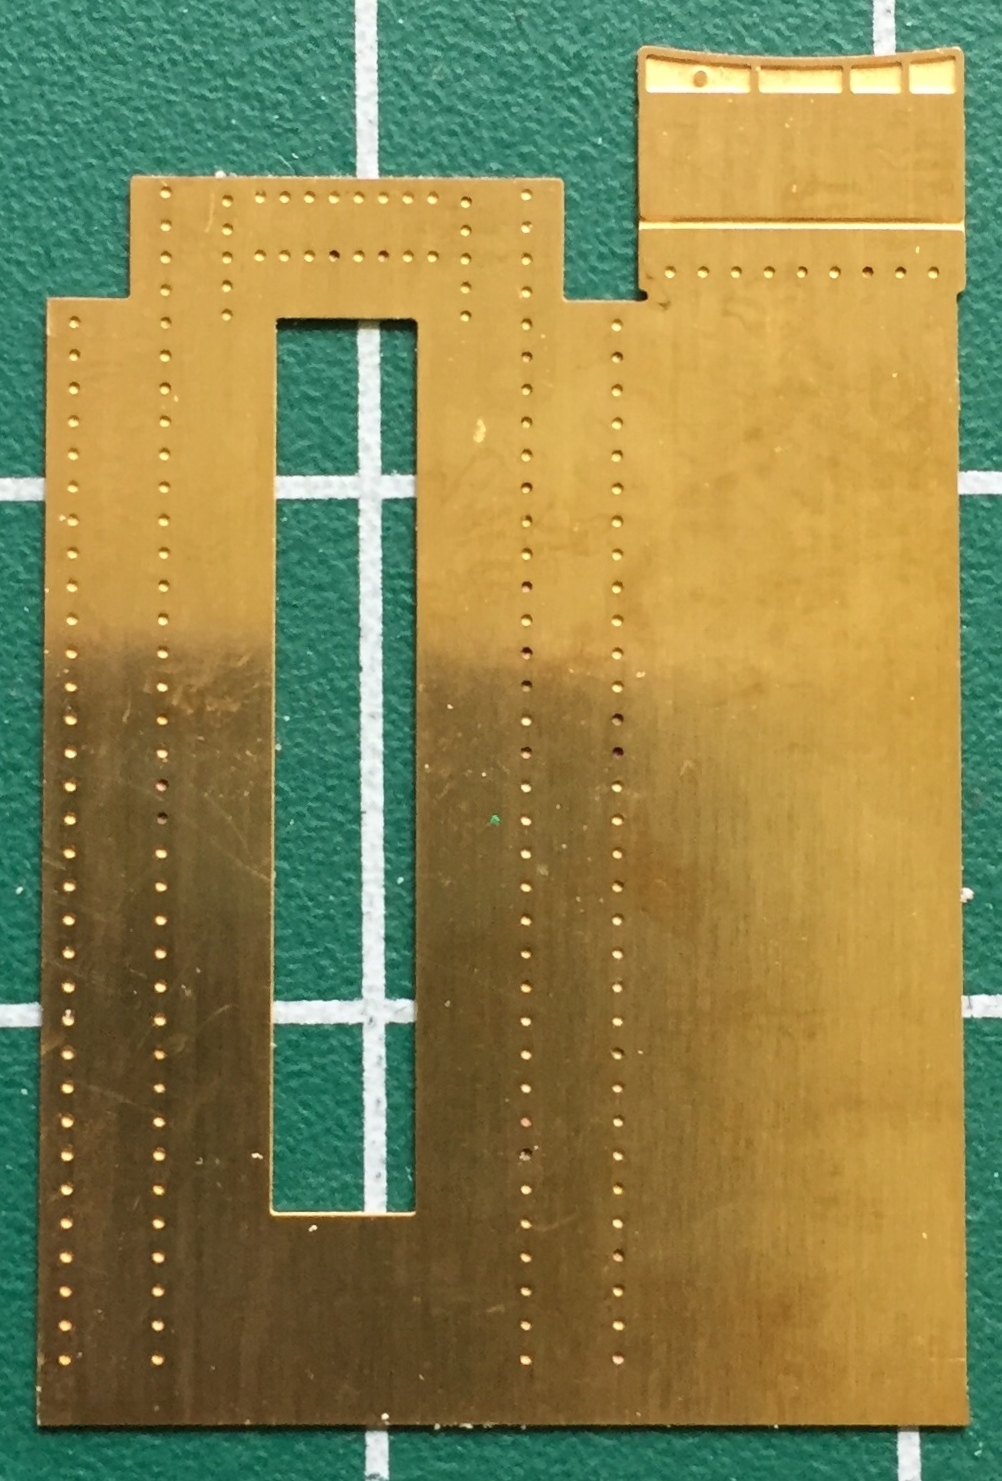
Construction starts by removing the prototype-style crew seats from the rear bulkhead of the cabin and replacing it with a sheet of PE brass:

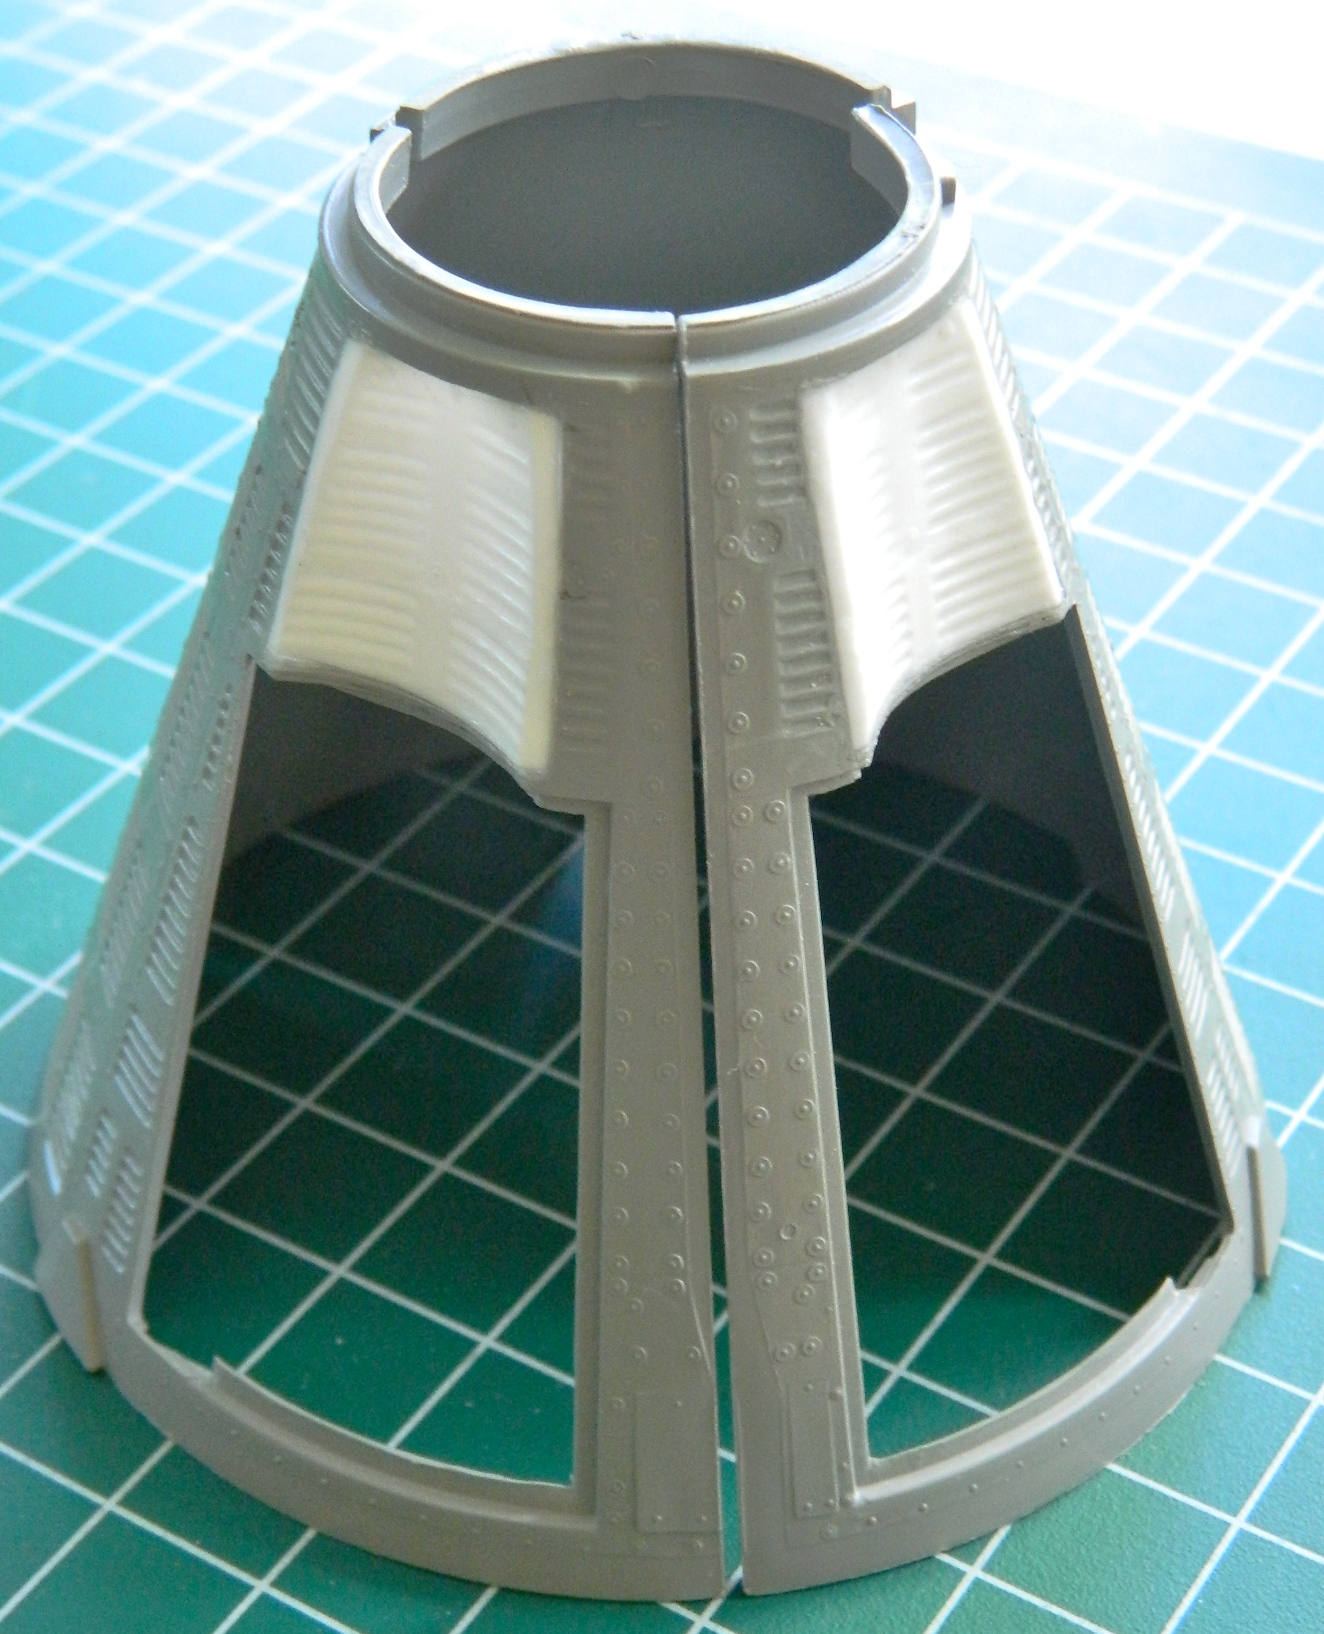
The exterior of the capsule in front of the hatches was different on the prototype, shown on the left. RealSpace Models included the corrected panels in their kit. The good news is that I don’t have to scratch-build these sections. The bad news is that the resin replacements aren’t very well done and will require a fair bit of surgery and adapting to work:
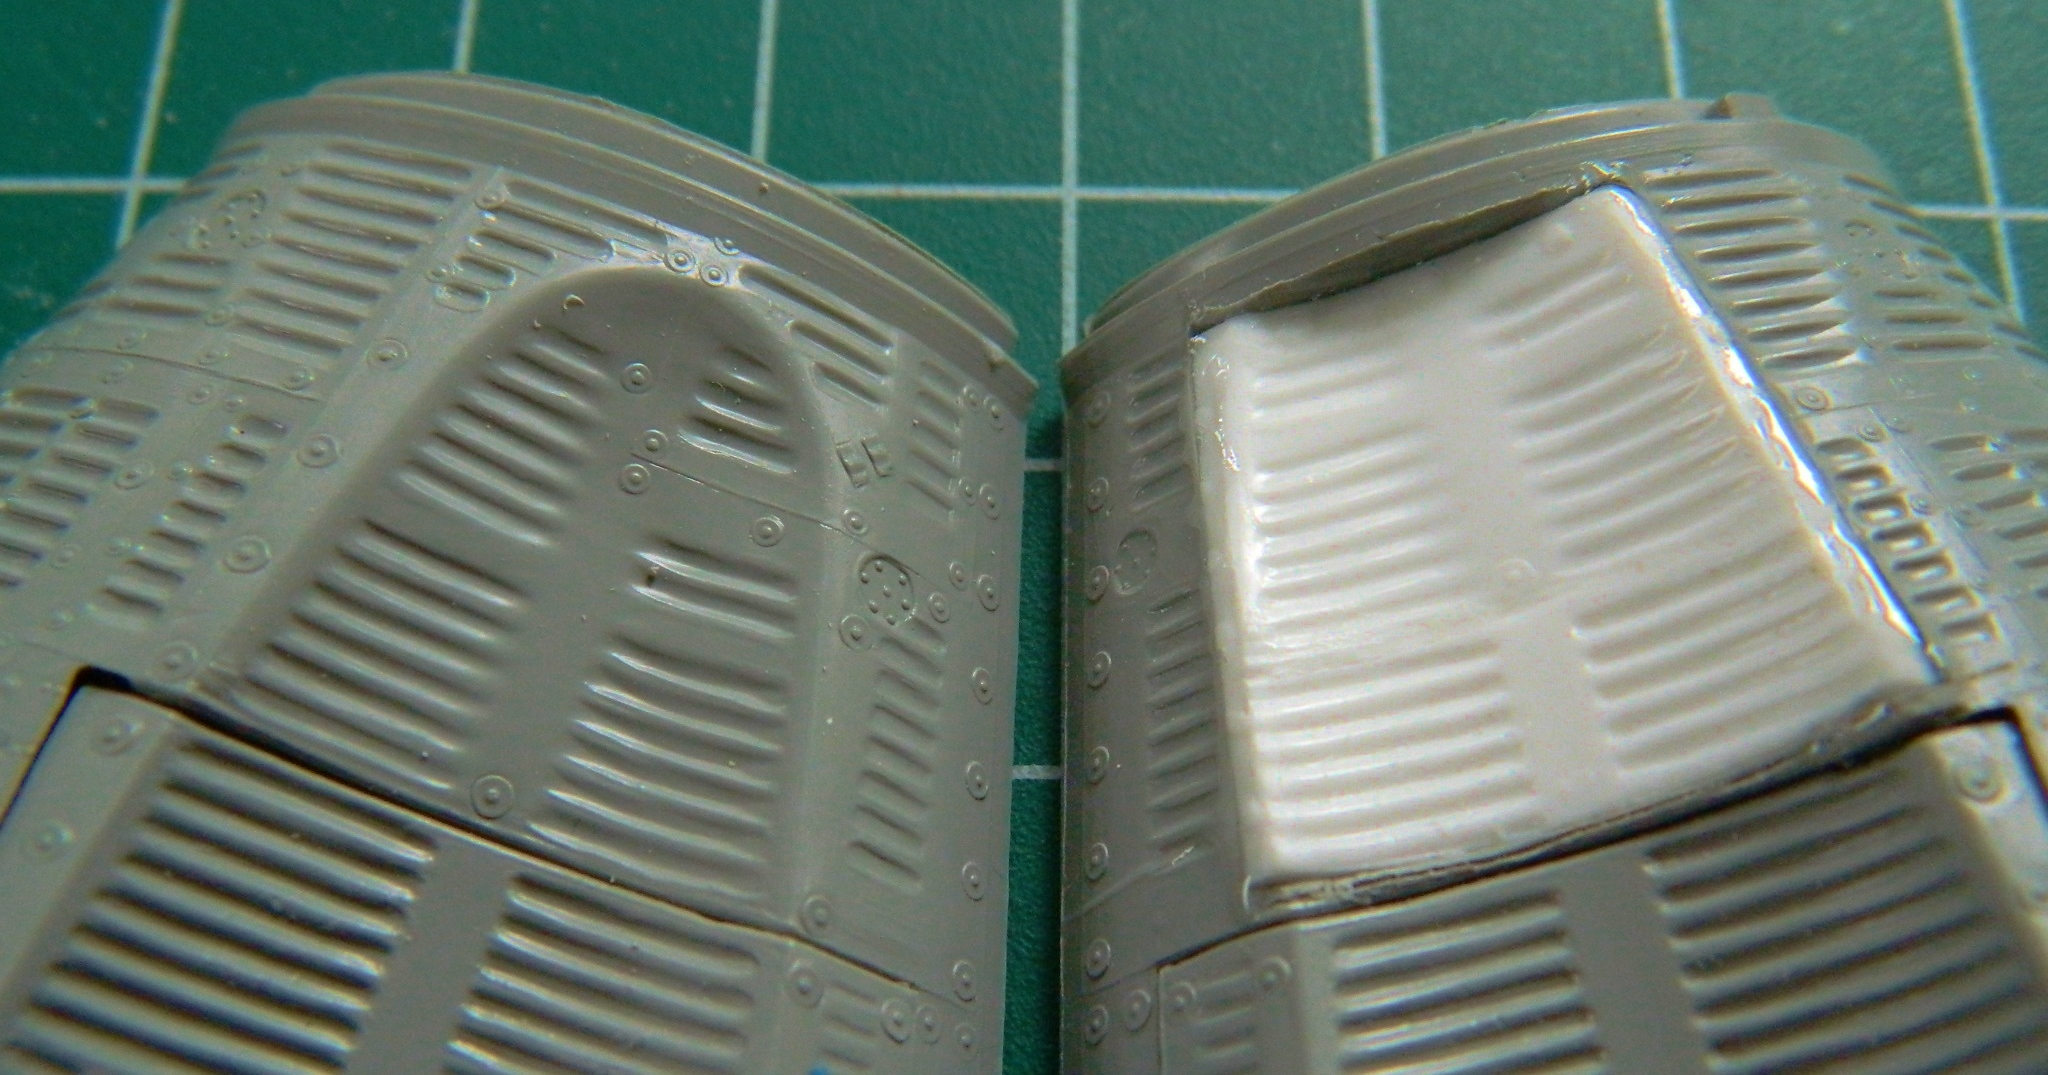
With the kit’s section cut out, dry-fitting begins (and there was a lot of it). Once I was satisfied (relatively…these panels are going to require a fair bit of work to look correct) with the fit, it was superglued in place. There are fairly wide gaps that I filled with gap-filling superglue:

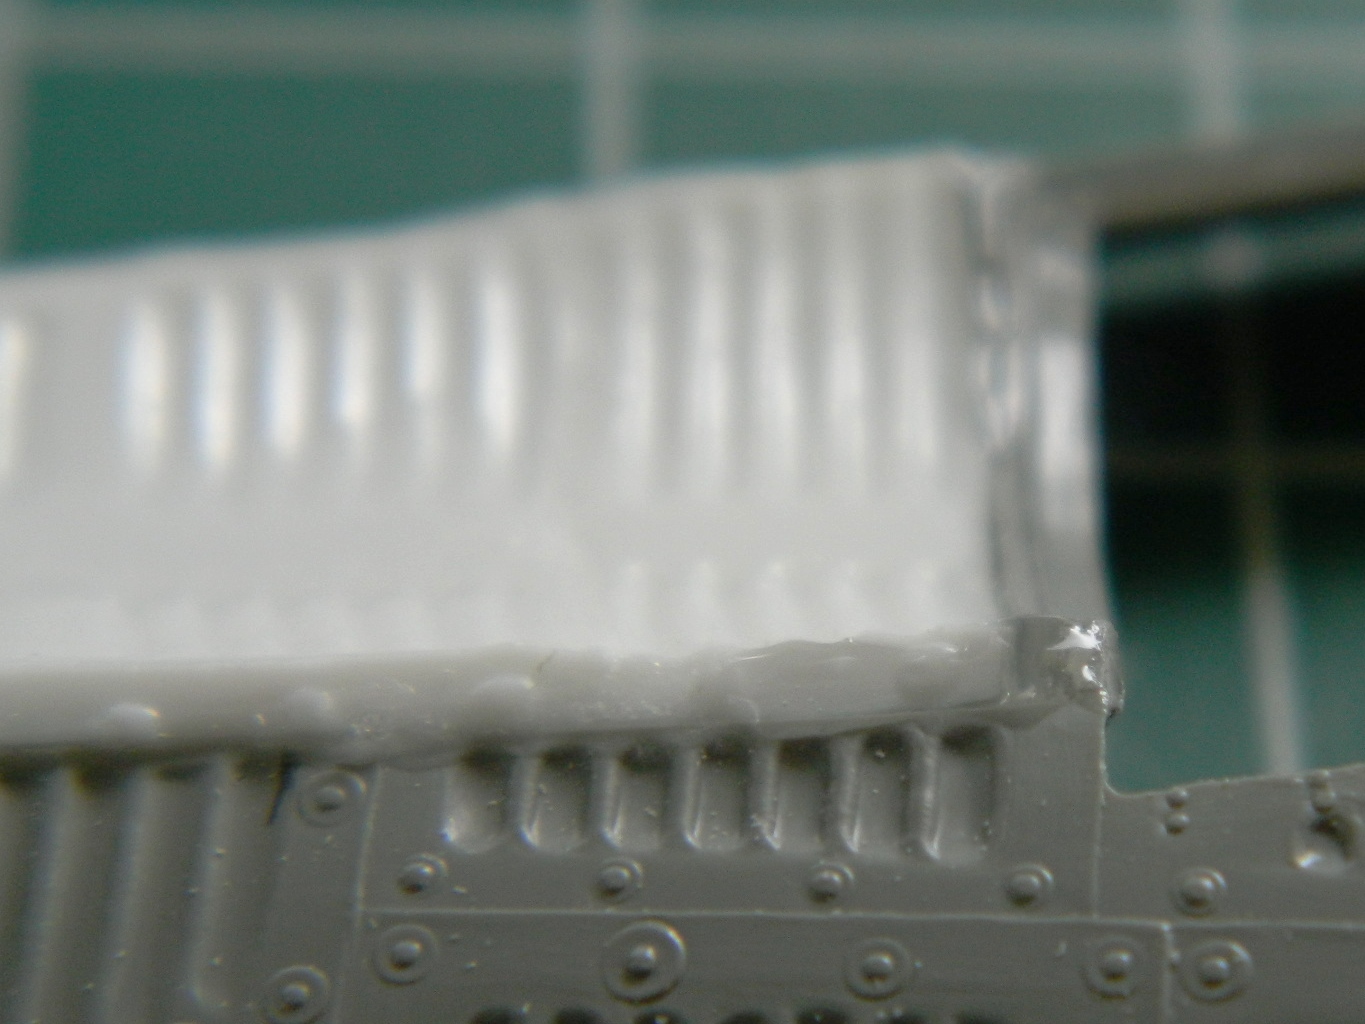

Using superglue accelerator would have hastened this part of the build but I don’t especially like using it for two reasons: the superglue becomes brittle, making trimming it annoying, and the accelerator dissolves the surface of the plastic slightly (which then does re-solidify but I still don’t like it). So while I was waiting for the superglue to cure, I started working the PE parts, starting with the ejection seat mounts:
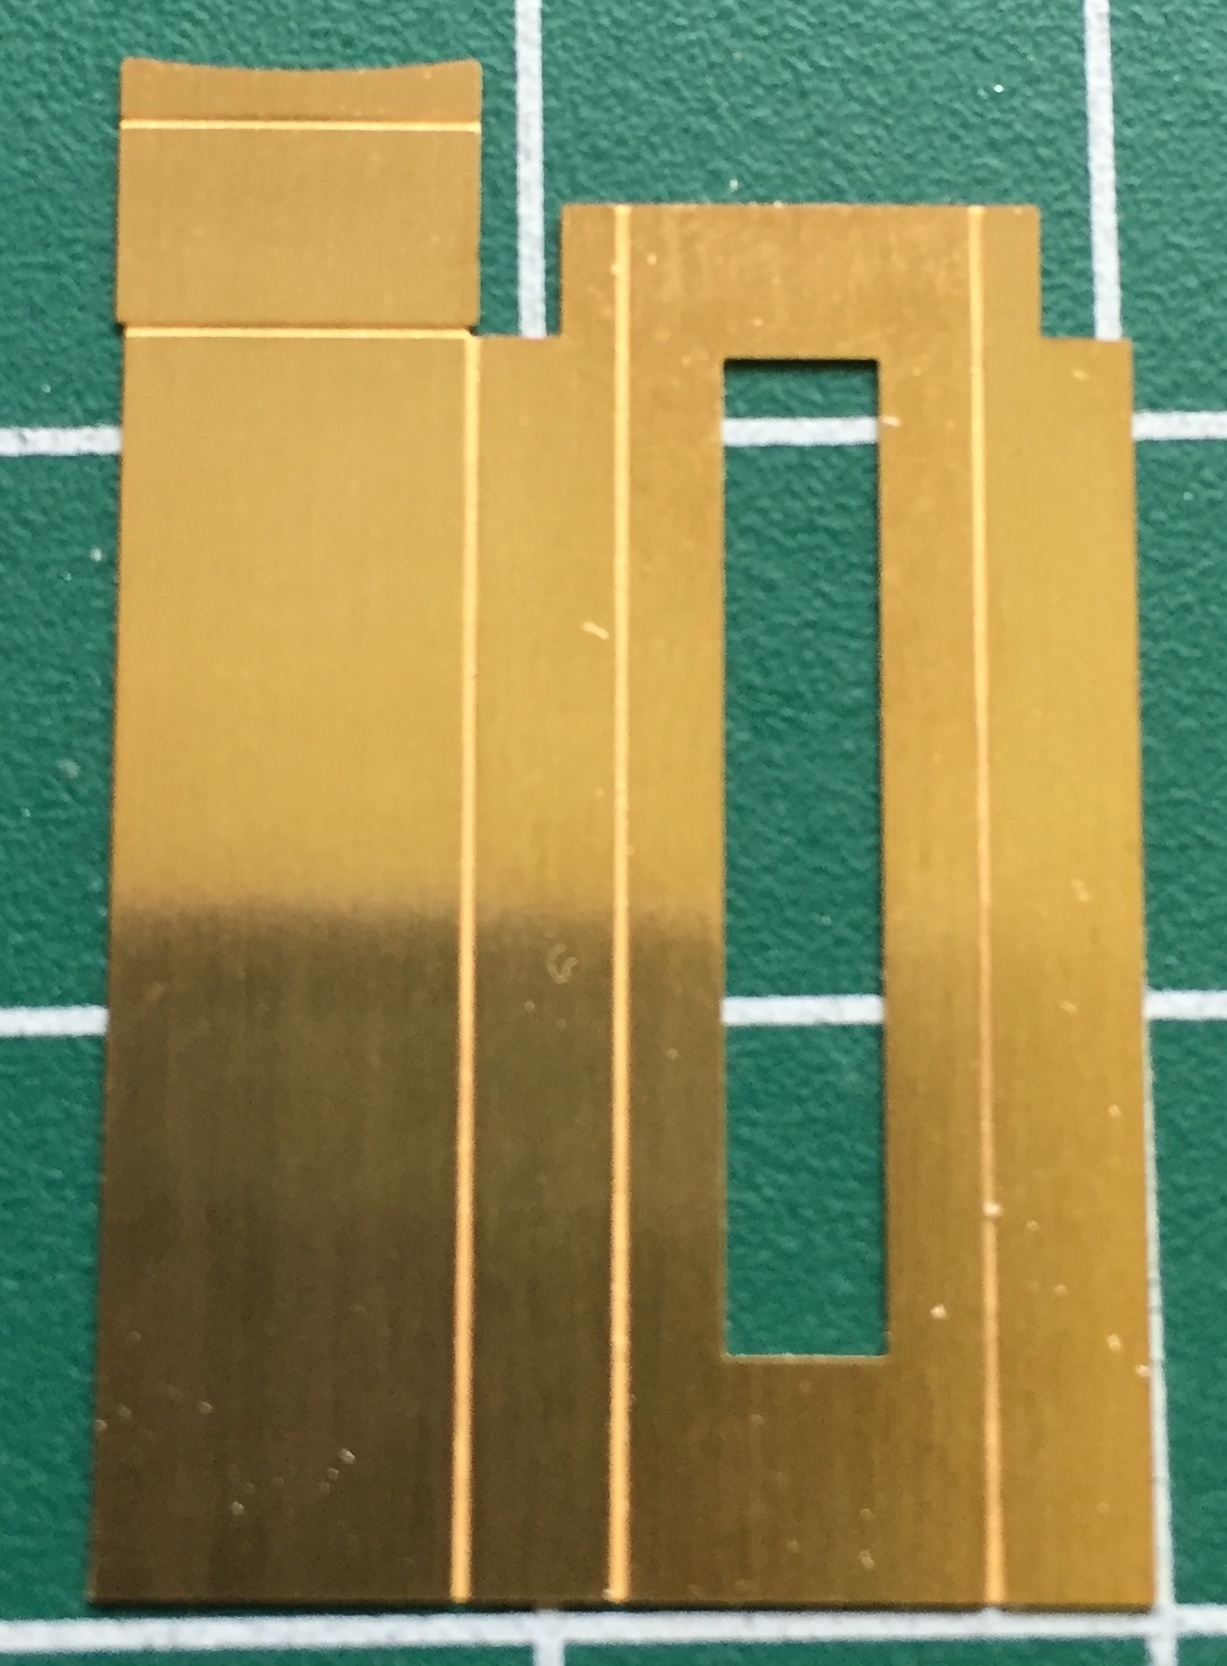
These aren’t the hassle they could have been due to the manufacturer etching scoring lines (which makes for MUCH cleaner and easier bends). So the first step was to bend them:
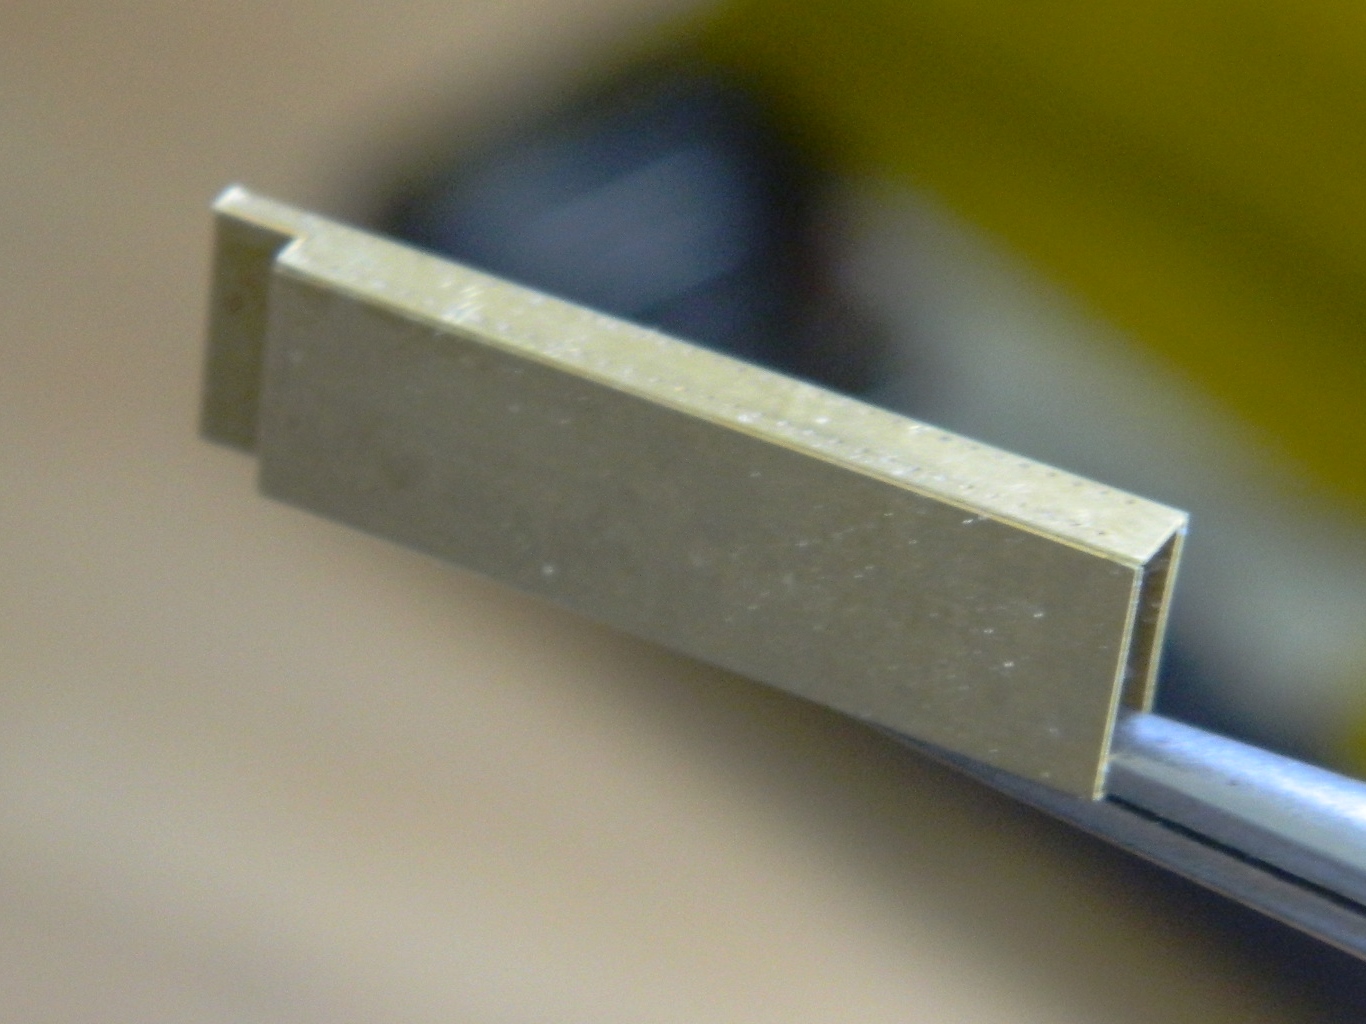
Then the edges where the bent part joins get soldered. If your soldering skills are as poor as mine, you could likely end up with something that looks like this sloppy crap:

Judicious use of files to get rid of the blobs of solder, then 1500 grit sandpaper to get rid of the filing marks resulted in a pair of these:


I switched between working on gluing the resin patches to the hull and bending/soldering the PE brass until done with both. Then it was time to glue the capsule sides together and here is where the age of these molds really show. The plastic is much thicker than modern kits and the fit is at best…approximate. I had to get creative to get these parts as aligned as I could; three parts, two hands, and I really needed four hands. There was no way I could get the surface details to match from section to section so I had to decide which of the misalignments would be easier (all terms being relative) to fix. And the join of the surfaces were uneven down their lengths so I had to tack a section at a time together, aligning the surface as well as I could, and then wait seemingly forever for the thick plastic to set up (the collar is just taped together and taped in place to aid in “alignment” as clamping a cone is…problematic):

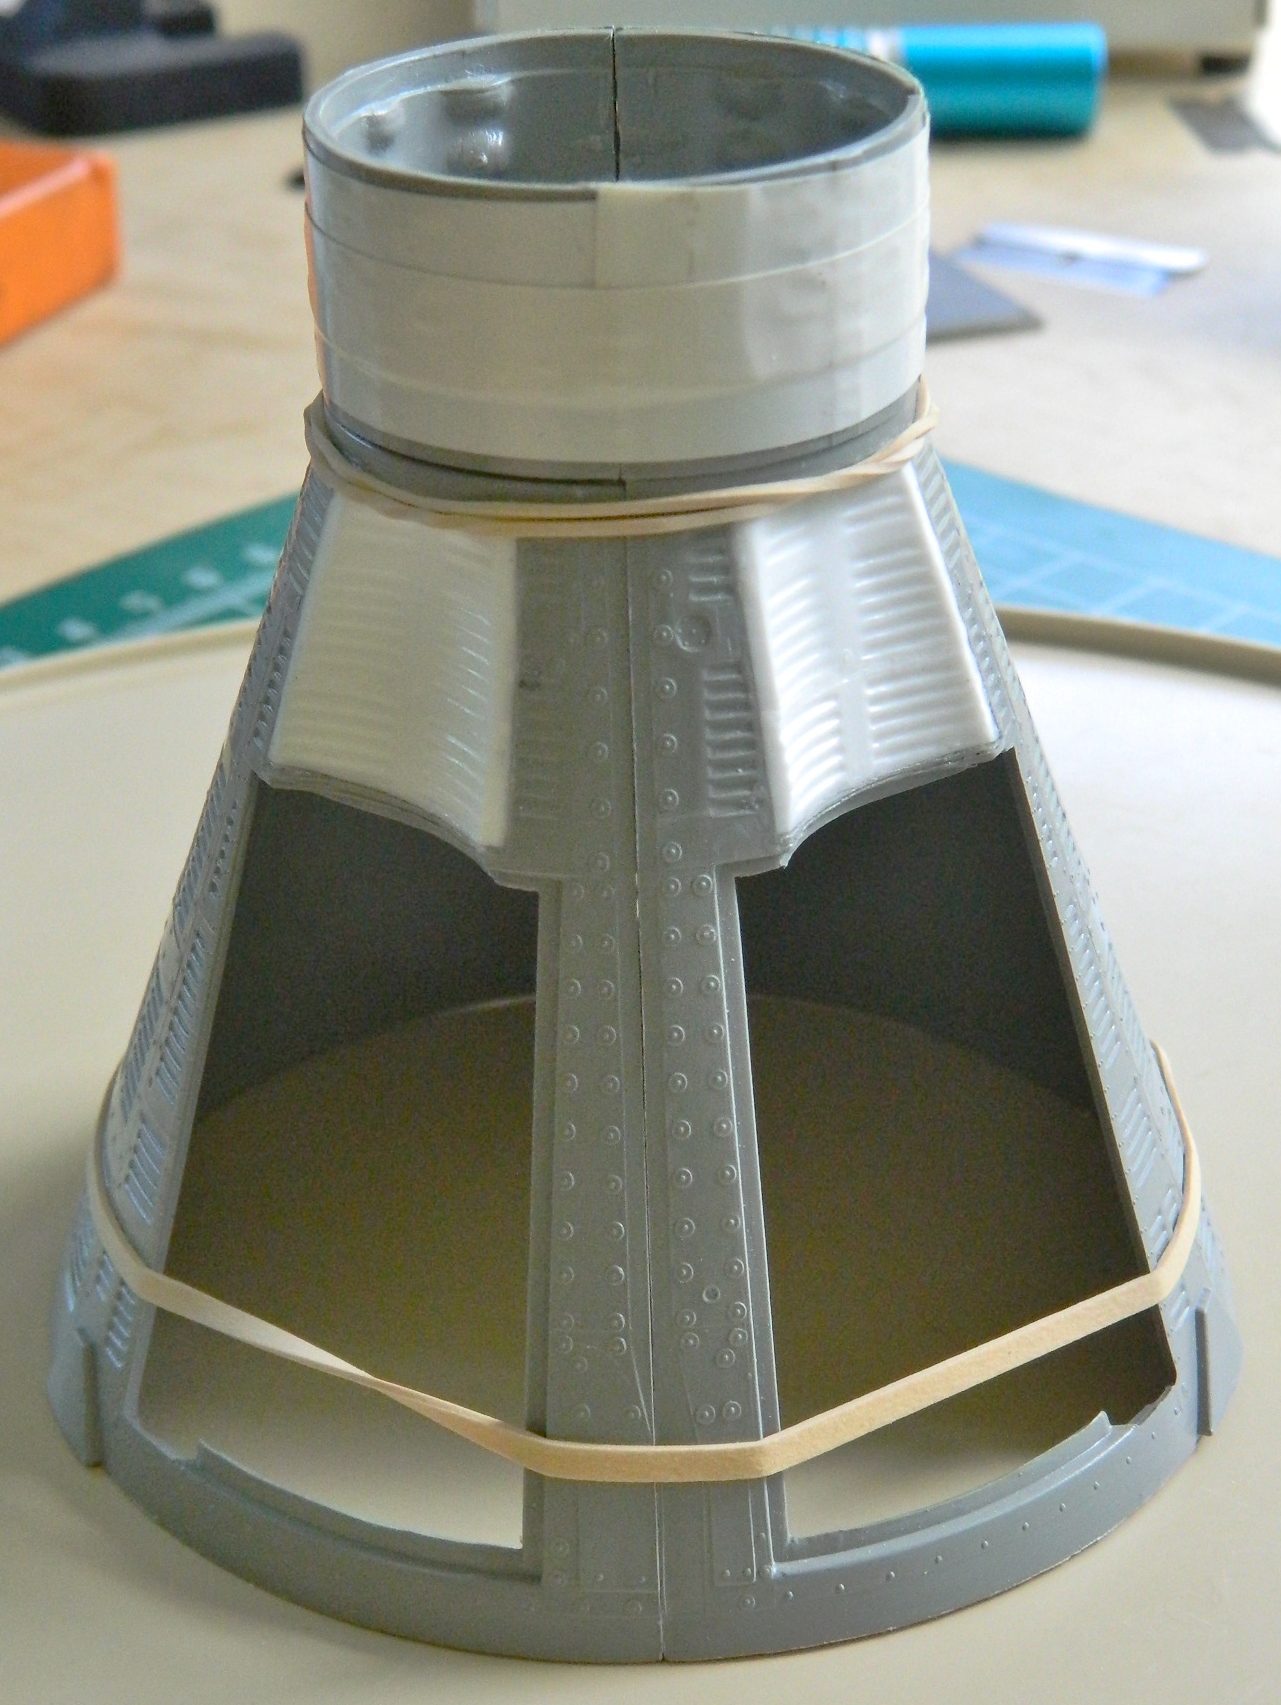
Three straight seams should not have taken over an hour to glue, but clearly I’ve been spoiled by state-of-the-art kits: