I’m doing something a little different with this build; it’s a favor for a friend (who is due so much more). It’s also of a specific aircraft.
While I was planning this one in my head, I wanted to do a special aircraft (as if the SR-71 isn’t “special” because it exists). The last flight of a Blackbird in the Air Force inventory happened March 6, 1998. On that flight it broke four speed records over a measured distance (which are yet unbroken). The last AF Blackbird flight, tail number 972, was from Beale AFB, CA to Dulles International Airport, DC. Upon its arrival it was given to the Smithsonian National Air/Space Museum (NASM). It was refurbished and in 2003 (I think…I may have that incorrectly) placed in the new adjunct facility in VA, the Udvar-Hazy Center where it is presently displayed.
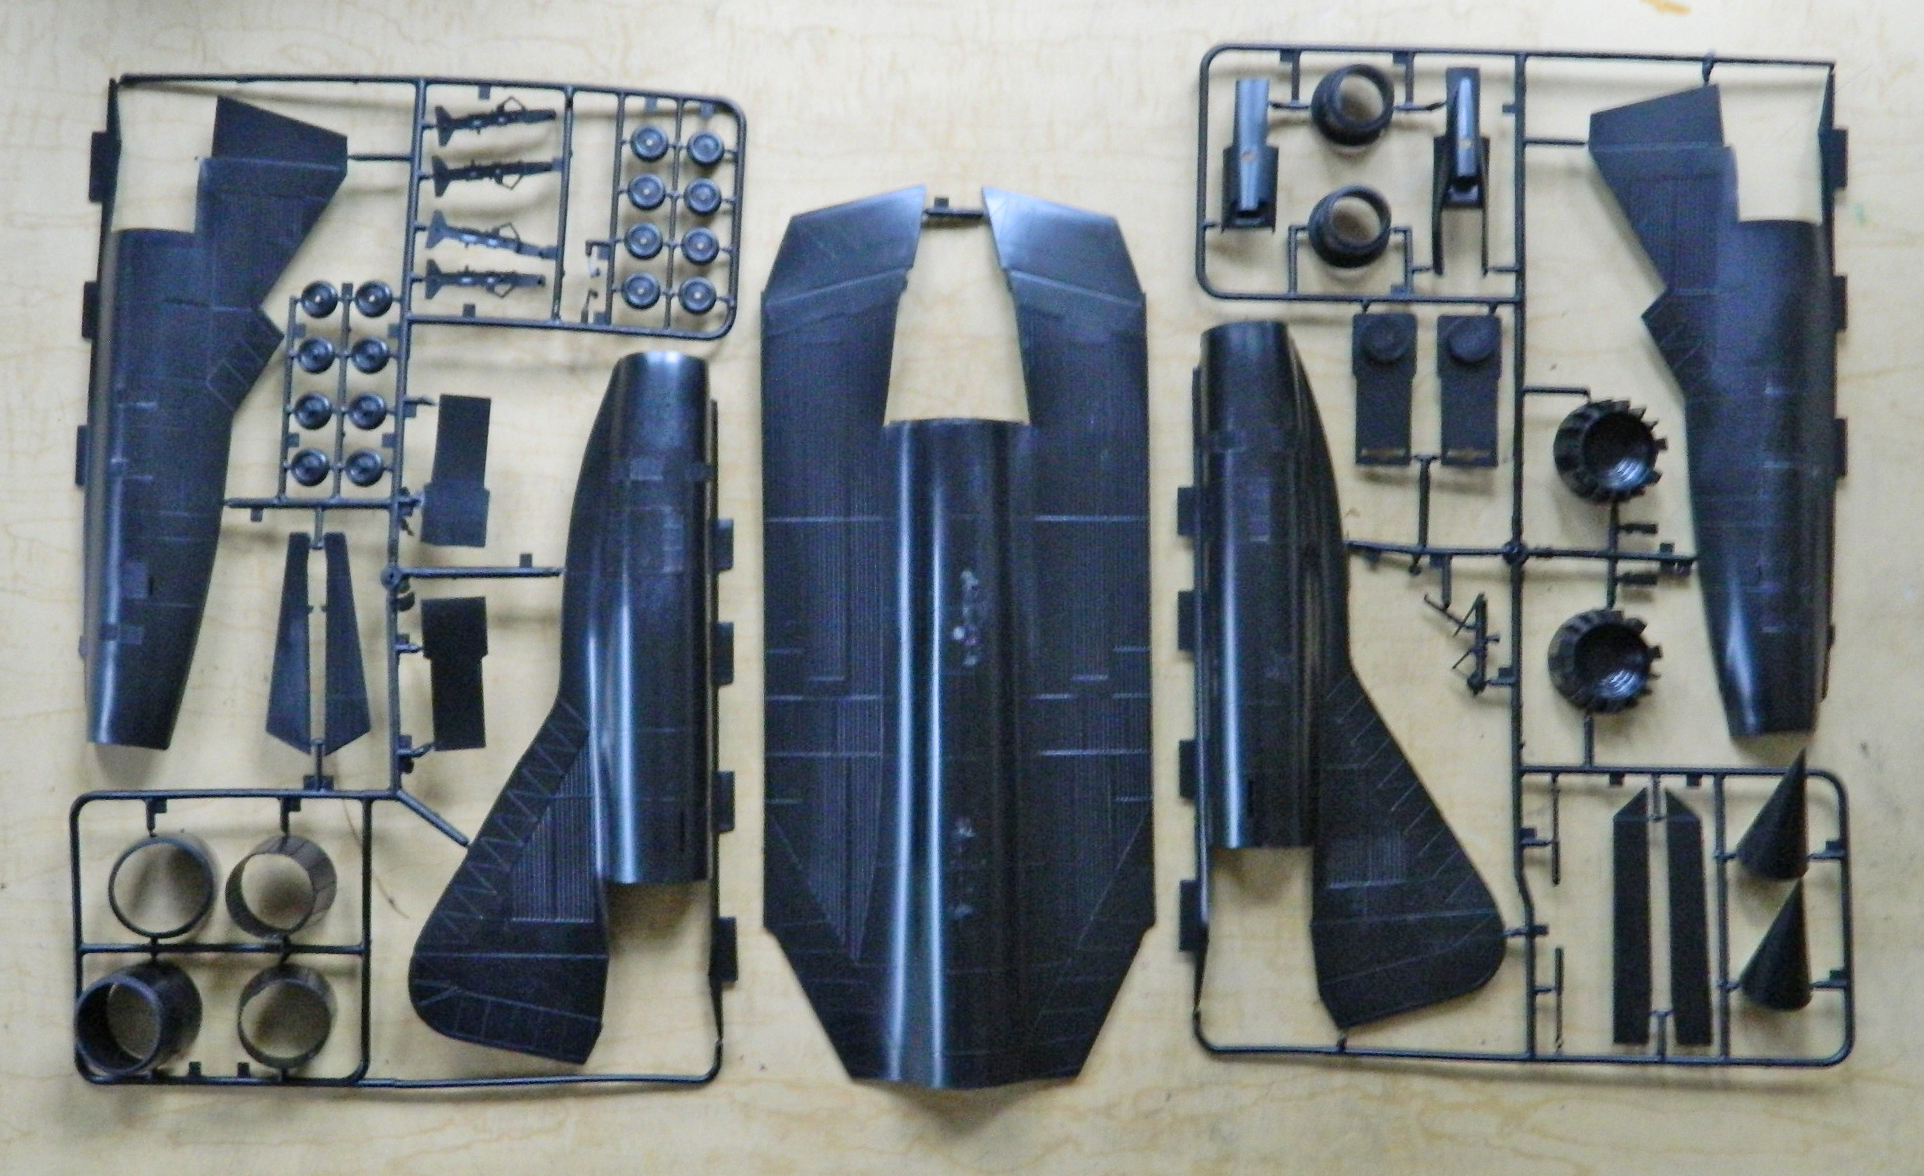
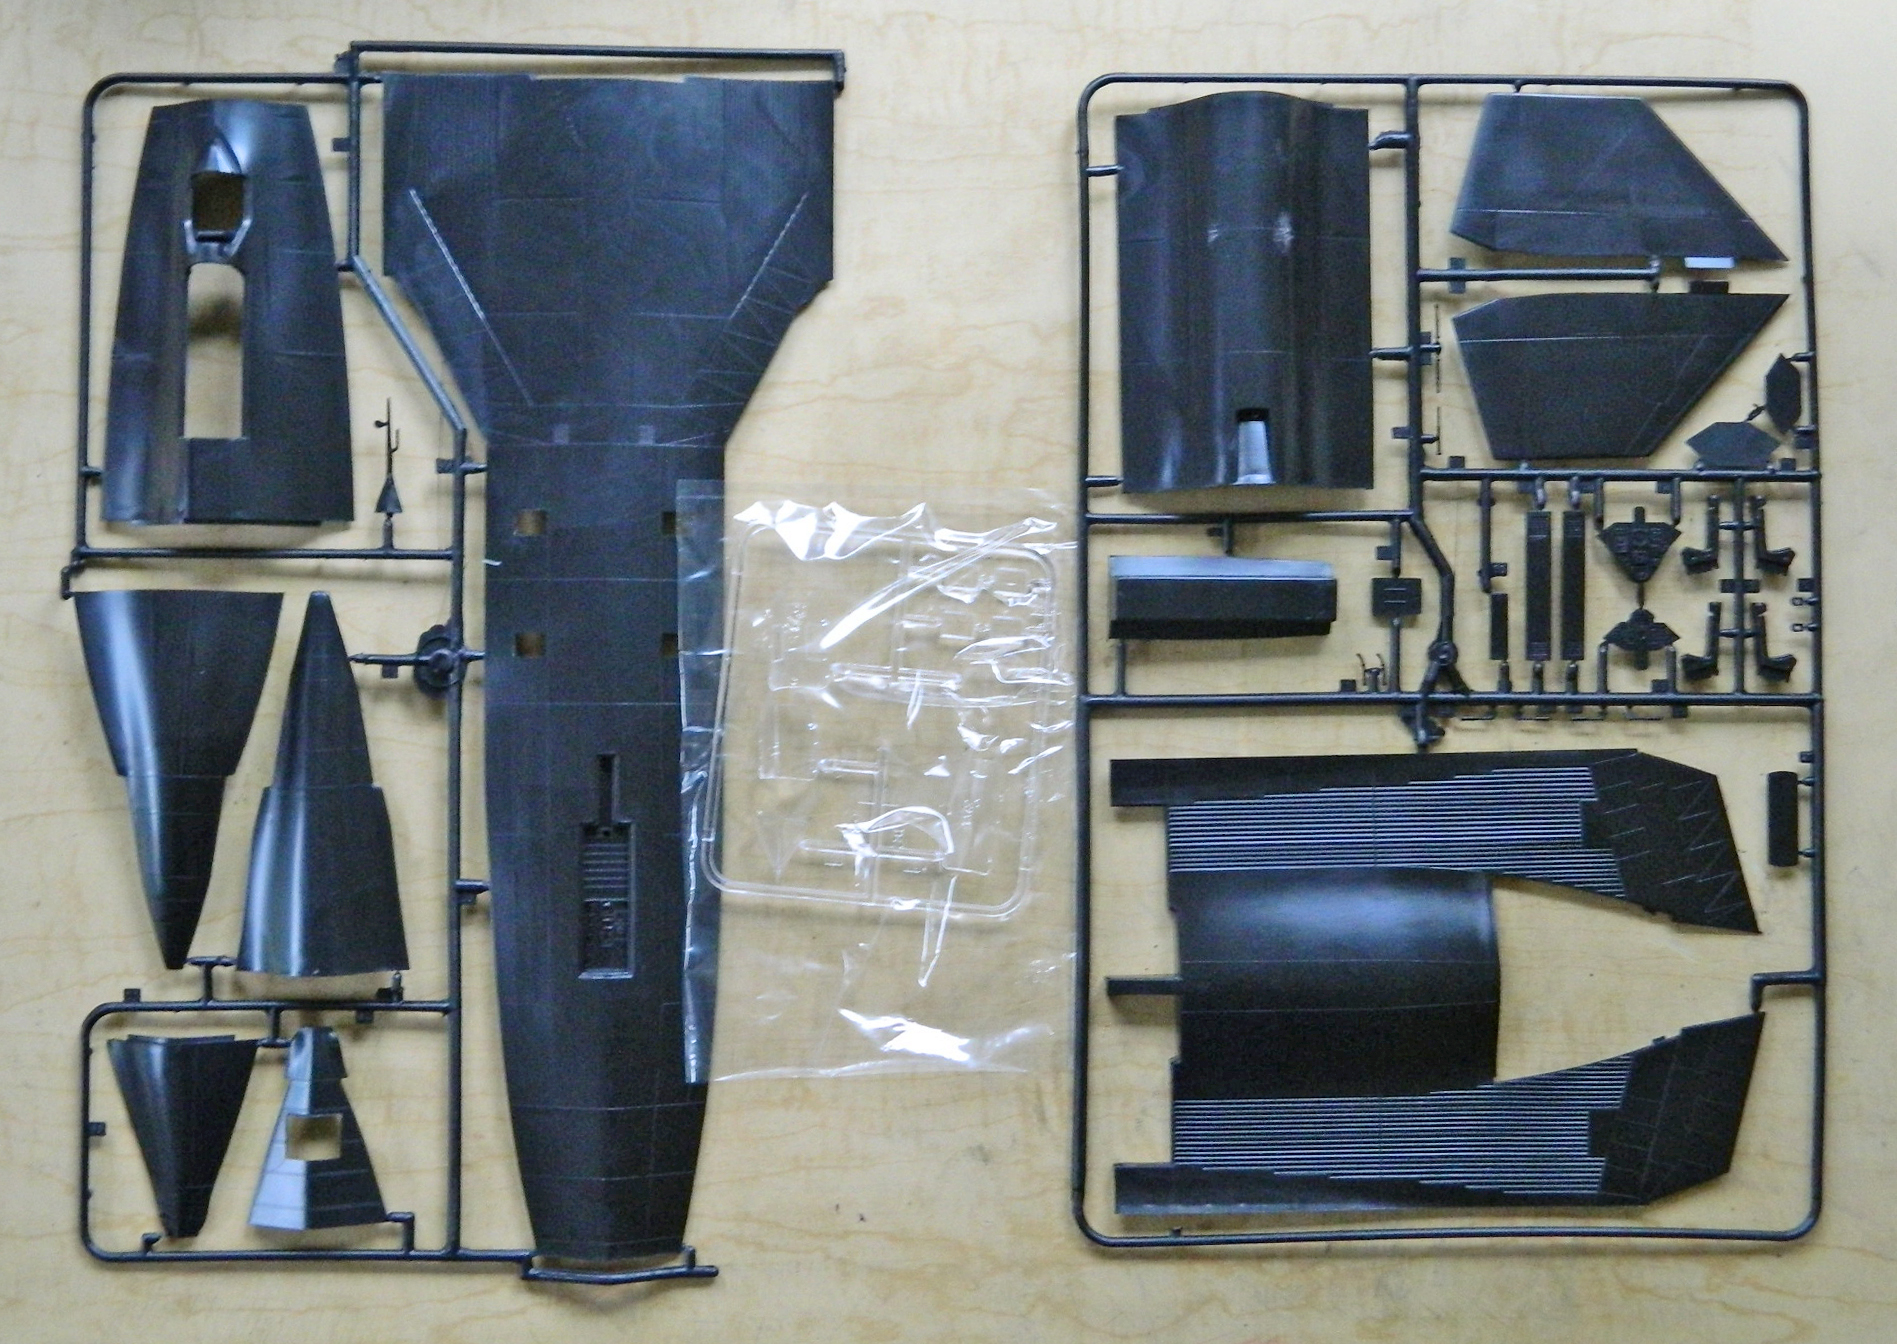
I’m going to model this specific aircraft as it’s displayed at the NASM and that all starts with the kit:

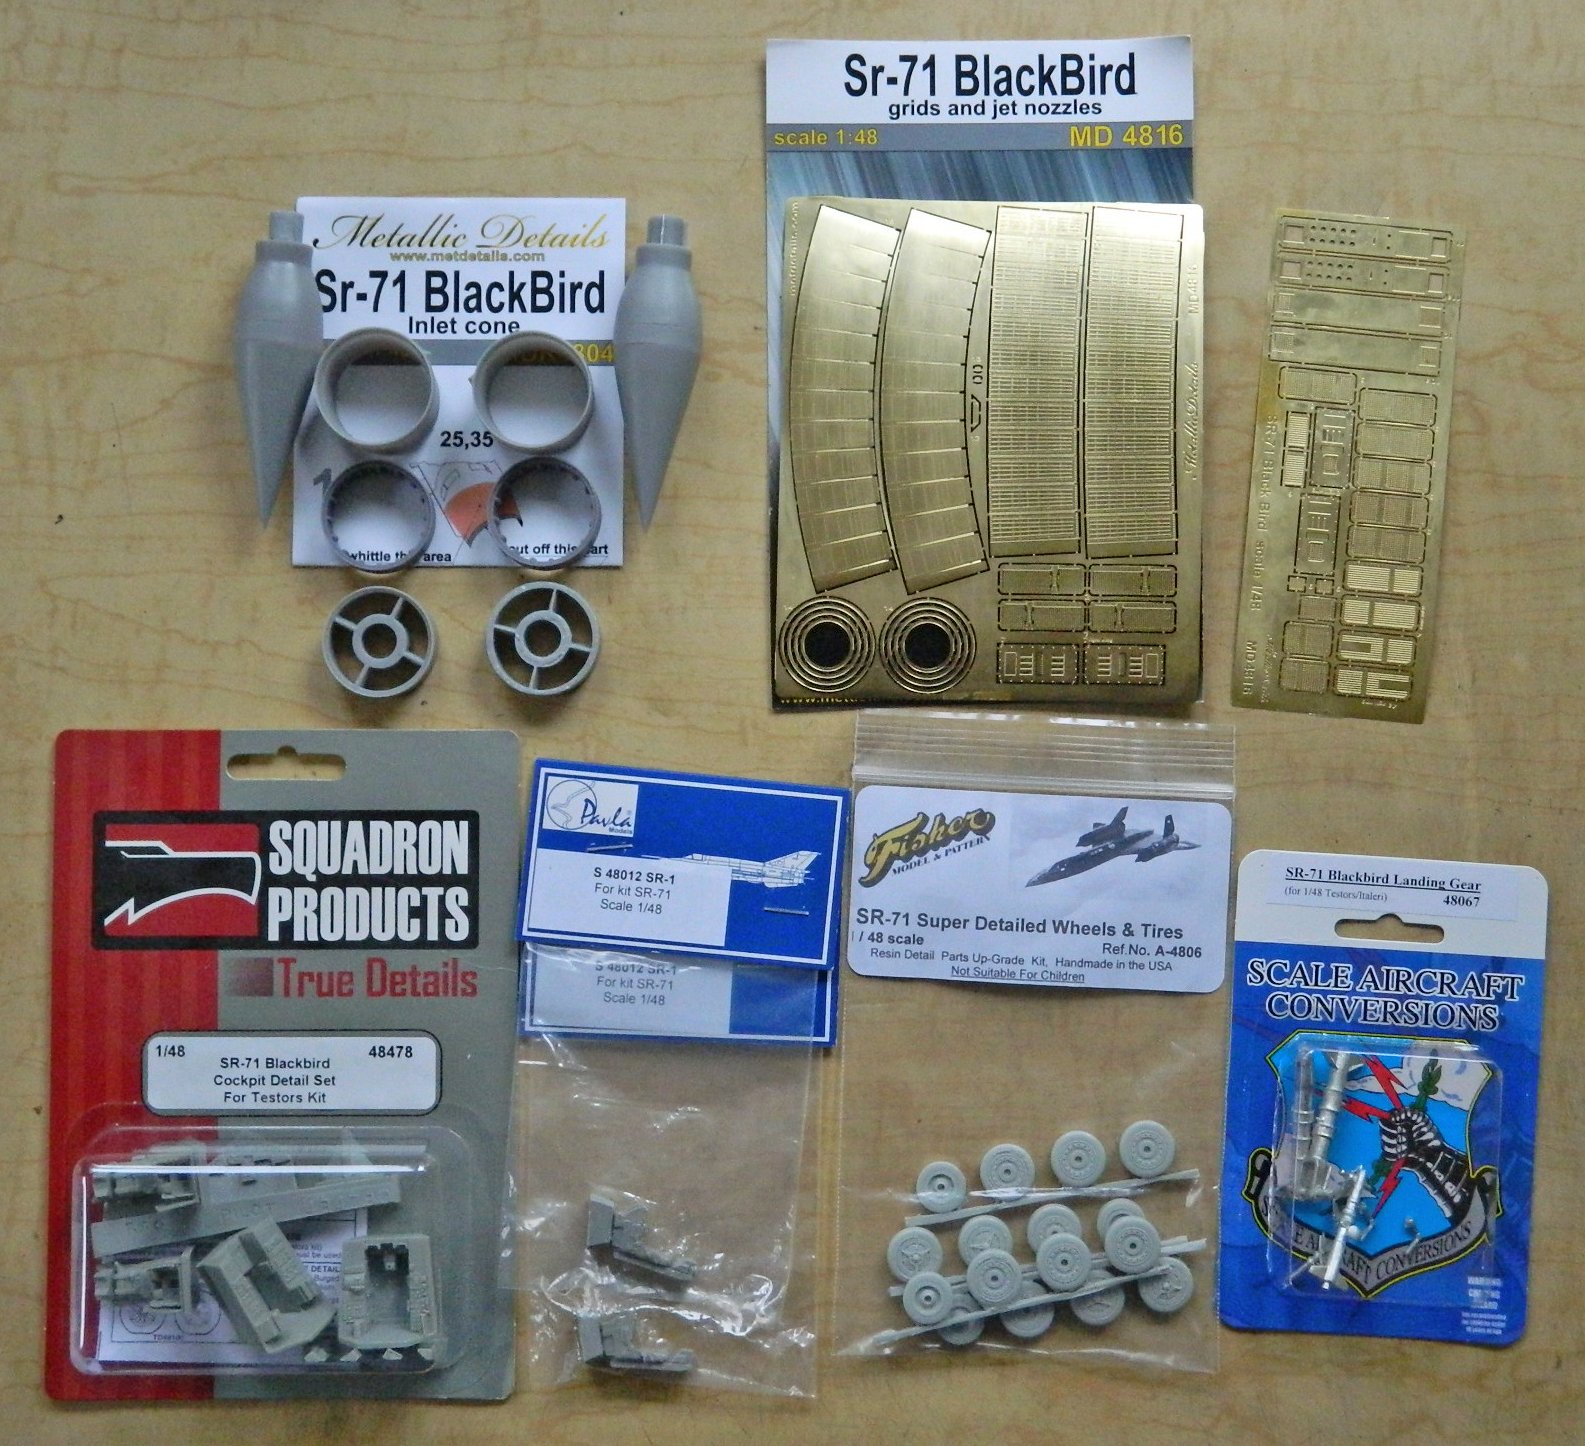
The AM parts I’ll be using are these:
My usual method is to start with the cockpit so I can join fuselage halves and go from there. This time I’m going to start with the landing gear bays. These will be scratch-built so with that amount of work ahead of me, I wanted to do them while I was still fresh (I’m told I’m always fresh) and my enthusiasm is high.
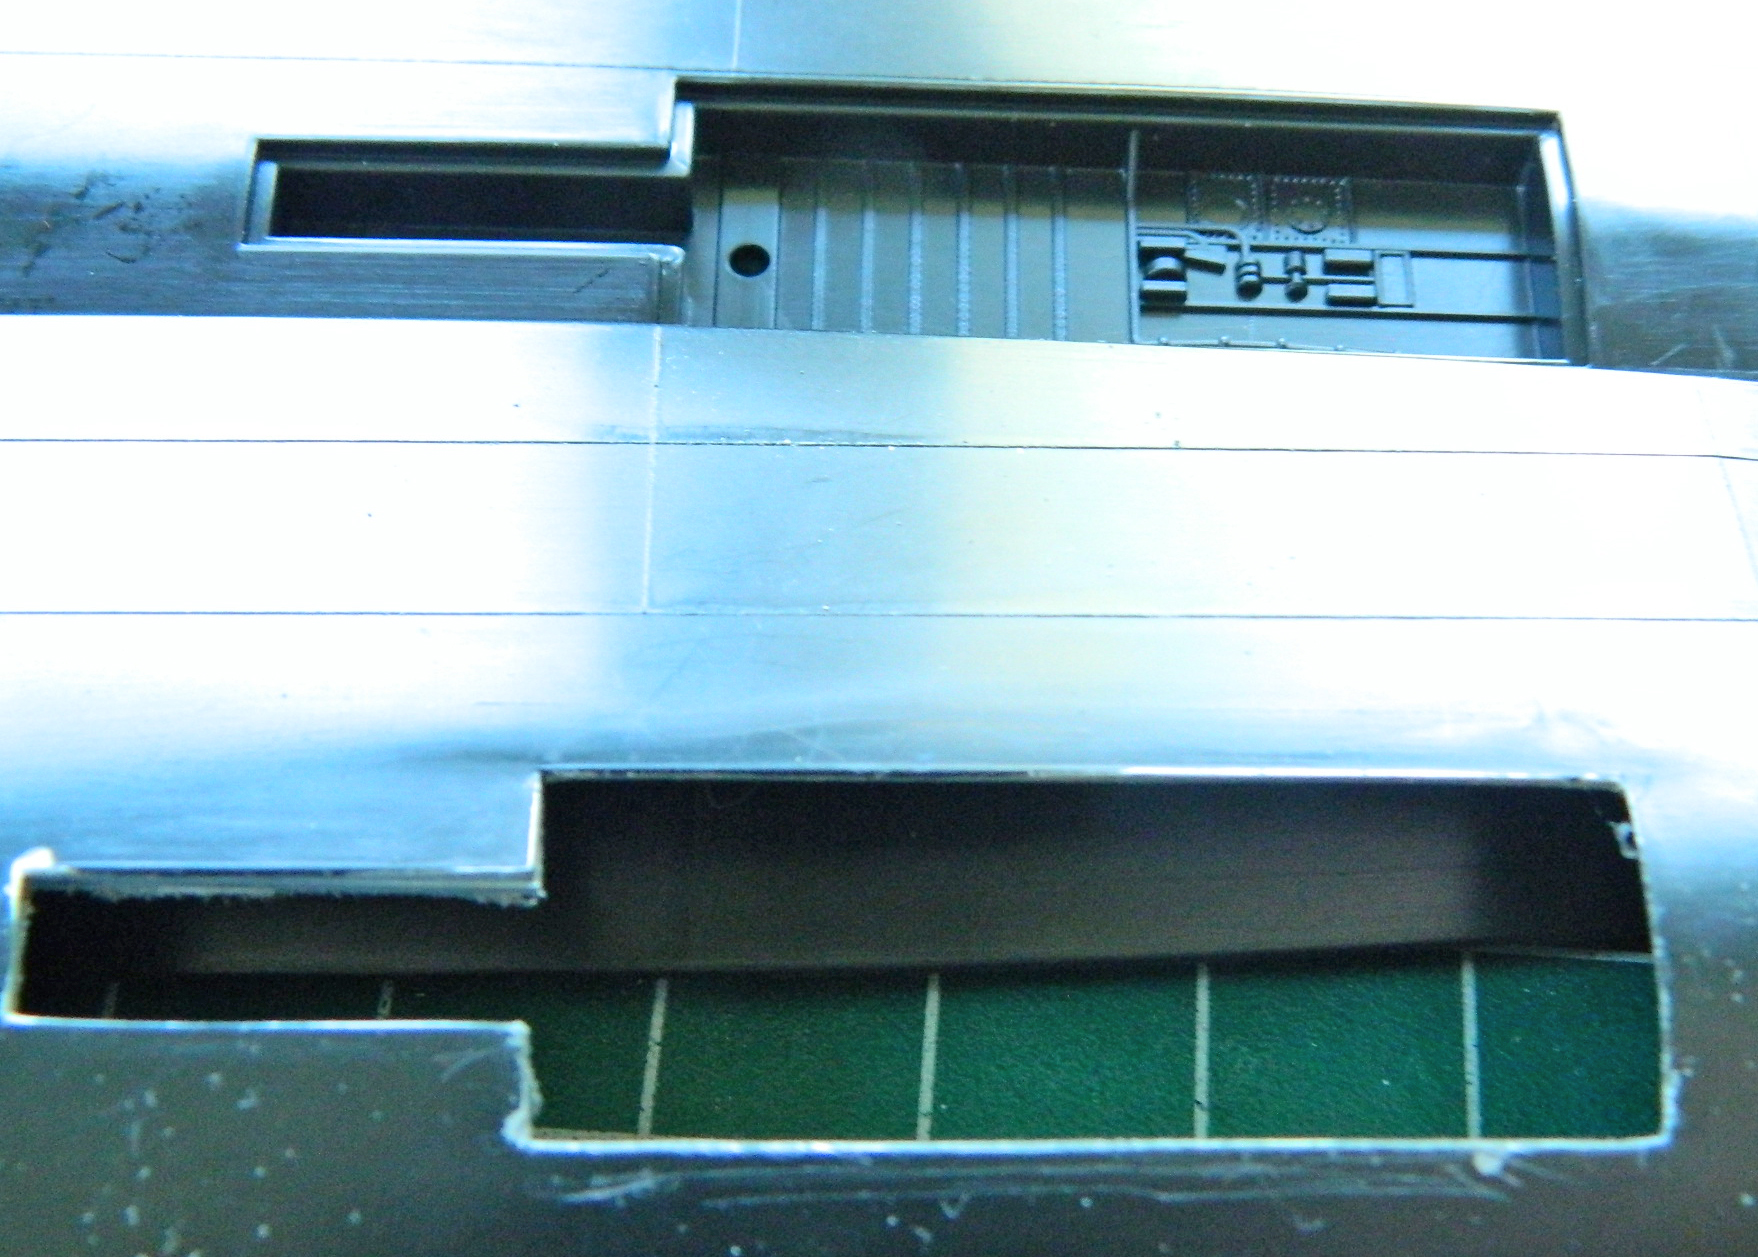
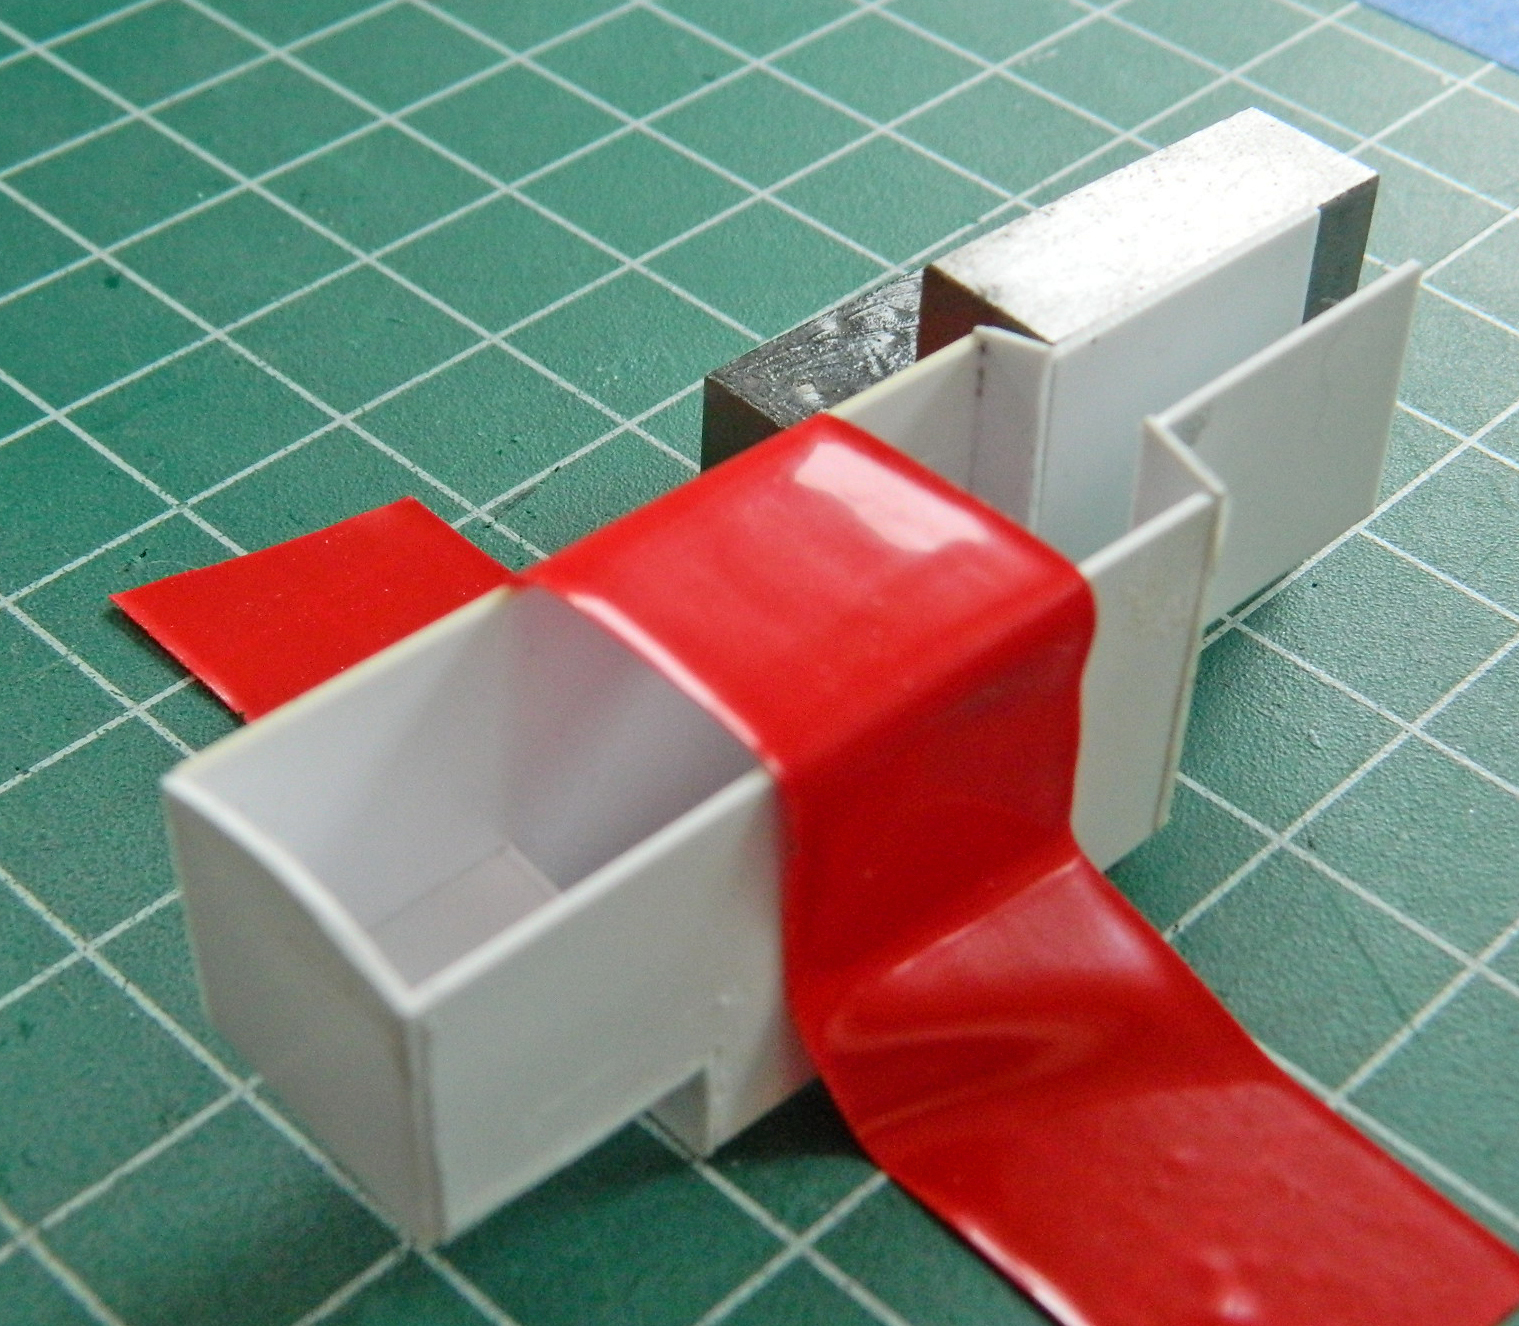
Step one was to remove the molded-in nose gear bay “detail” (top photo is what the kit provided):
Then start dimensioning things…and here is where I made my first mistake. I used dimensions provided by someone else…a mistake I won’t make again. But at this point I thought the dimensions were accurate so…:

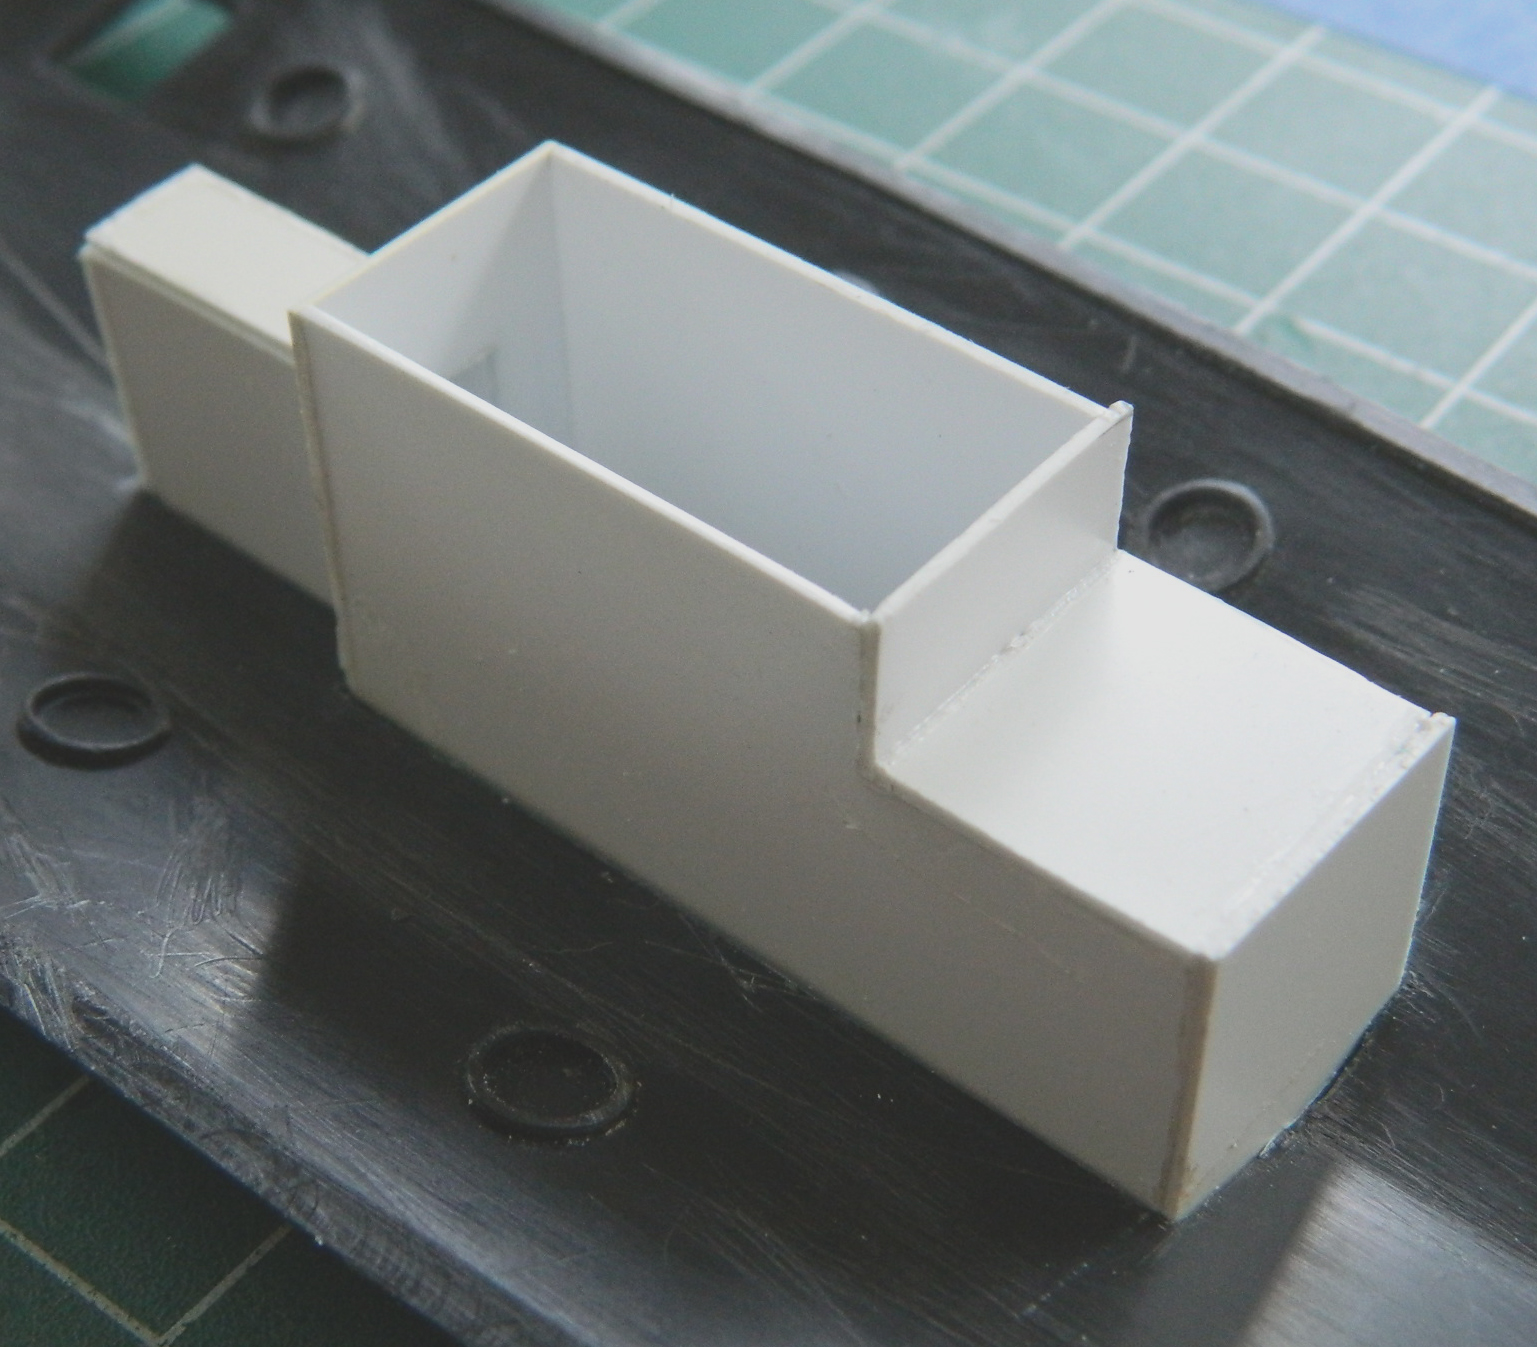
It wasn’t until I had the box about two-thirds constructed, enough to dry-fit, before I realized the provided dimensions were wrong:
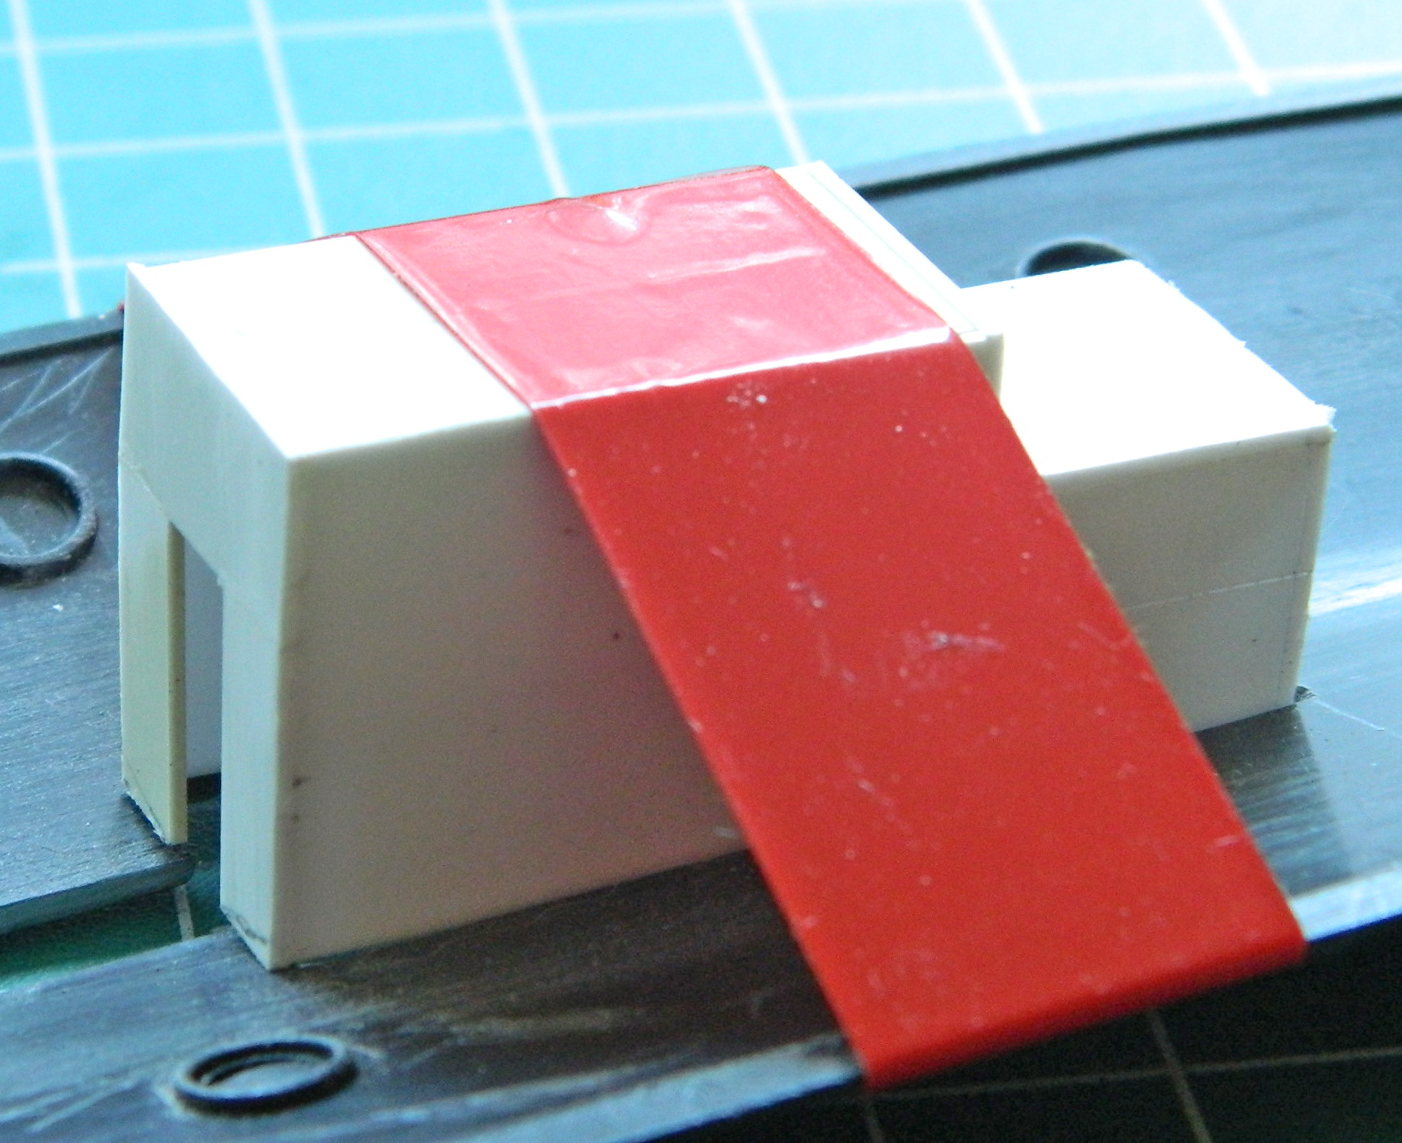

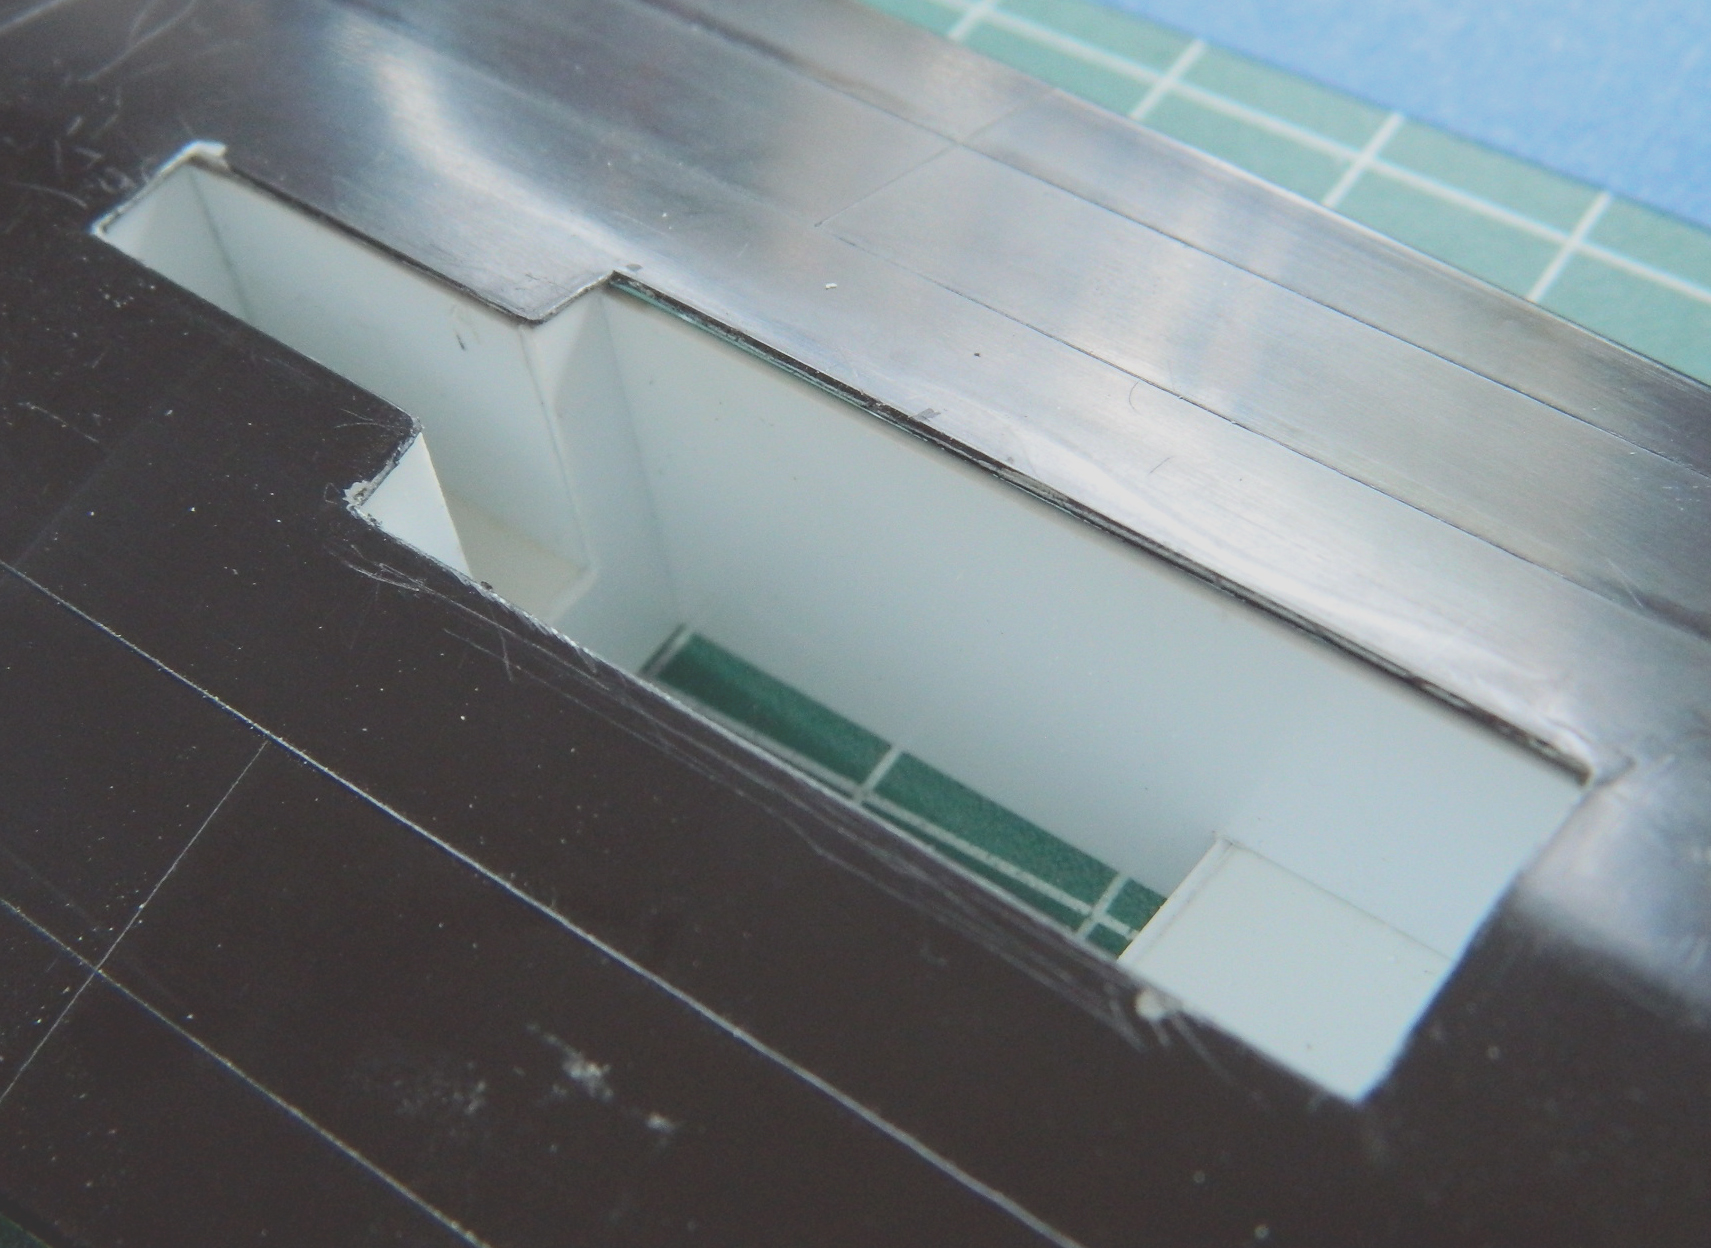
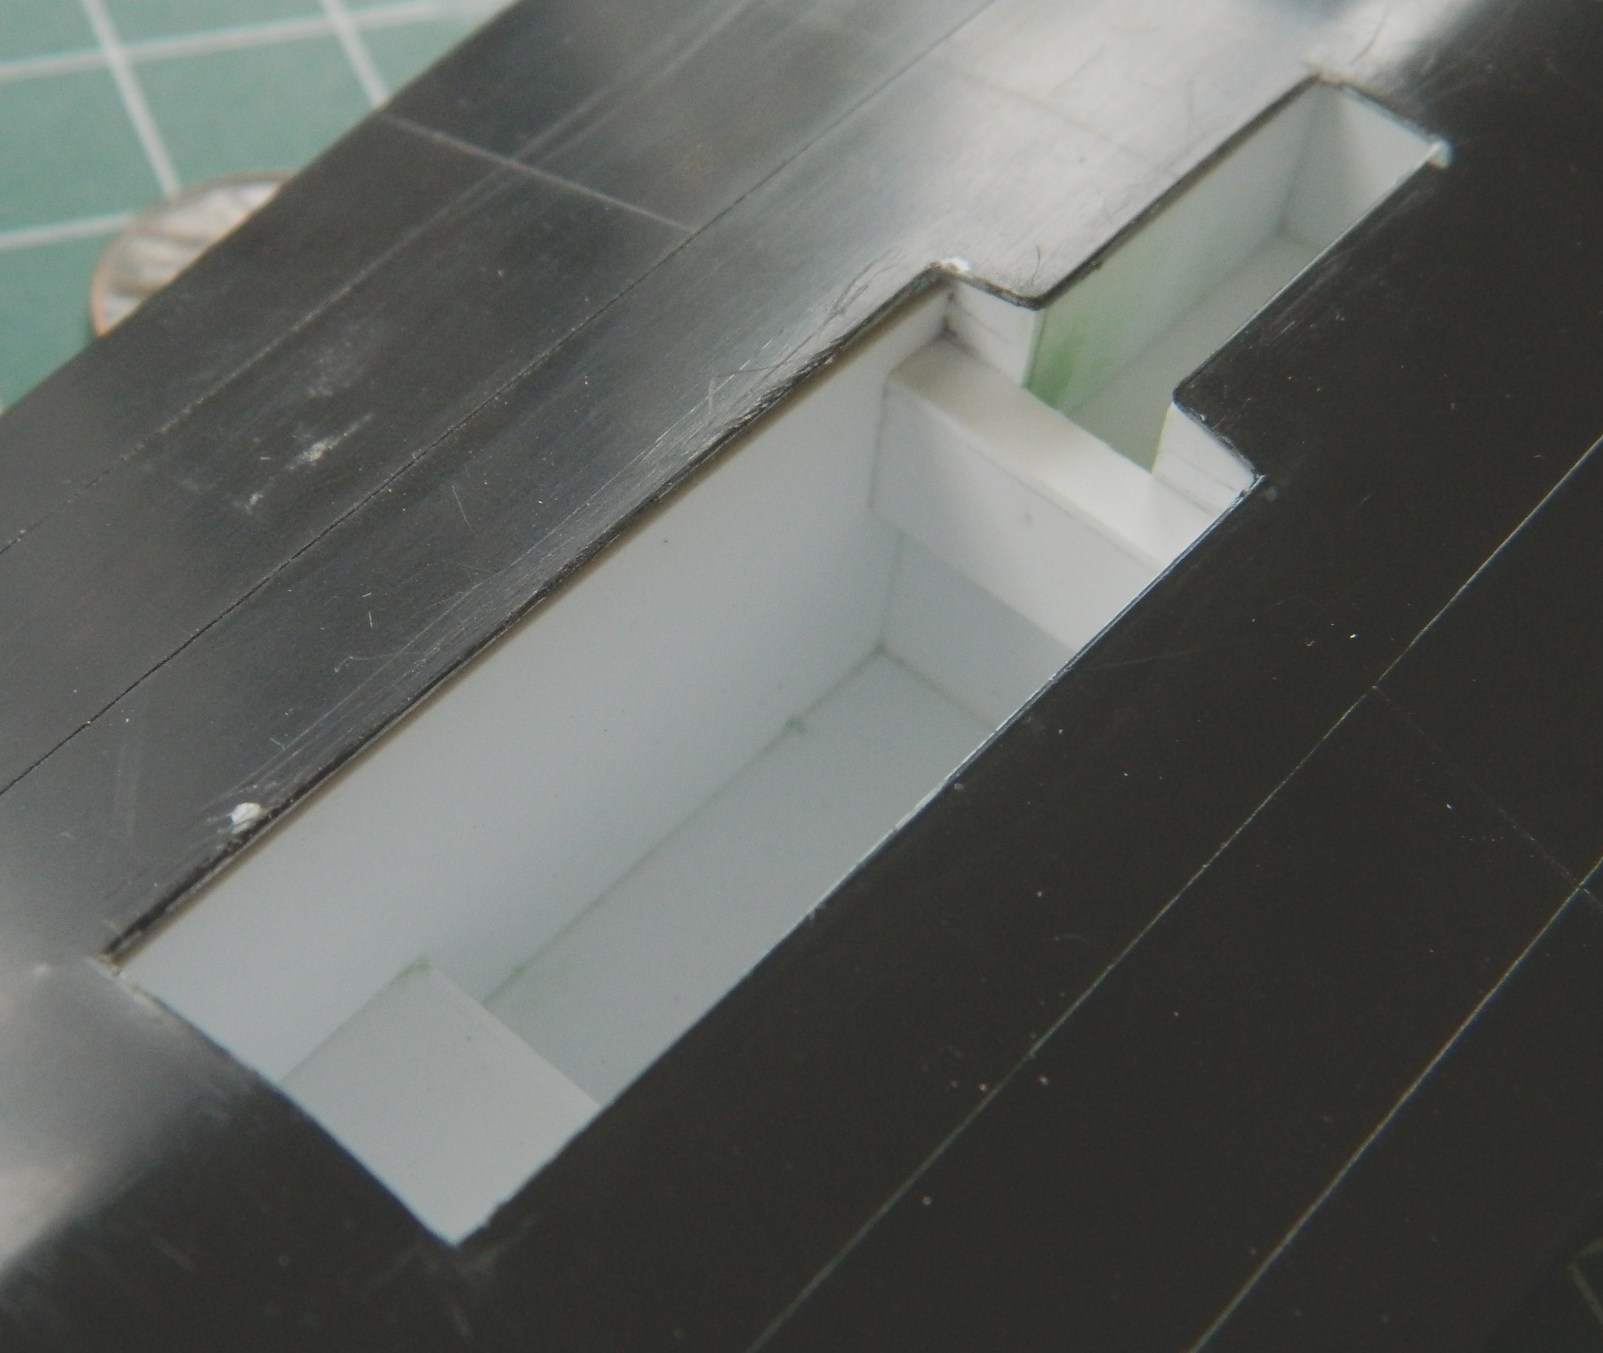
That got tossed in the scrap bin. Before I started cutting plastic (.030″ [.762mm]) again, I decided to create a socket for the new box to settle into. This is going to be a big model with some heft and I wanted to increase the surface area the glue would bond with:
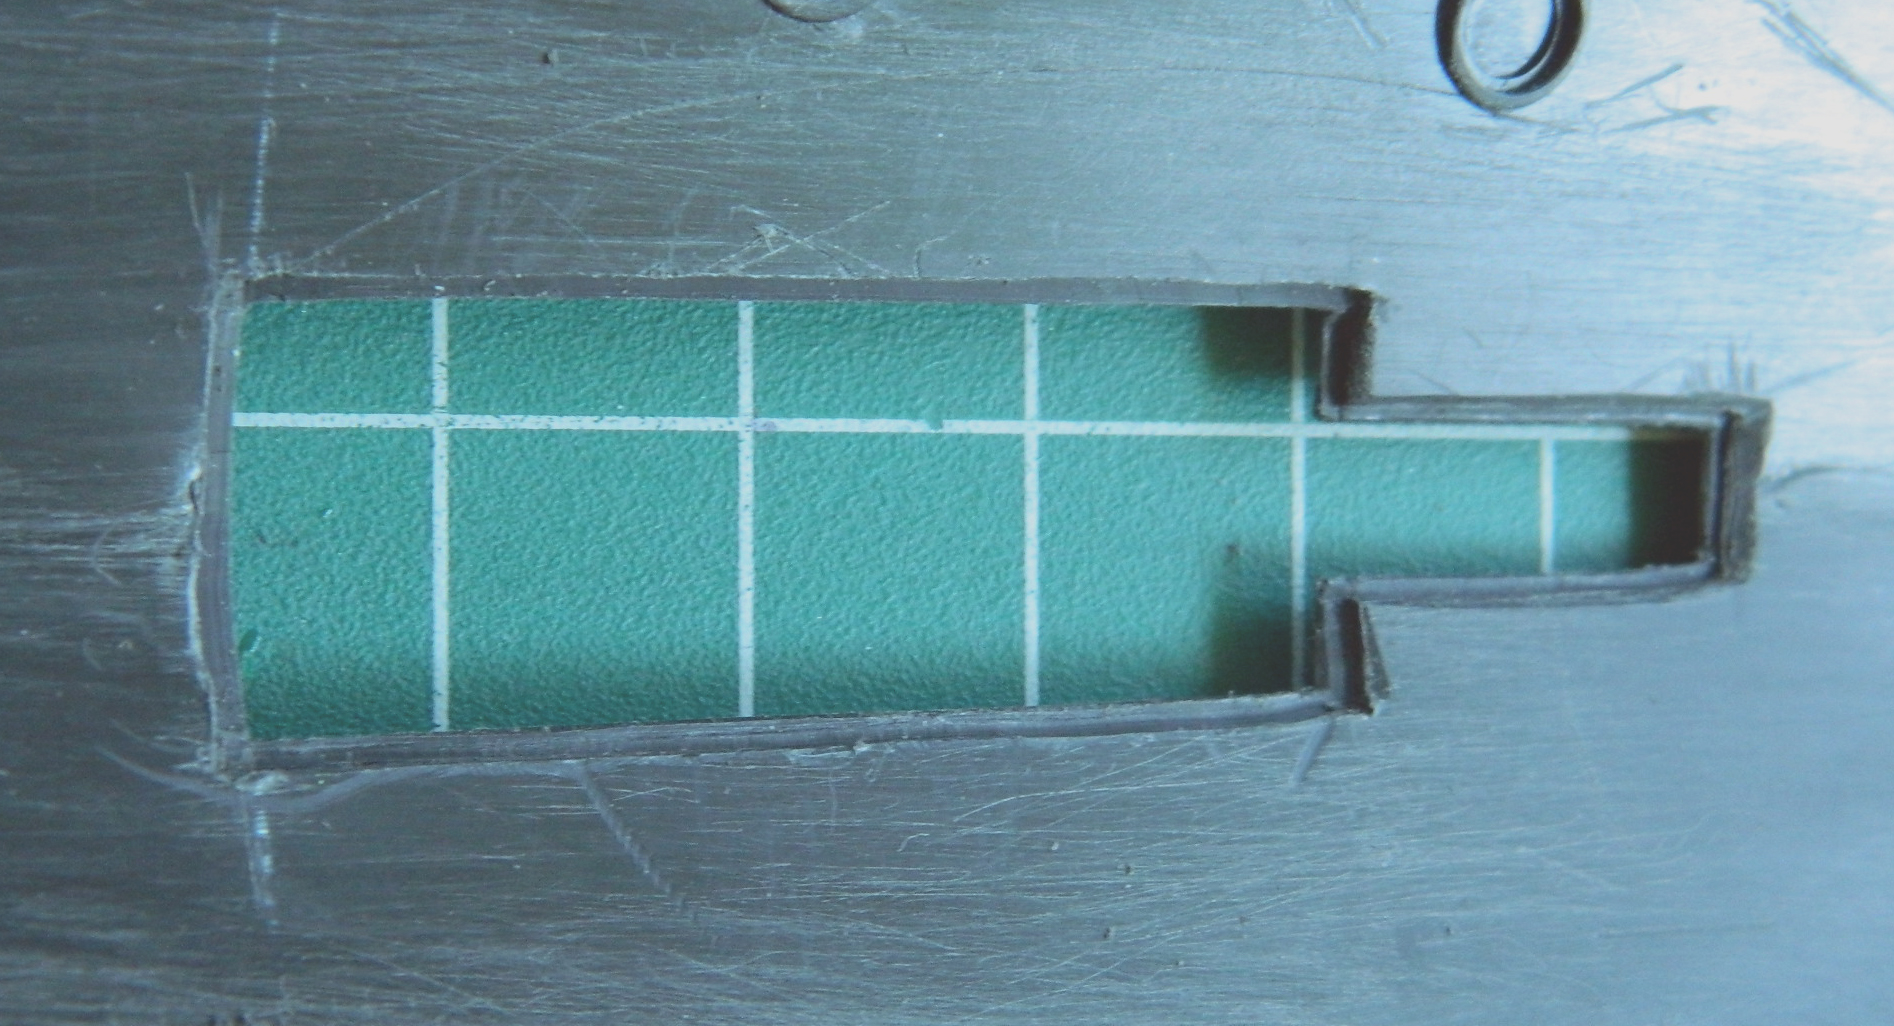
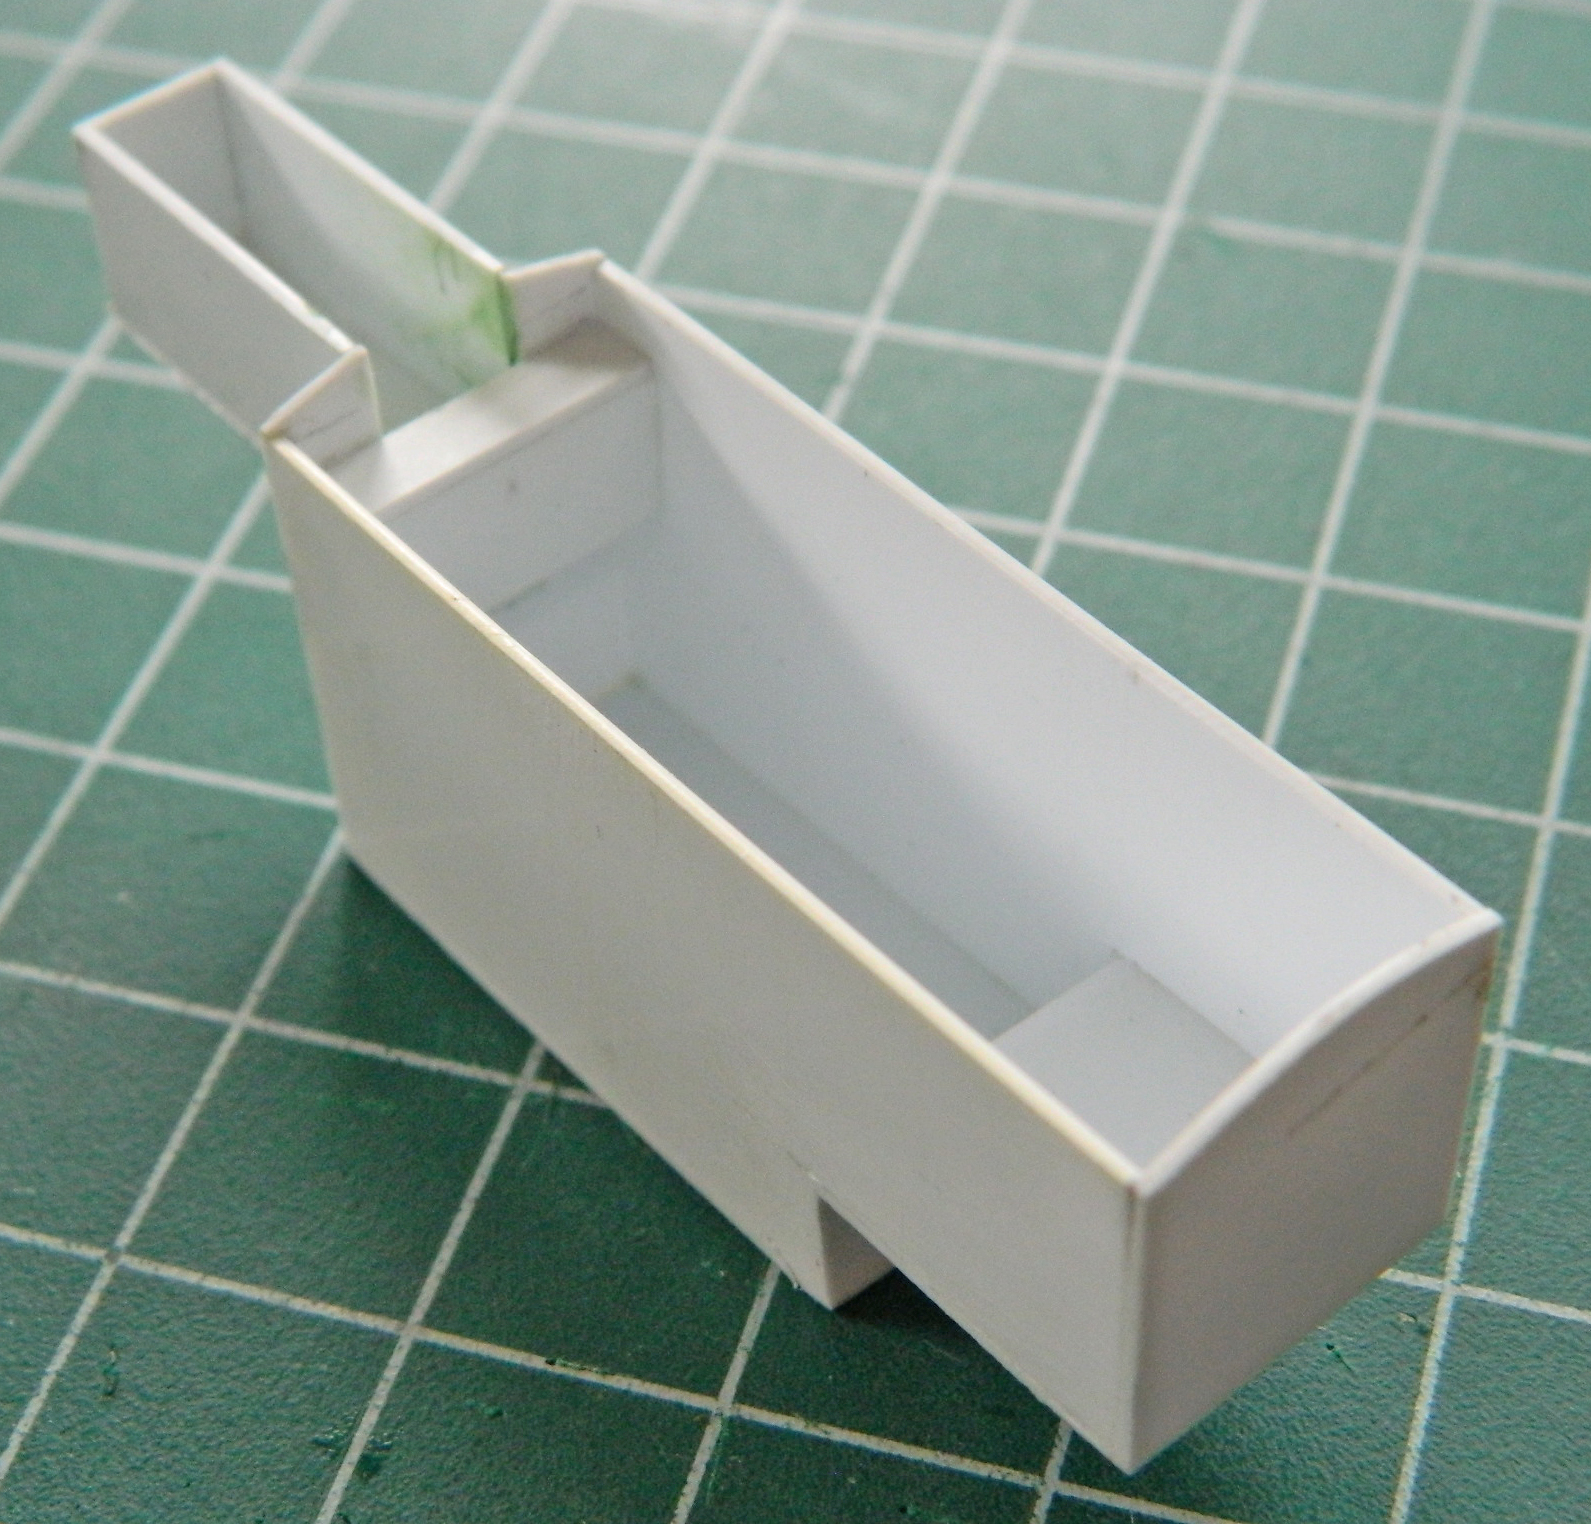
Then I used the opening to create the shape of the vertical bulkhead in the front, cut the side panels, and glued them together:

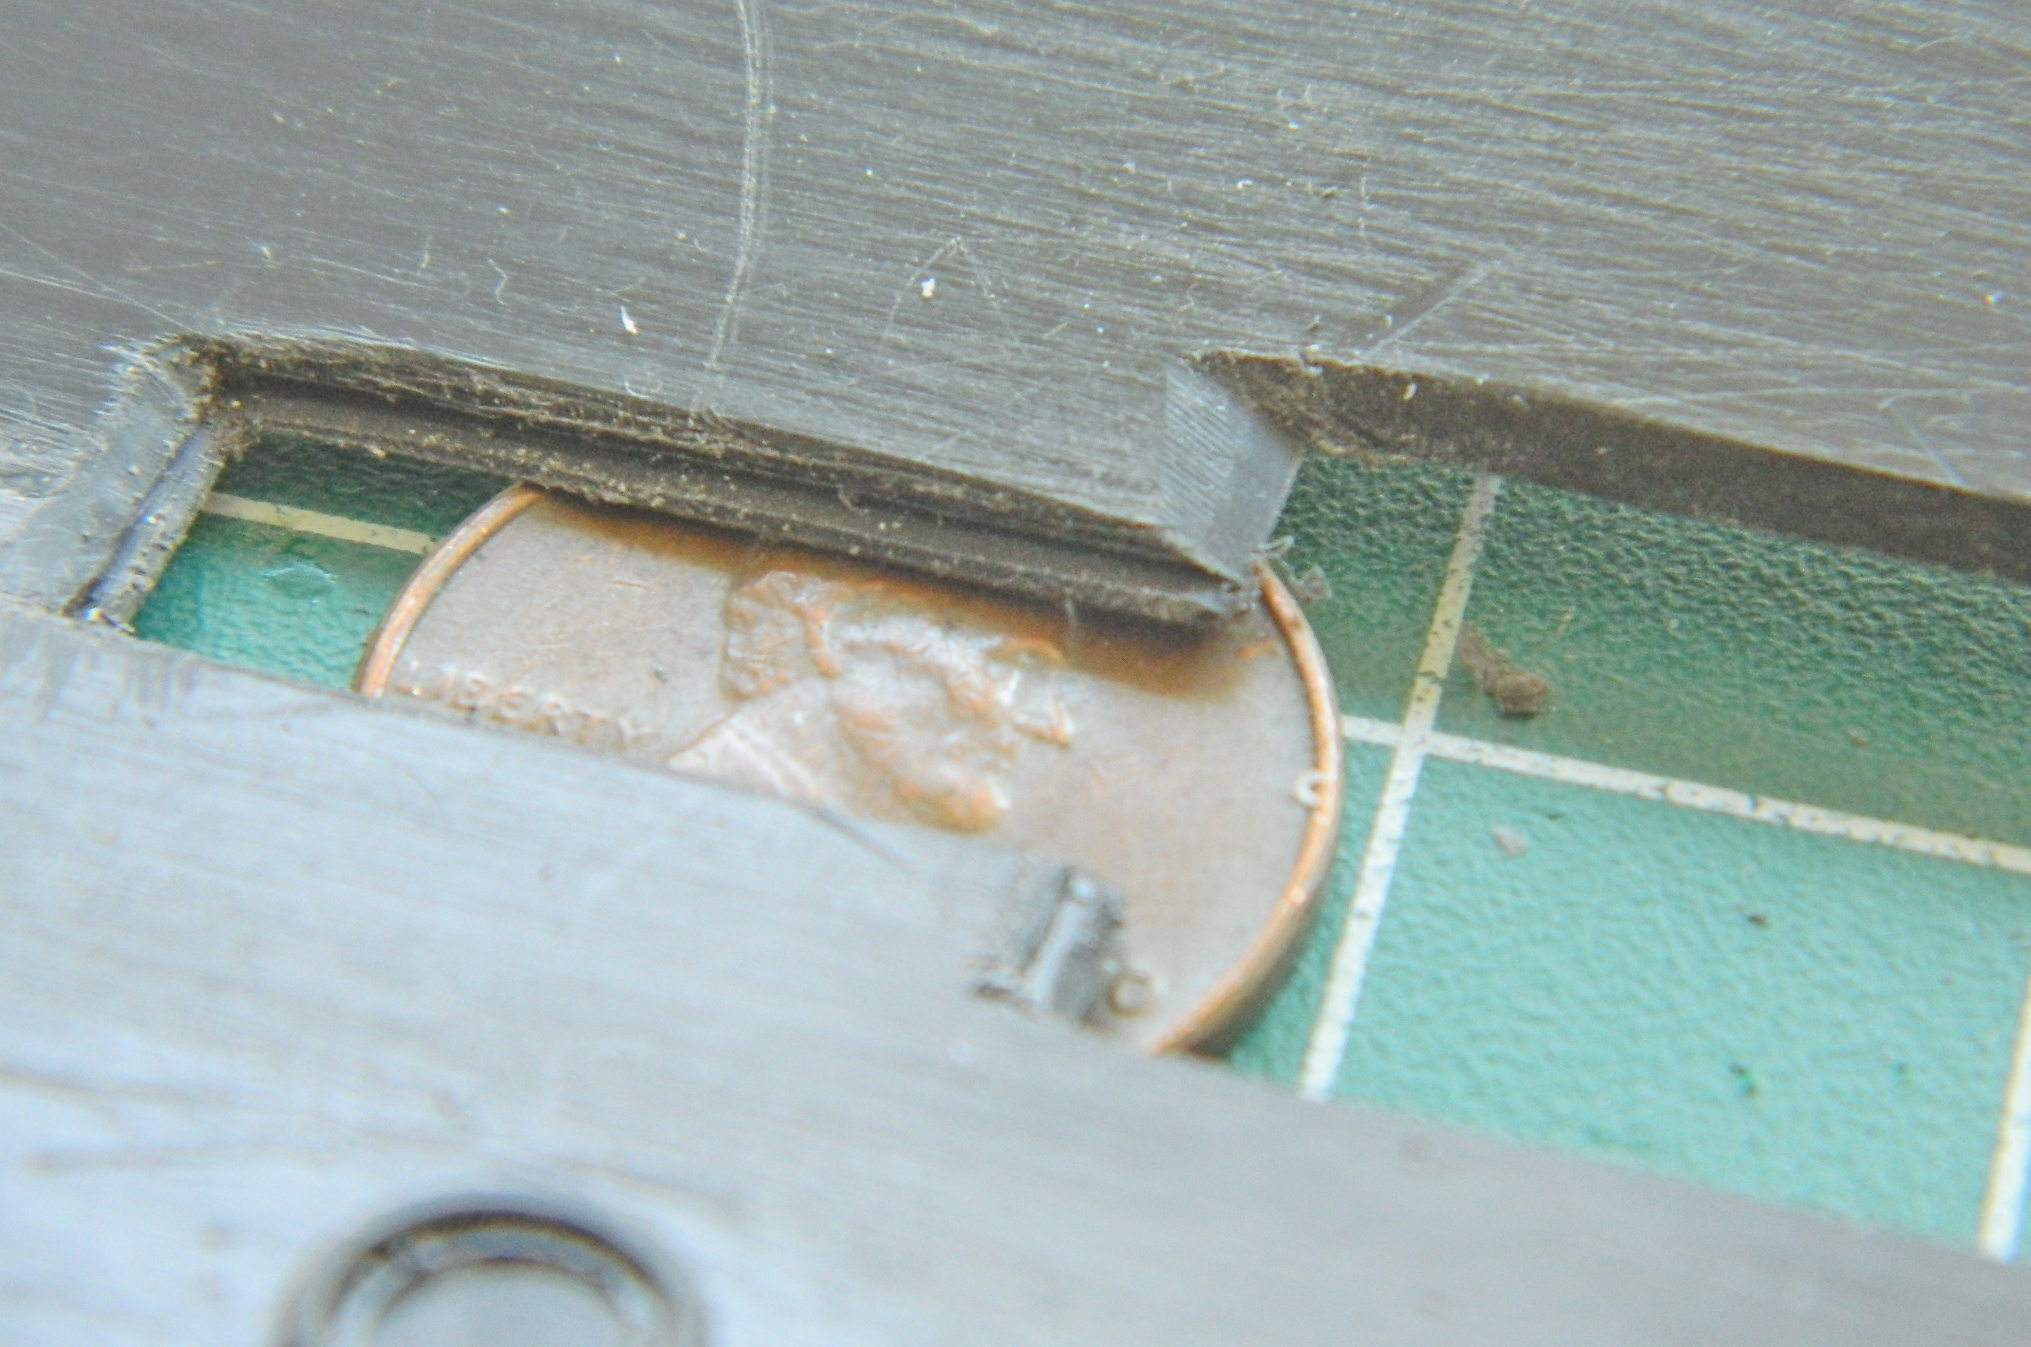
Dry-fitting shows a good fit:

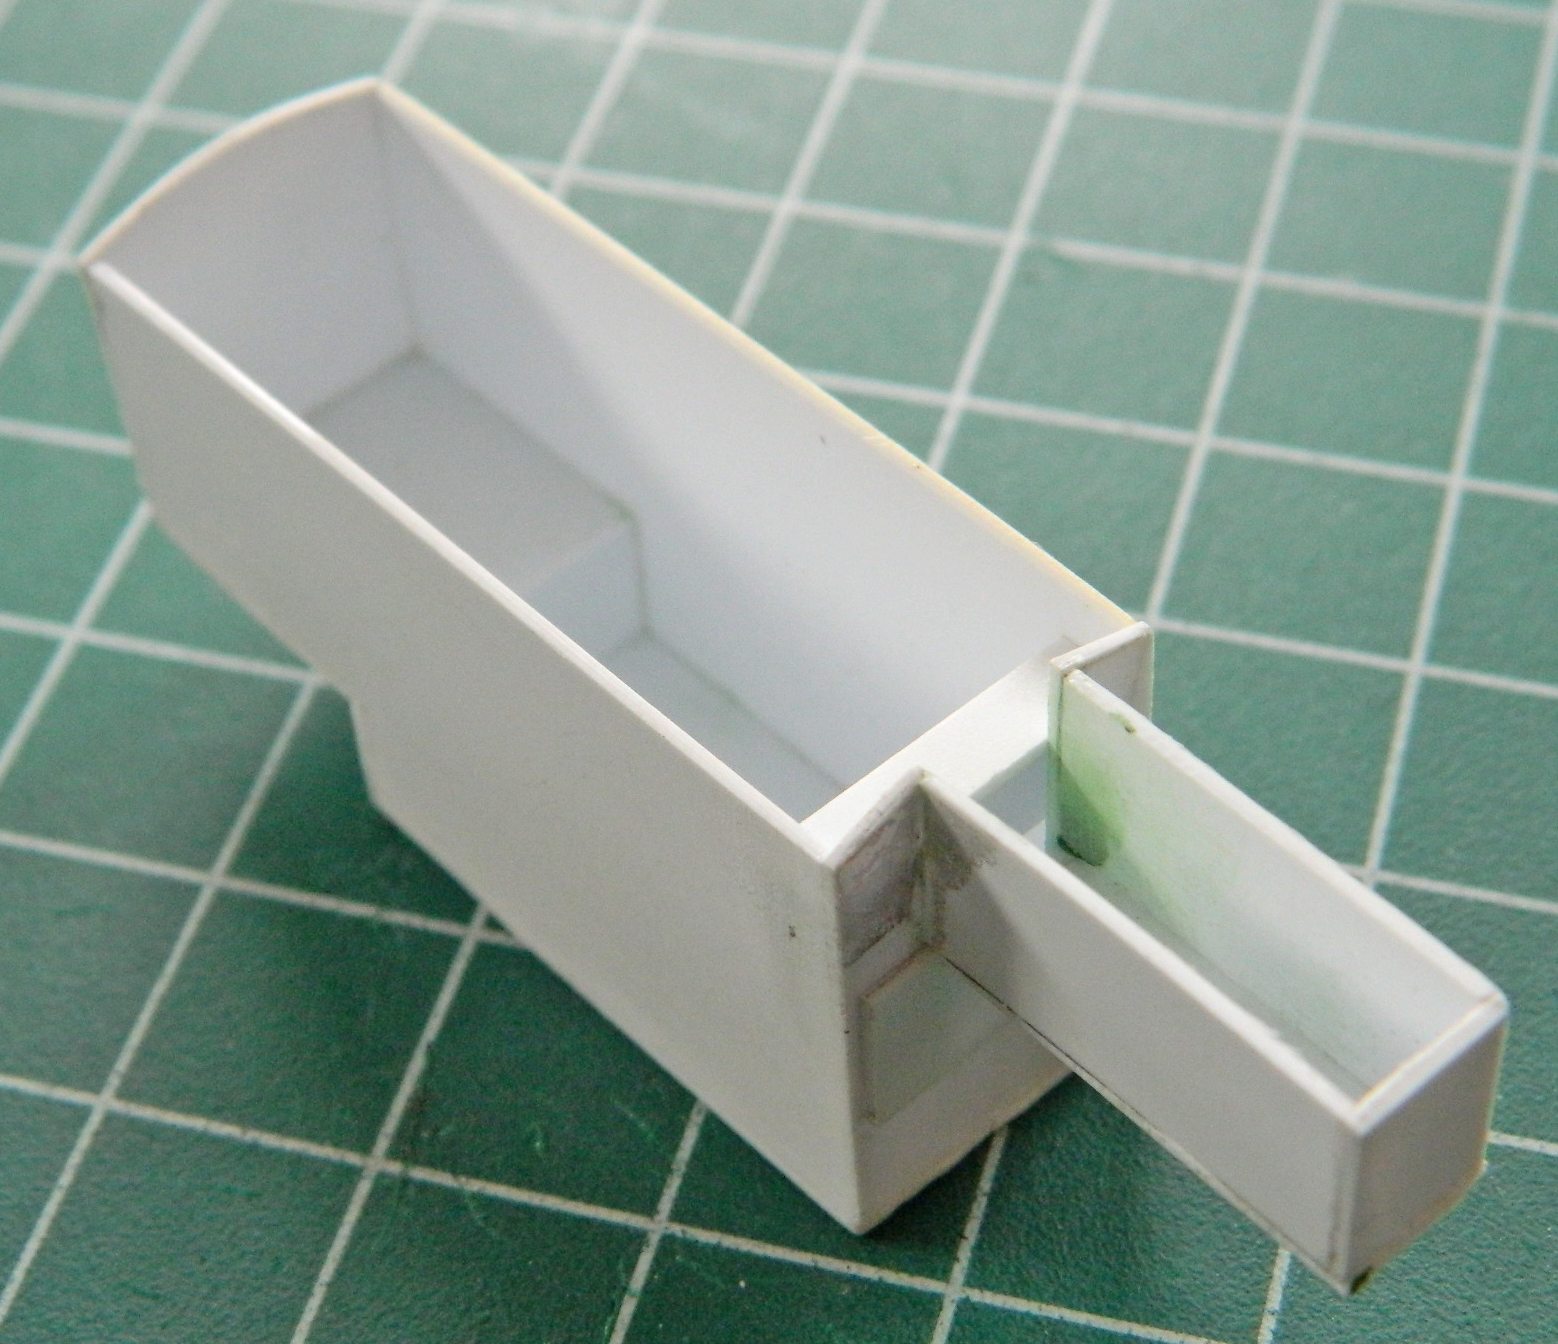
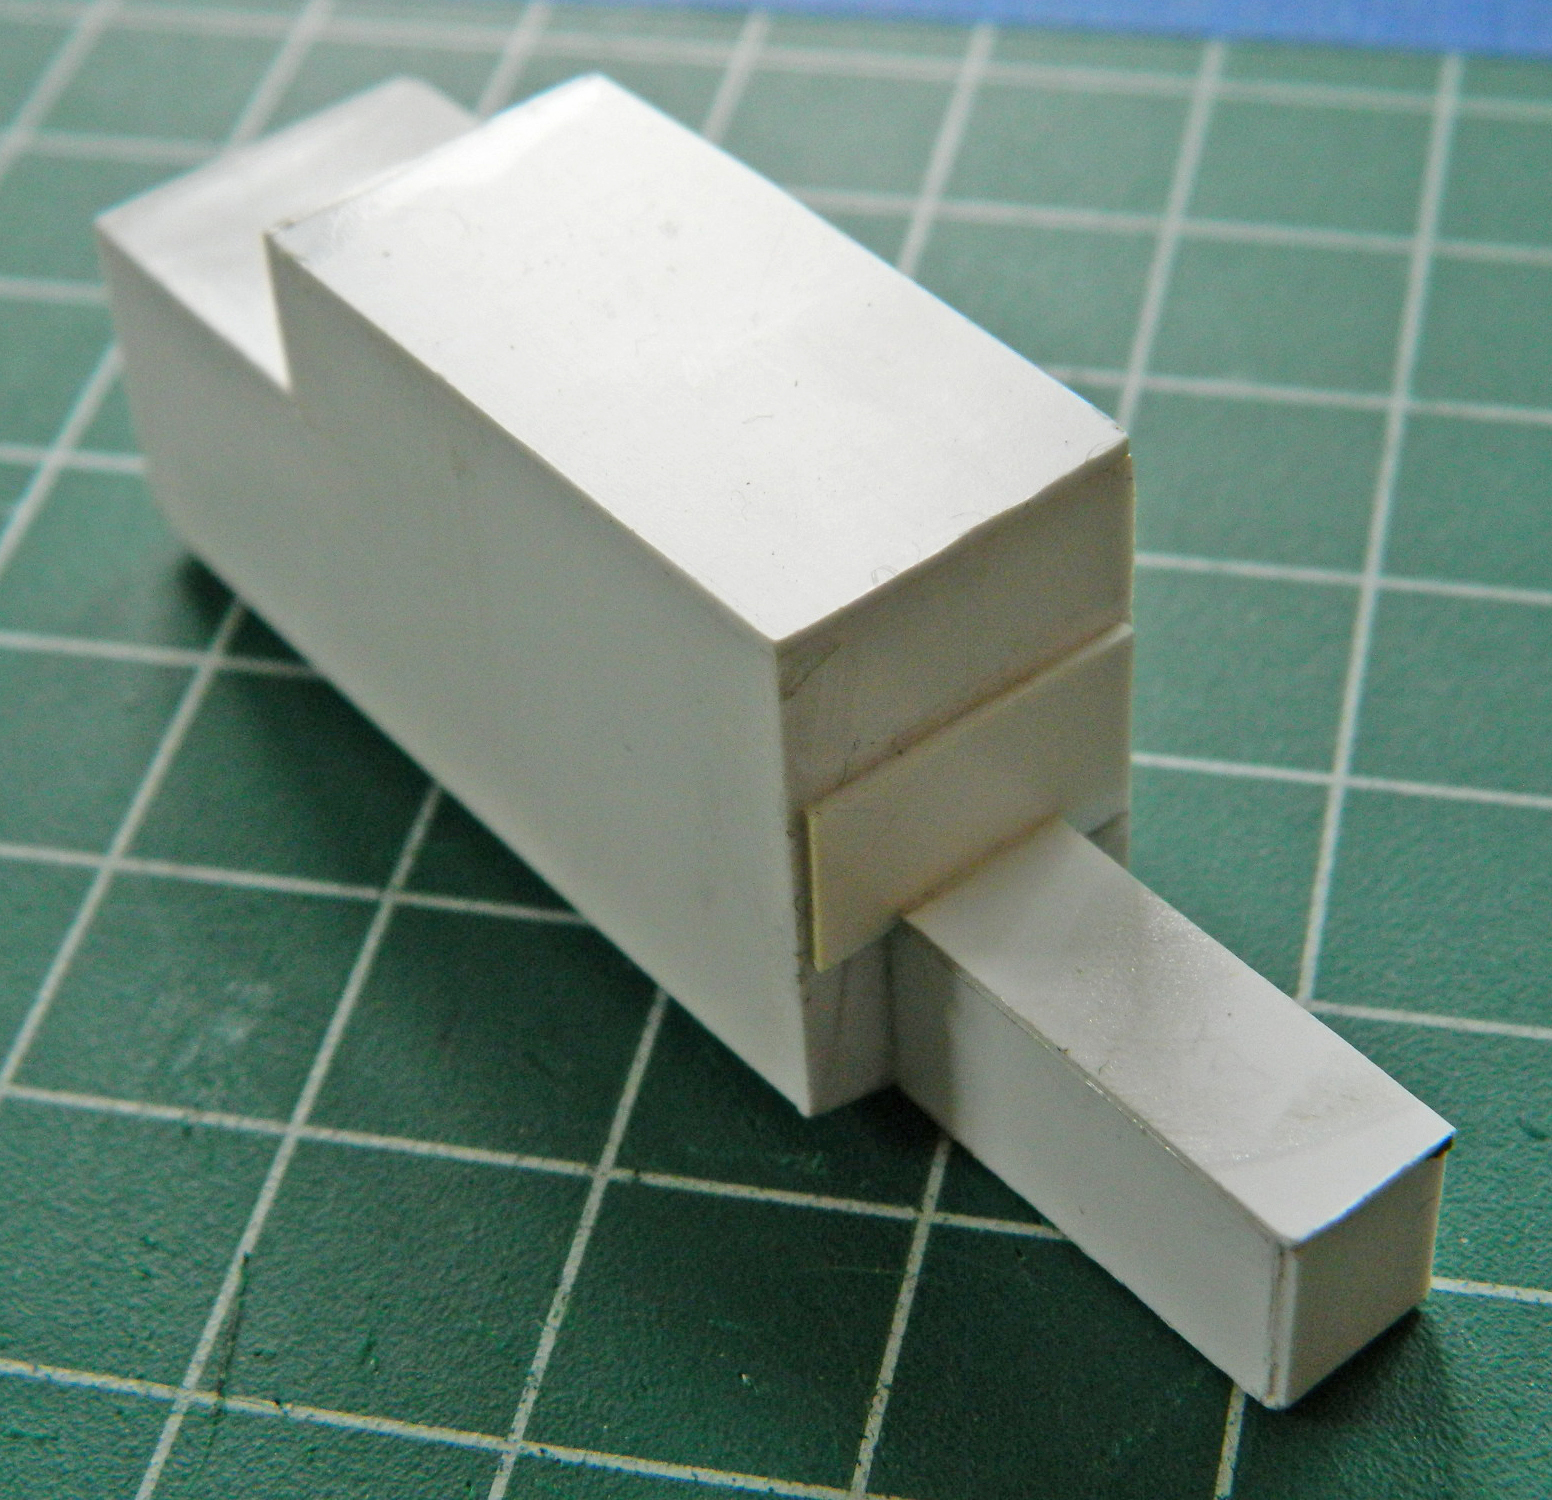
And then I noticed I’d gotten one of the dimensions incorrect. So I had to remove a section from the rear of the bay and rework it slightly:

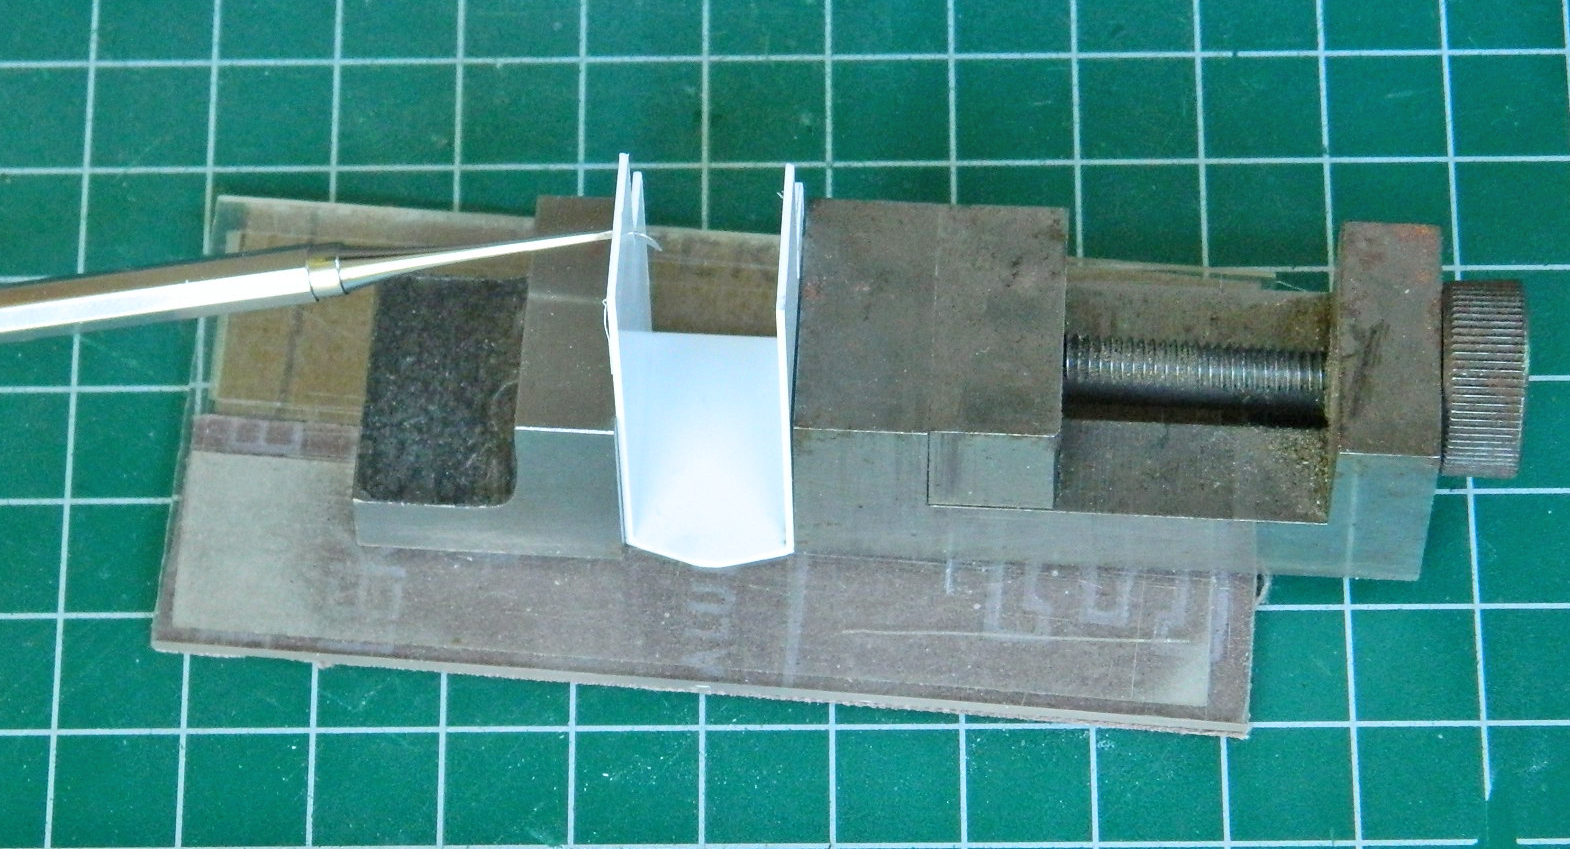
Once that was done, a few more bits added and now the basic box is done:

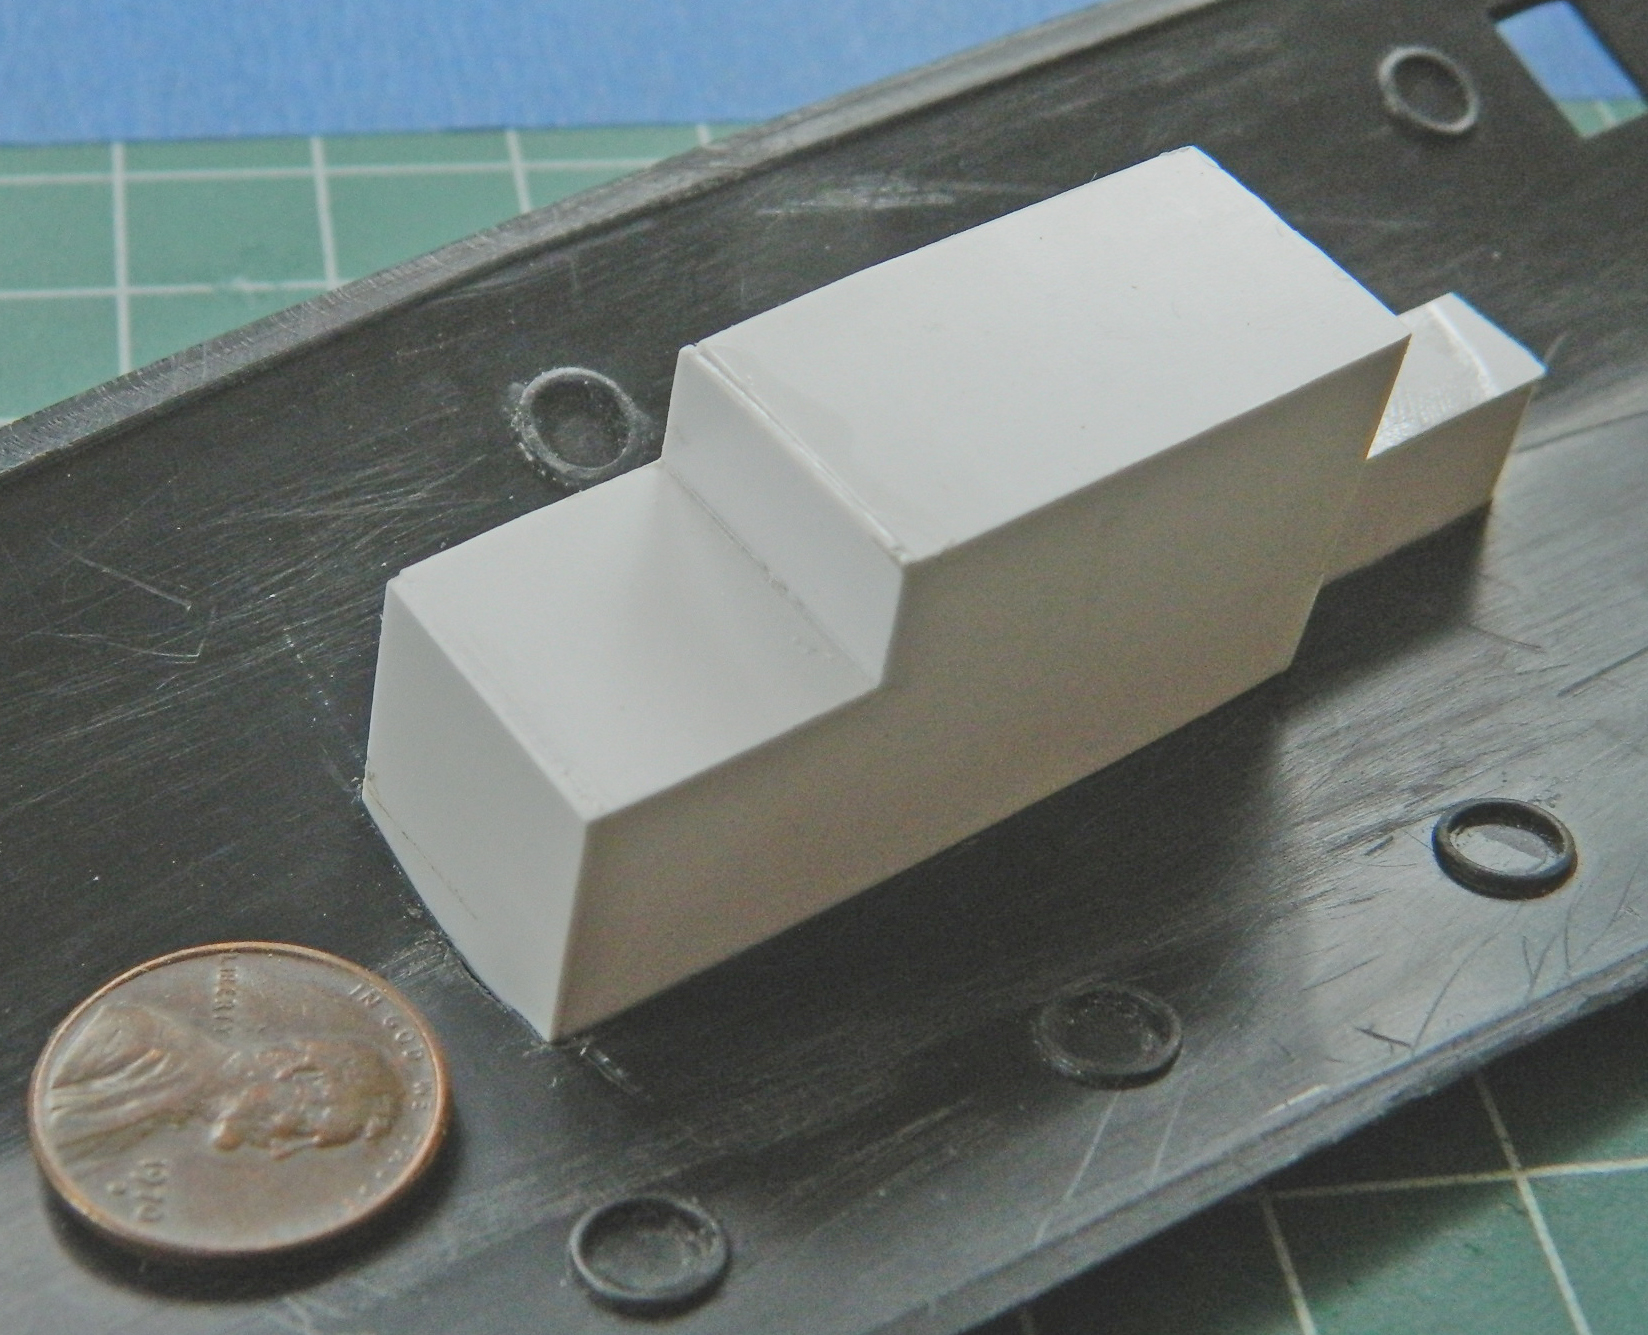
With the basic box of the landing gear bay built, it’s now time to fill that box.
