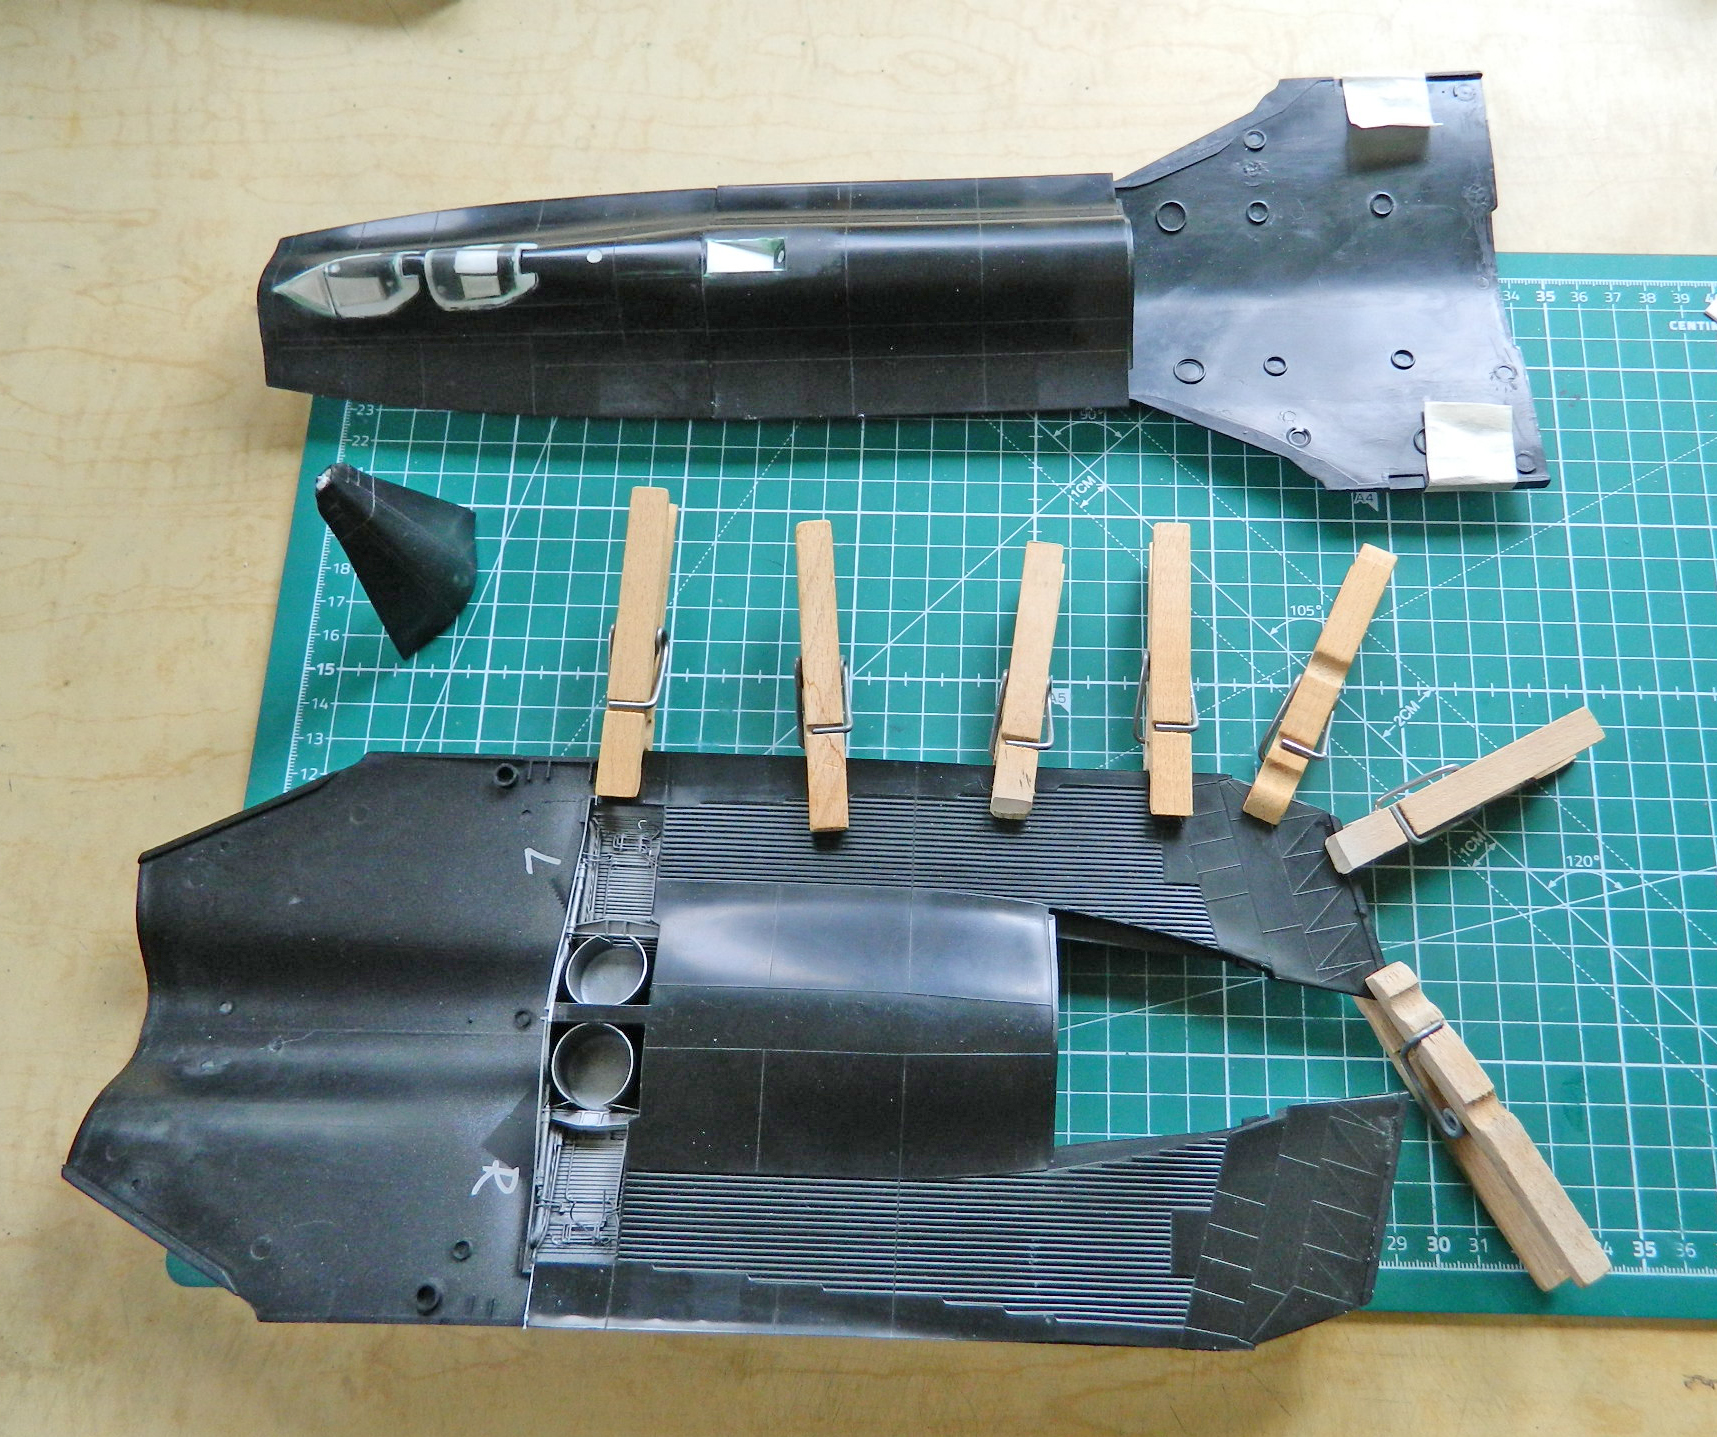
Before I do something as “big” as assembling the fuselage, “big” because once that’s done, there isn’t any “going back inside and fixing something” that can happen easily…if at all, I’ll sometimes sit and stew (or ruminate, for those who are adults) for days. But unless that “big” something isn’t done, the model will never be, either. In short (finally), I started at the nose and put the sodding fuselage parts together.
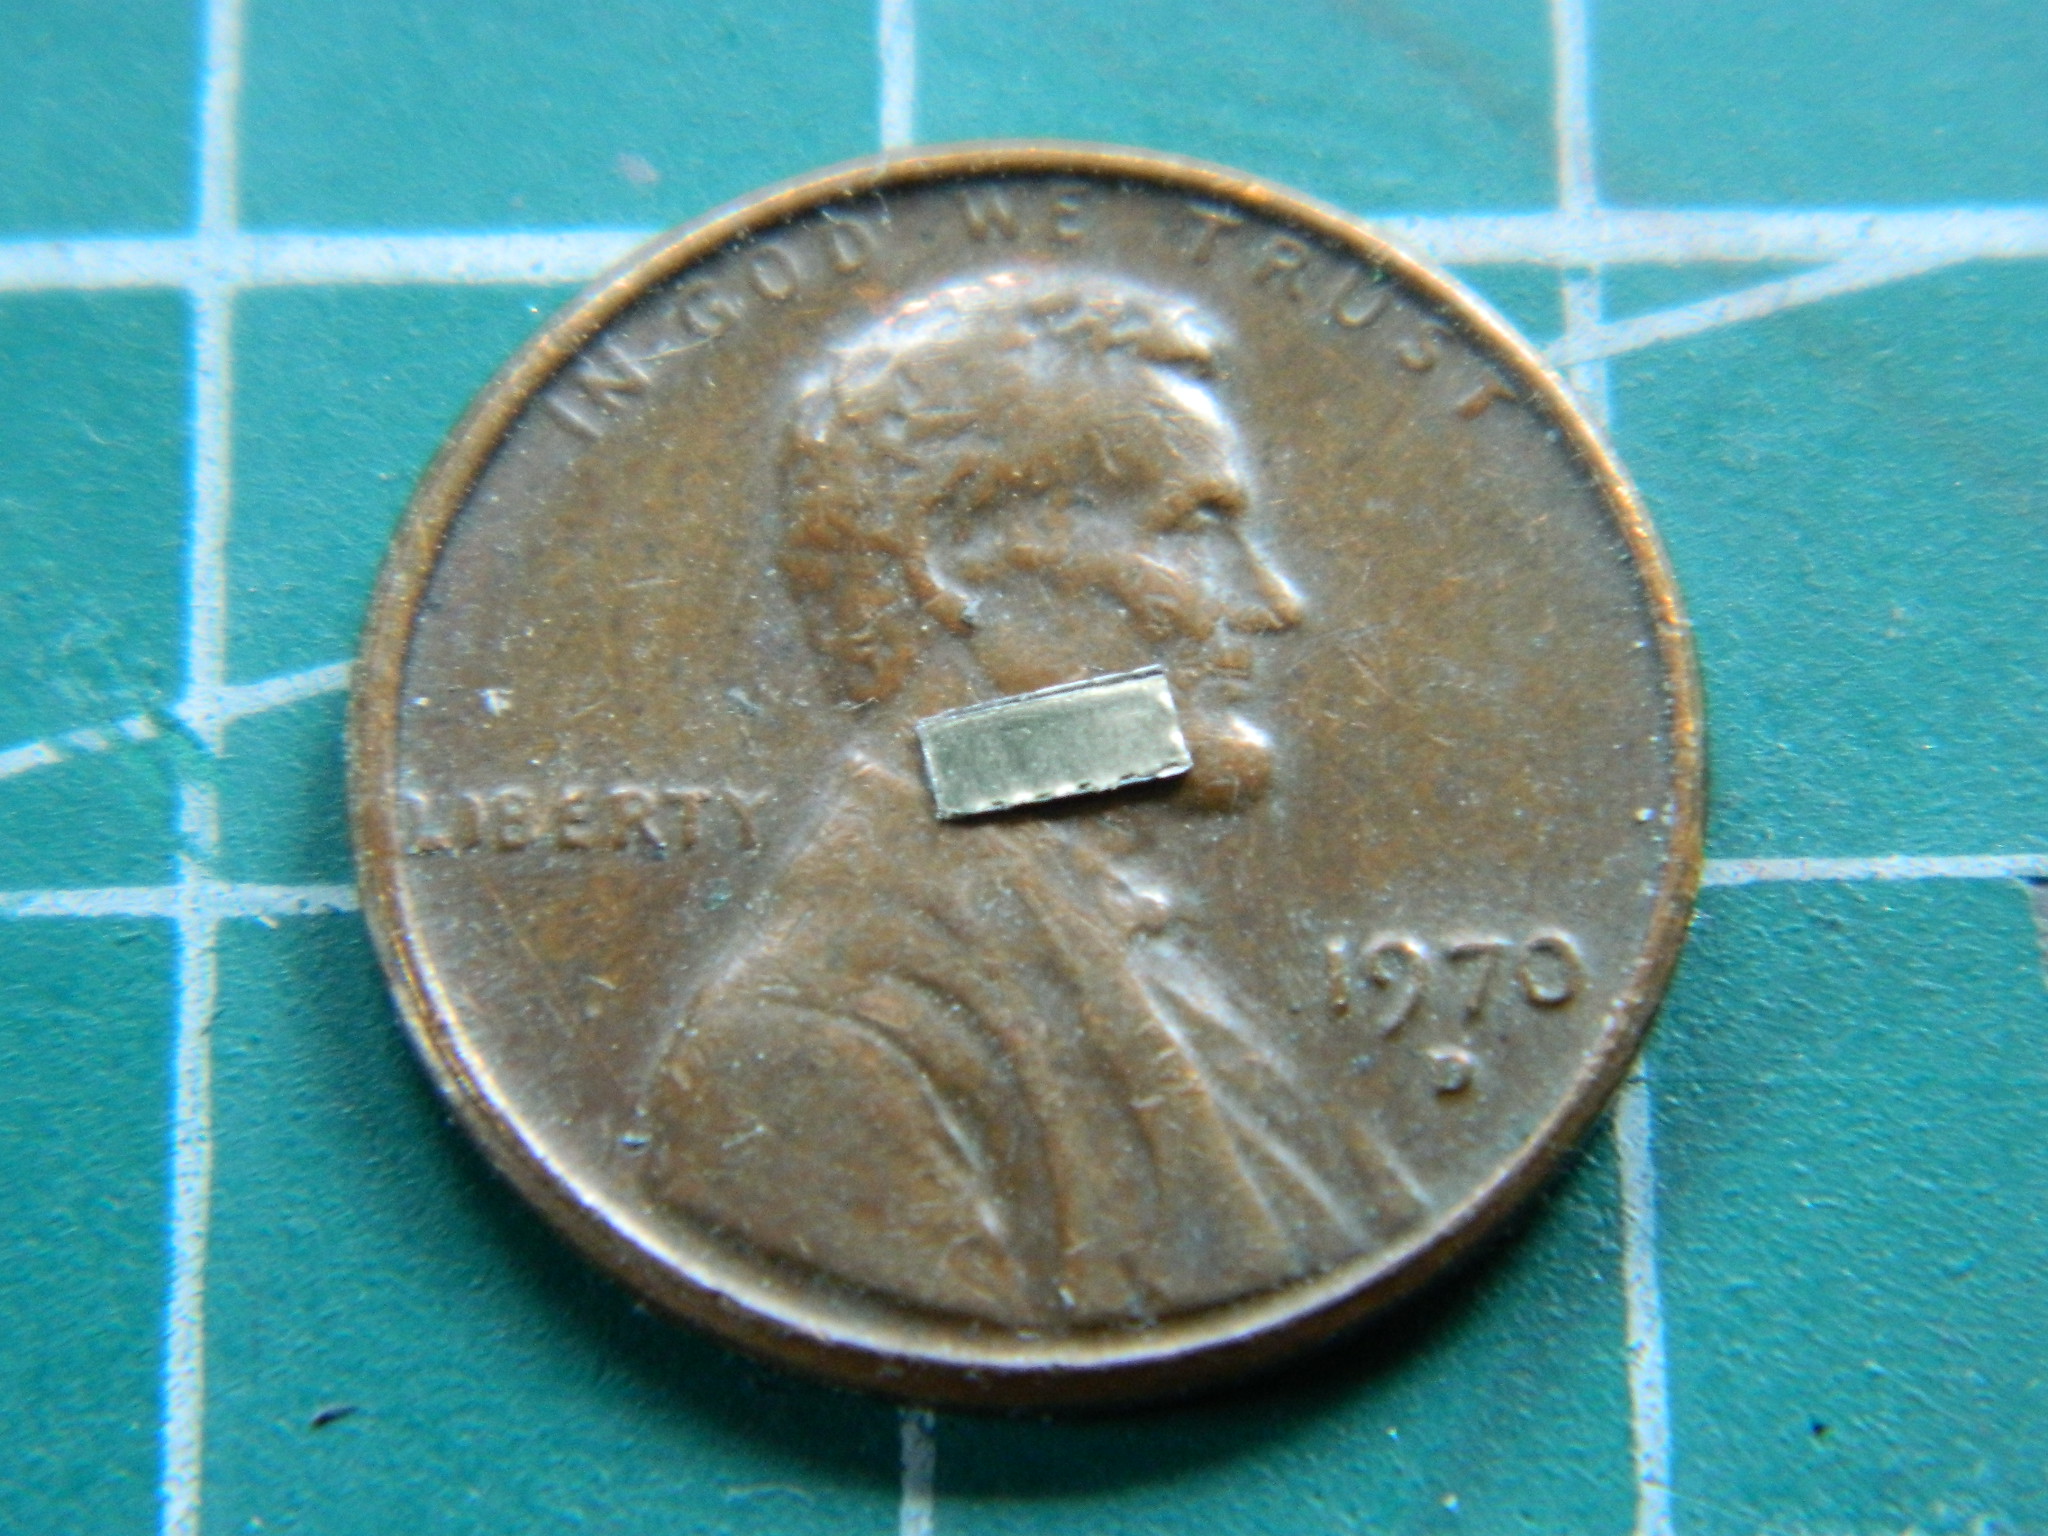
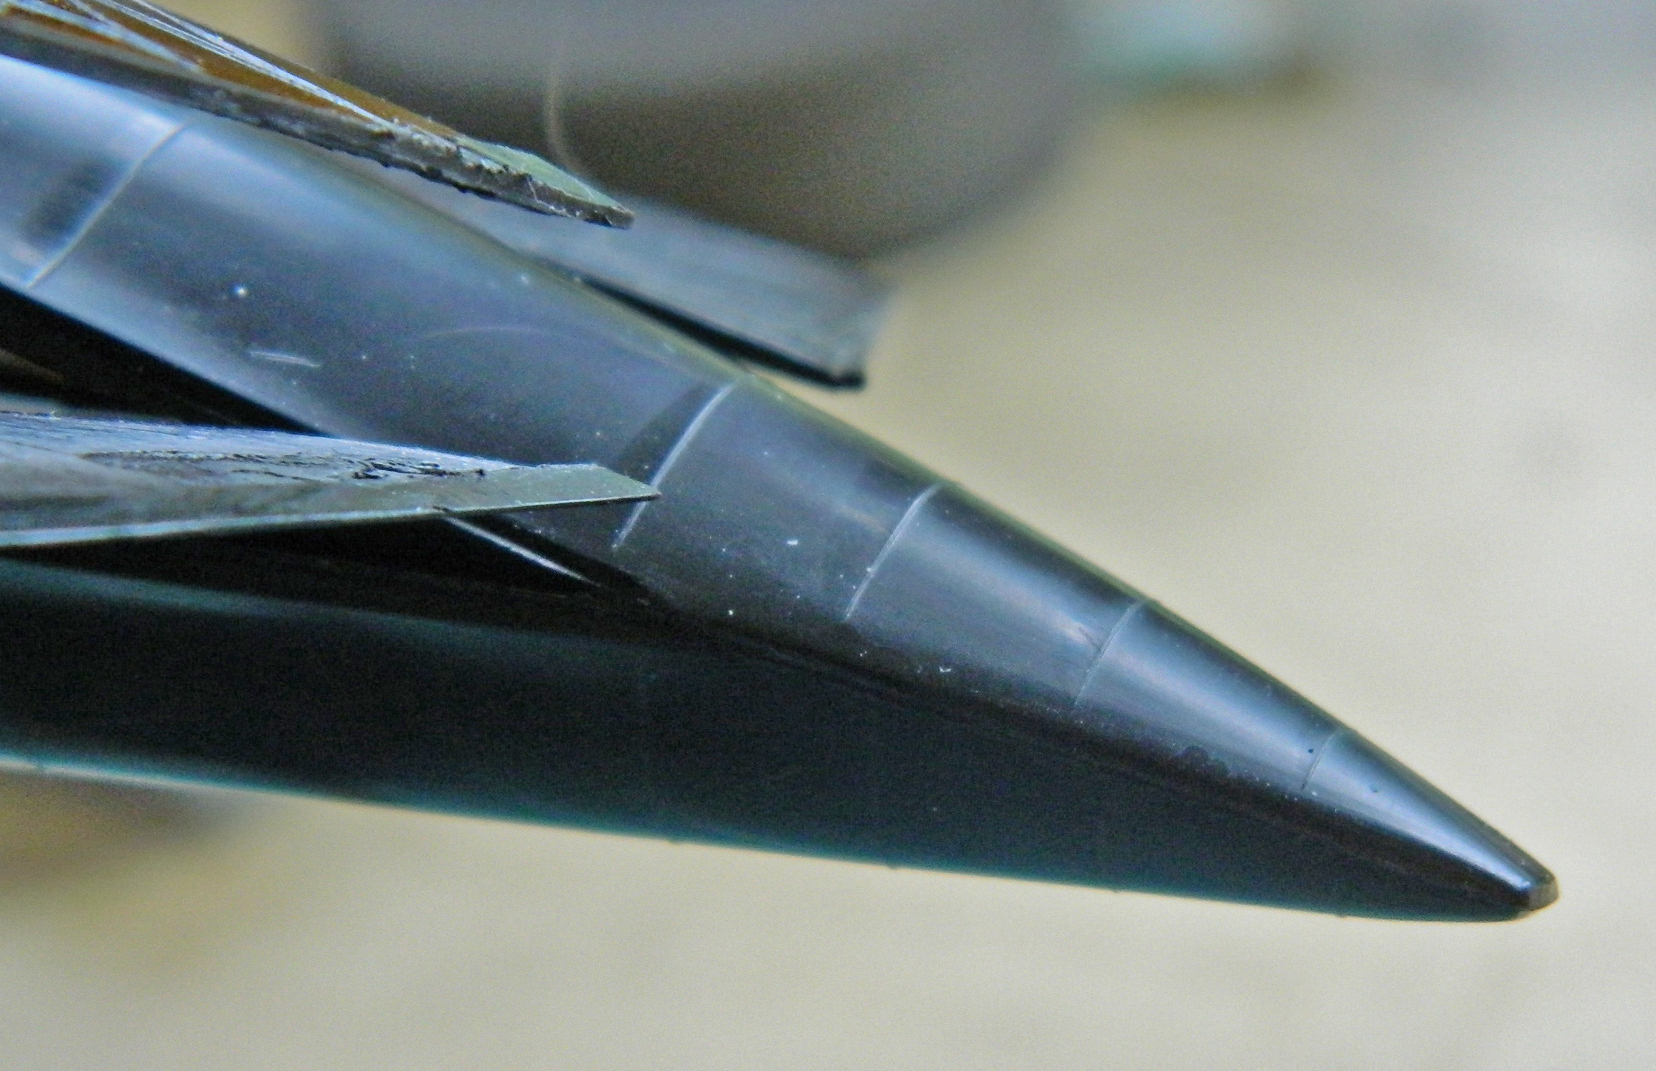
One (of many) thing that really does torque me out of true is when thin parts break off; it doesn’t matter if it’s during assembly or once it’s finished. I wanted something that would prevent that from happening with this one. What I came up with was to make the nose-probe (which on this bird was the pitot tube and a sensor) easily removable…as in, hit the thing hard enough to snap it and it’ll just fall off unbroken. I decided to hold the probe part on with magnets.
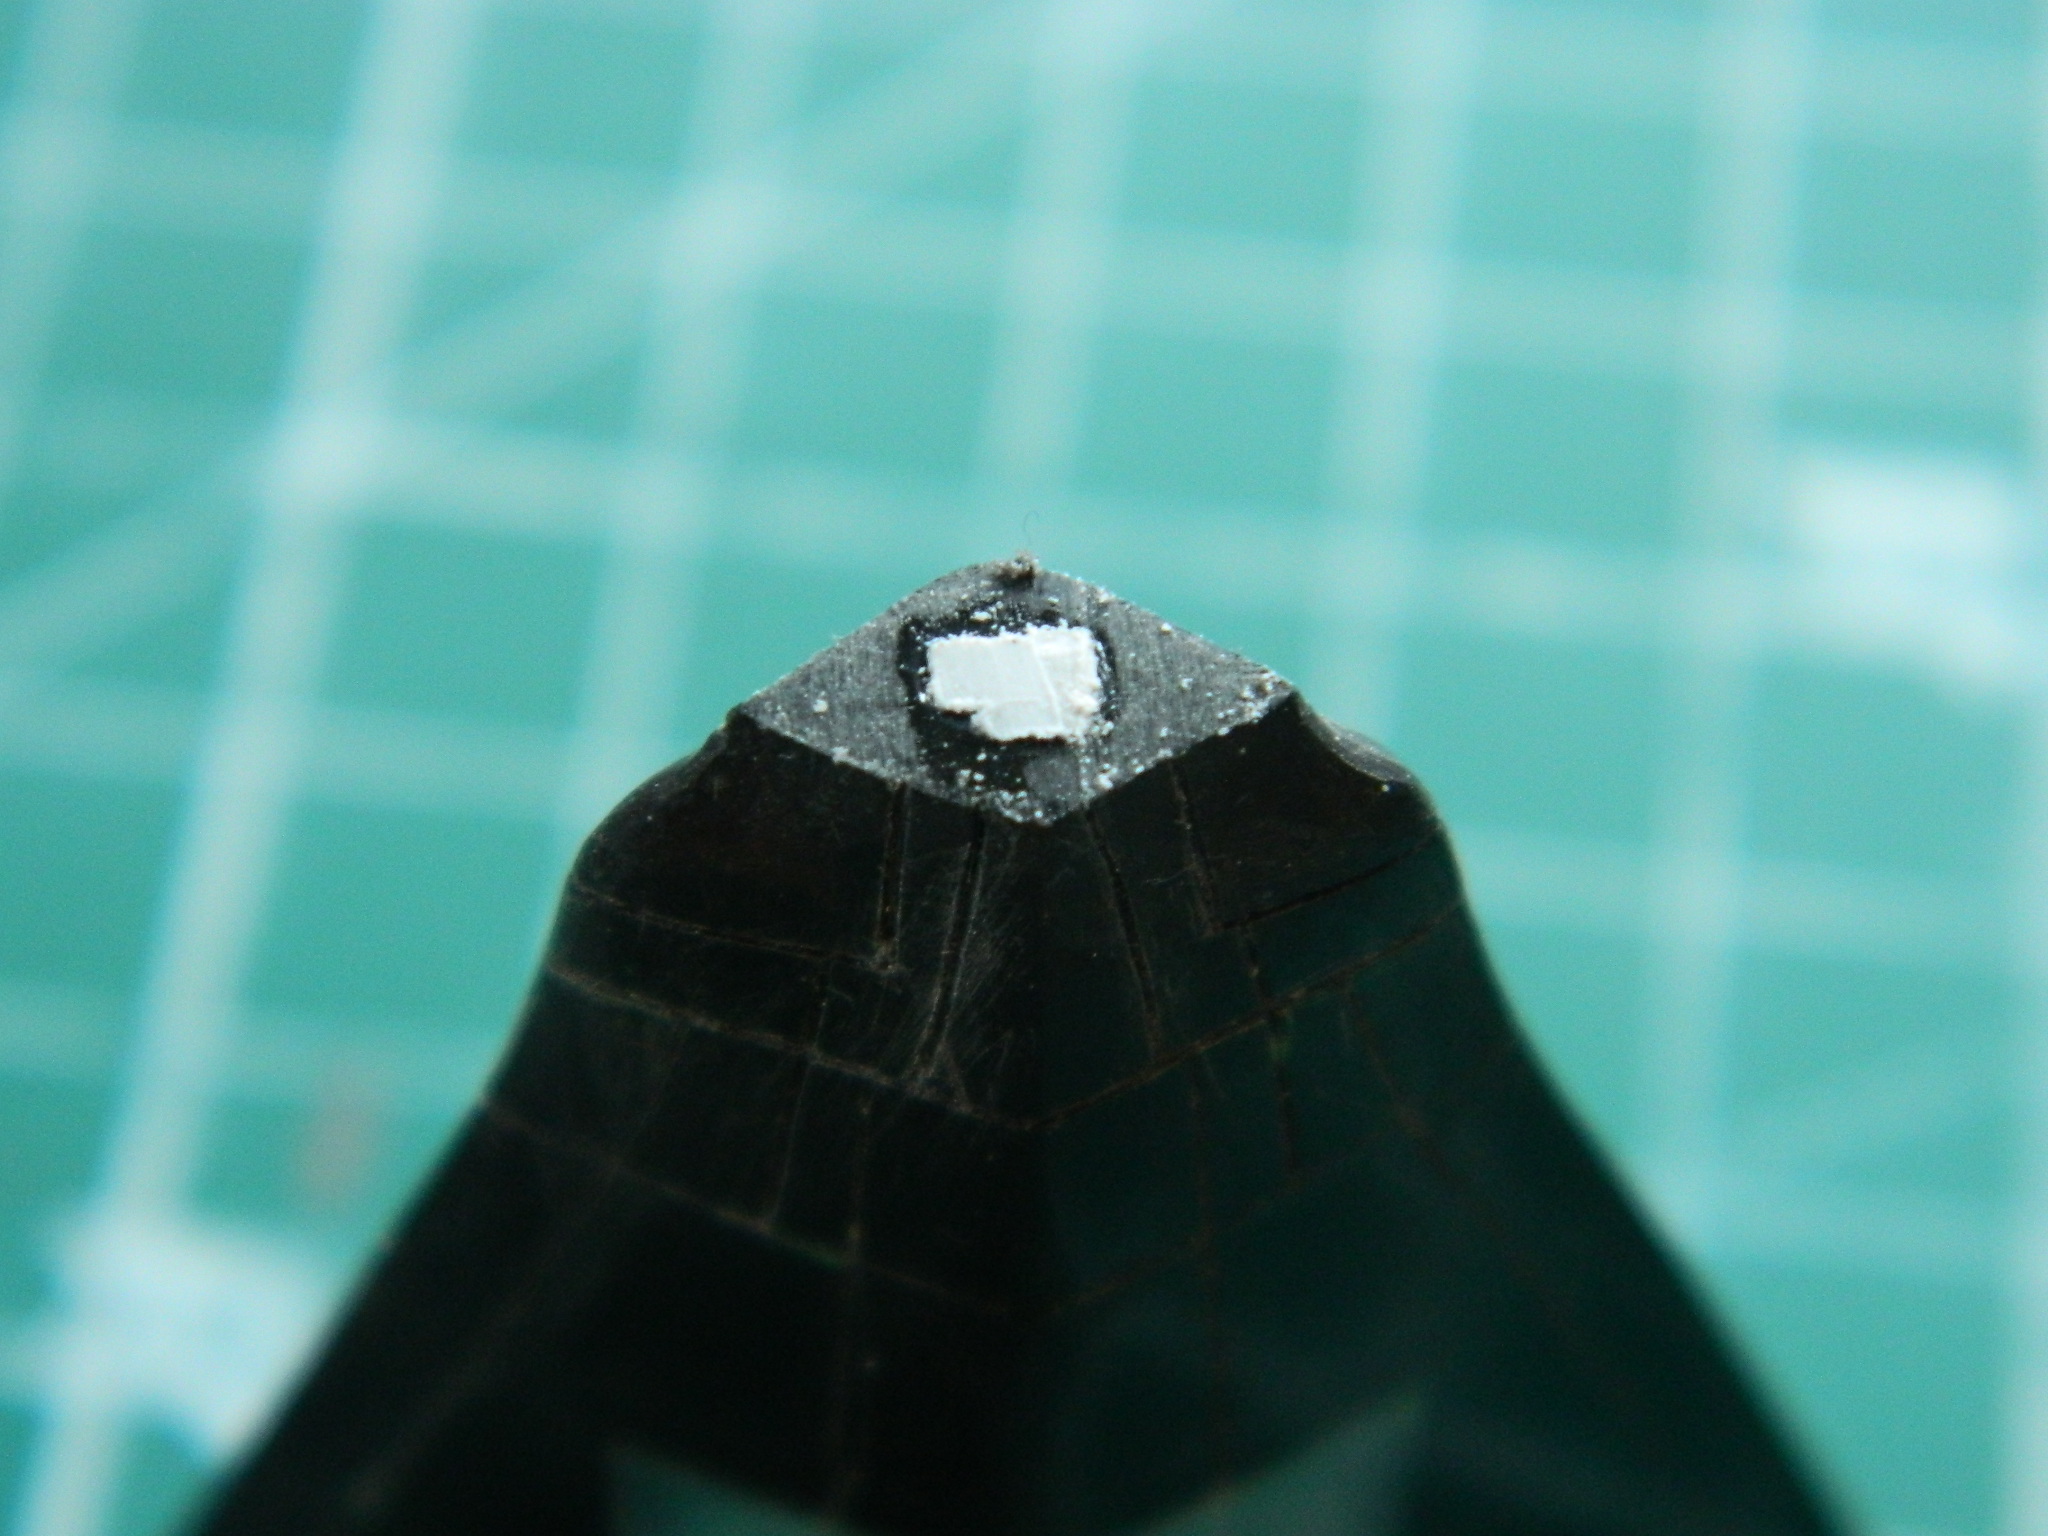
The first part of that involved getting the probe TO FIT tightly. Once that was taken care of, I wanted to socket a piece of steel sheet into the base of the probe. That started by cutting a piece from an old can, cutting the recess, then gluing the steel in place:


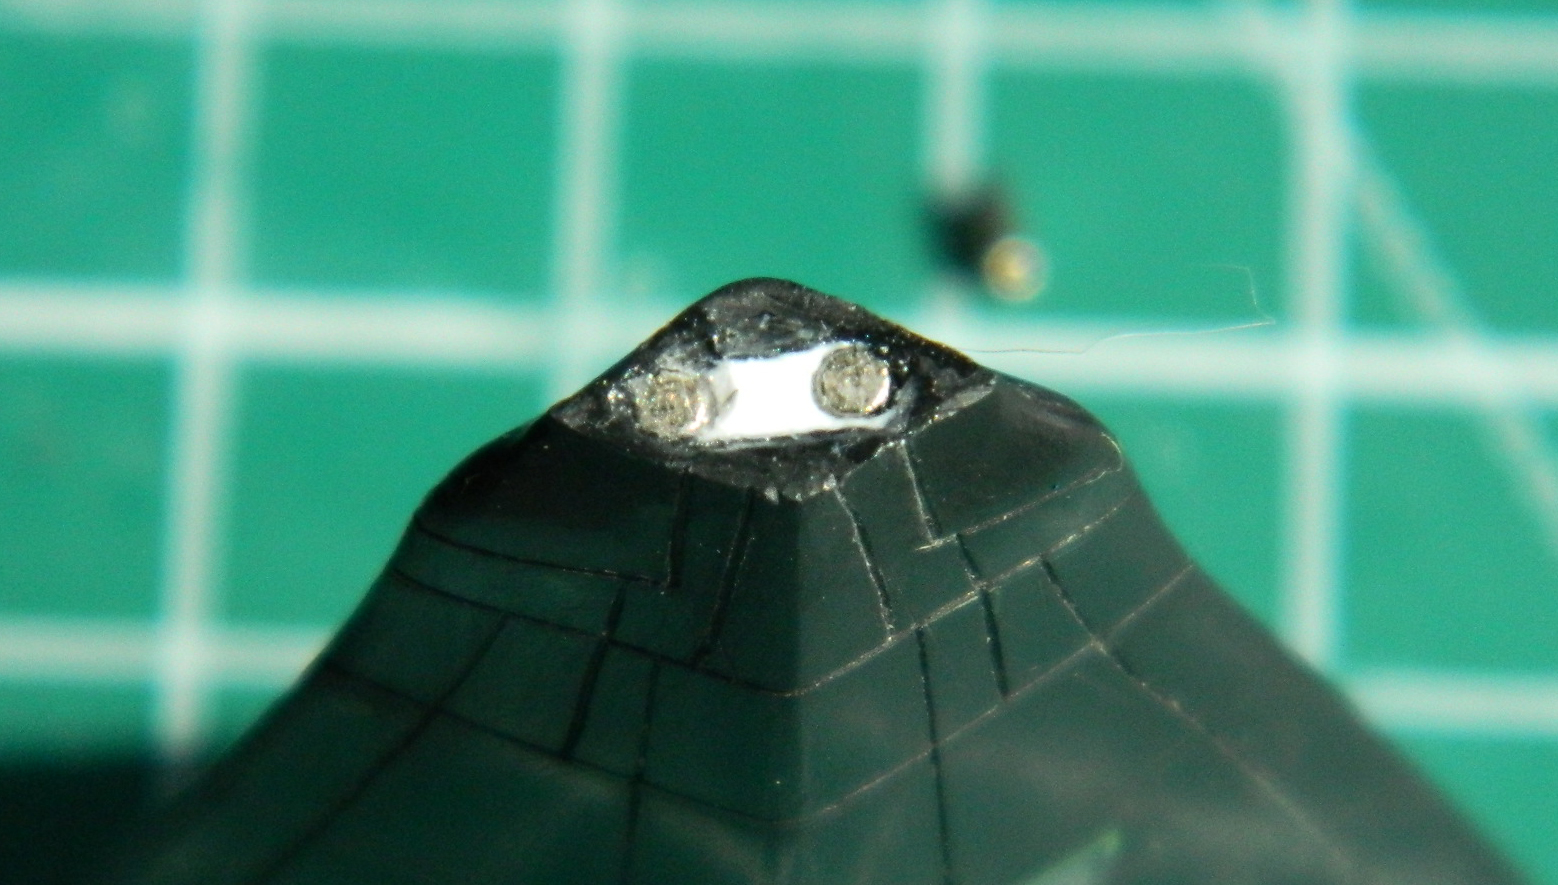
Next was to fill the socket where the (now removed) locating pin was to seat and then drill holes for the magnets to sit (kjmagnetics.com, part number ZD12, 1/16″ (1.28mm) x 1/8″ (3.18mm) rare earth magnets):
Works just fine (the clunky kit-supplied probe will be replaced with something much nicer):

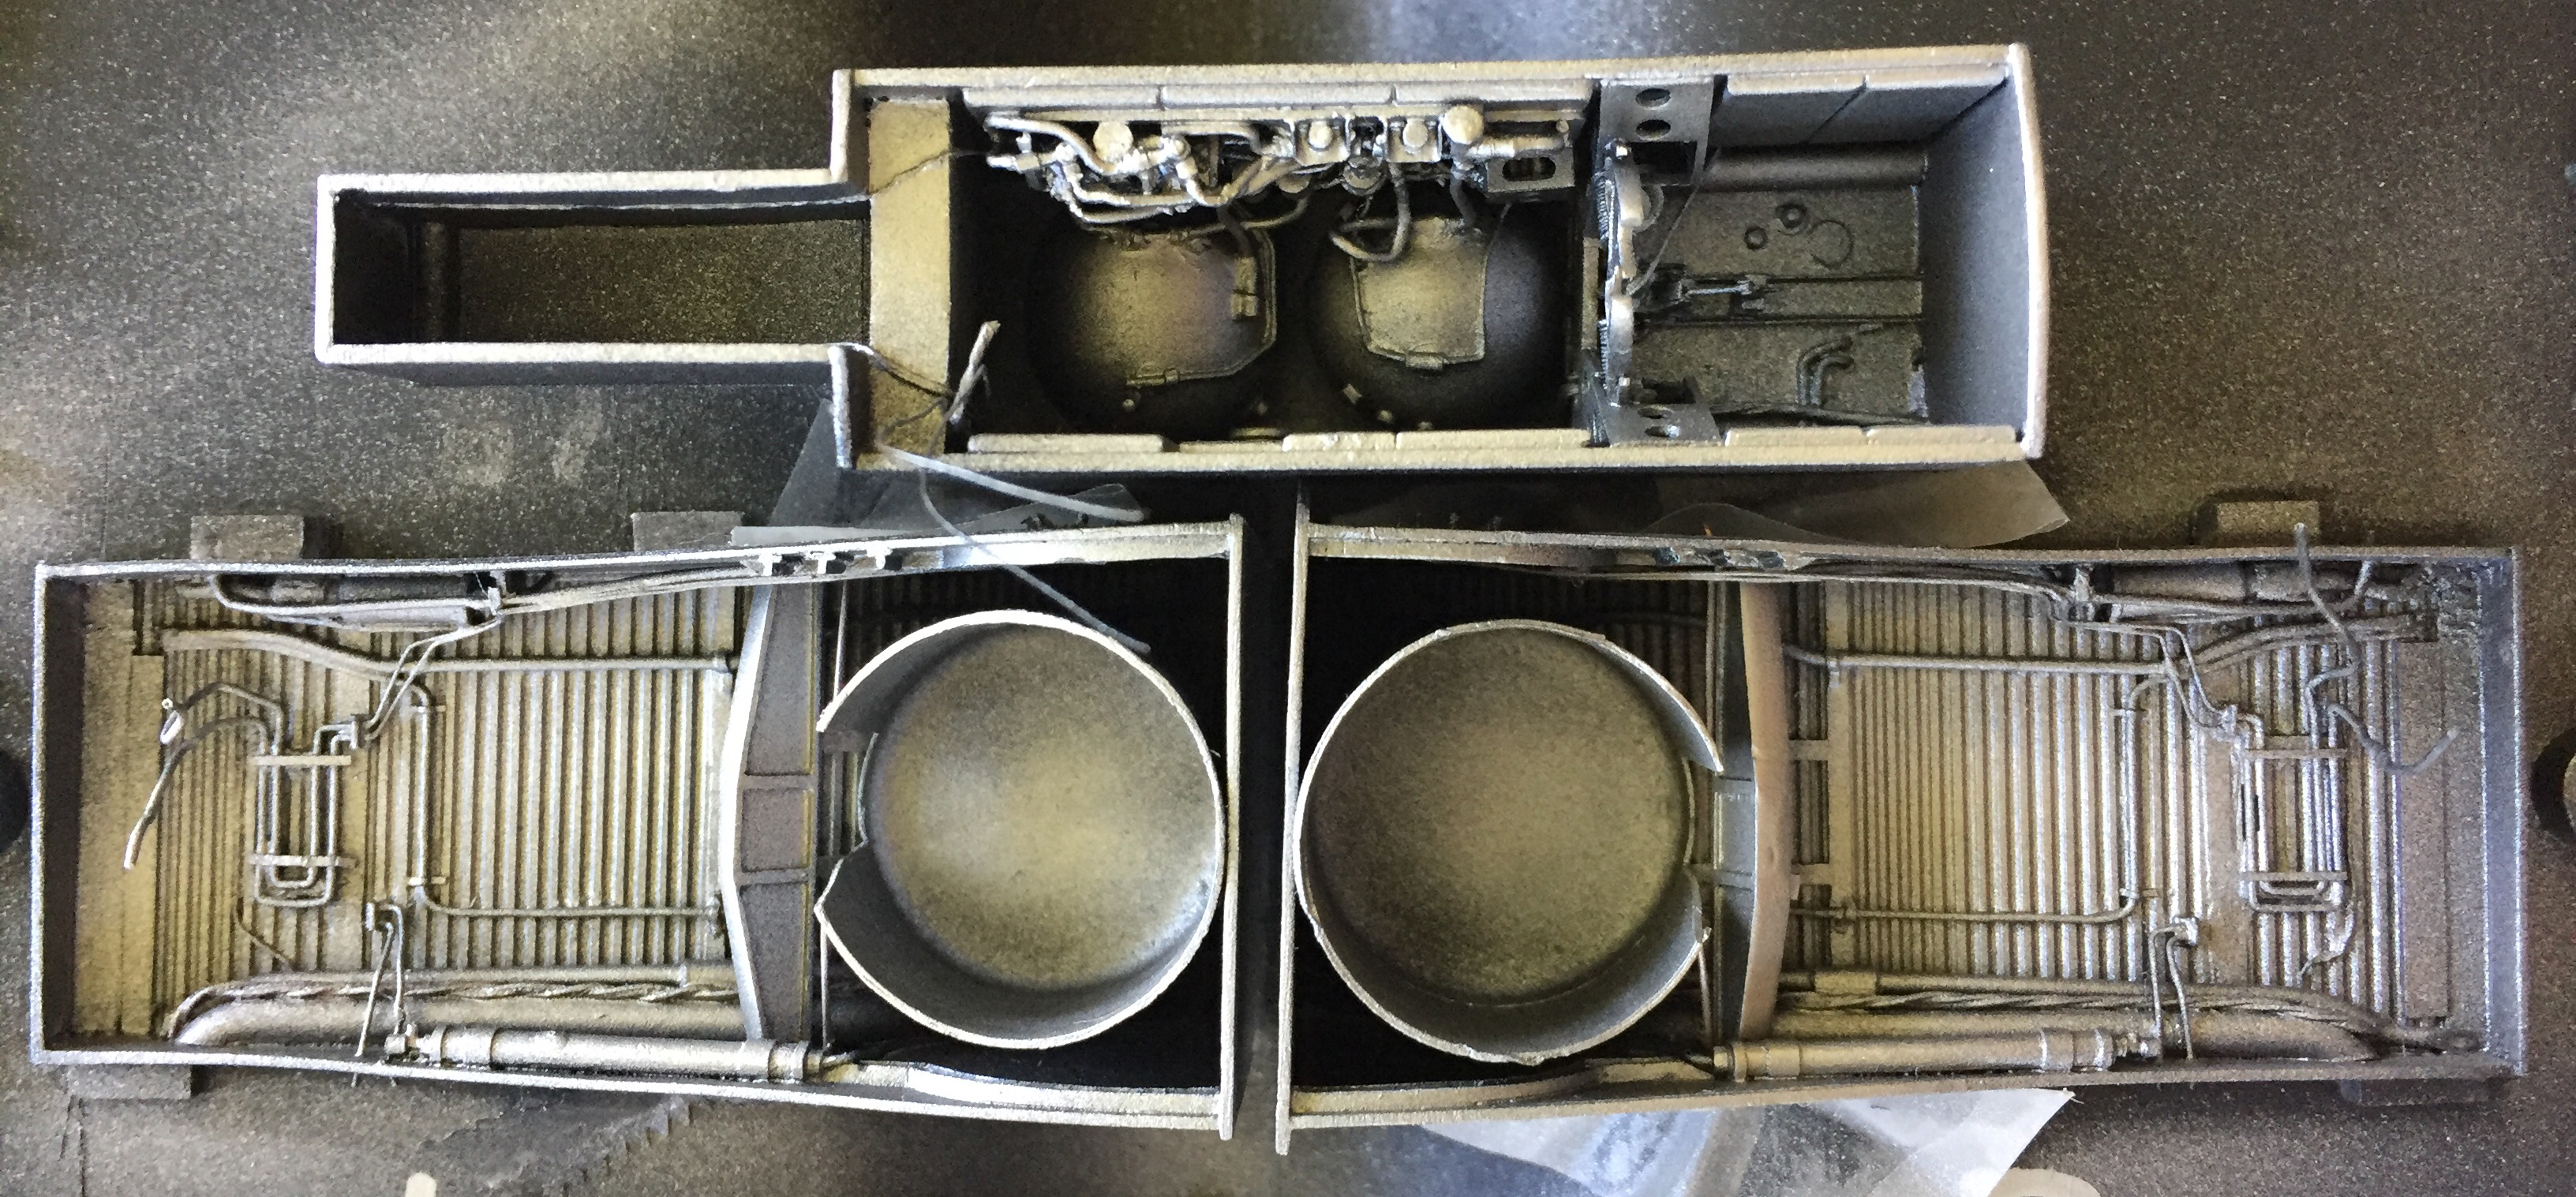
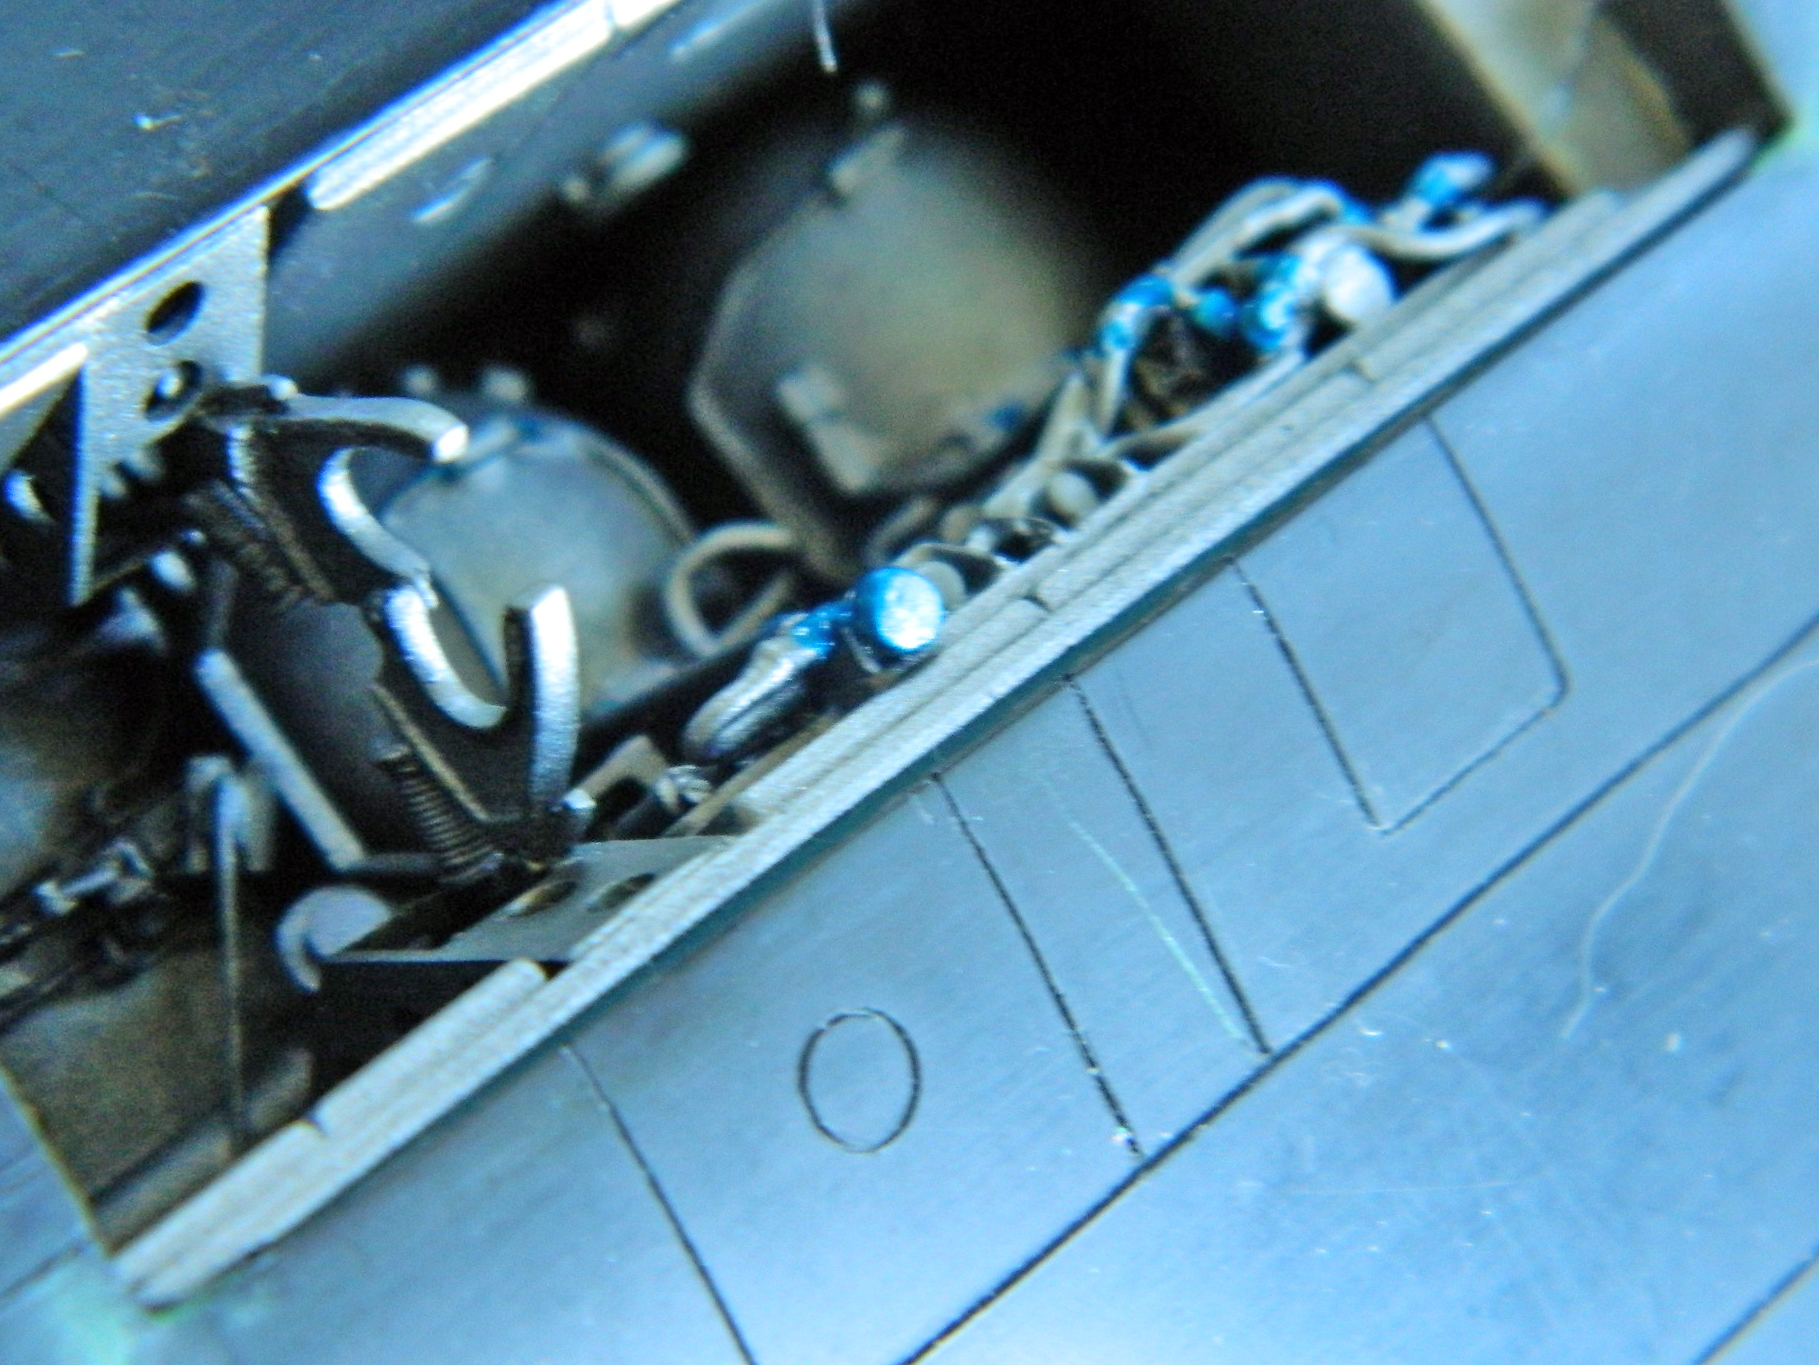
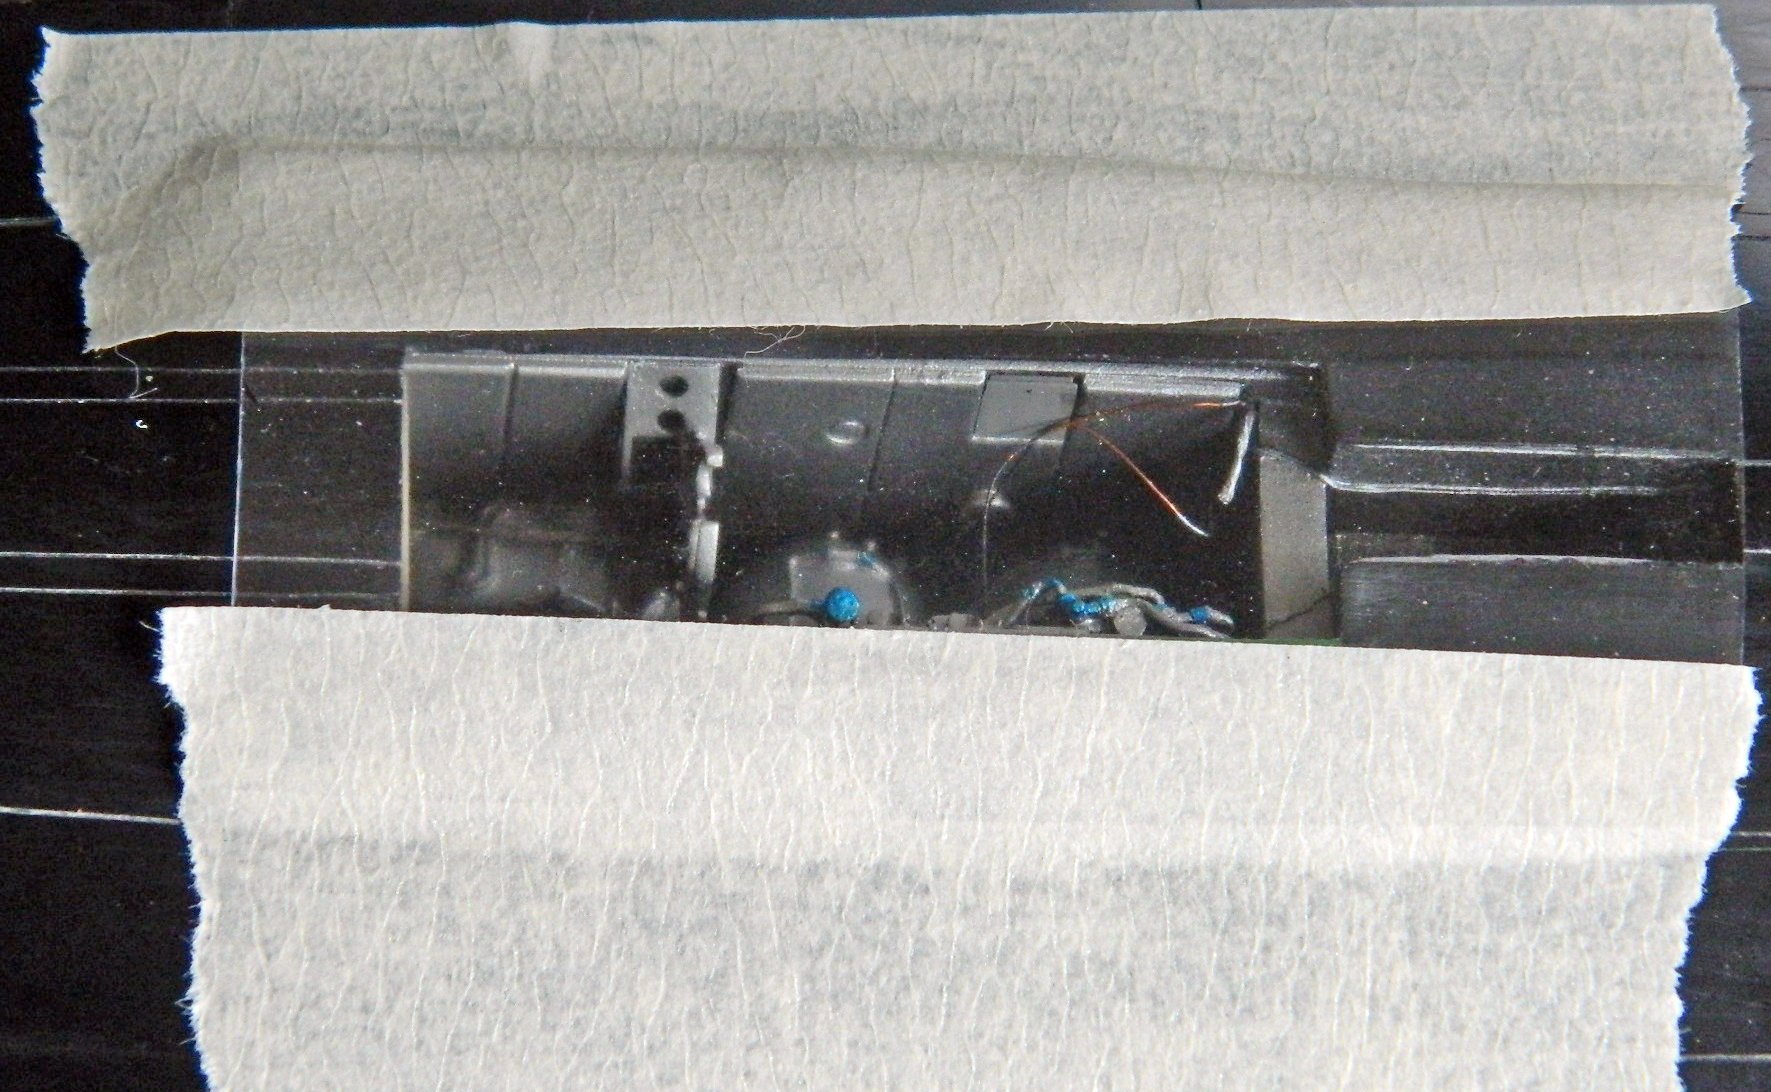
Before I could start closing the fuselage, I needed to finish painting the landing gear bays and glue the nose bay into place. I misted Tamiya’s X-32 Titanium Silver over the flat black, and then touched a few connectors/caps on the spaghetti plumbing with Tamiya’s X-23 Clear Blue:


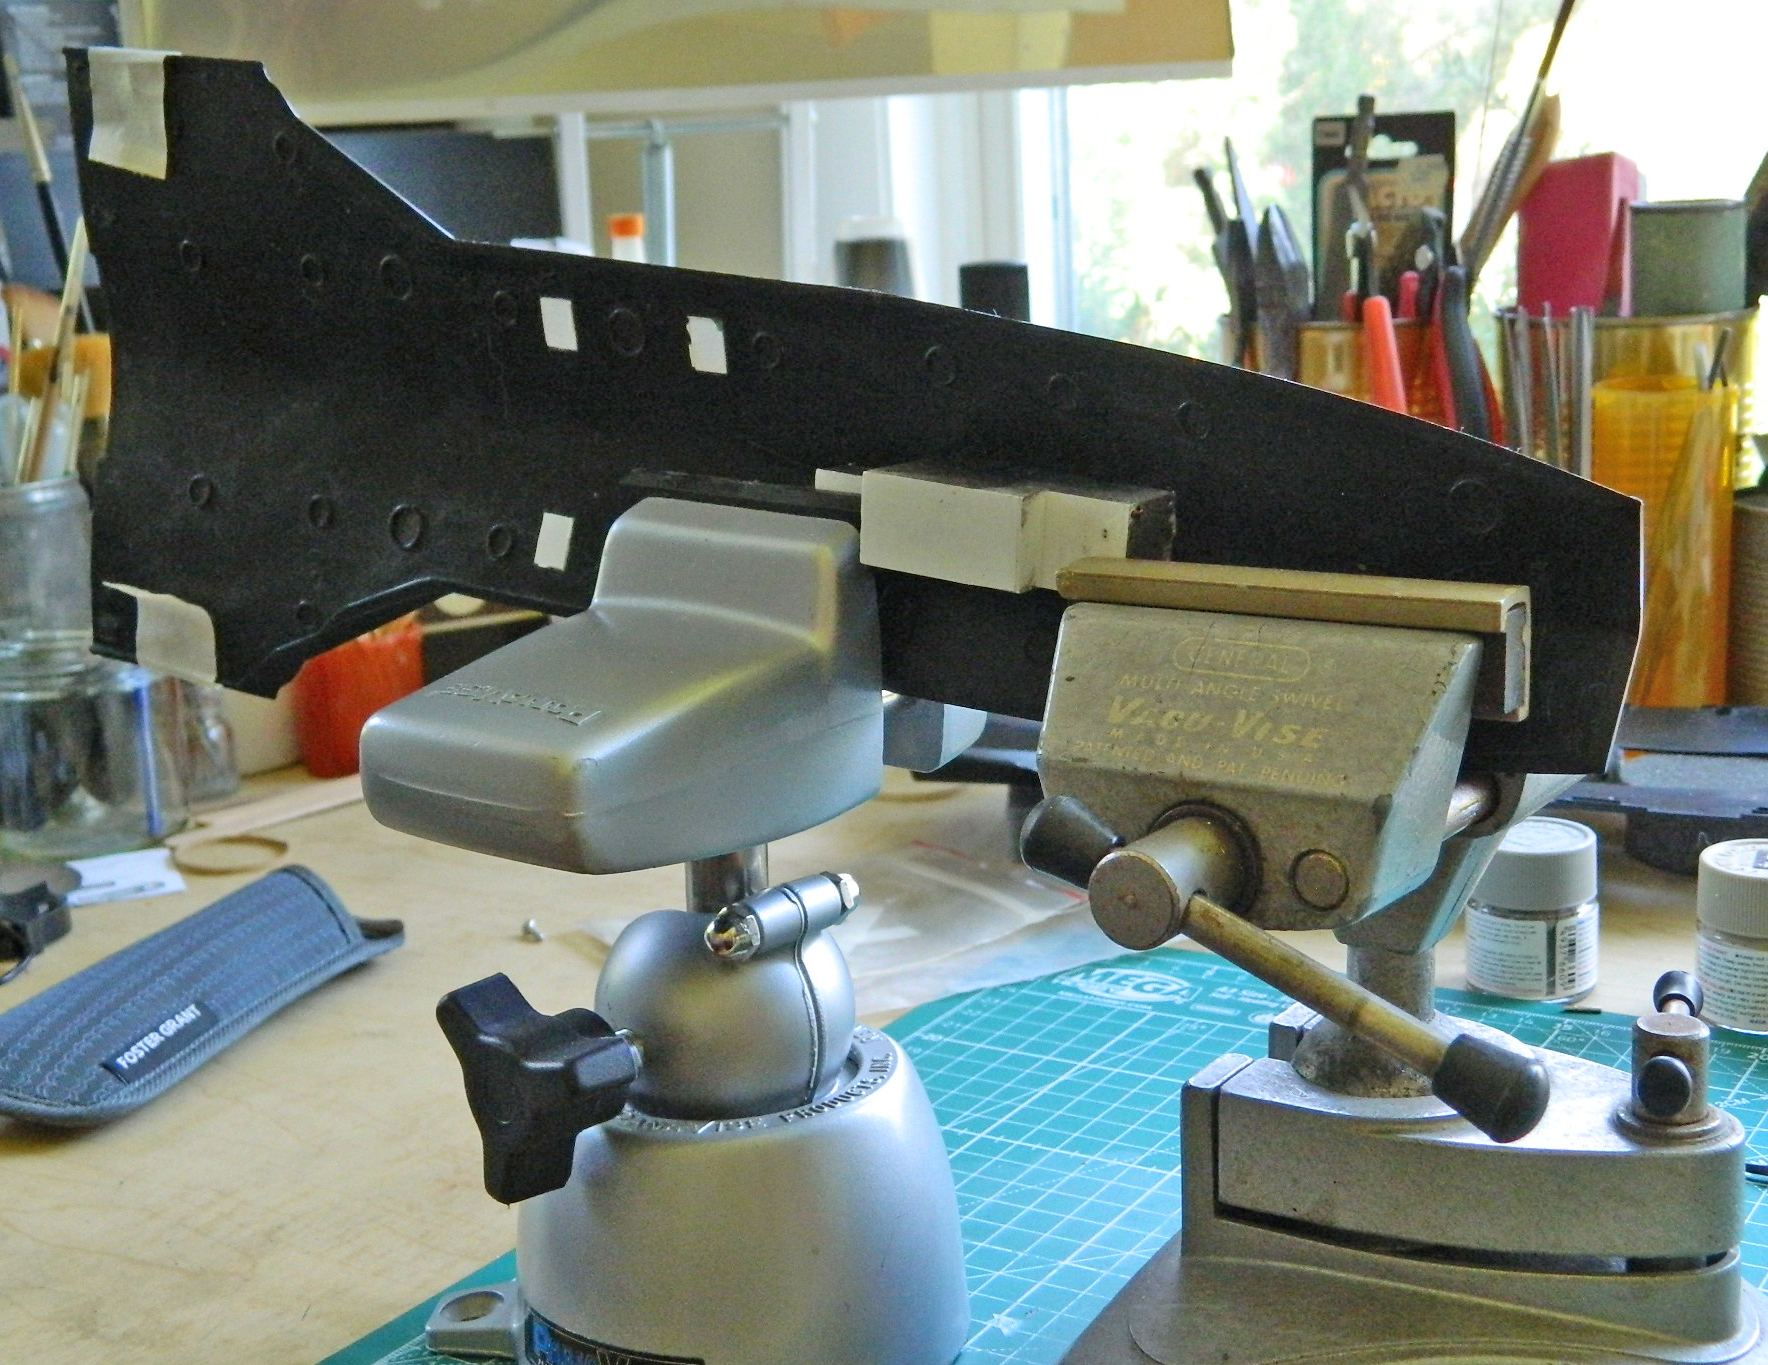
Okay, I liked how that came out, now to attach the nose gear bay. Since this model has some heft to it, I wanted to be certain I had enough surface area to support things. The first step was to get the bay in place. The vise on the right is supplying pressure to get a good bond in an area that wasn’t really fitting all that well (and there really wasn’t enough material left there to diddle around with):
I added some scrap .080″ (2.032mm) stock to both sides of the box to increase the surface area the glue could act on:

And then I noticed that the box was too narrow. If I knew how that happened, it would not have happened. The bottom edge in this photo doesn’t quite come out to the edge of the opening:
My “fix” was to add a strip of plastic to move the edge of the opening inward…and with how far out of true the underside of this nose is, that little strip of plastic isn’t the worst of it:

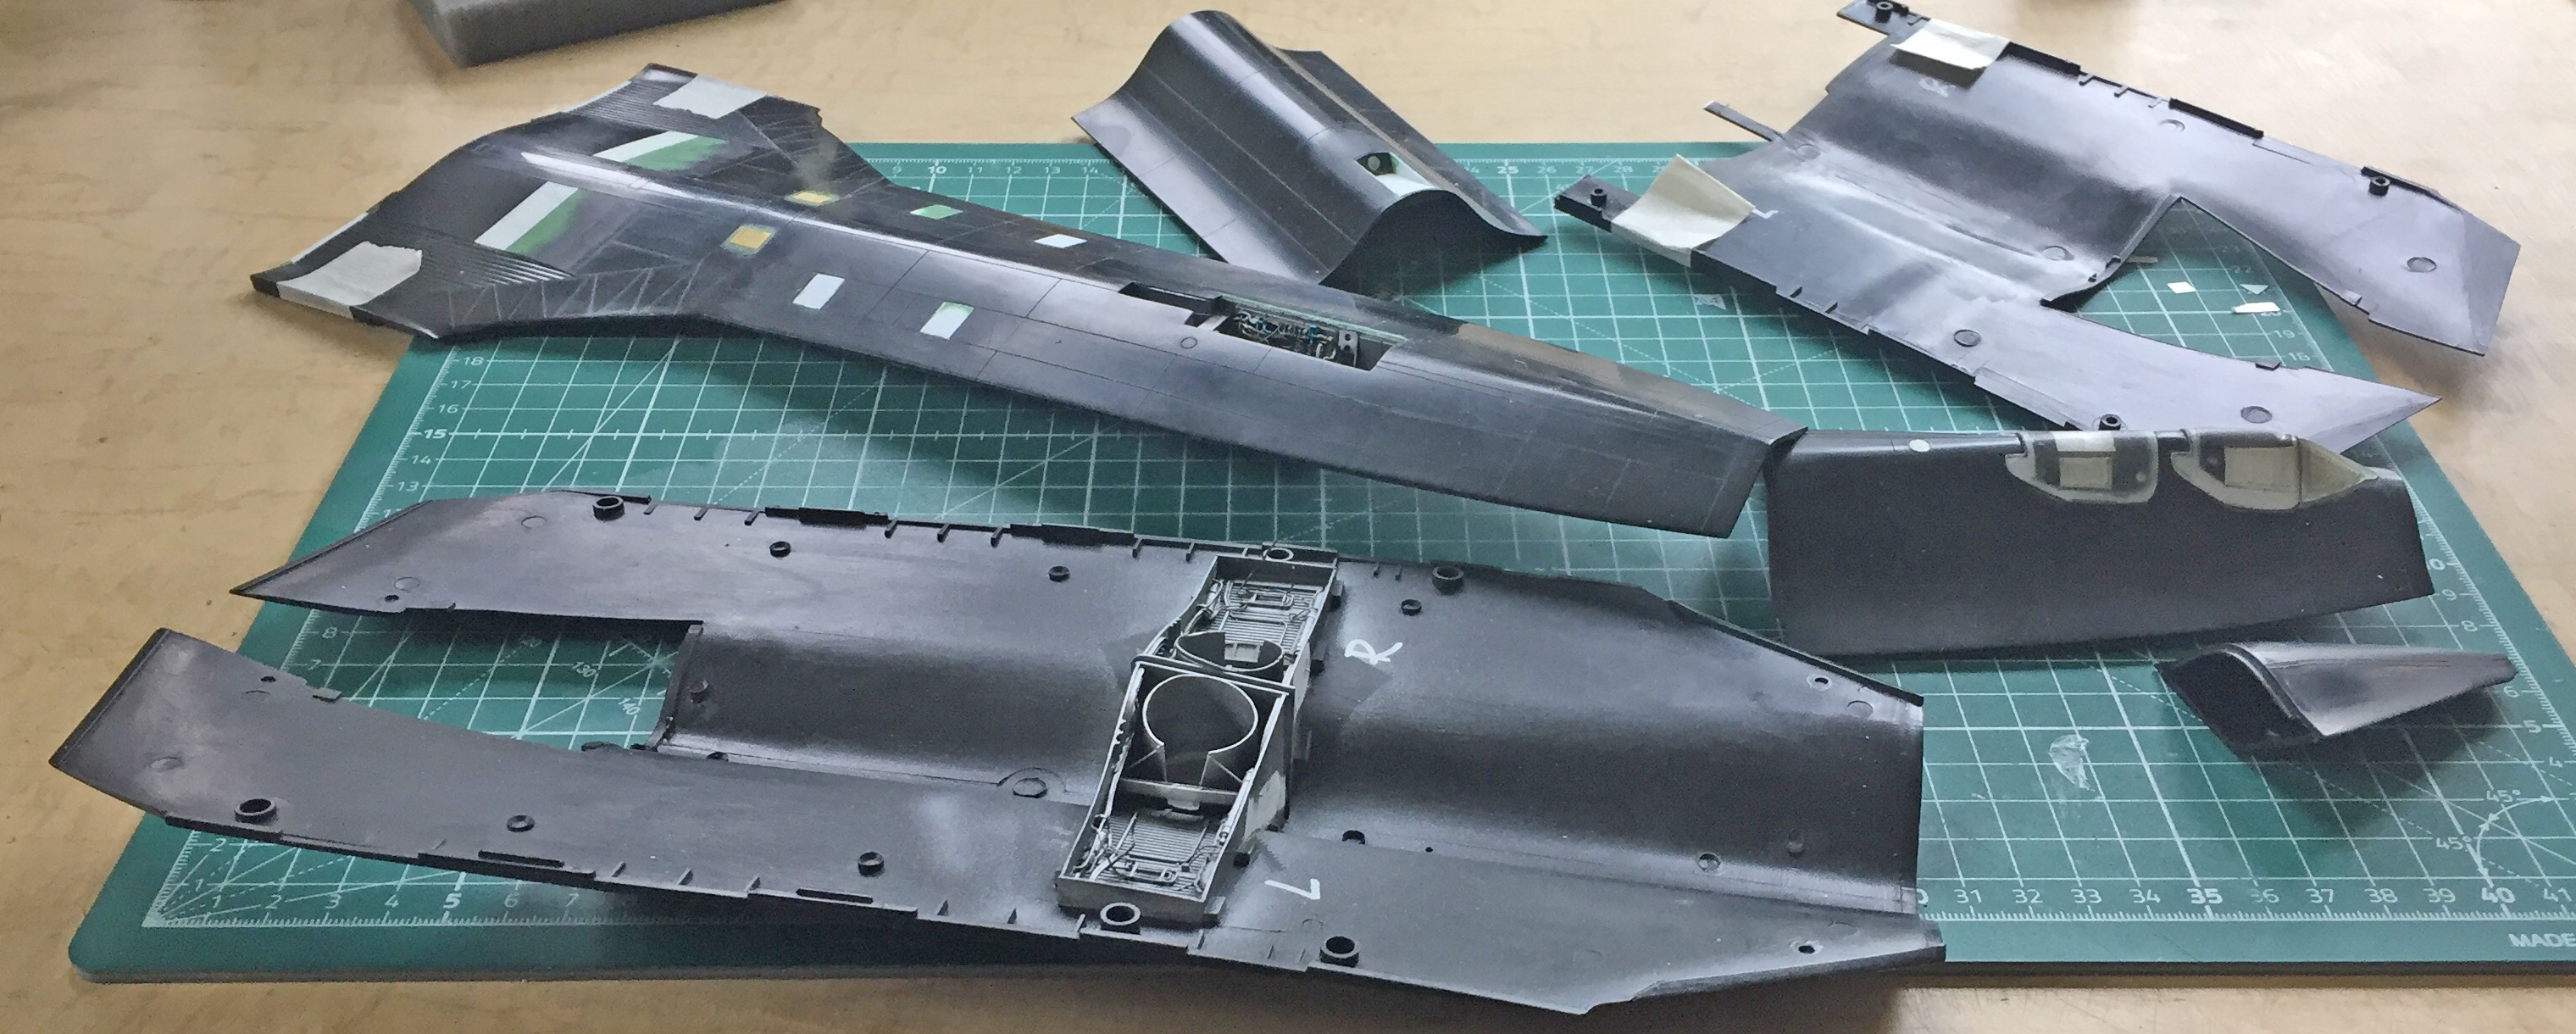
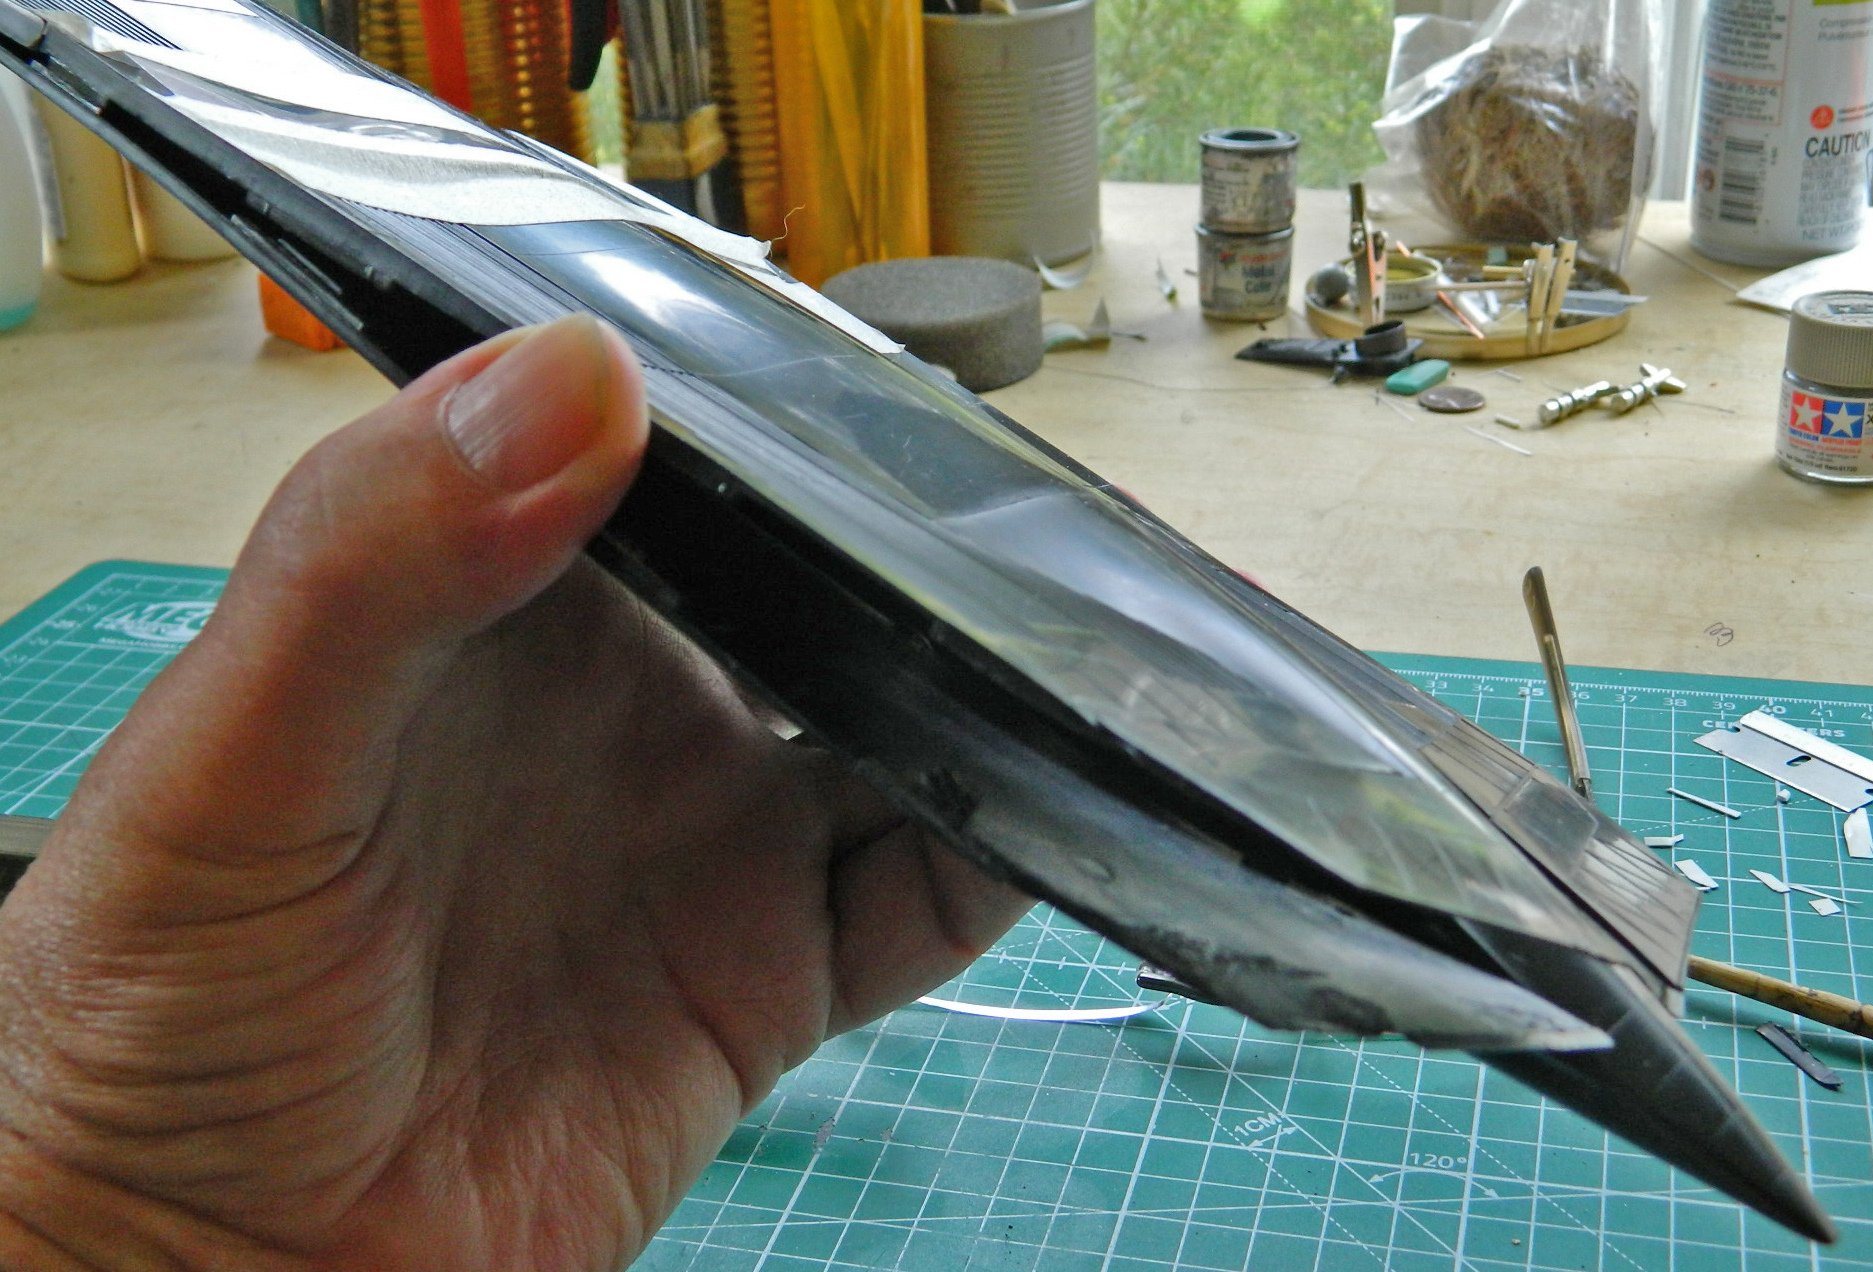
Time to put these parts together:
Putting these parts together required a bit of sincere persuasion:
About the time I got this far:

I noticed this broken part sitting on my cutting mat:

Those broken parts (because investigation showed more than one broke) came from here:

Not. Remotely. Pleased. The broken part was reassembled (almost completely…a very tiny part of it was never found) and glued back into place. NOT. FORNICATING. PLEASED.
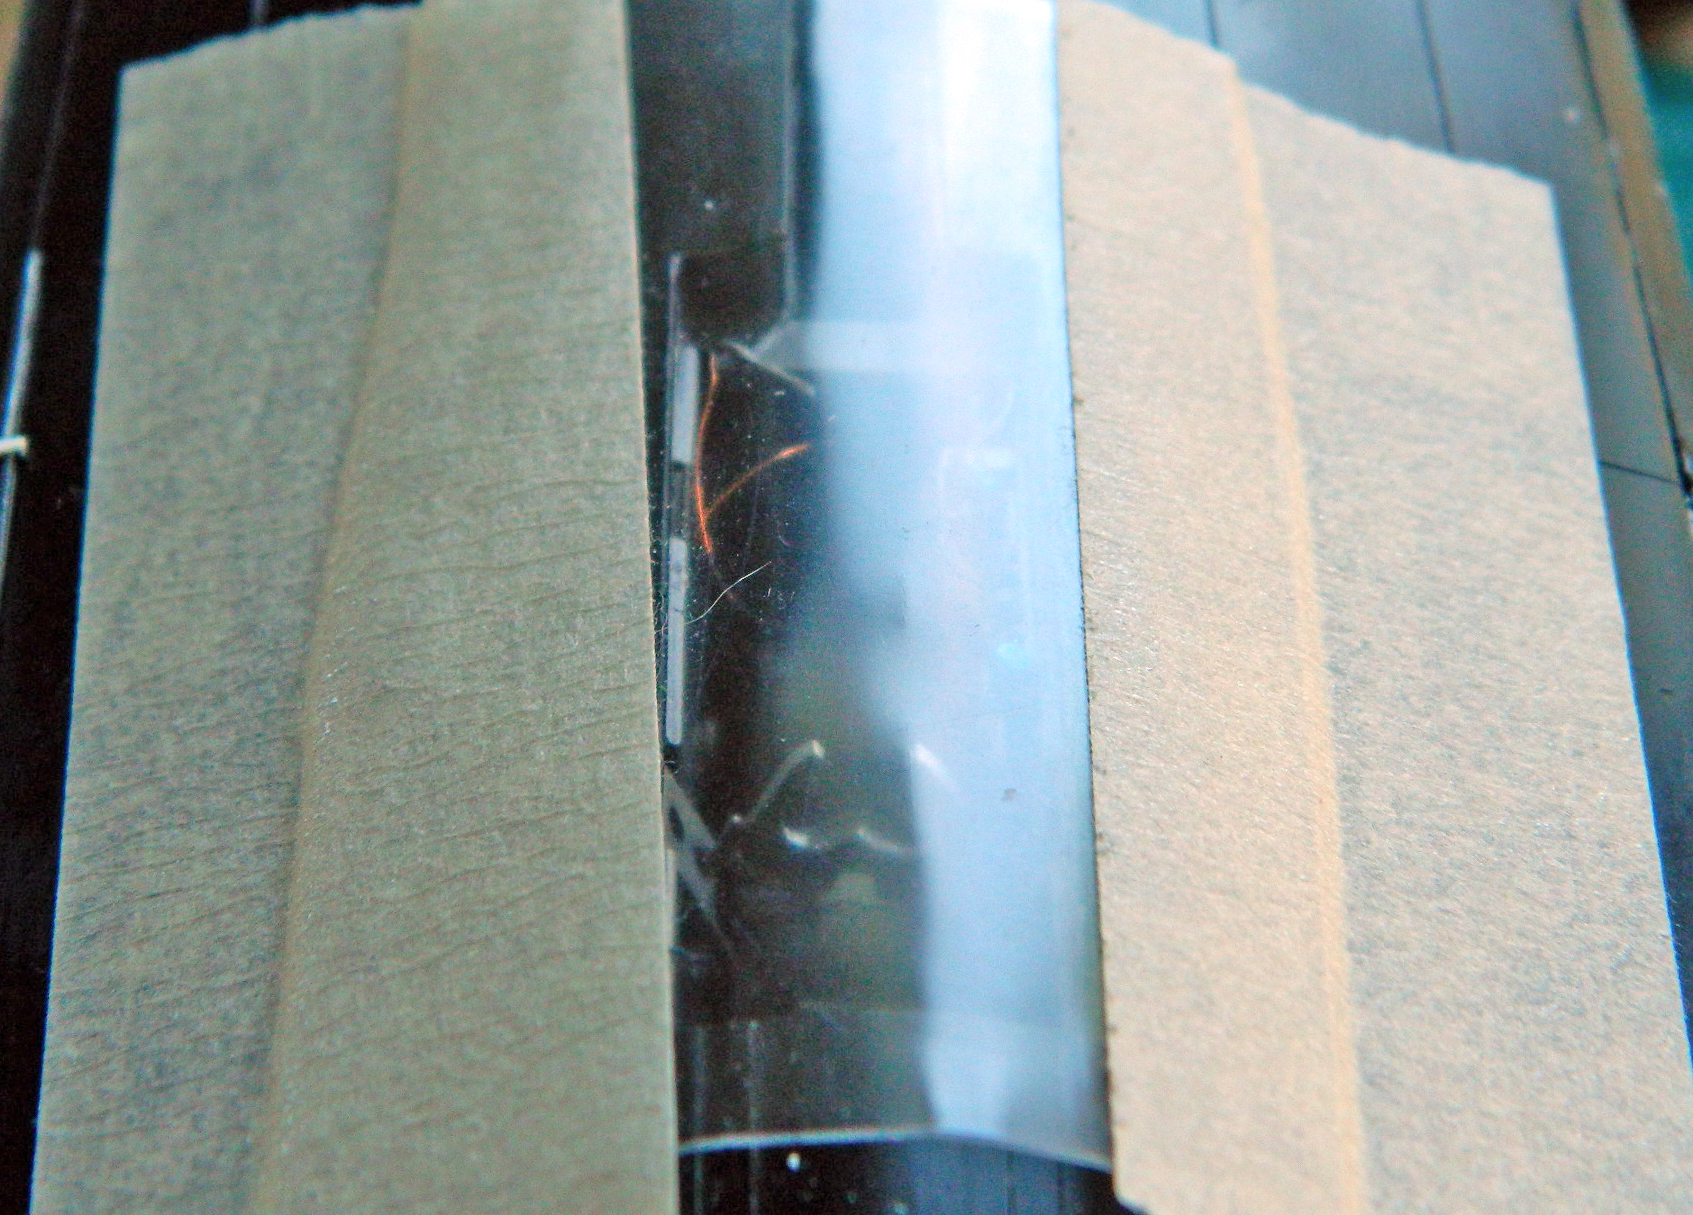
To keep some moron (me) from blindly stuffing his finger into the bay again, I covered them all with excess plastic from a vacuforming session:
I also noticed the numerous places where “fit” would need work to FIT, in addition to numerous places where plastic needed to be added to fill gaps. Flat .010″ (.254mm) fitted into the gap found in underside of the nose:


And where the edges of the nose had gaps took some thicker scrap styrene:

Thicker stock filled gaps near the main landing gear bays:


And where fuselage sides met wing roots:

And where the fuselage met the fuselage…in other words, any place something with the fuselage met (or was supposed to) something else with the fuselage:
Some places I filled with sprue:

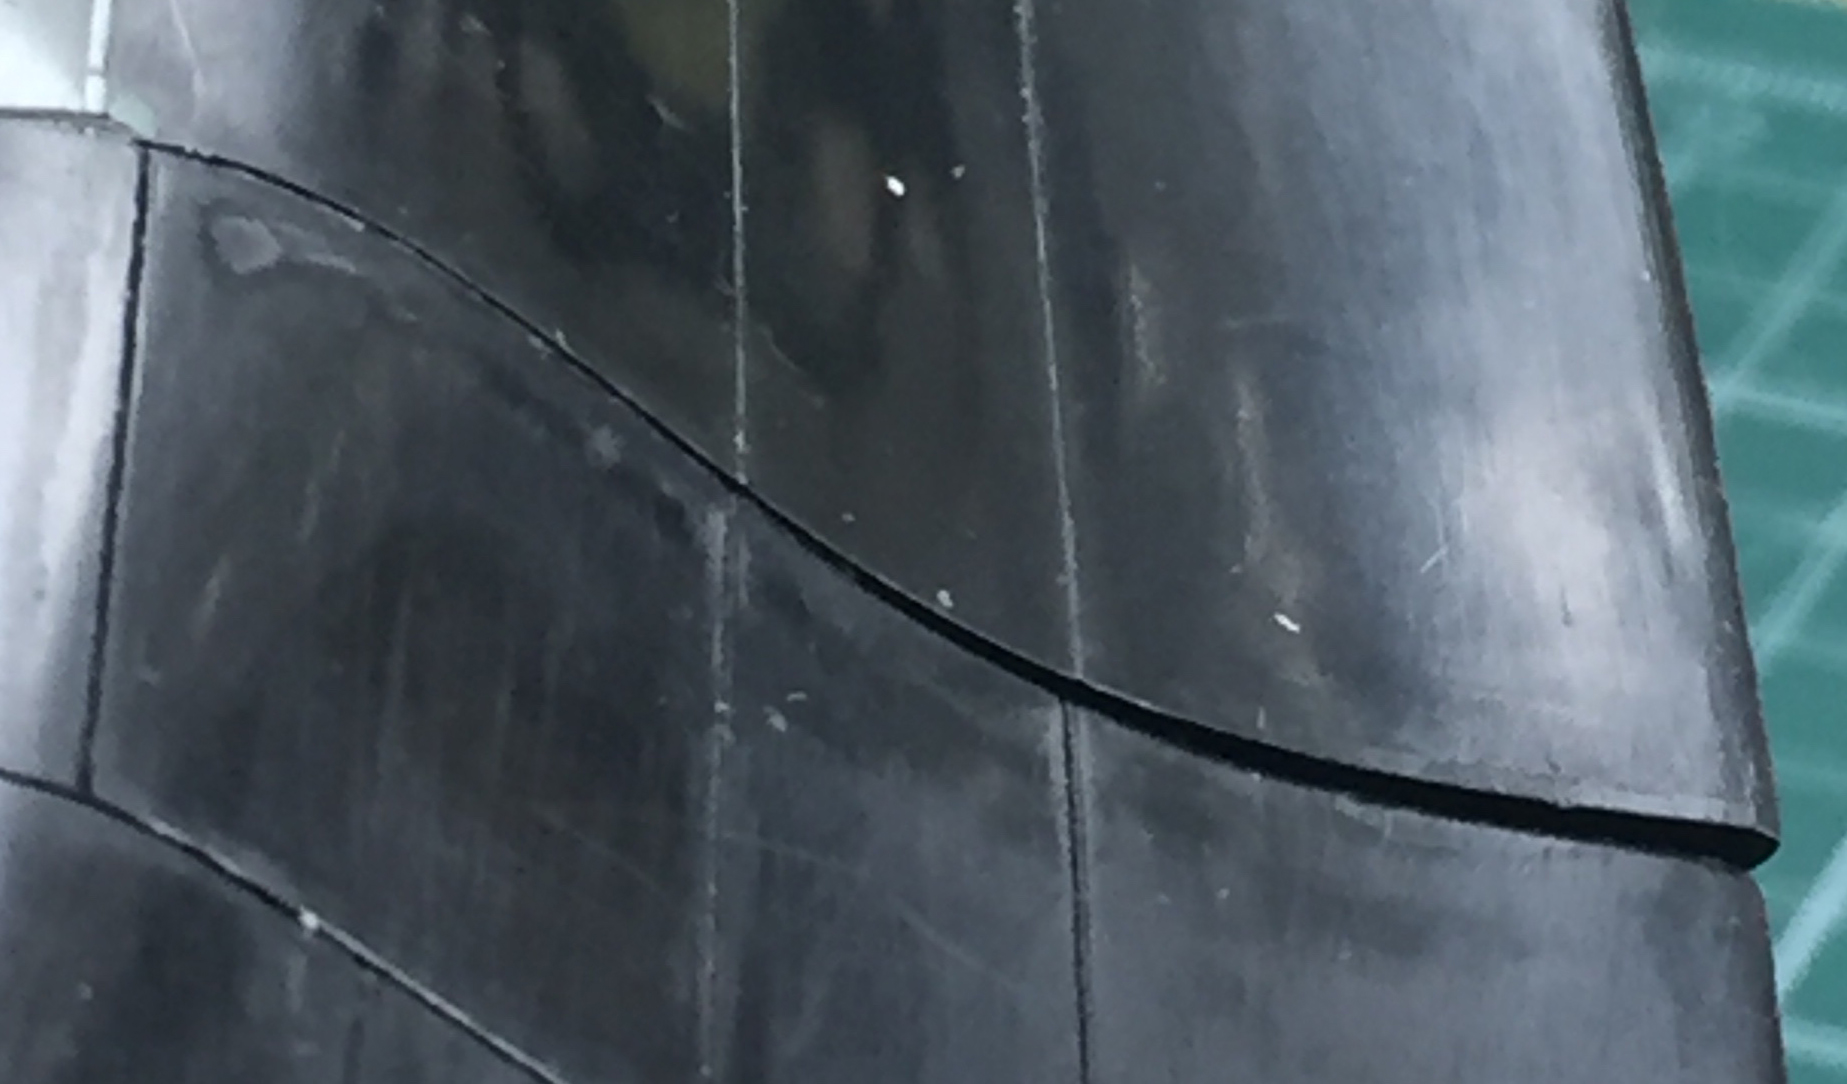
At this point you get to see the “Right Proper Scare” mentioned in the header. I turned the fuselage onto its back and discovered that THIS part doesn’t come anywhere near close to fitting:

Well. That did fascinating things to my blood pressure.
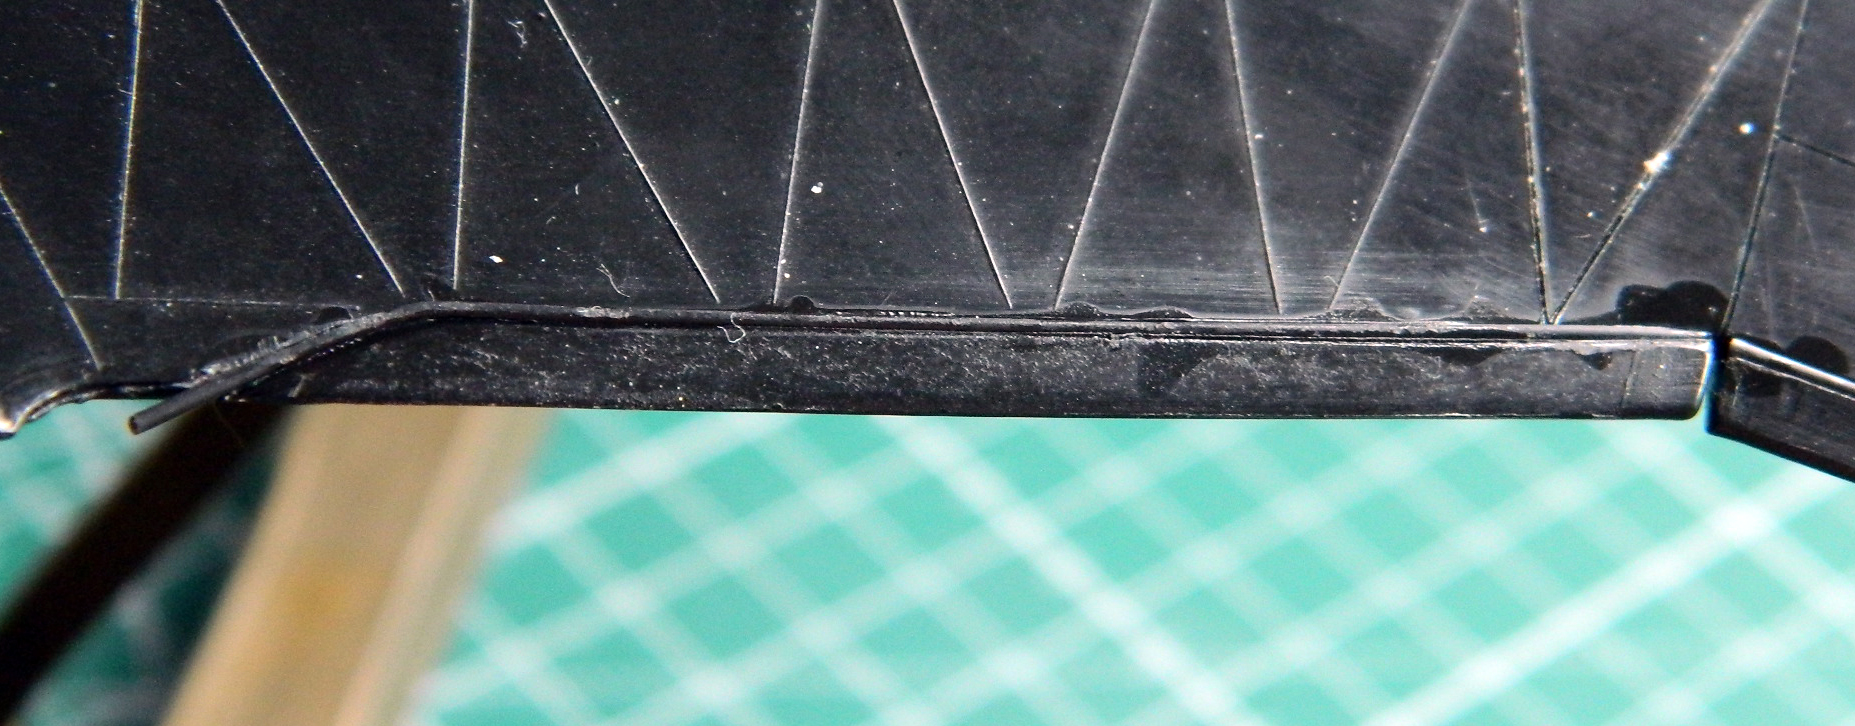
Yeah, that’s going to require some sort of magick or some sort of trick or some sort of SOMETHING SODDING CLEVER on my part because if that ISN’T made to fit, I either end up with a 3/16″ (4.76mm) step where there IS none:
OR I end up with a small hole like this:

I spent a few days considering how I could explain to the person that this is being built for that he wasn’t going to (ever) get it. I also spent a few days considering how I could fix it. I realized that fixing it was going to be easier.
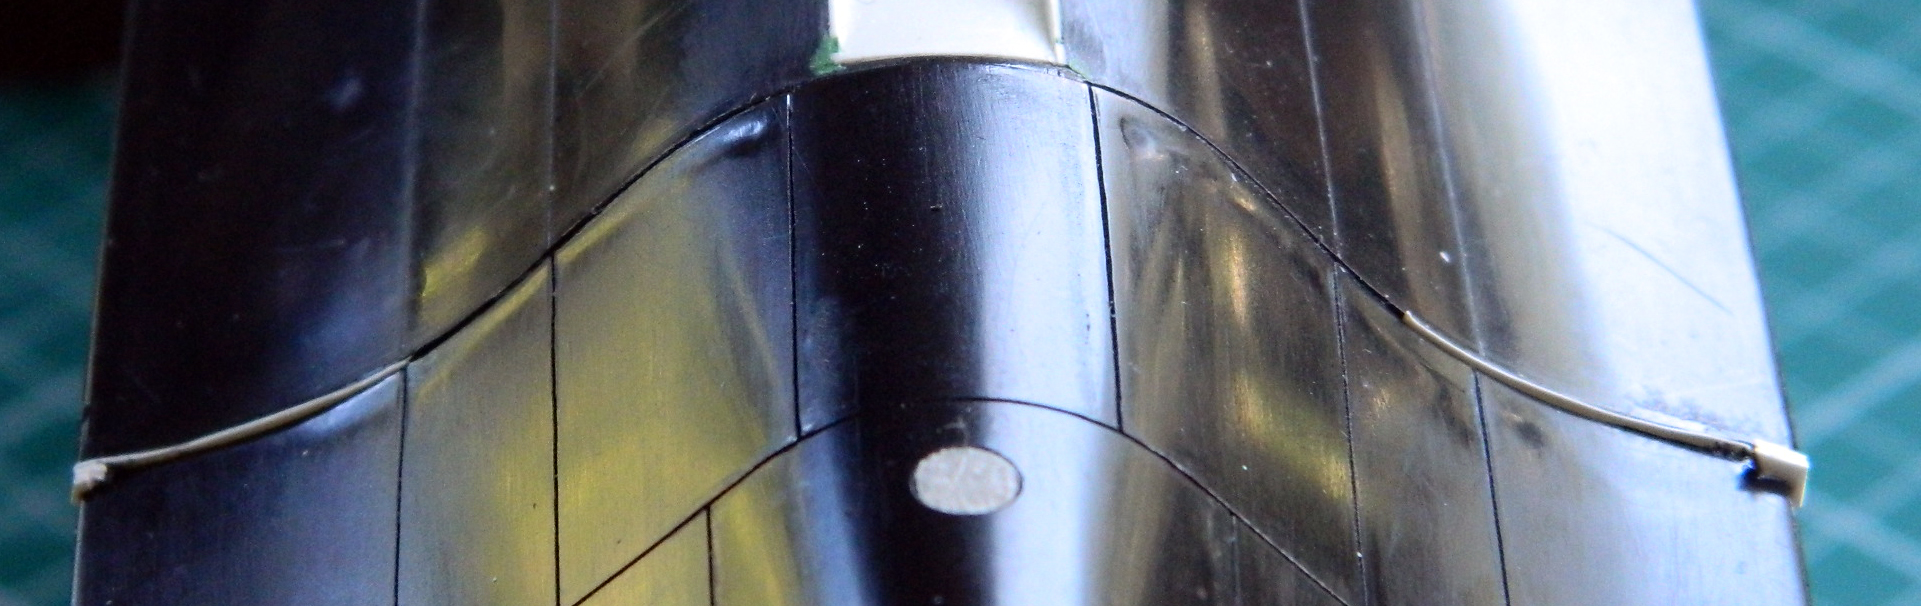
If you look at the lower left corner of the photo above, you’ll see there’s a section missing from the edge of what is the elevon (yes, that’s actually a word…it’s the combination of an elevator and an aileron). That’s because I split the fuselage parts aft of the main landing gear bays. The fuselage part that doesn’t fit was added to the underside (mostly because that’s where it’s supposed to go), the glue allowed to set up for a couple of days (because there’s going to be SOME FORCE applied here, dammit), and once I was satisfied that the part was as bonded as I could make it, I started bending things a bit (as well as more than a bit) (and in one place a lot), until things actually lined up.
That required me to hold the upper and lower fuselage sections apart while the glue set up enough for me to release it:
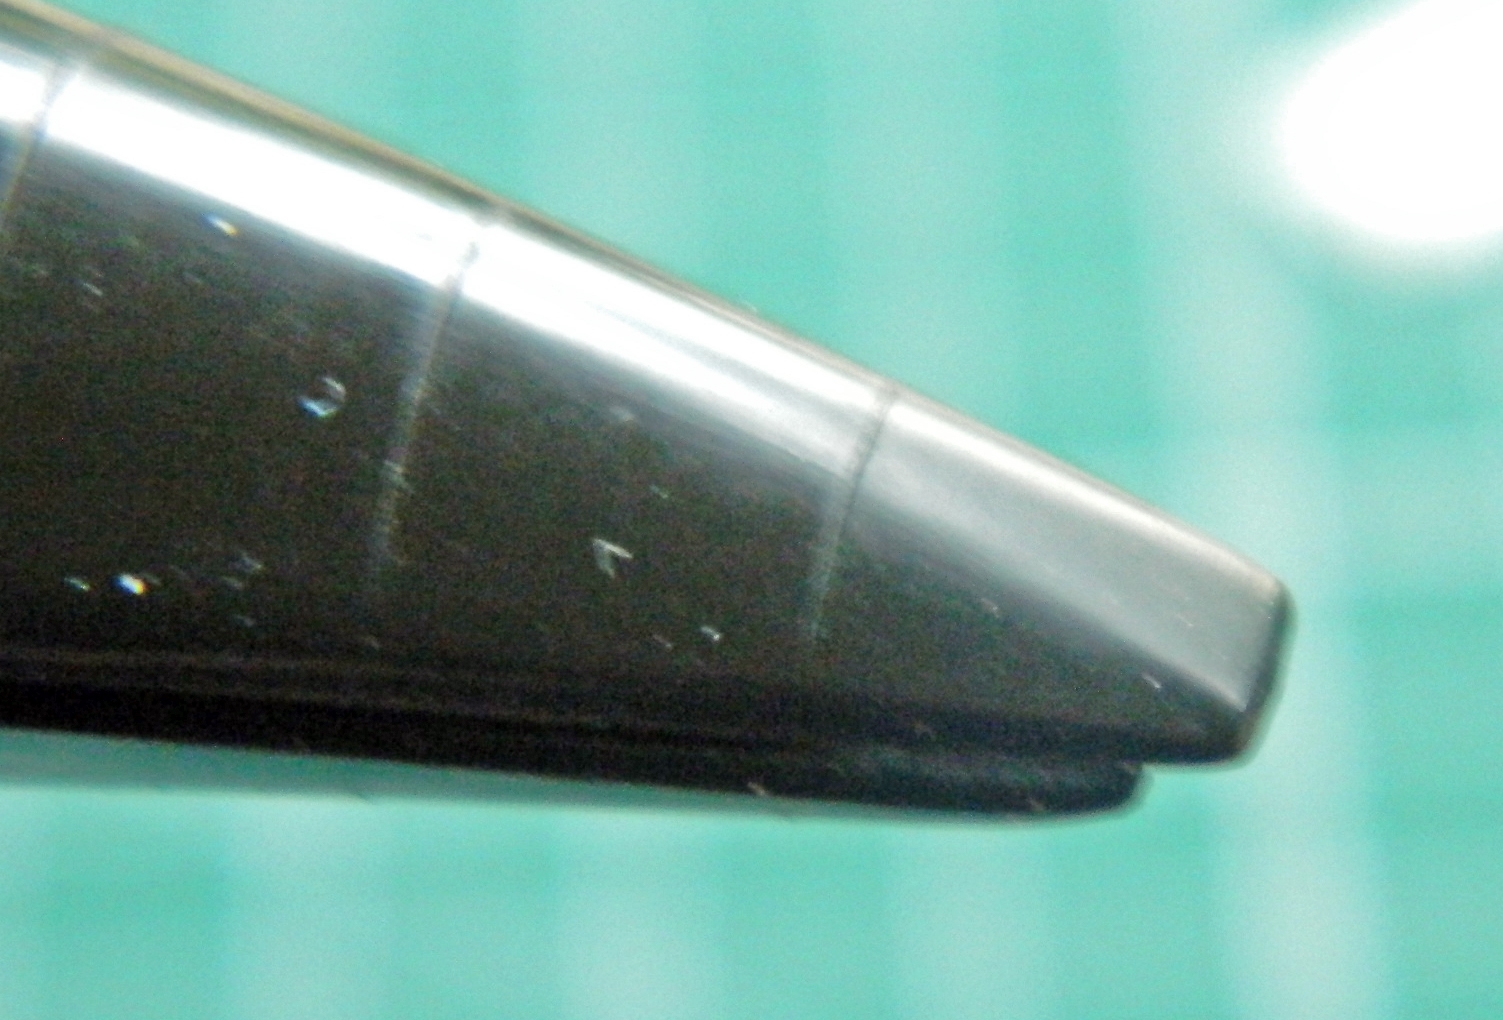
But I got it to fit:
“Fit” is a relative thing, sometimes… (And can be the difference between someone who assembles a kit and someone who builds a model. It’s only when things head for the crapper does it become an indicator of the builders’ skills. If it all goes correctly, it’s all easy.)
Now I had to reattach the bottom of the fuselage to the top and get all that to fit as well. As things turned out, this problem, even though it scared me to borderline incontinence, actually solved a different problem I had been concerned about. Having to bend and force things to fit the underside piece properly actually straightened out the warped fuselage parts and that will end up making it much easier to attach the engine nacelles:
Whew…recovered:
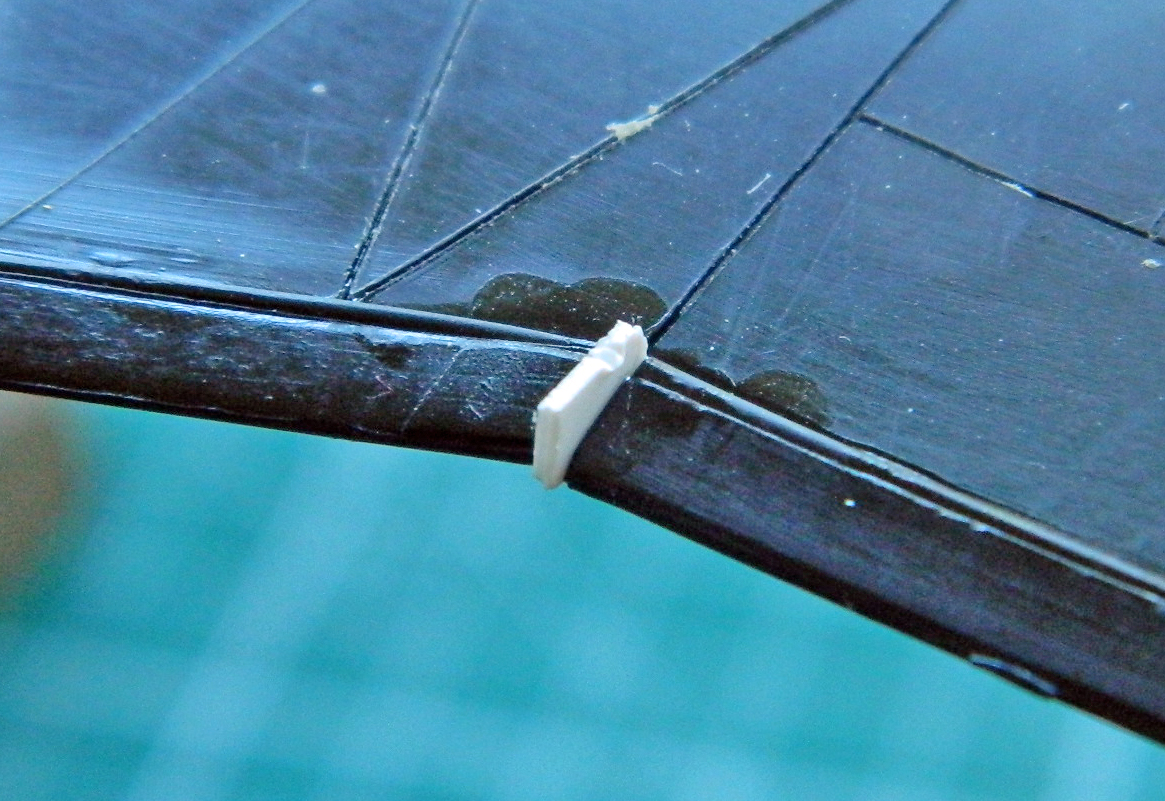
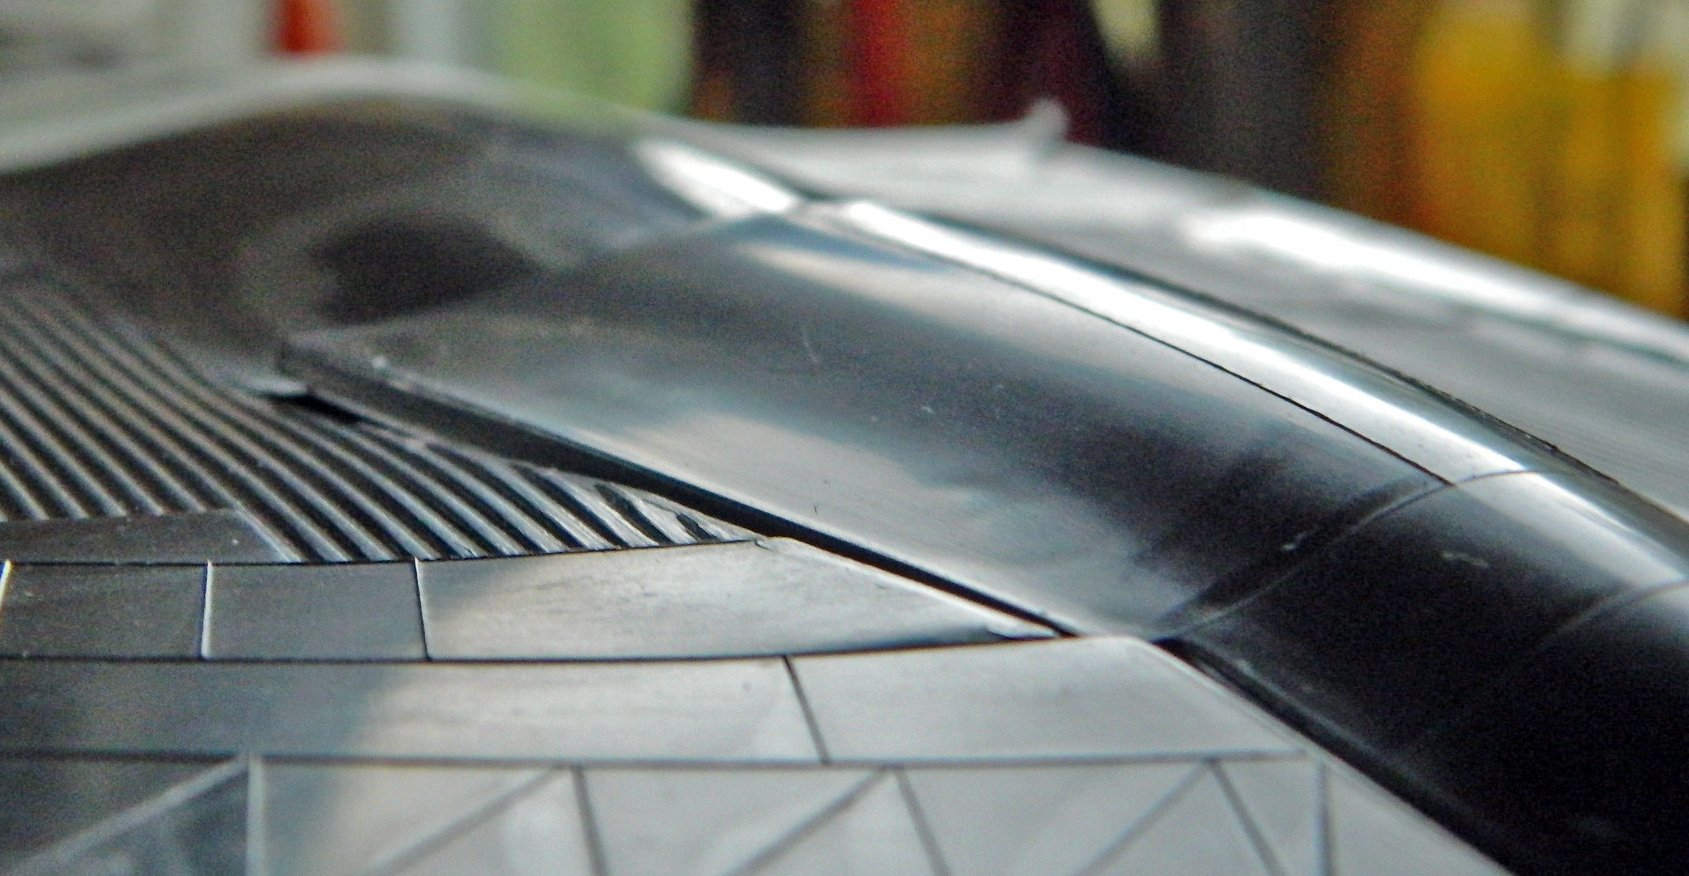
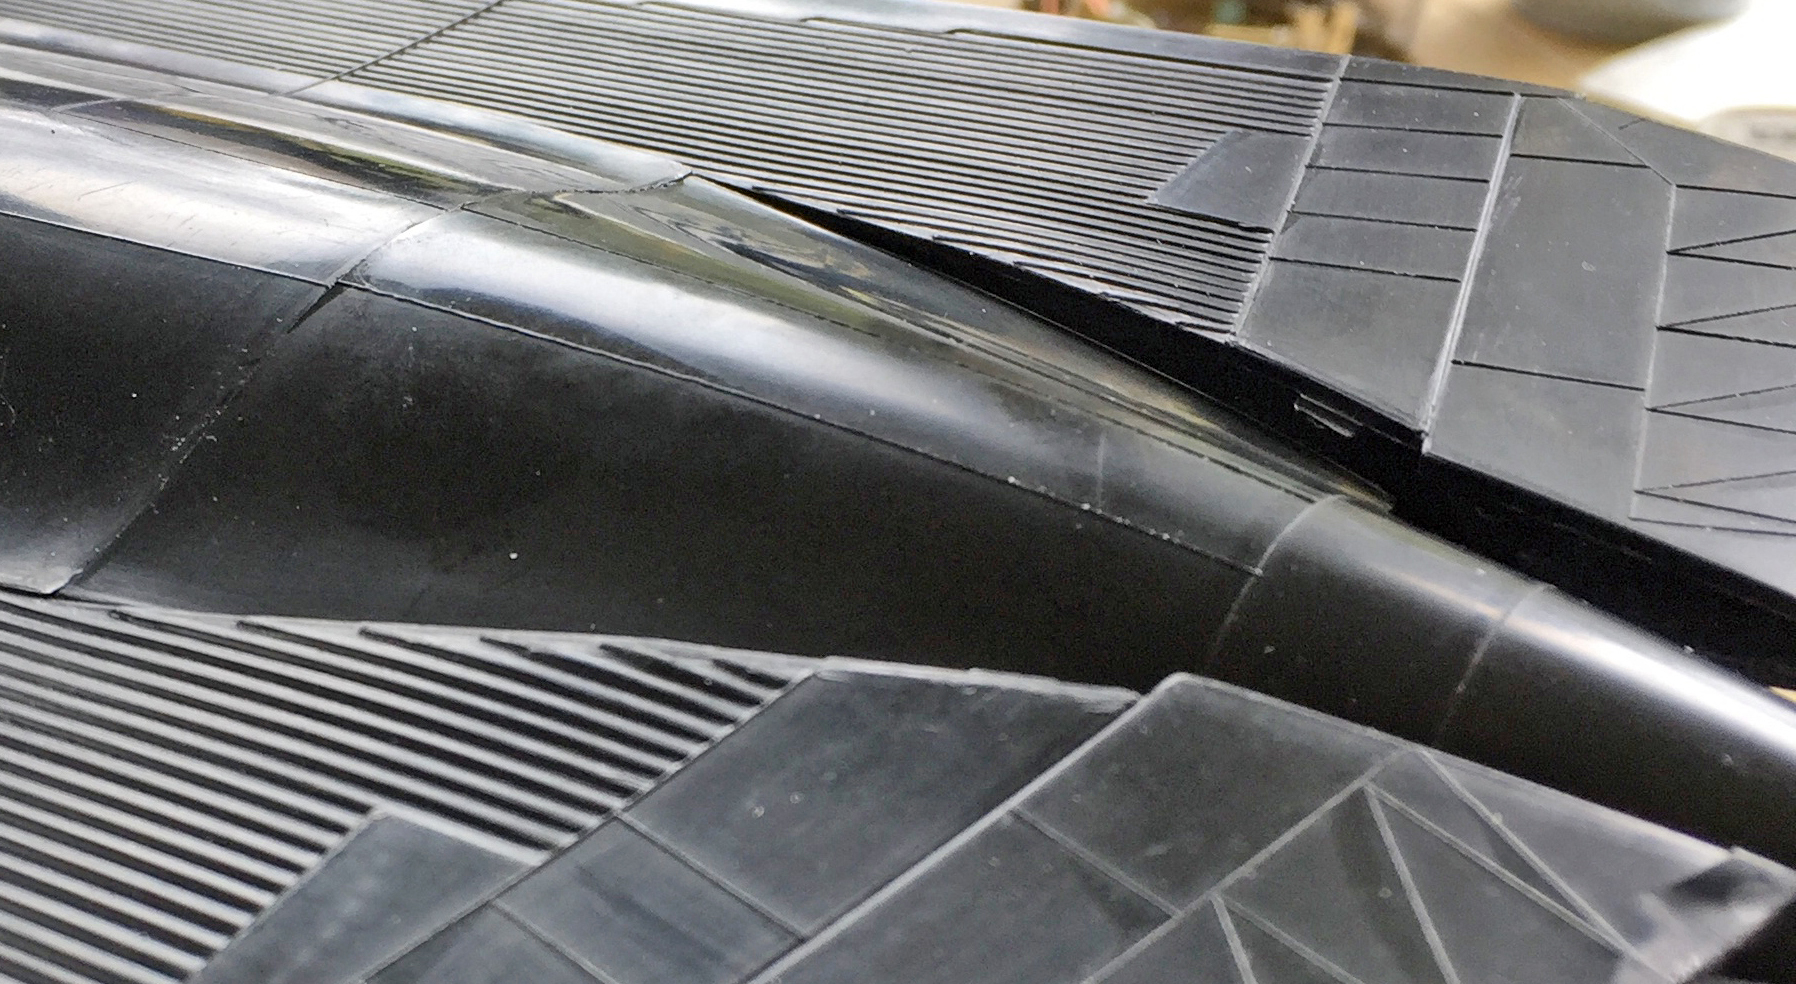
One of the things I noticed when I was at the NASM was that there were a number of fuselage panels that weren’t butt-fit but overlapped instead. The first place I noticed that was where these panels sat higher than the ones adjacent behind the leading edge of the wings:
I used .005″ (.127mm) sheet to raise them:
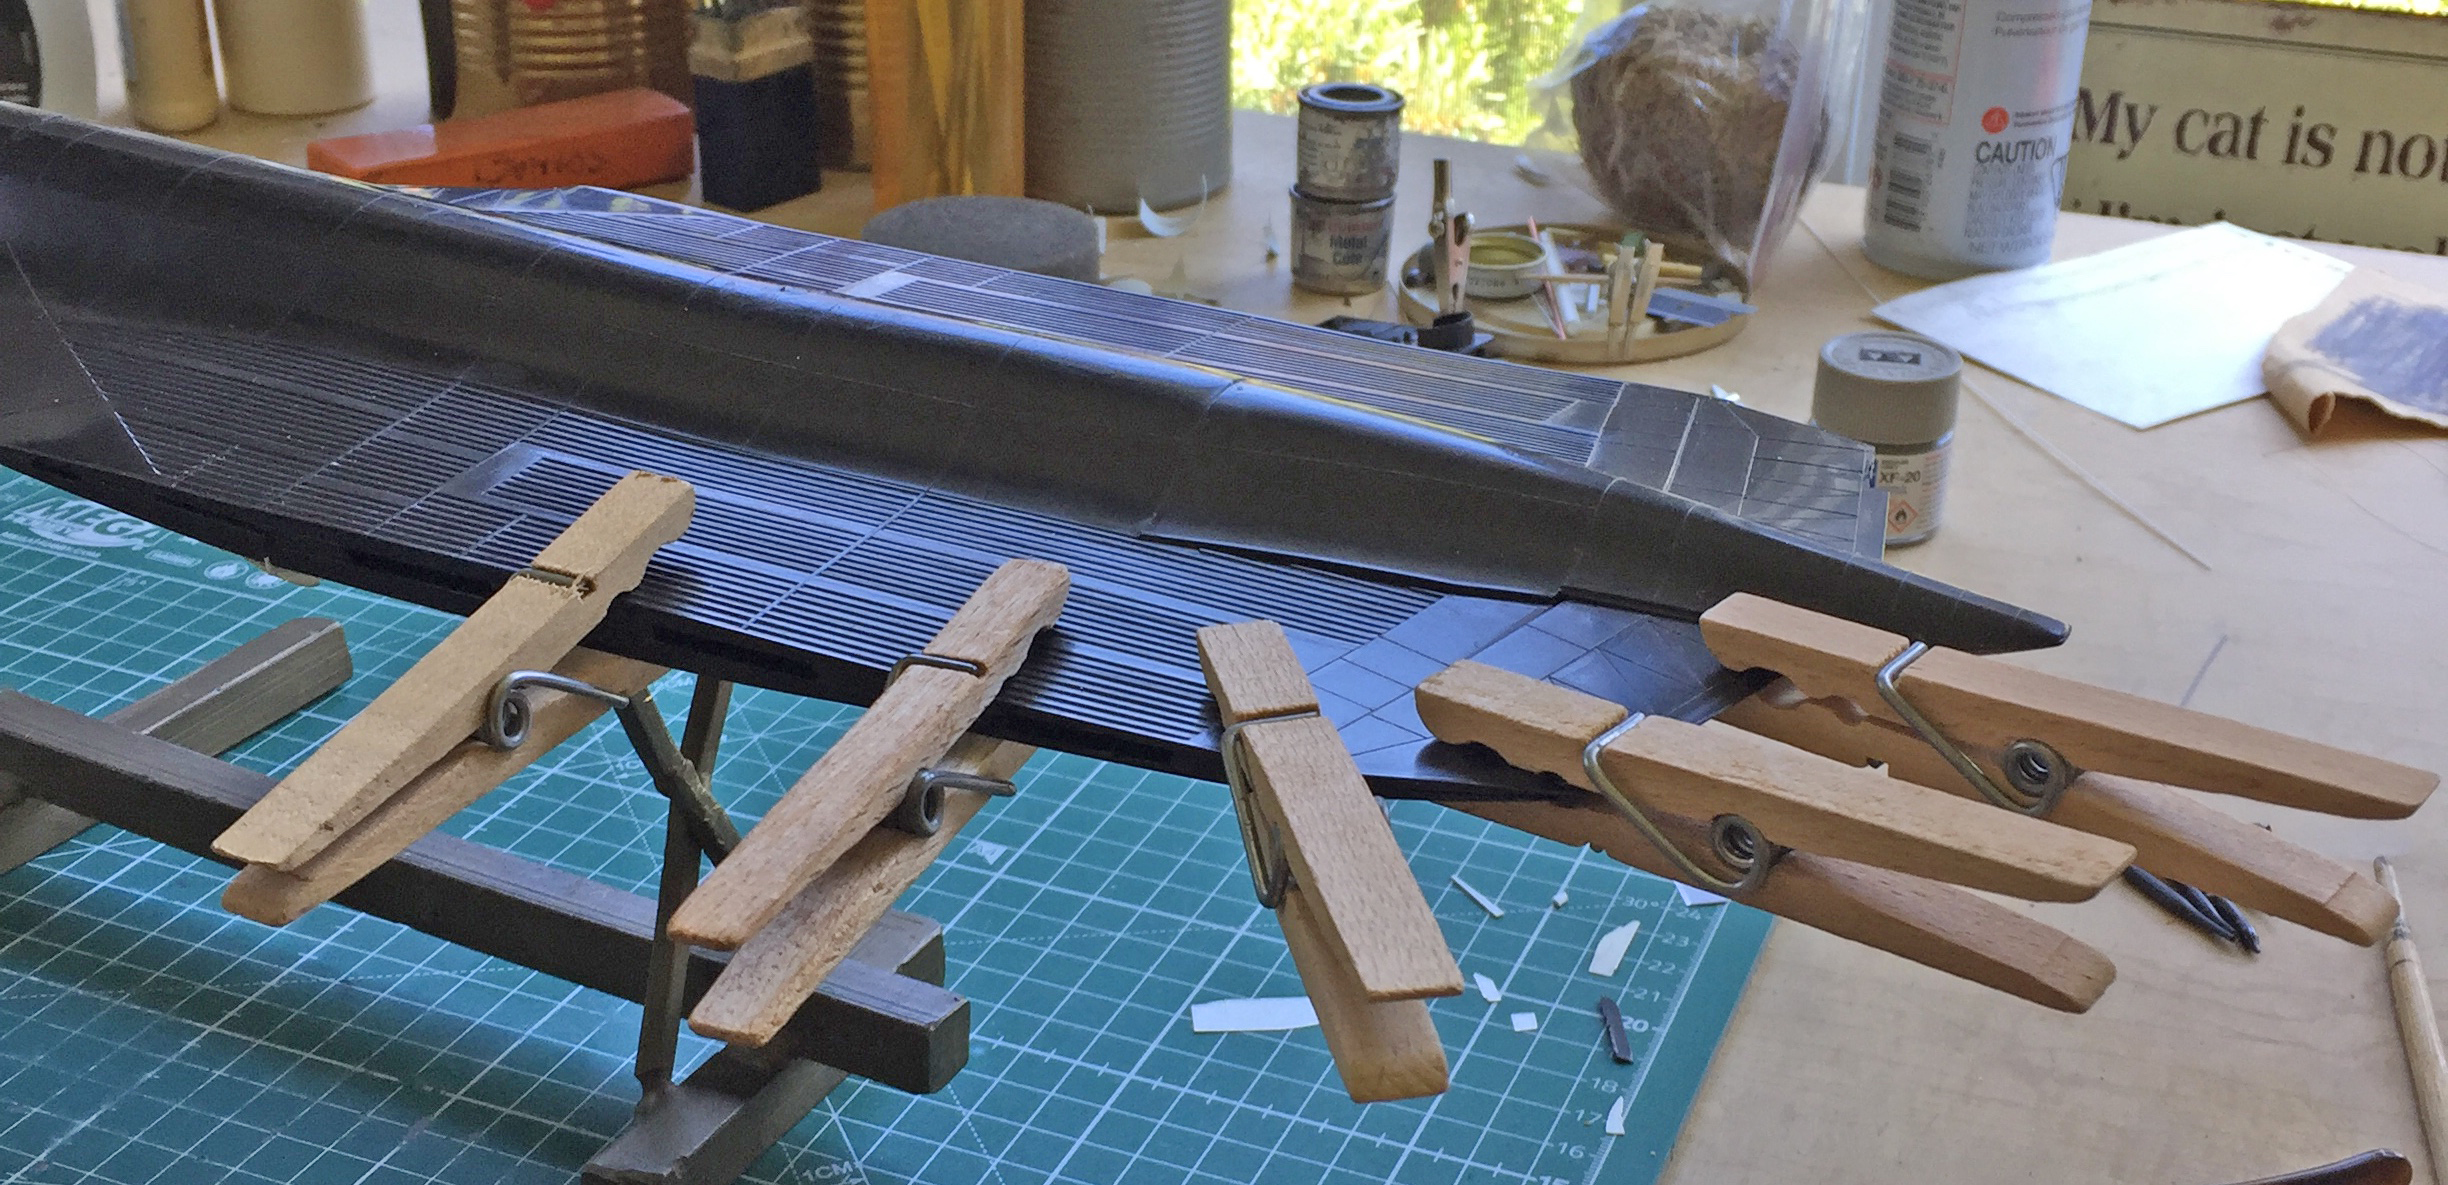
Once all the panels were added to the tops of the wing roots, I needed to blend one panel with putty:
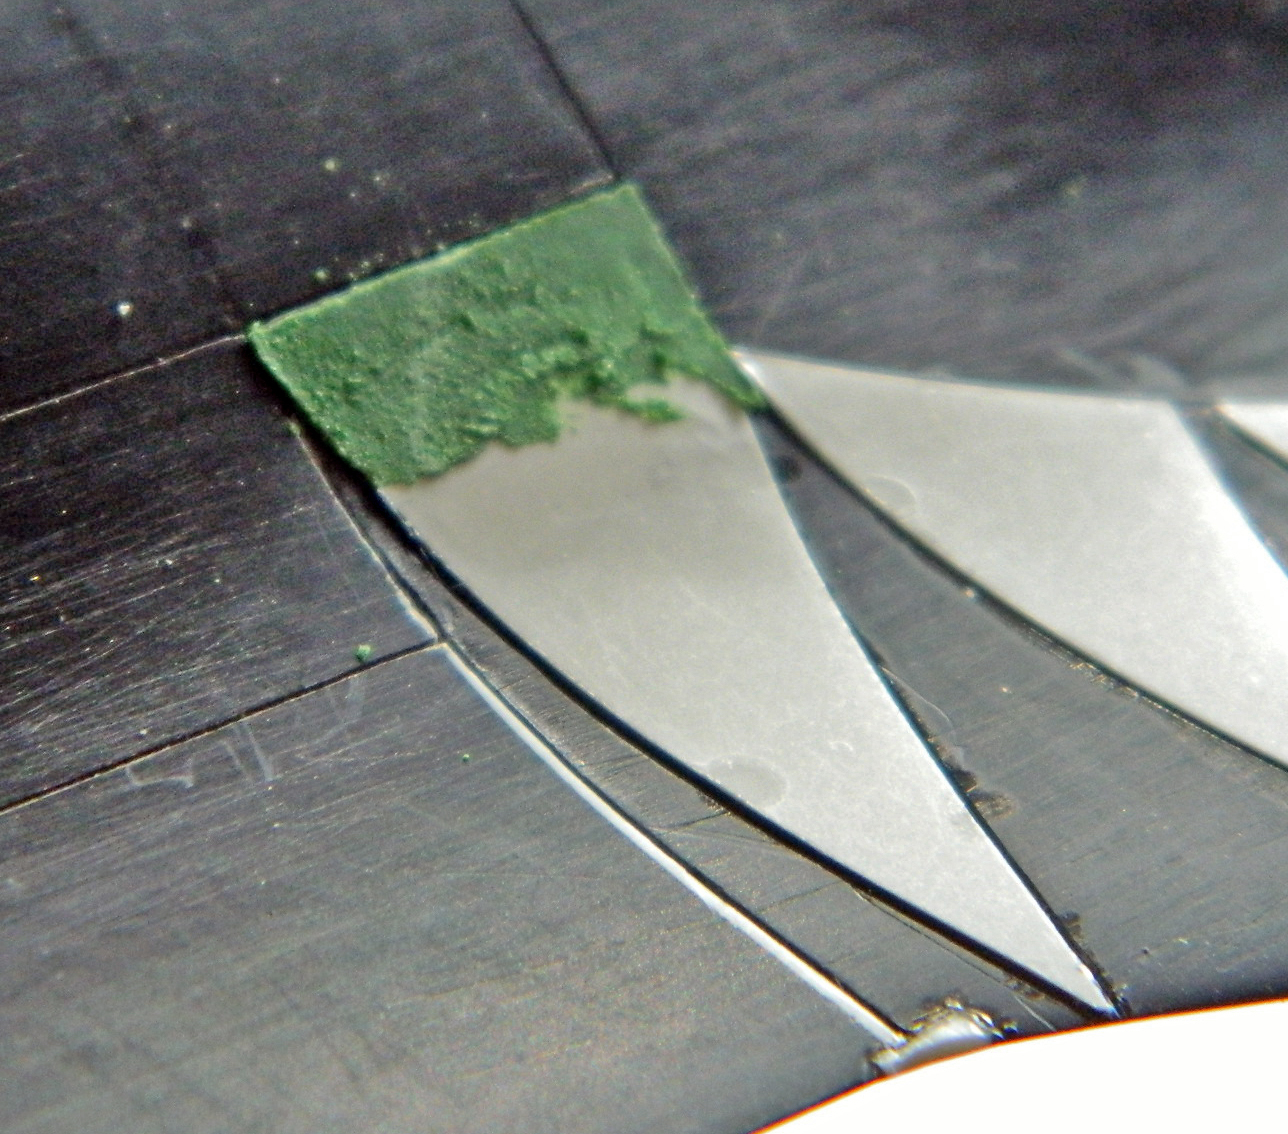
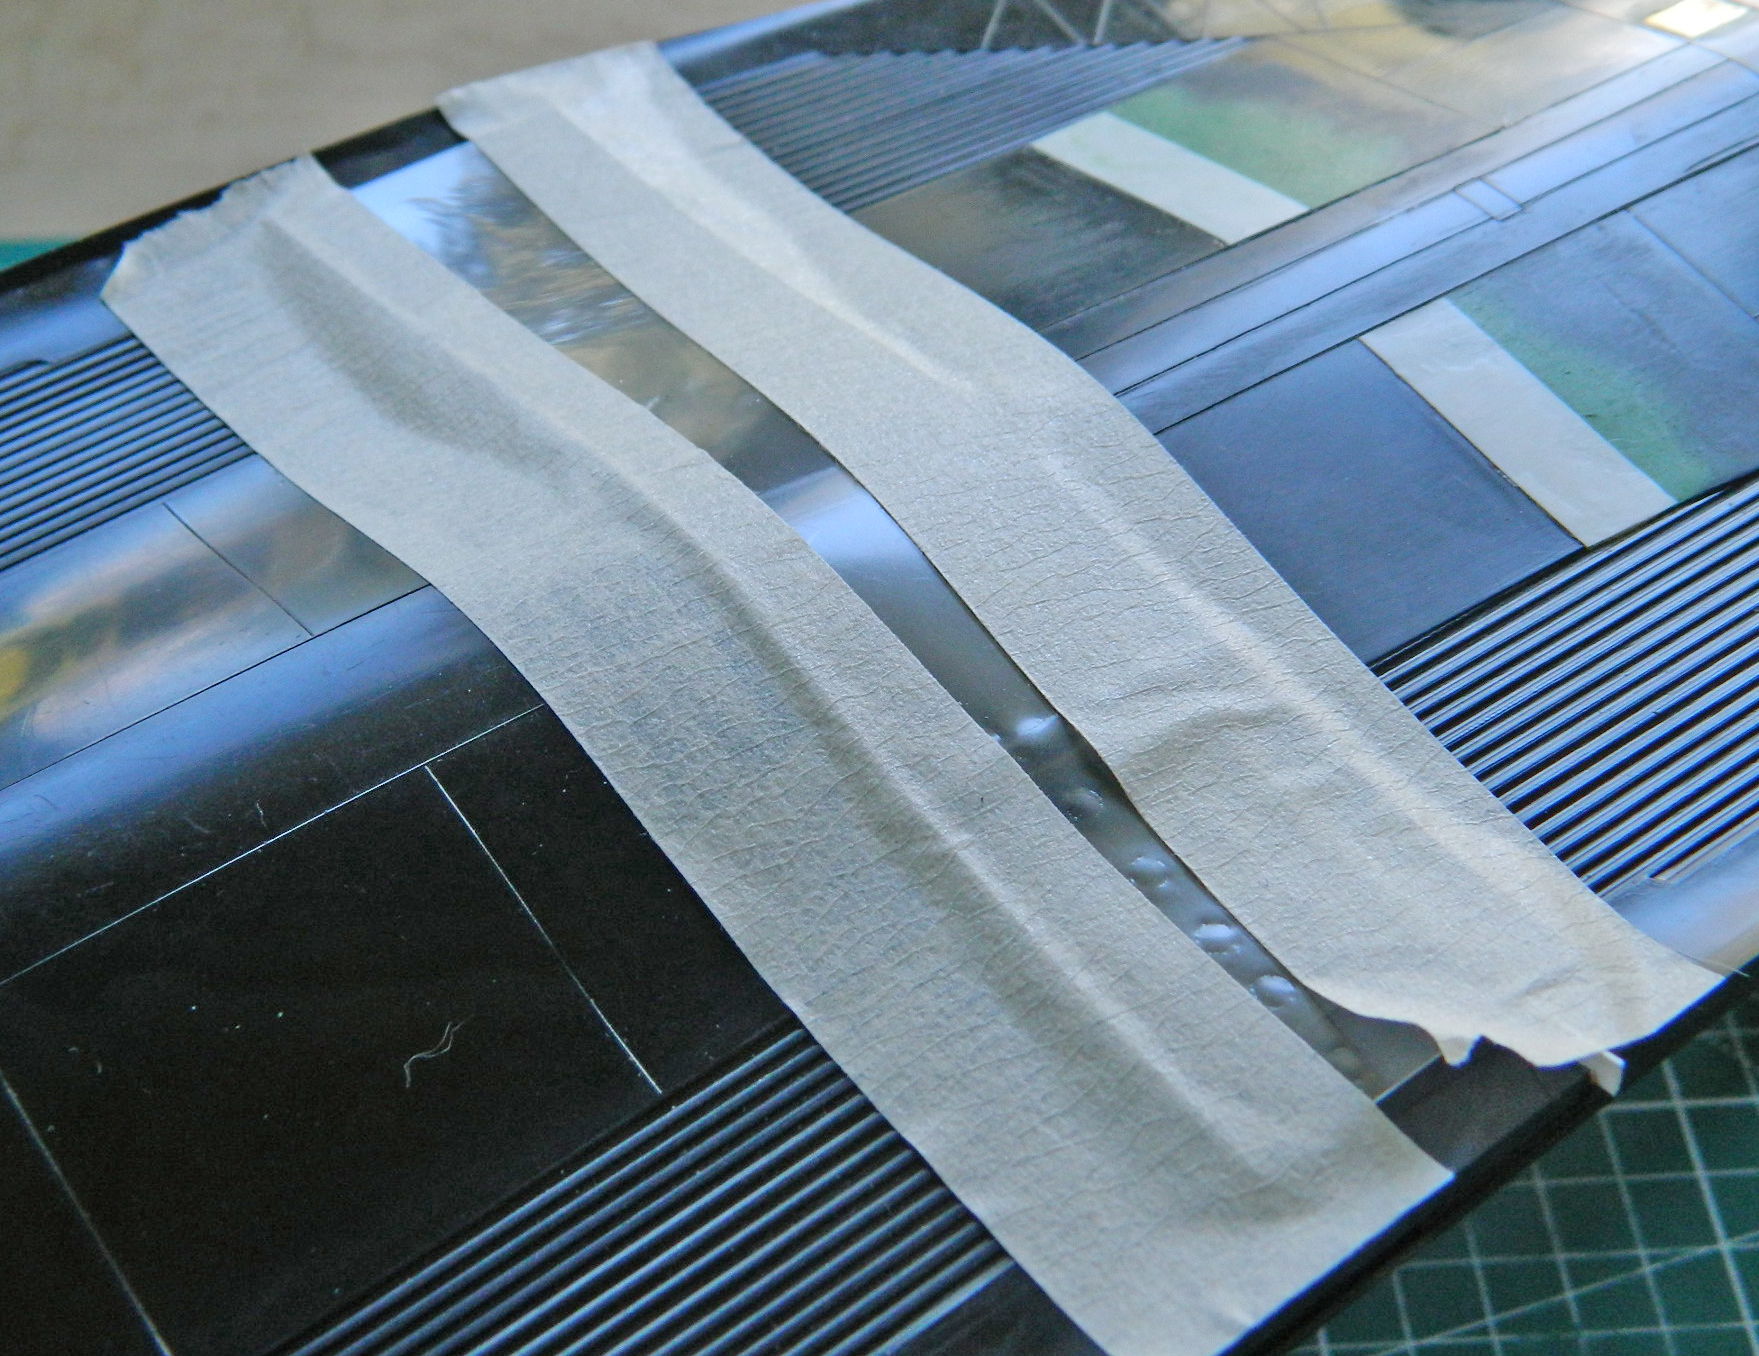
And since I had the putty out, I added it underneath to make the part I’d forced to fit blend without any ridge (and I did more panel scribing while I was under there):
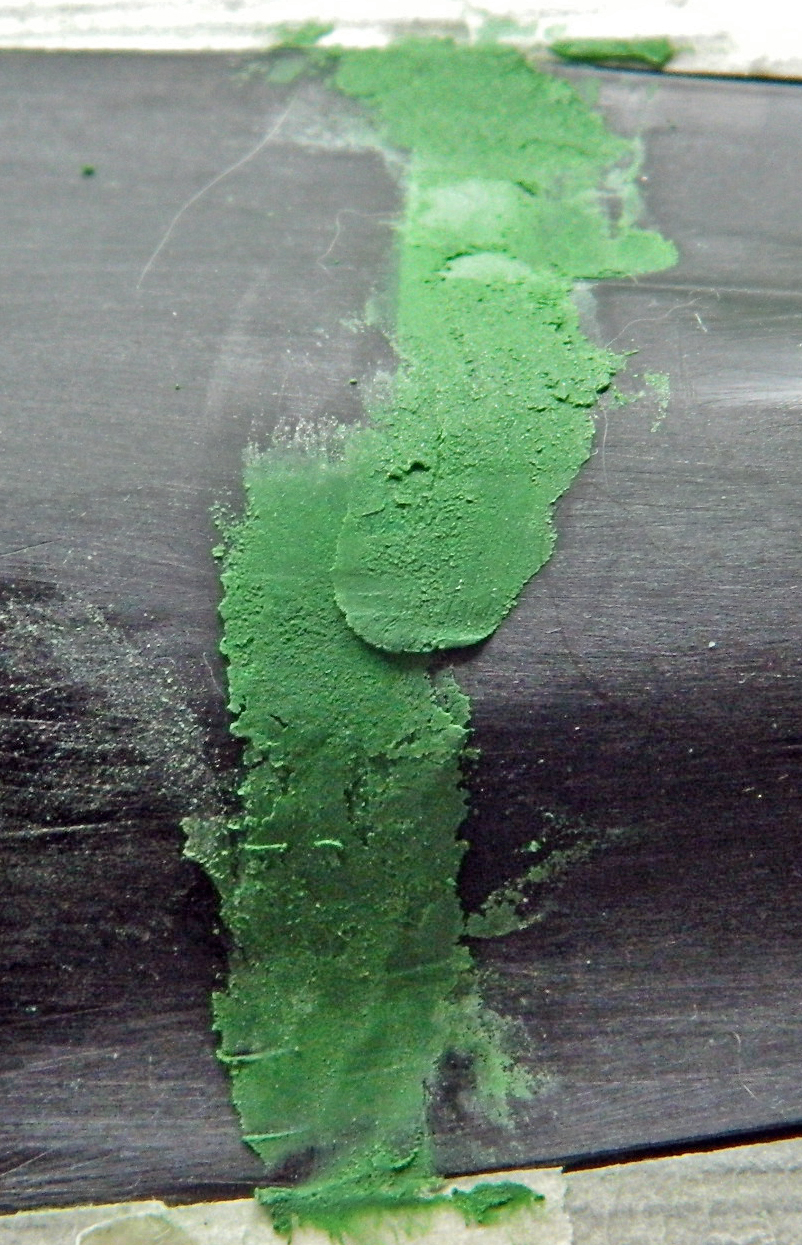
When doing a large area like this, it’s not uncommon to need to add putty here and there. Several thin layers to achieve the desired result is better than trying it in one, thick, pass:
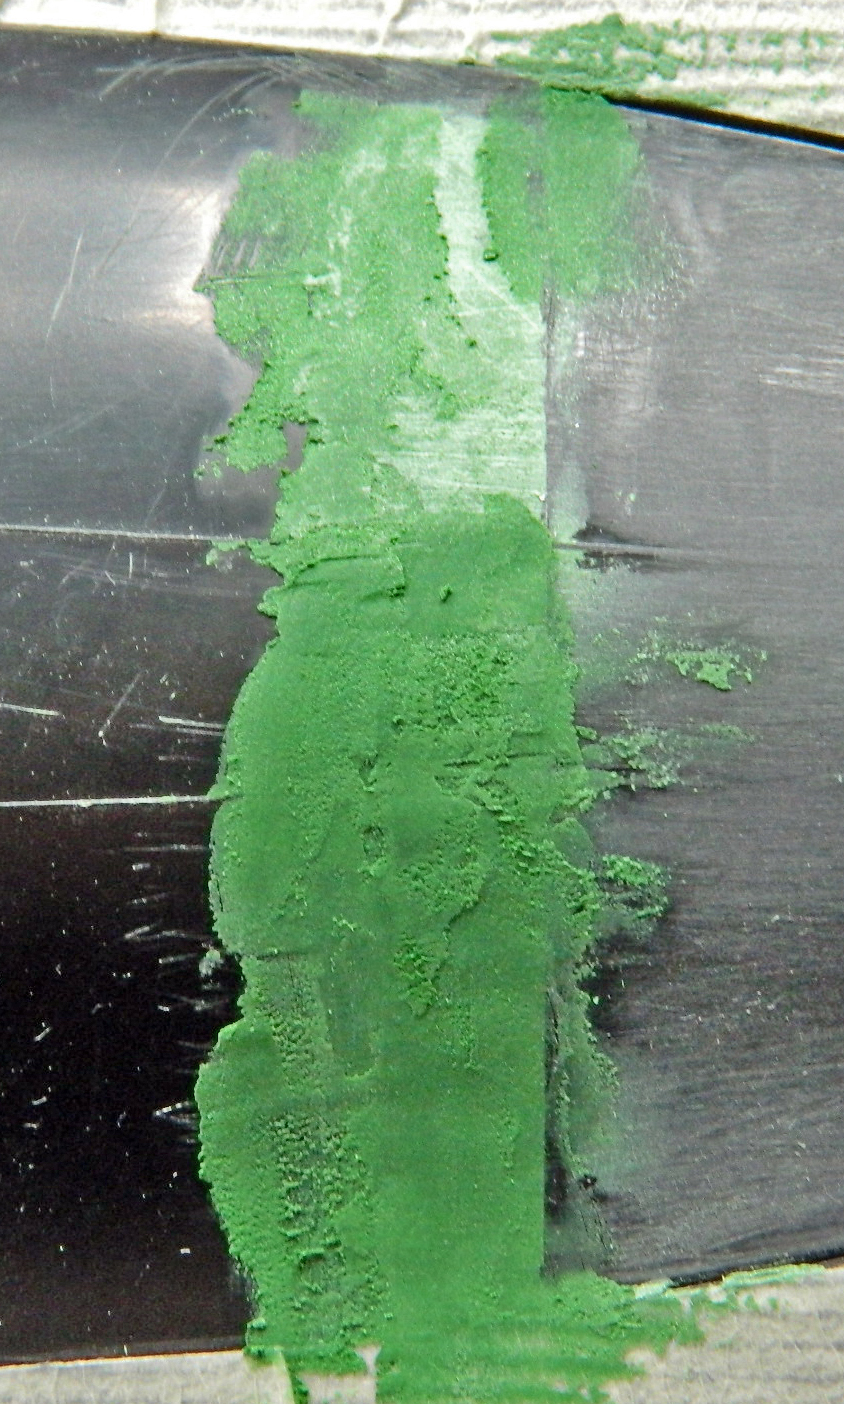

Unsurprisingly, most of that got filed, scraped, and sanded away.
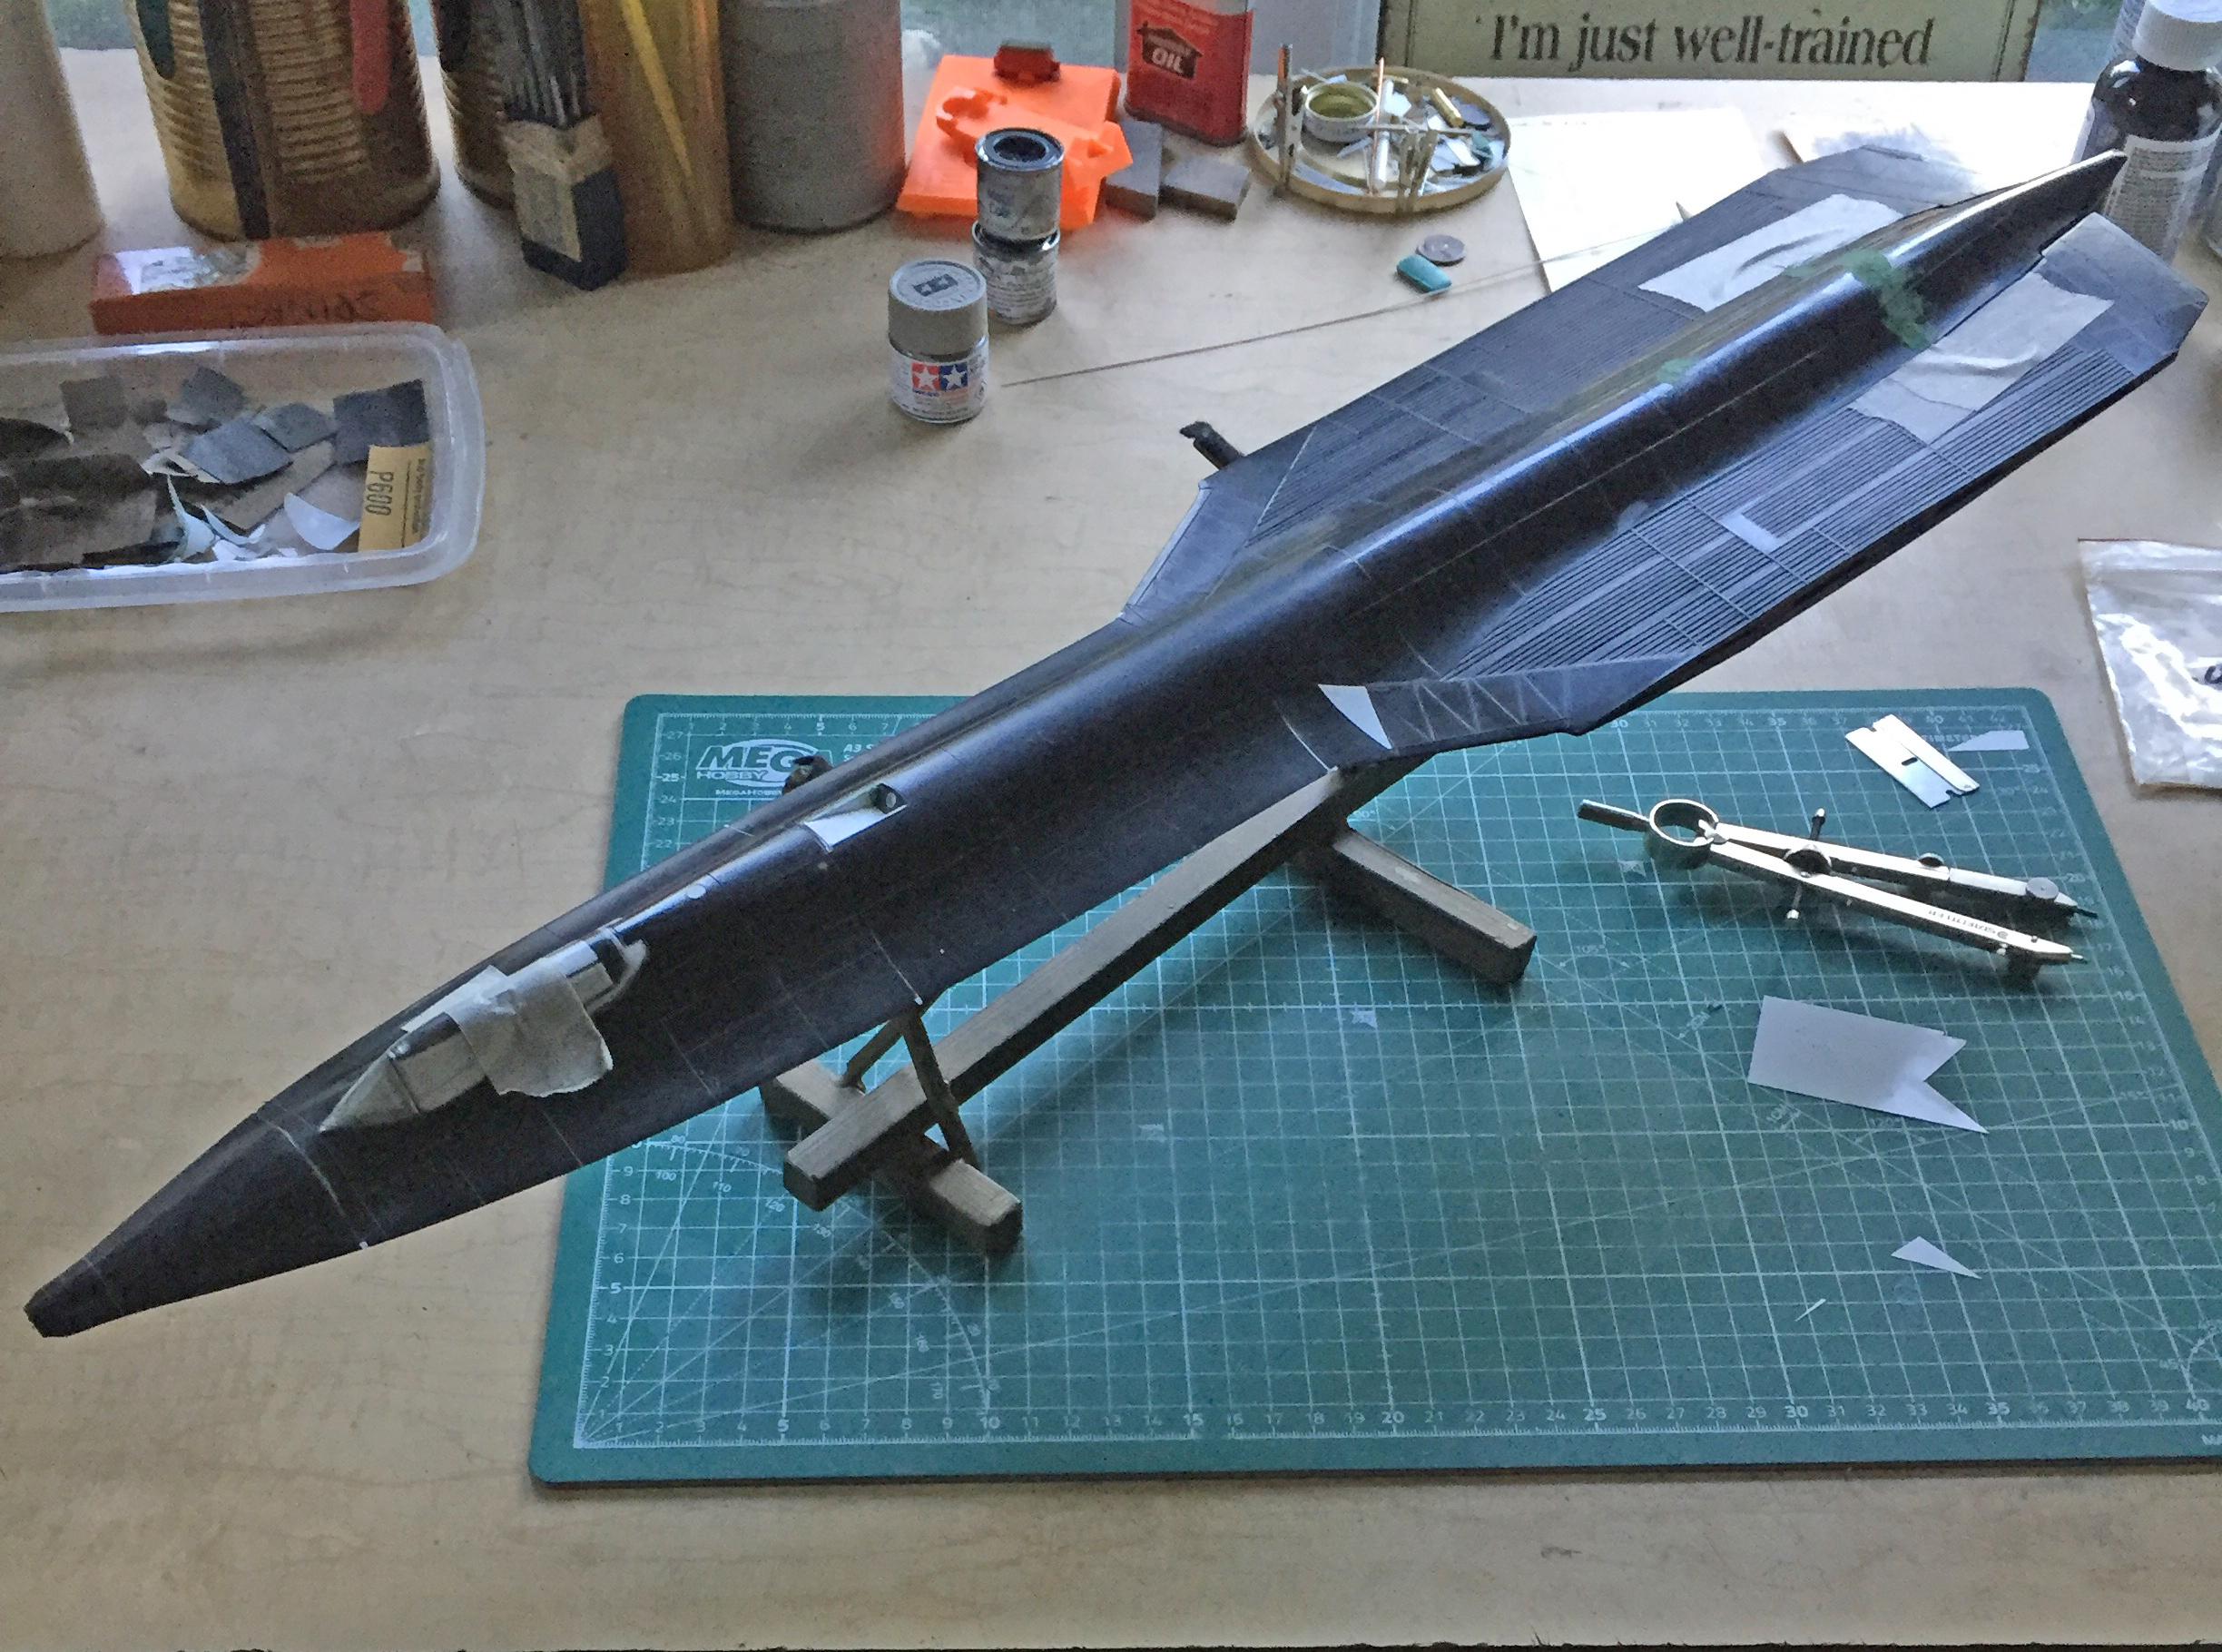
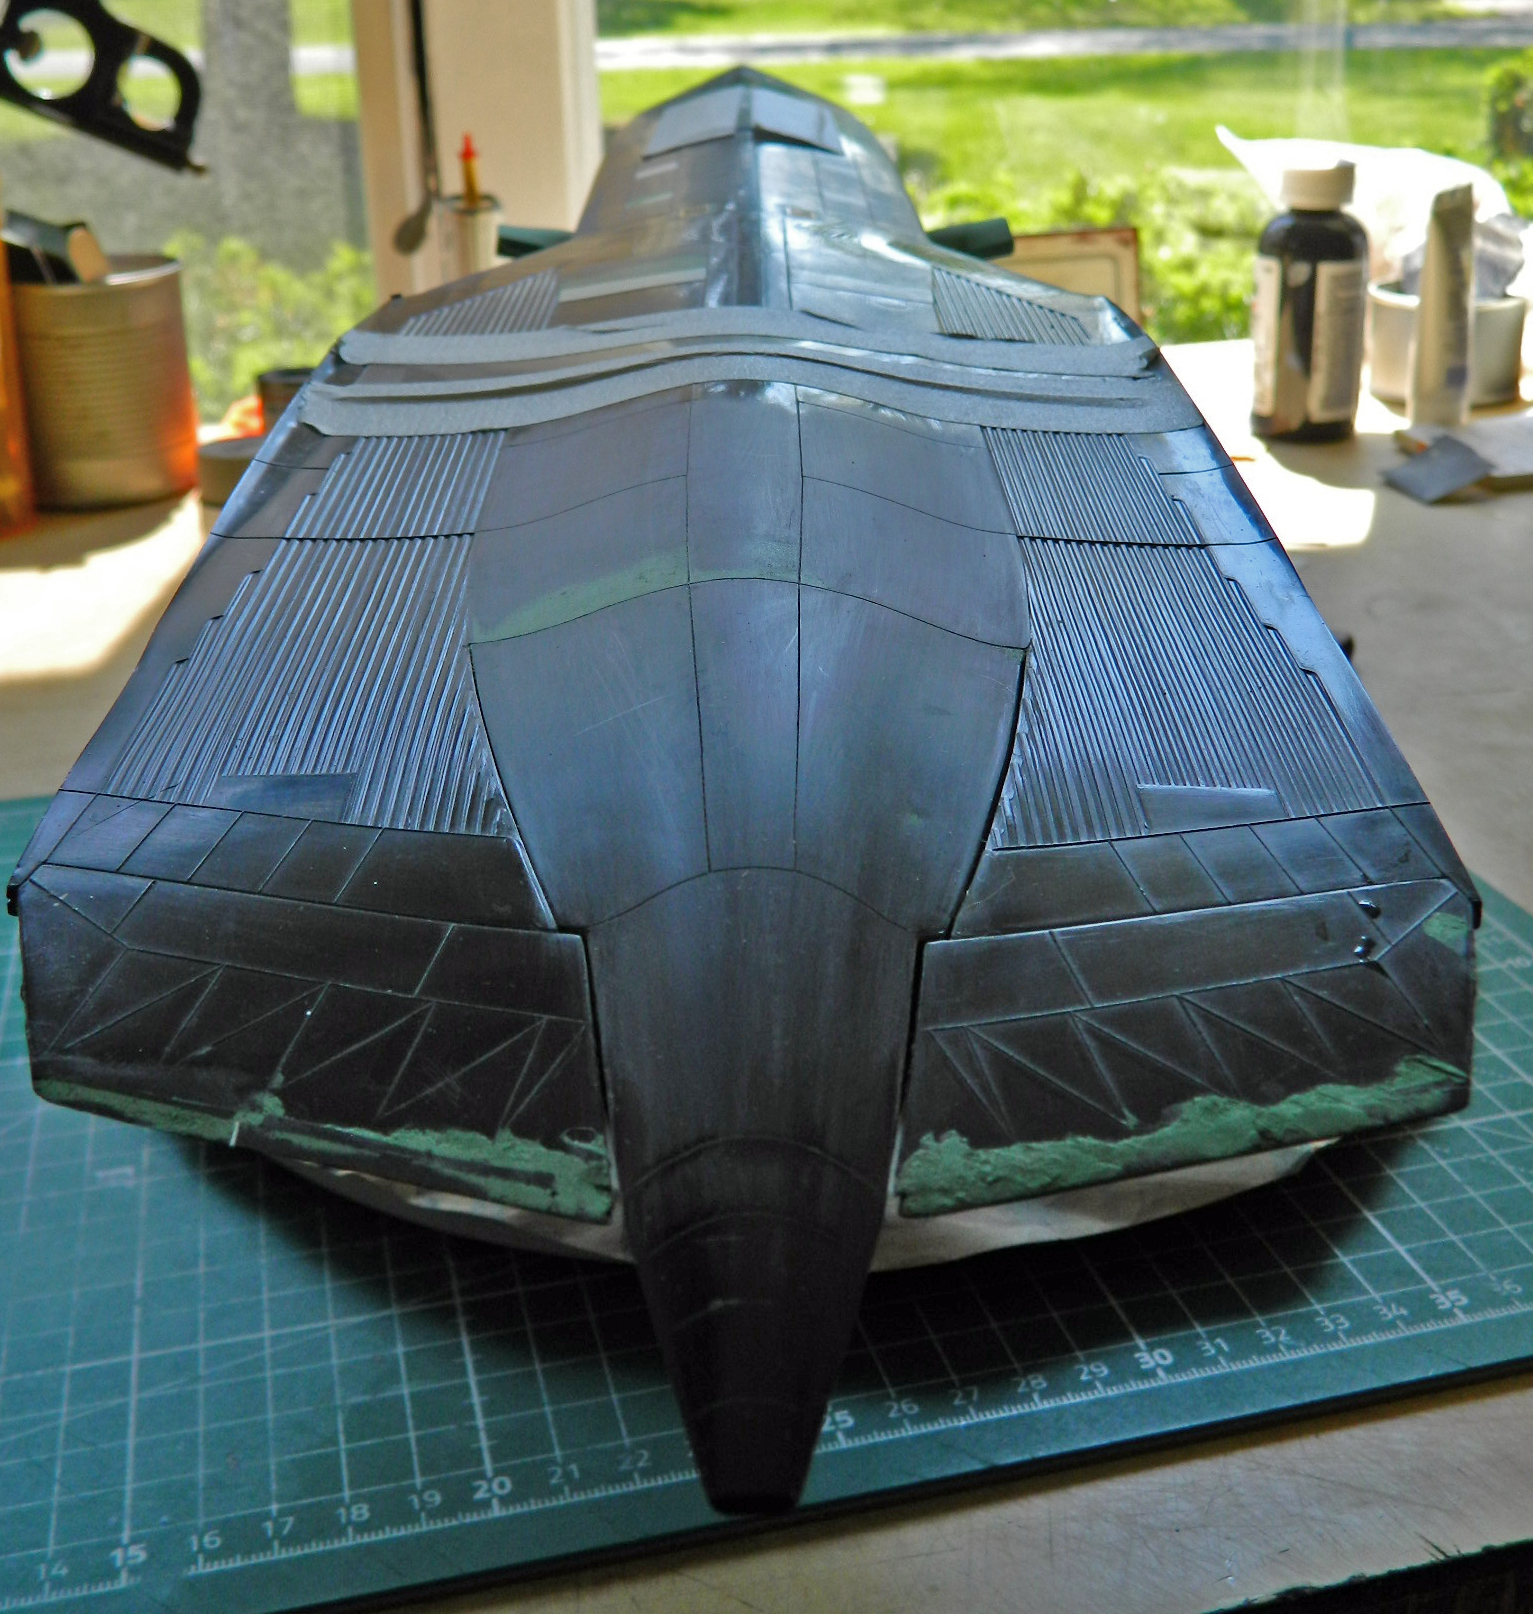
There was a lot of filing and sanding to smooth surfaces where plastic was added. Actually, there is a lot more filing and sanding to do yet, but much of what has been added has been smoothed:


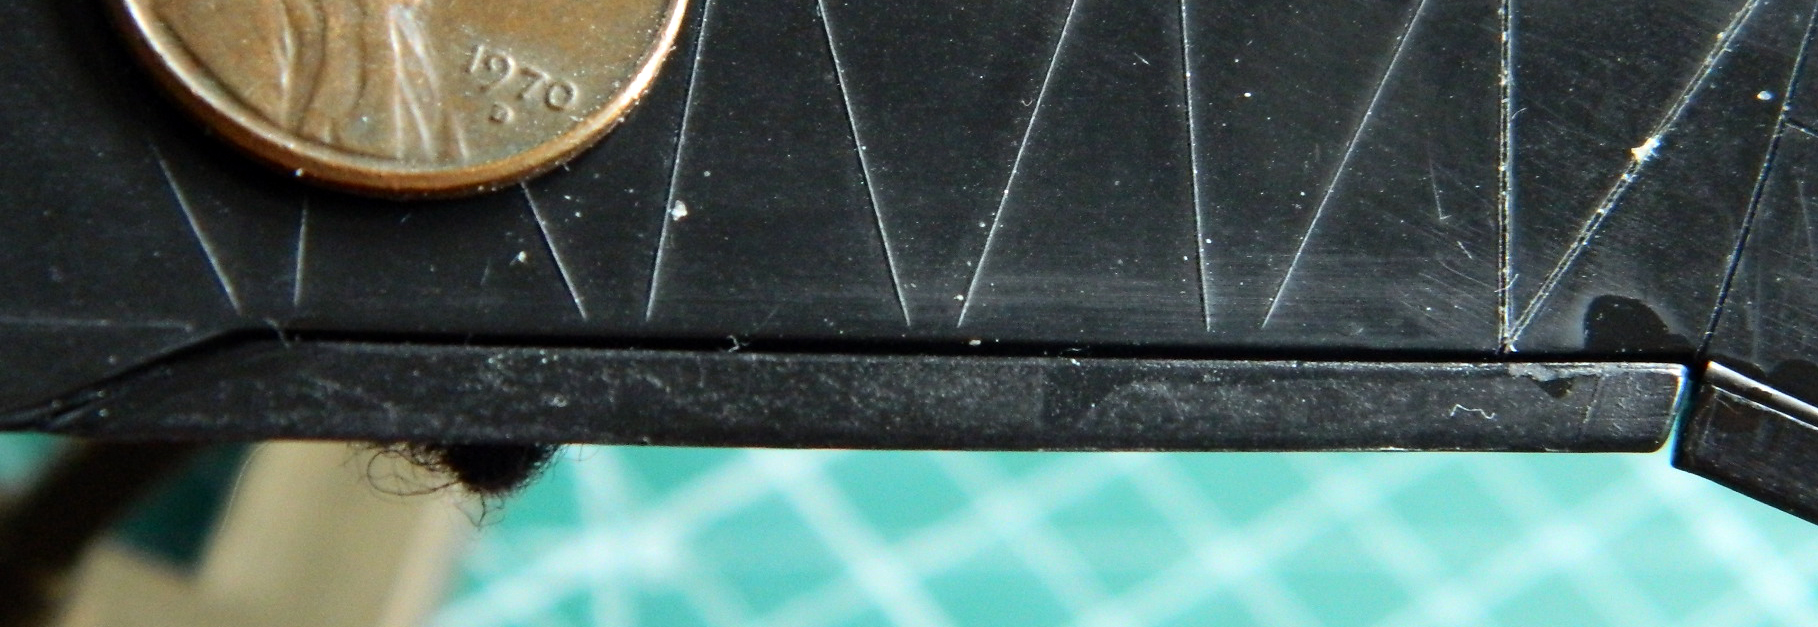
And there is more to do yet, such as this repair when a chunk of the elevator tore loose when I split the fuselage:
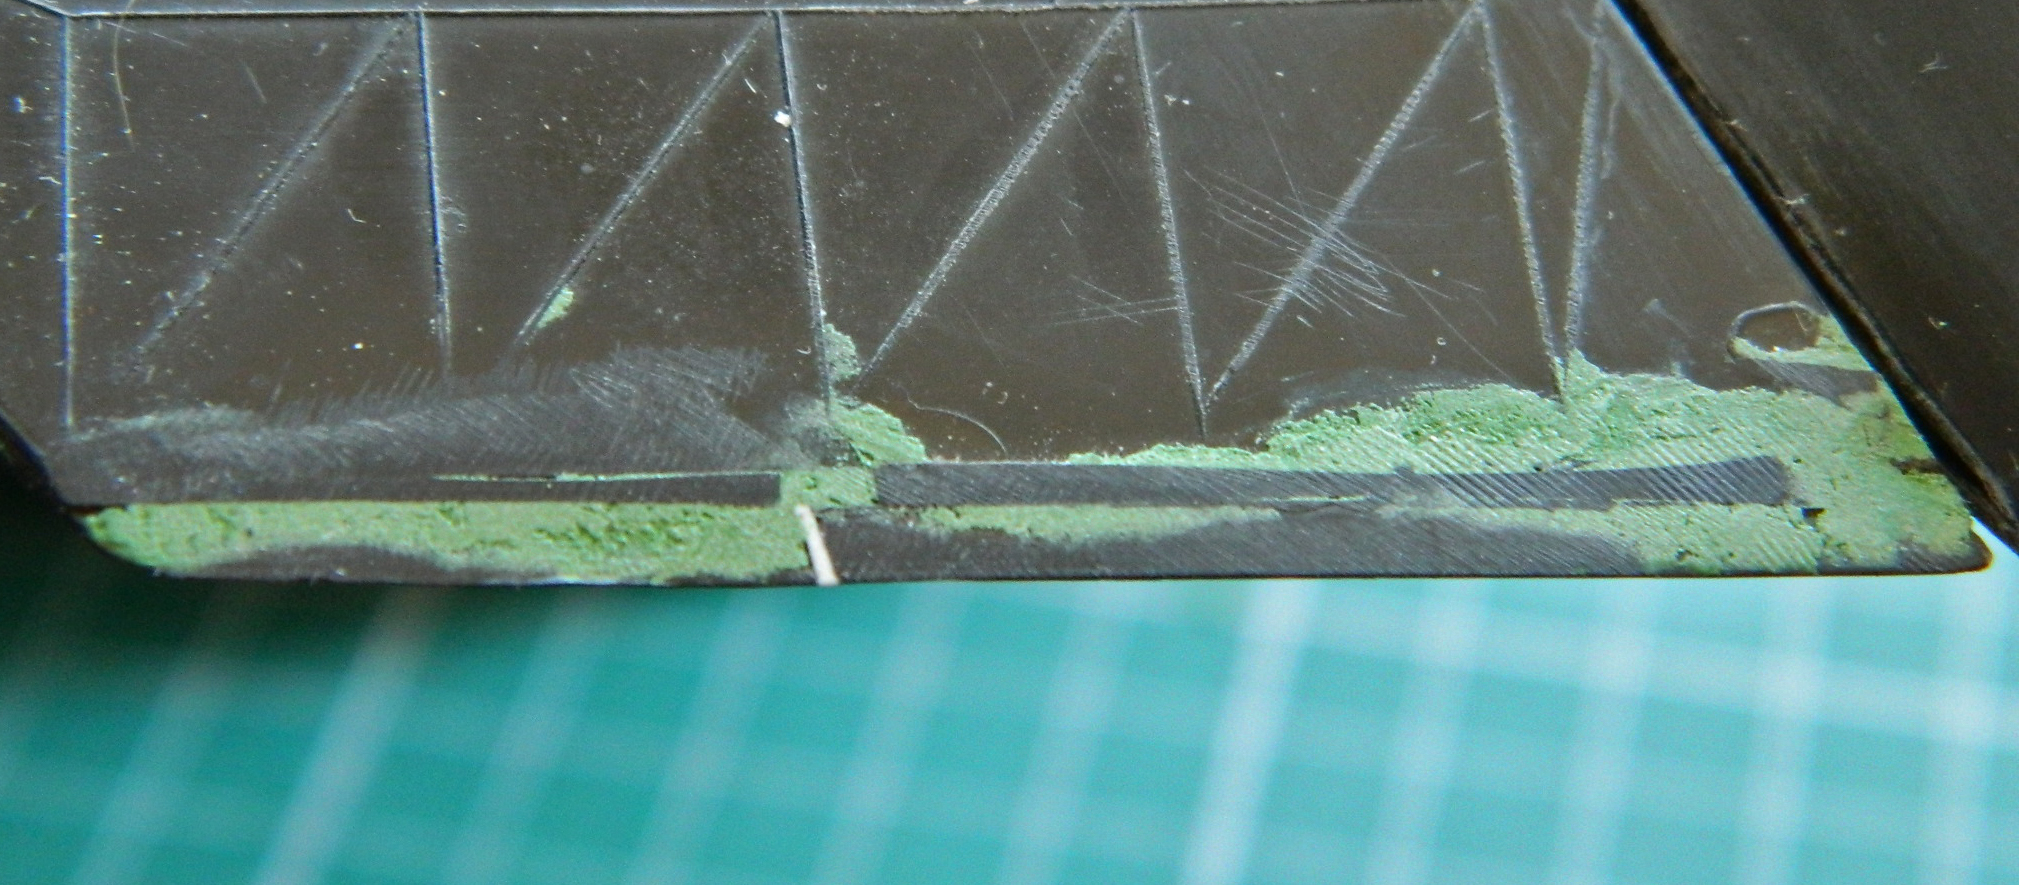
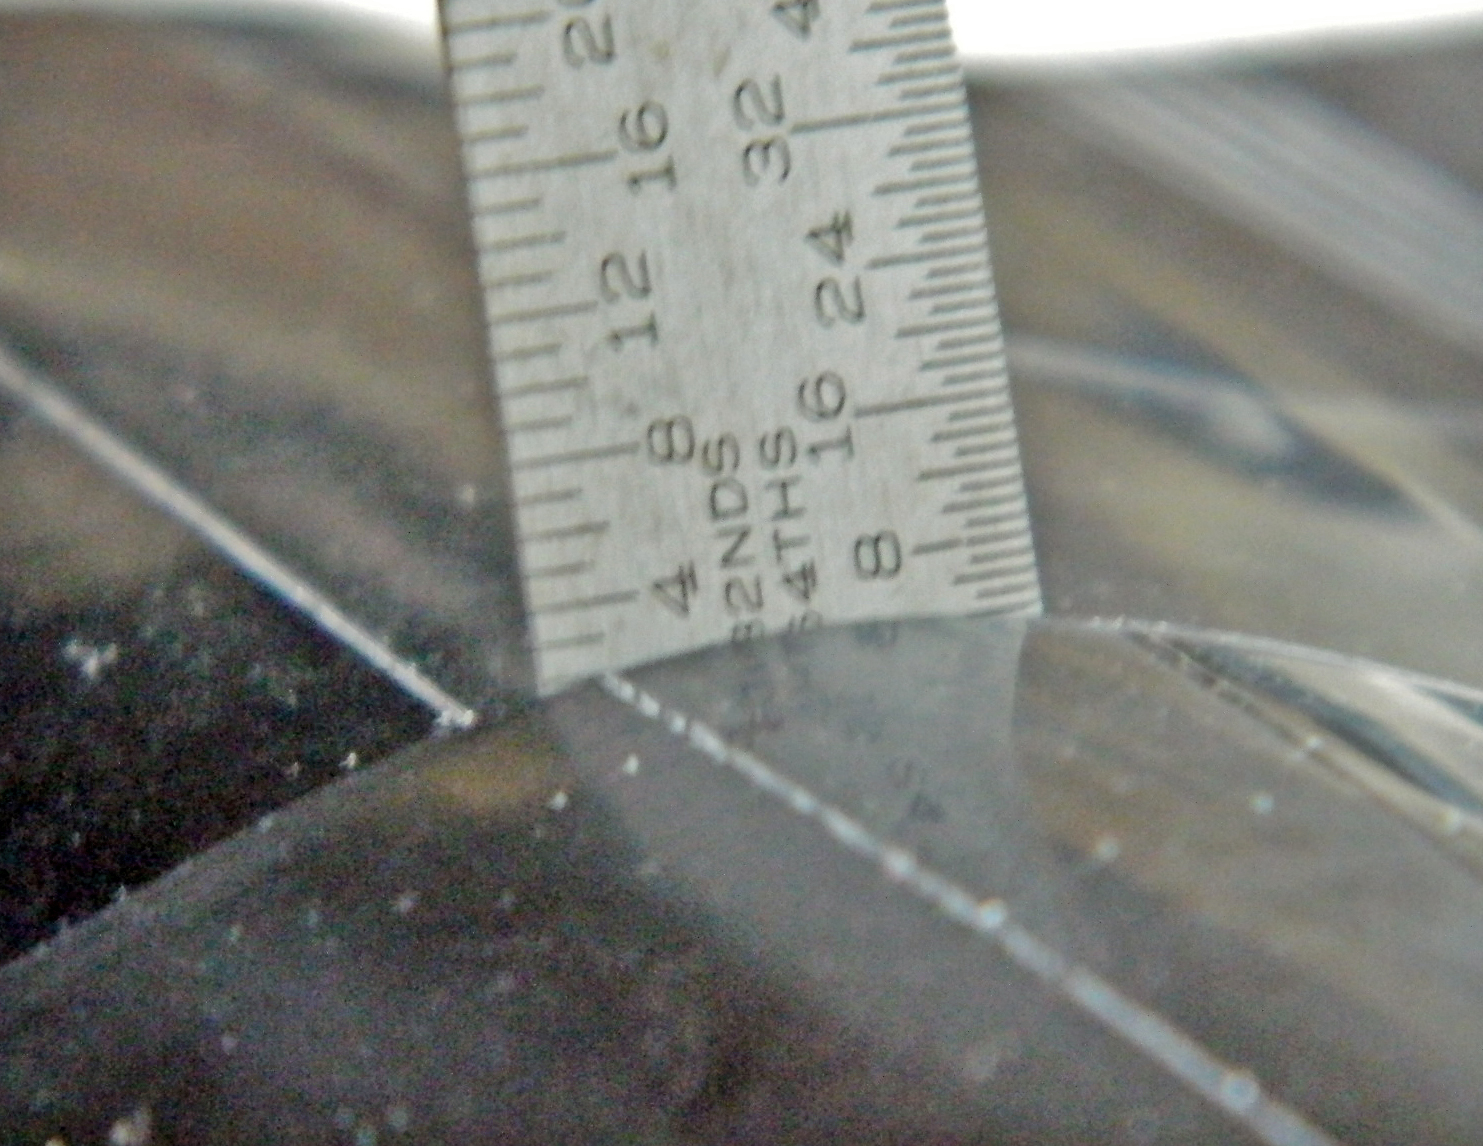
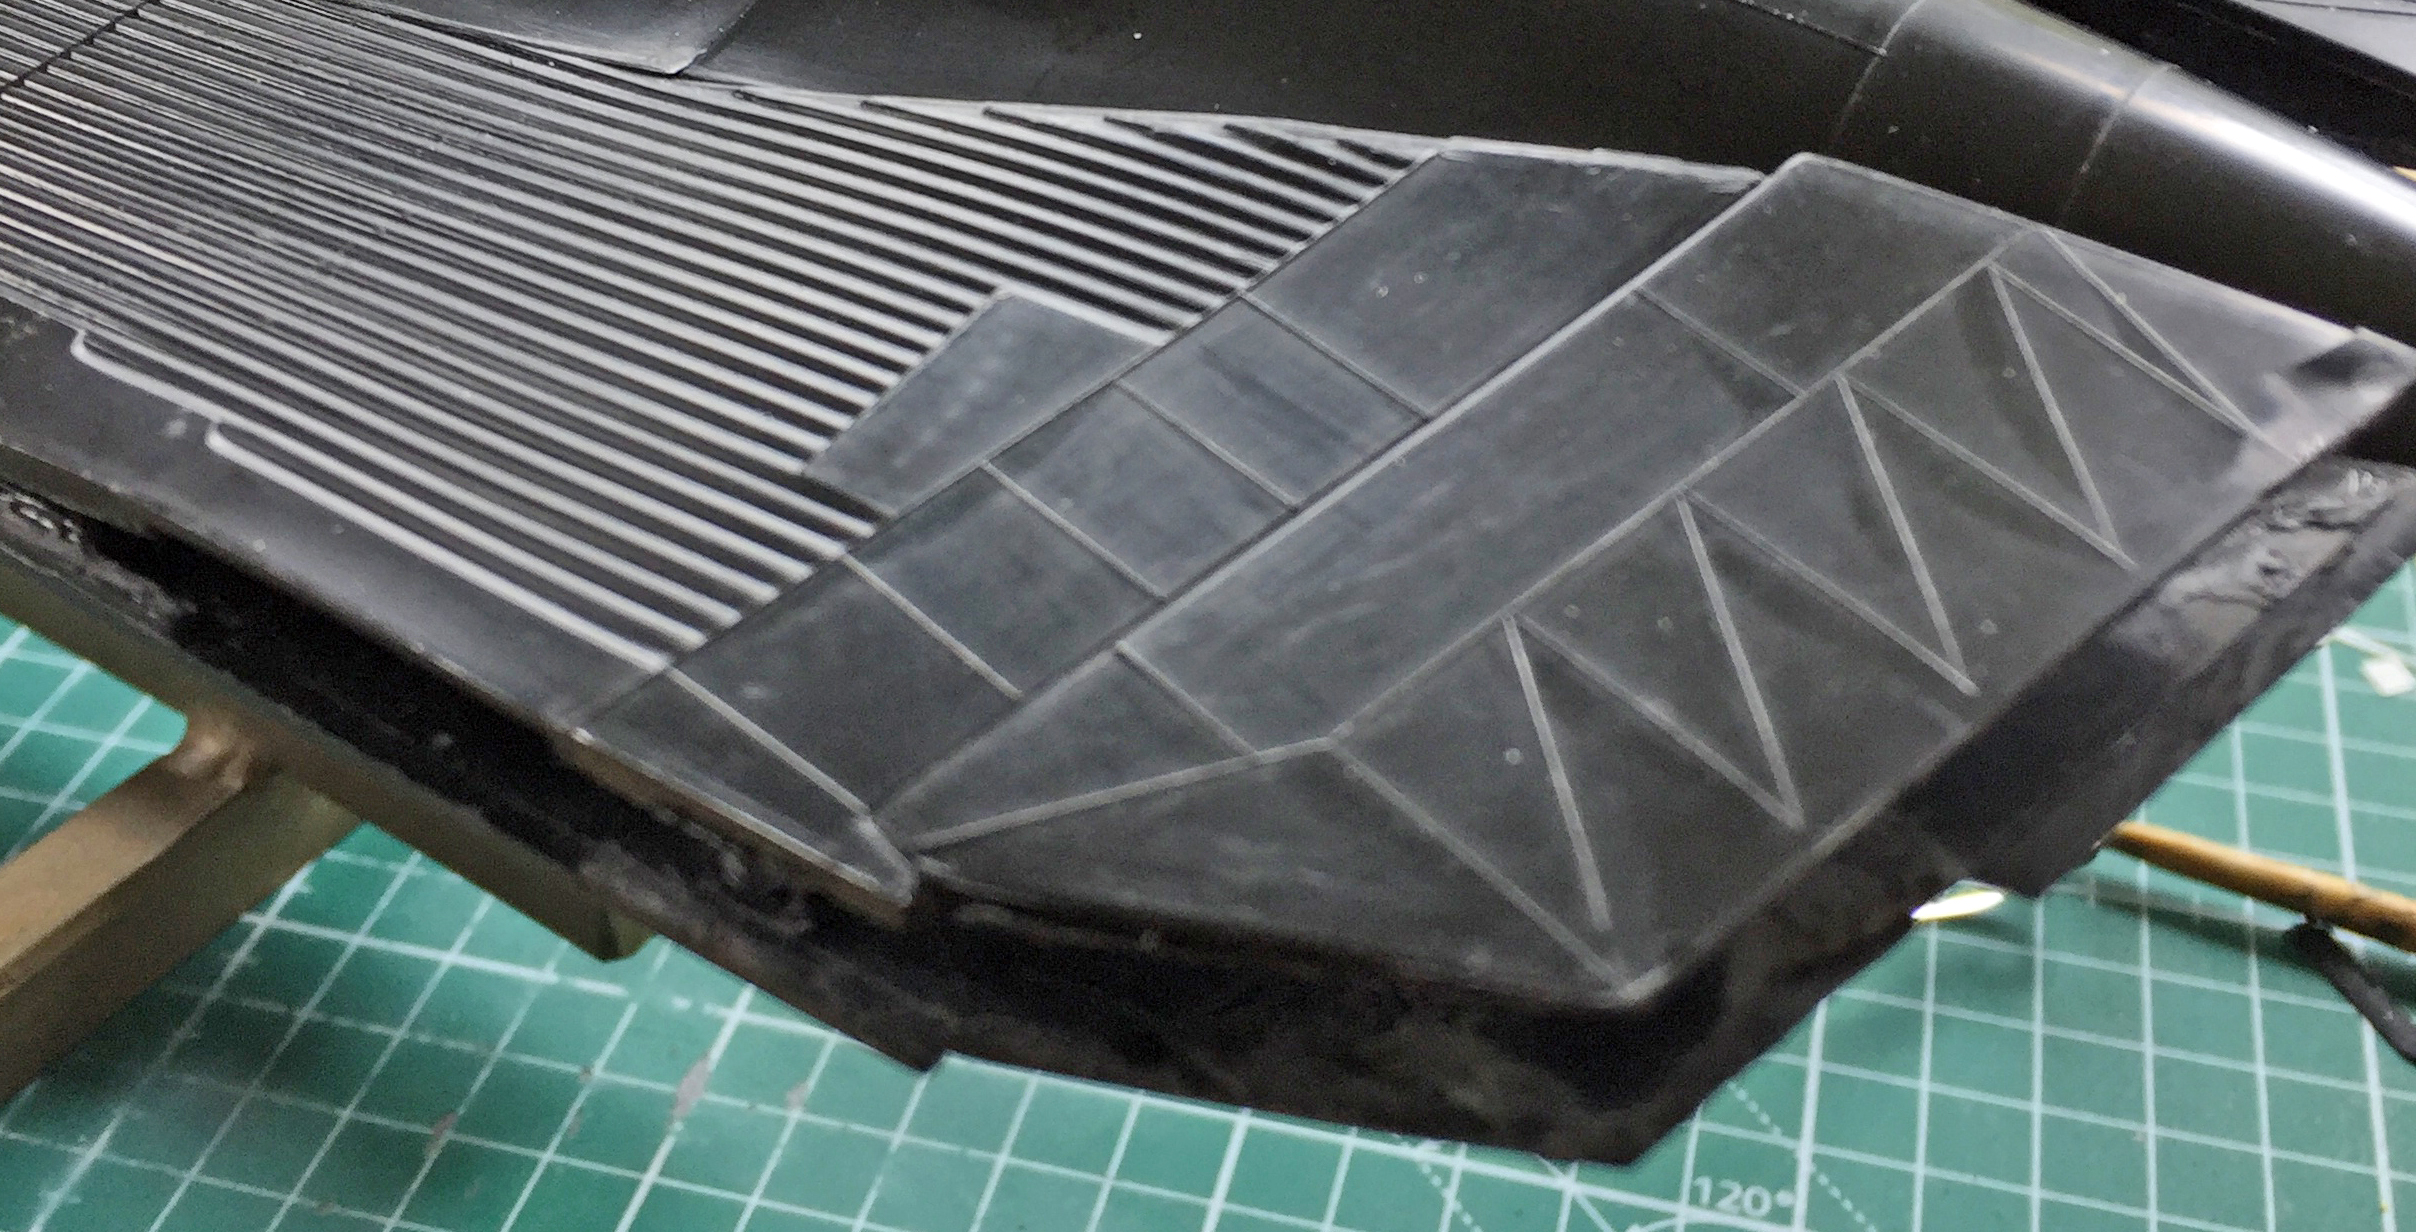
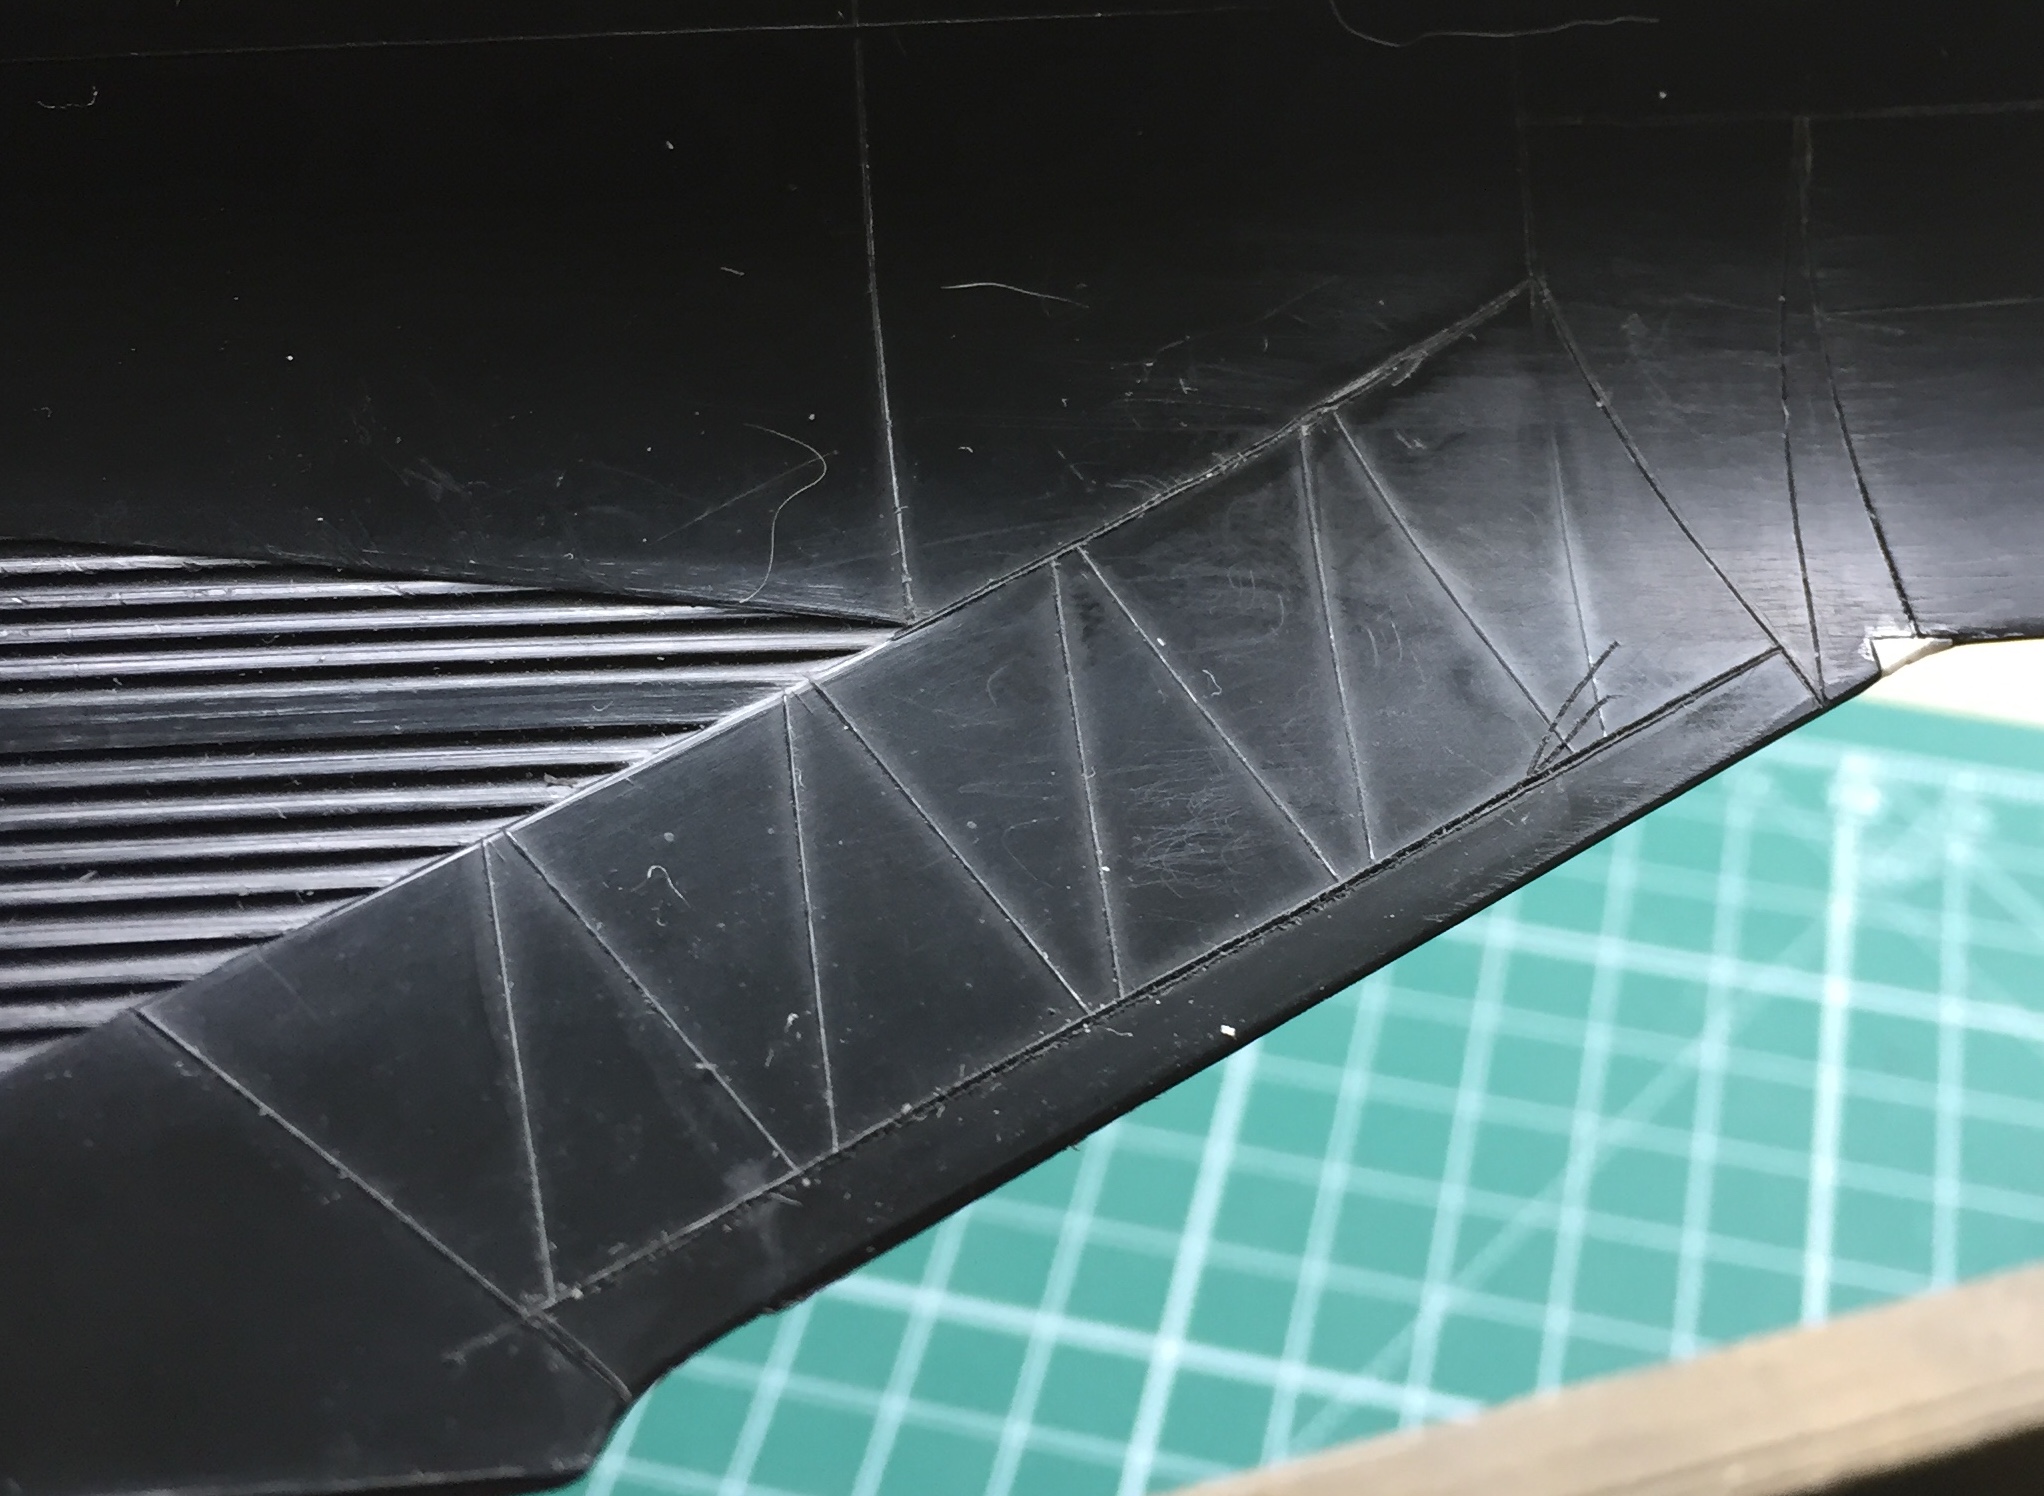
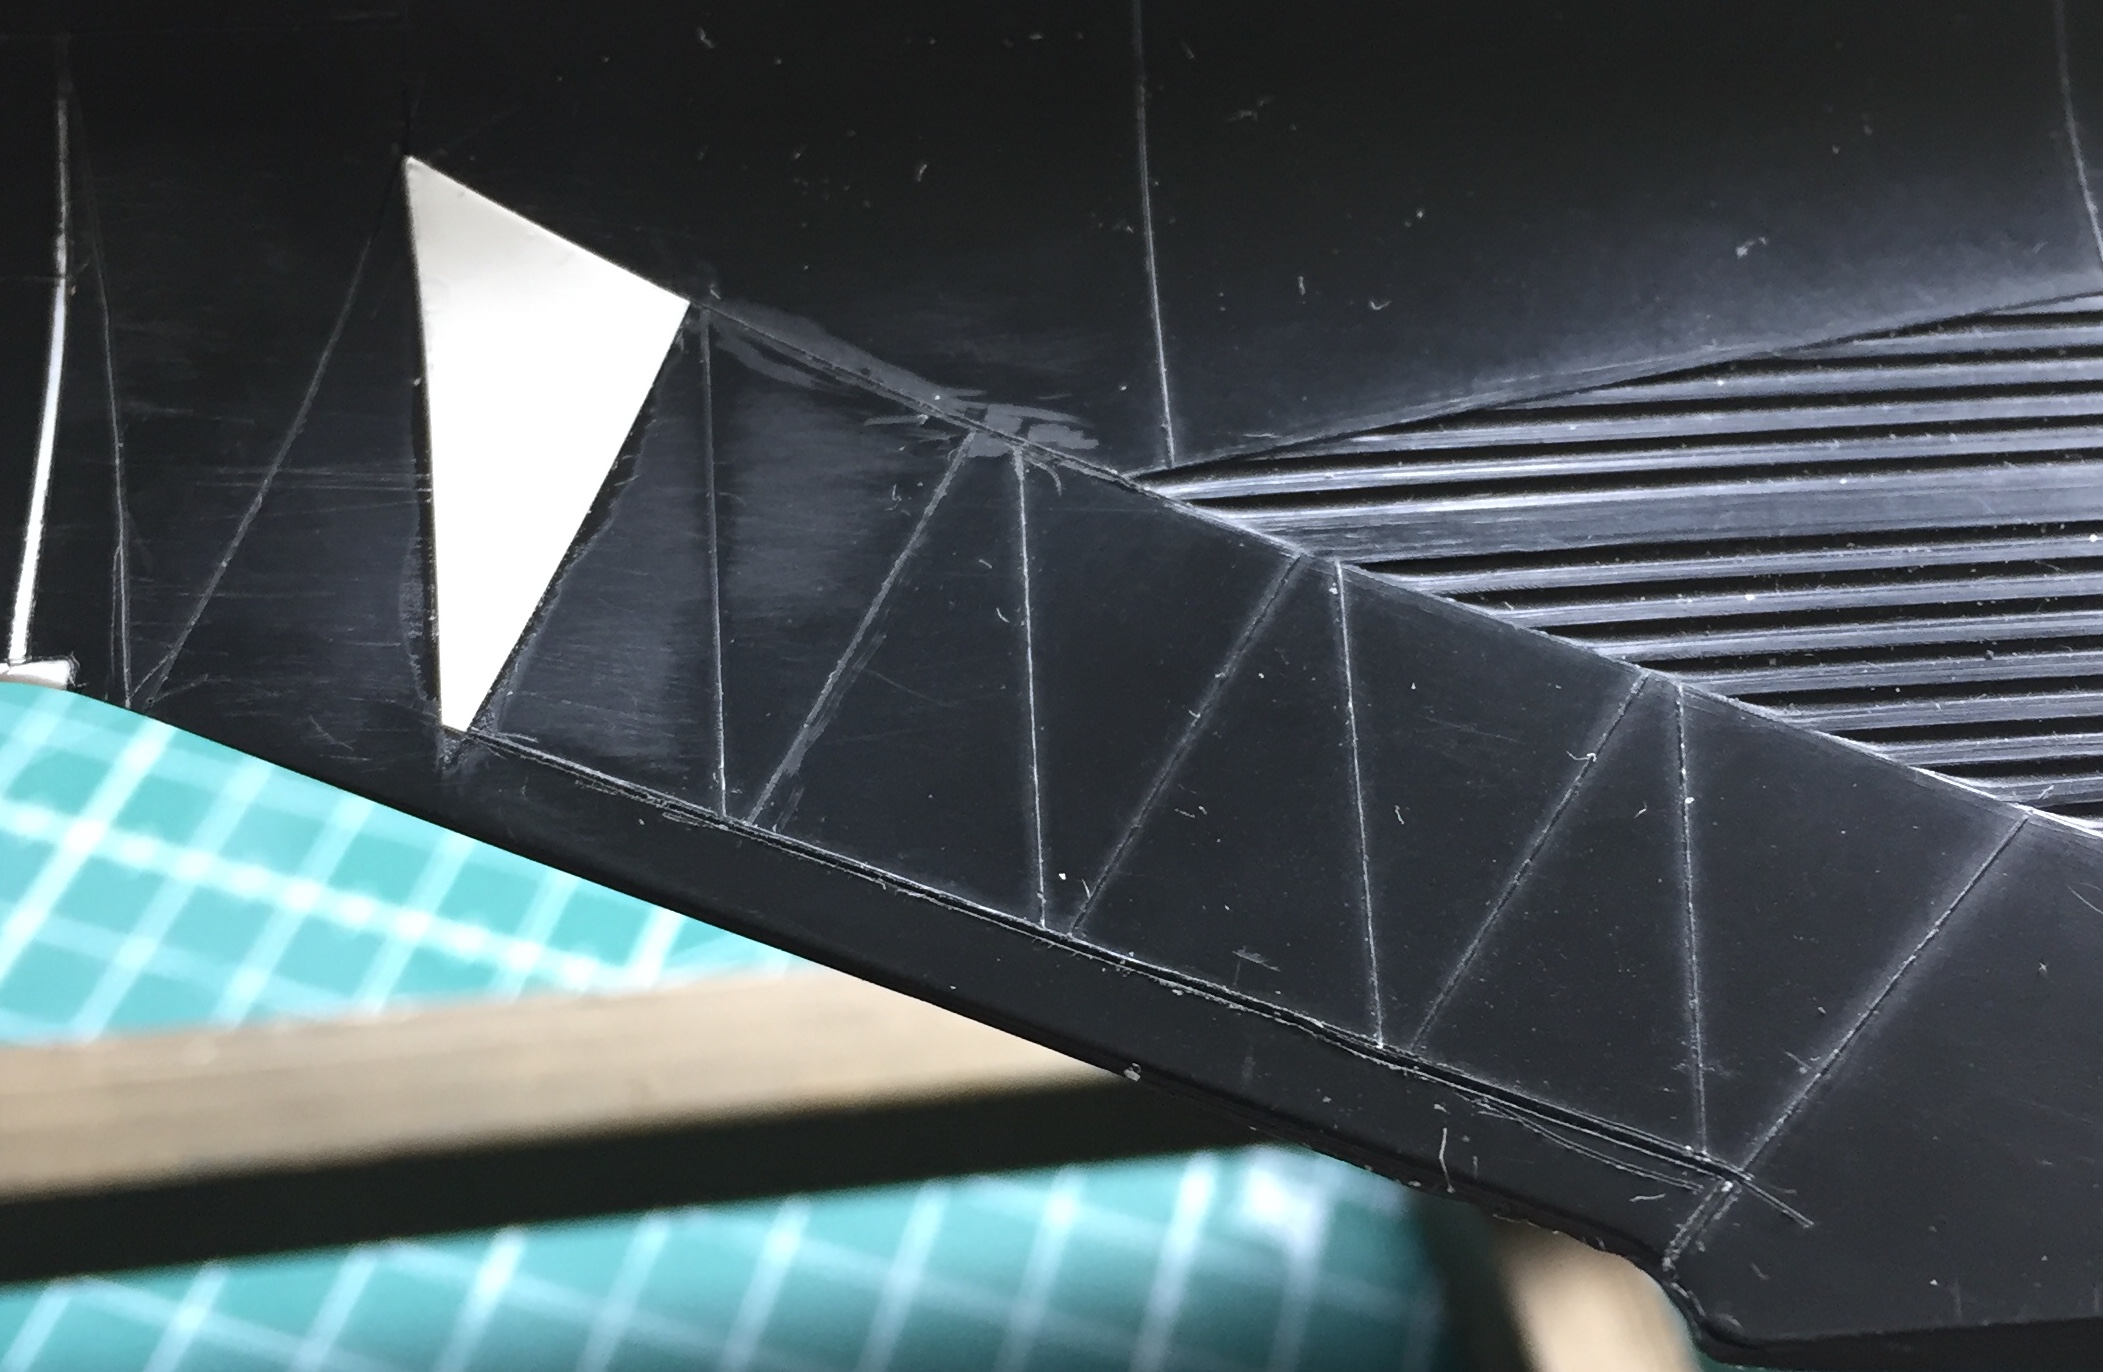
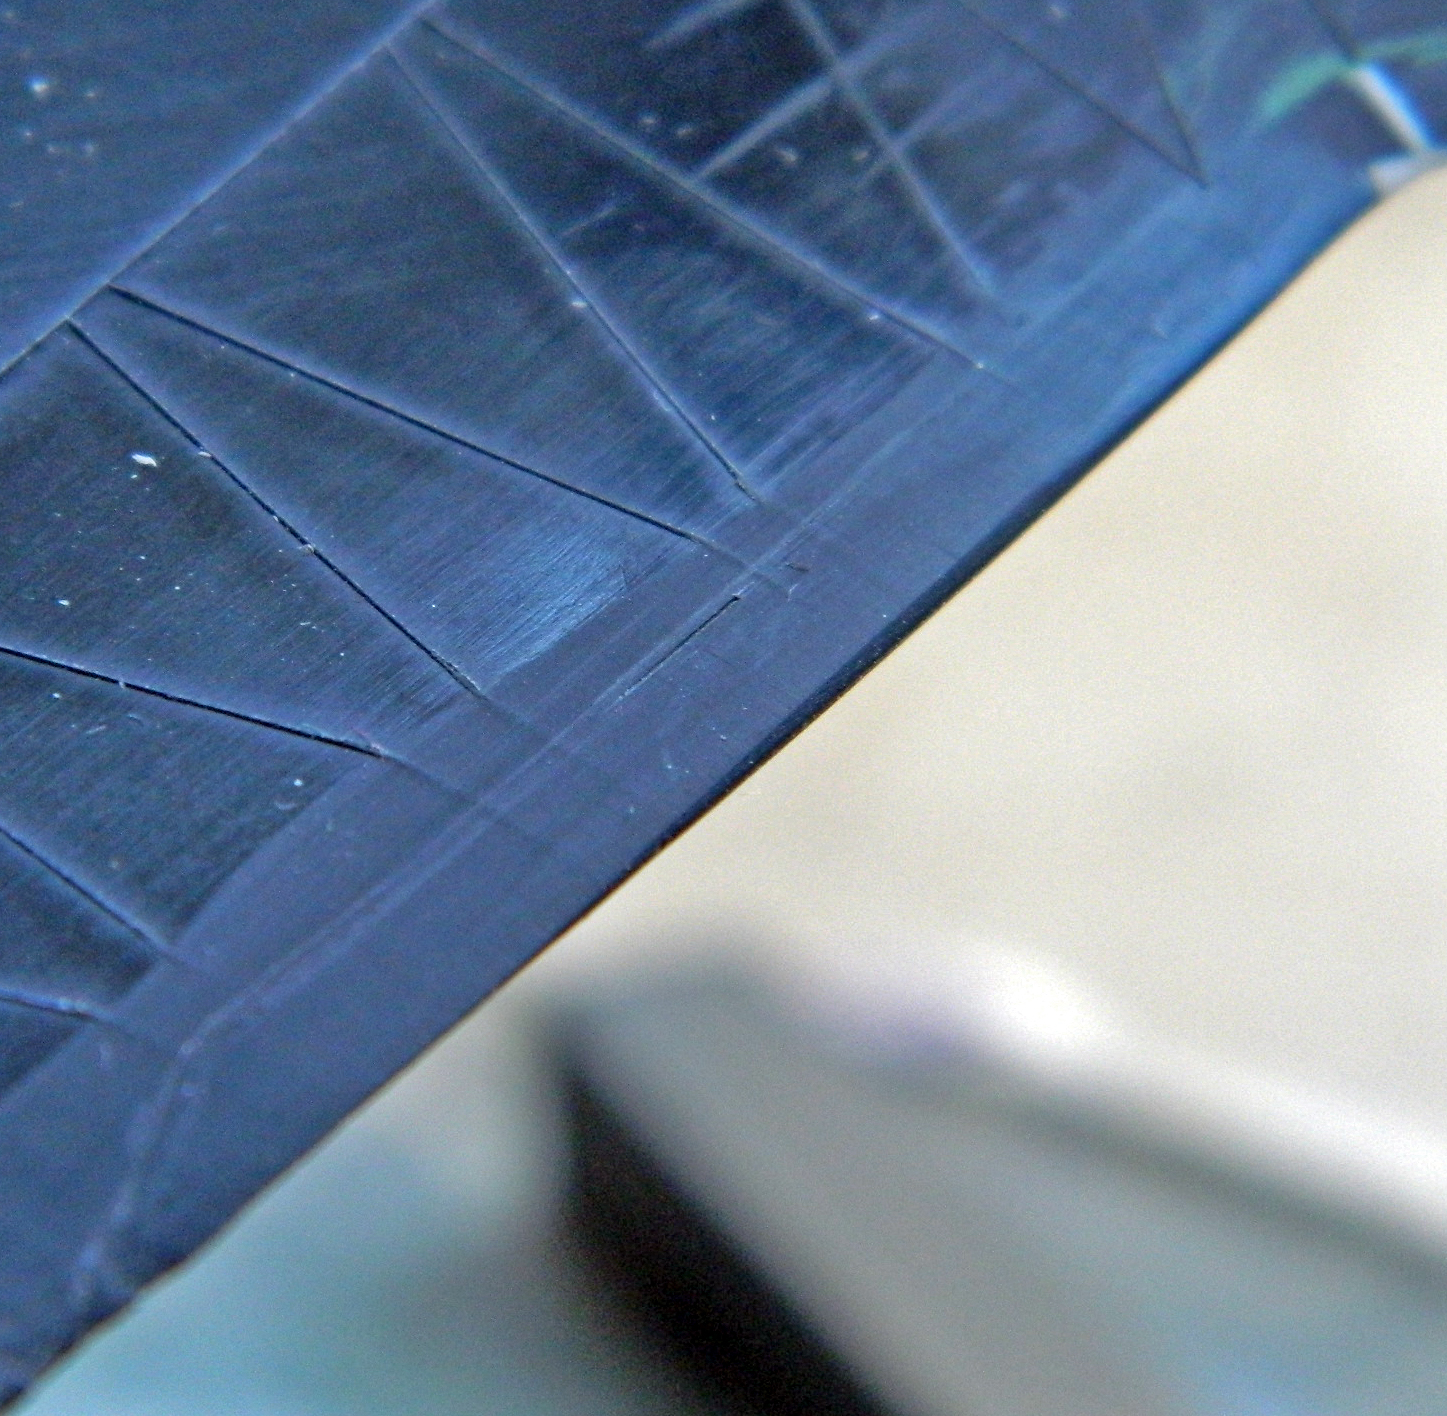
There are more .005″ (.127mm) plastic panels to add, more fit problems to fix, panel lines to be scribed, and no shortage of work left. This is the underside with that gaping hole cleverly (and laboriously) filled and some of the panel lines scribed:
Did I mention “whew” yet?
