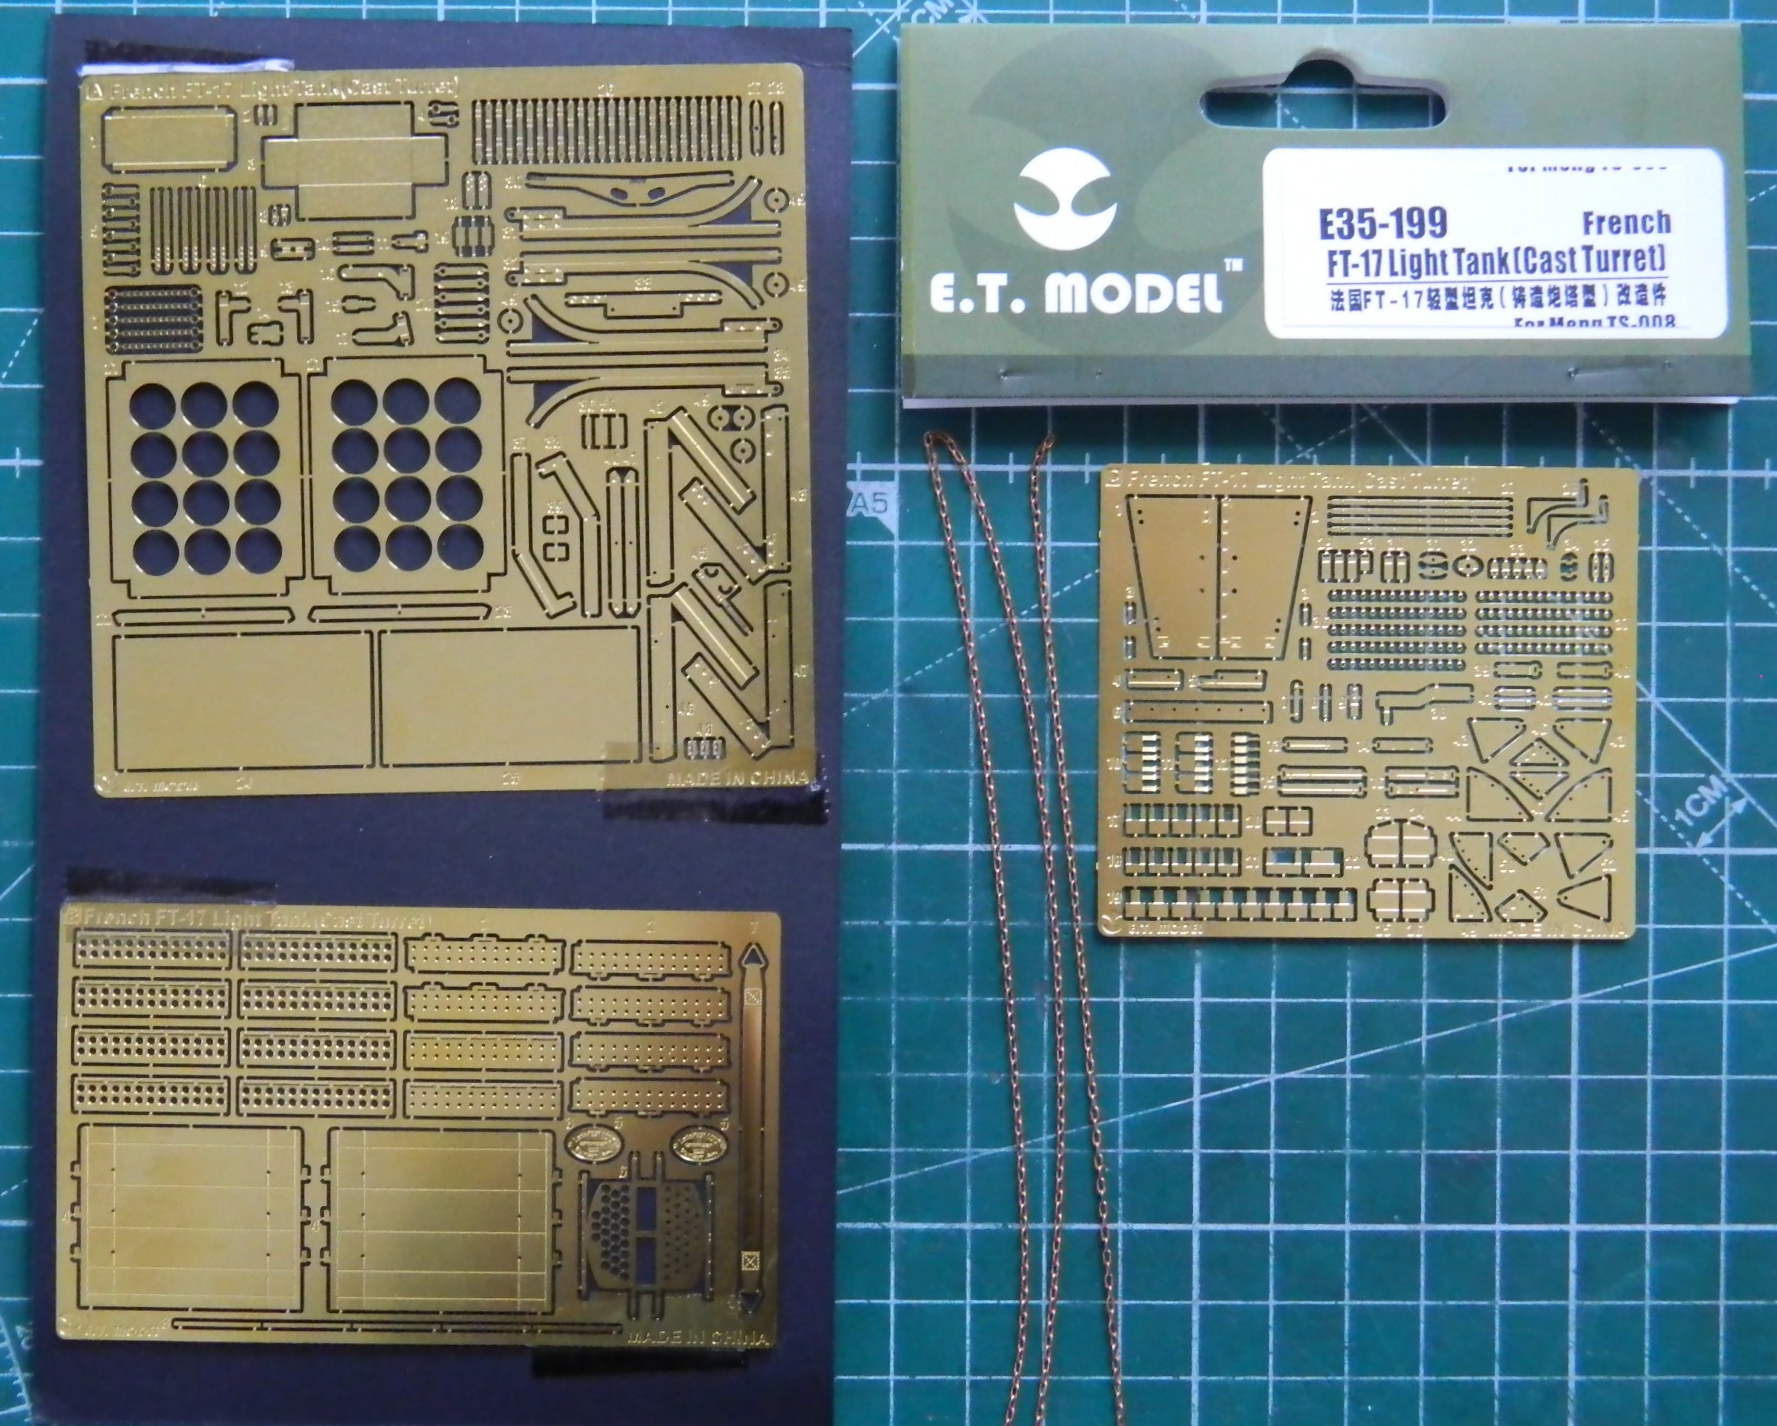
After much waiting for the PE parts to arrive, they finally did. Some of the PE replaces kit parts (actually, all of the PE replaces kit parts, I’m just not going to use all of it to replace kit parts) and there is about 16 ¾” (42.54cm) of chain that was supplied with the PE frets. (I’m not exactly certain where it goes but it’ll go someplace interesting.) What it enabled me to do was to have the dimension that I needed to turn acrylic rod on the lathe to (what I hope is) the proper dimension for a mine:
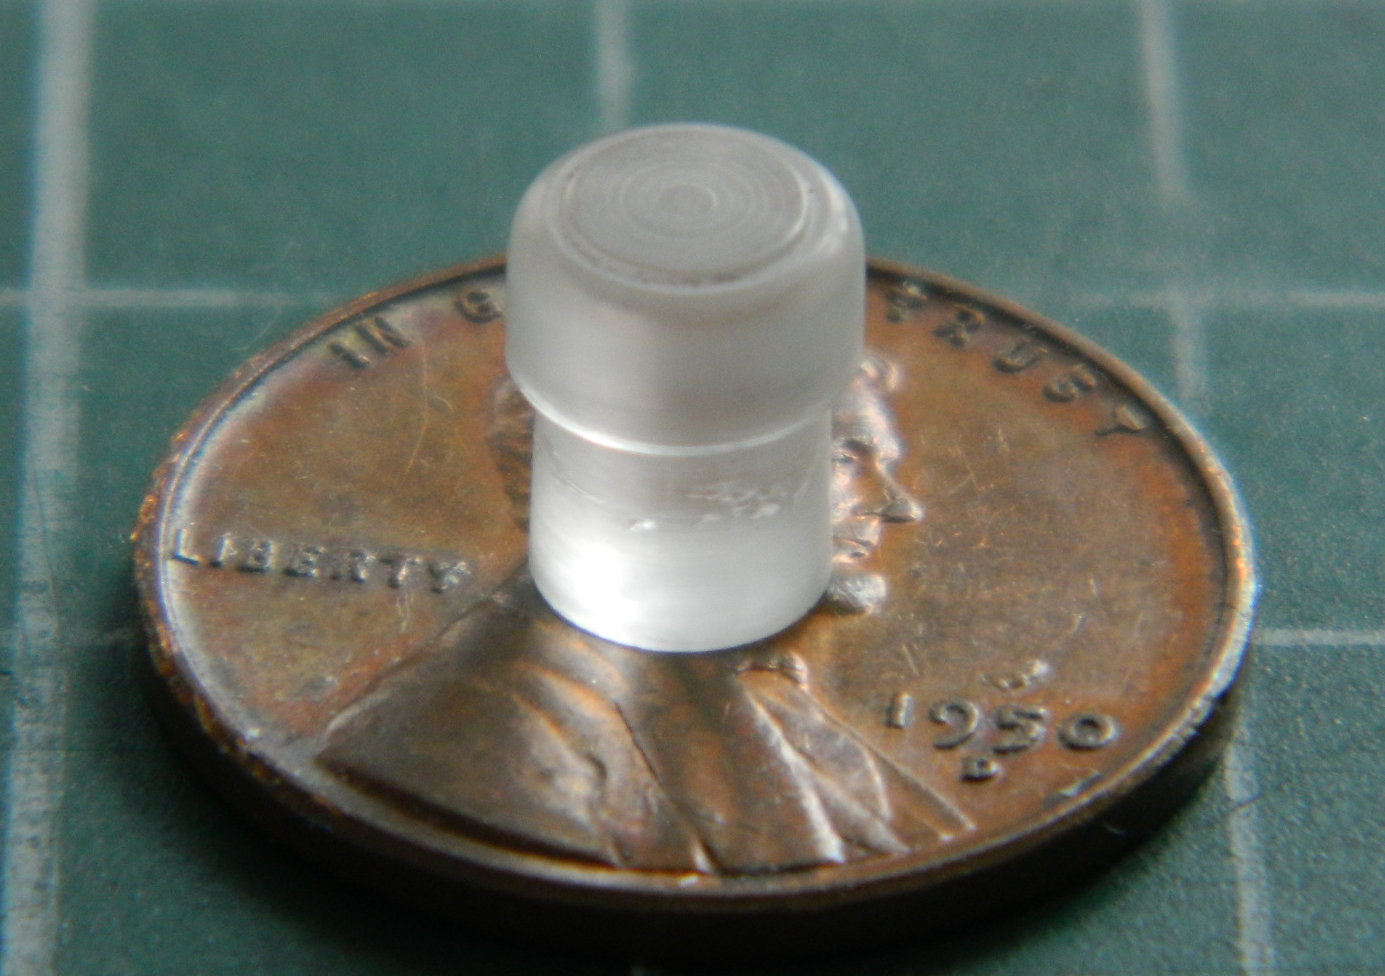
The rack will hold a dozen mines. rather than waste acrylic rod and frustrate myself to incontinence (always a possibility) trying to machine a dozen identical parts, I decided to make a mold…well…twelve molds, and cast the mines using resin. (Though I have a lathe, I’m not a machinist. Perhaps a real machinist could crank out a dozen of these things…that ability is beyond my skill set. Making one acceptable part and then pulling molds from it is within my skill set.) The mines are small. In order to make molds, I will need a master first. I started with .25″ (6.35mm) acrylic rod and turned the master until it would just fit inside the openings of the mine rack:

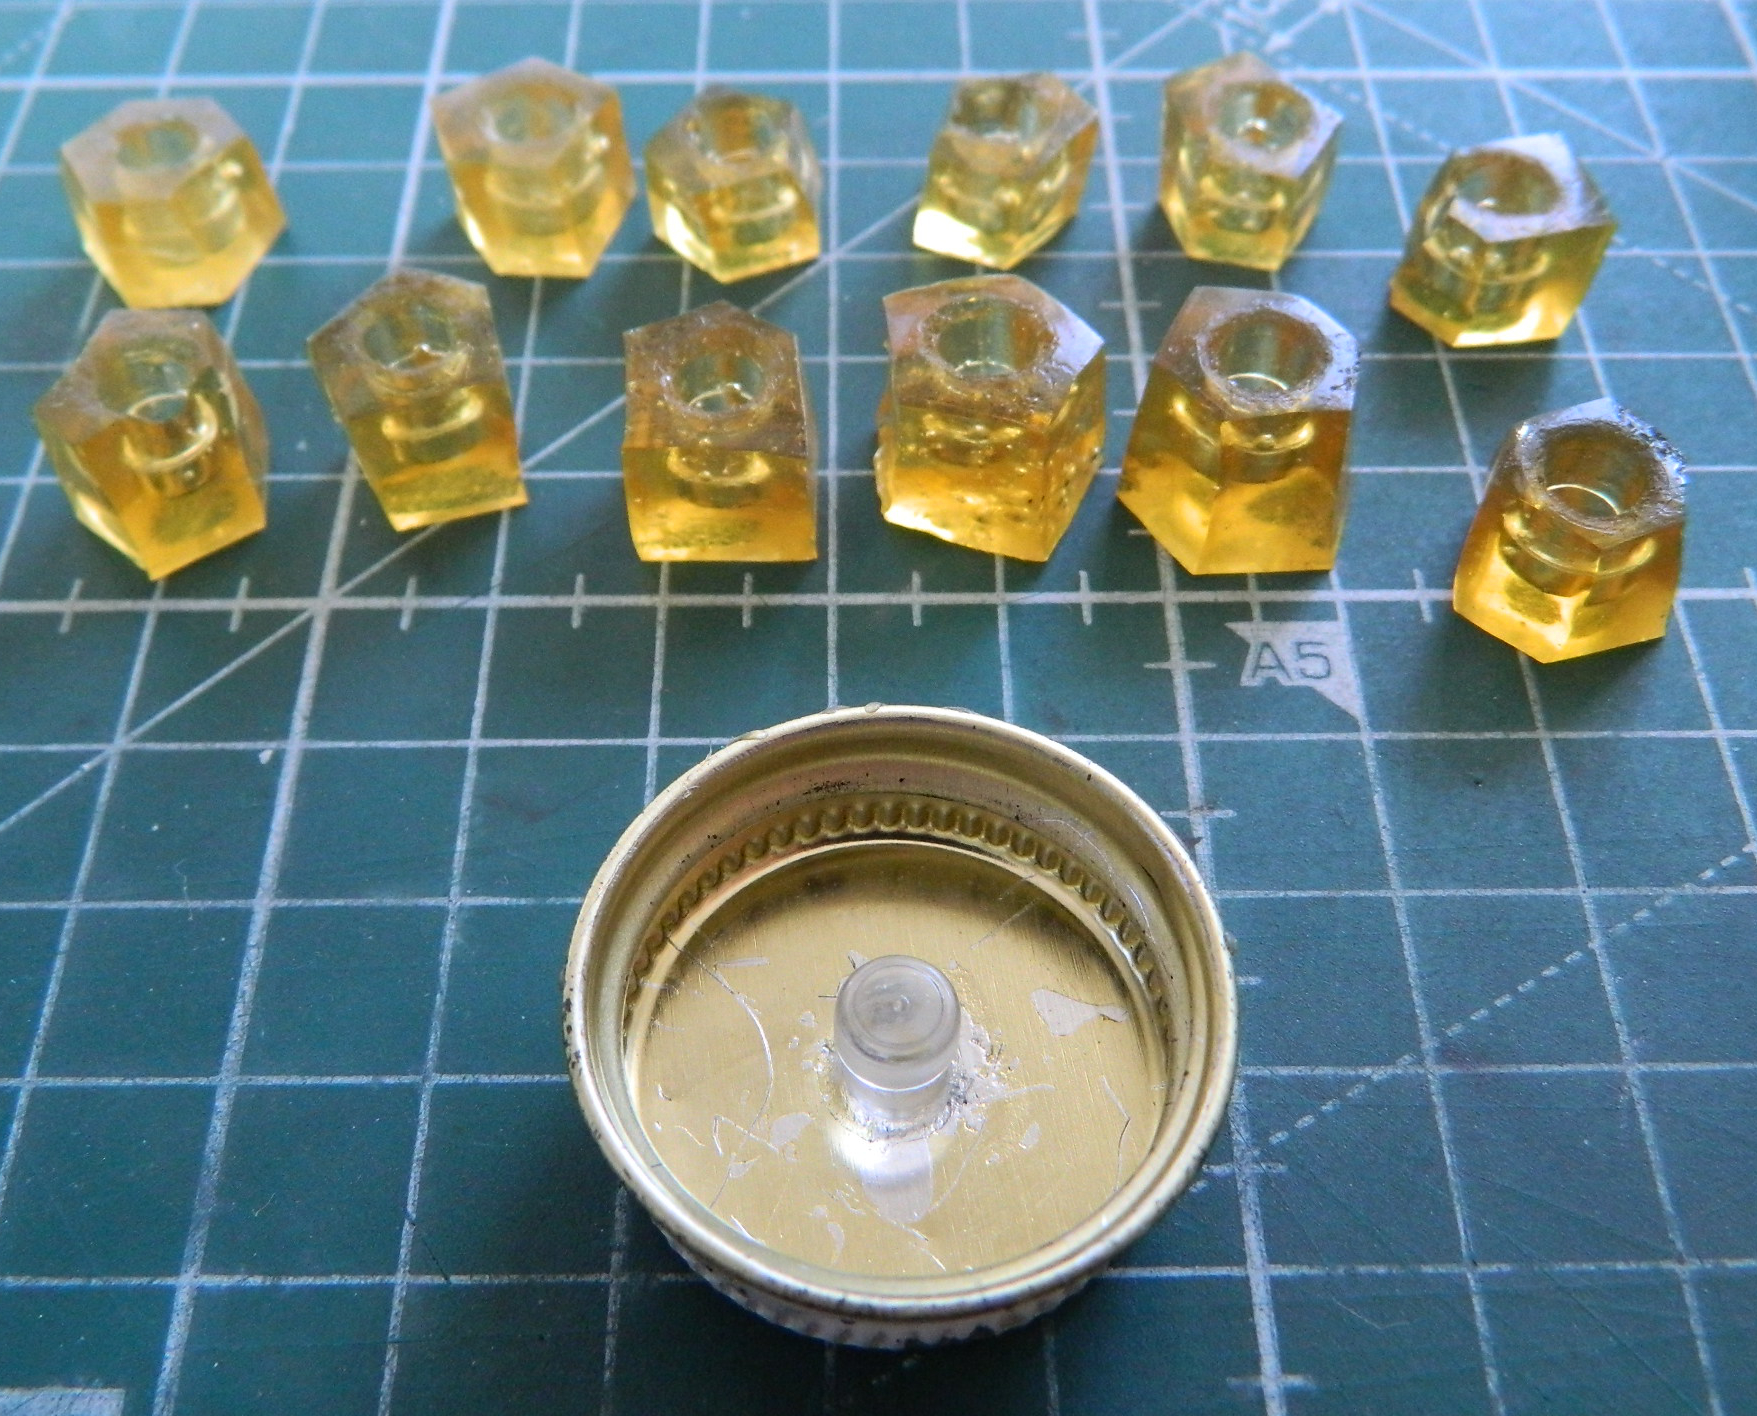
Using silicone molding rubber to make a dozen SMALL molds would be very time consuming as well as a waste of a relatively expensive material. However, I do have this stuff:

It’s a solid at room temperature (assuming one doesn’t have their room on Venus), but if heated in a microwave, becomes liquid at about the viscosity of honey. Not as time consuming OR expensive a process, I just had to do it a dozen times. I mounted the master inside the lid of an empty paint jar, heated the mold making stuff, and poured it into the cap and covered the master. I went through the process a dozen times. (Just be VERY CAREFUL to not overheat the molding material…the plastic cup it comes in can and will melt.) (Don’t ask.):
Once I had twelve molds, the resin was mixed, molds filled, and the whole messy assemblage placed into my pressure pot for six hours.
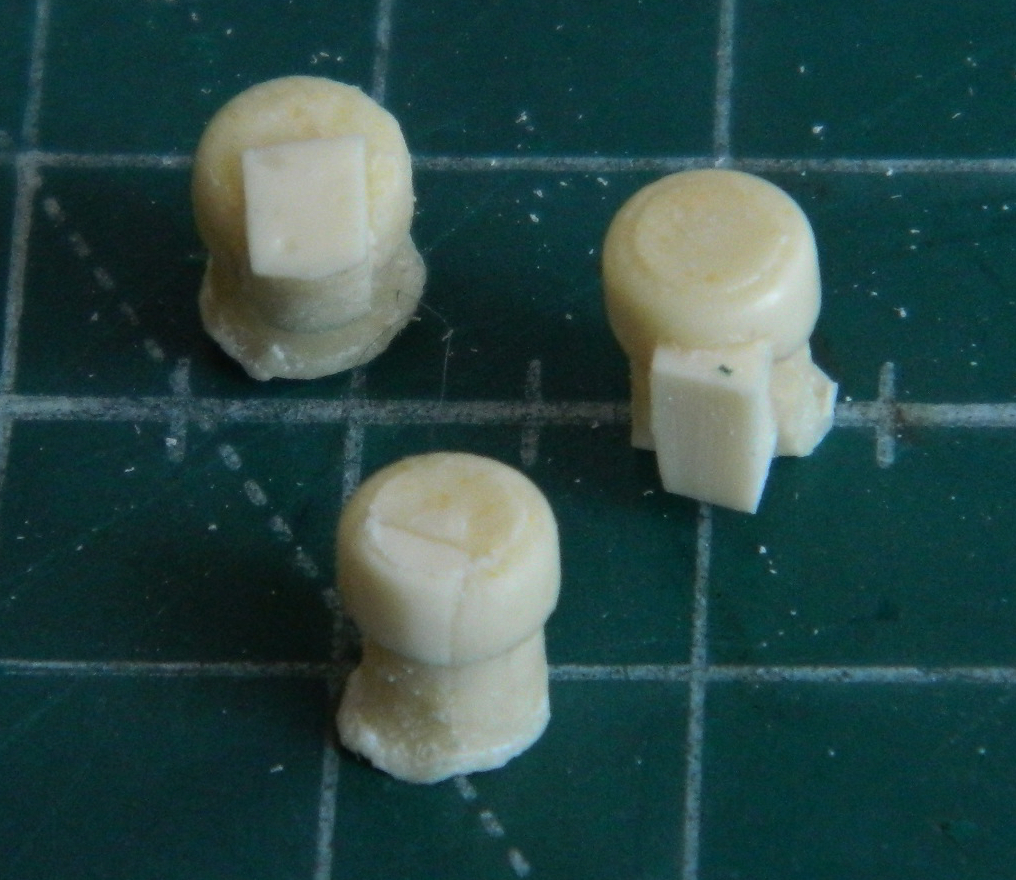
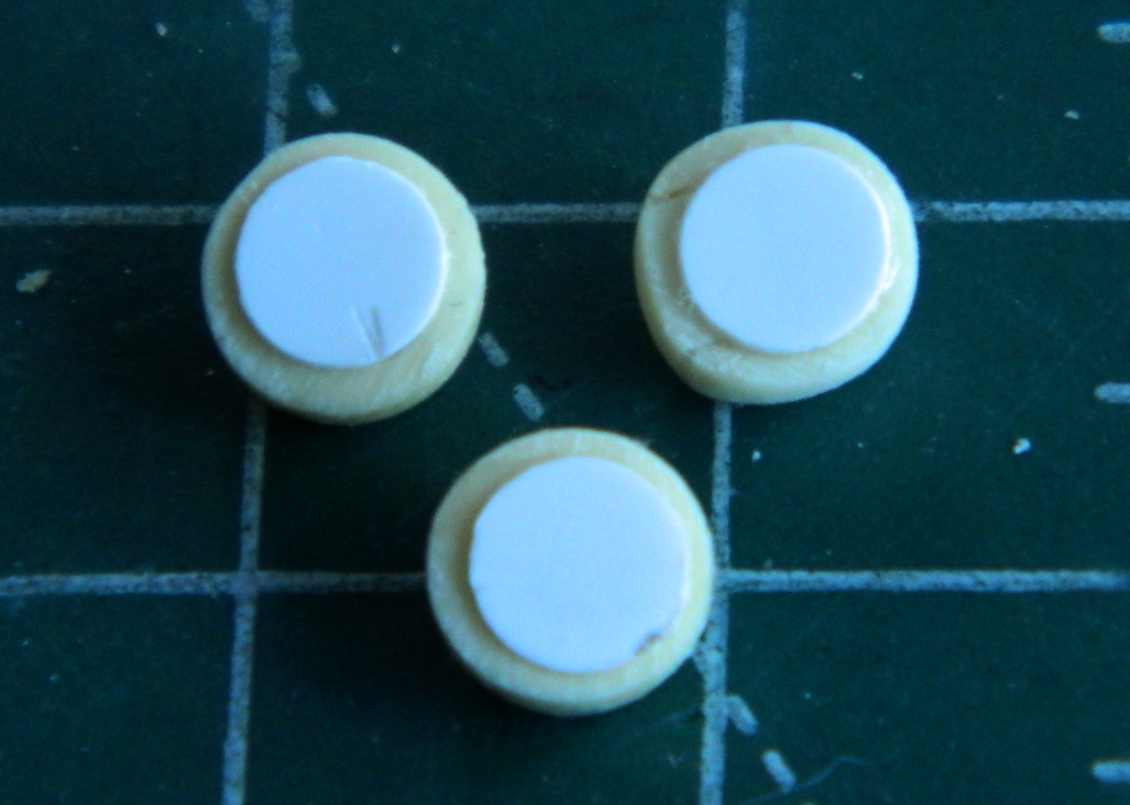
Evidently the resin was a bit too old. Yes…it worked as I’d intended. But instead of curing in six hours, I needed to let it sit overnight. It still hadn’t cured totally but it had gone far enough down that path to demold the parts without deforming them. Letting them sit overnight again resulted in them being properly hardened. One of the mines was unusable (don’t know what happened…if I did it’s possible it wouldn’t have happened), three others had LARGE bubbles in the resin. I used cut off pour stubs from other mines to fill the bubbles after I’d opened the bubbles up and squared them off:


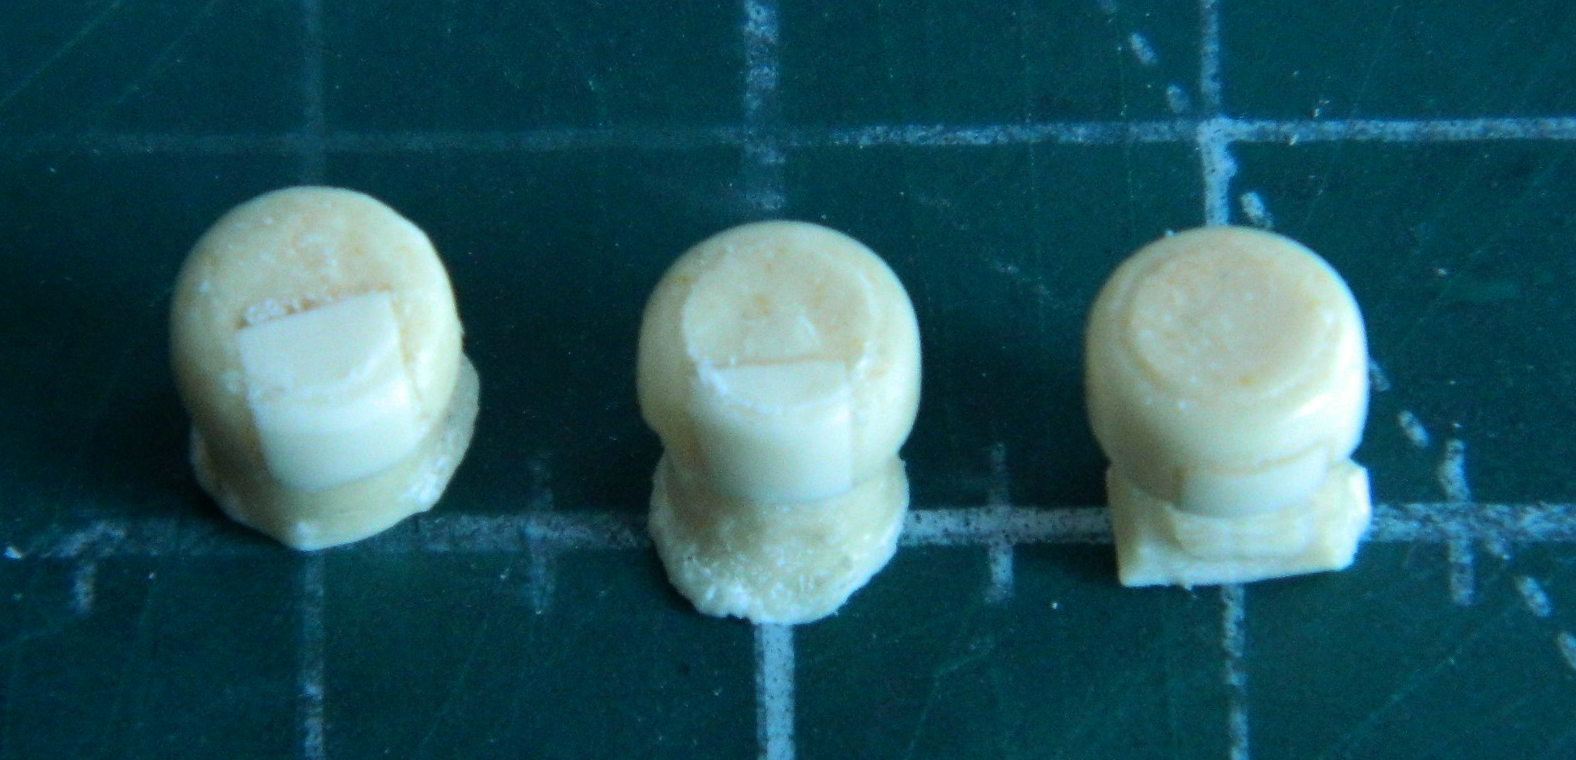
Having eleven mines to use, I cut the PE mine rack from its fret and folded it. To make assembling the mine rack and mines to the inner hull easier, I used a section of scrap 0.010” (.254mm) styrene to make a backing plate for the rack, then I used more 0.010” (.254mm) styrene and punched out discs to glue to the back of the resin mines. The backing plate will be glued to the mine rack and with the styrene discs glued to the back of the mines, I can use styrene cement to glue the mines into the racks, allowing me time to be certain things are properly aligned:
Of course, painting all that will be interesting.
With the mine problems solved, I needed to assemble the ammunition rack. Here’s where things got a bit odd. If I’d assembled the ammo rack as the PE manufacturer suggested, I can’t see how it would function as an ammo rack. As directed, there wasn’t enough room between the shelves to load/unload the ammo as the rounds would be too long. Instead I only used two of the three (or four…the illustration cannot be correct!) rack shelves:
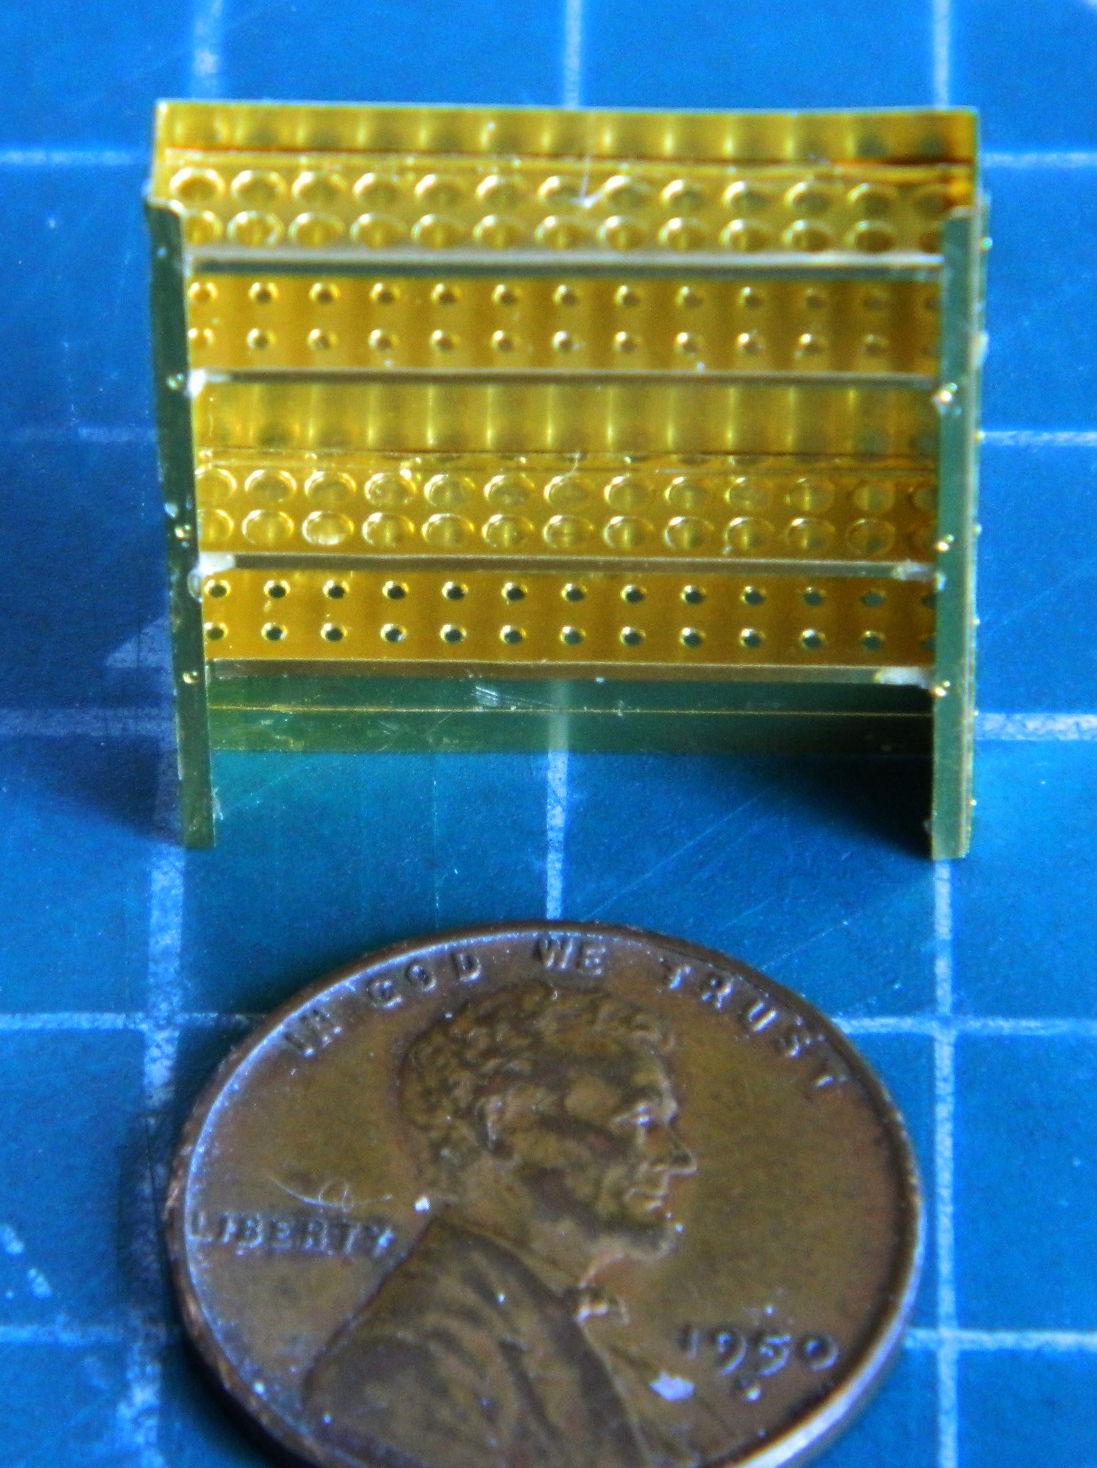
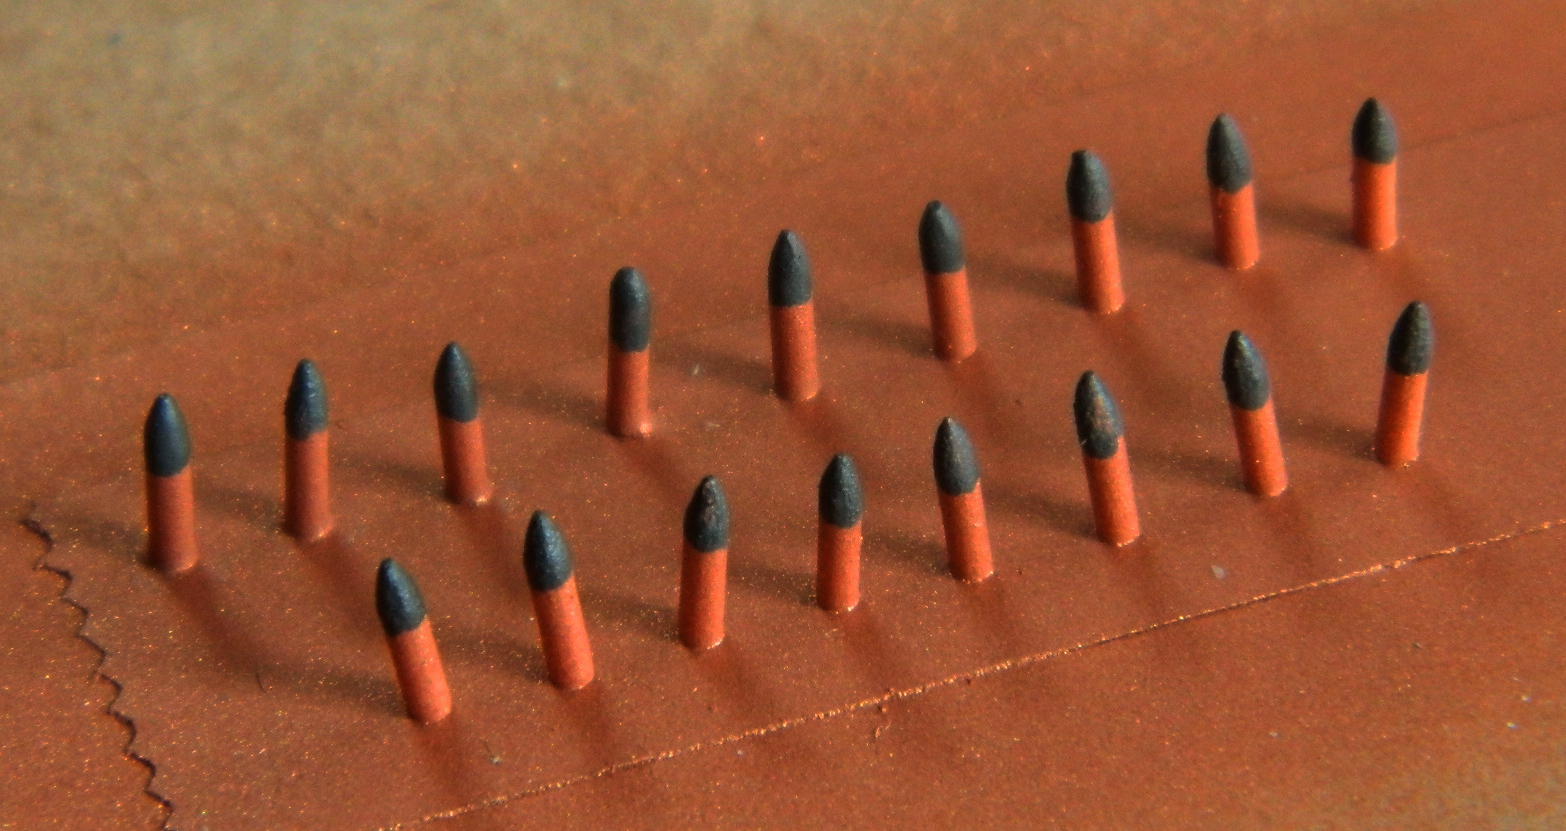
Each rack shelf would hold 26 rounds. I want to model this tank as if it’s just come back to friendly lines after being Out There, so I made 17 rounds, leaving empty spaces for rounds that had been “shot”. I used .035” (.89mm) styrene rod as the rounds. I used the assembled (such as it was) rack to determine how long the rounds had to be, then used 220 grit sandpaper to taper the tips of the rounds to replicate the projectiles:

Once all 17 were done, I stuck them flat side down onto double sided tape and painted them using Tamiya XF-6 Copper (six parts) and XF-2 Flat White (one part). Once the paint dried, I mixed Tamiya XF-25 Light Sea Gray (three parts) and Tamiya X-18 Semi-Gloss Black (one part) and painted the projectile section of the rounds (after the paint cured, I popped the shells off the tape and touched up the bases):
Painting the insides of the two racks and the items racked is going to be even more interesting.
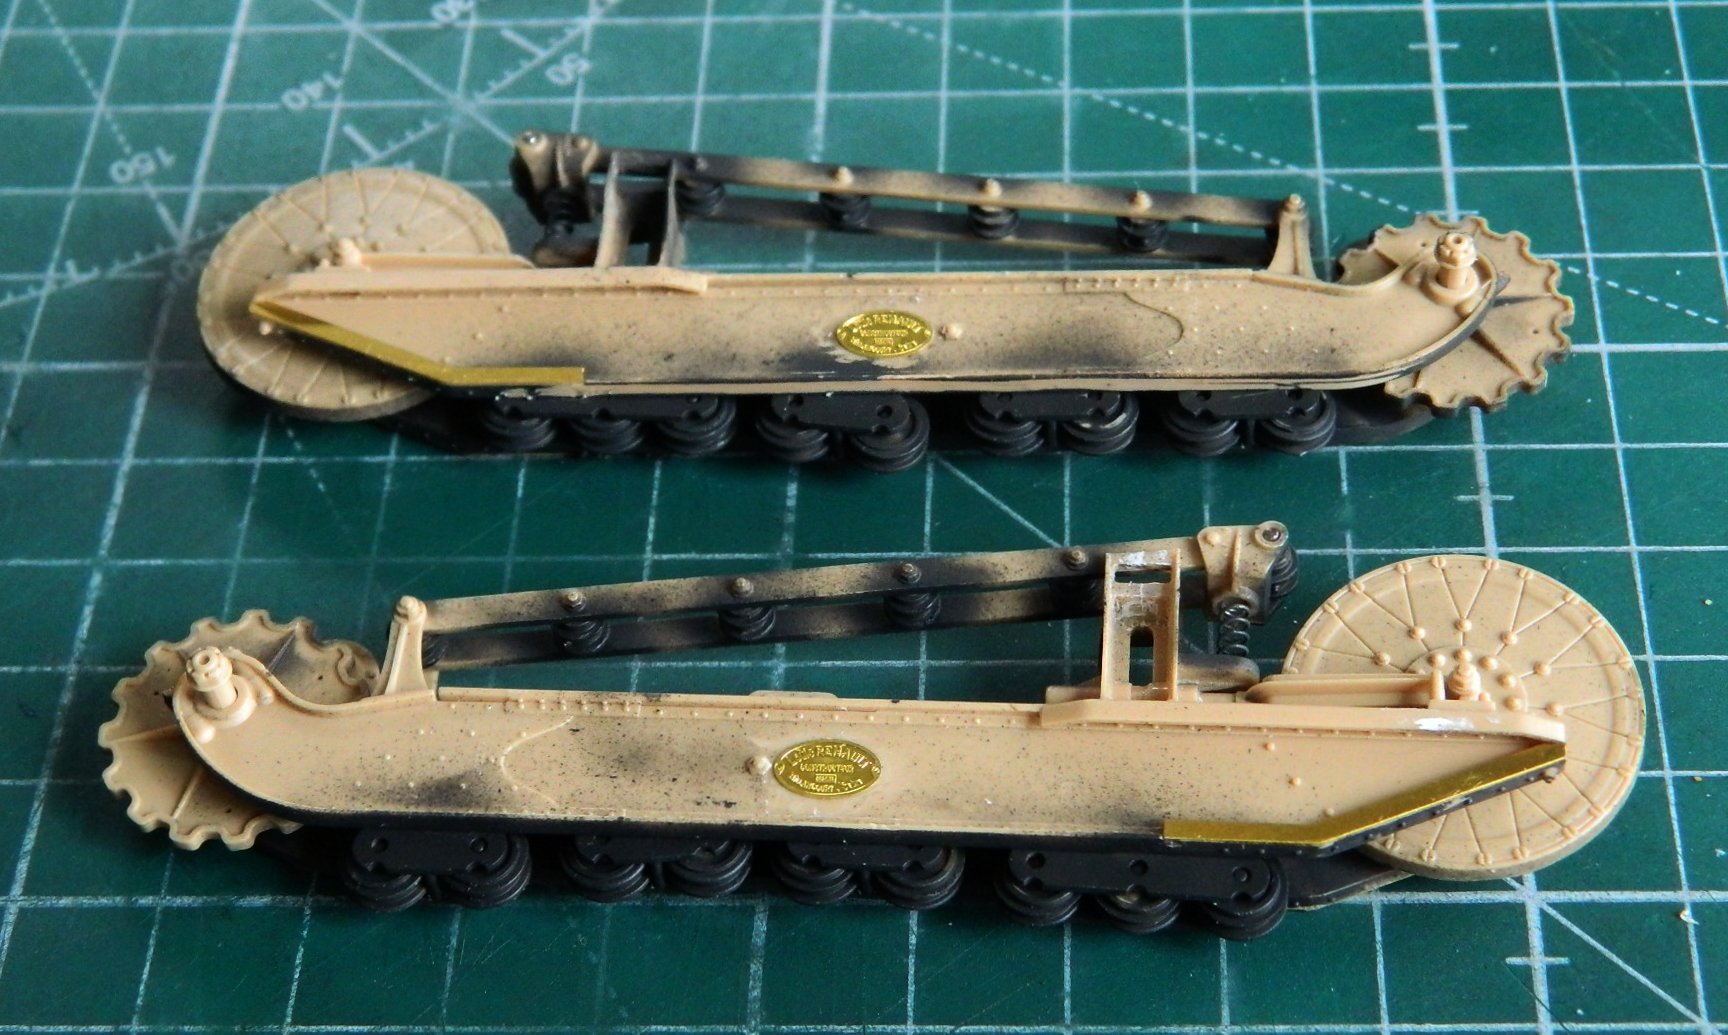
The PE parts offered nice alternatives frequently to the plastic parts of the kit (which is their function, yes?) and are sometimes better than the PE parts that came with the kit (sometimes, not always). On the outer sides of the suspension frames there are oval Renault logos. The AM PE parts replace the molded-on details with something finer, so I carved off the molded details and replaced them with the PE details. I also added the strengthening plates to the lower front corners of the suspension frames (these PE parts were provided by the kit):
The AM PE set provided grab handles for the mines. Those were folded and glued into place:


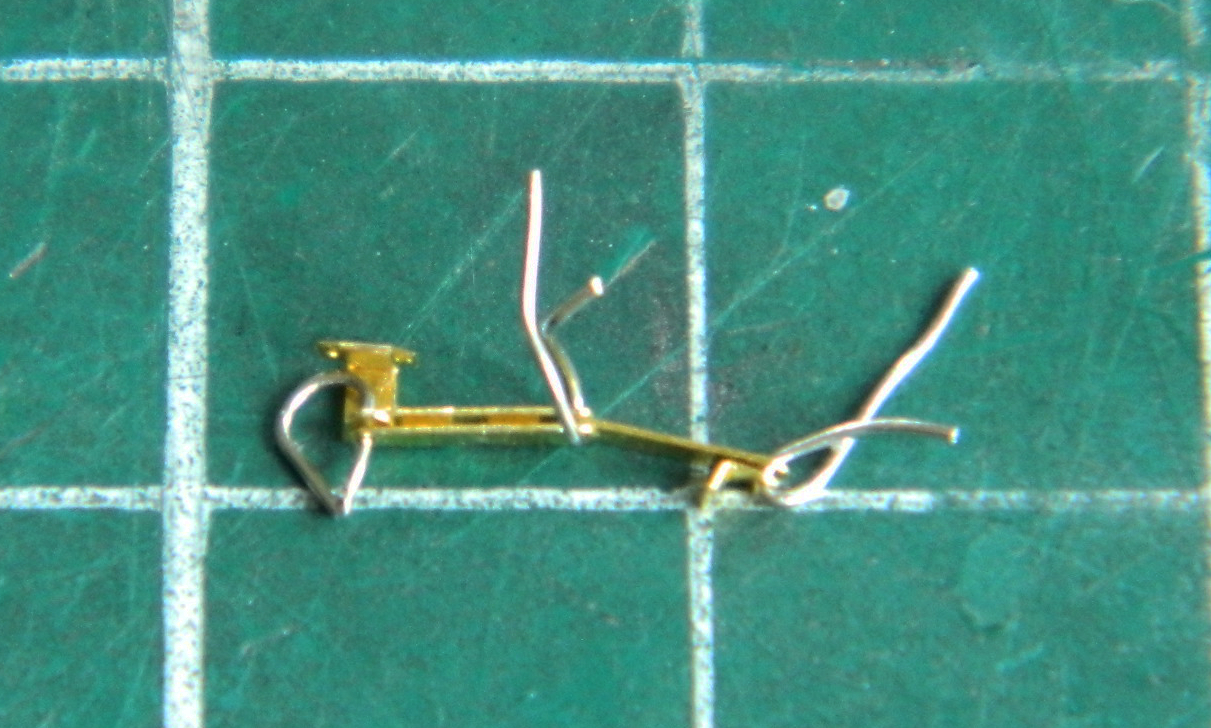
This little brass bit of origami will end up being the support linkage for the driver’s upper hatch. I had such fun getting it together (and then STAY together) that I’m not going to trim any of the hinge pins until the last POSSIBLE second:
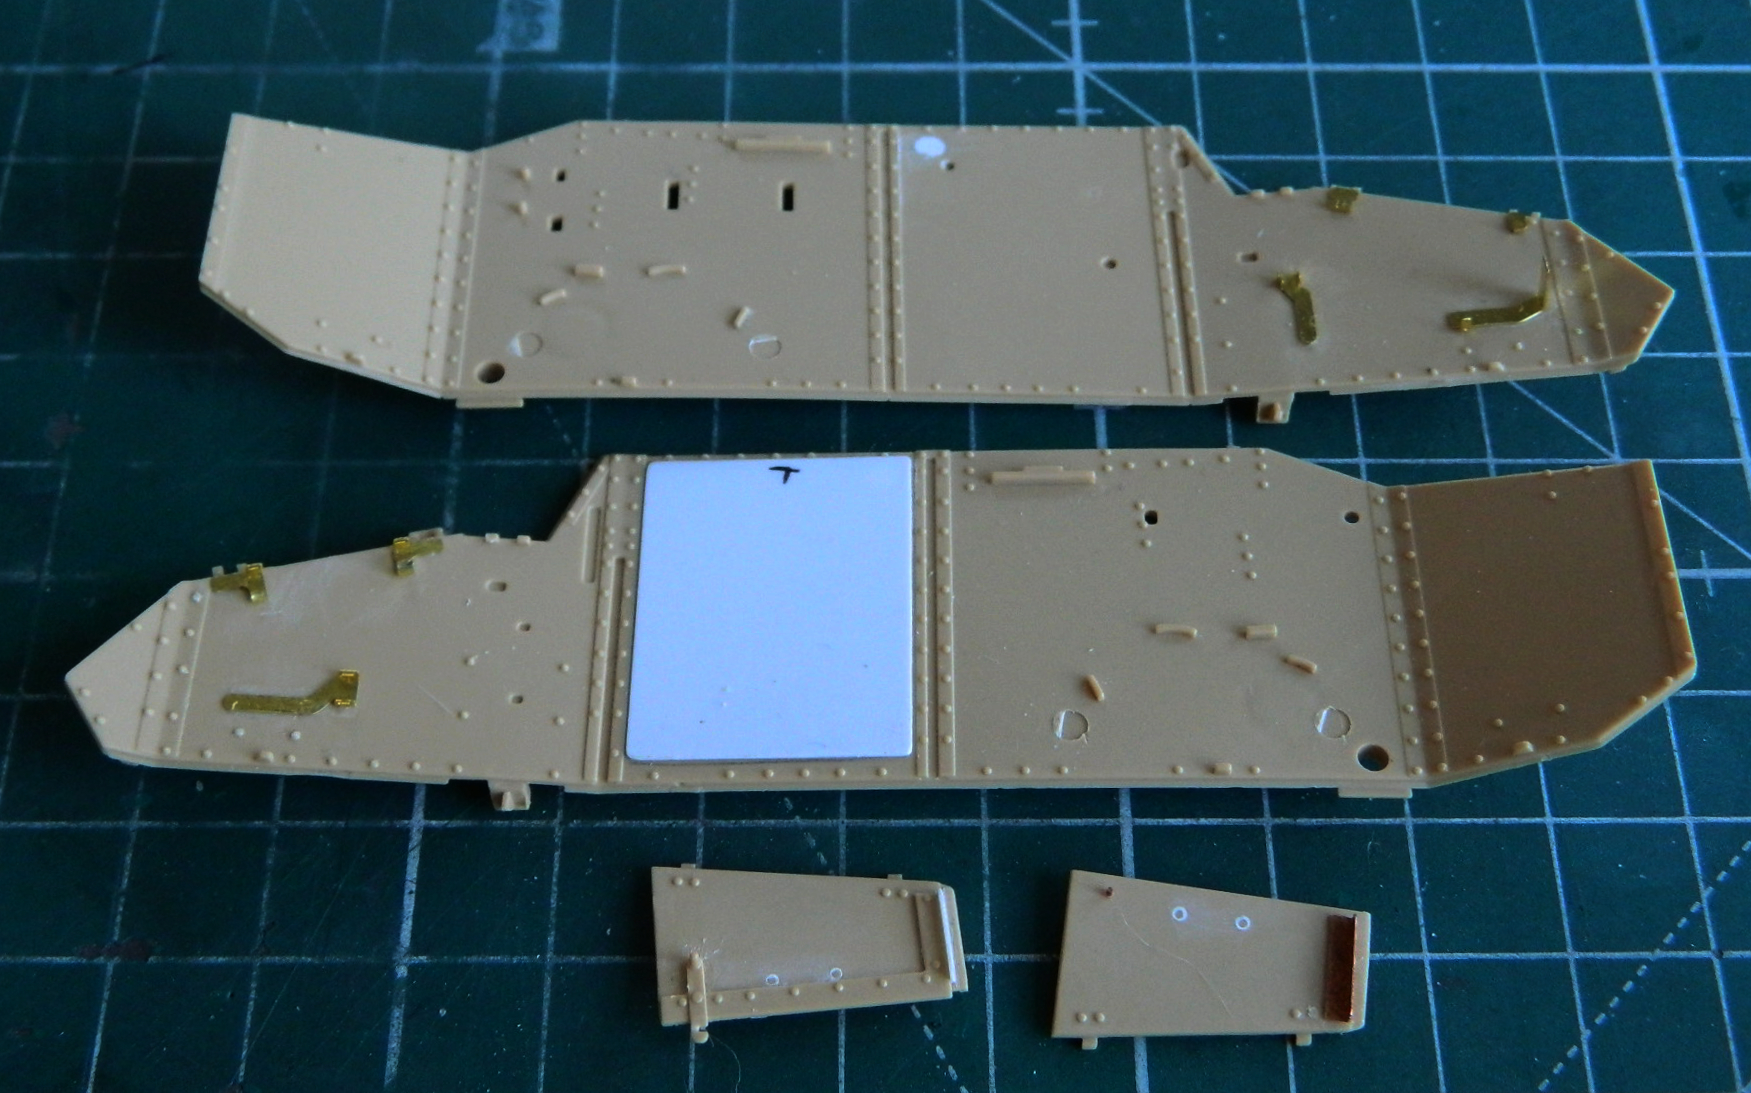
The AM PE offered better interior bits than had been molded on, so I carved away the molded on bits and replaced them with PE. I also glued the backing plate of the mine rack into position (that’s the large white part). Thinking about using plastic glued to PE parts away from and off the model to ease installation later on appeals to me. I’ll be using scrap styrene glued to the back of the PE ammo rack and then using styrene cement to attach the rack to the inner hull side. This gives me more time to position parts before the adhesive sets up:
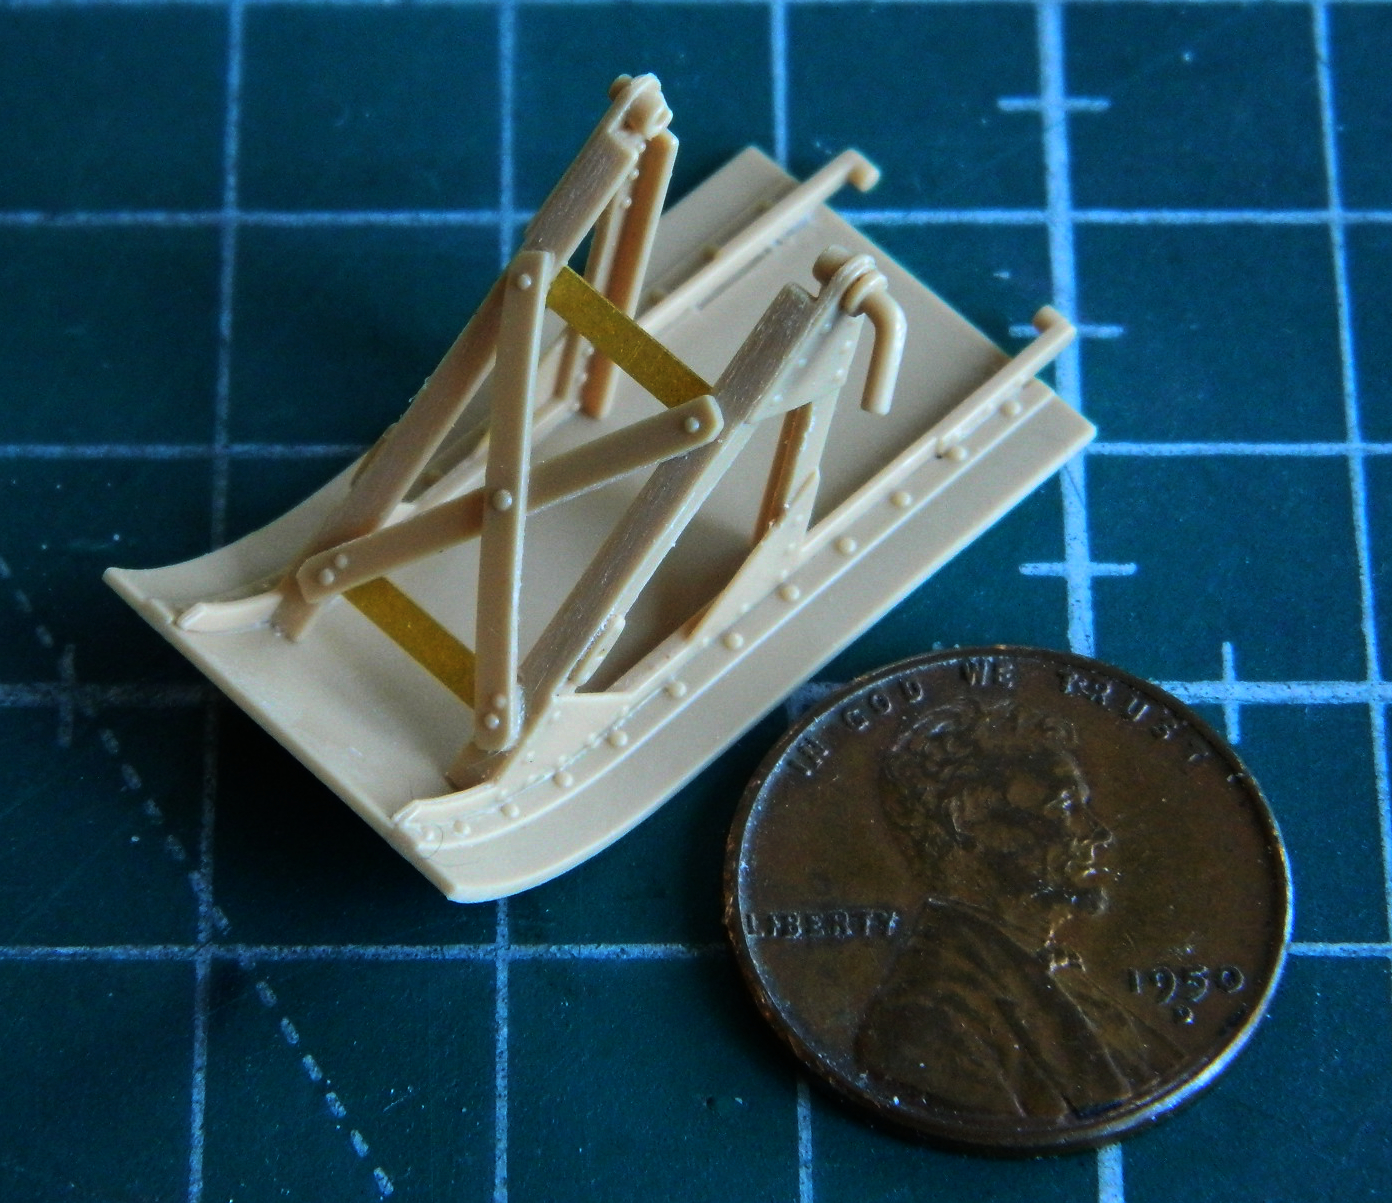
The AM PE set also offered a PE replacement for the unditching skid that mounts on the rear. I briefly considered using those PE parts but I liked the kit’s parts better so I assembled them:
My next challenge will be to figure out how (or even if) to preshade the interior paint and with the mines and ammunition painted prior to installation. I’m thinking that I’ll paint the interior parts (and yes…there are more of them to come) before I assemble the hull.
