Seeing the outer part of the capsule sitting there on the workbench with the nose attached incorrectly bothered me so it was time to fix it. Sometimes in order to create, one must first engage in destruction. Step one, saw off most of the old nose:

That allowed access to where the part was glued so that I could begin what I thought would be a long time of carefully removing what I didn’t want there anymore while still leaving enough to attach the new nose. Sometimes it’s good to be incorrect. It actually came off relatively easily.
Then it was a matter of getting the attachment area fitted so that the new section fit better than it didn’t:
With that taken care of, there were a couple of things I wanted to do to the new part. I glued the two halves together and reworked the thruster nozzles. This is what the kit provided:
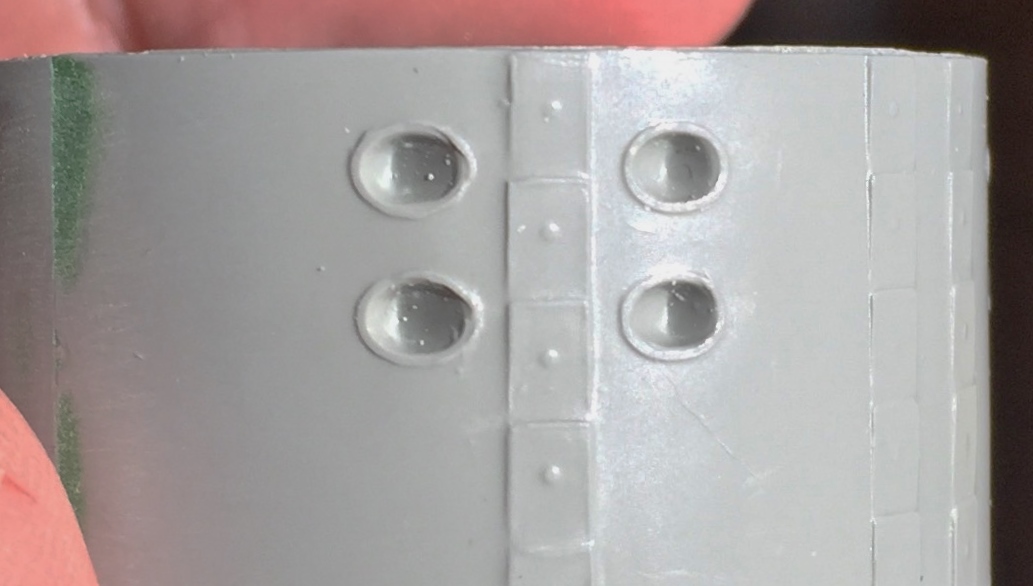
I experimented on the old part to see if it was worth drilling the nozzles out and replacing them with tubing or if drilling them out would work better. Yeah, the tubing was better, but the amount of work required to get them all identical and properly aligned would probably have taken days to accomplish. Drilling the nozzles out was certainly acceptable:

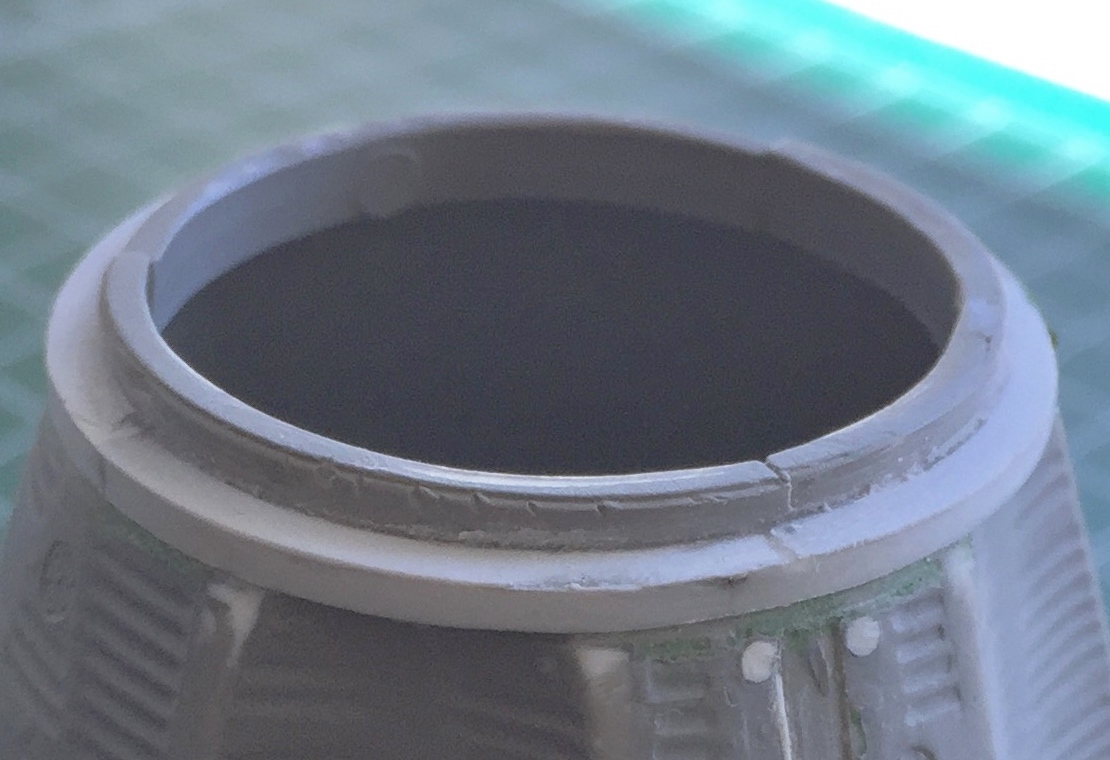
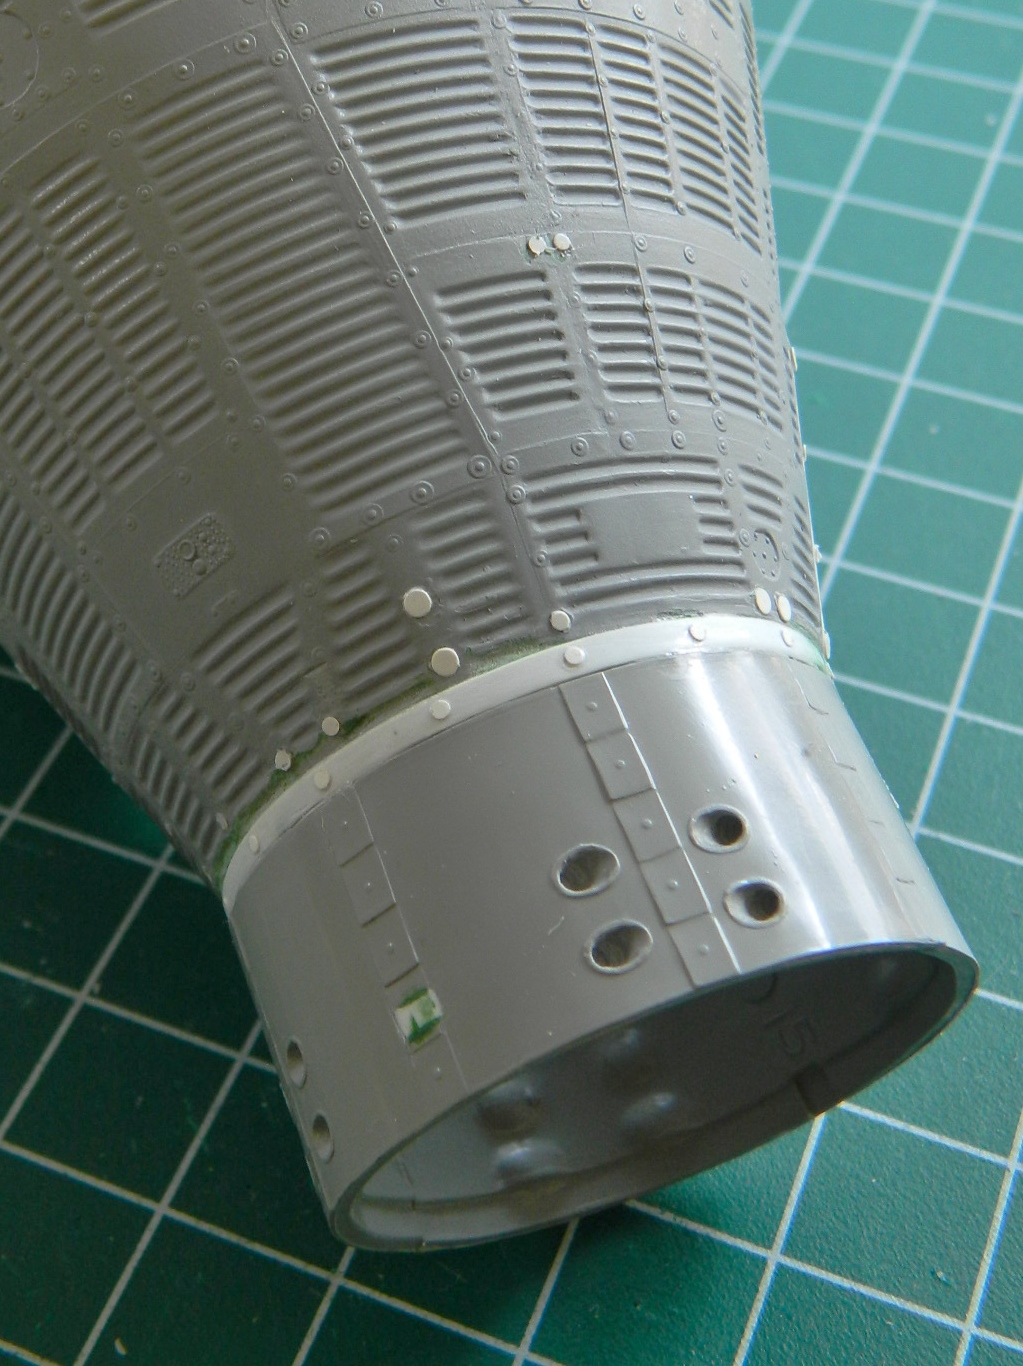
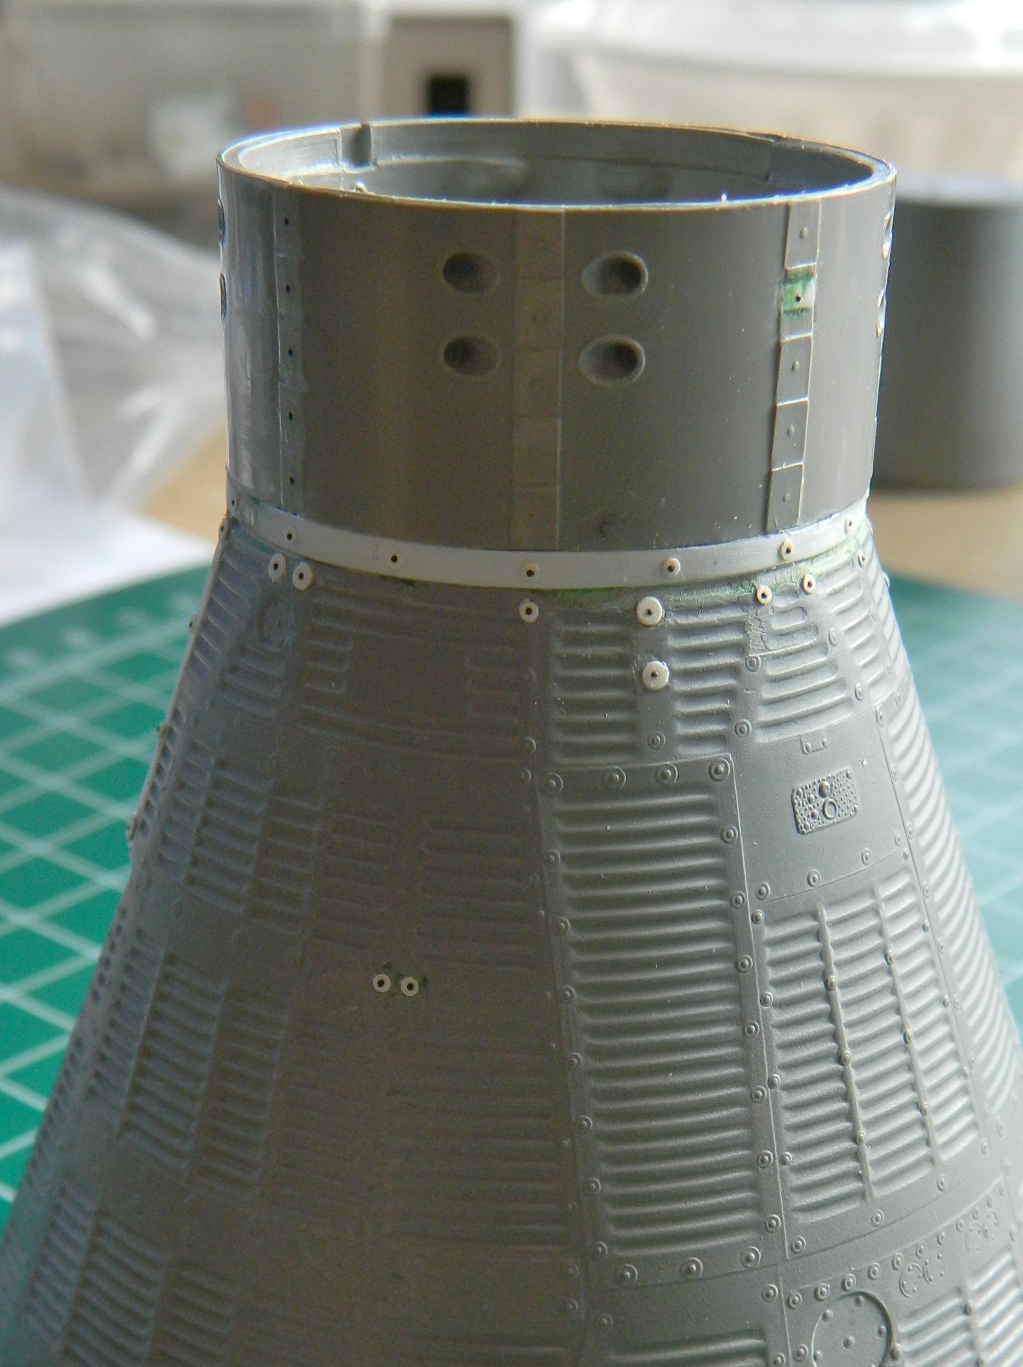
There’s a locating hole on the side of the collar for an incorrect module to be mounted at. Even if I was going to use that incorrect module, the hole that was supposed to locate the attachment point was 90 degrees off, so I stuffed it with a piece of plastic and filled it:
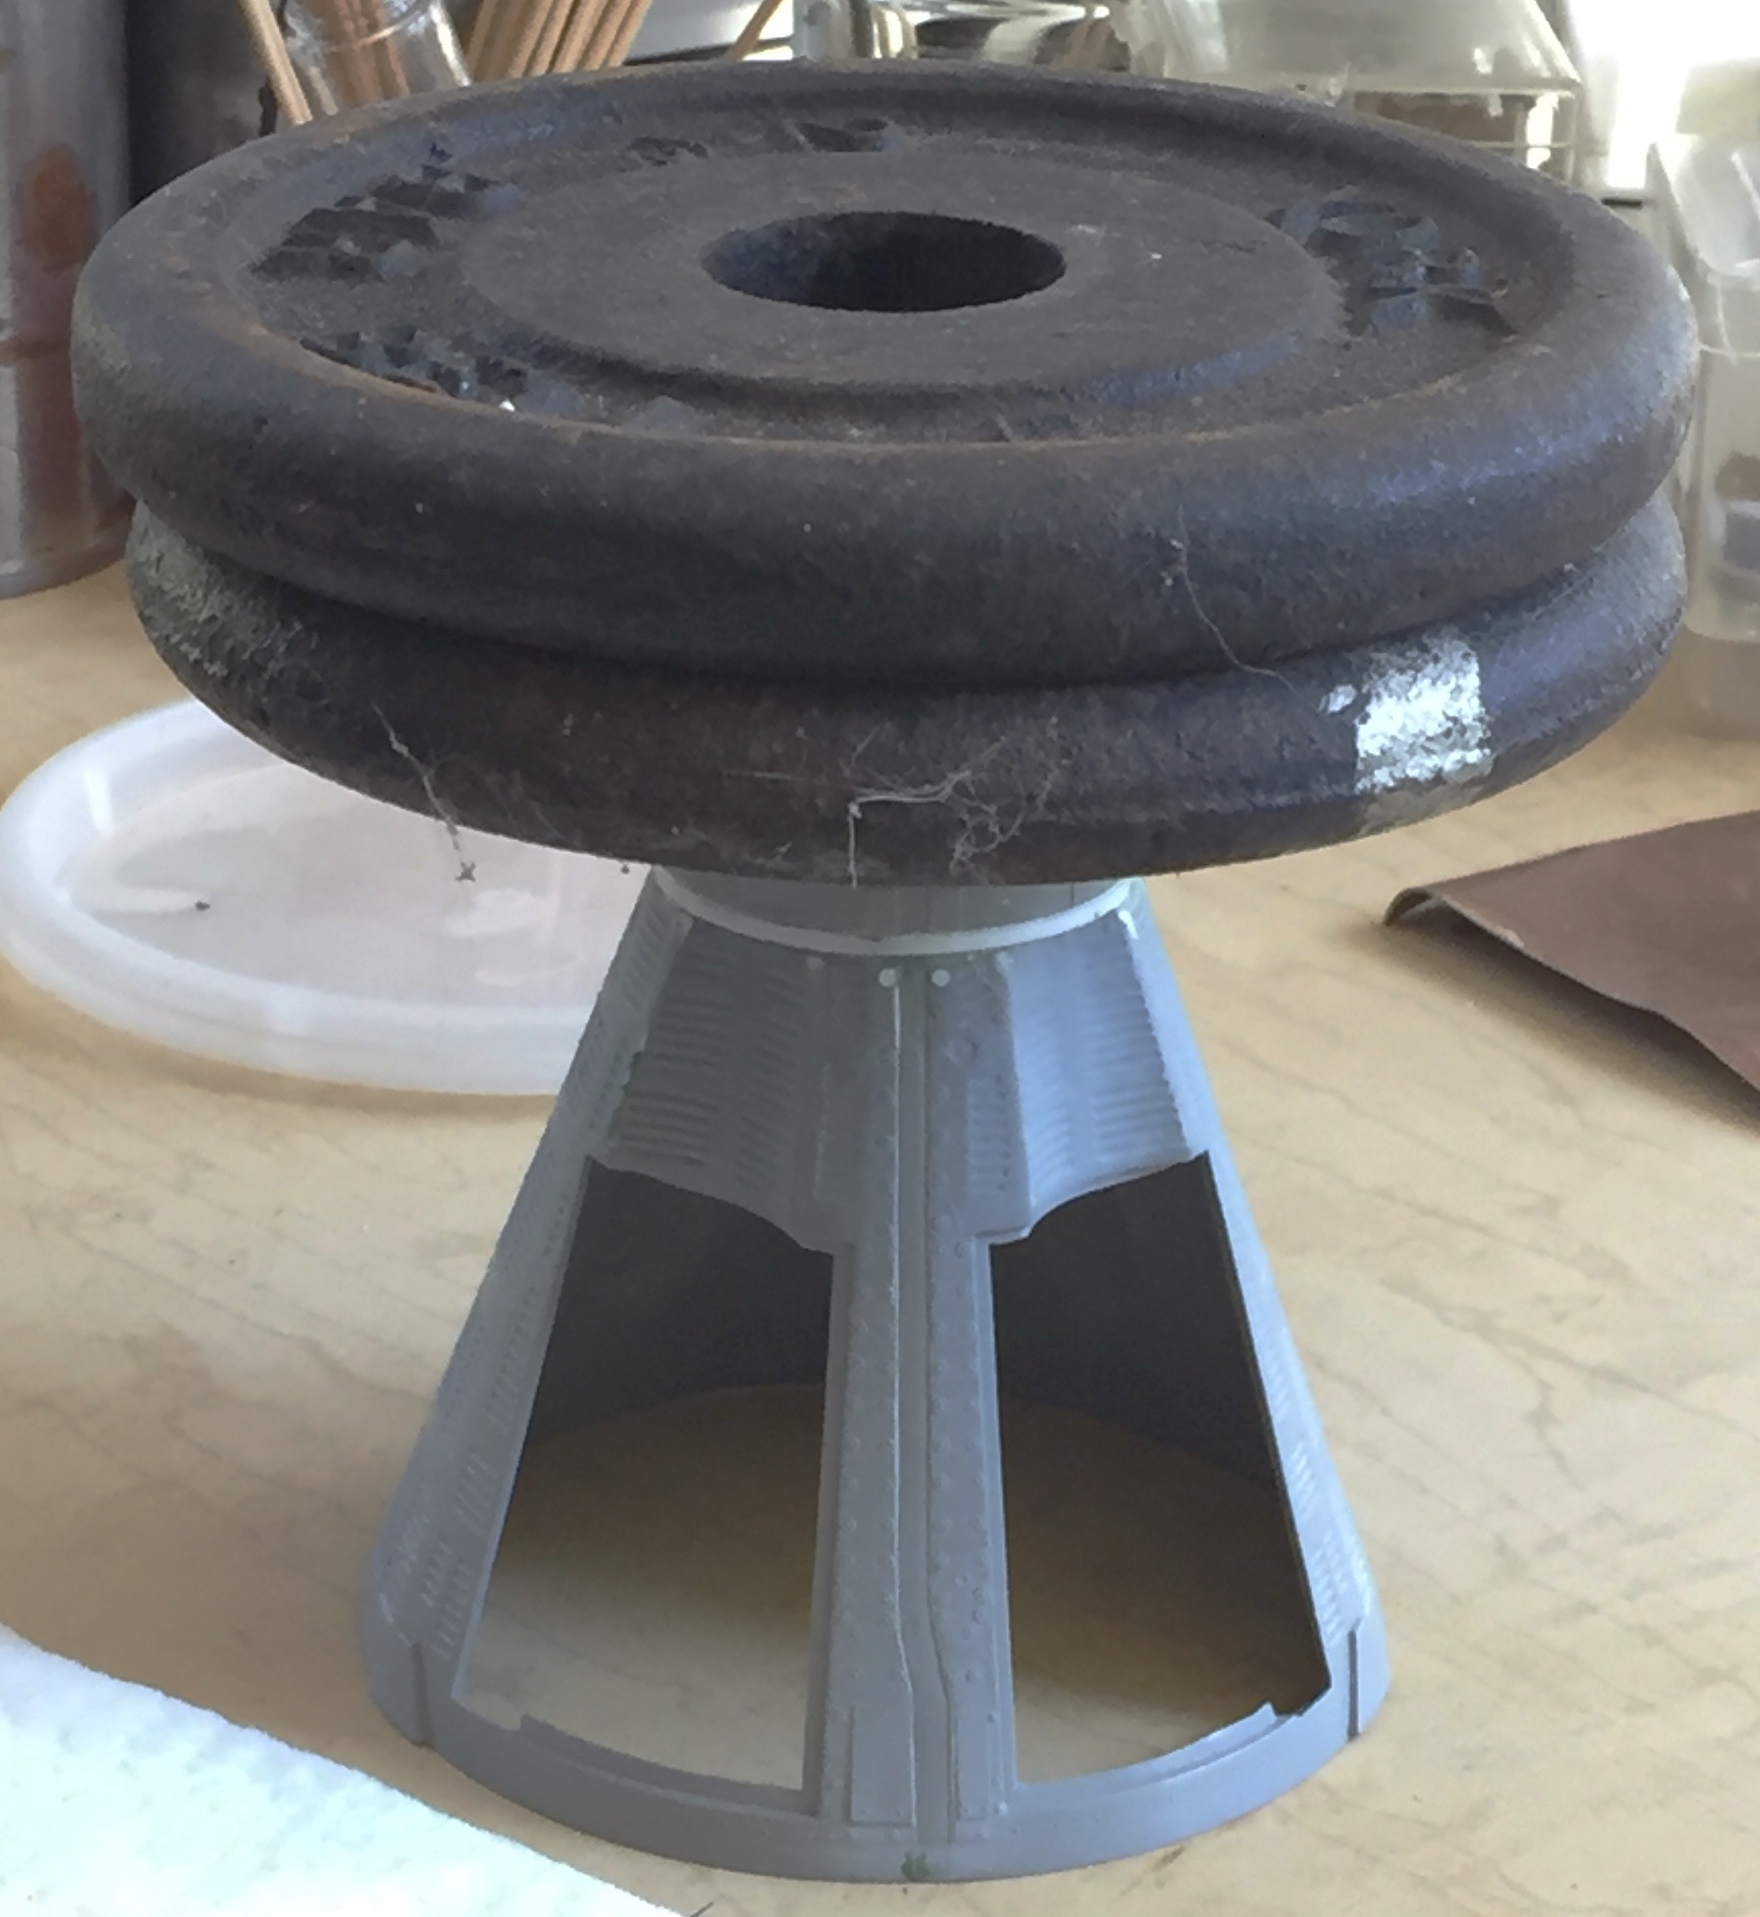
When I glued the collar on, I used five pounds of weight to fit this part as tightly as I could manage:
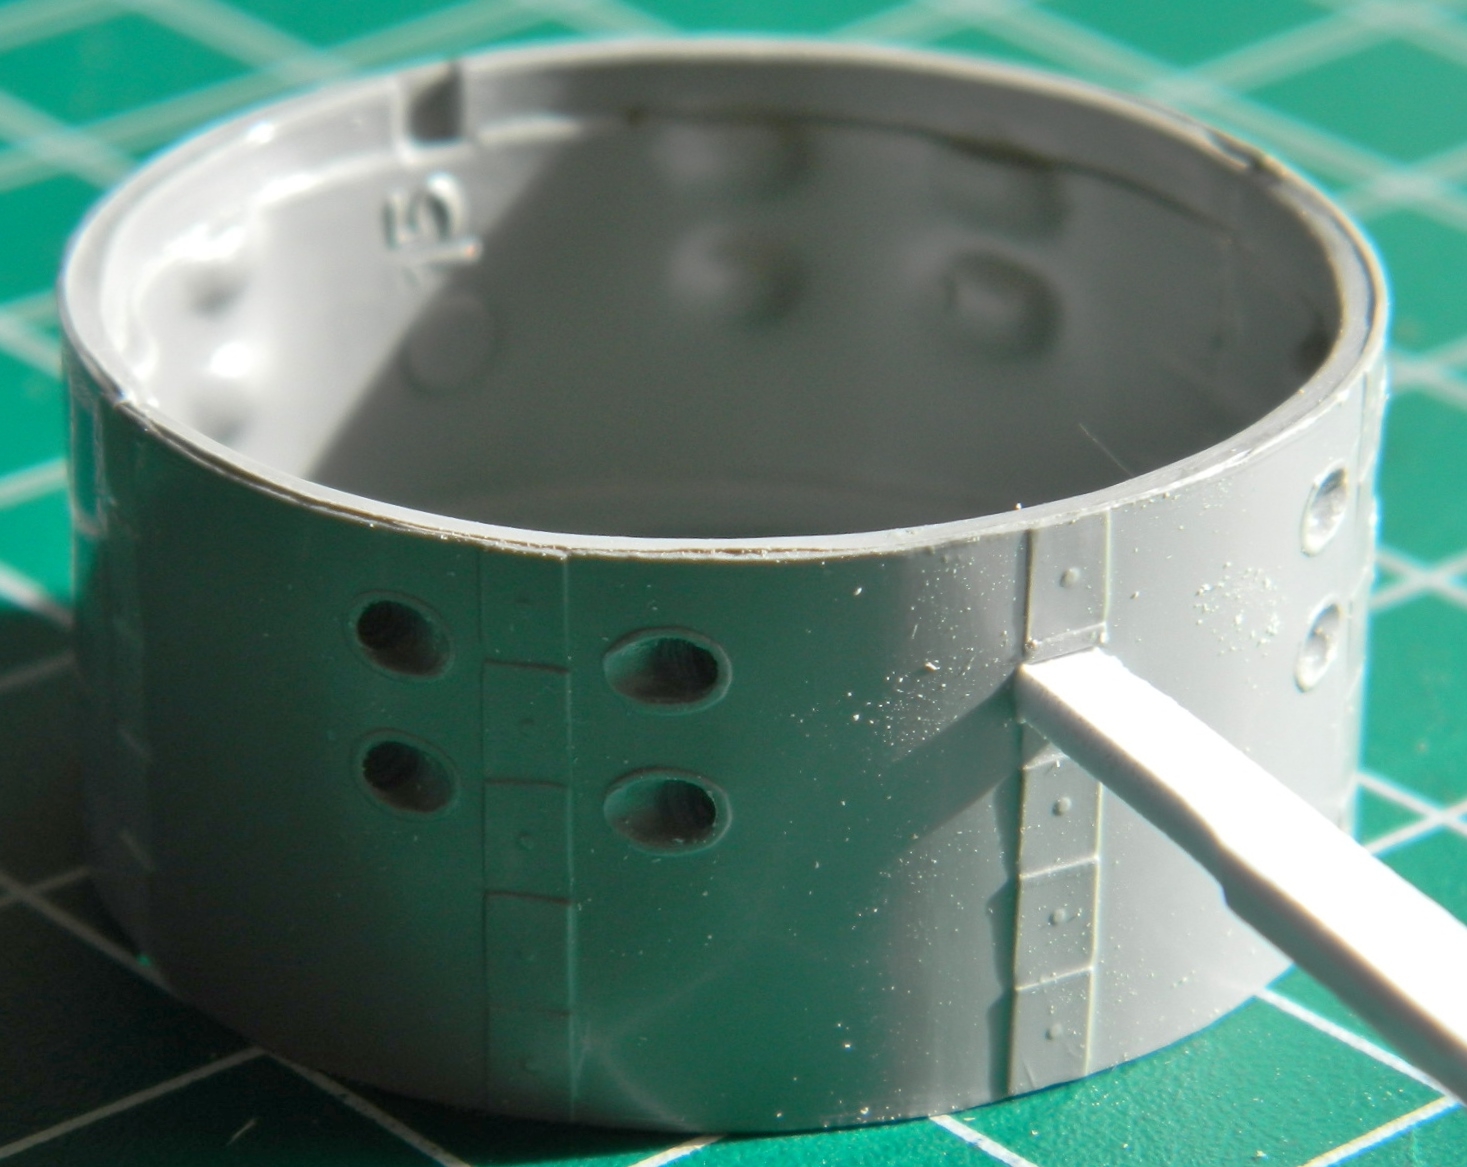
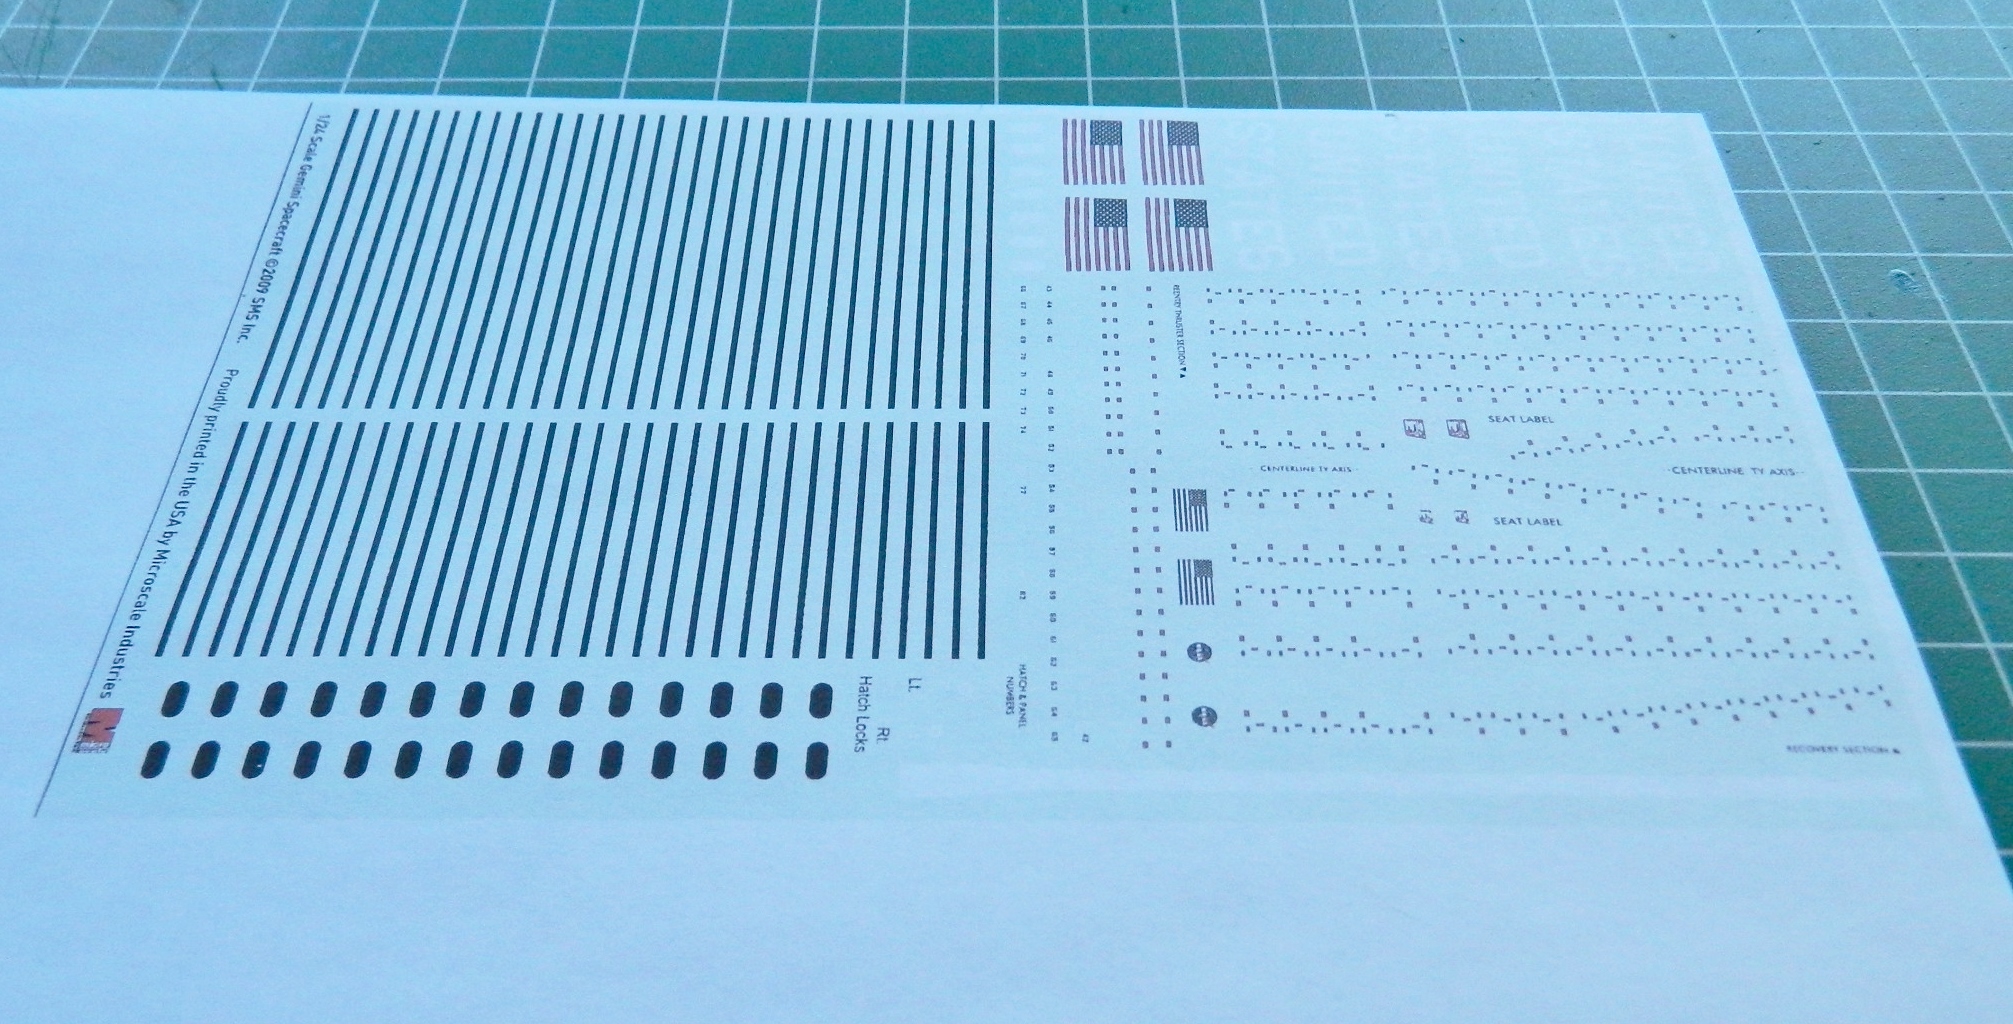
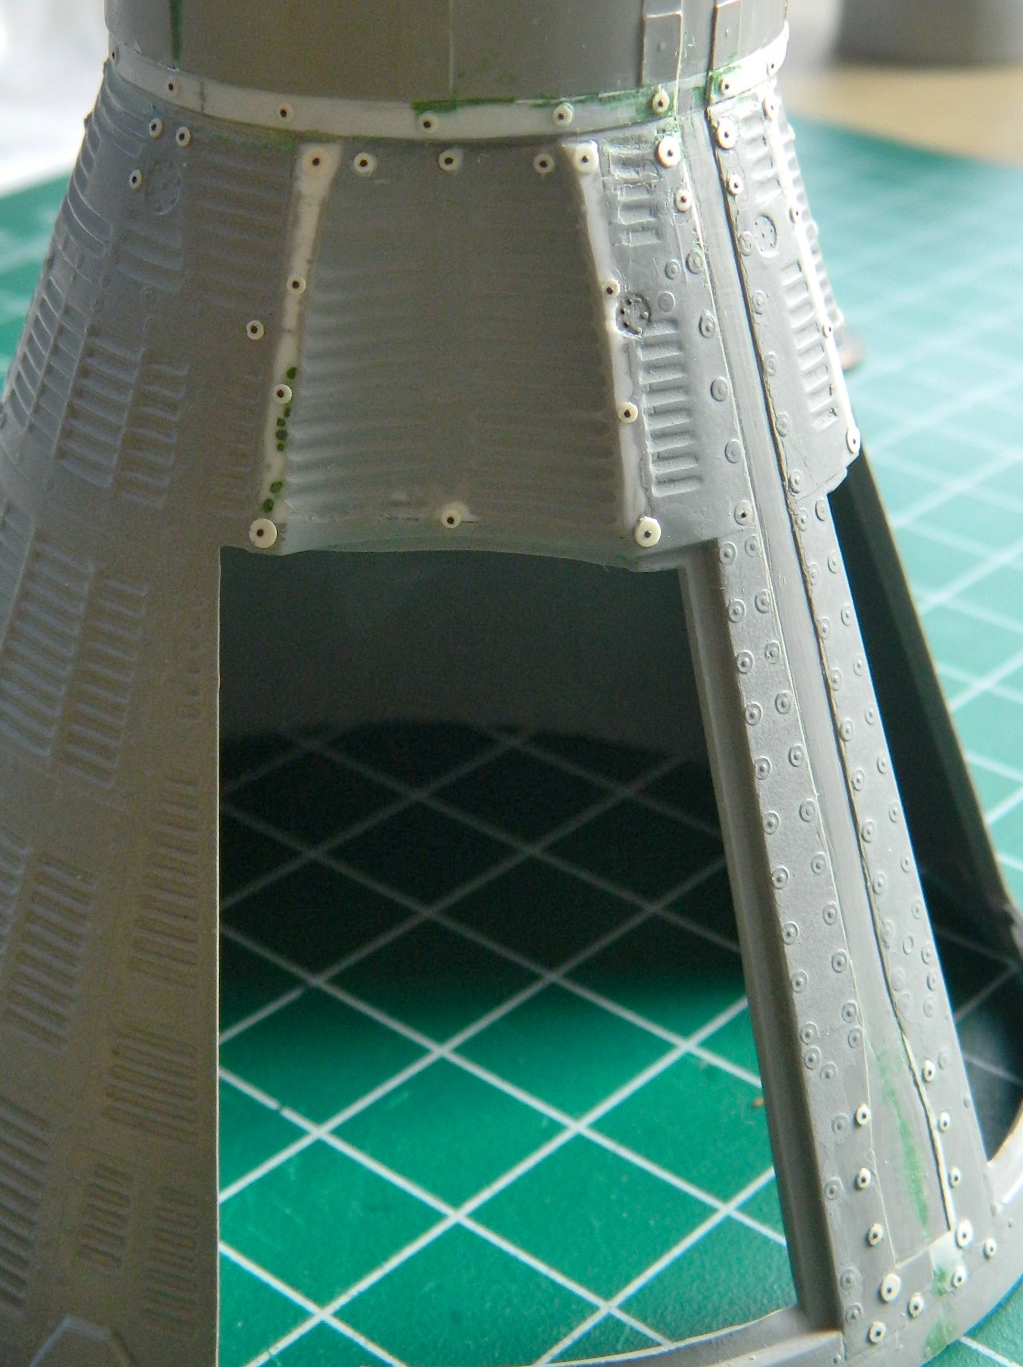
While that was setting up, I started addressing the inaccuracy of the bridle channel between the hatches. I copied the AM decal sheet and cut out the decal that’s supposed to be used in that channel (I’m going to paint it instead) as a template to show me what needs to be reworked (it’s that light strip in the lower right corner):
This is how far off it was:

There are a lot more inaccuracies in this area (and over the entire exterior) but what I would have to do to fix them is staggering. In essence, I’d have to take surface molds of ALL the exterior corrugations and re-skin the whole thing…and even then there would still be inaccuracies. Not worth it. This will certainly be good enough:
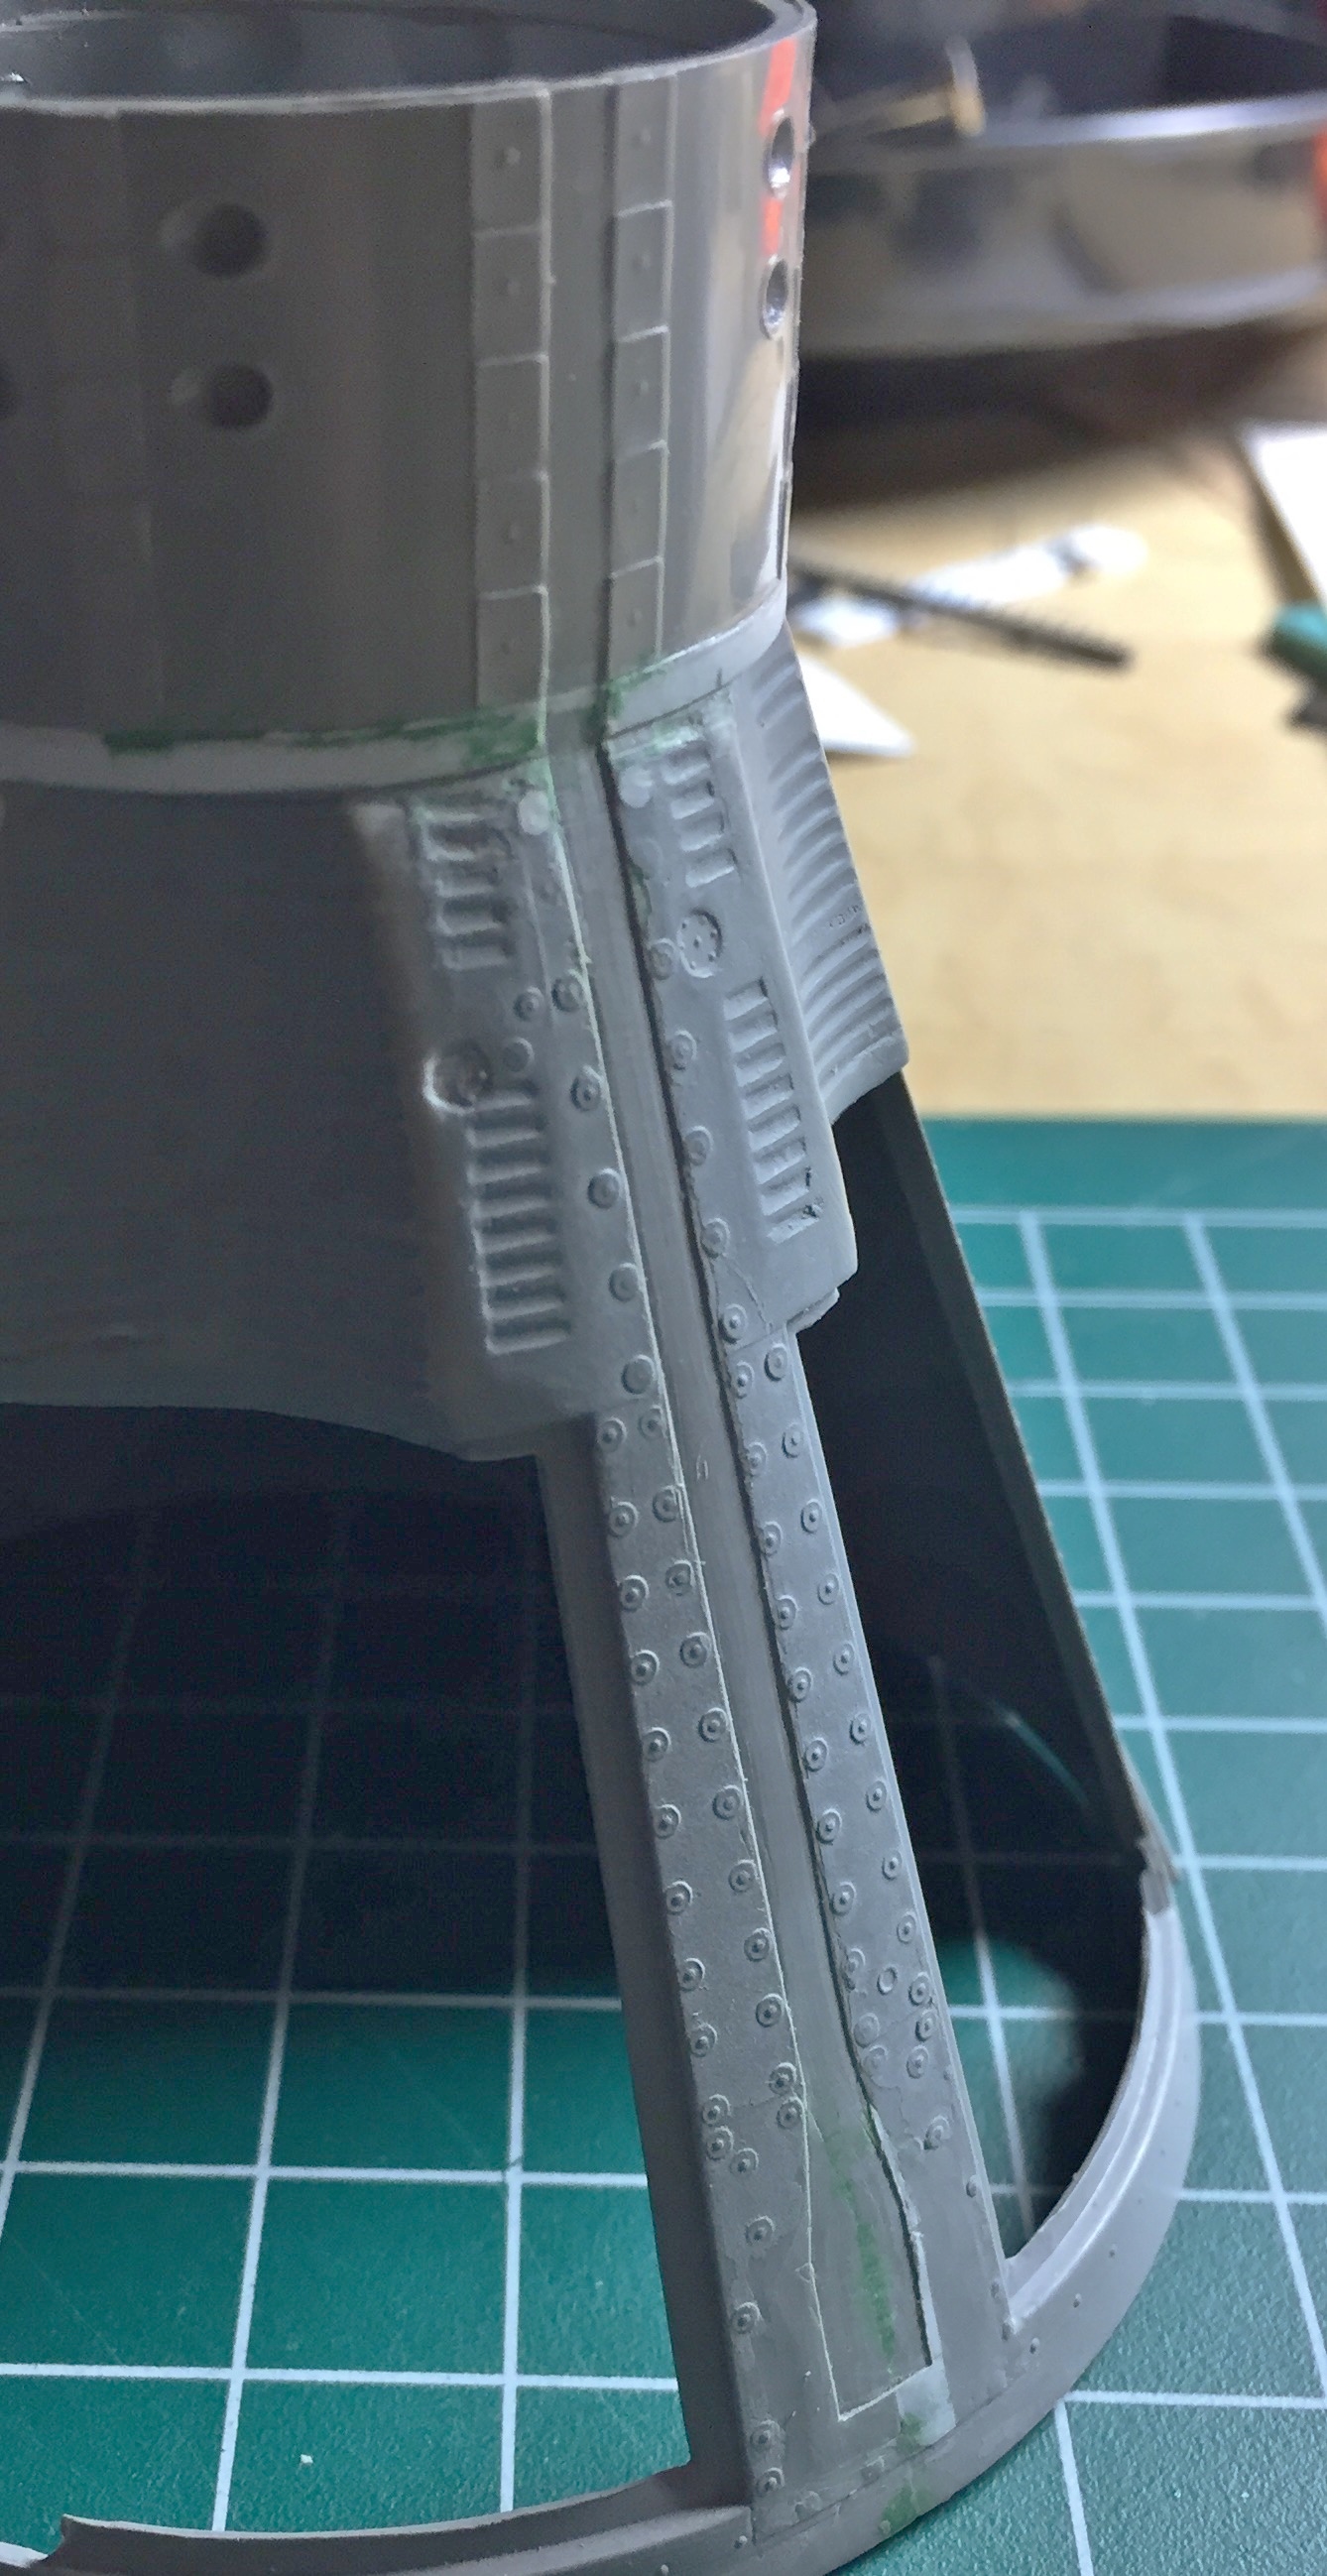
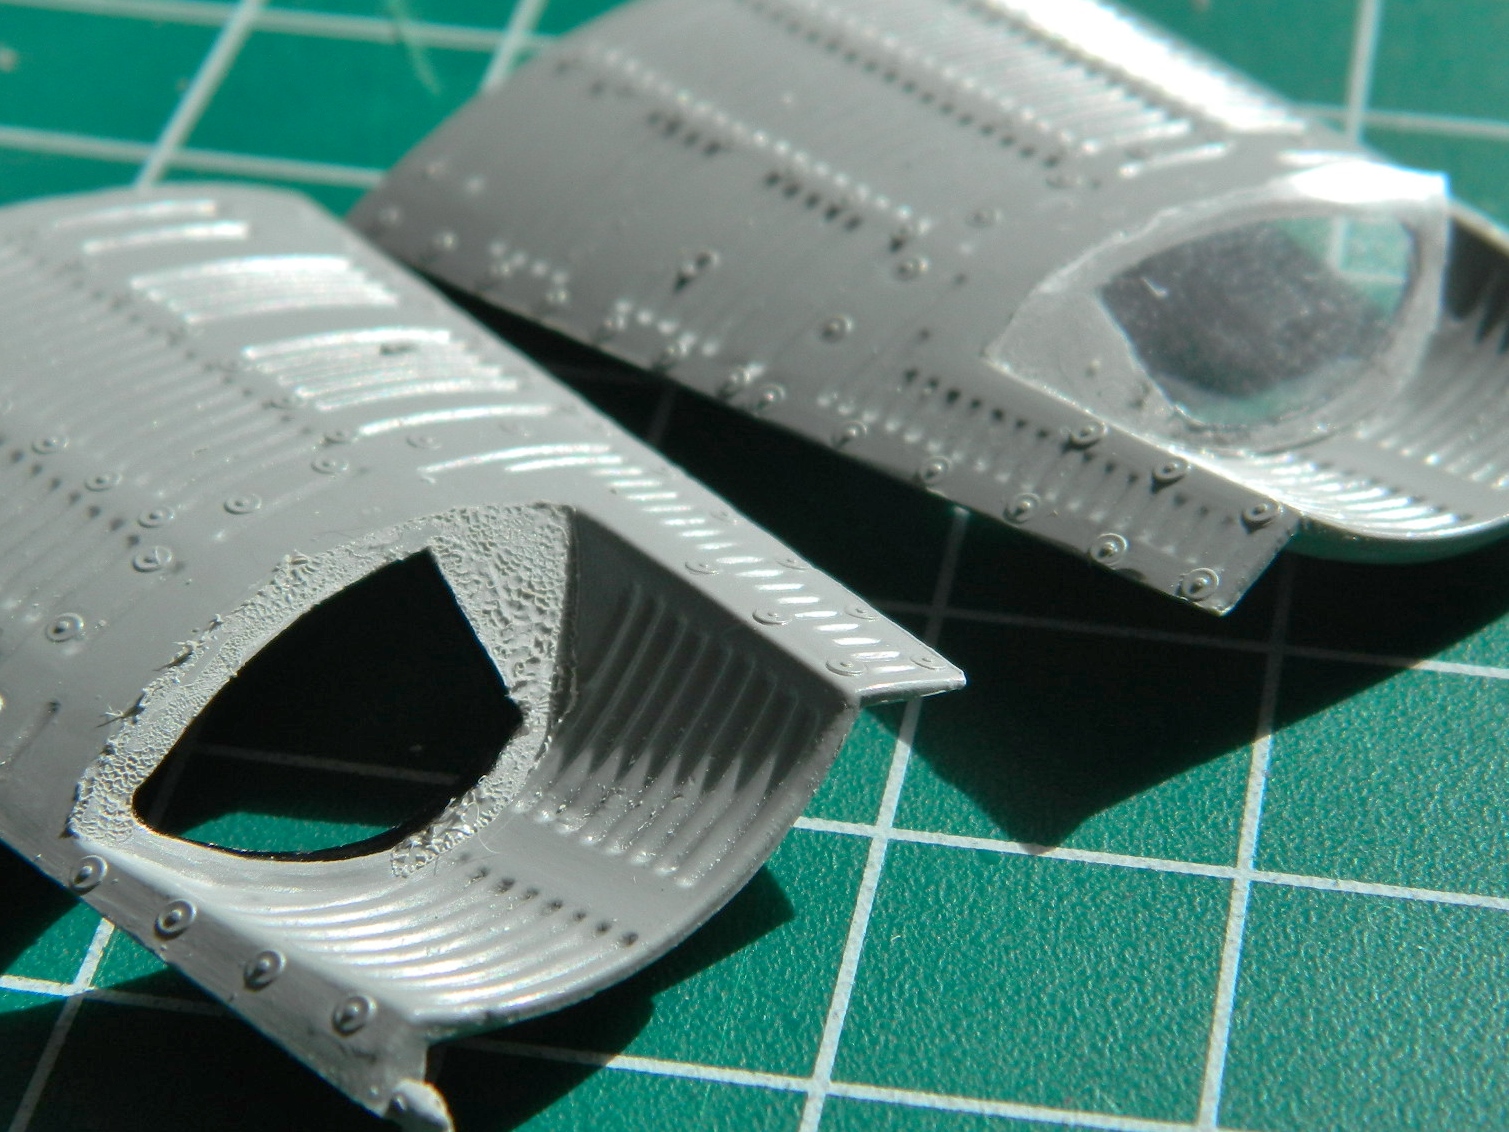
Because of seams and surface reworking, some of the details were lost. From what I can tell from references, the surface skin panels of the Gemini capsules were attached to the framework with screws and these screws all had large washers. The washers I replicated by punching small discs from .005″ (.127mm) sheet styrene:
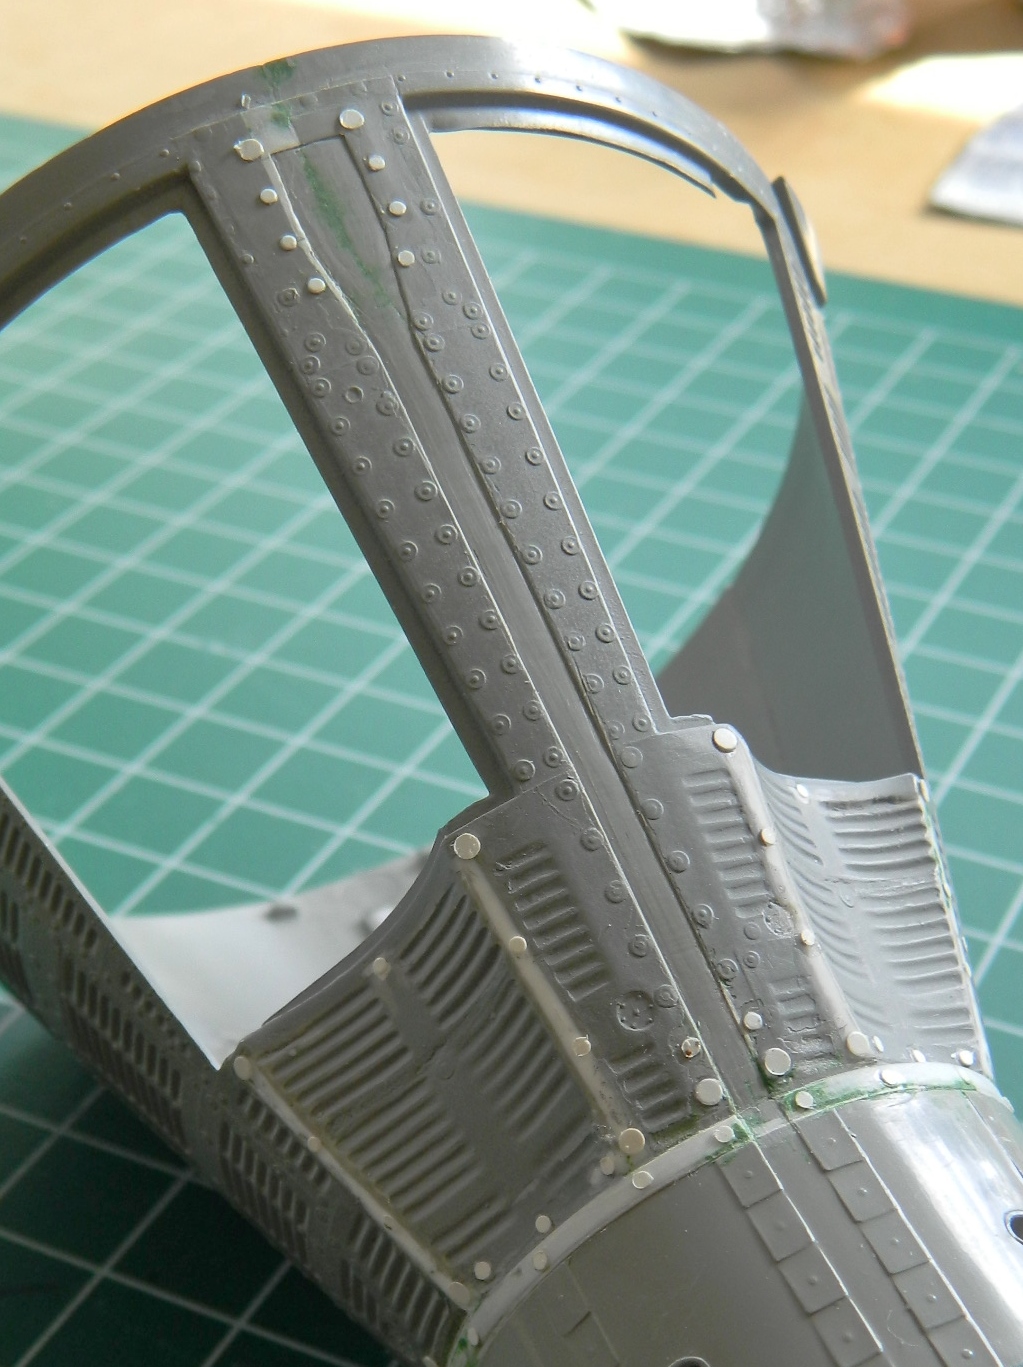
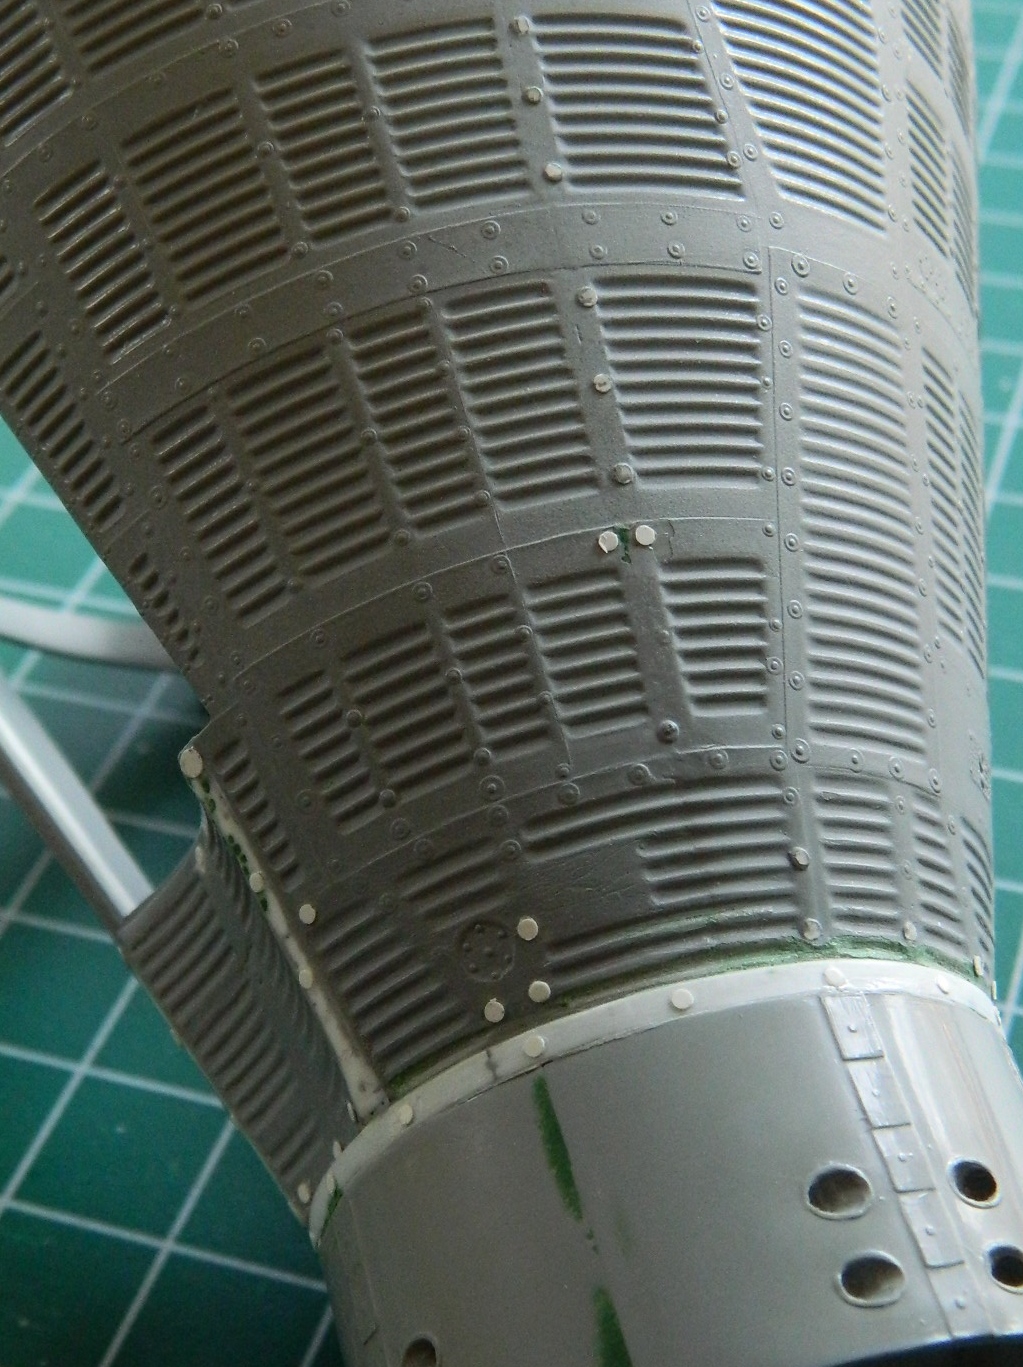
Then I needed to replace the screw heads. My first thought was a small drop of superglue but the problem with that was size variations of the drops. Then I thought about stretching sprue and using small pieces of that but the HASSLES involved in getting something that small located while the glue was trying to dissolve them wasn’t something I wanted to deal with. Then I remembered Archer Transfers! They make SHEETS of rivets and screw heads! Somehow they have managed to print resin details onto decal film and to use them, they’re treated like decals. Cut out what you want, immerse in water, and just slide into position. Well…these things are small. Very small. And they are going onto a piece of plastic that cannot be considered “large.” That means that the decal film that these screw heads are printed on won’t provide much surface for adherence (I learned this during my M4A3 build when I used Archer’s resin weld beads…look at them strongly and they’ll come off). My work-around was to position the screw head where I wanted it and then put a drop of clear flat acrylic paint over the entire washer/screw assembly to hold the resin decals in place. Seems to have worked, certainly MUCH better than hoping I don’t knock them off (which I managed to do with 4 out of 92 of them anyway). The end result was worth the hassle:
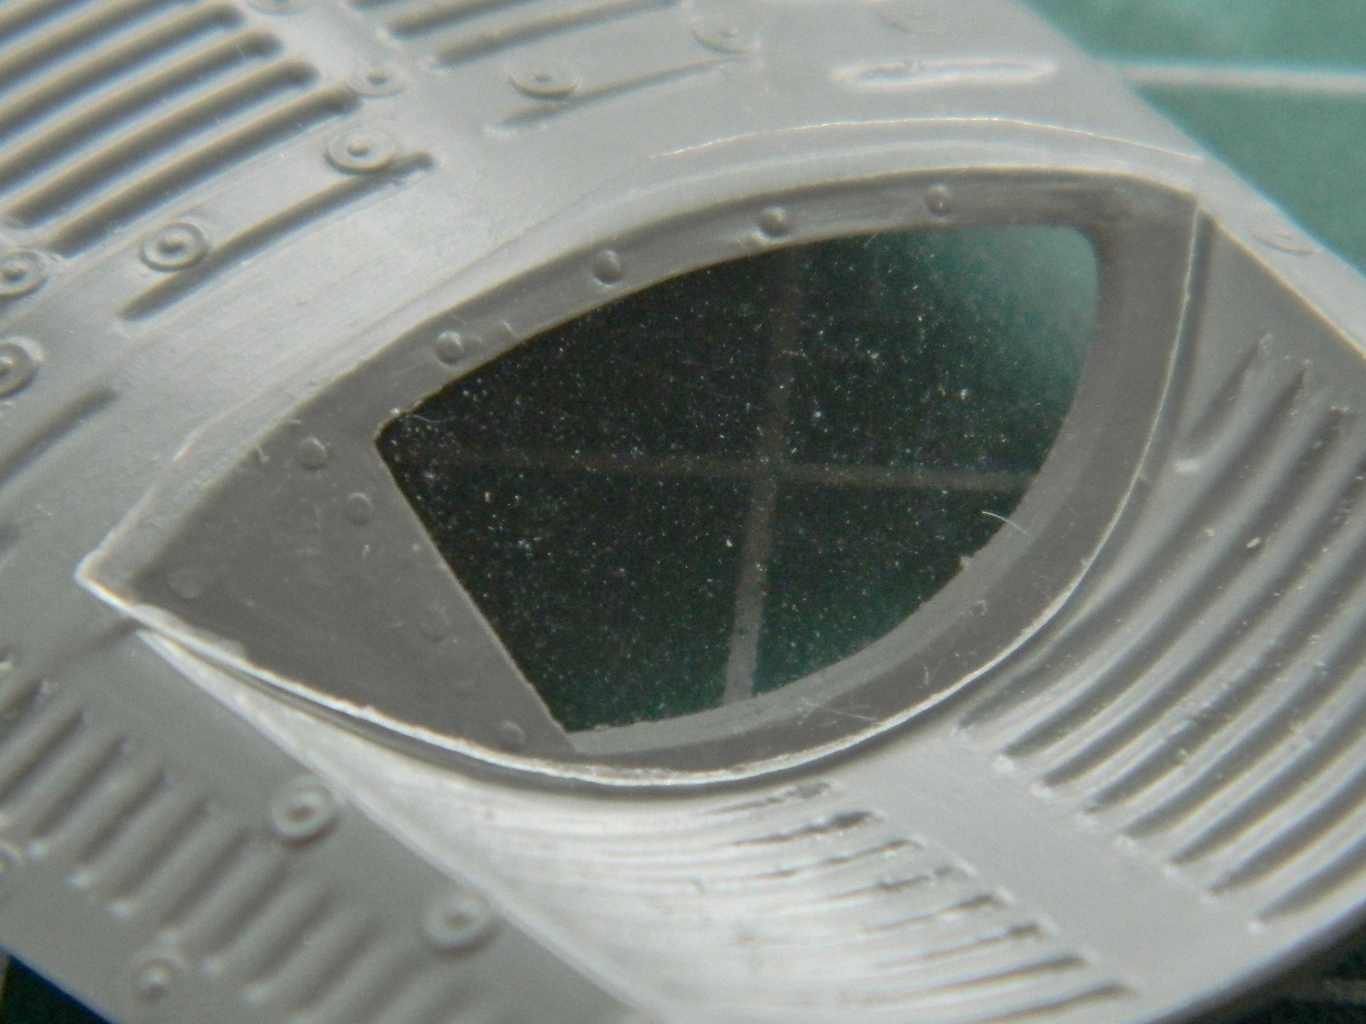
My attention turned to the hatches. The windows in the hatches are double-paned. I started to address this when I added all the nuts and bolts to the inner plate of the window that holds the inner pane in place. I briefly considered cutting clear styrene to fit the opening in the hatches and realized that doing so would be damned tedious and gluing them in place would present its own set of problems. The work-around for that was to add a section of .010″ (.254mm) clear styrene in front of the opening (like, who’s going to notice the front of that section was moved out ten thousandths of an inch (or .254mm)?), then mask off the window, and paint it when I do the rest of the exterior. Step one to that process was a template:


Much sanding ensued to get the fit as close as I could (and no…this picture doesn’t show it properly fitted):
Gluing the styrene to the hatch required care. It would be very easy to have the glue move into the area I needed to stay clear. I got the first clear part in place with no problem. However, true to my pattern, doing this again presented problems, the glue migrated to the area that needs to stay clear, and the only way to fix it was to remove the clear plastic and start over:
But I did it. I did it four times. The fourth time worked.
Next I engaged in what a friend called “brass origami.” Folding this:
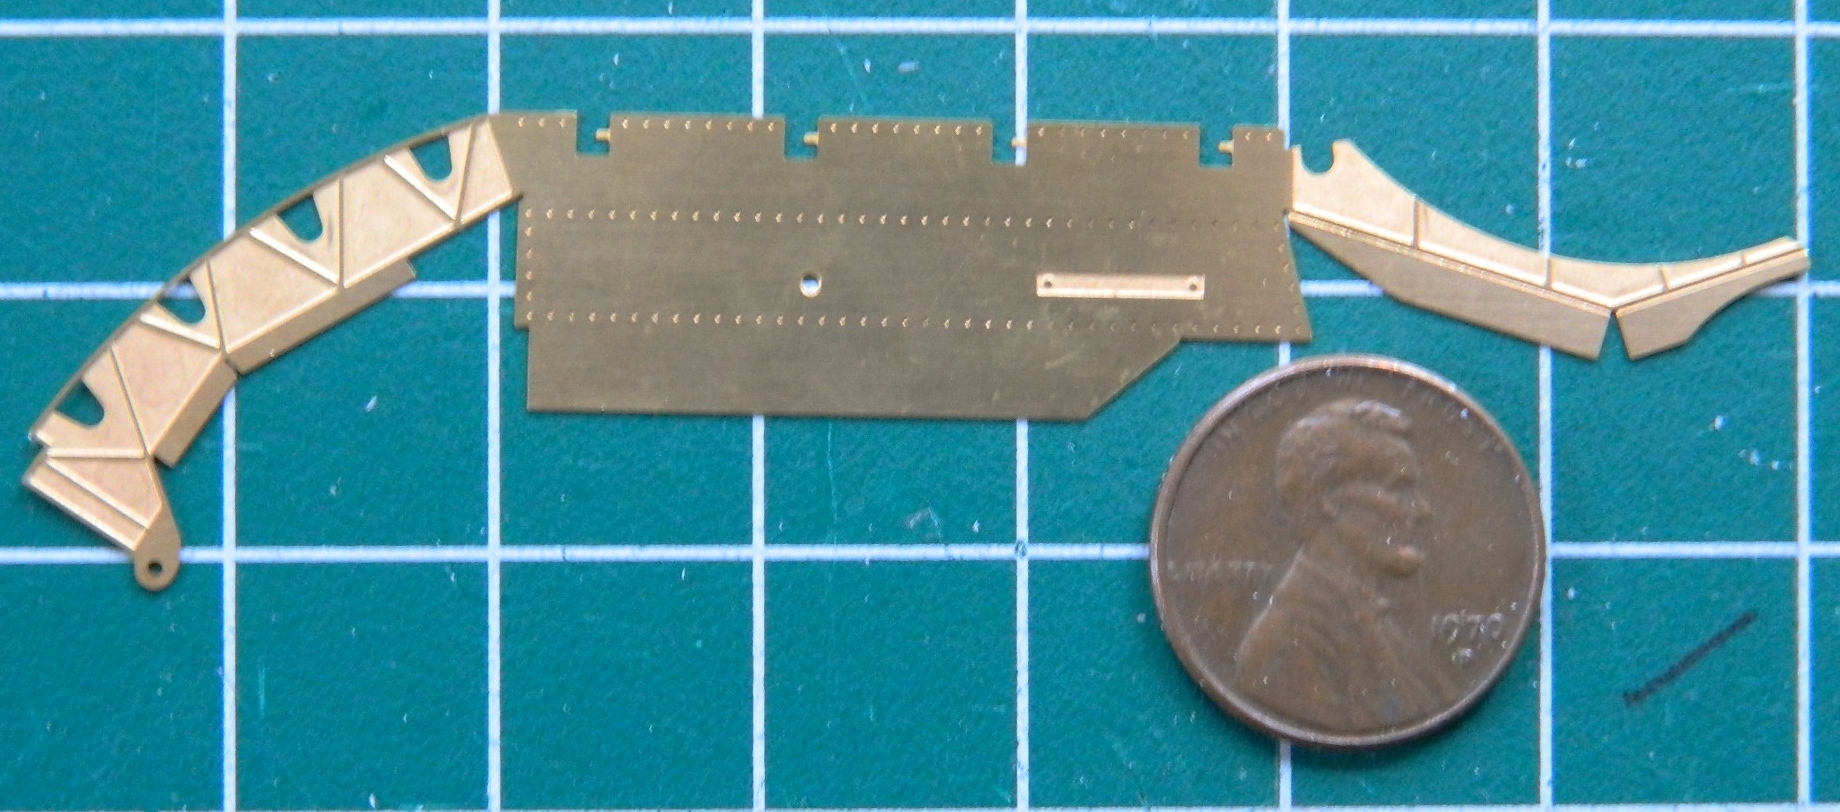
So that they ended up like this:

Obviously I needed two of these parts; they’re the internal structure of the hatches. Have you noticed my pattern when I have to make multiples (even if its only two) of something? The first one went well, what needed to be soldered was, and I then started on the second one.
Ohmygawd what a freaking hassle. I used a lot of four-letter adjectives during the process of folding and soldering the next one, and not ONE of those adjectives was “easy.” And when I got to the soldering stage, I discovered that it’s possible to heat the brass to the point where it becomes so soft that it won’t hold its shape. Note the curve to the right piece. That’s not supposed to curve:

And heating brass to the temperature I did (which I think was just before it would have melted) anneals it. Clearly the brass used to produce these parts was cold-formed. Cold-forming alters the crystalline structure of the brass. Annealing the brass supplies enough energy to the metal to allow the crystalline structure to re-position themselves. This is a wonderful property that allows armorers (the people who make armor from sheet steel, not the people who maintain weapons) to make some amazing shapes out of what started as a flat sheet. What it doesn’t do for me is allow the brass to maintain its strength.
If you wanted to see something funny (and only funny to the observer because they wouldn’t have had to deal with it), you should have seen what it took me to get that GODDAMNED SECTION STRAIGHT AGAIN.
But it’s straight again…
