I suspect there’s an aspect of myself that’s like an old trail horse. As long as I’m going along in my self-established grooves (or ruts), I’m fine. But bump me out of said ruts (or grooves) and my procedure goes to pieces. What I wanted to do was to get the interior ready-ish for some paint because I wanted to show my “trainee” what pre-shading is and why I painted things black to be able to paint them other colors. What I did was focus so much on the instructional aspect that I forgot some construction things. What that means is that much of what this update is going to show will end up being undone or redone because there were some things I wanted to add before painting and just forgot about them.
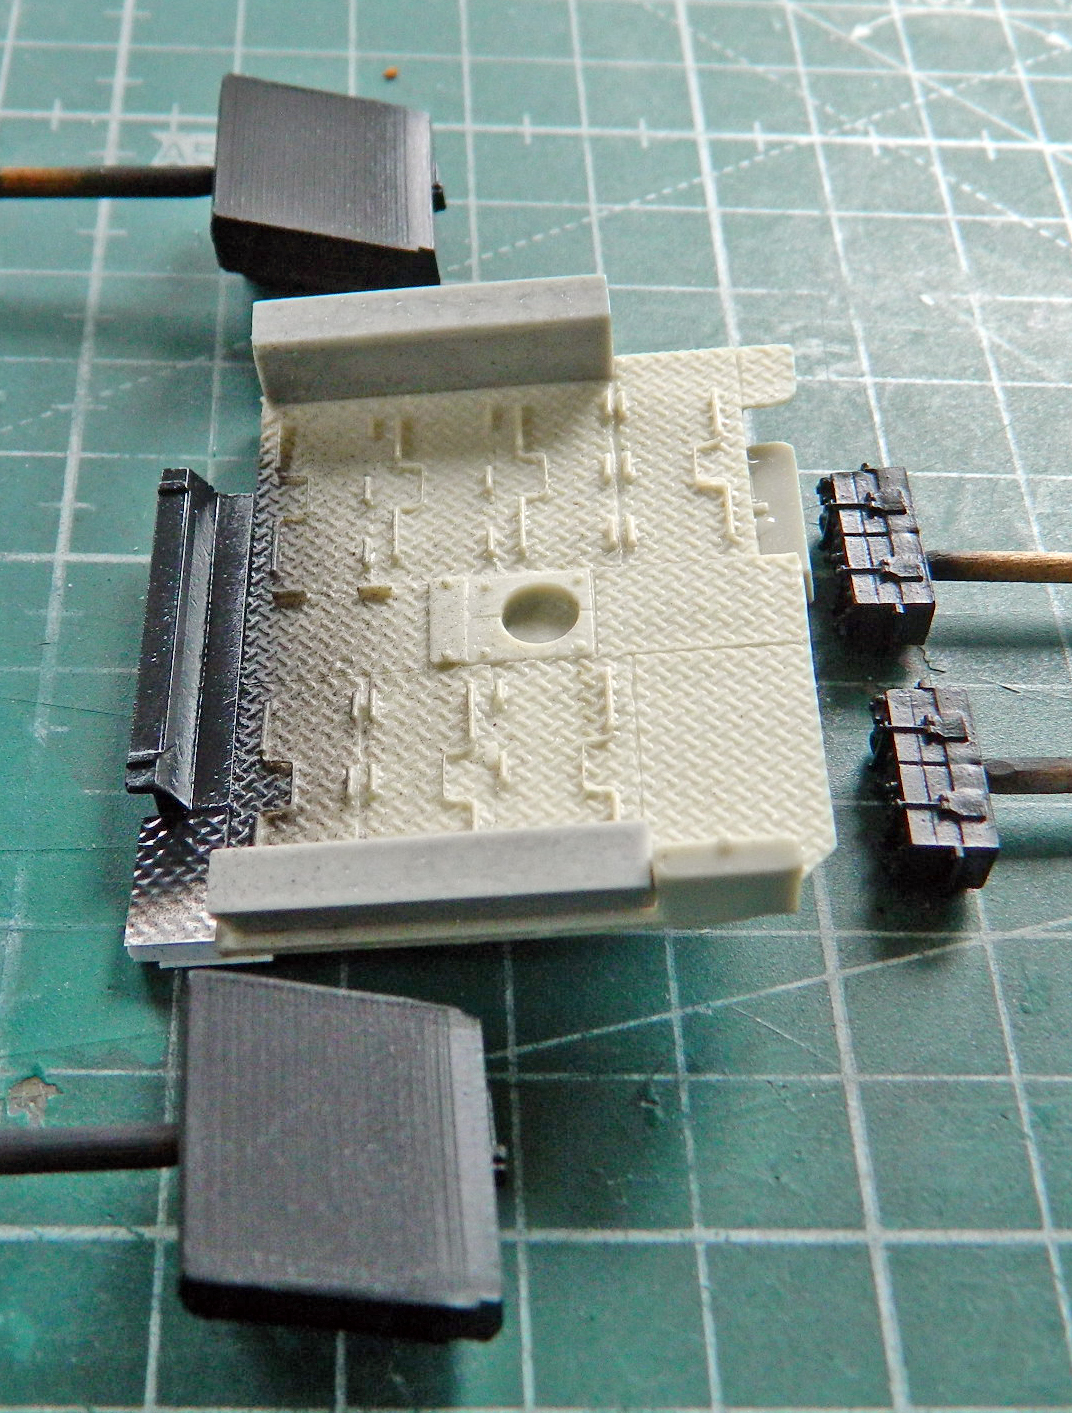
I started assembling the raised floor (under which the actual tank has water-jacketed ammo storage). With the bulkhead just dry-fitted, I placed the floor and added the parts needed, using the hull as my assembly jig:
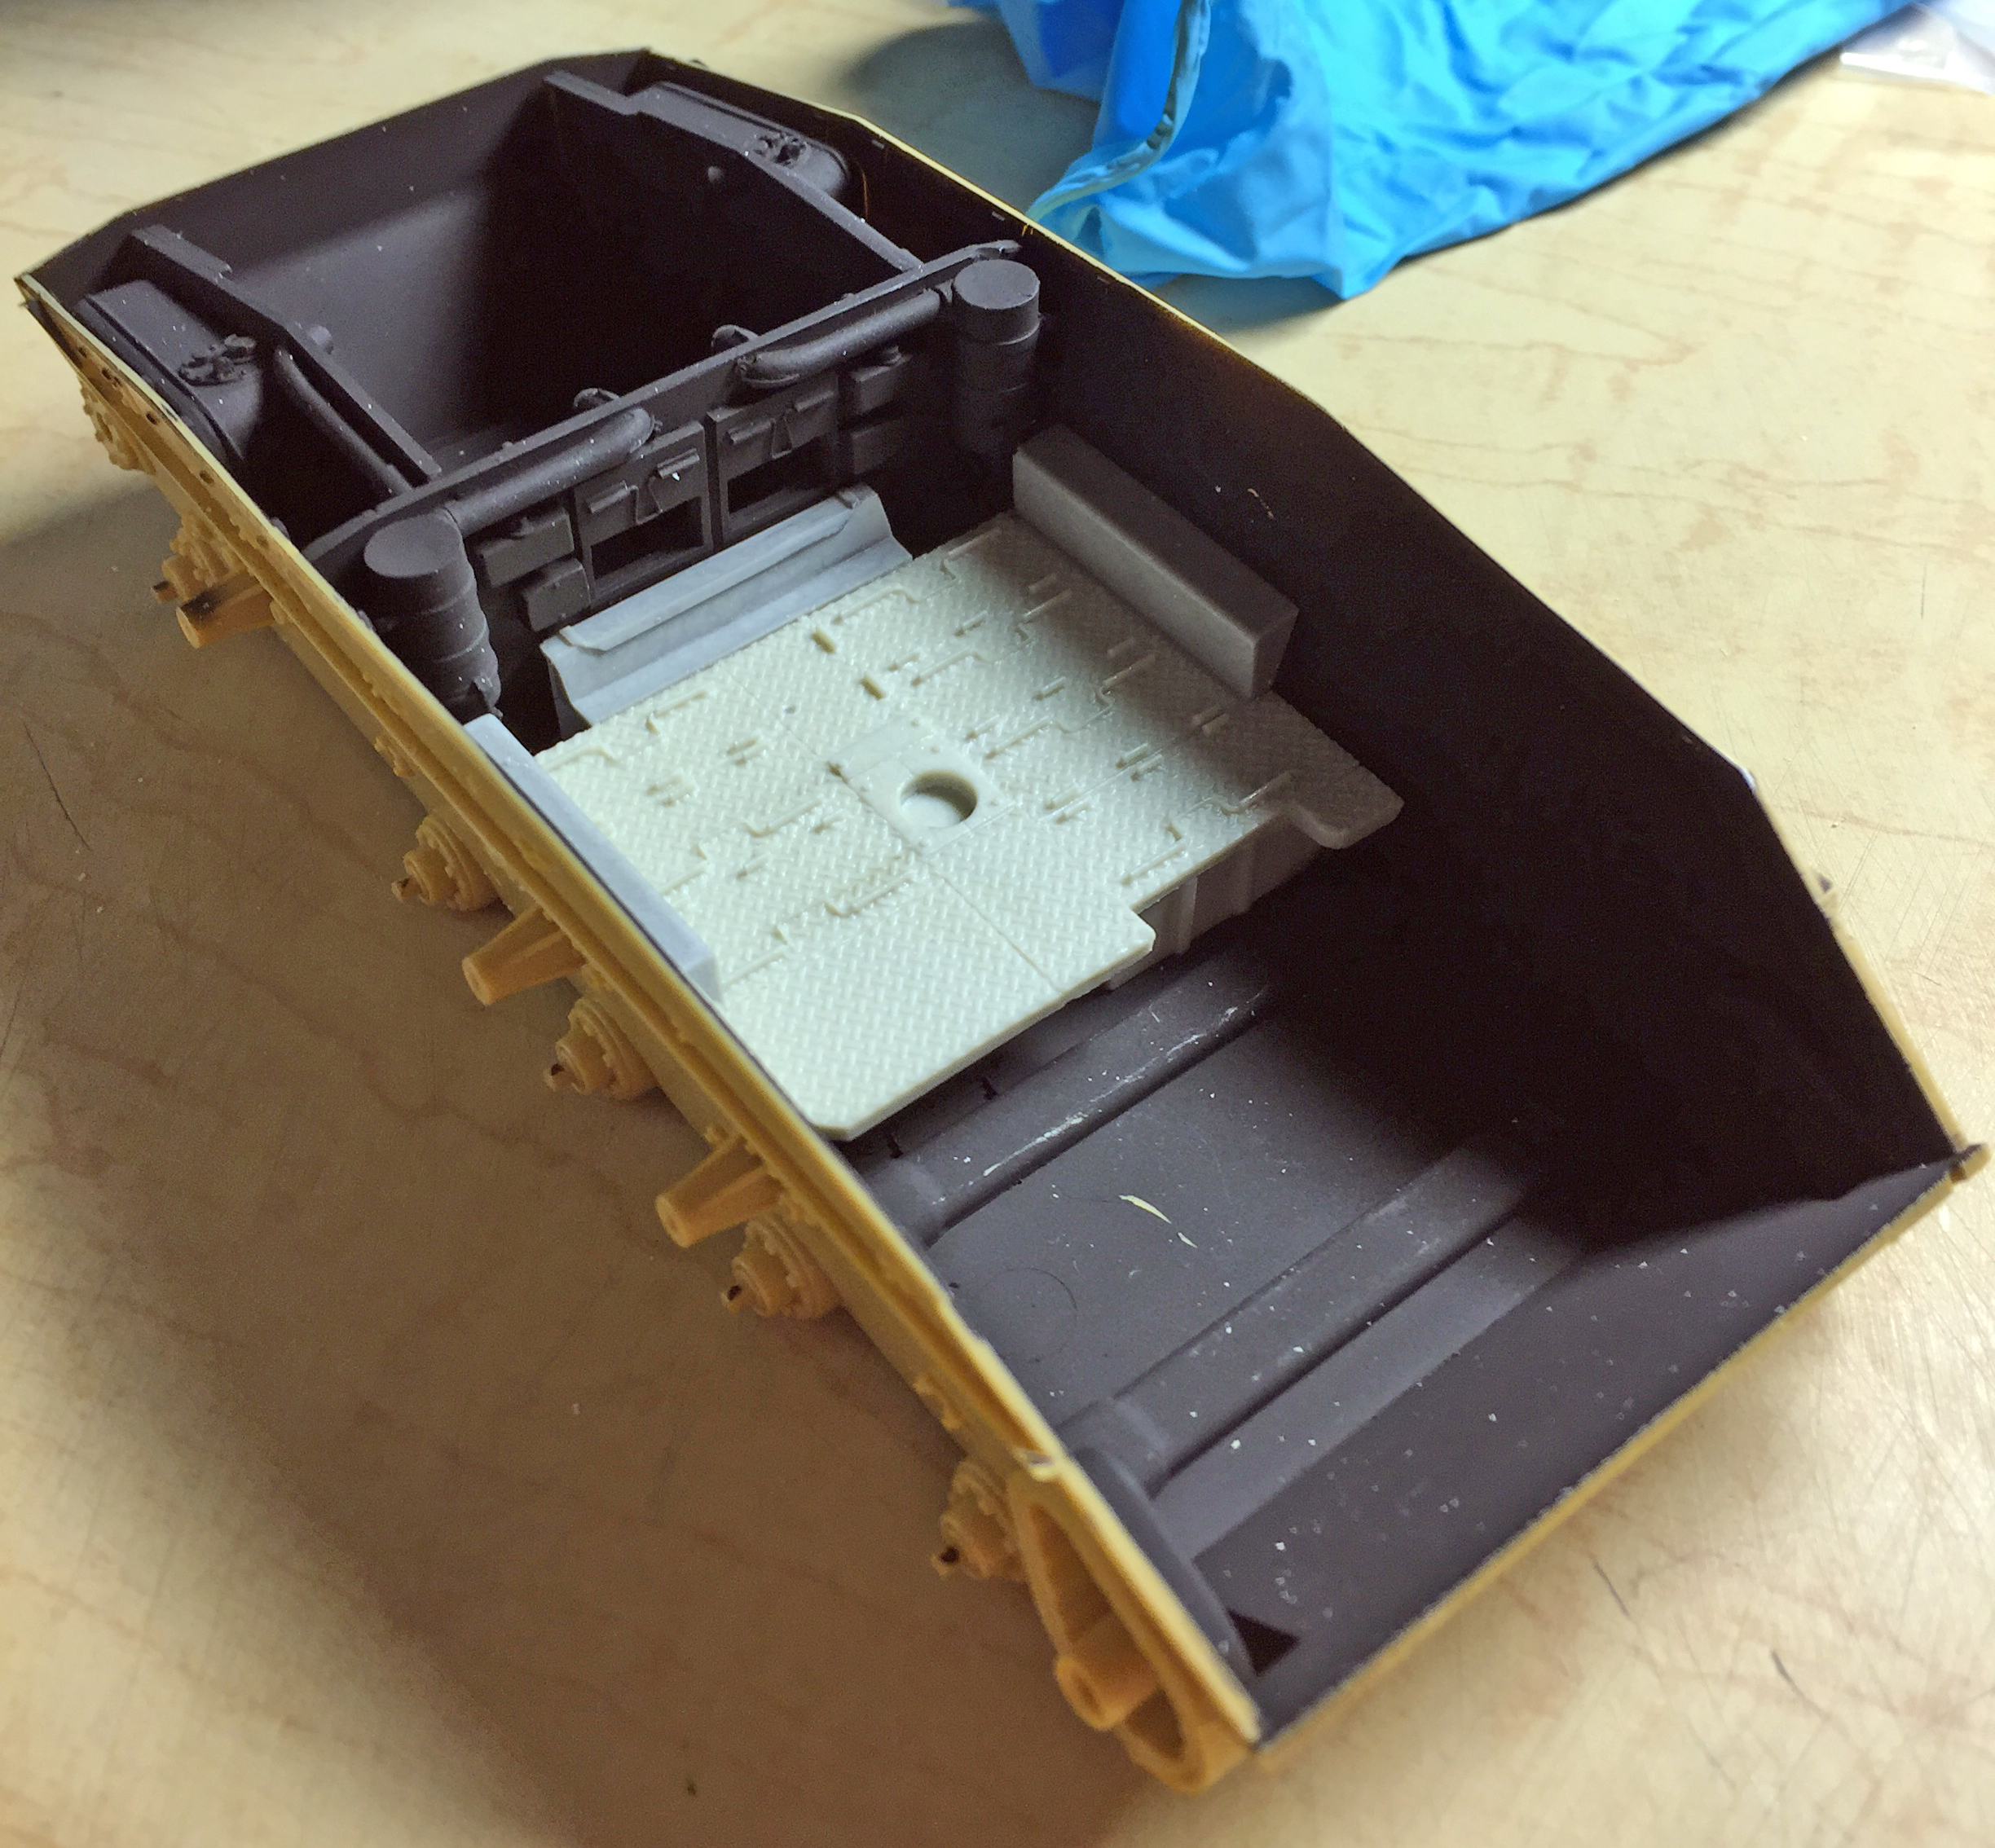
One prominent feature of the differential is either a breather or an oil filler tube, so I had to make one. Another prominent feature of the differential is that I didn’t paint it flat black! So I’ll have to attend to that:
The raised floor also covers more area than the AM part does. I’d intended to make additions to both rear corners where the floor-plates were missing, but on the left side is where the on-board fire extinguisher sits. Yes, I could have put that in but the large amount of work required to get that accurately done is for something that will be difficult to see (at best). Since it will be mostly unseen, I decided to save myself a few hours of fiddly work to achieve dubious and mostly unseen effects.
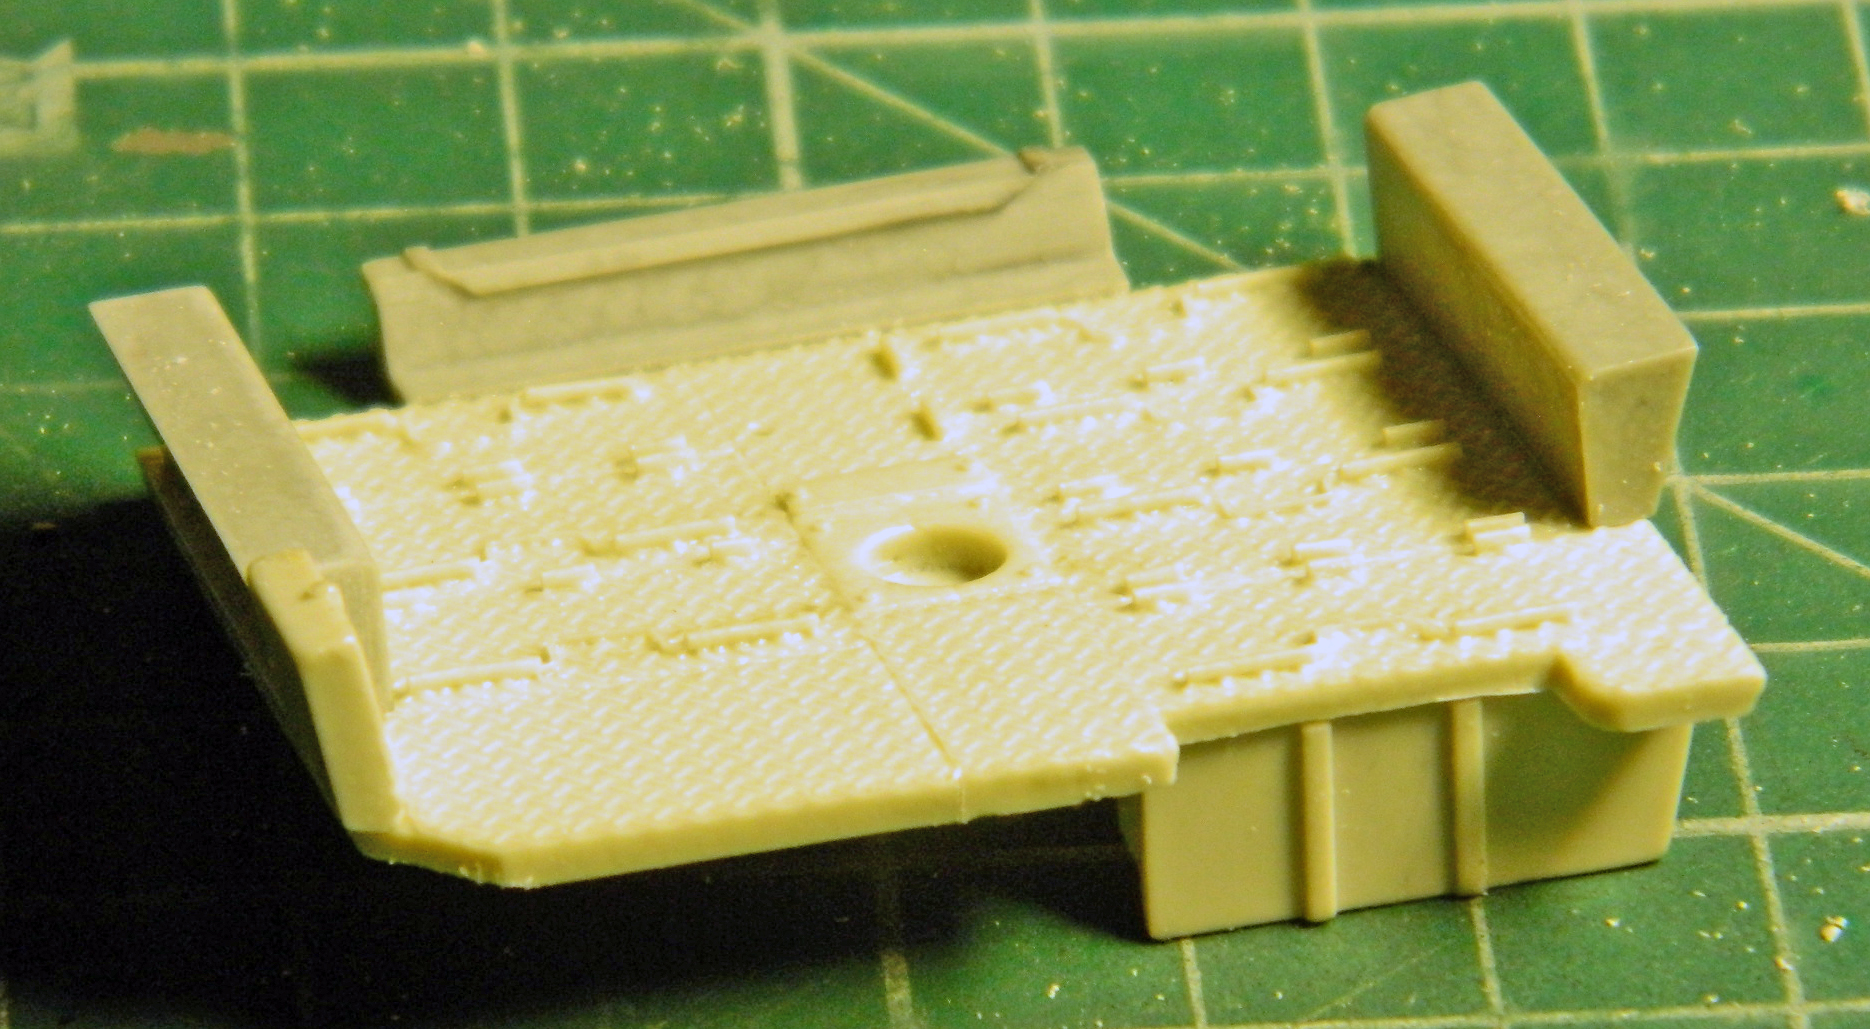
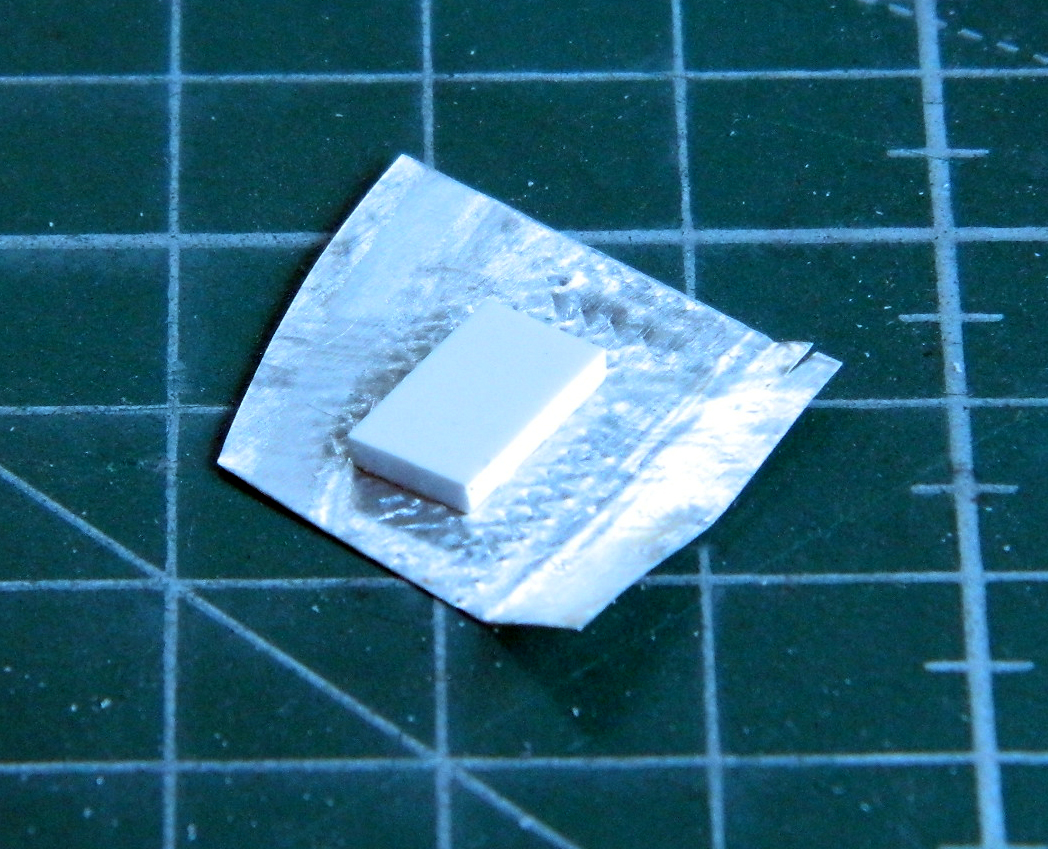
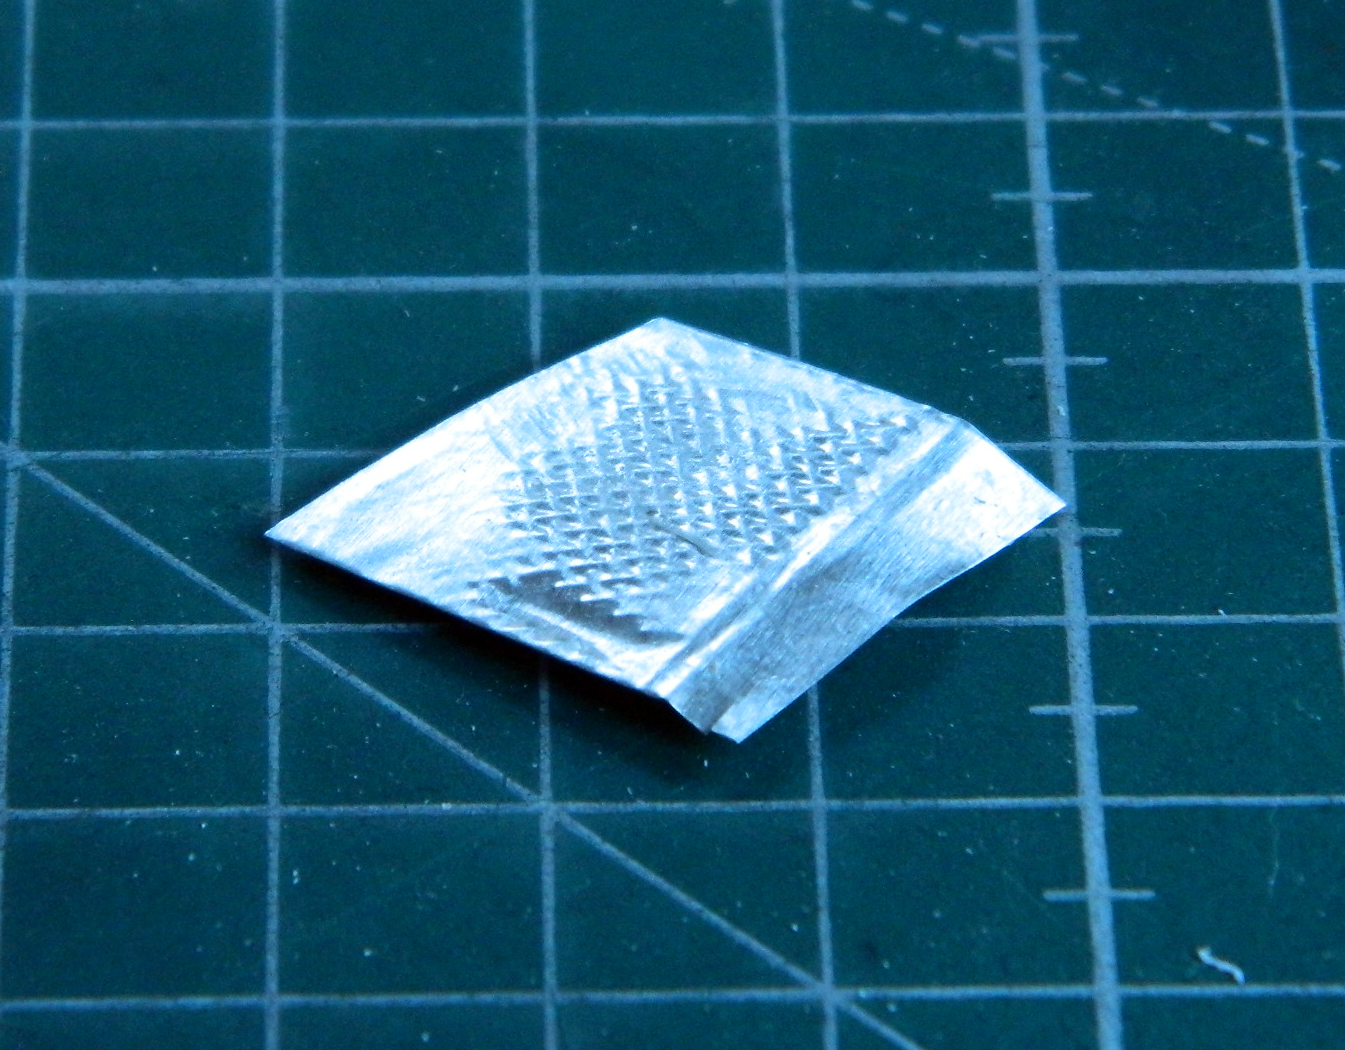
Since I don’t have any scale diamond tread plate (something I should rectify), I copied a section of floor from Academy’s M3 using heavier gauge aluminum sheet and supergluing a .060″ (1.524mm) styrene section to the aluminum and then trimmed it:

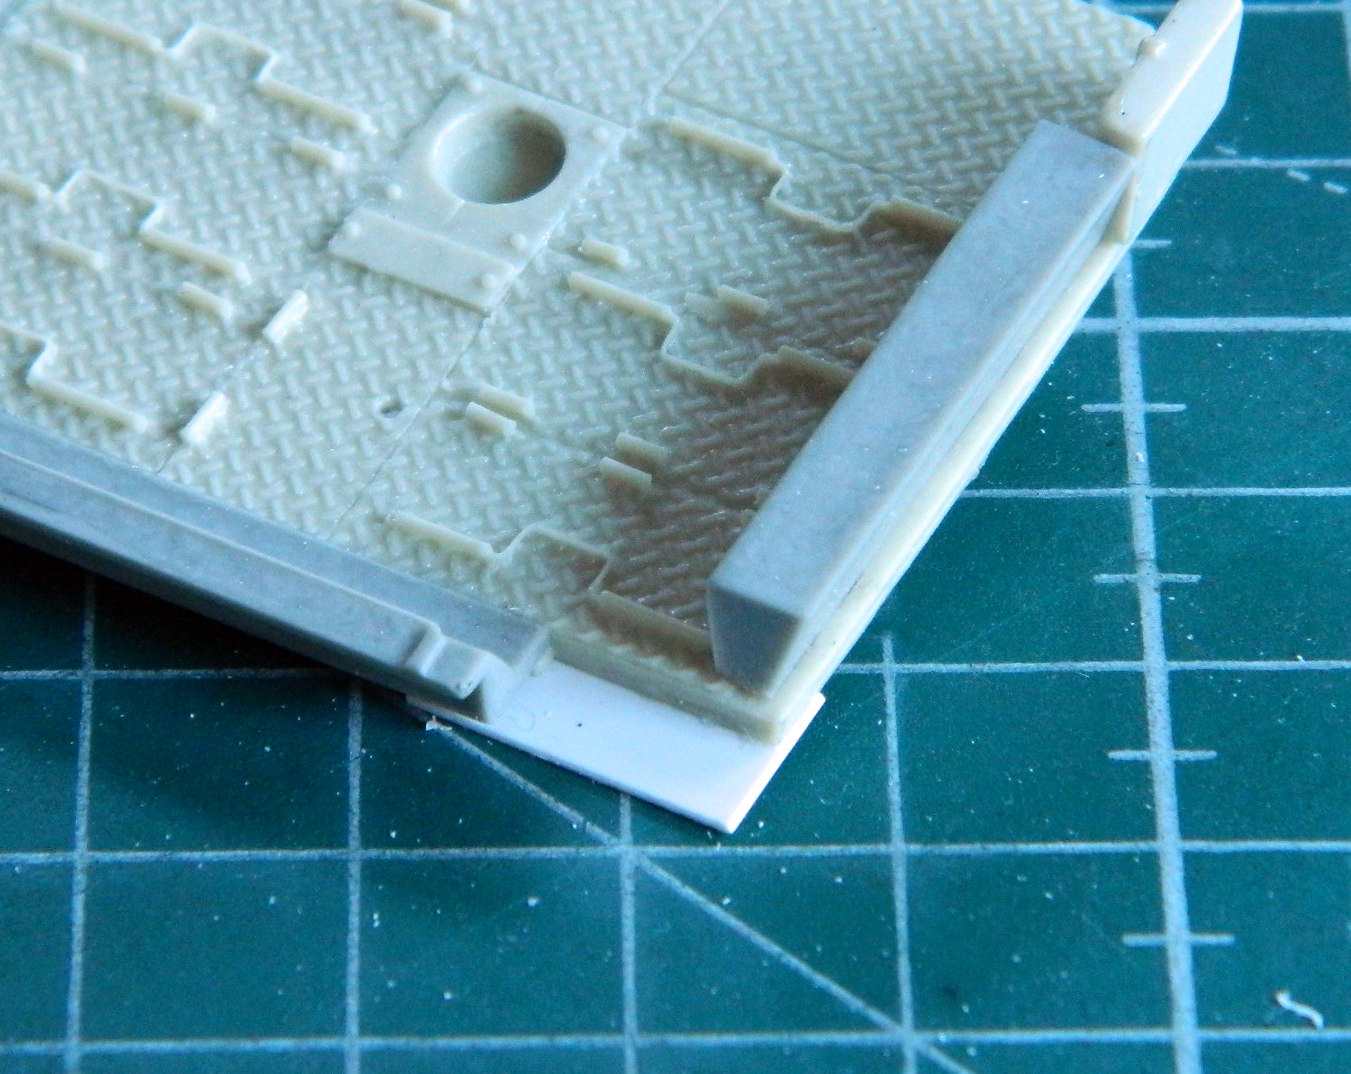
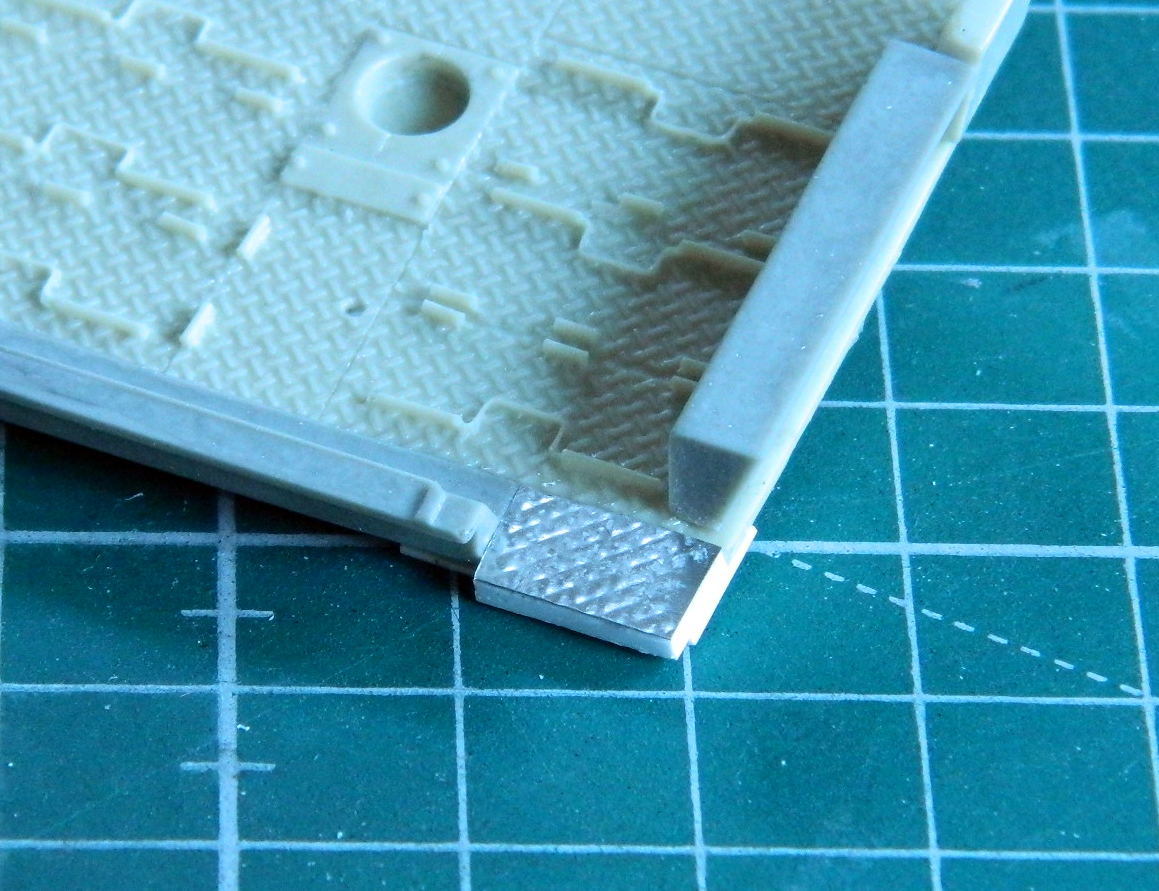
I added a section of .020″ (.508mm) scrap to provide more gluing surface, then glued the new floor piece into place. And though not evident in these photos, I also thinned the edge of the resin floor where the actual floors of these sections just sort of hangs out:

One of the (several, I think) things I’d wanted to add before painting and forgot to do was the plumbing around the tops of the fuel tanks, so I added it:

I drilled sockets for skewers so that I had handles to make painting small parts easier. Some sections were painted with Tamiya X-18 Semi-Gloss Black over the flat black. There’s a shroud at the rear of the floor (left in the photo below), the caps to the radiators and oil cooler (not shown), and the batteries that were painted semi-gloss:
Then the floor and oil filter housings were painted Tamiya XF-62 Olive Drab:
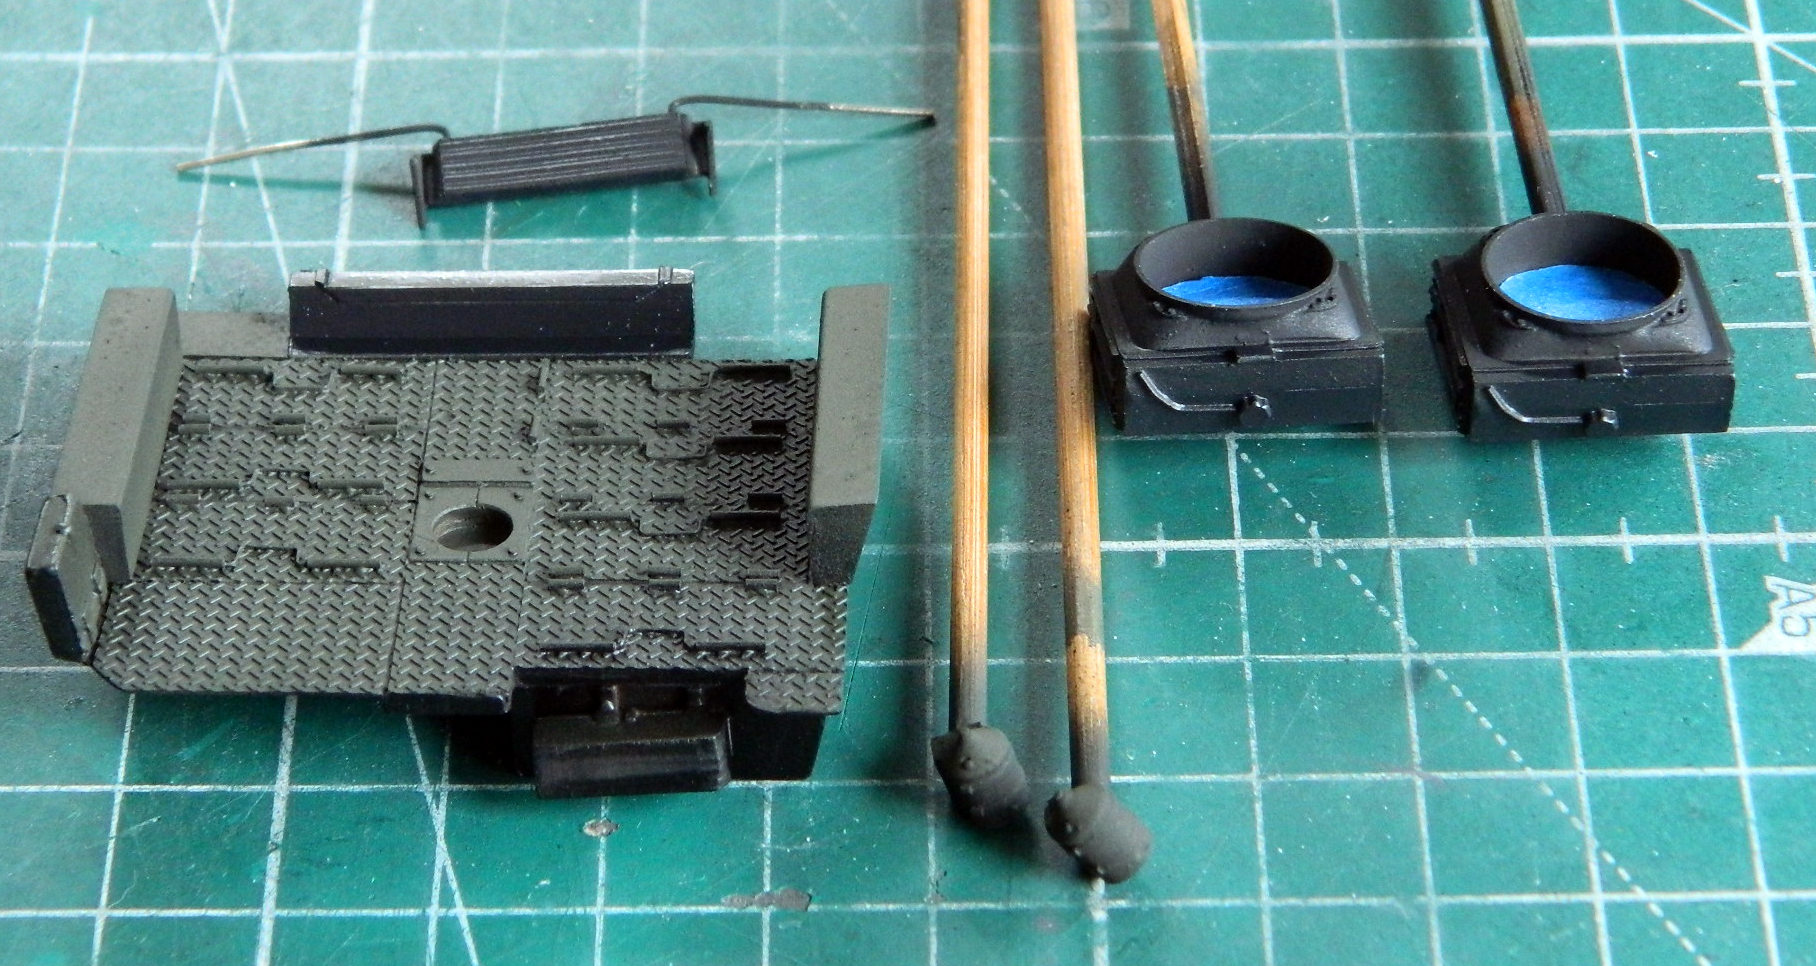
At least I remembered to paint the on-board fire extinguisher. Tamiya X-7 Gloss Red was used on the canister (the bottom will never be seen once it’s in place) and Tamiya XF-6 Copper was used on the valve body. Vallejo 71.132 Aged White was used on the gauge face (later I will use a SHARP pencil and draw on the face details):

To prepare for Tamiya XF-2 Flat White, I masked off the interior parts I don’t want to paint white:
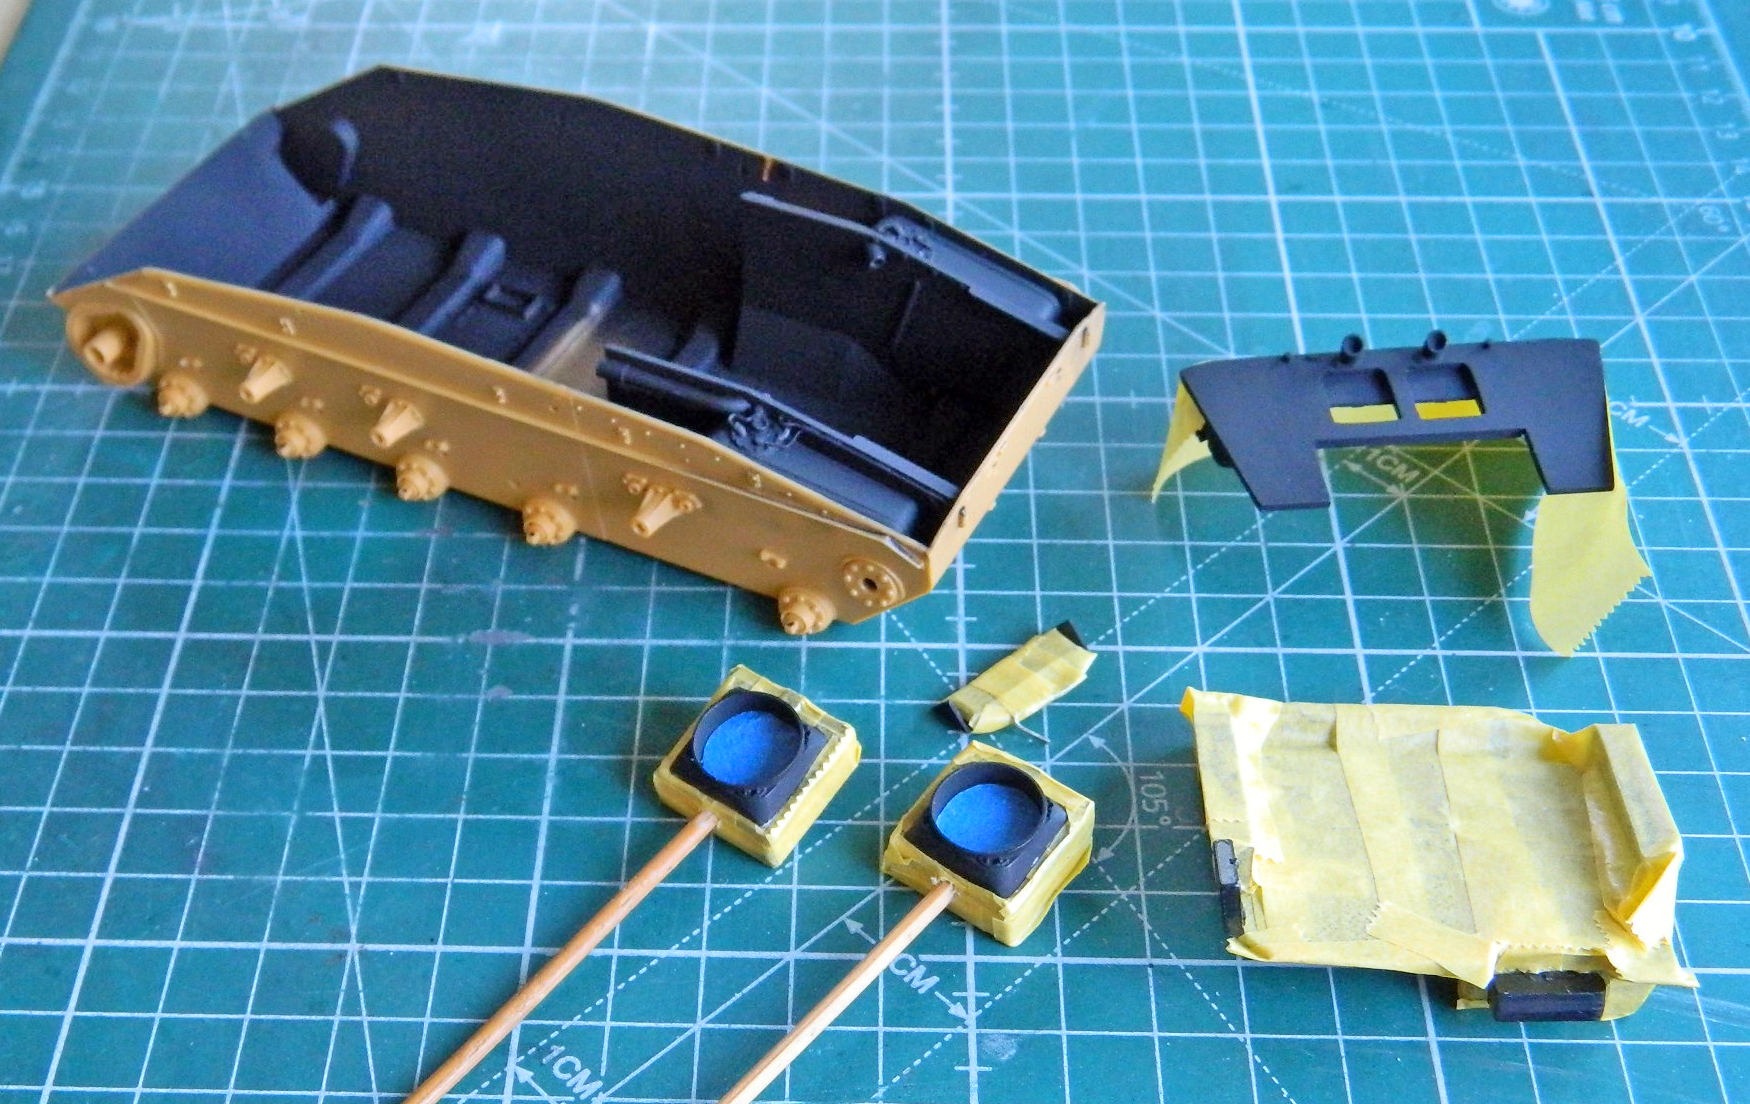
And then I misted the flat white over the parts that will be in the crew compartment and the aged white over the fan shrouds on the radiators (I like the look of the aged white in the engine compartment). Later you will see photos of “that.” The quotes are because it’s very possible that most of what has been put down will be taken back up so that I can add the parts and bits that my mono-focus has already missed.
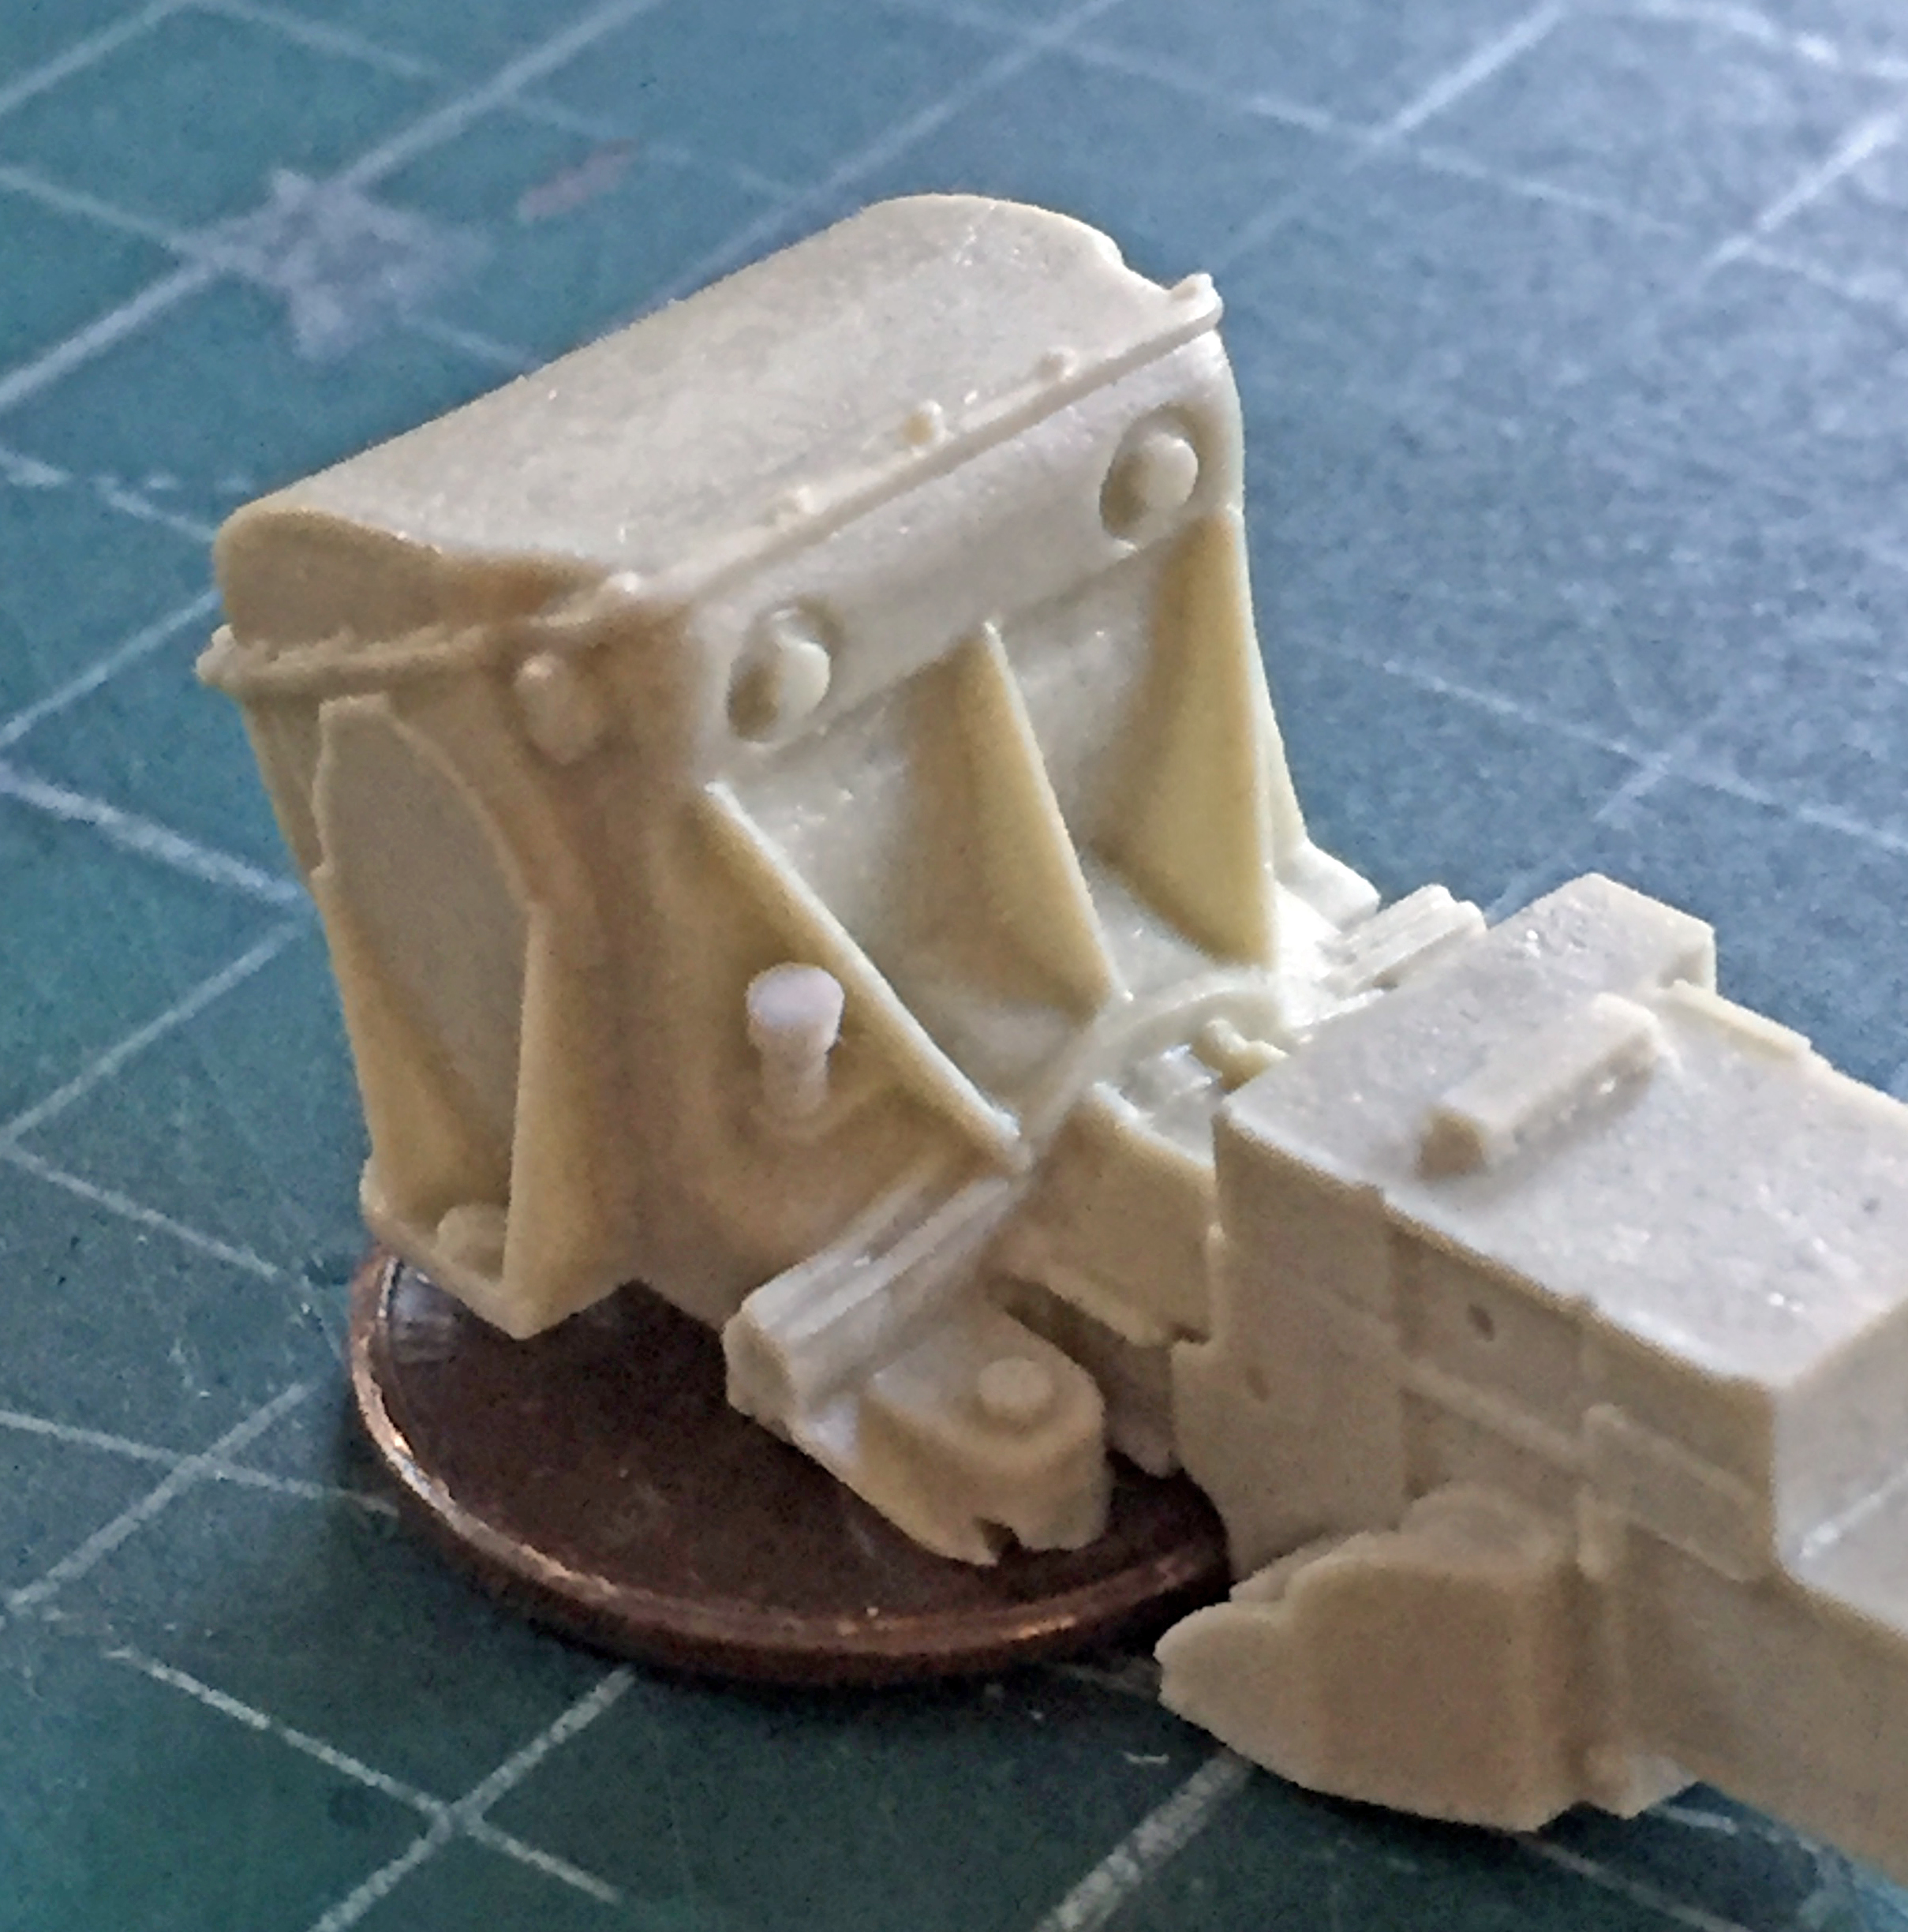
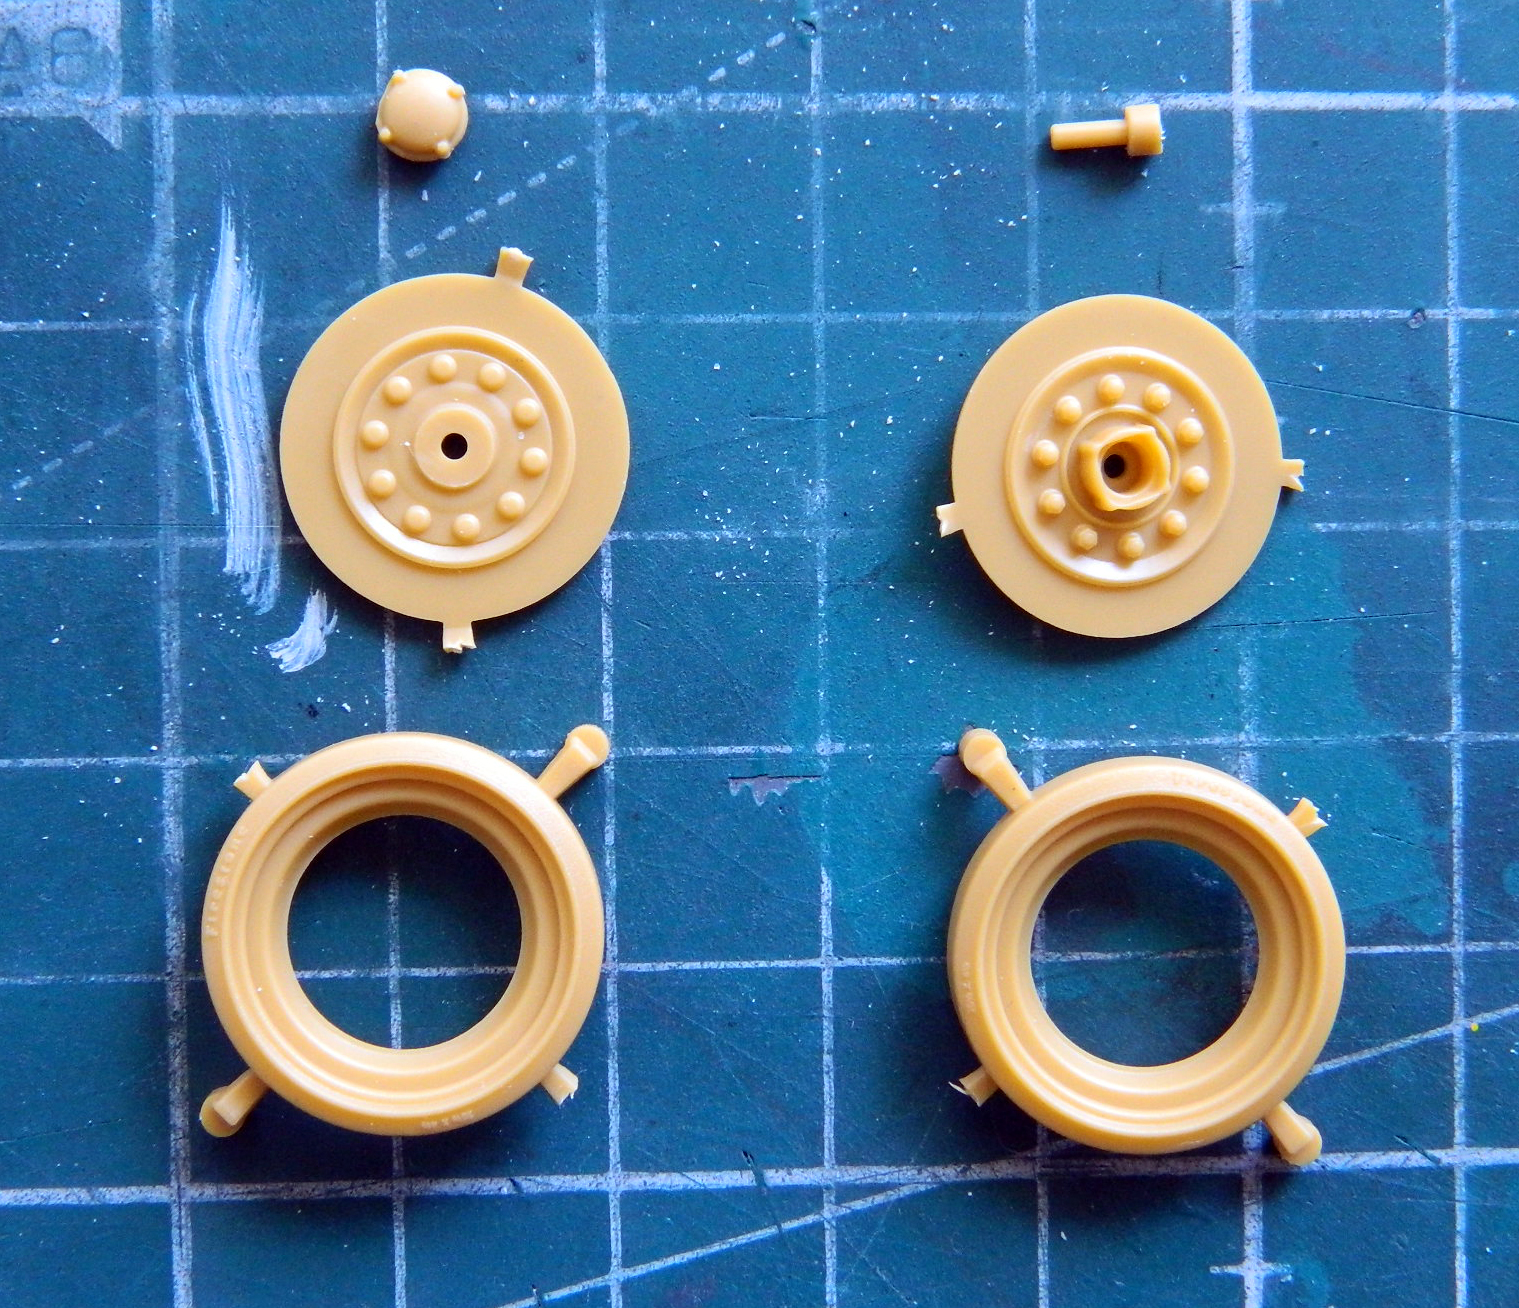
About this point I’m thinking that Bronco has engineered this kit with diorama builders in mind. MANY of the kit parts are comprised of several pieces that other manufacturers would have done either in one piece or certainly not “many.” An example is the drive sprockets:
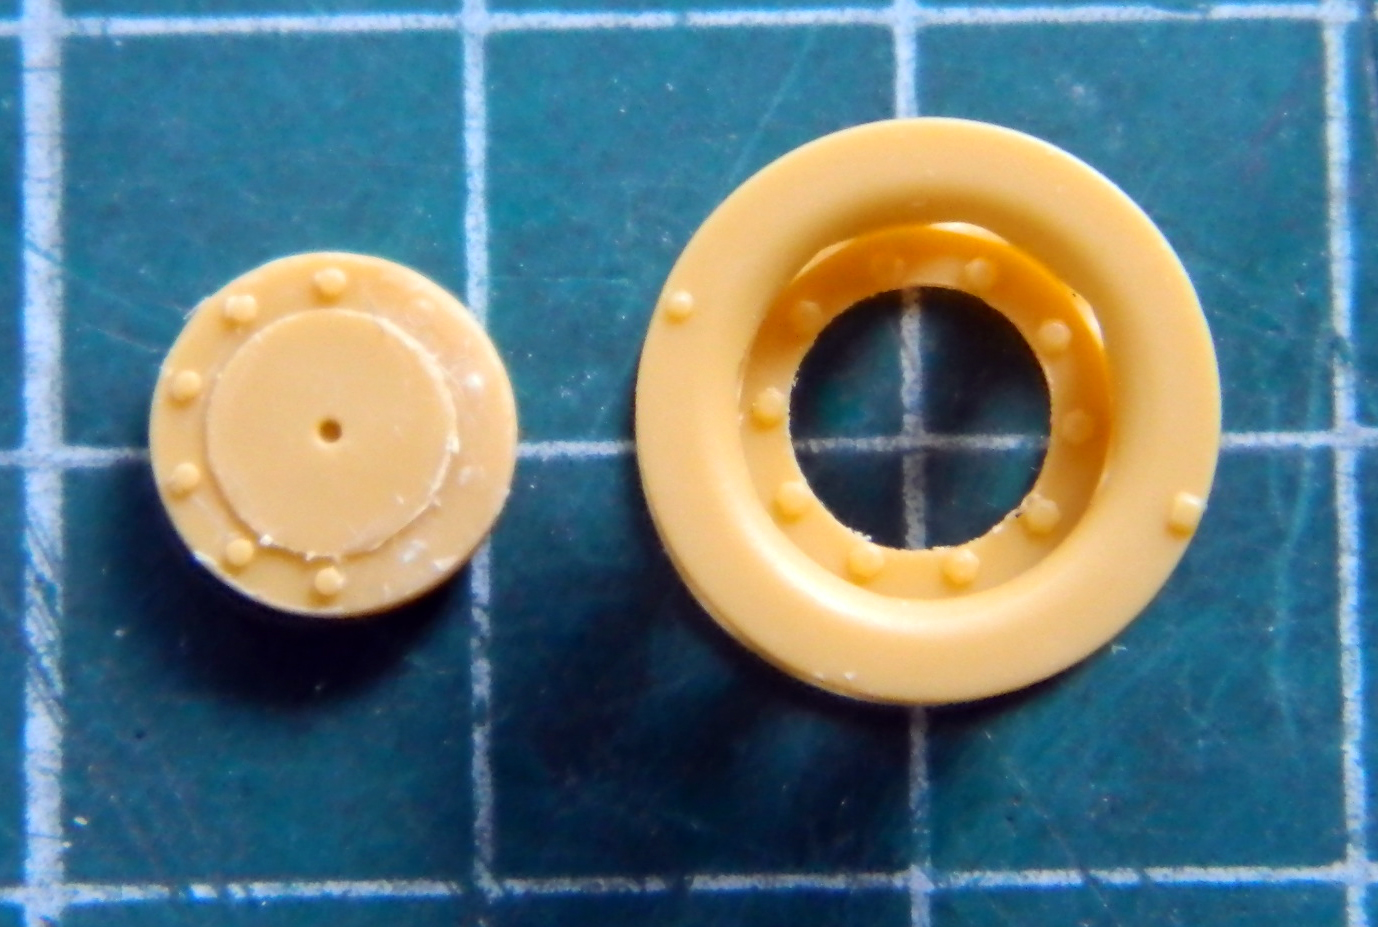
There are two parts in that photo and they’re only half the parts the drive sprocket is comprised of. The part on the left is the hub that fits behind the body of the sprocket. For it to fit into the body correctly, the bolt heads on the face of the hub have to be shaved off. The other two parts are separate sprocket plates. If you wanted to do a diorama of the crew changing sprocket plates, the kit parts are preconfigured to allow you to do that easily. It’s not much more work if you only want a sodding drive sprocket, but this sort of thing I’m starting to see throughout the kit. This adds to the parts count, obviously, but it also allows for some VERY FINE AND TINY PARTS as well.
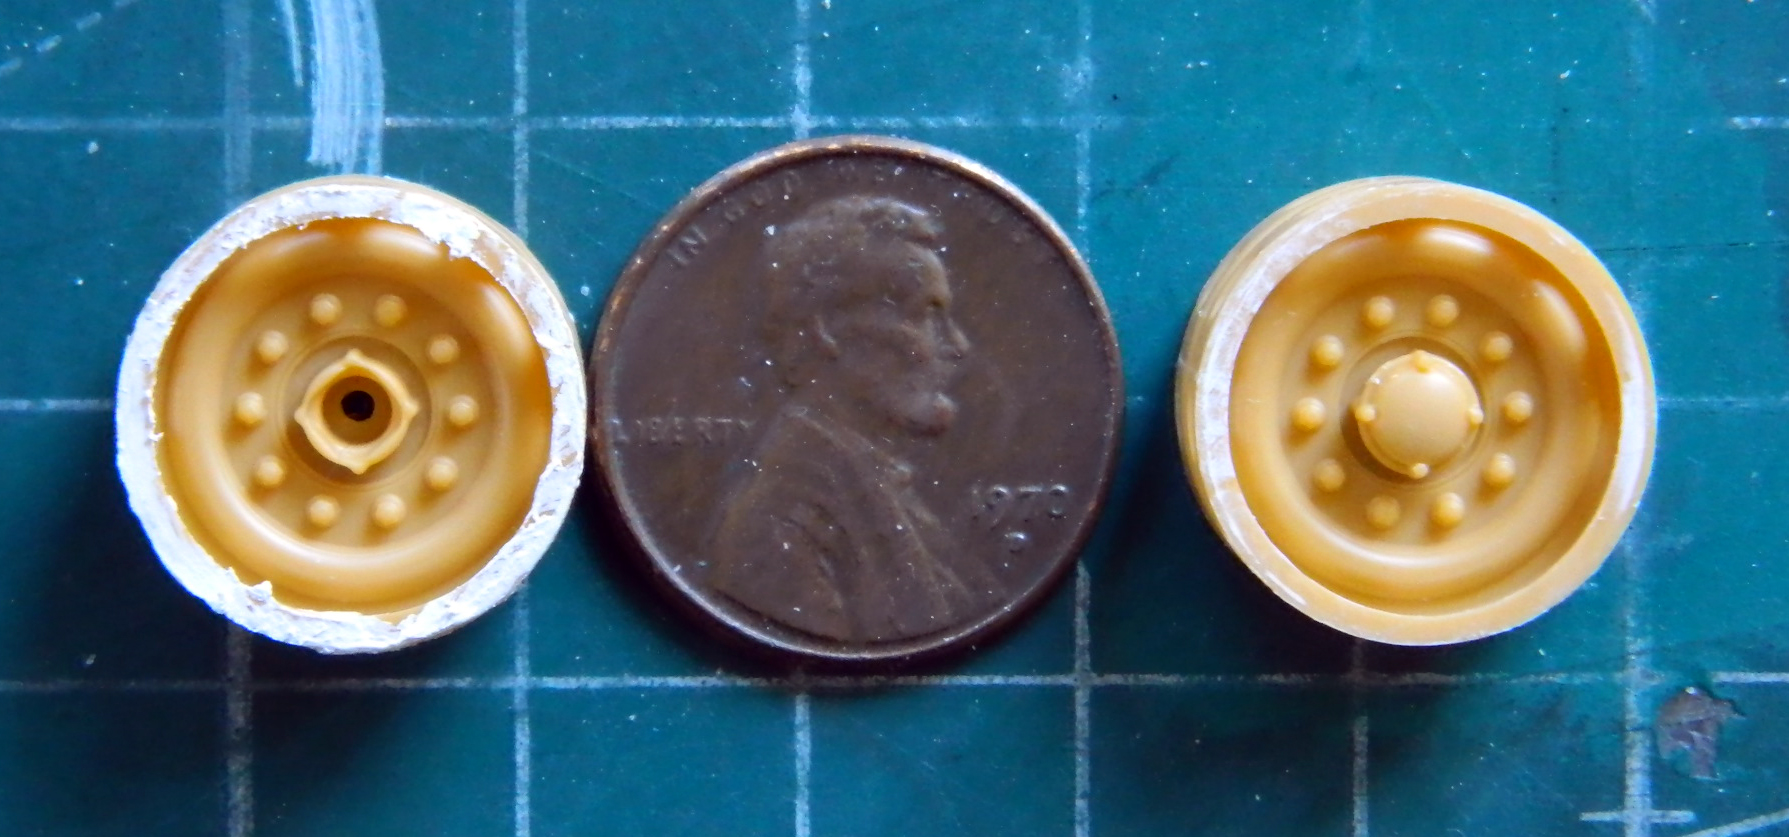
The road wheels are also multipart subassemblies. Every road wheel is comprised of six parts and there are five road wheels per side (and three return rollers just about as complex as the road wheels):
The idler wheels are beautifully cast and like the idler wheels on the actual tank, they have an inner lip on both sides of the rim. Had I bothered to check references I would have seen that these rims are recessed and not even with the outer edge of the rims the way I have them (and all nicely puttied, too). The plastic is SO thin that I’ve no doubt that if I try to pop those out of there to place them deeper, they won’t “pop,” they’ll “snap.” Fine…I’ll live with my mistake. Again:
Duh.
This kit provides a PE fret for the really tiny stuff, like headlight guards. The kit also provides a forming buck that the PE can be bent over! Nice touch! I annealed the brass before bending. I tried my best to solder the braces to the main hoop but that didn’t work at all, so I ended up resorting to superglue:

Dry-fitted:

The other guard is much simpler.
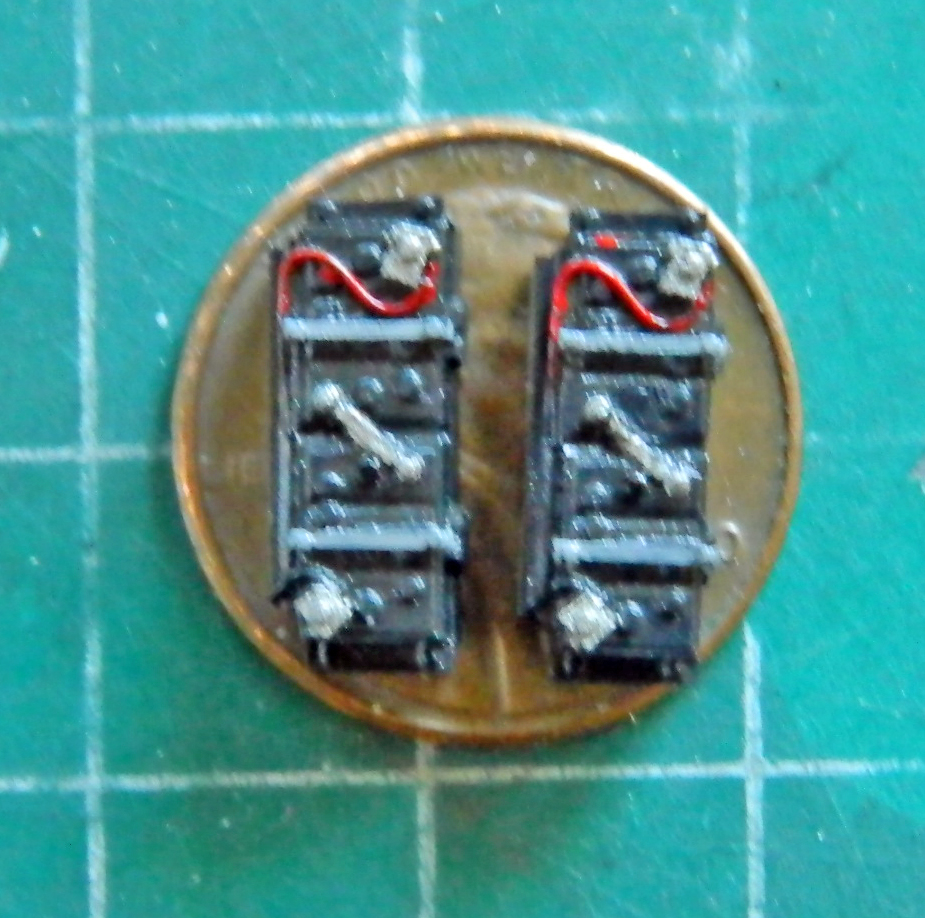
The batteries were detailed a little:
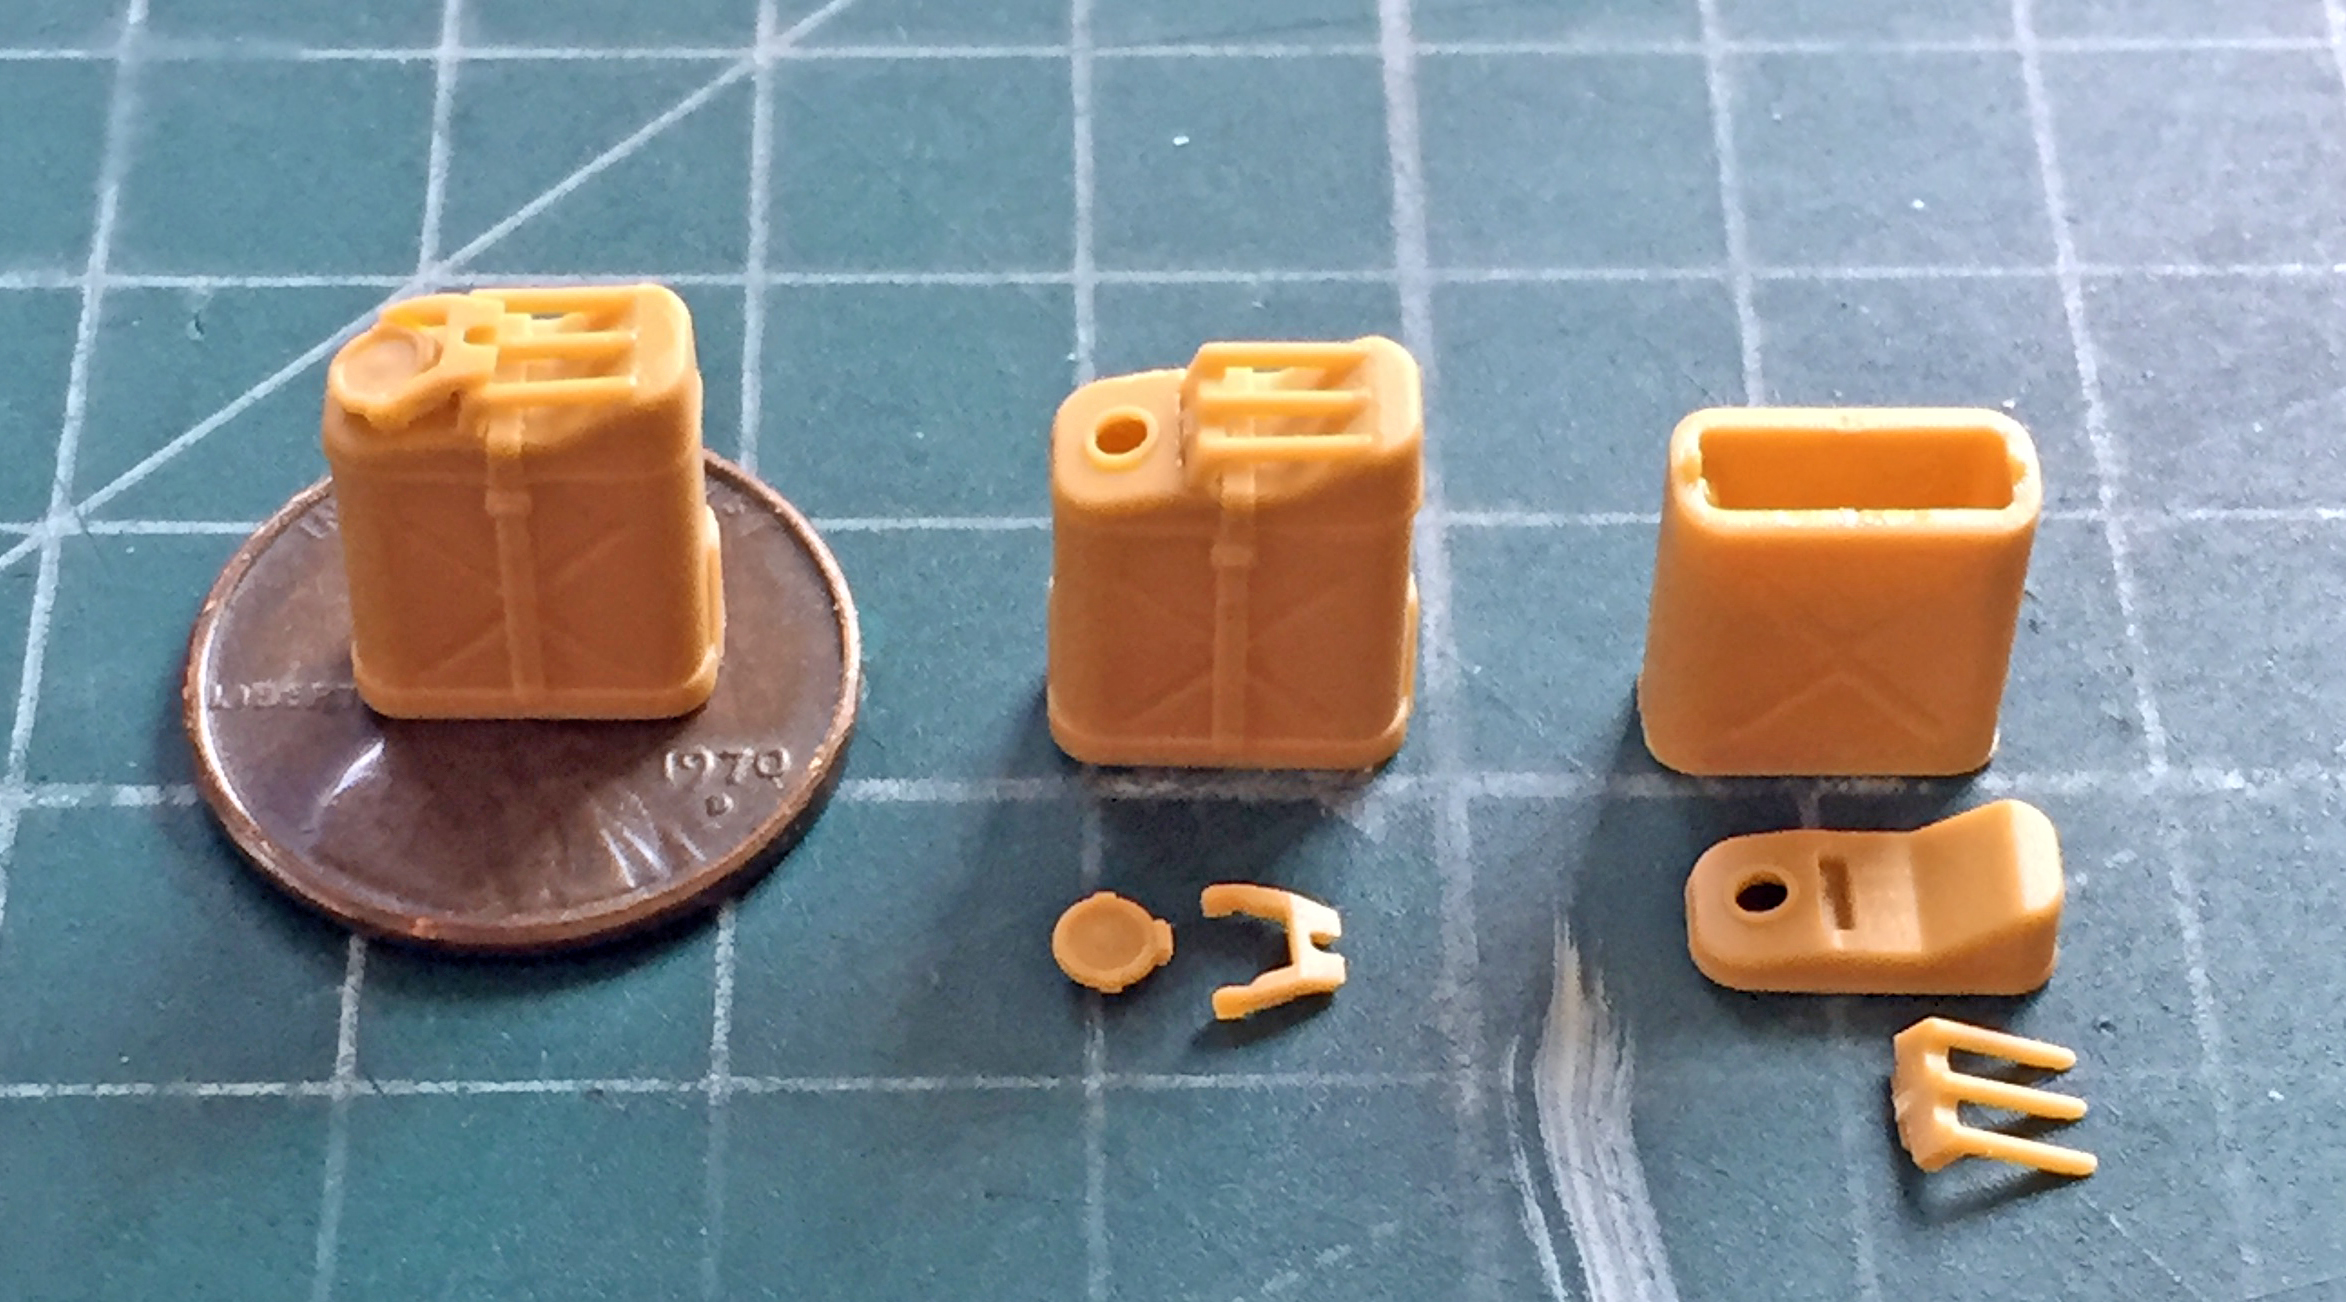
Each of the five-gallon cans has six parts (and were I crazy enough, the locking lever has its PE equivalent…be seeing as I’m merely colorful and not crazy [snicker], I used the plastic part instead):
Why did I do the cans? I needed something to do while I mapped out what I have to go back and do…and that will probably start by me stripping the paint I’d already laid down.
::bangs head on desk::

Hey Wayne, are you actually telling me that YOU took the easy route on a kit by using a plastic locking lever on a Jerry can? I’m shocked, nay, traumatised!
LikeLike
Kids are so fragile anymore…
LikeLike