Well, I know I’ve mentioned before that one should refer back to references often. Evidently, I don’t listen to myself (hardly surprising; I’m already nuts and listening to that maniac can only exacerbate a bad situation). I’m sure you’ll notice (more quickly than I did) that the notch in the rib does not line up with the mount for the landing gear leg…and it’s supposed to:
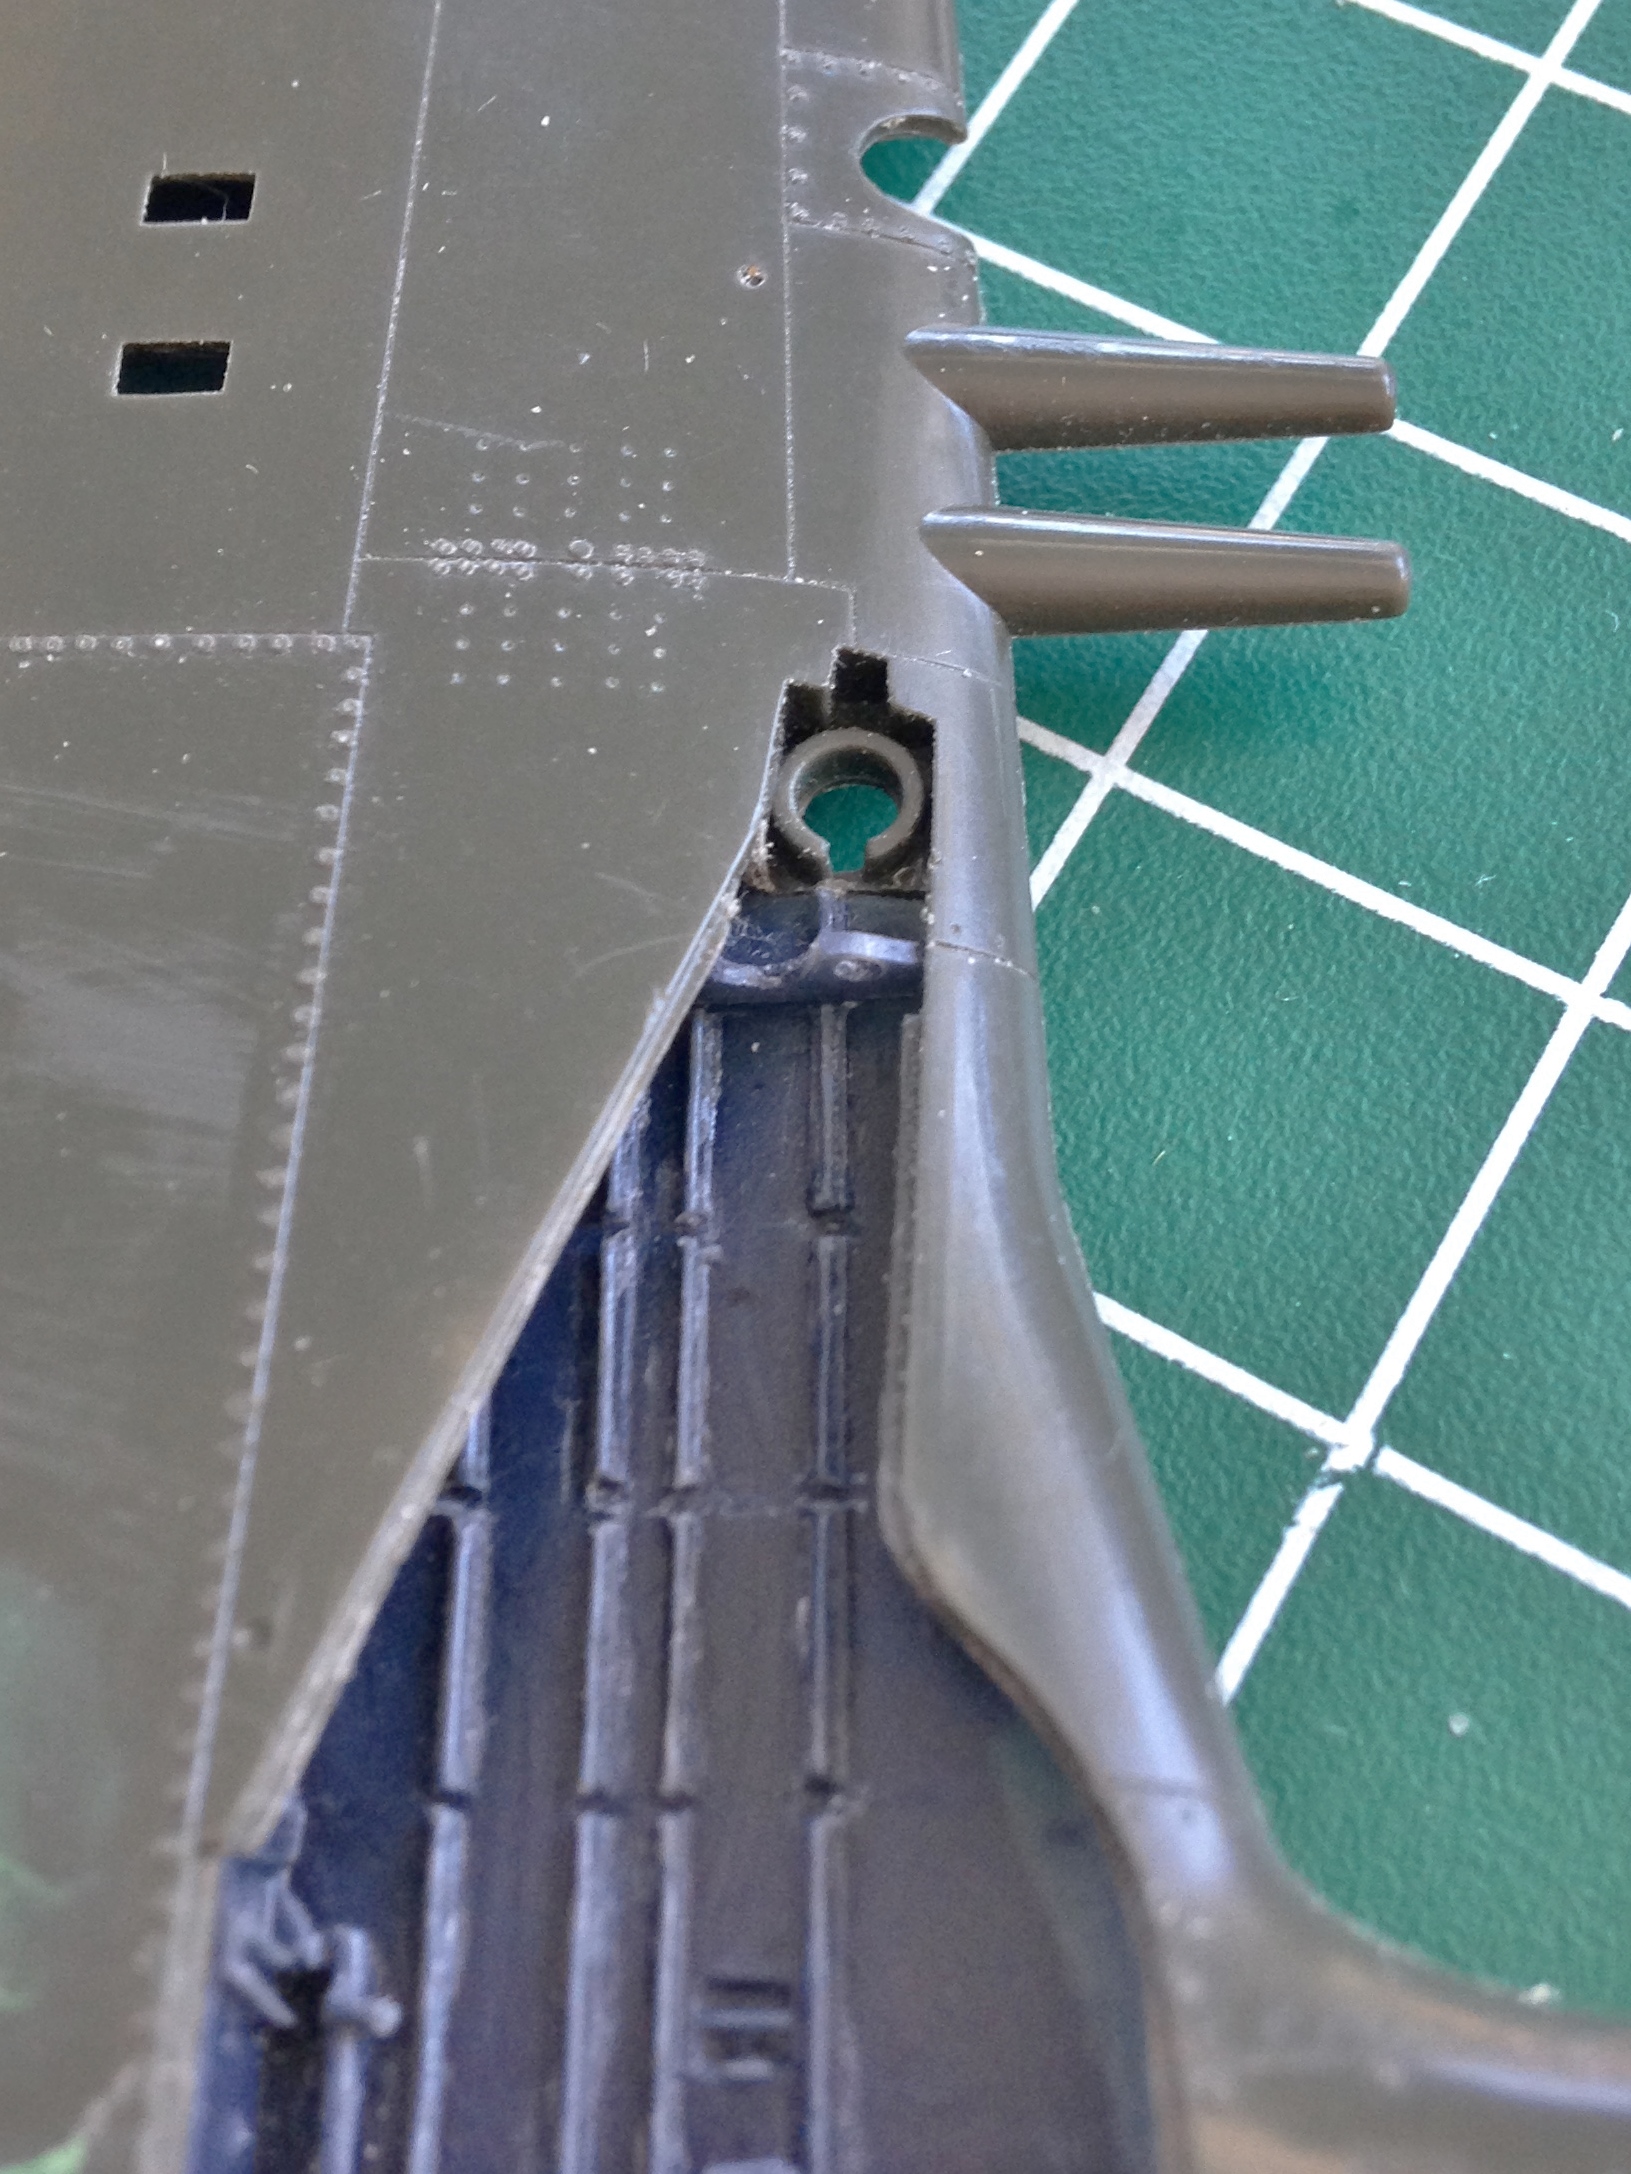
And the problem with that is that all the other notches don’t line up, either. The fix is to remake the ribs. And then make another mold. And THEN cast the sodding things again (I’m getting a great deal of practice with colorful invective).
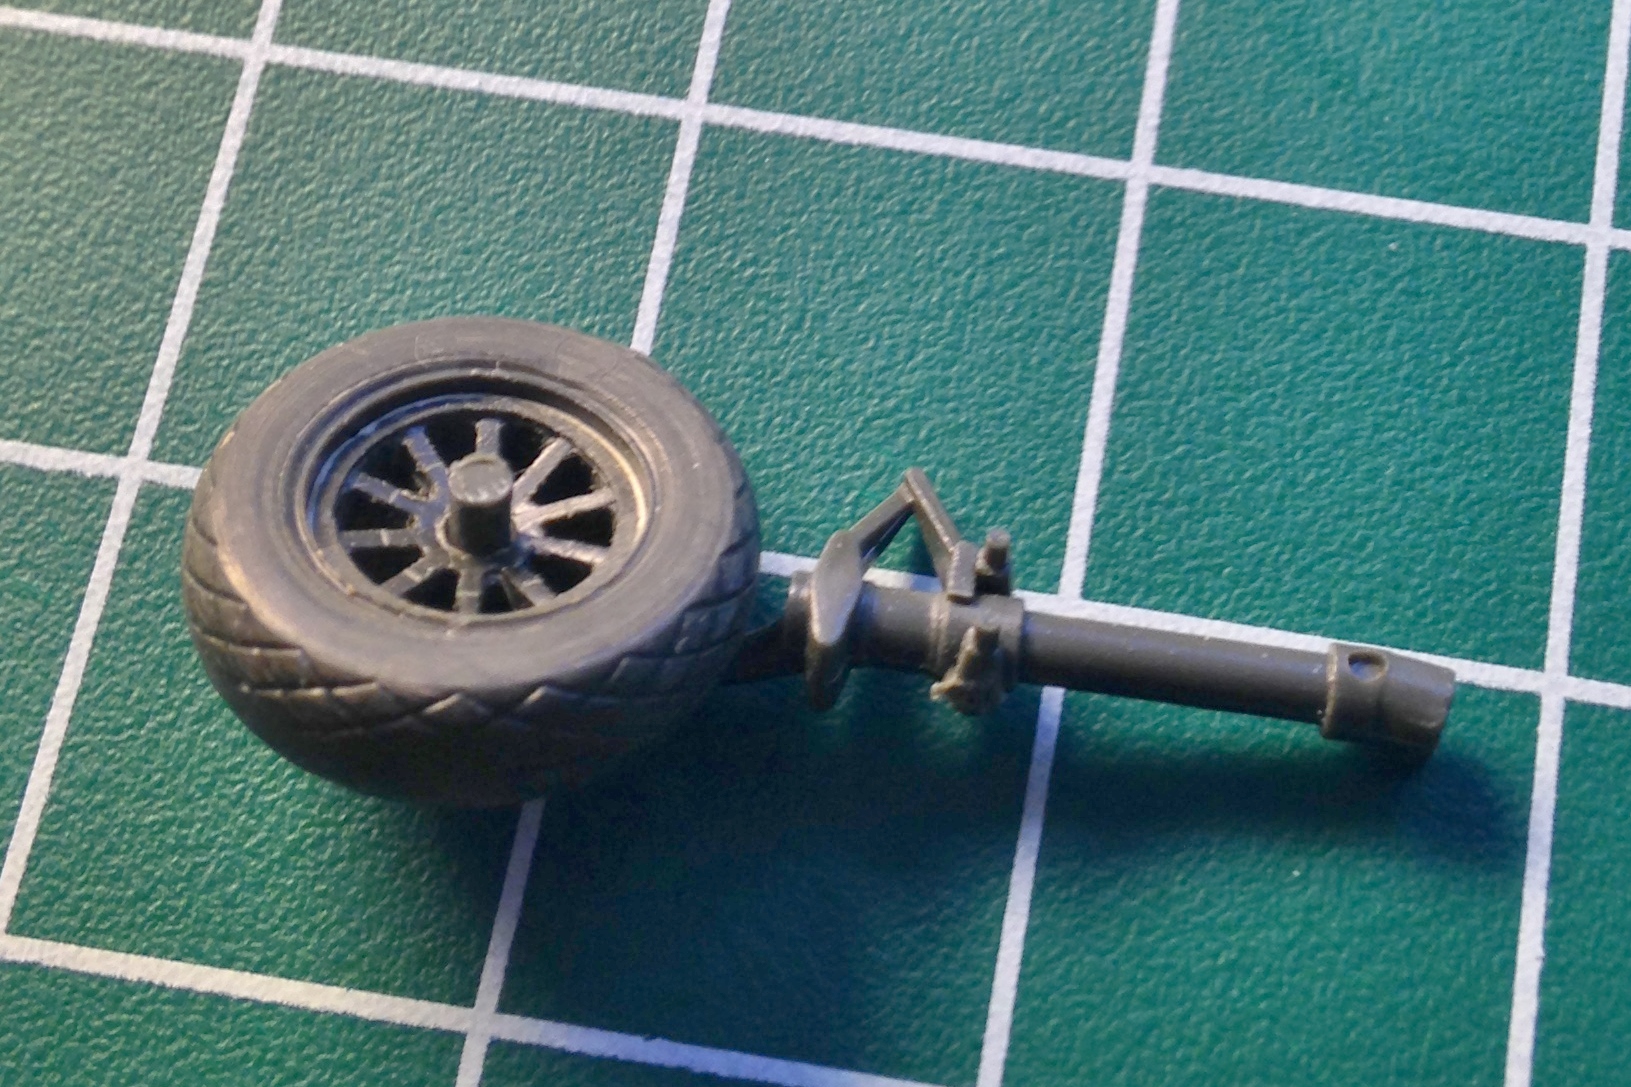
Since the notches in the ribs are to allow clearance for the landing gear strut/tire to fit inside the wing, maybe using the landing gear/strut to establish that location might be a good idea:

With the proper alignment of the notches established, the whole process of cutting, drilling, and adding the lips got done. Again. After these were done the molding/casting process got done. Again:


There are lots of things about getting old I am not especially thrilled by (it’s a long list, which I have to make because I’m too old to remember), but one of the things that seem to work in my favor (sometimes) is understanding my short-comings (talk about a list) and figuring out ways to work around them. Sometimes I will sit at the bench for many hours and in so doing can remember what I did on one side so that I can do it again on the other. Sometimes I don’t sit at the bench for very long and sometimes days will pass before I get back to it. In that case, I can’t remember how I did what I did (or where the hell I put that damned list). My work-around is when I do something on one side, immediately do it on the other:
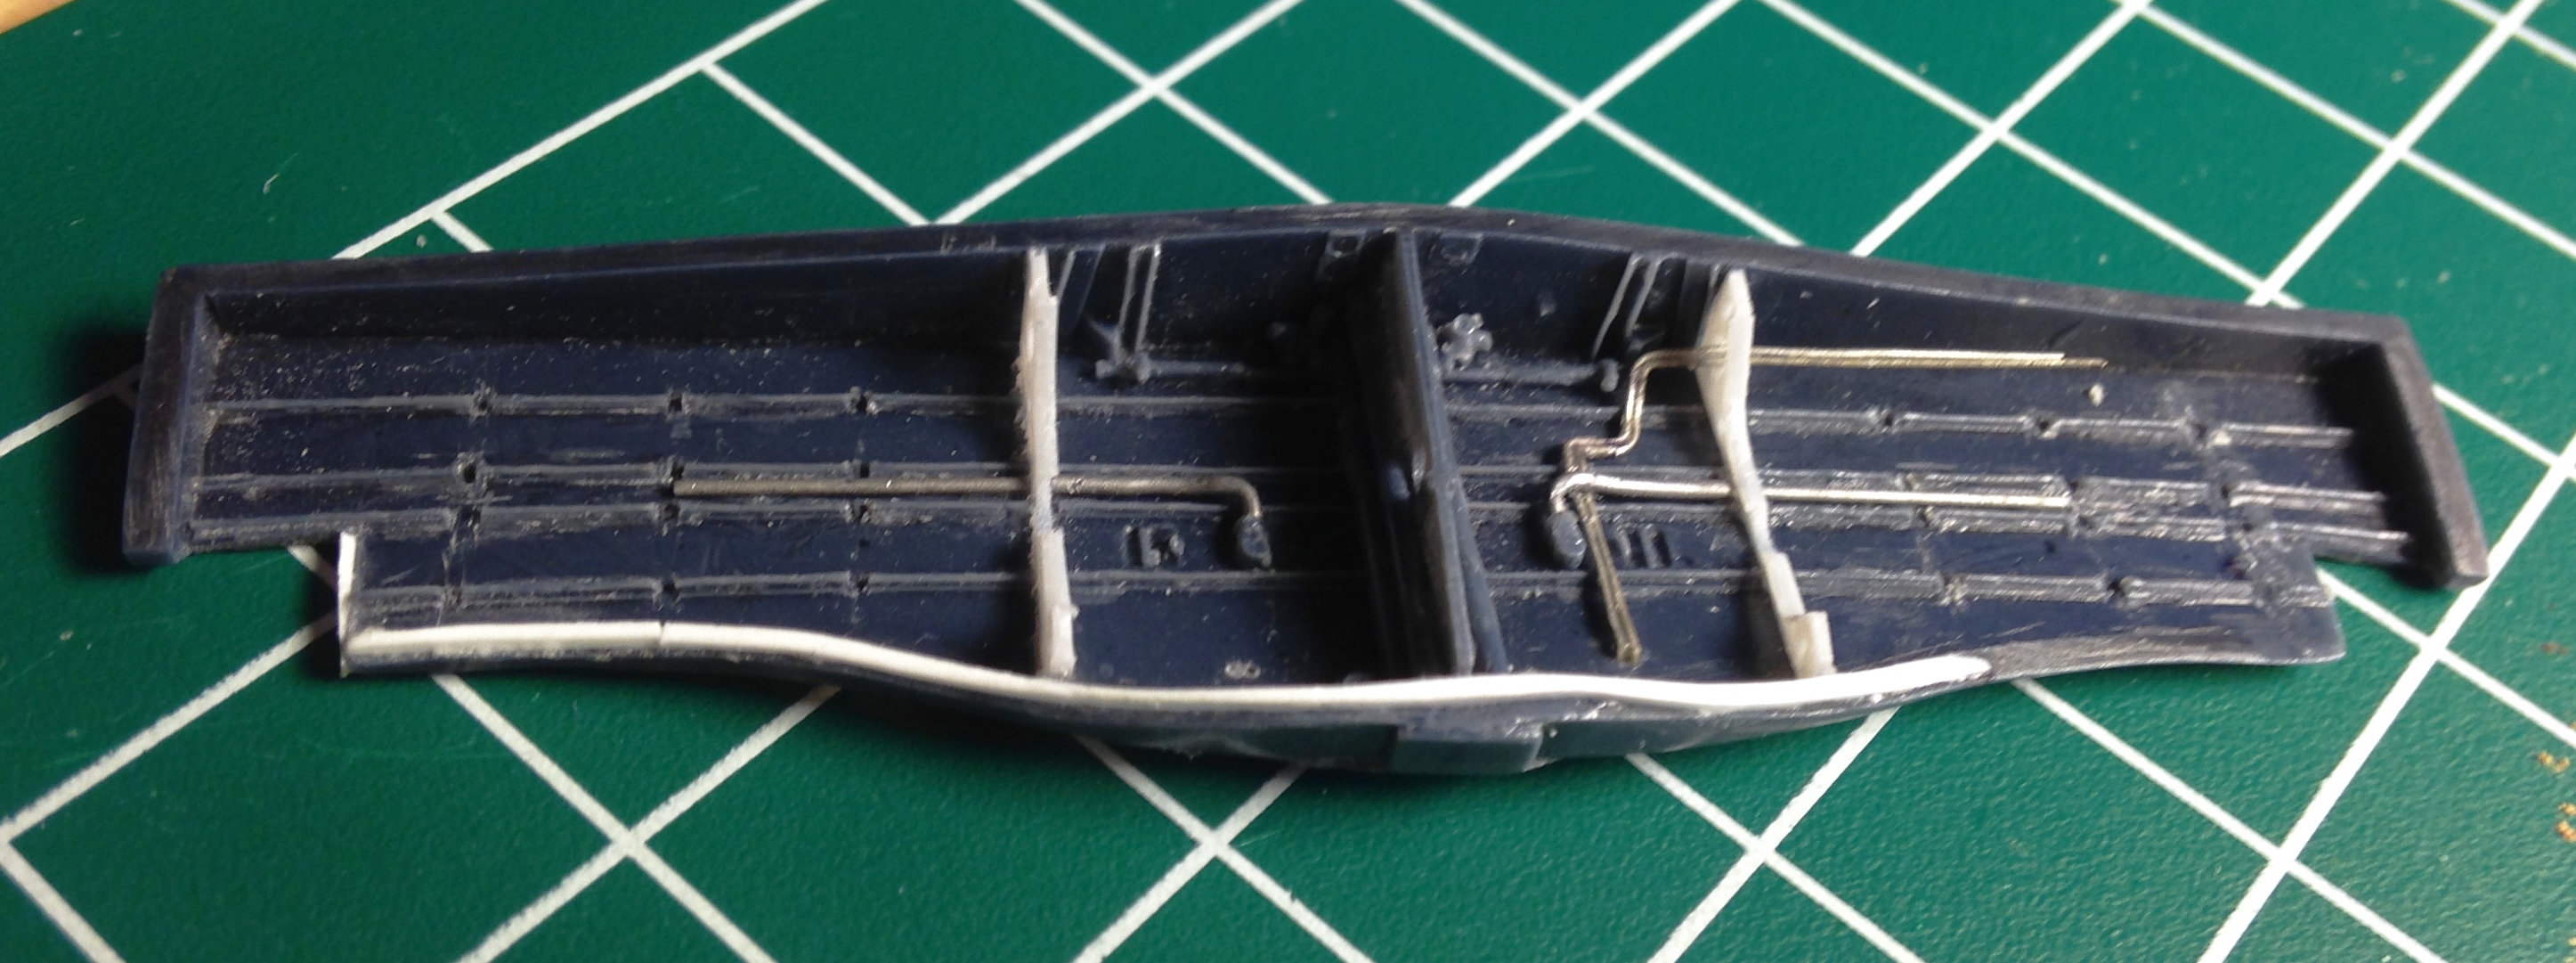

And that’s how I detailed the wells. The sections to the inside of the first ribs (as figured from the center) will not be seen once everything is in place:


In reading the Mustang pilot manual, one of the shut-down procedures for the pilot was to release the hydraulic pressure in the system (this would cause the flaps to drop which in turn kept people from walking on them). Evidently, the later “D” models, didn’t have latches inside the gear wells to hold the clam-shell doors up which the Allison Mustangs did have. When the pressure dropped, the latches would keep the clam-shell doors closed and from what I can tell from reference photos, they stayed closed unless the ground crew needed to get in there.
So why am I putting details in that won’t be seen?
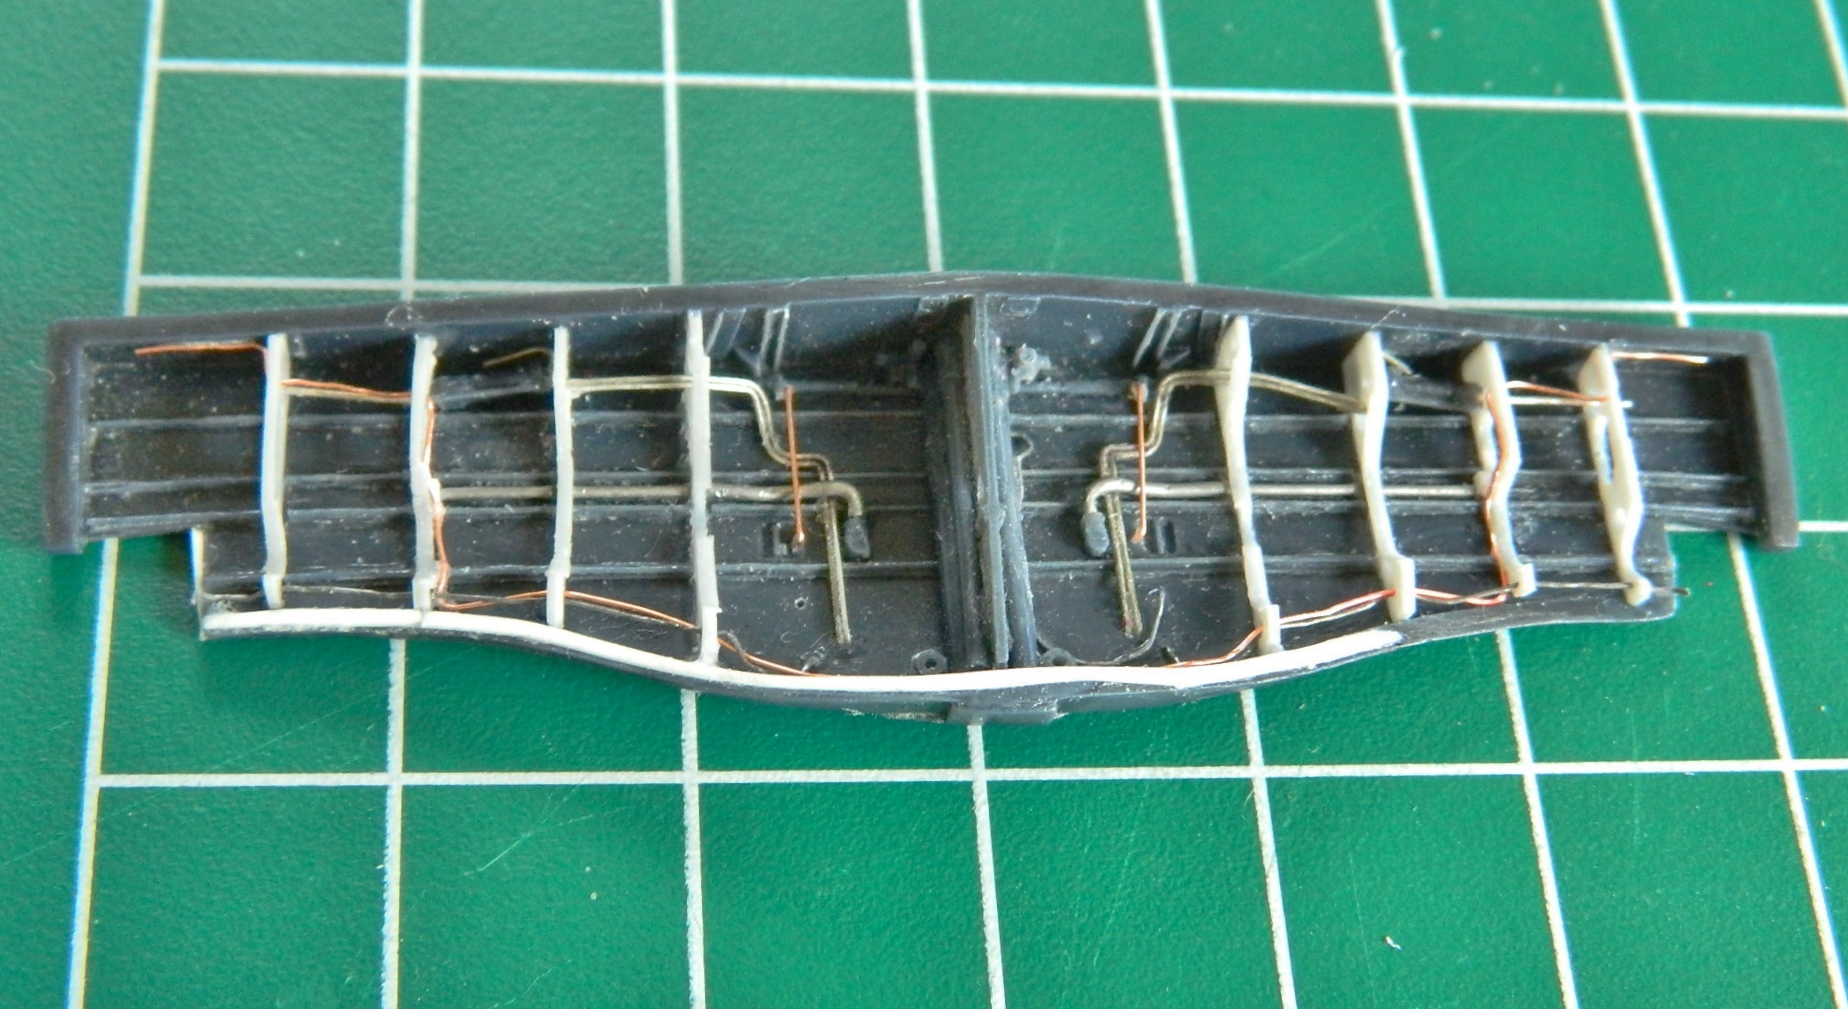
Practice and reference, both of which I need, one of which I don’t refer to often enough. And in adding the lines and wiring (copper wire, solder, and lead wool), I see that once again I got the ribs less than correct; some of the holes are wrong, some unneeded, and some in the wrong place. So here is where I get sloppy…
I AIN’T REDOING THE SODDING RIBS/MOLDS/CASTINGS AGAIN. At least, not for this build; before I do another Allison Mustang I will.
So, sloppily, this is where I got, adding the hydraulic cylinders, wiring, lines, etc.:

With this aspect of the build done, it’s time to put this aside (while I figure out how to paint it) and get back to working the cockpit parts.
