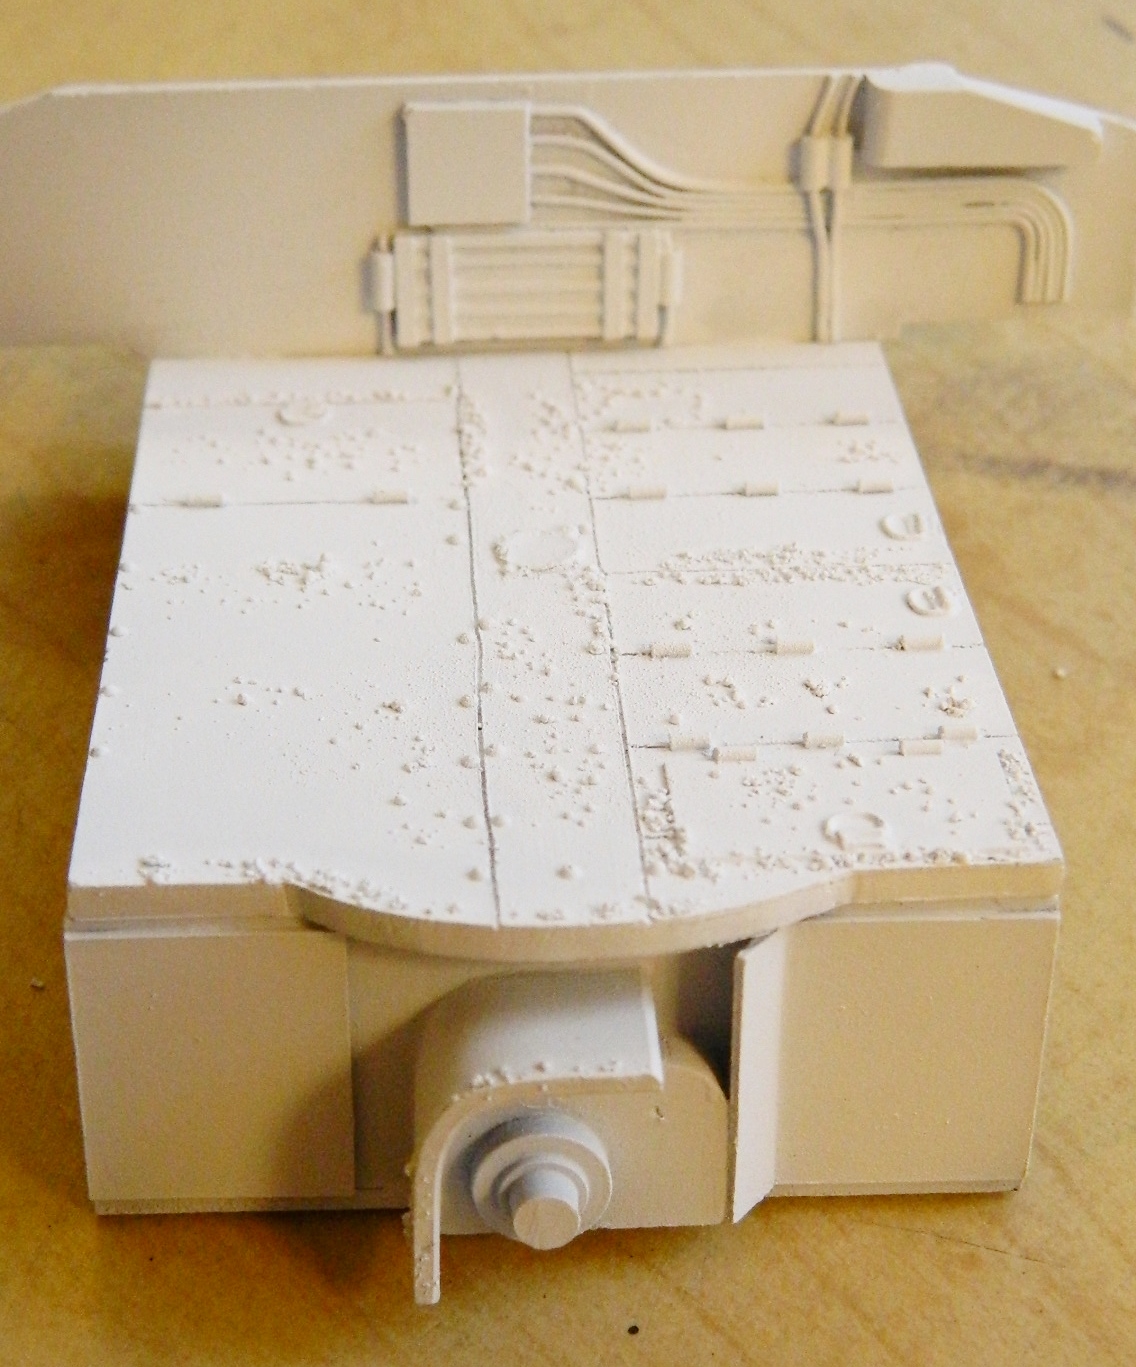
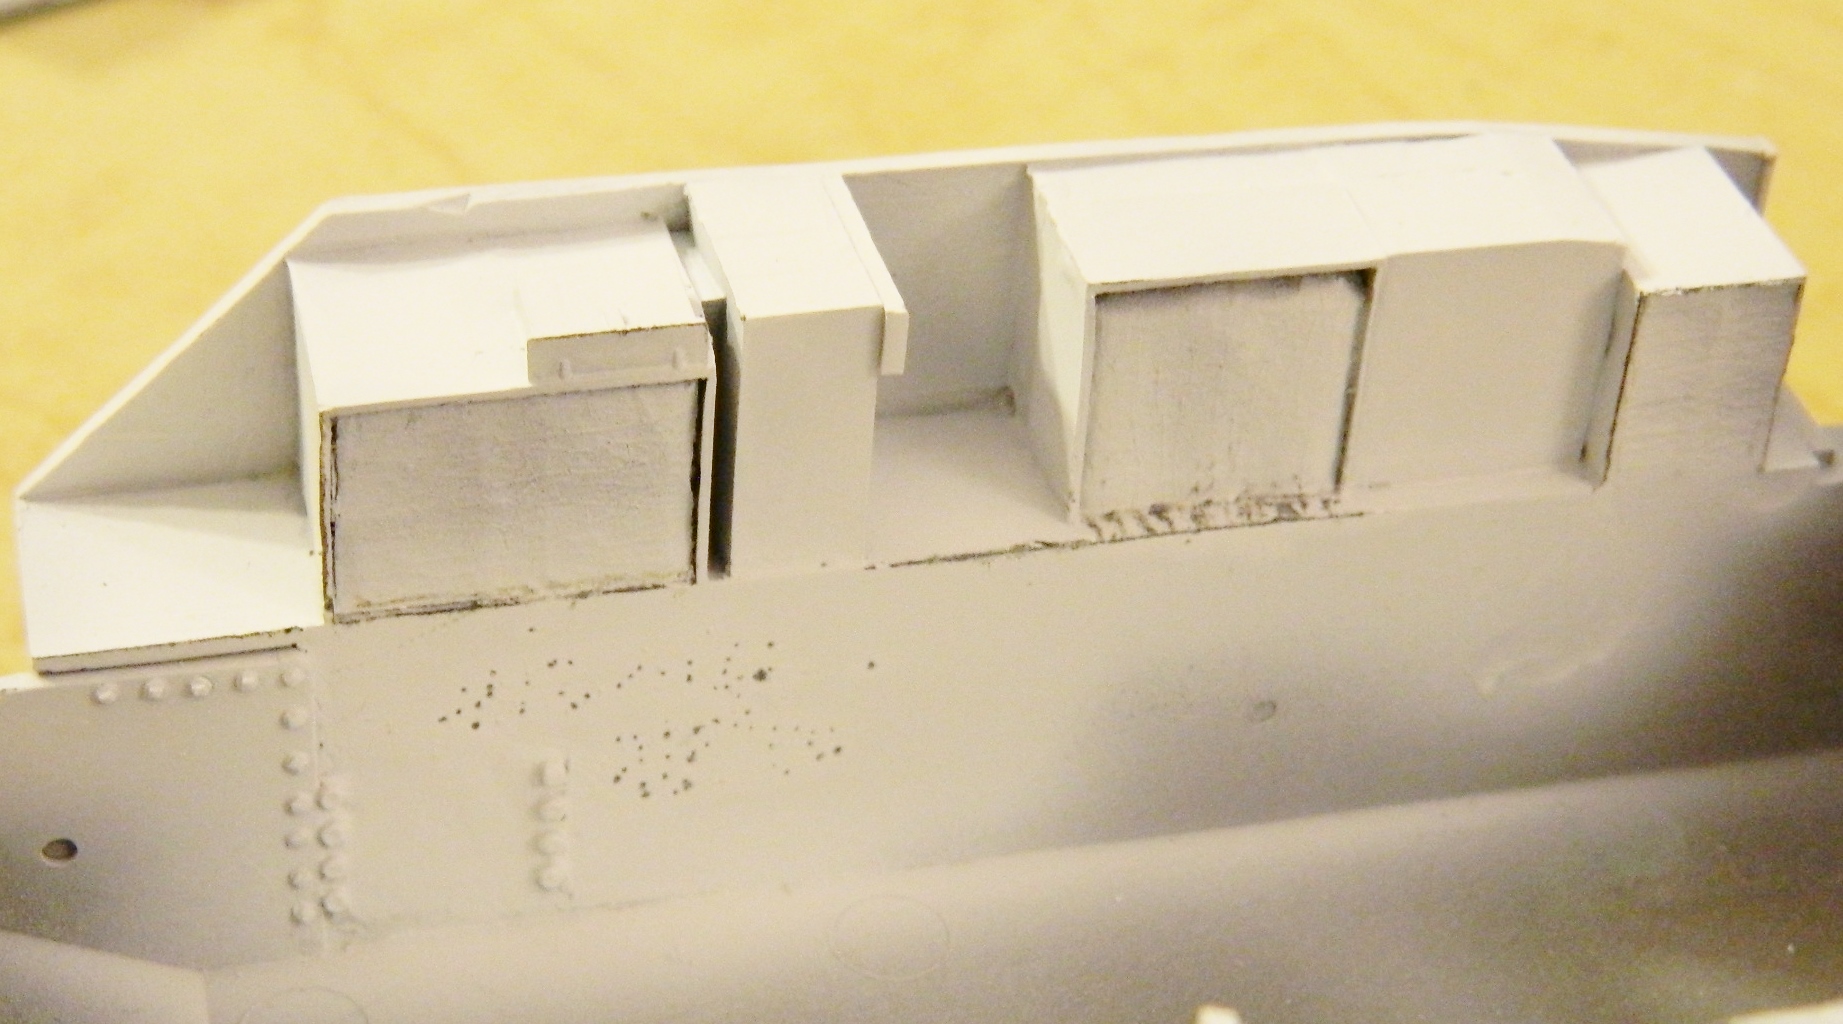
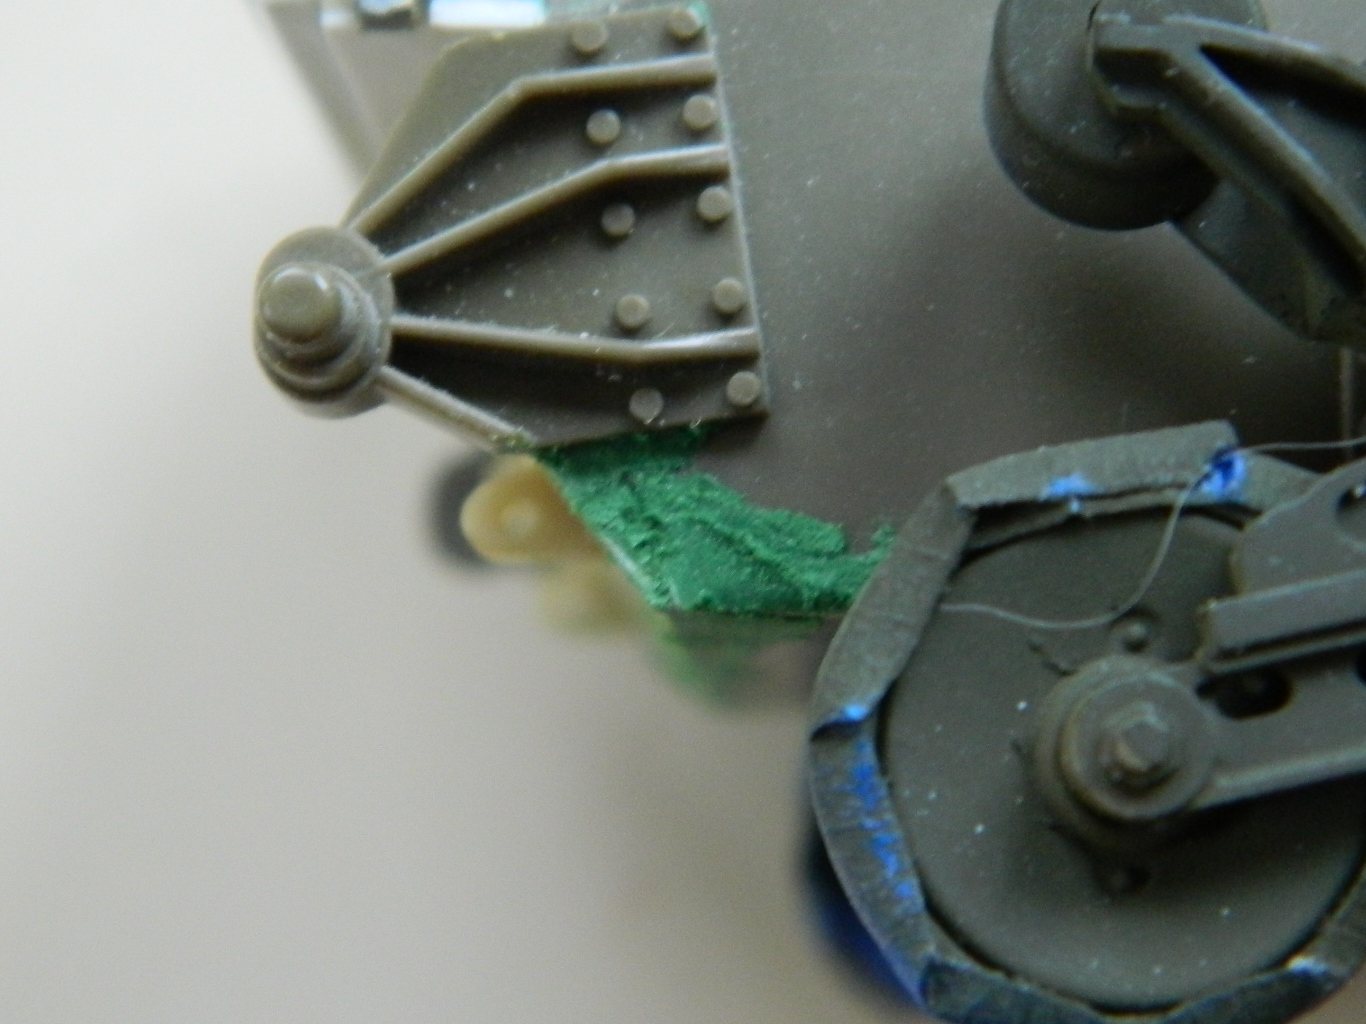
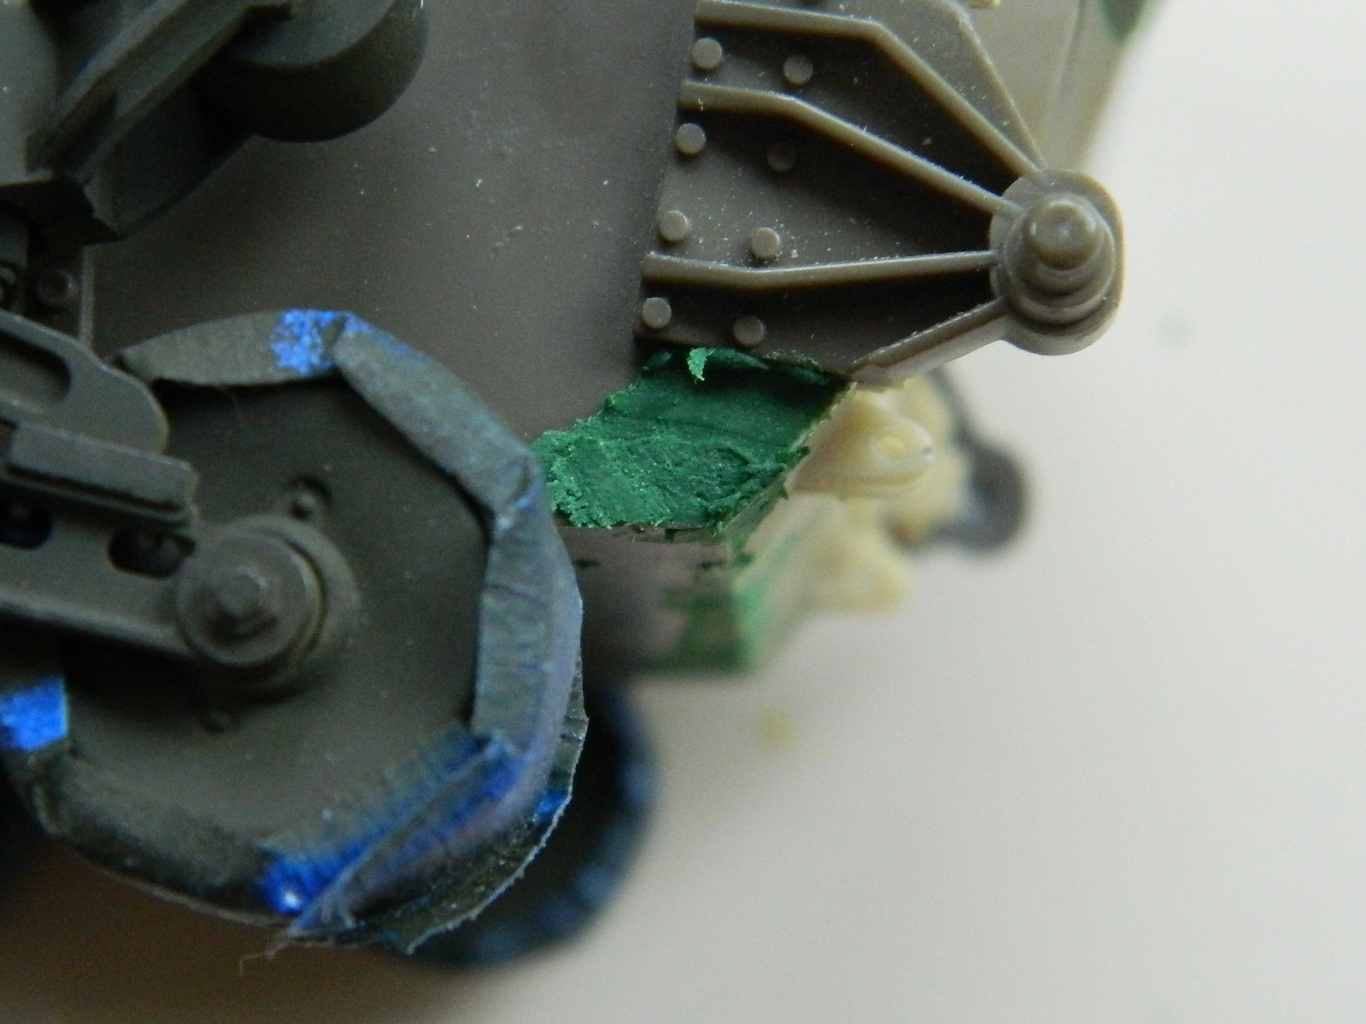
The next step is to salt chip the interior parts. My earlier painting experiment with the unused kit showed me that the salt chipping technique could work well, but I wanted smaller chips as they would be put there by the crew, their hardware, and moving around ammo cans, etc. To accomplish that, I took table salt and ground them a bit between two spoons. Too large and the chips would look “off,” too small and the chips would dissolve in water! And then there’s the skull-sweat required to put the chips where using the equipment and machine would result in chipping. I added the sponson details at this time so that I could make the wear of them and the lower hull sides integrated:

Having accomplished that, it’s time for the flat white top coat:


I gave it about an hour to set up a little then I used a finger and a toothpick to knock the salt off:

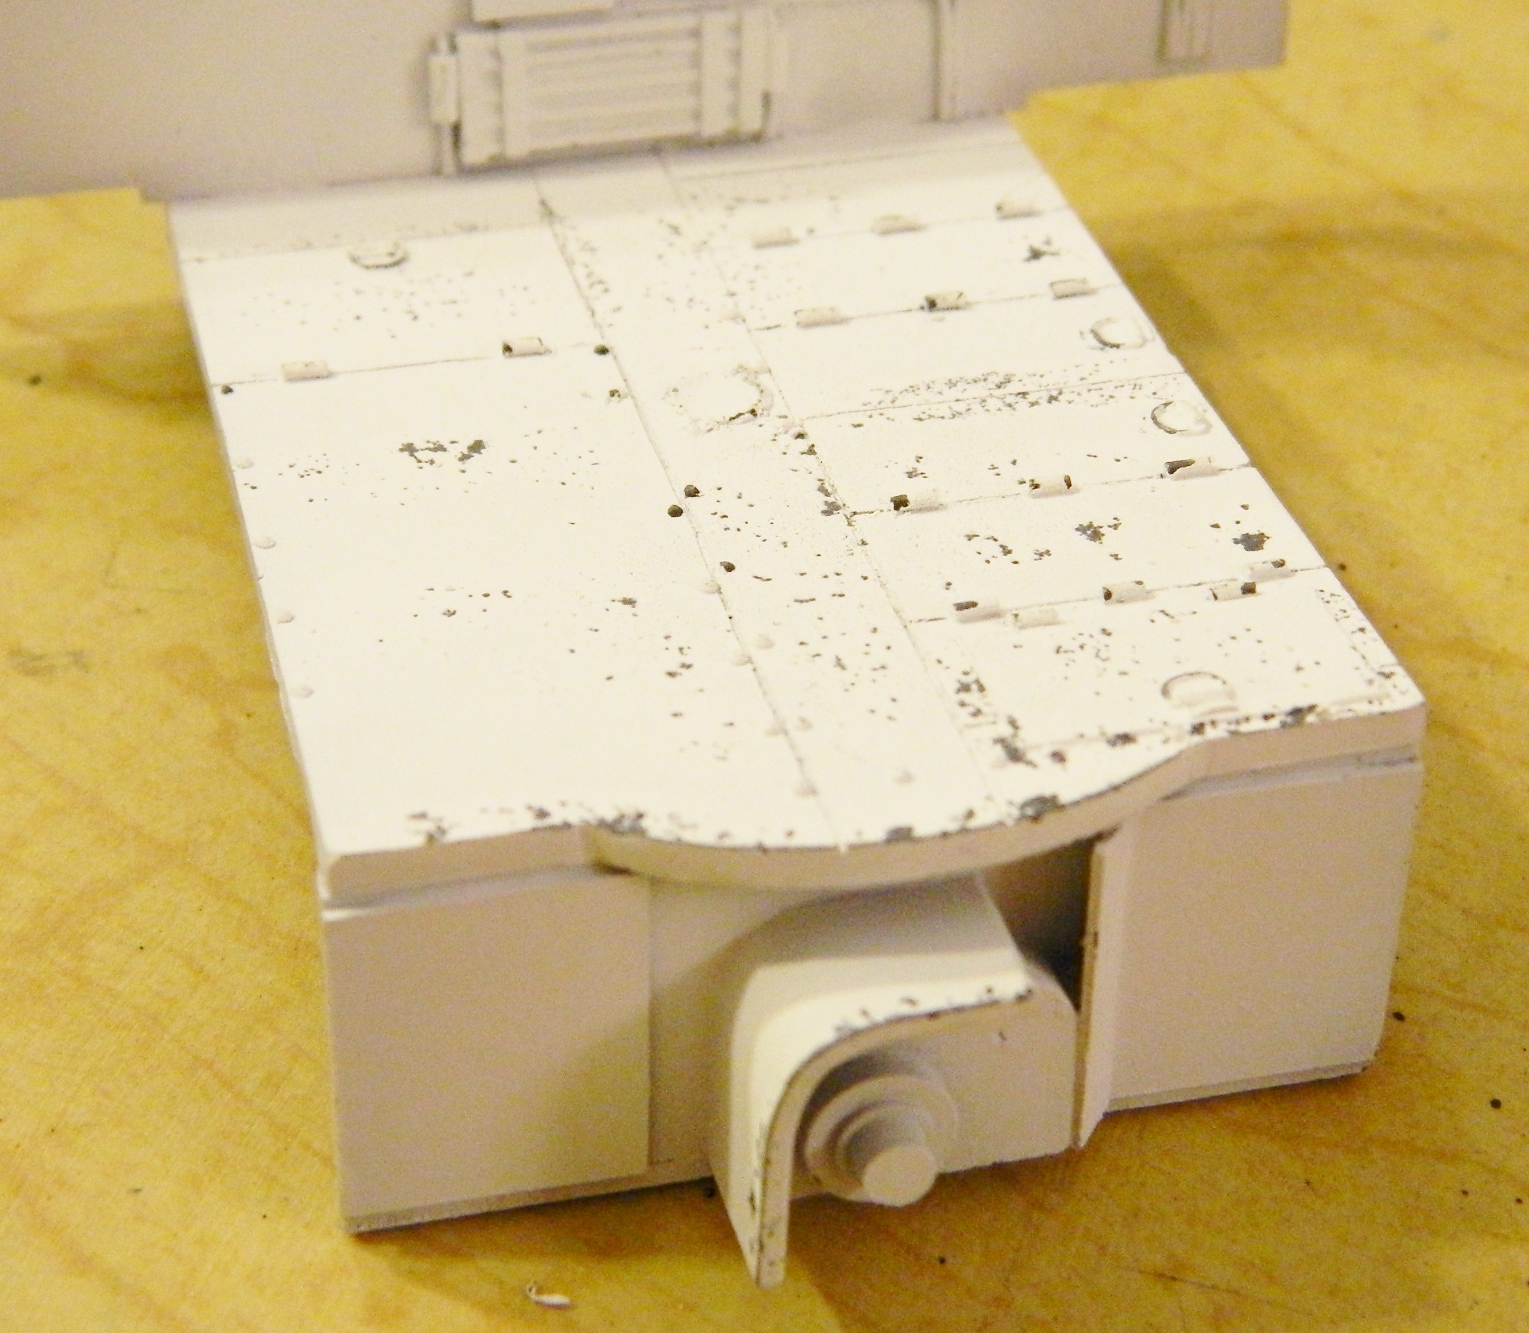

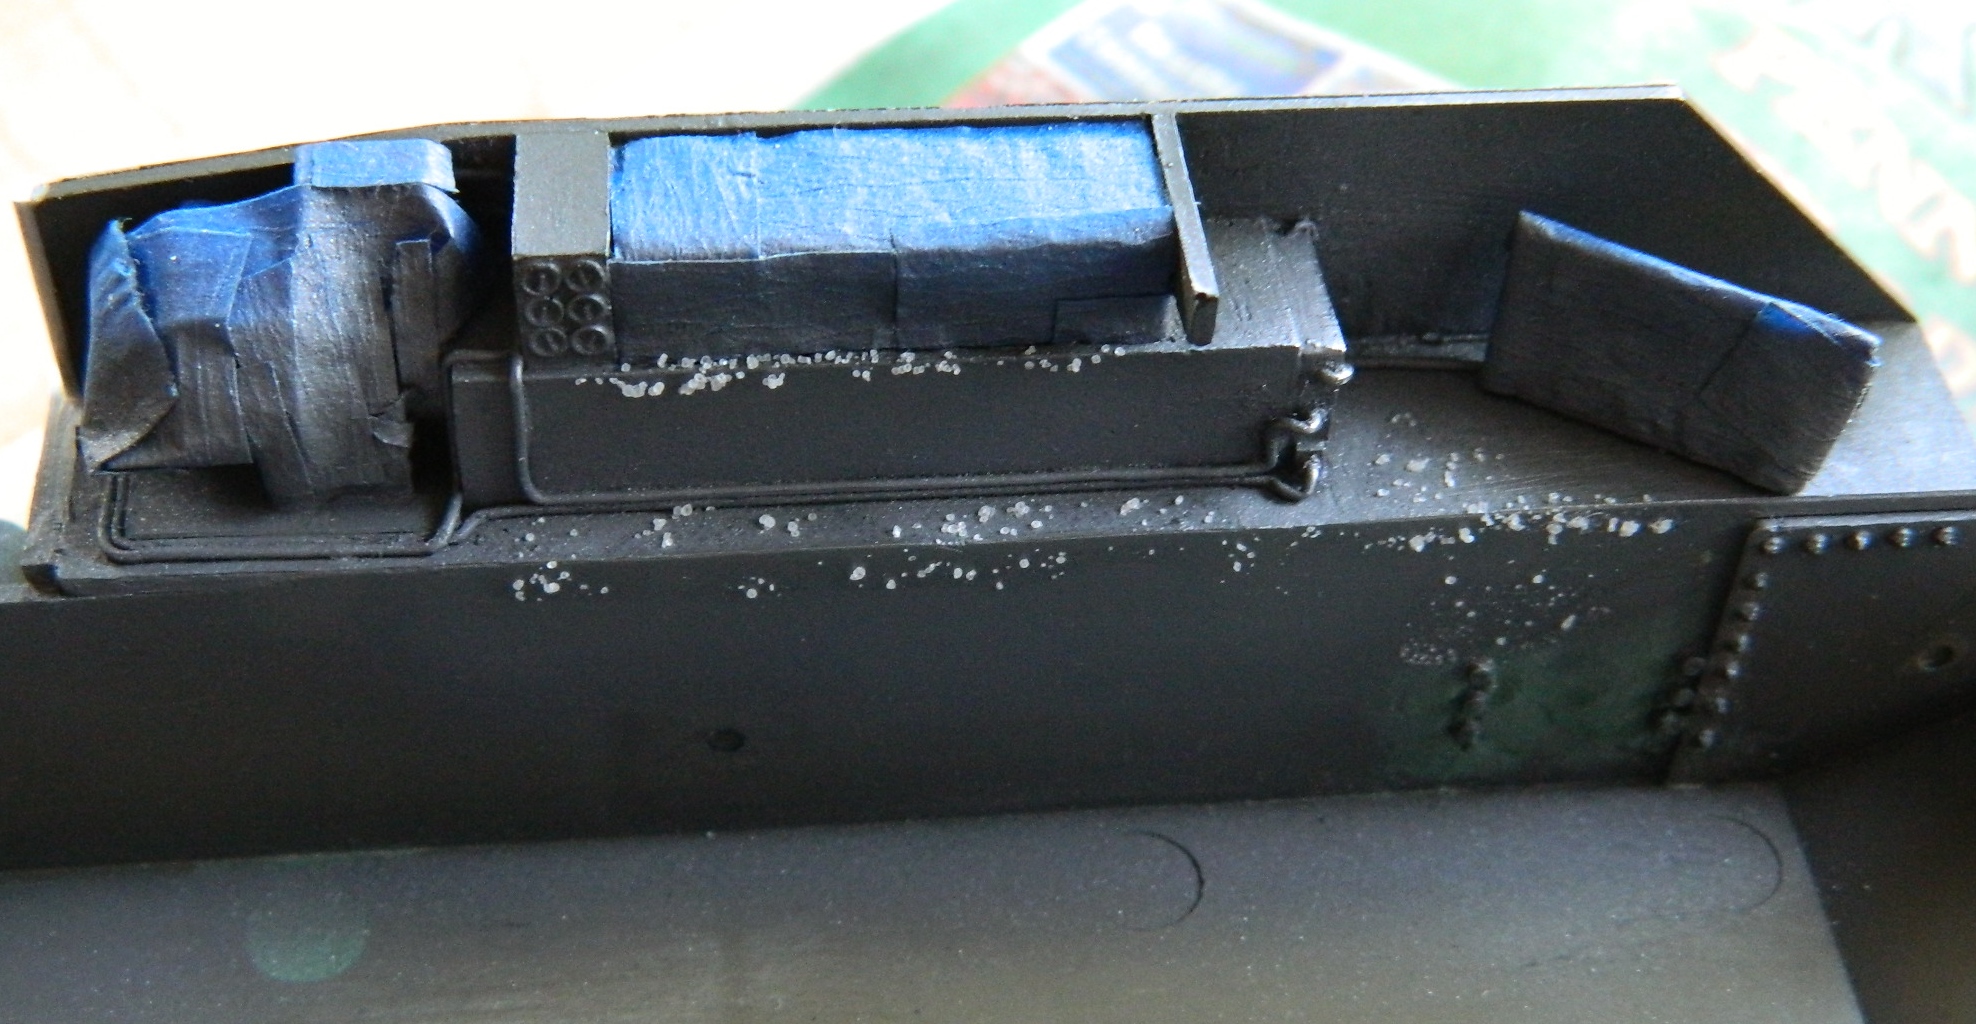
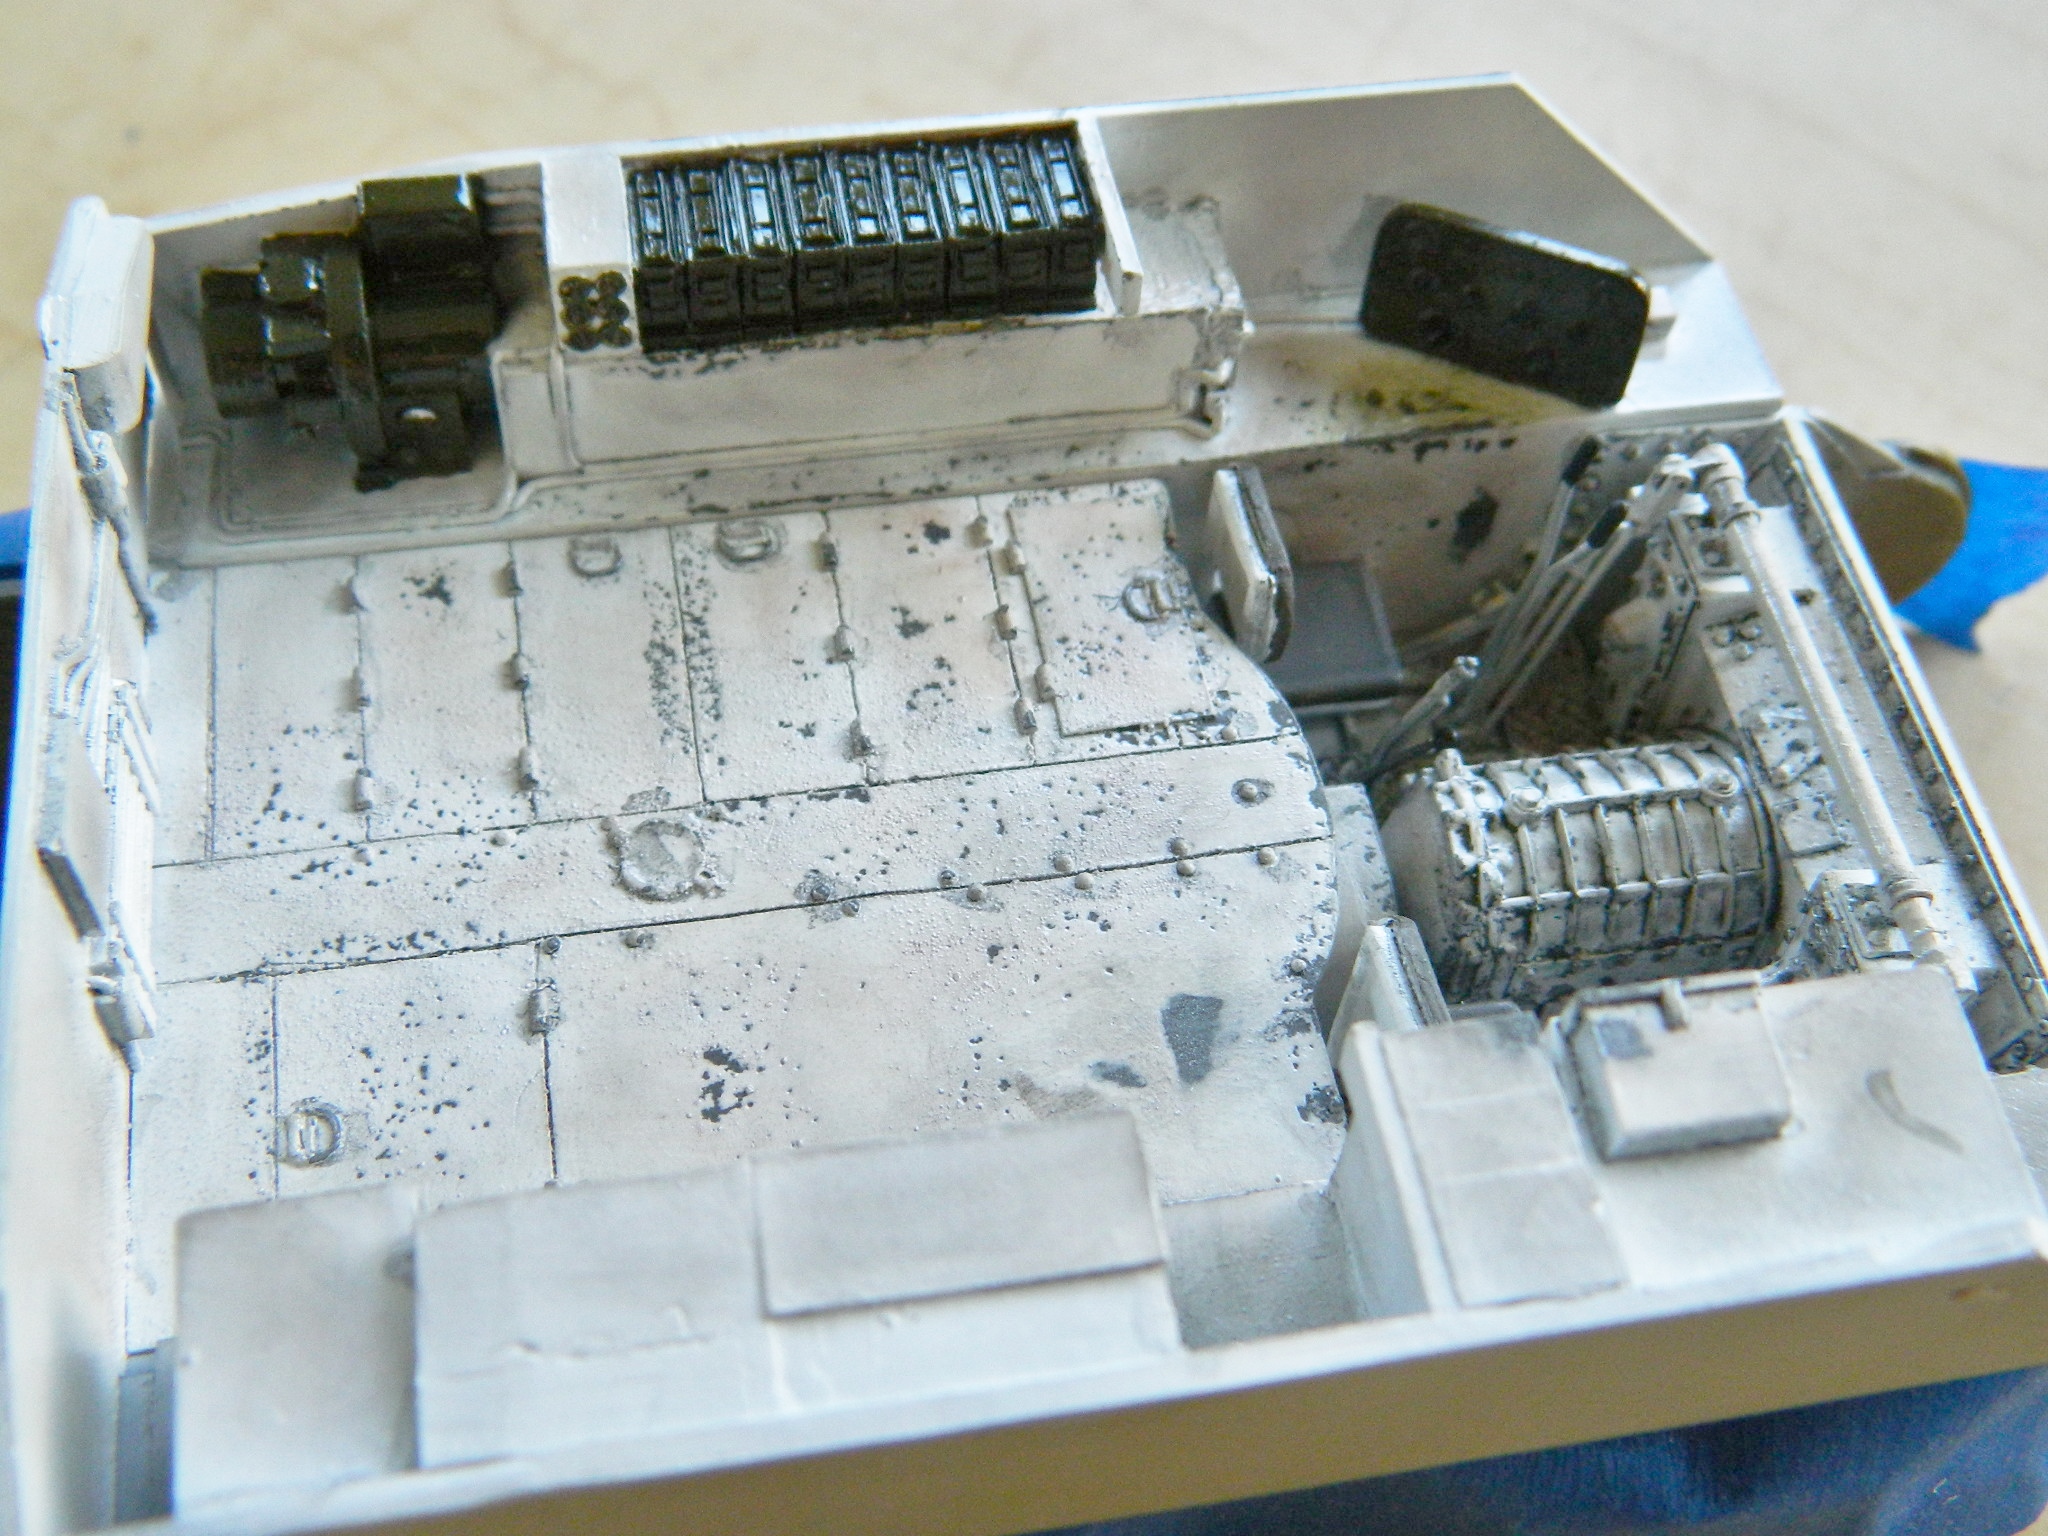
Masks were removed and pastels started adding the general grunge and some highlights as well:

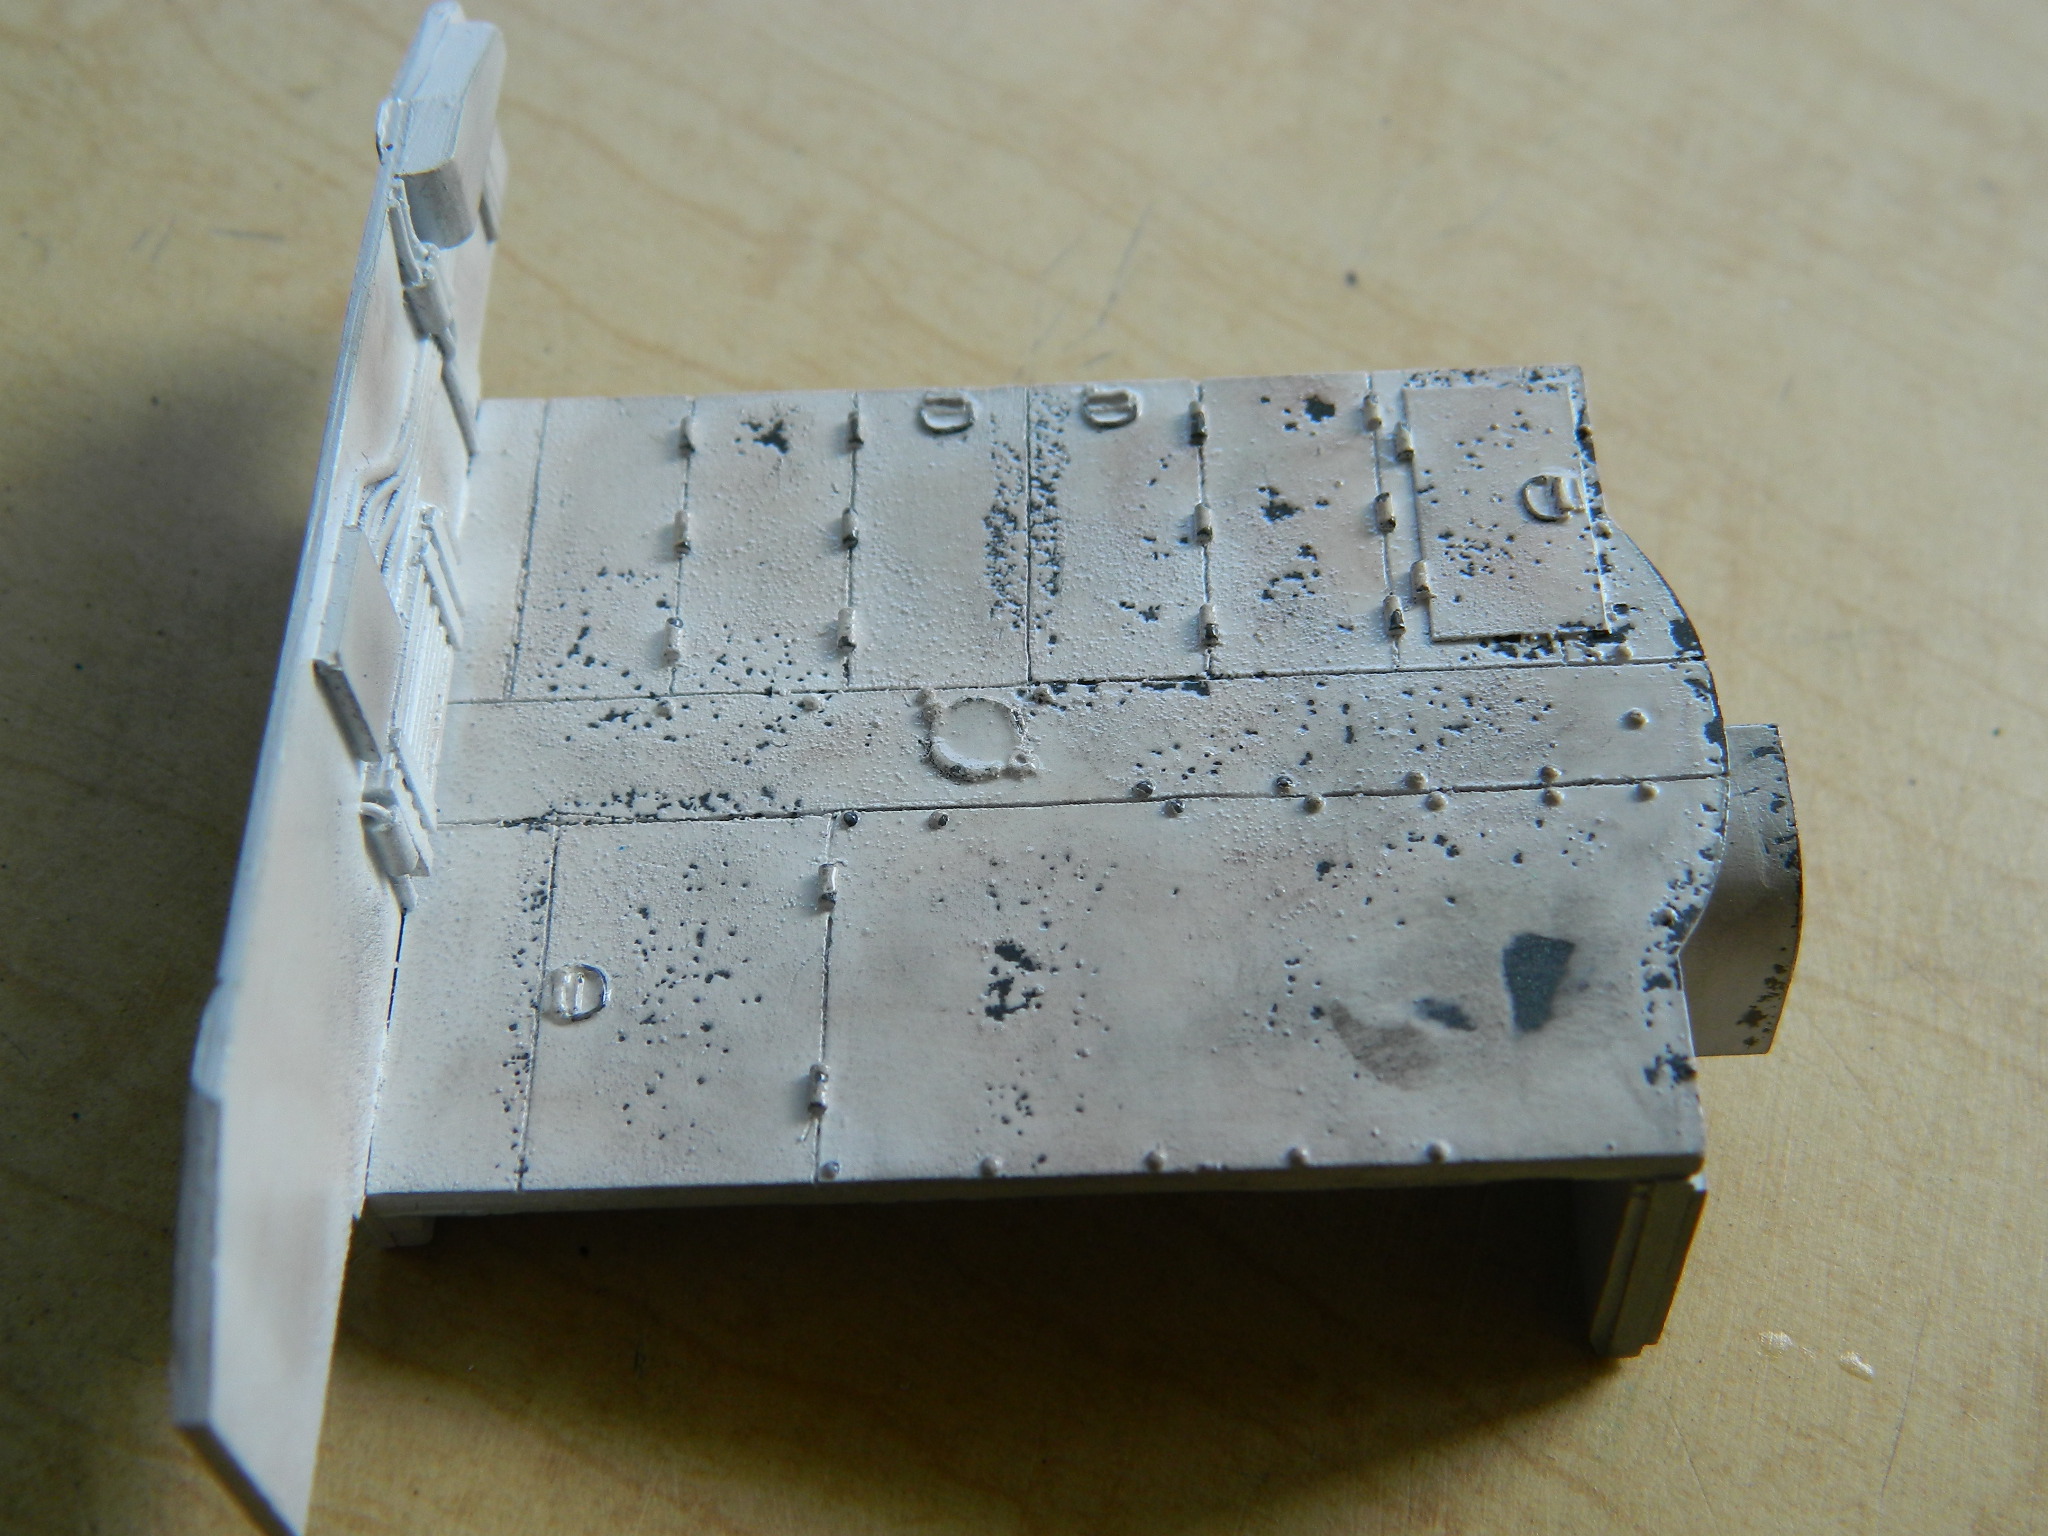
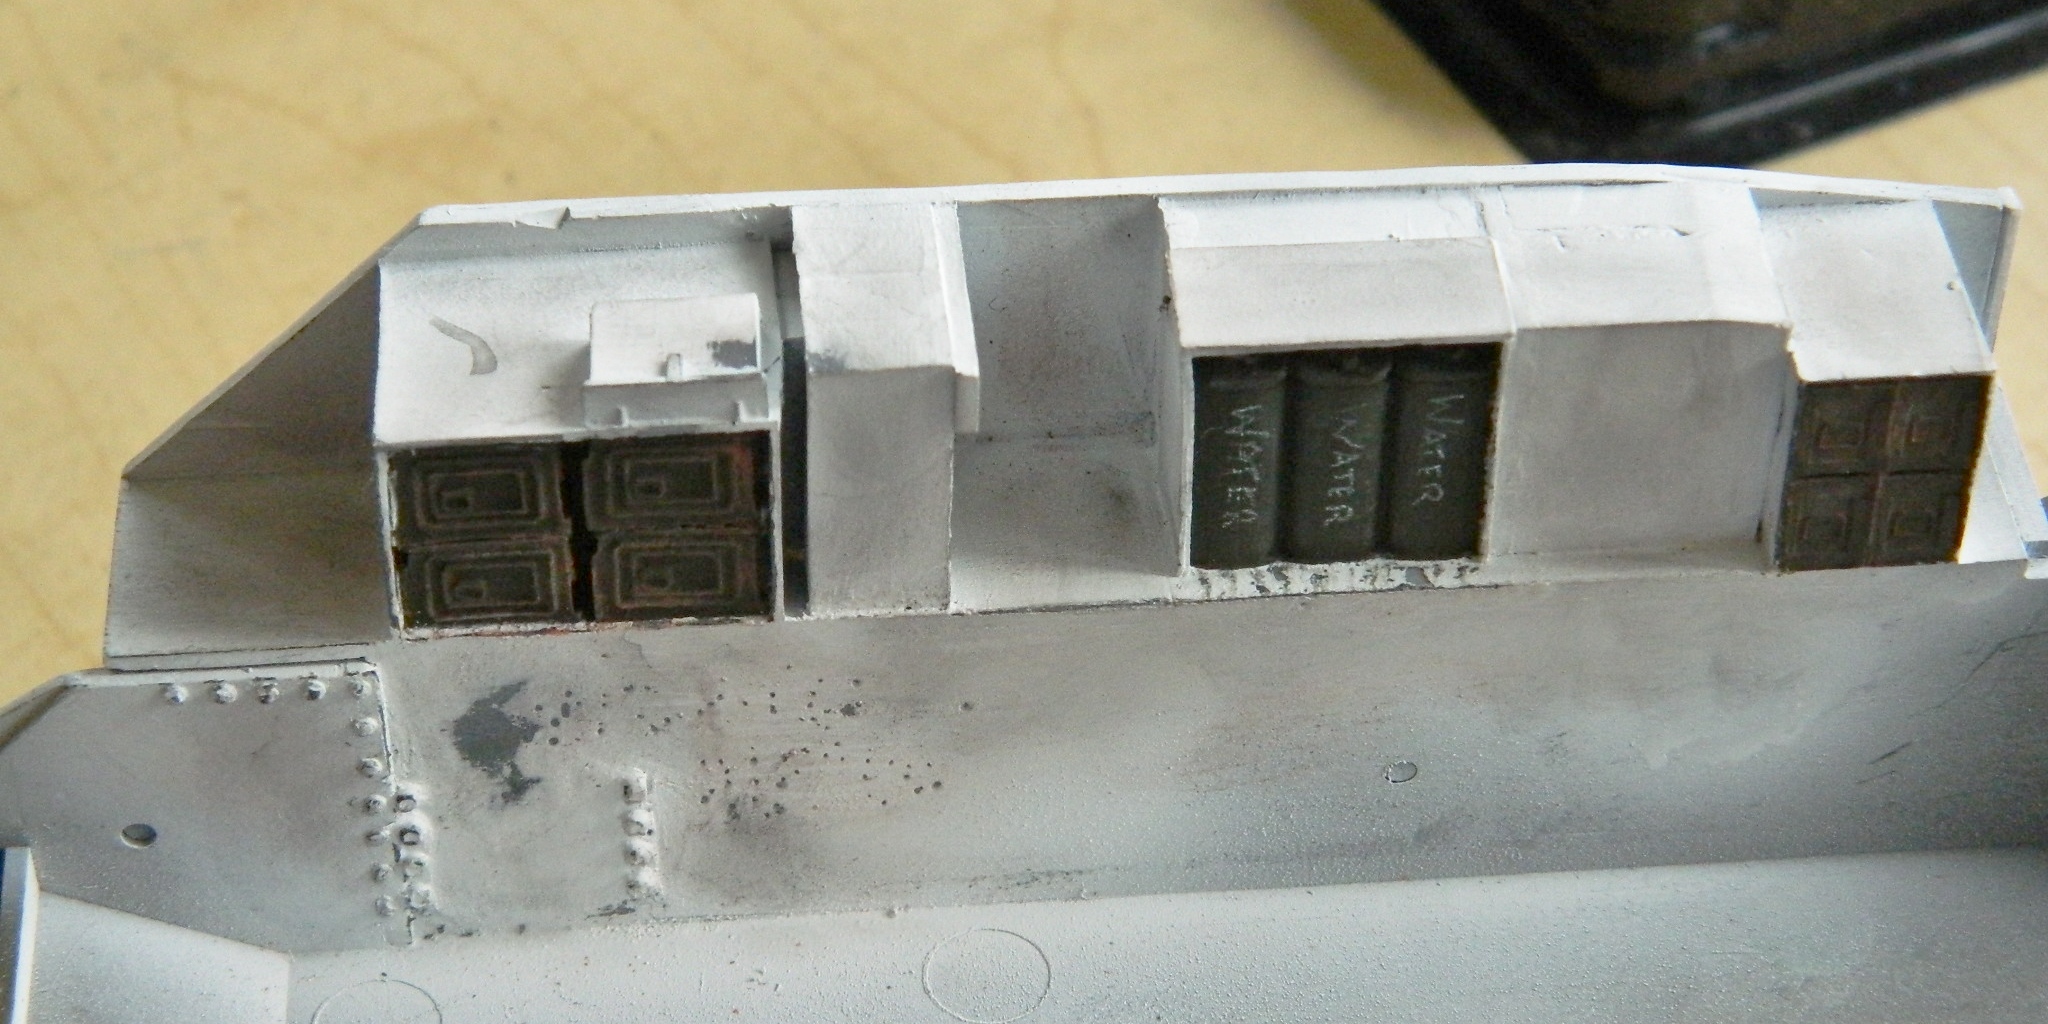

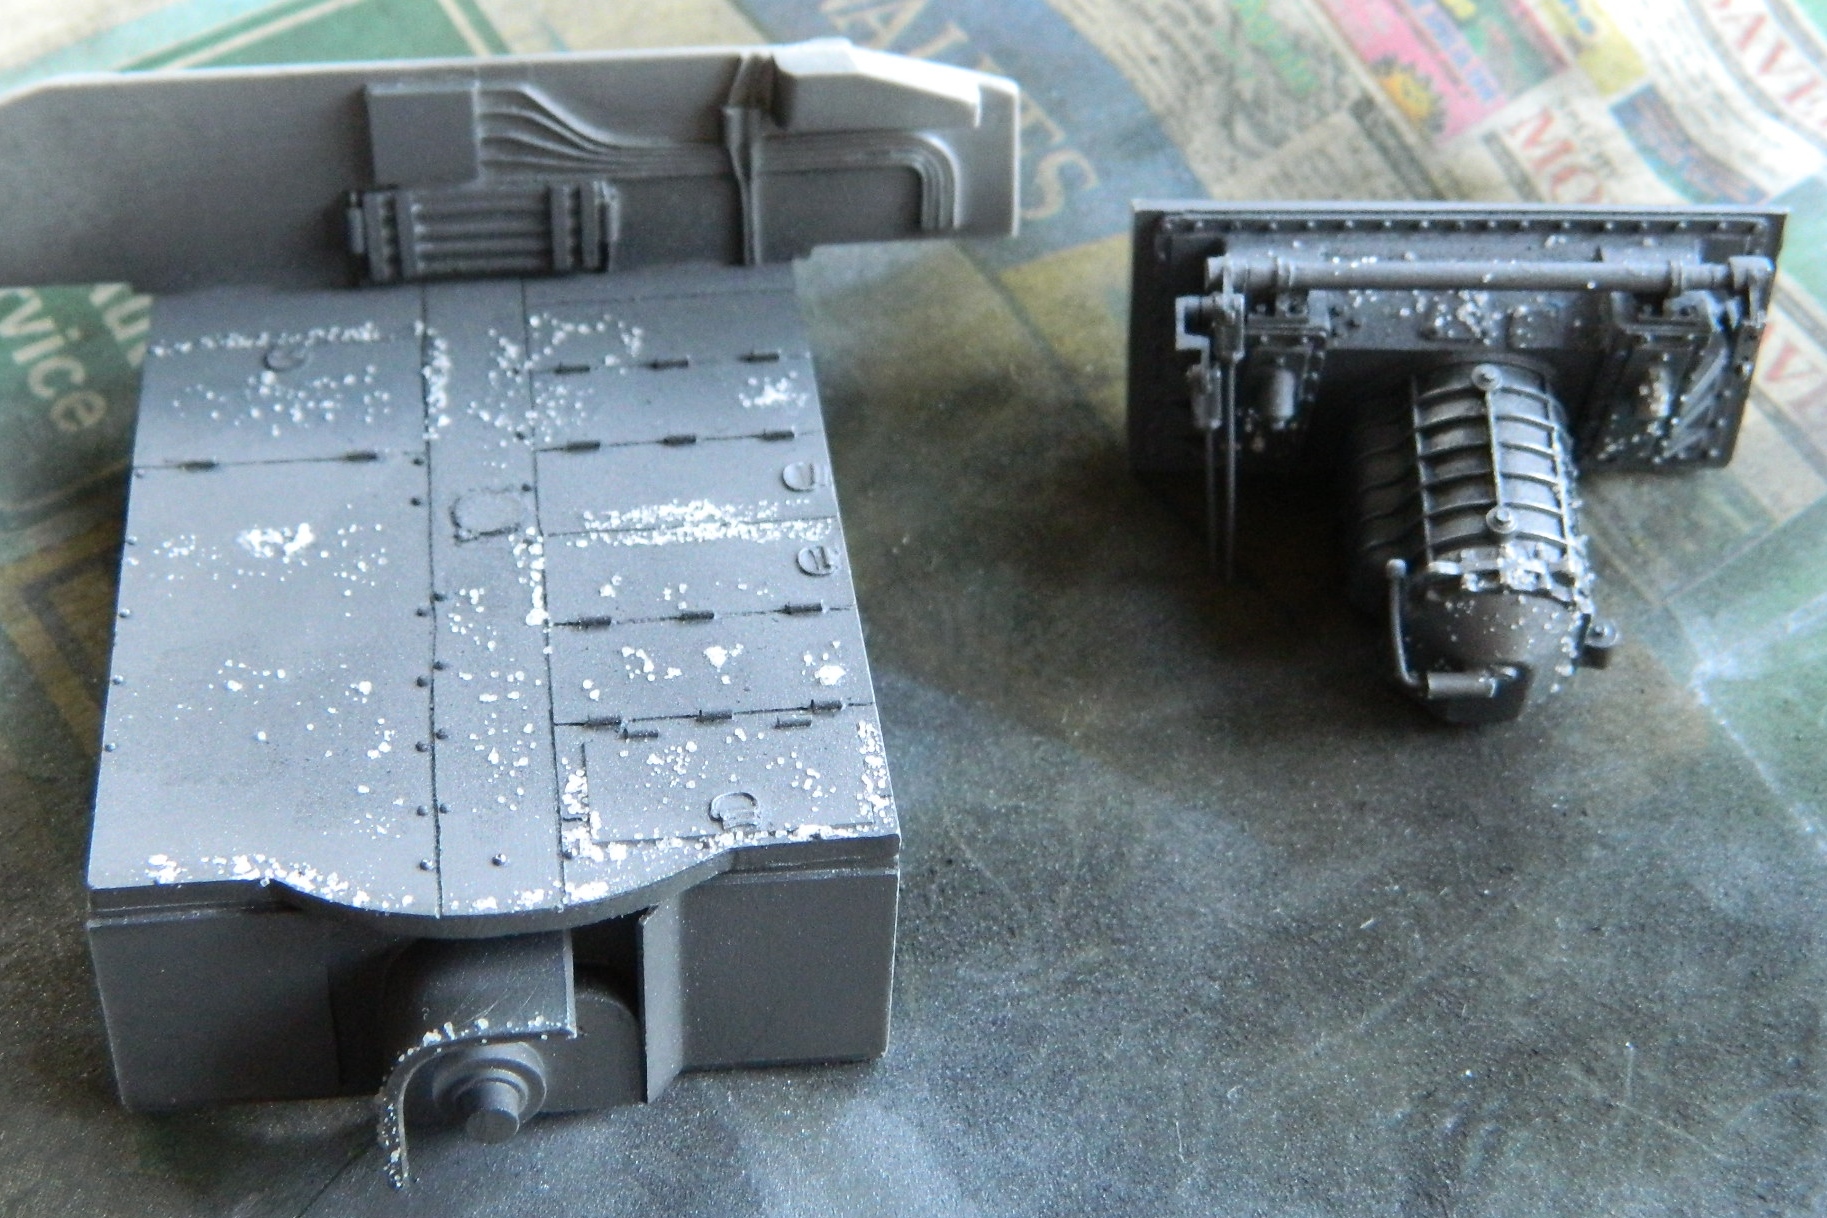
And finally the rest of the parts and assemblies for the lower hull are permanently installed then hit with a coat of clear gloss and given a wash, and then hit with clear matte and more pastels added to bring out some details:

With the front basically done, it was time to attend to the engine bay. Parts were added, detailed, and shot with steel:


I used to use the paint manufacturer, Polly S almost exclusively (in addition to the rest of the Polly S line, they made such handy paints as “Dirt,” “Oily Black,” “Dust,” and the one I used QUITE often, “Dirty White”). Polly S was a subsidiary of Polly Scale, the latter catering to railroad modelers, but was closed down back in the 90s. It seems I’m not the only modeler out here who lamented the passing of Polly S because Micro-Mark evidently acquired some Polly S paint chips and contacted a Spanish paint manufacturer, Vallejo, to have some of the old Polly S paints replicated. And to my great pleasure, “Dirty White” has become “Aged White” (available through Micro-Mark).
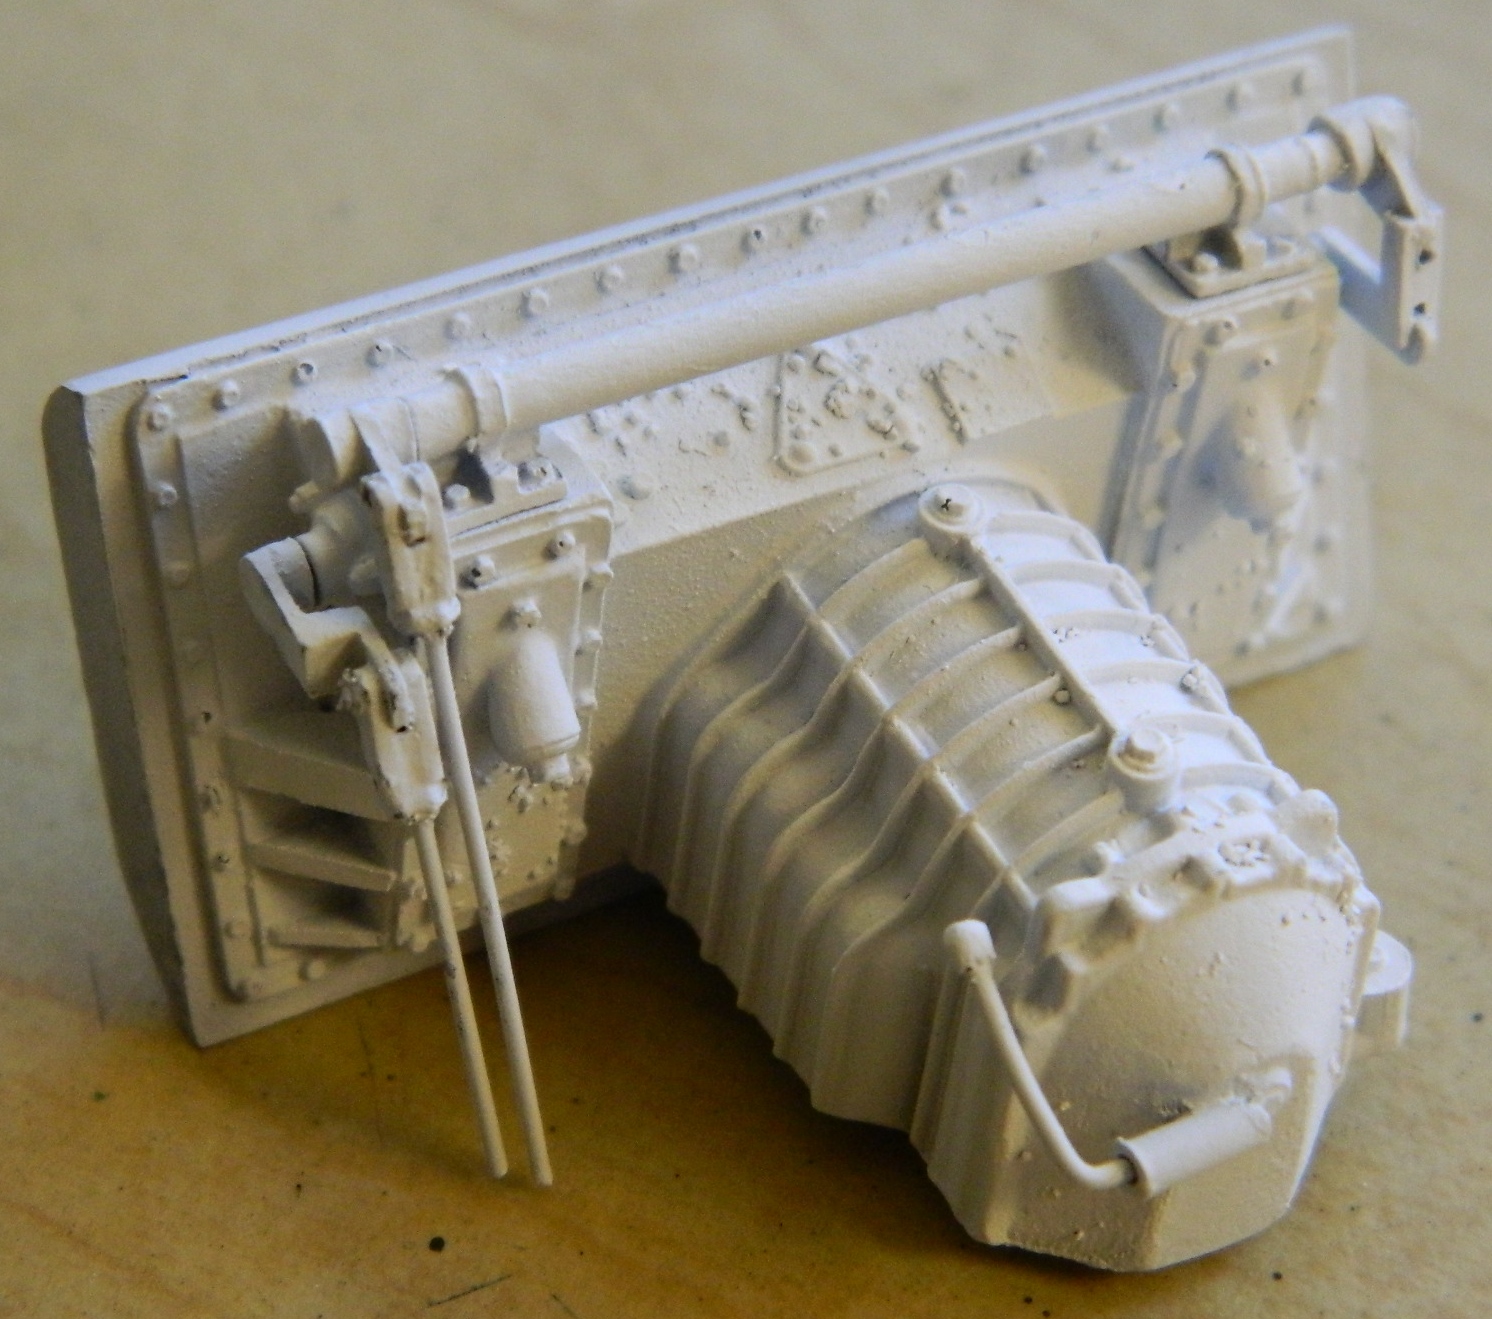
Using aged white I painted the parts for the engine bay:

While they were still out and accessible, I removed the masking from the fan blades and radiators, mated them, and painted the exhaust pipes burnt iron, then applied pastels to the rear bulkhead:

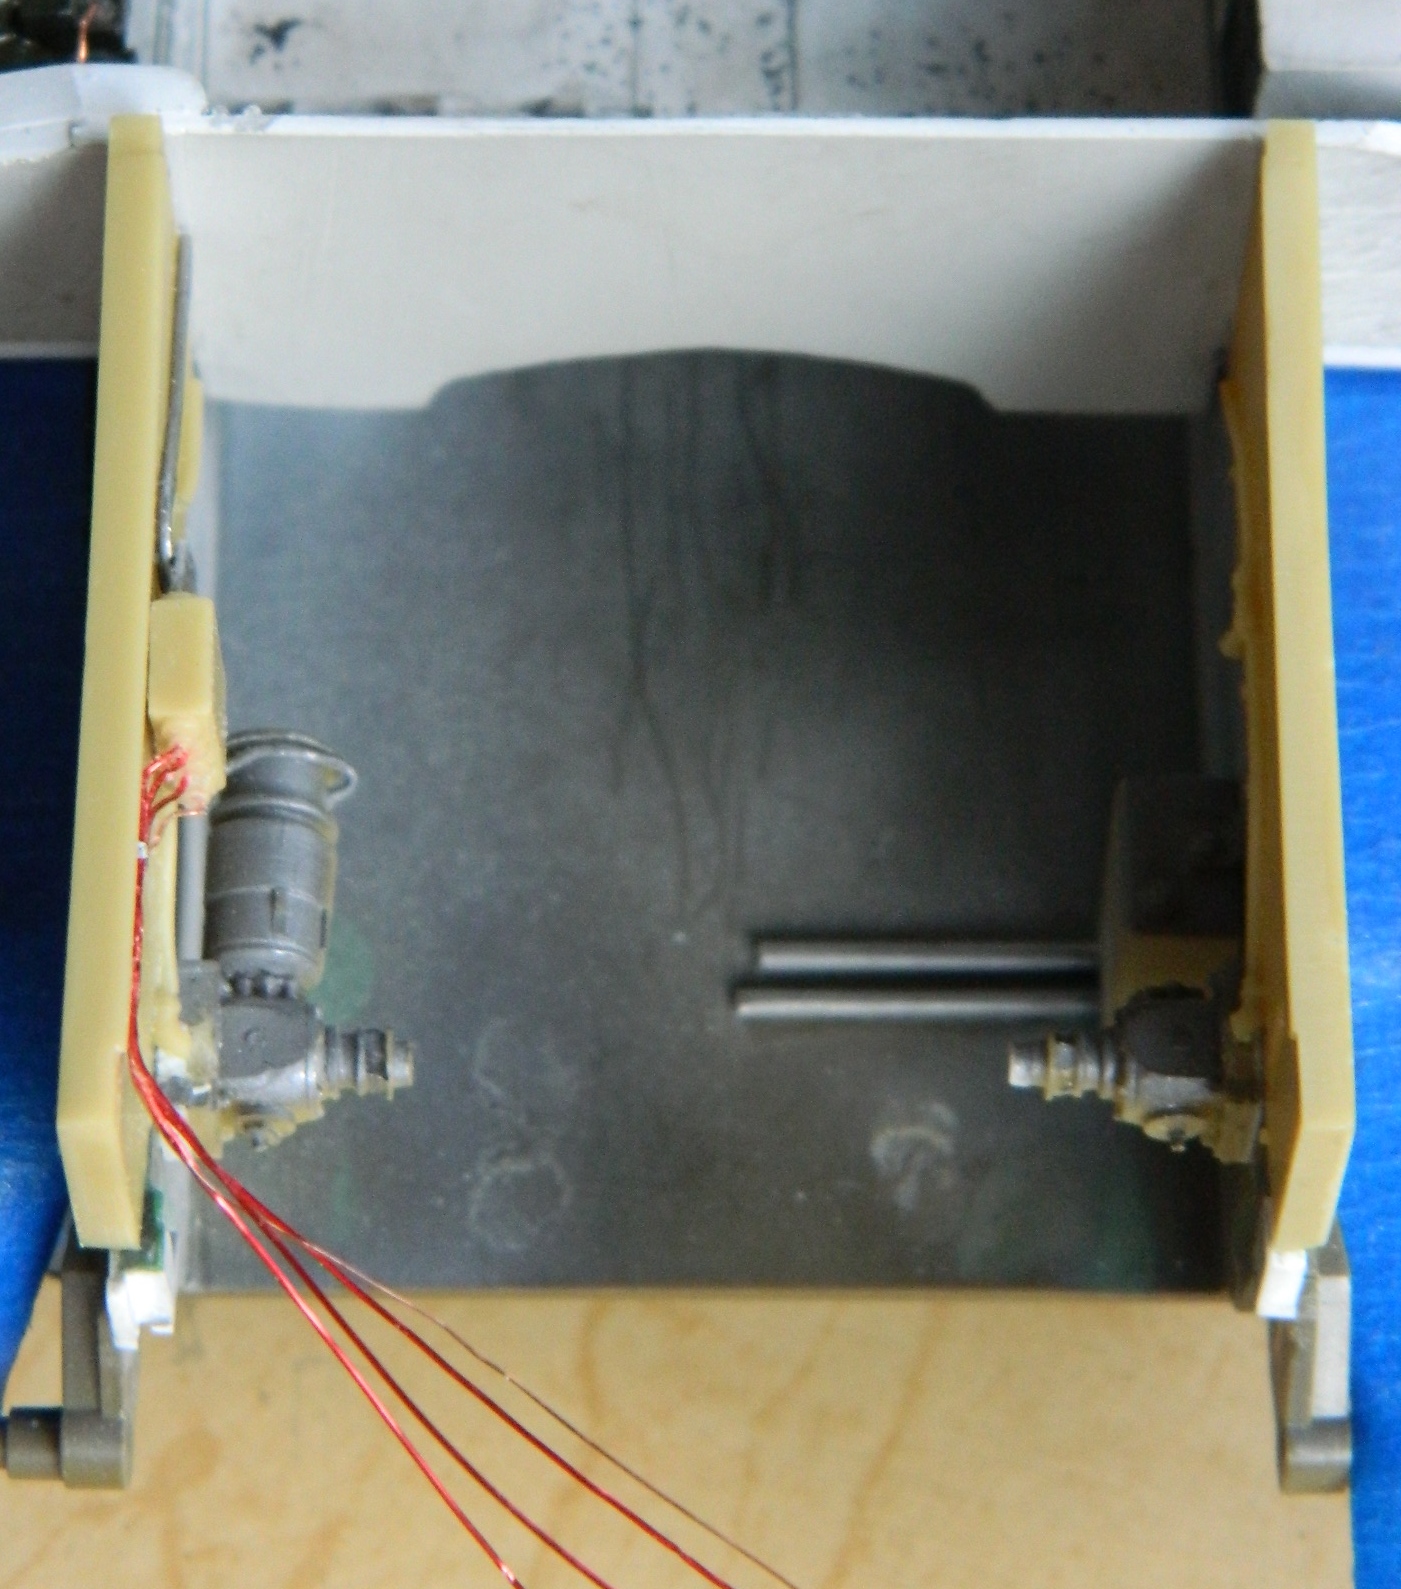
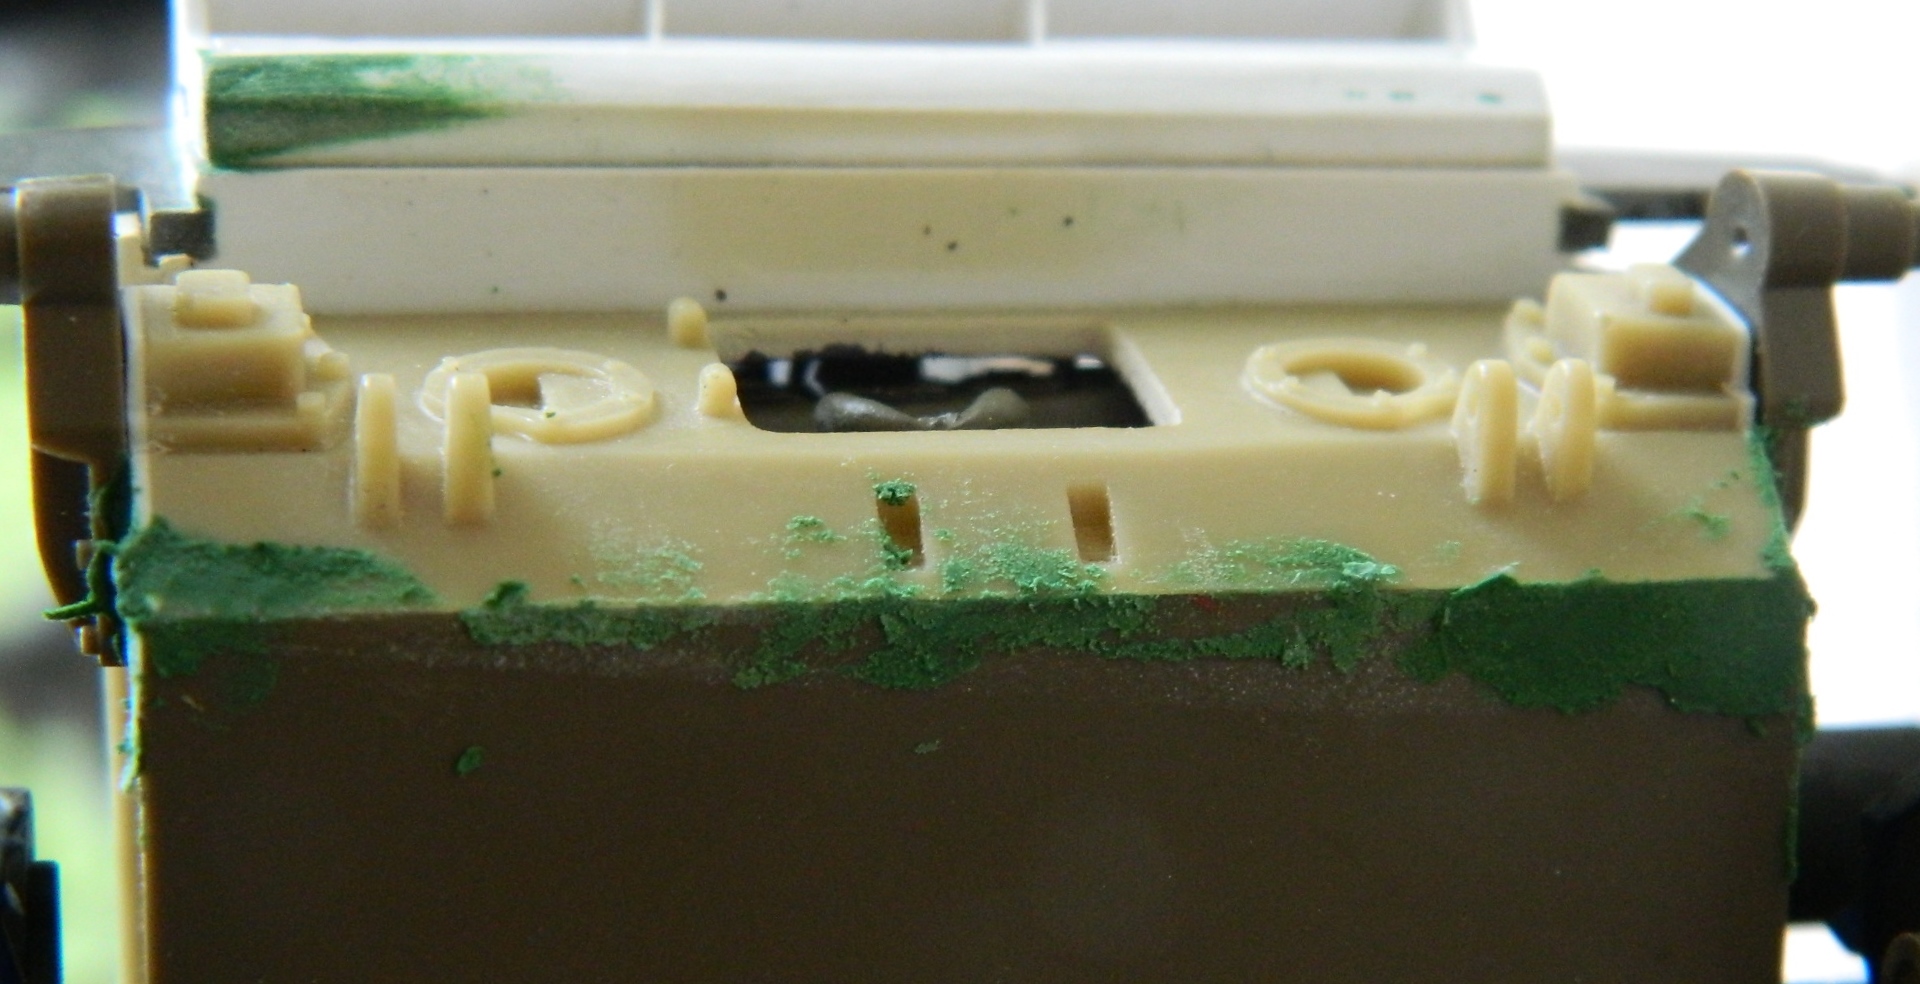
Then I ran into my next fit problem. Dry-fitting had shown me that things didn’t quite line up so I applied clamps to fix the gaps and glued the rear bulkhead into place:


Once the superglue had set up, I applied putty to those areas of the rear bulkhead and hull joins to fill gaps:
Then I encountered something that made my head explode. I dry-fit this engine A FREAKING SODDING LOT to the engine bay. Each time I did so, it lined up and fit fine…and nothing changed since the last time I dry-fit it. So guess what? THE FREAKING INTERCOURSING SODDING THING would simply not fit in there without being slightly cocked:

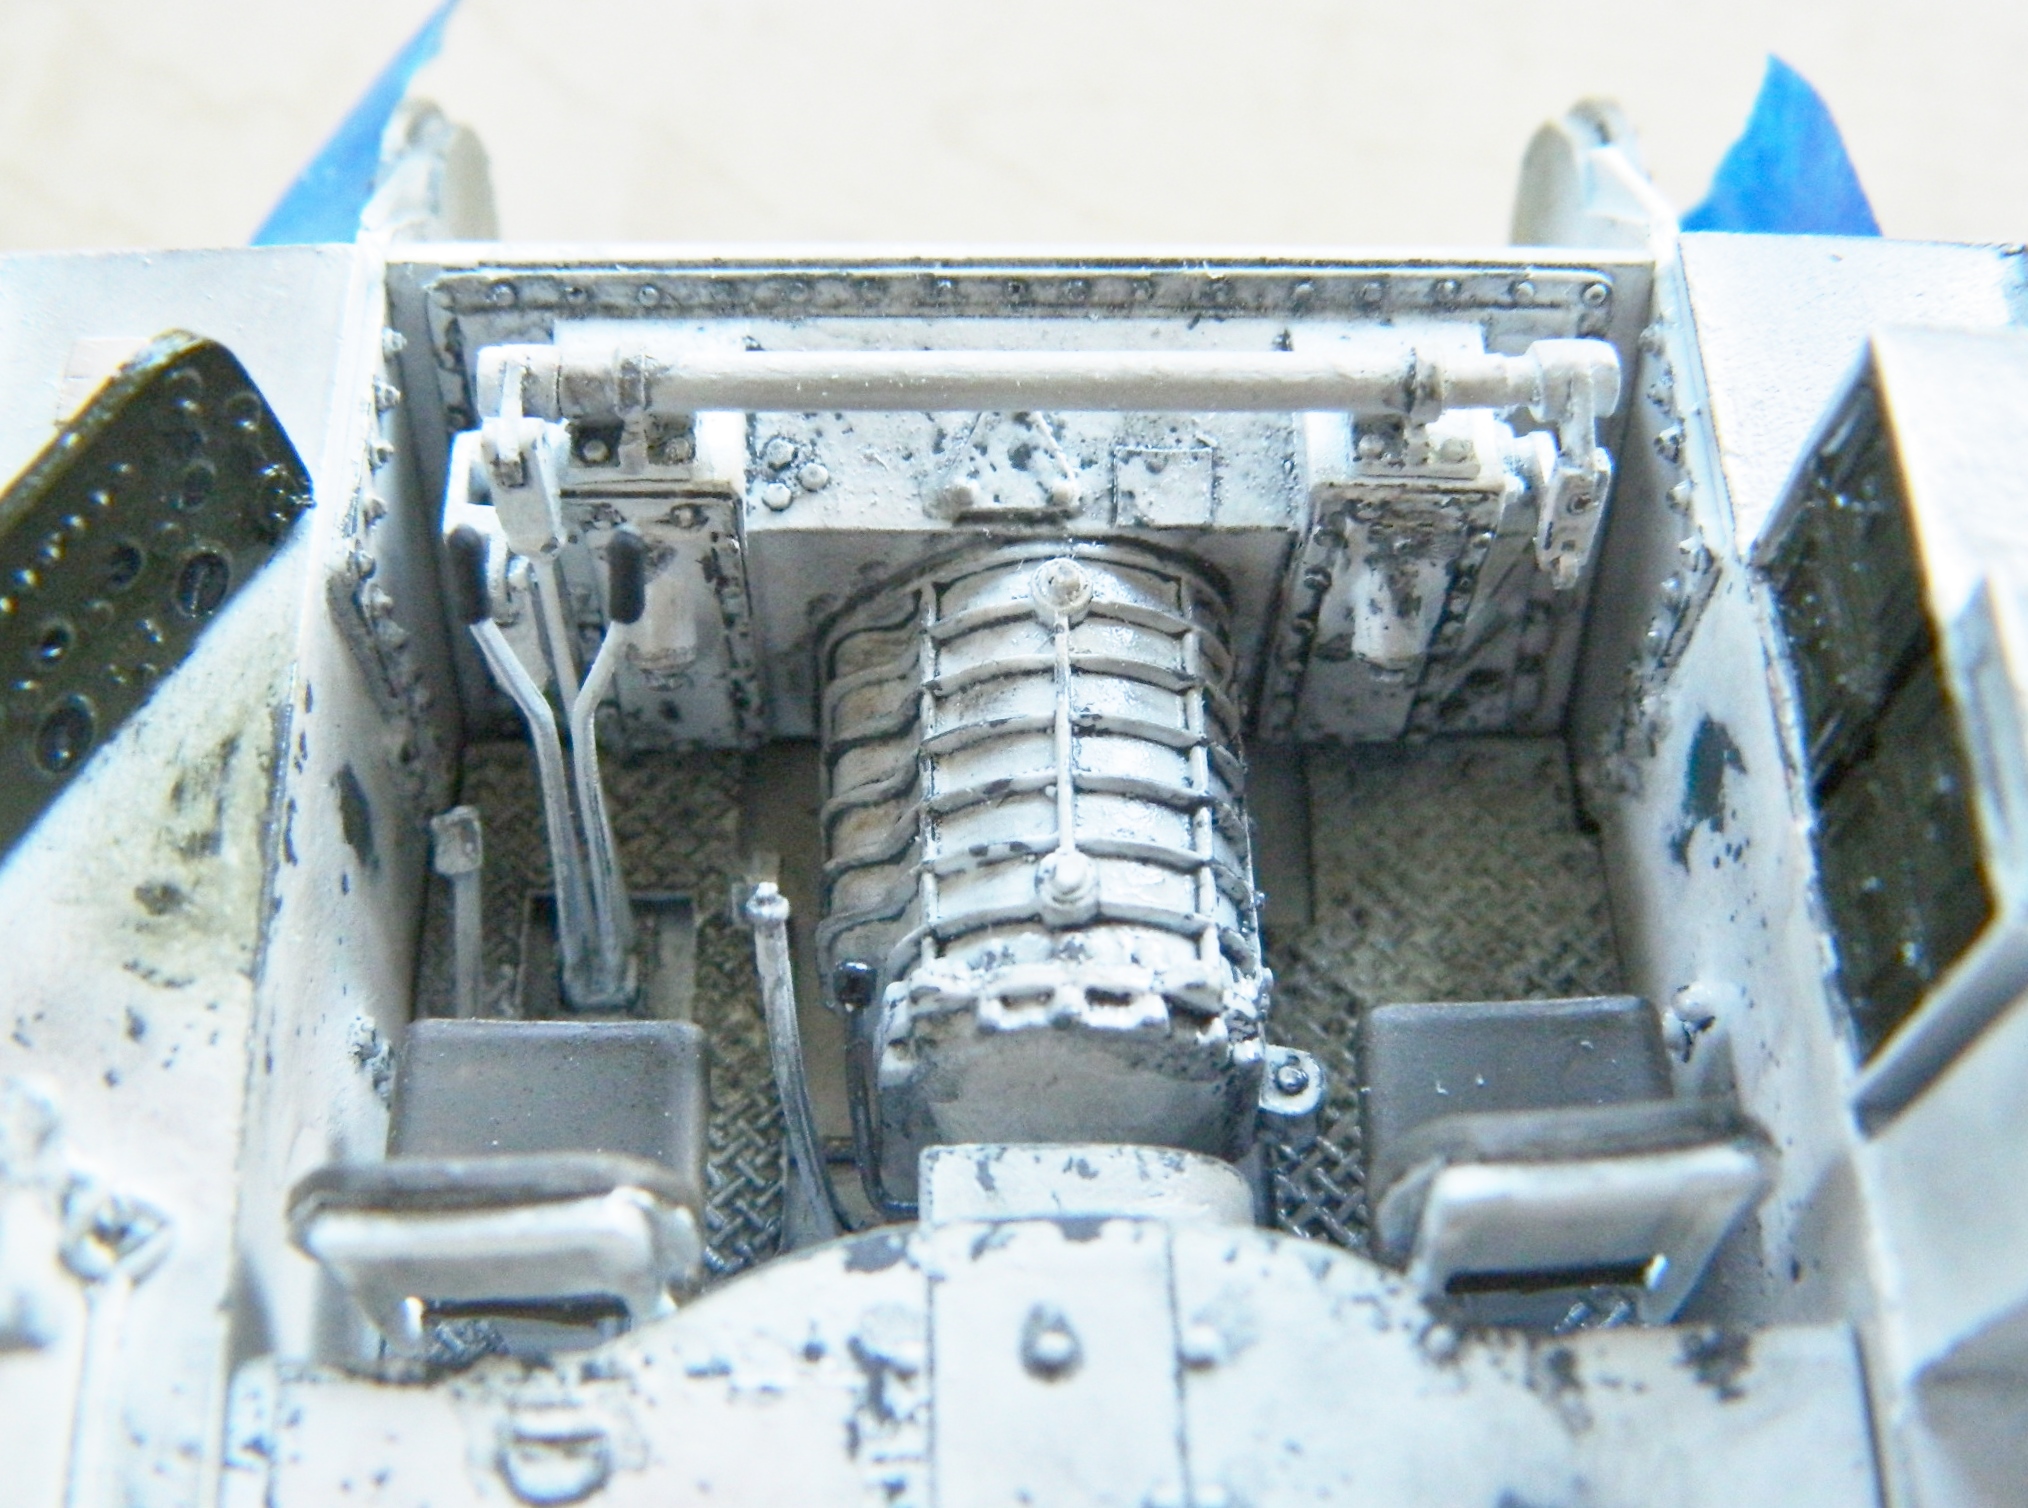
I spent a fair amount of time trying to figure out why it wouldn’t sit in there straight and couldn’t find the problem. I gave up the next day and glued the FREAKING INTERCOURSING SODDING thing in. Once I had, I added the hoses to each end of the coolant manifolds. The hoses connecting the manifolds to the radiators were made from solder and painted rubber black, the hoses connecting the manifolds to the fill reservoir are actually rubber. Well, actually polyolefin; I heated some shrink tubing, stretched it to the size I wanted while it was still hot, and glued them all into place:


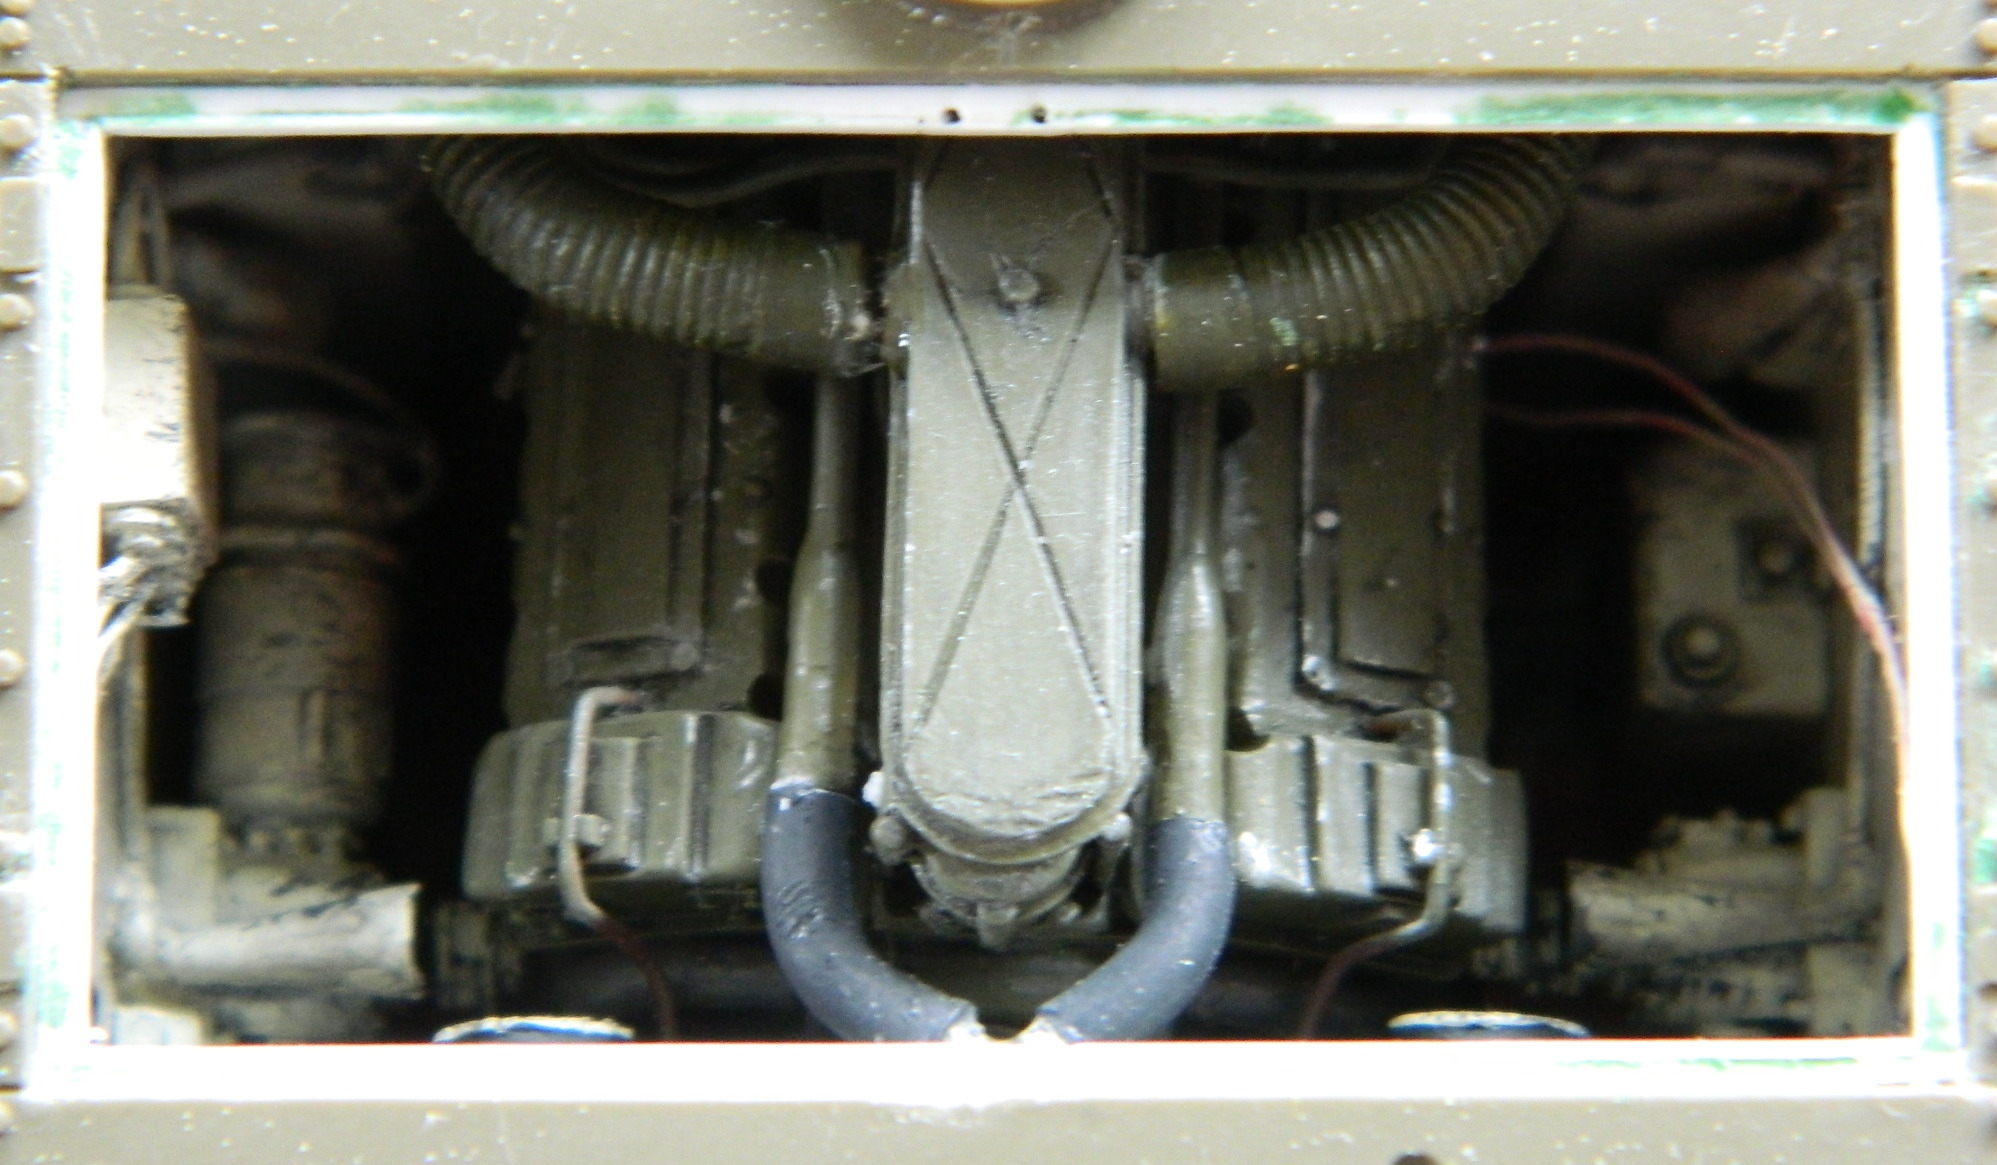
Being as satisfied as I was going to get, I dry-brushed steel paint over various surfaces in the engine bay to replicate wear.
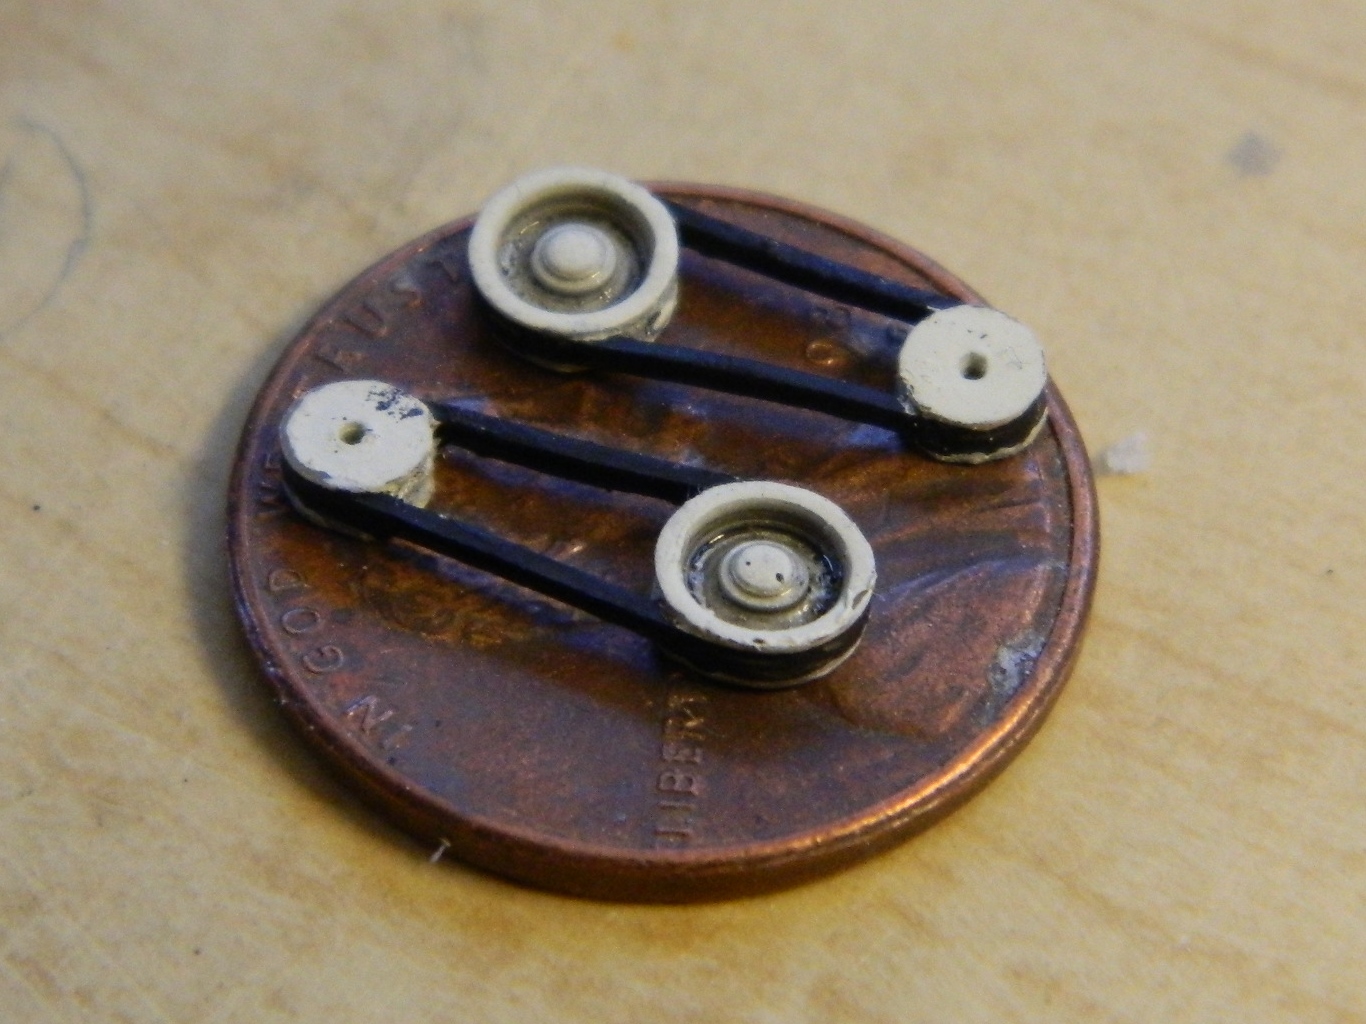
I was never quite satisfied with how the instrument panel turned out. As so happens, Archer Transfers happens to have a dry-transfer (check out “What the Hell Does That Mean?” under “Decals and Dry-Transfers”) set of US Army gauge faces. My hands and eyes are all 65 years old and none of them work as well as they used to; this is the best I could manage. Given that this is a small part and only visible through the open driver’s hatch, it works well enough:

