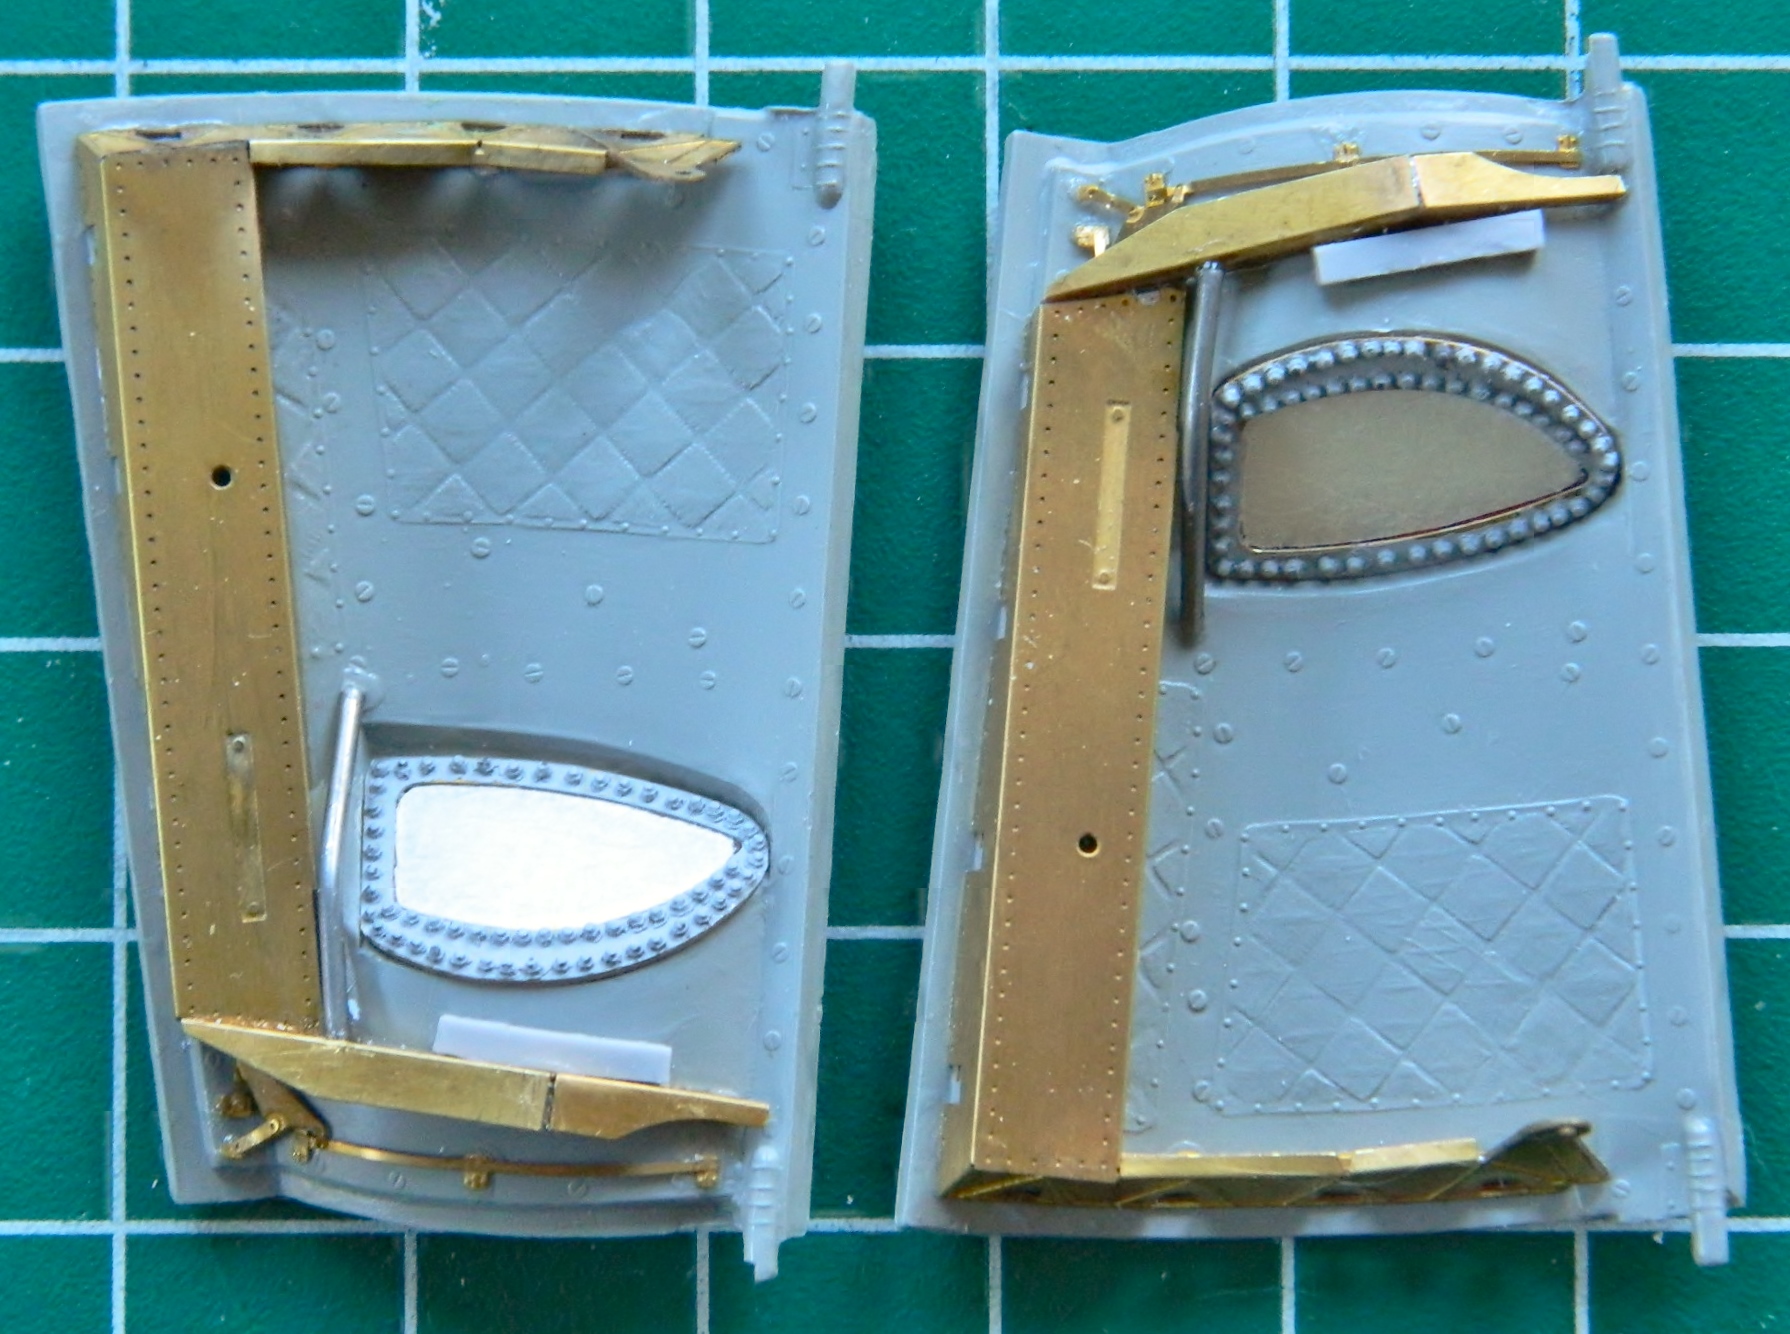
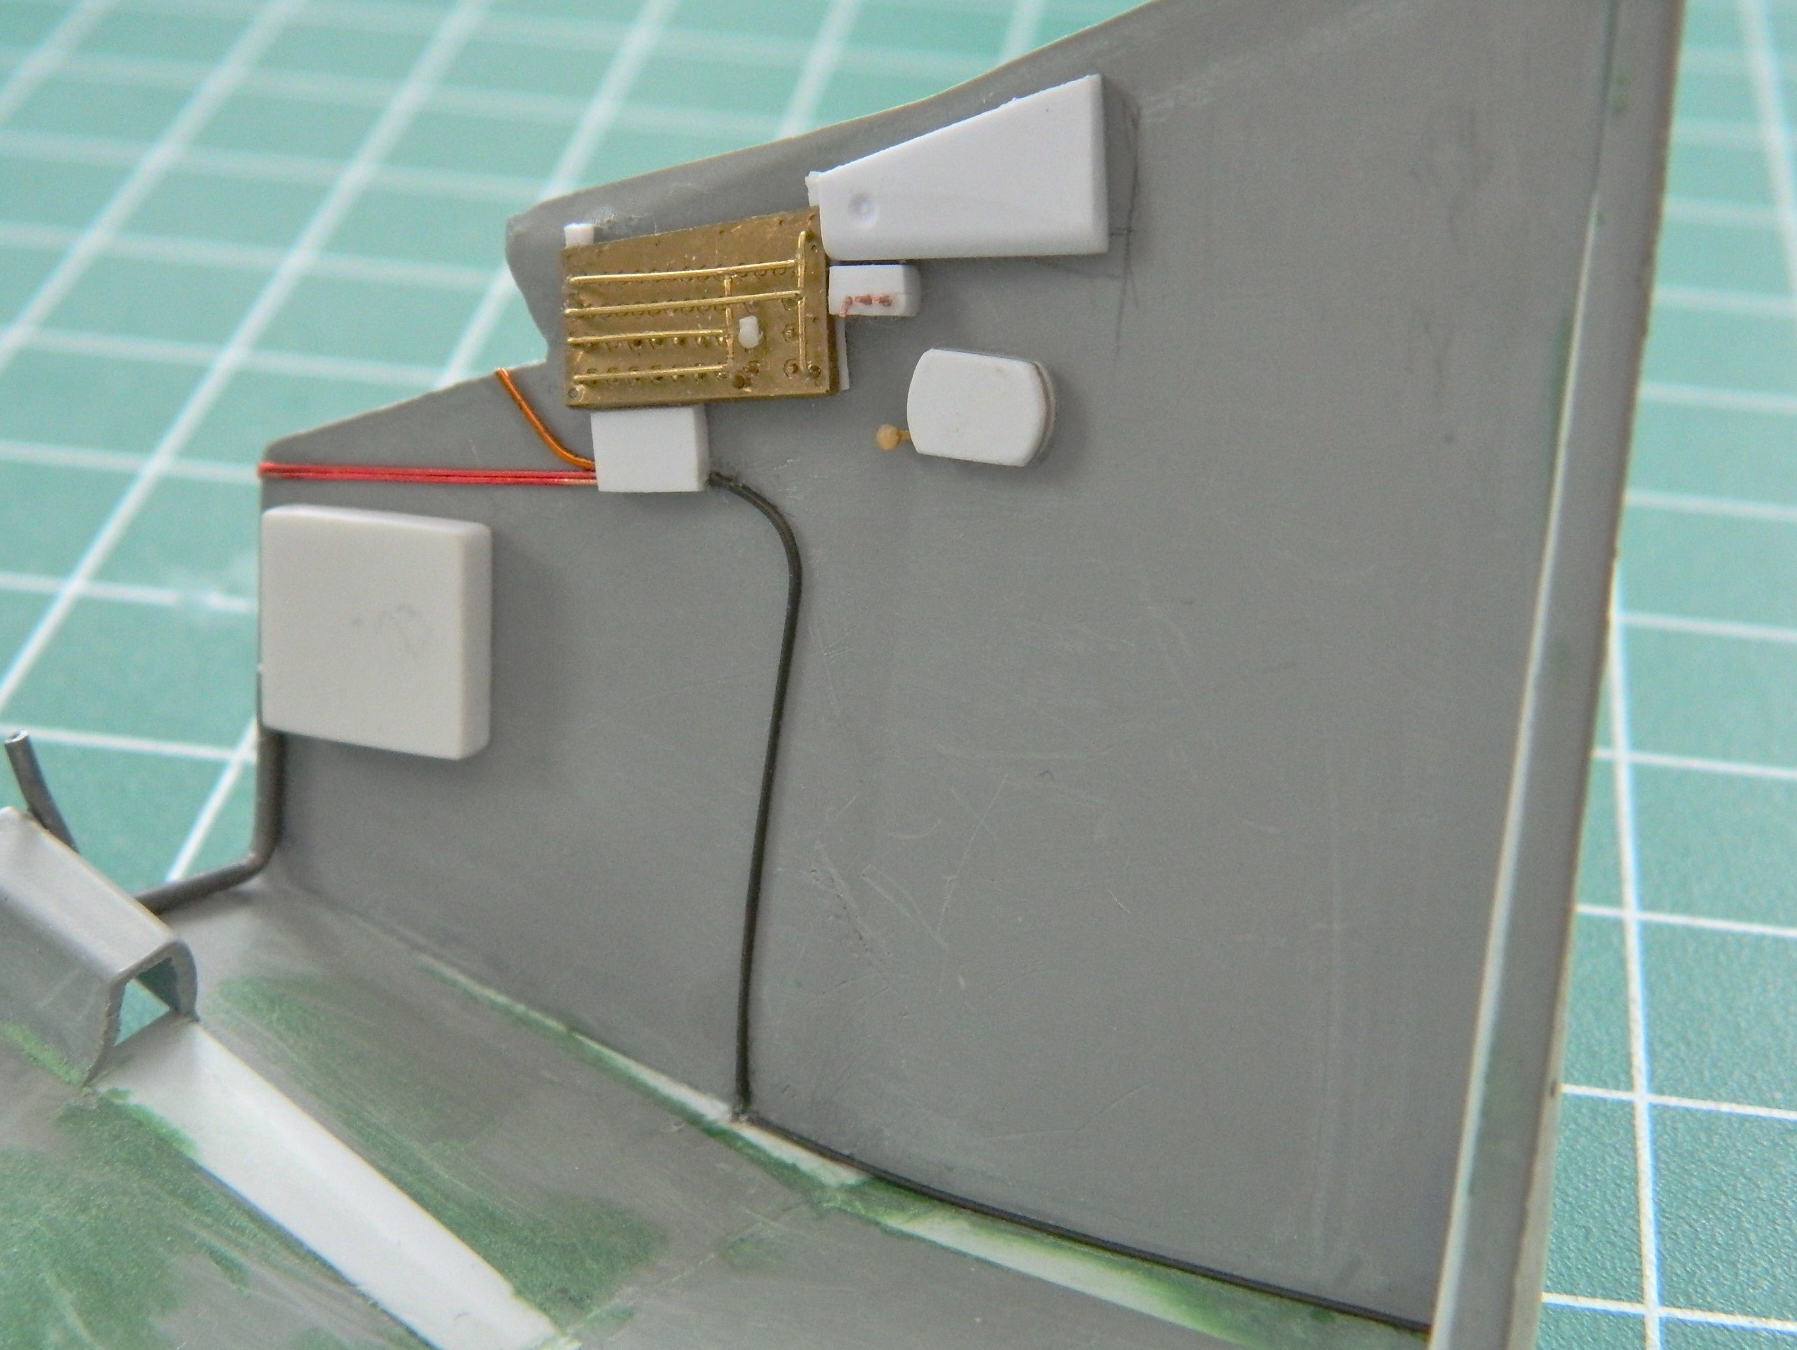
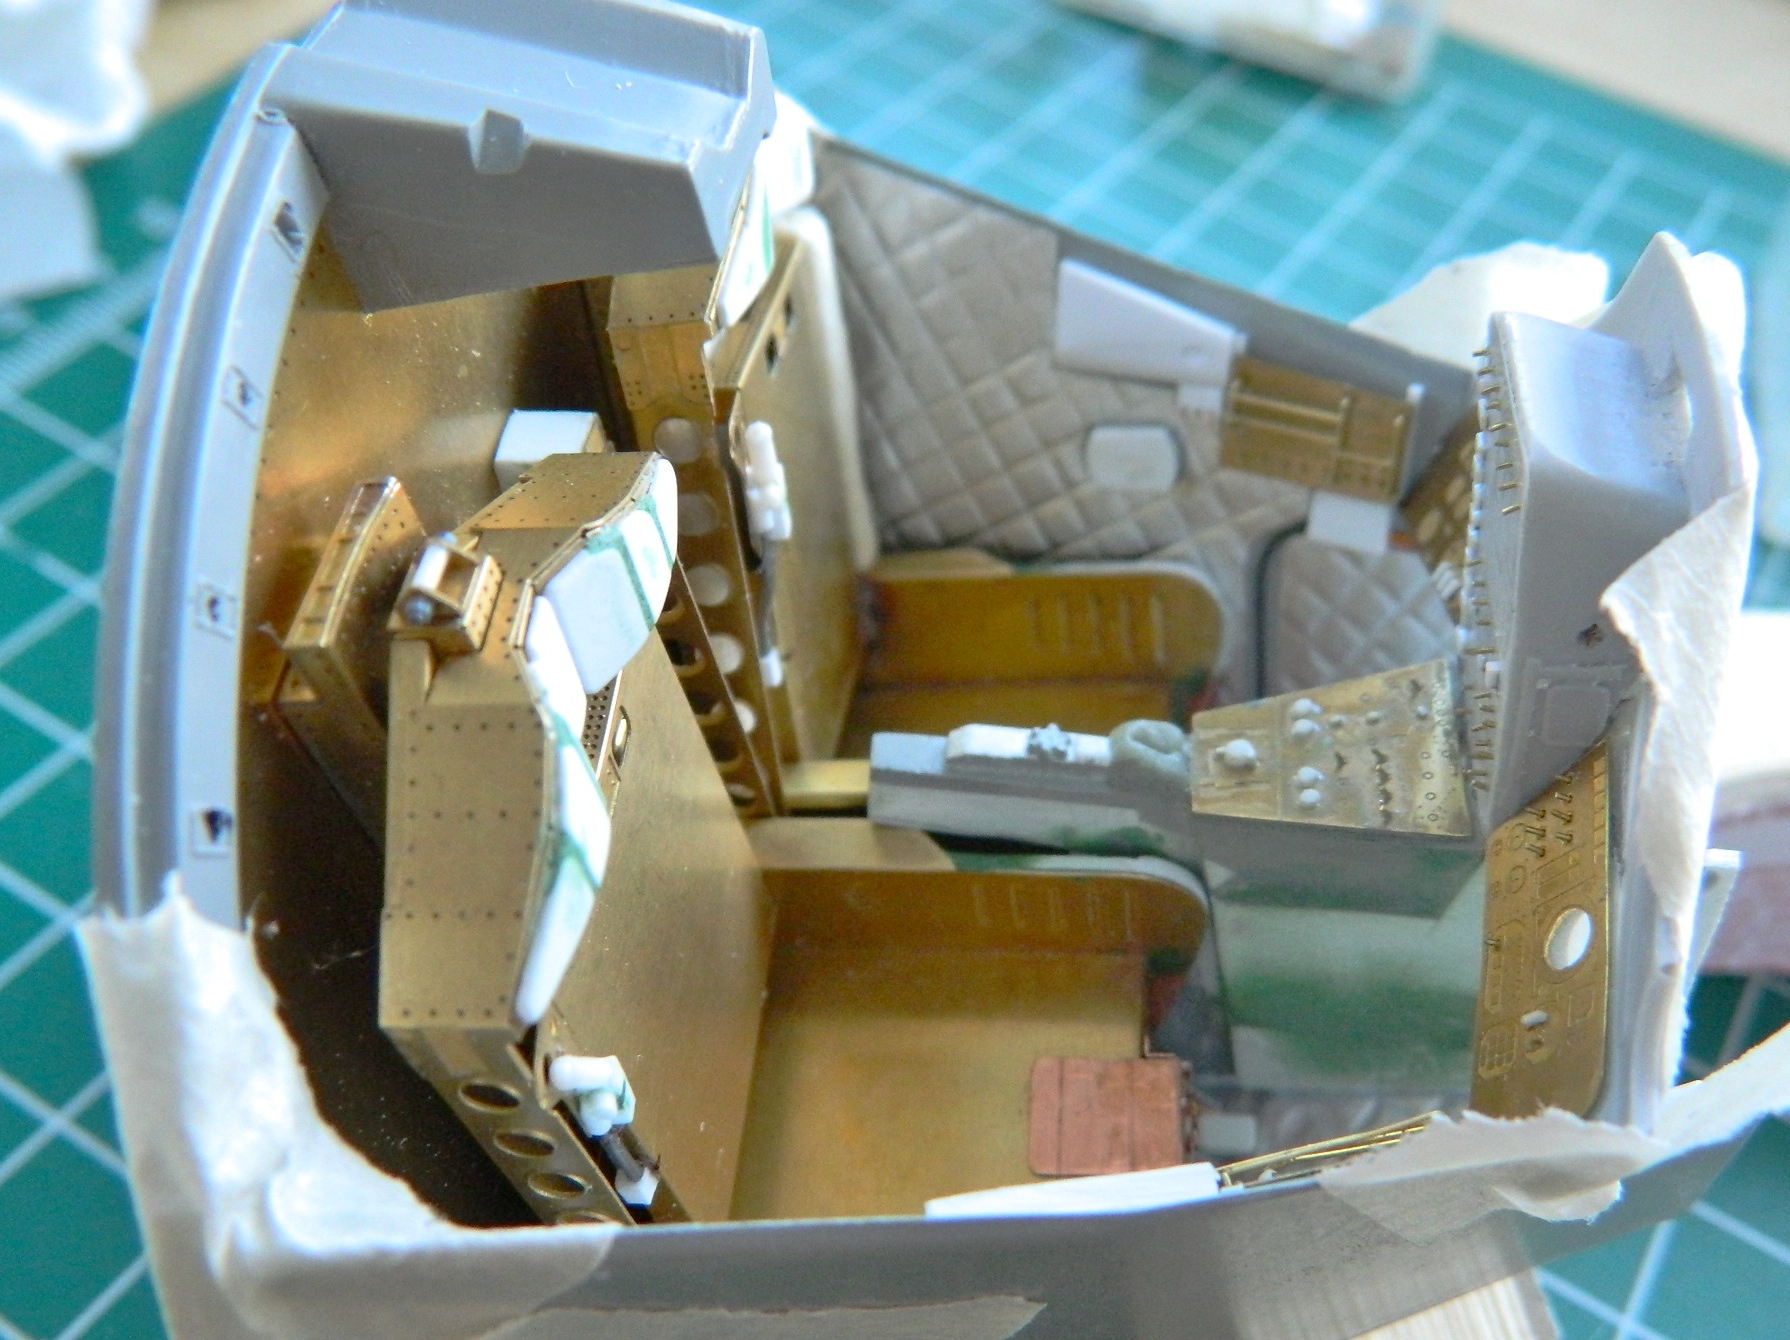
With the brass origami folded, it was time to add it to the hatches. Well! The fit of the PE parts wasn’t exactly…well…exact. So I pushed and tweaked and finally got everybody to play nice with each other:
Setting those aside (a few more minor details to add before painting), I needed to perform an experiment to see if what I wanted to try would work. There are Velcro patches all over the inside of a Gemini spacecraft. I mean, one can’t just put something down in micro-gravity, so something needs to hold stuff in place, and that something was Velcro. And it is ALL over the interior, so I need some way to replicate that in scale. So cue the PANTYHOSE! Perfect texture, I just needed to see if I could stabilize the flex of the material and for that I used superglue. Worked just fine:

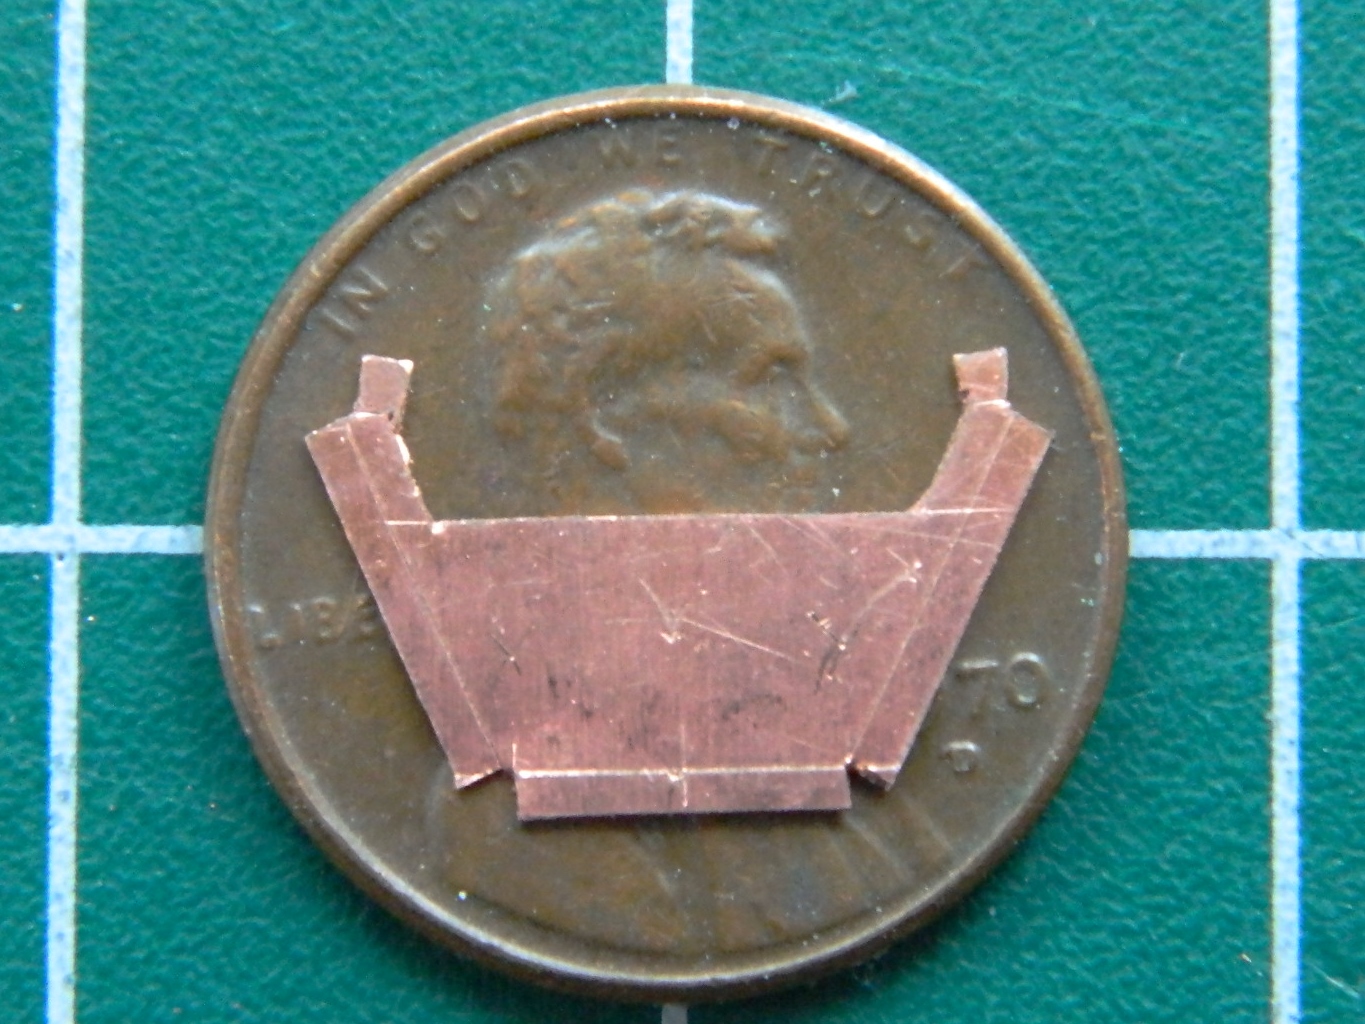
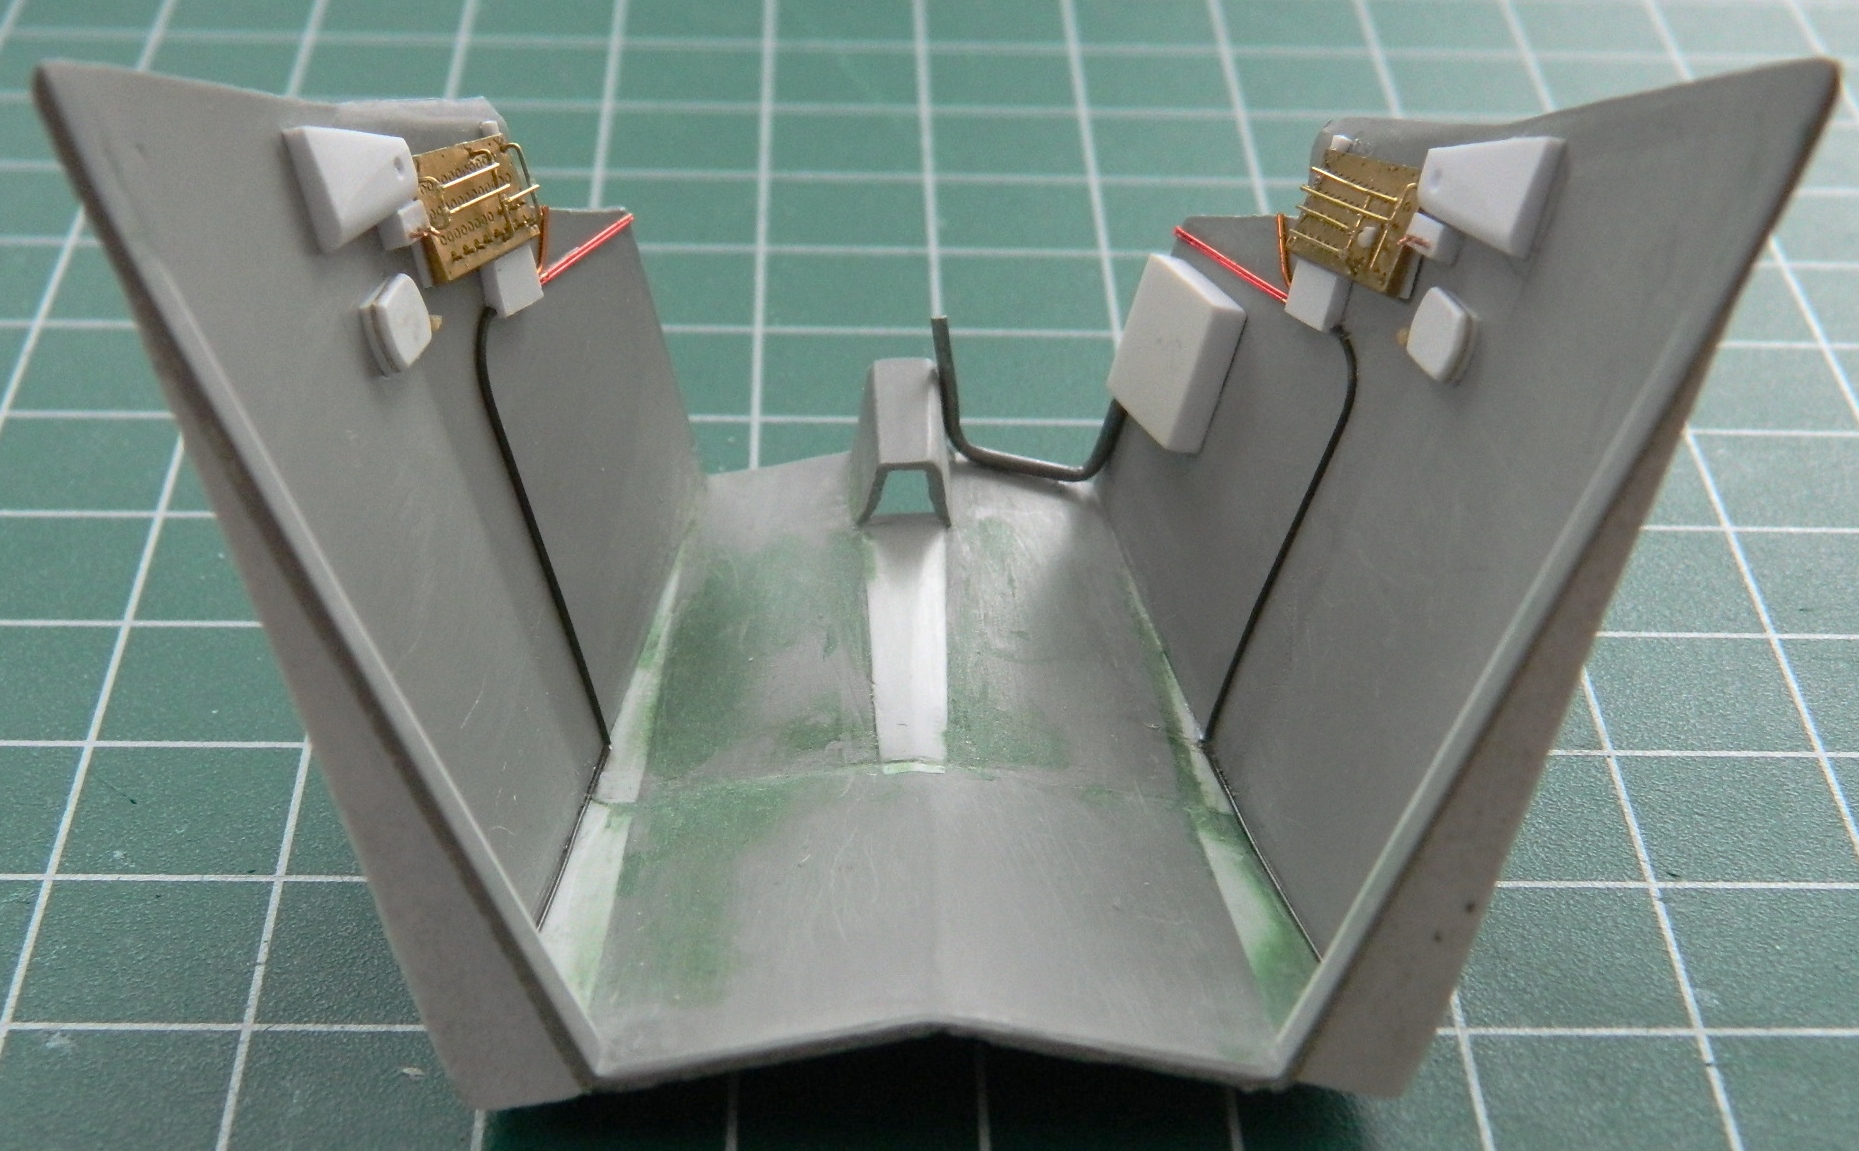
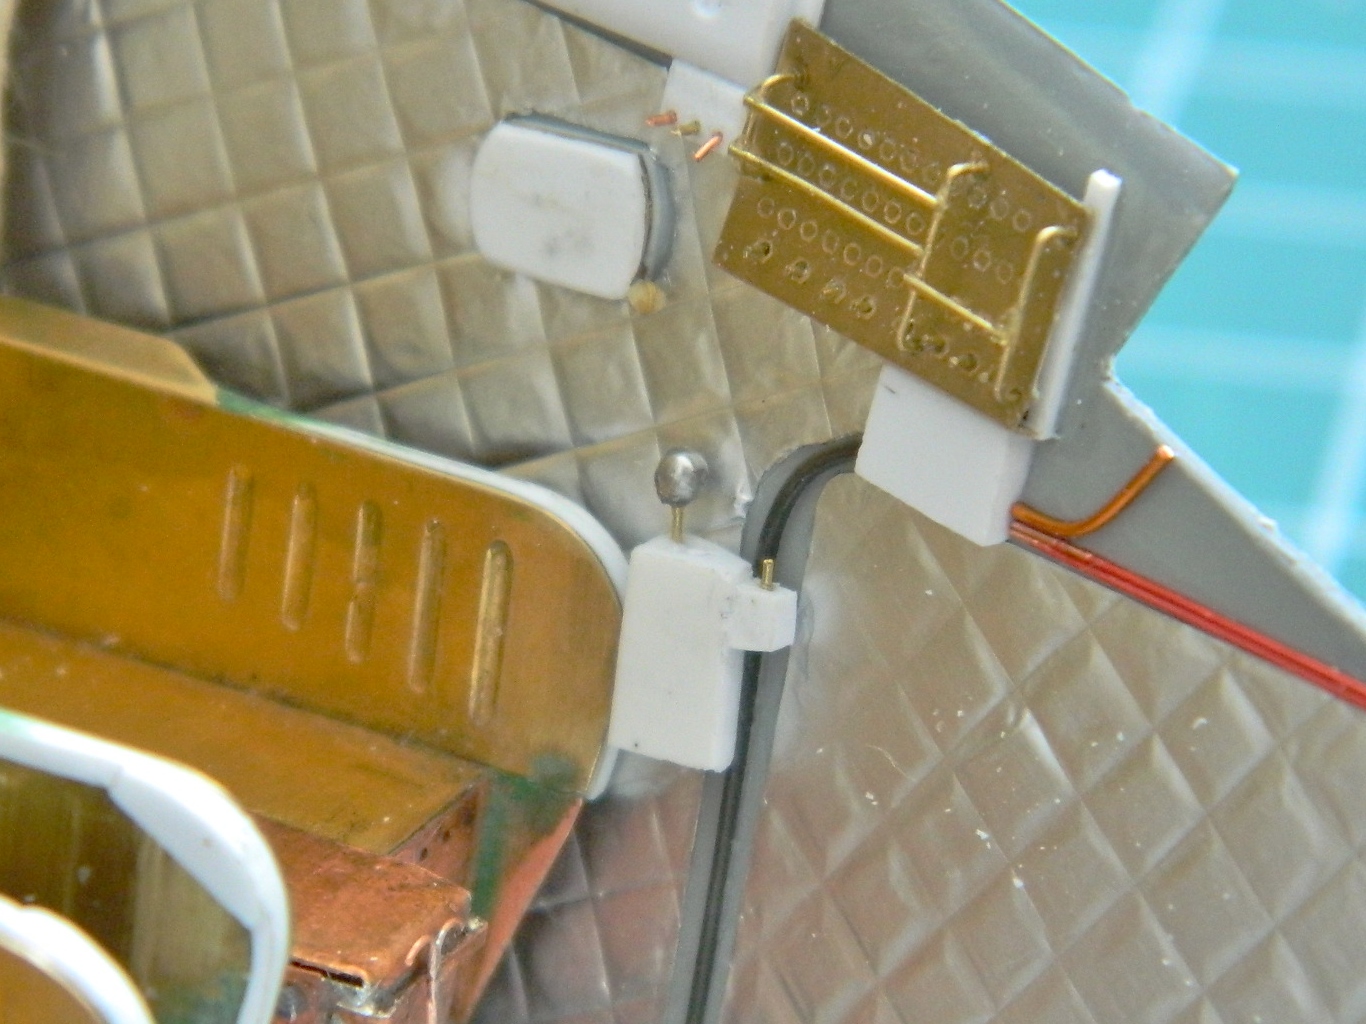
There is an equipment mount on the ceiling console of the cabin, so the mount and the boxes that mount there had to be made. I made the mount out of .010″ (.254mm) copper shim-stock, folded it, and then soldered it to the PE part (as well as adding a pull-switch to it):


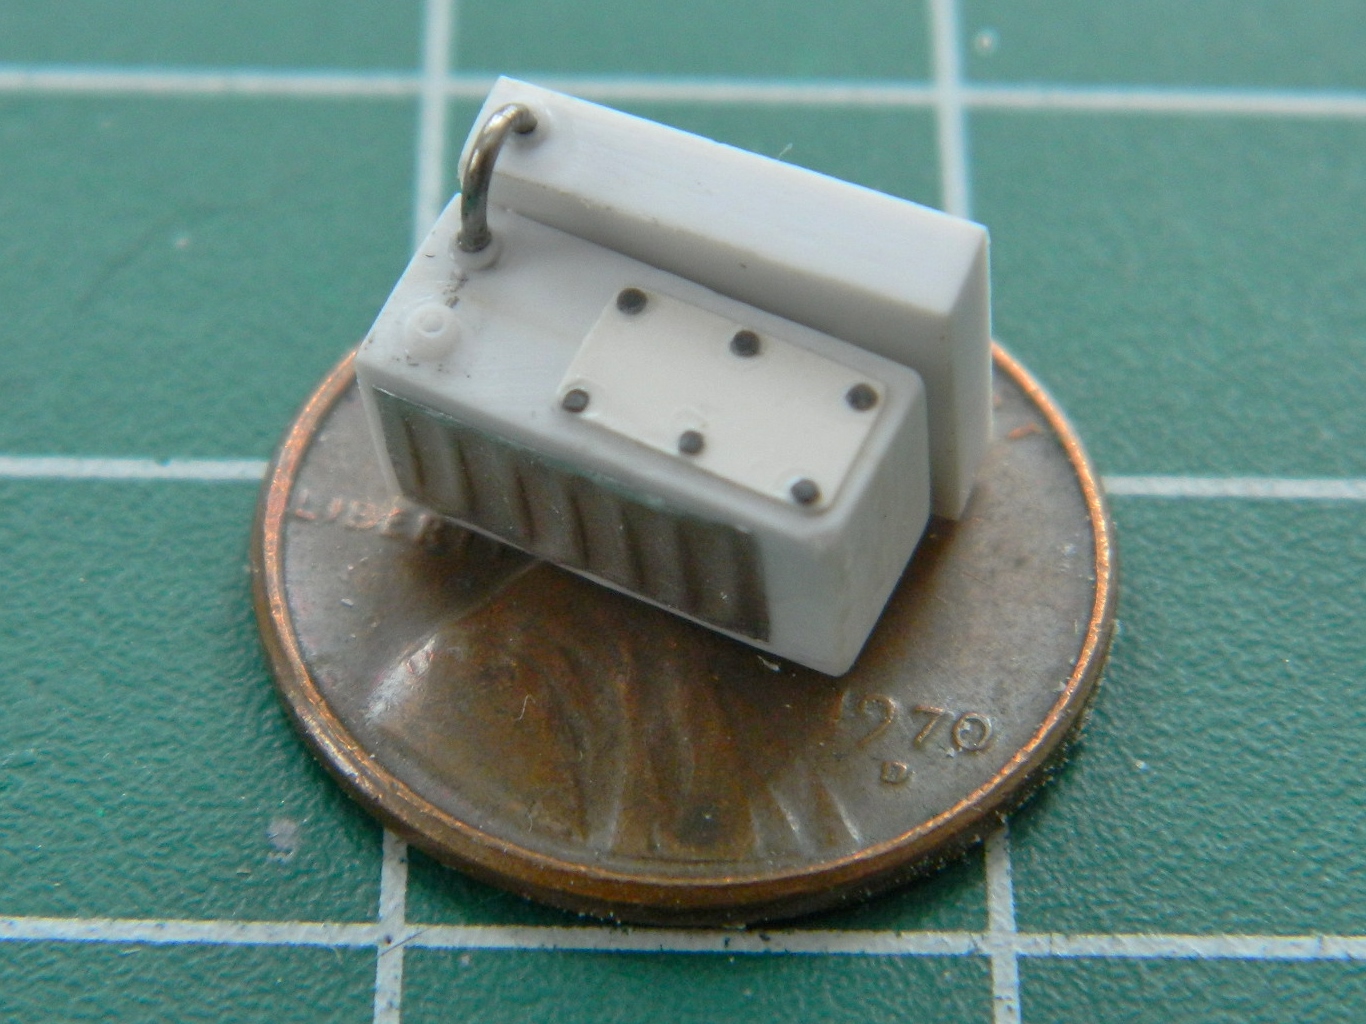
Then I made the boxes that get mounted to that bracket out of scrap styrene, added details, and glued them into position:


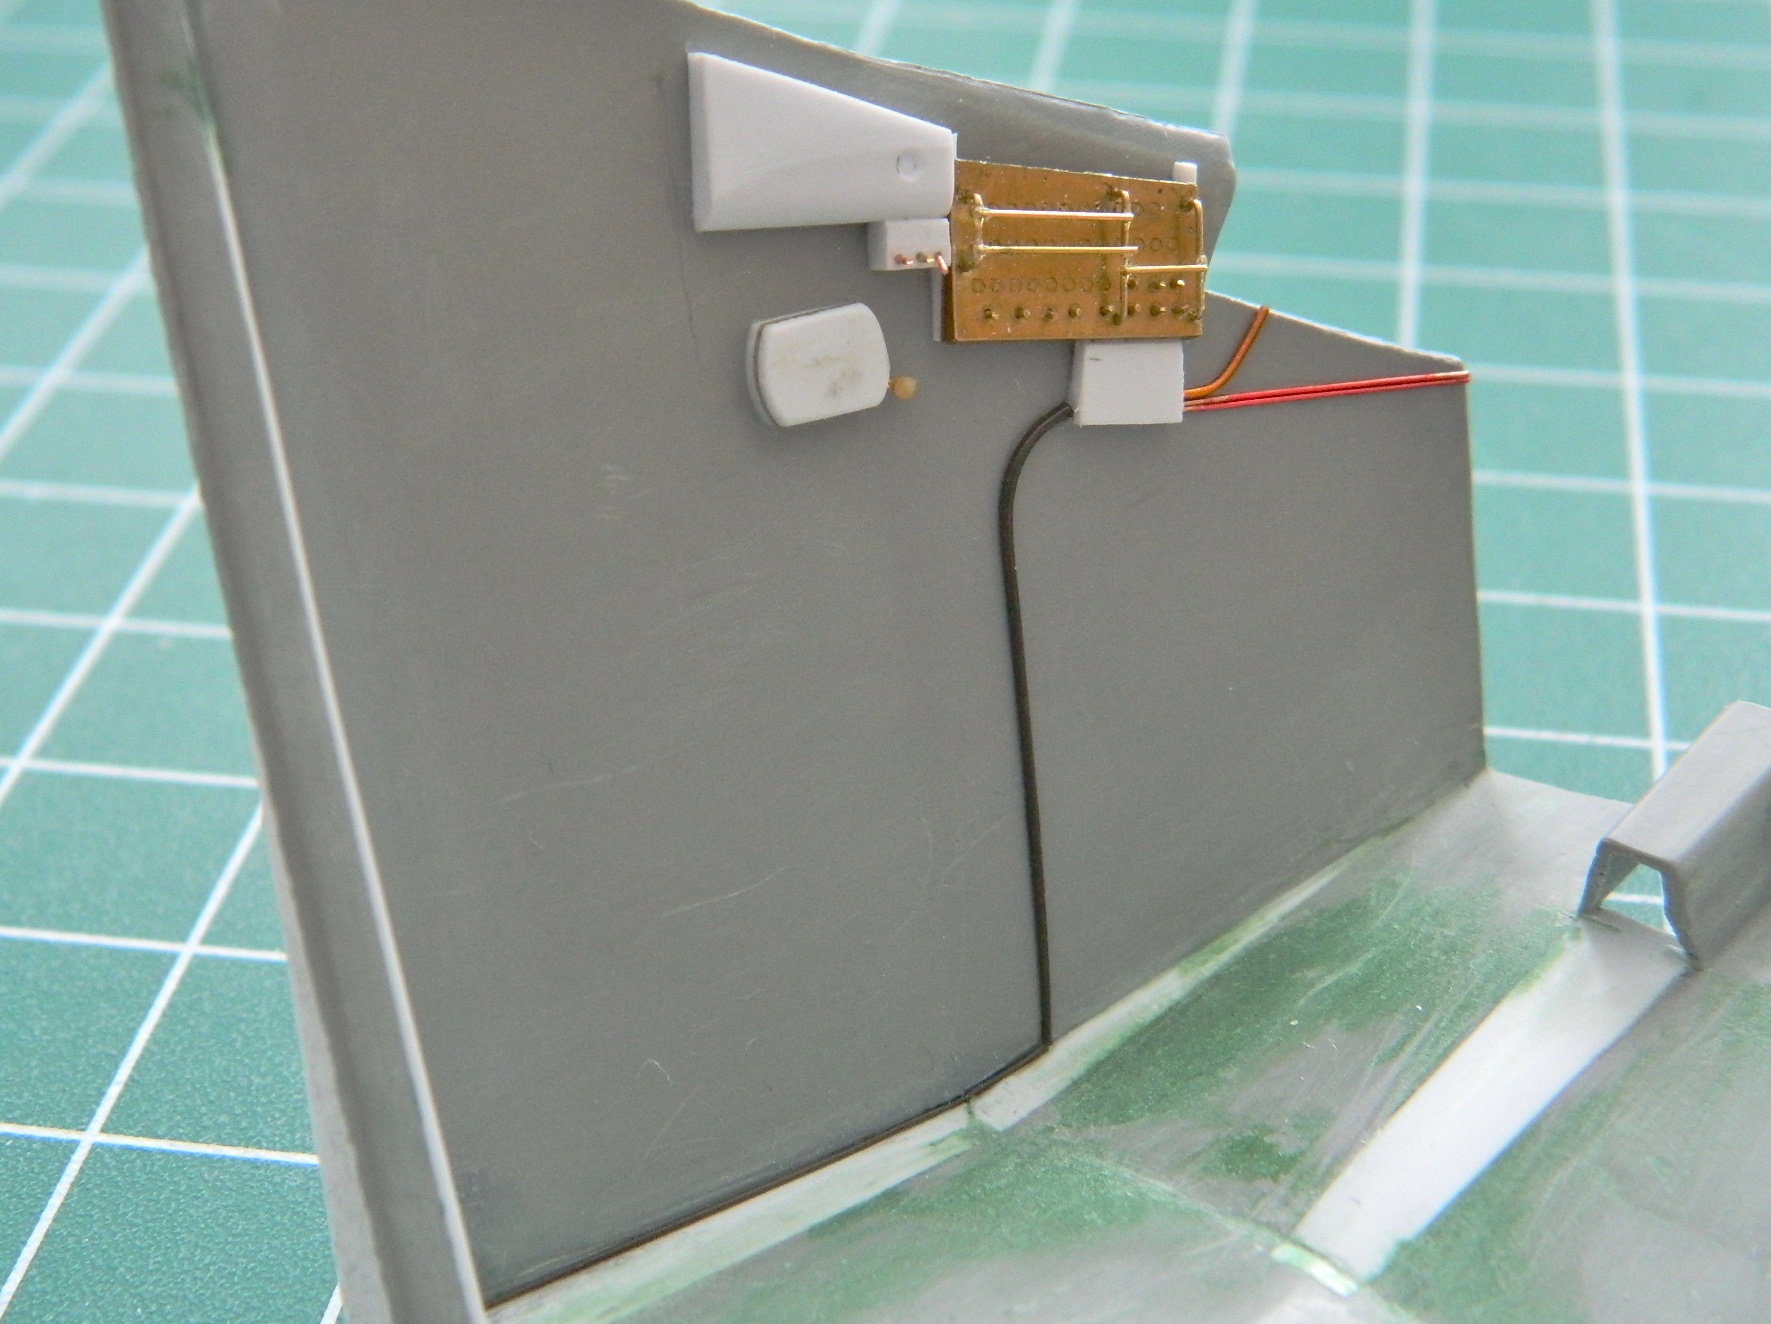
There were a few lines I could add now (the remainder have to wait until seats and gear containers are added):
There were quilted pads lining the cabin. I replicated that with heavy (very heavy) aluminum foil that I tweaked for detail and superglued to the cabin walls and floor:

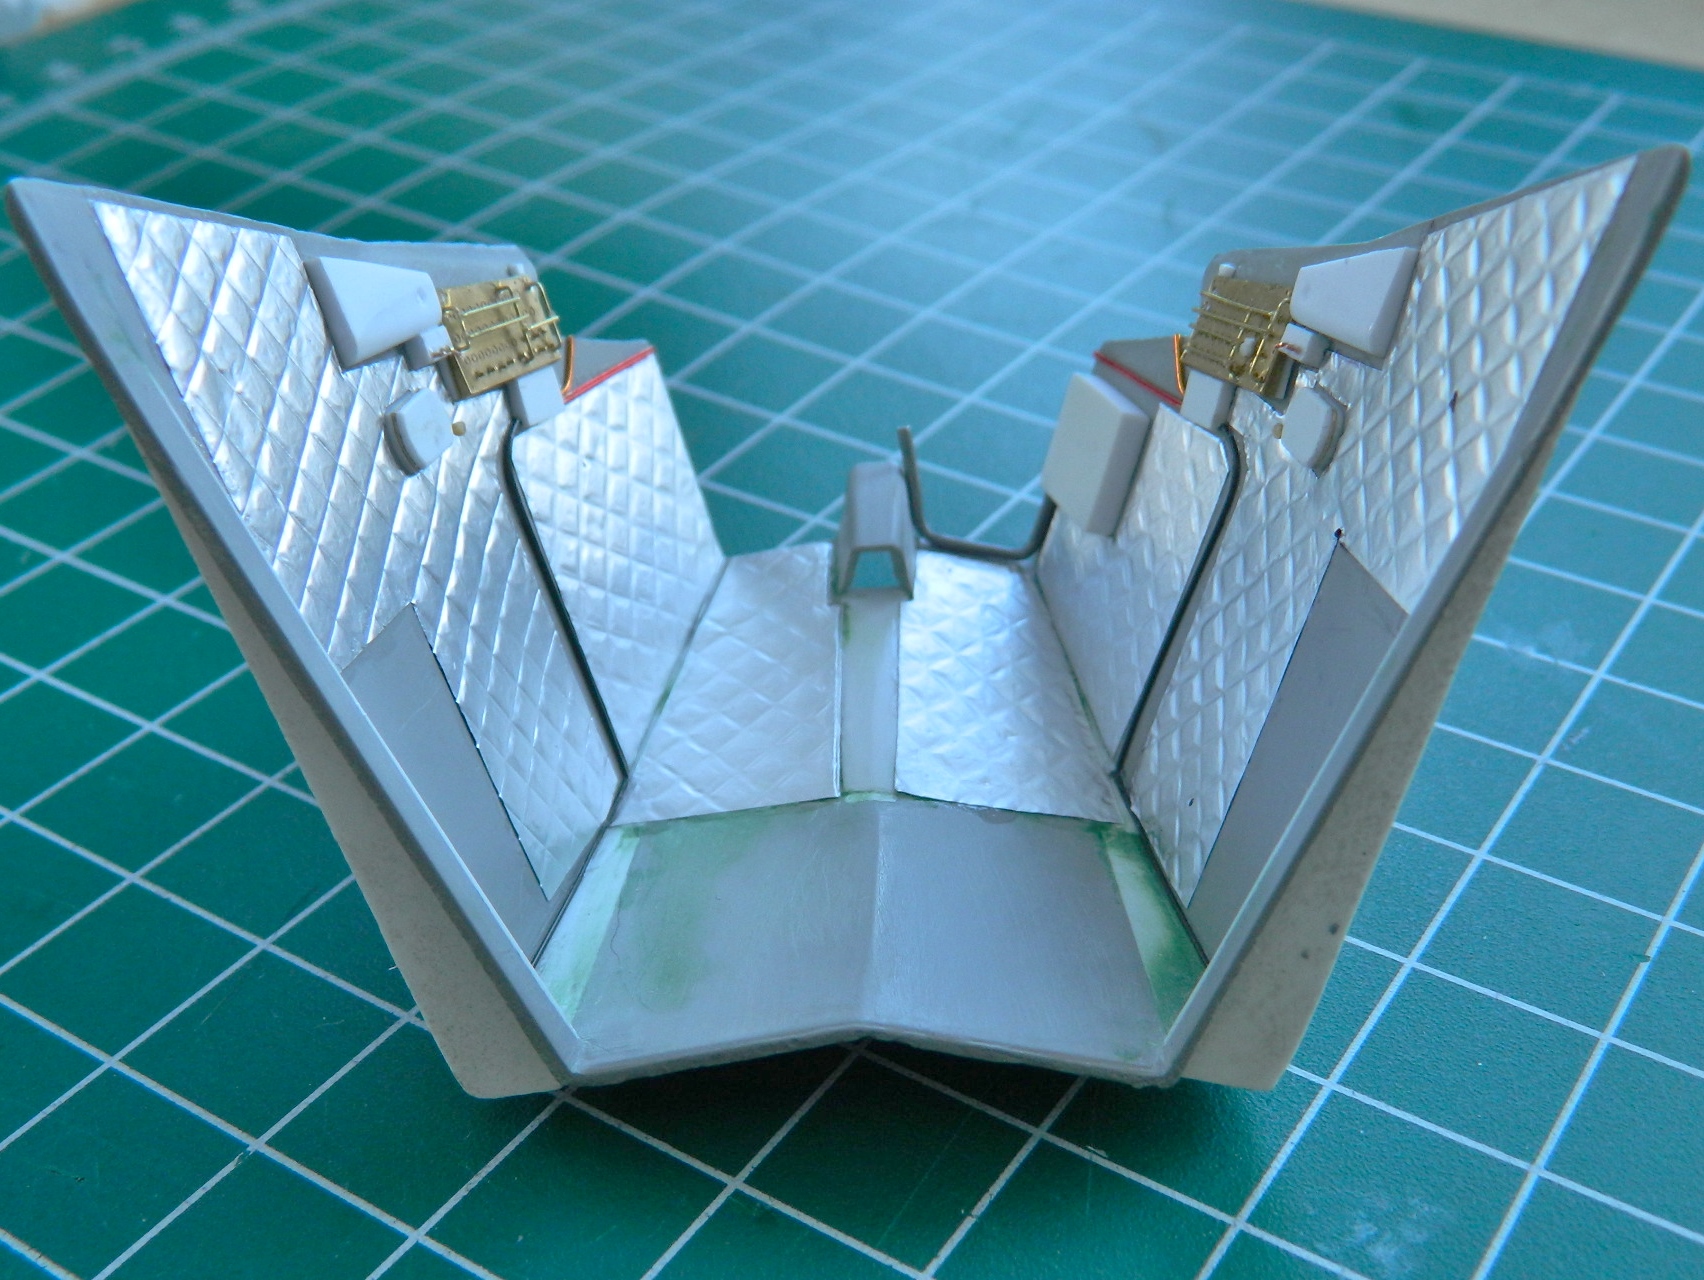
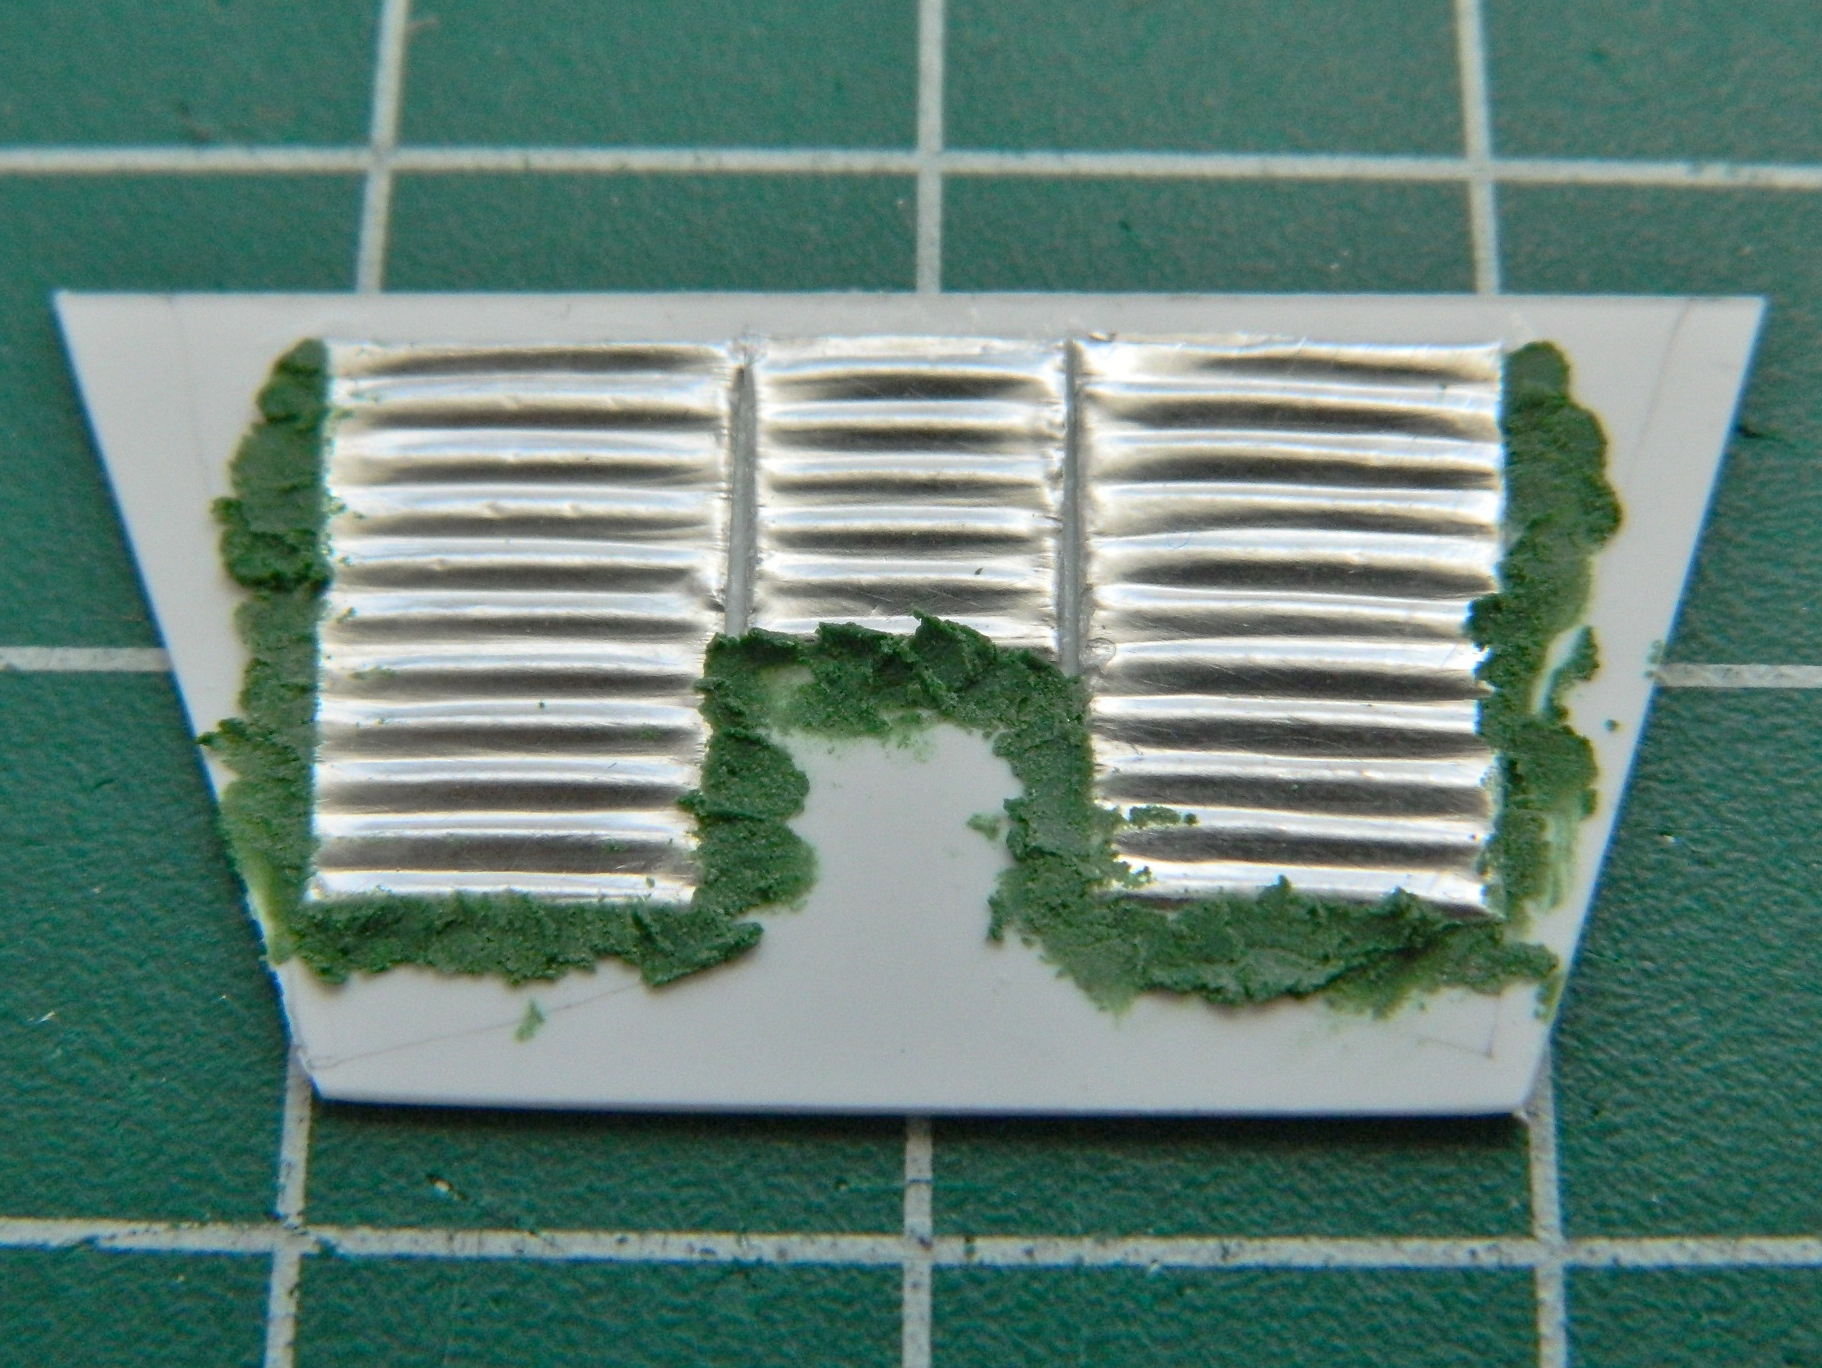
While I was supergluing aluminum foil, I added the corrugations to the front interior bulkhead:
Then I dry-fit things and discovered that though the panel/console assembly will fit in the cabin, the console won’t fit between the seats. It sits too high:
I sawed, filed, and shaved until the top of the console between the seats sit as low as it’s supposed to. Then there was another detail I needed to make. The command pilot (left seat) has an abort lever, it’s prominent, and it needs to be there. So I started making that:

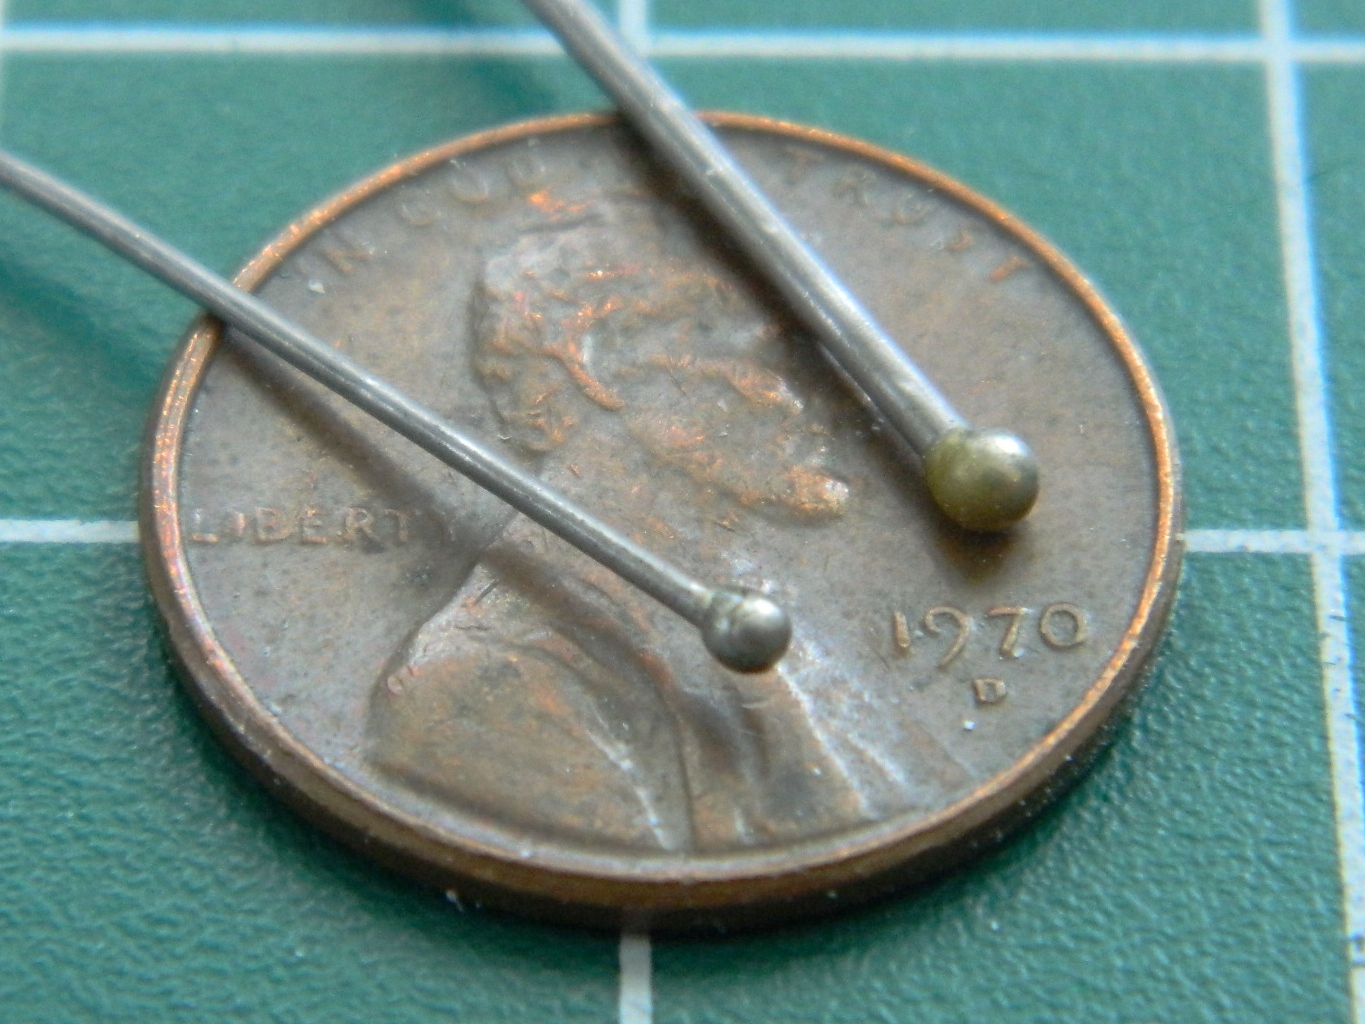
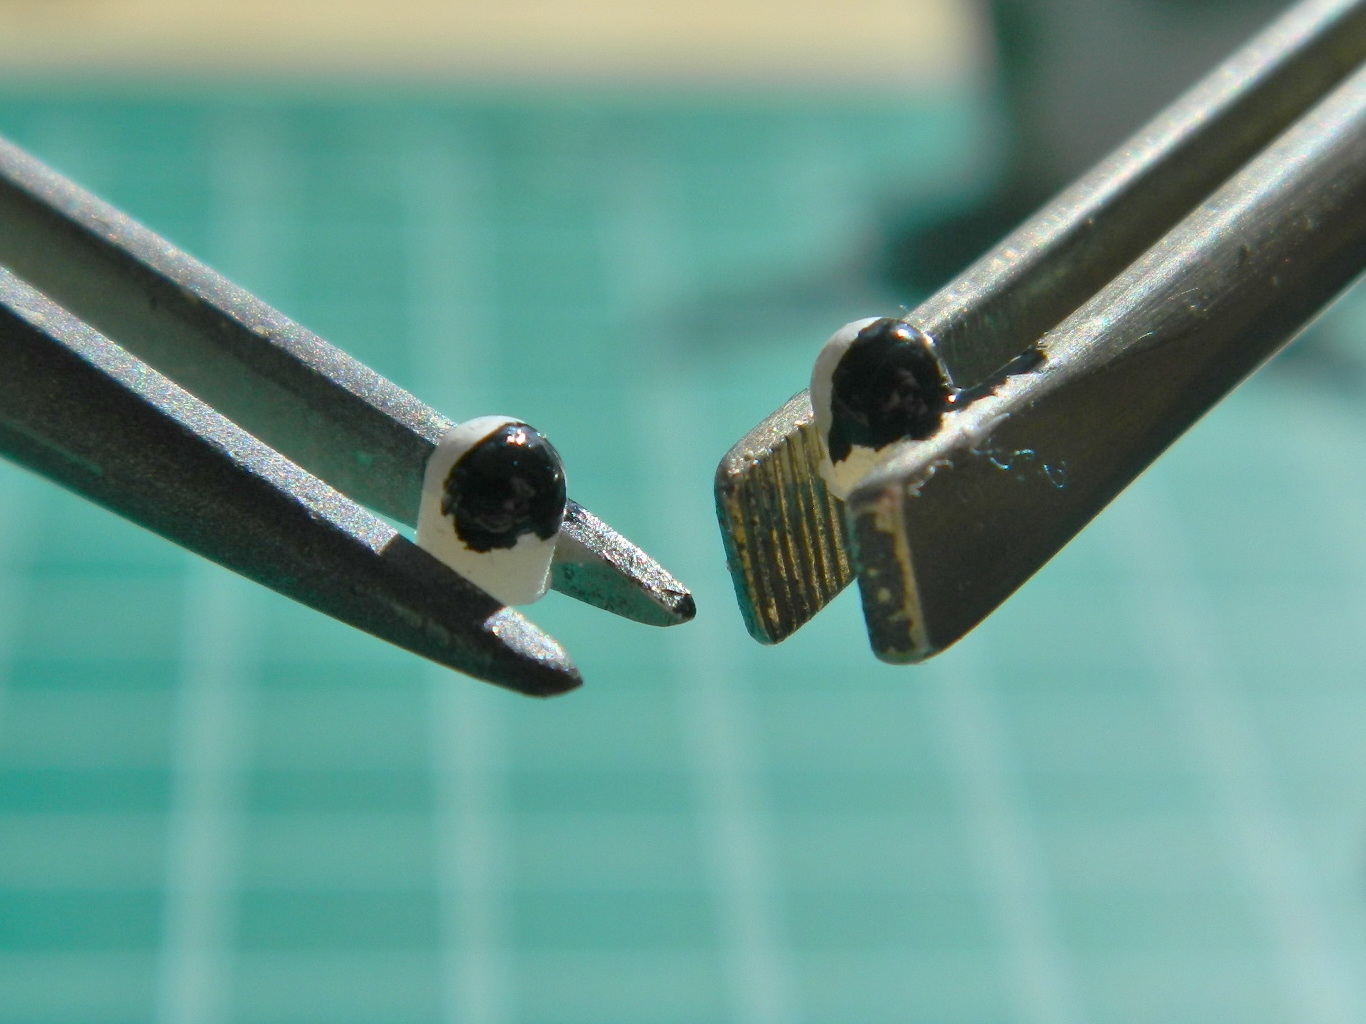
There is a round knob that sits on top of the stalk. It’s large enough that a blob of white glue or several coats of superglue wouldn’t work. Then I remembered what happened to solder if it wasn’t touching a surface when the torch hits it. It forms a ball! Okay…let’s try that! The first one was too large, the second one was just right:
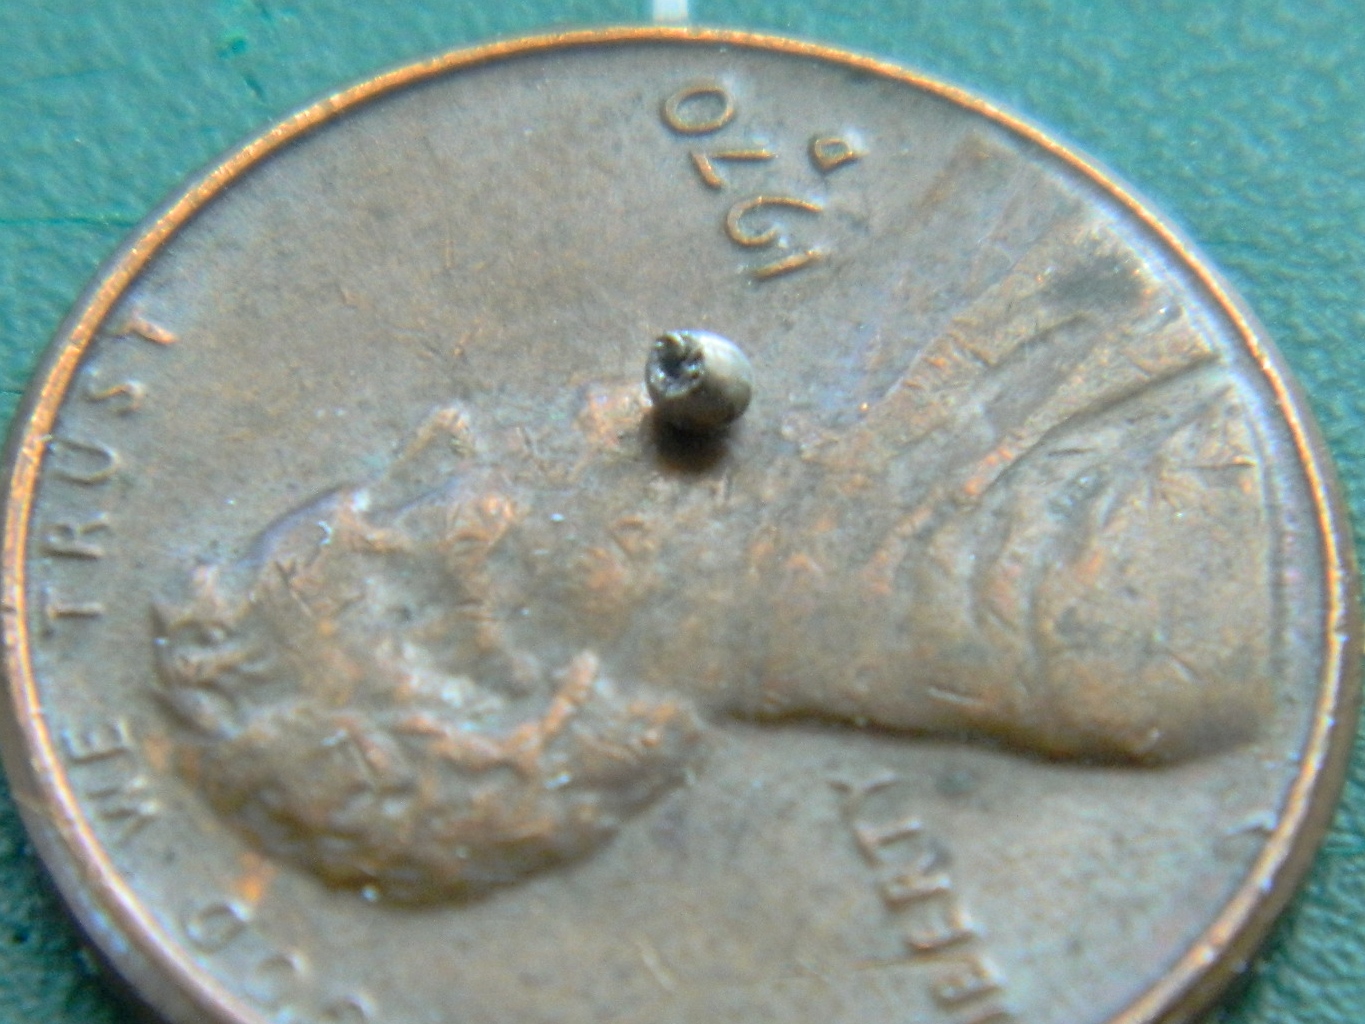
Okay…that was the easy part. Now I have to cut the ball off, drill it to fit the shaft, and glue it on:
Well, THAT was fun! But in place (well, not exactly in place…it’s supposed to fit between the outside corner of the seat and the cabin wall, but there just isn’t the space for it, so I put it where it is), it looks good:
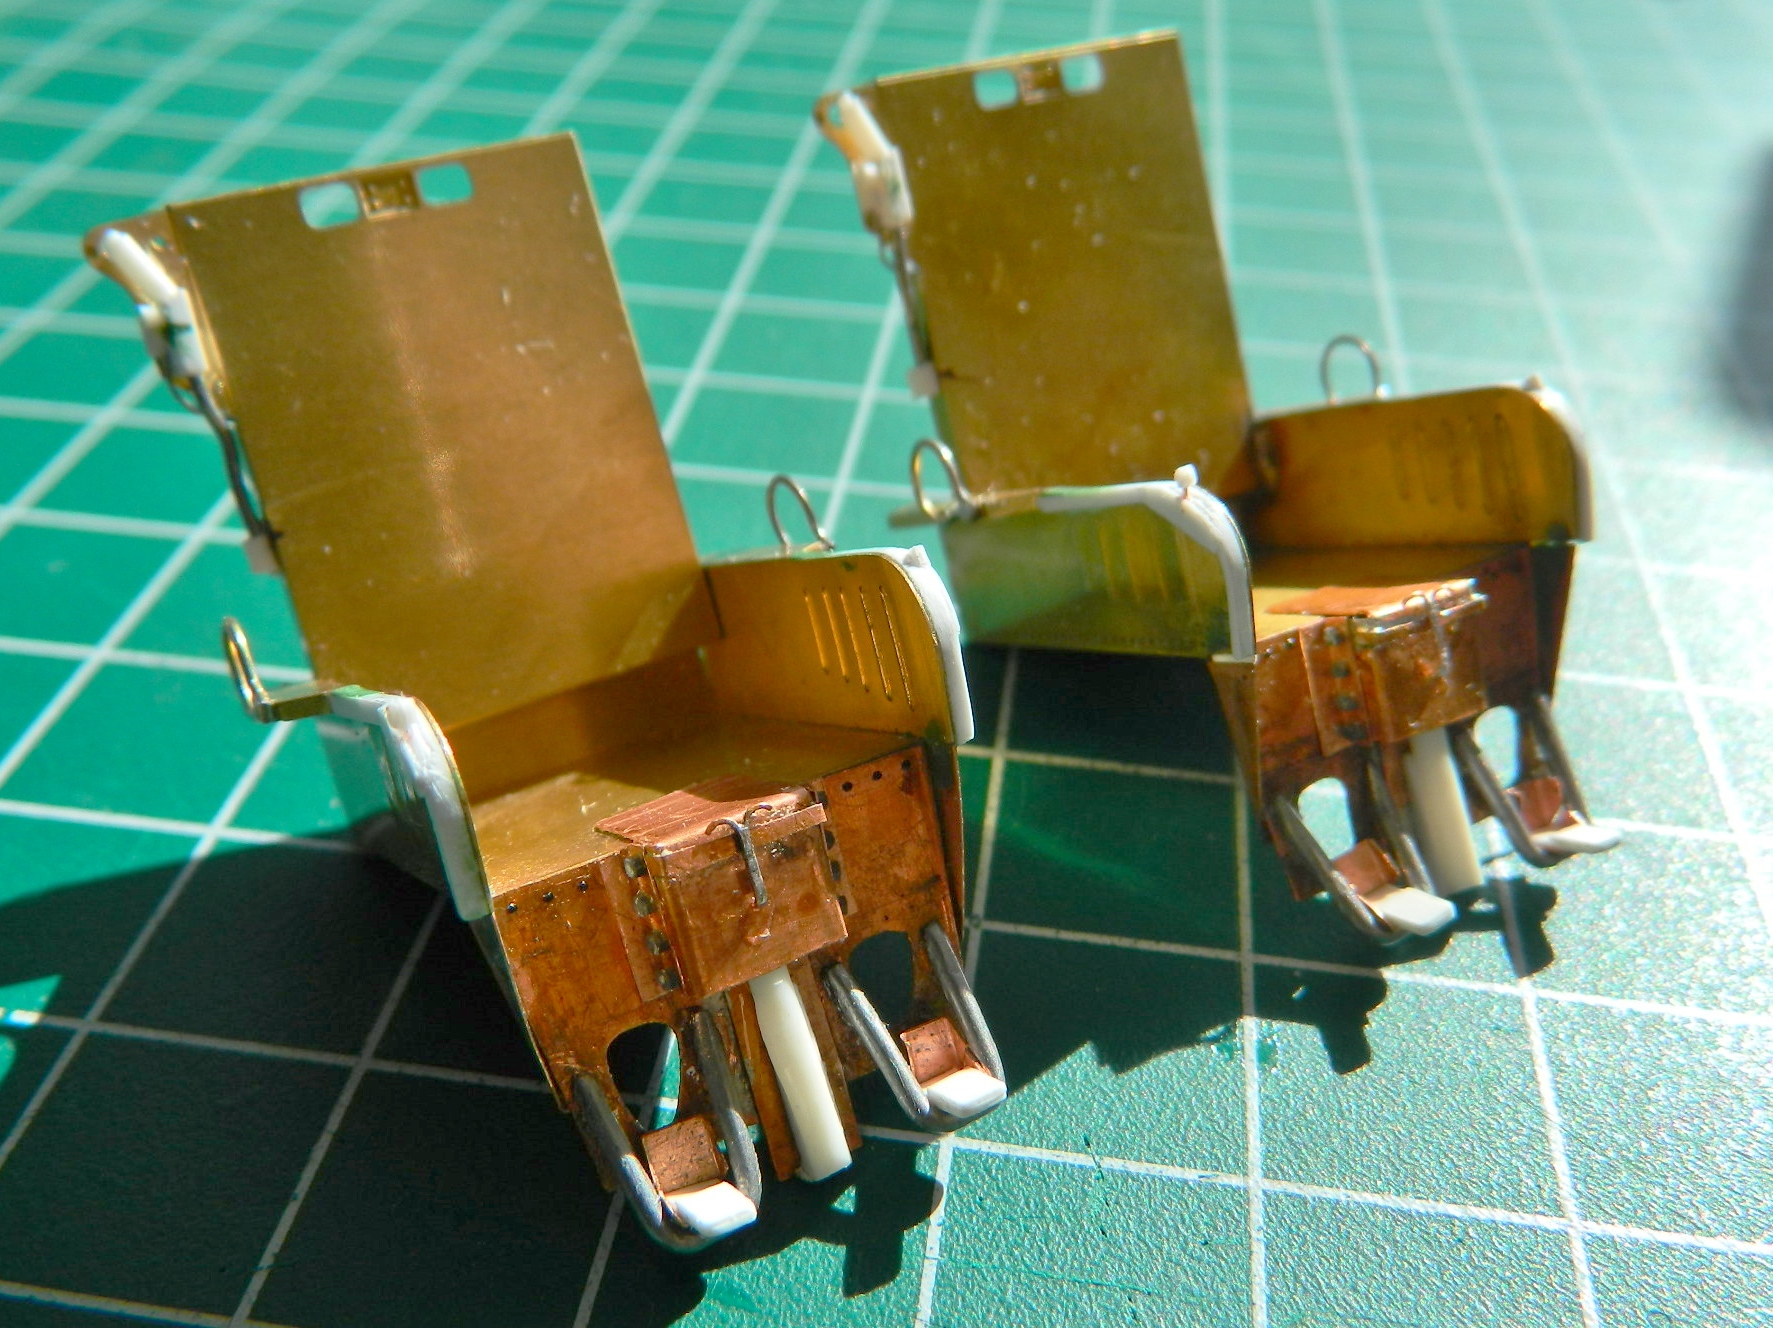
There were a couple of small levers that had to be added to the seats before paint could be applied and those were added:
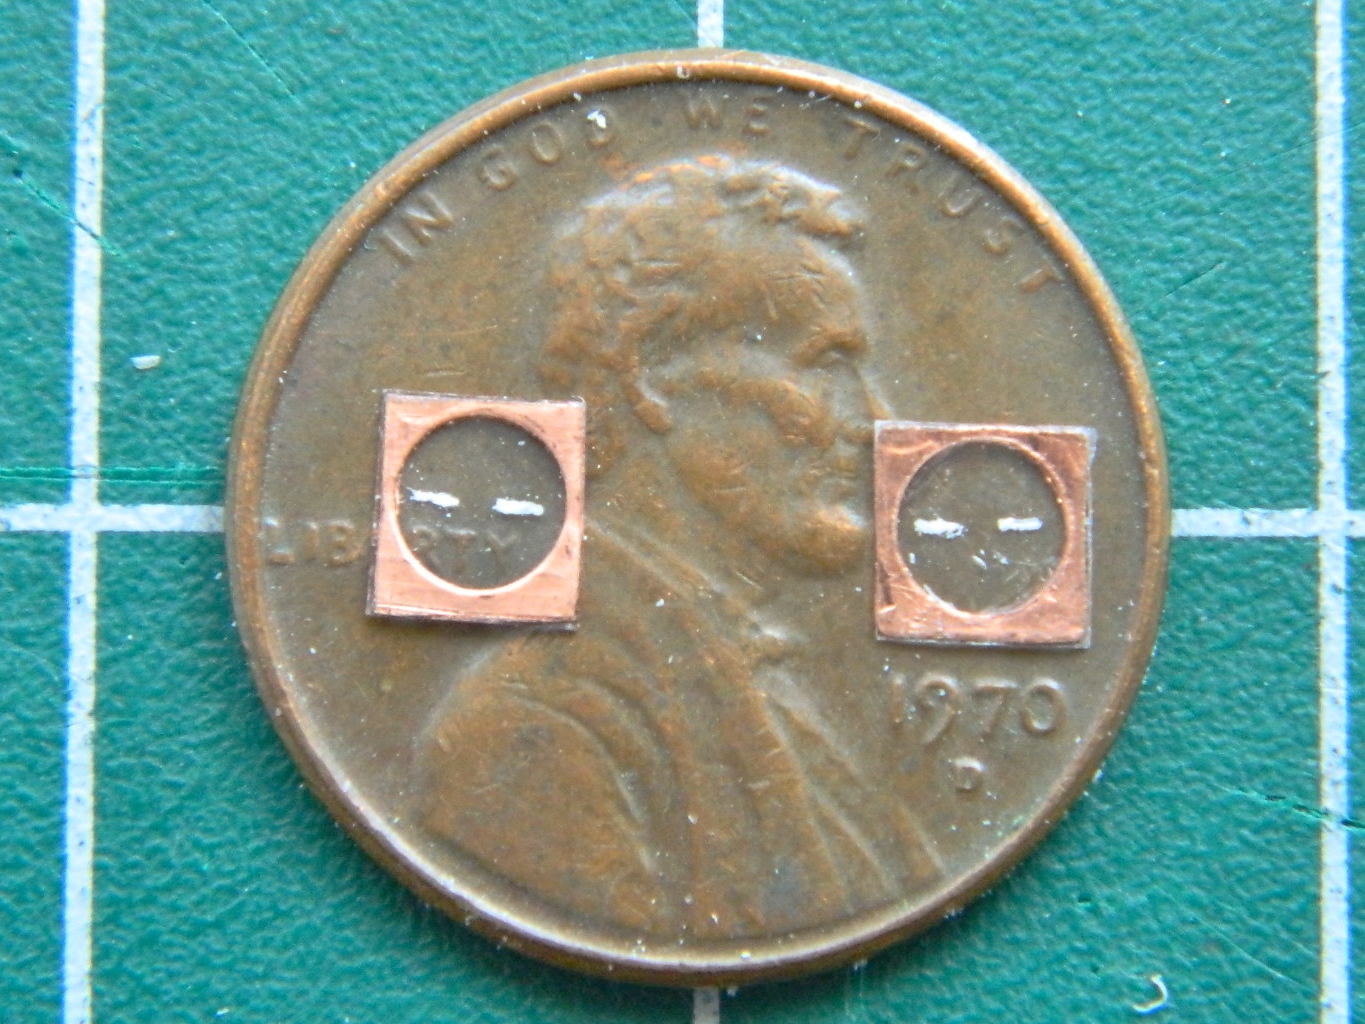
And then it was time to start work on the main instrument panel. First step was to paint the balls for the artificial horizons:
While the paint was setting up, I painted (several times…it was a BITCH to get right) the reference markers on the inside of the gauge faces:
And speaking of “BITCH to get right,” there are the markings on the balls. I tried colored pencil. Nope…didn’t work. I tried slicing decals very thin. Also didn’t work. So then I took my smallest brush and tried painting the lines on. Ta da:

So, muttering a few prayers (and a LOT of begging) to whatever forgotten gods there are/were/will be, I glued the balls into the holes and added the face-plates of the gauges:
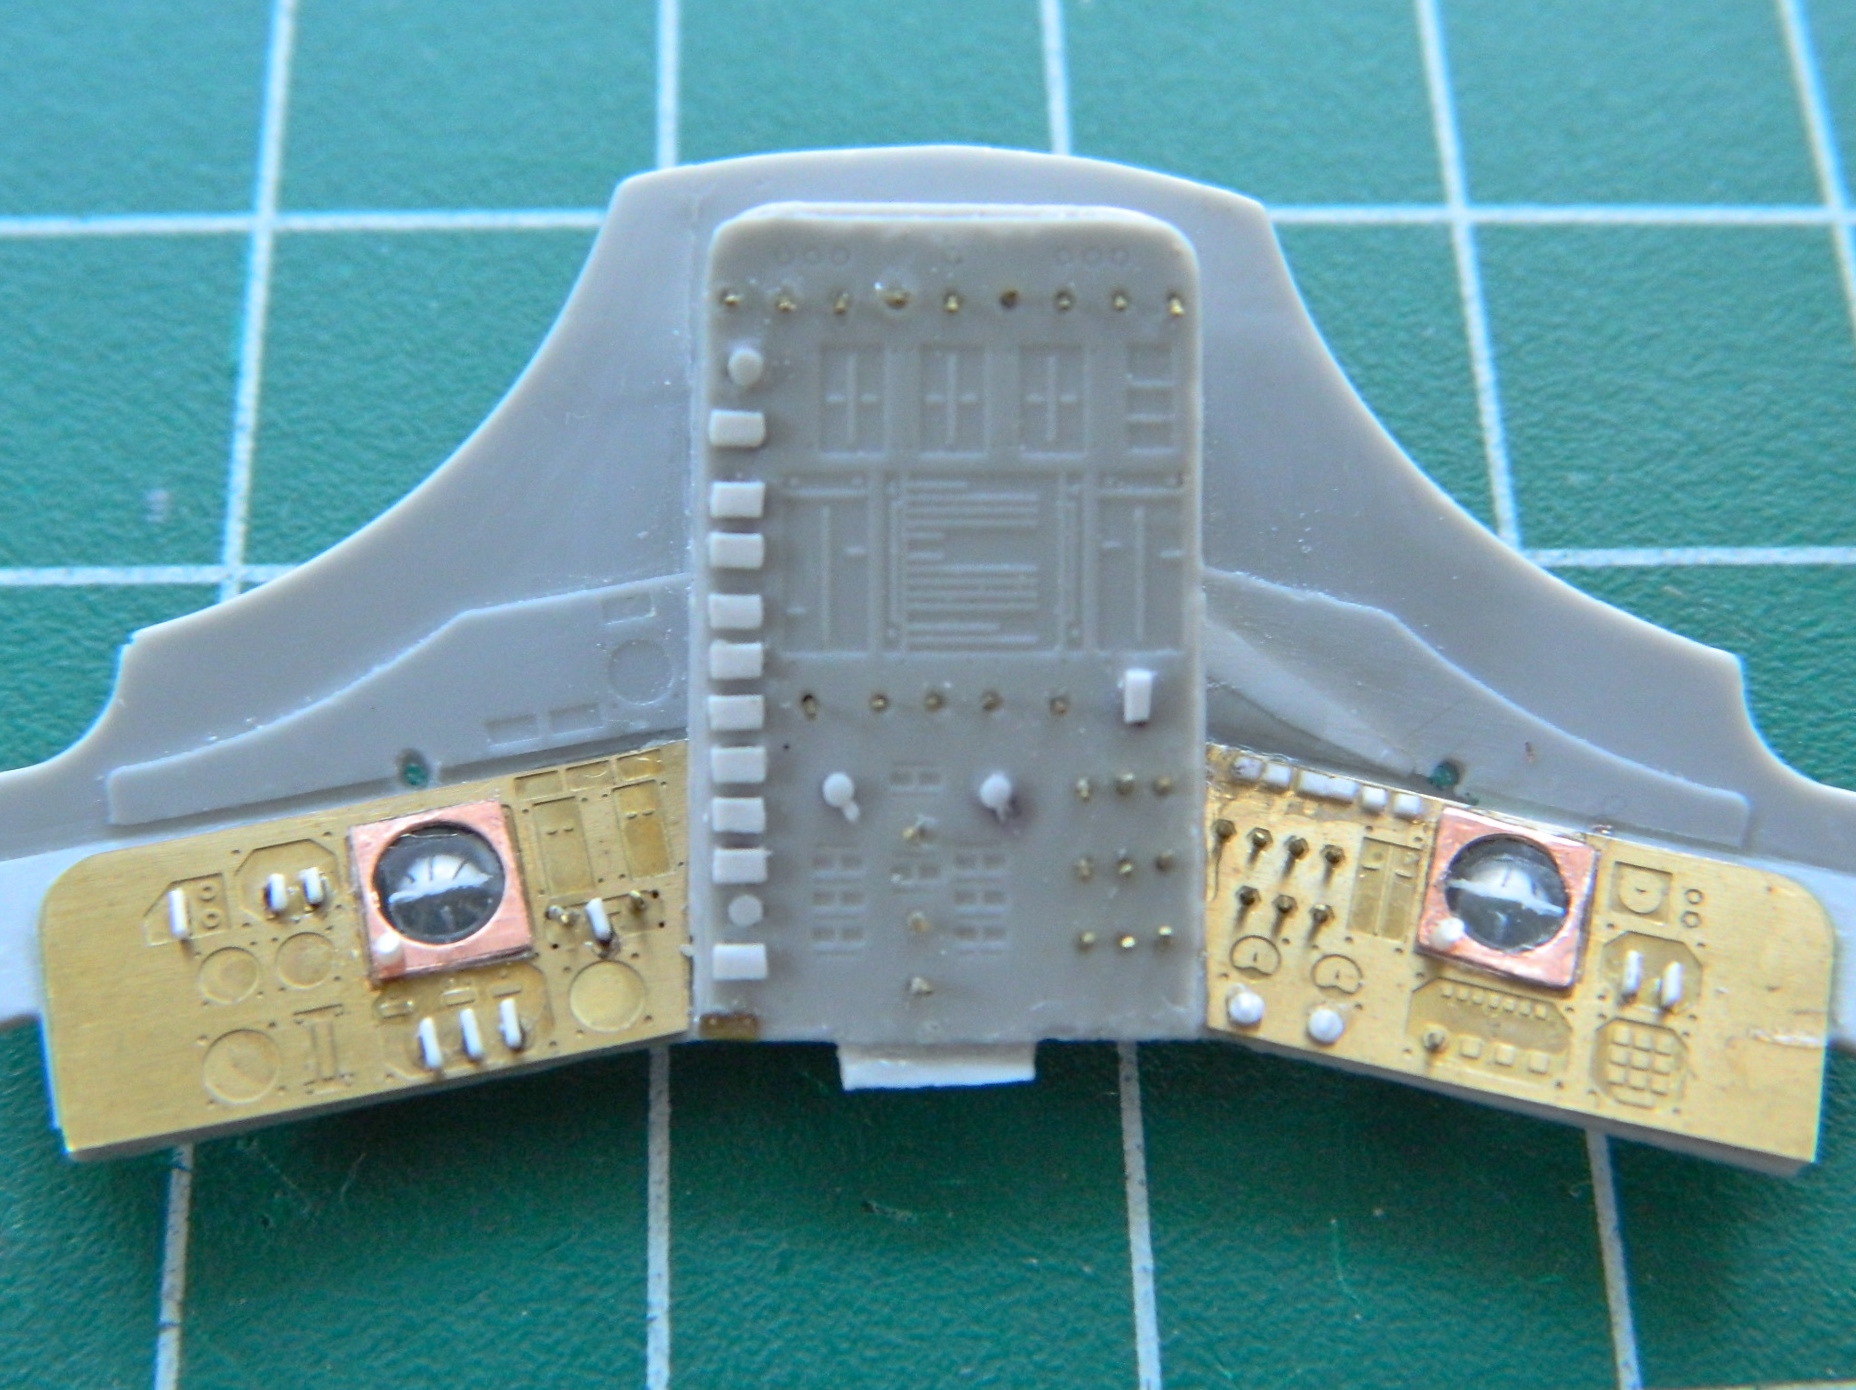


SO much better than how it started out:

And it wasn’t until I saw how it turned out that I realized how concerned I was about this. I’ve never done something like that before and though logic said it should work, I wouldn’t know if it would until I had them done. AND IT WORKED!
So now we’re closing in on painting!
