Entropy never sleeps…nor does Loki and Eris. Instead of going to Robins, GA, to see the Blackbird that’s on display there, that money went into my car to counter the effects of entropy. So I’m going to have to work with what references I have and can find to add the details to the landing gear bays. I decided to continue the build while the BitB work on the gear bay problem(s).
Tucked up at the top of the nose gear bay are two liquid nitrogen tanks (used for cooling…heat and how to deal with it was one of the major driving parameters of the SR-71’s design). They’re not precisely round. I went to one of the spares boxes which in this case was the 1/24 scale Gemini for the round parts. To elongate them, I sanded off the locating pins, measured the width of the gear bay and compared it to the width of the two round parts and added the difference with flat stock:
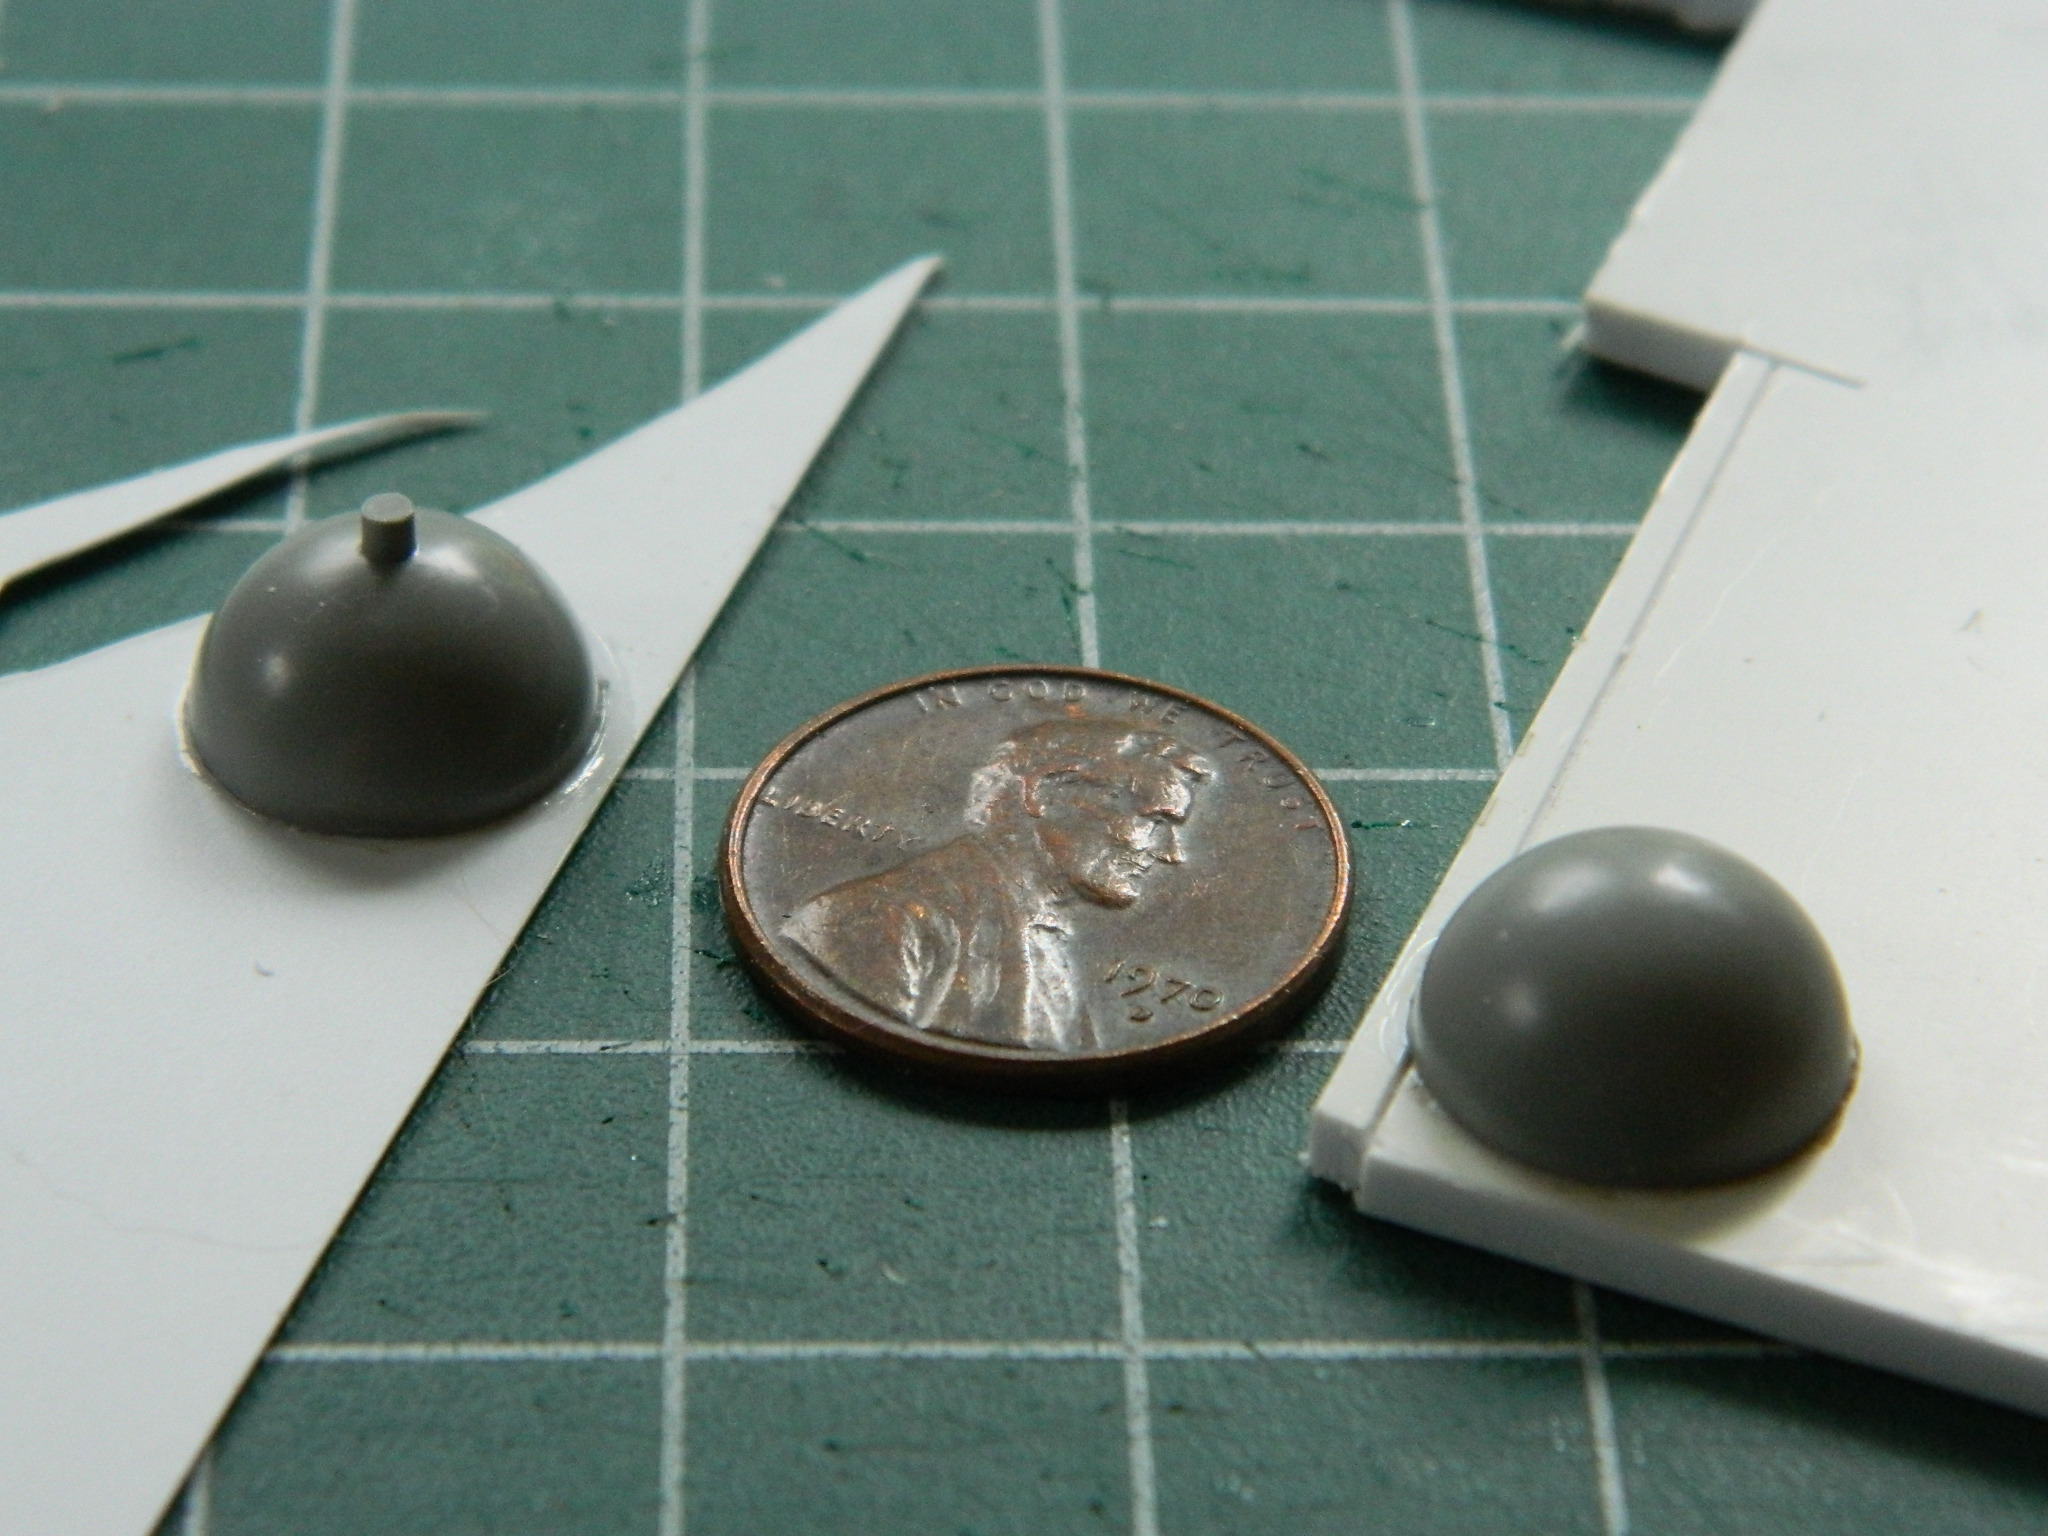
Then I glued the two halves together and removed the mounting pins and excess from the additions. Since there are two nitrogen tanks, this was done twice:

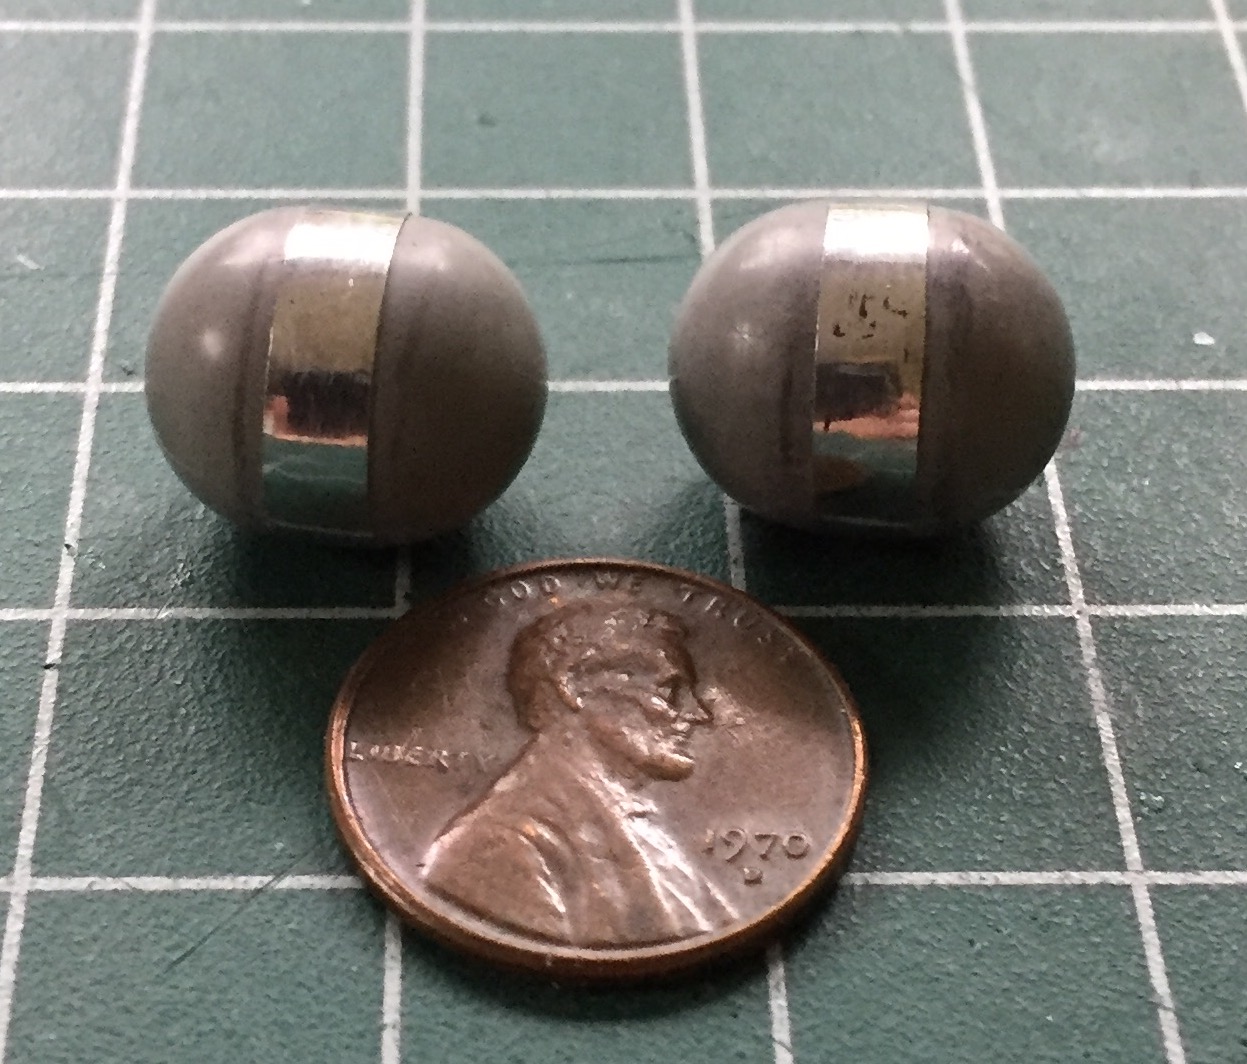
There is a band around the center of the tank that I replicated using high-temperature duct tape which is a heavy gauge, adhesive-backed, aluminum foil:
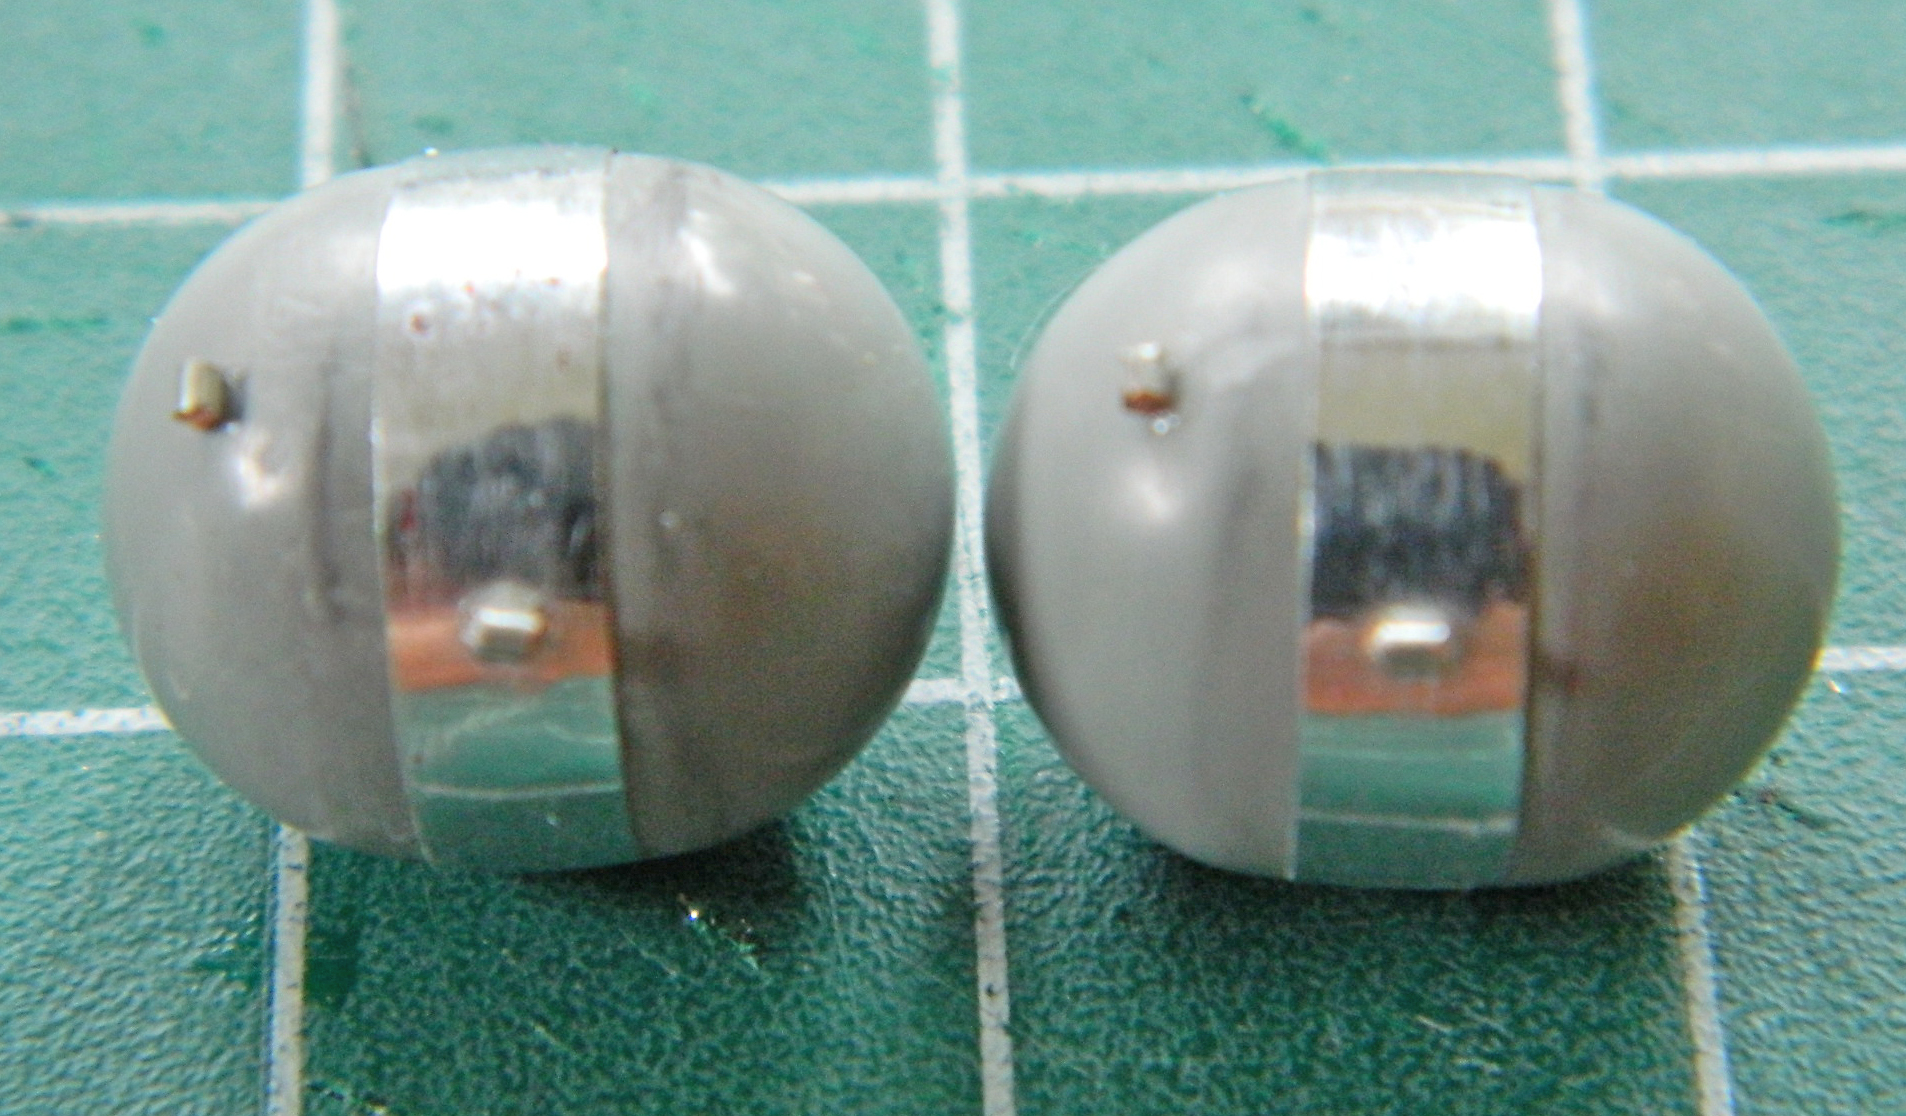
I added the tanks’ access lines’ terminus using 22awg copper wire and set the assemblies aside for now:
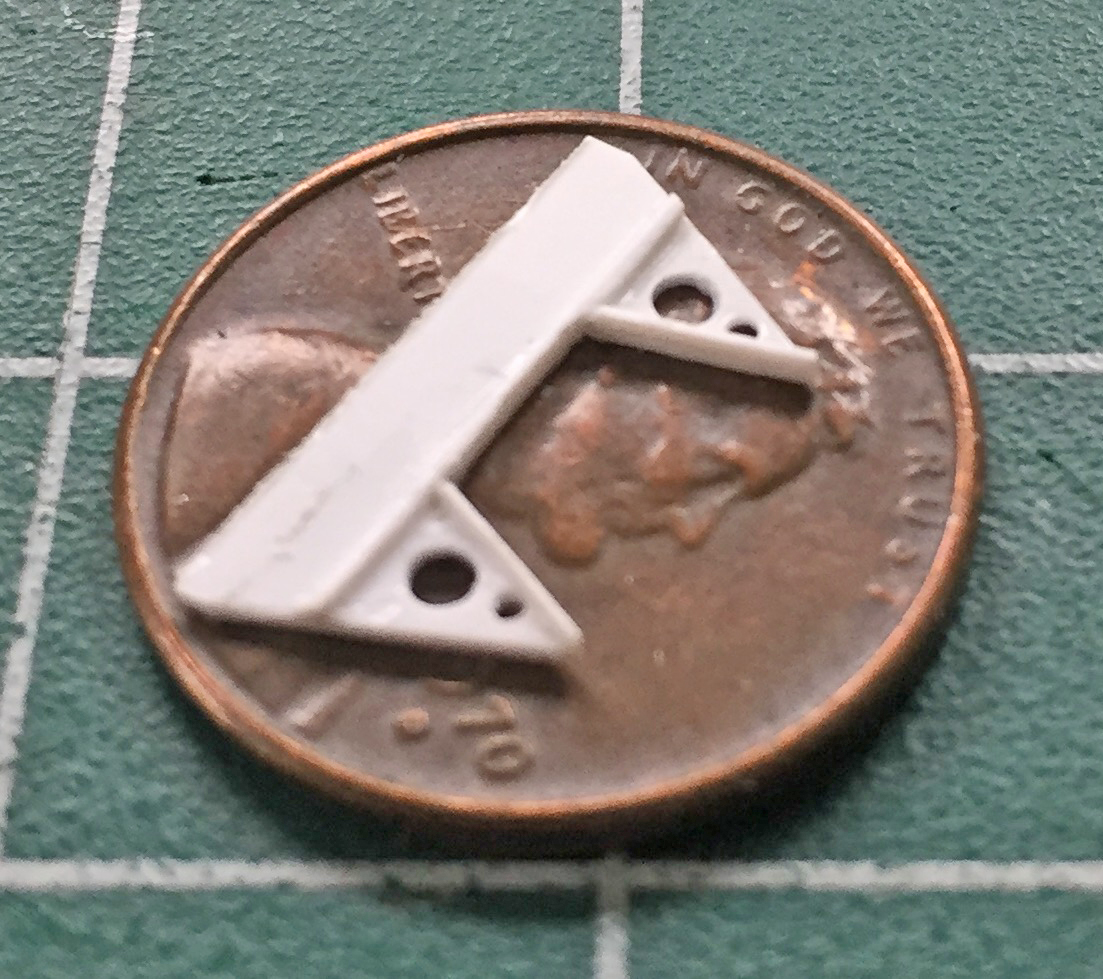
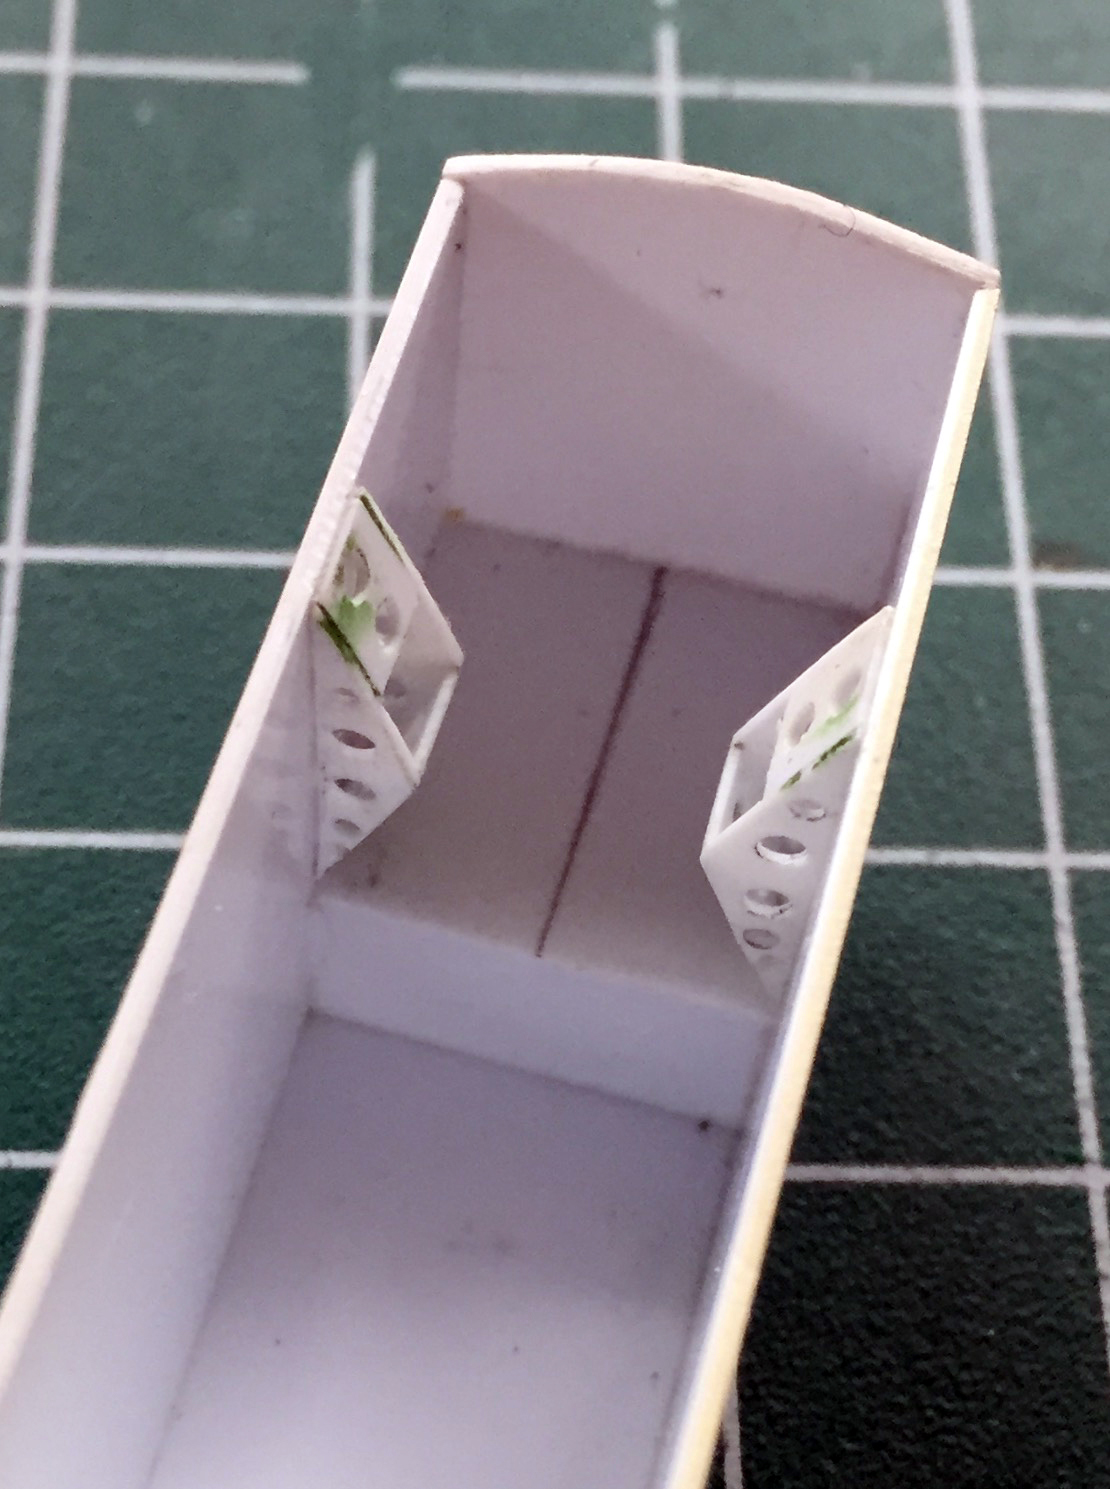
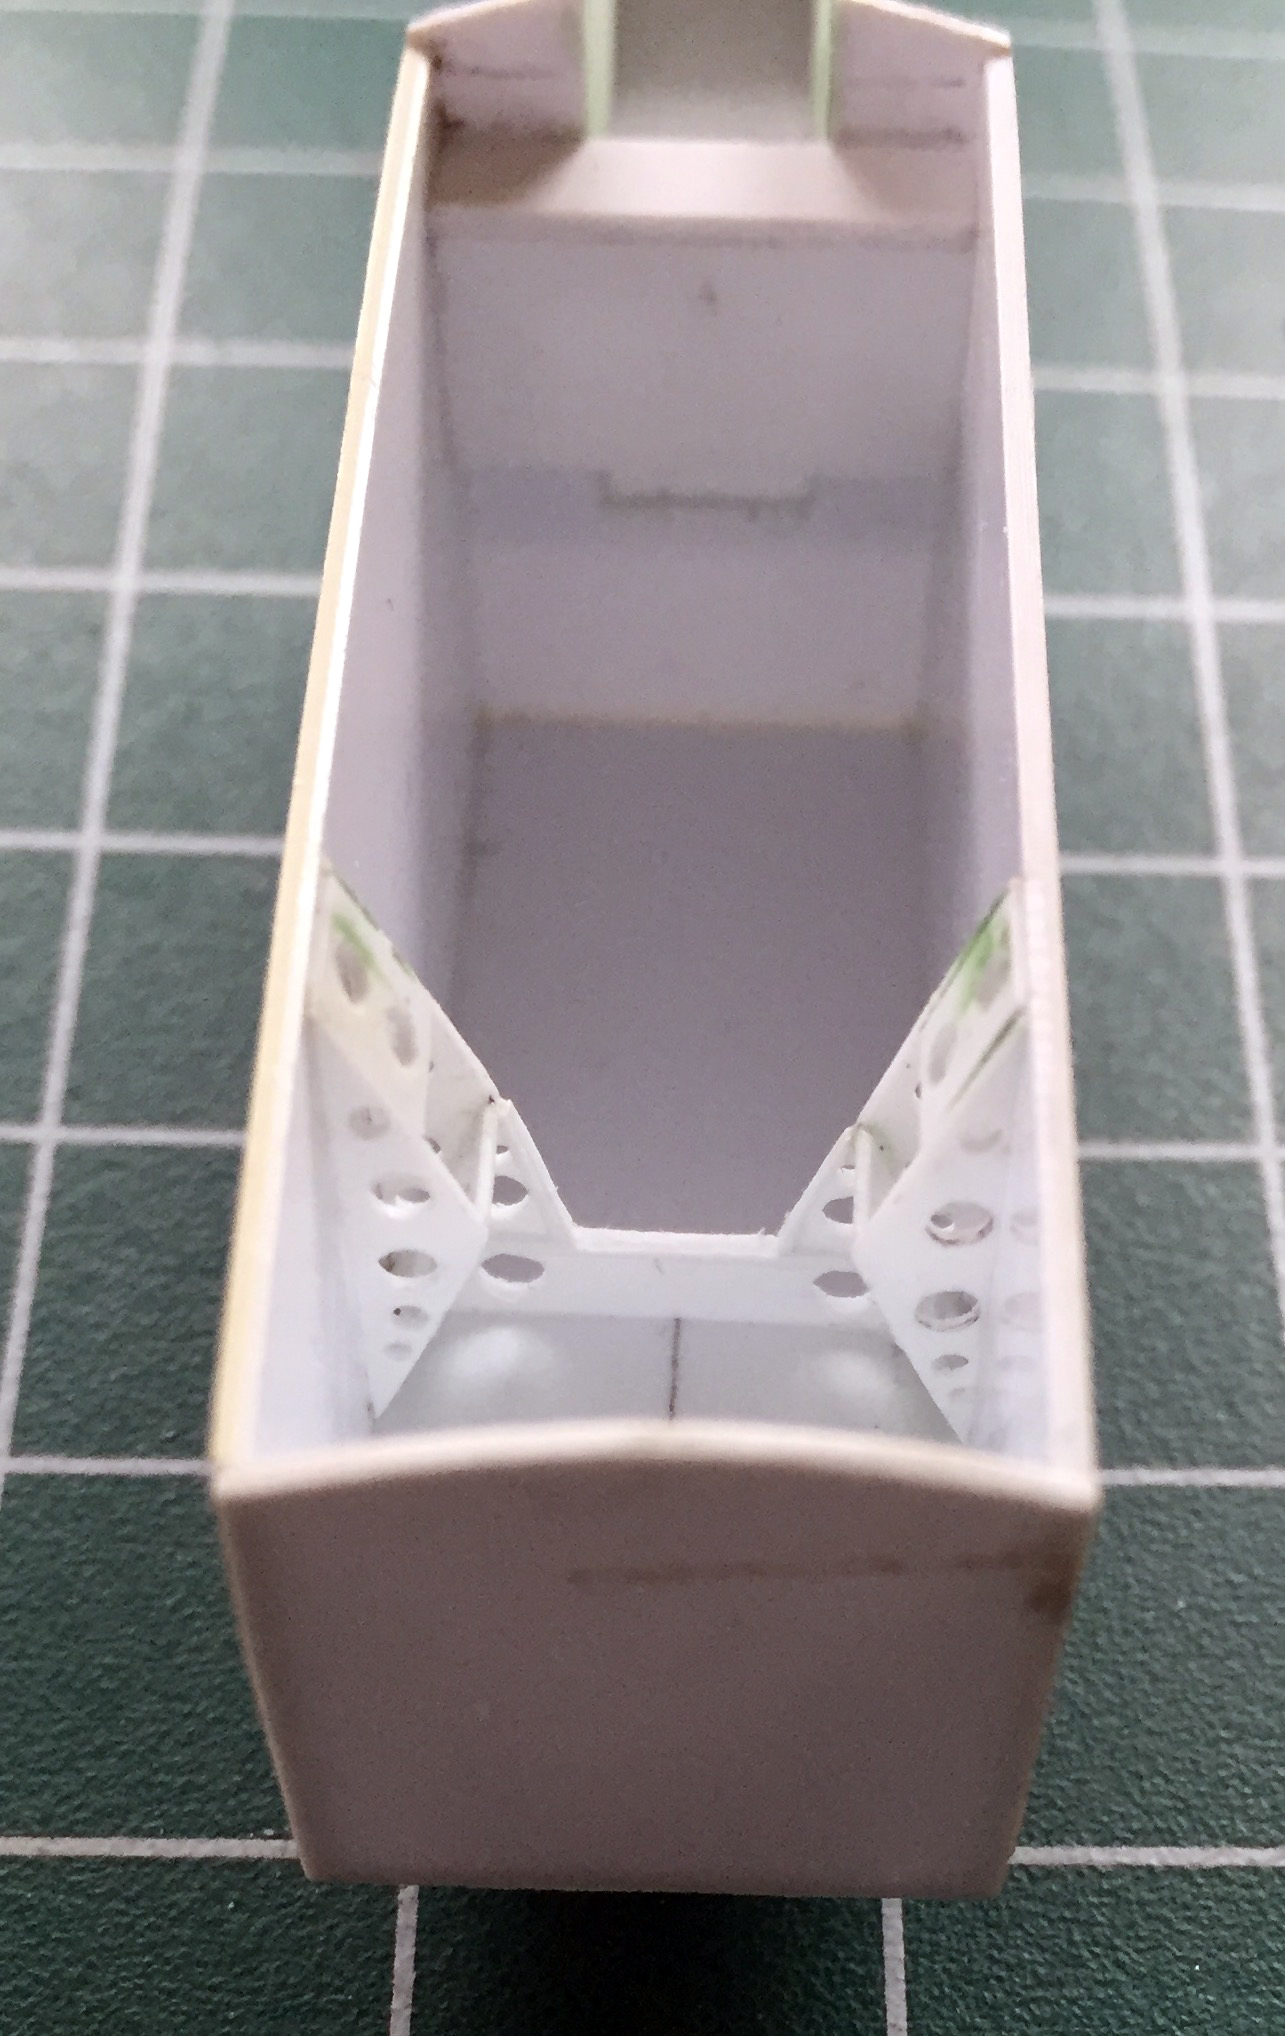
I used .010″ (.254mm) styrene sheet to fabricate mounting structure and used the punch and die set to create most of the lightening holes (drills did the holes I didn’t have a punch for), then started gluing the parts together, adding putty to make the joints disappear:


The structure was added to the landing gear bay:

My initial plan (which rarely survives first contact with the work) was to use metal landing gear struts to better support the weight of what is (or will become…there’s that plan again) a large model. In looking at the metal parts, I see that they were produced by taking molds and making castings of the kit parts:

Okay, that’s fine as far as it goes but I’m taking this build as far as I can. The modifications I want to make to the nose gear strut will be easier on me if I do that part all in plastic. My thought (accurate or not) is that gluing the modifications to the strut will result in a stronger bond as the styrene cement melts the parts being joined together and superglue, which is what I’d have to use if I was going to use the metal part, would probably not be as strong (I still intend to make the main gear struts, which will support most of the completed model’s weight, from metal, but instead of using the parts I’d purchased, I’m going to scratch build them from brass or copper stock.):
With that decision made, as you can see in the above photo I cut off the extension strut so that I could more easily access the parting lines (they’re not well aligned as the next photo shows):
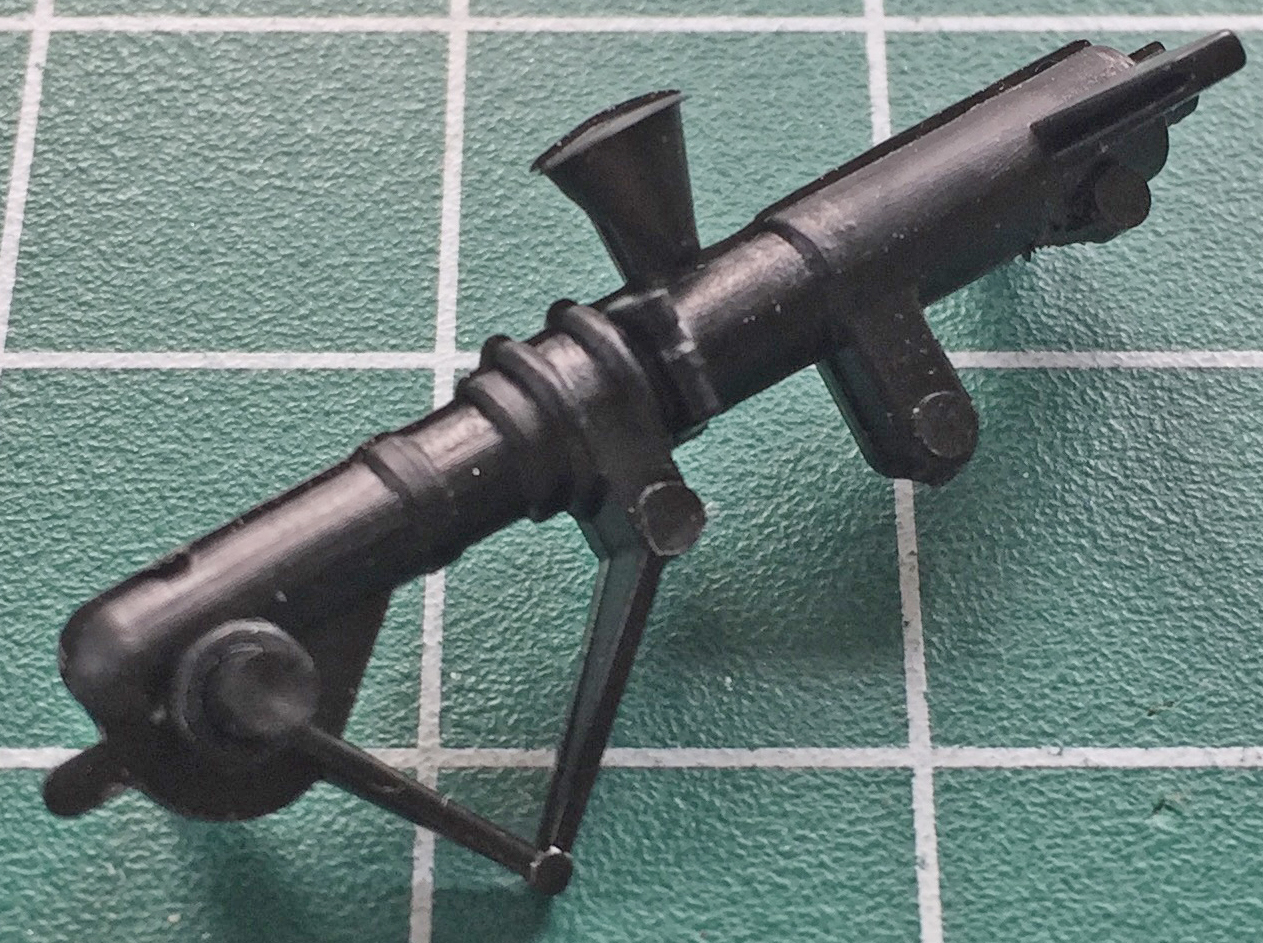
I also have a peculiarity (one of many); I don’t like trying to replicate clear parts using opaque paint. The conical structure in the above photo is one (of two…I have to make the other one) of the landing lights on the nose gear strut and as it is with lights, the lens is supposed to be clear. That means I gotta make the lights (I’ll try turning down clear acrylic rod for that/those) and the molded on “light” has to come off:

And while the BitB work on how I’m going to work the details inside the landing gear bays, I stop working on the nose gear parts and turn my efforts elsewhere. There’s no shortage of “elsewhere”…
