With the interior of the lower hull done, I’ve moved to the turret. I have to graft the turret bustle (dark plastic) to the resin turret ring (light resin):
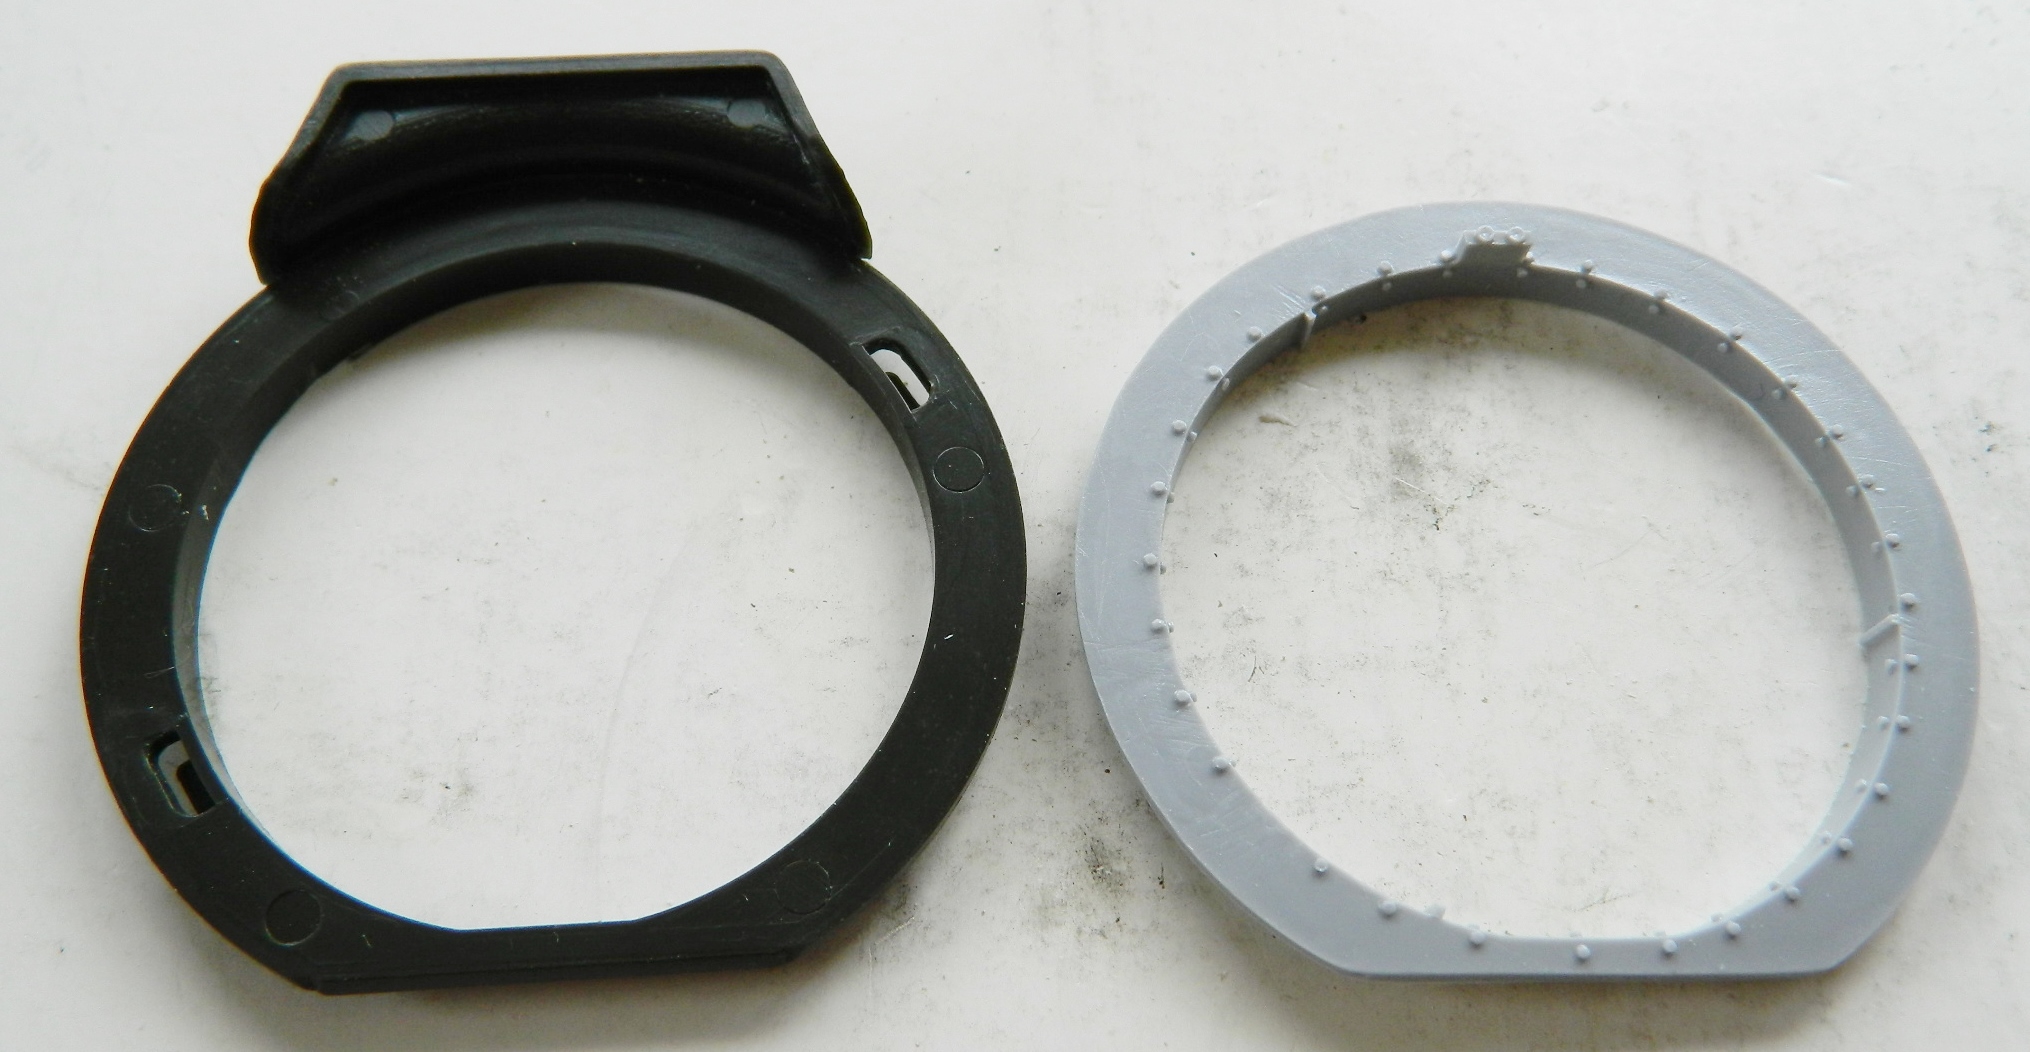

I cut the kit’s turret ring off the bustle, used the spare turret as the jig and got the parts aligned:
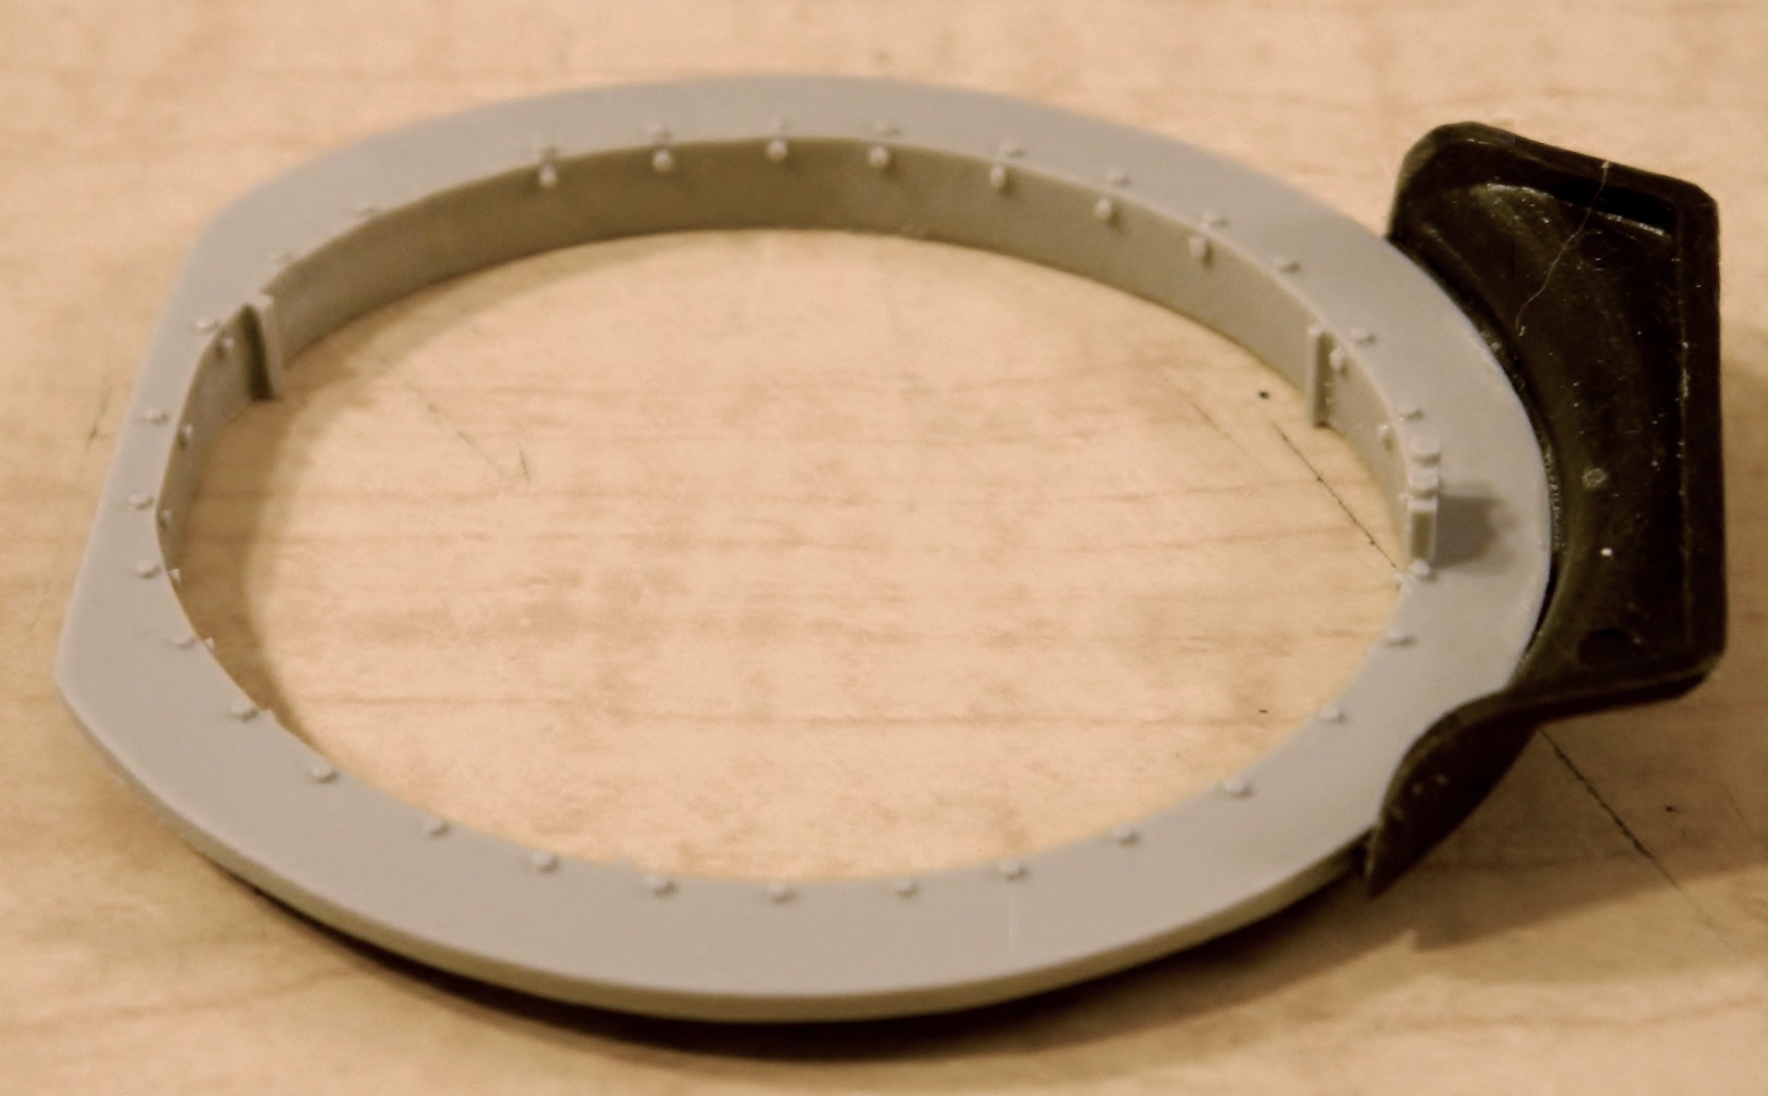
Once I was satisfied, I glued the resin ring to the plastic bustle:
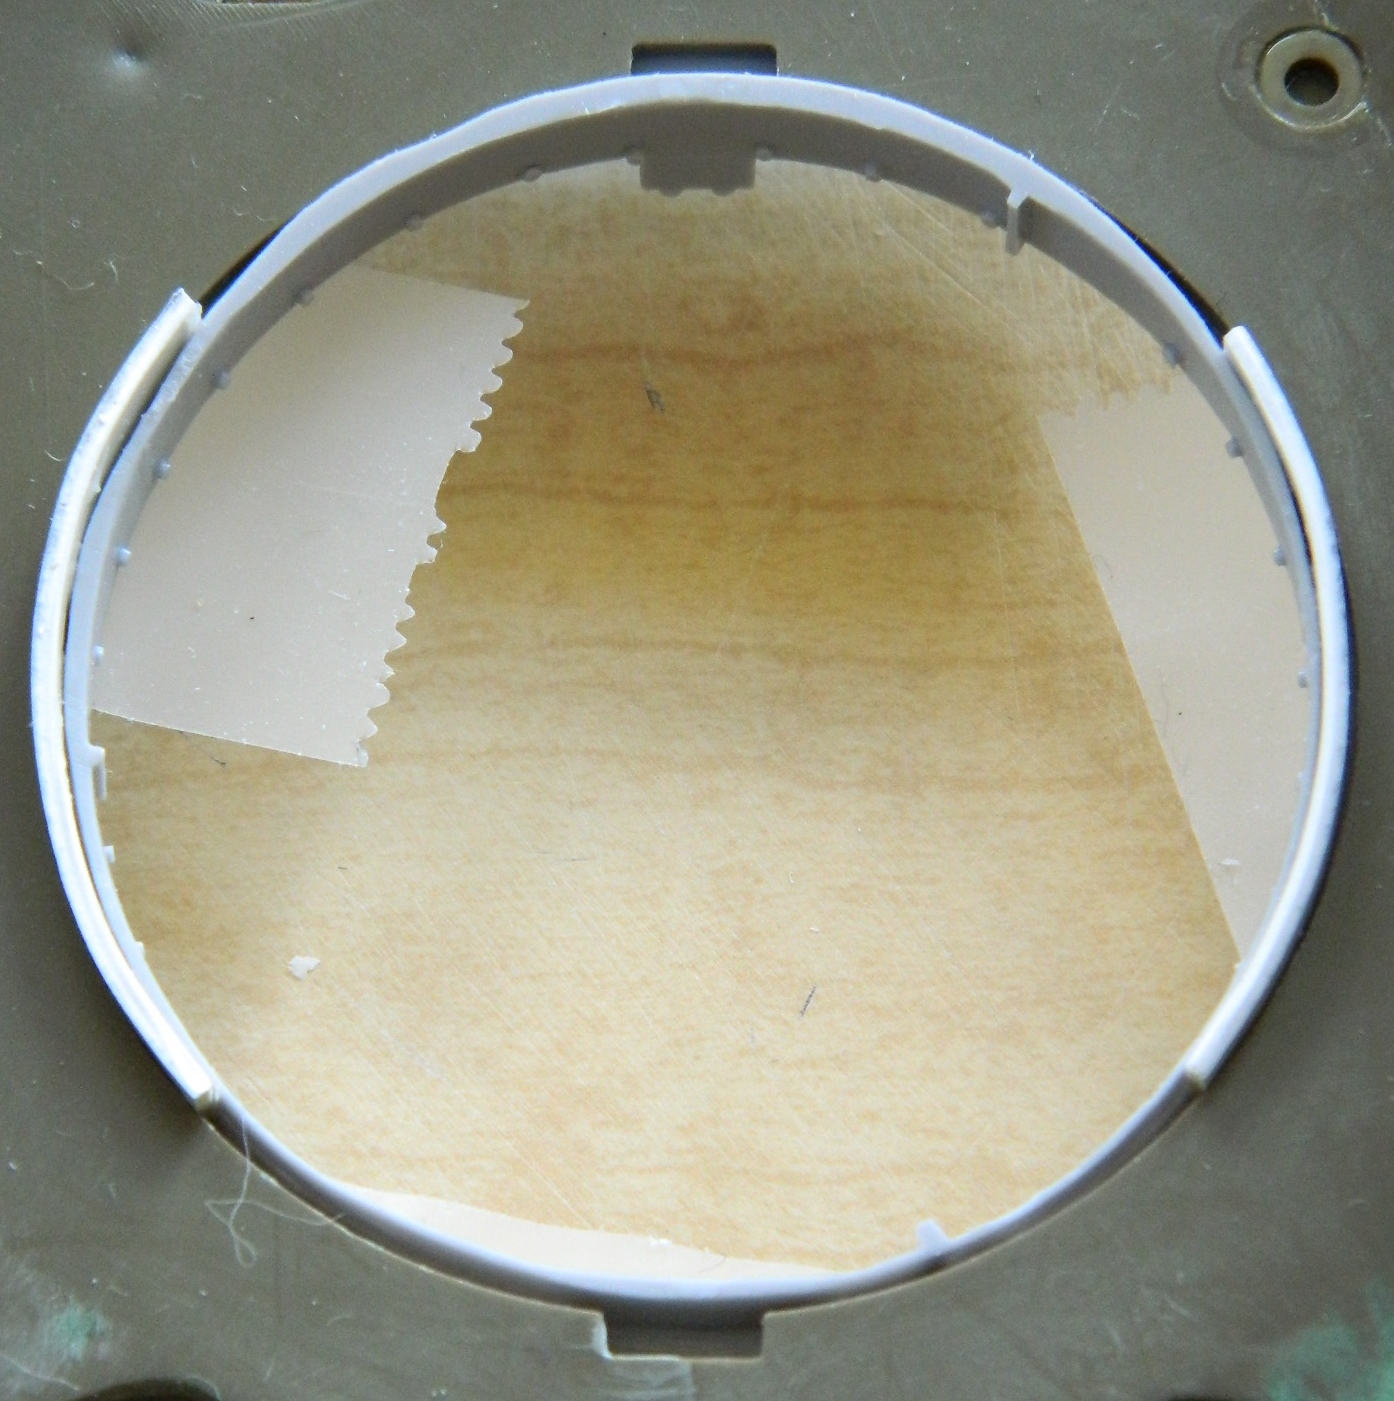
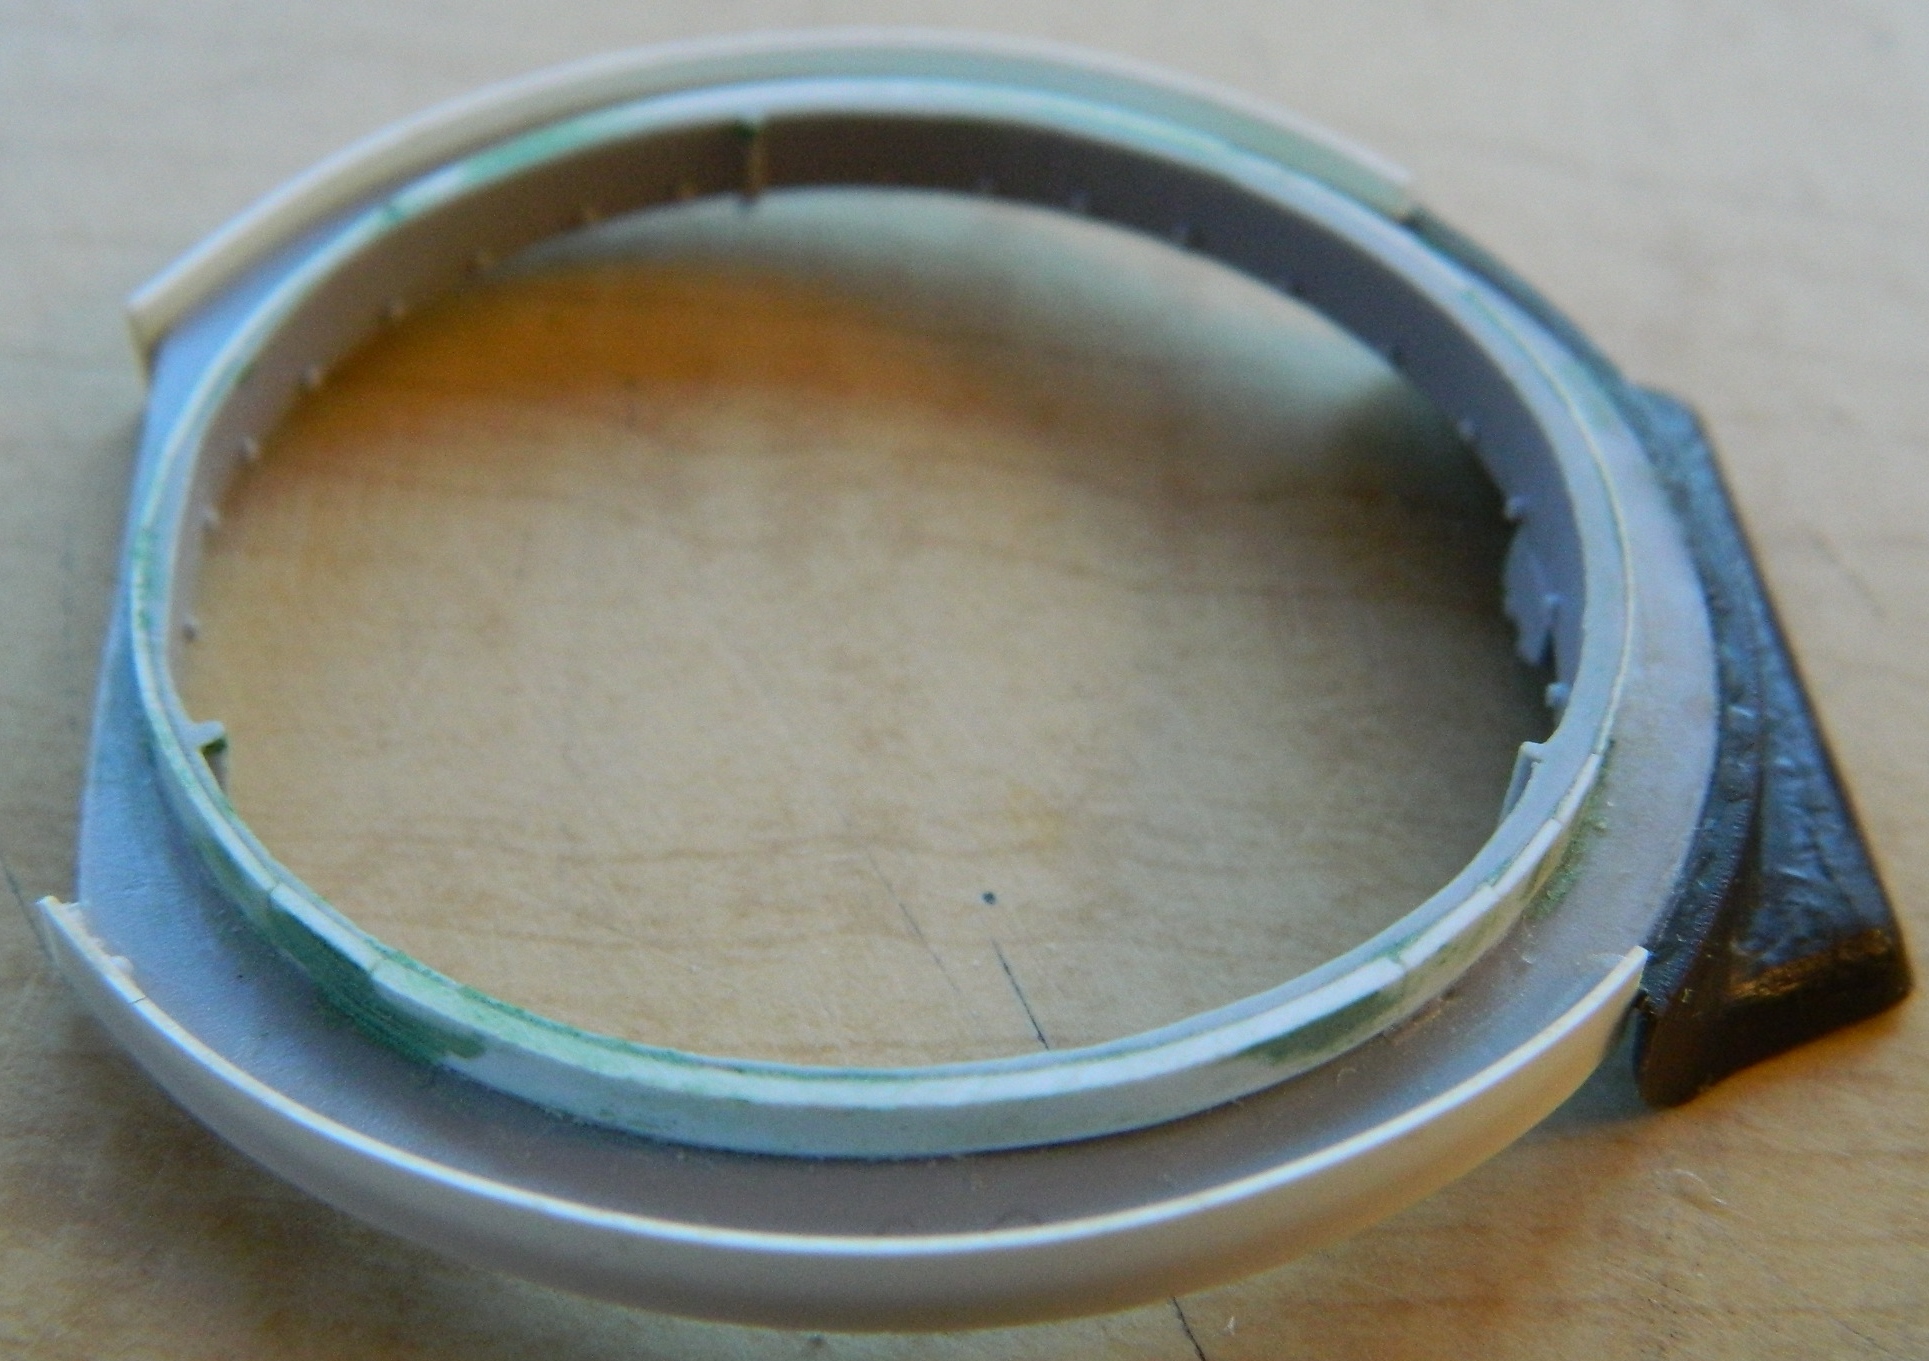
In fitting the ring to the upper hull, I see I have more work to do so that things fit better:
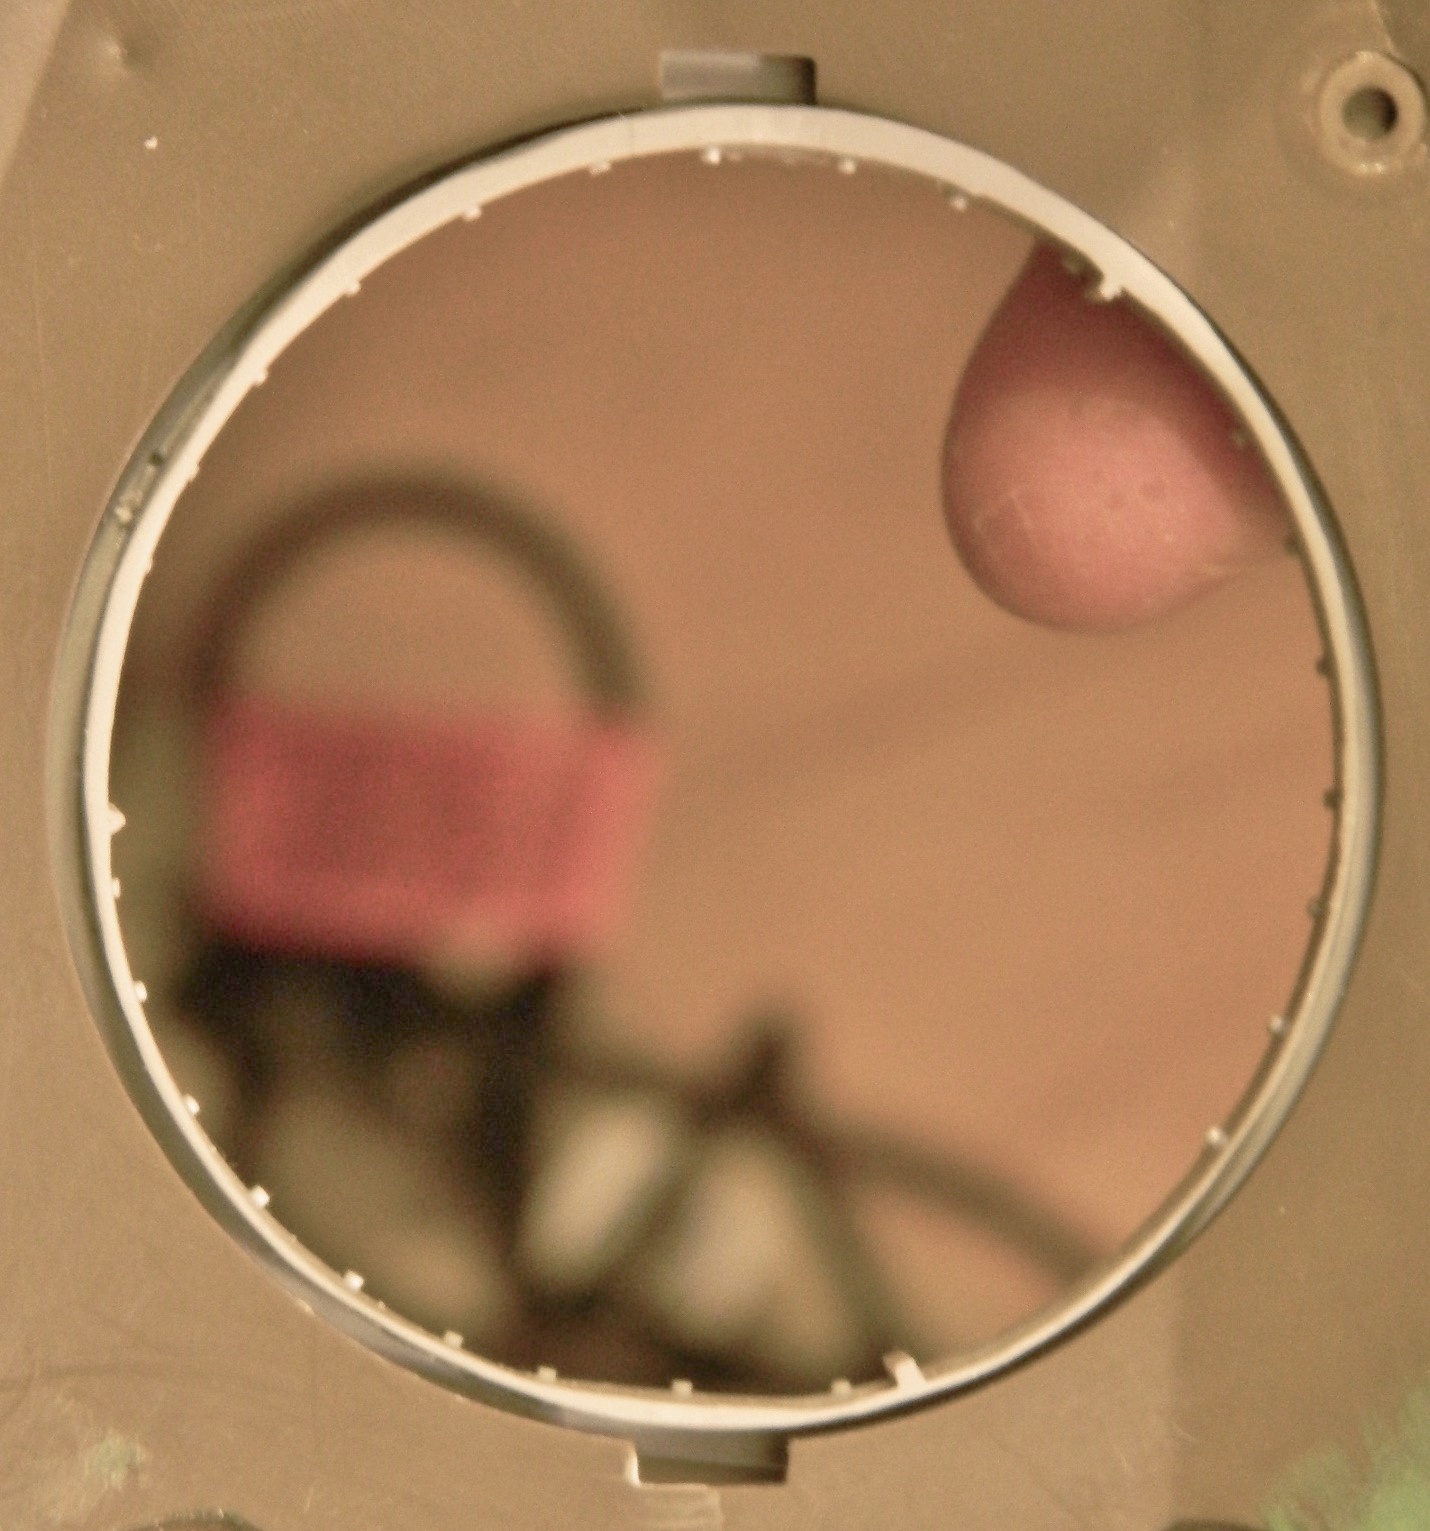
Taking the opening in the hull as my reference, I started shimming the gaps with styrene and using superglue to attach the shims to the resin ring:
Now this gets trimmed and sanded into a rounder shape:

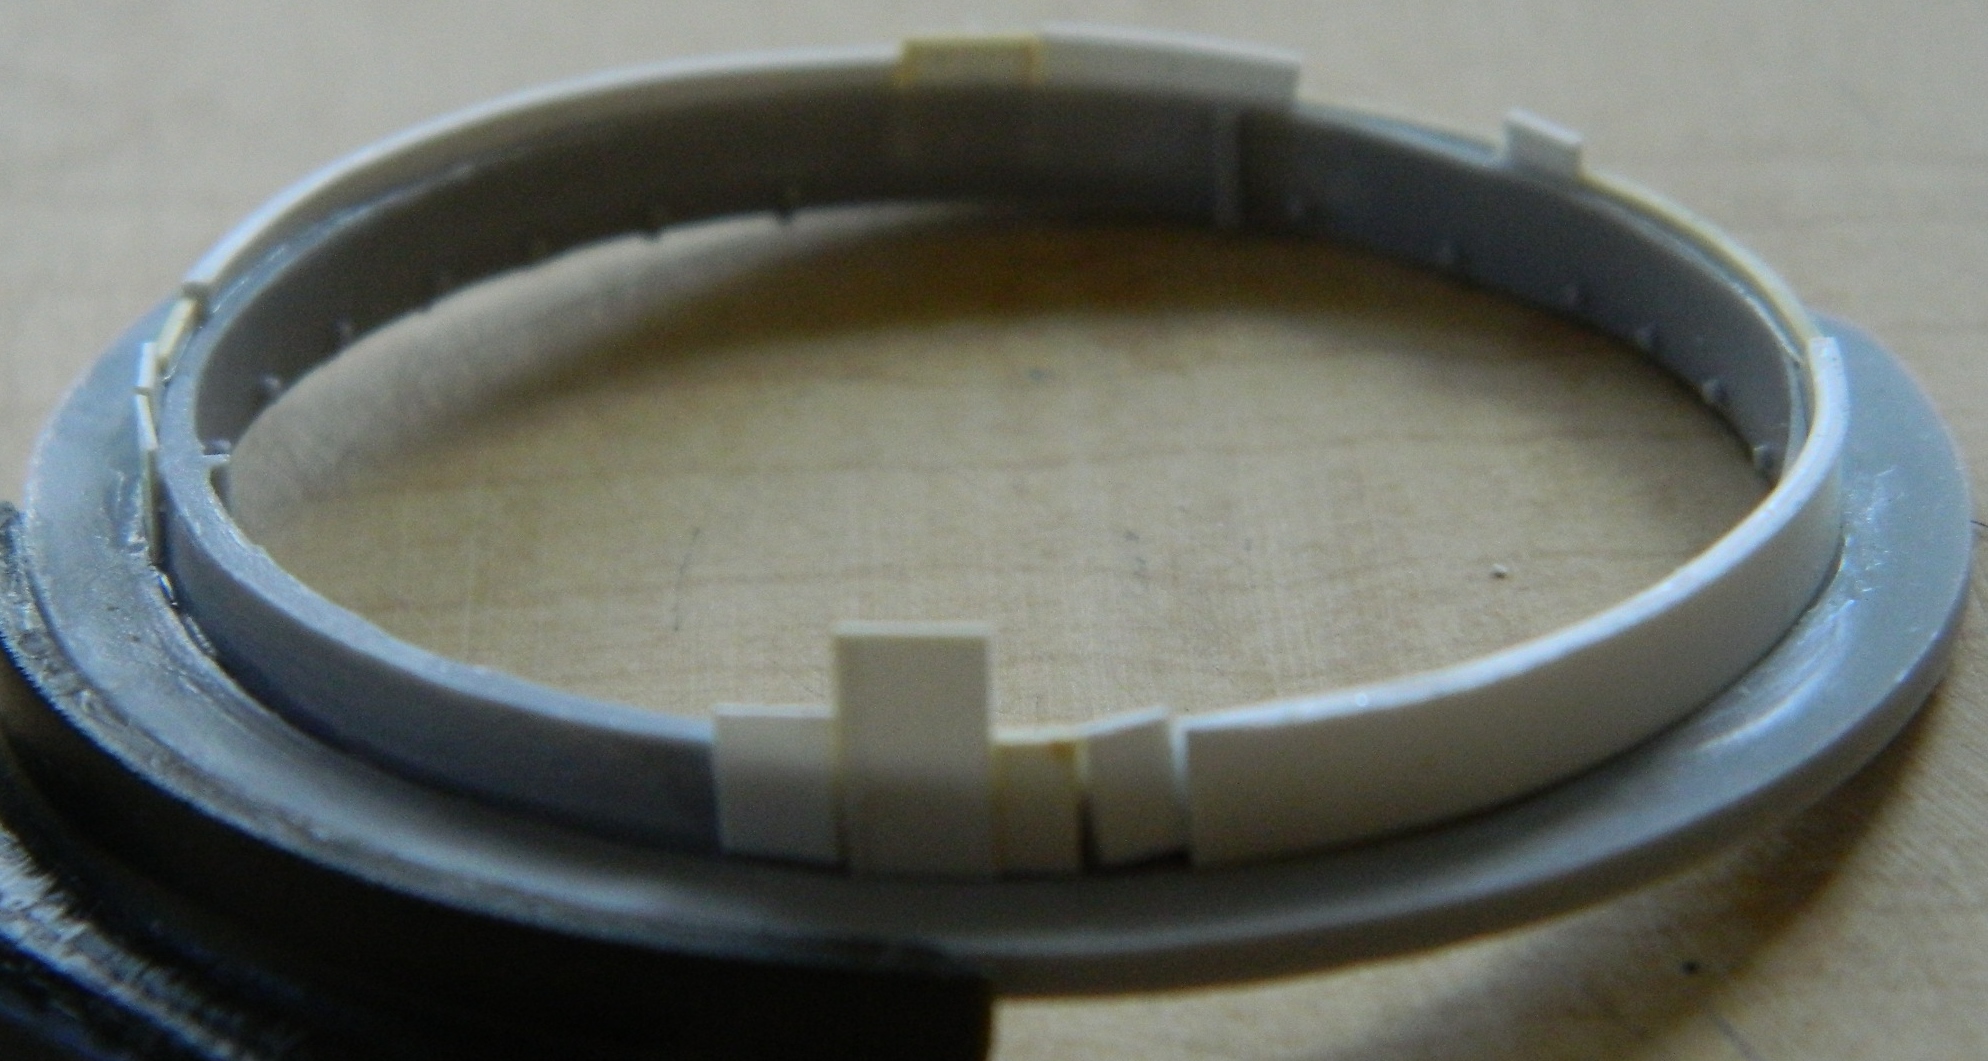
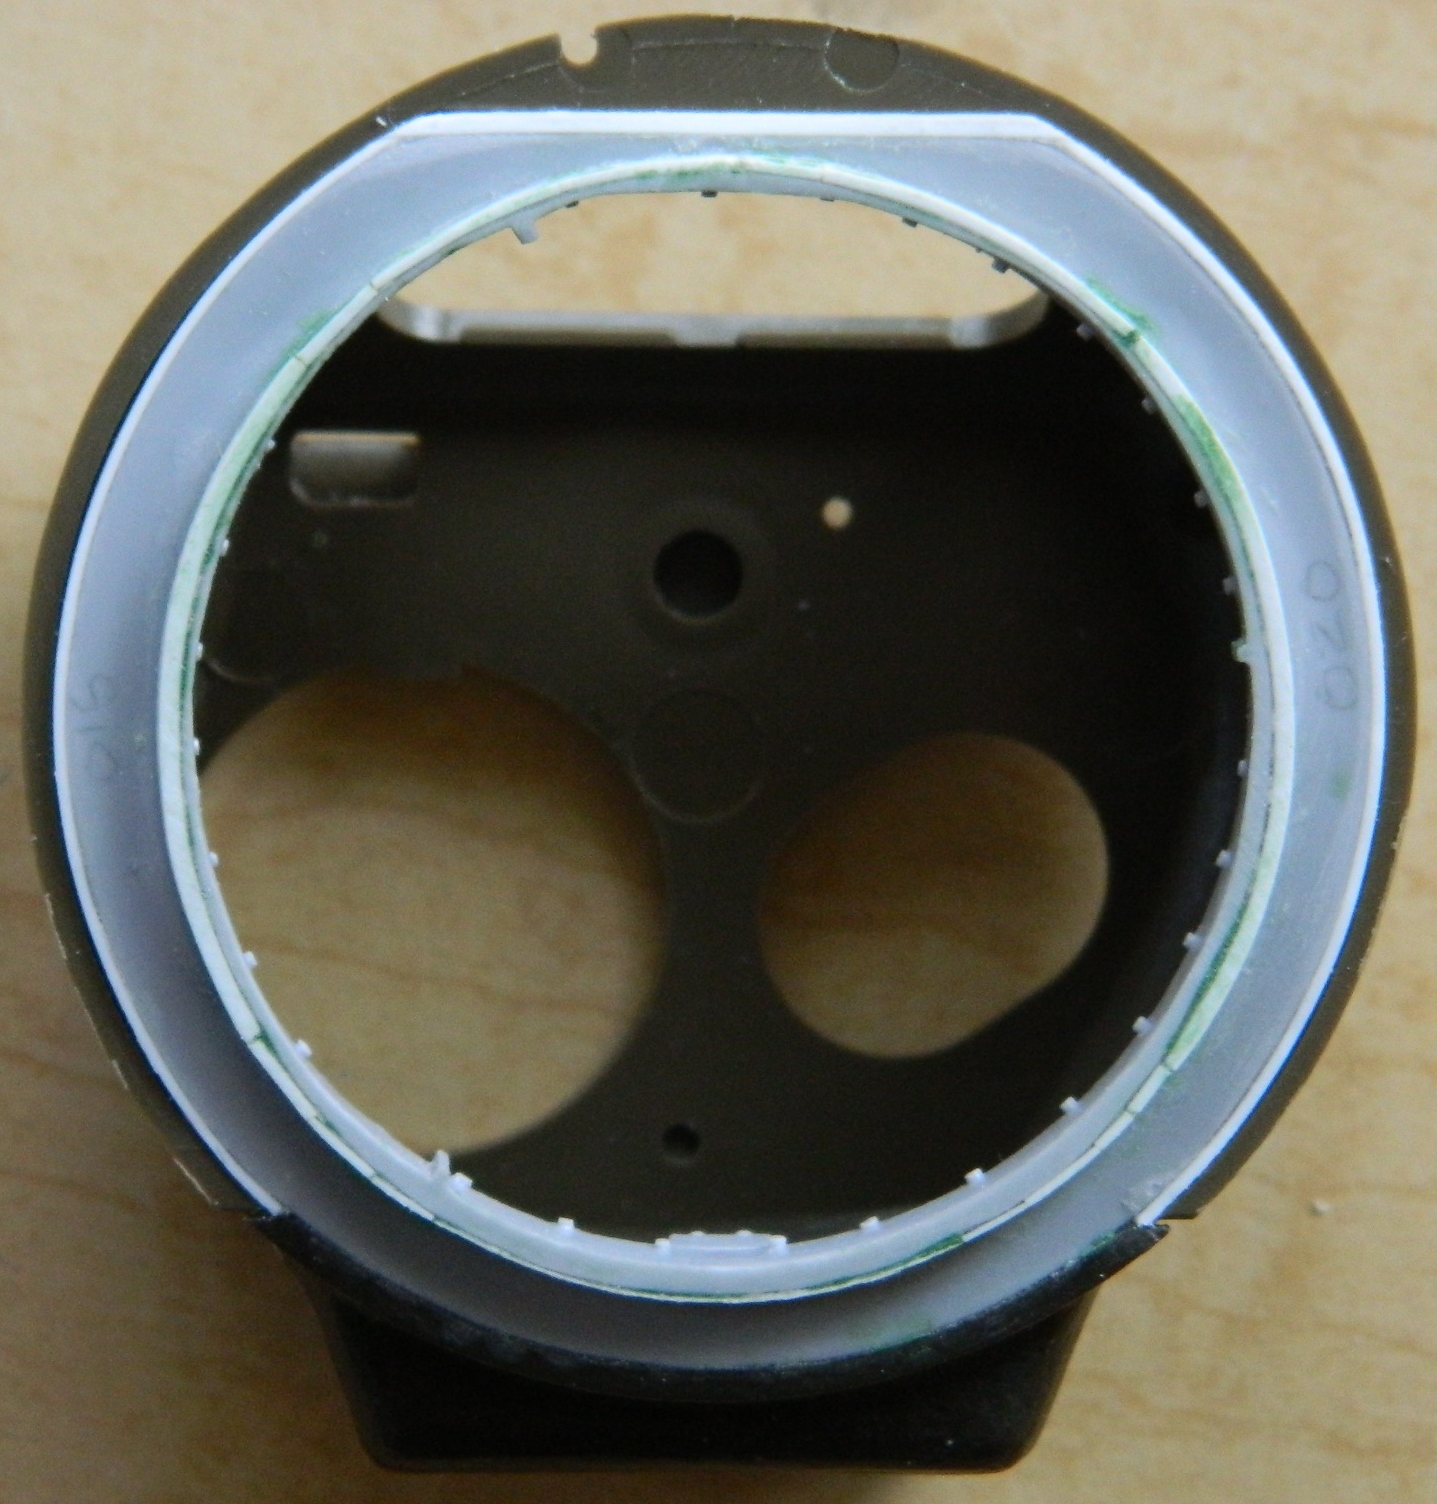
Okay…that’s better:
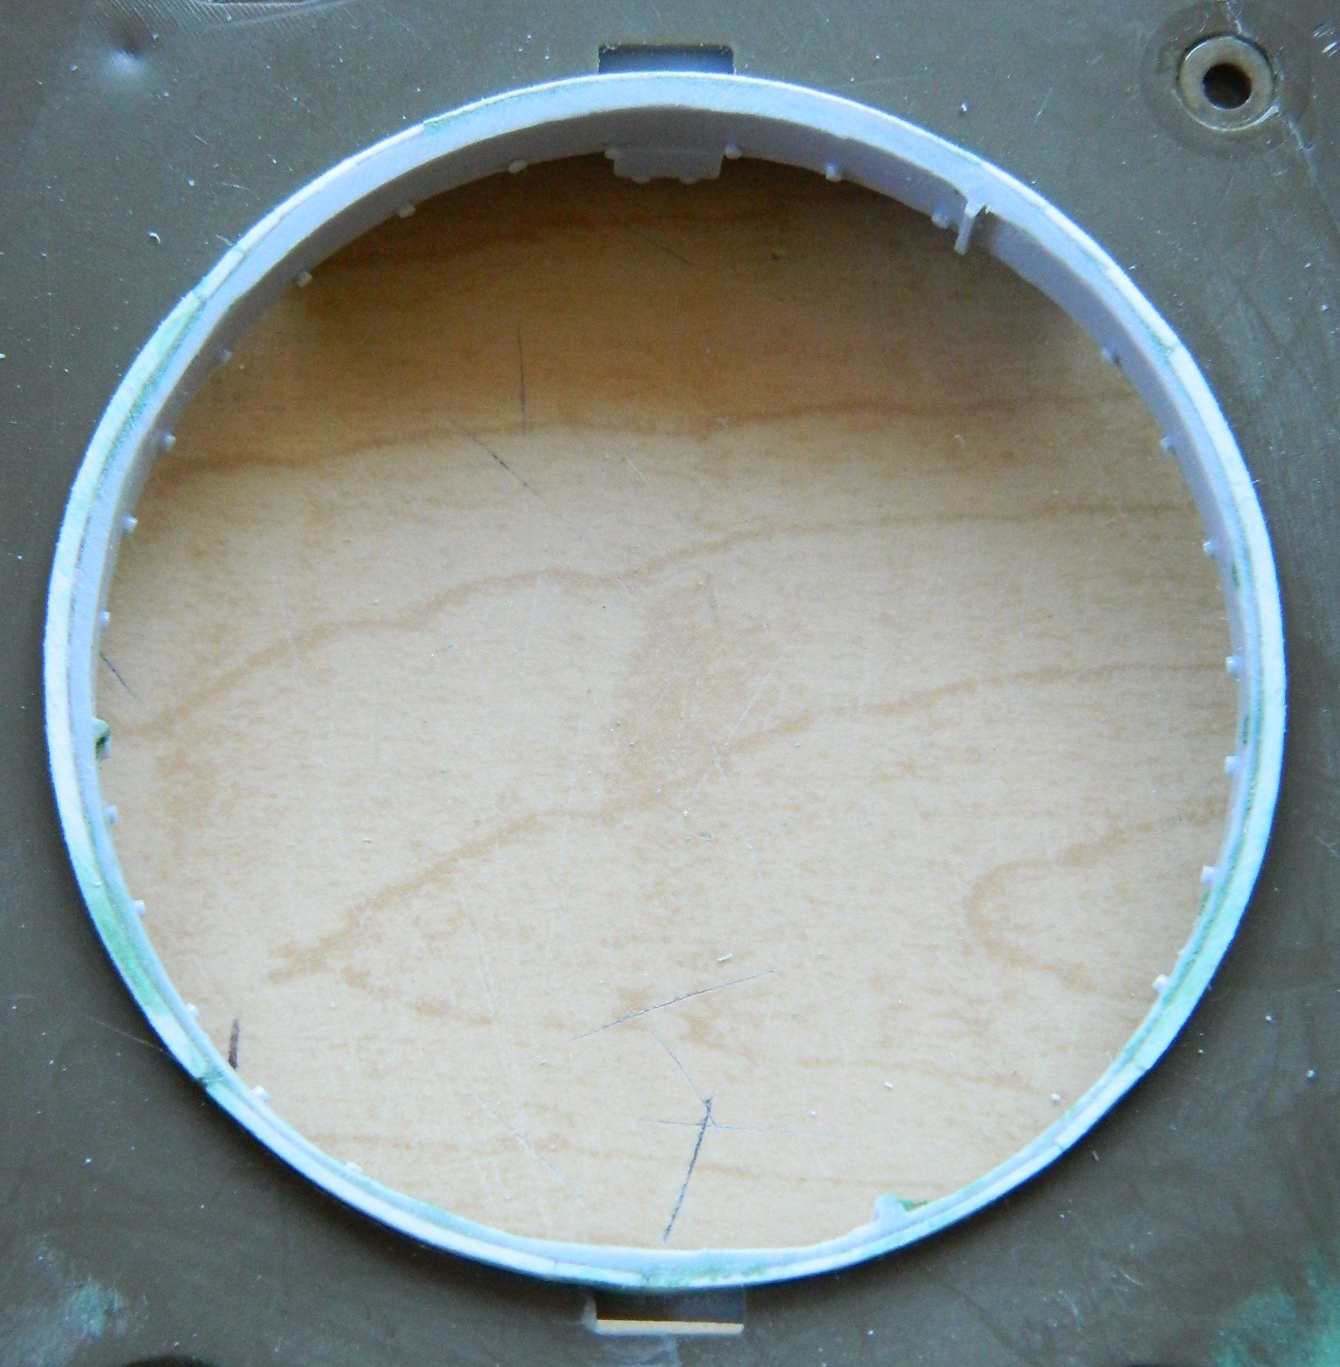
Then checking fit between the lip of the turret ring and the bottom of the turret shows there’s more shimming to do:
Shimmed, trimmed, and fit:


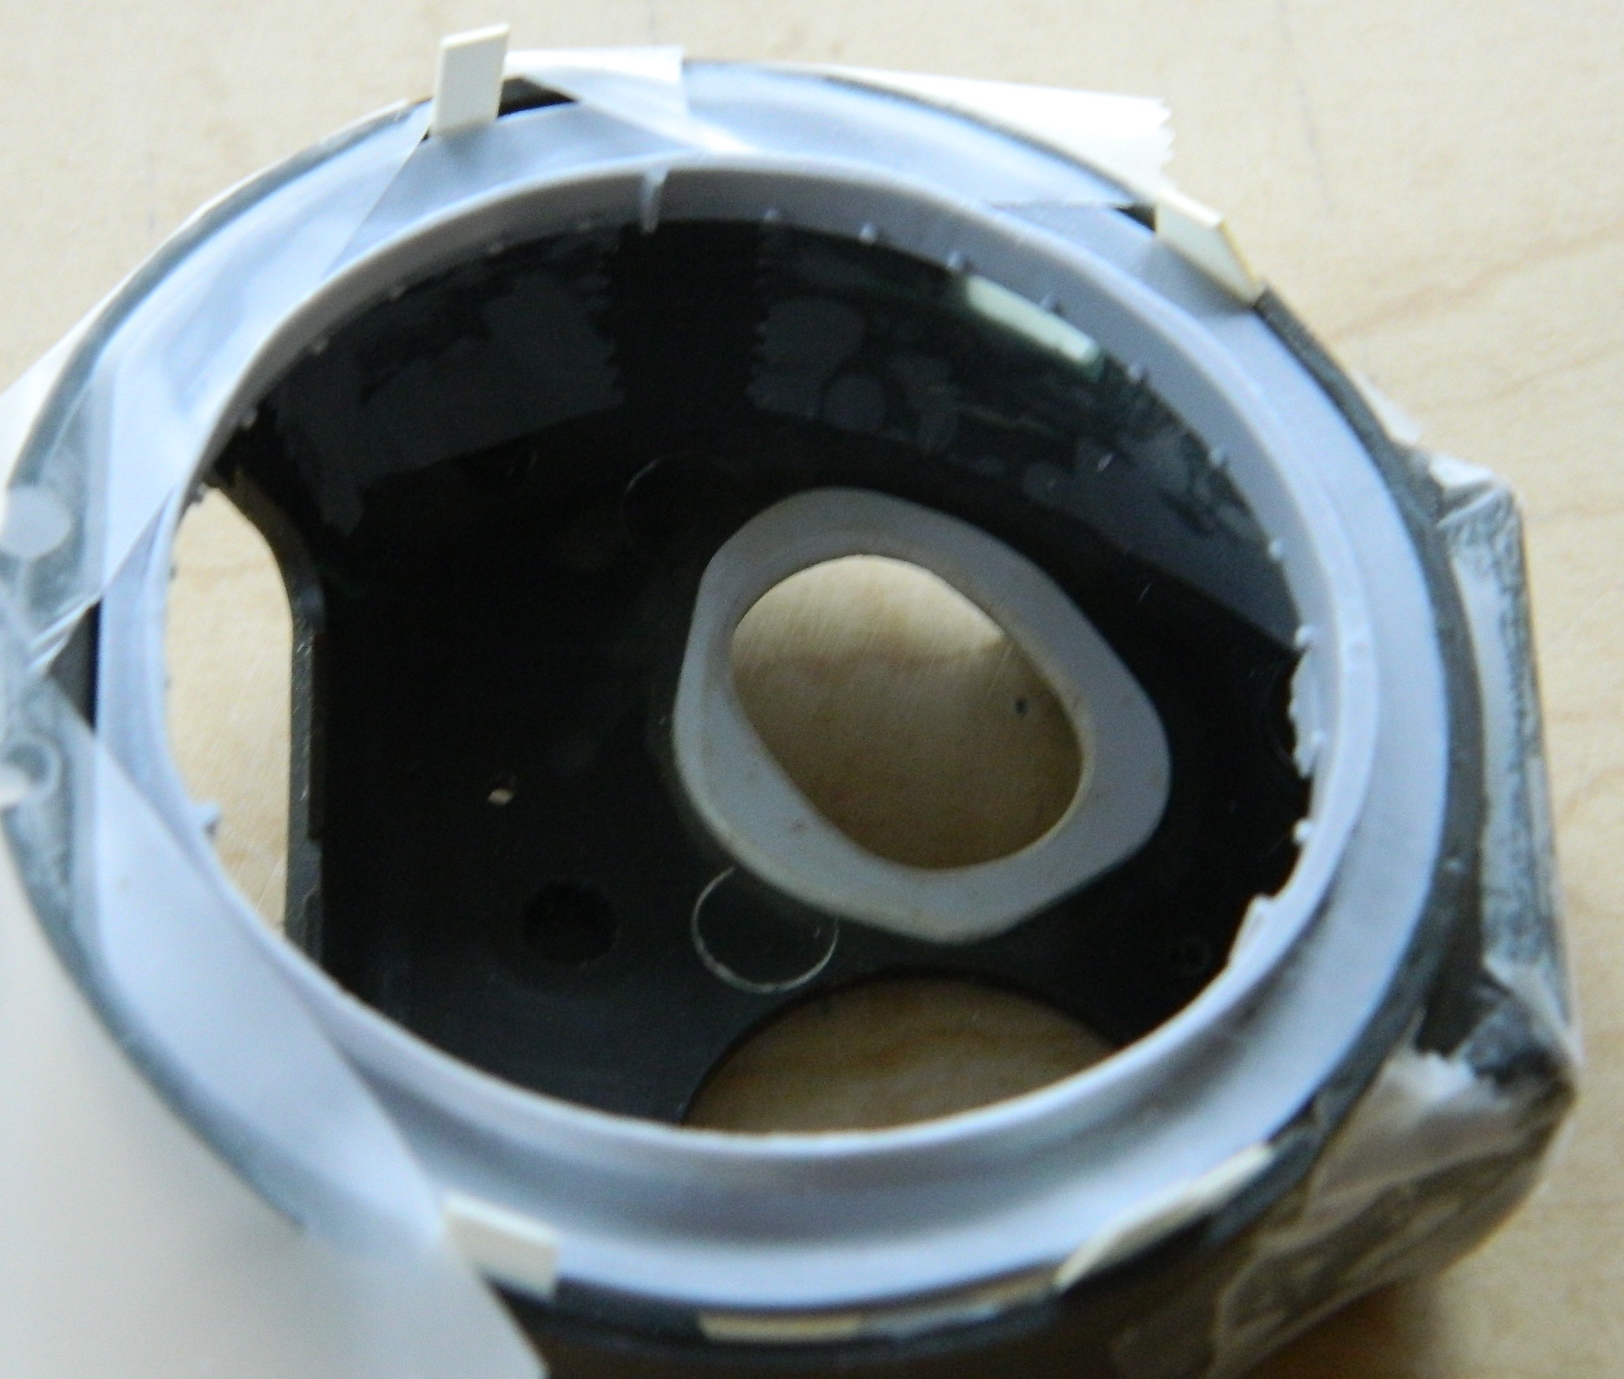
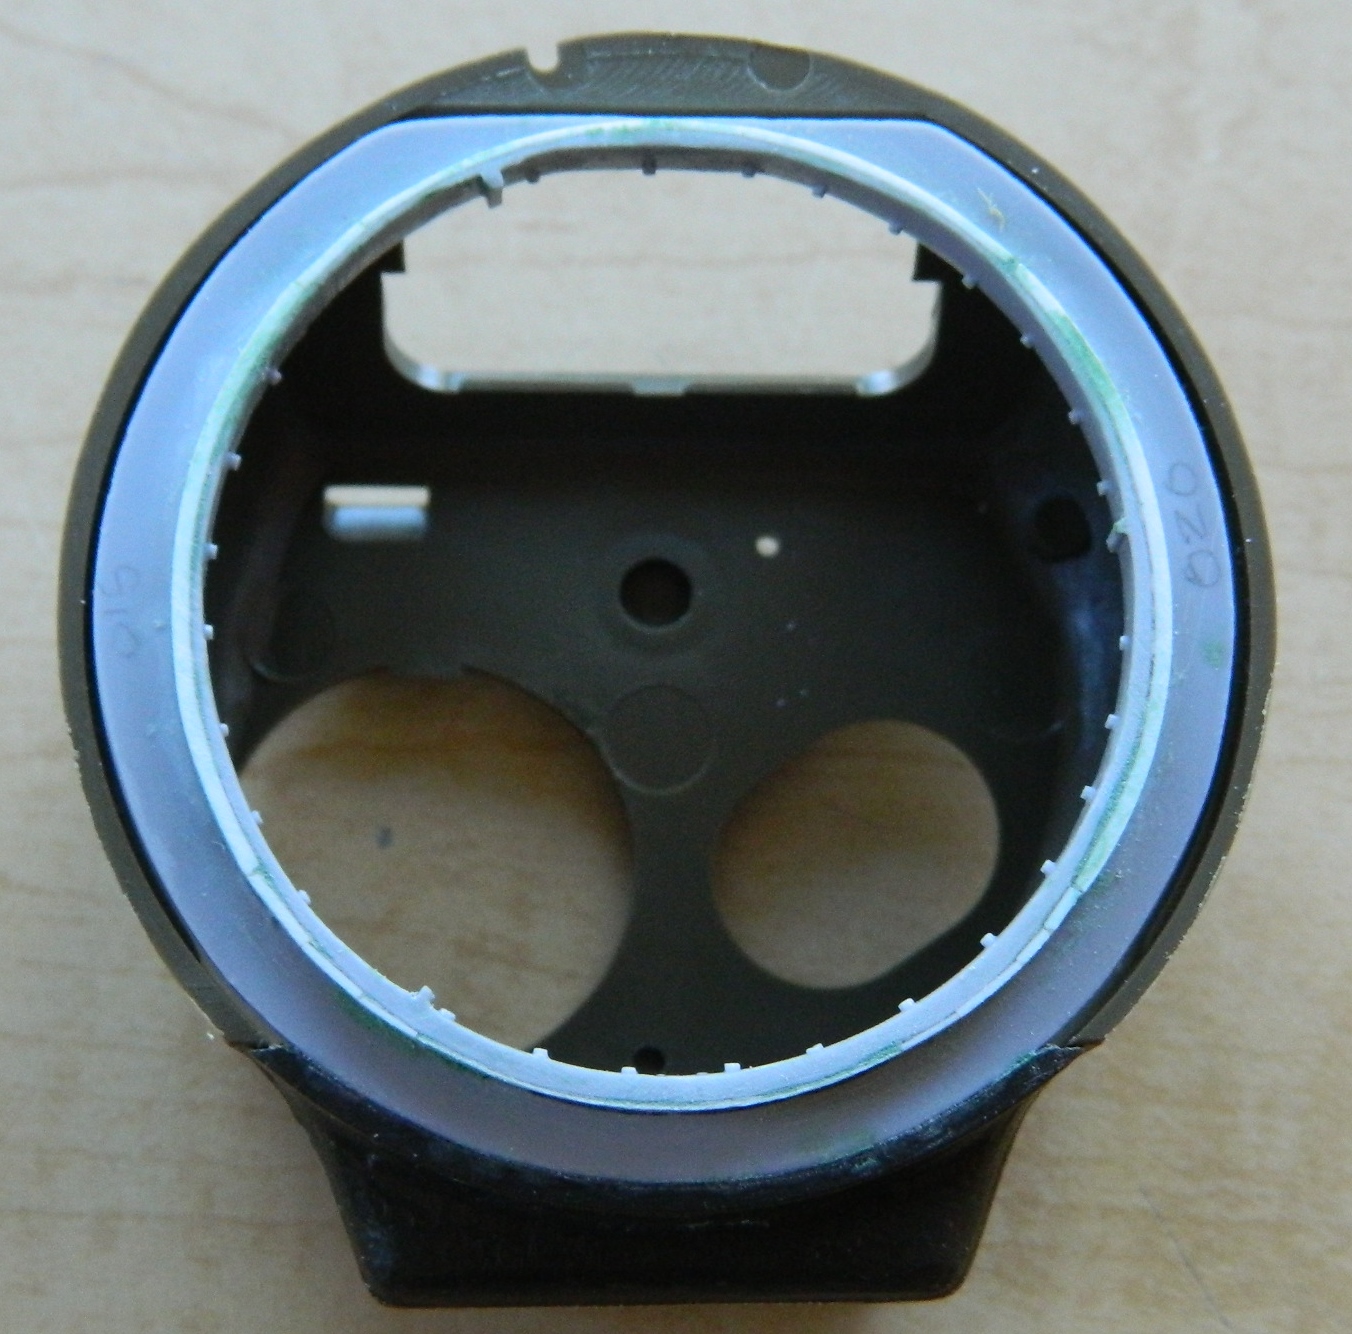
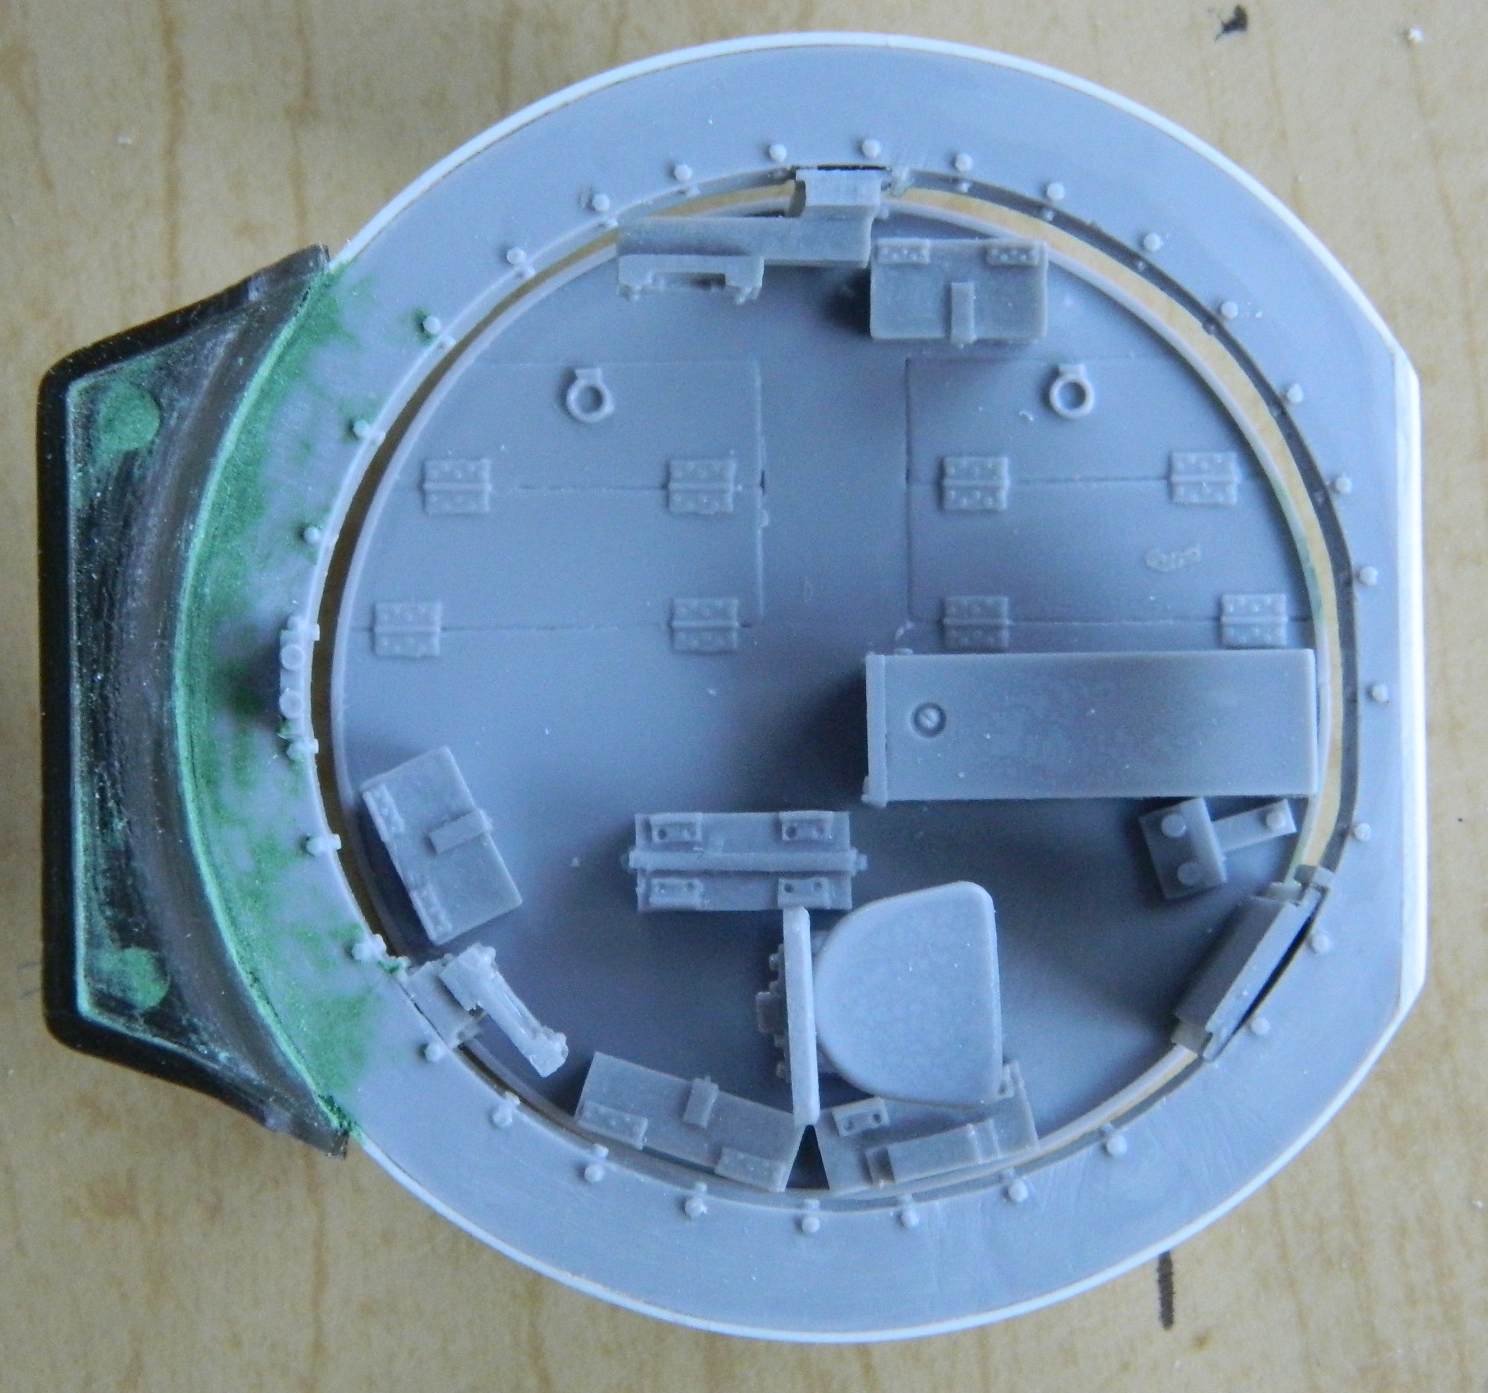
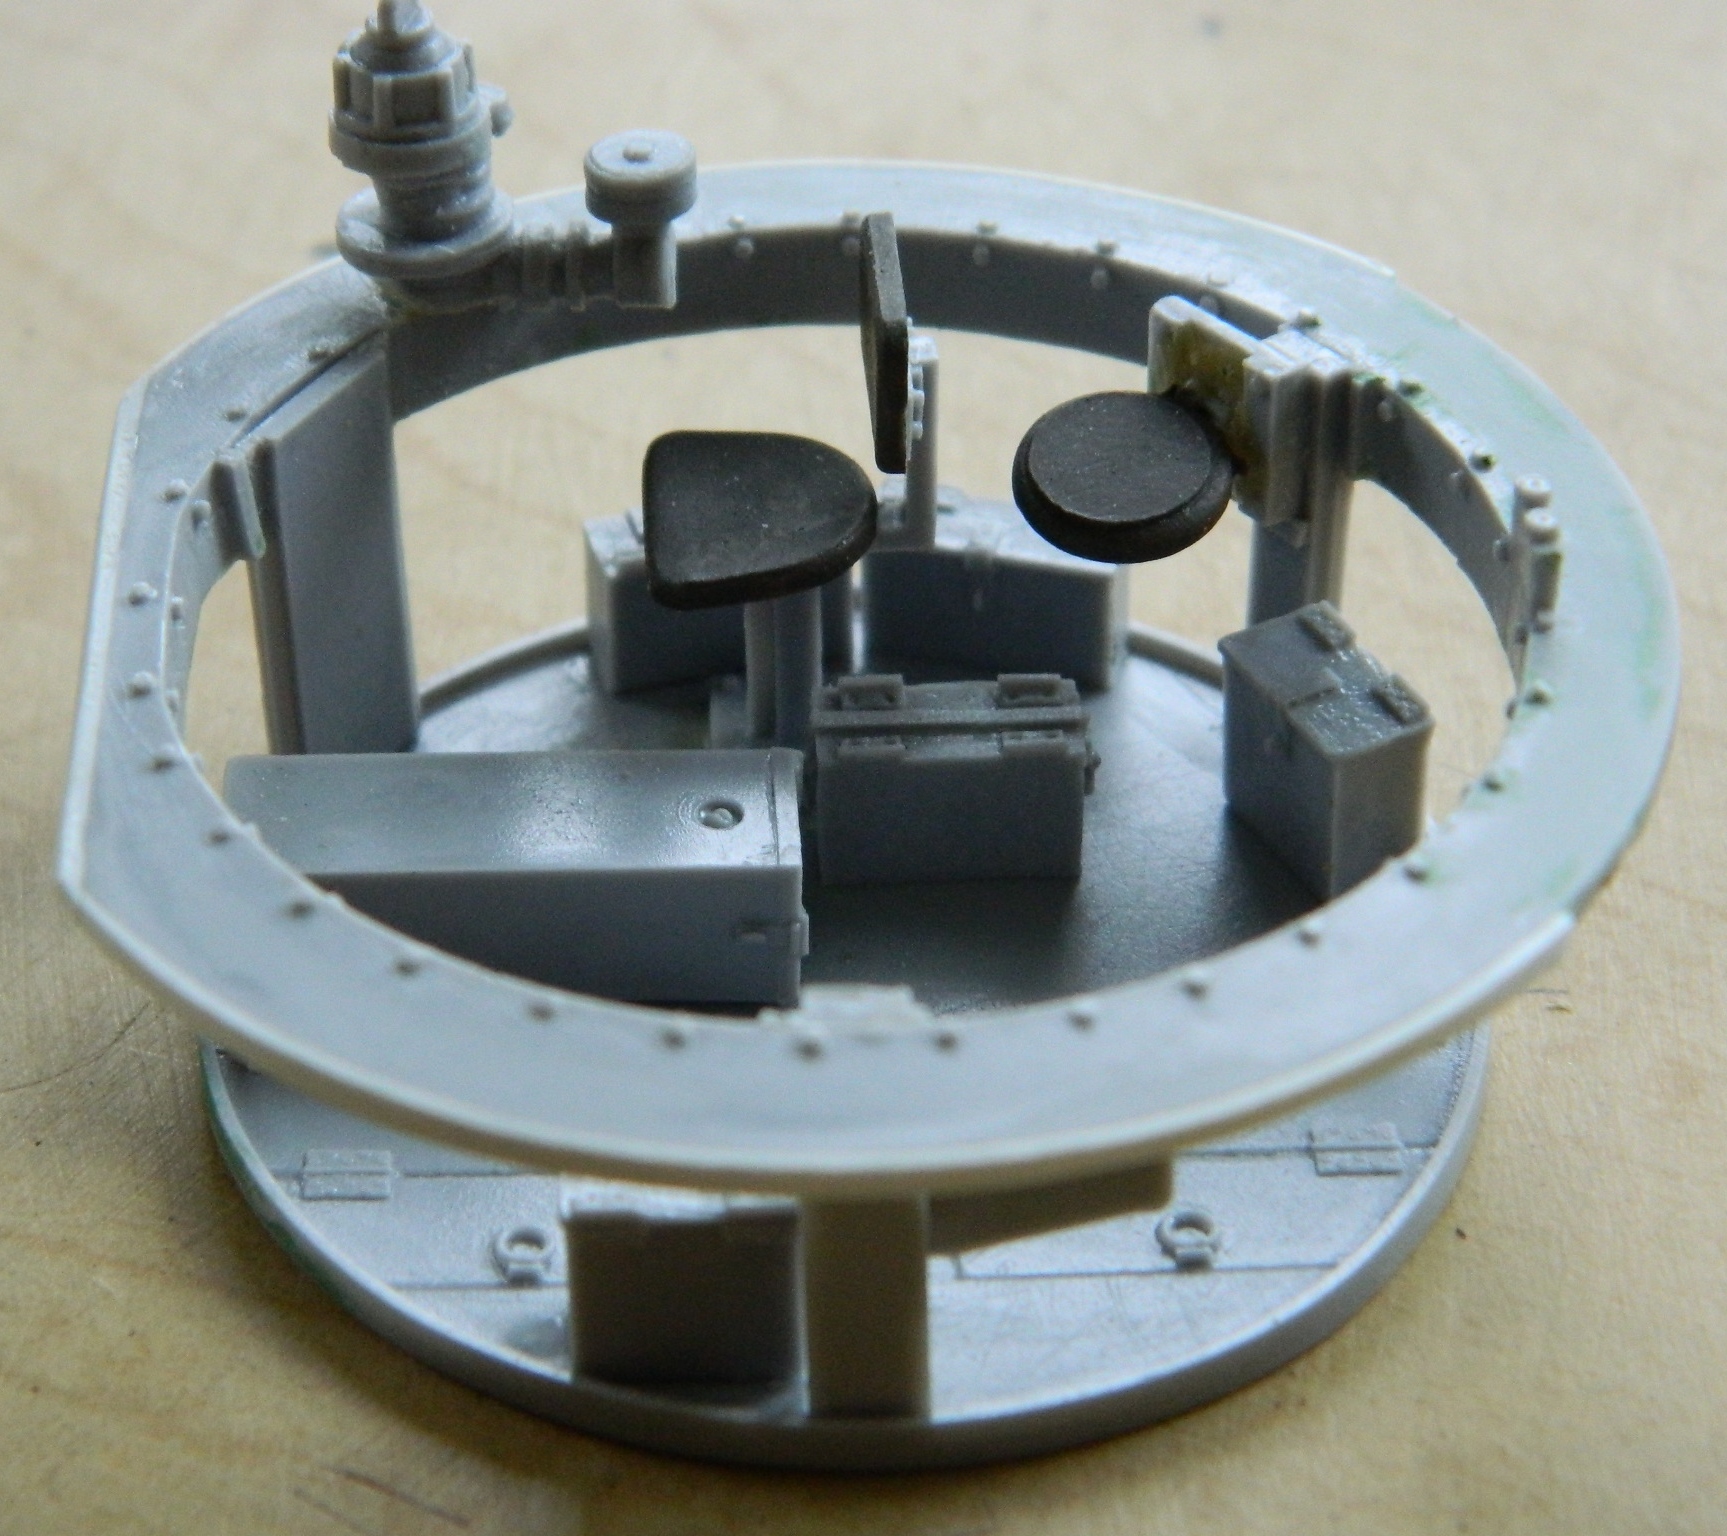
First, the floor gets added to the ring:
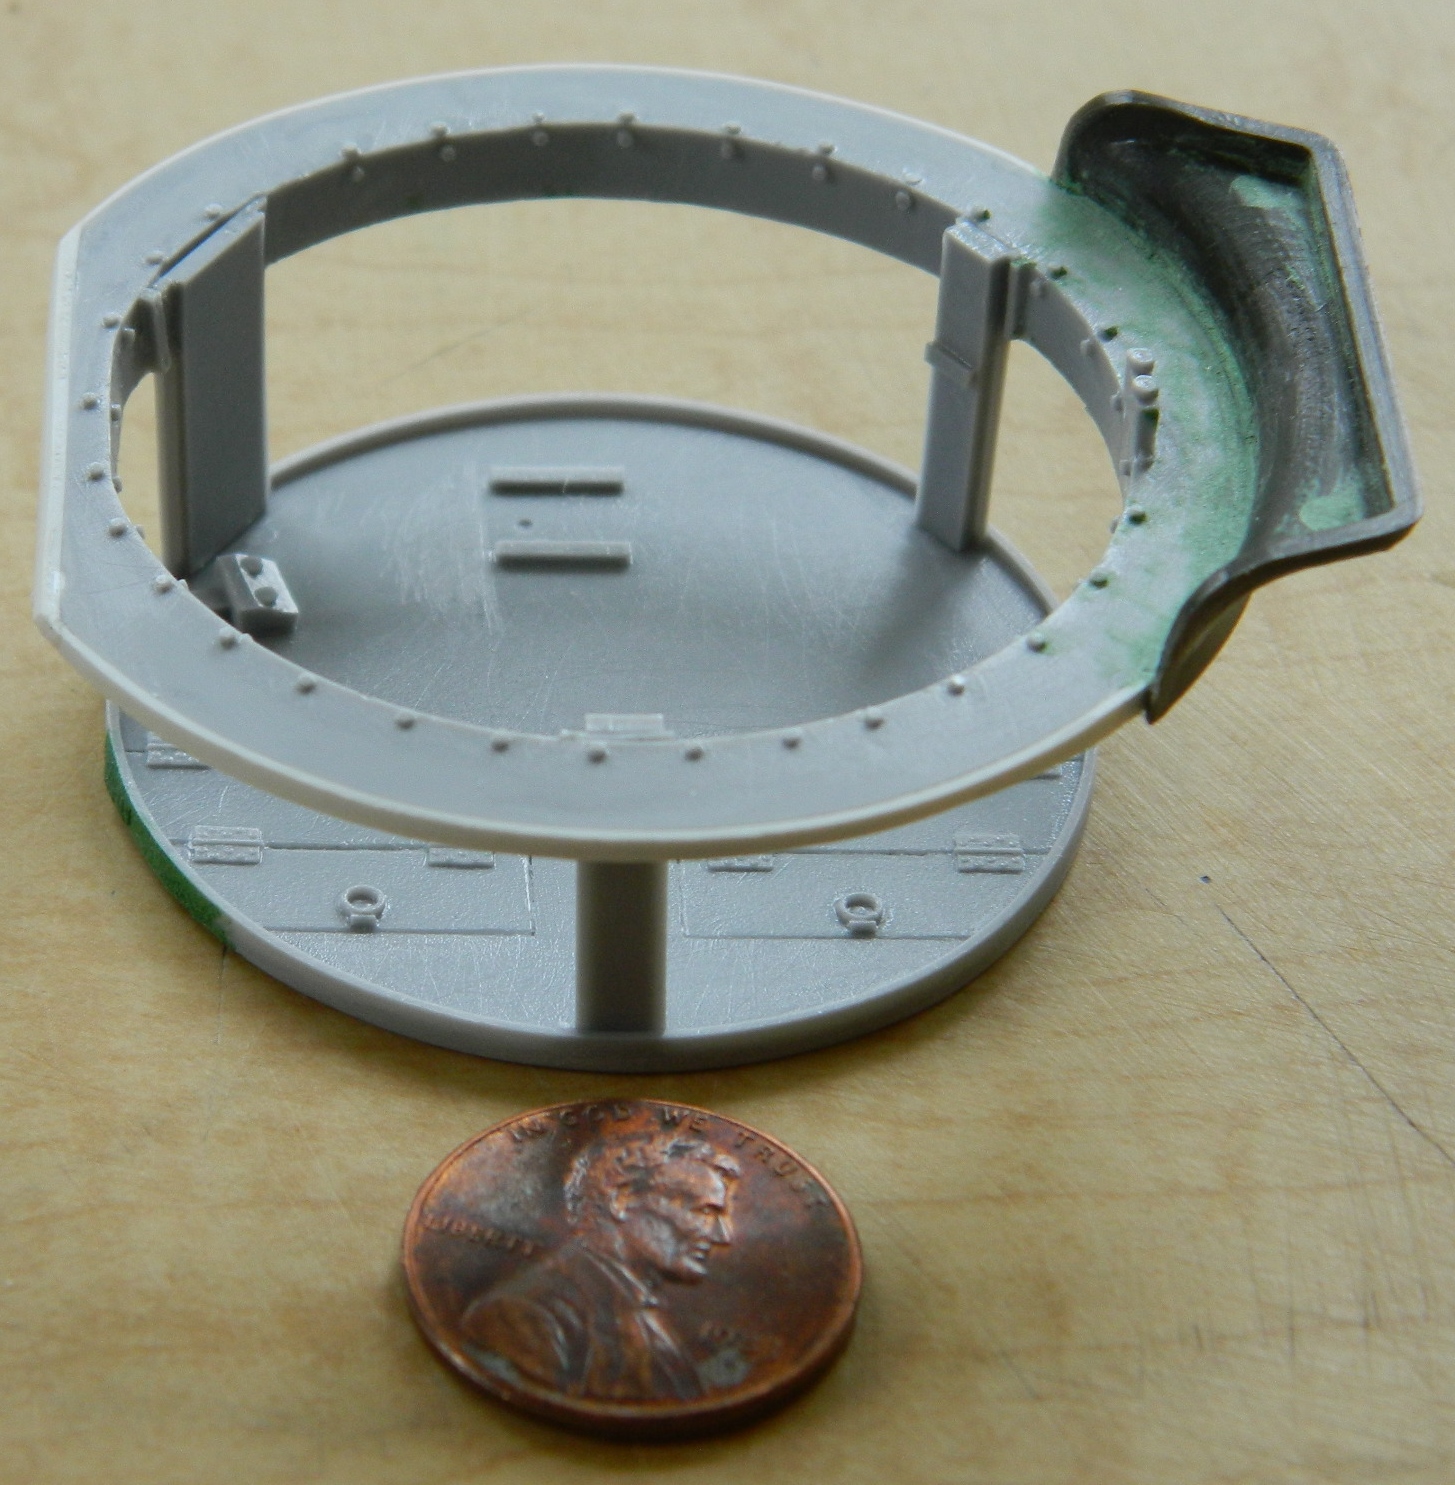
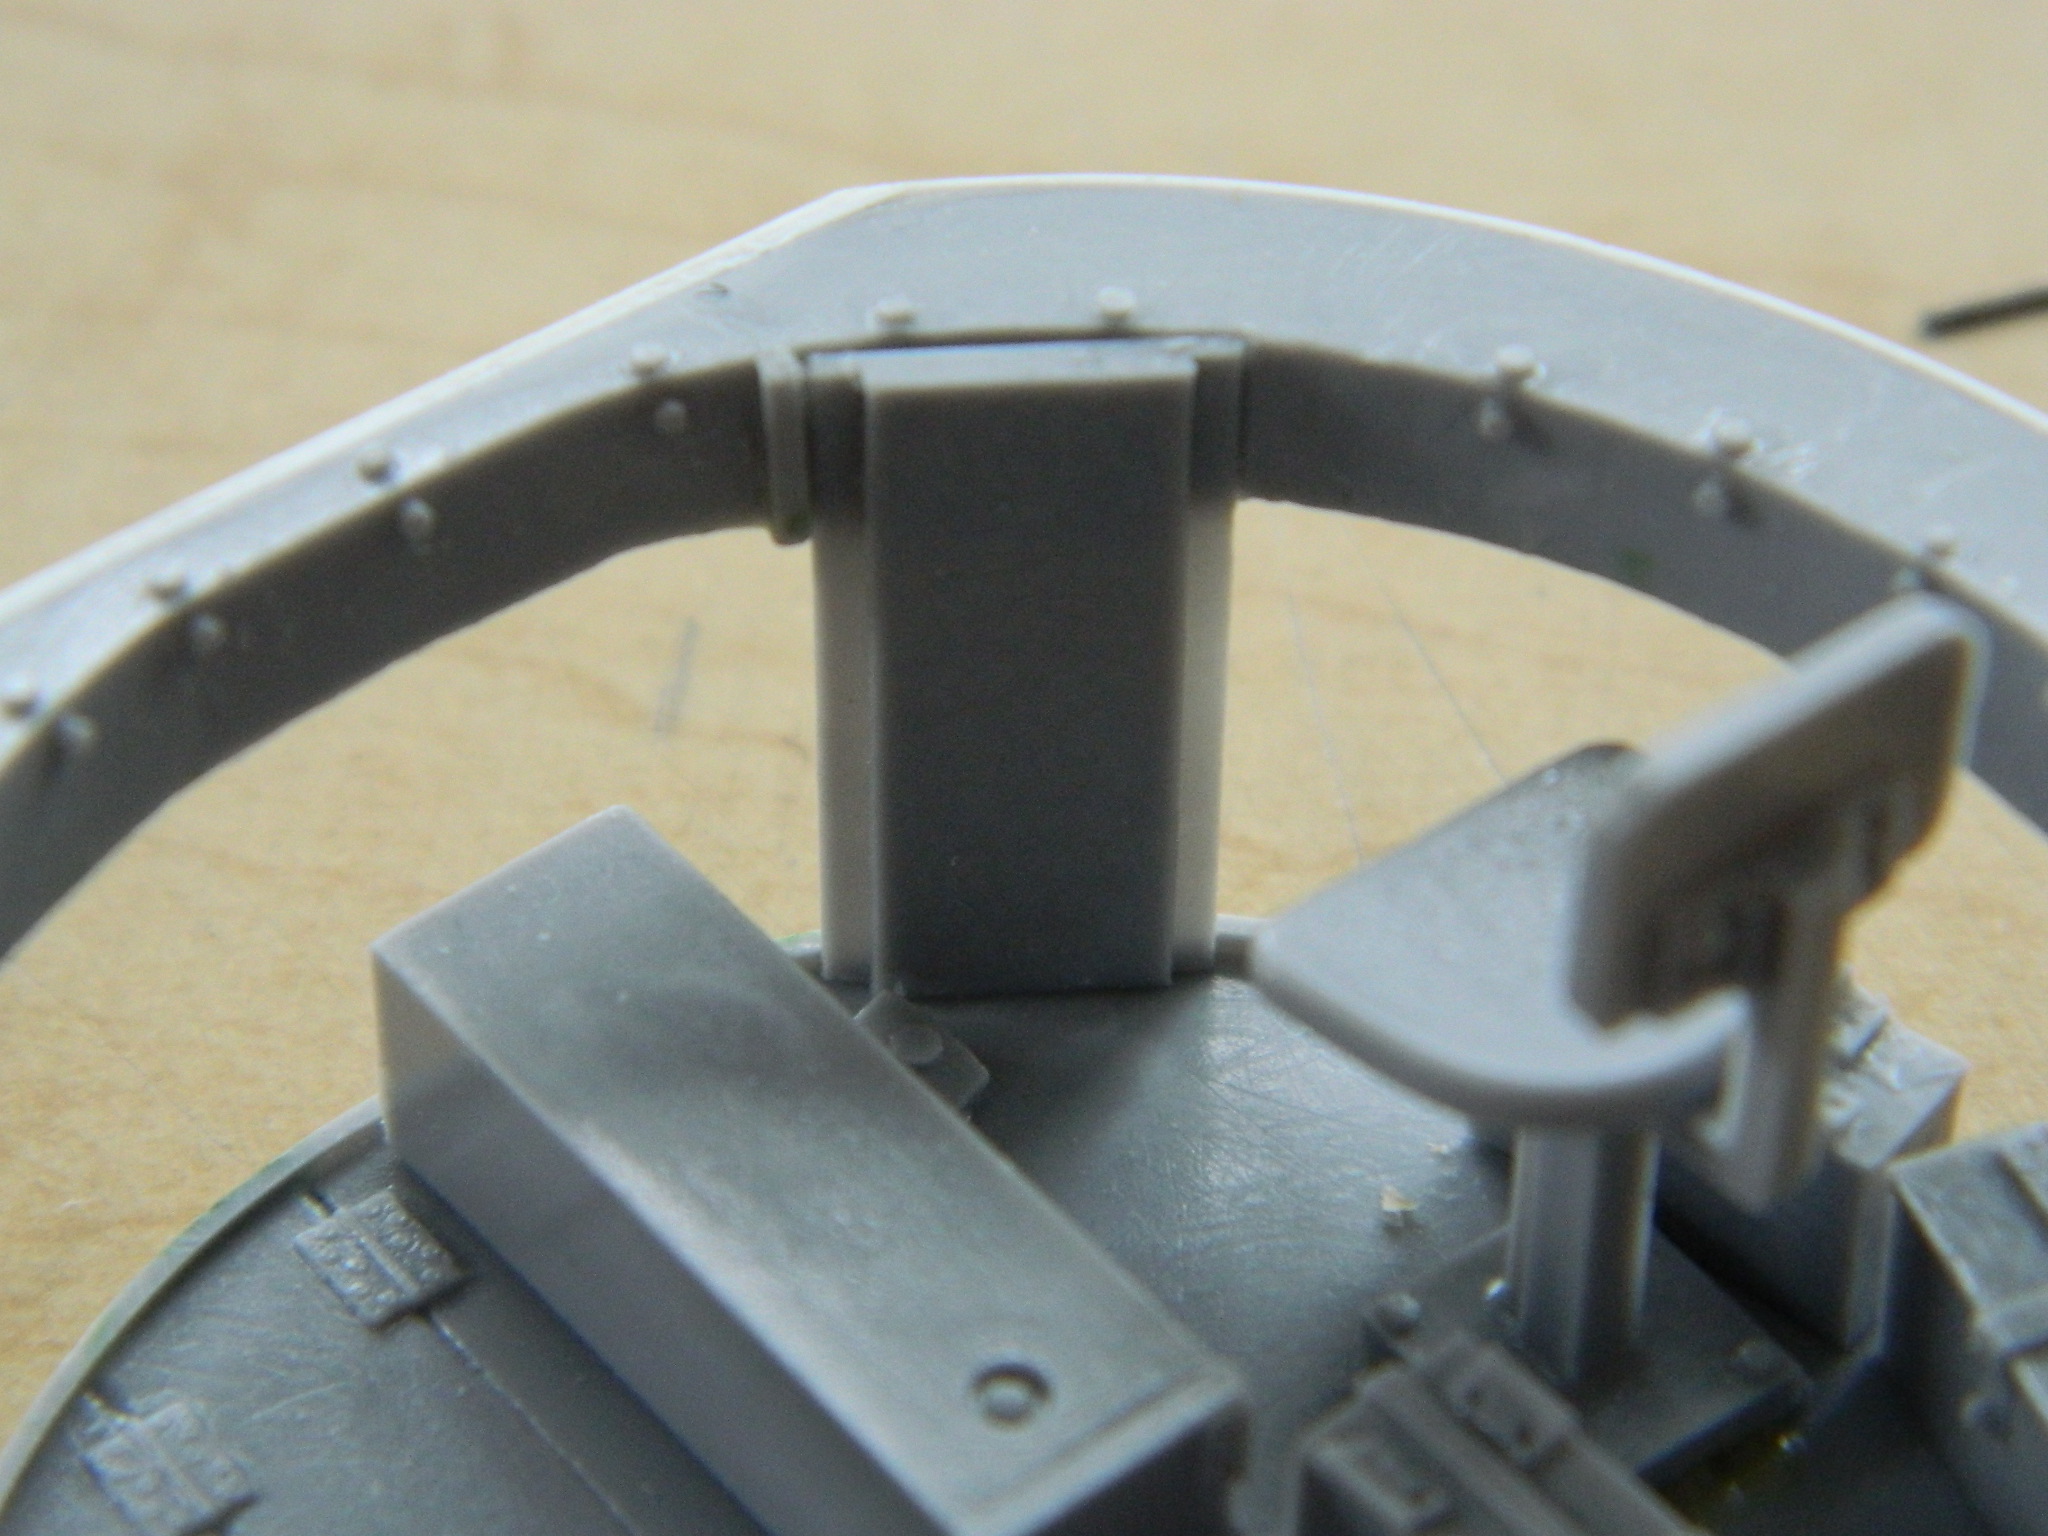
Then the various boxes are added to the floor (the gunner’s seat has to go in a specific place, the other boxes and things aren’t as critical, using the gunner’s seat as a reference point):
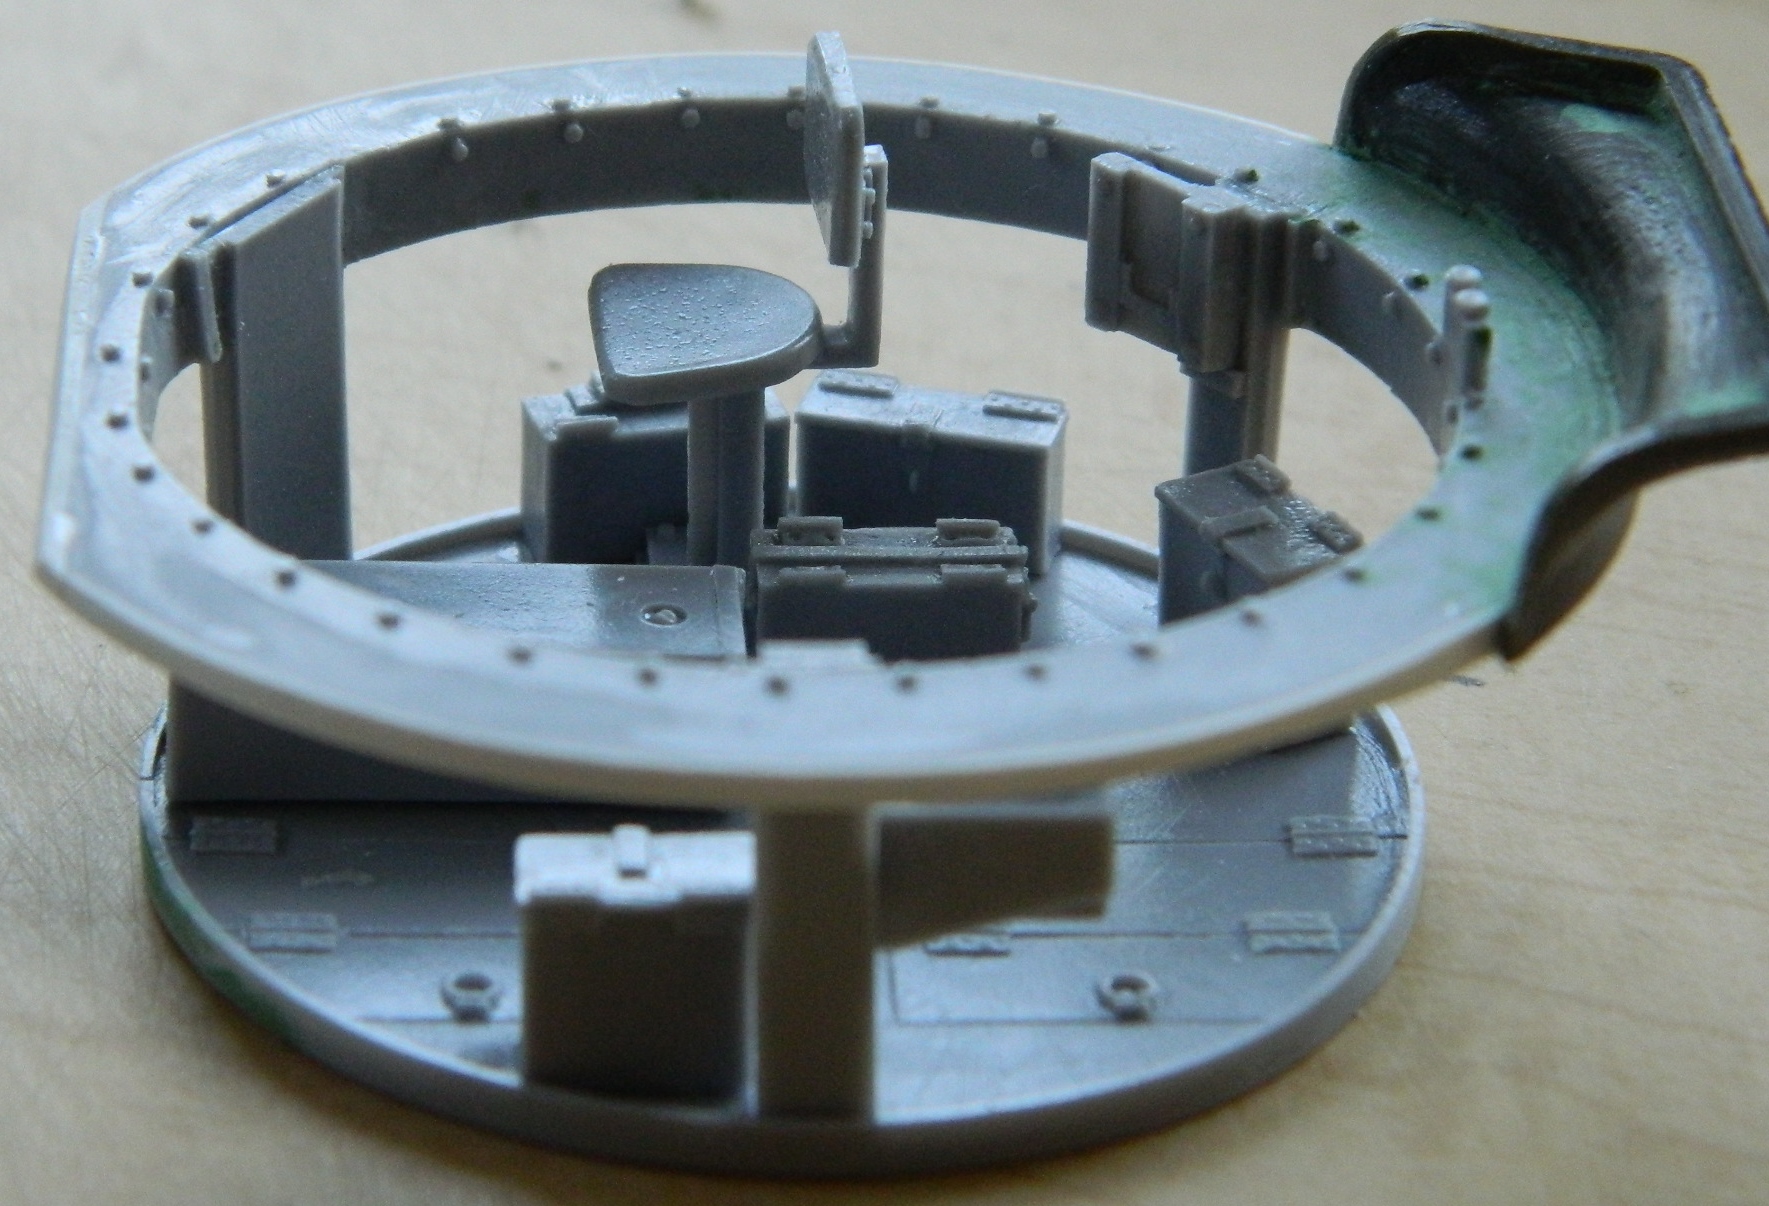


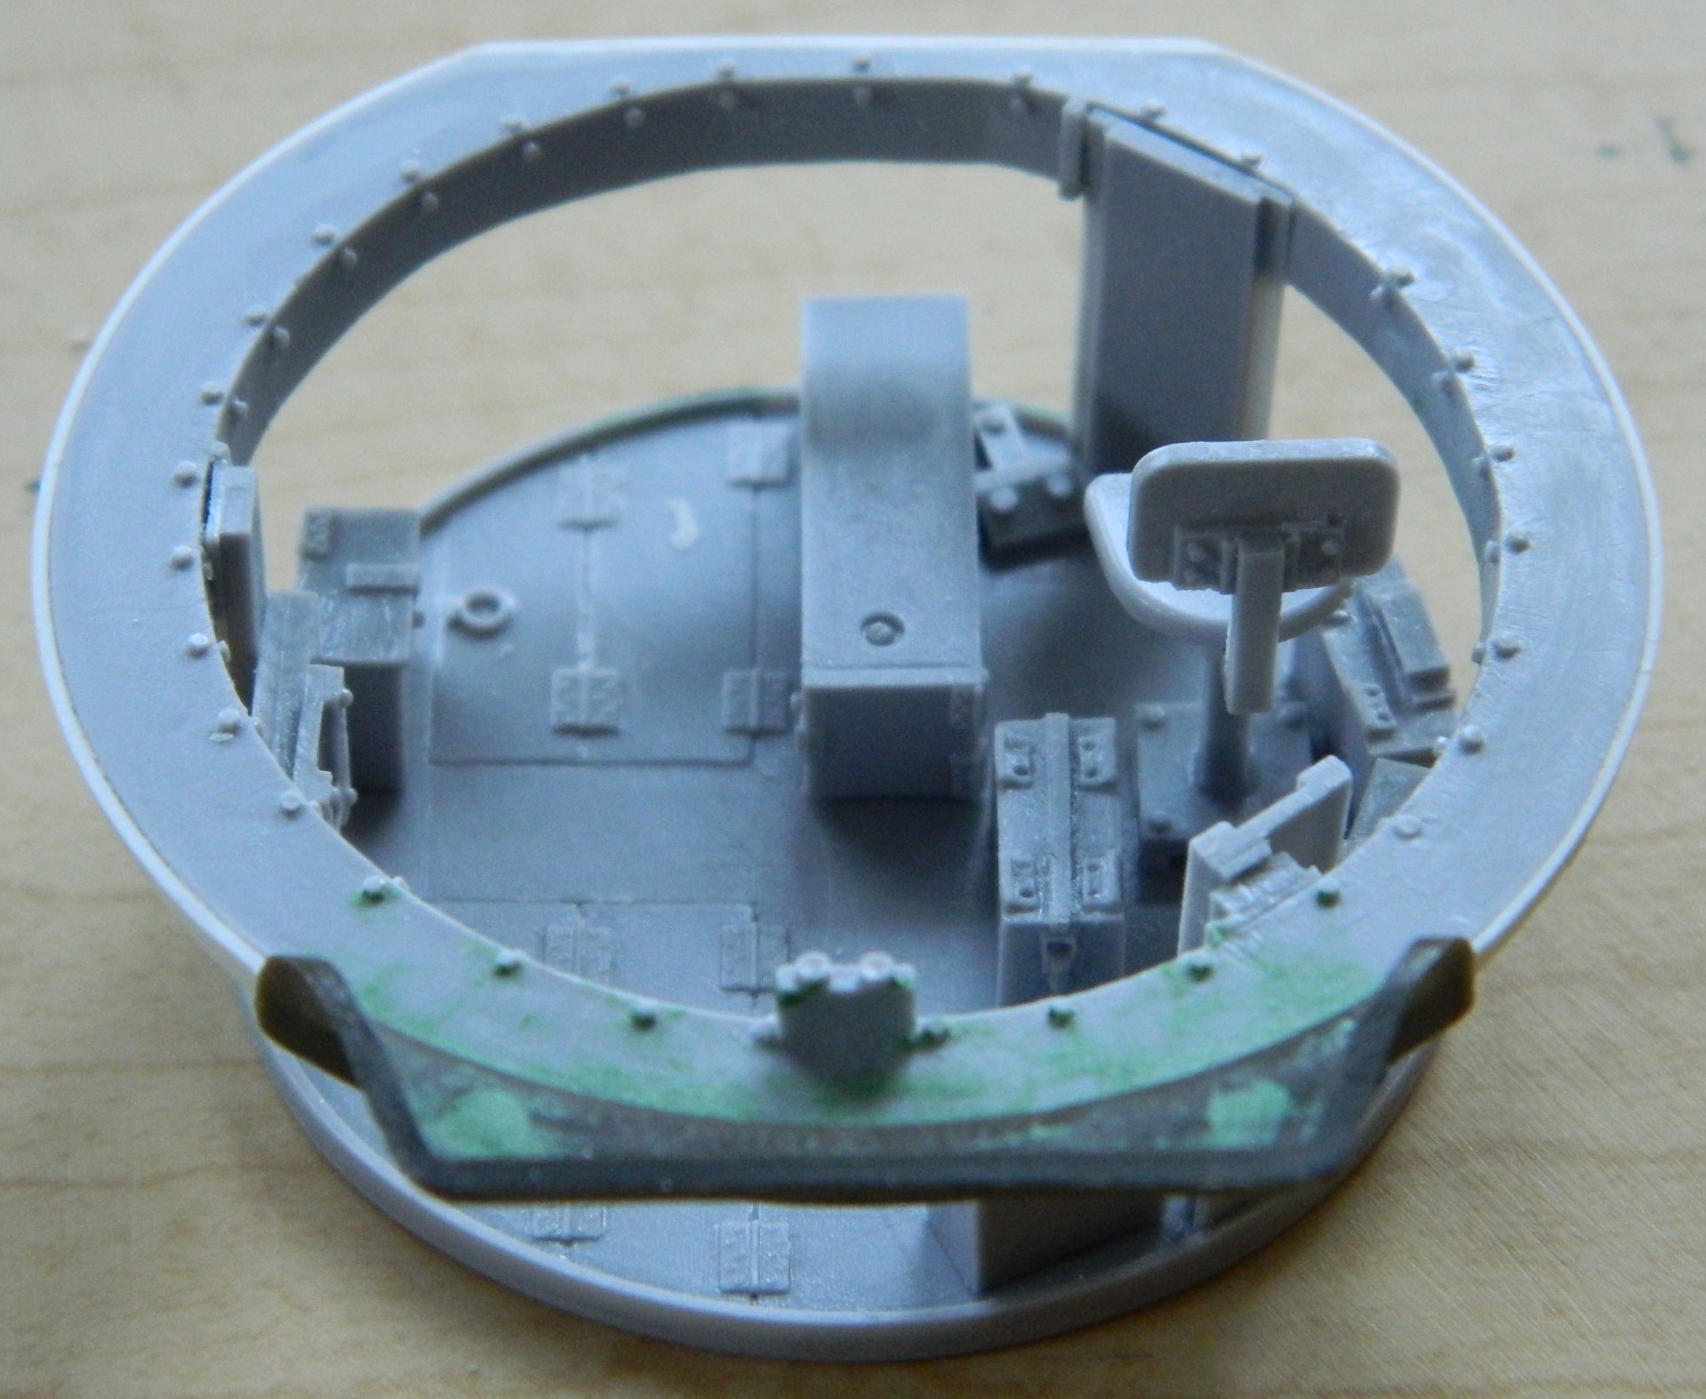
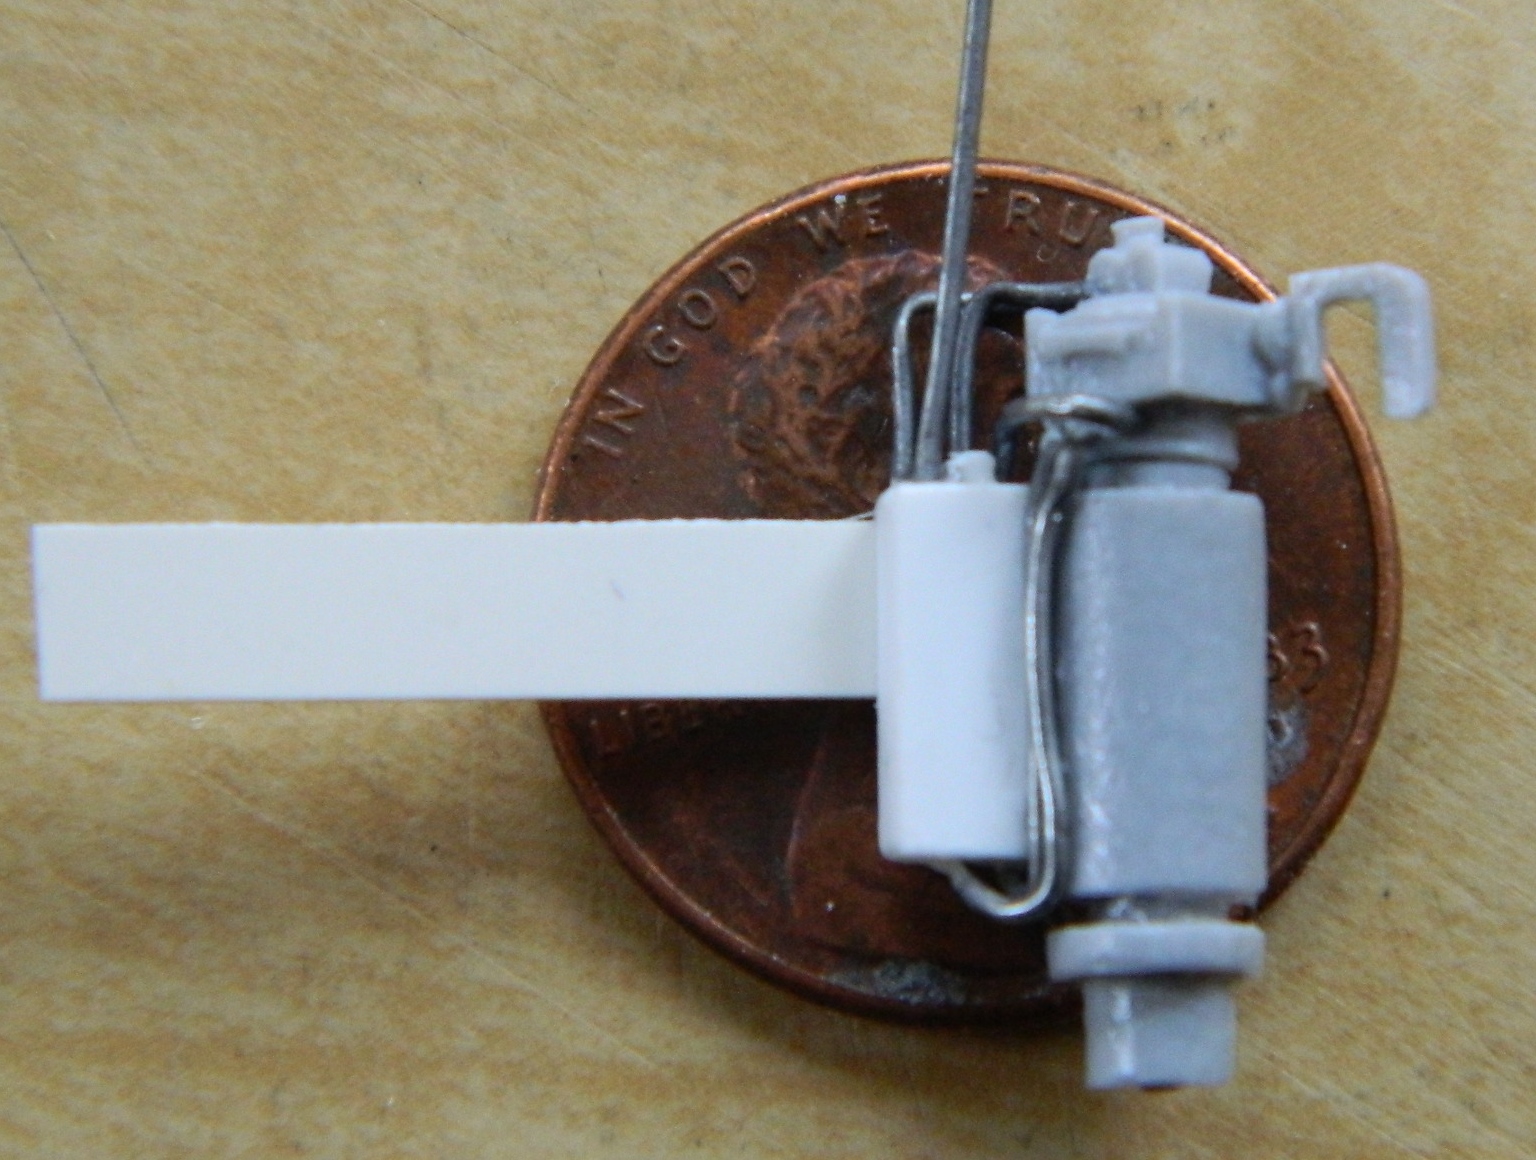
The gunner’s turret traverse controls are mounted on this panel in front of the seat:
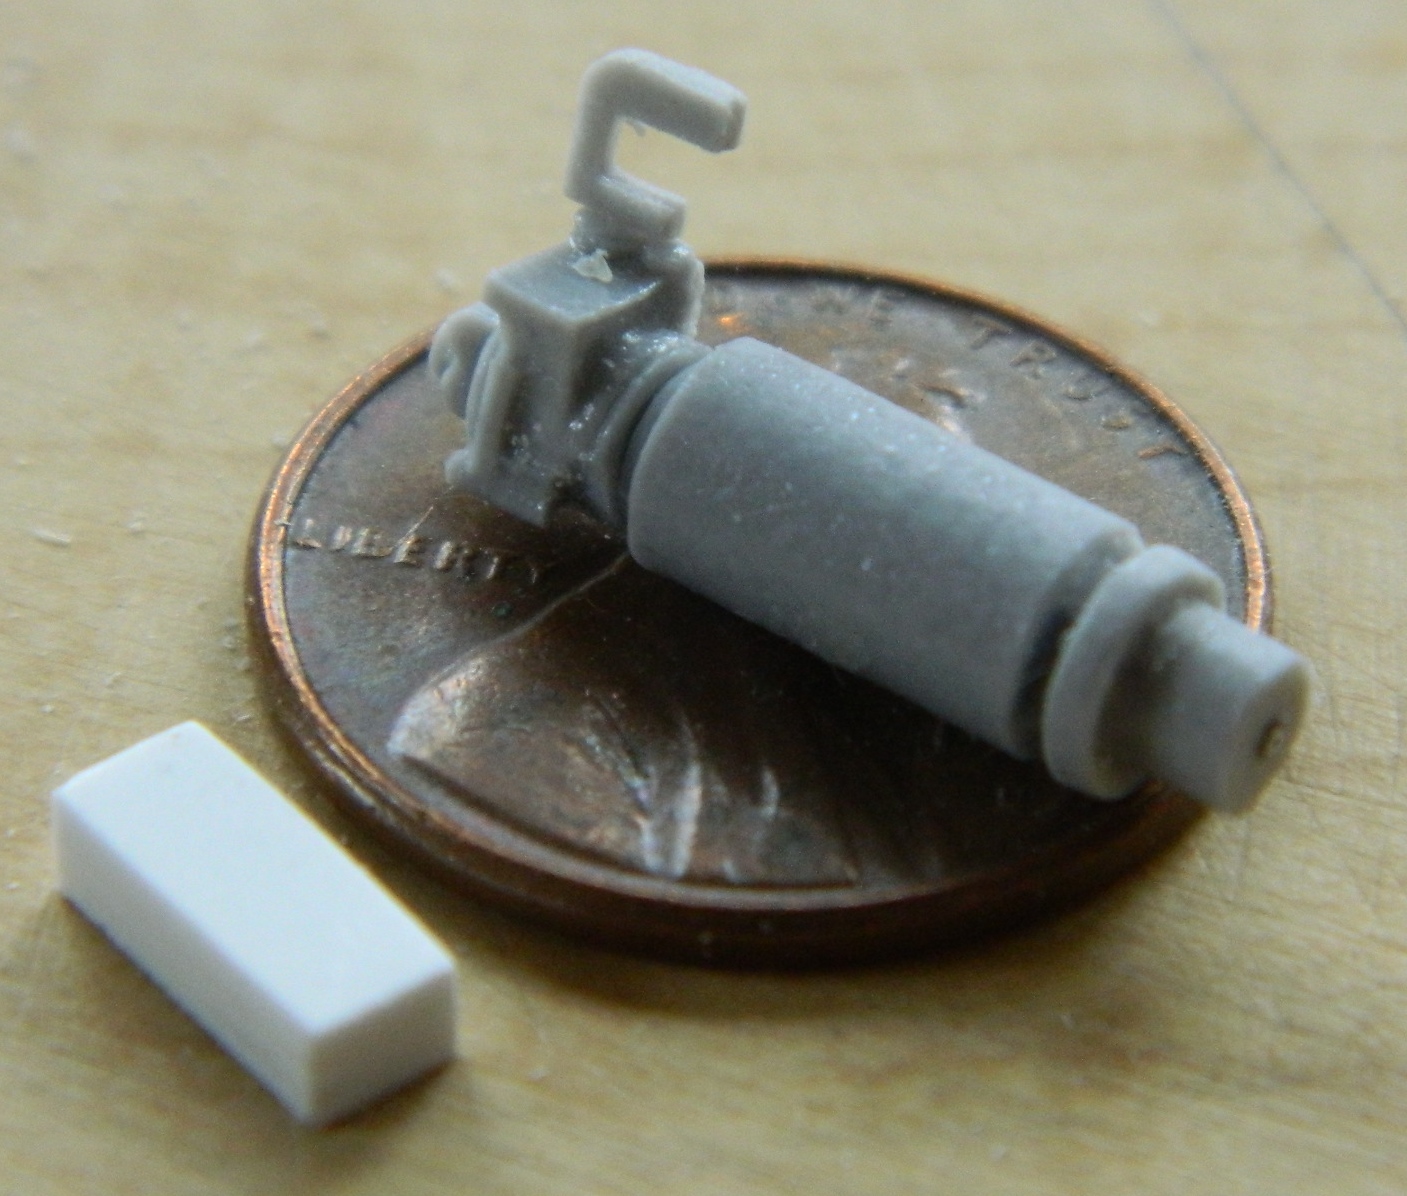
Because of the snug confines, other parts in the way, and having to paint most of this assembly white while sections of the turret controls would be different colors, I assembled the controls assembly on a sheet of .005″ (.127mm) styrene so that I could move them as an assembly. For whatever reason (caffeine-deficient, perhaps), I couldn’t find the oil reservoir among the resin parts so I made one (the piece in white, and of course the resin part showed up months later). Once attached, I started adding the various hydraulic lines from different sized solder:
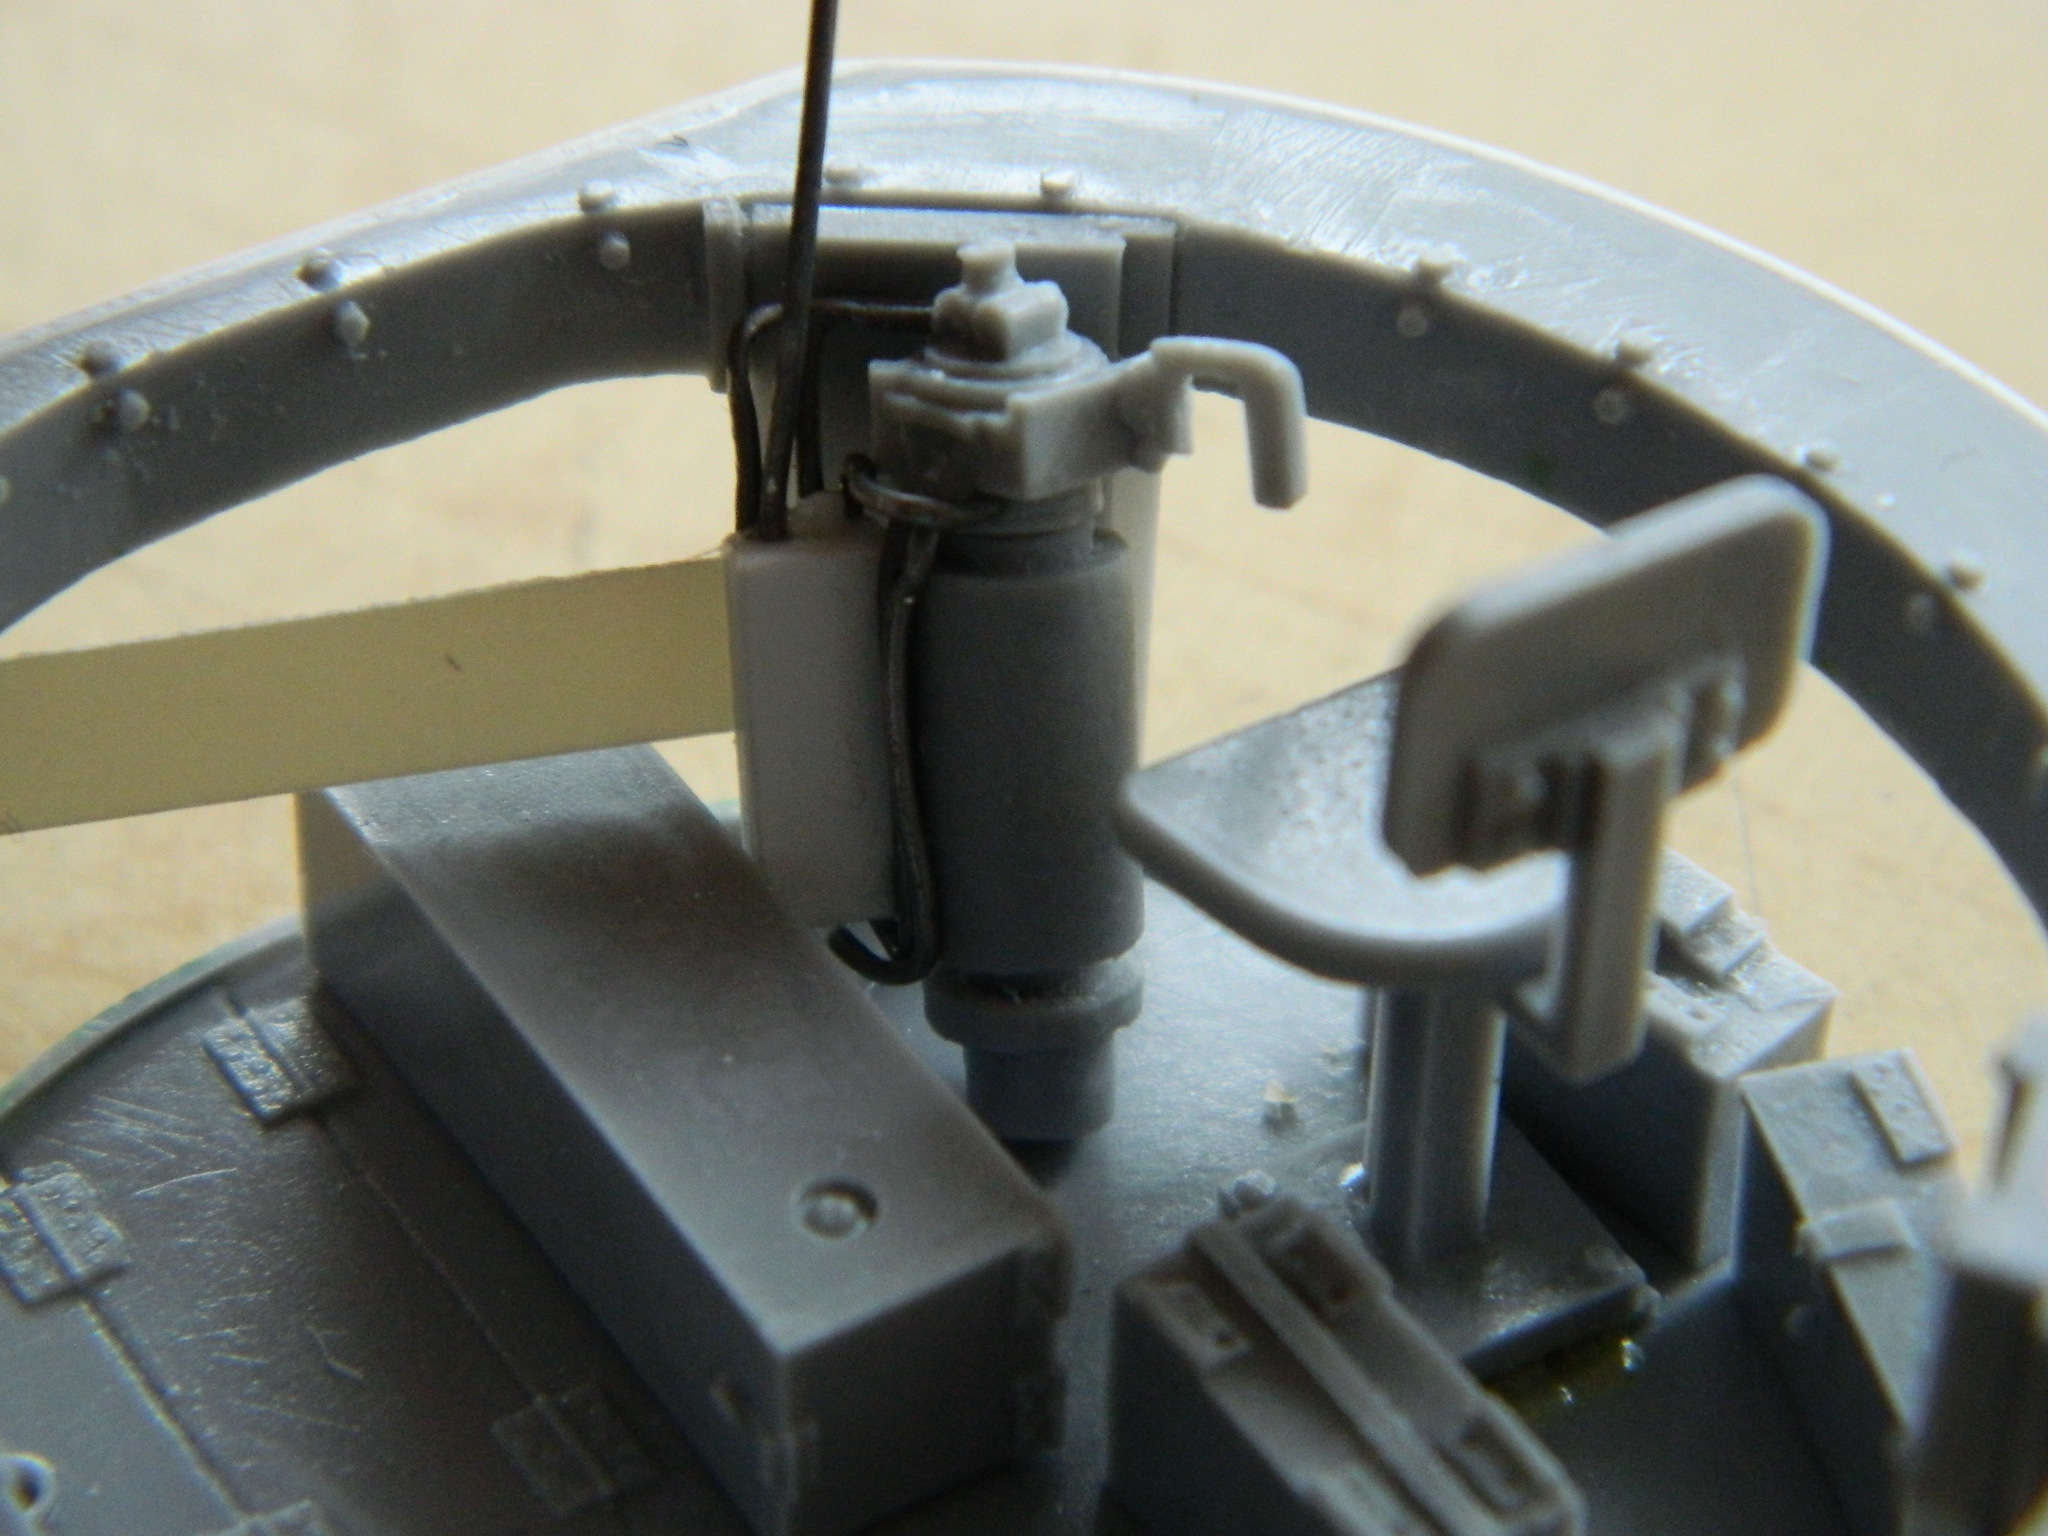
A quick dry-fit indicates it should fit:
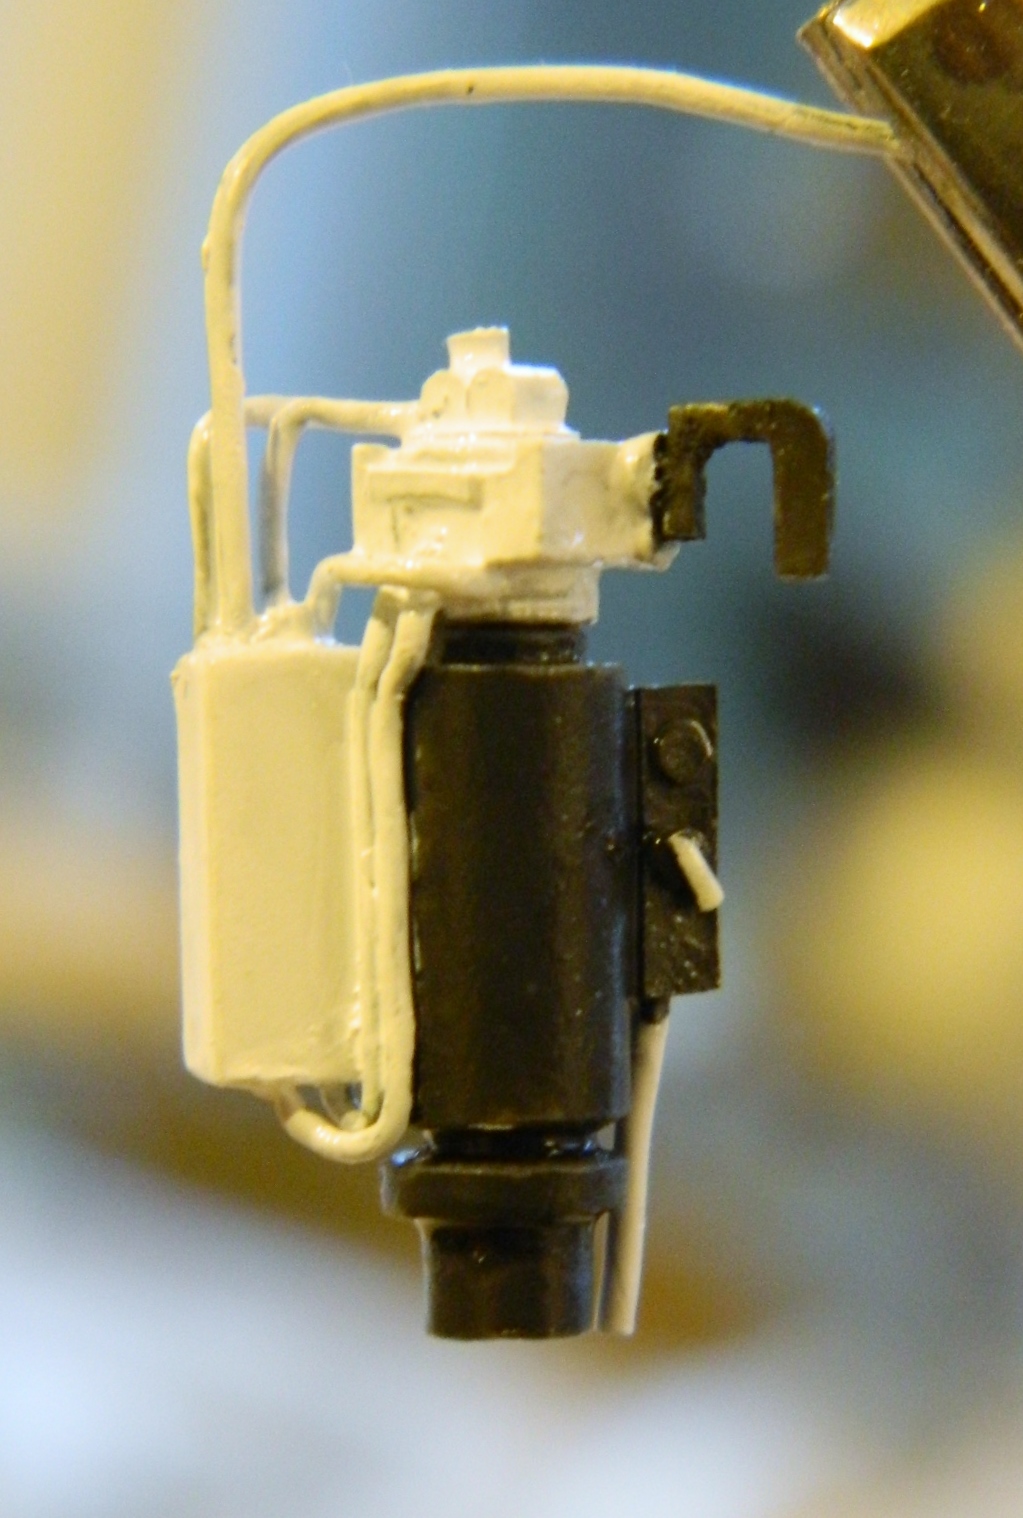
I painted the assembly, trimmed off the excess styrene, and put it aside for later inclusion:

As it turned out, I’d attached the bottom of the turret bustle to the turret ring prematurely. With the turret ring in place, there is NO way possible to get inside the turret to finish the seam of the bustle. That means the bustle has to come off the ring. Since I’d used the bustle bottom from the spare kit, I still had one perfectly good bustle to attach. Alignment, obviously, is important, so I’m using the kit itself as my alignment jig. The first step to that is to glue just the bustle bottom to the turret and leave the ring unattached to the turret, then cut the ring off leaving the bustle attached. The gap is substantial so I glued where the parts touched and filled the gaps where they didn’t with my structural putty::


Even without the turret ring in place, getting in there to finish the seams was an “interesting” experience, but at least it was possible:

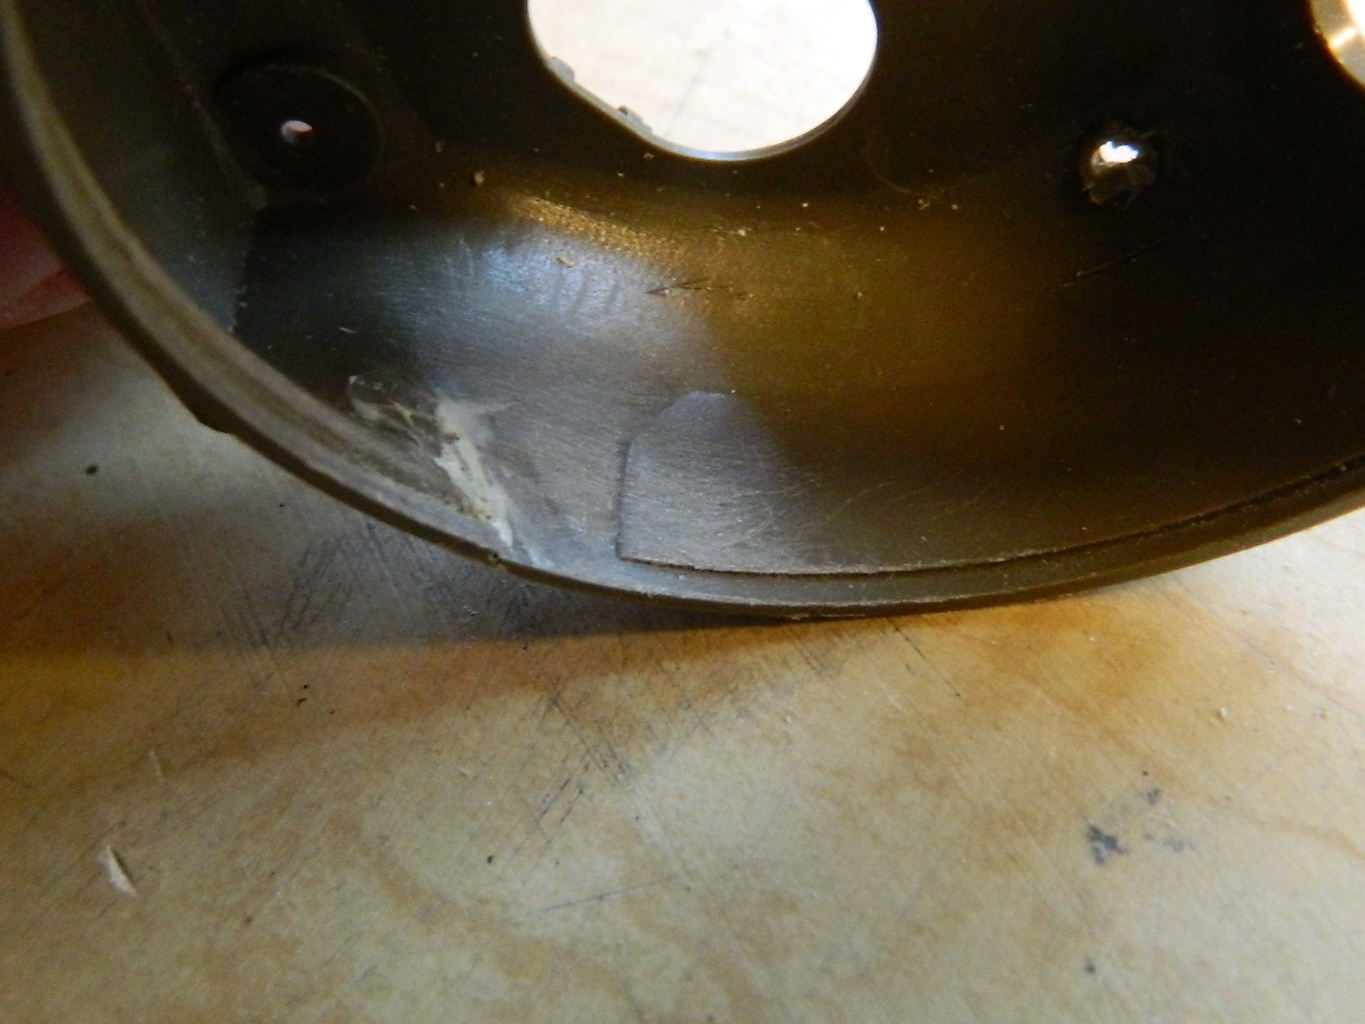
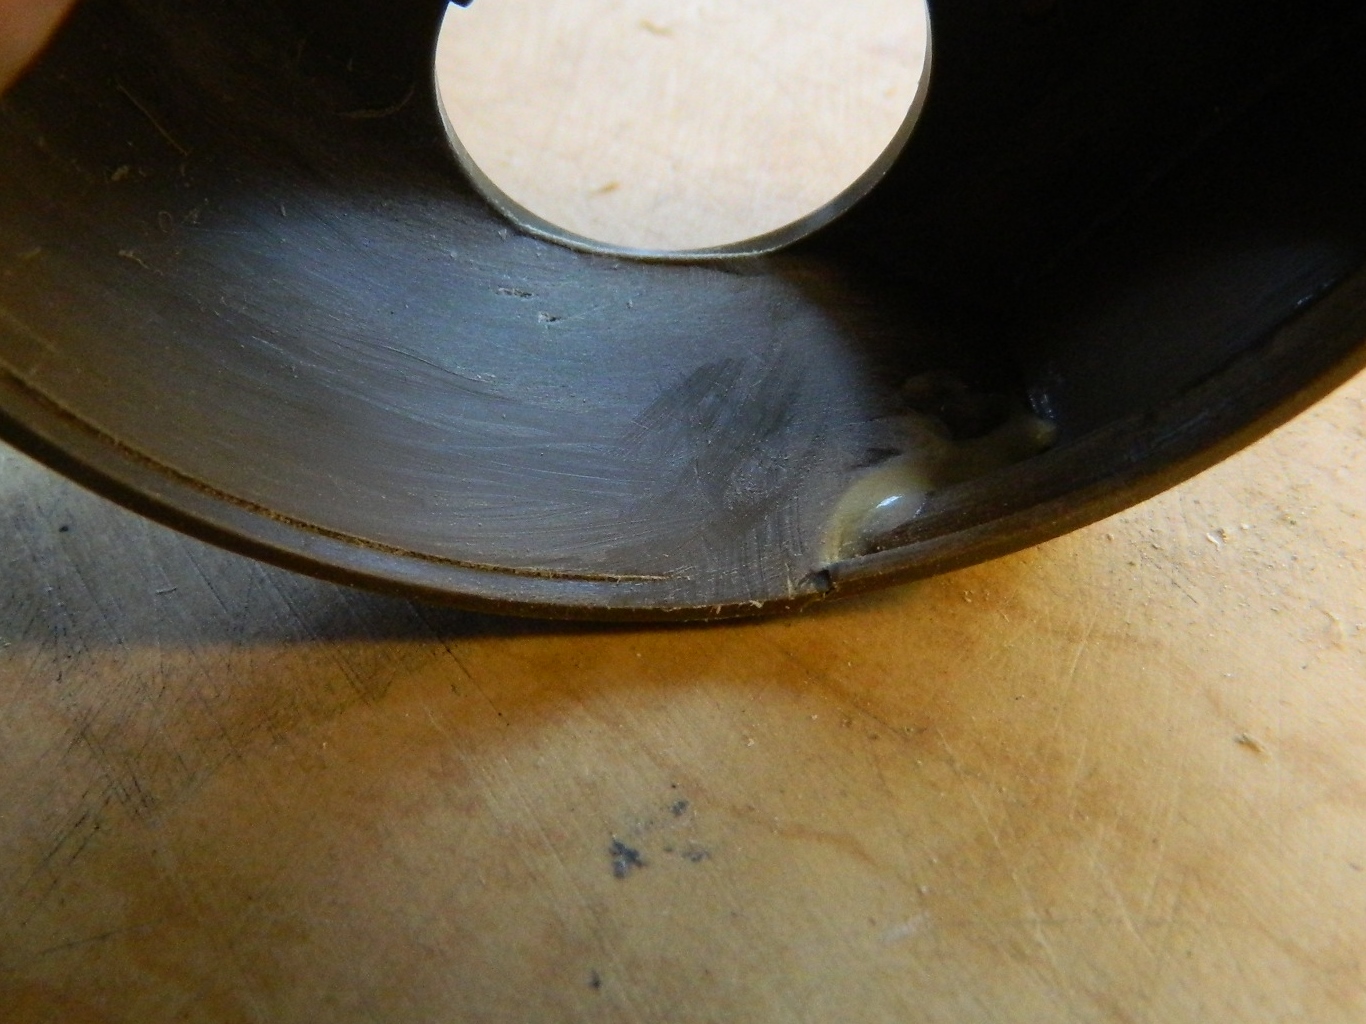
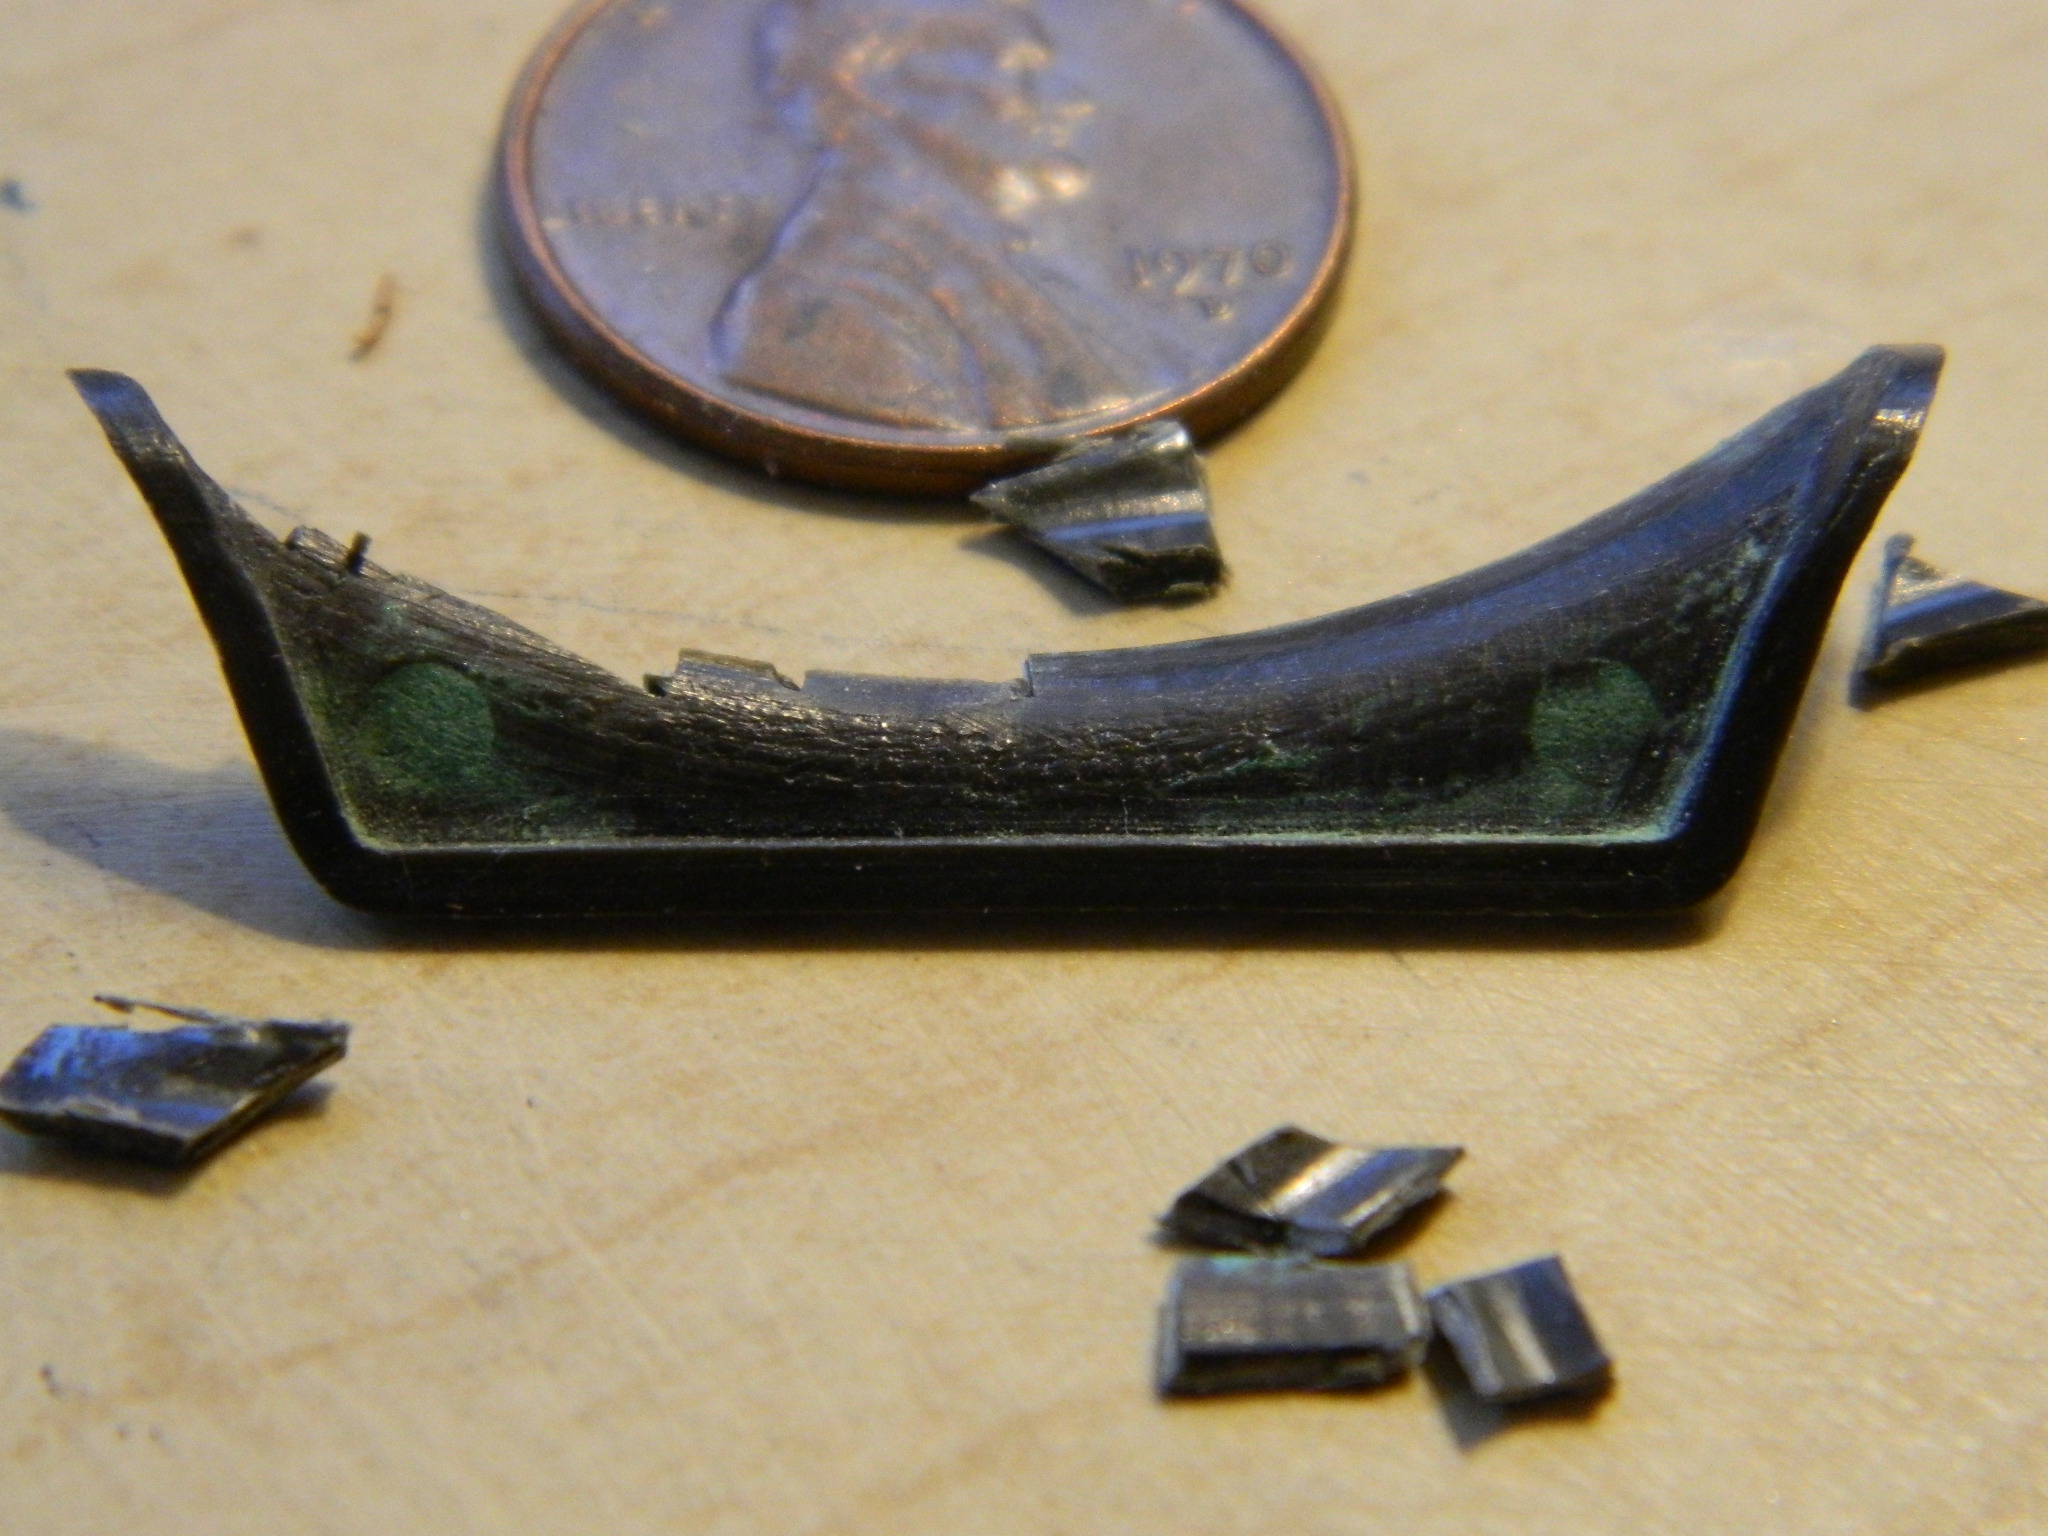
Then the bustle I’d attached to the turret ring had to be (CAREFULLY as resin can be delicate) removed:
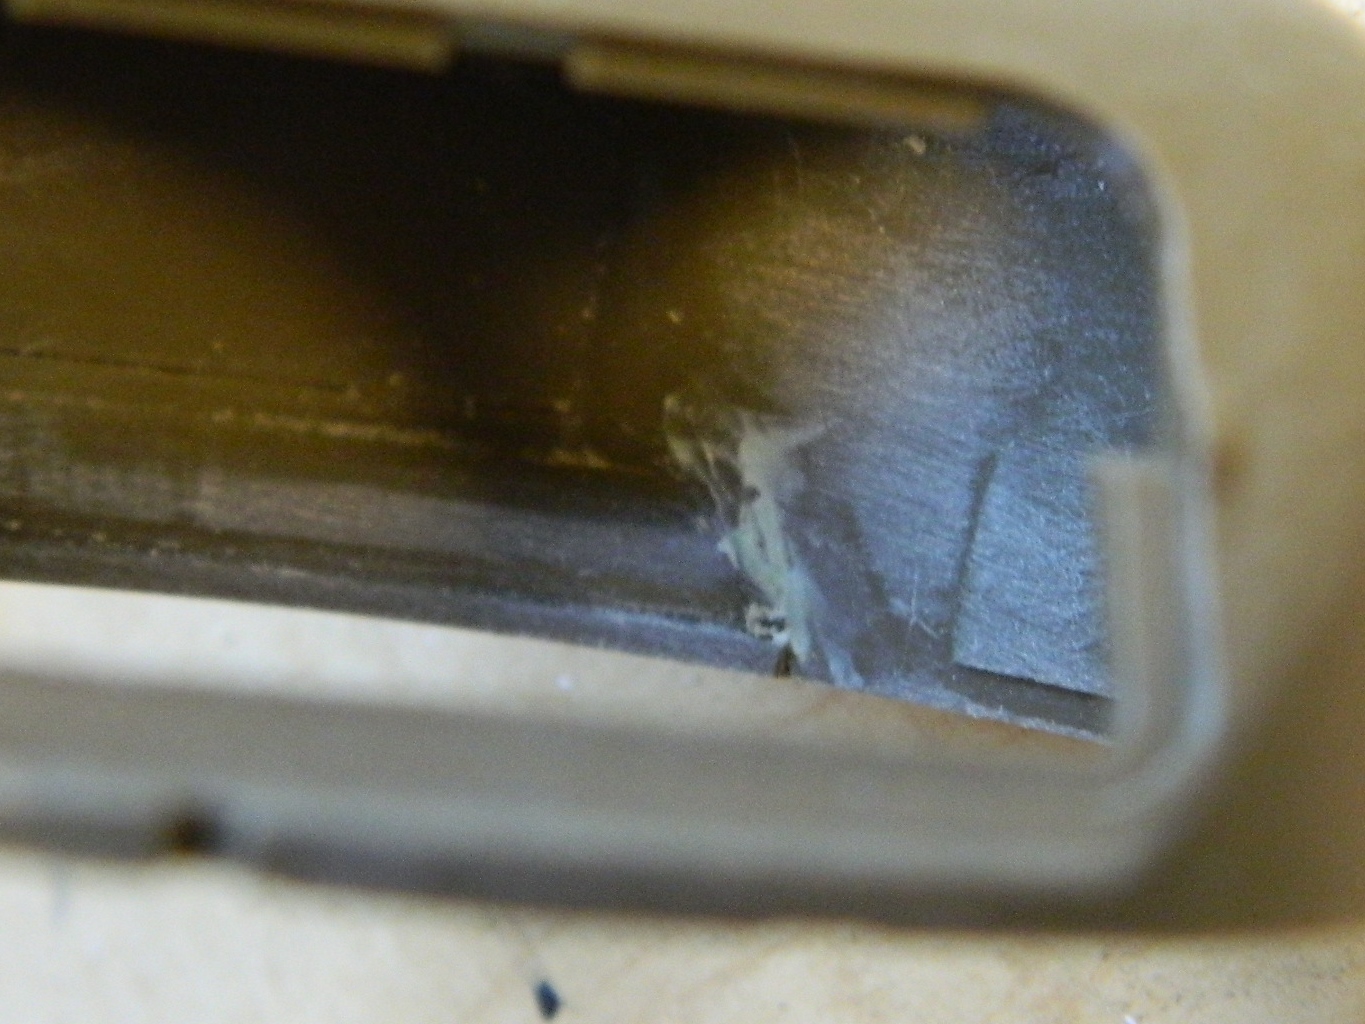
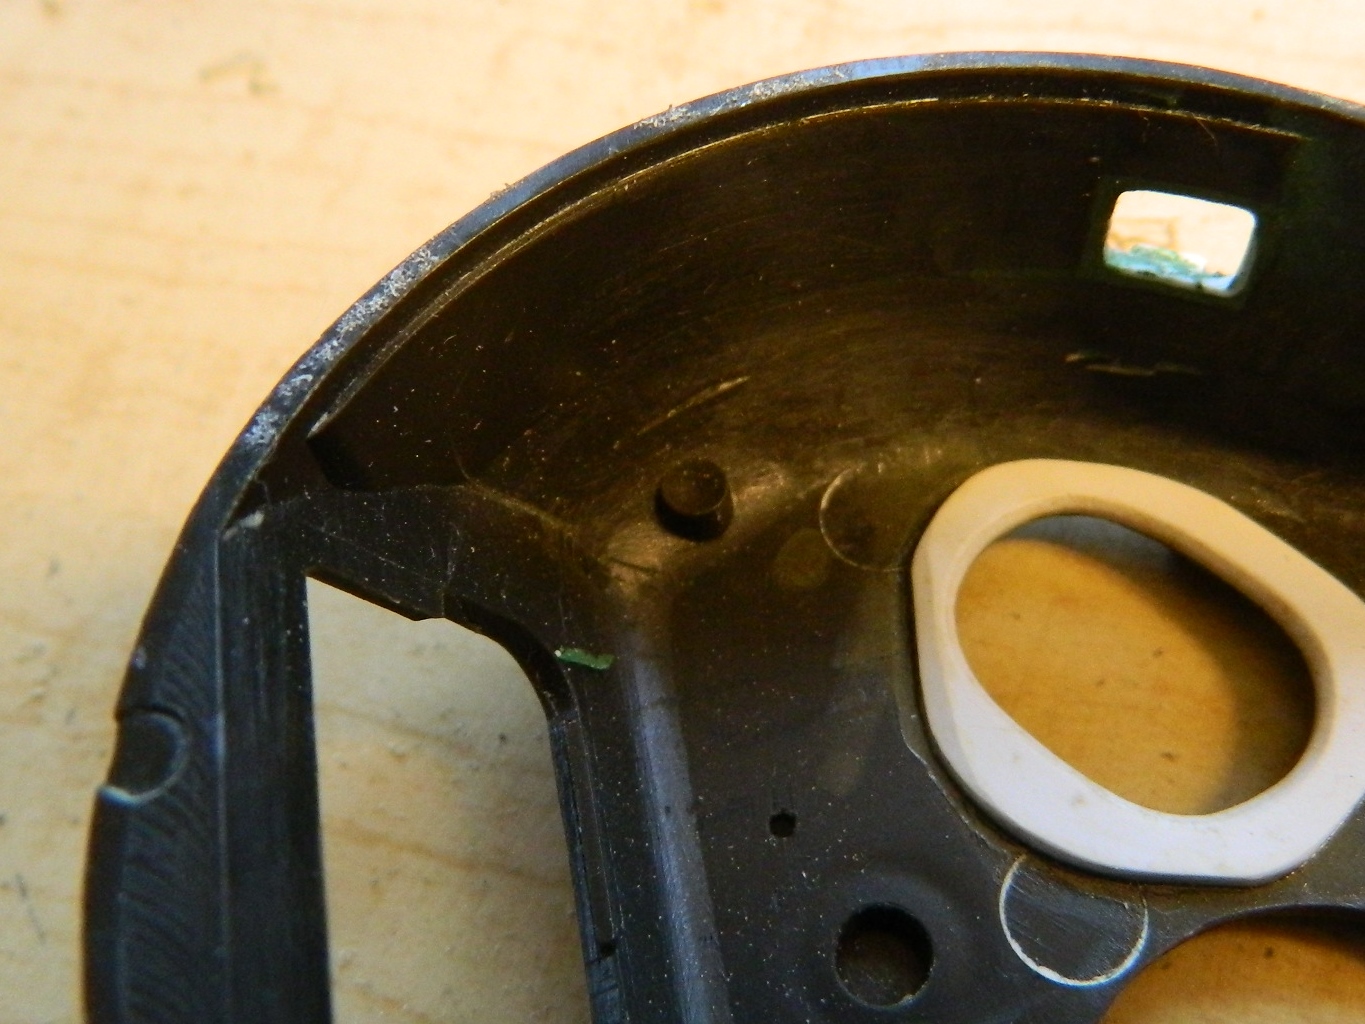
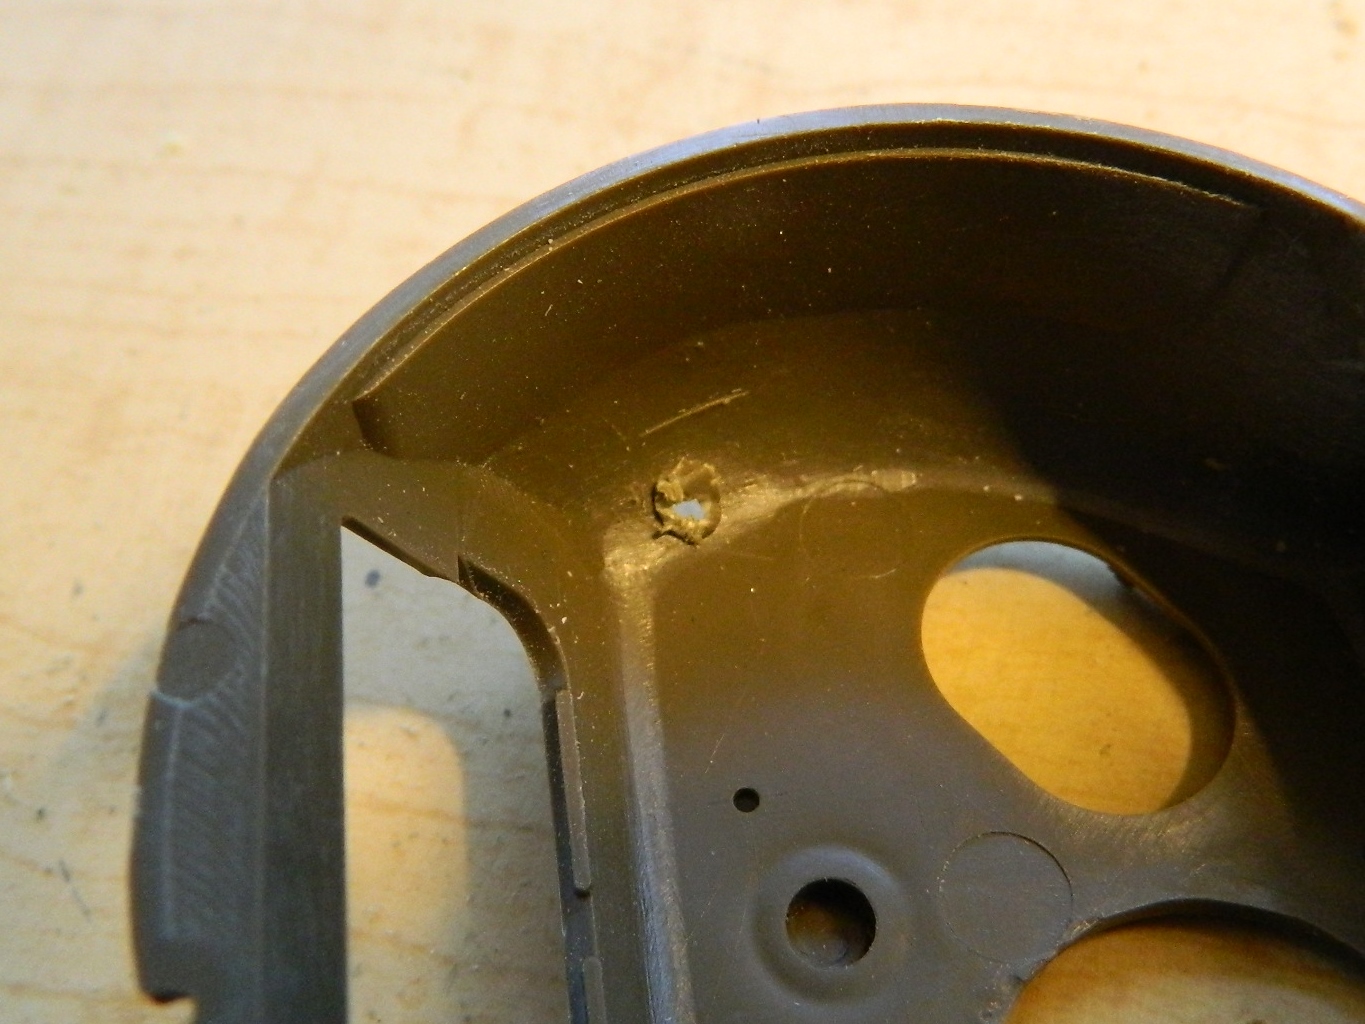
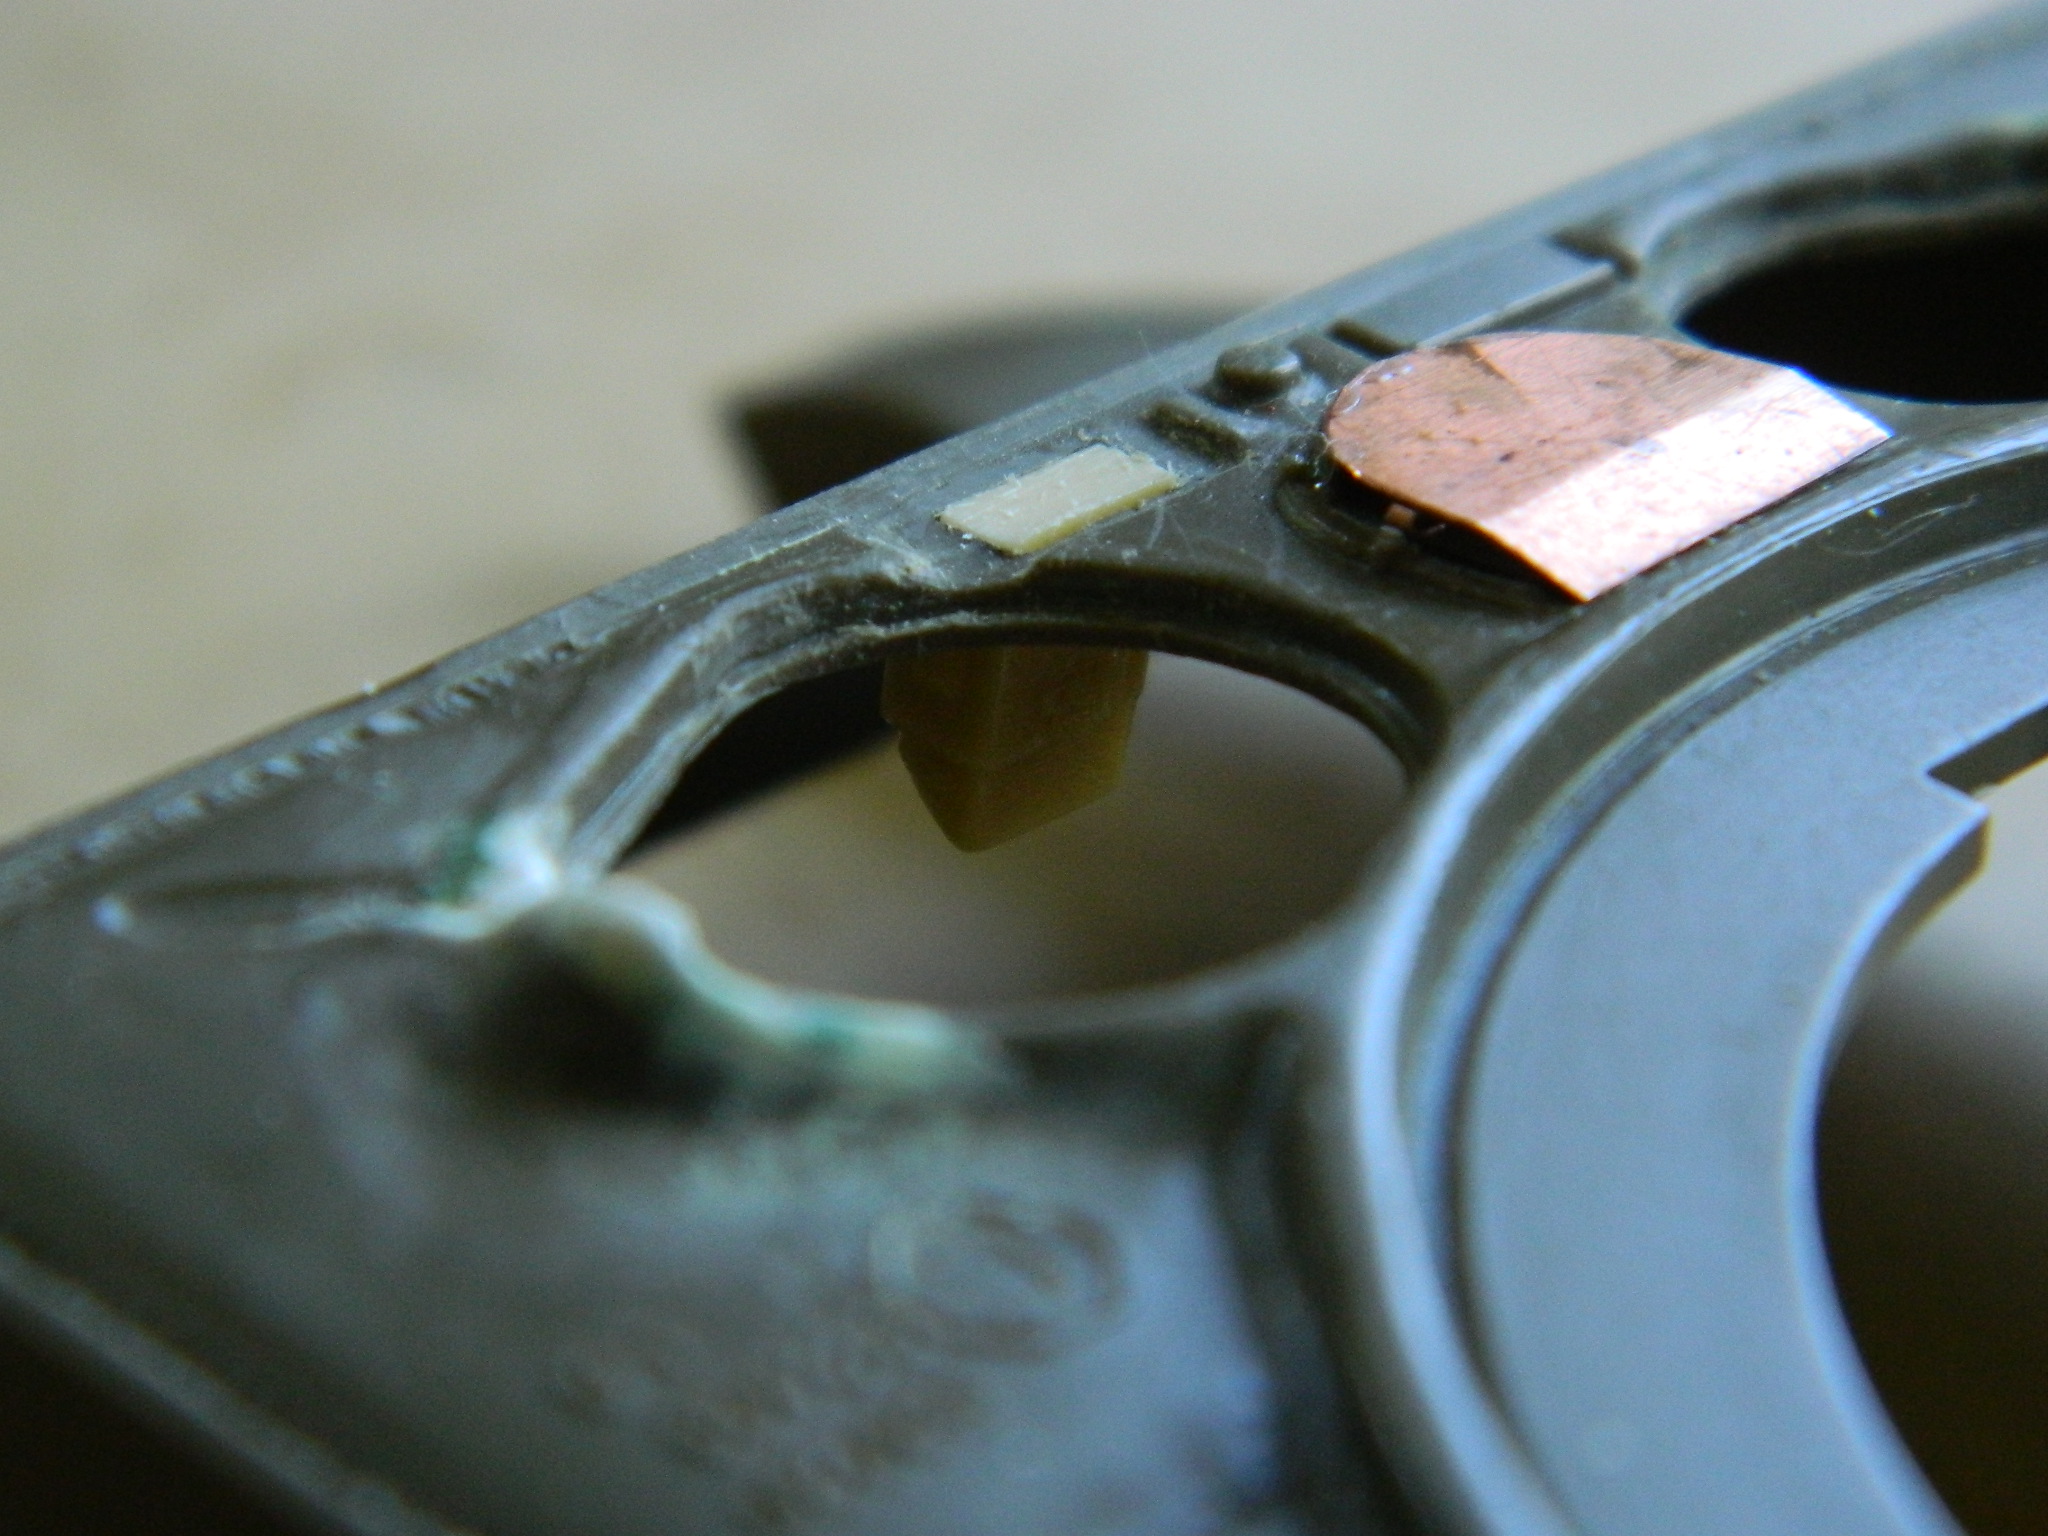
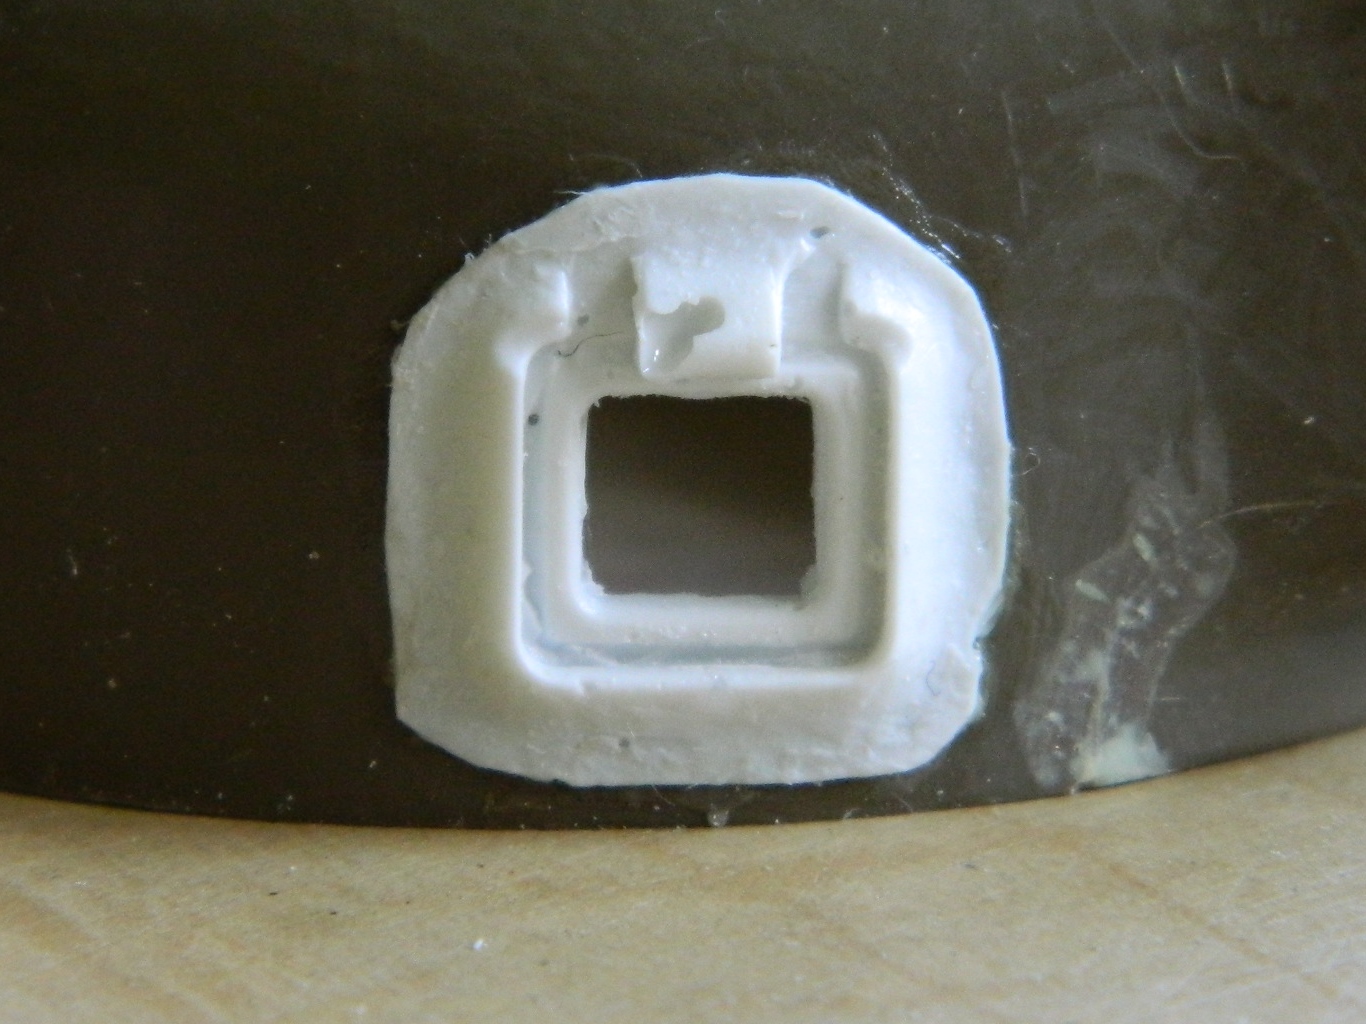
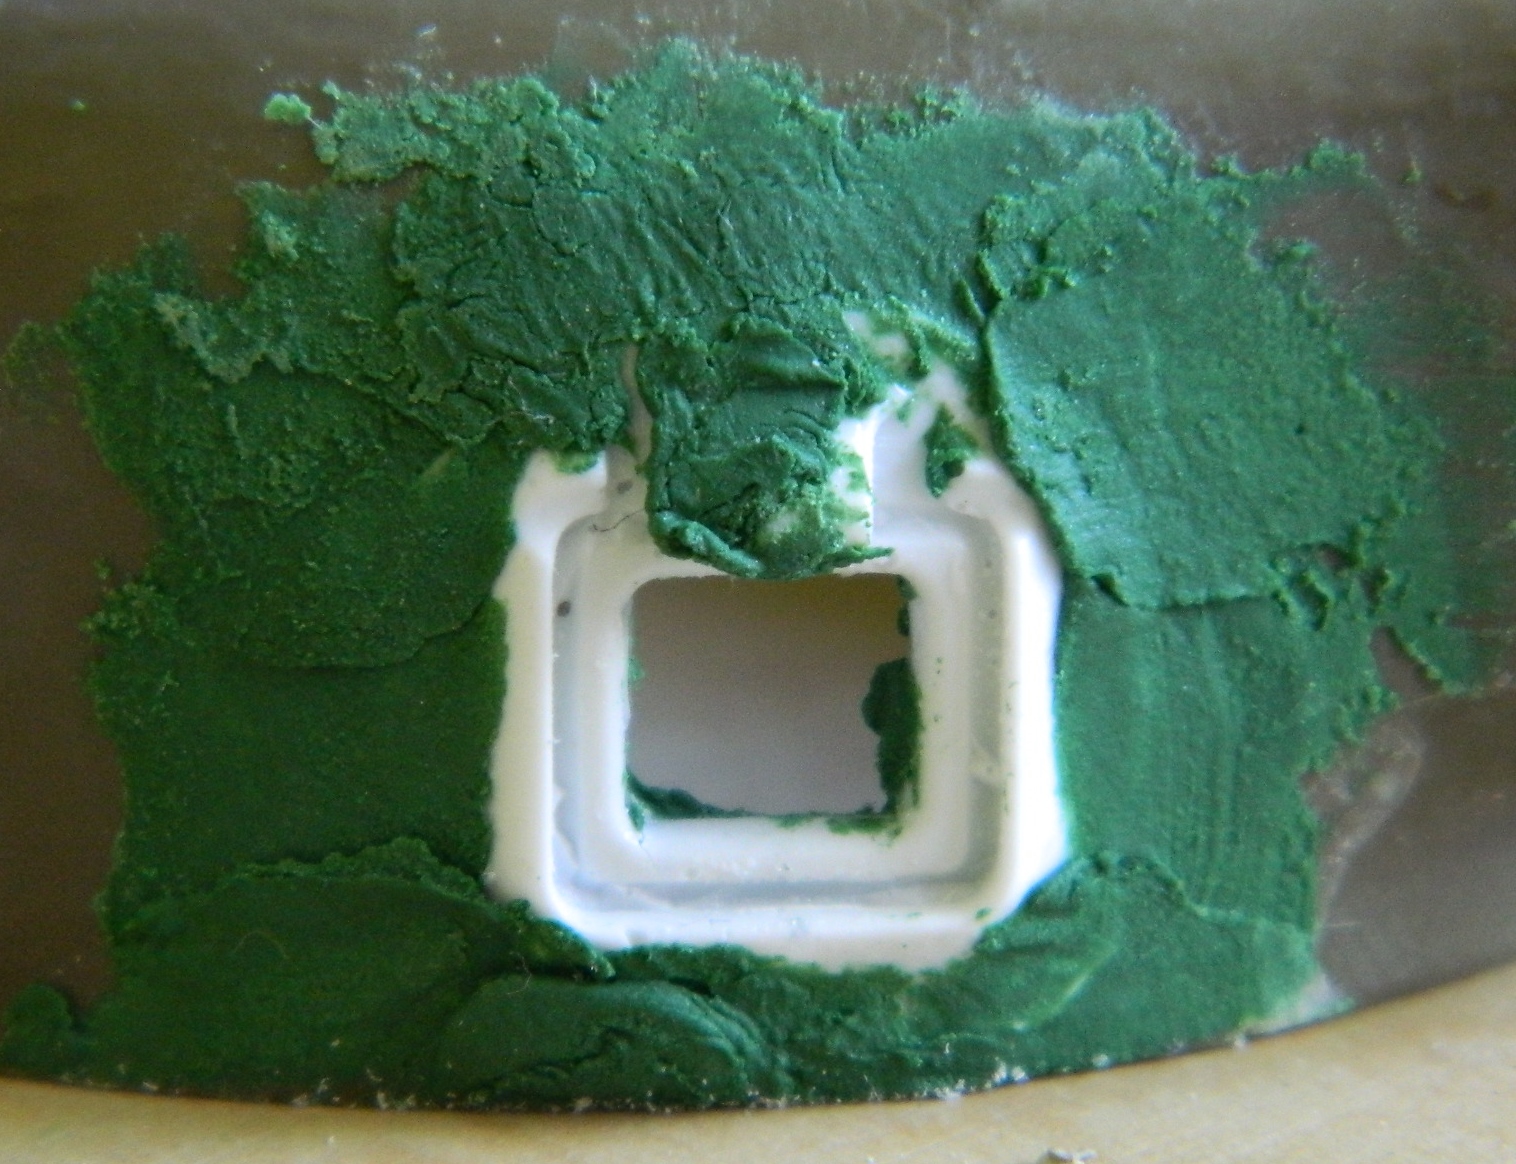
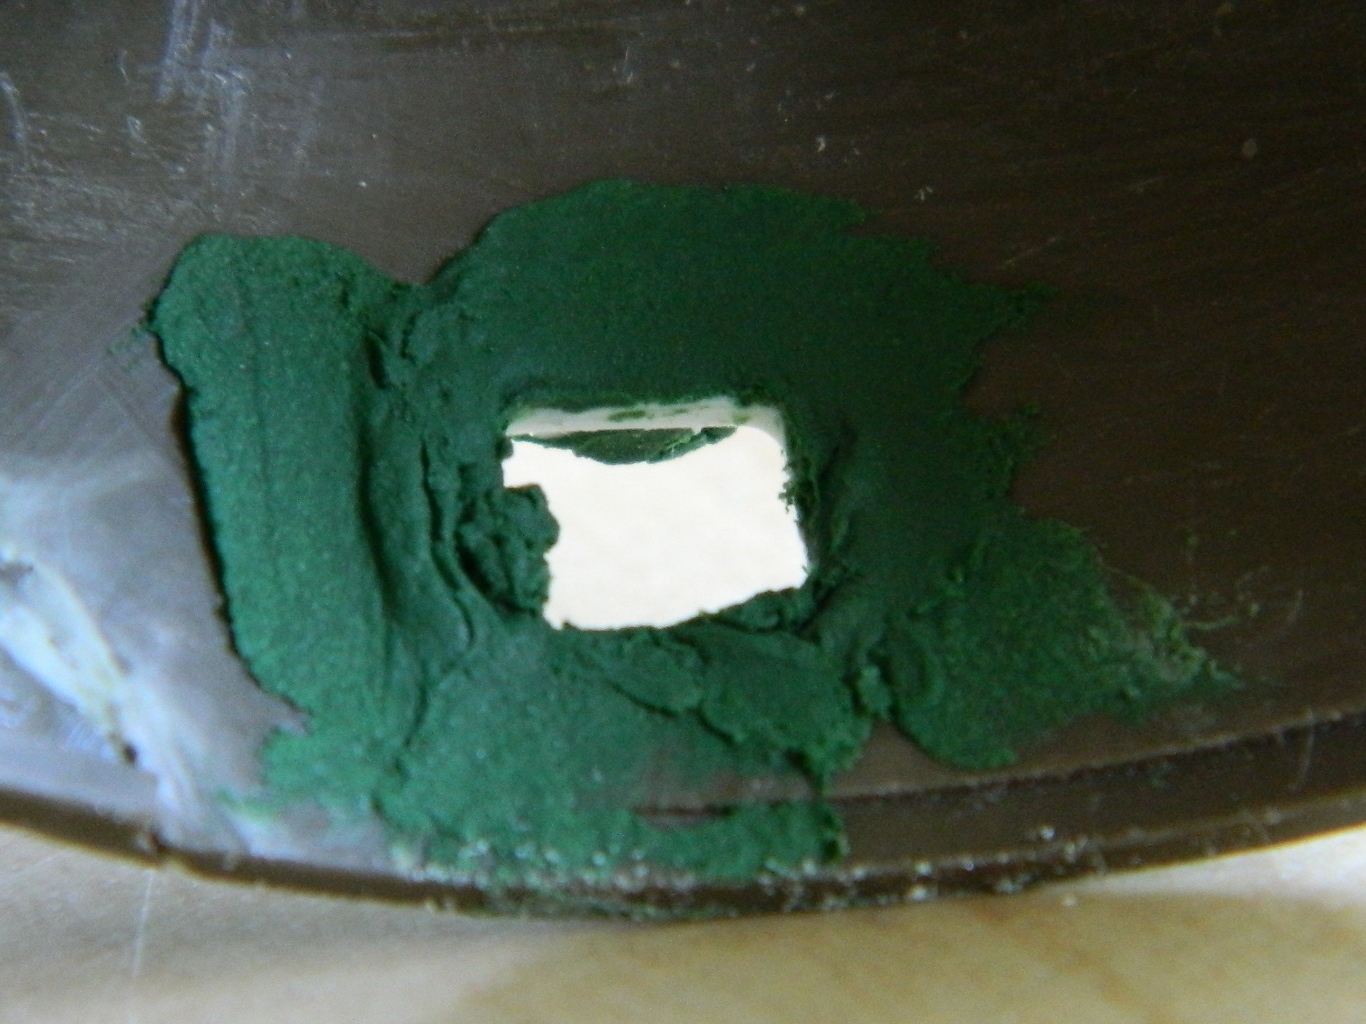
This ledge and projection are on both sides of the turret’s interior, they’re not there on the actual tank, so they both have to go:
The late-production Shermans (and mostly all the British Shermans) had a 3” (7.62mm) smoke mortar in the roof of the turret. On the spare turret, you can see the stub on the inside that keeps the hole from being just a hole (how unlike Tamiya!). That’s got to go so that I can mount the resin mortar later on:
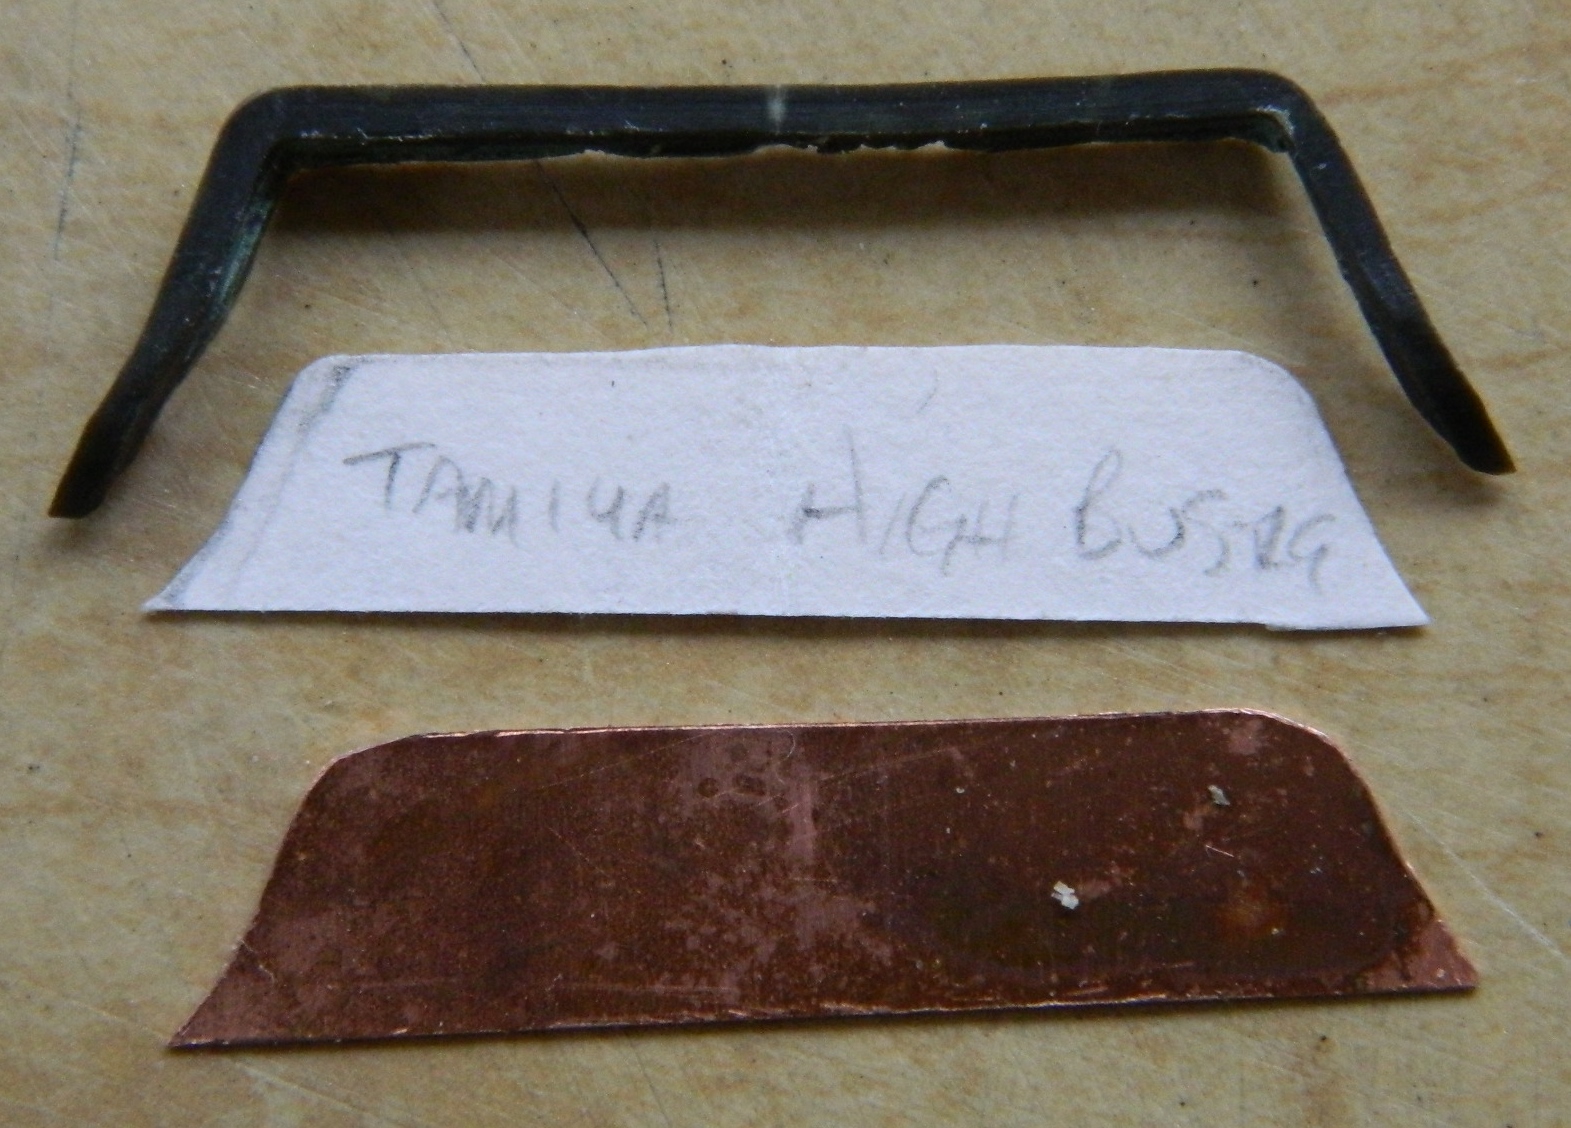
Another obvious feature inside the turret is the radio; it sits on a shelf in the bustle (and is the reason for the bustle). Of course, there’s no radio or shelf with the kit. The AM interior set provided the radio; it’s up to me to make the shelf. Again, I went with .010” (.254mm) brass shim stock (I figure it will droop less over the years, unlike my eyelids or stomach). I took the bustle floor I removed from the turret basket and carved away the interior of it to use the profile of the bustle as the template for the shelf:
Periscopes. An exercise in tedium.
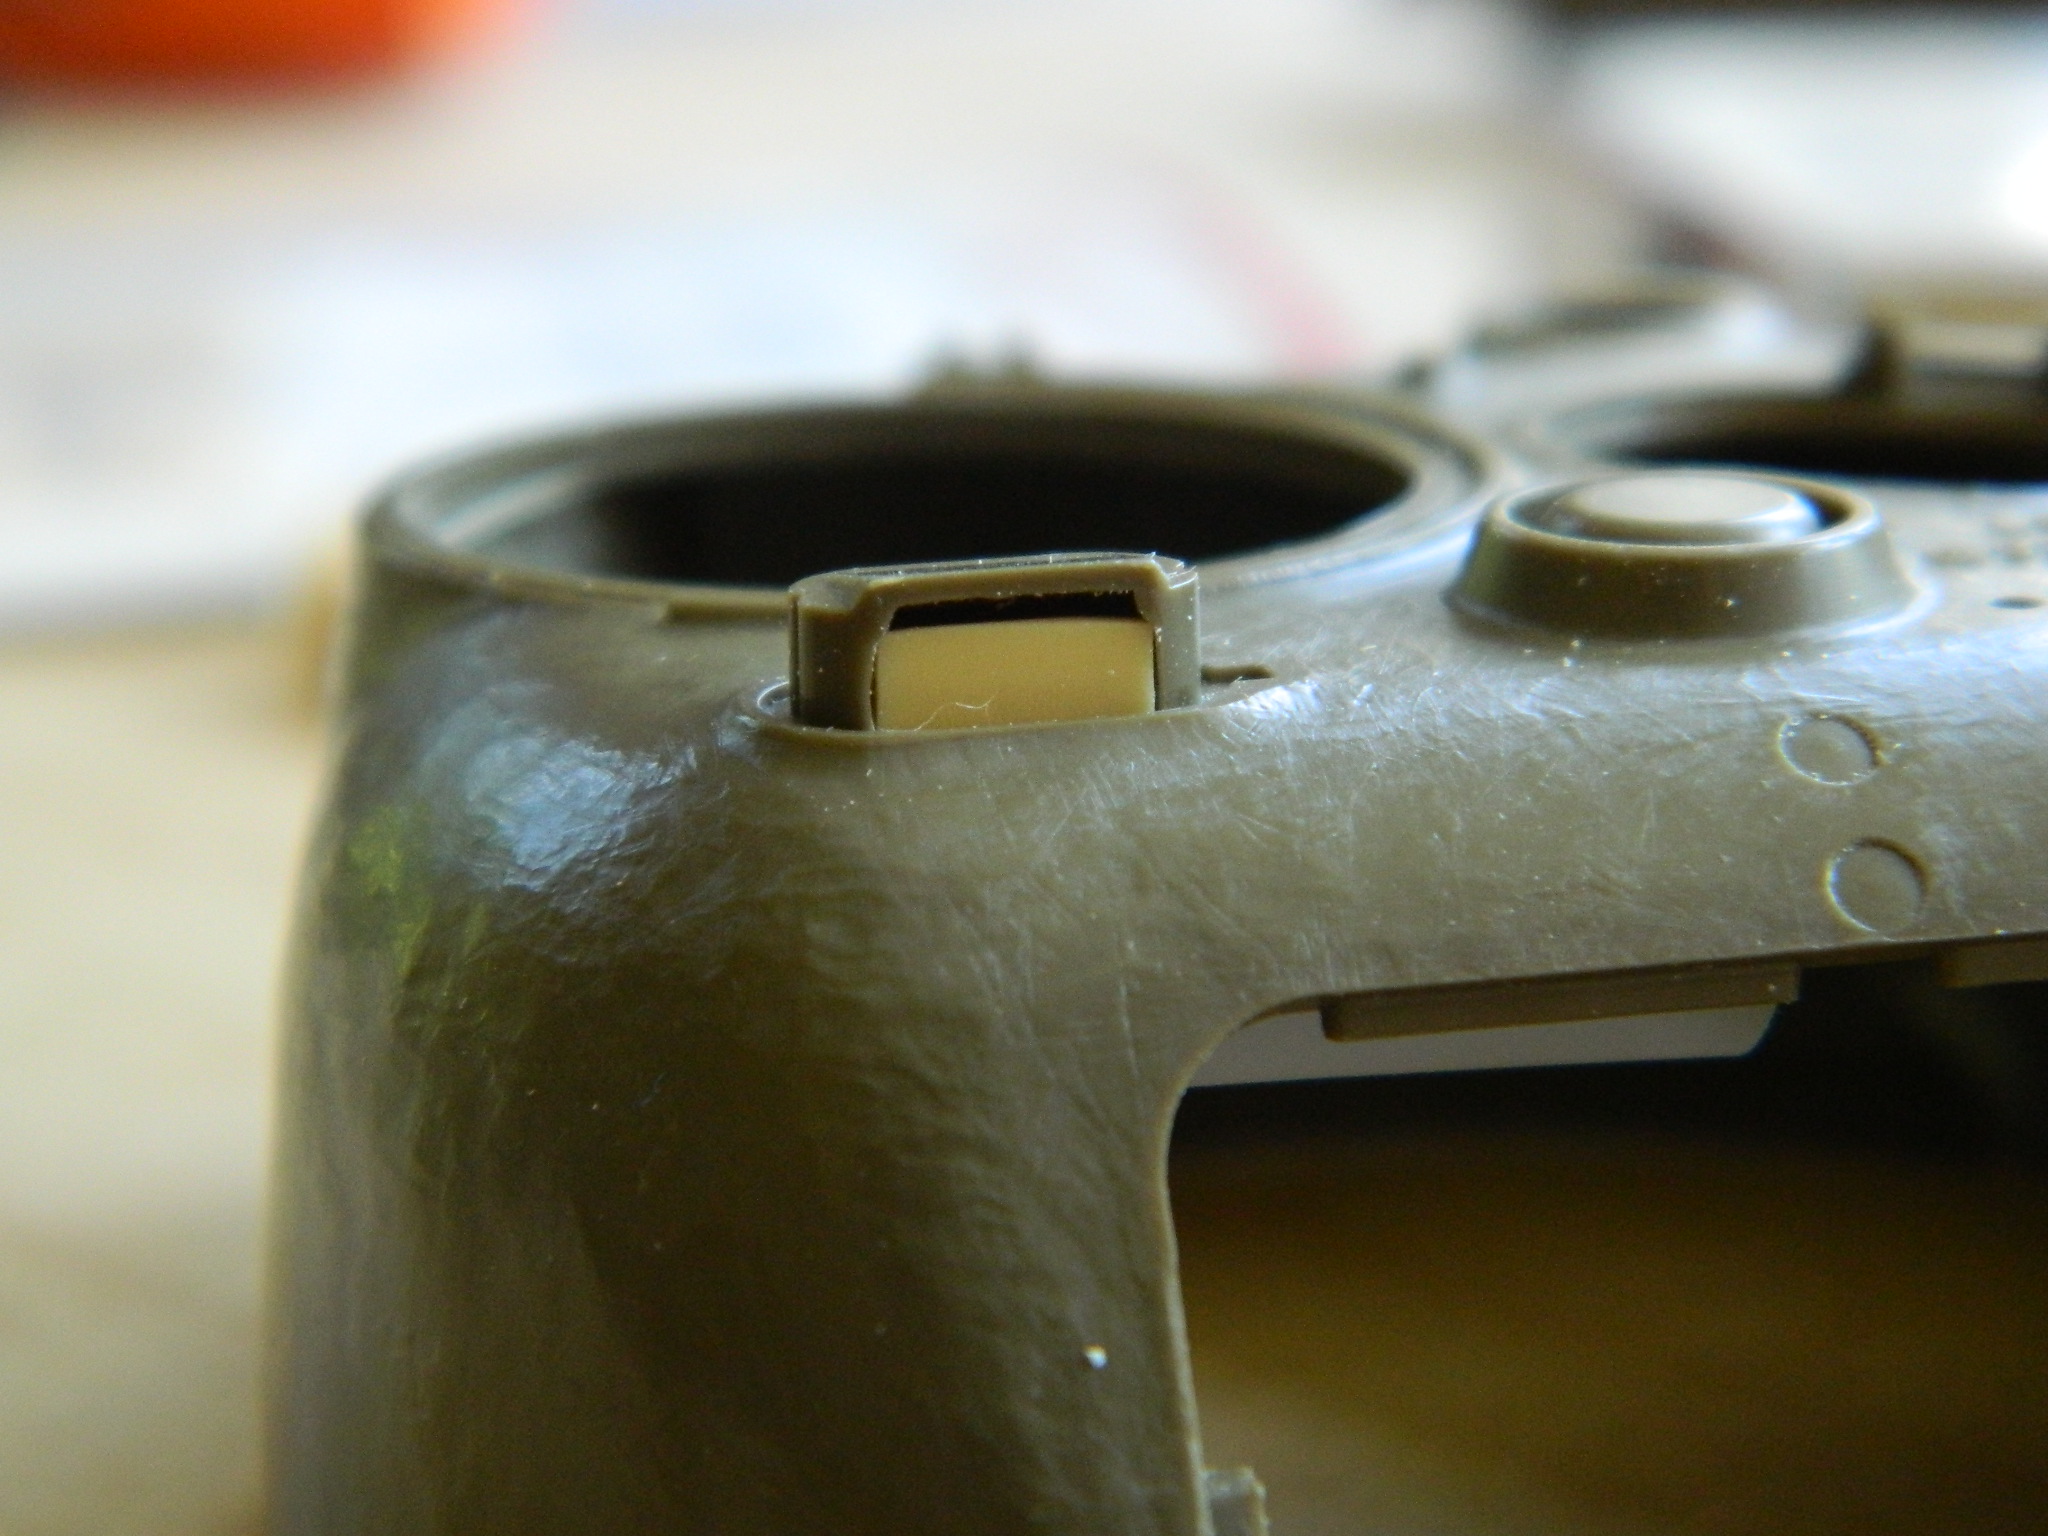
I started with the gunner’s periscope. It’s larger than all the other periscopes on the Sherman (all the others are the same and interchangeable with each other, with the exception of the periscope used in the commander’s hatch of the vision cupola), and often was used as the gunner’s gun sight. On later model Shermans, like the one I’m building, the gunner’s periscope had an armored cover. Tamiya, for reasons only they know, modeled the armored cover but didn’t provide anything to fill the hole:

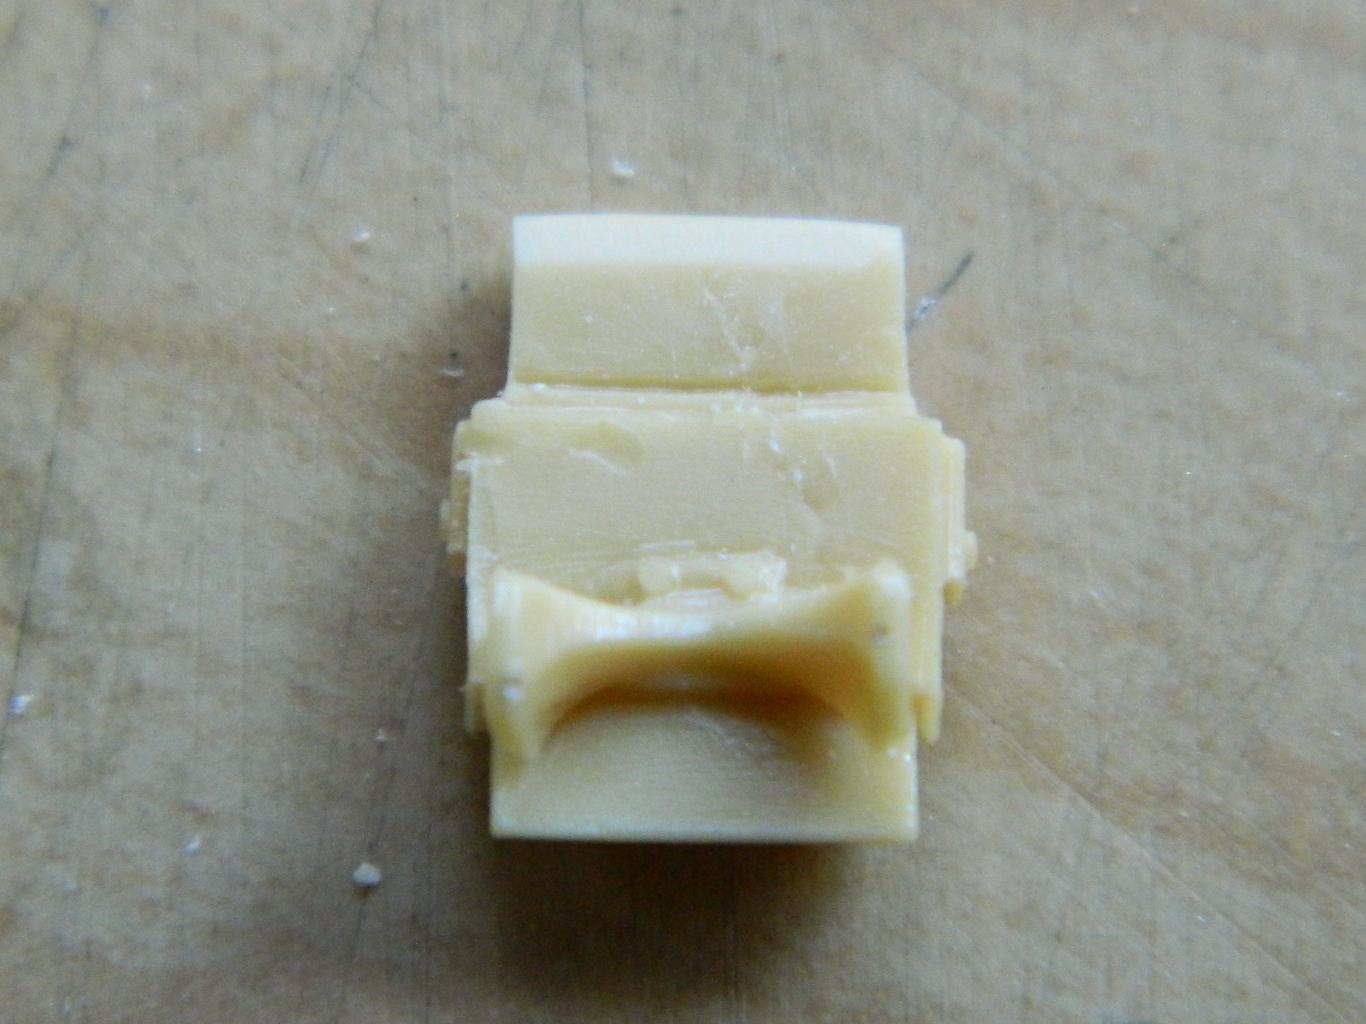
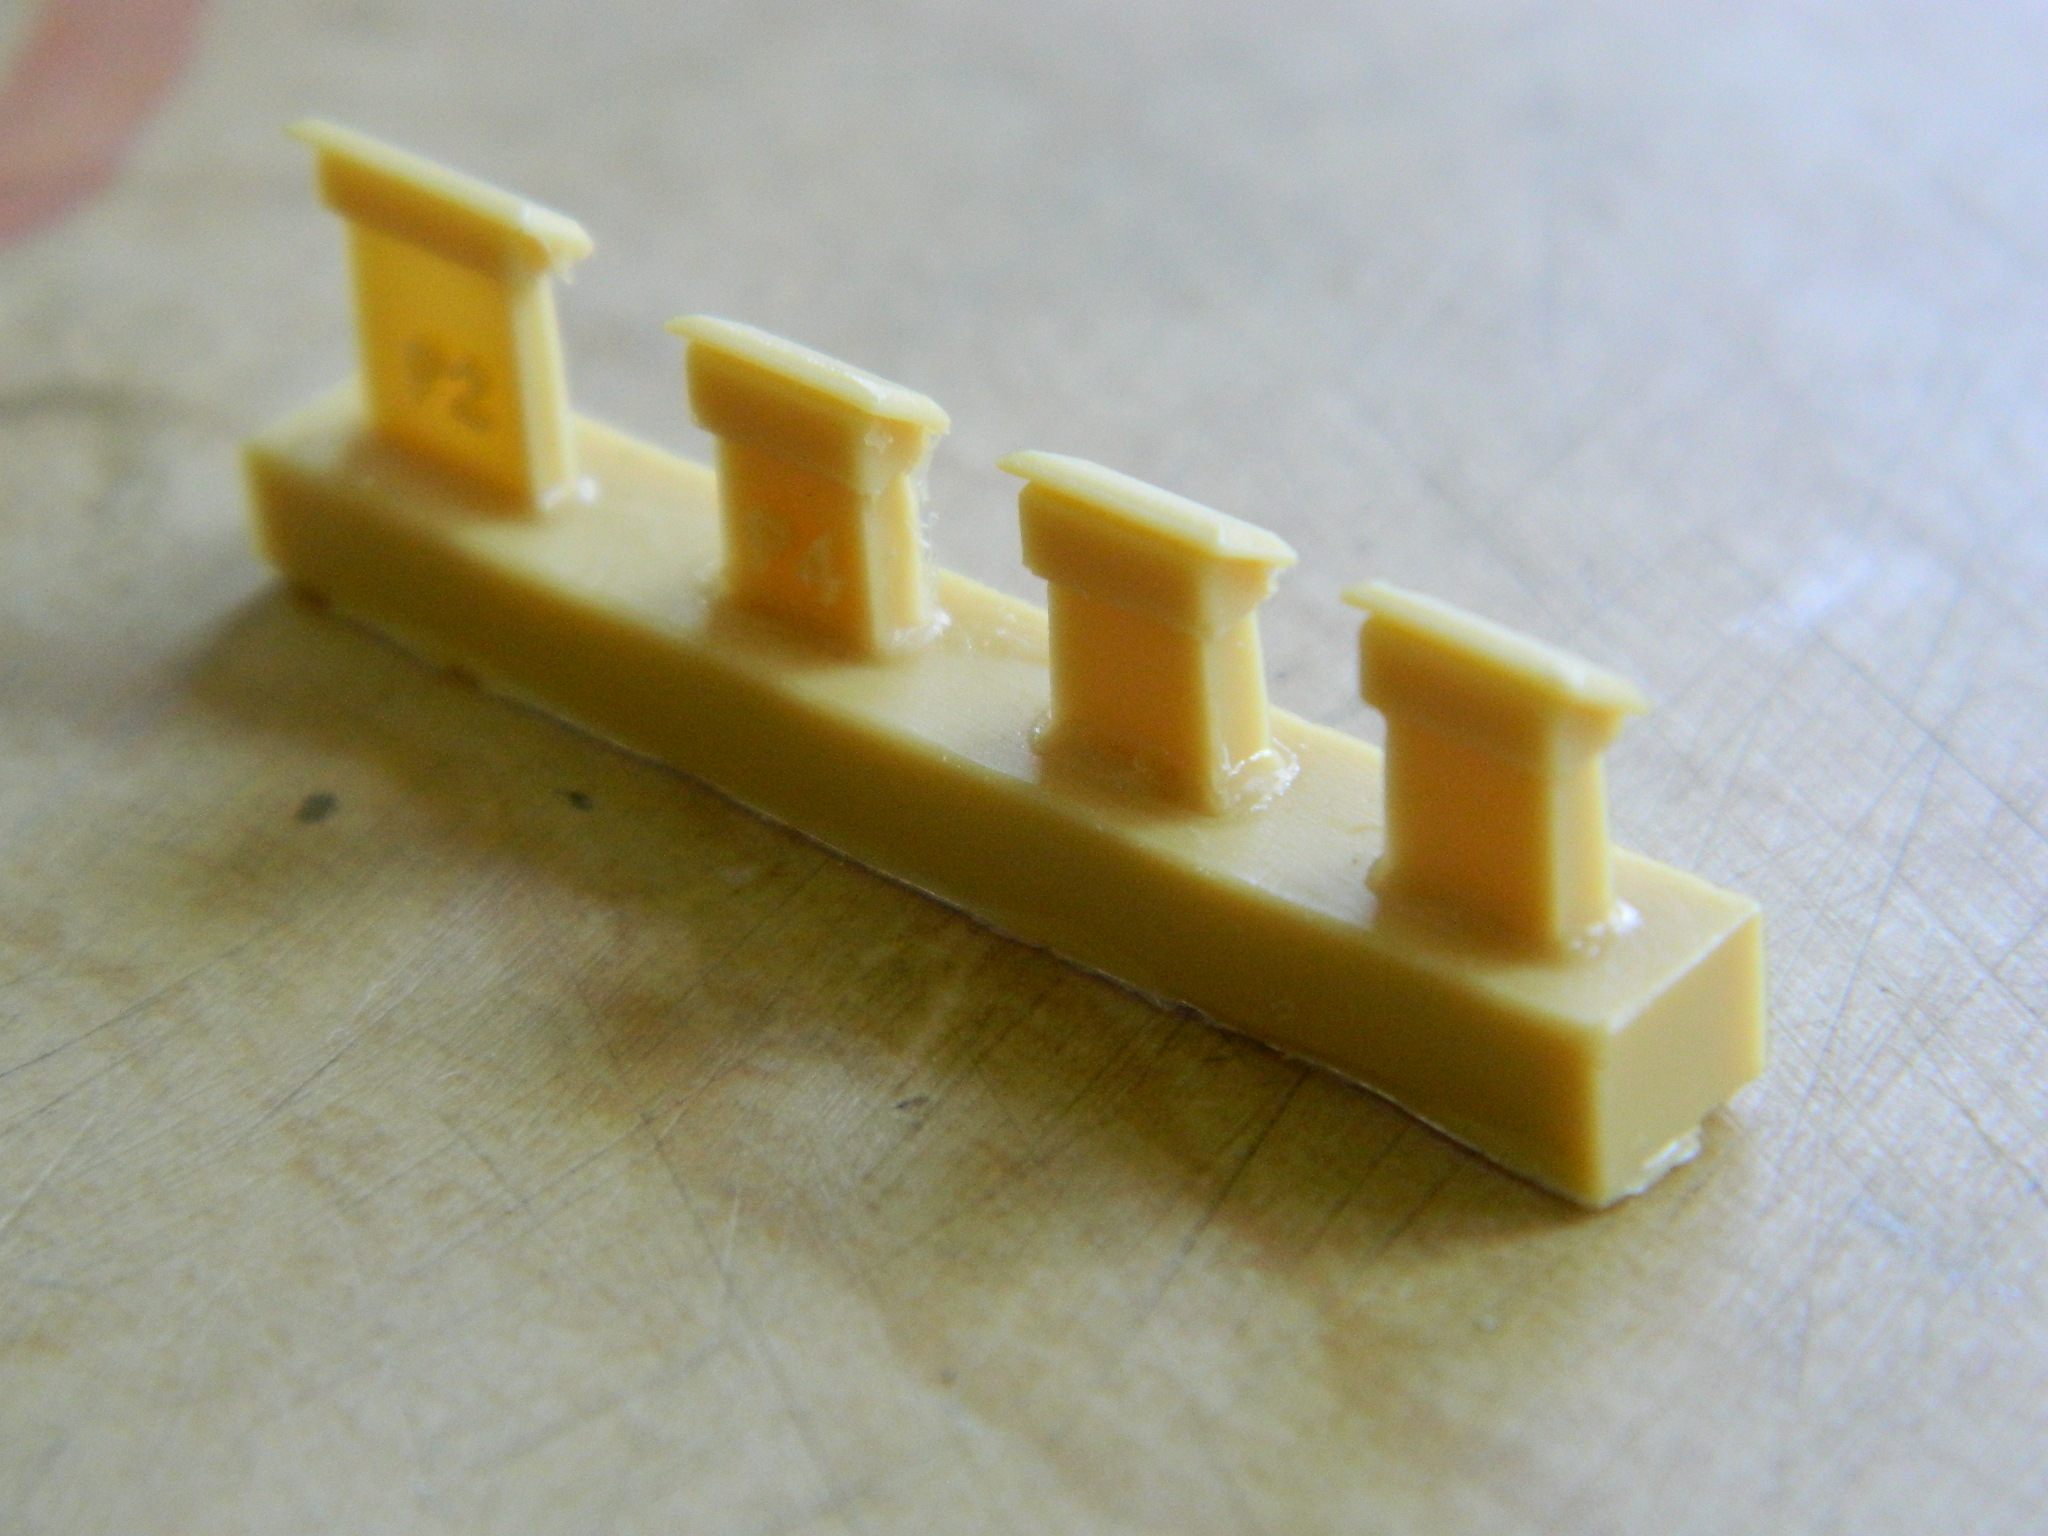
Time for the AM resin periscopes (Verlinden). The one on the right (P1) is the gunner’s periscope. The U-shaped part is actually a padded headrest. With the gunner’s face in close proximity to an inflexible object like that, recoil of the main gun (or maybe hitting a solid bump while peering through it) would smash his face unless it was padded:
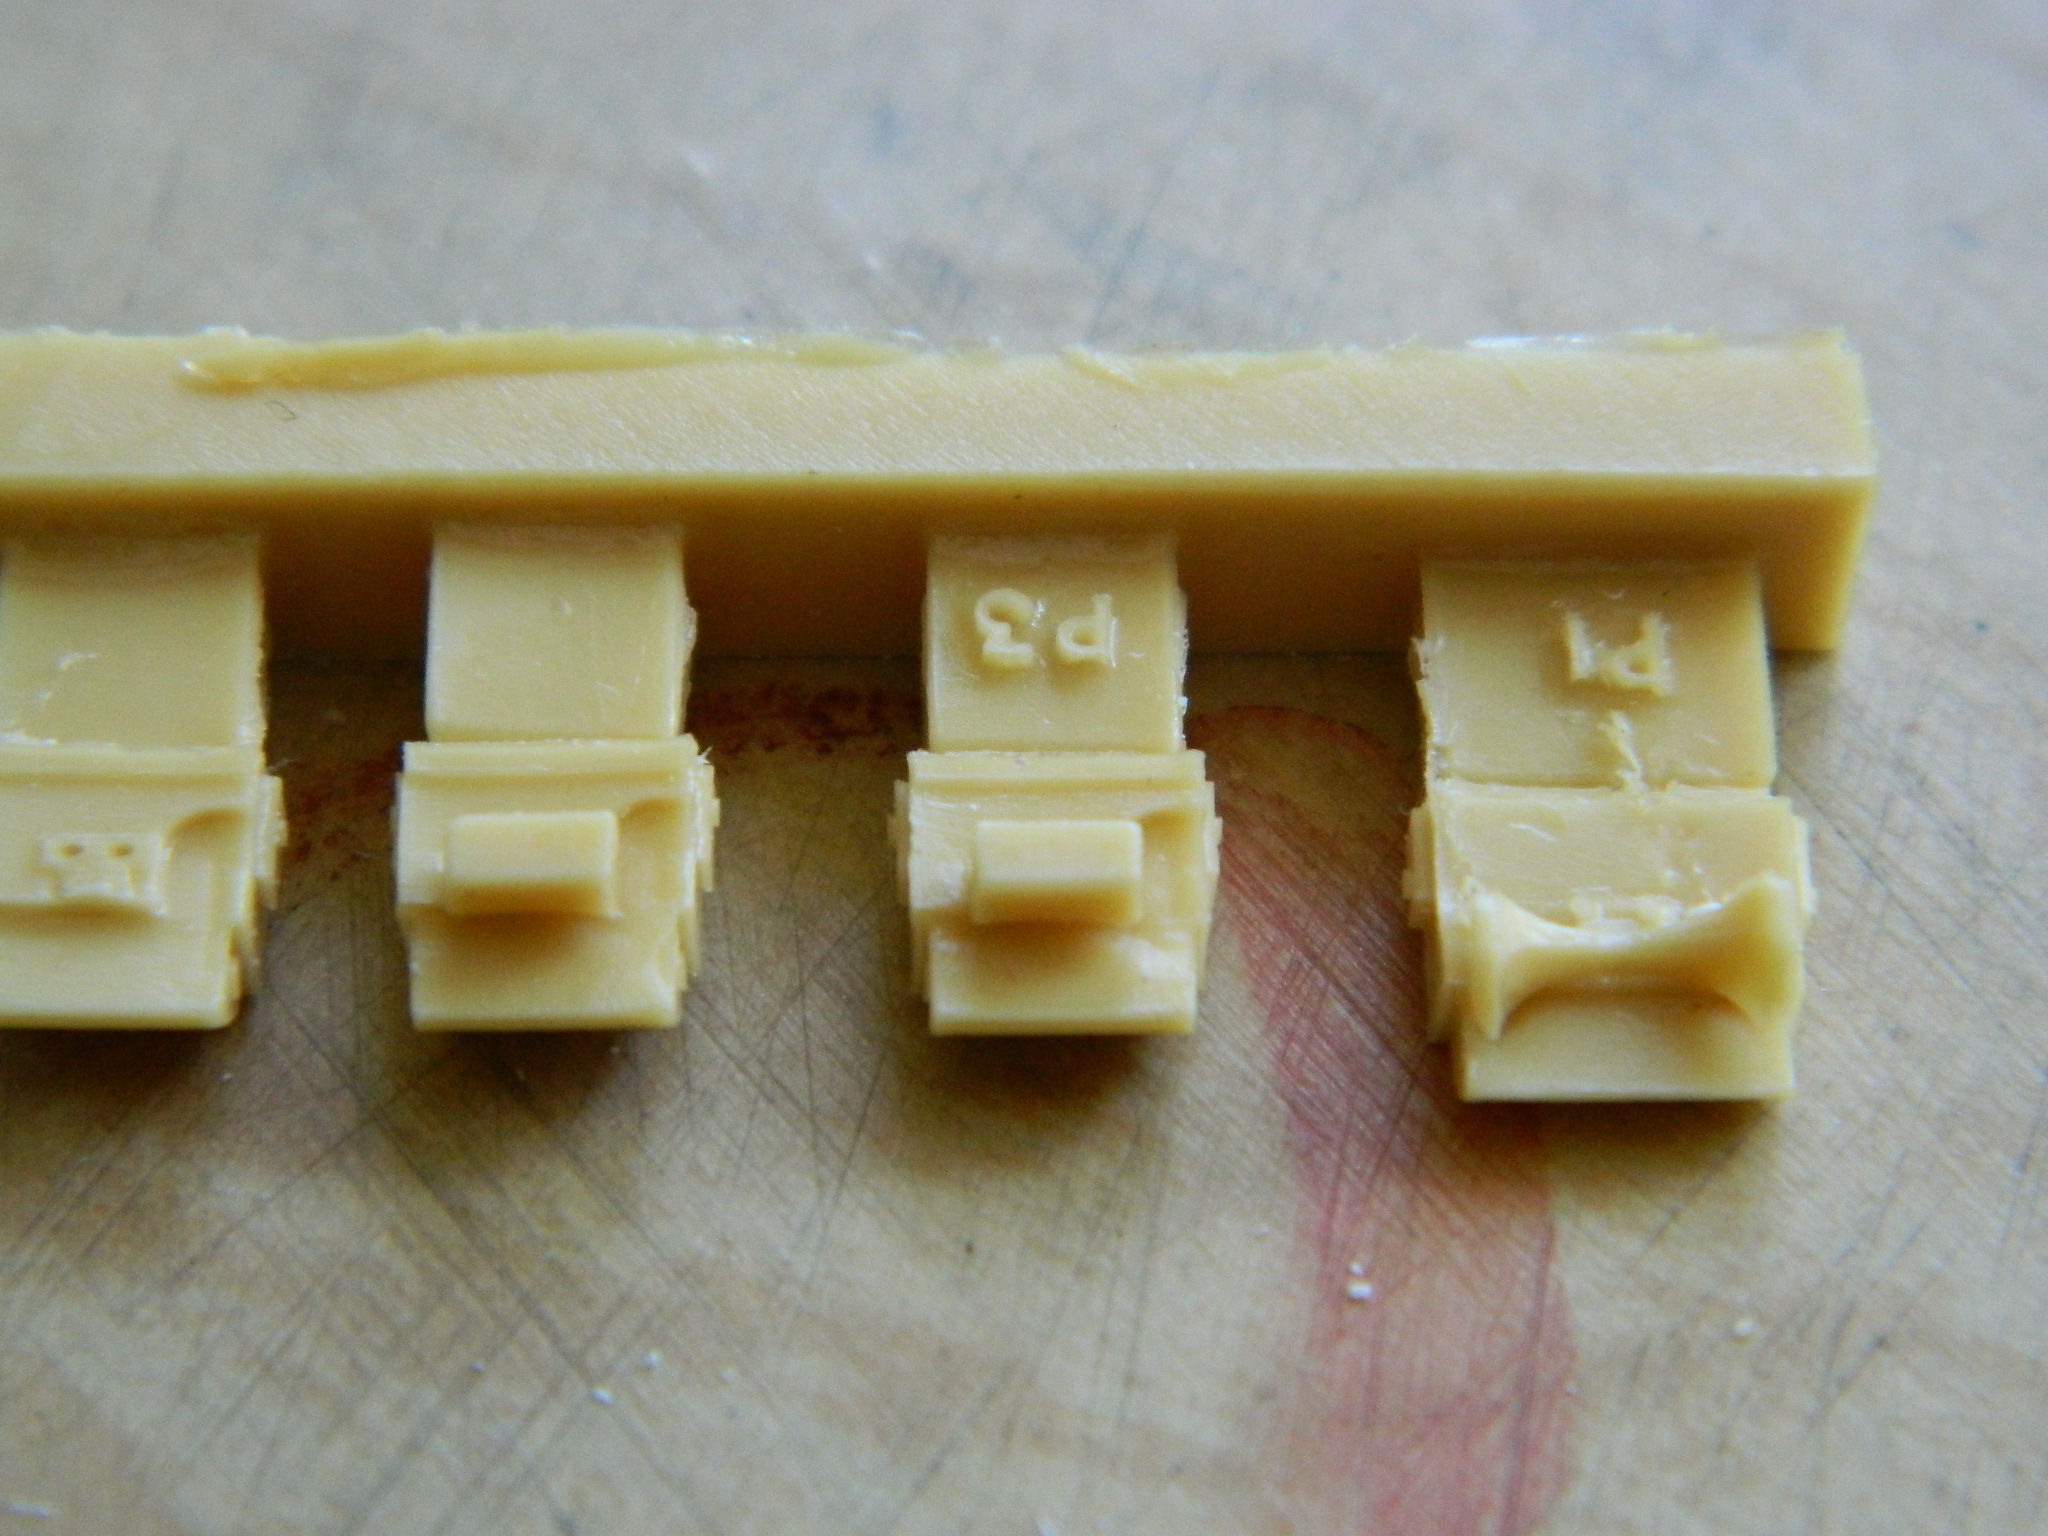
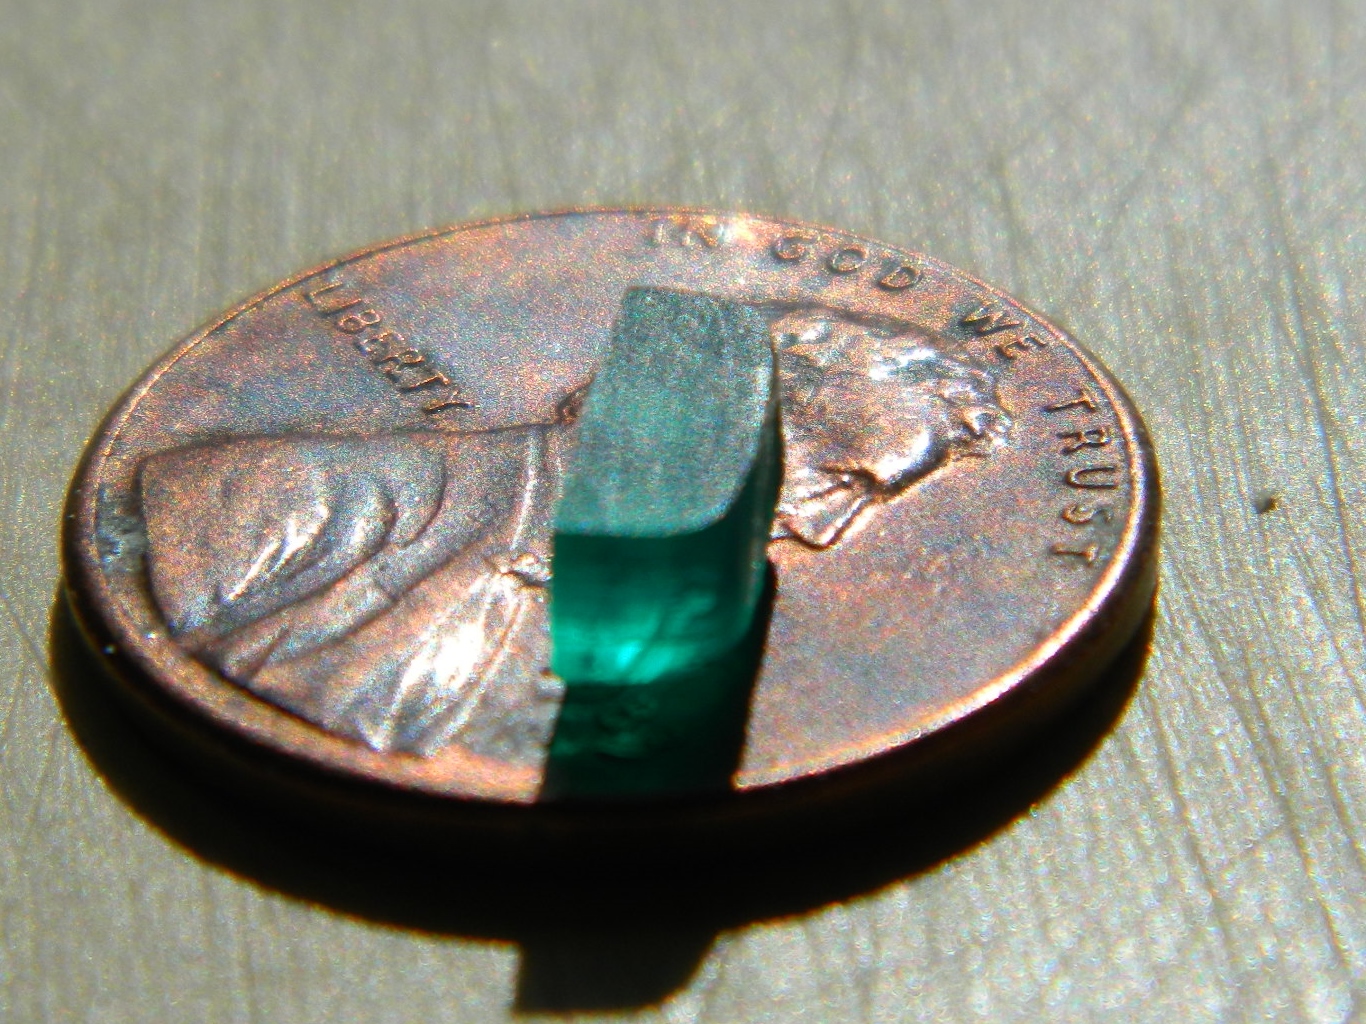
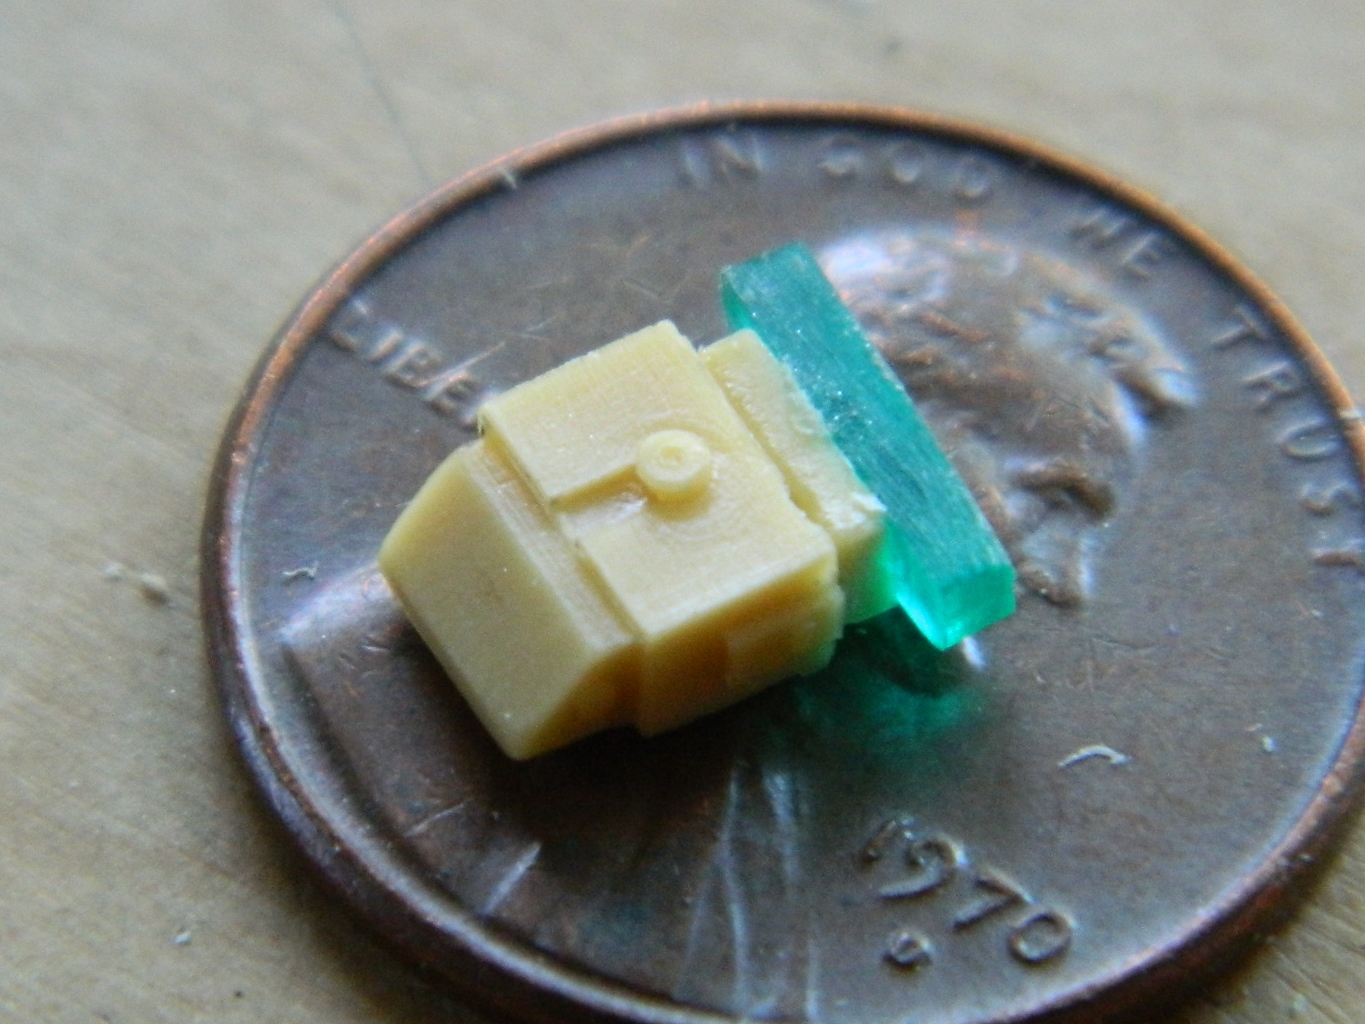
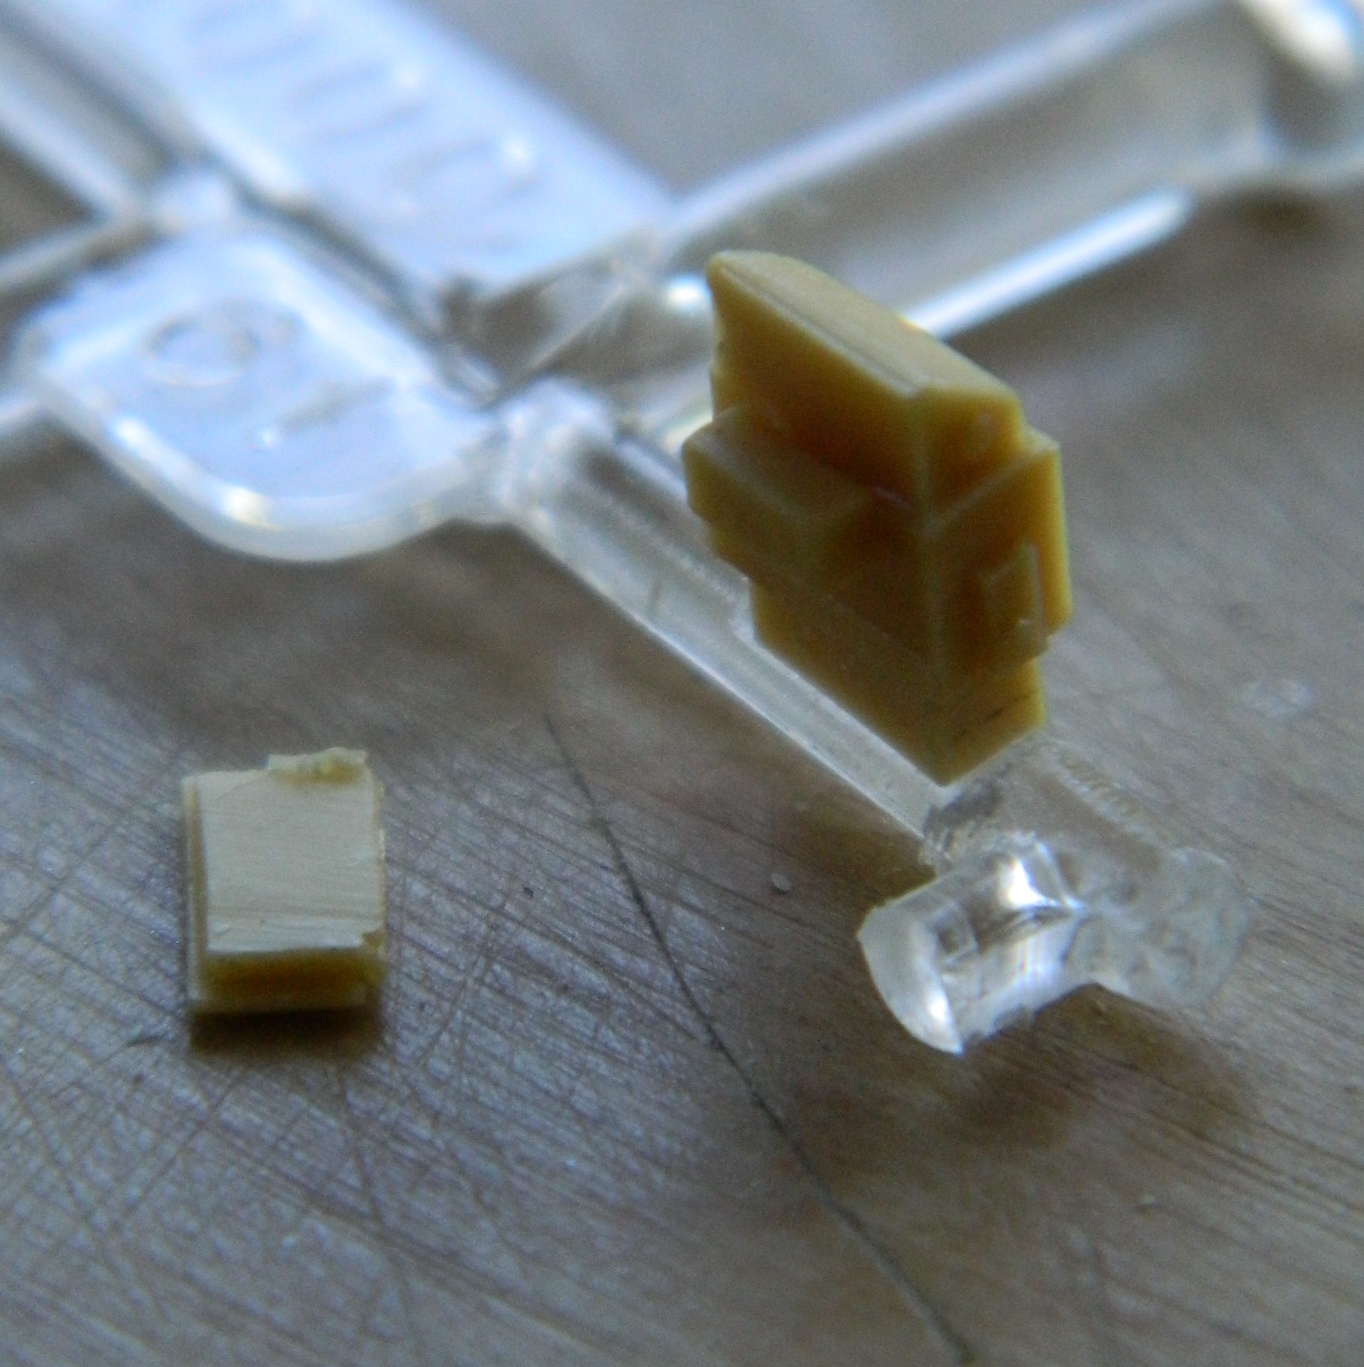
When I cut the periscope off the pouring stub, rather than finish down the pouring gate and then later on having to add the periscope head and align it, I decided I’d use the pouring gate as the head and eliminate the need for alignment by shaping it accordingly:
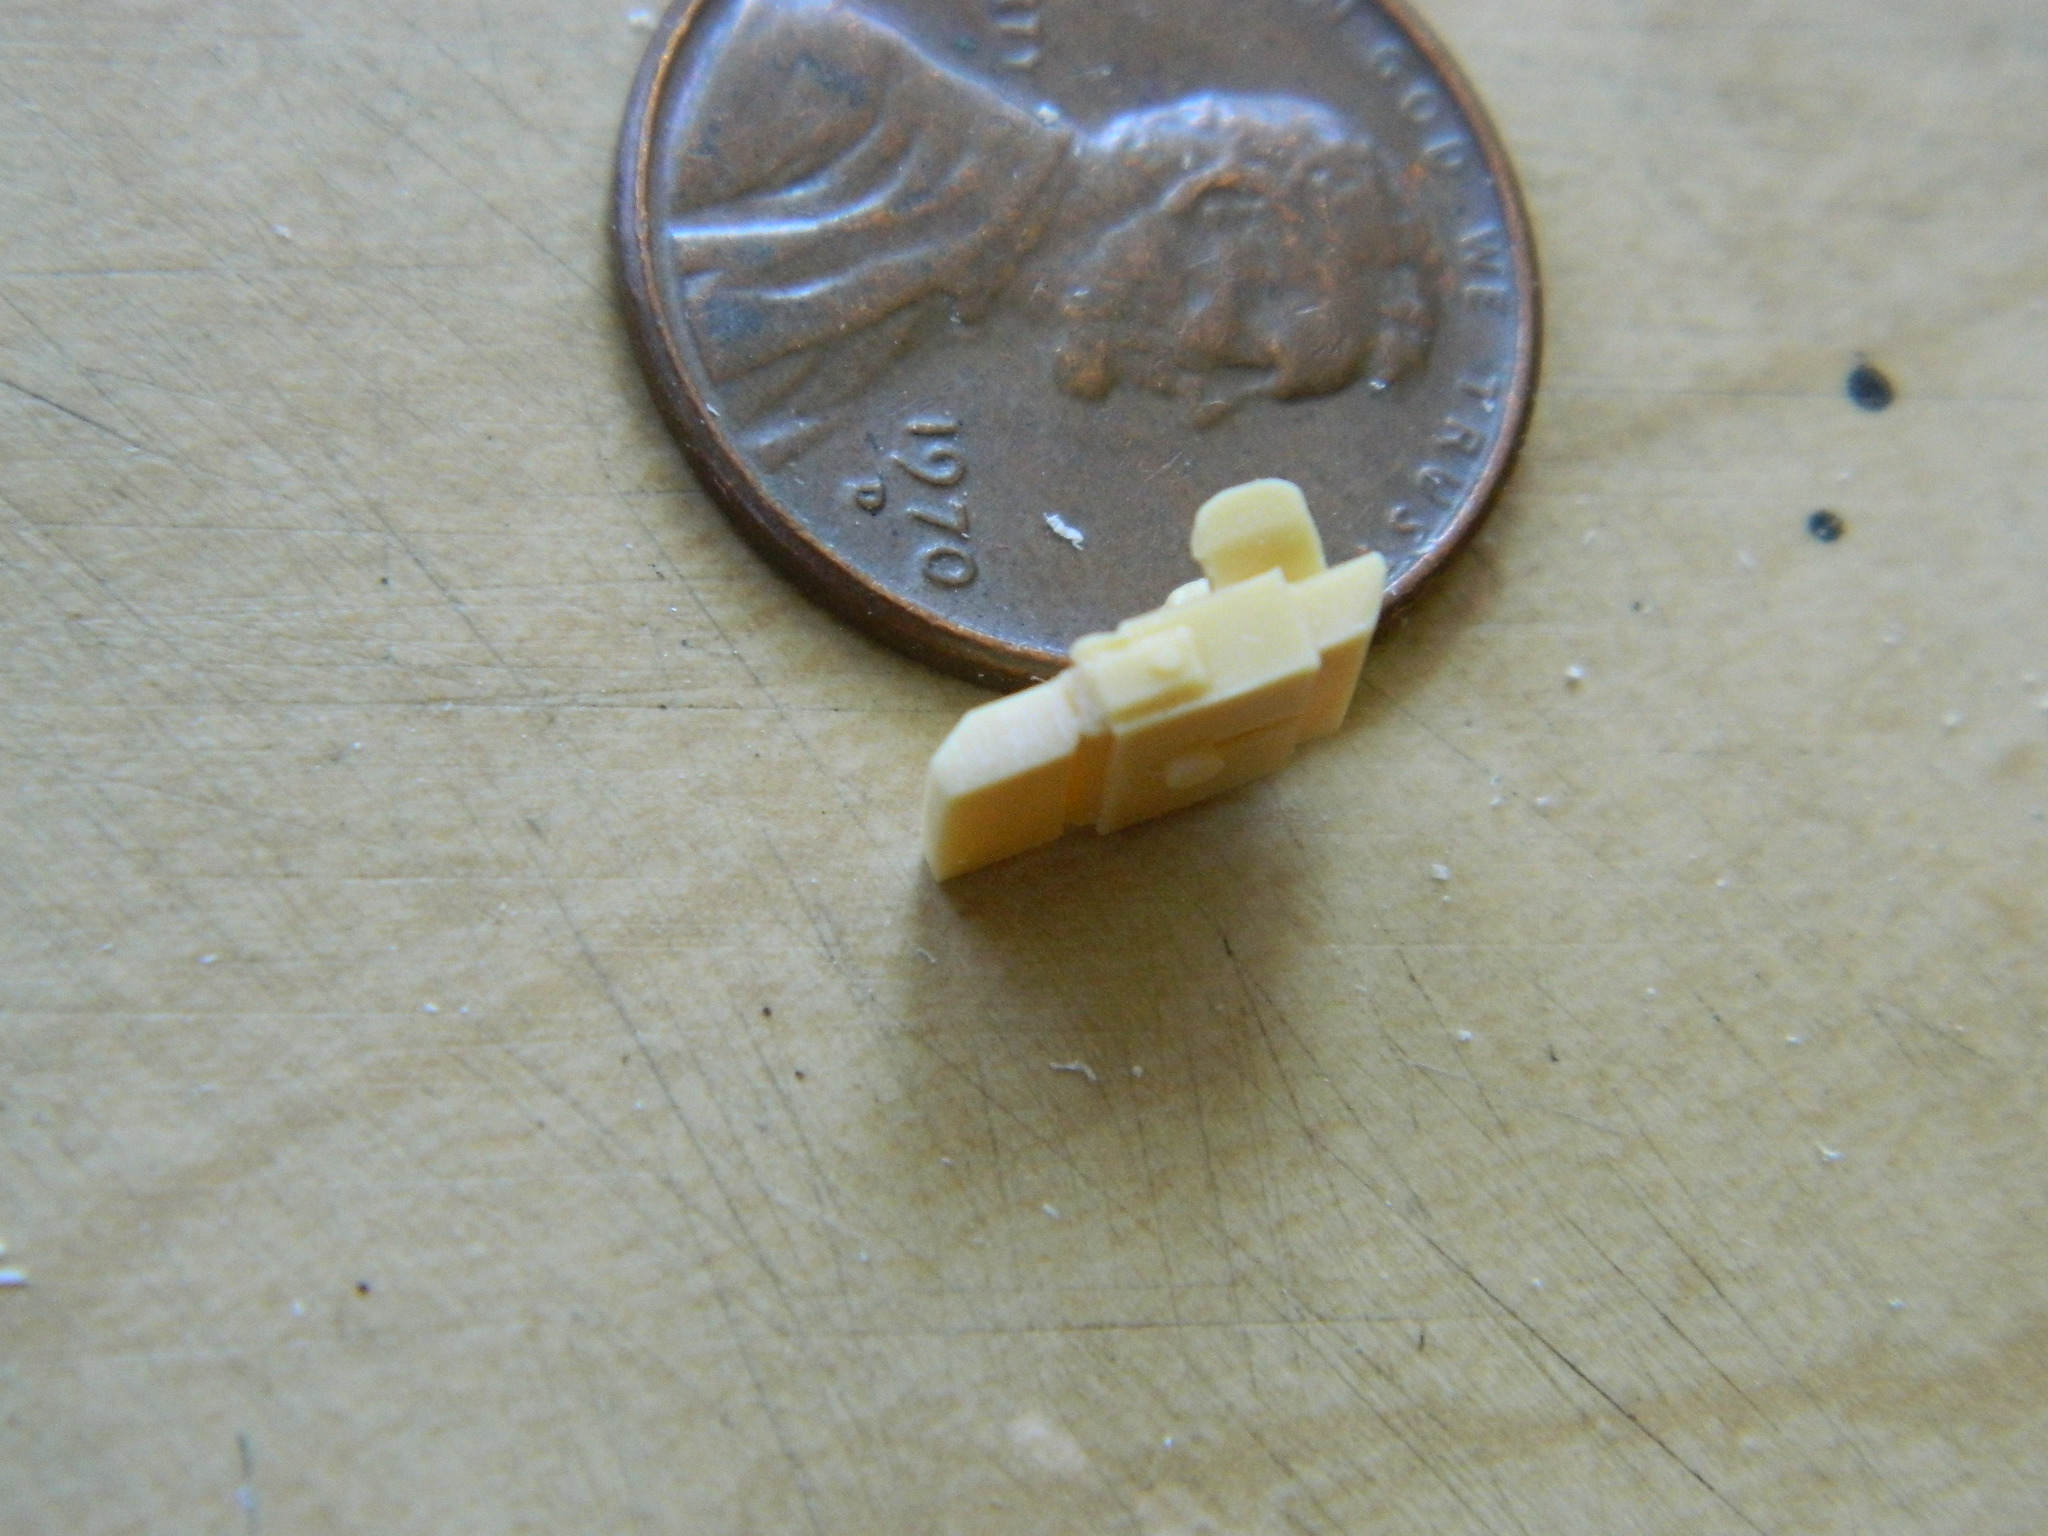
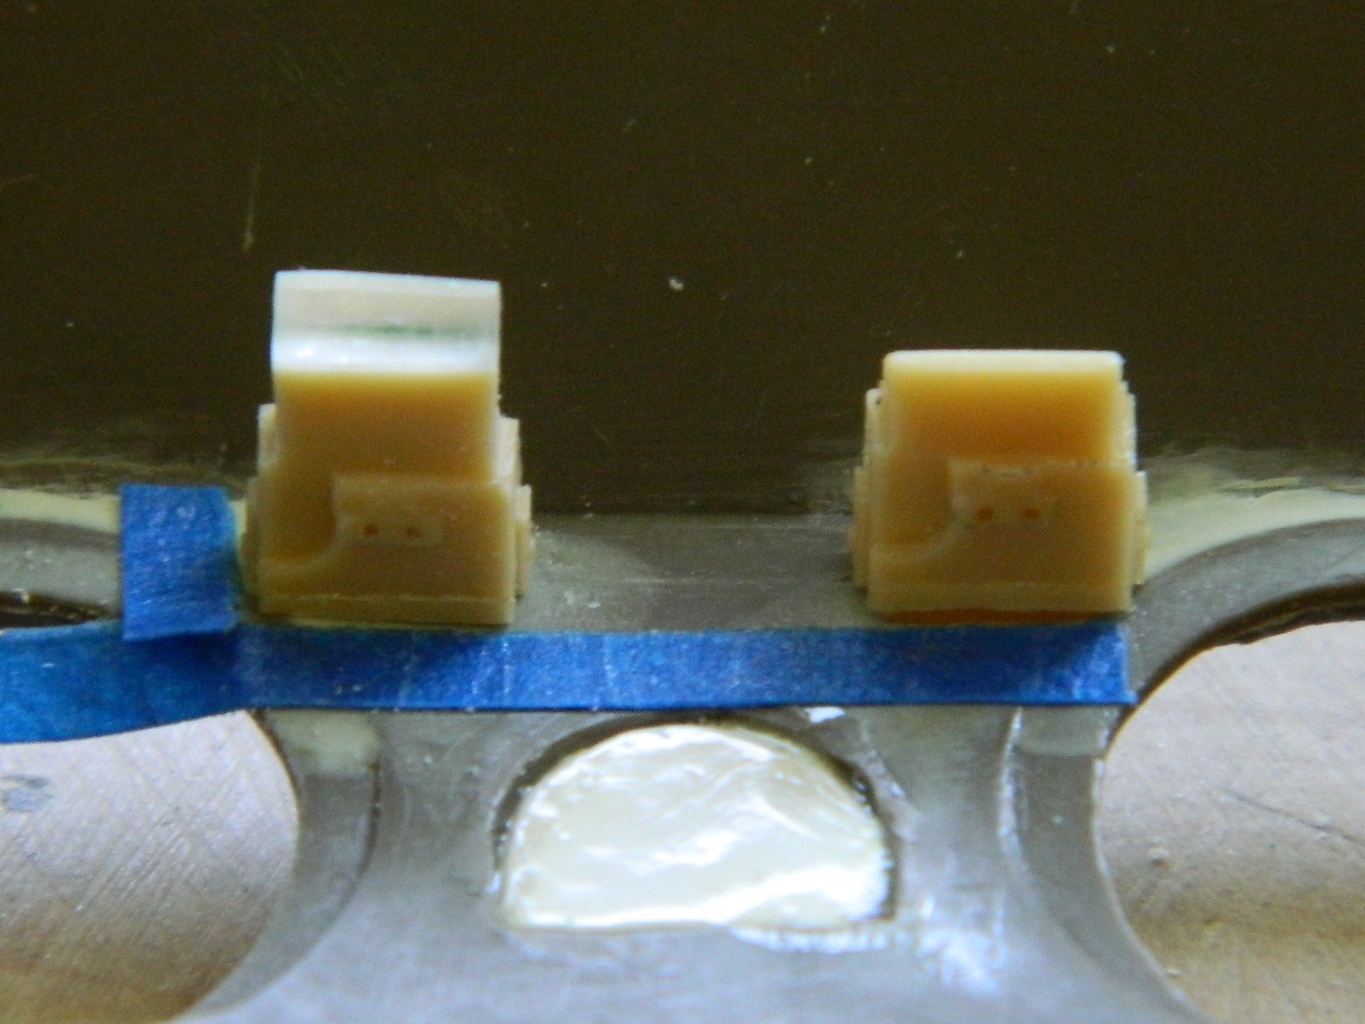
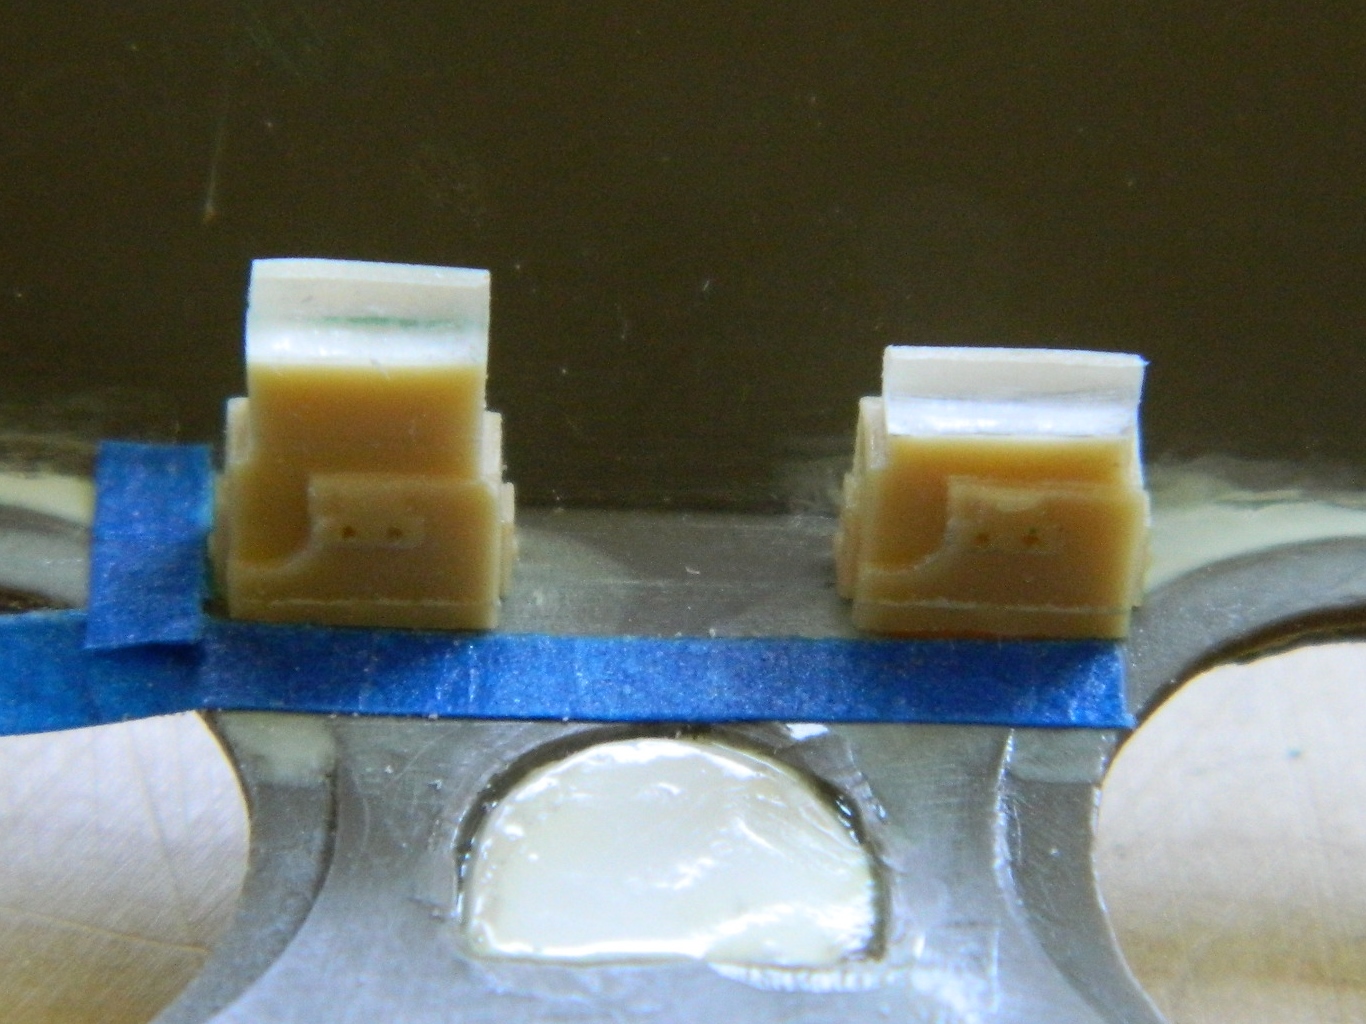
While I was diddling about with these small periscopes, I decided I’d do all the other periscopes I needed at the same time.
Early Shermans had direct vision slots (with covers) for both the driver and co-driver. It was learned early on that having a weak spot in the (already weak) armor directly in front of two crews’ faces was a bad idea, so they did away with the DV slots. They were replaced with another periscope in the hatch hoods directly in front of the hatches (seeing out of a buttoned-up tank is LOUSY, especially WWII tanks). When the later model Shermans went with the larger hatches and redesigned the glacis plate to eliminate the old protrusions for the small hatches, those “extra” periscopes were moved inboard of the hatches, replicated in the photo below as those two rectangular protrusions (the lip in front of them is a “splash guard,” to prevent bullets that hit the glacis from ricocheting up into the periscope heads and taking them out; it’ll be replaced, too). Originally I had intended on adding both periscopes in these locations; I decided to do the driver’s side extended and the gunner’s side retracted. The molding on the model shows both as retracted and I’ll open one:
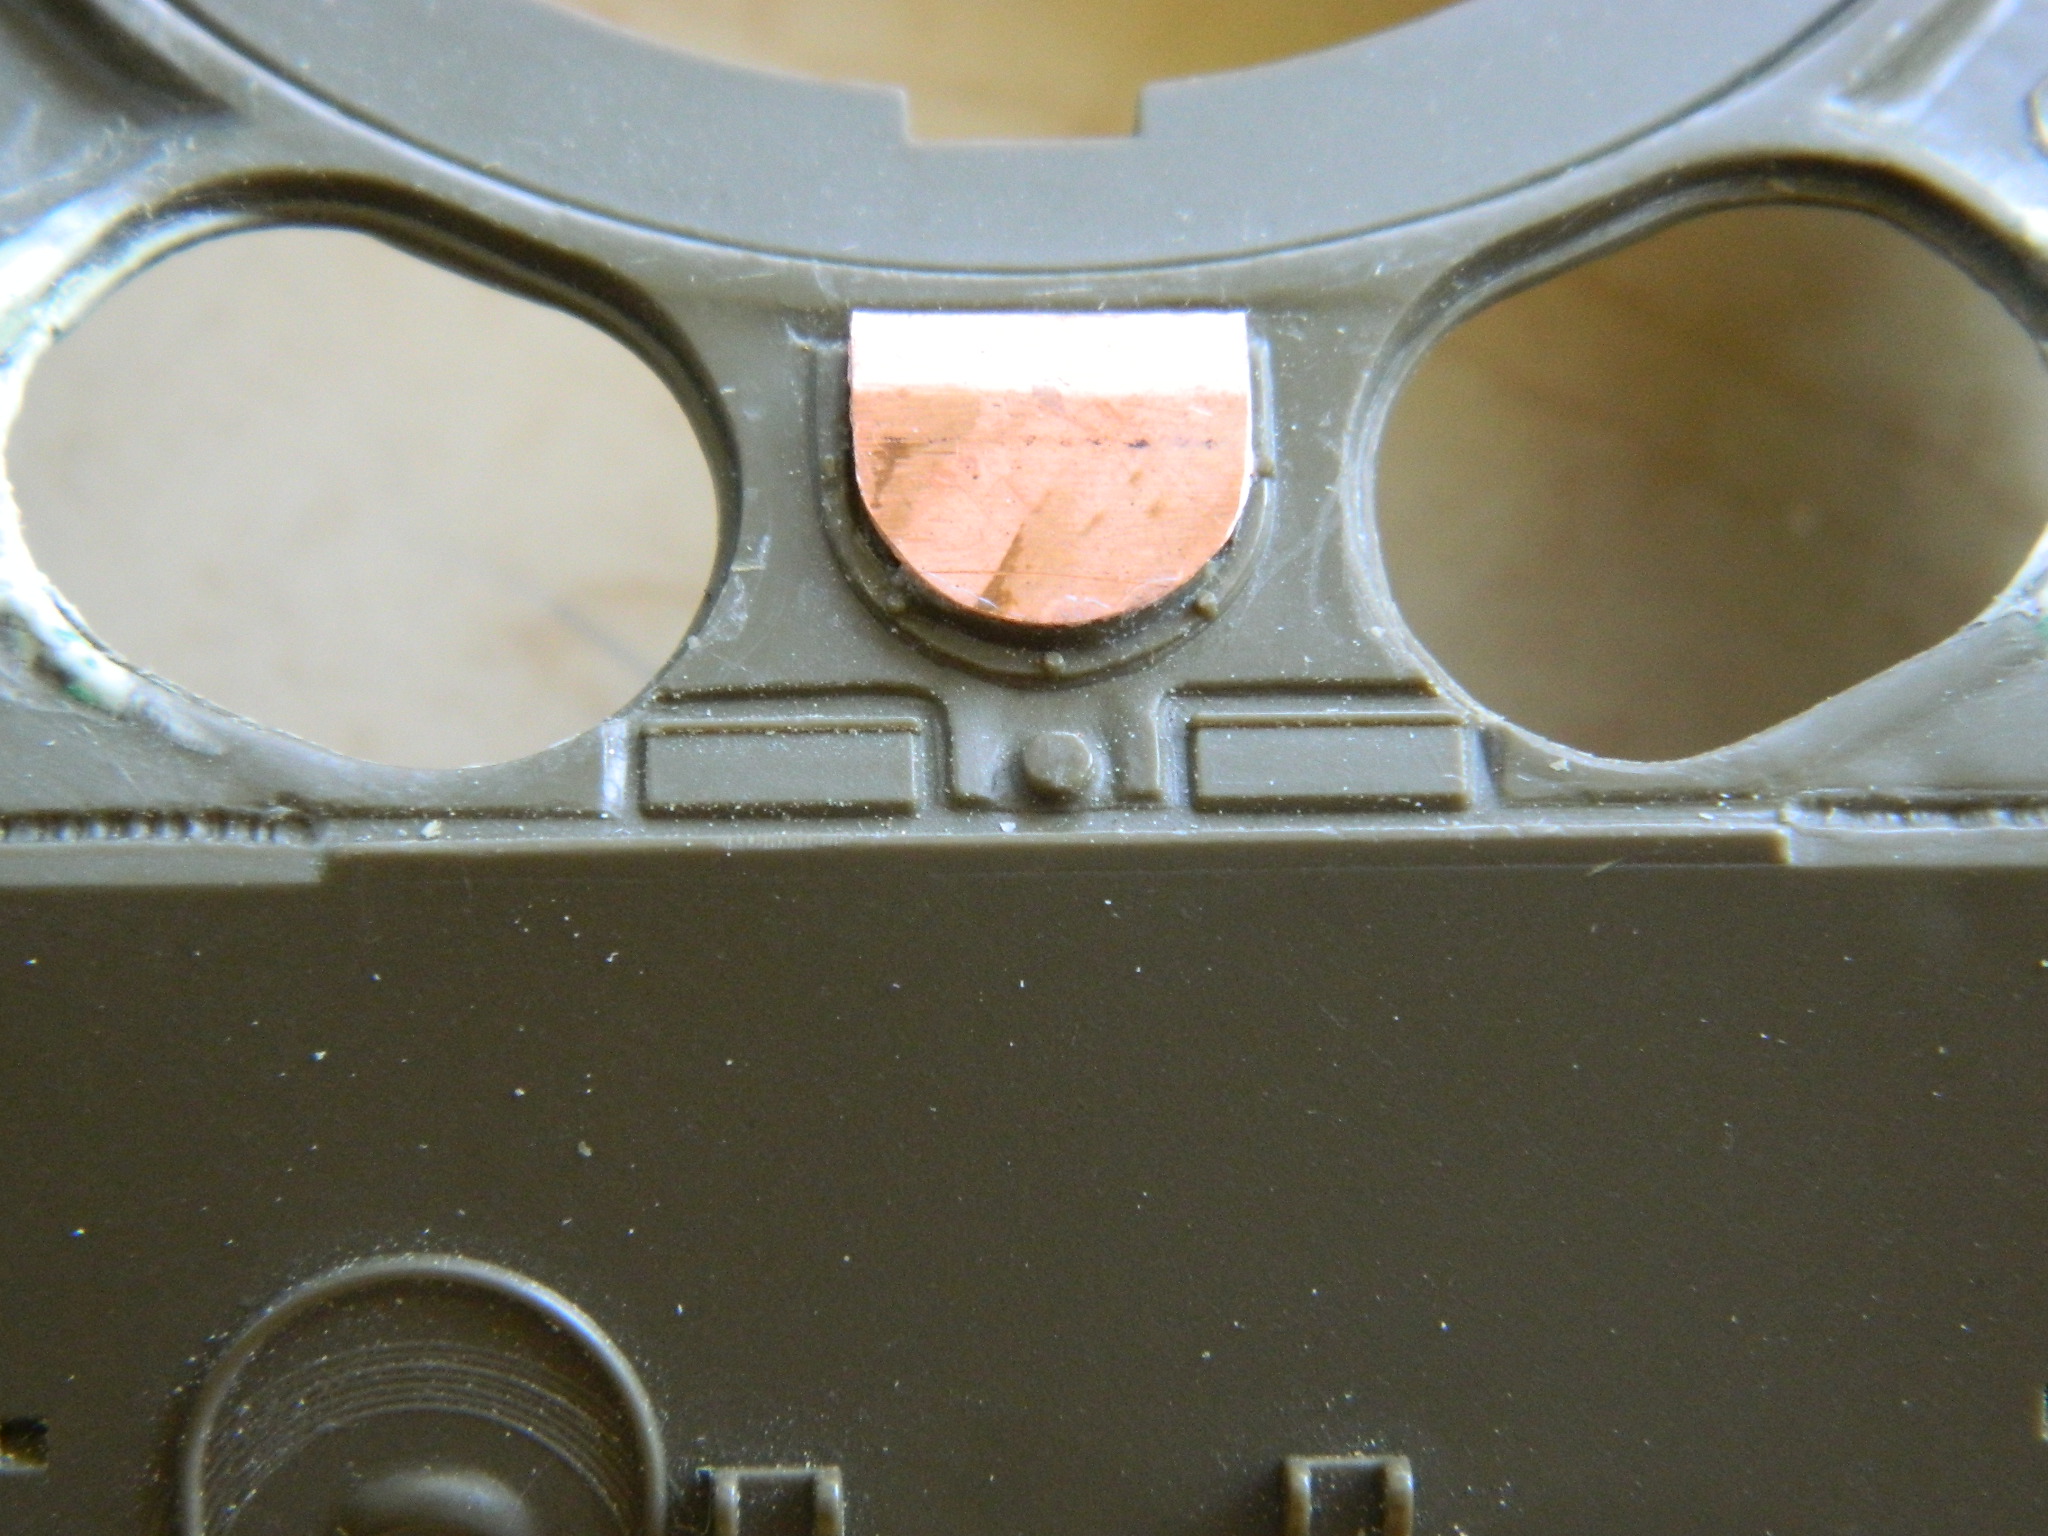
With the cover shaved off, the splash guard removed, and the hole aligned and drilled, we get this:
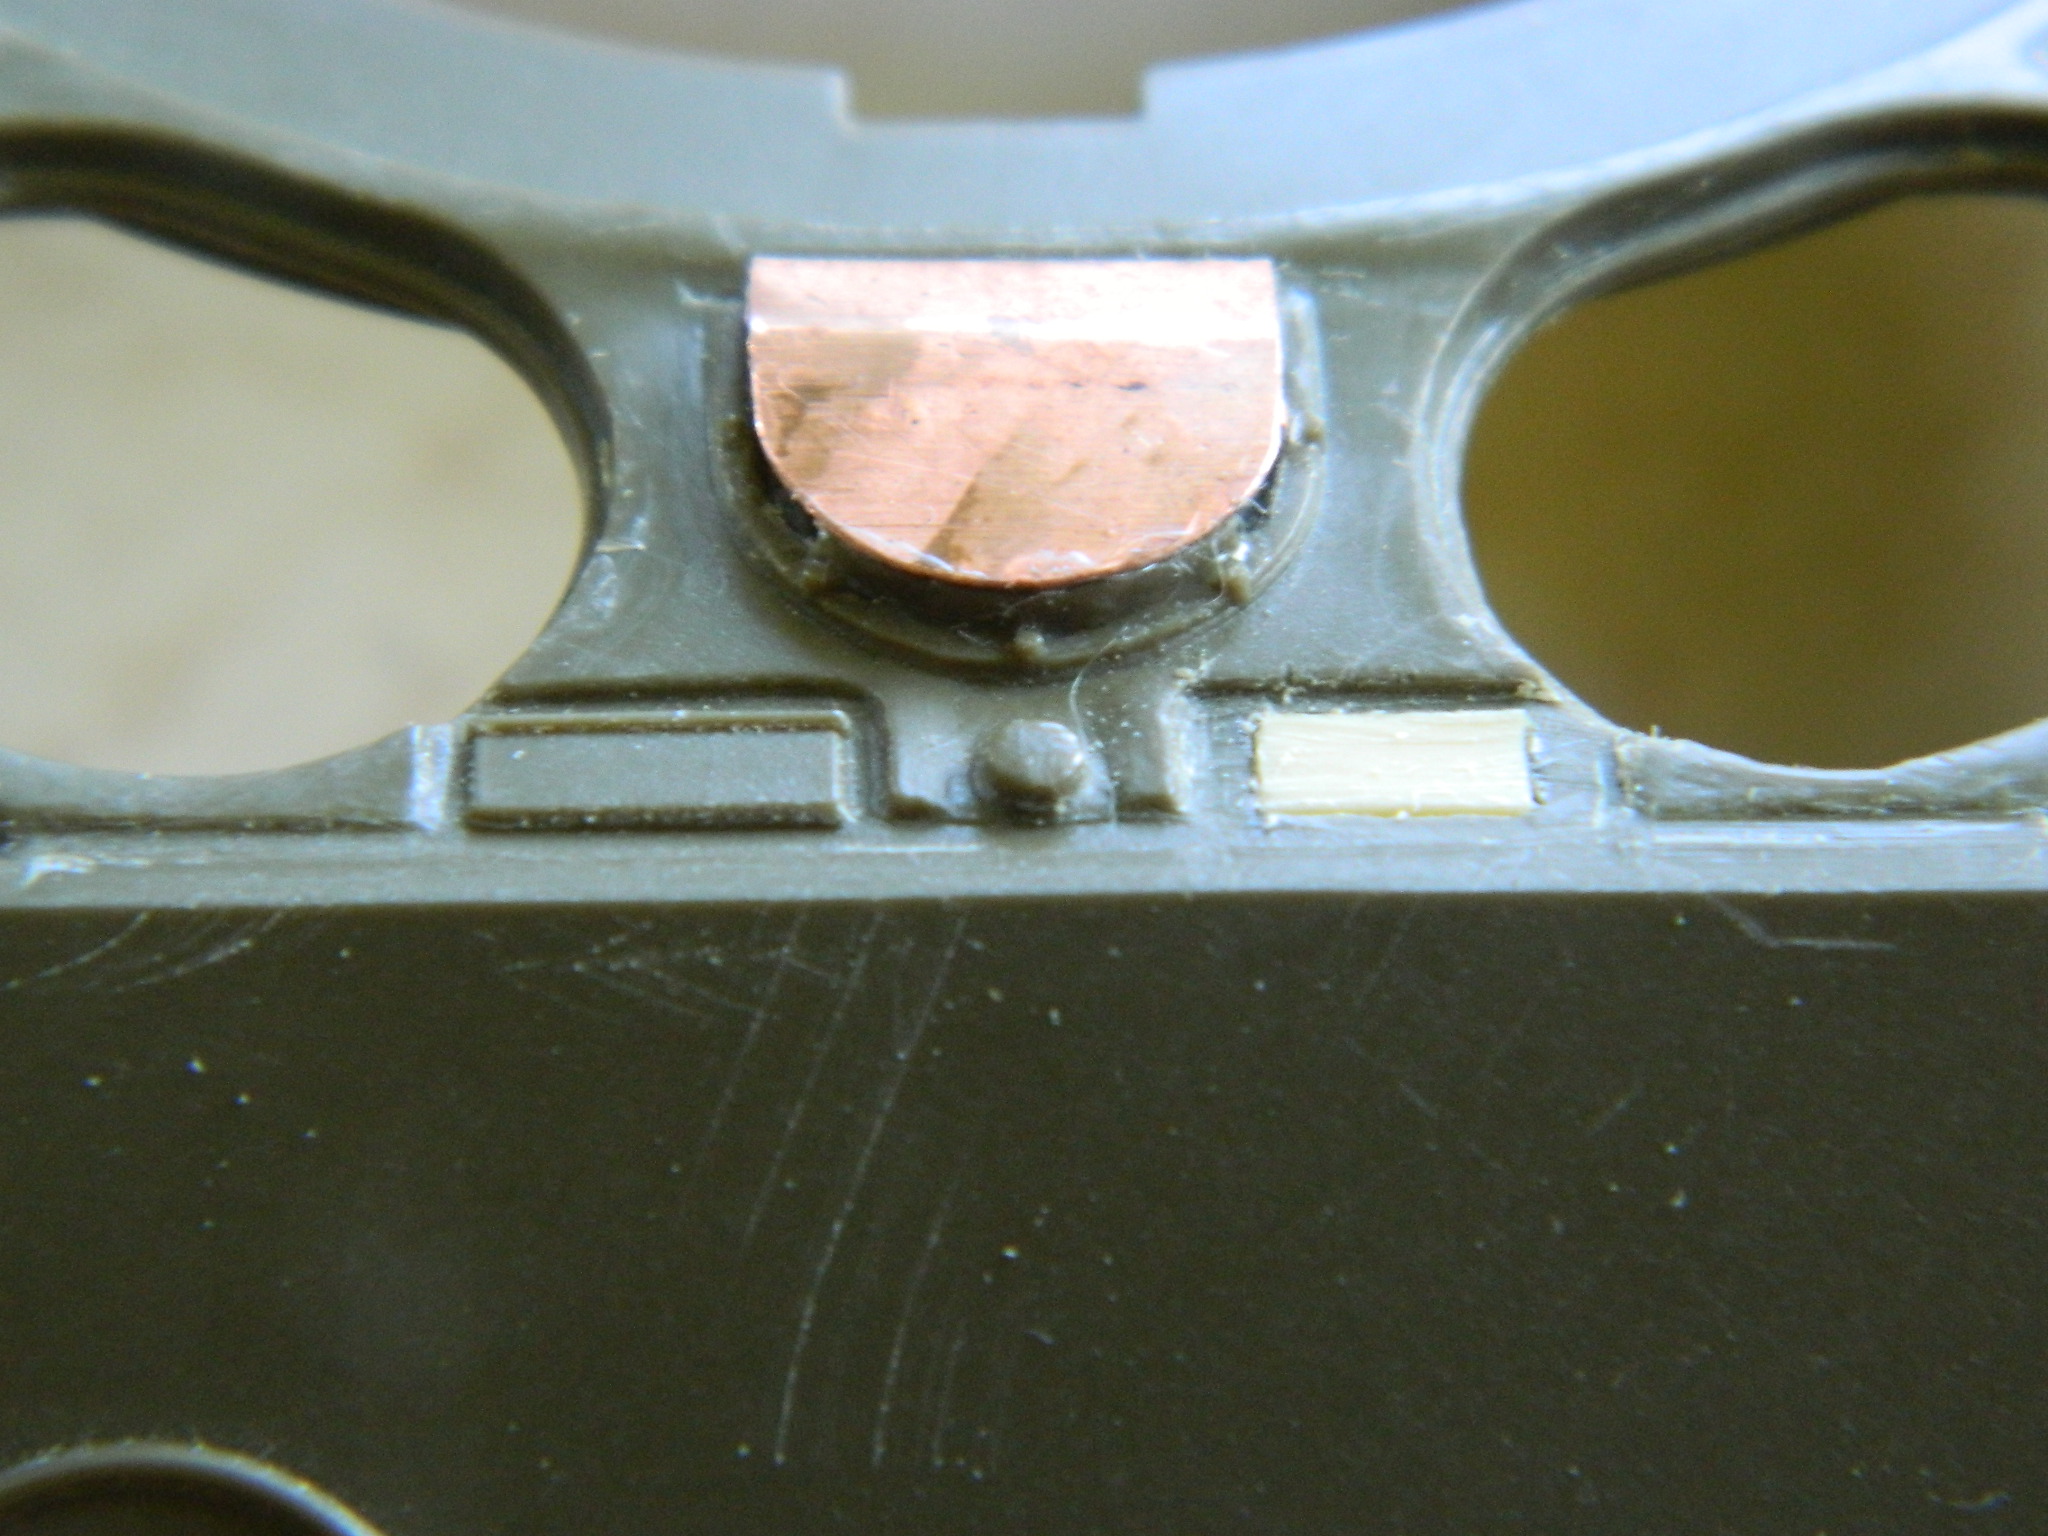
The periscope heads are molded separately from the covers (which were sprung and closed over the top as the periscope is retracted) are the angled plates behind the faces:
One of the things that always ruins the in-scale perspective for me is when I see something I know should be clear or translucent represented by opaque paint, so I wanted to try something else. I learned by doing aircraft position/formation lights that I could use acrylic toothbrush handles to make more representative lenses. The translucent resin is perfect for those lights. I decided to see if that would work for periscope ports:


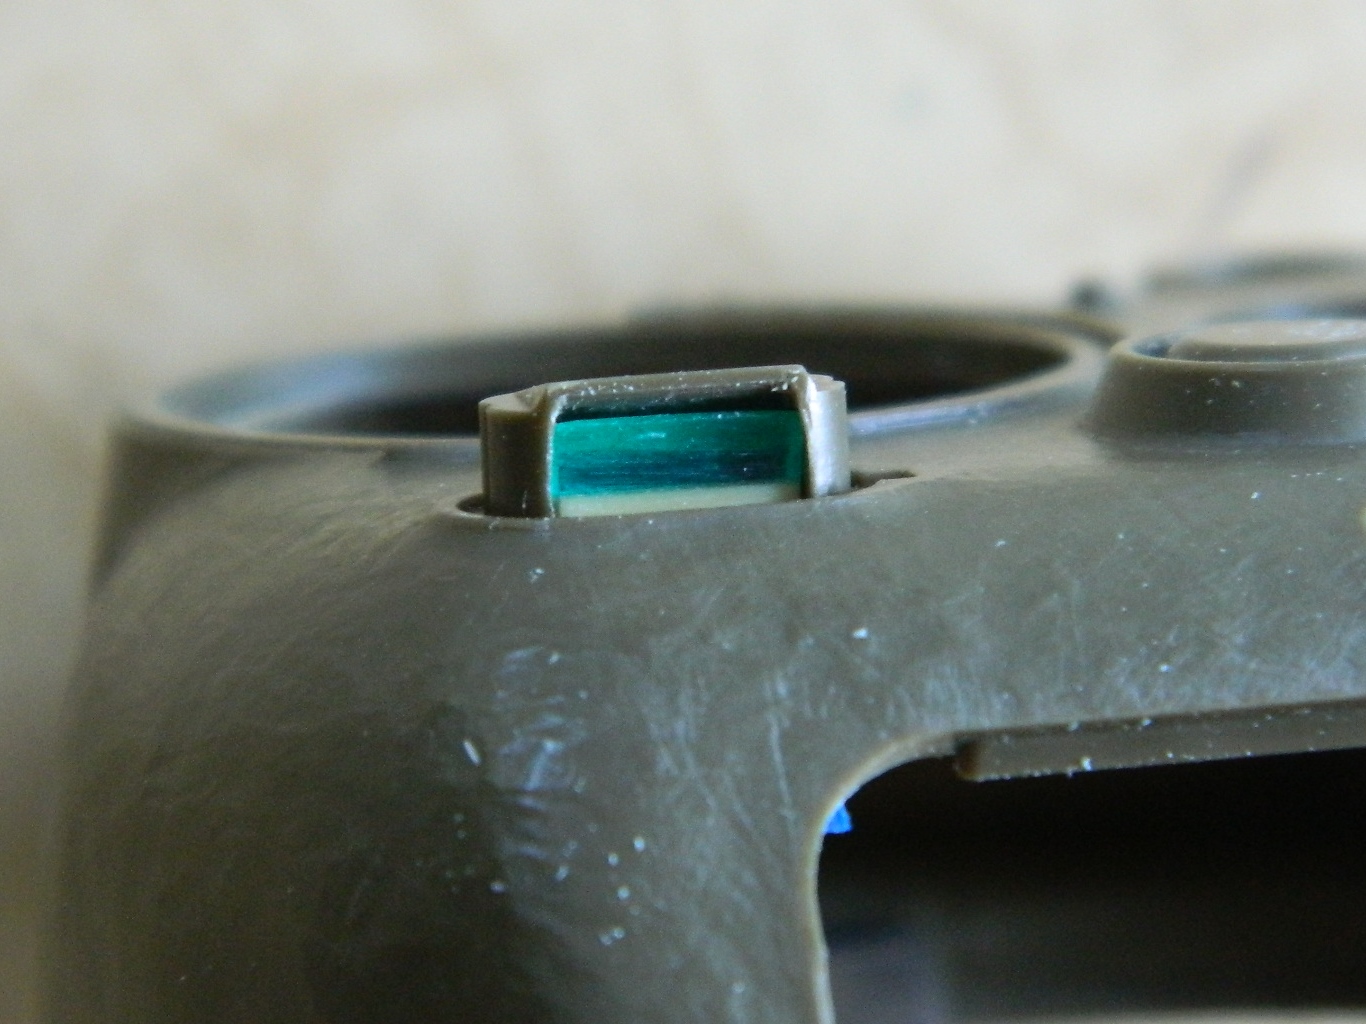
Yep…that seemed to work, so I’ll do the rest of the periscopes the same way, though I decided to use clear sprue from the spares box instead for the rest of them:


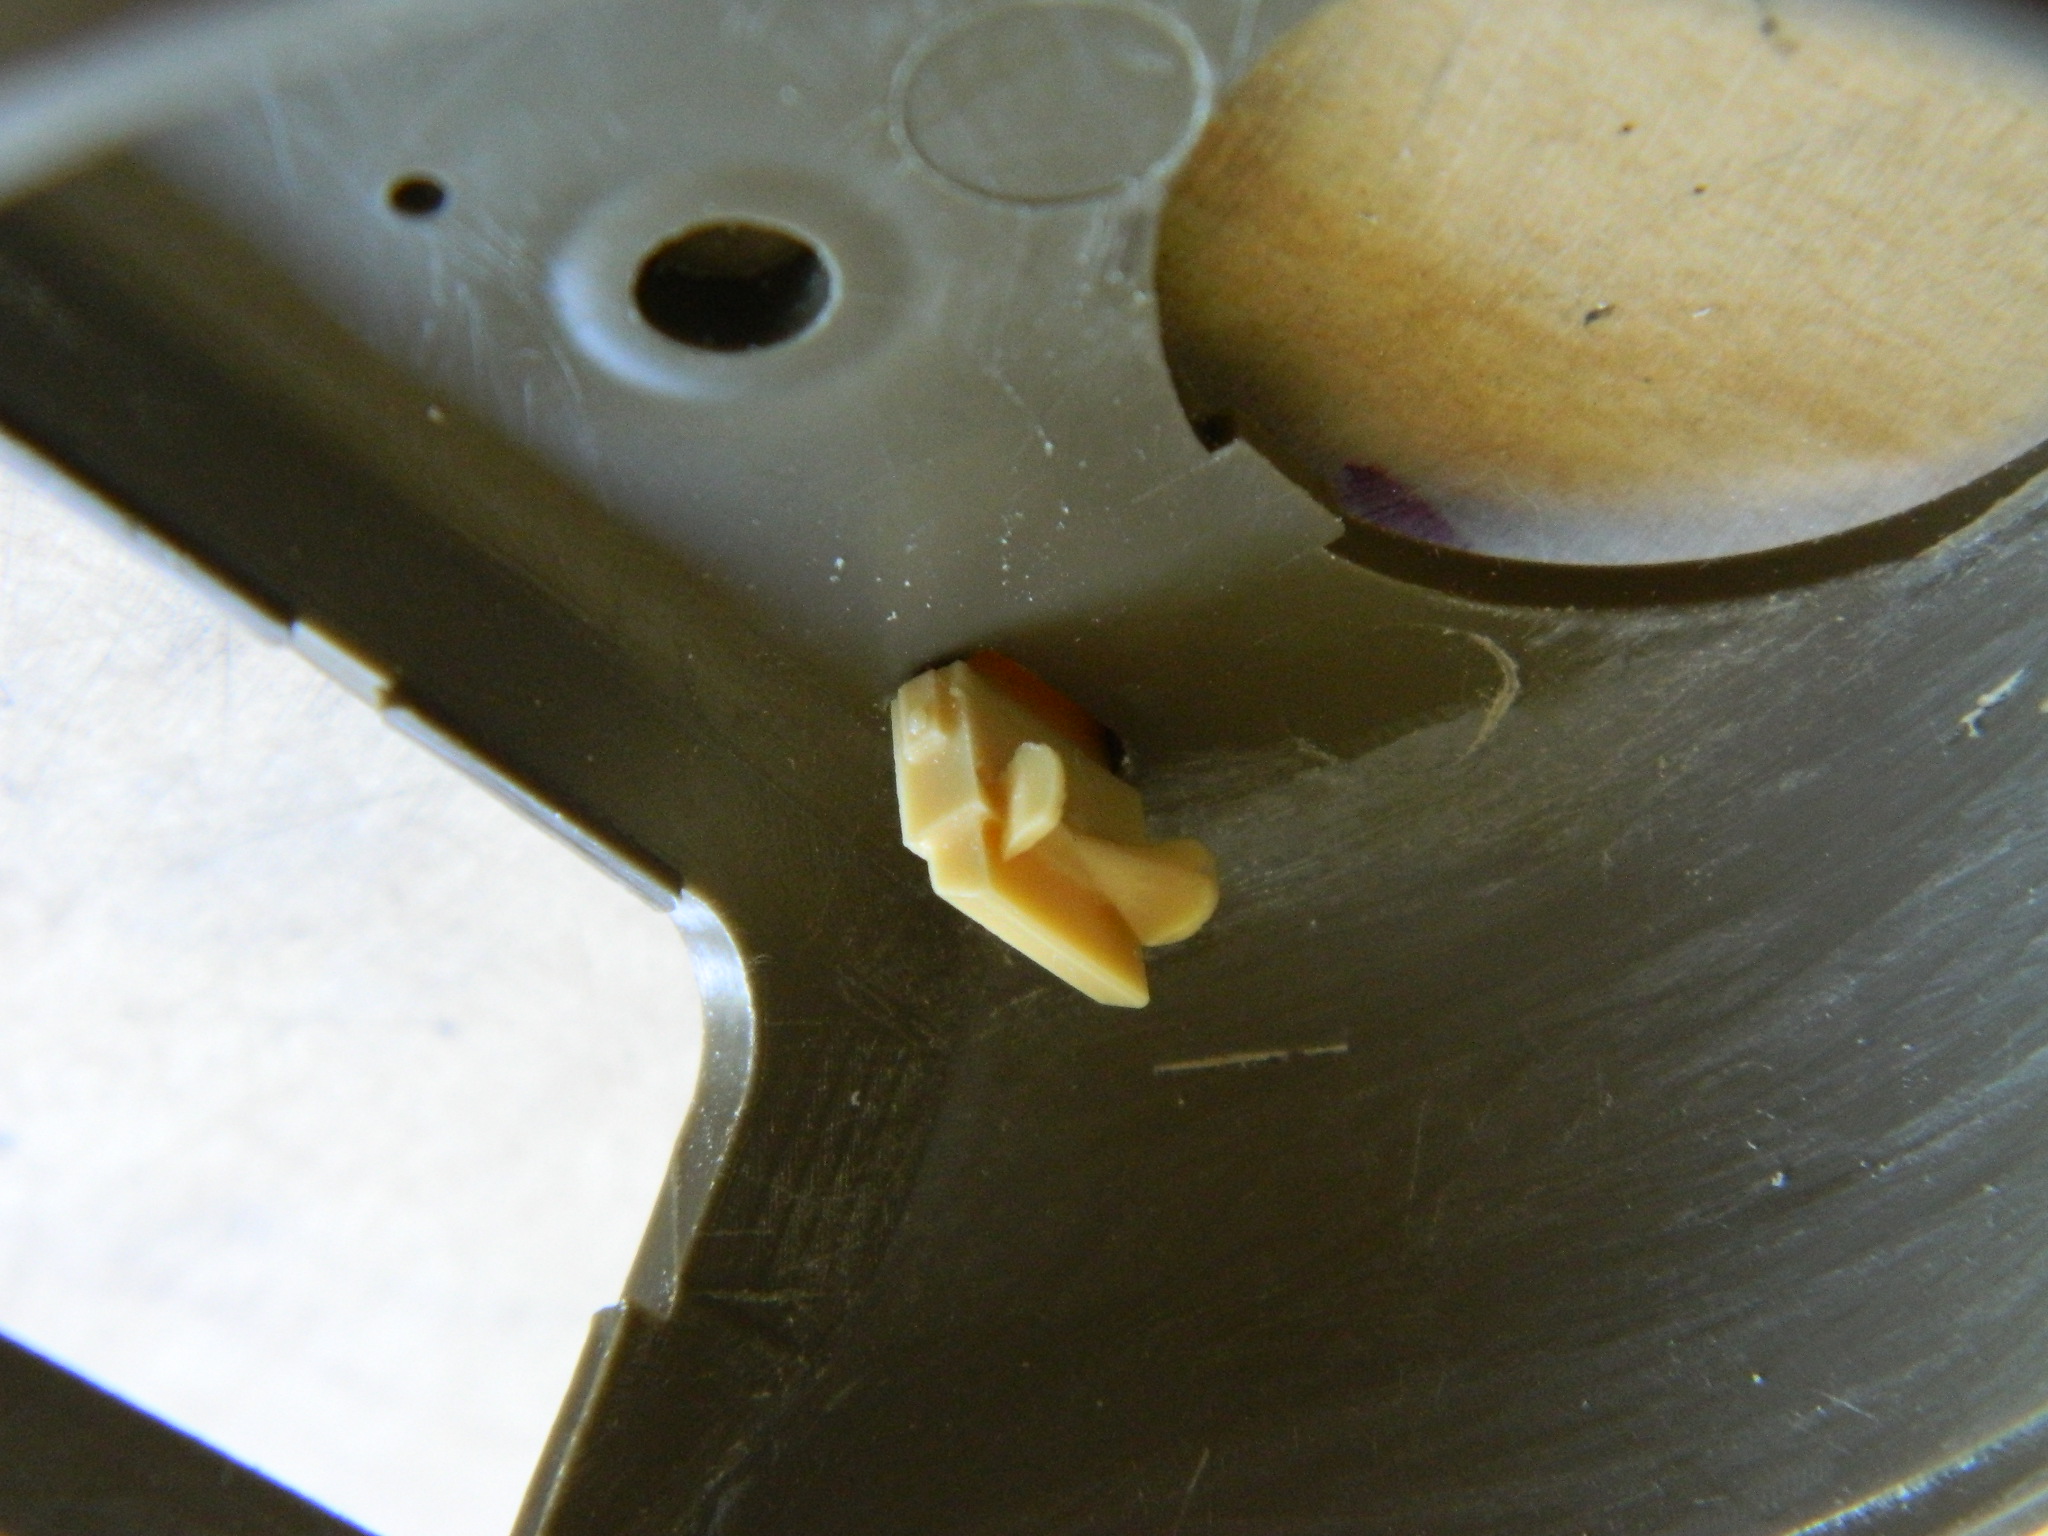
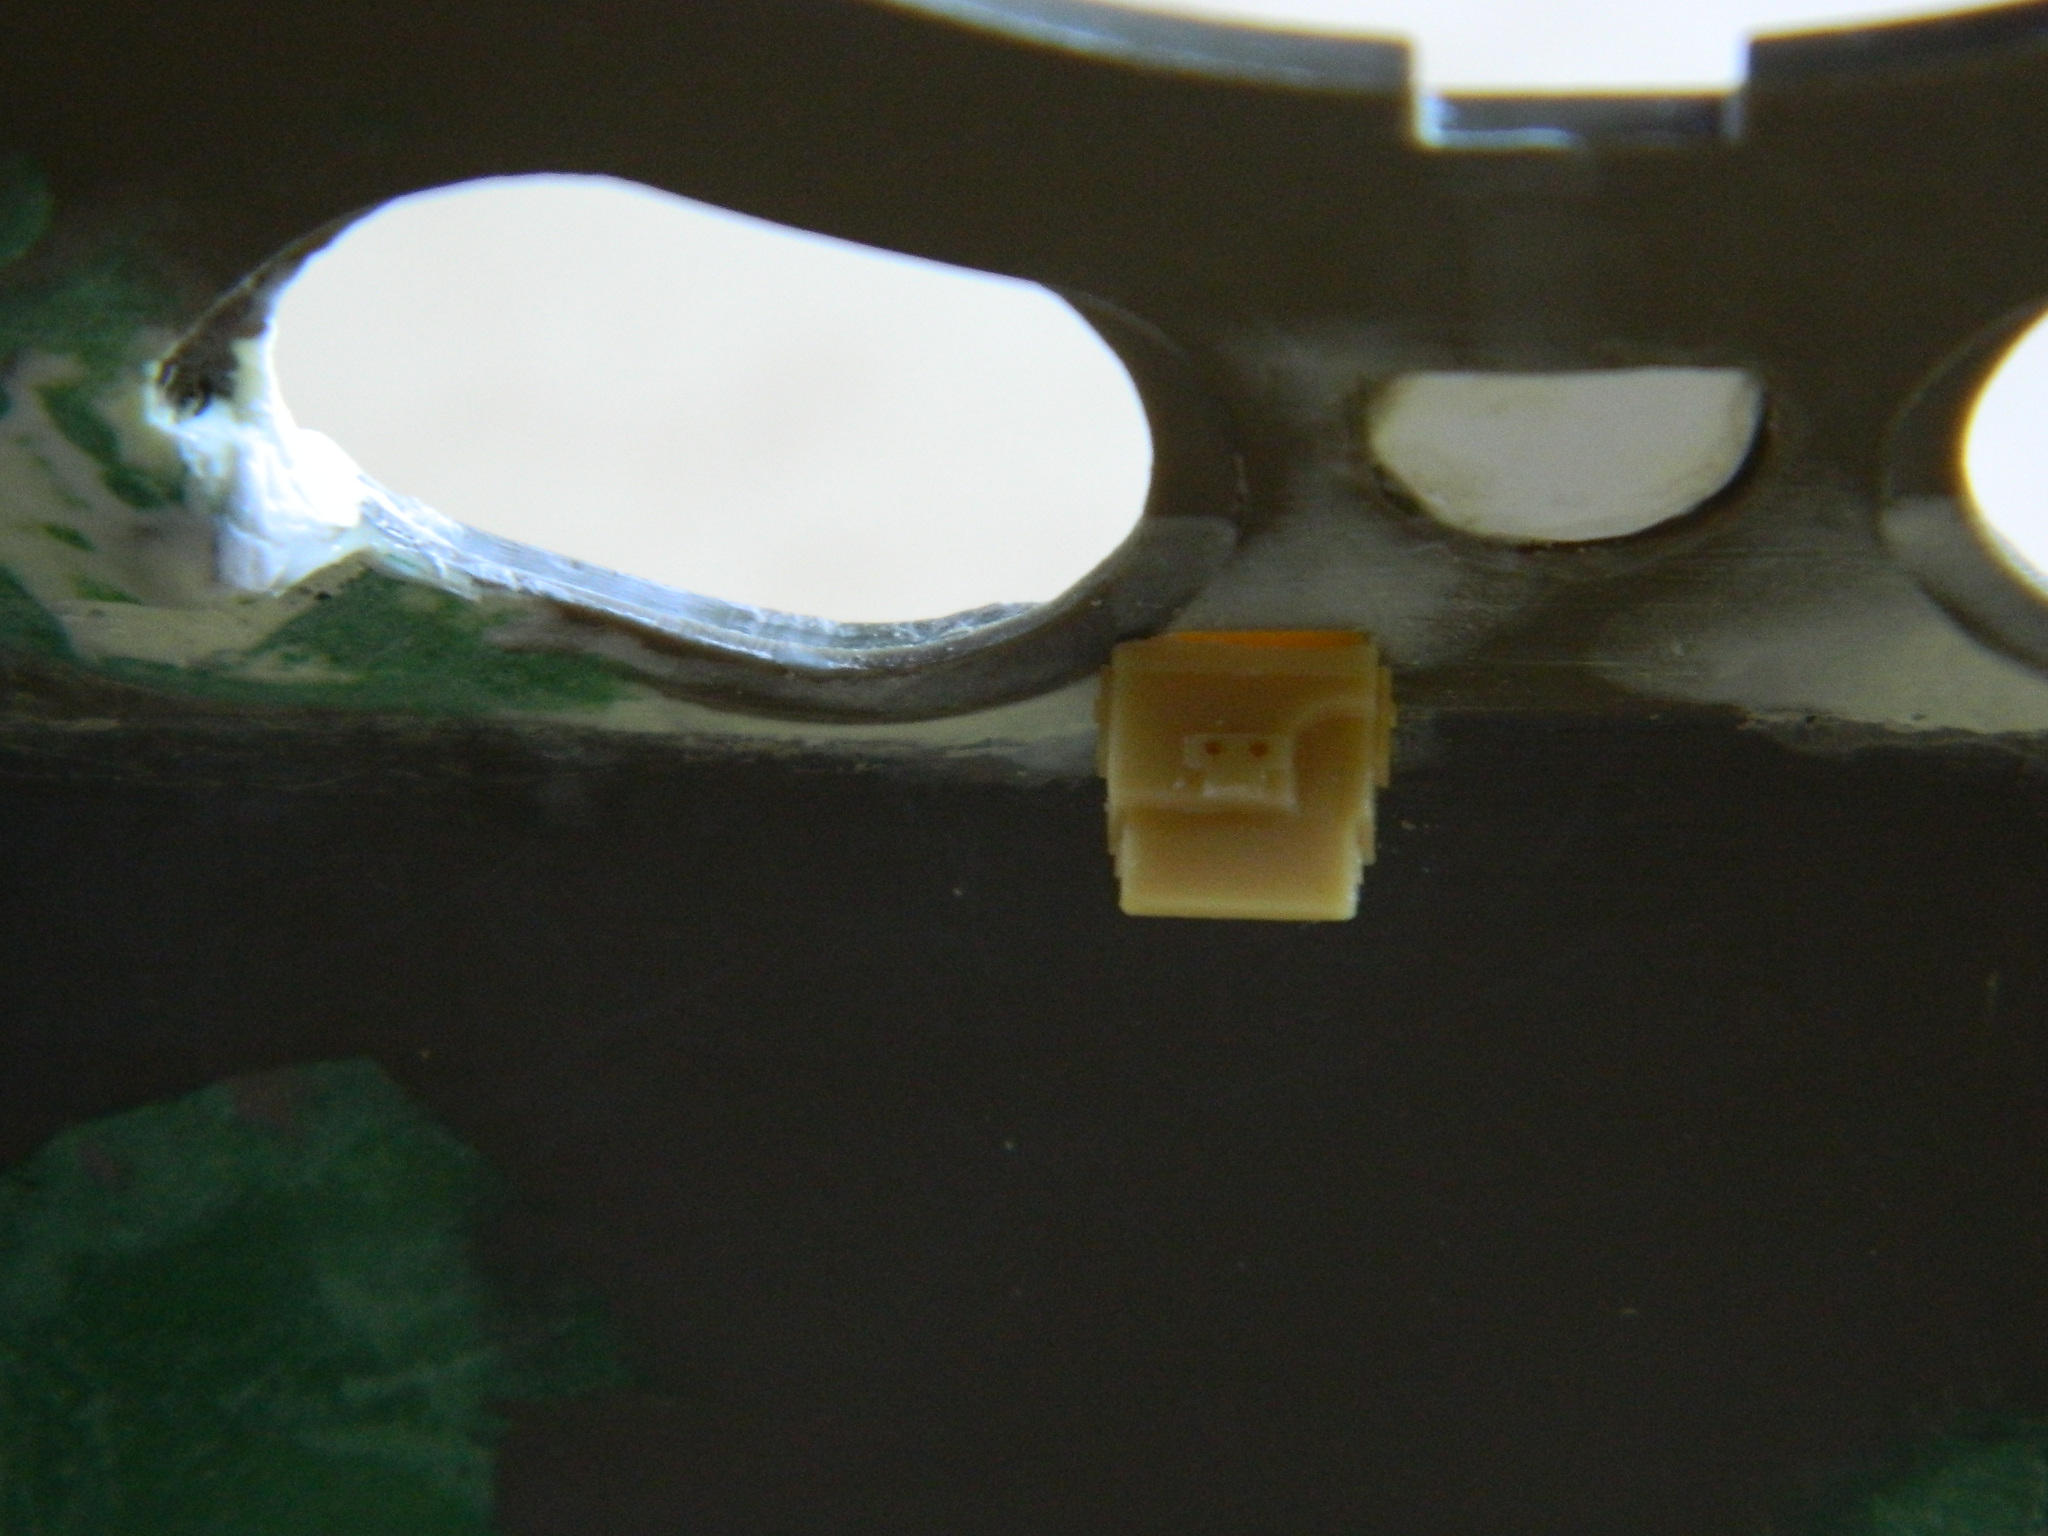
While I was working on turret-related things, I took out the pistol port I’d made, cut the hole in the turret, and grafted it on:

I set that aside to let the putty cure and went back to the hull.
