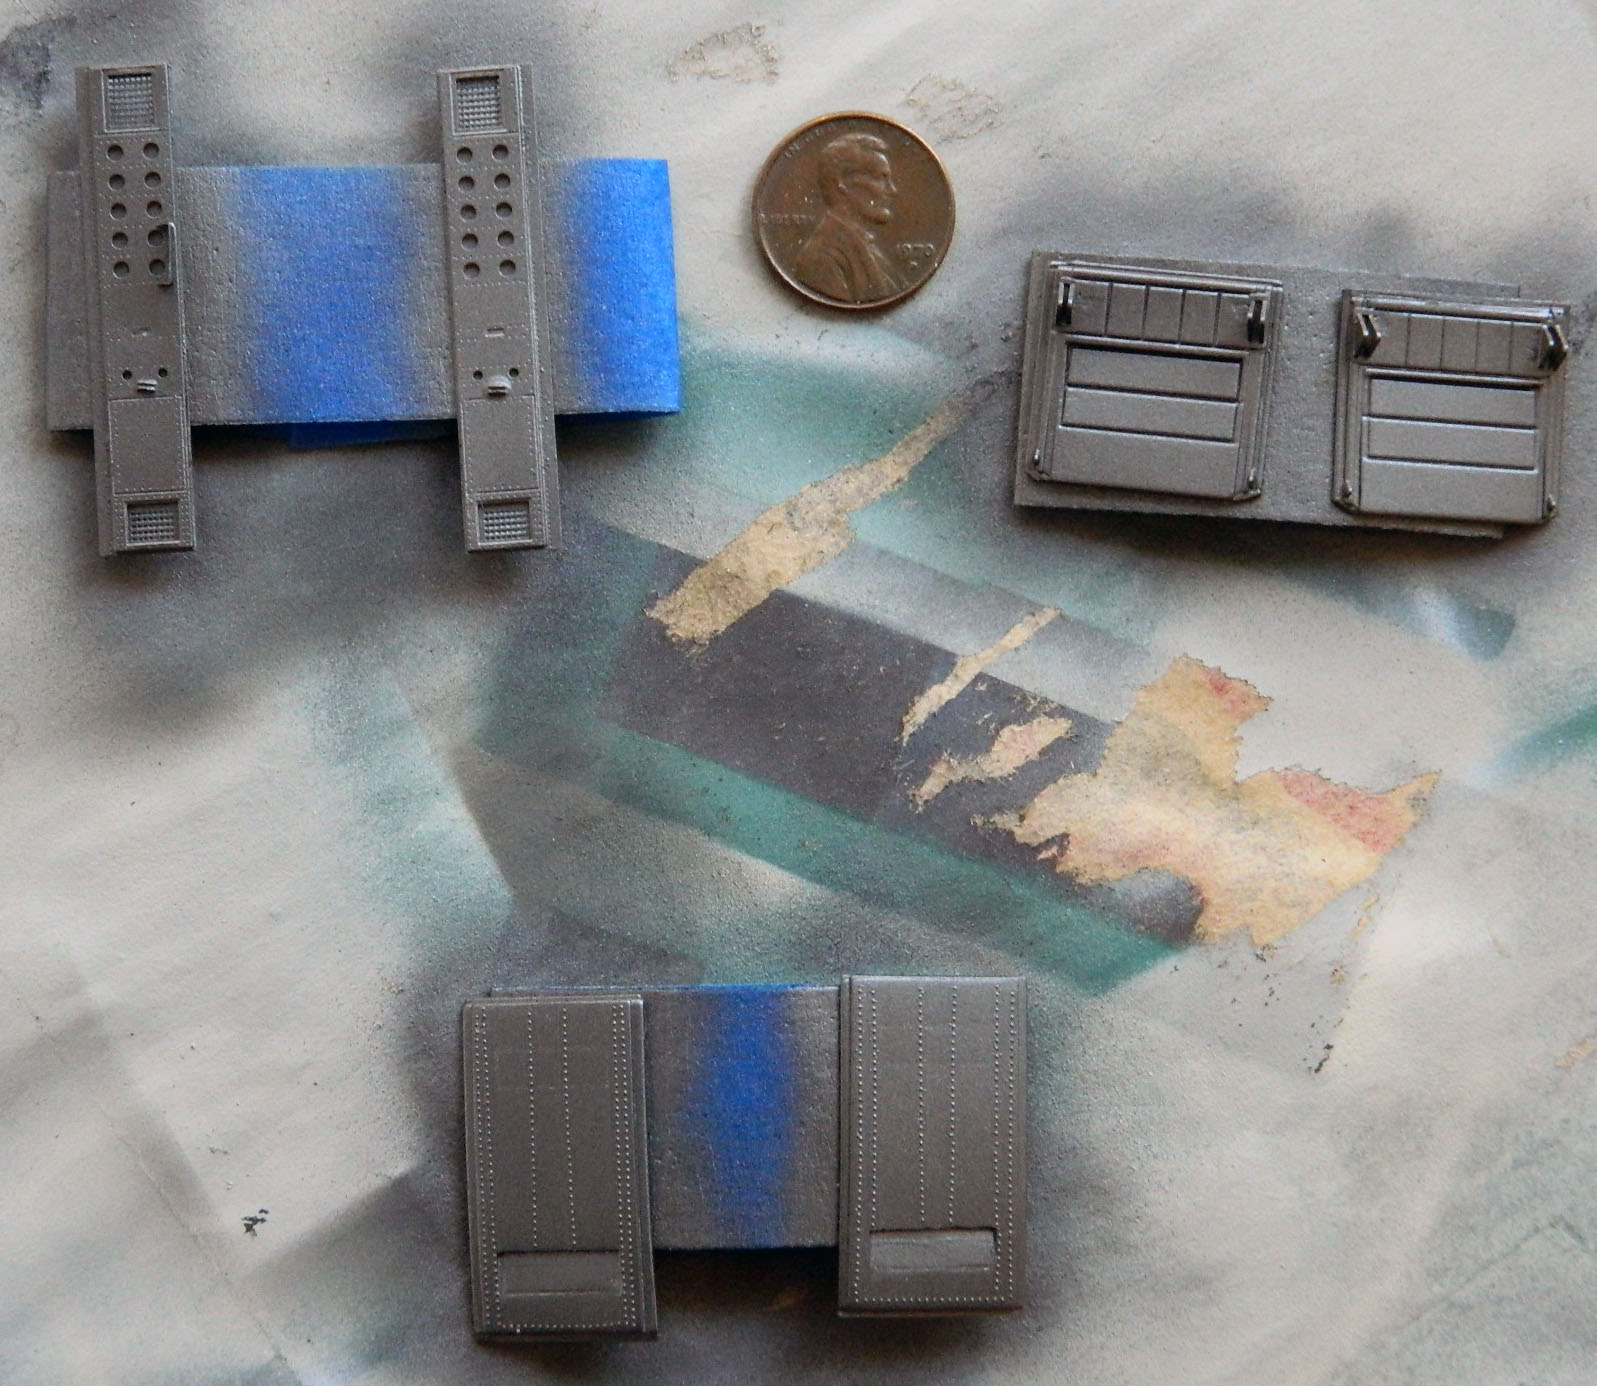
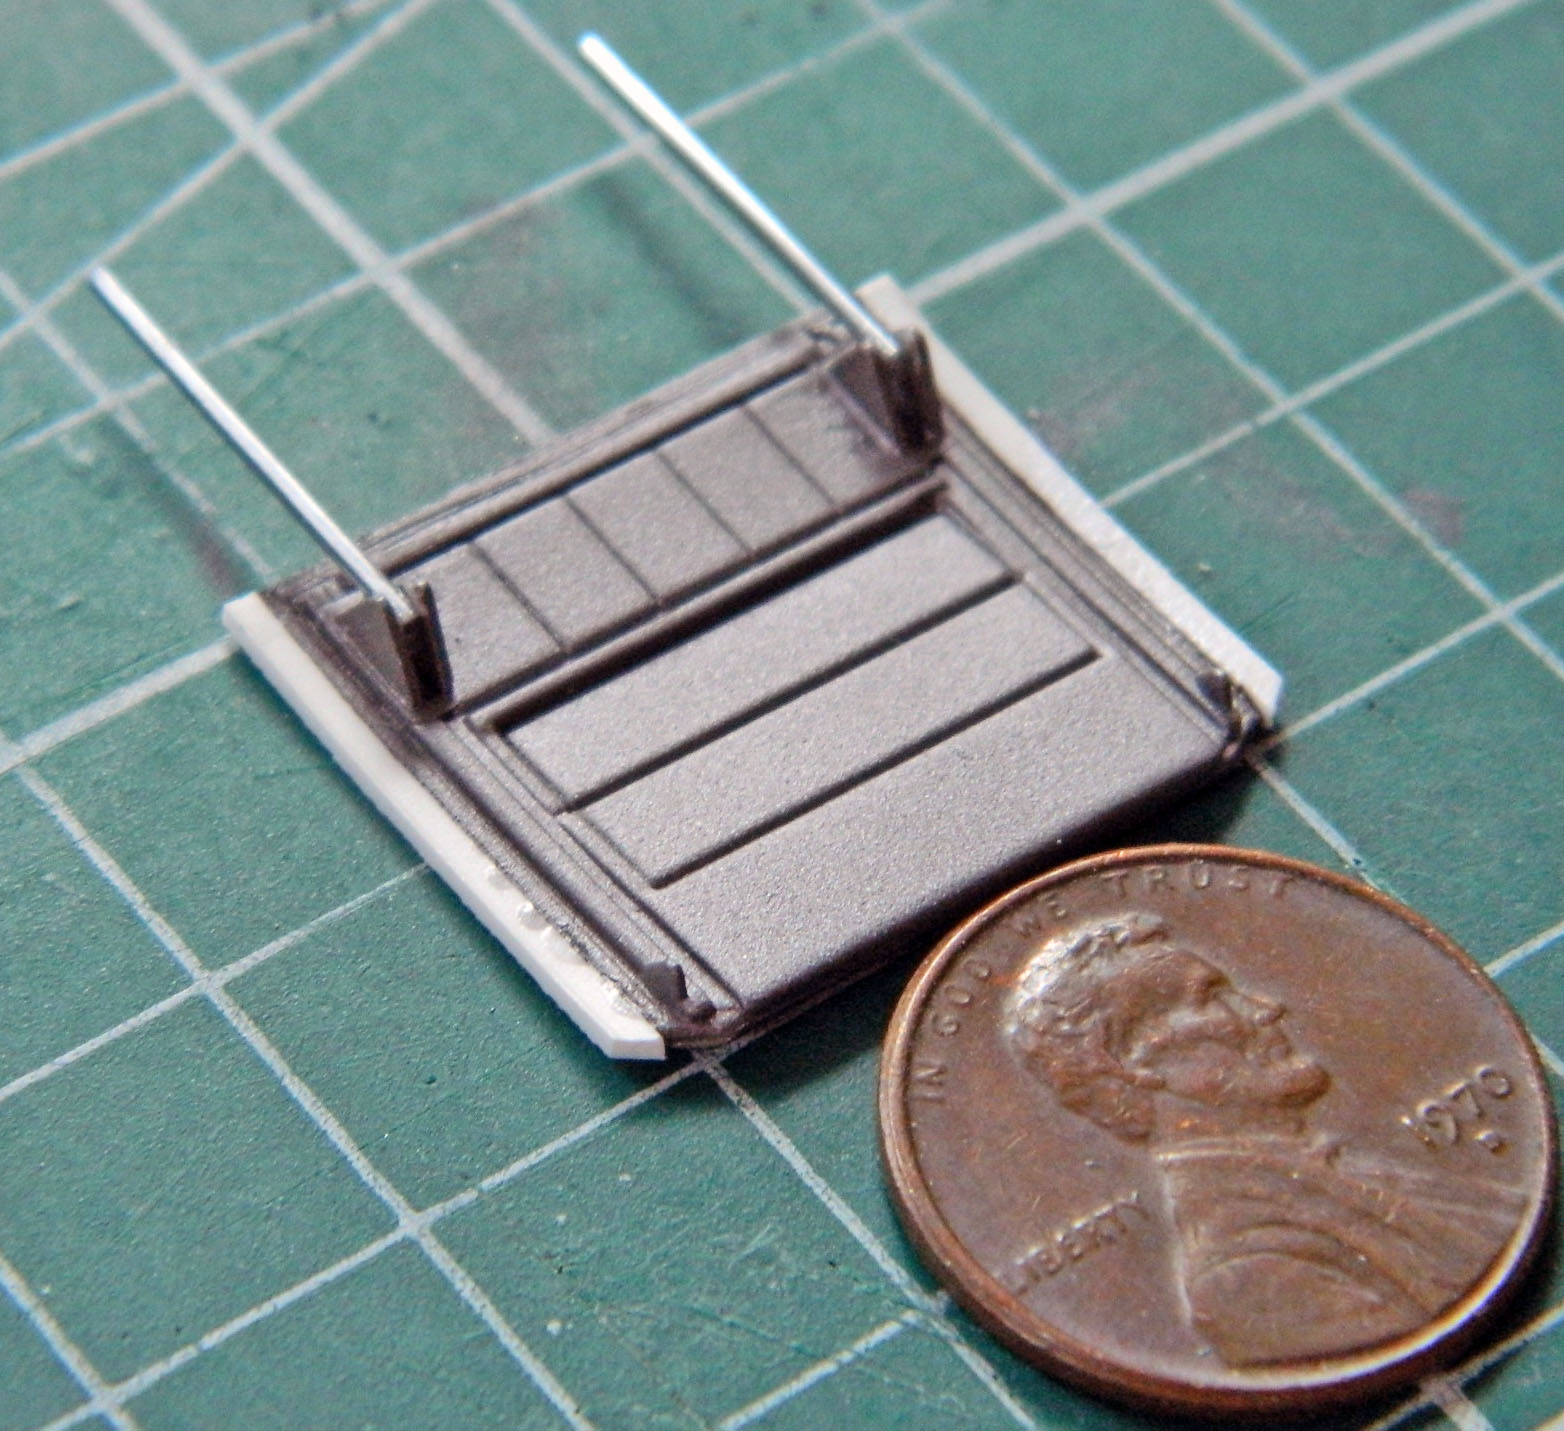
There are still more things that need to be attended to before I can begin painting the overall build. I started by painting the inside of the landing gear doors:
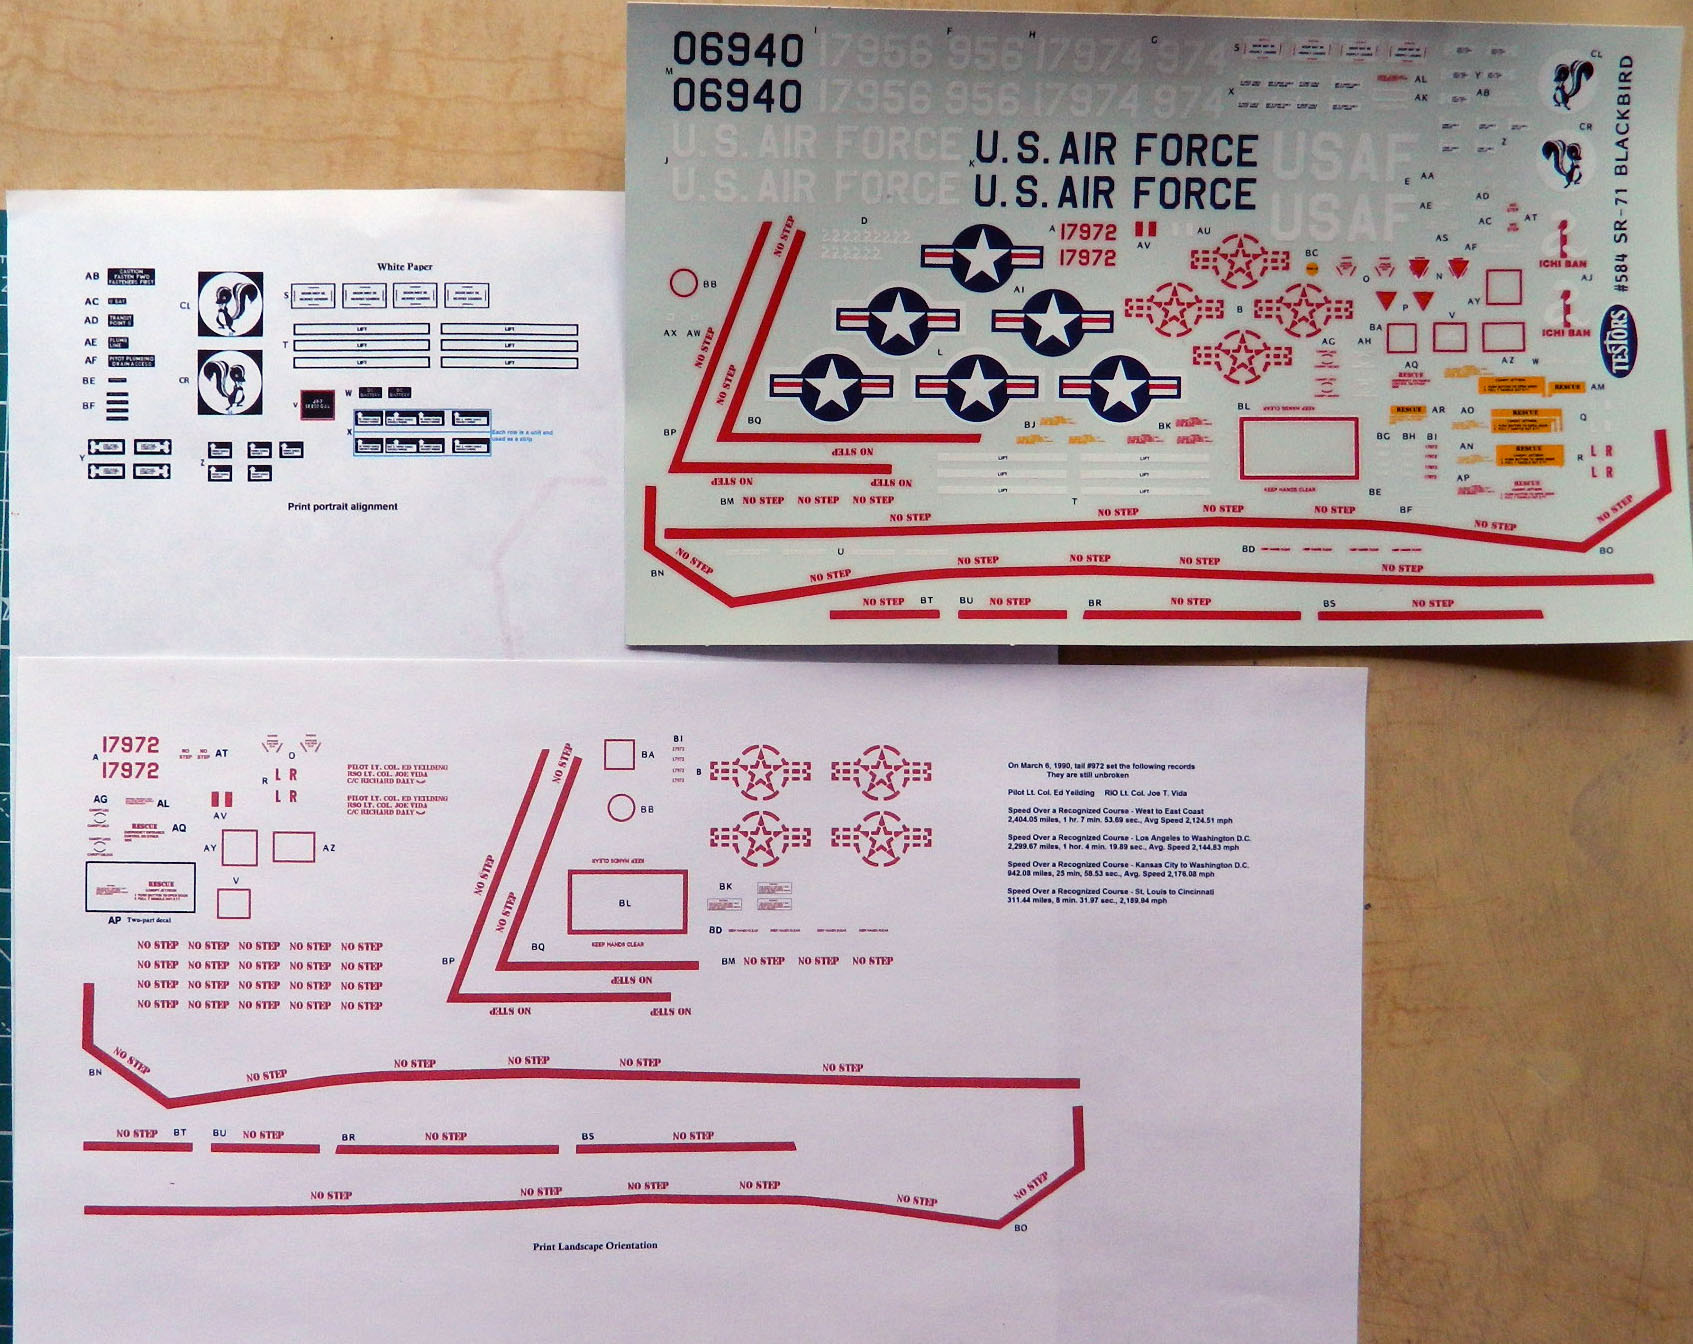
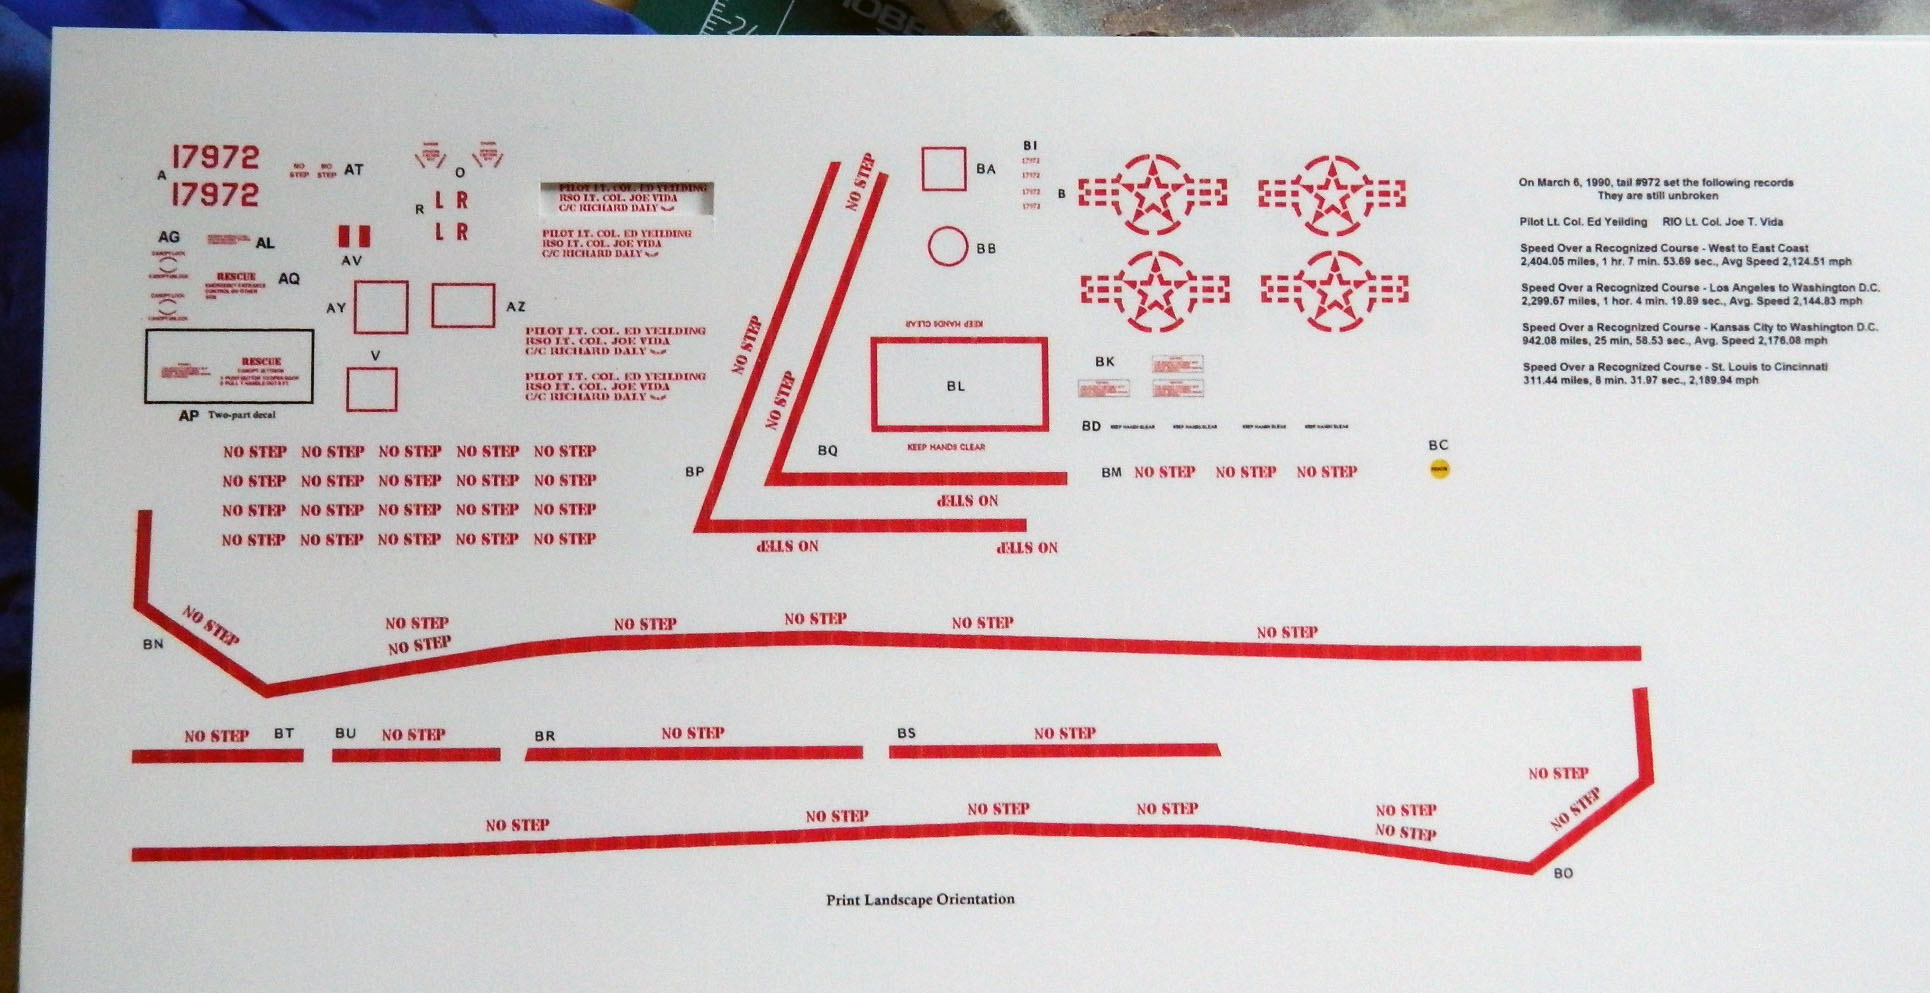
In addition to paint, there are decals (lots of decals) that need to be addressed. The kit came with decals…and if the kit is old, so are the decals. I have no idea how the kit, and decals, were stored. I’ve been surprised by decals that looked in good shape, but when wet, they fractured into many tiny, unusable, shards. I’ve already ascertained that decals for this aircraft are preciously rare (and not what I need), so I have to use these decals. But since I don’t want to use these decals, something else has to be done.
I started that “something else” by making a 600dpi (25.4 dpmm) scan of the decal sheet. Then I digitally reworked the image for sharpness and clarity, which I then printed onto plain paper so that I could scale the digital scan to the required size. My intention was to print the decals onto decal paper and use those decals.
Of course, things aren’t quite that simple. Inkjet printers don’t print white. Where white is needed, the printer just doesn’t print and lets the white of the paper take care of that. Fine for documents, not so fine for multicolored decals, of which one color is white. The work-around for that is to print decals that require white on white decal paper and then use those white-paper decals under the colored decals.
Not all of the kit’s decals will be used, so I copied the ones I will be using and separated them into the under-decals (printed on white paper) and top-decals (on clear decal paper):
Being INKjet, the ink is the usual ink and will smear when wet. And since decals get wet, something has to be done to keep that from happening…something like coating the inked surface with a clear fixative:

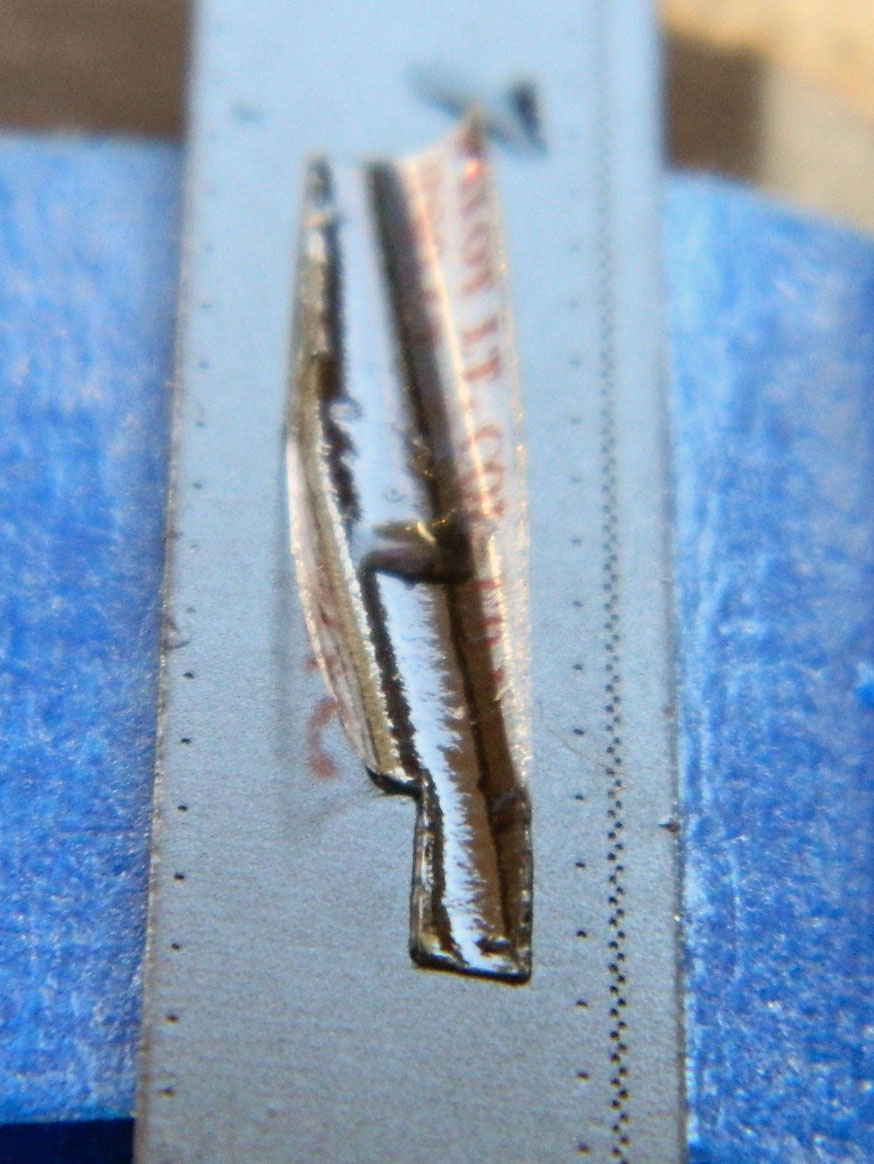
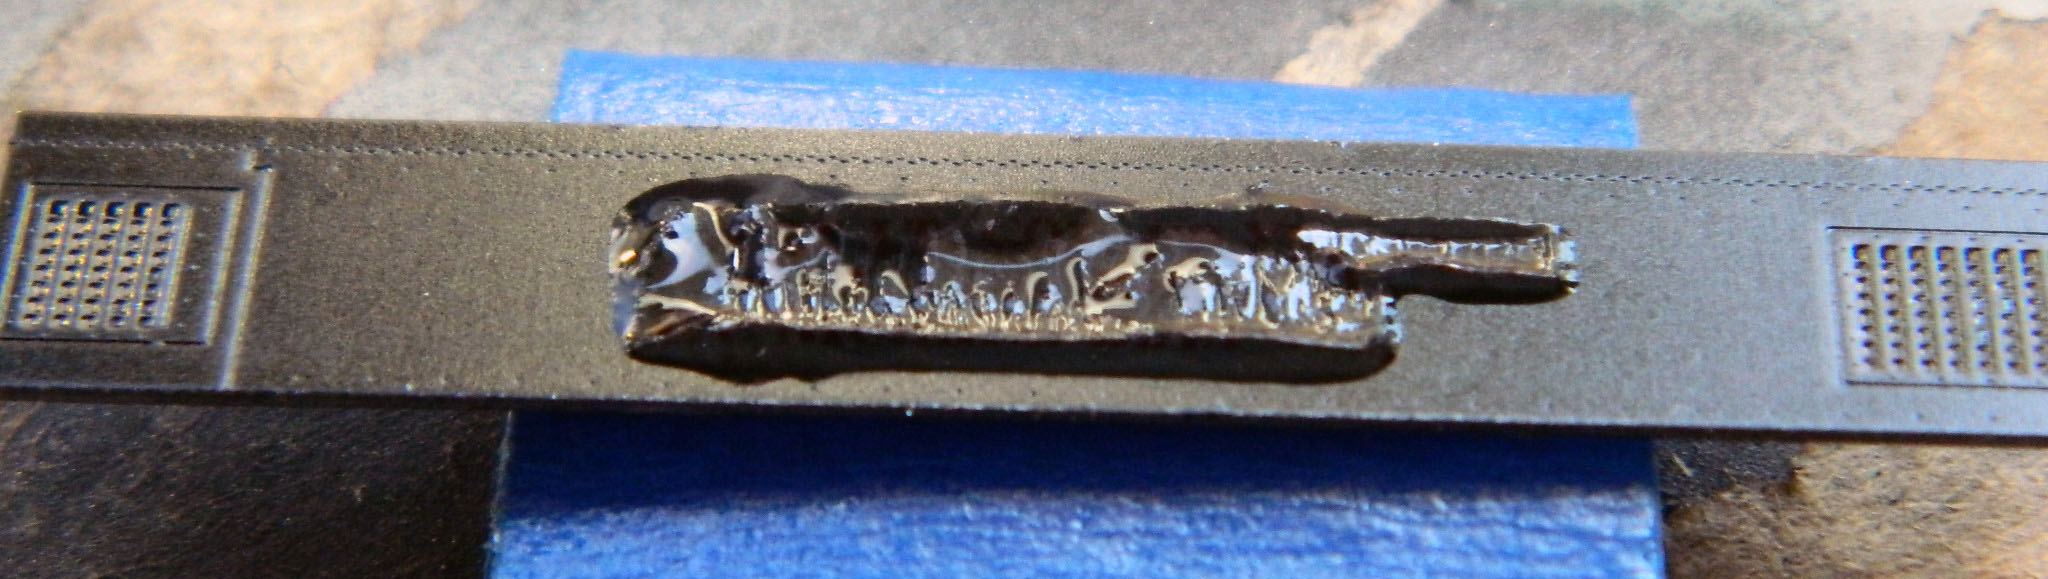
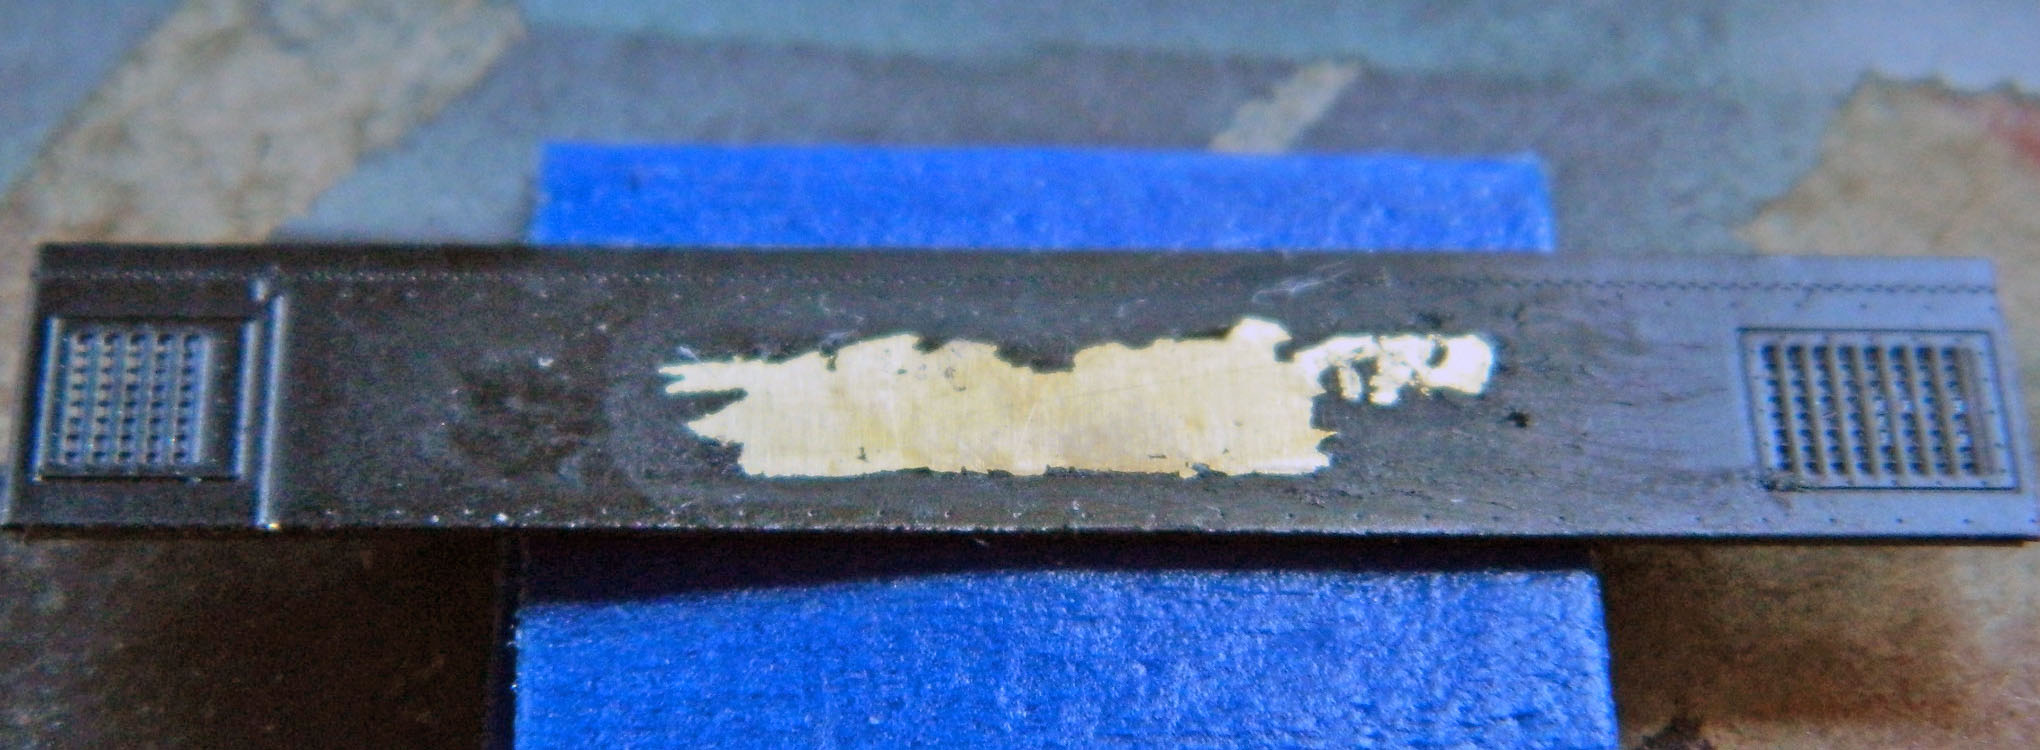
So far so good. So far, though, only goes so far. When I cut out a decal and applied, it, however, things just went immediately into the crapper. IT’S TOO FORNICATING THICK:

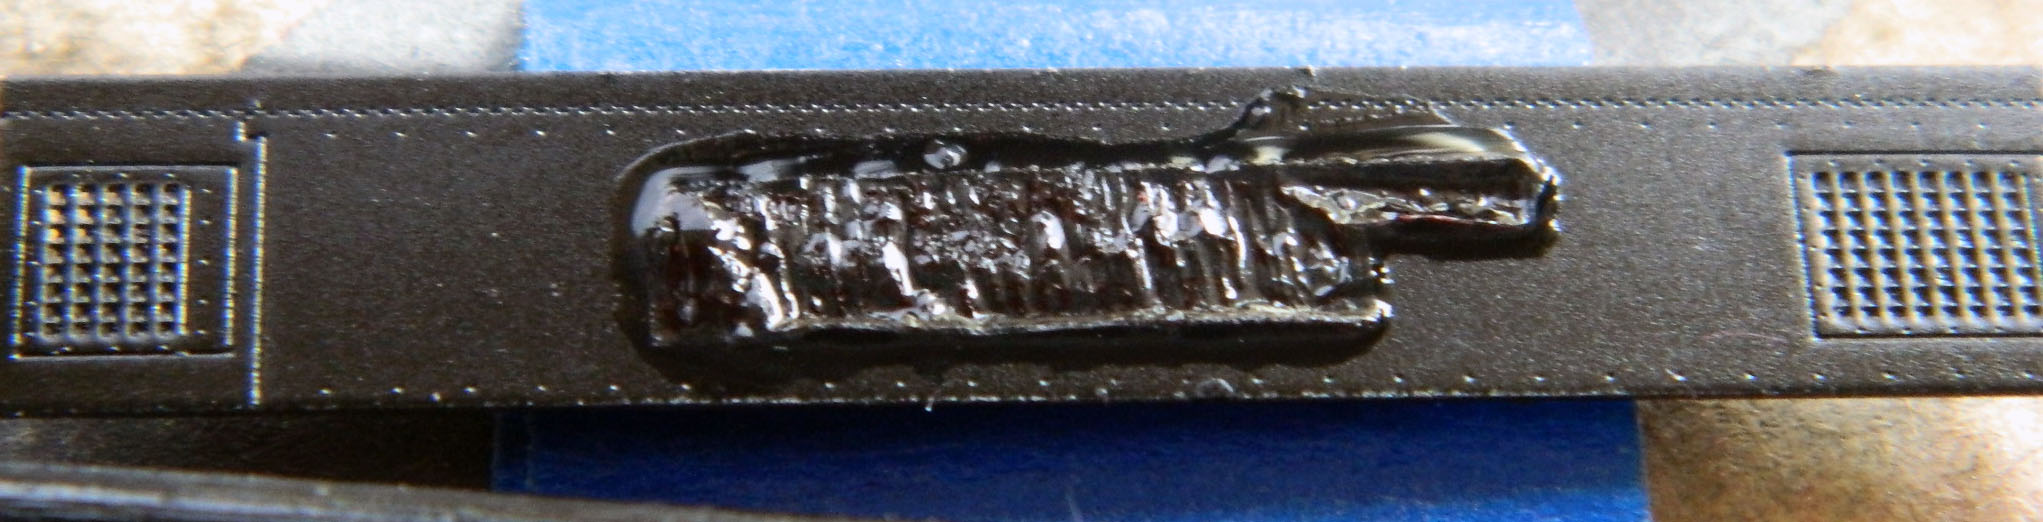
Okay, so let’s try using this stuff on it:
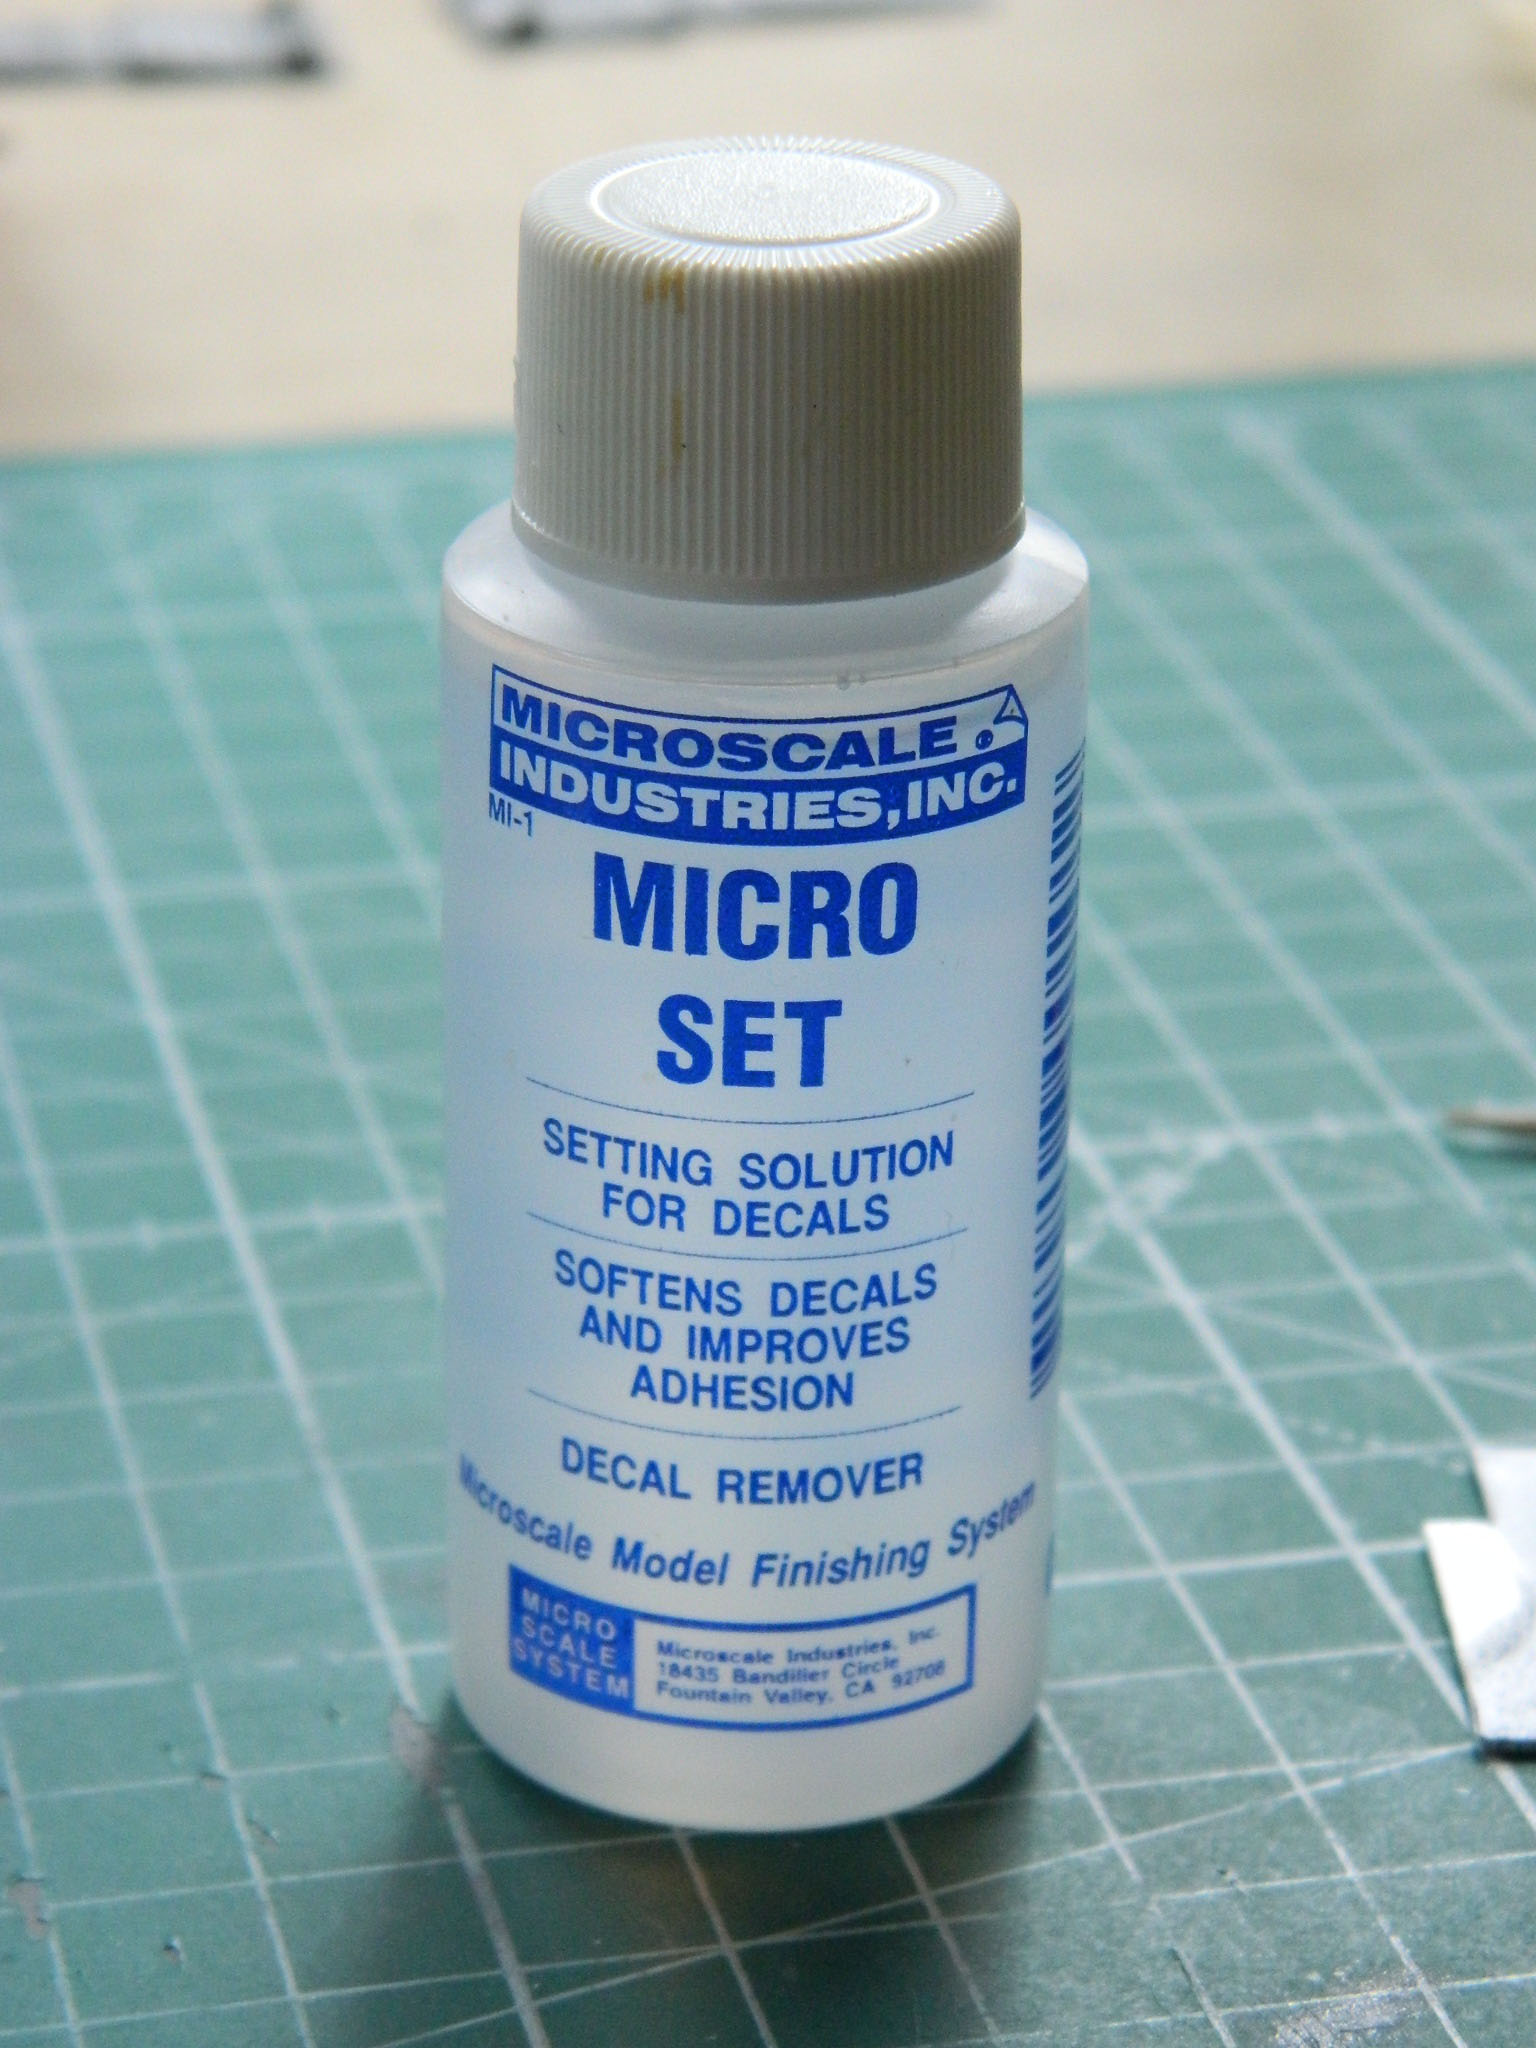
And then this stuff:

And they didn’t have much effect:
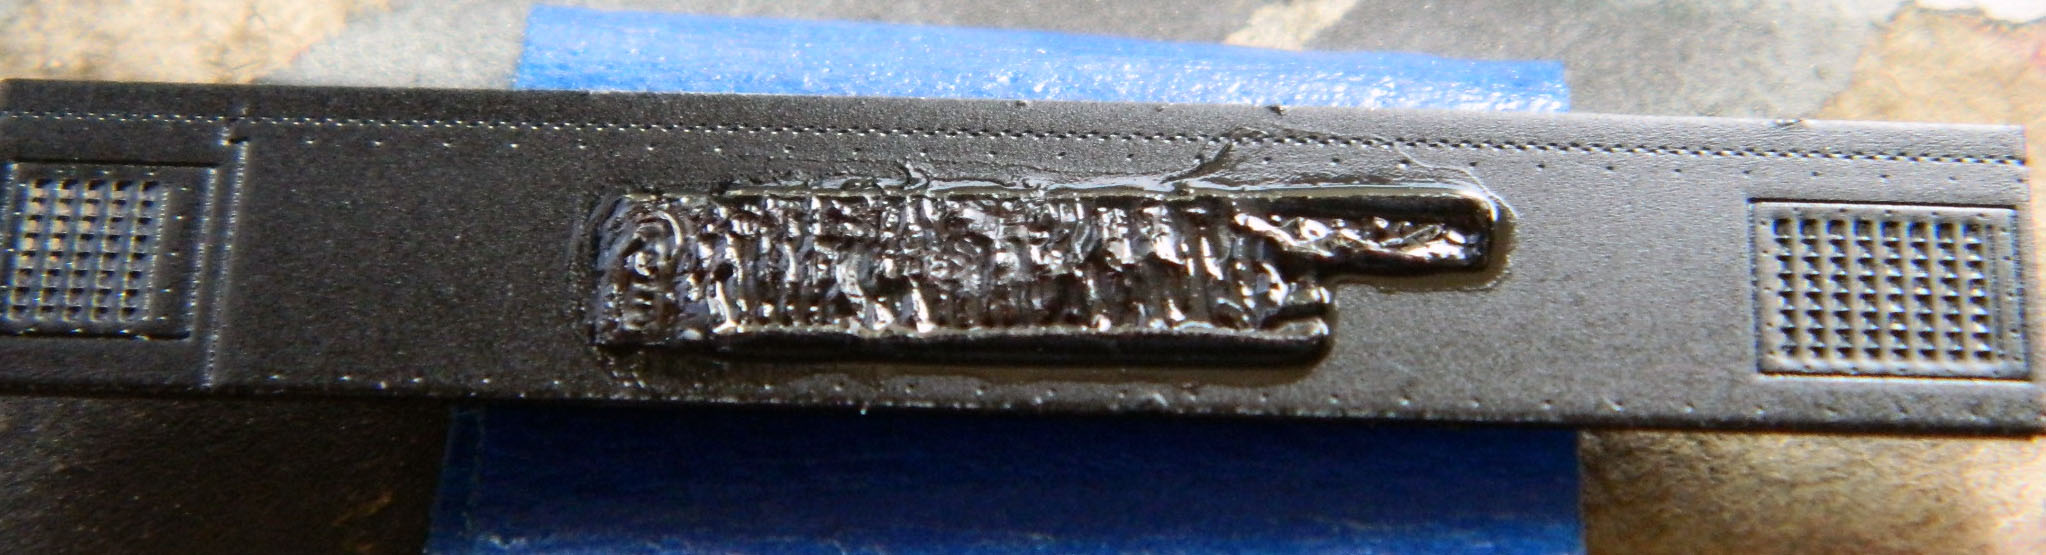
An hour later, not much more of an effect:
And not much the following two hours:
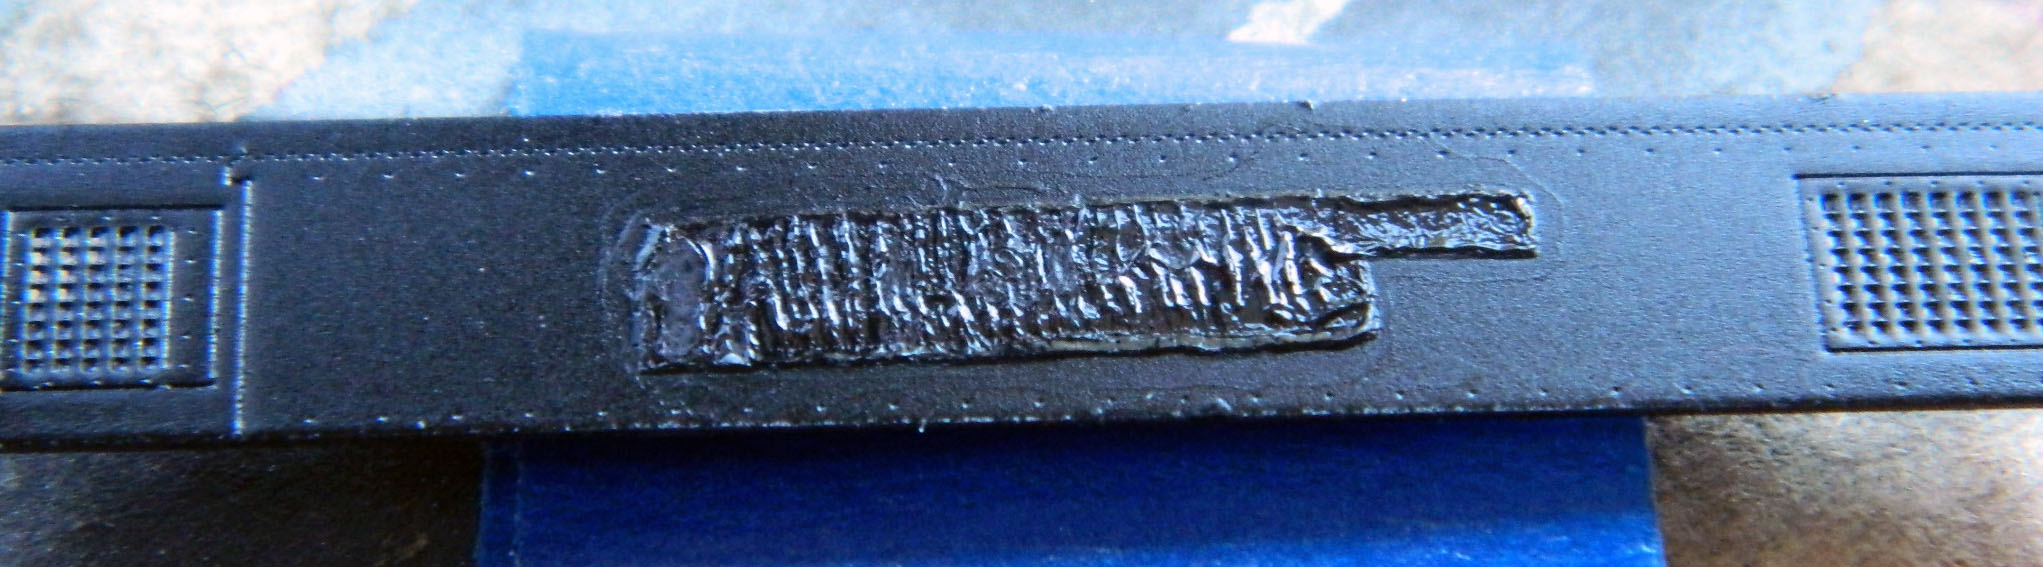
Well. THAT didn’t work…and I had to scrape it off and repaint it, too:
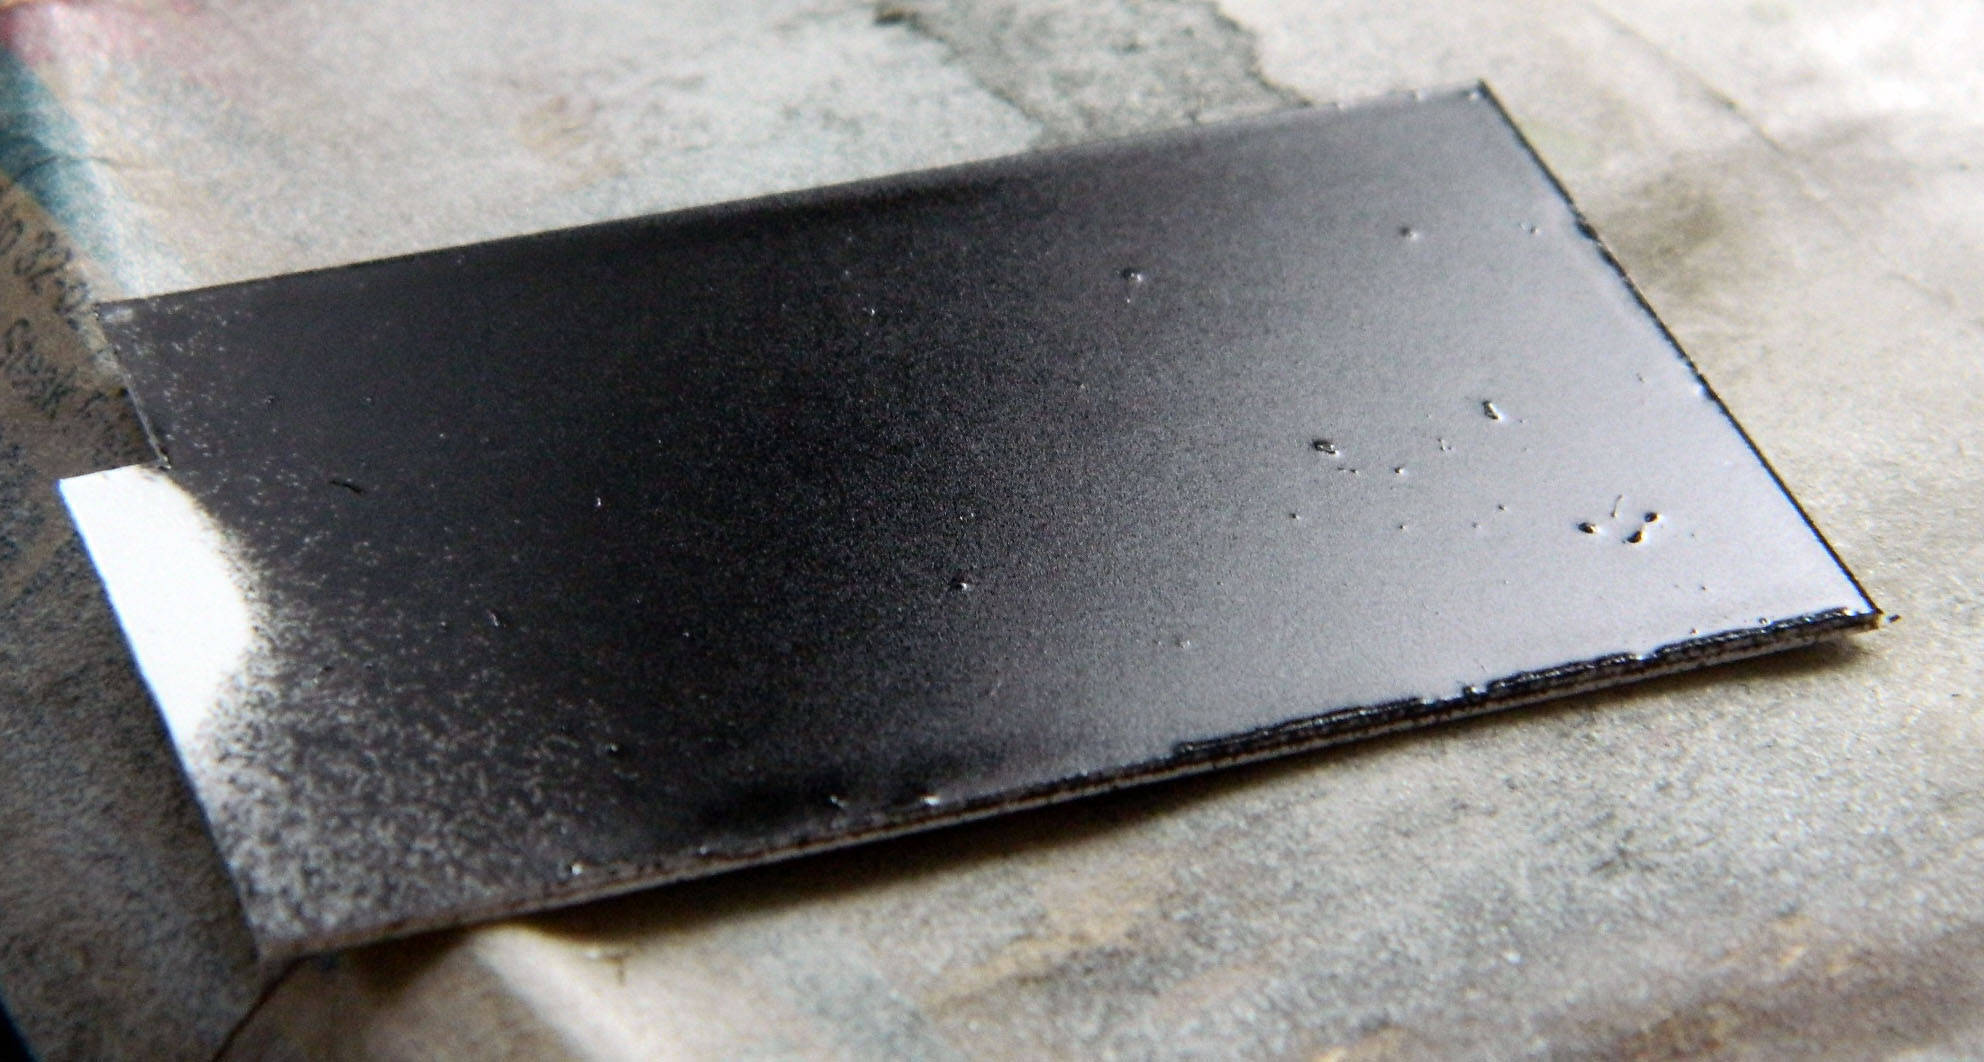
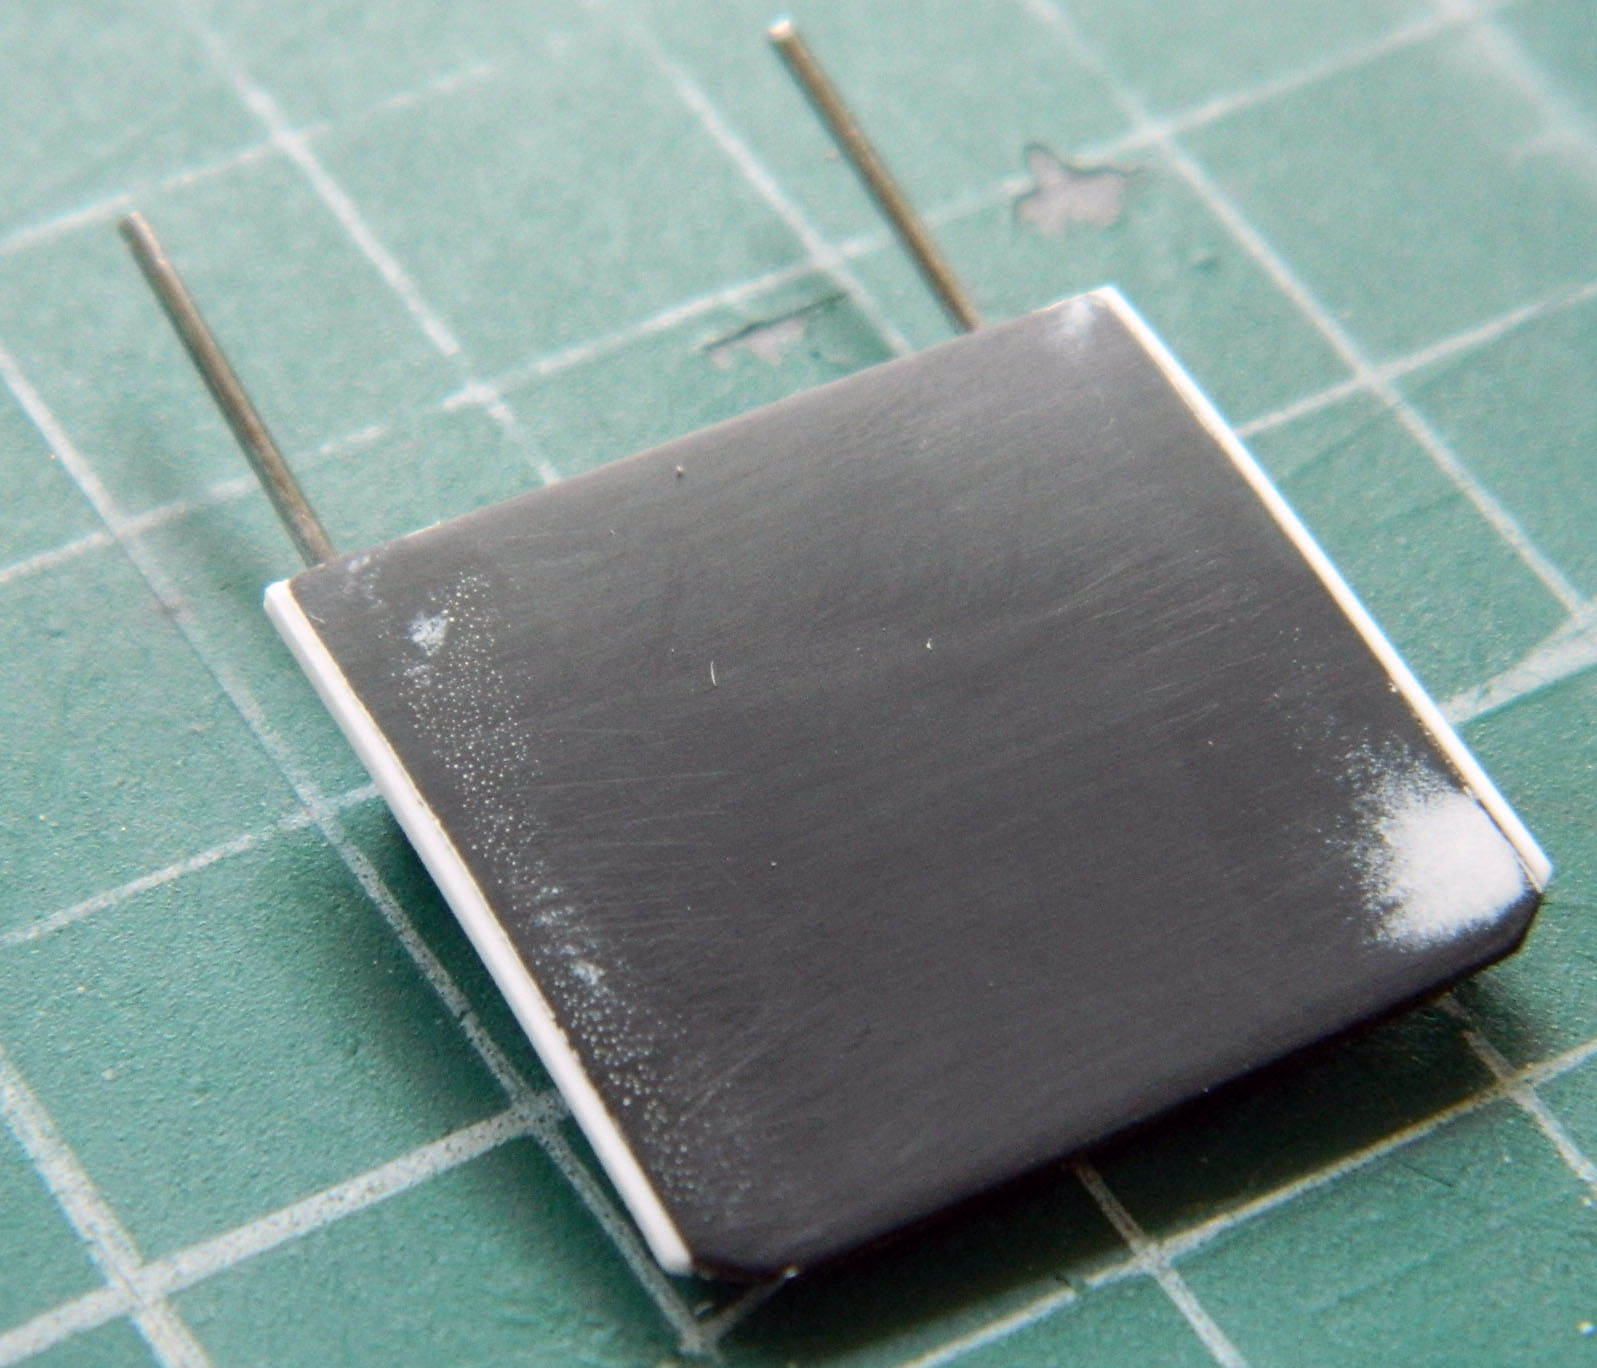
And since I’m going to continue to try to get these INTERCOURSING DECALS to work, I did what I should have done at the outset…make a decal test plate from painted styrene:
One thing I ascertained with certainty is that the red ink on the black background means the decals will be invisible. That means I have to double up on all the decals because they all need white backgrounds to be seen. So I had to make another set of decals in white to put down under the colored decals:

Next trick was to put down the white decal and then the colored decal, and then align them:


In this part of the adventure, I learned a couple of things. If I thought one decal was too thick, two are TOO THICK. The other thing I learned is that the more I moved the colored decal around, the more ink I removed with the cotton swab.
Not acceptable.
Here I stalled for a few days. I had no idea on how to proceed and even considered saying a prayer (and thereby risk being struck by lightning) and use the kit decals. Then I found out that LASER jet printed decals don’t require a fixative layer! This is good news for a couple of reasons. First, not throwing a layer of essentially clear paint on top of an already too thick decal makes sense to me as each decal will only be half as thick…and each decal needs two. Secondly, fixative isn’t a decal. Not being a decal, it doesn’t respond to solvents while the decal under the fixative does, resulting in that uselessly wrinkled result. My hope is that the laser jet printed decals will be useably thinner AND respond positively to setting and solvent solutions.
Laser jet decal paper was ordered and once it arrives, that particular hurdle will be gone at again. In the meantime, there are other things to do.
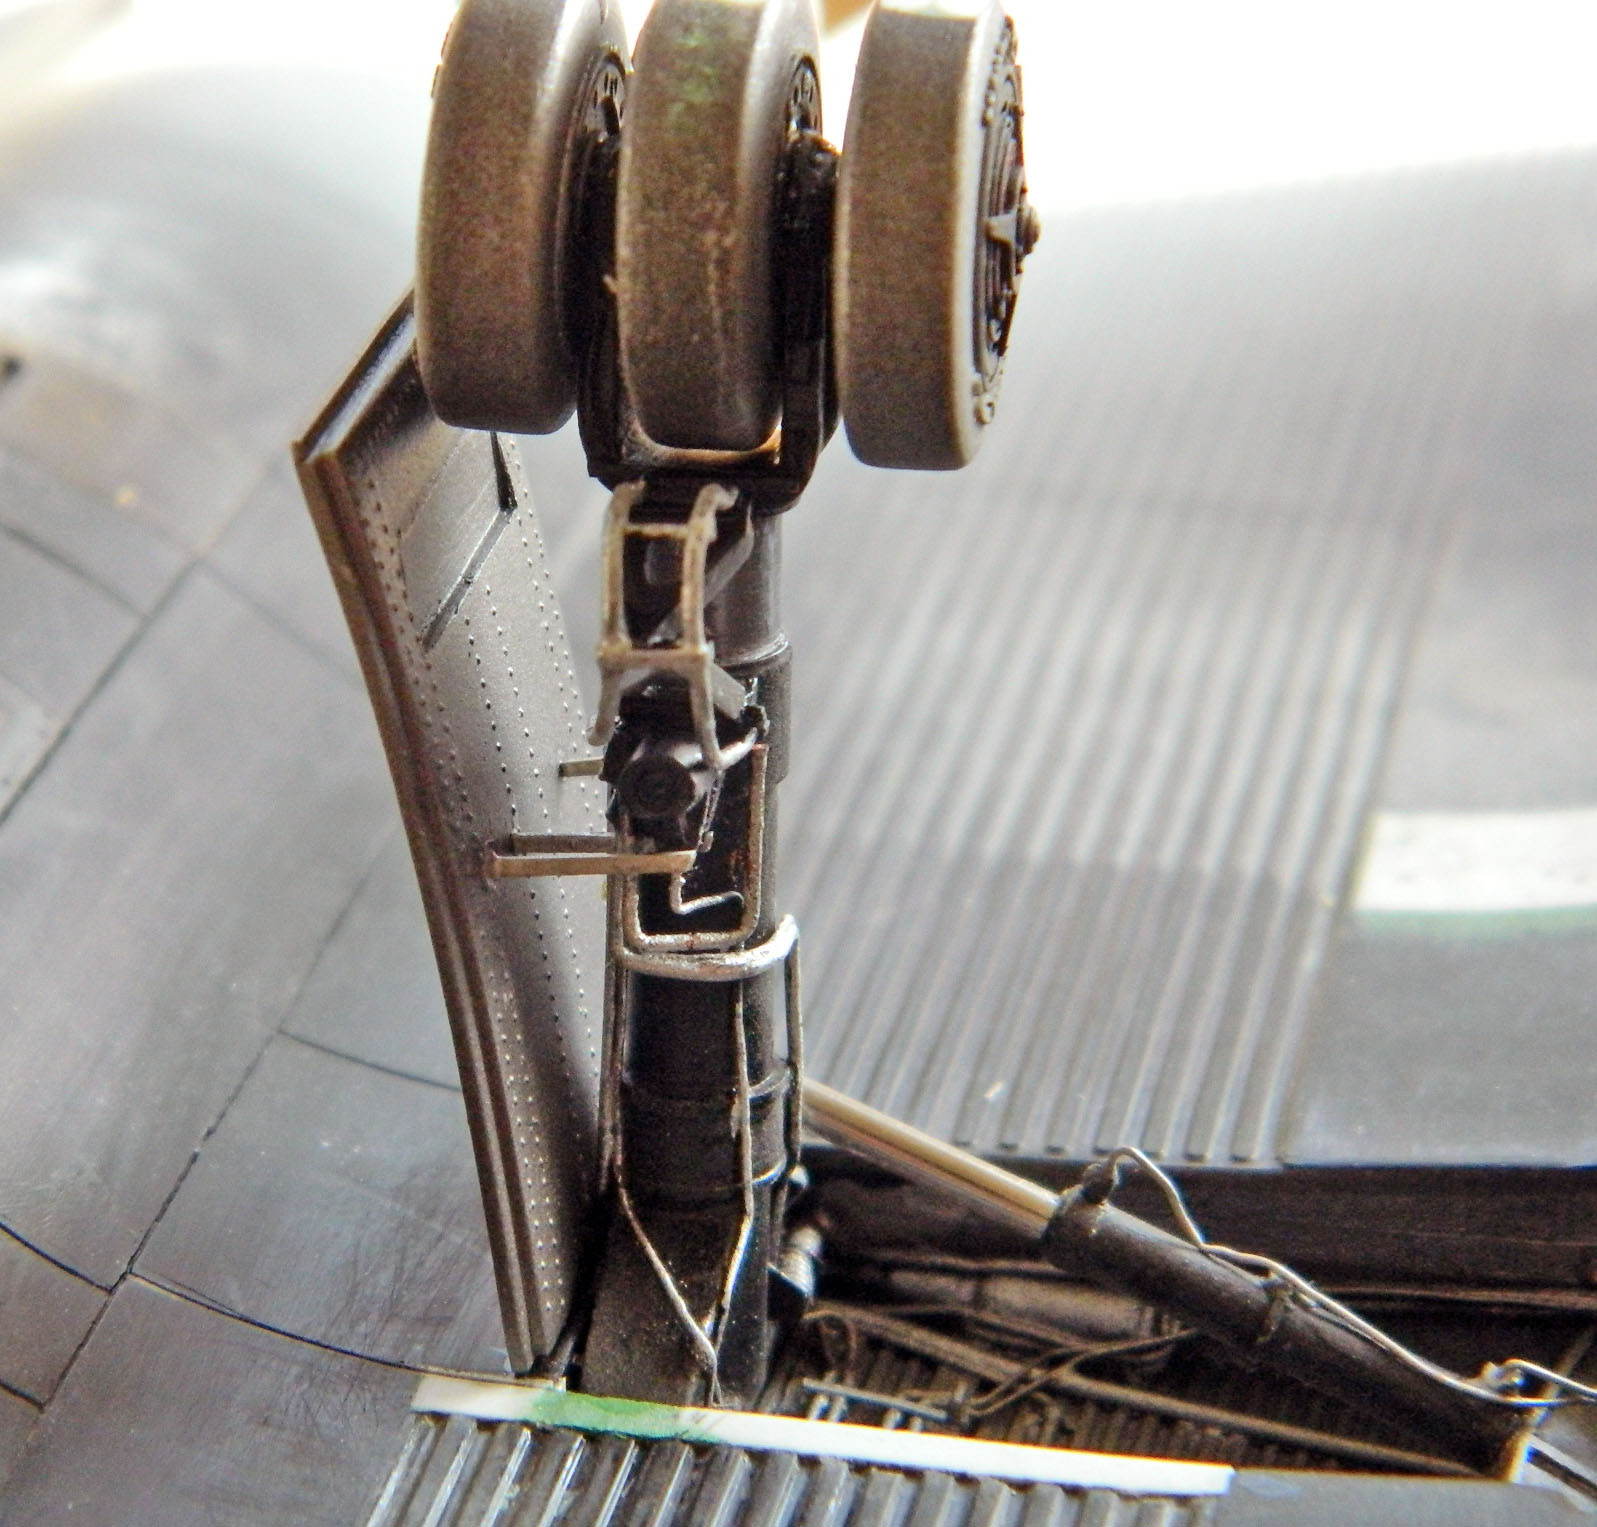
Things like making the hydraulic struts from paper clips and then attach the doors to the fuselage…which I was in the process of doing when I noticed that the damned doors are too narrow, so THAT had to be fixed, puttied, sanded, and installed:


Then I needed to attach the linkage rods from the main landing gear to the doors (using .010″ [.254mm] strips):


To keep masking tape from adhering to anything I don’t want it to (which is often the only thing it will adhere to), I wrapped the delicate bits in cigarette rolling papers, then stuffed the bays with cotton (to keep air out and the paint the air is carrying) and finished off with tape:


And then I painted the underside using Tamiya TS-6 Matte Black rattle-can:
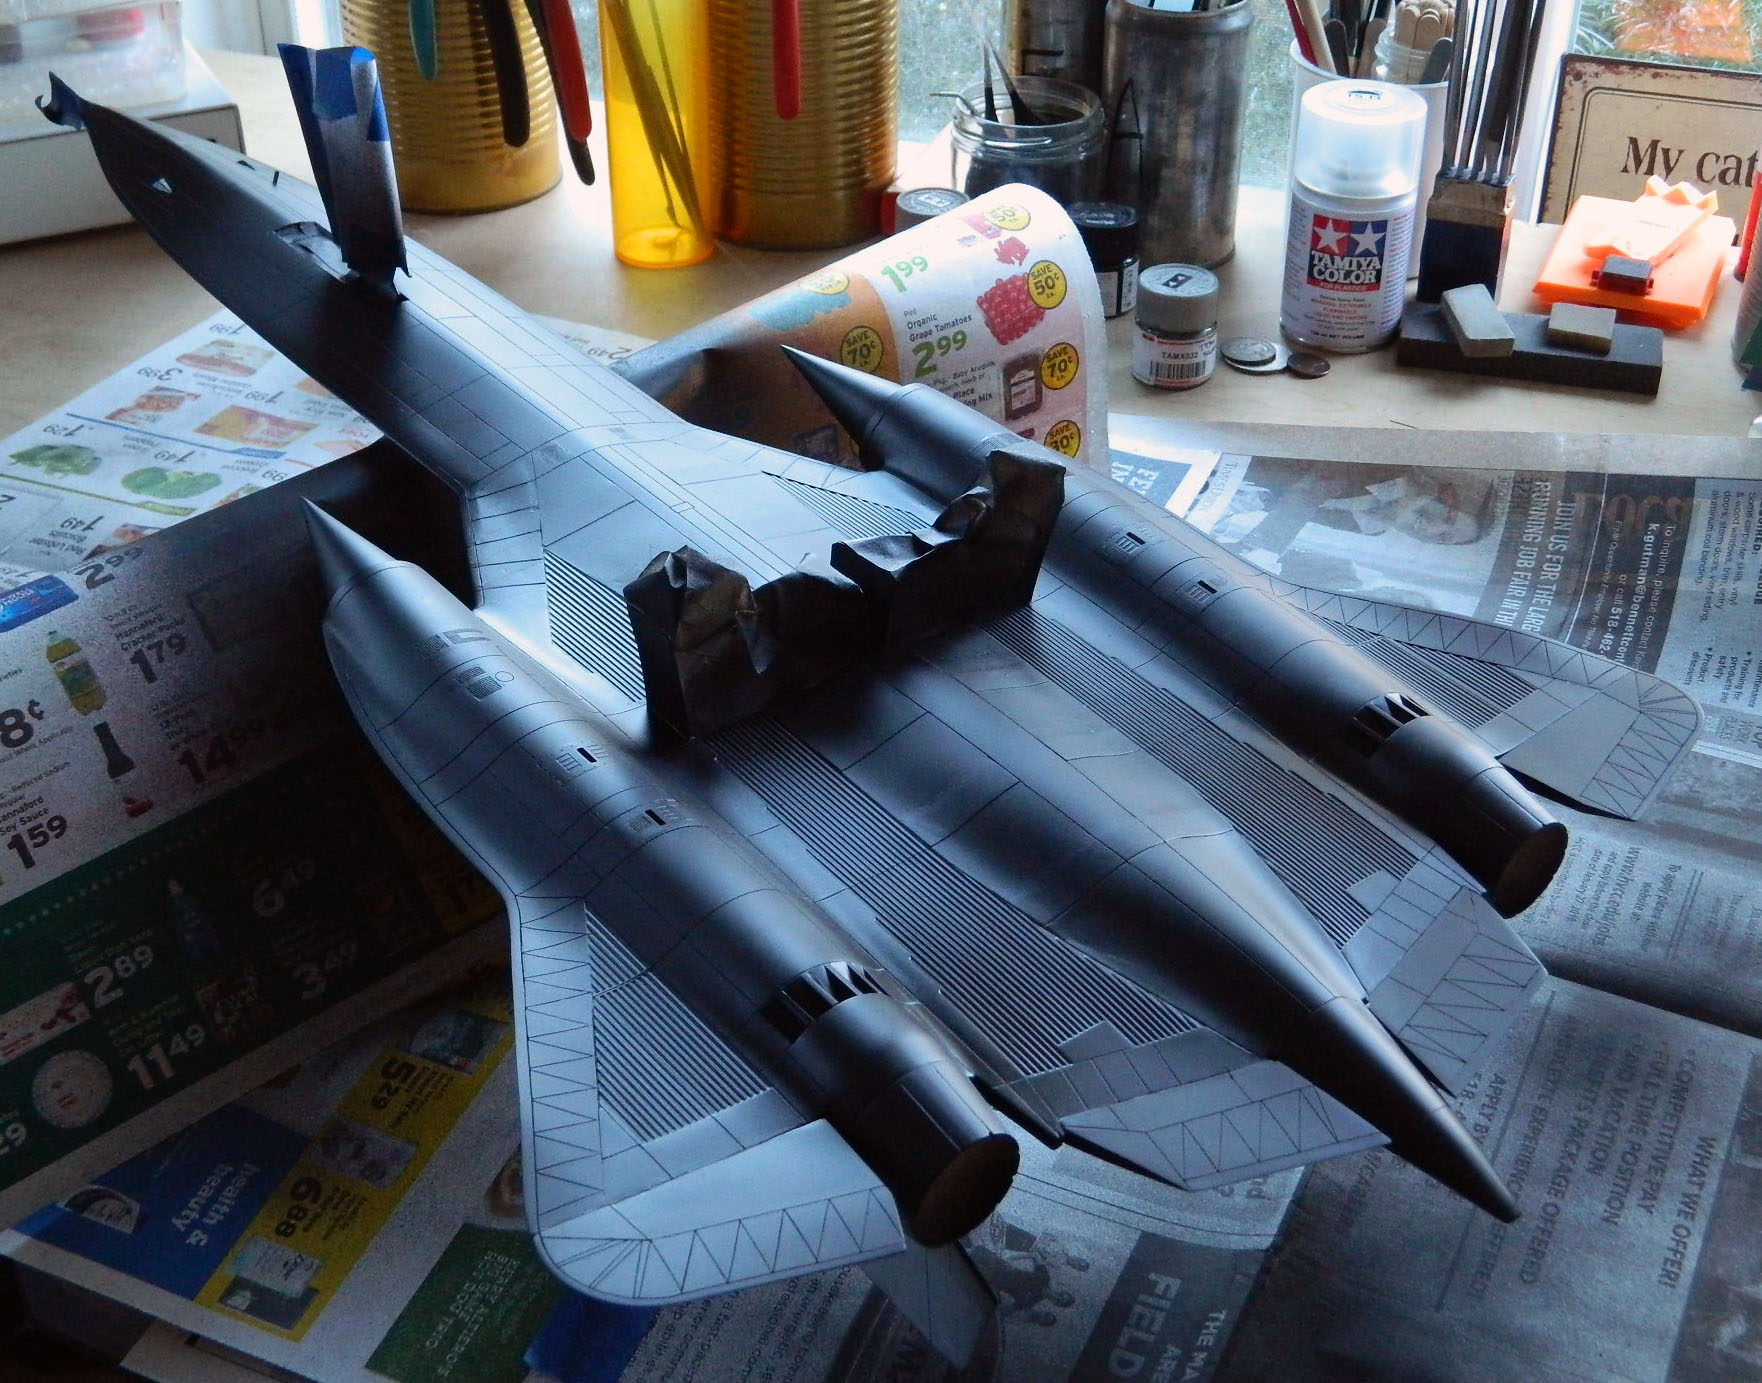
The upper side I covered with Tamiya’s light gray Fine Surface Primer:

And just like that, I’m at the painting stage! (And today the laser jet decal paper came in, so more about that in the next, and hopefully last installment of this build.)
