Now that I know the seats will fit, it’s time to finish detailing them.
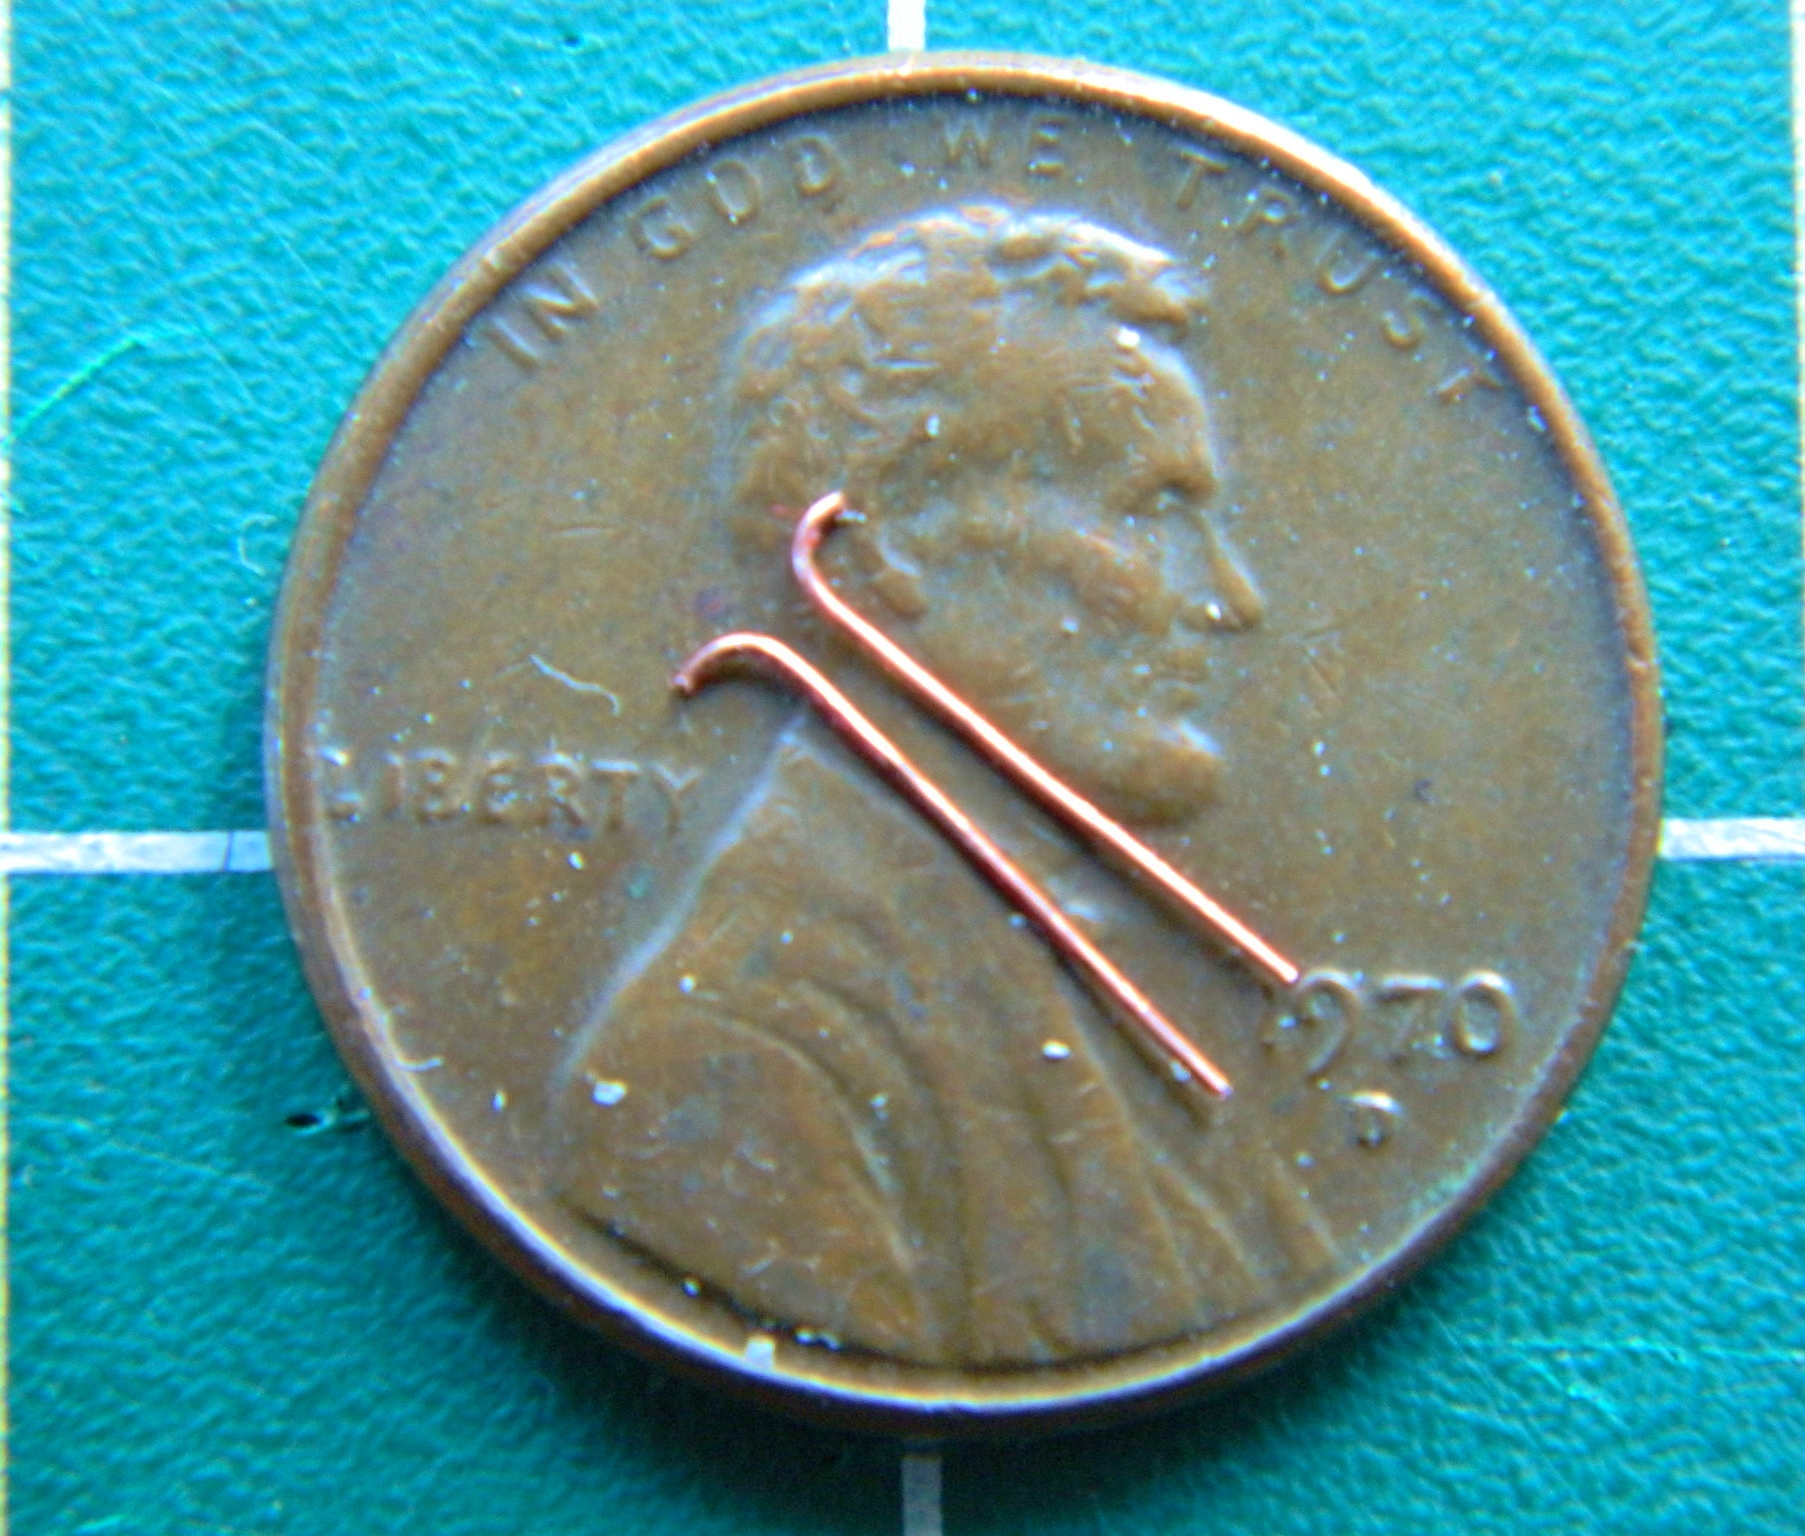
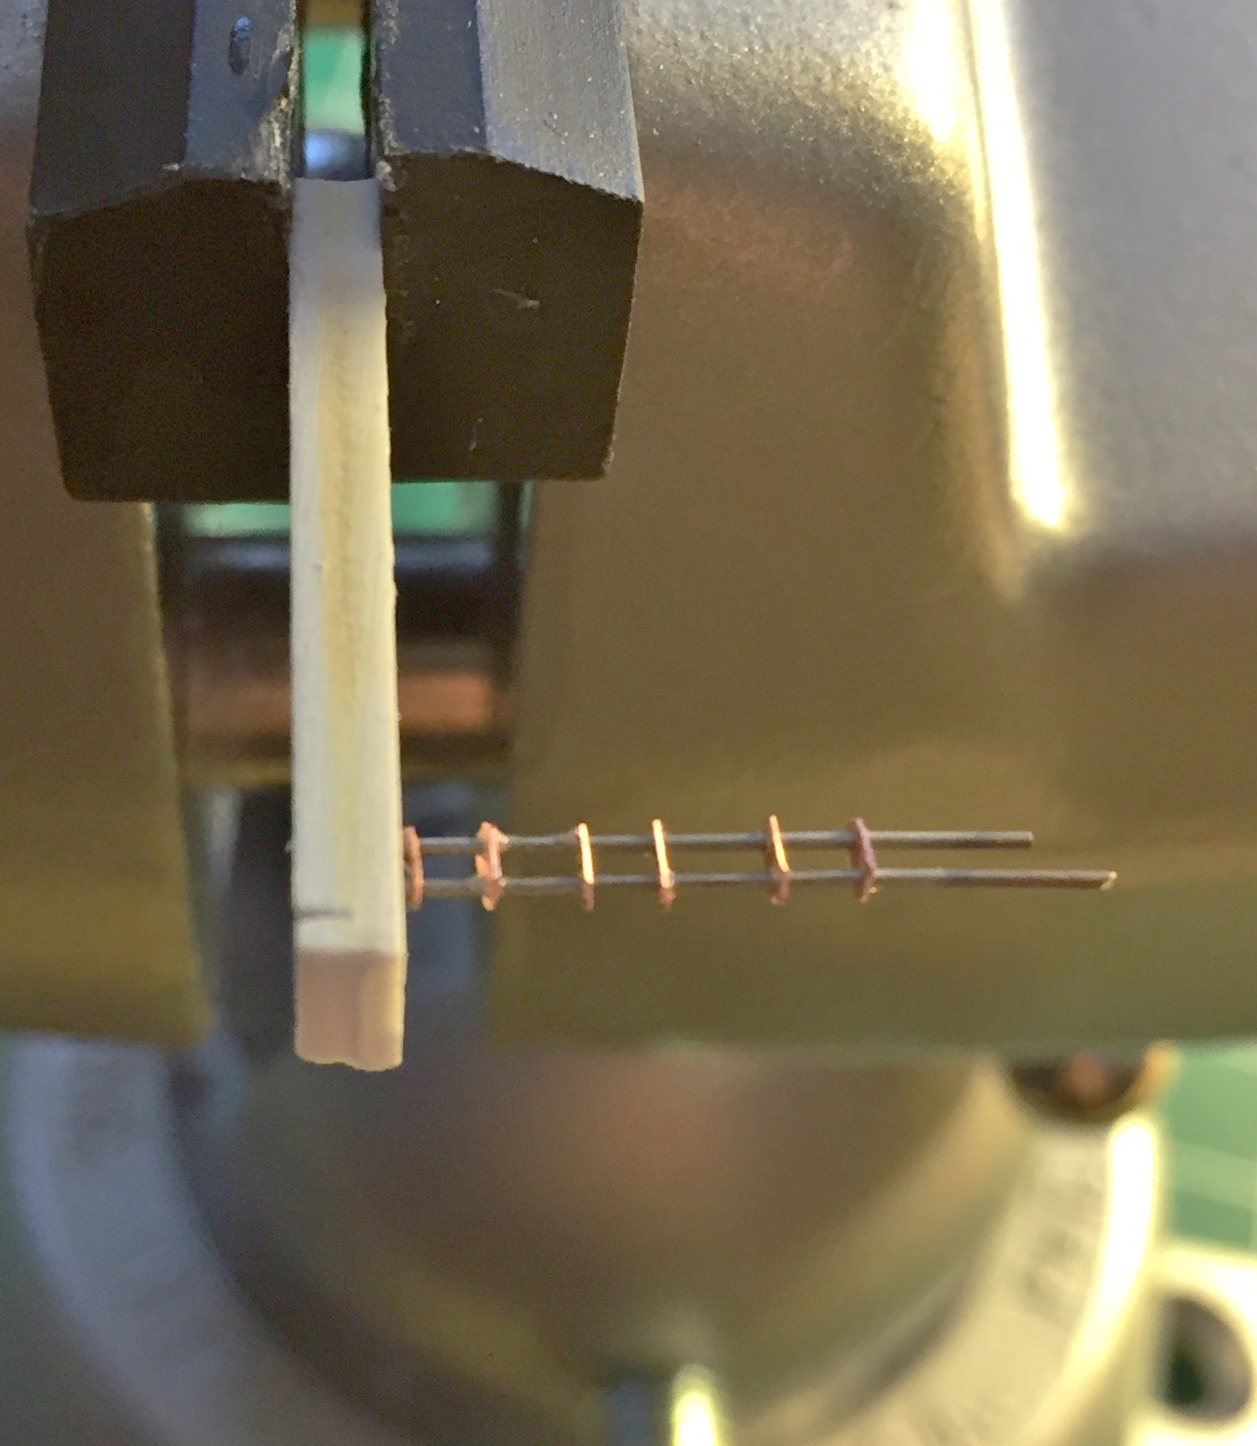
The seats are ejection seats and ejection seats have triggers. I’ve seen two types used with the Gemini seats. The first is a more or less standard loop (yellow and black striped) and the other is a T-handle. I decided to go with the T-handle trigger because I was not looking to have to stripe a part that small (yeah…I’m lazy). For size I used 26 gauge wire to make the handles. Step one was cutting the wire and curving one end:
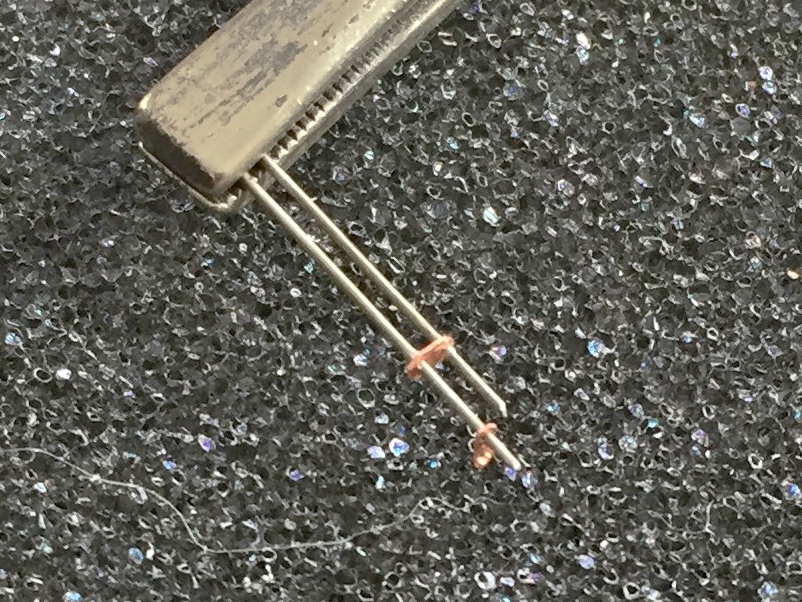
Then I aligned the two pieces in a flat-jawed clip, applied a small dab of flux, and then shaved off a very small slice of solder and used the pencil torch to affect the soldering:
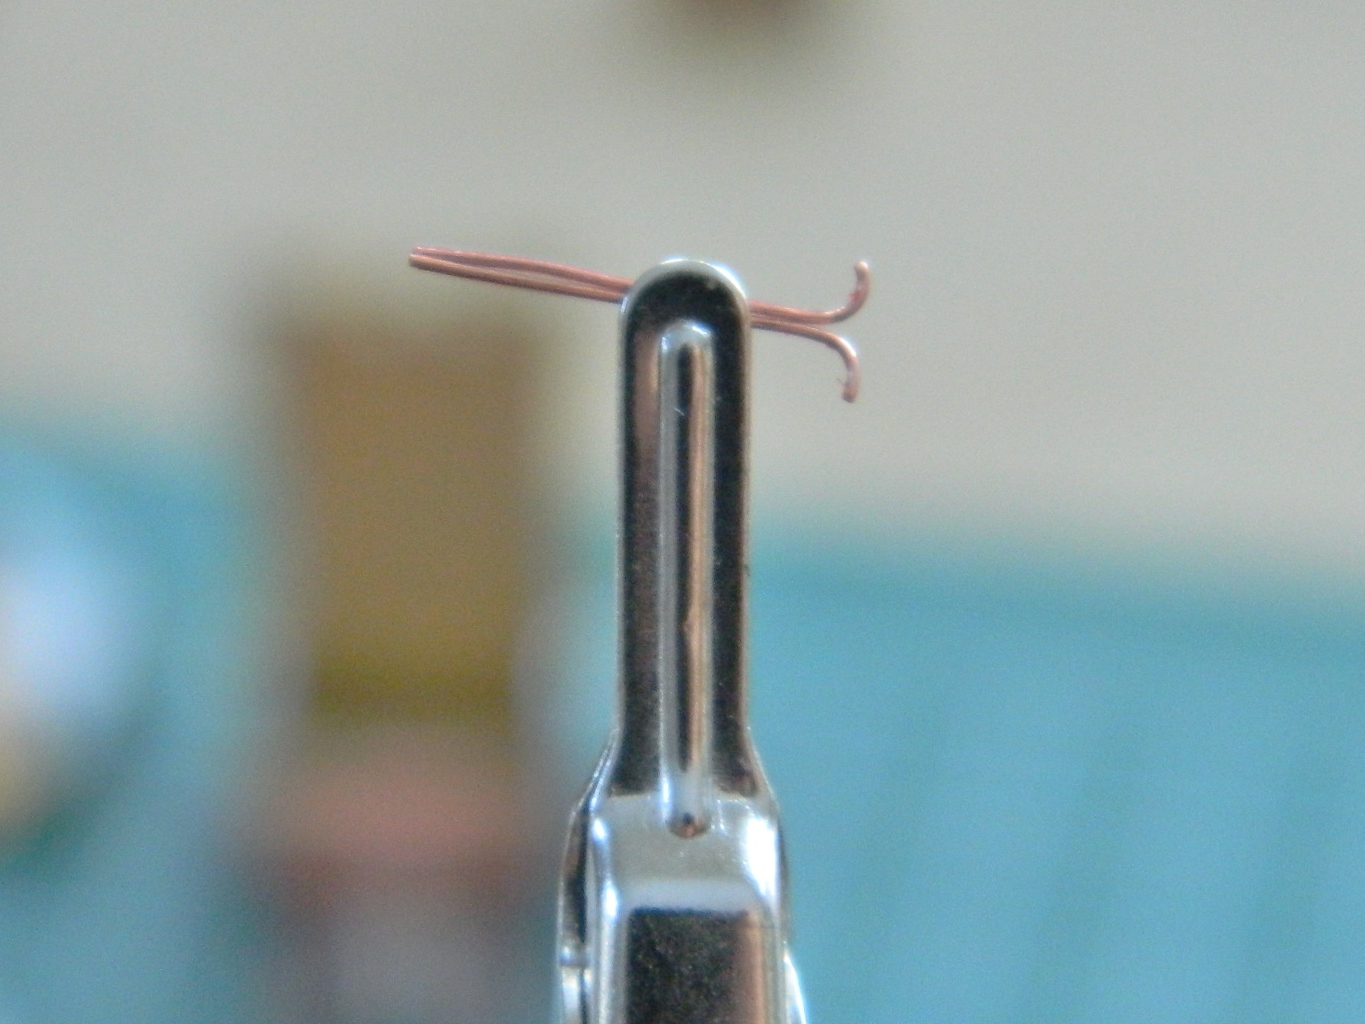

I did that twice and ta-da:

Then they were superglued to the seats:

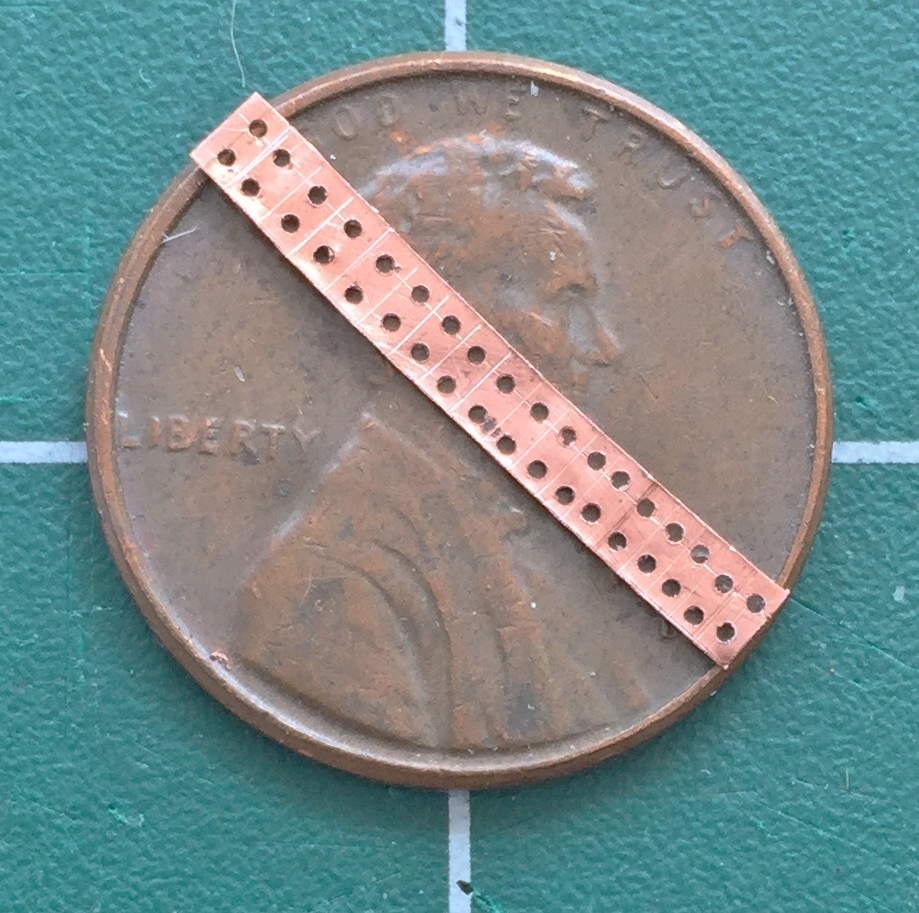
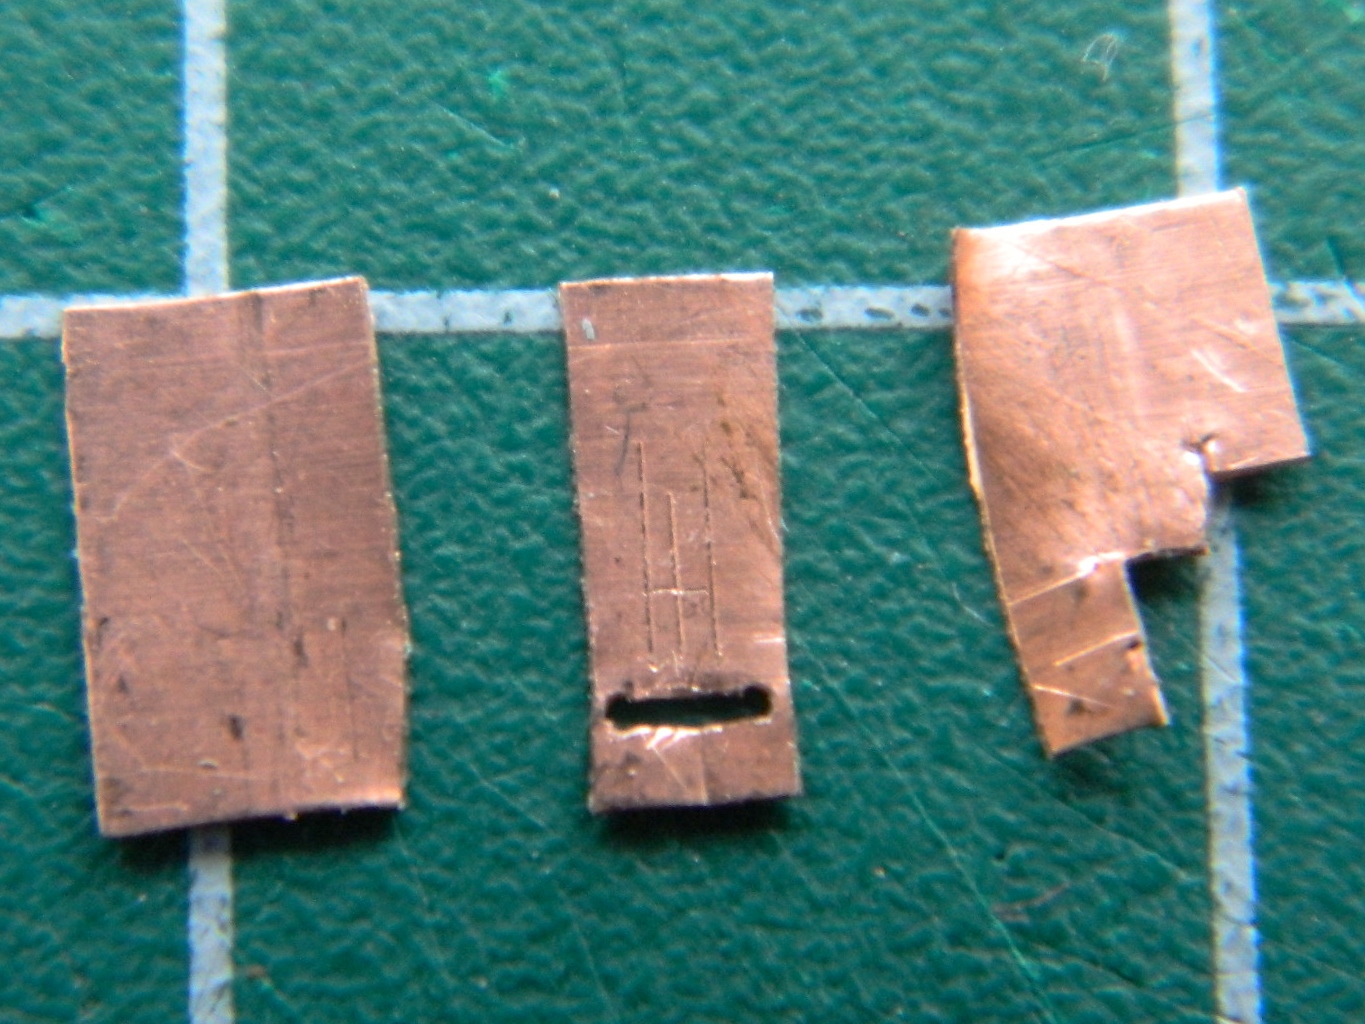
The next major detail to be added are the harness straps. Because of their location in the finished model (directly in your face), and because there are NO aftermarket parts for these, all the hardware had to be scratch-built. First to build is the buckles which I made from .005″ (1.27mm) copper shim stock and 24 gauge wires.
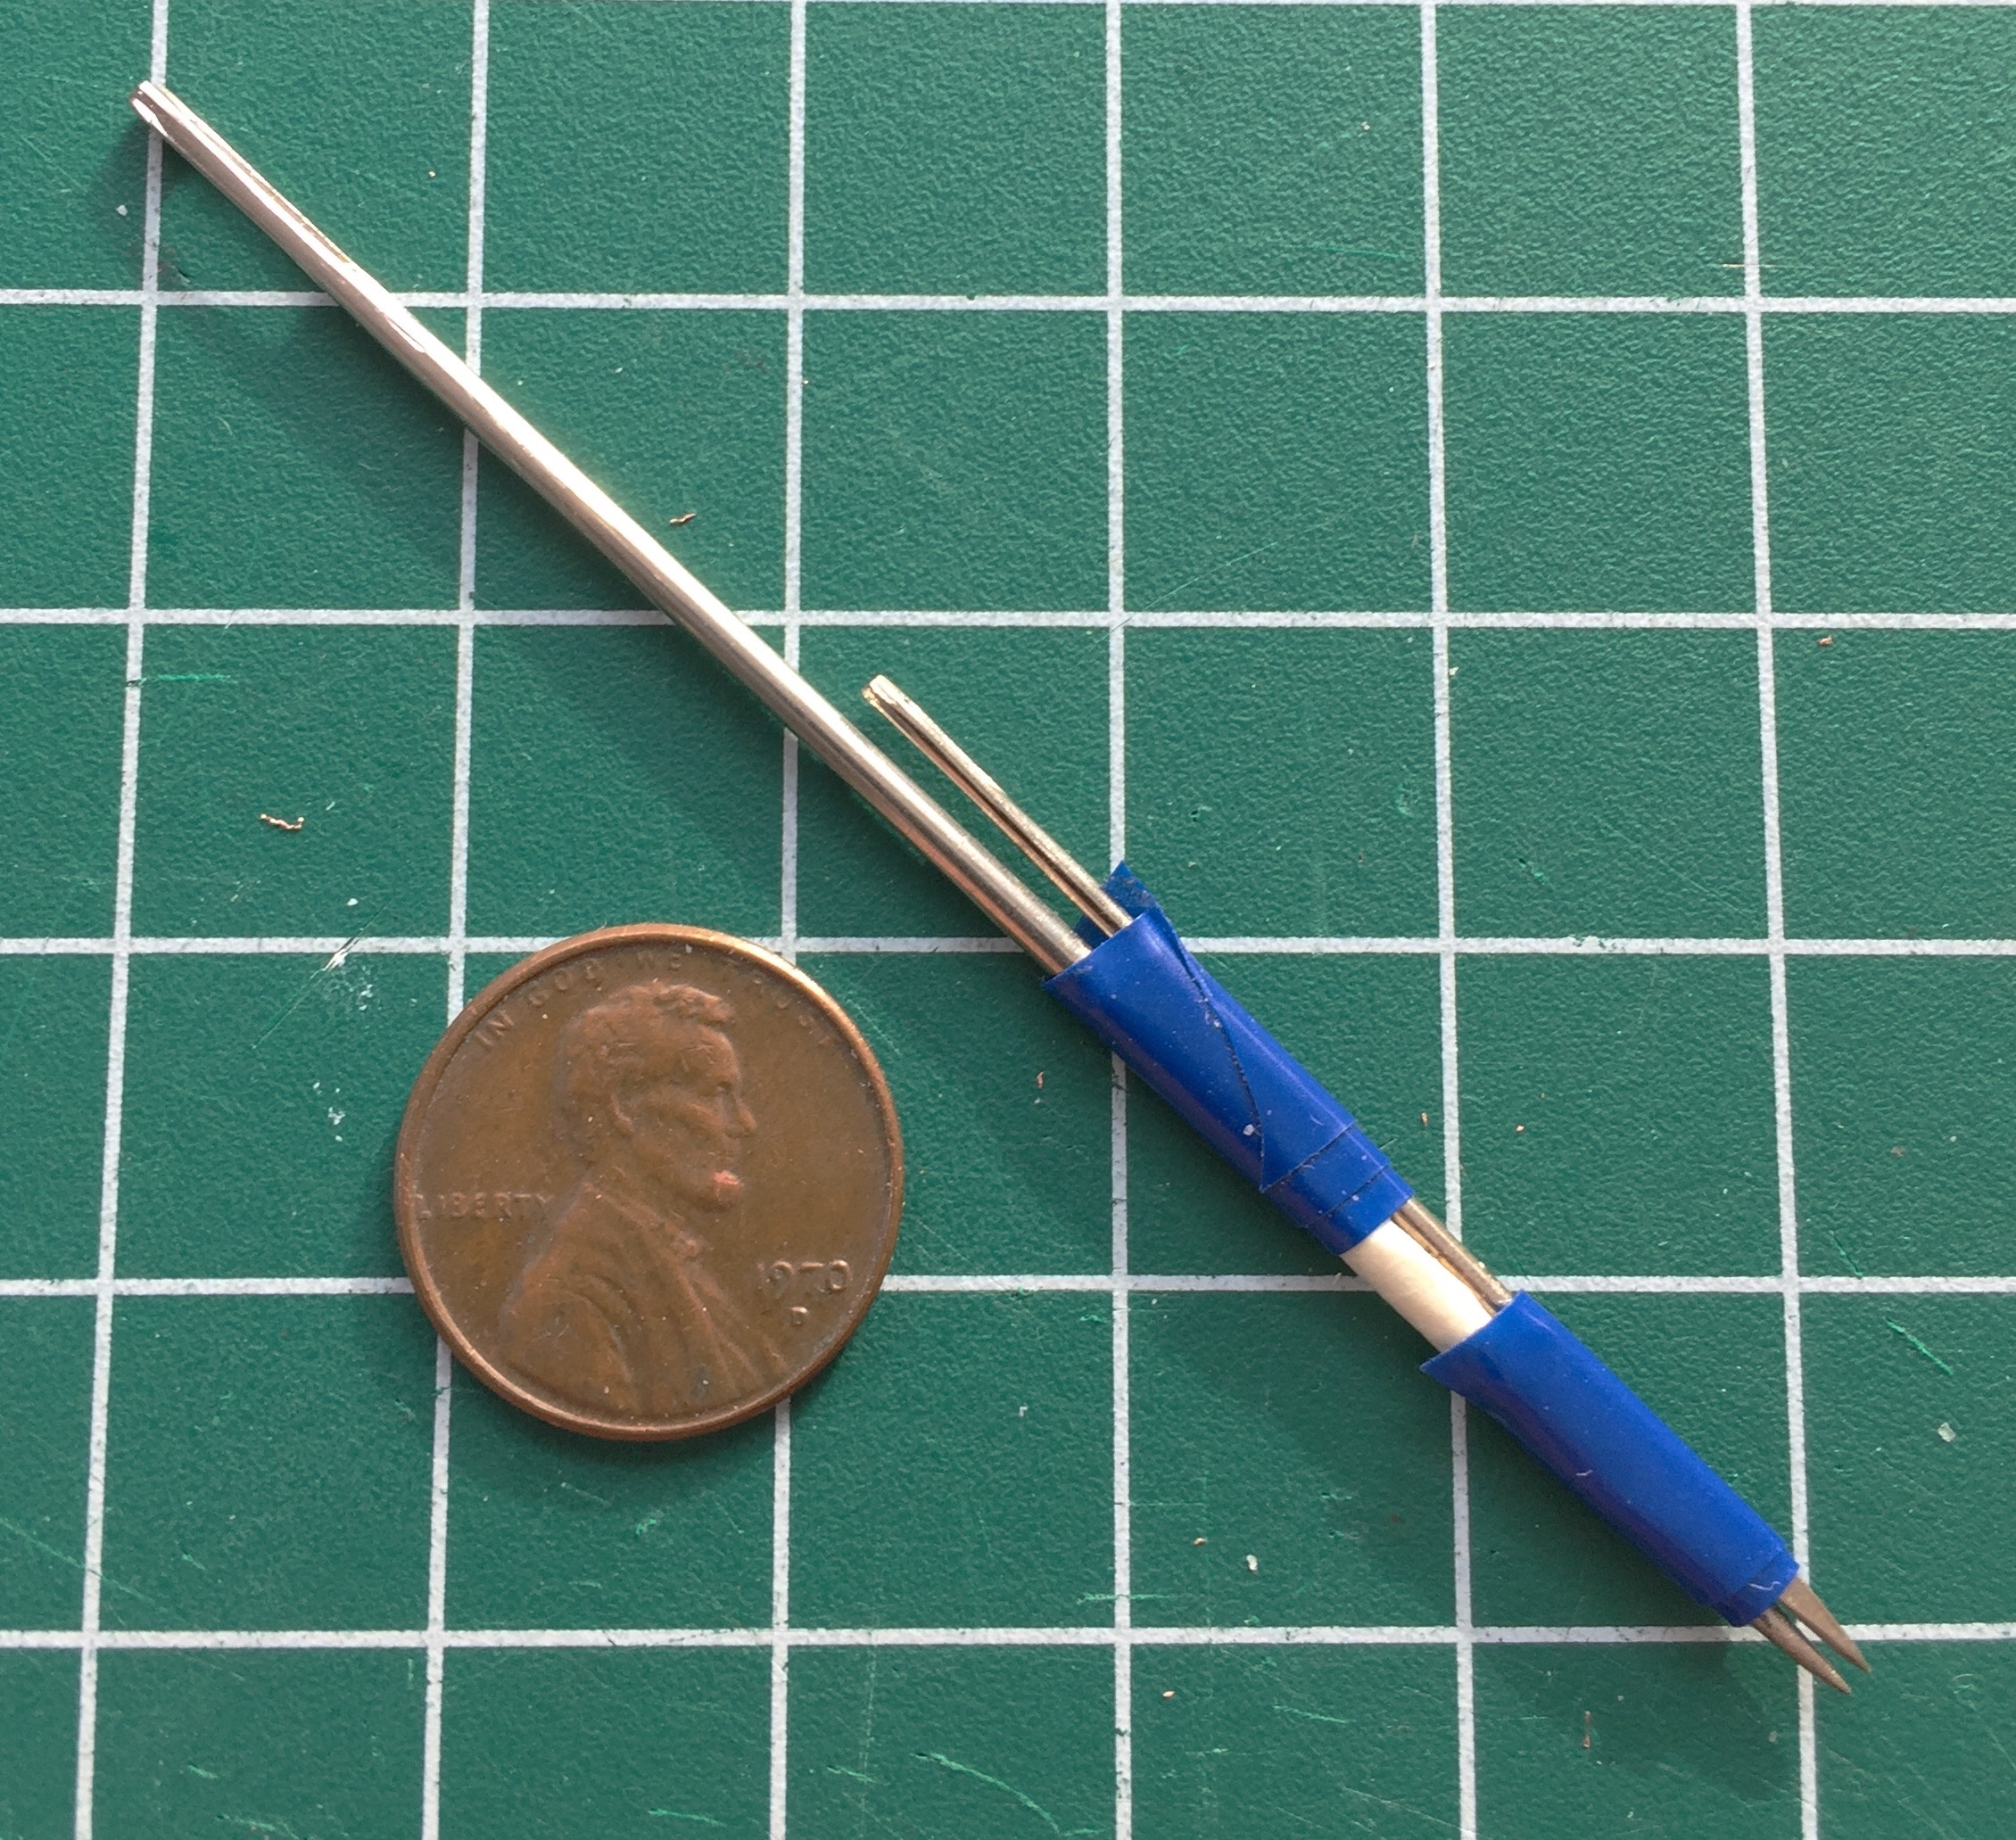
I discovered early on that what would make these things look correct was getting the spacing between the holes consistent. A friend gave me the idea of taping two needles together for consistent spacing. I used the needles to make a small depression in the copper for my bit:
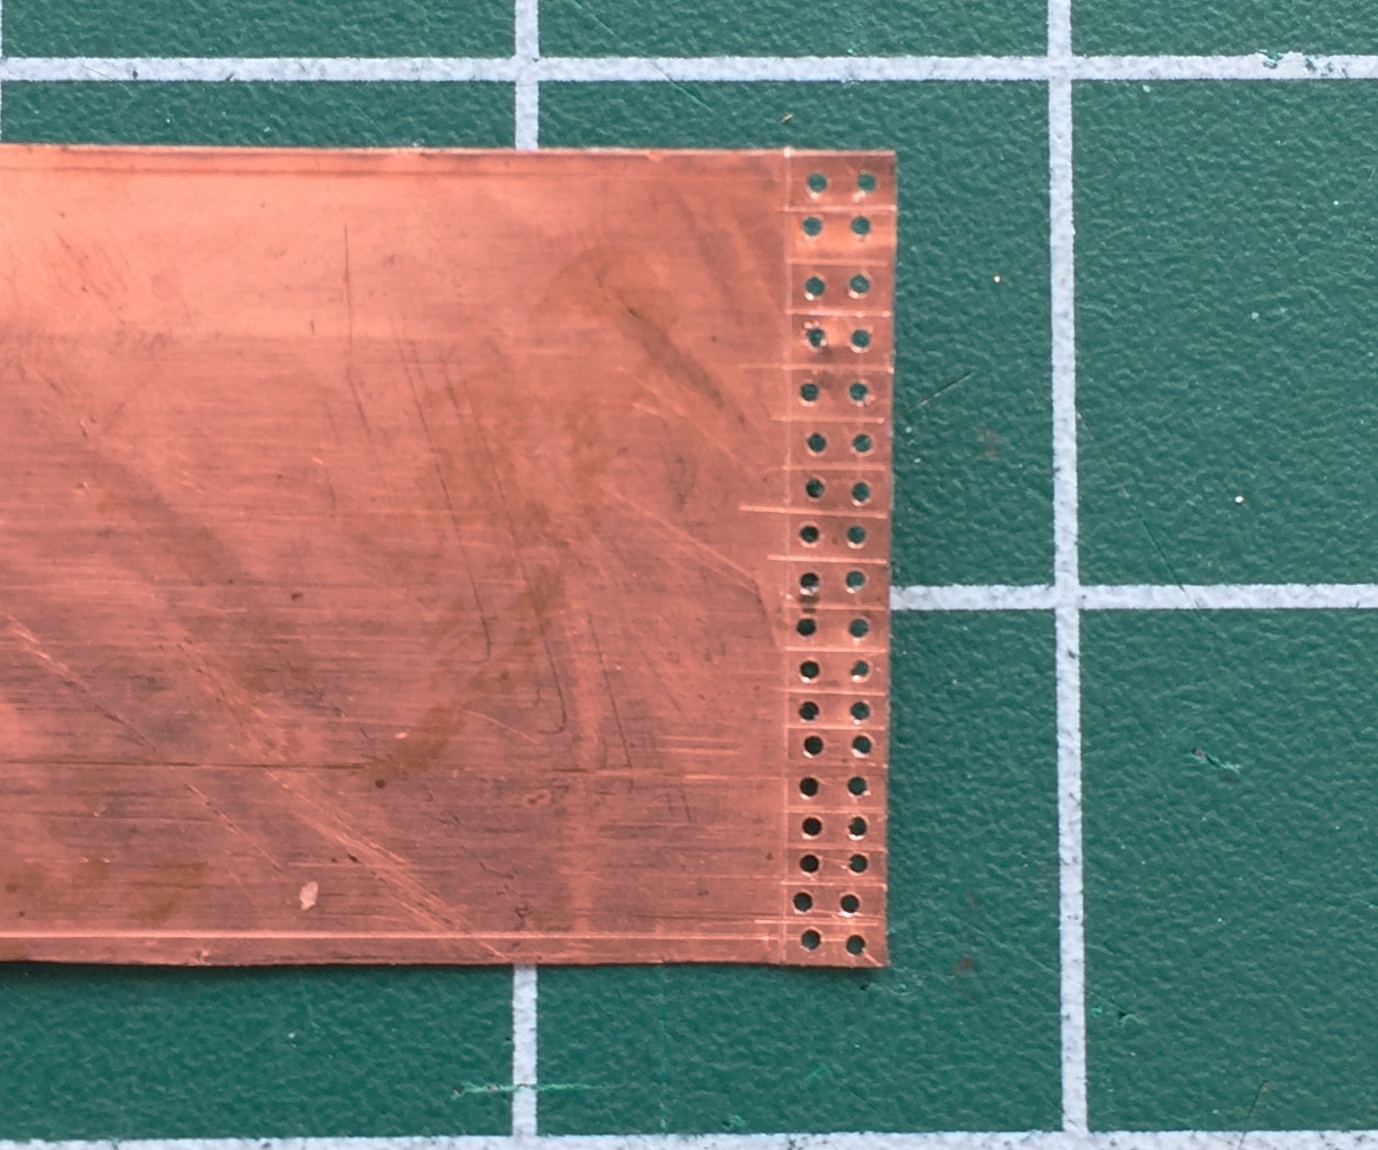
I determined (using the Mk.I Eyecrometer) how wide these plates needed to be and made a strip of them using a drill bit of .018″ (.457mm) diameter, then cut the strip free using a very high-tech tool. Scissors:
With the strip free of the sheet, each plate was cut free. I used a sharp chisel blade instead of scissors because I could control the precision of the cut better. I found that rocking the edge of the blade across the surface of the copper gave me an accurate cut with the least amount of deformation of the copper (and a well-fed gnat landing on .005″ (.127mm) copper deforms it…after every action on the copper, I had to flatten the part out again):


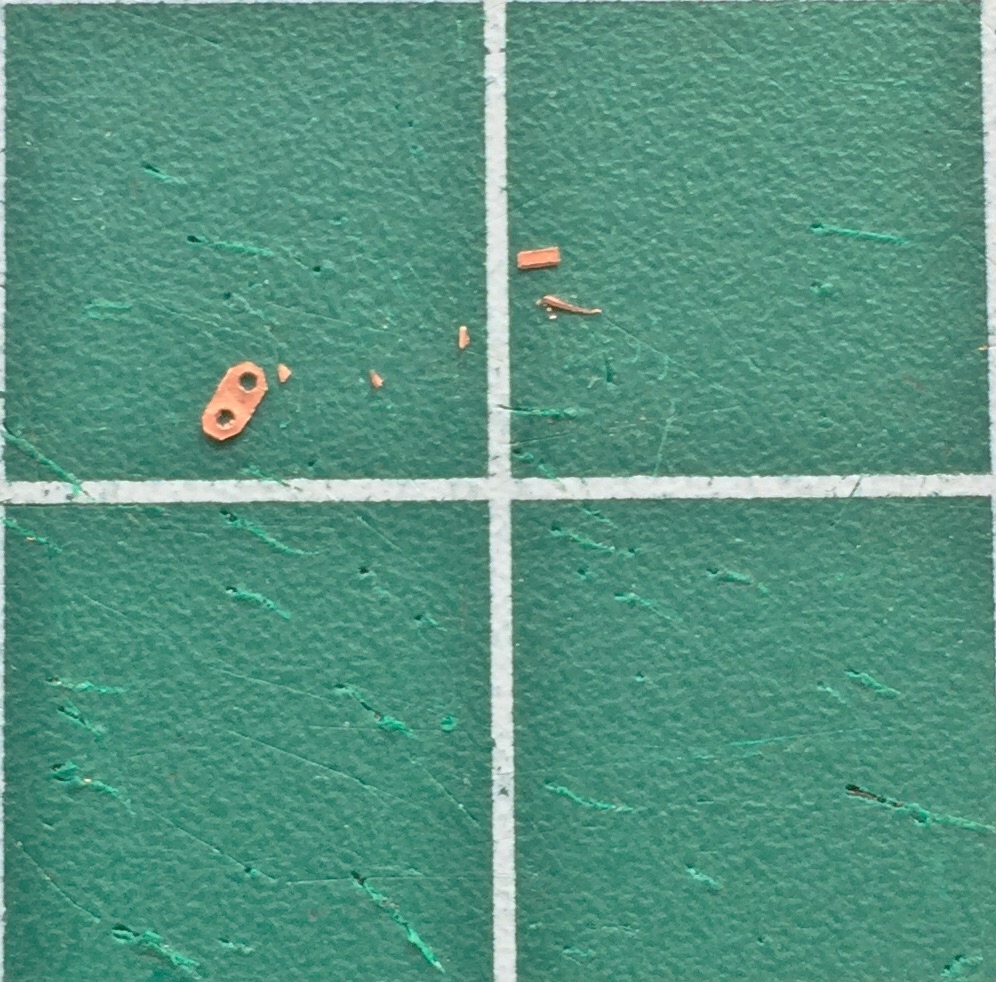
I made a few extra plates because it’s SO easy to trash something this small:

Then using the chisel blade, I trimmed each plate to size:

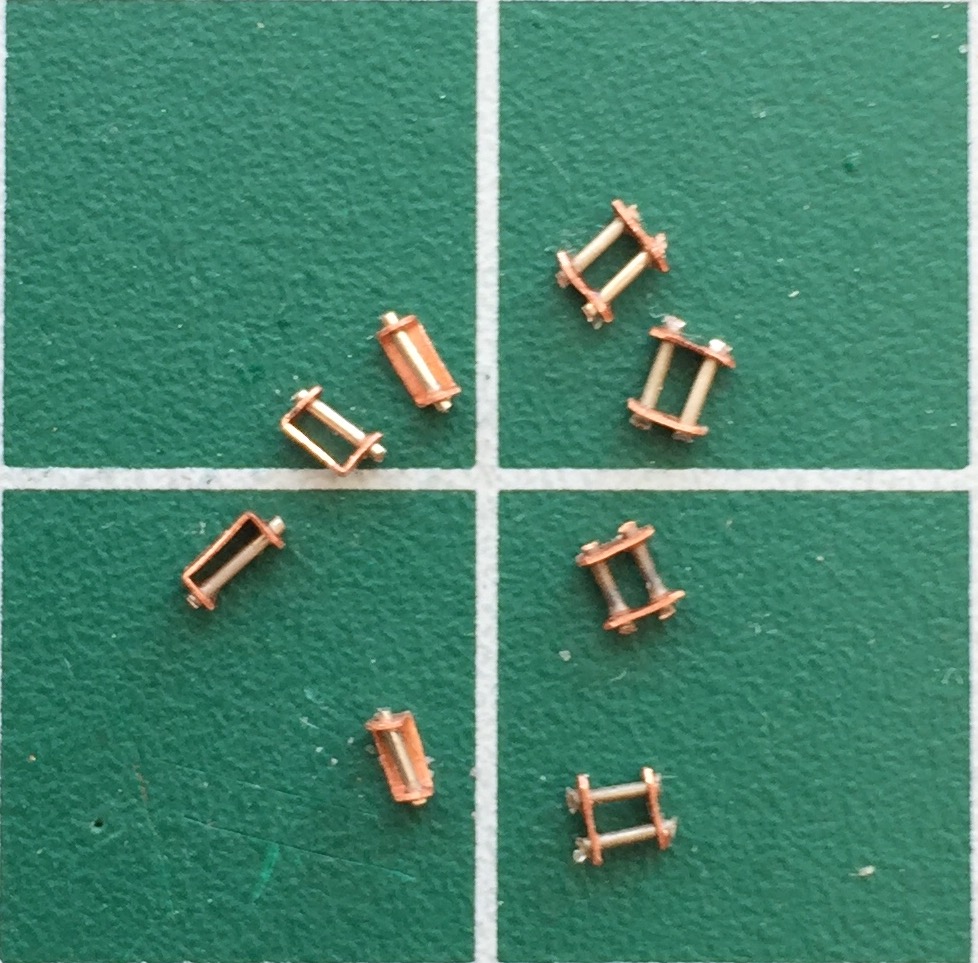
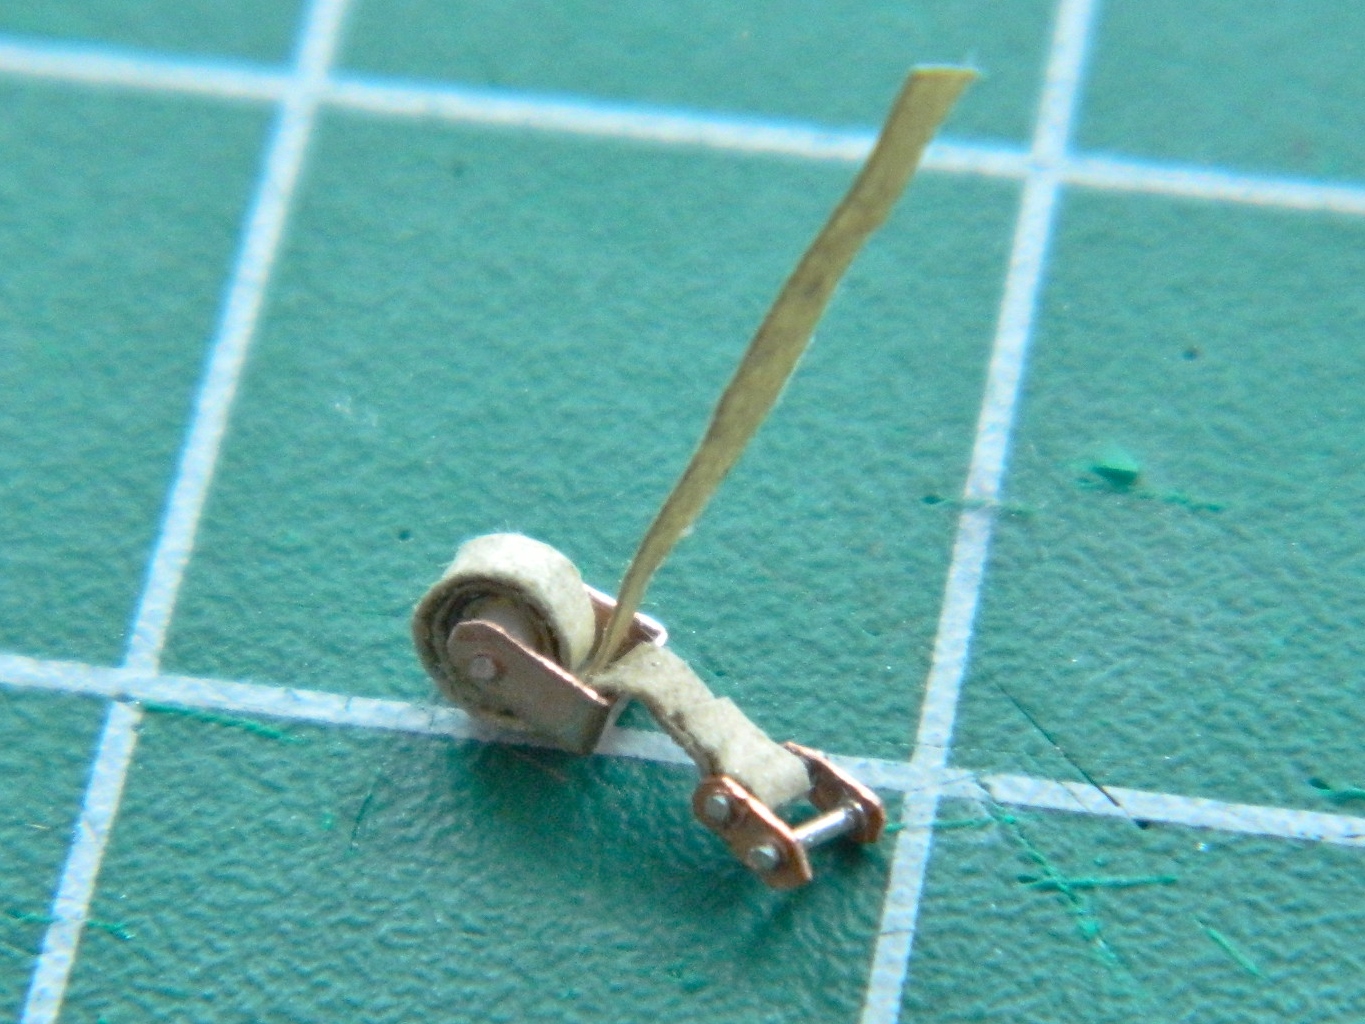
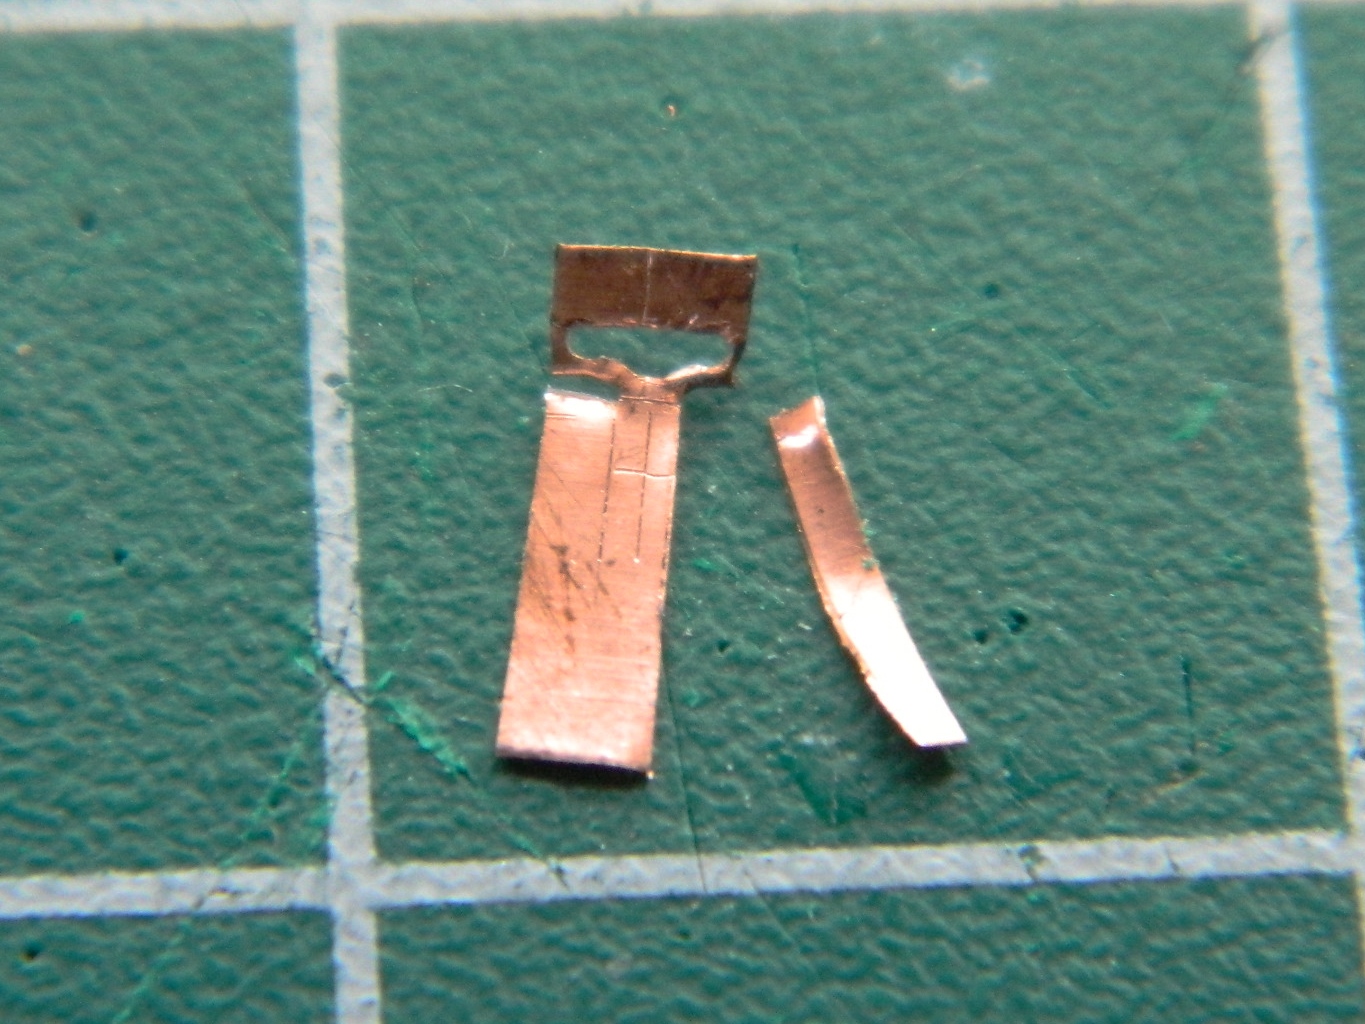
I also needed a bracket to hold the take-up reel of the shoulder straps. You can see my first four attempts to the right in the photo below. “First” was used because I got the dimensions wrong. I got good at getting the dimensions wrong…like three times:

Some tasks have a built in bitch-factor. I call it the bitch-factor because not only do I bitch about having to do it, it’s a bitch to do. For these parts, it’s a real bitch to get them started. My first attempt and multiplying how many hands I have (I still think having four would be nice, though I’m sure there’s some wimmen out there who would blanche at the thought of me having four hands) was to use locking tweezers to hold the two wires while I slid the plates over them. Yeah…it worked, but I came up with something better after doing this first one:
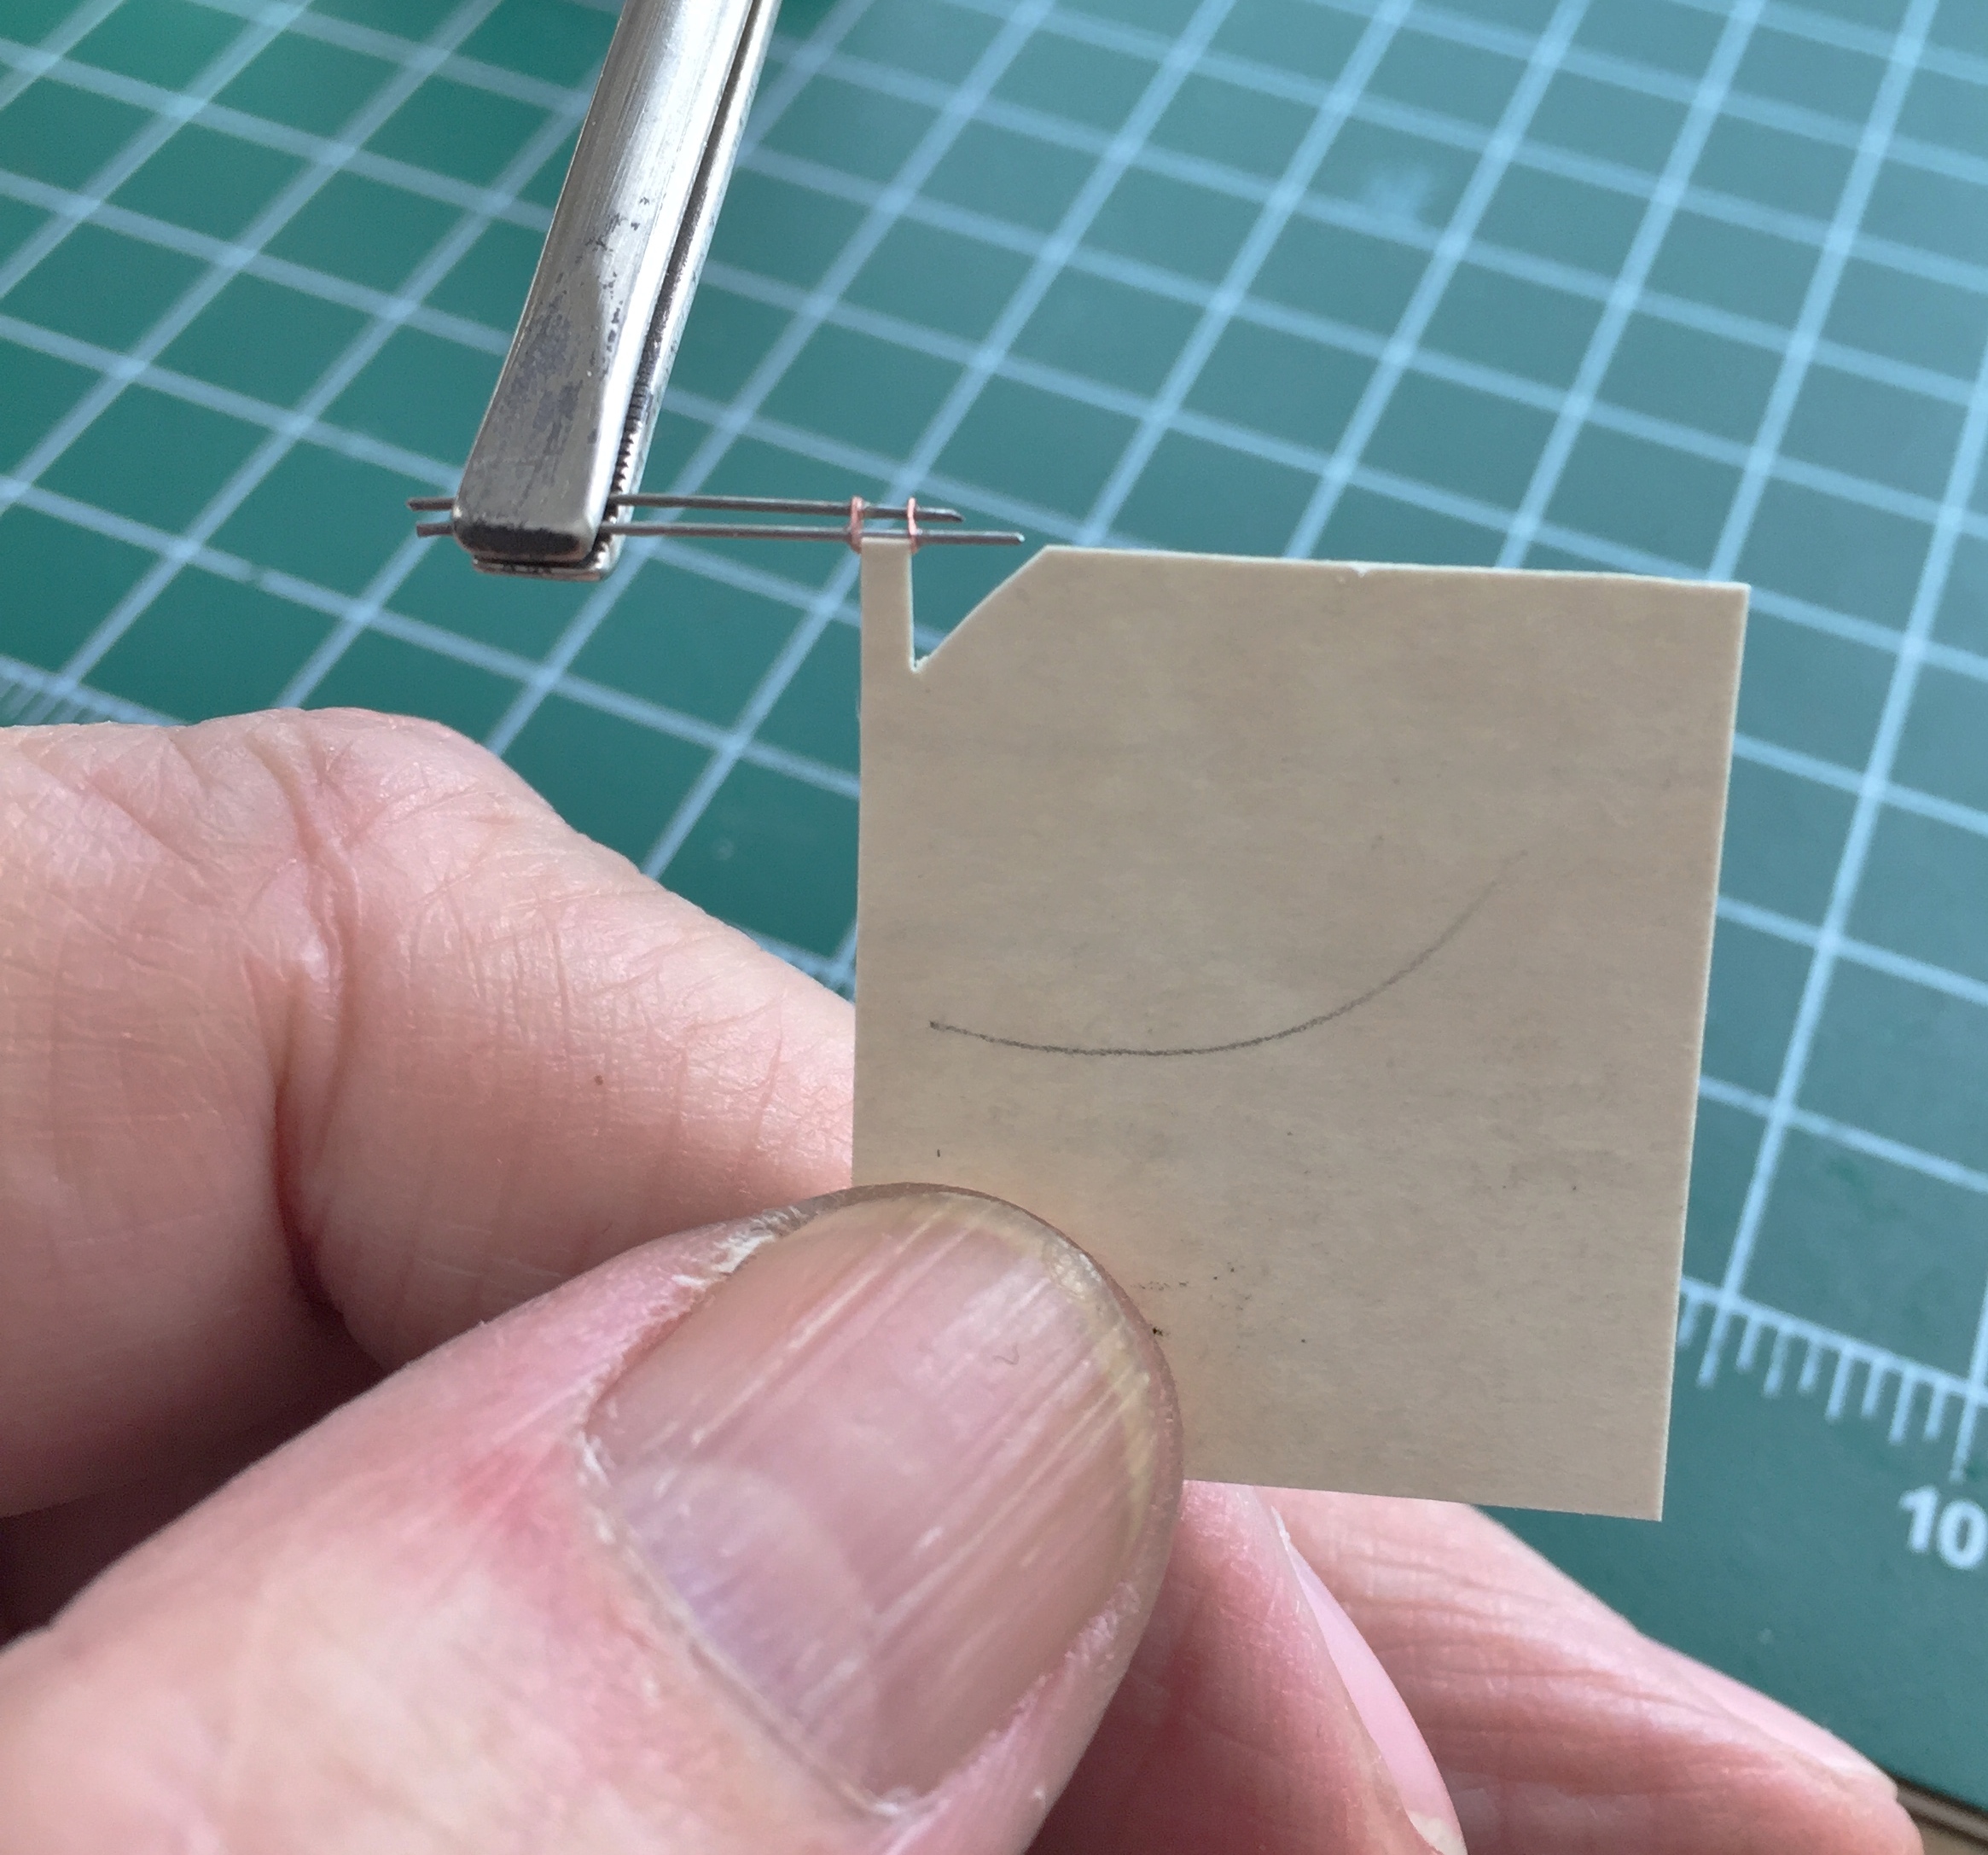
Once I had the plates at the correct spacing, I made a gauge out of an old 3″ (76.2mm) x 5″ (127mm) card to ensure consistency:
My initial thought was to solder the plates to the wires and I tried that:

Not only was I not especially pleased with the outcome (though I was quite pleased that I could solder something this small), I realized that I was over-complicating things. Again. For this application, superglue would work just fine…and it did. I used a piece of scrap plastic, drilled two .018″ (.457mm) holes in it, and used that to hold the wires while I slid the plates onto them and then glued them. Worked perfectly:
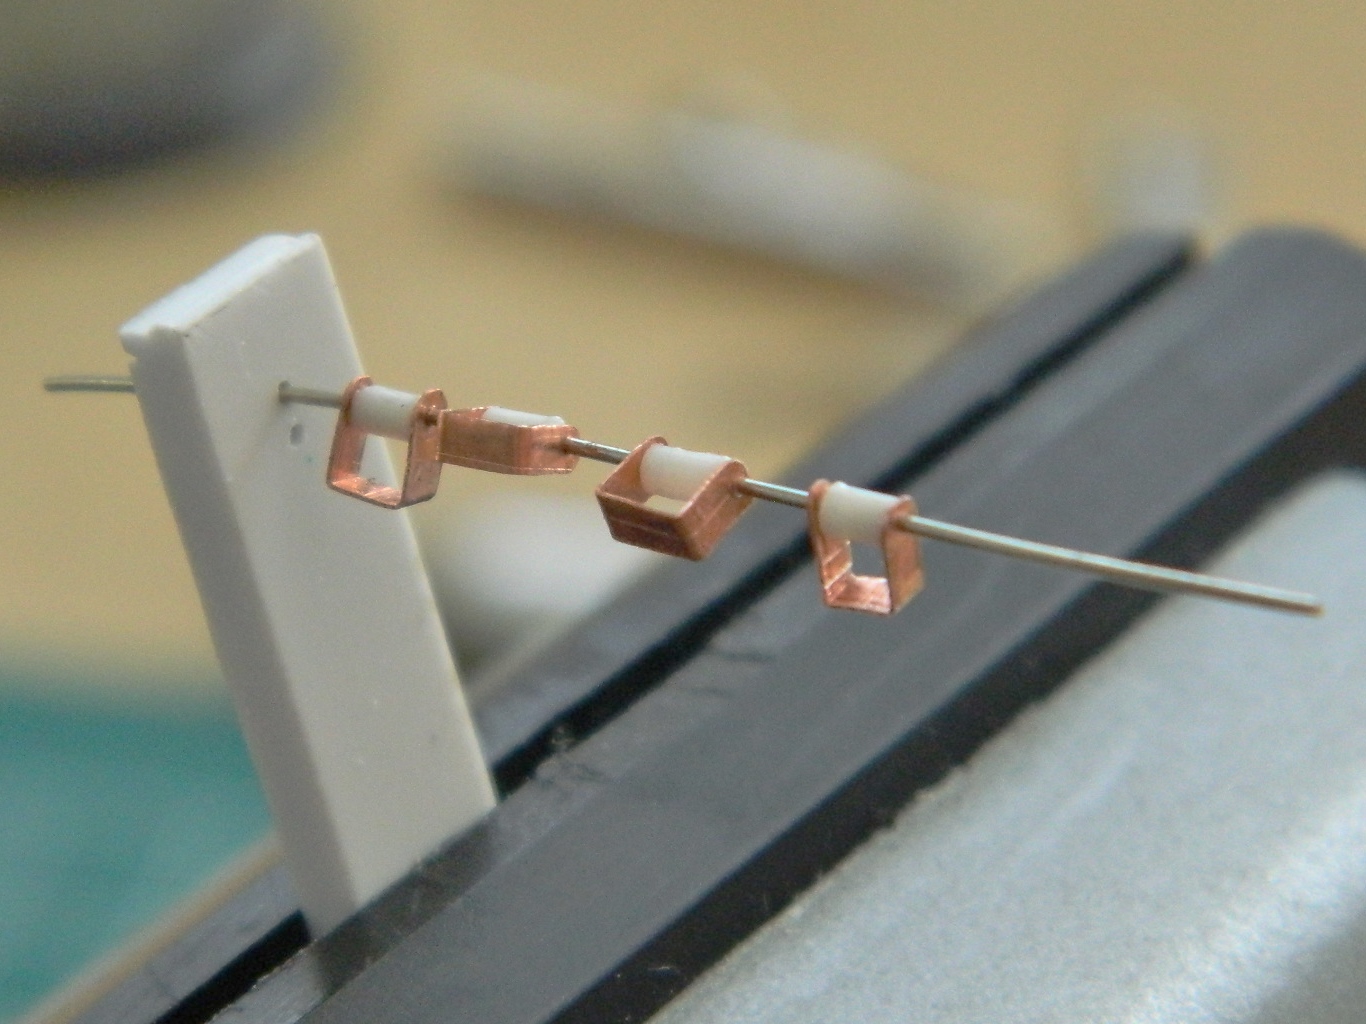
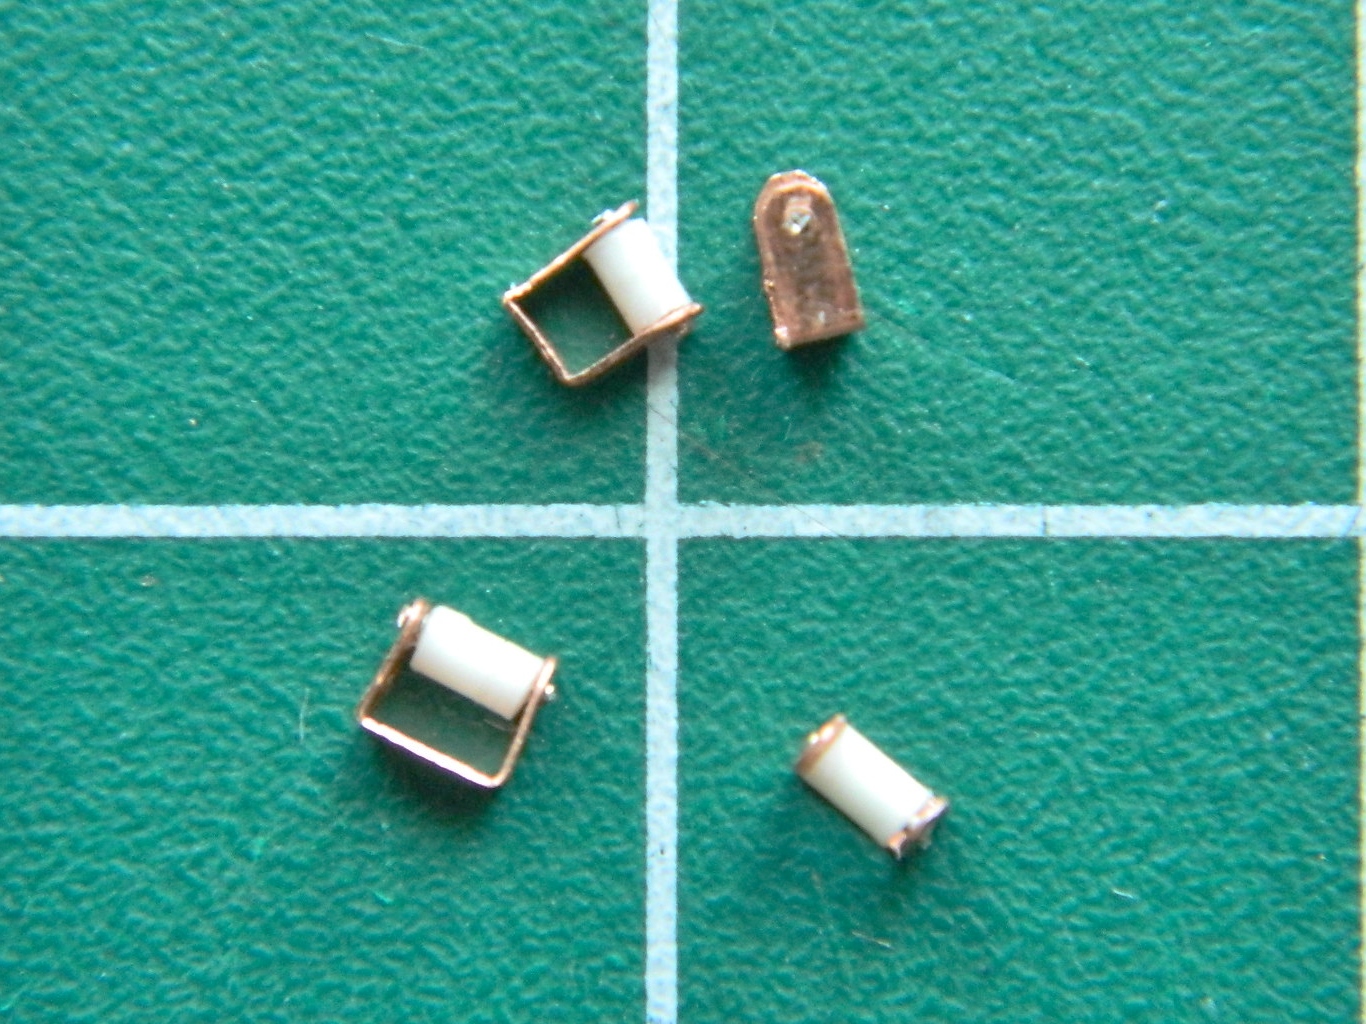
Once I had everything aligned and glued, I had some of the parts I needed:
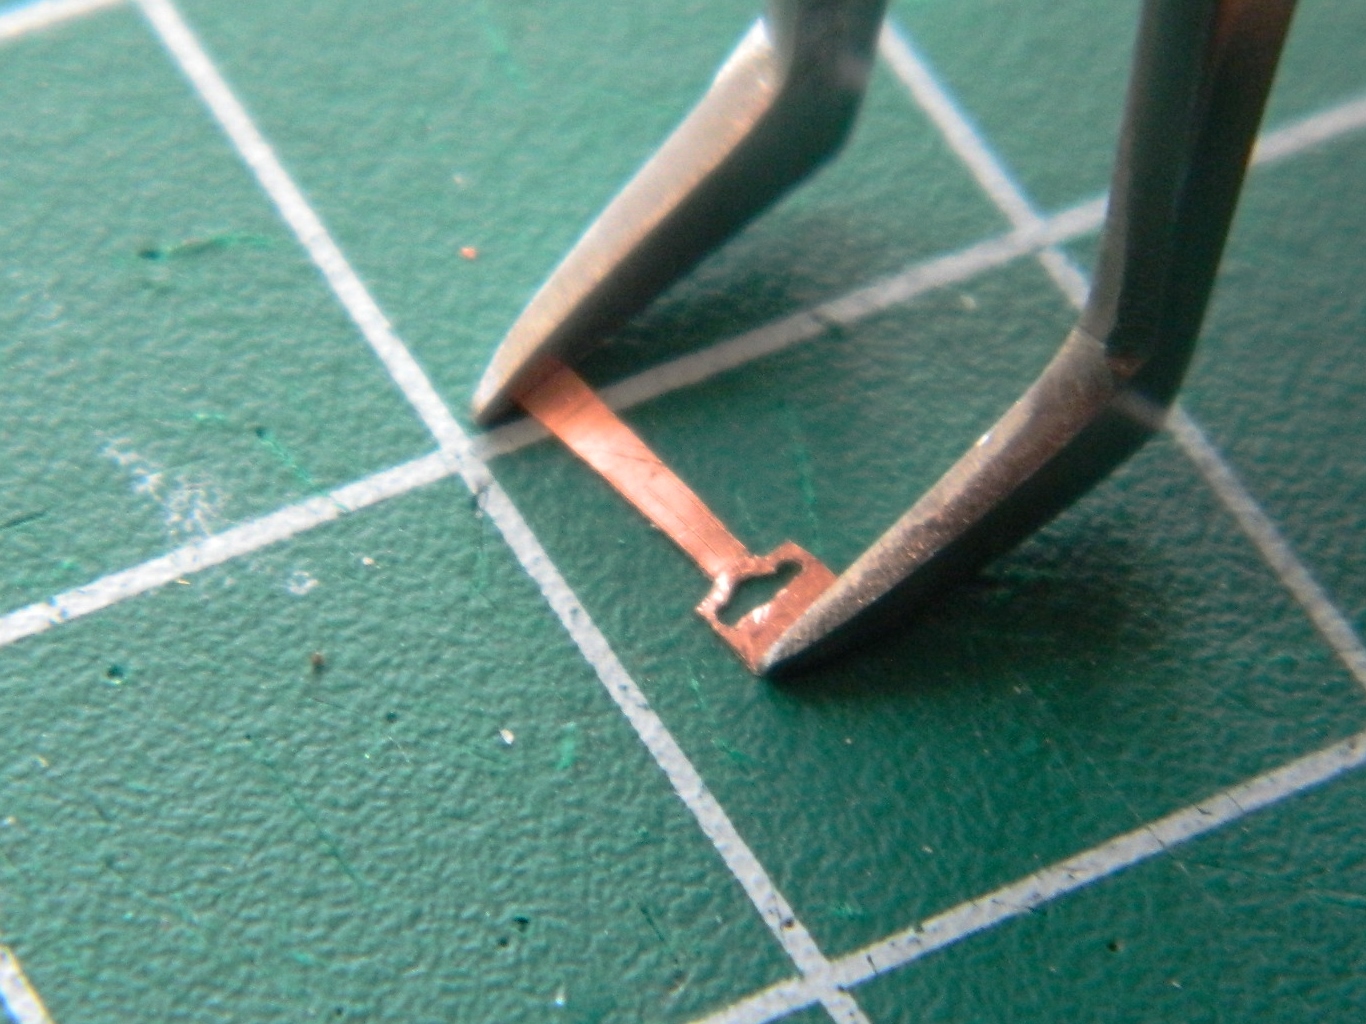
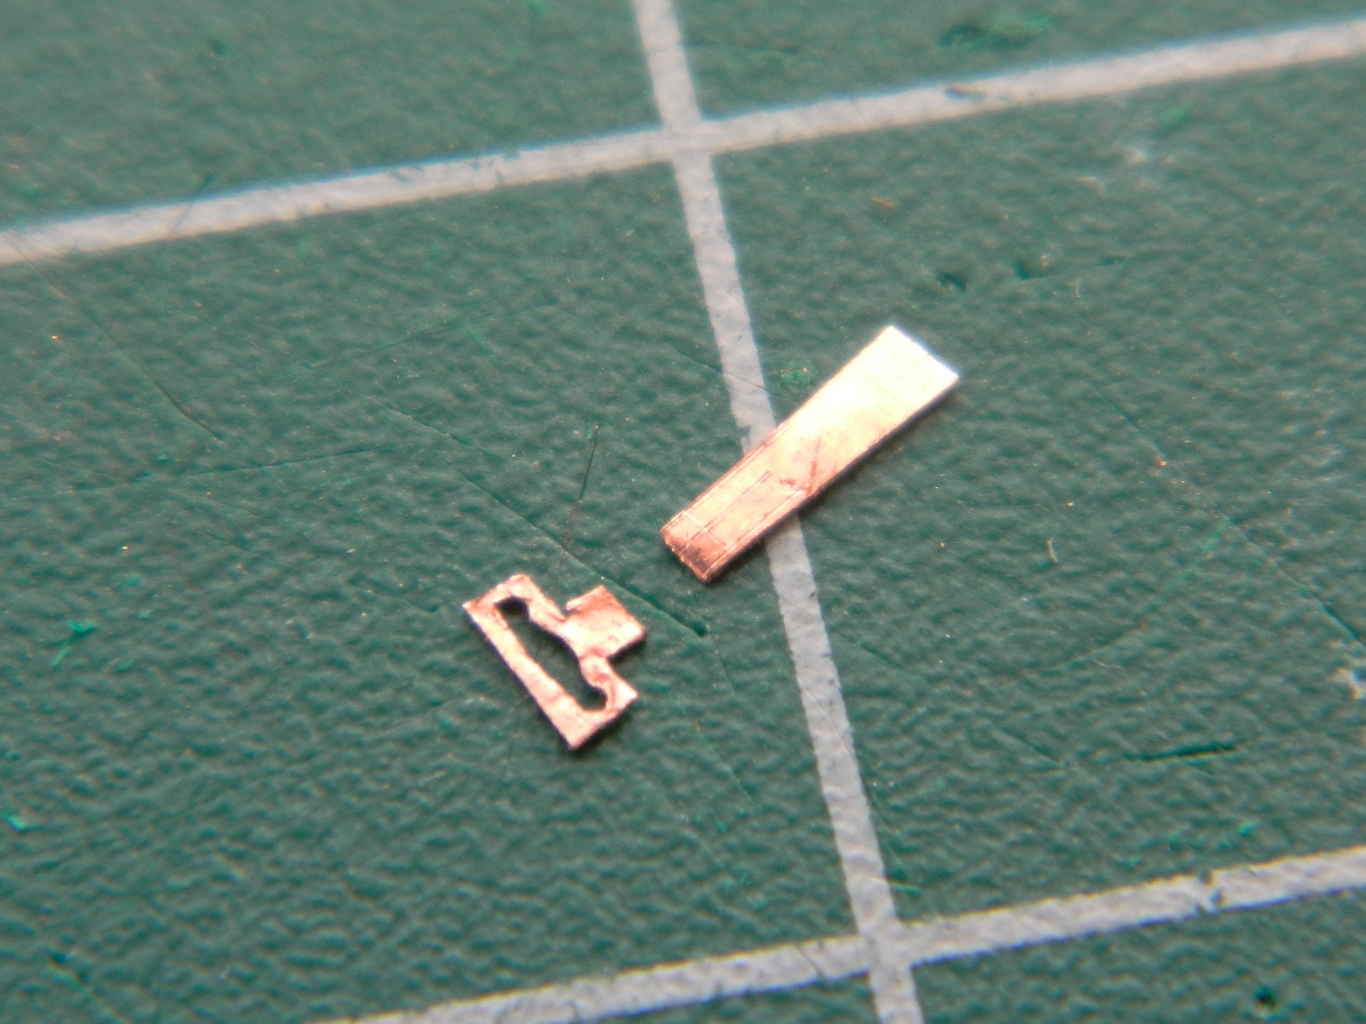
It was at this point that I realized the single-wire parts, which are the take-up reels for the straps, were sized incorrectly. I went through three attempts before getting the depth to the parts that I wanted:
I didn’t want to have to wrap a small diameter wire with enough paper to replicate the rolled up strap, so I decided to bulk that out using plastic rod. That meant I had to use .047″ (1.19mm) diameter rod and center-drill it (again using the .018″ (.457mm) bit). A bit fiddly but it did work:
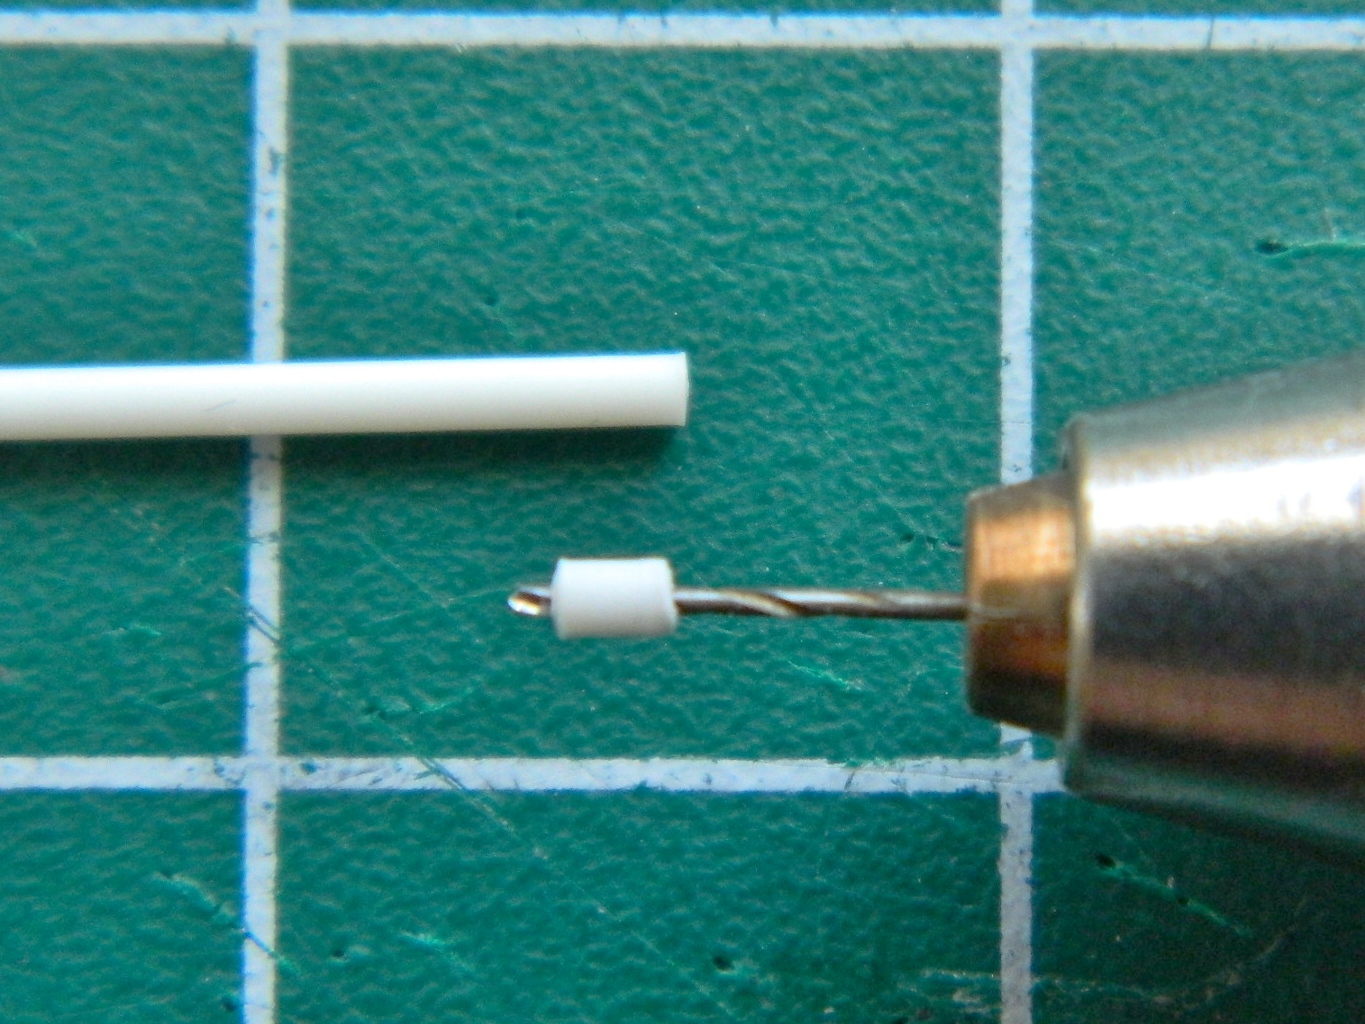
I slid the wire into my jig, slid the plastic tube over the wire, and with the wire in position, glued it all together:
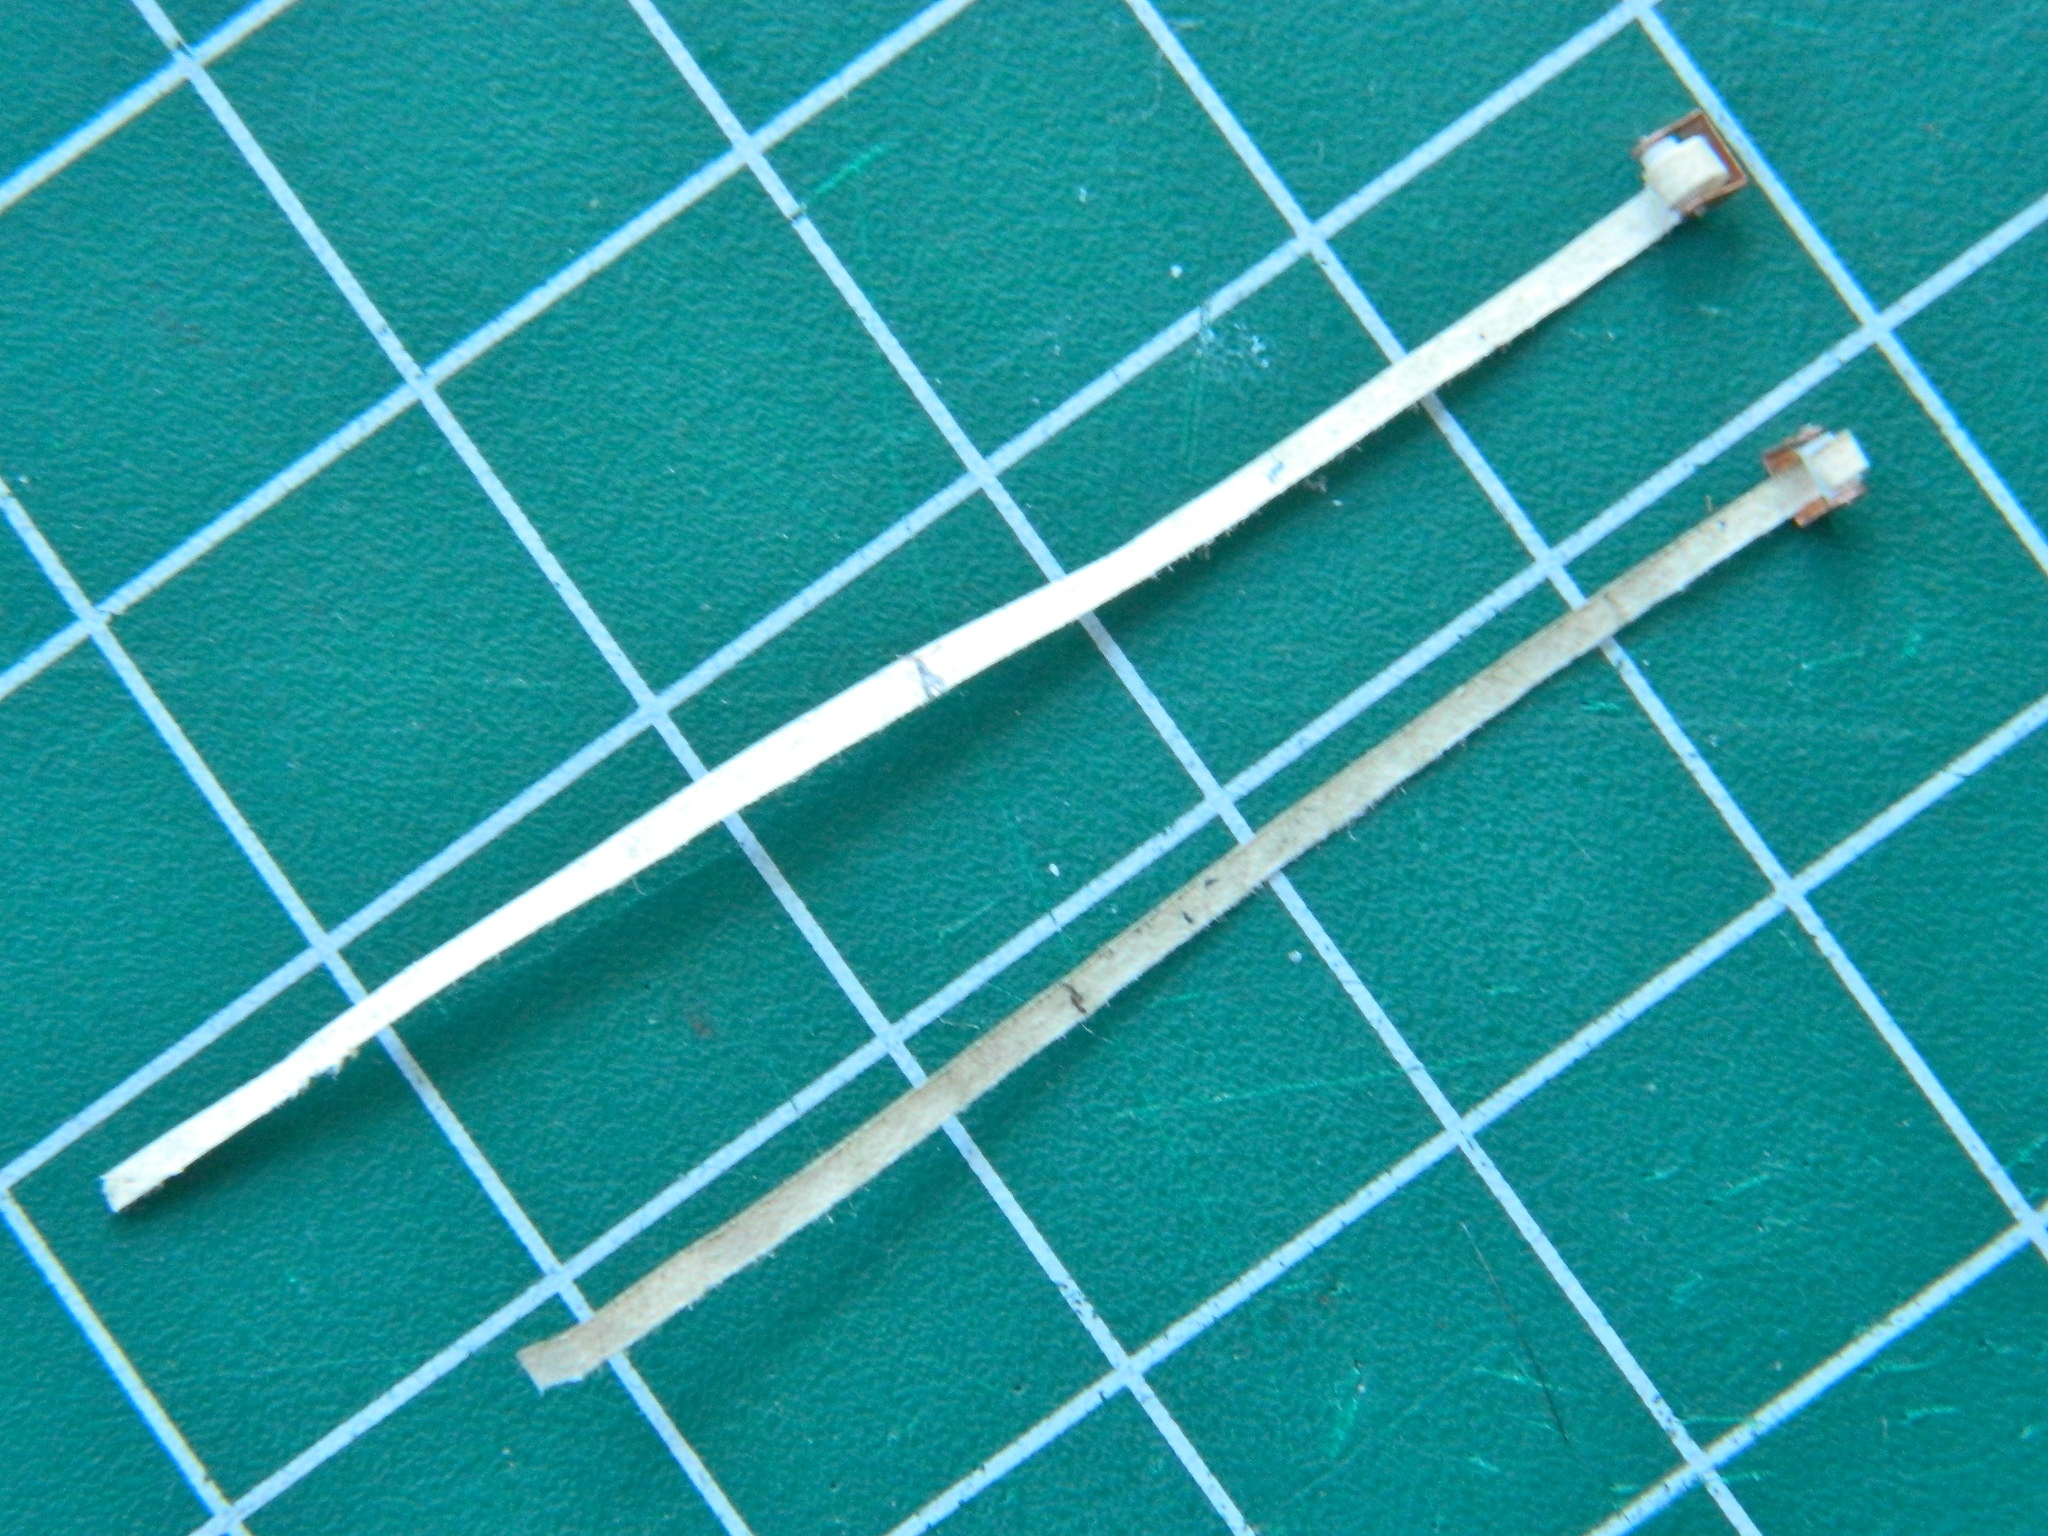
Time to add the straps. On a previous build, I’d made the pilot’s harness from Post-It paper soaked in diluted white glue. Yeah, I did it but it was not easy. Paper tends to turn to mush when soaked and I went through a lot of paper to get the effect I was after. Between then and now I’ve done some skull-sweat (thought, for those of you who aren’t Heinlein readers) (heathens) on what type of paper to use. What I needed was a paper with a higher rag content AND still thin enough to be in scale. While paying for something with cash (just for the novelty), I noticed that the money was made out of paper. It’s made out of a high rag content paper! So I took a dollar out of my wallet and set it aside for future use:

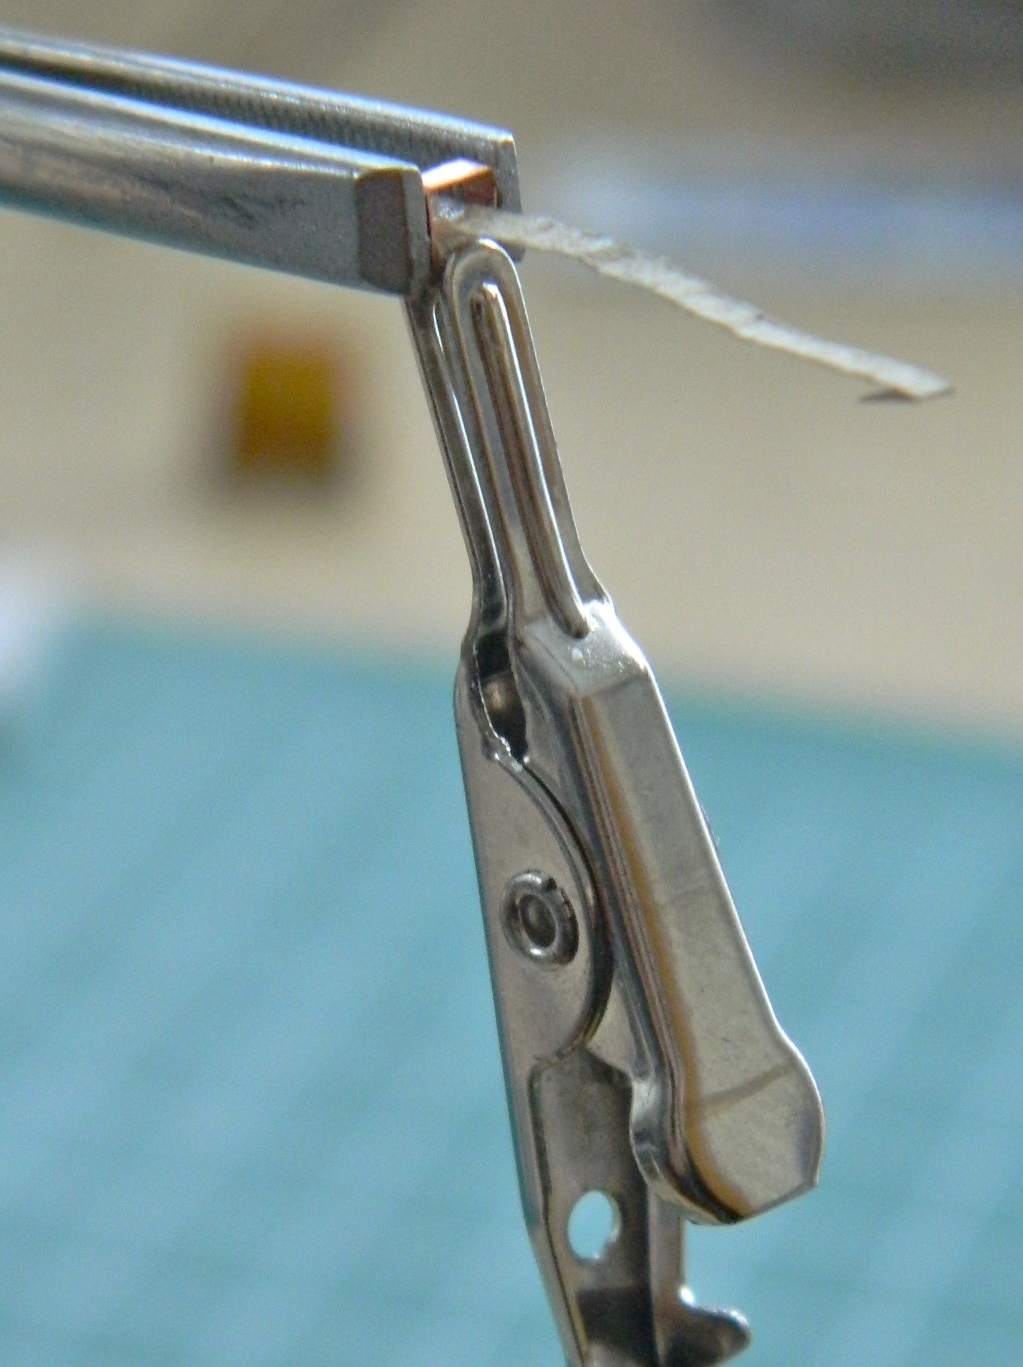
The future arrived (which explains all the wrinkles I see in the mirror). I cut the edge of the dollar’s paper to width and tacked it onto the plastic tube without needing to soak it in white glue first:
There are two straps that wind around the take-up reel and one of them has the connector I’d made out of copper and wire. But first I had to wrap them around the tube:
Once I had the wrap, a touch of superglue on the edge of the wrapped strap holds it in place, the “buckle” (which it really isn’t but I don’t know what else to call it) added, and there’s the finished shoulder strap assembly. Now to make three more:
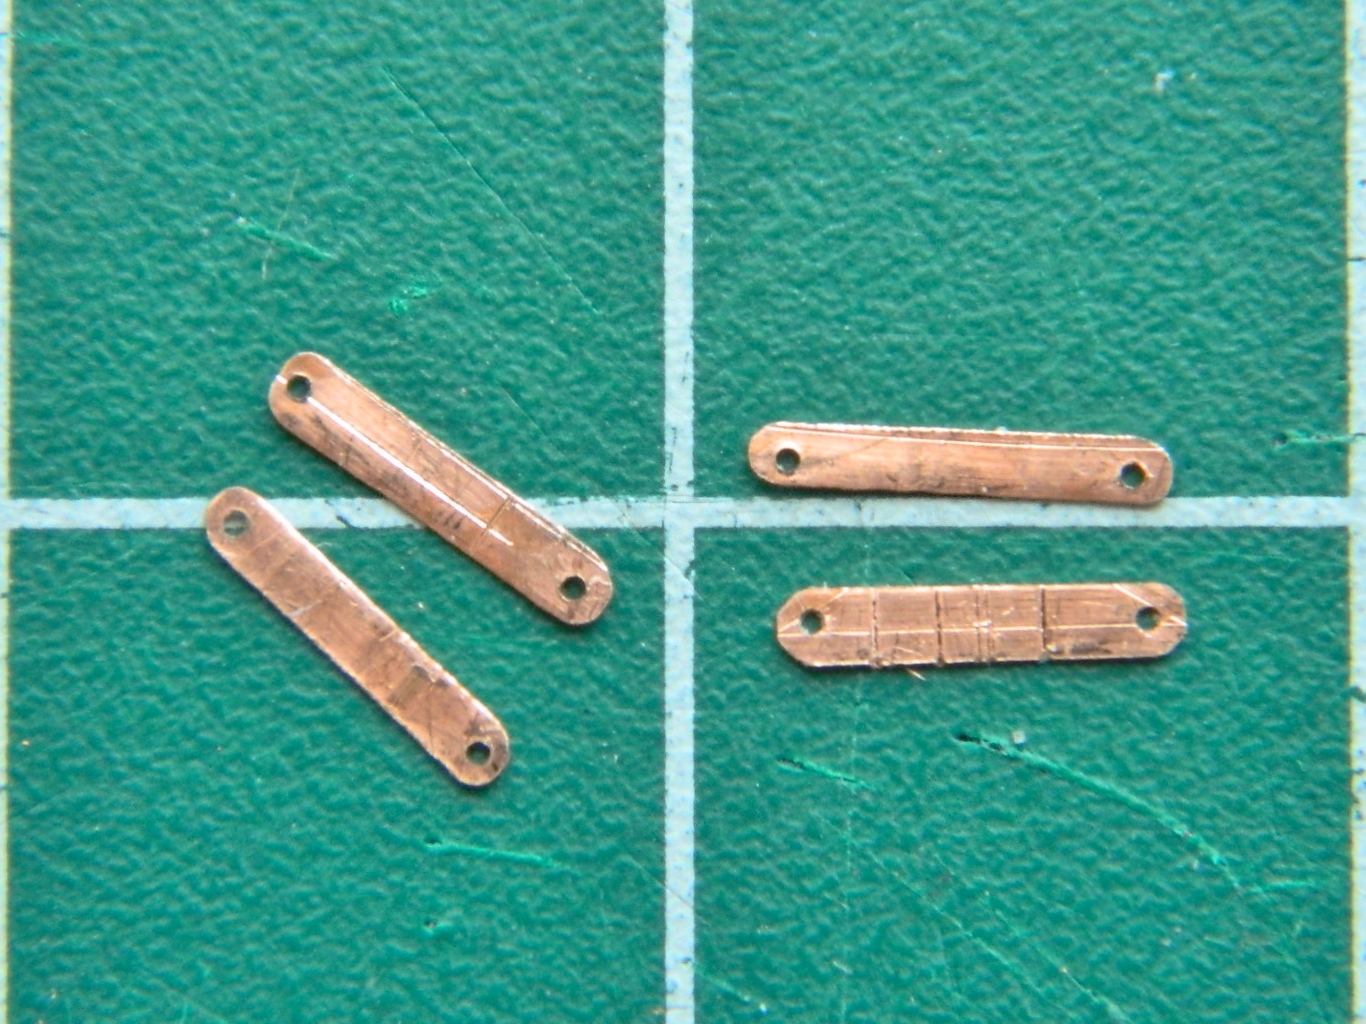
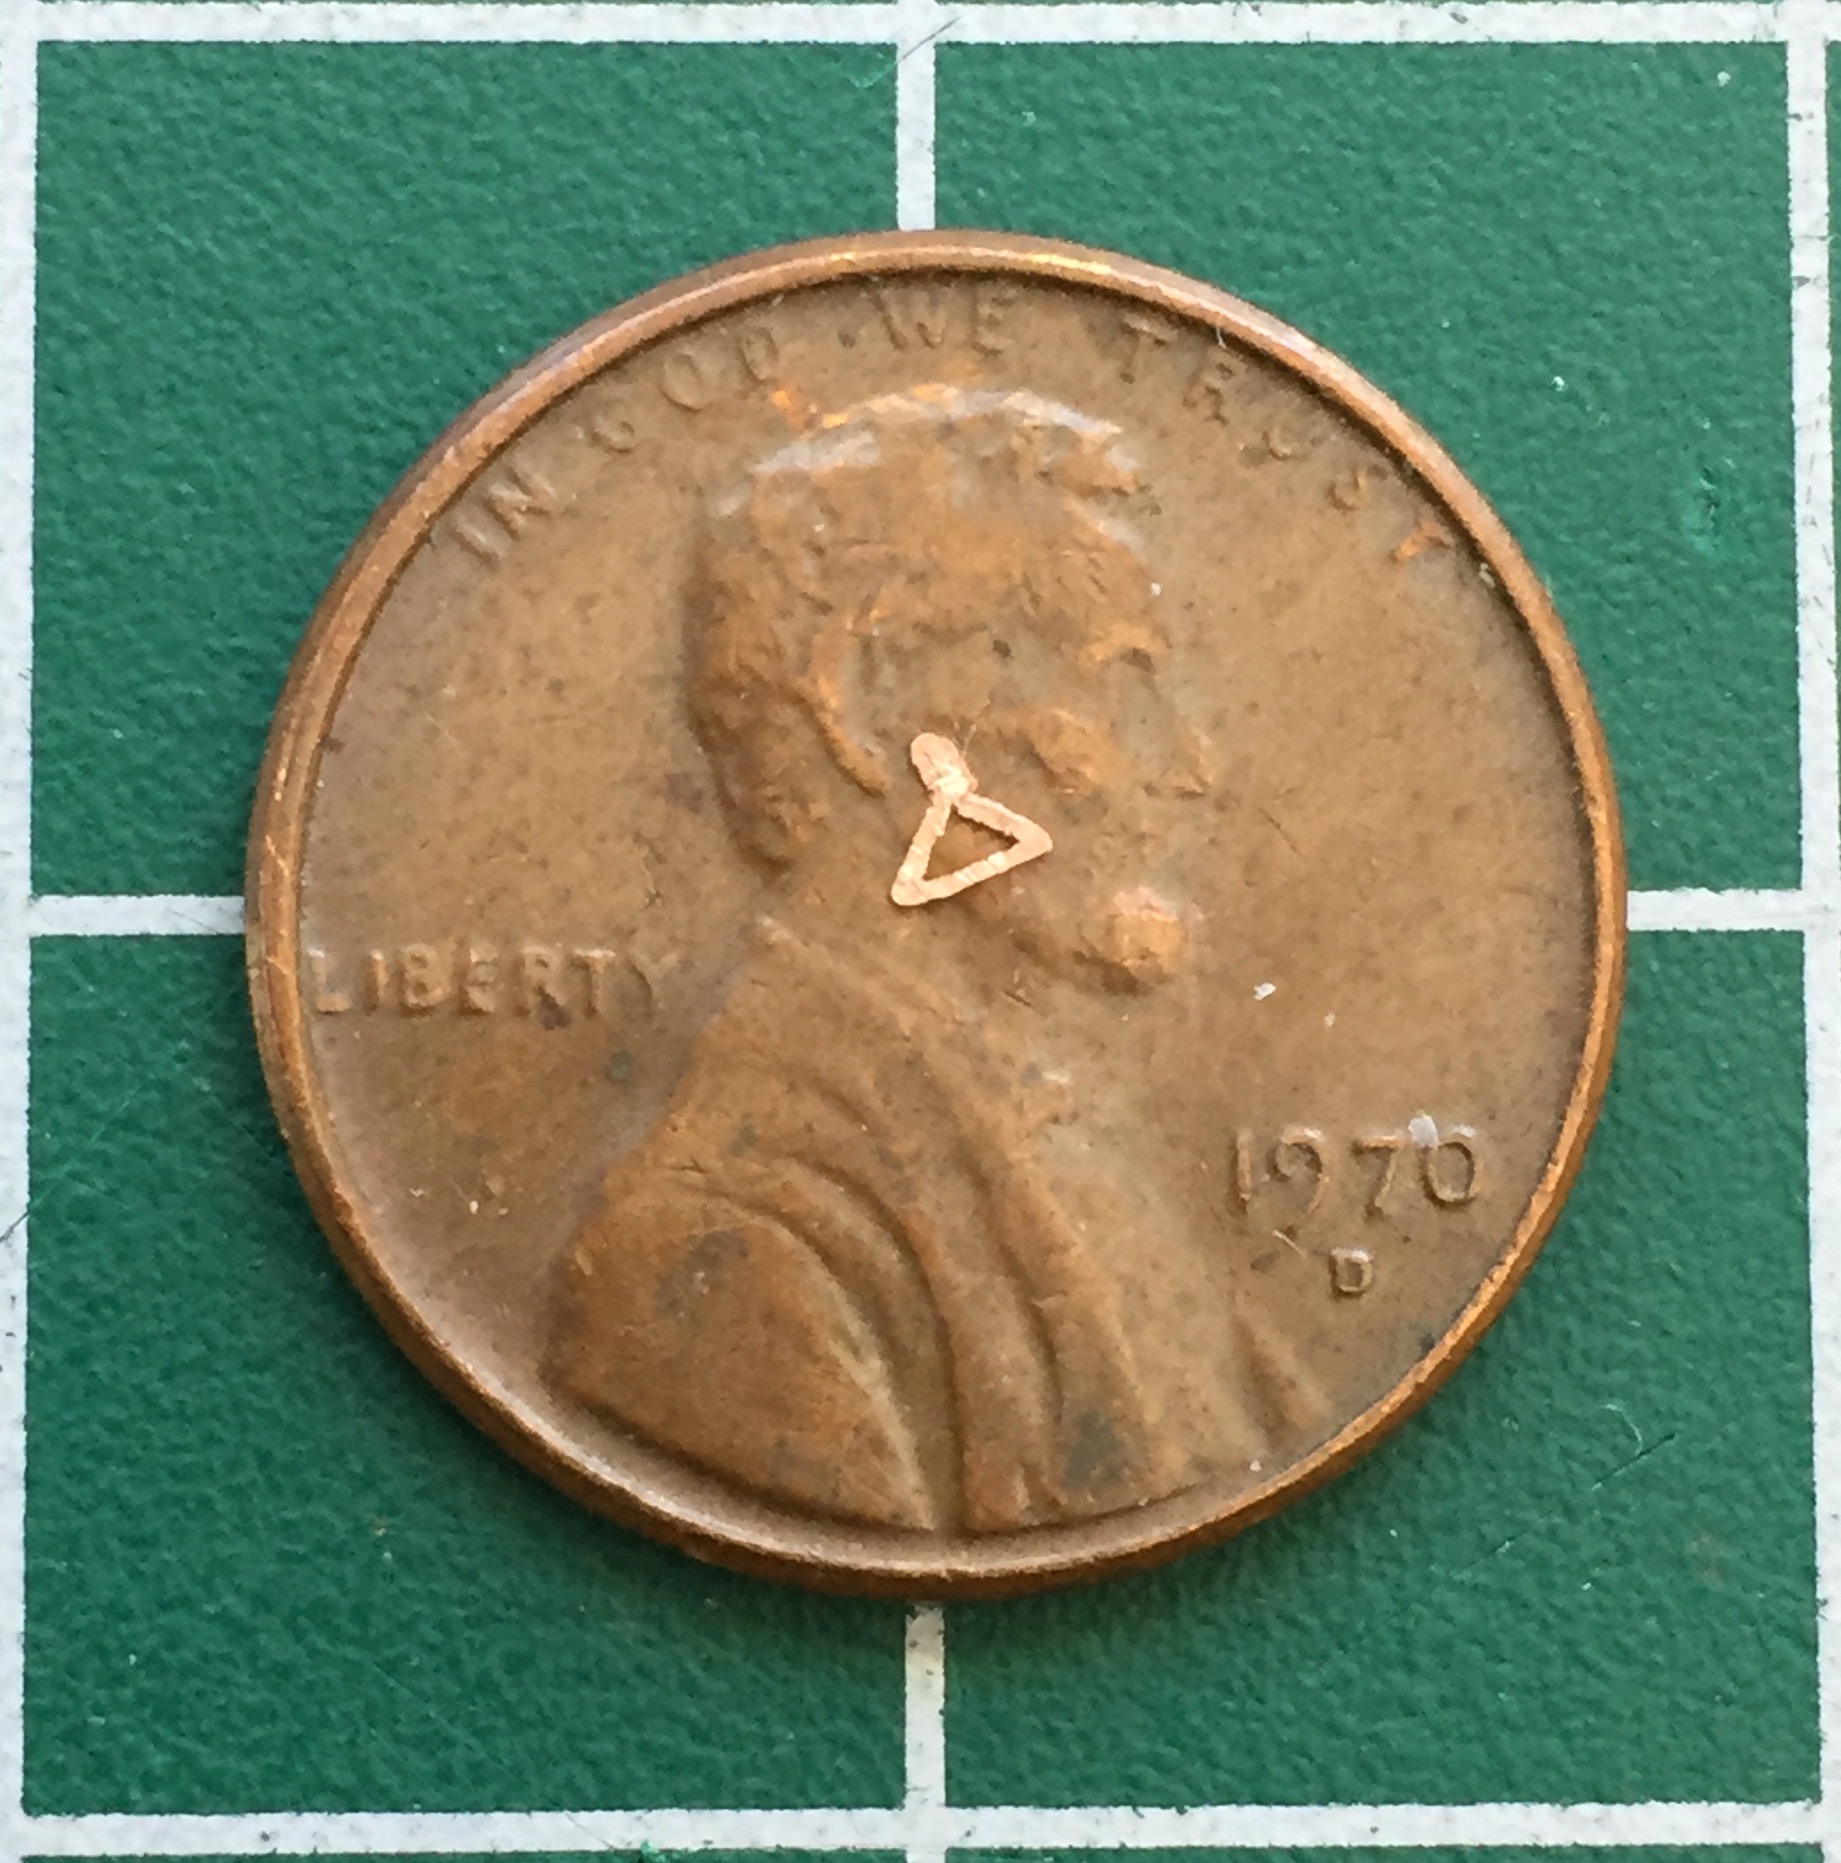
The lap straps need hardware for where they attach to the sides of the seats. .005″ (.127mm) copper shim stock and sharp knives allowed me to make this (and three more). It starts by drilling a hole, then using sharp knives, opening up the hole to dimension:


Once the hole is cut, then I can trim the outside to fit. The .005″ (.127mm) of an inch is damned thin and trying to cut the hole inside after the outside has been cut to dimension may be possible for others, it certainly wasn’t for me:
Since belts have buckles (y’know…real buckles), I made four of them from the shim stock:

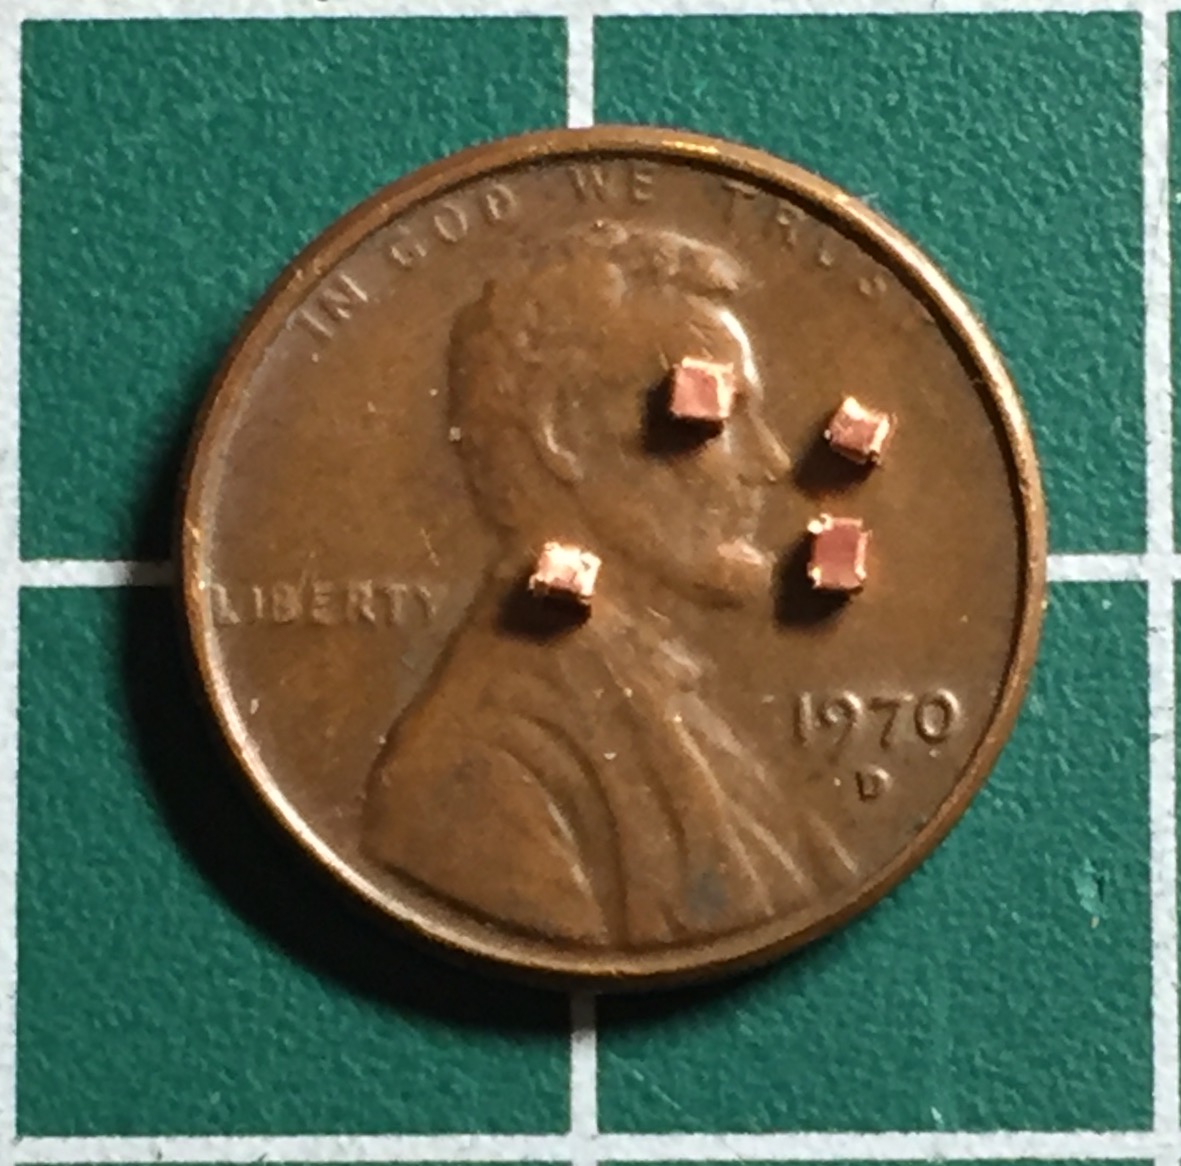
Then my brain caught up with my enthusiasm. These buckles (y’know…real buckles) don’t have to brass, plastic will work just as well. The little brass bits got tossed.
However, the buckle (y’know…oh…never mind) is only half of the mechanism that makes a buckle work. There’s the tab that the buckle grabs. Those had to be made too.
This is the process I used to make all of these harness parts from the shim stock…
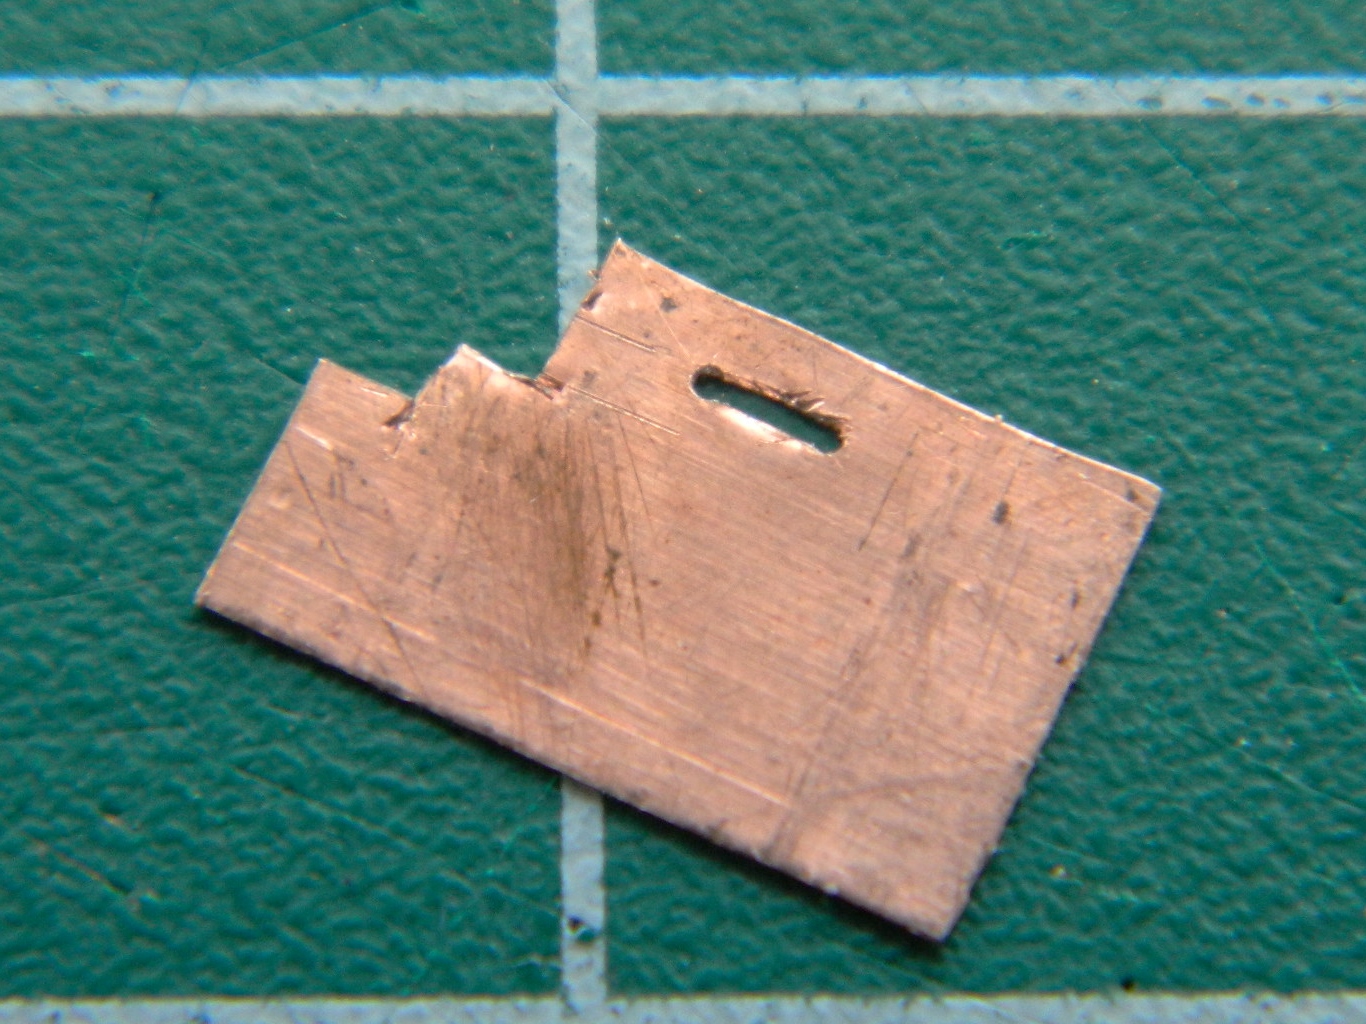
The first step is to drill two holes of the required diameter (.018″ (.457mm) in this case) and then cut away the material between the holes leaving a slot:
Then the sides are trimmed to dimension (I used the chisel blade):
The business end of the part is the tab that slides into the buckle. I started by cutting the shoulders of it before doing its width:


At this point I noticed that the stress of the knife blade deformed the copper causing the tab end to pull away from the slot. I used tweezers to move it back as much as I could:
Now the outside of the part needs to be trimmed to dimension:

One TINY trim more:

To round the edges, I grabbed the part firmly in tweezers and used fresh 600 grit sandpaper:

Before (on the left side) and after (on the right side):

I’ve found an interesting thing regarding my work. It’s common for me to have to make more than one part. So I make the first one and it comes out fine. Then I go to make the next one. It RARELY comes out well:

But I do persevere…

So now I have two seat “kits.” I can’t assemble them before painting the parts. But excepting two small details to be added, they’re now done:

