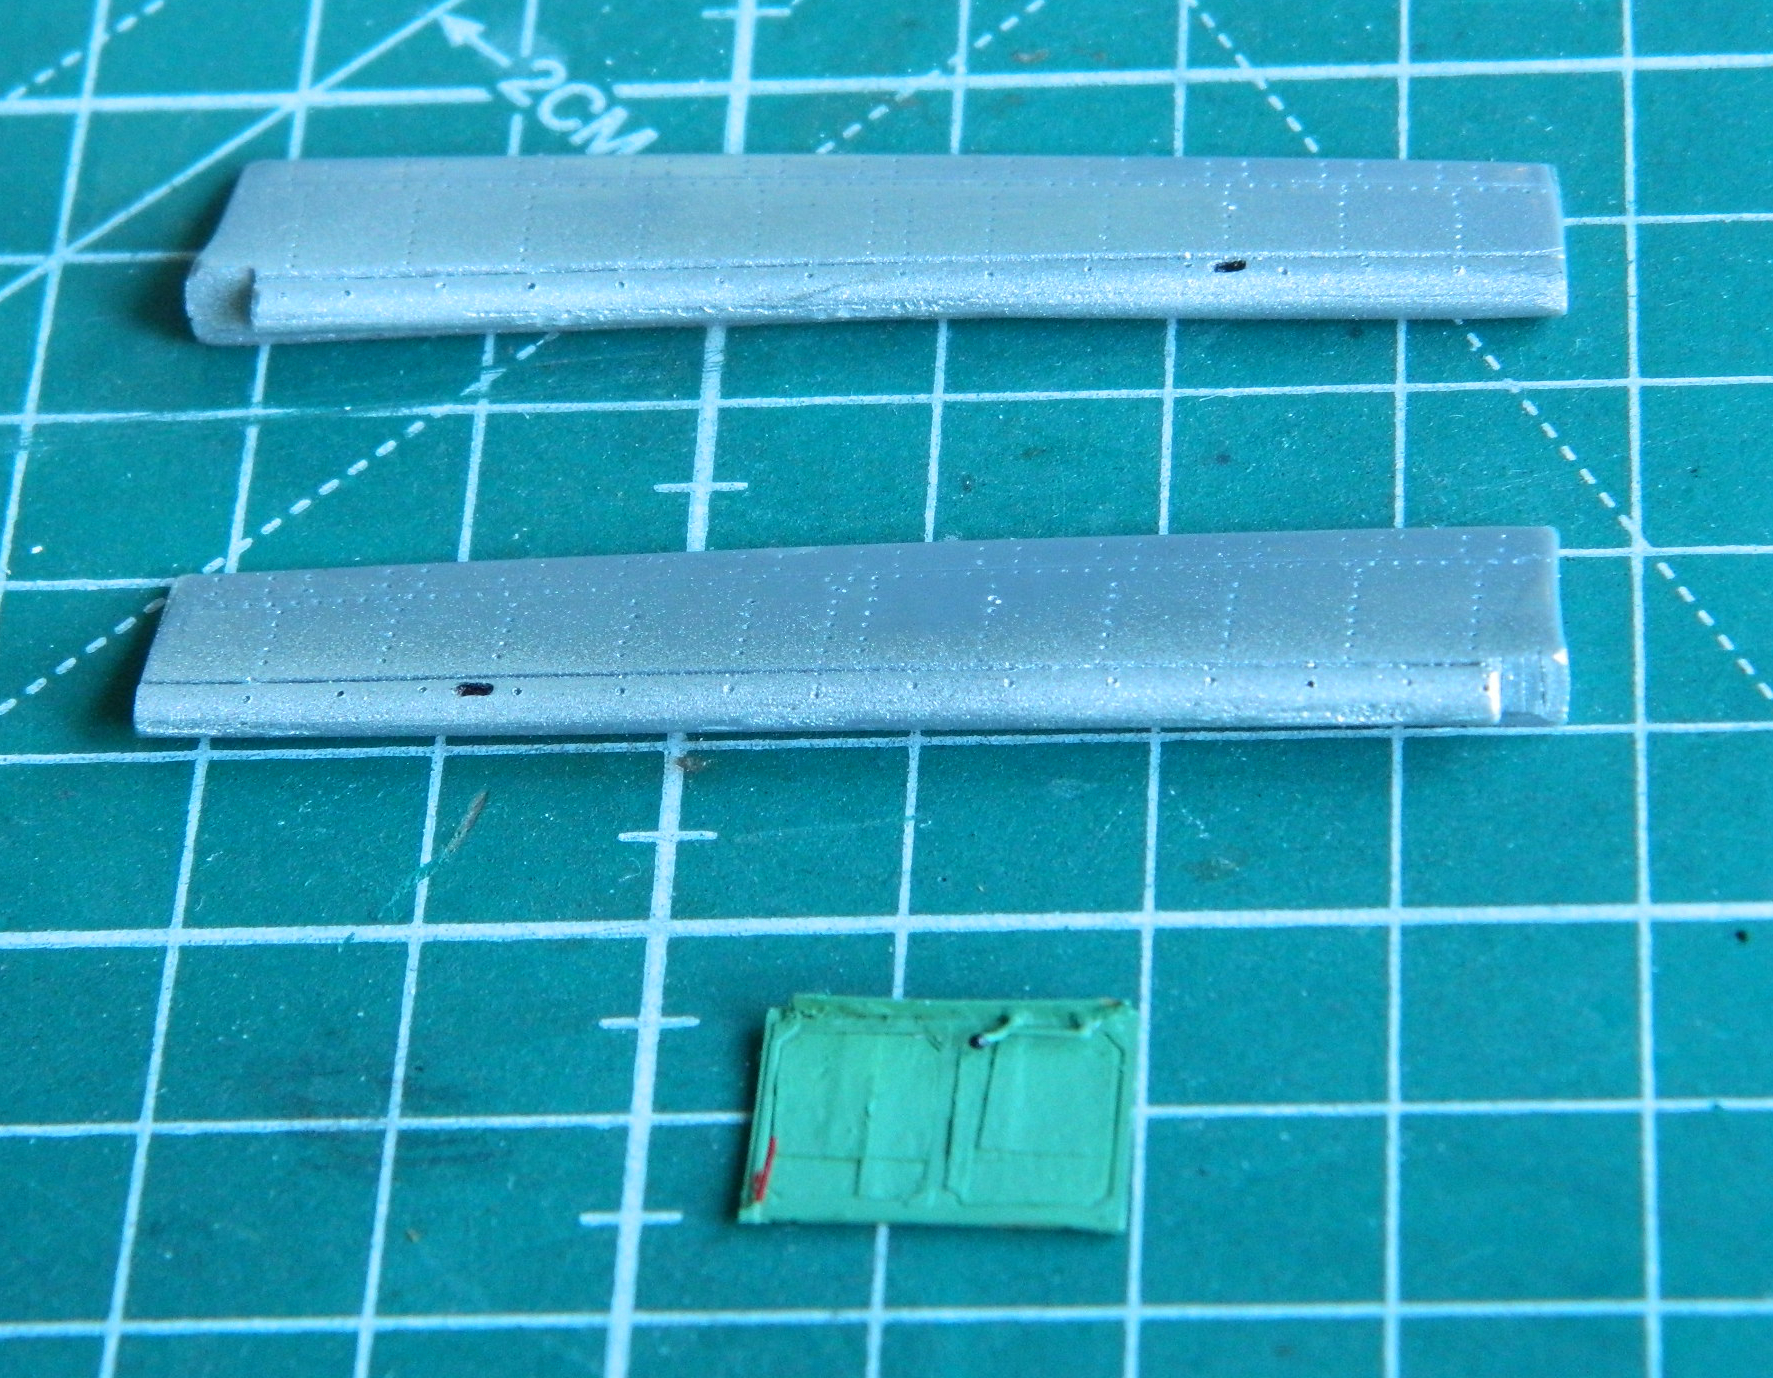
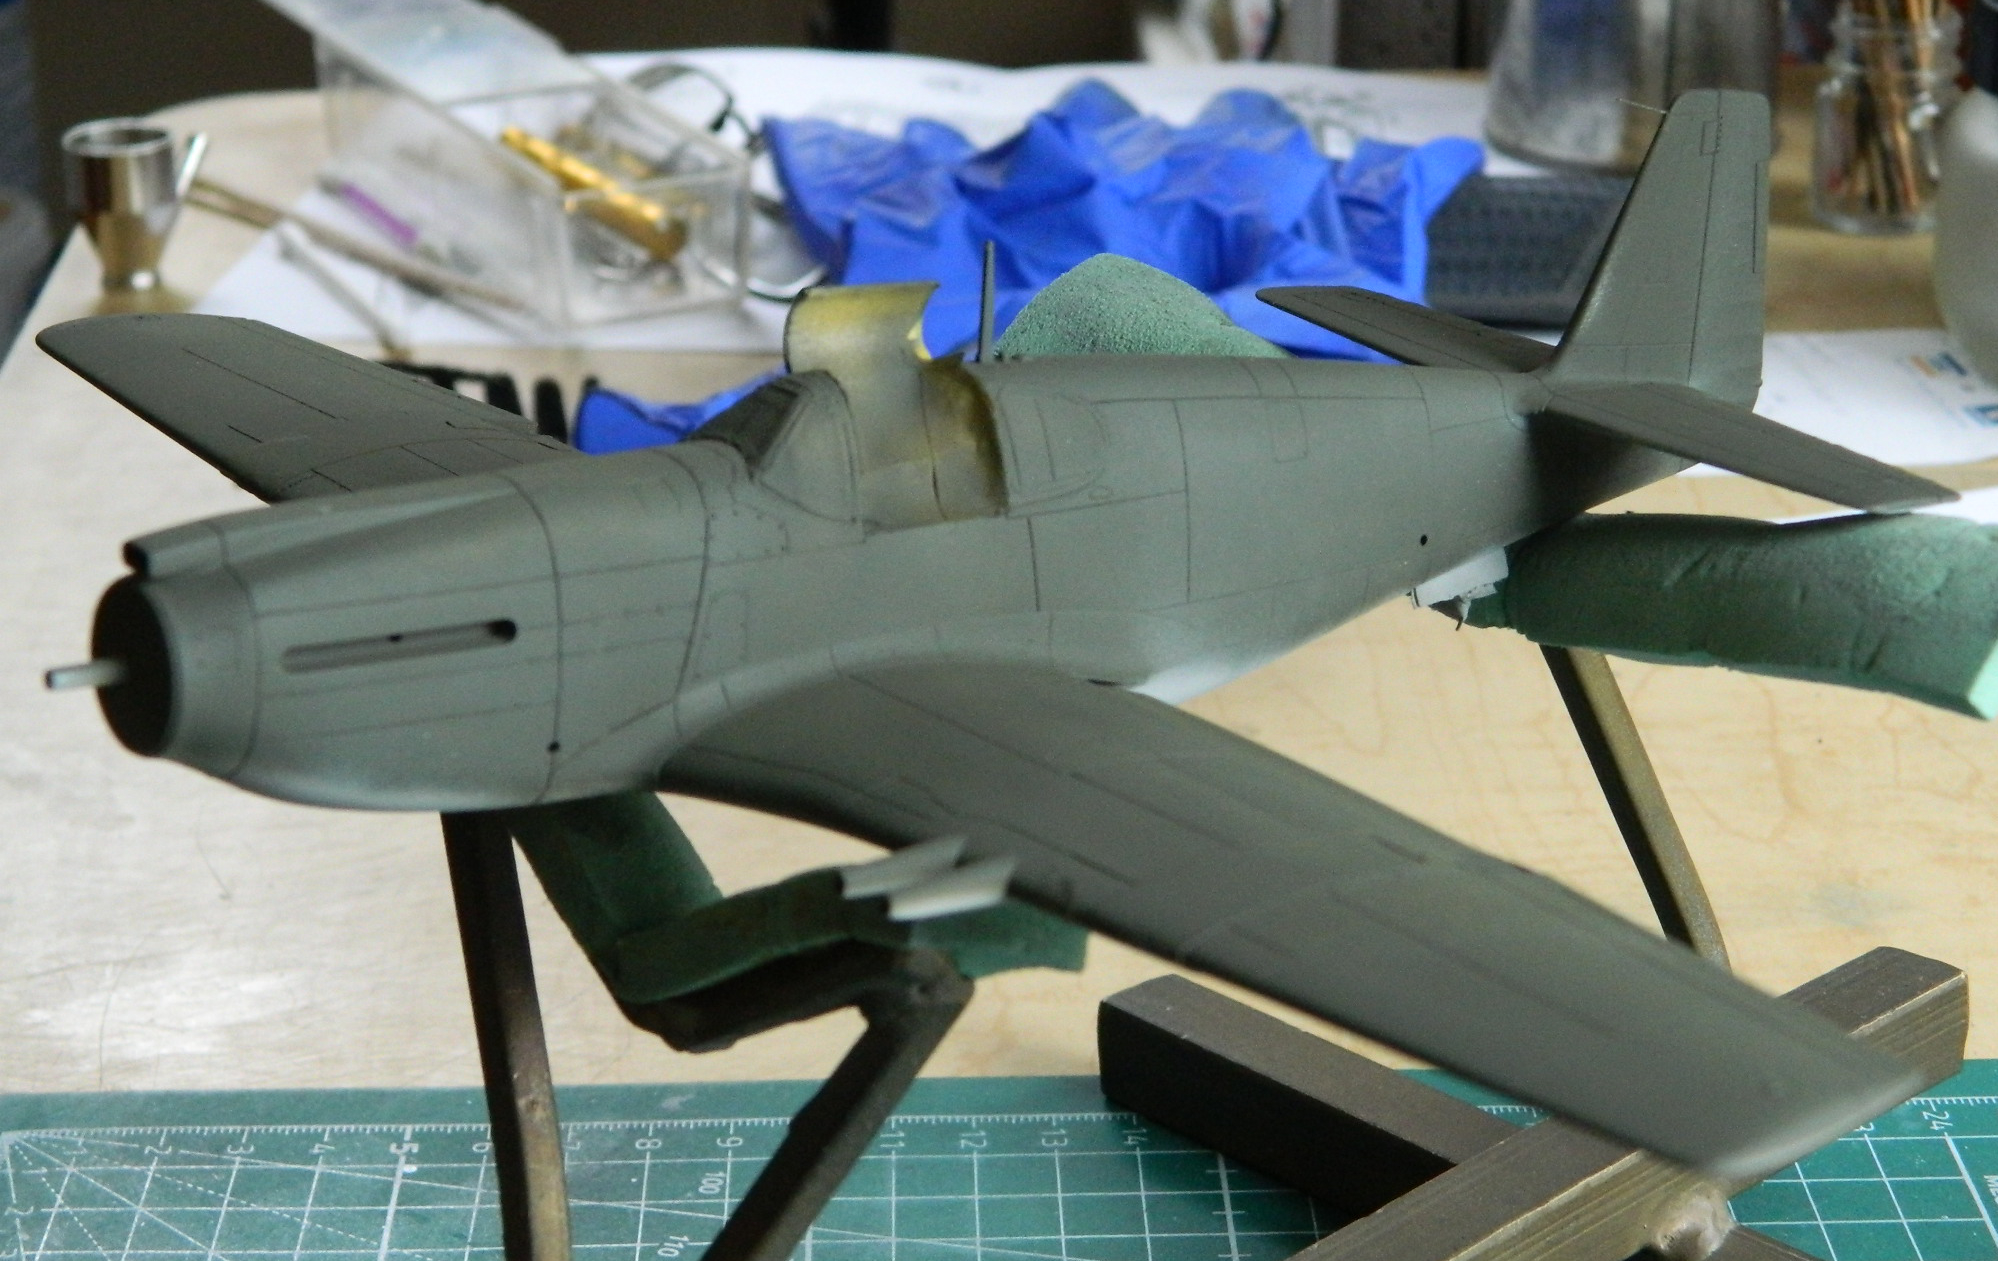
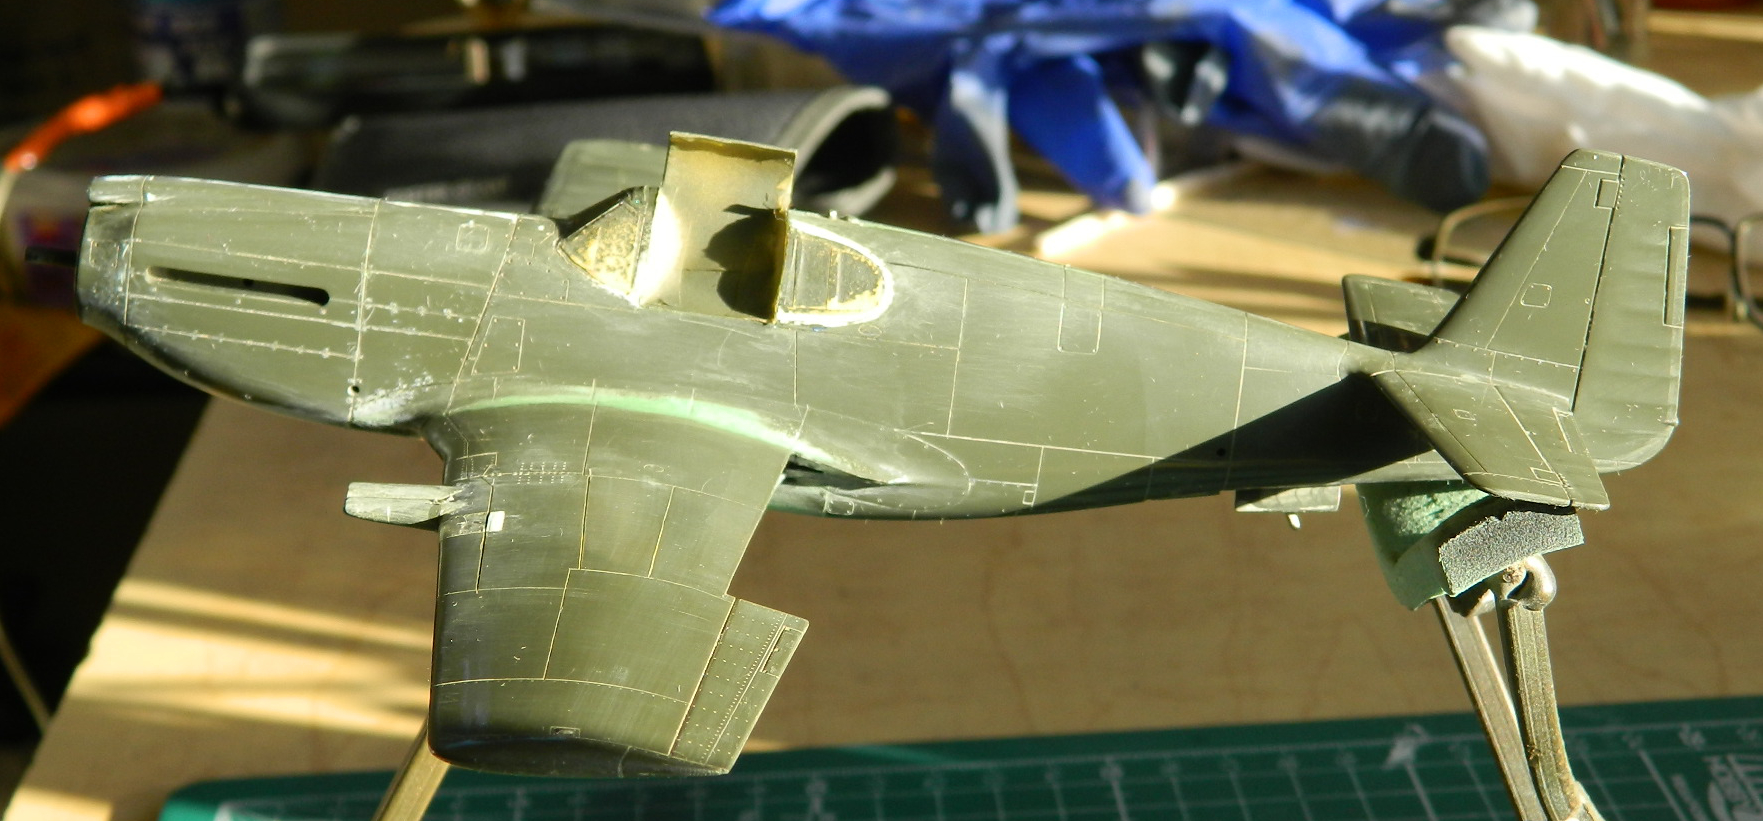
Getting ready to paint things is what is driving the build at this point. I needed to add fasteners that had been knocked off during handling and once that was accomplished, I protected the fragile resin decals with a coat of Tamiya XF-28 Medium Gray (15 parts) and Tamiya XF-2 Matte White (2 parts):

Everything I’d already painted was masked off so that finish colors could be laid down:

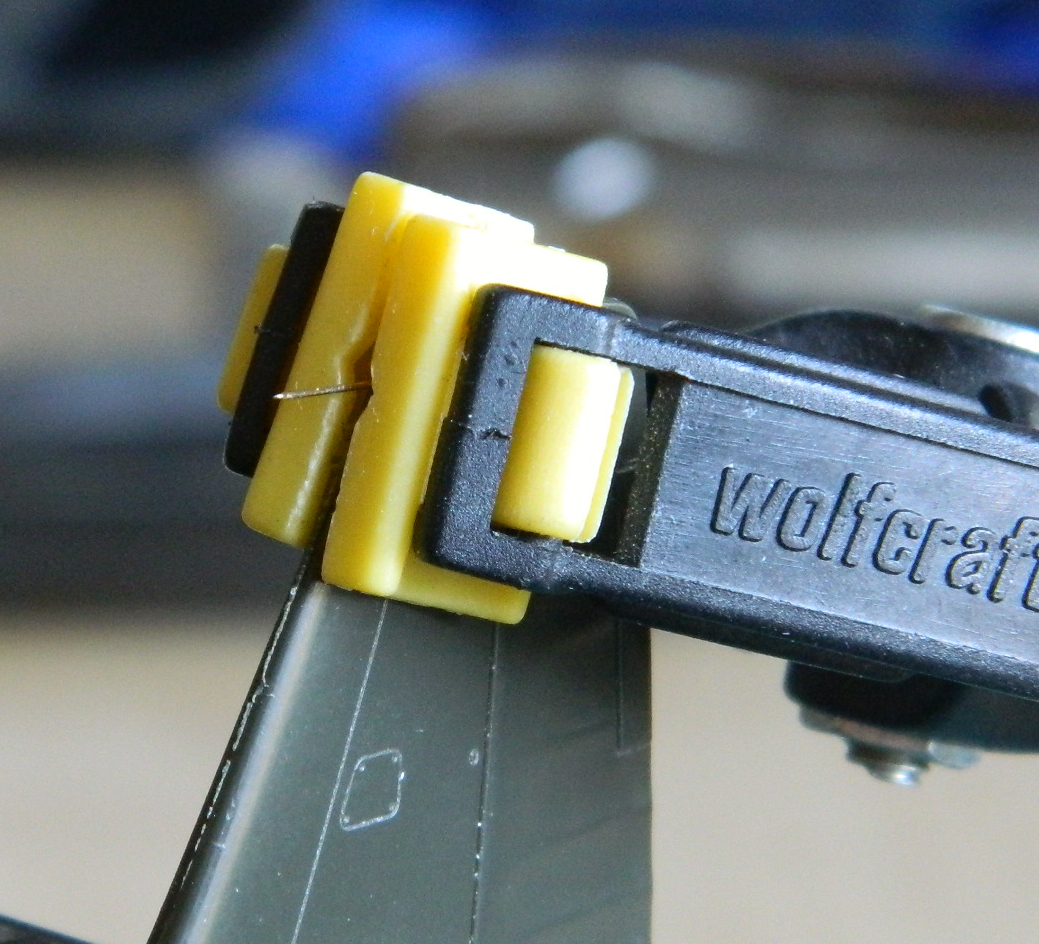
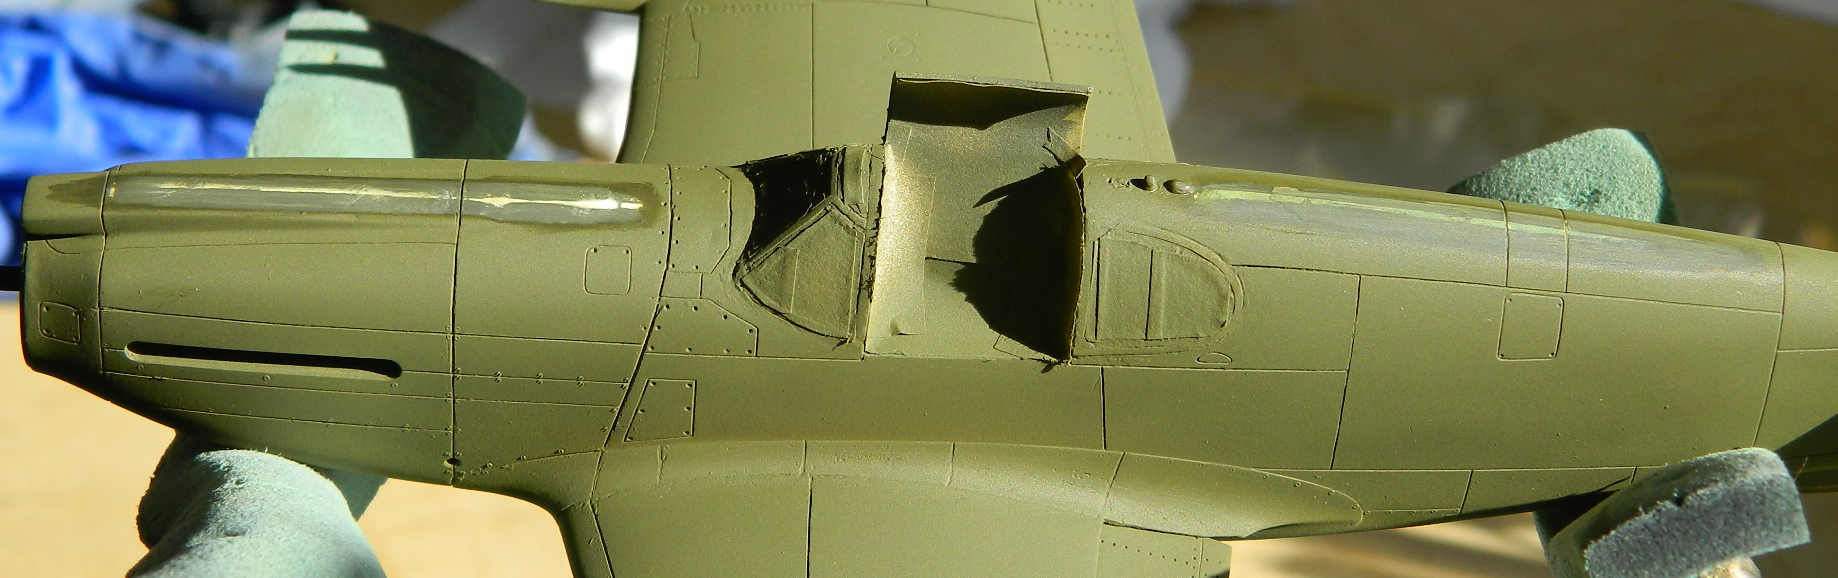
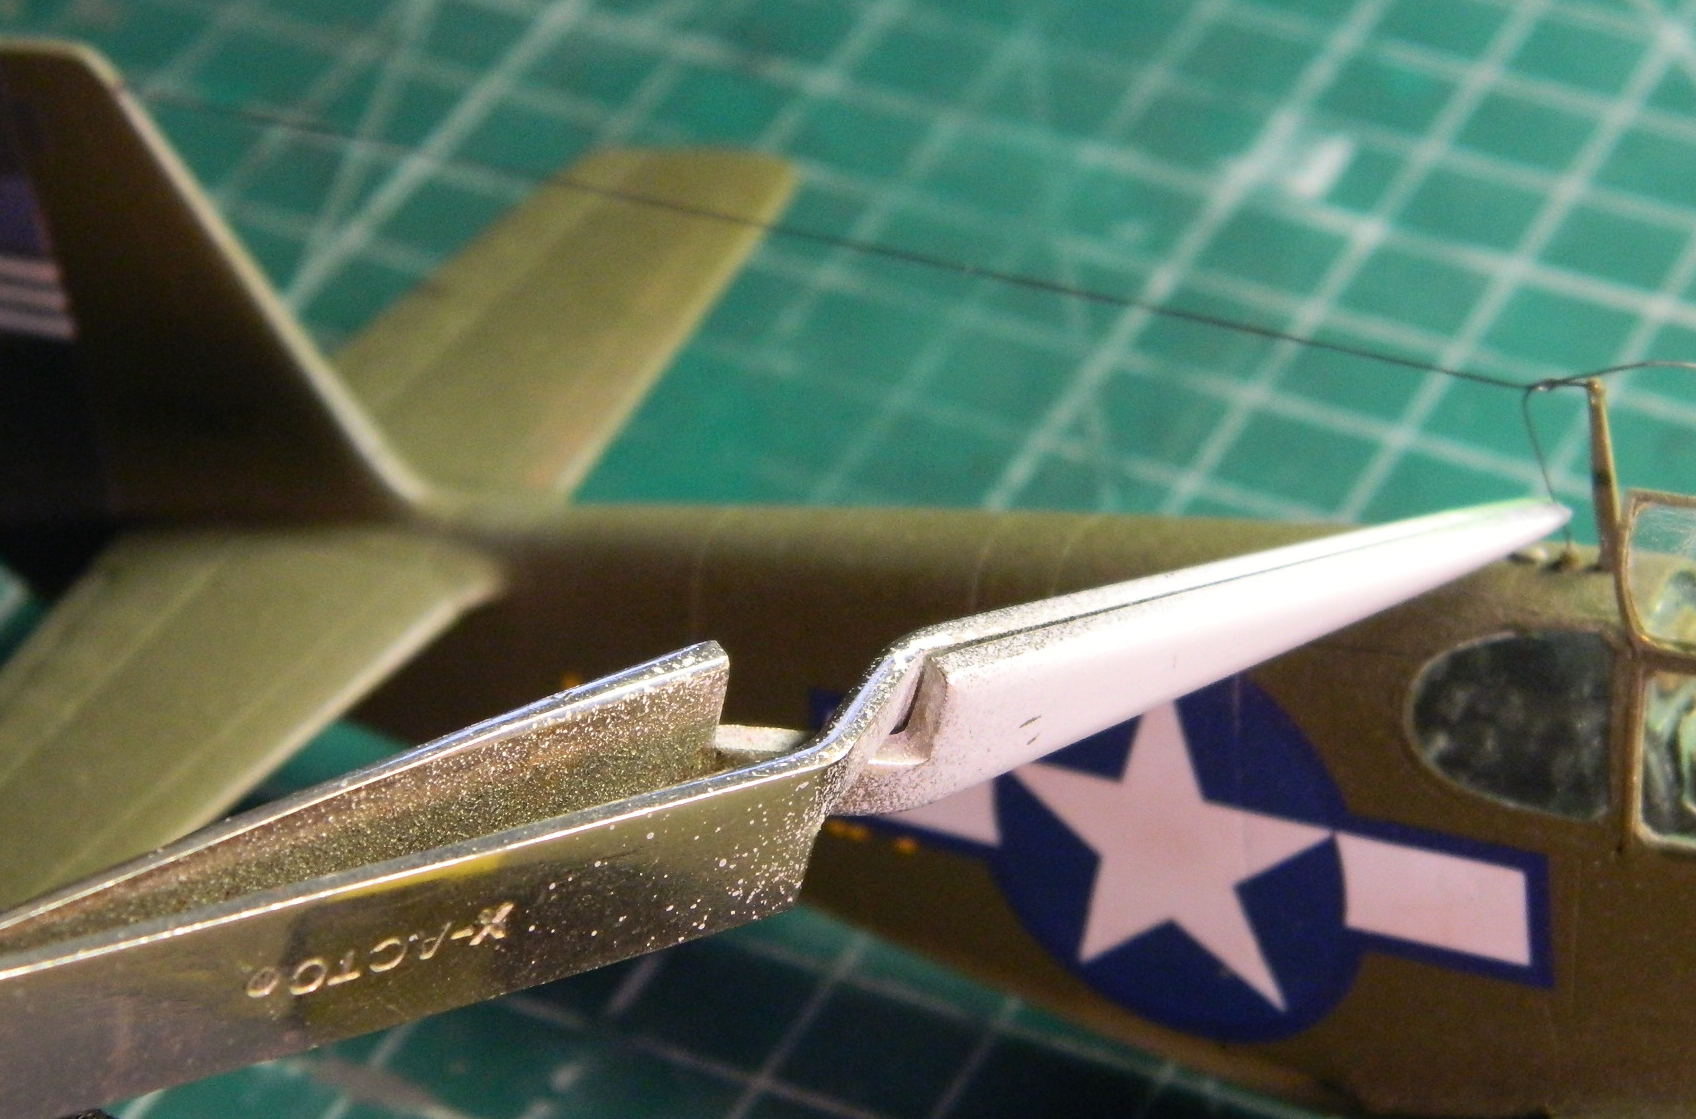
My usual method of doing antenna wires has been the classic stretched sprue “fun.” Time marches on (quoth the old fart in the mirror who is really surprised at the “old” part of that) and technology evolves. Rather than take the stretched sprue path (which isn’t really all that smooth and hassle free in general, and often very annoying in specific), I had a roll of EZ Line delivered (“fine,” .02″ (.508mm) black). I needed to drill out the tip of the antenna mast and vertical stabilizer to accept the line. In doing so, I discovered that the front upper half of the leading edge and about half the top of the vertical stabilizer hadn’t been glued! Easily fixed, and I added a small piece of stainless steel wire to keep the opening to socket the EZ Line into:
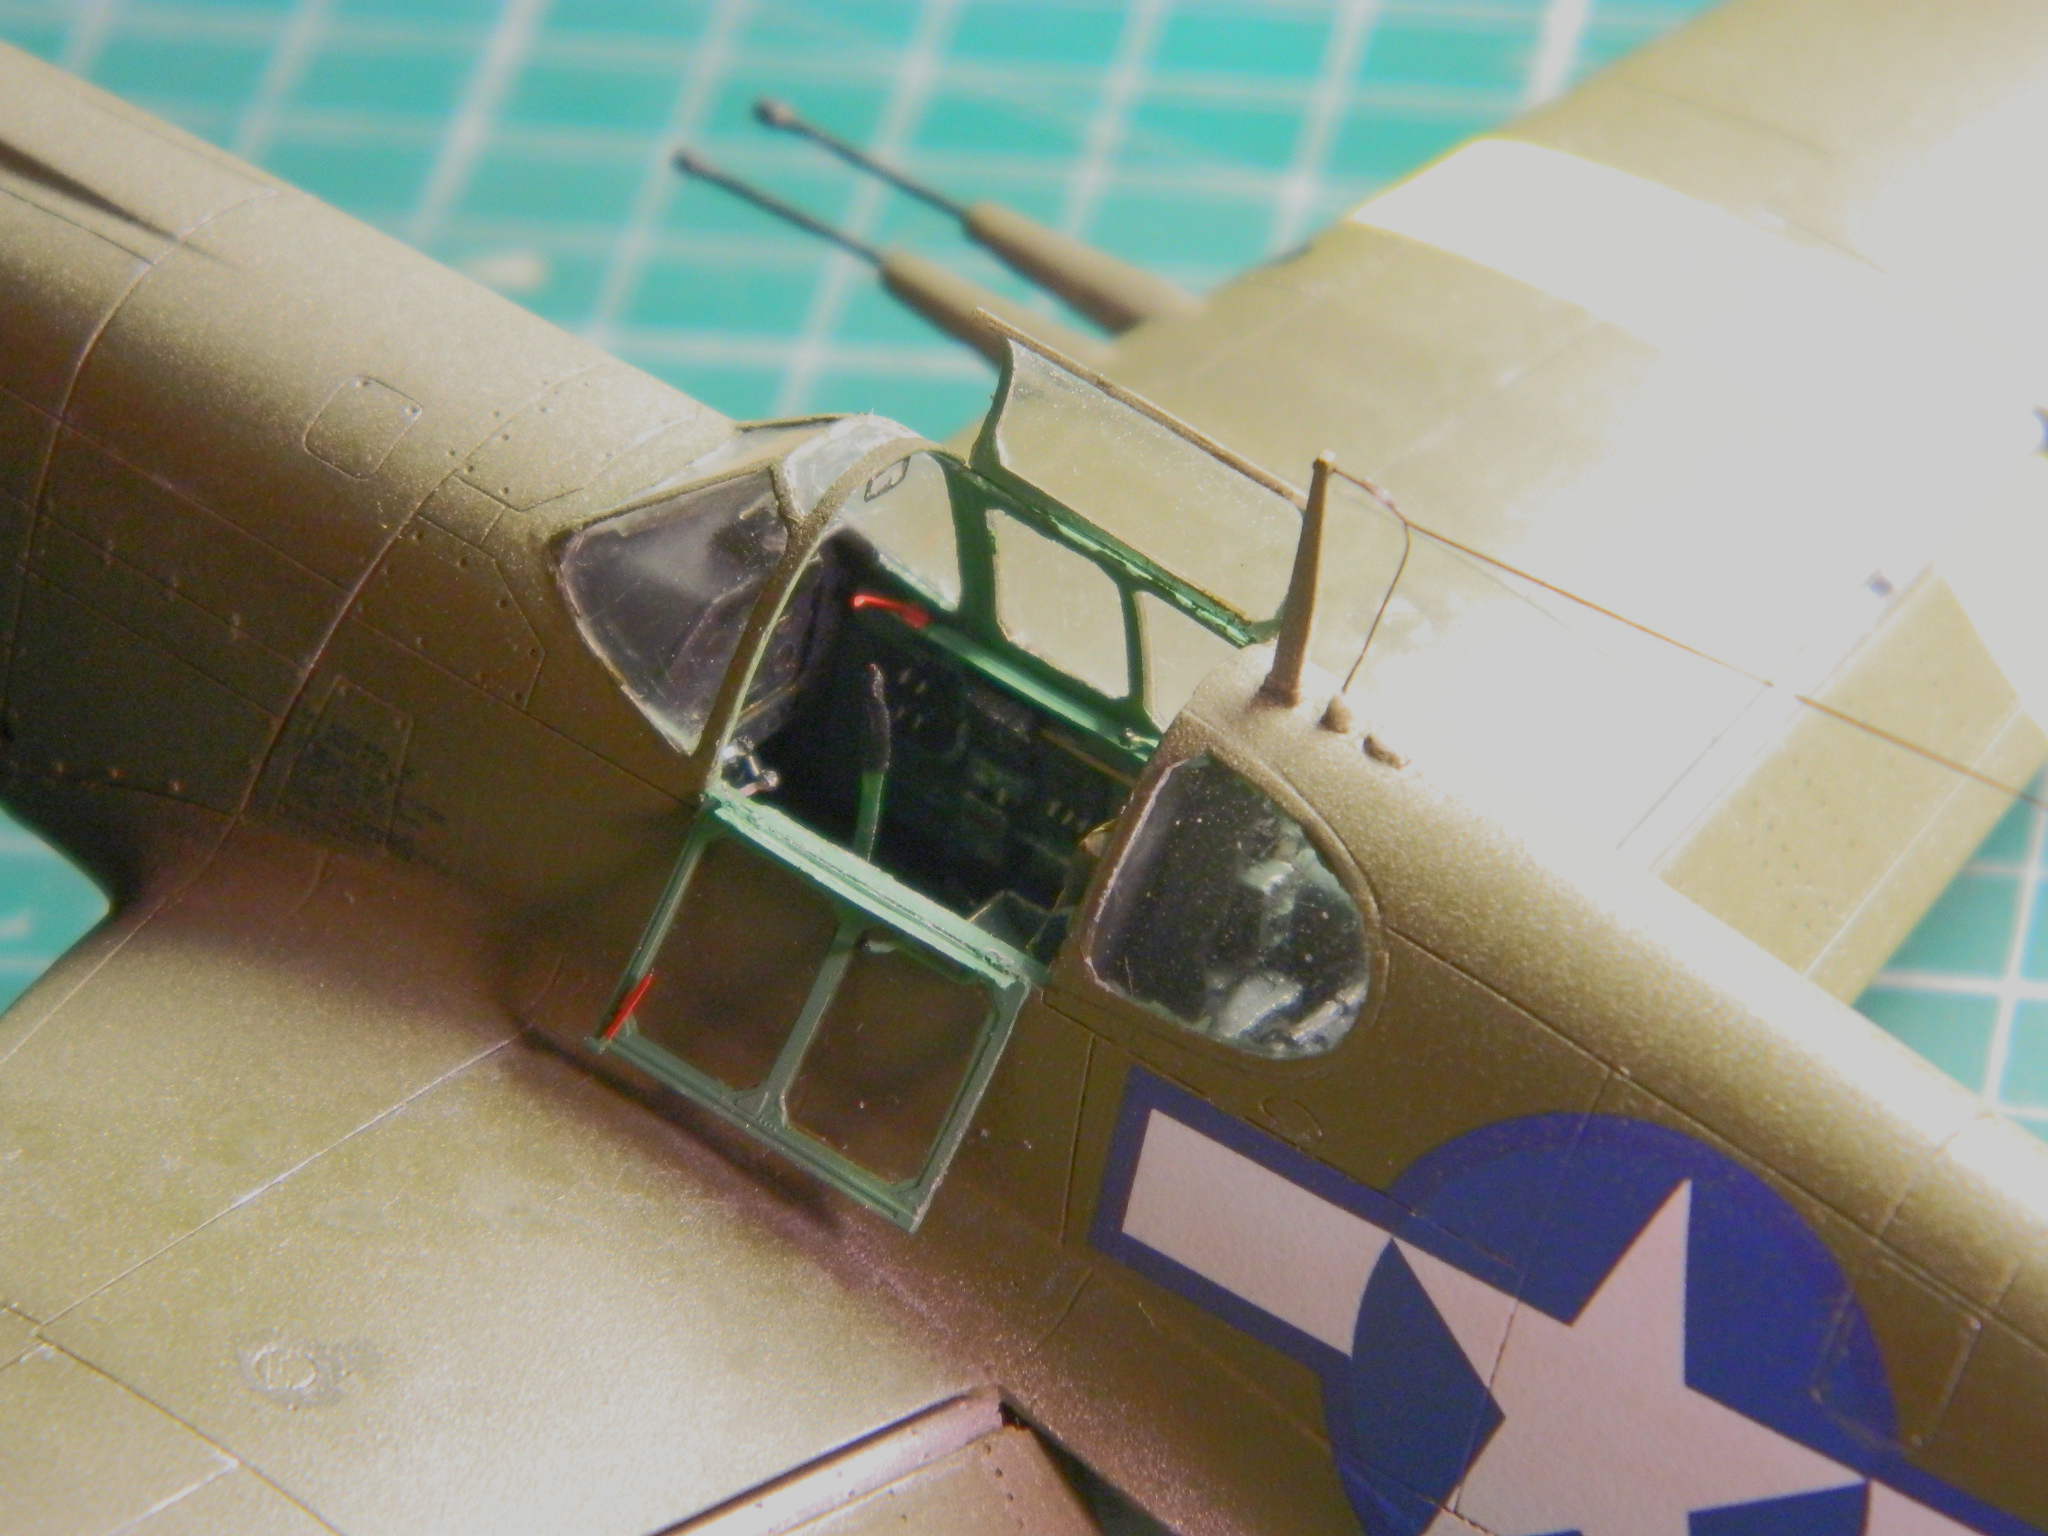
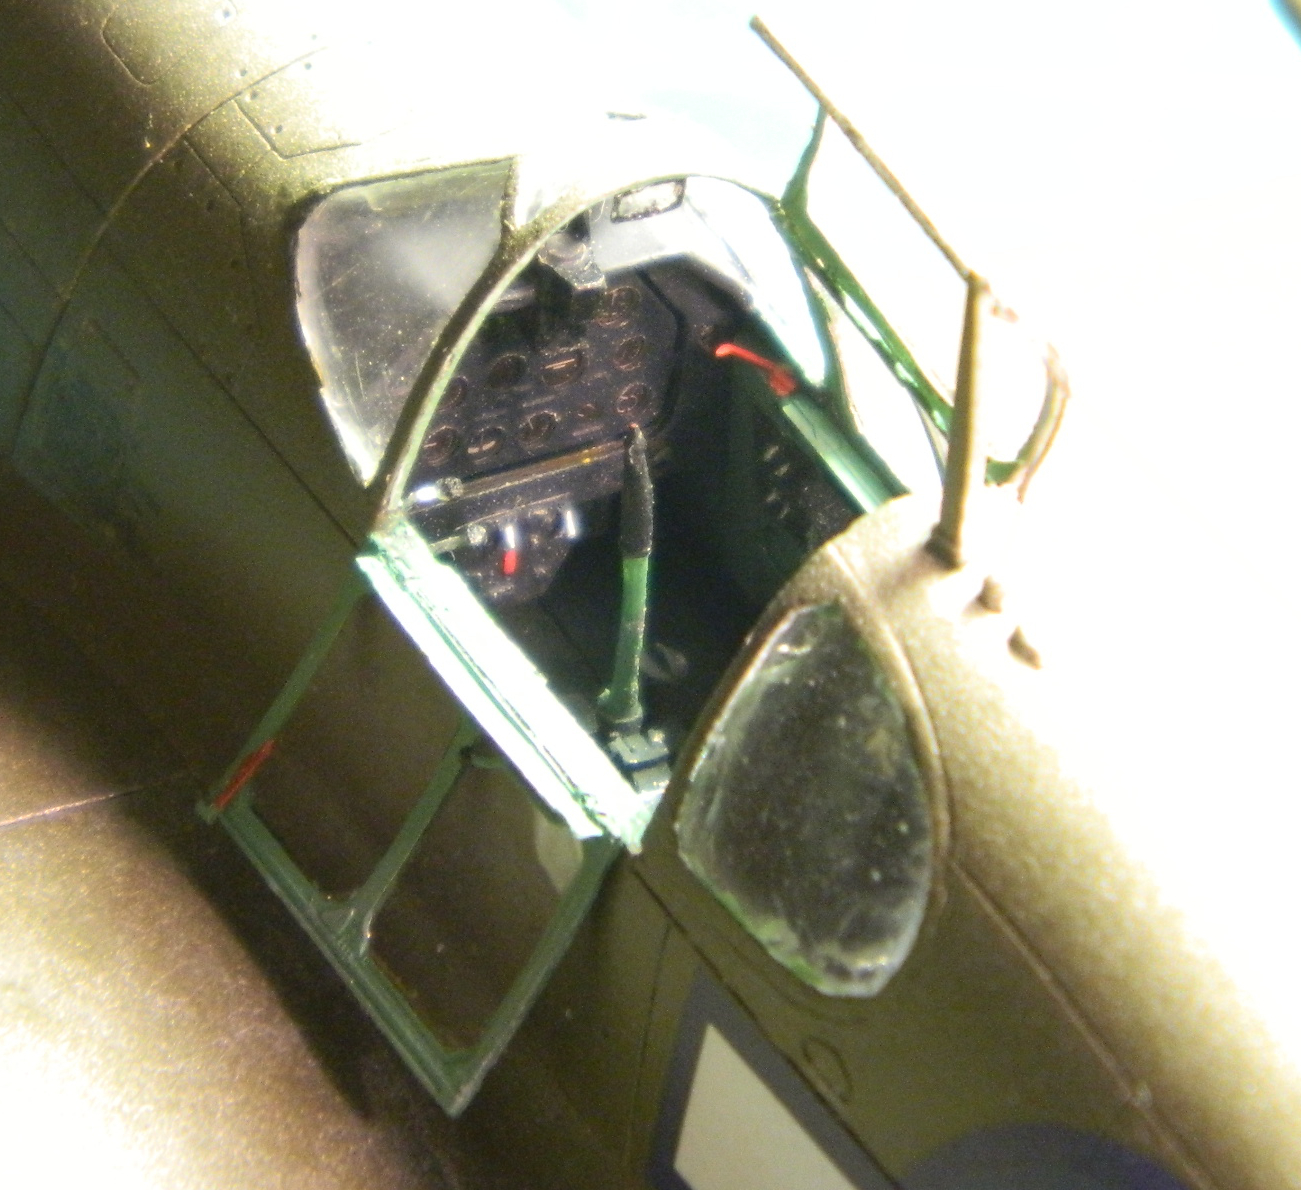
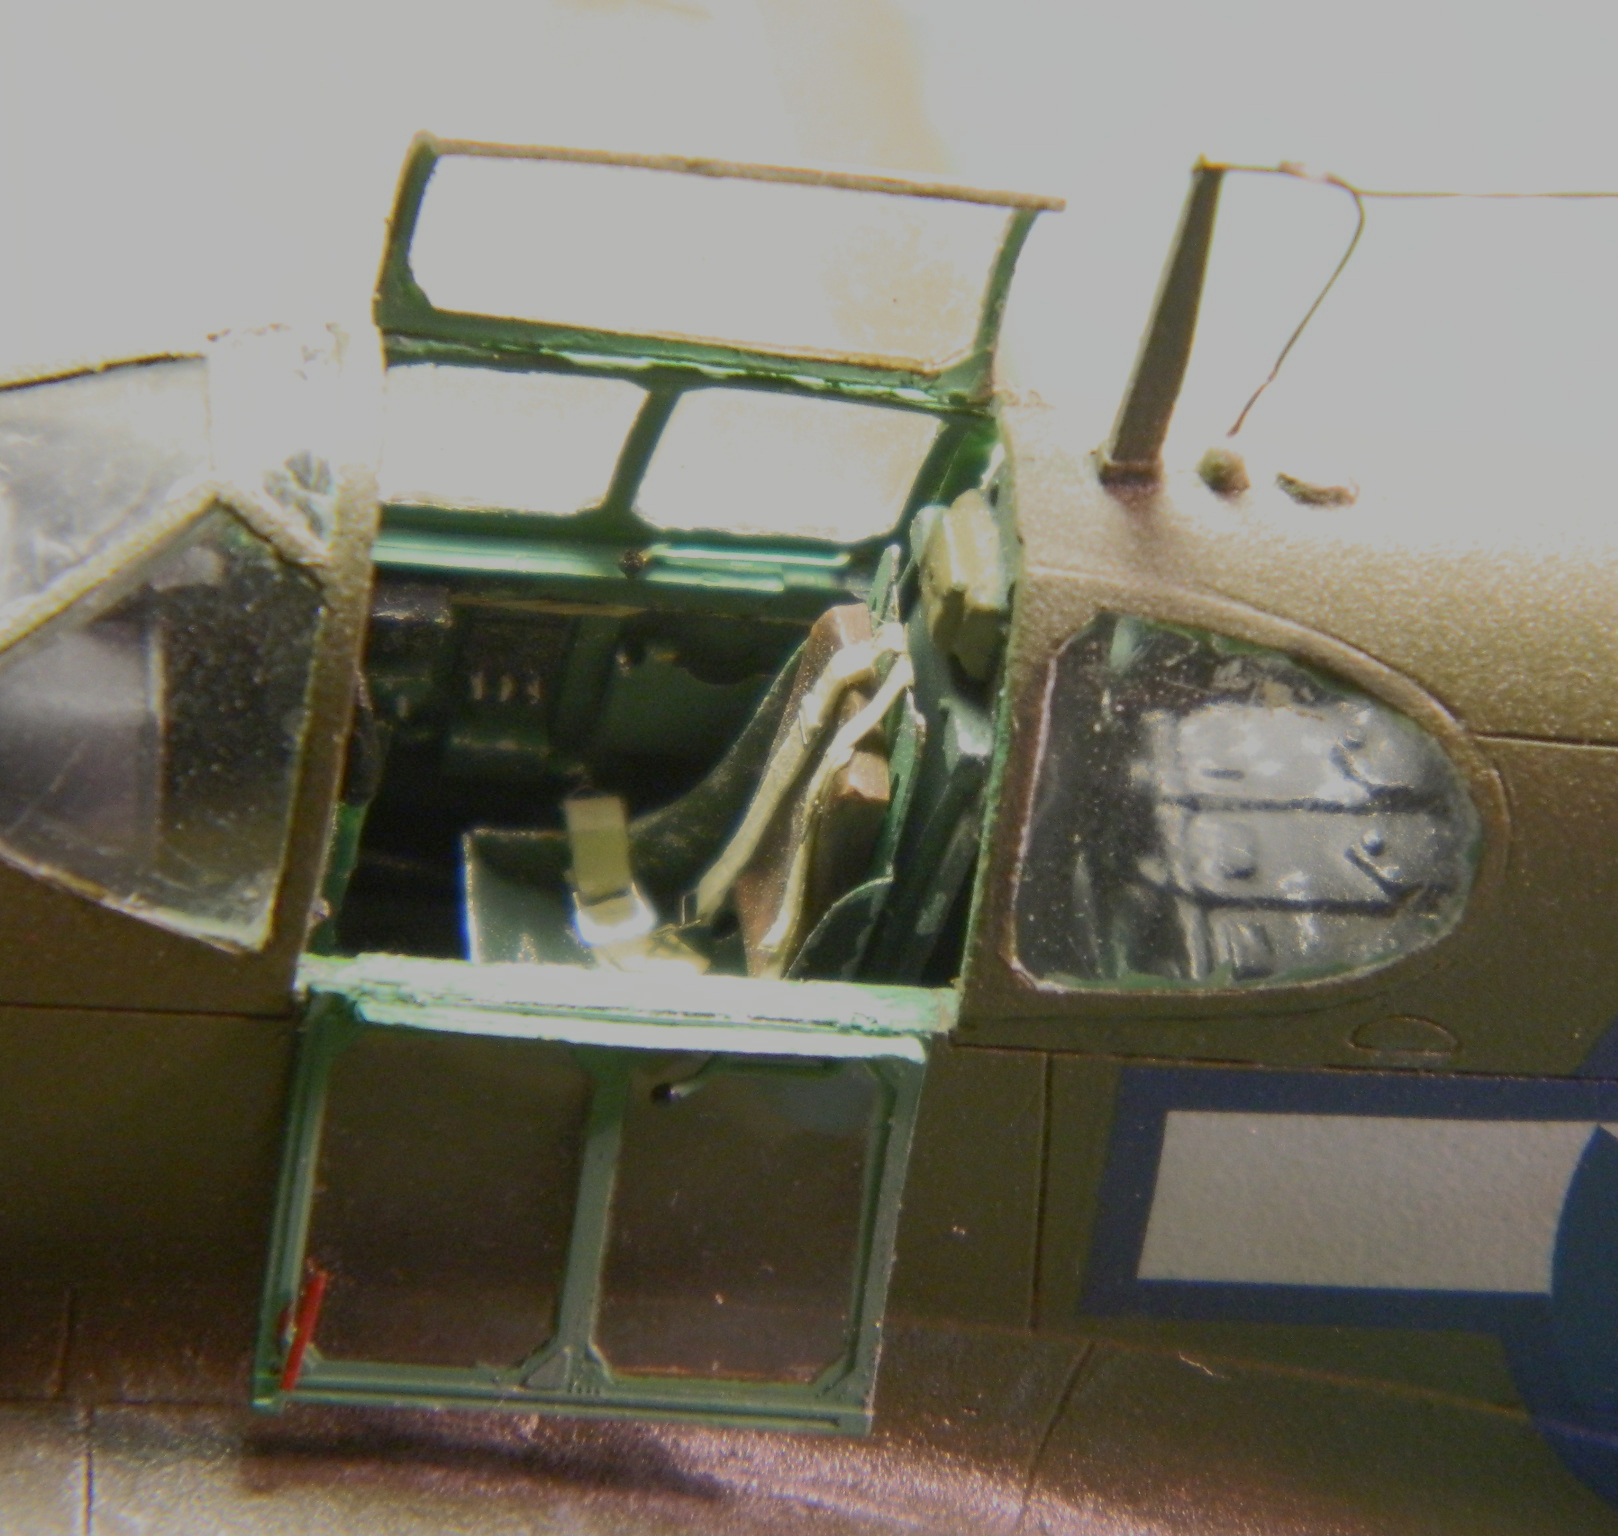
The leading edge of the flaps where they rotate into the wings is unpainted aluminum. Since I’m dealing with a resin part, that area was painted Tamiya XF-16 Flat Aluminum. I’d also painted the interior framework of the drop-down left side of the canopy using a mix of Tamiya XF-71 IJN Cockpit Green (3 parts), X-5 Green (1 part) and XF-2 Flat White (1 part):
To prepare for wear and chipping, I put down a coat of XF-16 Flat Aluminum in the areas I thought would need it:
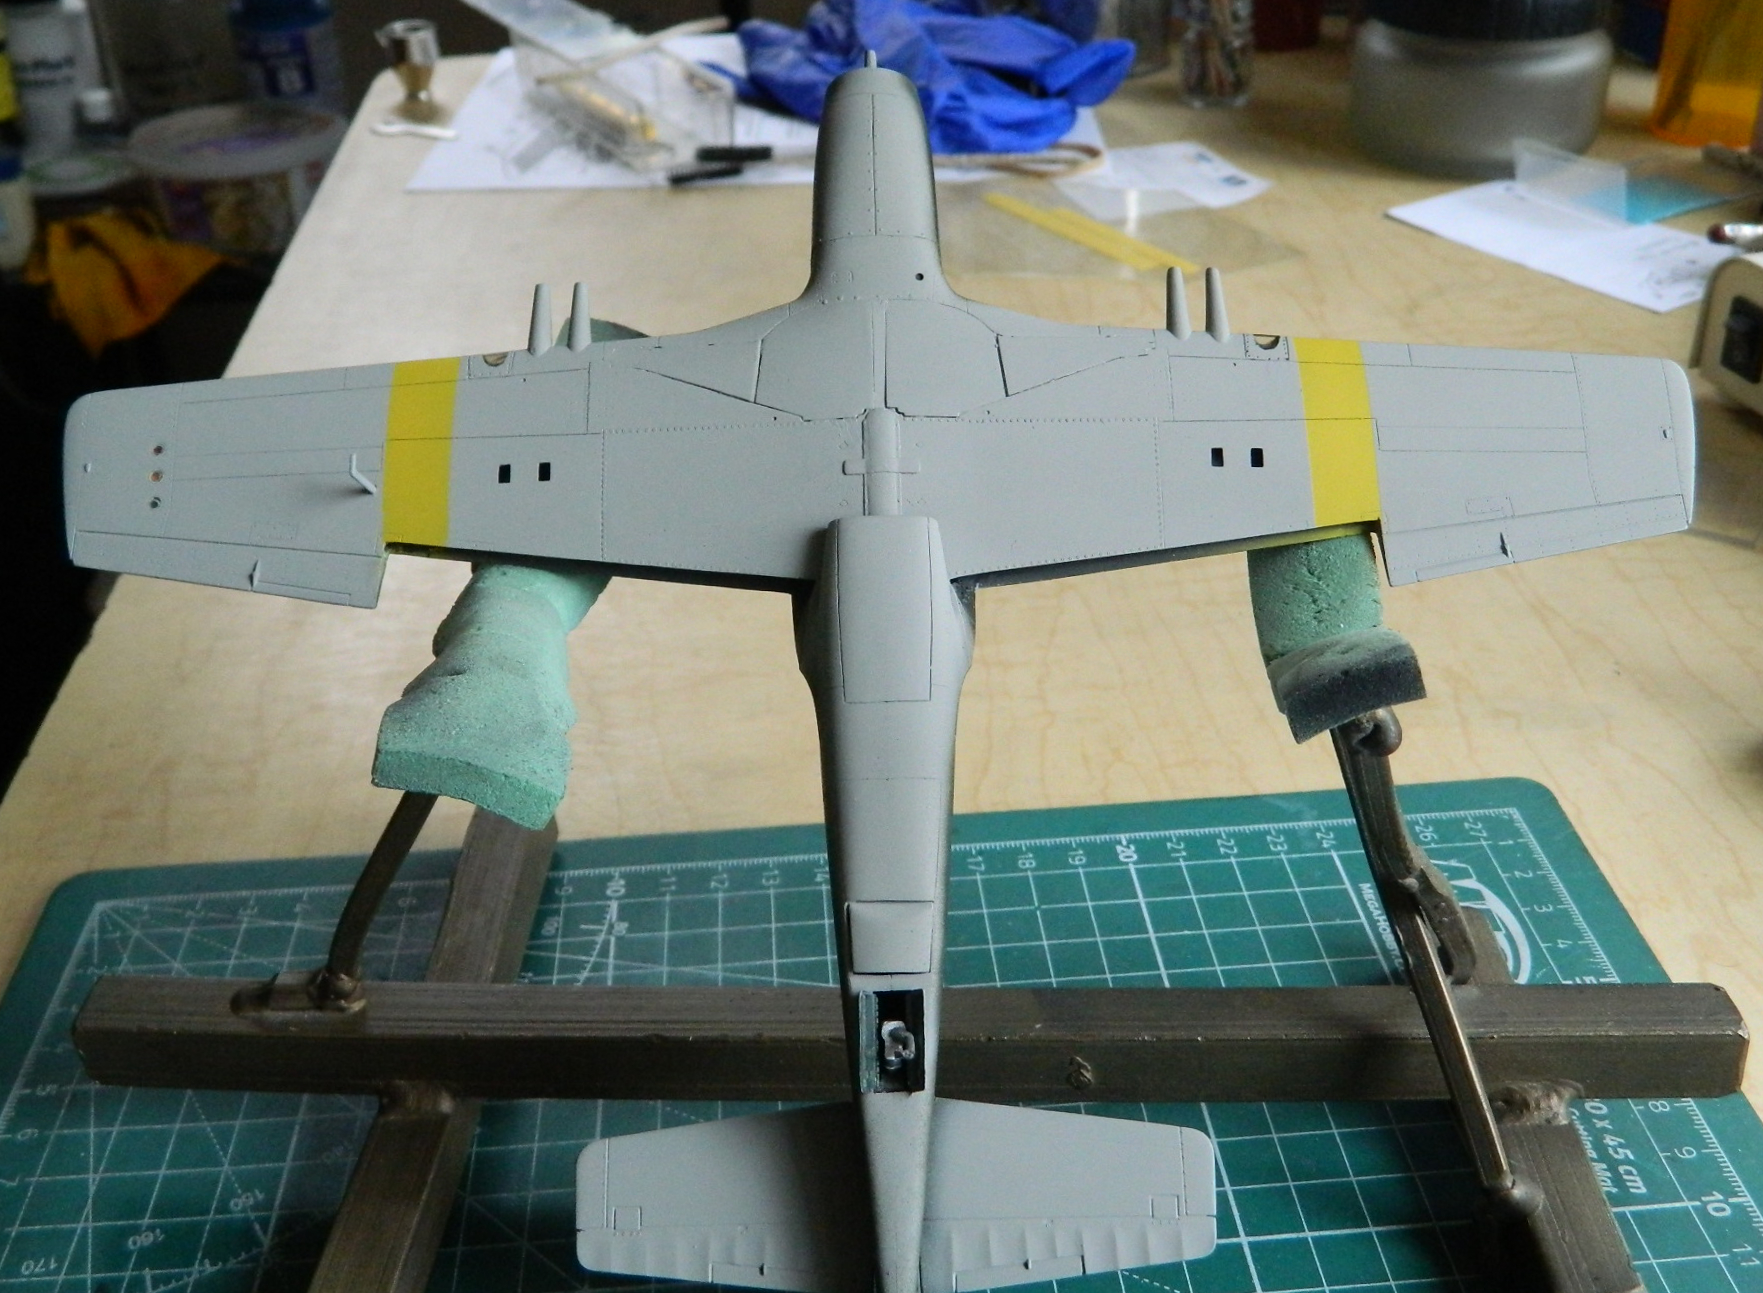
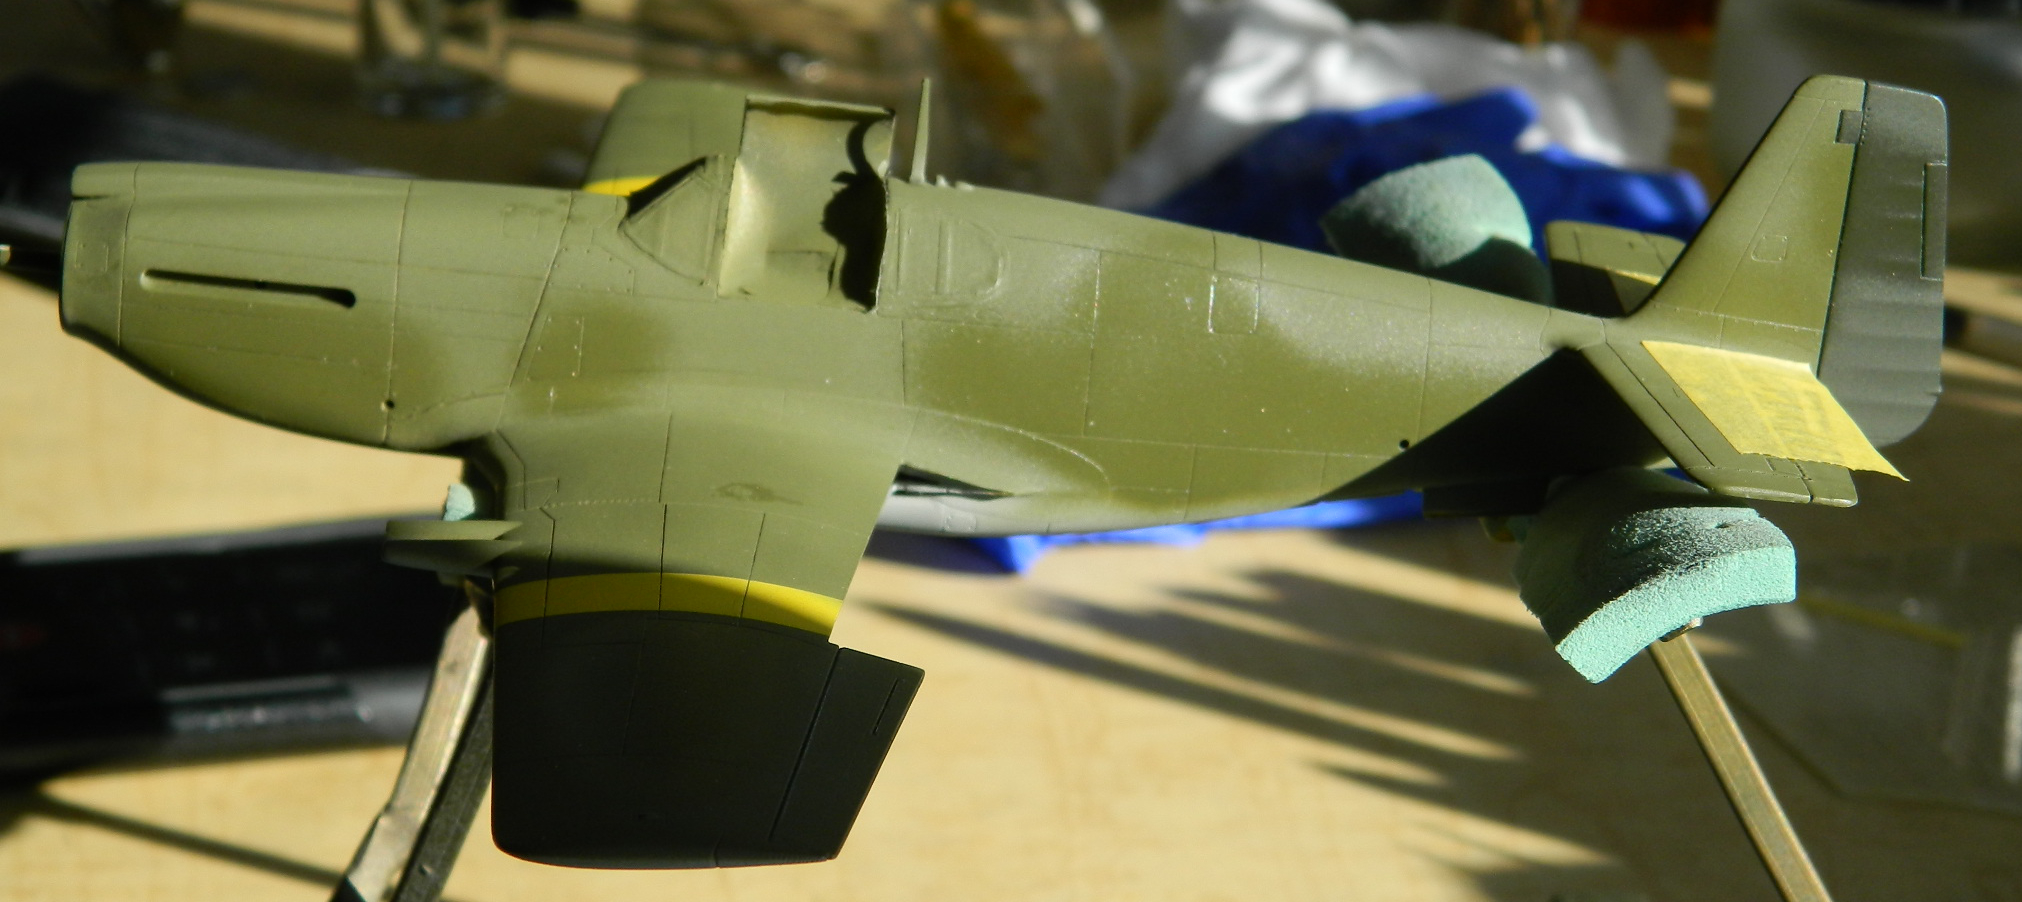
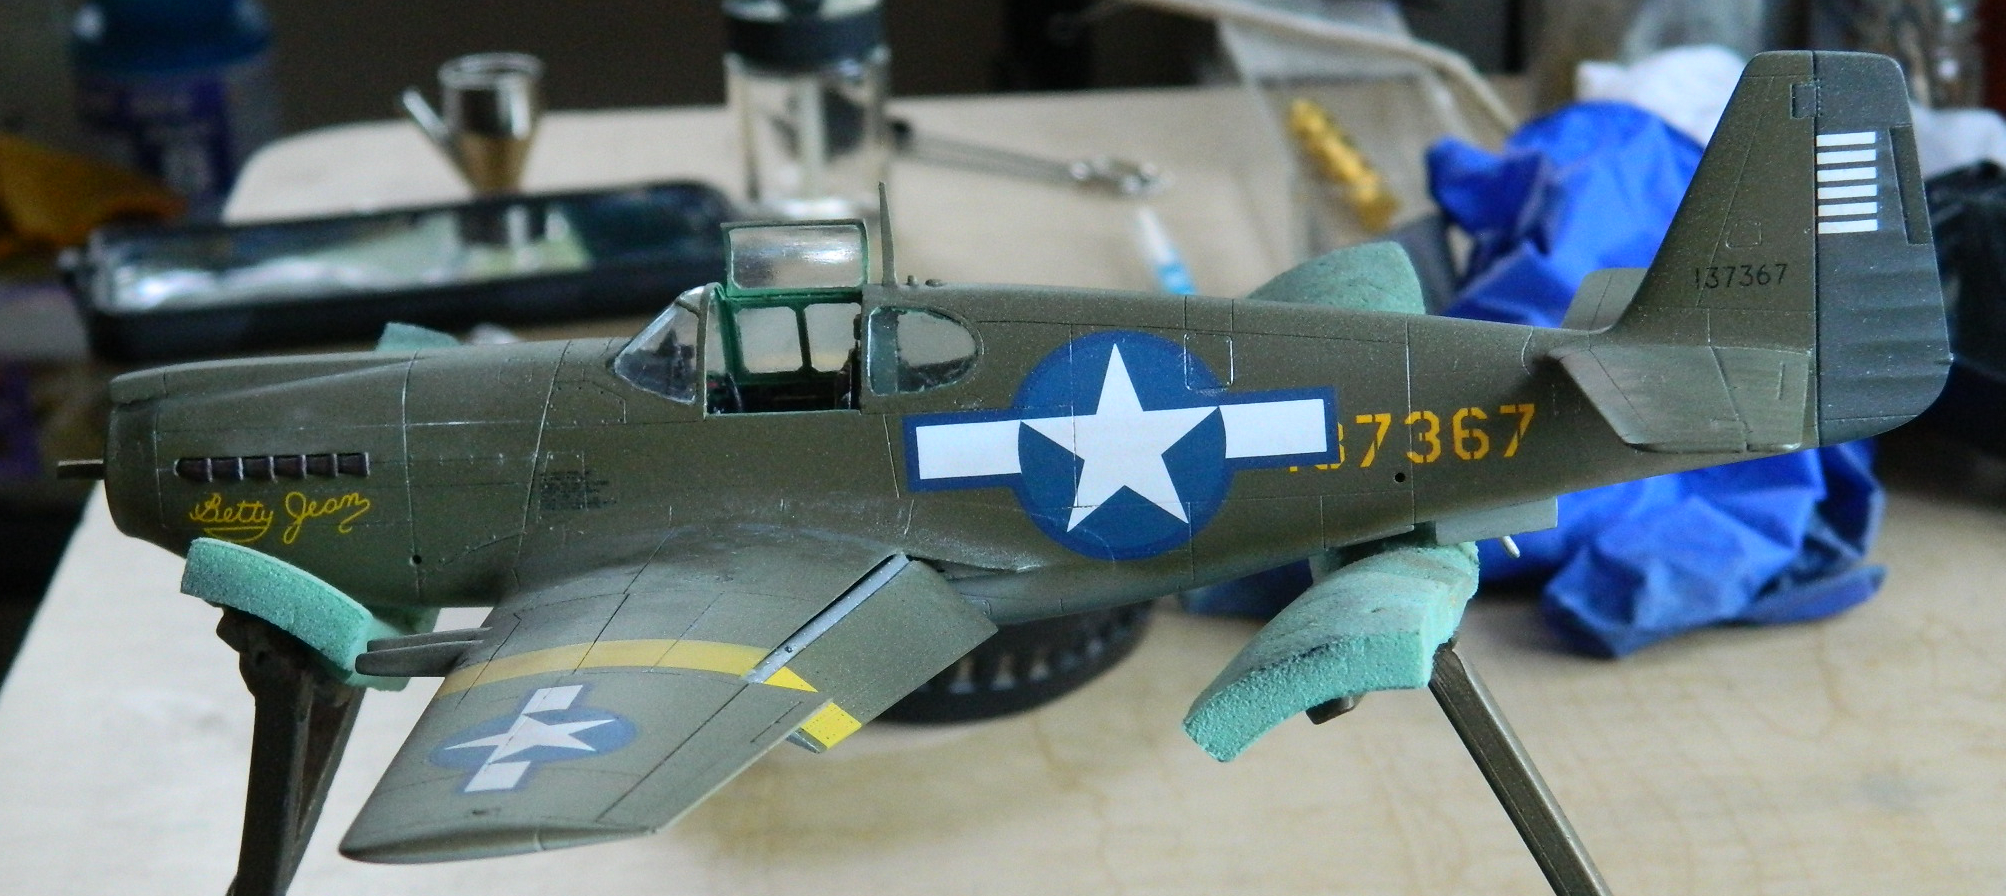
Part of the markings that the 154th Reconnaissance Squadron used starting when it was based in Tunisia in 1943 and continuing through its move to Anzio in 1944 were yellow bands on the upper and lower wing surfaces (I’m thinking that was to help differentiate it from the Bf-109 which, if you’re scared enough…and I certainly would have been…look much alike). The kit supplied decals for these bands; I decided to paint them on instead. Tamiya XF-3 Flat Yellow is (unlike myself) FAR too bright. I added one part of Tamiya XF-60 Dark Yellow to three parts of the Flat Yellow and ended up with something VERY close to the color of the decals. Once the paint set up overnight, I added the 18″ (4.572m) (scale, obviously) masking for the bands:

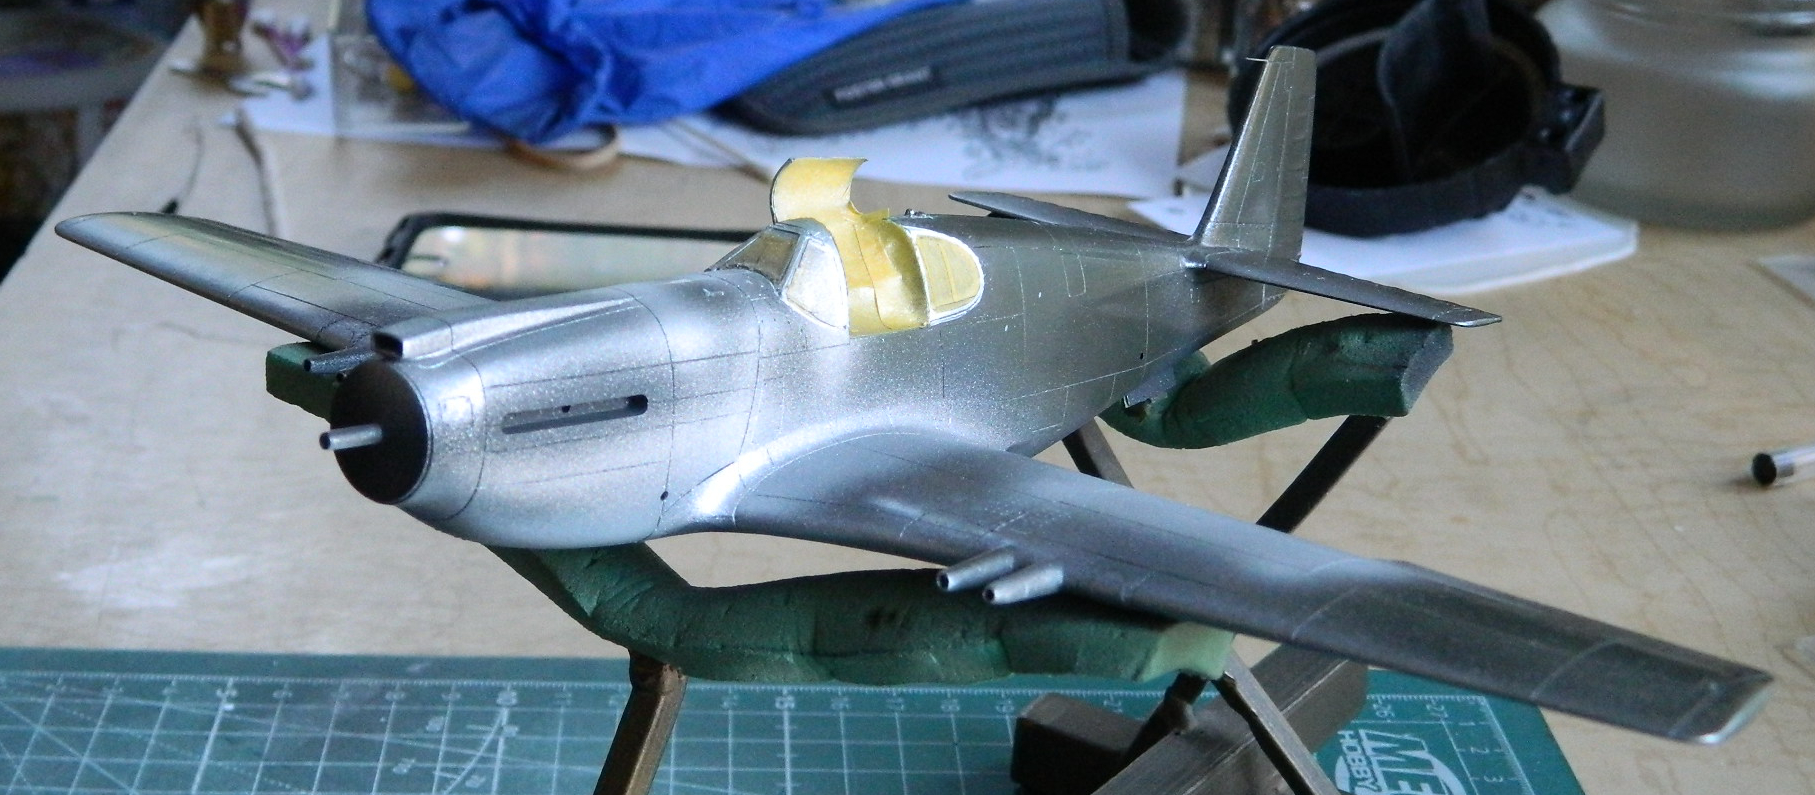
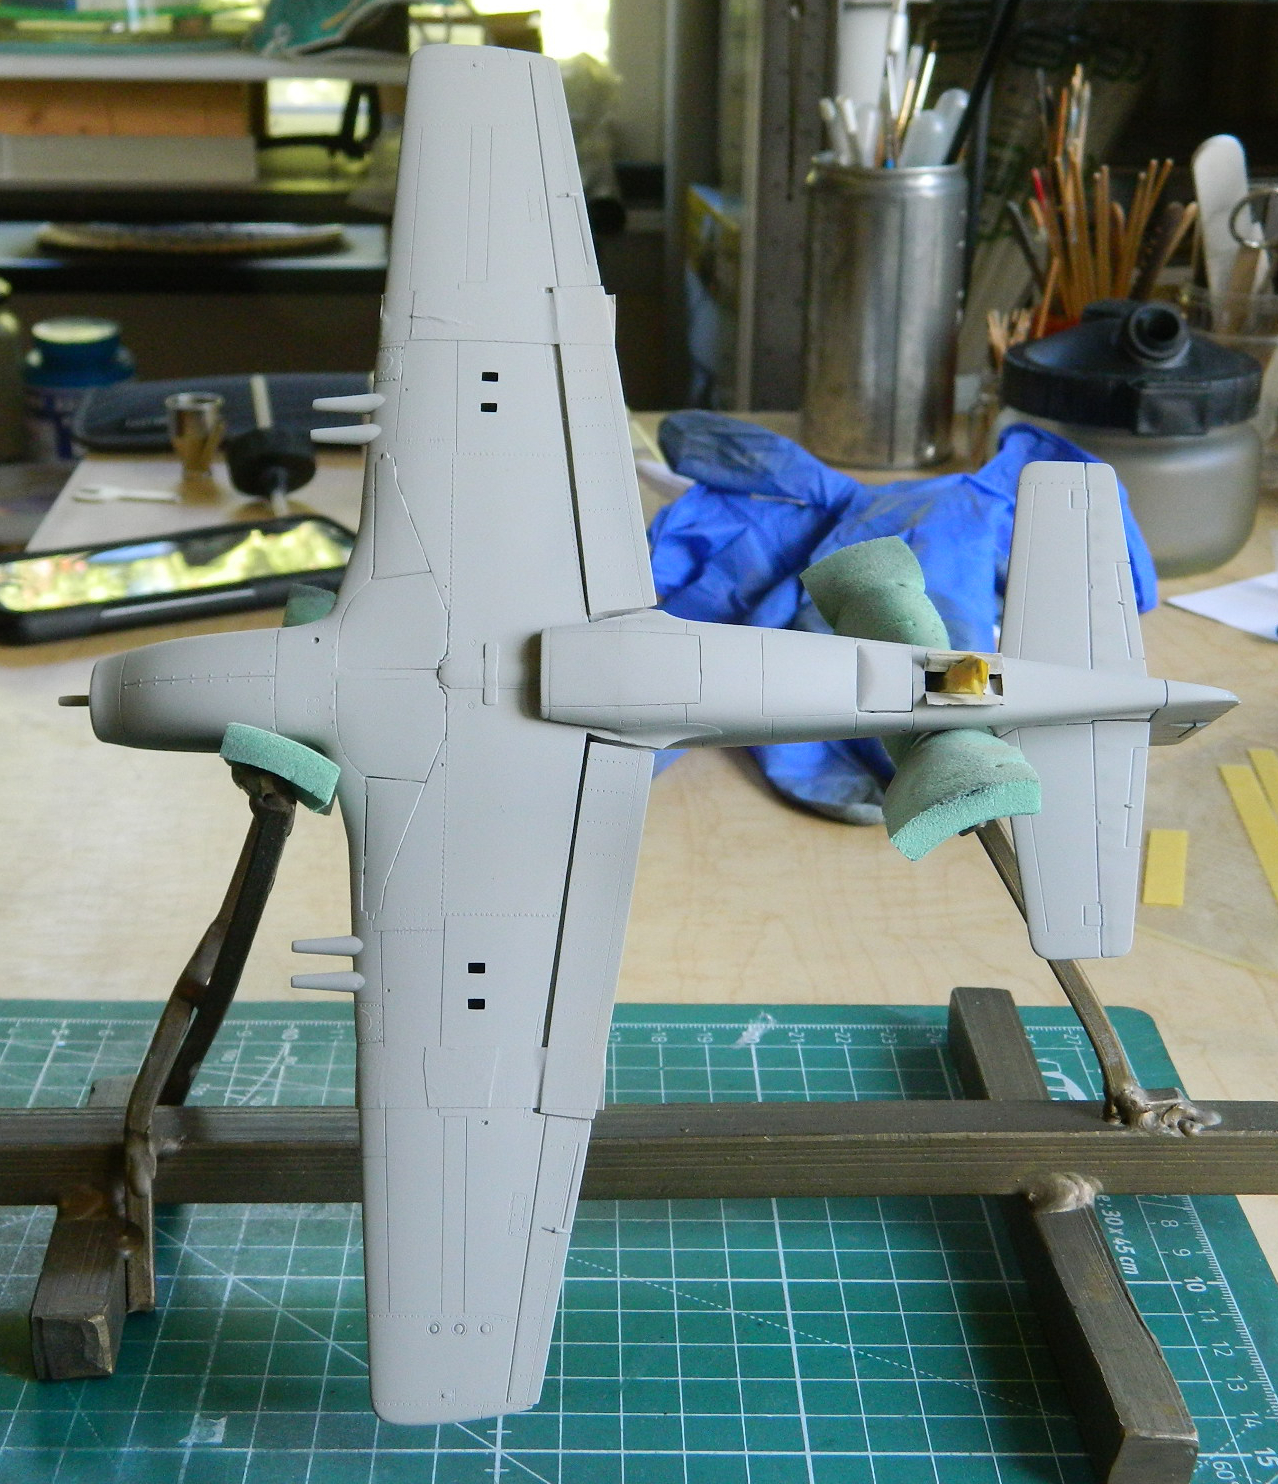
With the yellow masked, I shot the underside with the same medium gray/white mix I’d used to protect the resin decals:

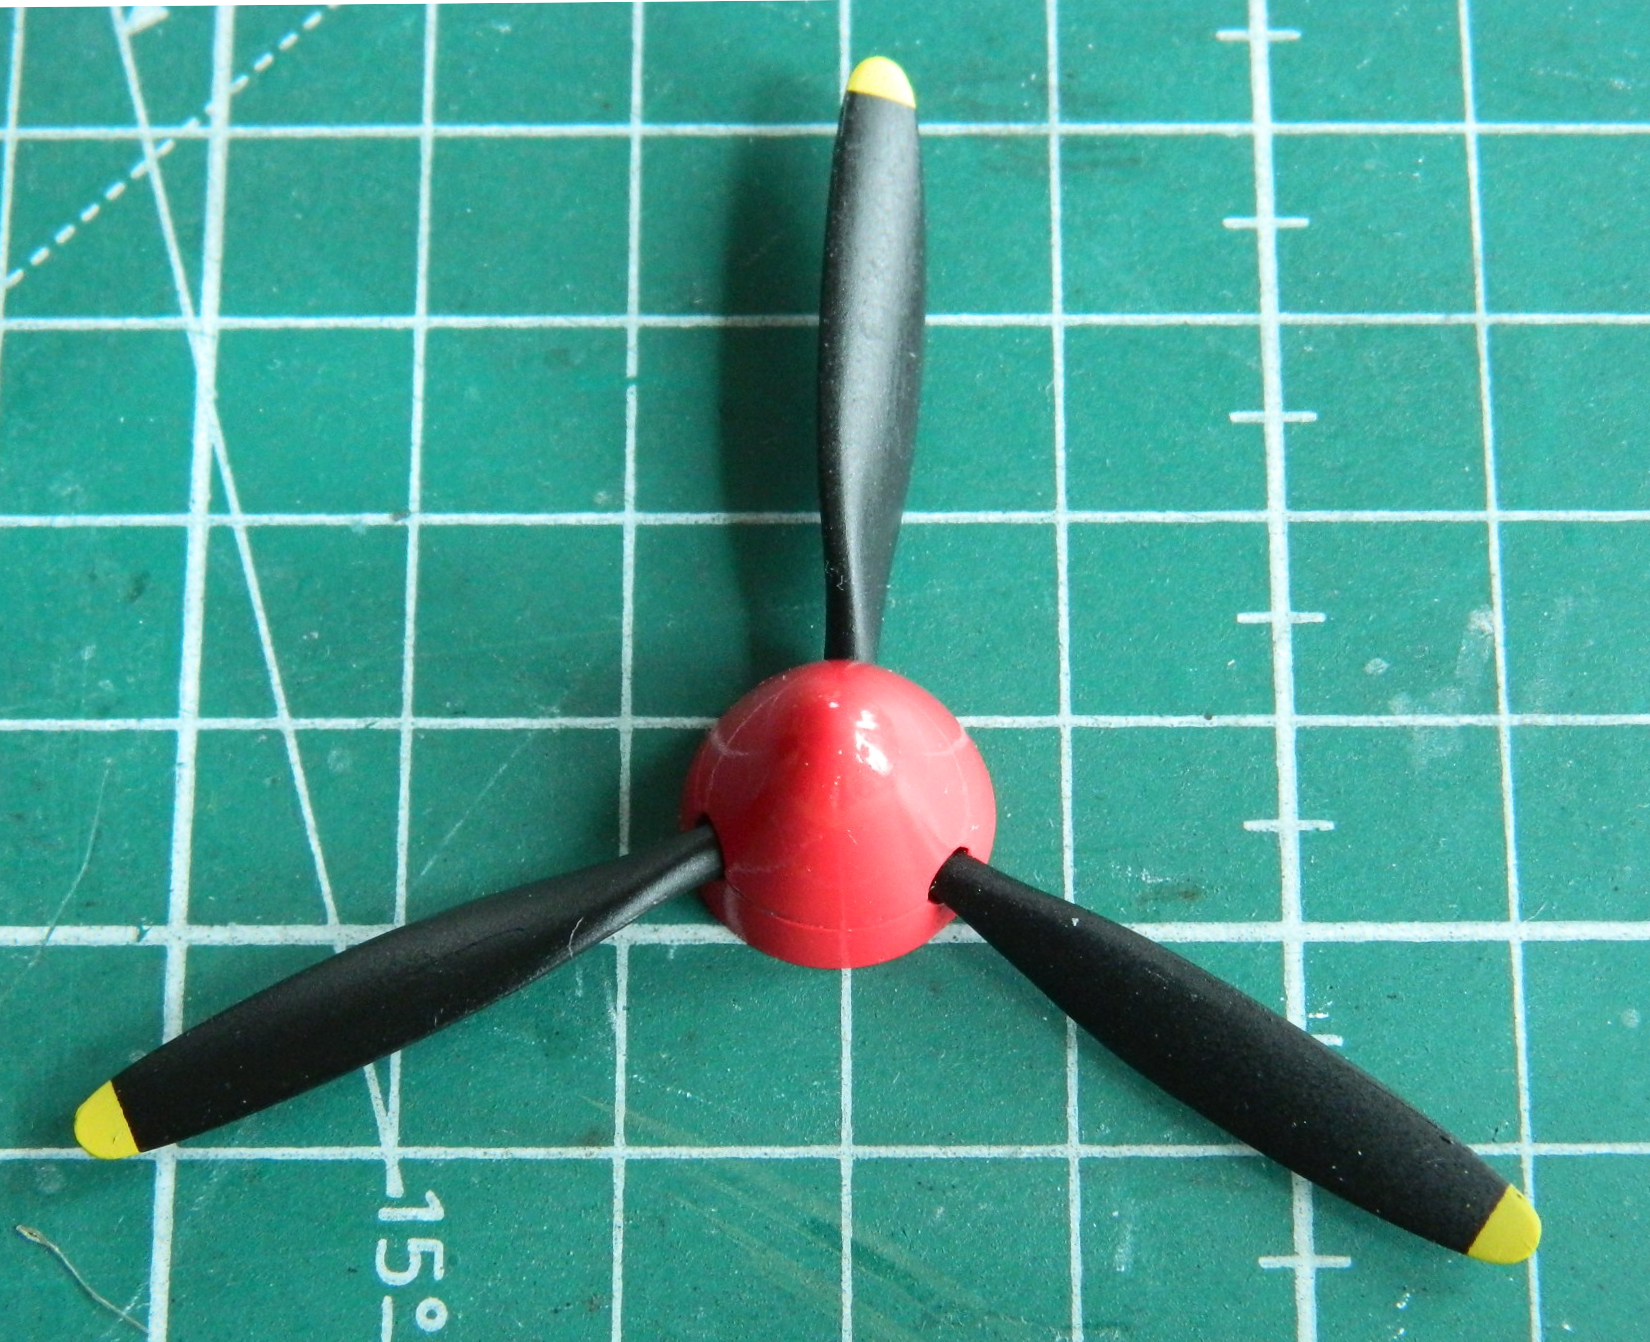
I wanted the gray to sit overnight before I turned it over for the OD Green. While that was set aside, I painted the prop and spinner (the previous day using Tamiya’s rattle can flat black TS-6 and the toned down yellow of the ID wing bands on the tips; the spinner was 4 parts Tamiya X-7 and 1 part XF-2 flat white), which is more satin anyway, (which is what I wanted ) and assembled them:
I then cleaned the tarnish off the brass barrels of the cannons and treated them to a soak in Birchwood Casey’s Brass Black. Once they were out of the soak and lightly buffed, I painted the muzzle bands Tamiya’s XF-69 NATO Black (which is more of a dark gray):


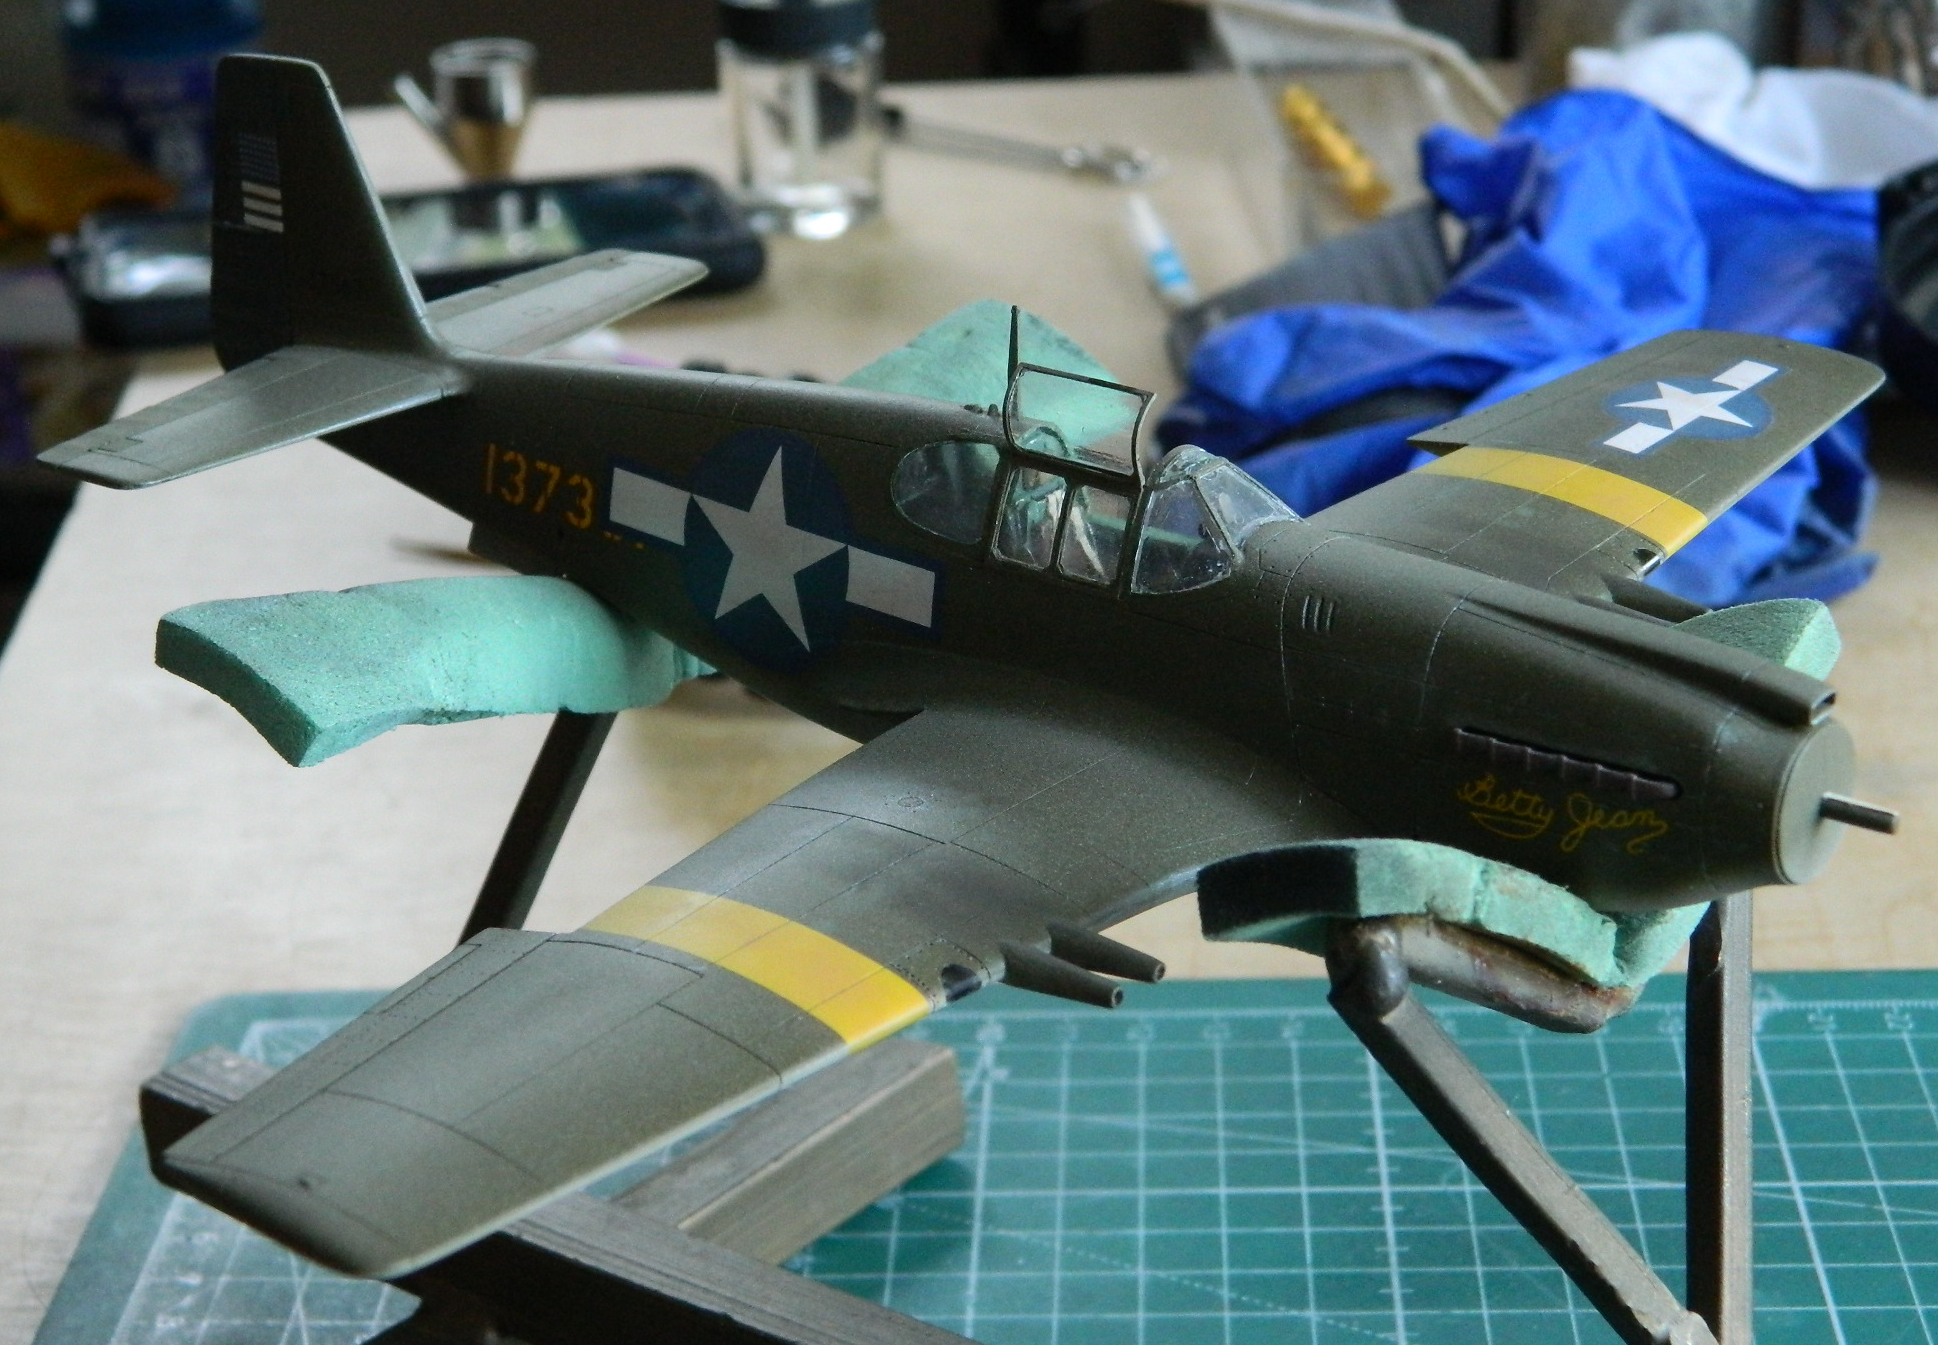
The next day I put down a coat of Tamiya’s XF-XF-62 Olive Drab on top. The demarcation between the two colors is simple so I used a tight spray pattern at a lower air pressure:
It took a couple of back-and-forths between the gray and OD to eliminate what little overspray occurred.
My one reference photo of this aircraft shows that its original rudder had been replaced with a different rudder (most likely from the base’s boneyard) and the OD was a different shade. I added 2 parts NATO Black to 15 parts OD:

The one photo I have of this aircraft (from P-51 Mustang in Action, by Larry Davis; page 12) isn’t exactly conclusive as to color (no surprise since it’s a b/w photo) or tint (the rudder is deflected to the left and catches sunlight more directly). After unmasking the vertical stabilizer, I was unsure as to whether or not I’d gotten the difference right…something that would mostly fix itself shortly. (Ominous thunder on the soundtrack.)
I unmasked the yellow bands and landing lights and put down Tamiya’s X-22 Clear Gloss where I was going to put decals, which in this case were on the fuselage and upper wings. The lower wings didn’t get any markings other than the yellow bands:

I had taped the flaps into position so that the bands would align and I painted the exhaust tips Tamiya XF-68 NATO Brown (14 parts), XF-69 NATO Black (3 parts), and XF-7 Red 9 (1 part) and removed the masks from the drop-down canopy side:

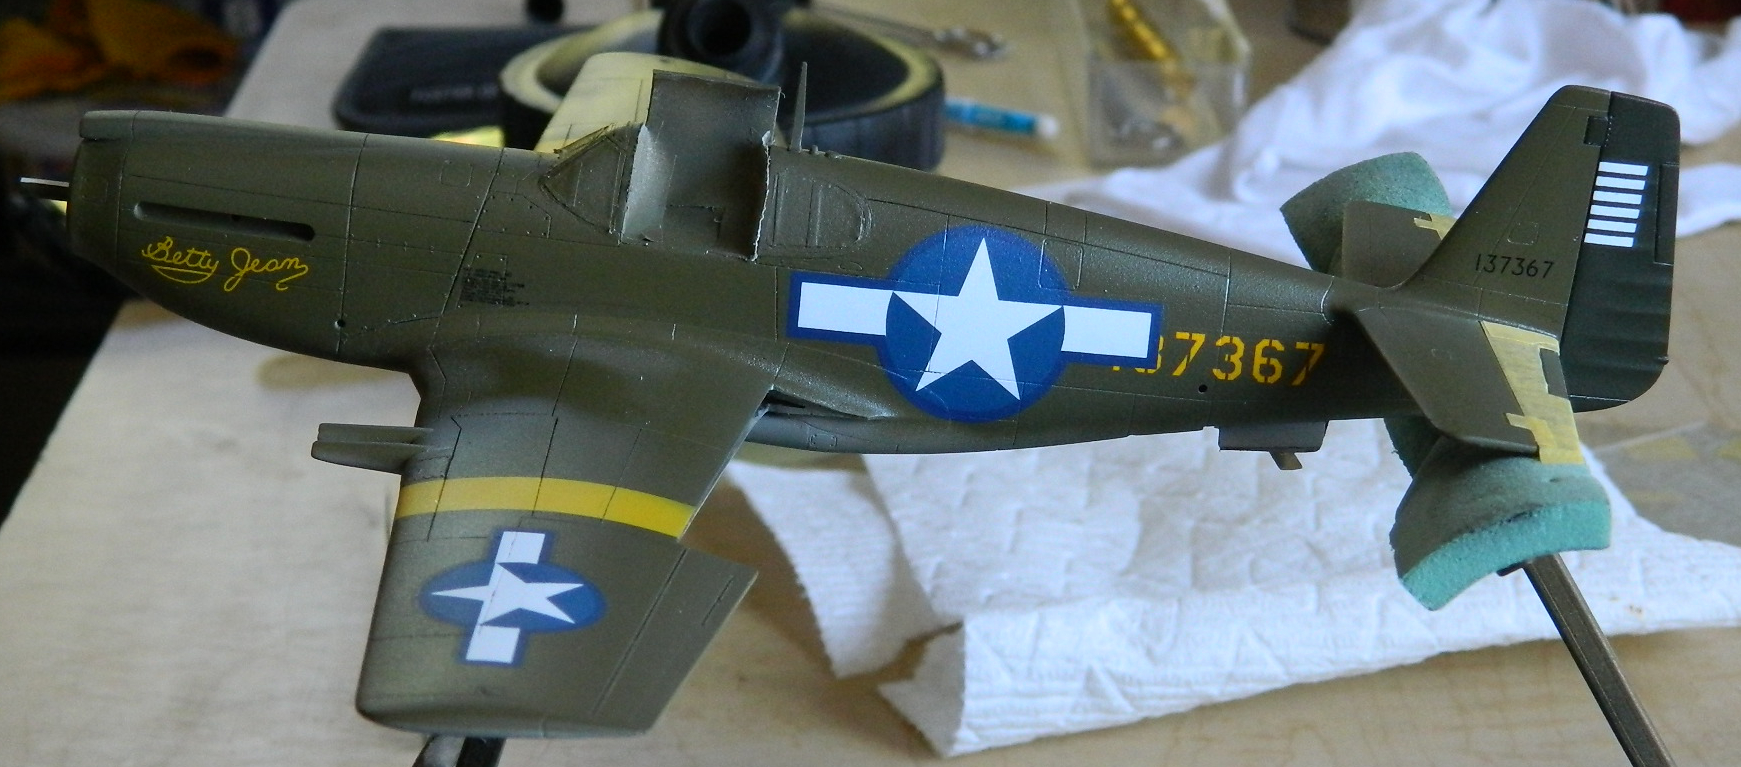
After letting the clear gloss sit overnight, I started adding the decals. I was using an old Aeromaster decal set,”Early Mustangs, #48-106″ as it had the markings for “Betty Jean” that I wanted to use (to match that one reference photo). The only kit decal I used was for the data panel on the left side of the fuselage. Yeah…the serial number on the panel doesn’t match the serial number of “Betty Jean,” but one would need a loupe to see that and I am NOT letting anyone get that close to this. The kit’s decal and the clear-backed Aeromaster decals settled down nicely with Micro-Sol. The stars-and-bars did not, requiring Walther’s Solvaset to behave the way I wanted them to…multiple applications of Solvaset. However, in their defense, these decals did not behave like they were over 20 years old:


The only problem I had with the decals were that they were too large. The fuselage insignia could have been 10-15% smaller as could the insignia on the wing (I used a smaller one of the same set intended for a different aircraft).
Remember the ominous thunder of earlier? Here it comes…
I got lazy. Brainfade. Caffeine deficiency. Or perhaps just plain dumb. Dunno. What I did, however, was use Tamiya’s rattle can TS-80 Flat Clear. To say that it didn’t play nicely with the clear gloss would mistakenly lead one to think that it played at all with the clear gloss. As it dried, it shrank and cracked. Not fun. What was REALLY fun was that the TS-80 also dissolved the decals a bit:
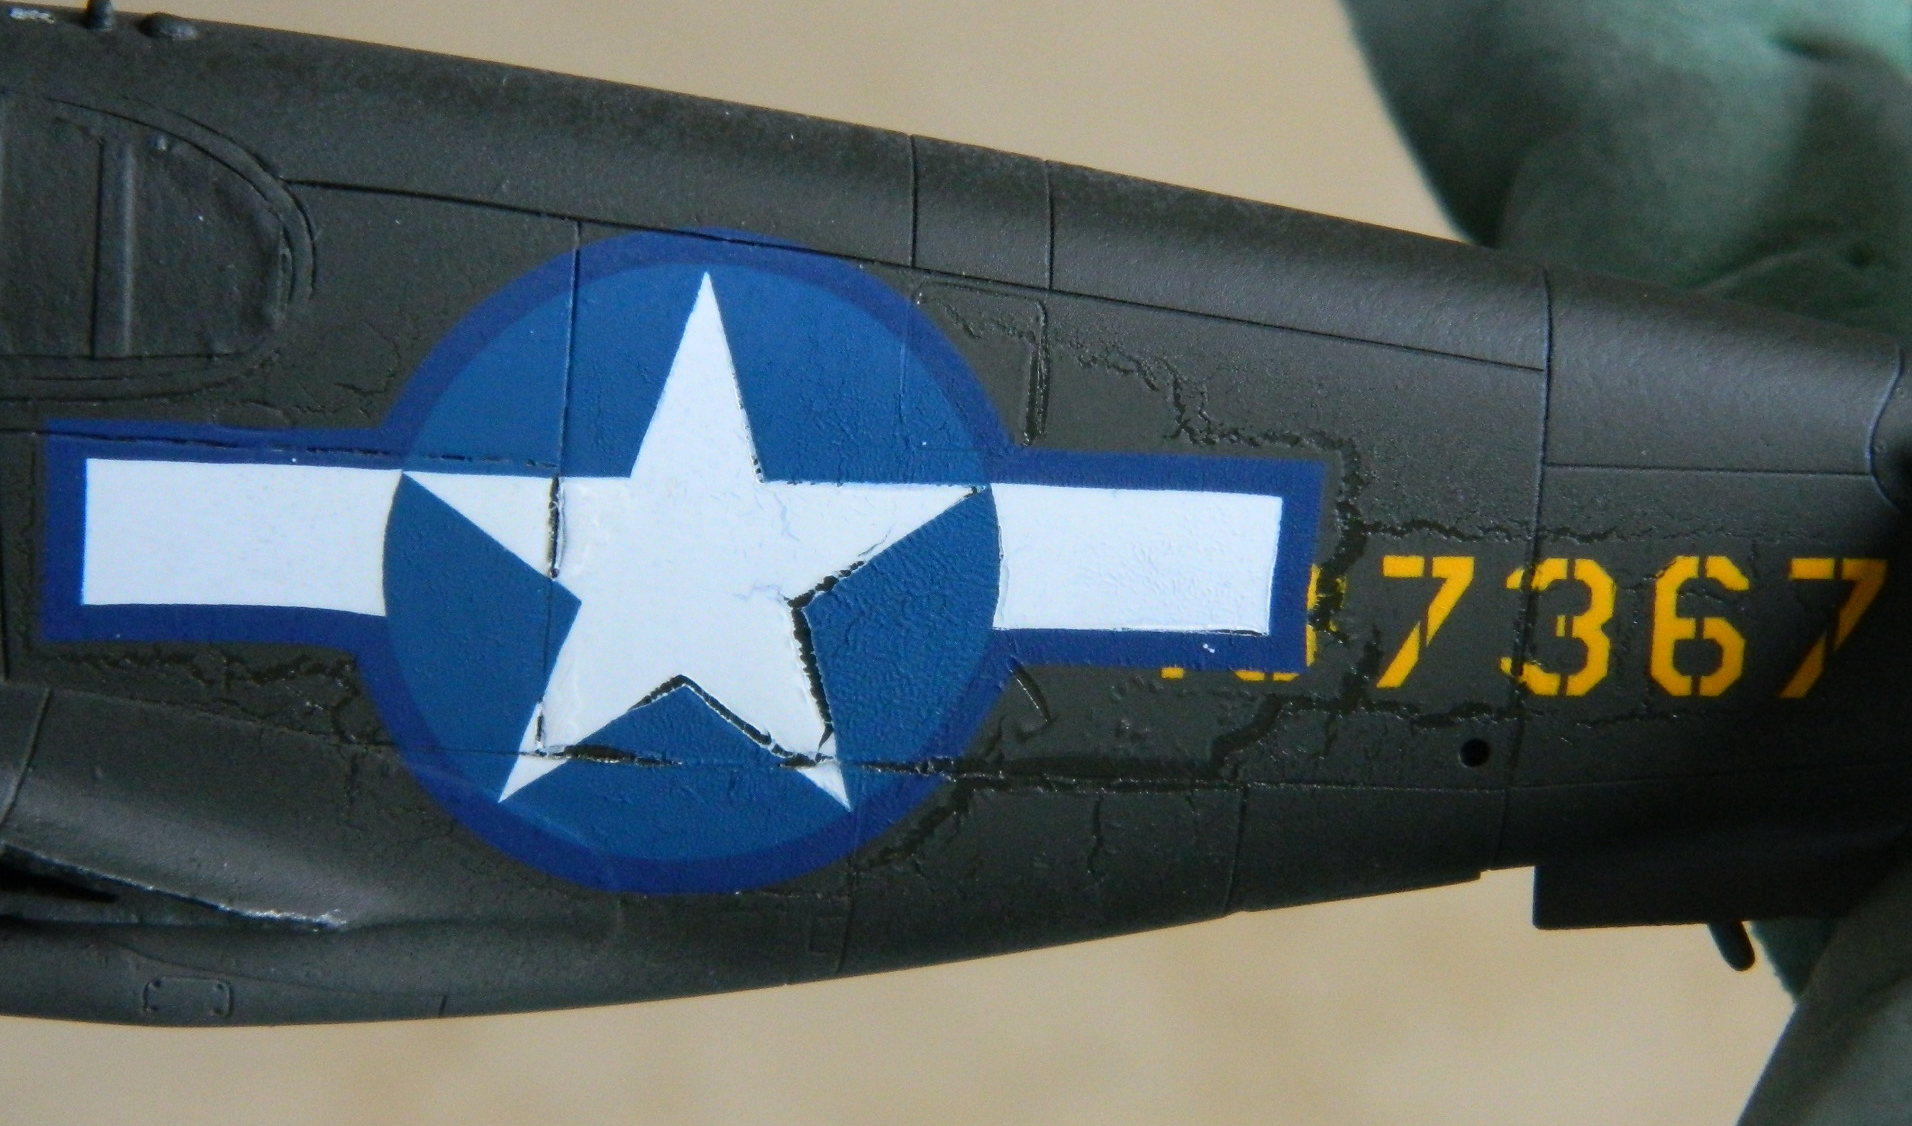
I usually read all and every direction on a product I’m going to use and I thought I’d done the same with this fornicating TS-80. Guess what small print I missed on the top of the cap:
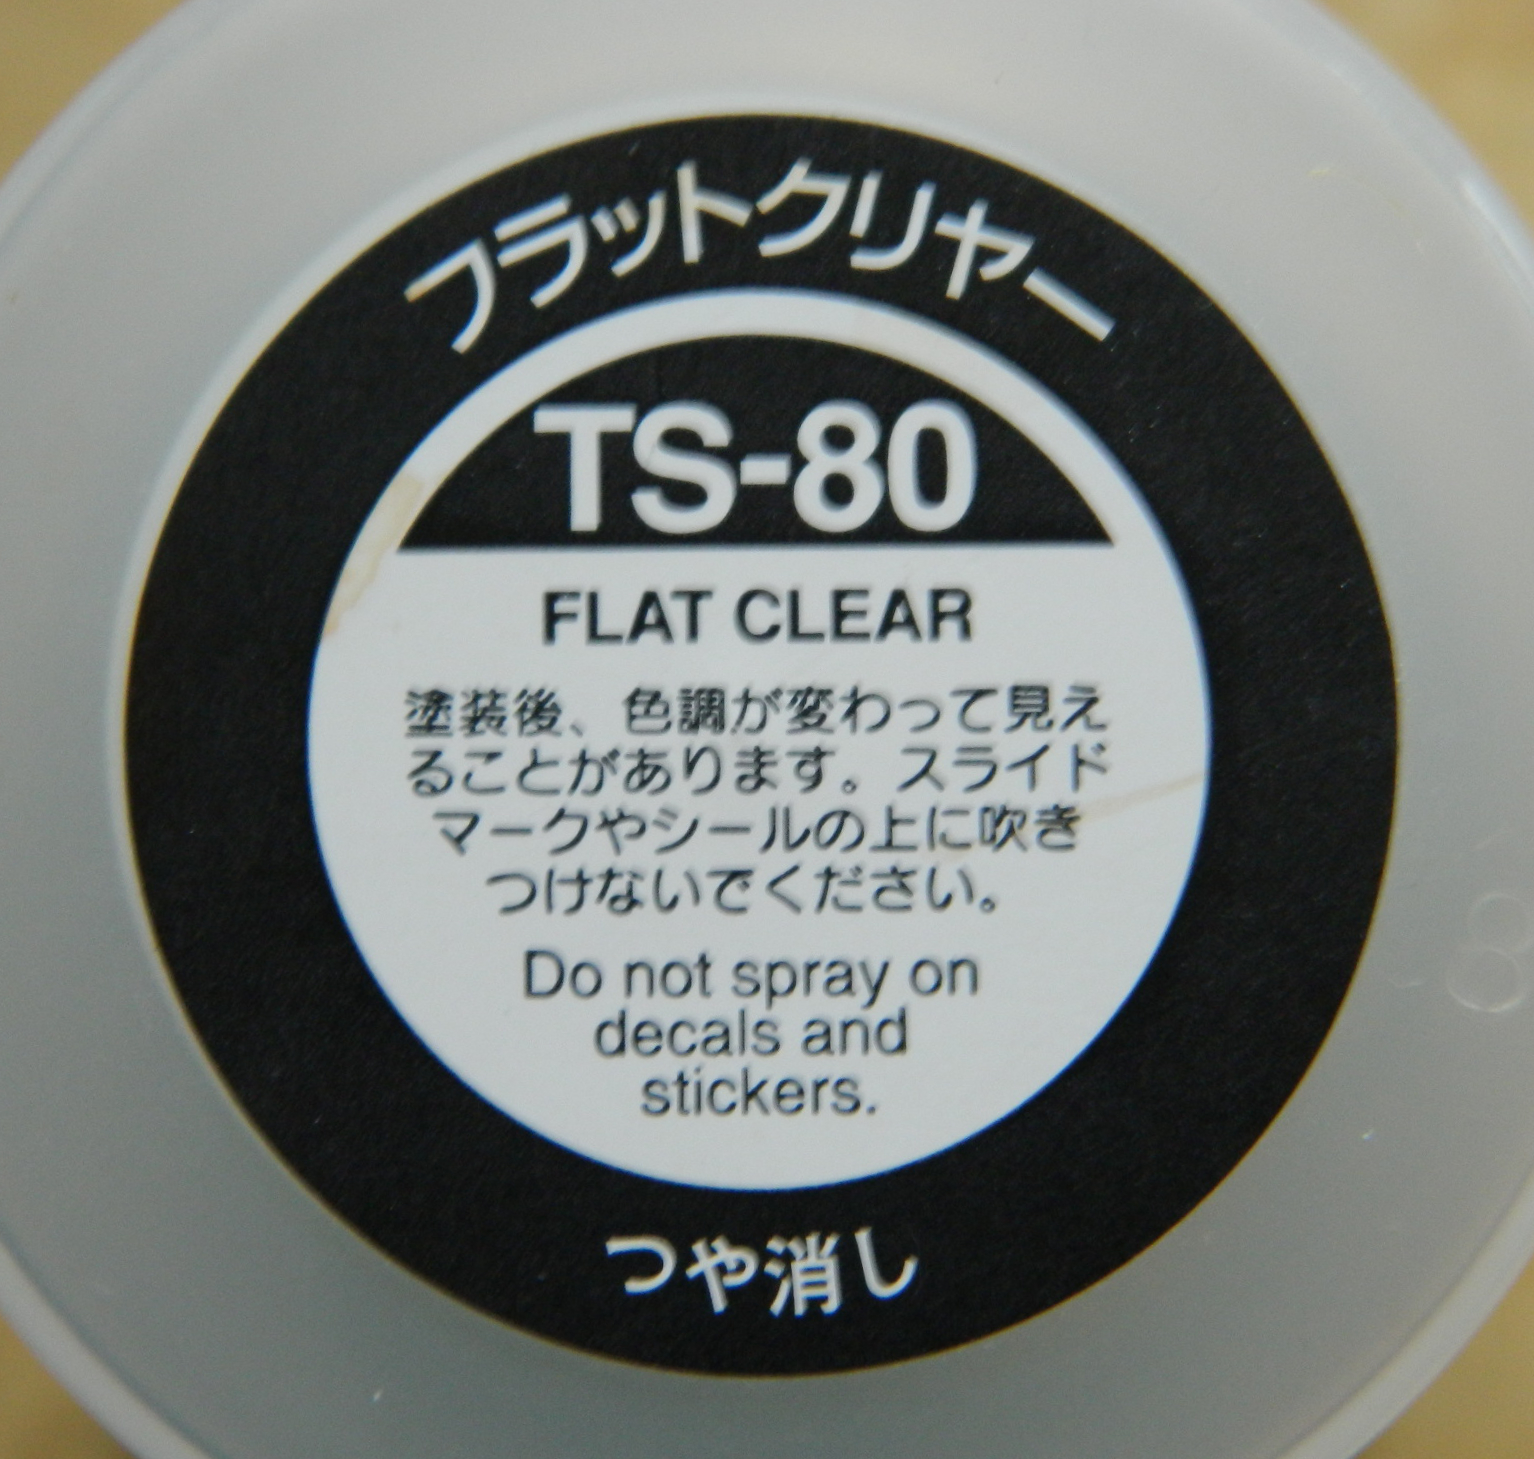
I doubt you can imagine how FORNICATING THRILLED I was to read that…after it had dissolved the decals. (If you can imagine that, you have my sympathies.)
That was JUST what I wanted to see happen to an old, out-of-production decal set. I went online and the first set of these decals I found were over $50. After changing my knickers, I came back and found an Etsy vendor, WingsAndRails.com who had a set for about half that [EDIT: Guess what decals came with the rebox of Accurate Miniatures P-51 from ICM. Betty Jean.].
I almost sprained my fingers ordering a set.
While I was waiting for them to arrive, I started a process that I’d gotten quite used to during the SR-71 build…stripping paint and repainting things. You know…mix and paint the yellow (didn’t shoot aluminum this time), mask the landing lights and bands, etc.:
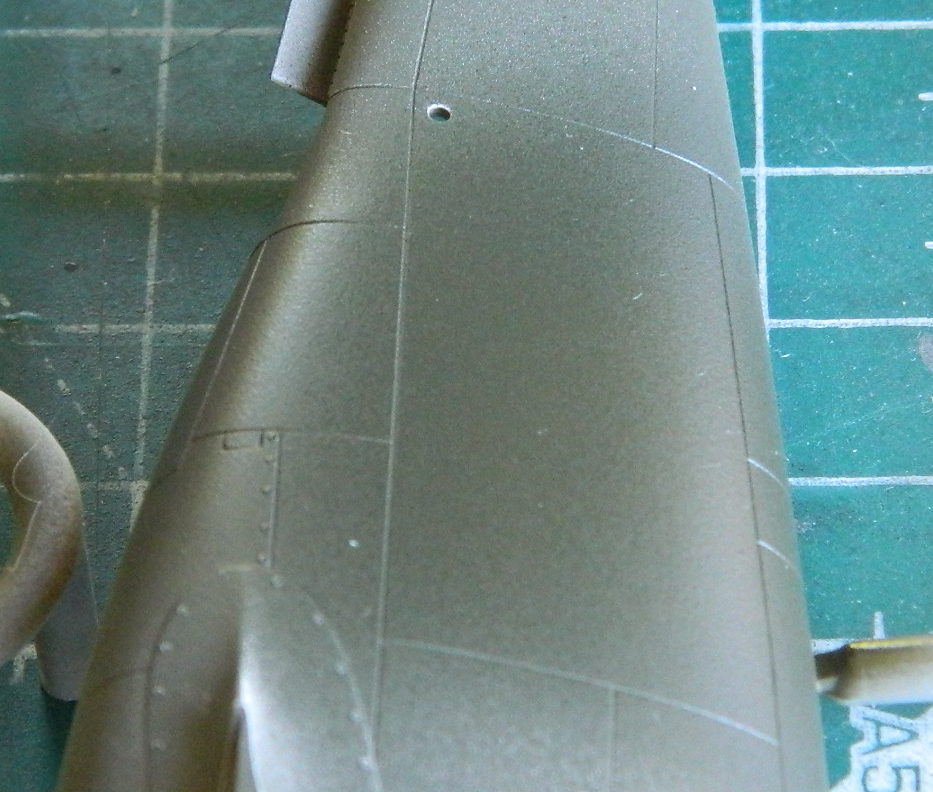
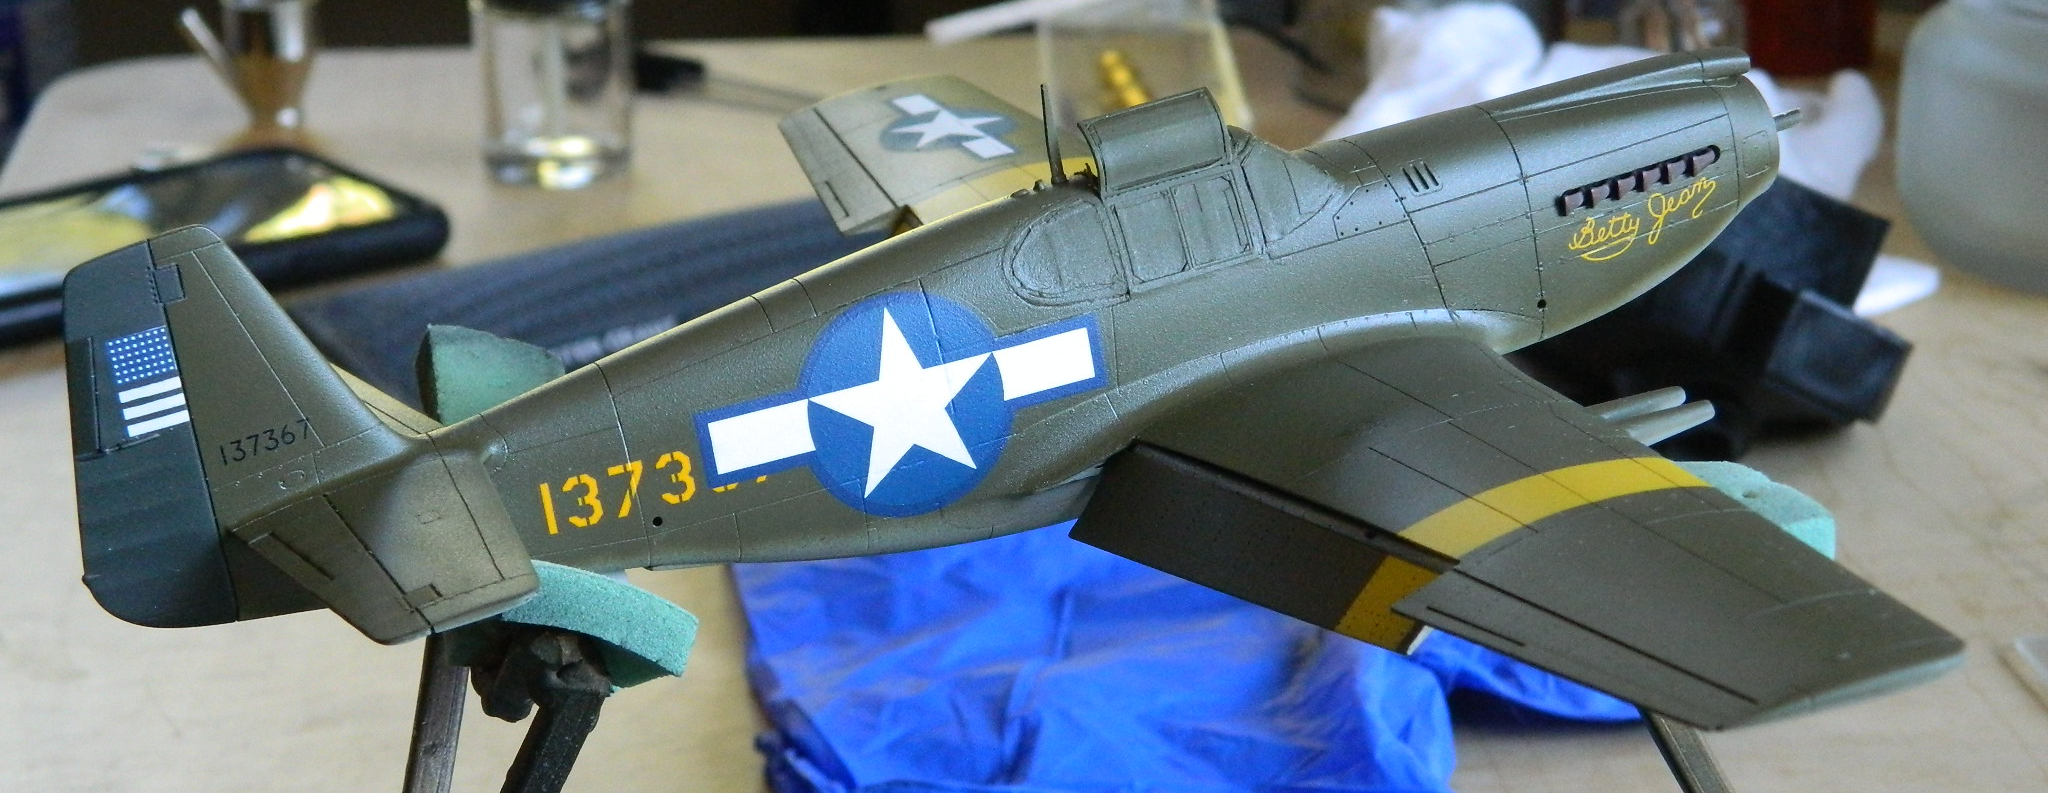
One of the other differences in the second paint job is the color. I noticed from a couple of WWII color photos that the Olive Drab was more green than the first Olive Drab I used. For the second painting, I mixed Olive Drab (6 parts) with Yellow (1 part) and Flat White (1 part). All looked okay until I looked at the fuselage seams in bright light. Either I had not done a proper job the first time (like that ever happens) or the denatured alcohol did more than just remove paint. Regardless of the cause, I found these two spots:
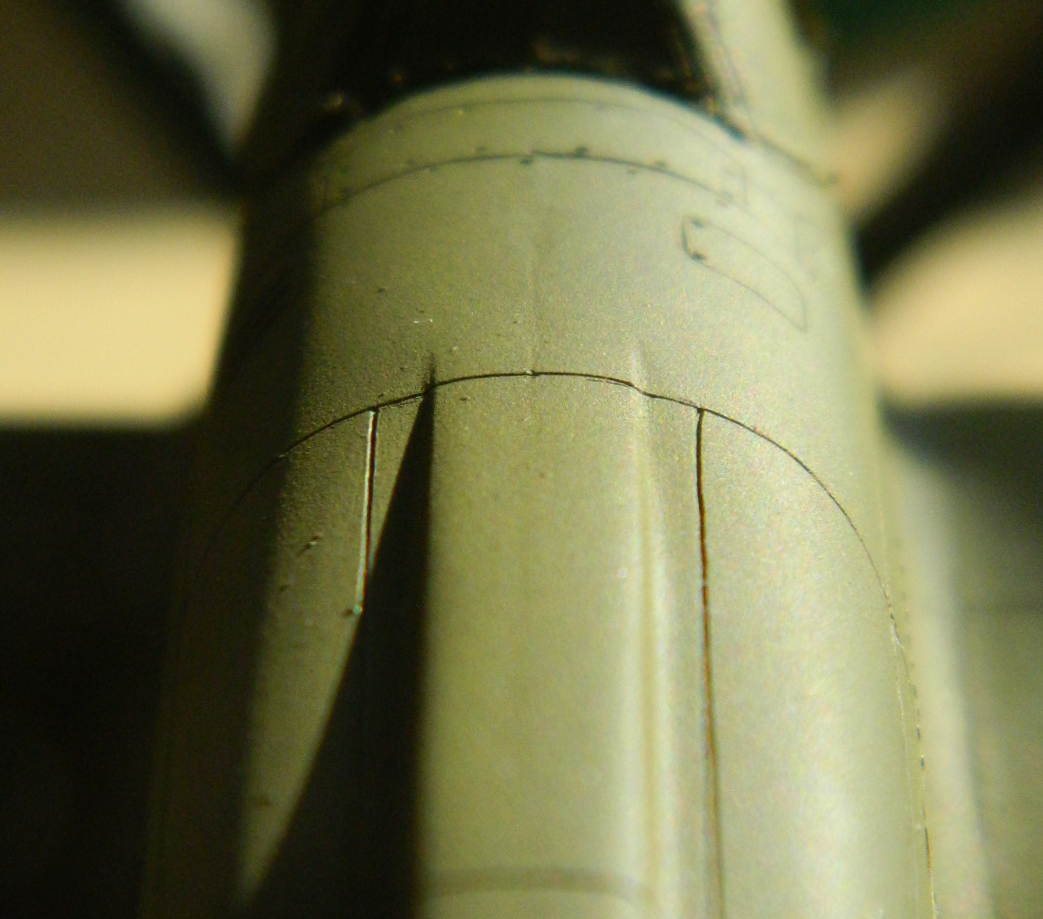
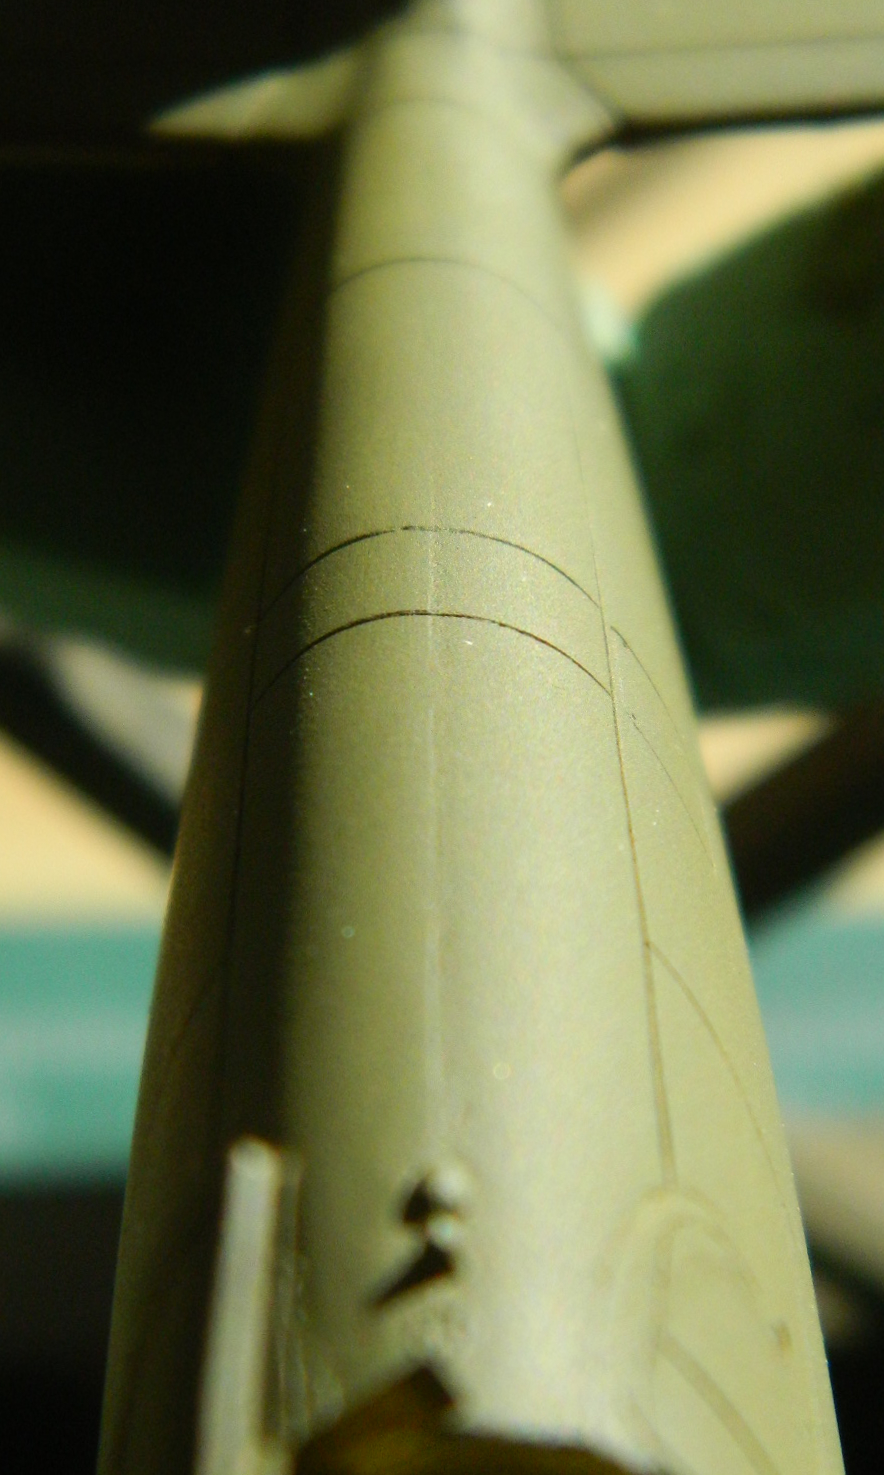
I removed the paint (and probably more putty) and redid the seams:
Better:

Since I had such a grand time (sarcasm…just another service I offer) (constantly) with my first attempt at doing decals properly, while I was waiting for the next set to arrive (a habit I really have to get away from) I decided I needed a bit of practice. I painted fuselage parts from the spare kit:

I went through the decal process of clear gloss, decals (avec solvent), and clear topcoat. This time, however, I used Tamiya’s clears (more on all that in a bit). Instead of putting clear gloss down first, I recalled having very good luck with the SR-71 putting decals down directly on top of a flat color coat (it was heresy then, it’s heresy now…all I can say in my defense is that it worked). Instead, I put down Tamiya’s X-35 Semi Gloss Clear first on both sides:
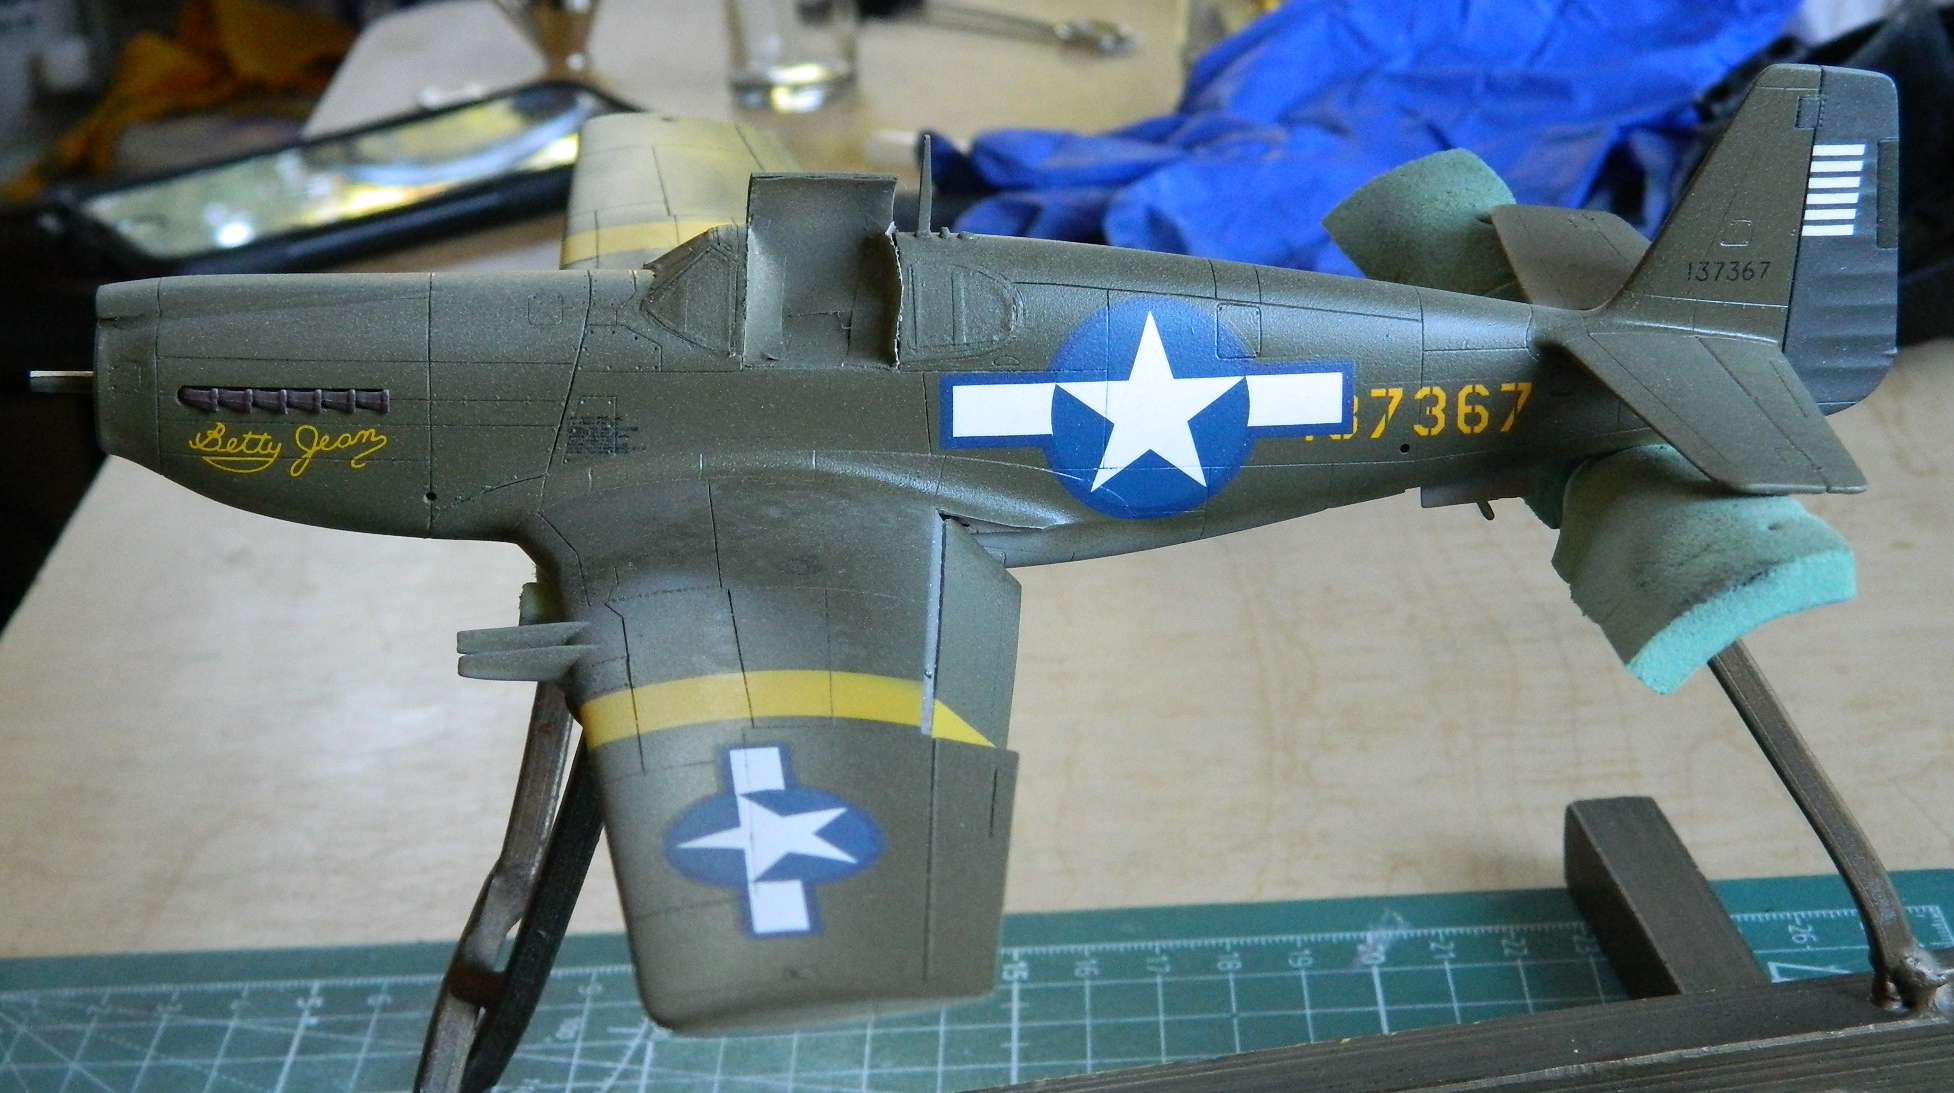
Then I used kit decals that I would not have otherwise used (they have the markings for Operation Torch which is a yellow band around a round insignia and no bars) and used Walther’s Solvaset on them:


After letting them sit overnight, I shot the Semi Gloss Clear over the left decal and Tamiya’s XF-86 Flat Clear over the right decal:
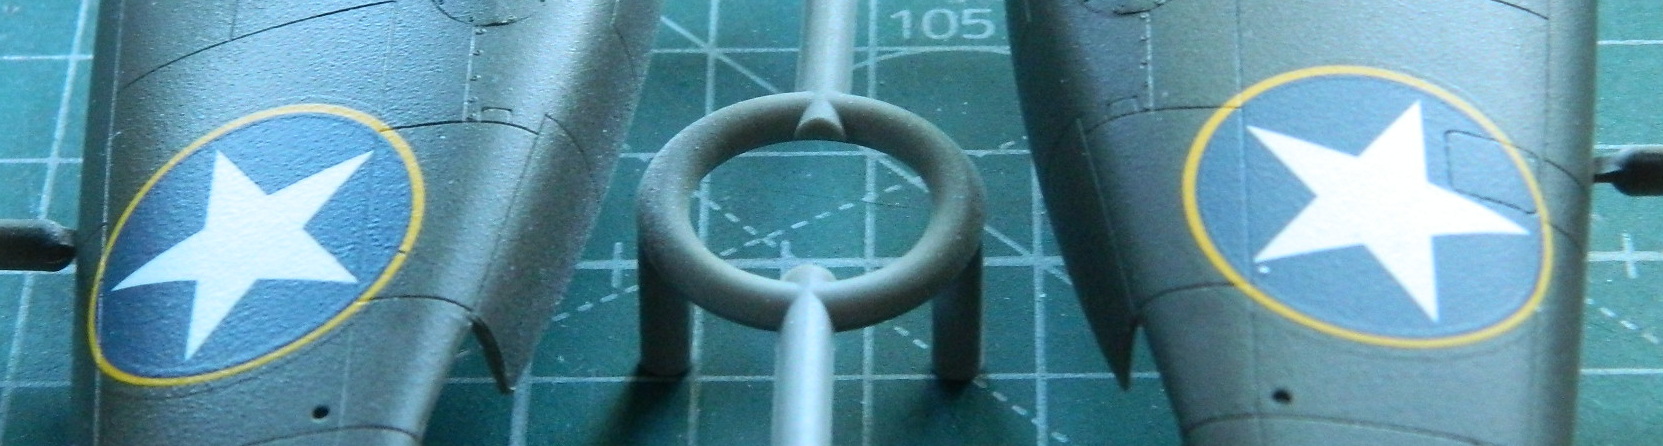
I decided I like the clear flat better than the semi gloss and decided to go with that.
Now…a bit of a digression about clear flat paint and why I seem to be struggling with it.
Prior to my present stint at modeling, the last time I did any of this work was in 1991. In that year, Polly S was still producing paints (and I recently found out that Polly Scale, primarily rail road paints, has also shut down) and their clear flat was magnificent. Thinned with water, it went down perfectly and left an outstanding, even, flat finish. When they closed operations of their S division, that wonderful paint vanished. When I picked this hobby back up in 2014, I found out that Micro-Mark had gone to Vallejo with color chips to replicate some of Polly S paints, and one of those was clear flat. Vallejo’s clear flat is NOT Polly S clear flat. It really requires being run through a fine screen to remove chunks that form (and I can stir that stuff for AN HOUR and still have my airbrush spit chunks…another reason I quit drinking tequila) all OVER a mostly finished and decaled model. Very displeasing. (The only thing I liked about it was that it leaves a MATTE finish.) I wanted a different clear flat. Tamiya’s clear flat paints and covers as well as all their other paints that I’ve used. The only problem with it is that it’s not flat, it’s satin.
::sighs::
Fine. I’ll deal with a satin finish on this build. I’ll pout and stamp my little footies about it, but I’ll deal. Poorly.
With all that said, I put down clear semi gloss where decals go:
After waiting overnight, I put down the decals and treated them with a few applications of Solvaset:

Again, after letting it sit overnight, I overshot the olive drab areas with semi gloss and then added the exhaust nozzles and flaps:

Then I let it sit for two days.
I gave the upper surfaces a misting of Tamiya’s XF-57 Buff mixed with about two-thirds XF-2 flat white to replicate a dusty surface. After letting it sit for about an hour, I used a cotton swab slightly moistened with denatured alcohol and picked up the dust coat in areas where people would walk and/or work:
I weathered the surface with with pastels and discovered that the semi-gloss doesn’t pick up the pigment dust as well as a true matte finish does. When I used a silver-colored pencil to add chips and wear, I discovered the same thing; true matte picks up pigment better:


Fine. I’ll deal with it and I am NOT going to strip this again and buy another set of decals (Or the ICM kit).
As you can see in the above photo, I pried the landing gear doors free. The Allison Mustangs had another trait. Their inner landing gear doors had mechanical locks that kept them up when the pilot or crew chief dumped the hydraulic pressure. Unlike the Merlin Mustangs, those doors stayed in the up position unless the mechanical locks were released manually to work in there. And with the landing gear doors out of the way, it was time to add the landing gear. I used masking tape to hold them at the proper angle as the mounting socket wasn’t snug enough to do it alone:

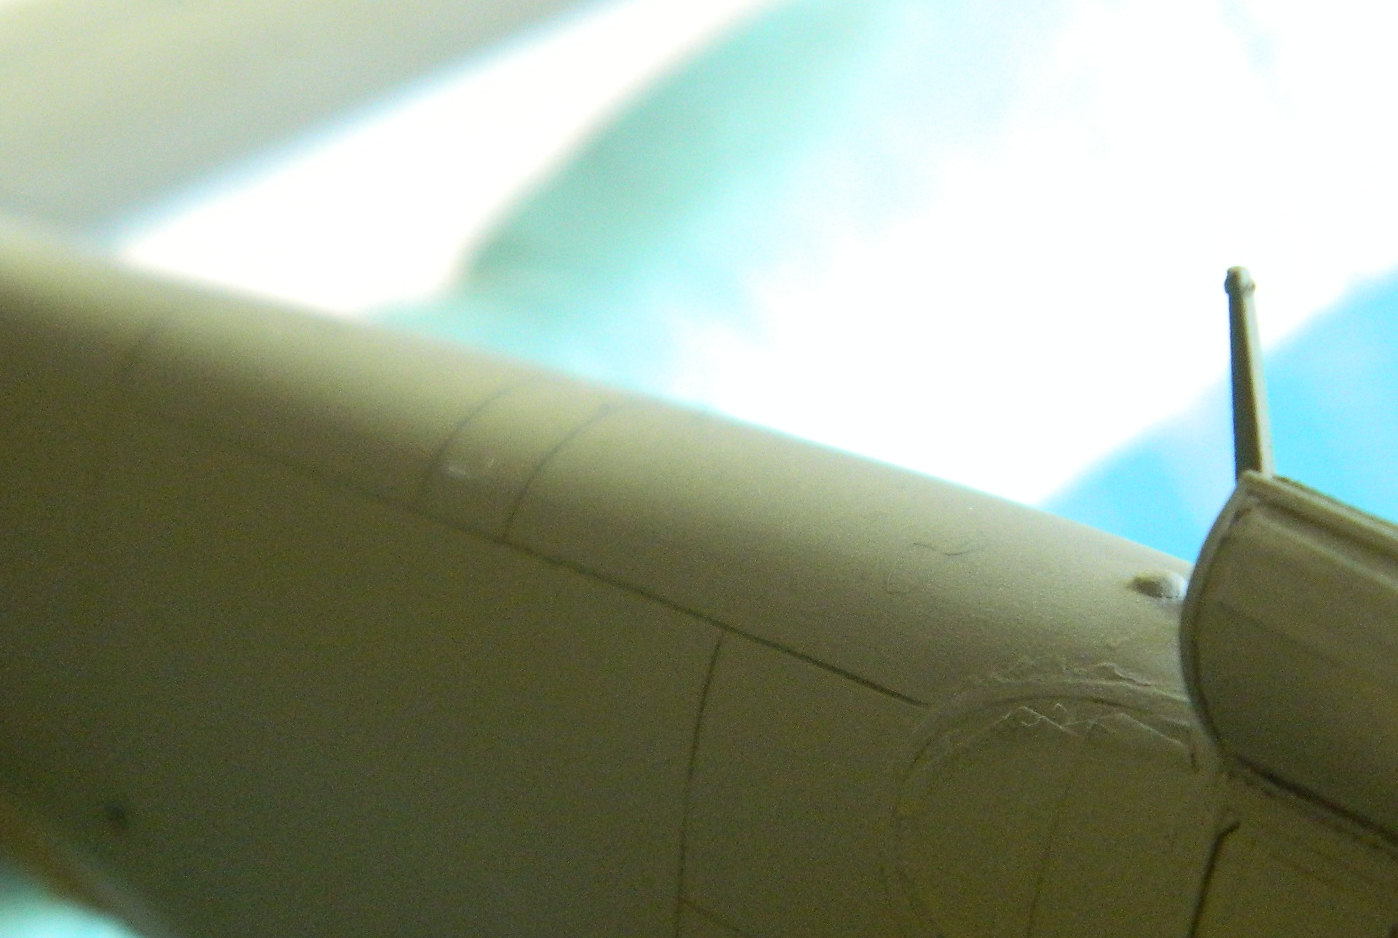
Typically I’ve used stretched sprue to make the antenna run. The kindest thing I can say about that is that I’d never stretched the sprue thin enough on the first pull to use it. (The most accurate thing I can say about that is that I spent a great deal of time cursing.) A more accurate thing I can say is that I would stretch a lot of sprue to get something useful. THOSE DAYS ARE OVER!! The EZ Line worked MAGNIFICENTLY. I superglued one end into the vertical stabilizer and after waiting until the glue set, I threaded the other end through the antenna post (not easily but nowhere near as much of a pain as I thought it would be…certainly much easier than the stretched sprue method). A very nice feature of the EZ Line is that it stretches. A gentle tug on the very thin line and a dab of superglue held it in place nicely. I cut the excess from in front of the post and used it as the feed line into the fuselage. Once the glue had set, I used base-mounted tweezers (why is that word plural when I only use one tweezer?) to align the feed line to its location:
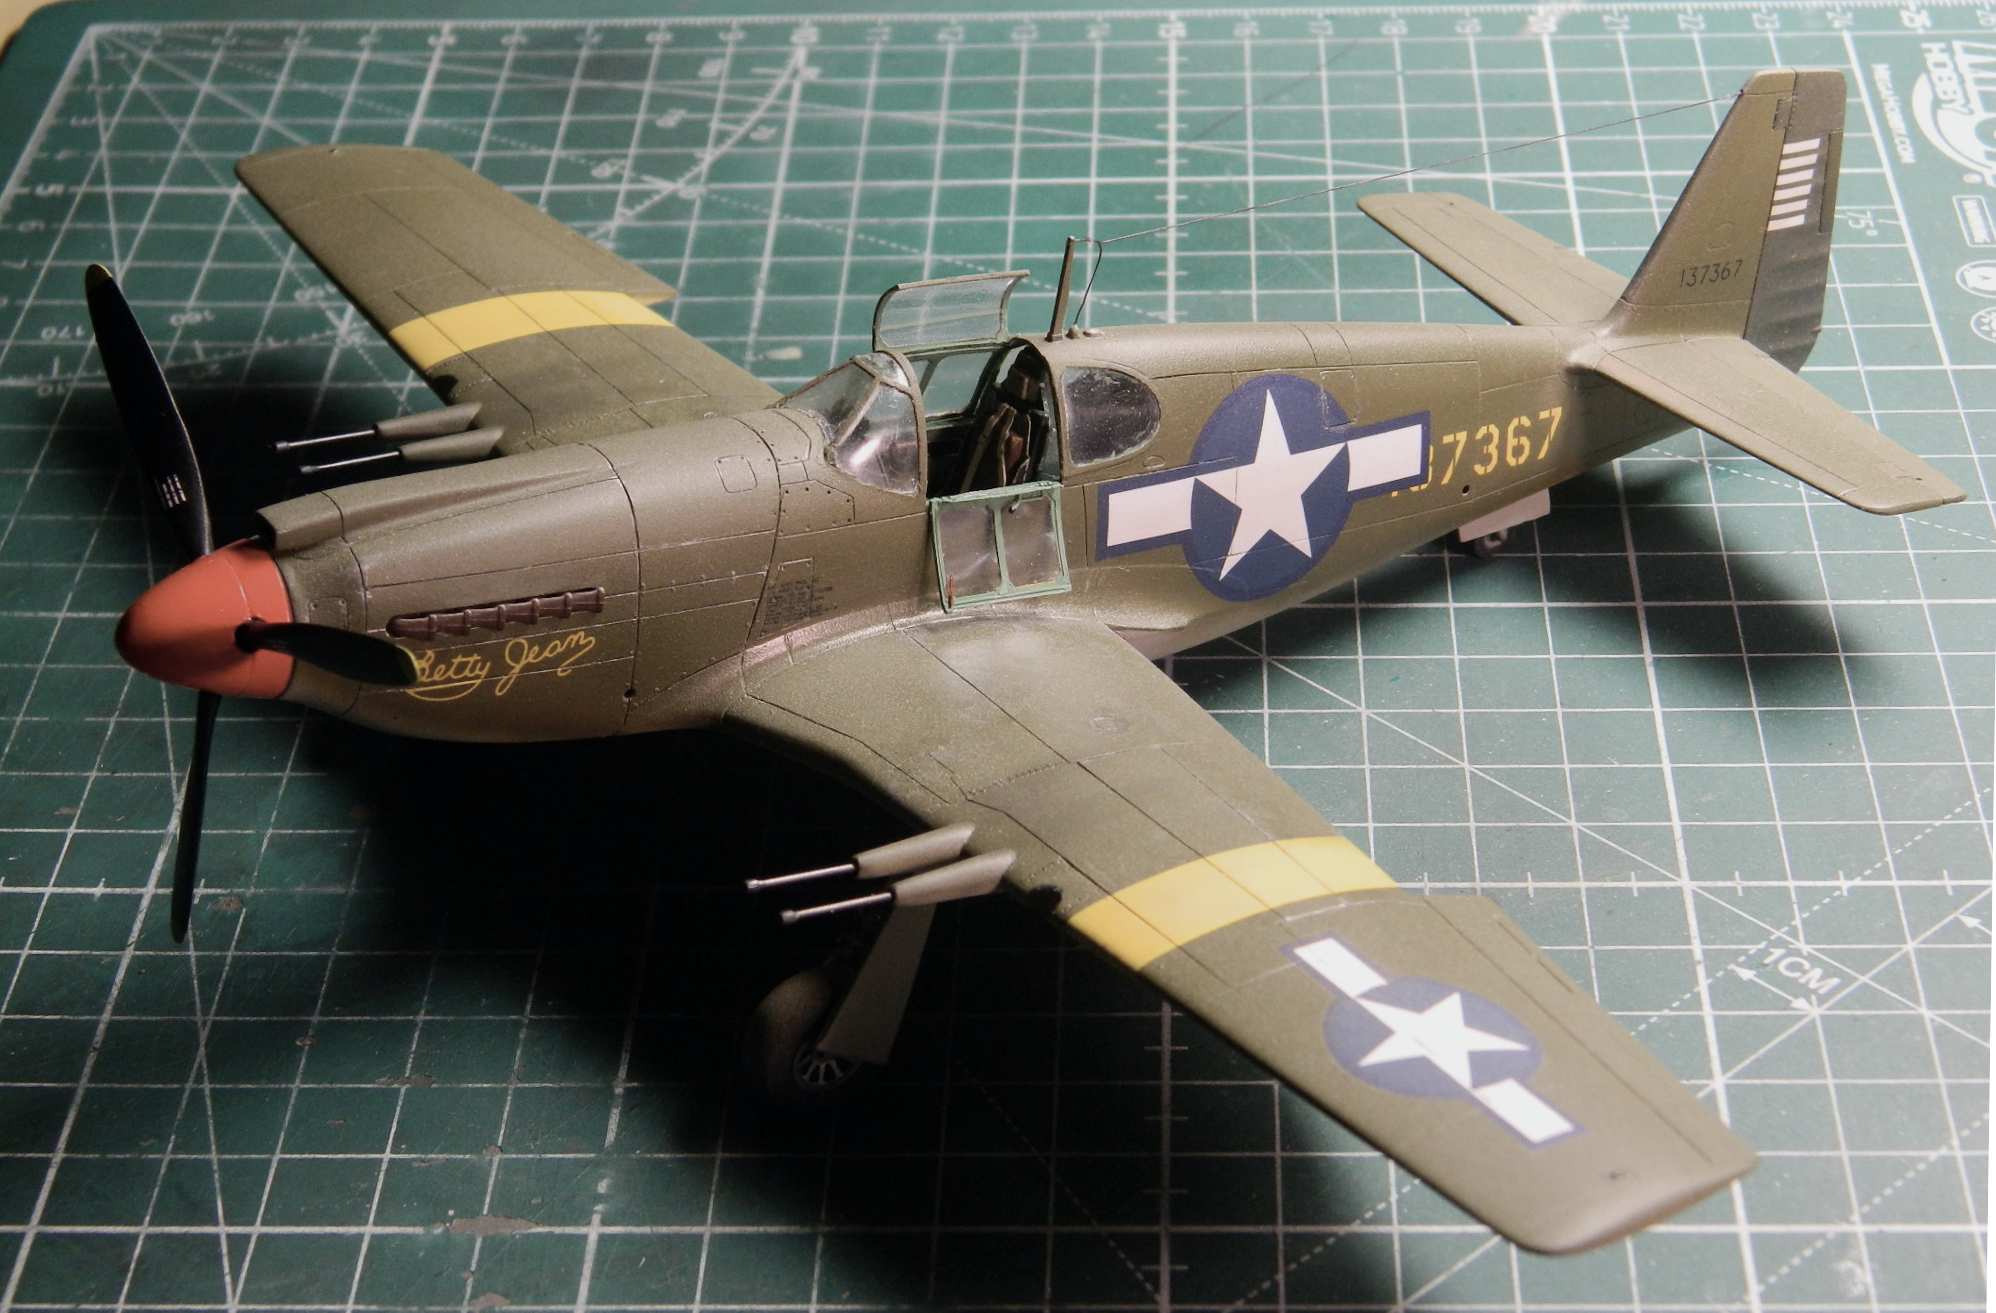
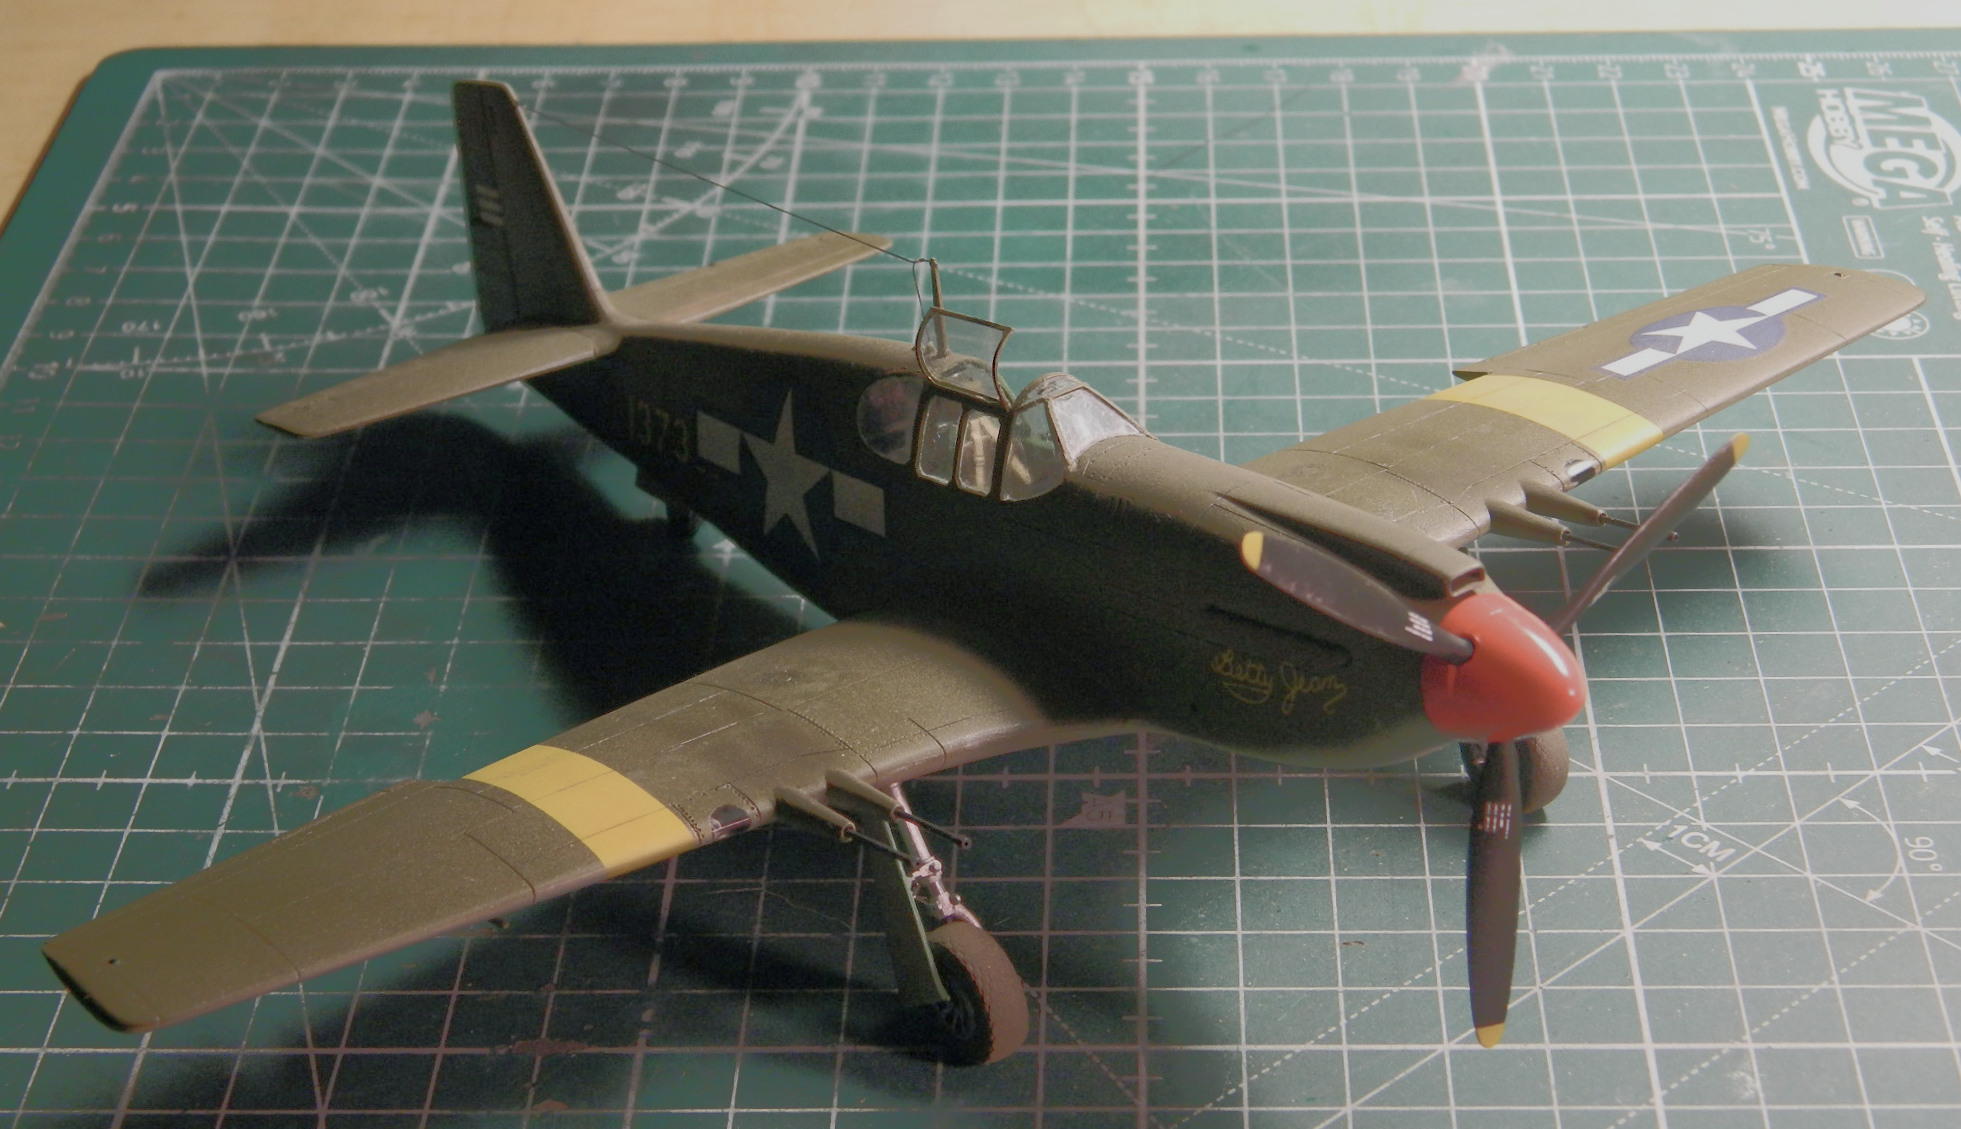
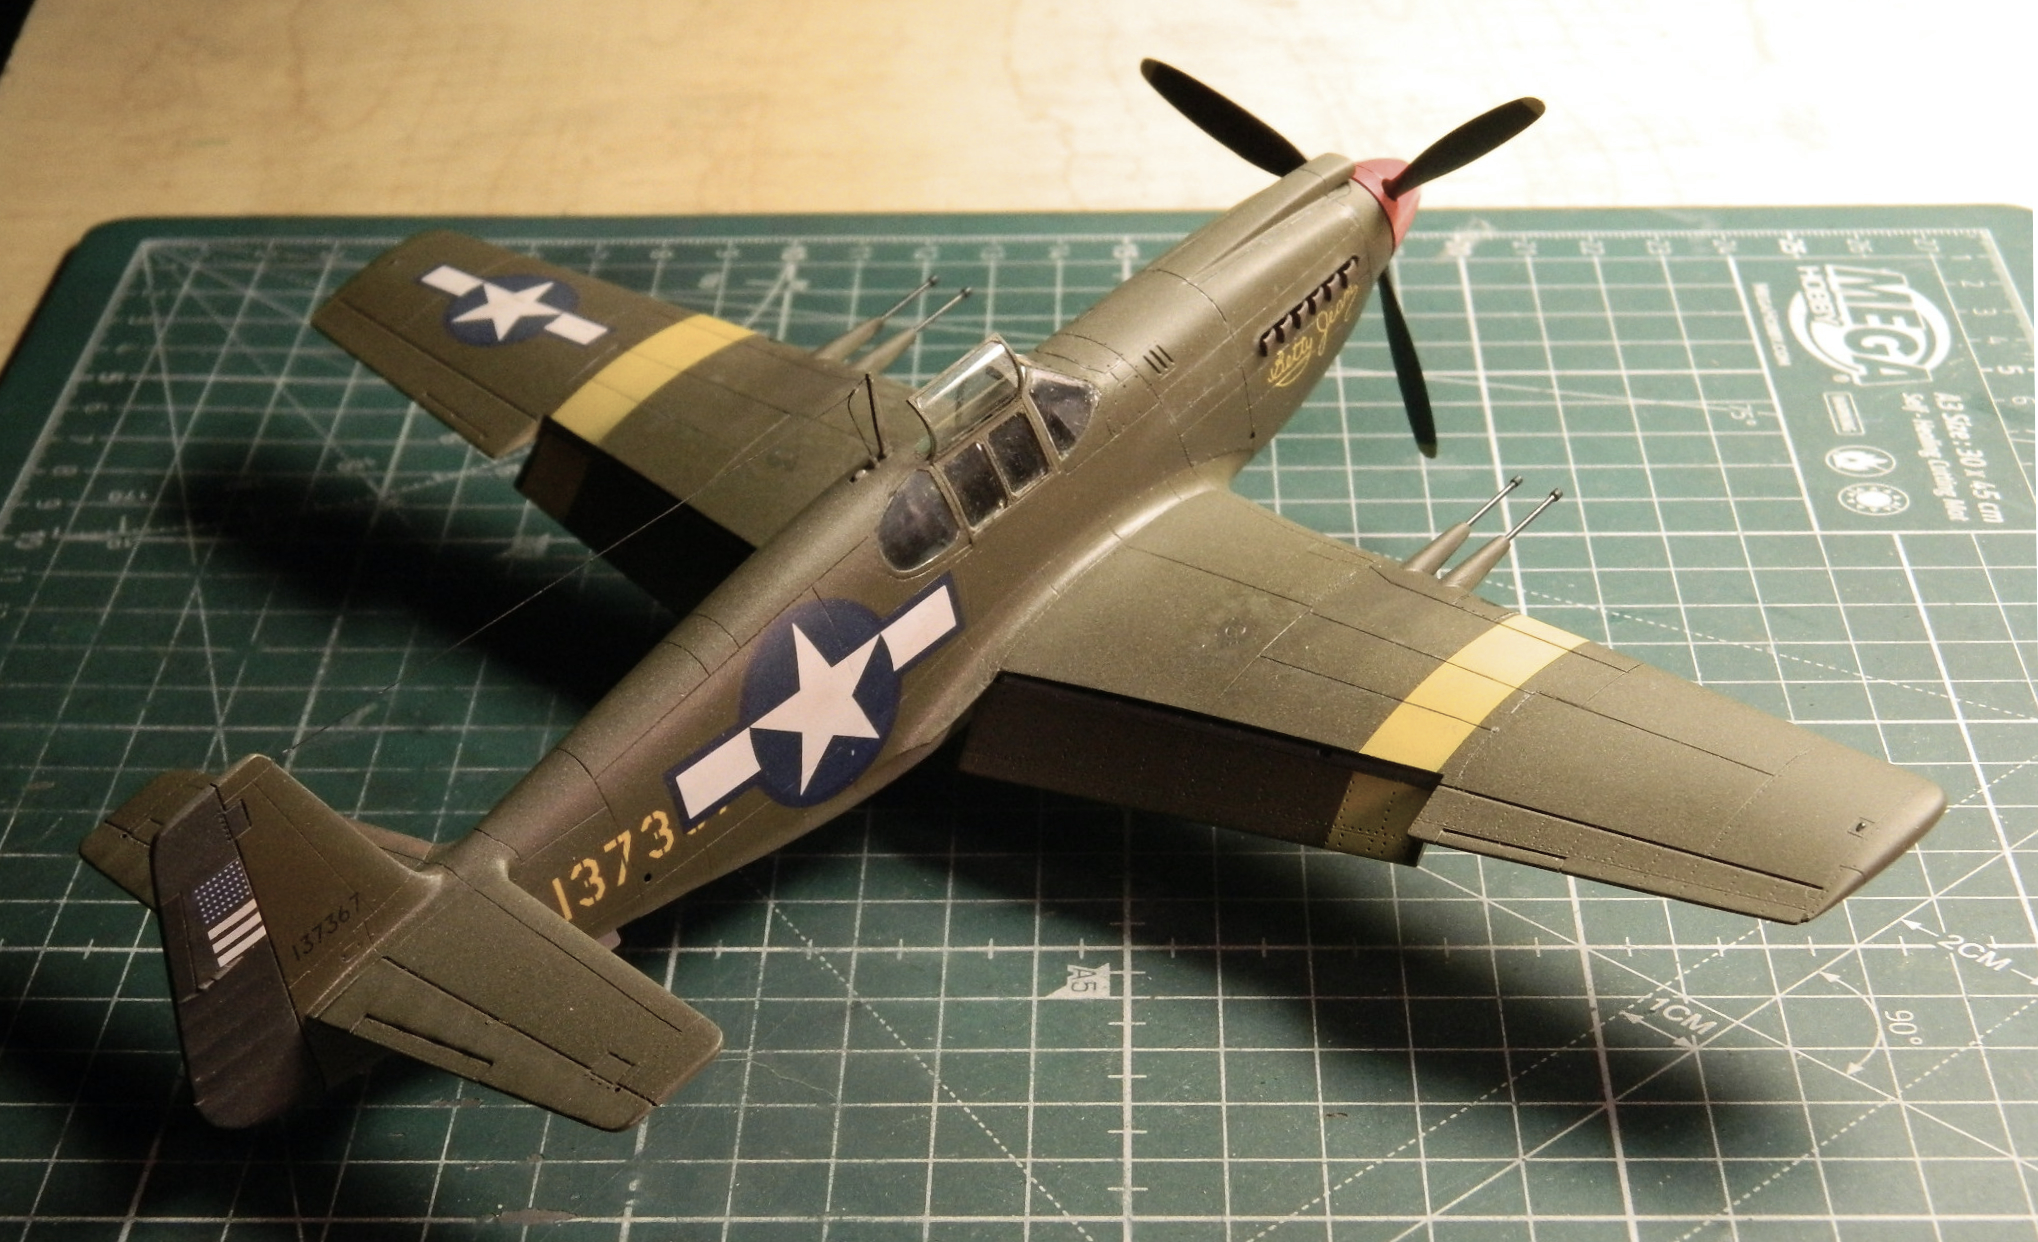
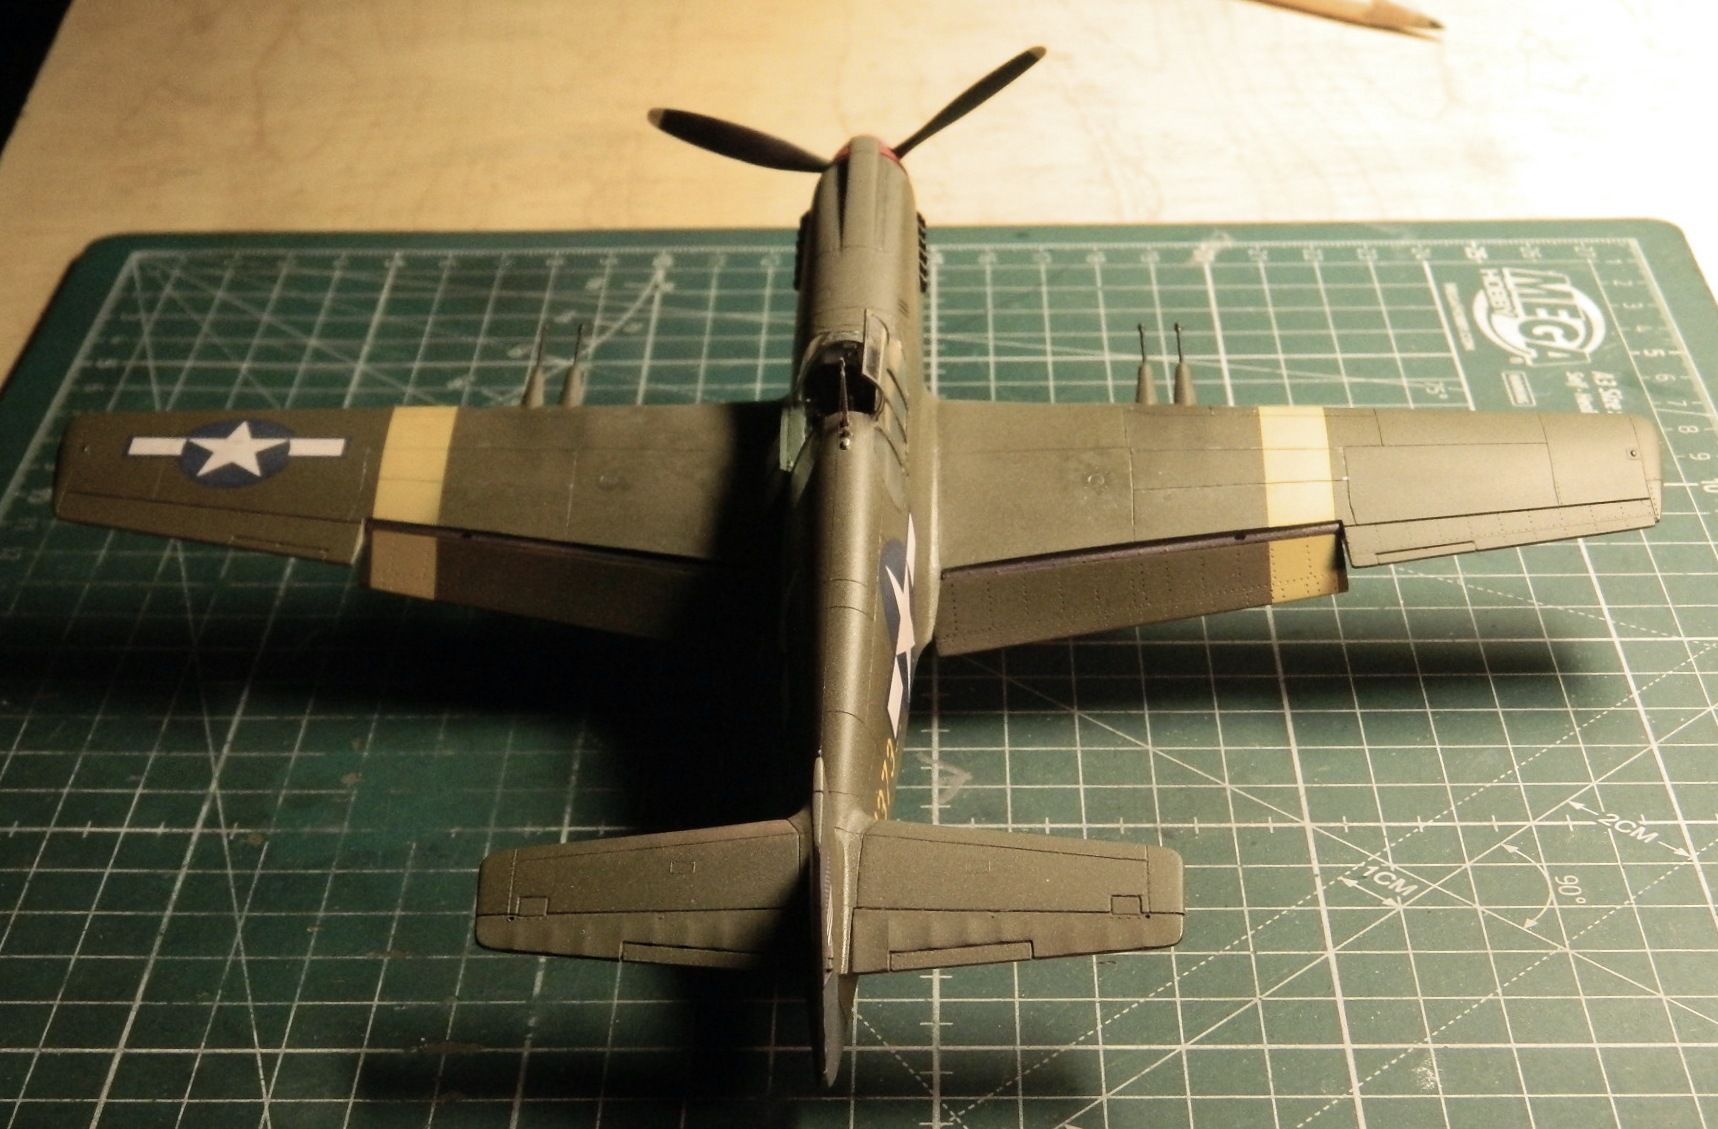
The formation lights received a little dab of the appropriate paints and, without the trumpet fanfare I think I deserve…
IT’S DONE:


Looking good (as usual), Wayne! I seem to have gone off modelling since I’ve been imprisoned at home. I’ll do a bit on the Comet, then a bit on the BMW, then a bit on the 17 pdr gun… getting better at minute PE and teeny tiny moulded bits, though.
LikeLike
Thanks, Al! This one was SO satisfying to finish on a couple of different levels. Fixing a kit I’d screwed up years ago, FINALLY getting the Allison-engined Mustang I’ve wanted for 29 years, and did I mention fixing a kit I’d bitched up years ago?
LikeLike