The smaller the details, the longer it takes to do them. I think it’s because homo sapiens are ill-suited to the task of scale modeling. Think about it. We only have two hands, all ten fingers are either too thick or suddenly turn into thumbs (y’never know when either), the smaller the part we’re working the more we notice our hands are anything BUT steady, our vision doesn’t self-magnify…and the list goes on.
Today was small details.
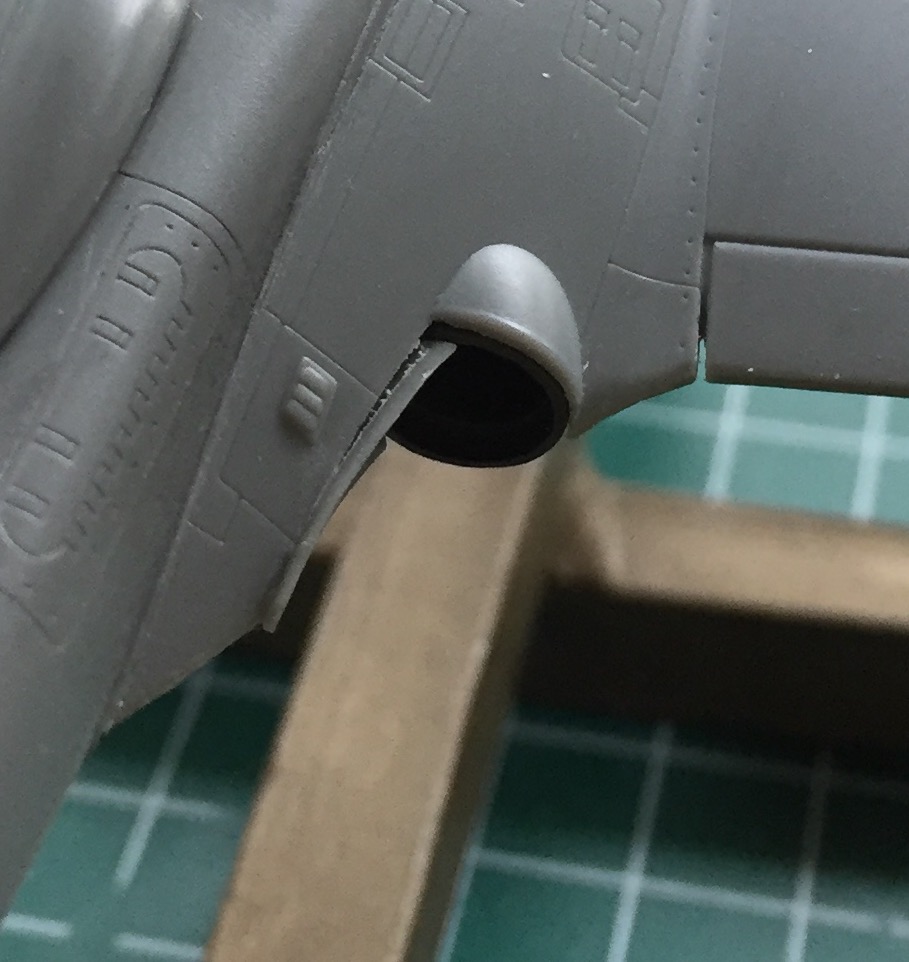
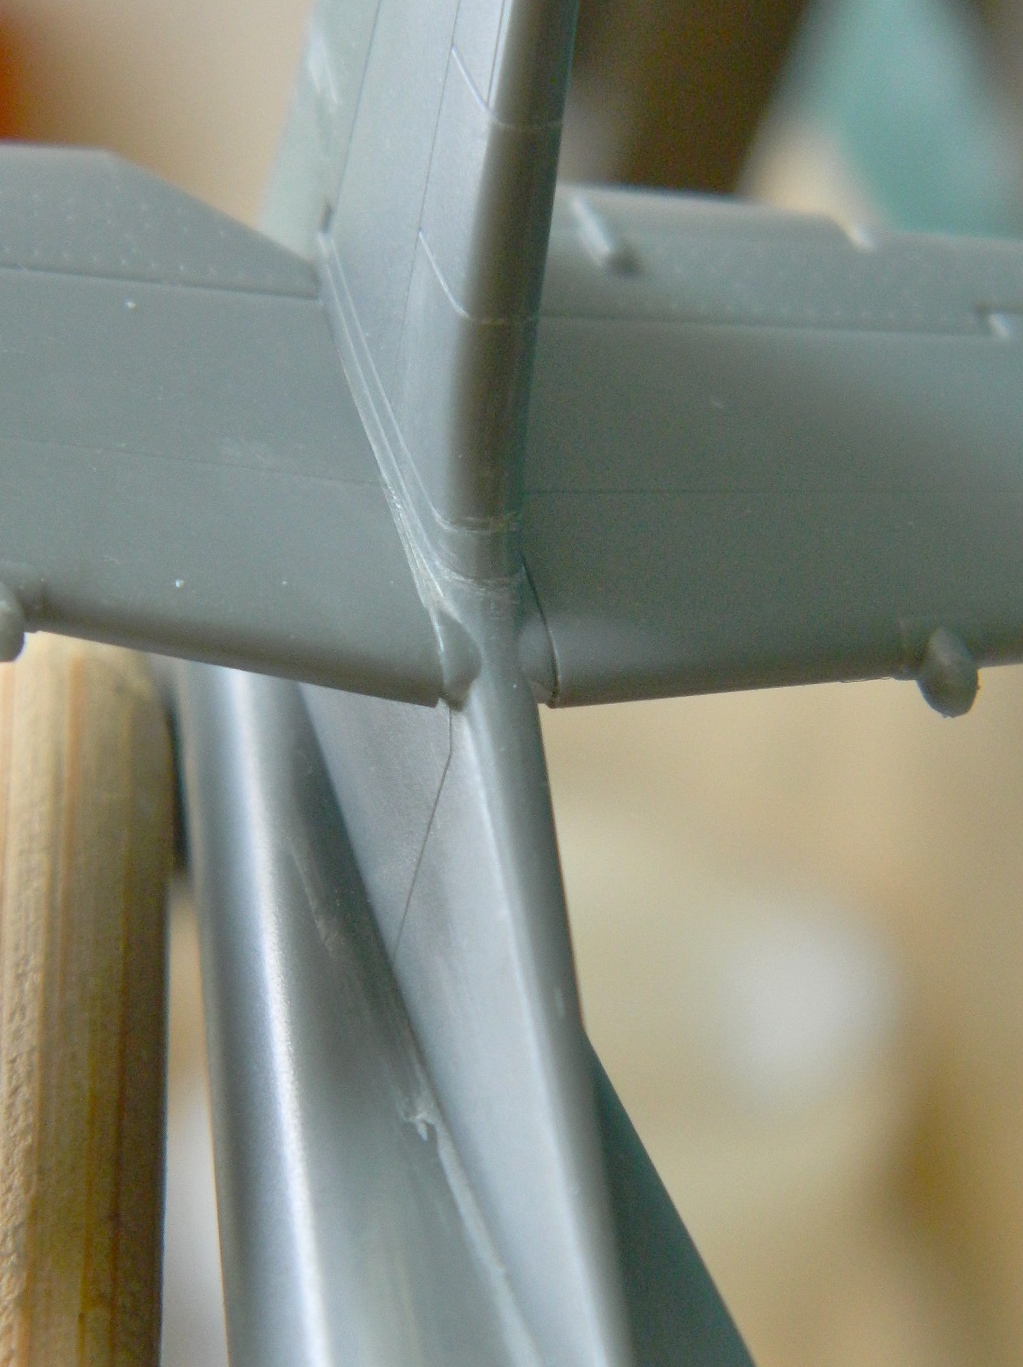
I started by fixing the exhaust deflector on the right side. The left side fit perfectly. It wasn’t until I’d glued the right side in that I realized that it didn’t quite fit (see the Glossary for “brain fade”), so that got fixed:
Scribing panel lines raises little “feathers” of plastic. Being lazy, rather than chase them all down, I use a small amount of styrene cement and painted the scribed lines. The glue causes the tiny feathers to dissolve into the plastic and vanish. The “rivets” were mostly sanded away during the fitting of the intakes (and in a few other places) so I replaced them with a small drill as well:
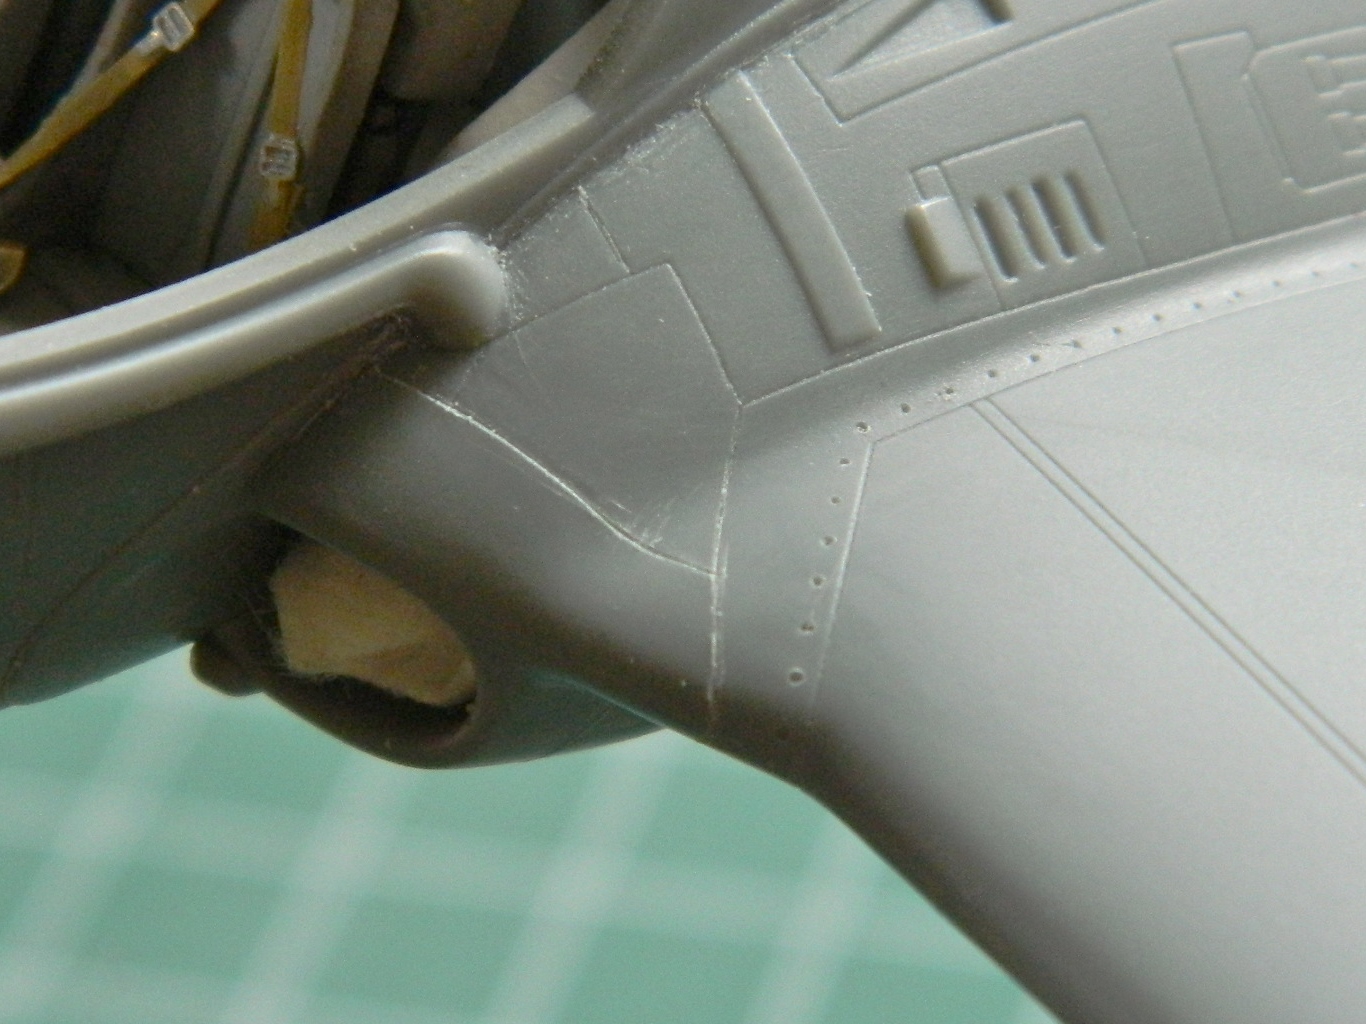
While I was looking at panel lines, I realized the strakes on either side of the nose didn’t have panel lines across them to match the panels underneath. I checked references and yup…they should be there, so I added them:

One of the interesting things I noticed was that the panel lines that wrap around the leading edges of the wings don’t match up. I sanded away the ones underneath and rescribed them. Later on, I noticed the page with the load call-outs a saw that the mistake was also done on the printout:

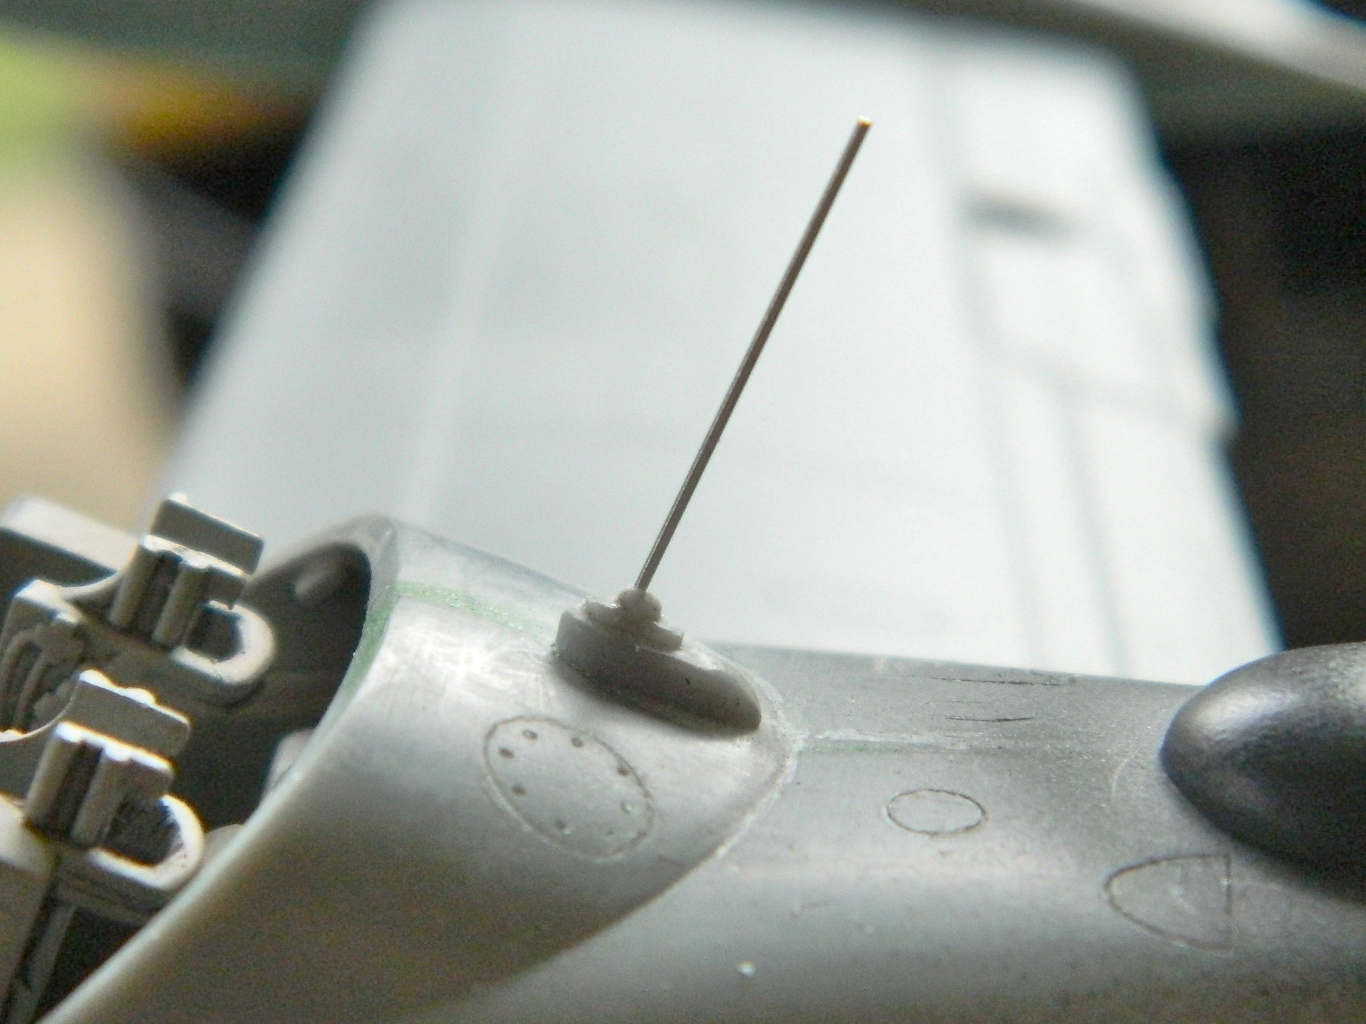
In drilling the antenna mount behind the cockpit, I dropped the pin vise and snapped the bit. I have extras of the bits that are easy to break and thought for a second I’d use the broken bit as the antenna. If this build wasn’t OOB I’d have done that. But since the bit wasn’t included in the box, I stretched a piece of sprue (it was included in the box) and used that instead. Since I’m making the aerial removable, instead of painting it with acrylic, I used enamel instead because I find enamel more durable. I dipped the sprue in the bottle of black enamel and set it aside to cure:


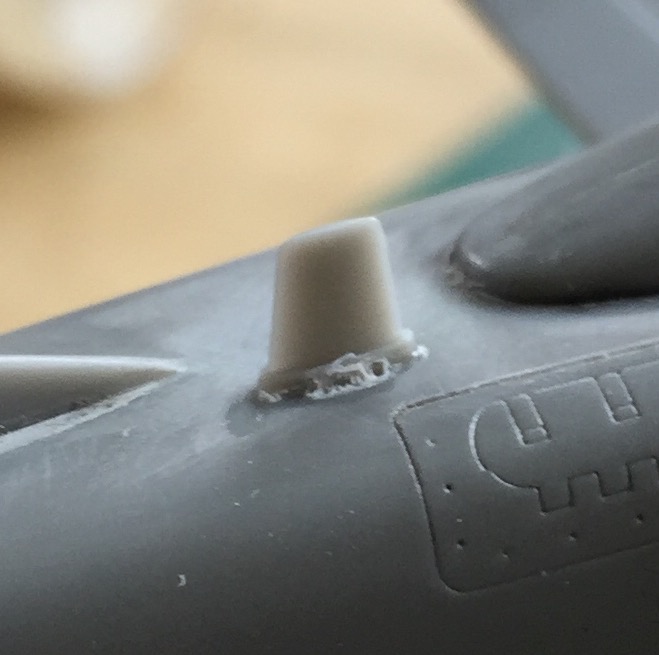
I wasn’t pleased with the paint job on the black dorsal hump. The edge of the white primer underneath could be seen under certain conditions, so I stripped the paint off. I also added other antennas and a vent to the top. Of course, once I’d added the antennas, I didn’t pay attention to where I grabbed the fuselage and laid one of the antennae over on its side. I pried it up, glued it back into its proper place, and tomorrow after the glue has fully cured I’ll rework the surface to remove the marred area:

Another fit problem is at the root of the elevators and that still needs to be fixed:
The last thing I wanted to add to the cockpit before putting the canopy on was the HUD. These are the parts I started with:
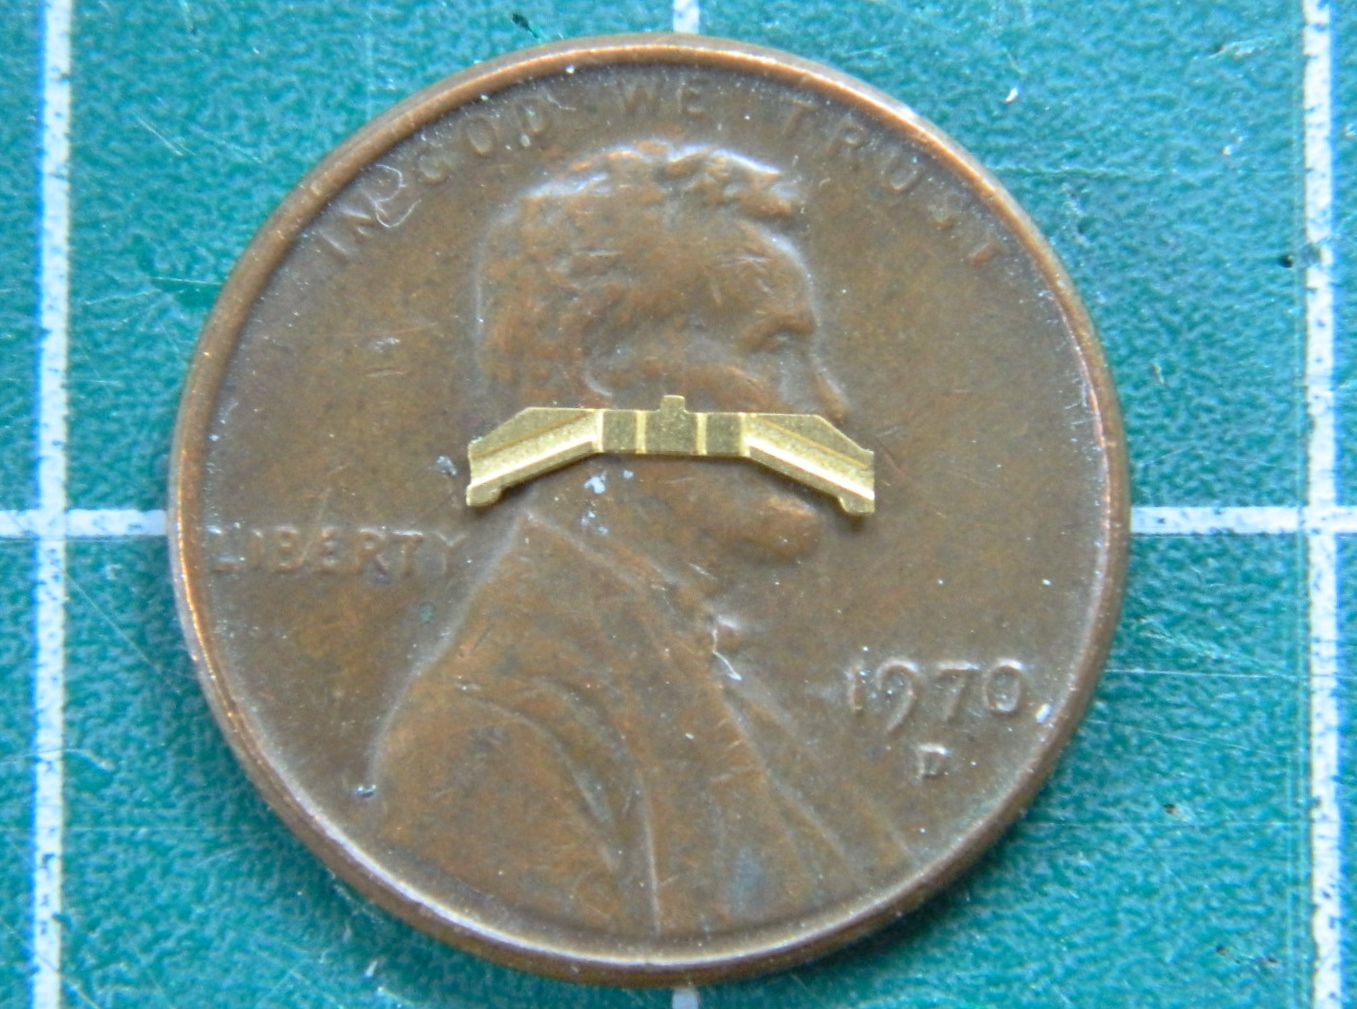
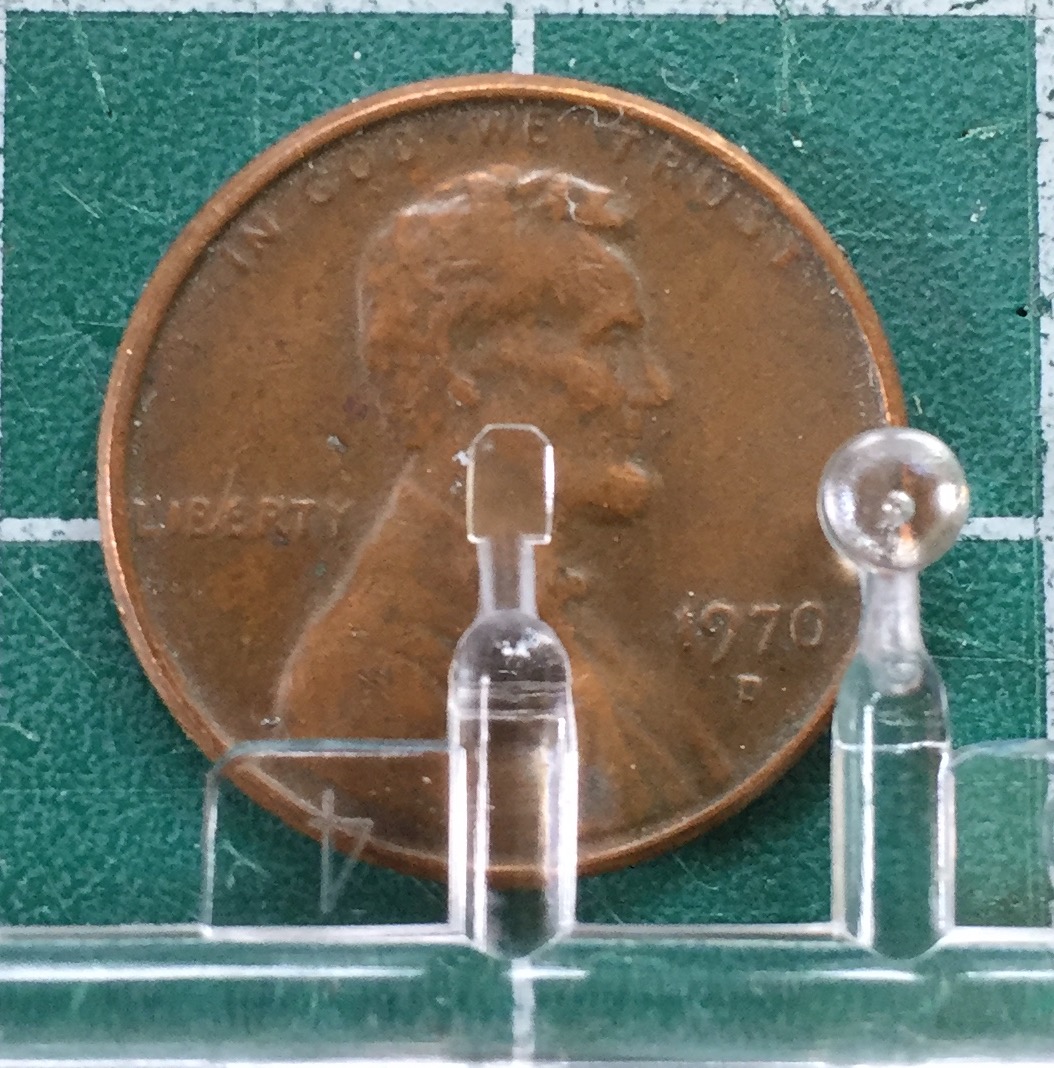
The PE part needed to be bent around the clear part:

And that was the end of the easy part. I noticed that the dimensions were off regarding the slots on the gunsight’s body and those were fixed:

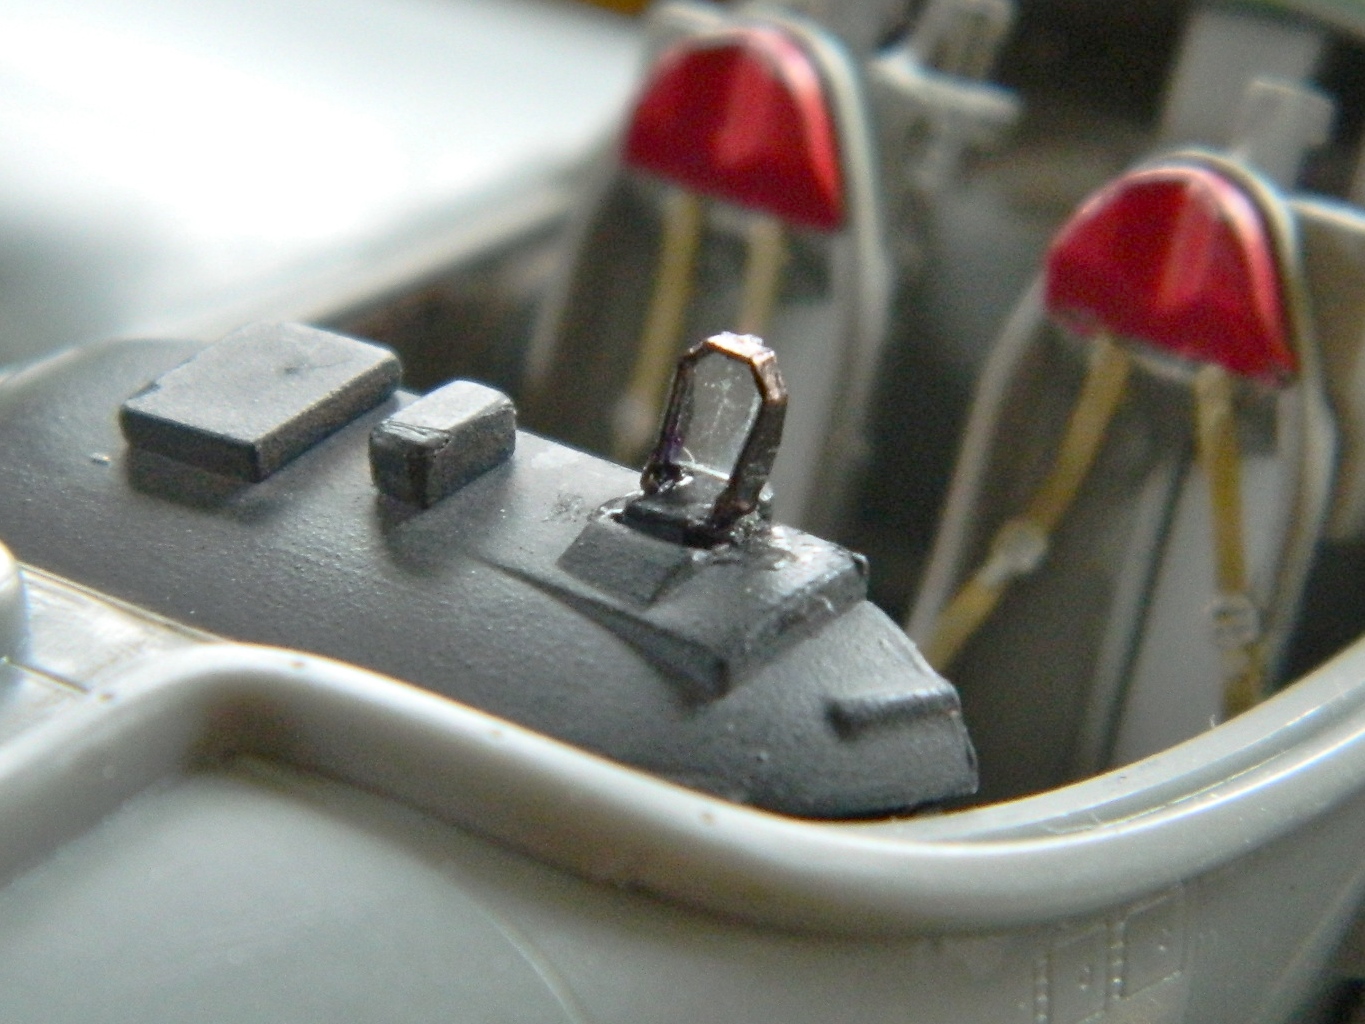
And of course, the paint had to be touched up. While I was thinking about paint, I wanted to blacken the brass PE mount with something other than paint because I suspected the paint would be too thick on such a small part…and a total bitch to do properly. So I used a marker pen:

About an hour later, because it was SUCH an annoying part to get properly aligned, I finally managed to get the sodding thing on and in place:
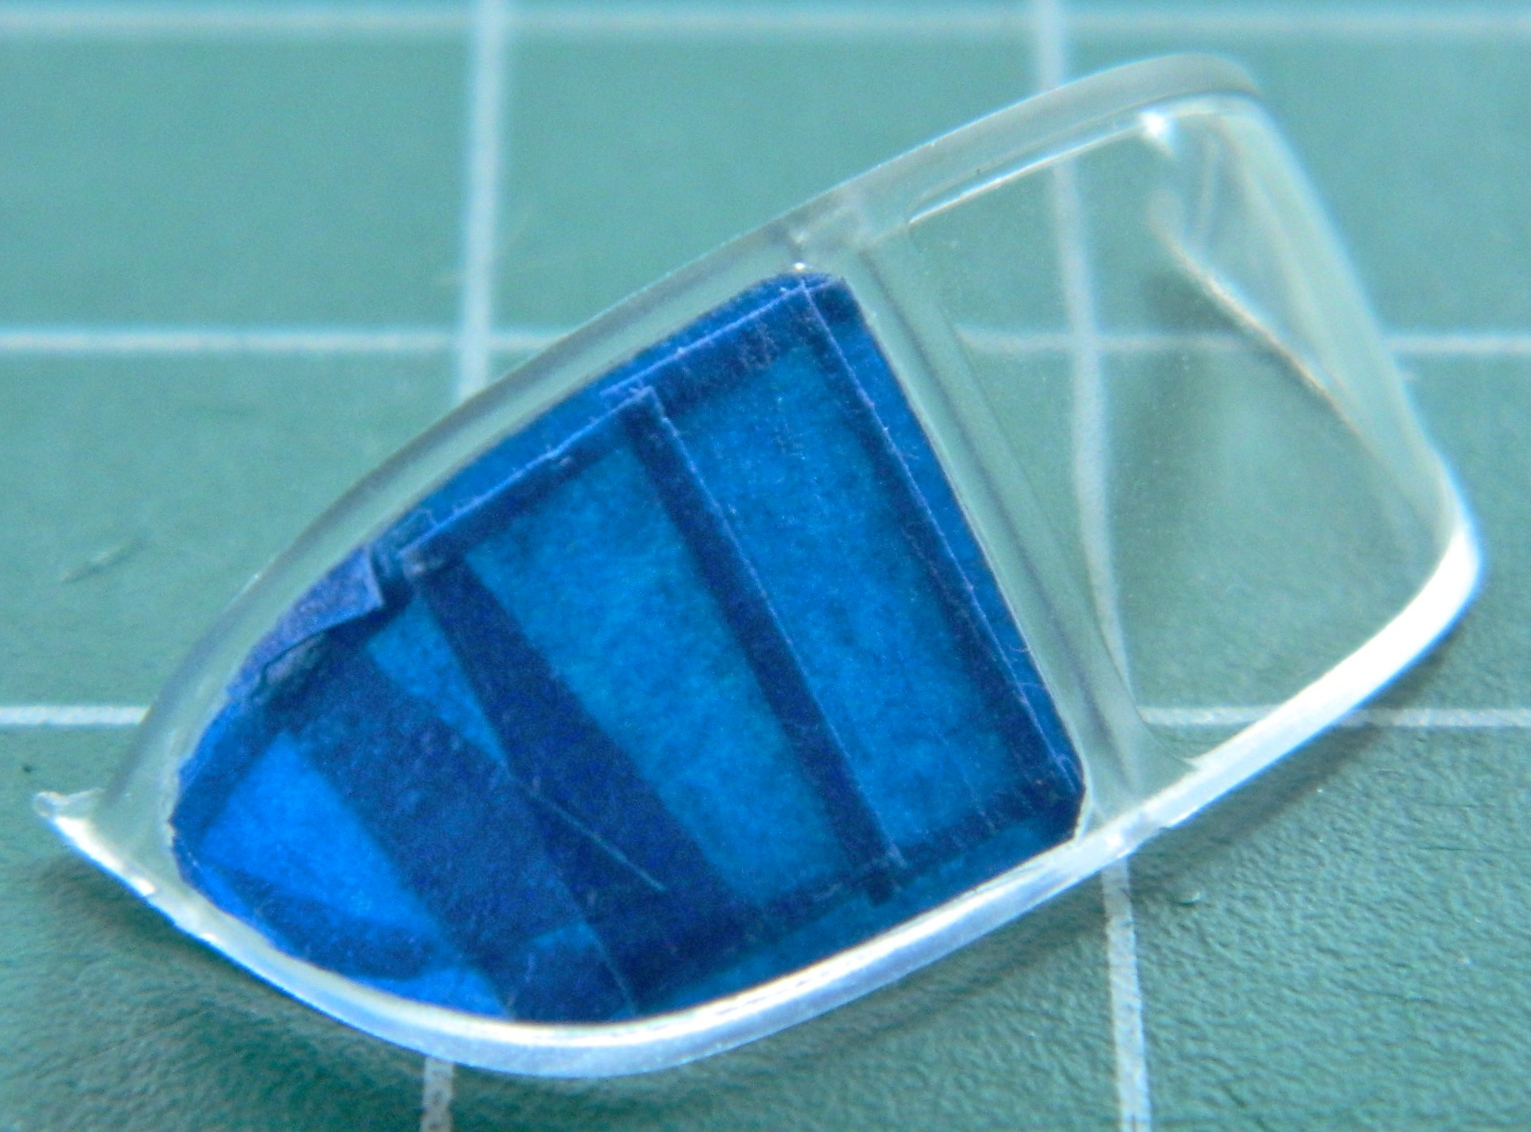
Now to mask the canopies. They’re very nicely done parts…and they have framework on BOTH sides, so that doubles the…”fun”:
I’ll continue this “fun” tomorrow when I’m more rested.
