Next, I wanted to get the clear covers over the wing-mounted landing lights. When I vacuformed the canopy, I also used the kit light covers as bucks to pull clear over. Well…I learned something with these parts. The easy part was forming them. Then I had to figure out how to hold something this SMALL while first trimming it, and then trimming it to fit:
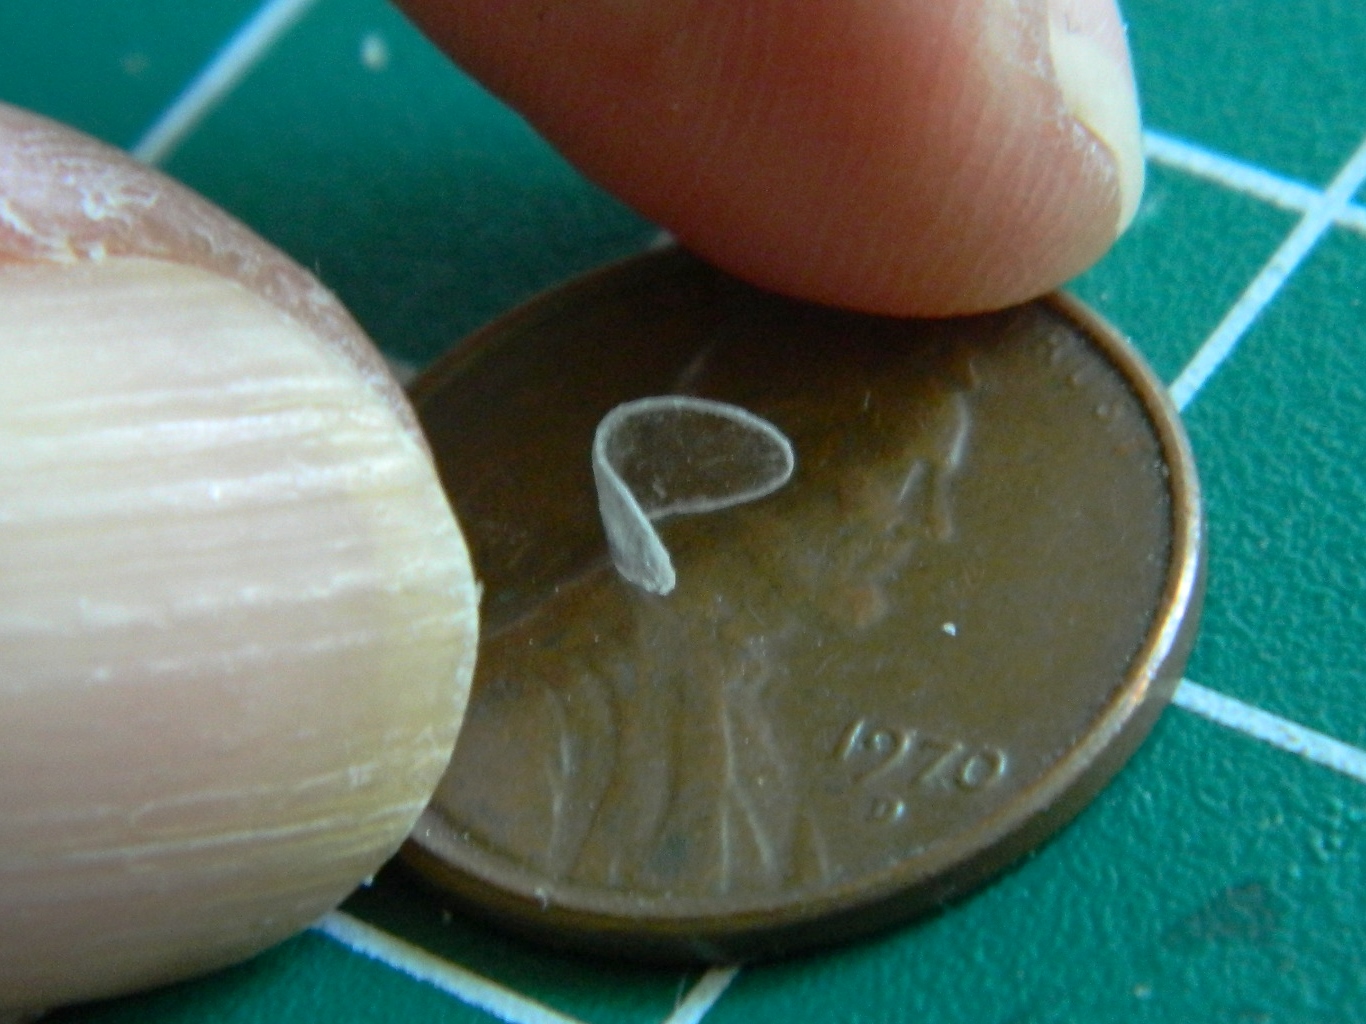
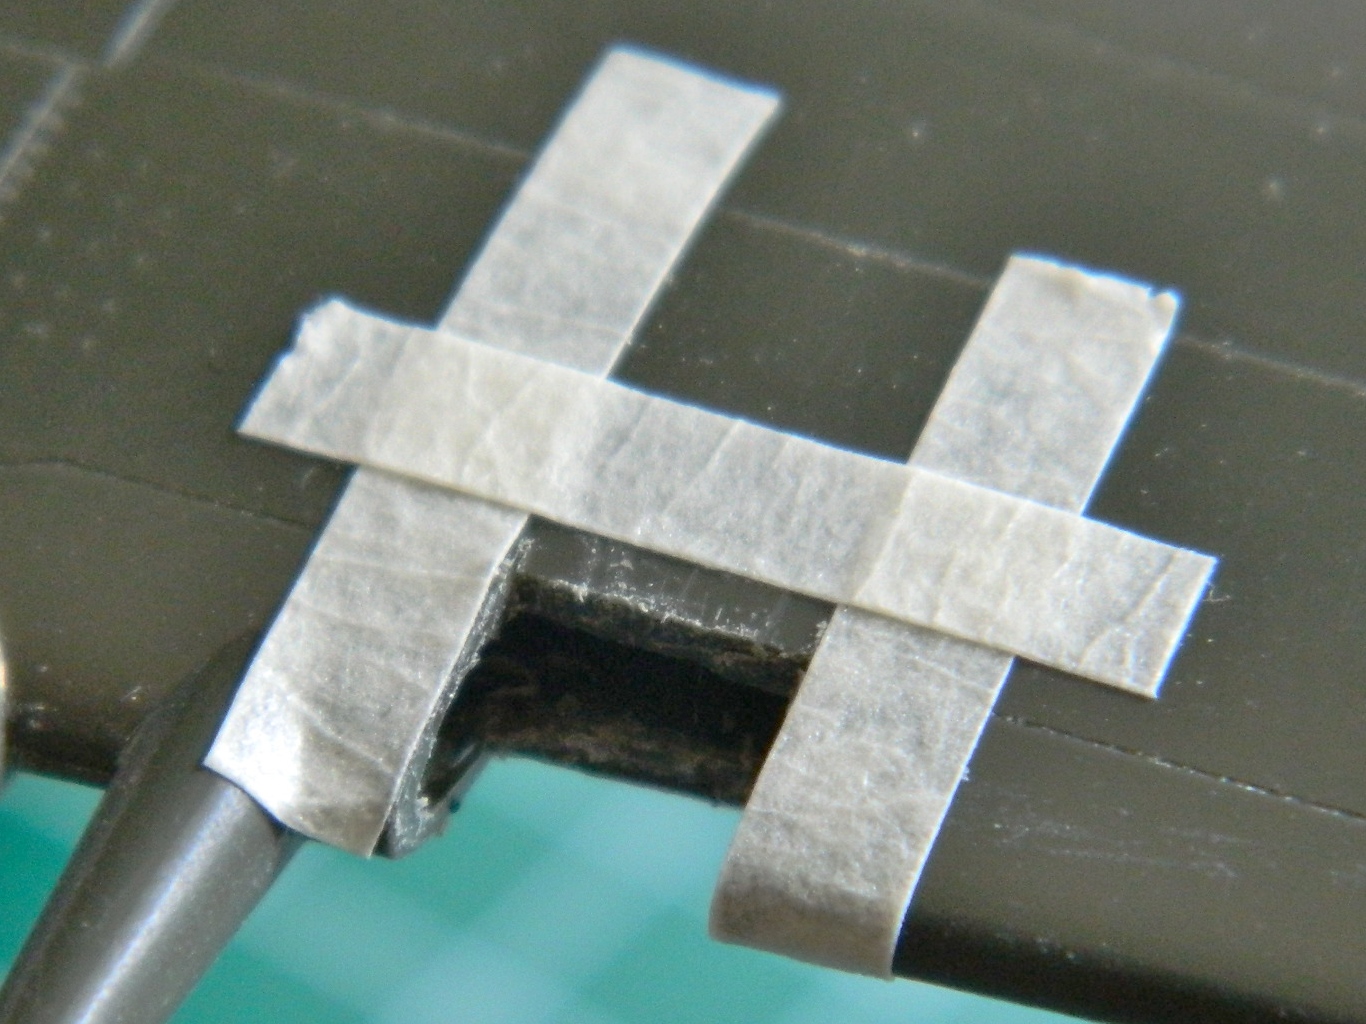
Then I had to figure out some way to hold it while I glued the cover in place, so I made a “handle” using masking tape:
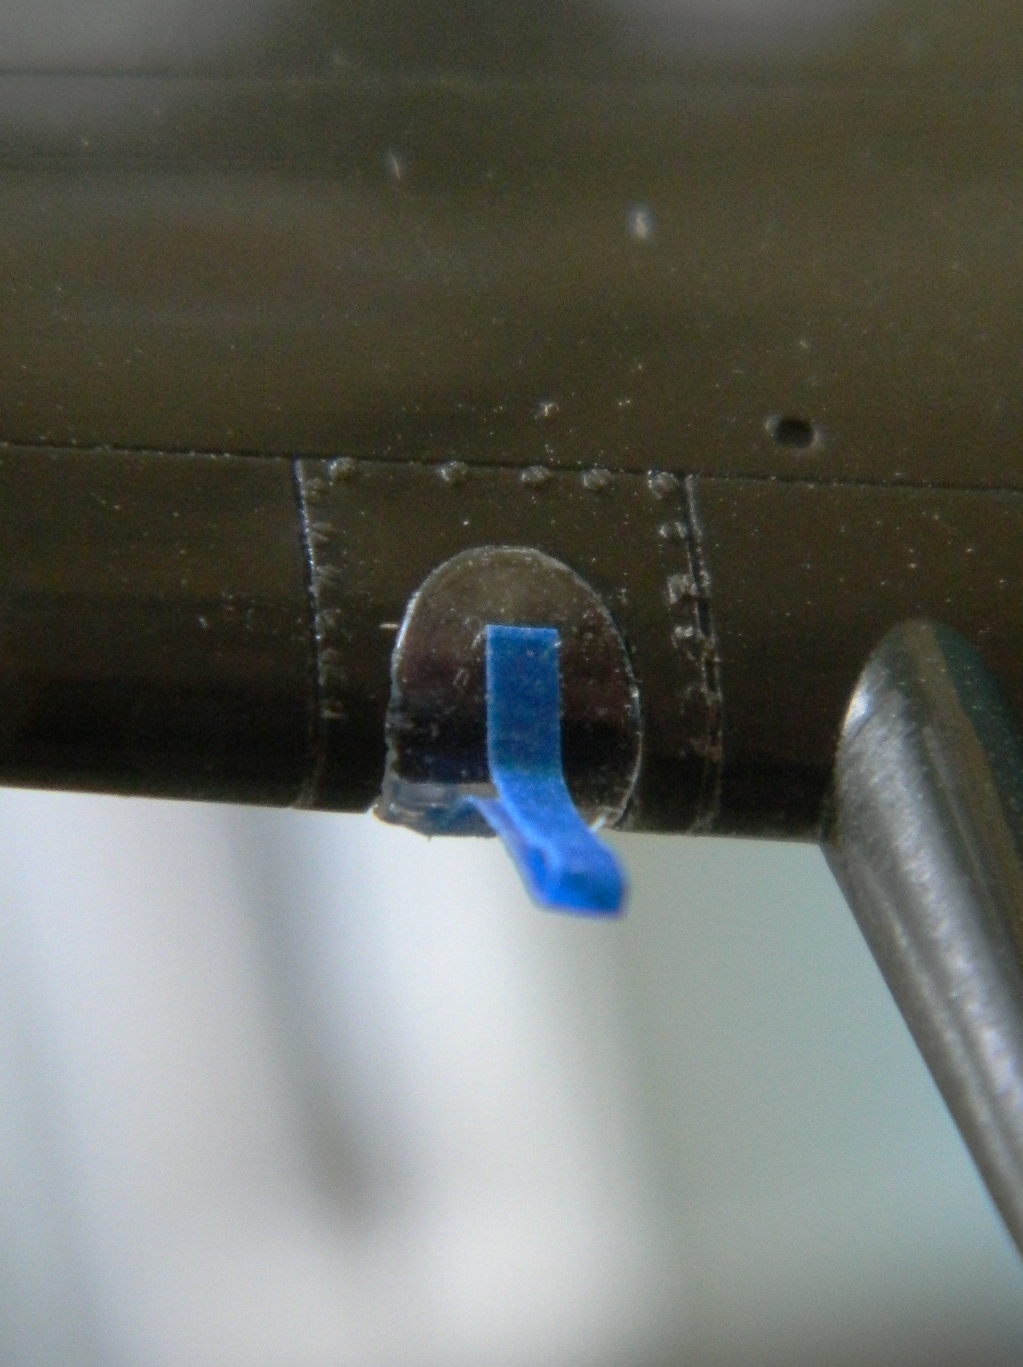
Okay, though tedious, up until now everything was going as planned. Past tense. Trying to glue the cover on was a massive exercise in futility. There just isn’t enough surface area on the edges of either the cover or the wing to effect a decent (not even good) bond. Well, poop.
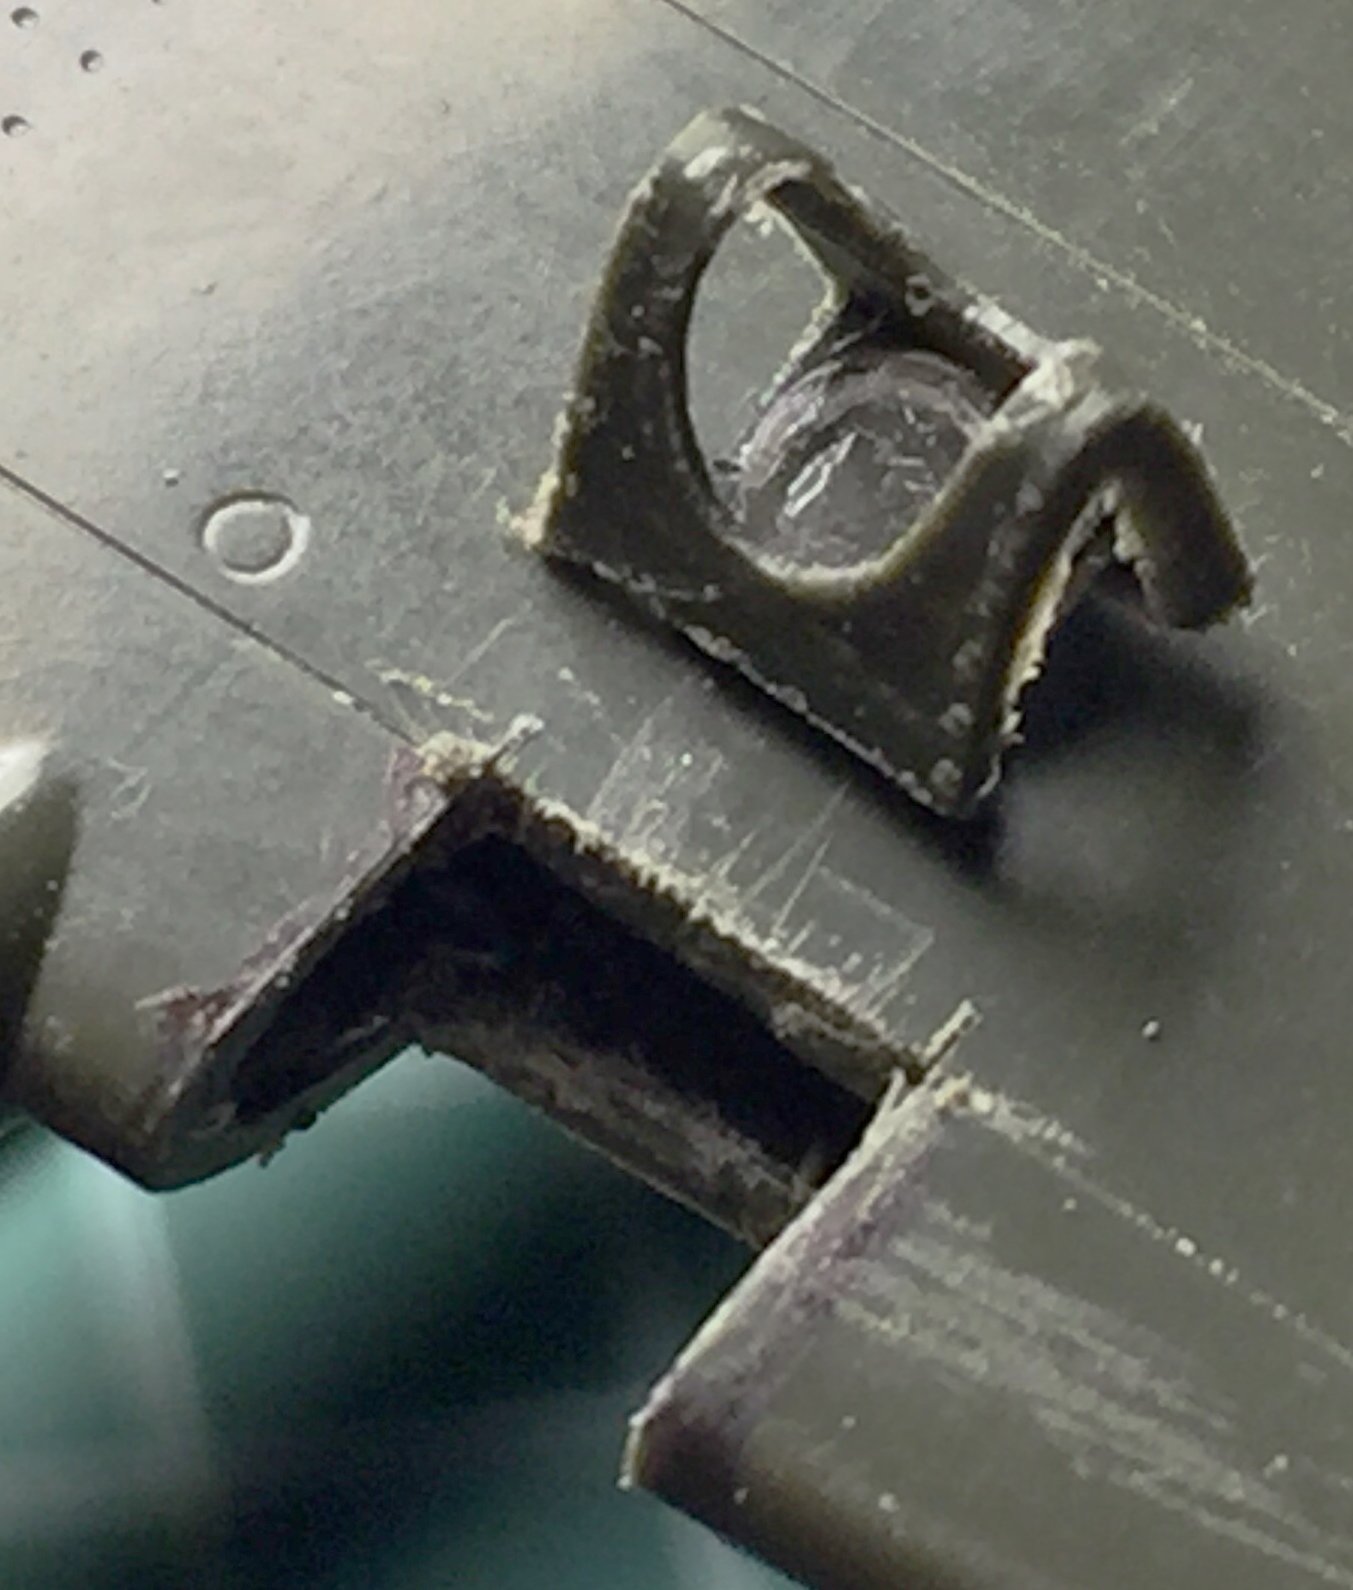
Then I had the idea of using the spare kit to provide that area of the wing where the landing lights are as a buck. The idea was to use a larger piece of plastic and effect the gluing process by making it larger than needed so that I could cut recesses into the surface of the wing to provide a larger surface for gluing and then putty/sand the addition into obscurity:
At this point I suspected that how I was viewing the task was creating a cage for me. Did I have to vacuform these covers? Well…no. In essence, it’s a flat piece that curves under and forms the leading edge of the wing. So why not cut a flat piece of plastic, glue one end in place, and use a hair dryer’s hot air to create the curve? This would also allow me to remake the landing lights (because I knew the ones already made would not likely survive the excision) and fit them into the clear plastic prior to installing the assembly into the wing.
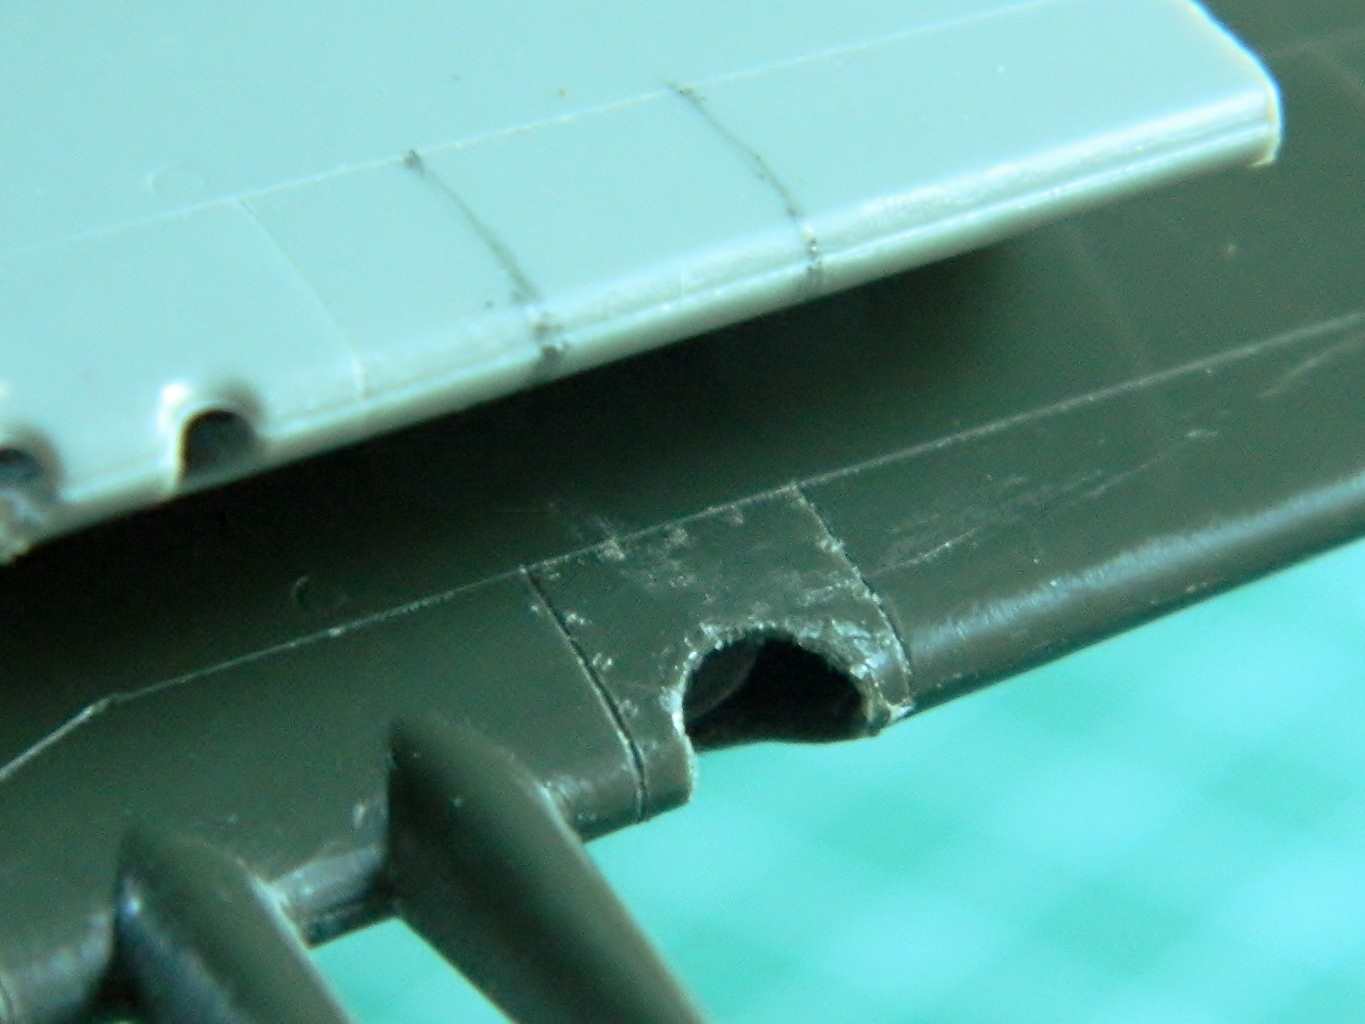
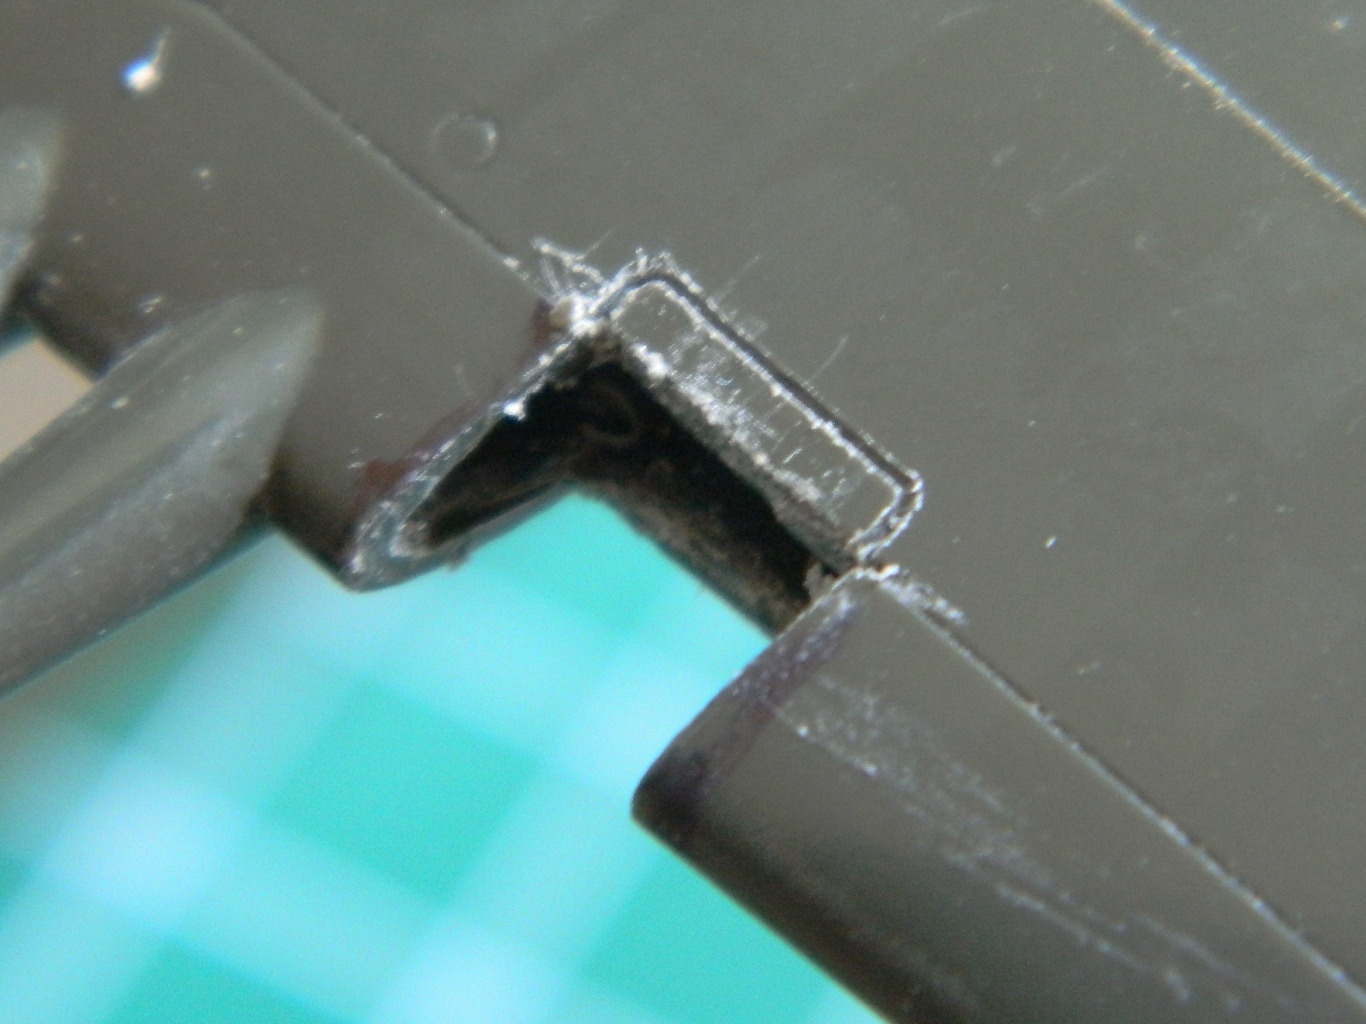
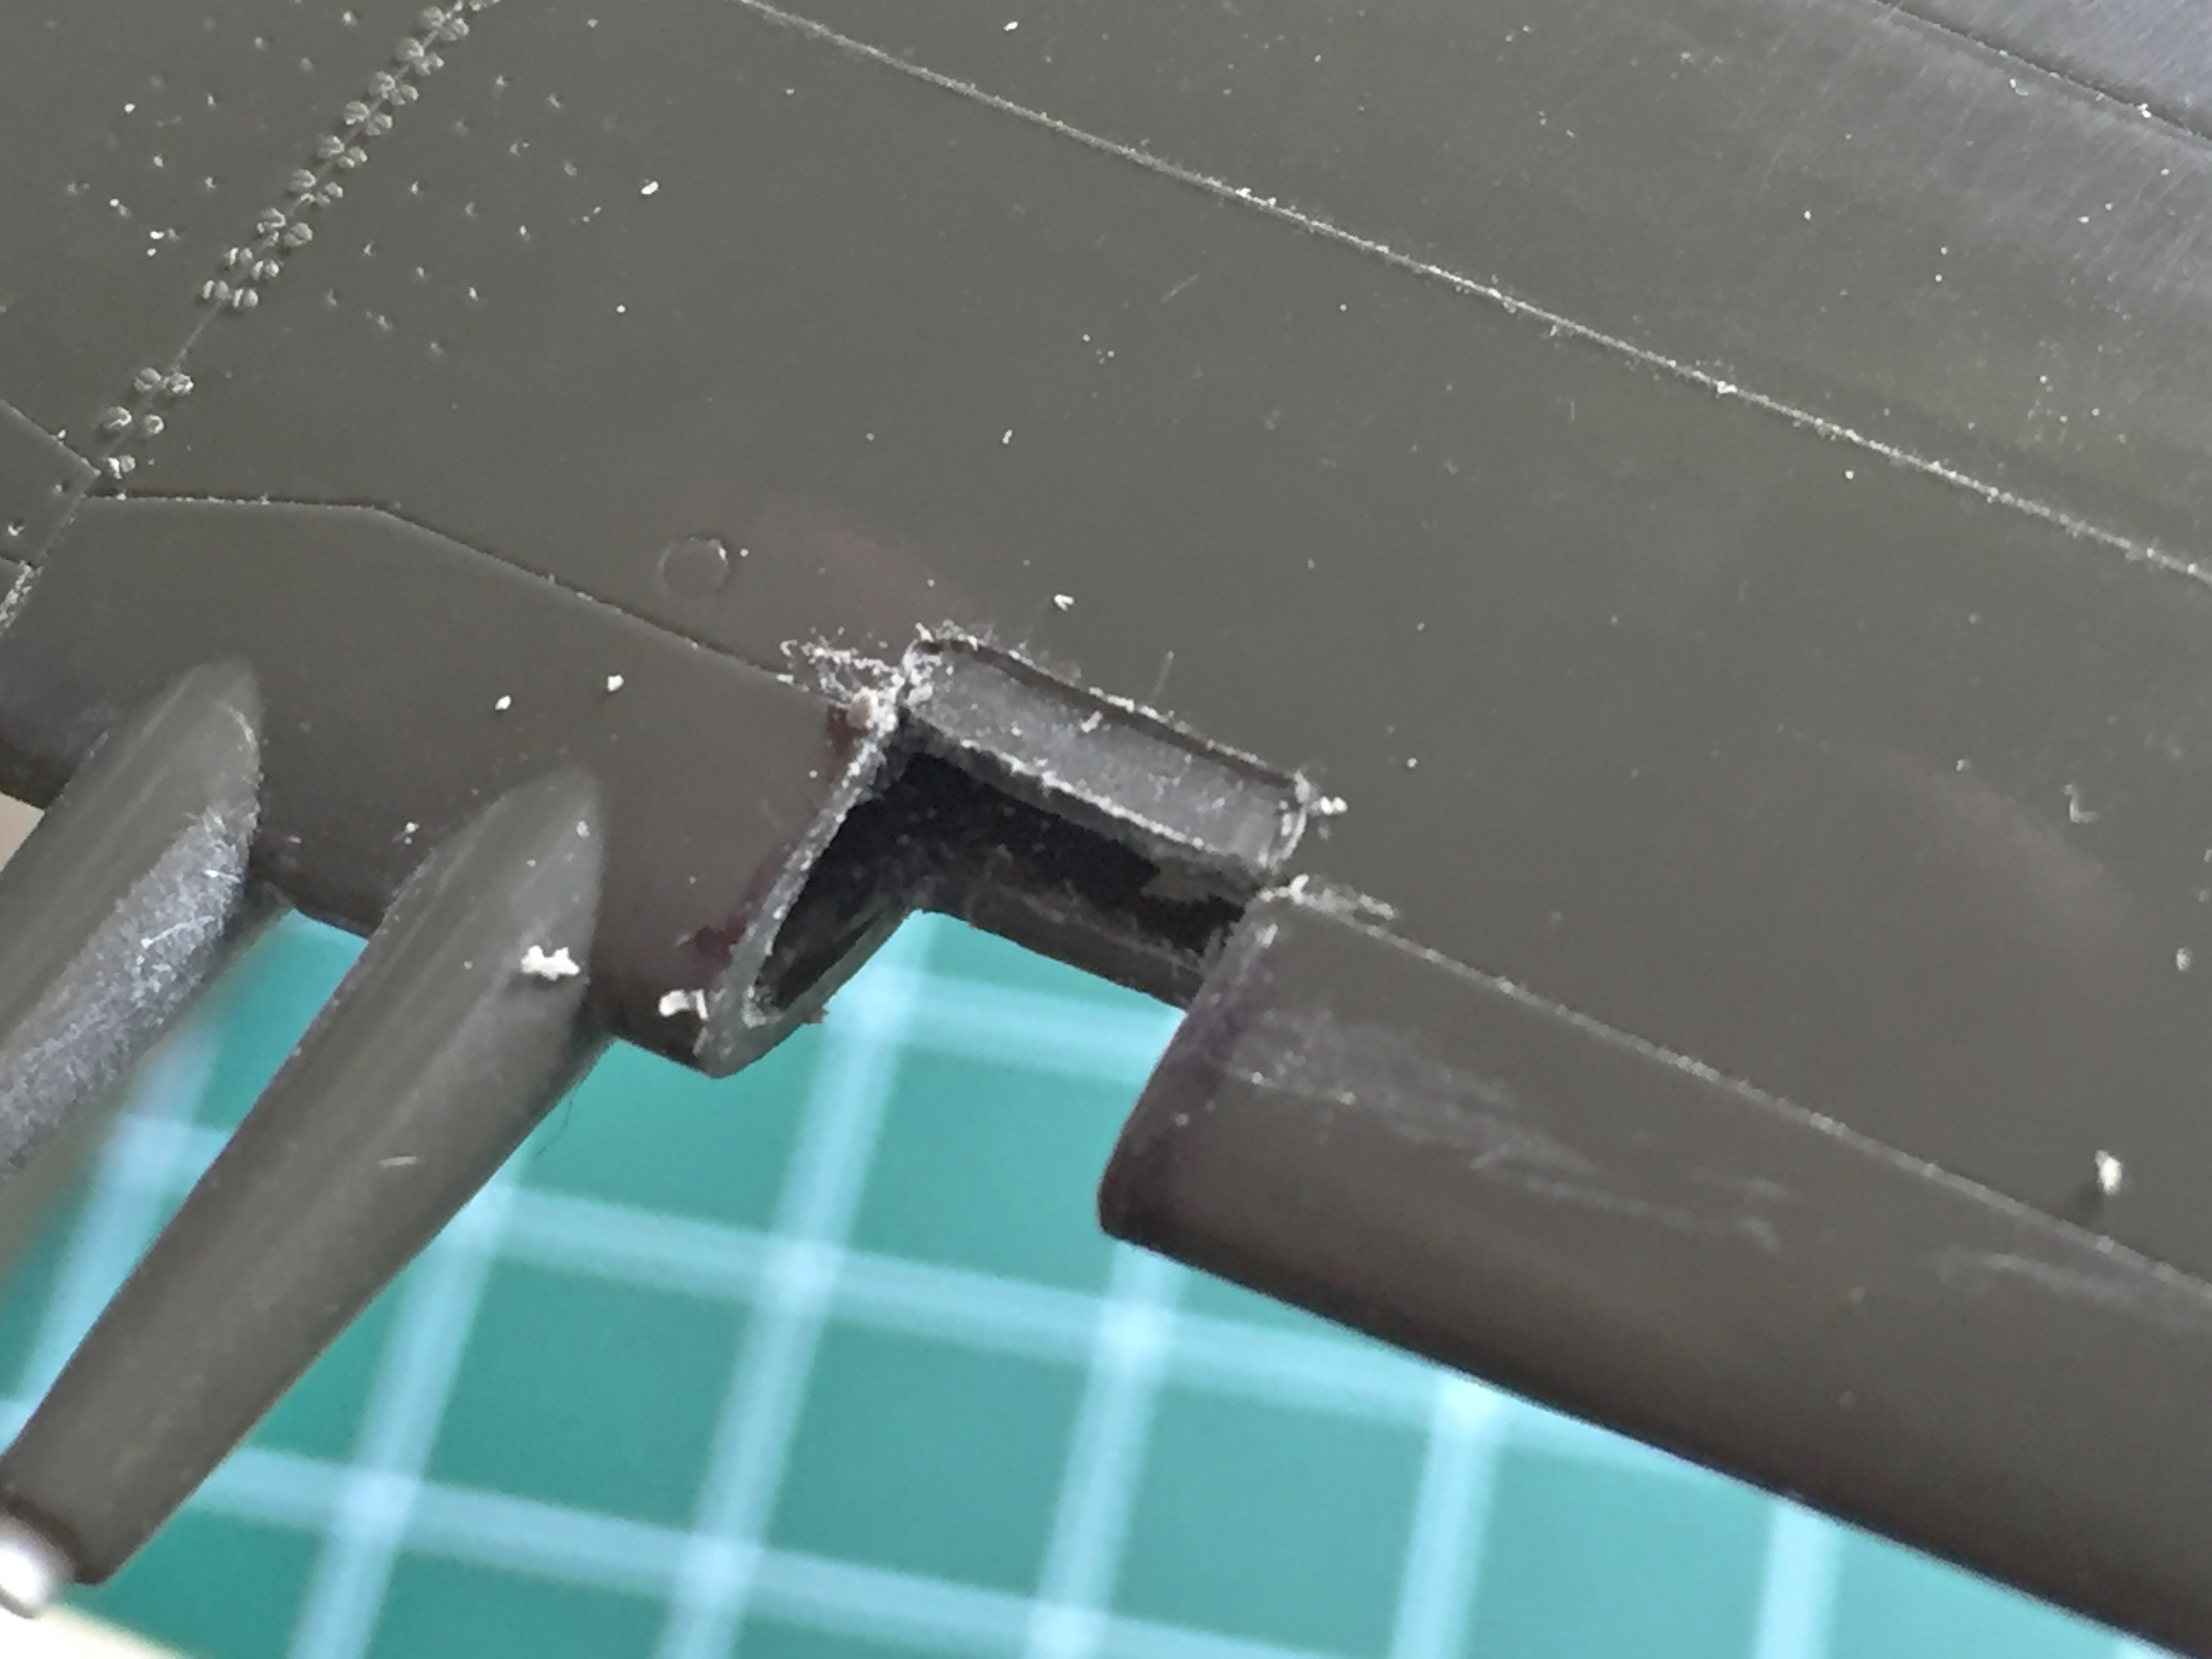
I began by cutting the molded-in landing light away:
Then I used masking tape as guides for the panel scriber. I scribed first so that I could use the panel lines to guide the knife when it came time to remove plastic from the wing’s surface to recess the clear piece:
The grooves act as guides to keep the knife from skipping across the surface (again) as I removed the plastic:
This part of the build came to an abrupt halt when I realized I didn’t have any more clear styrene on hand. I could use butyrate instead but I want to use styrene so that I can use styrene cement to effect a solid bond. Okay…put this aside for now. I’m sure there’s something else I could do.
I could do the propeller!
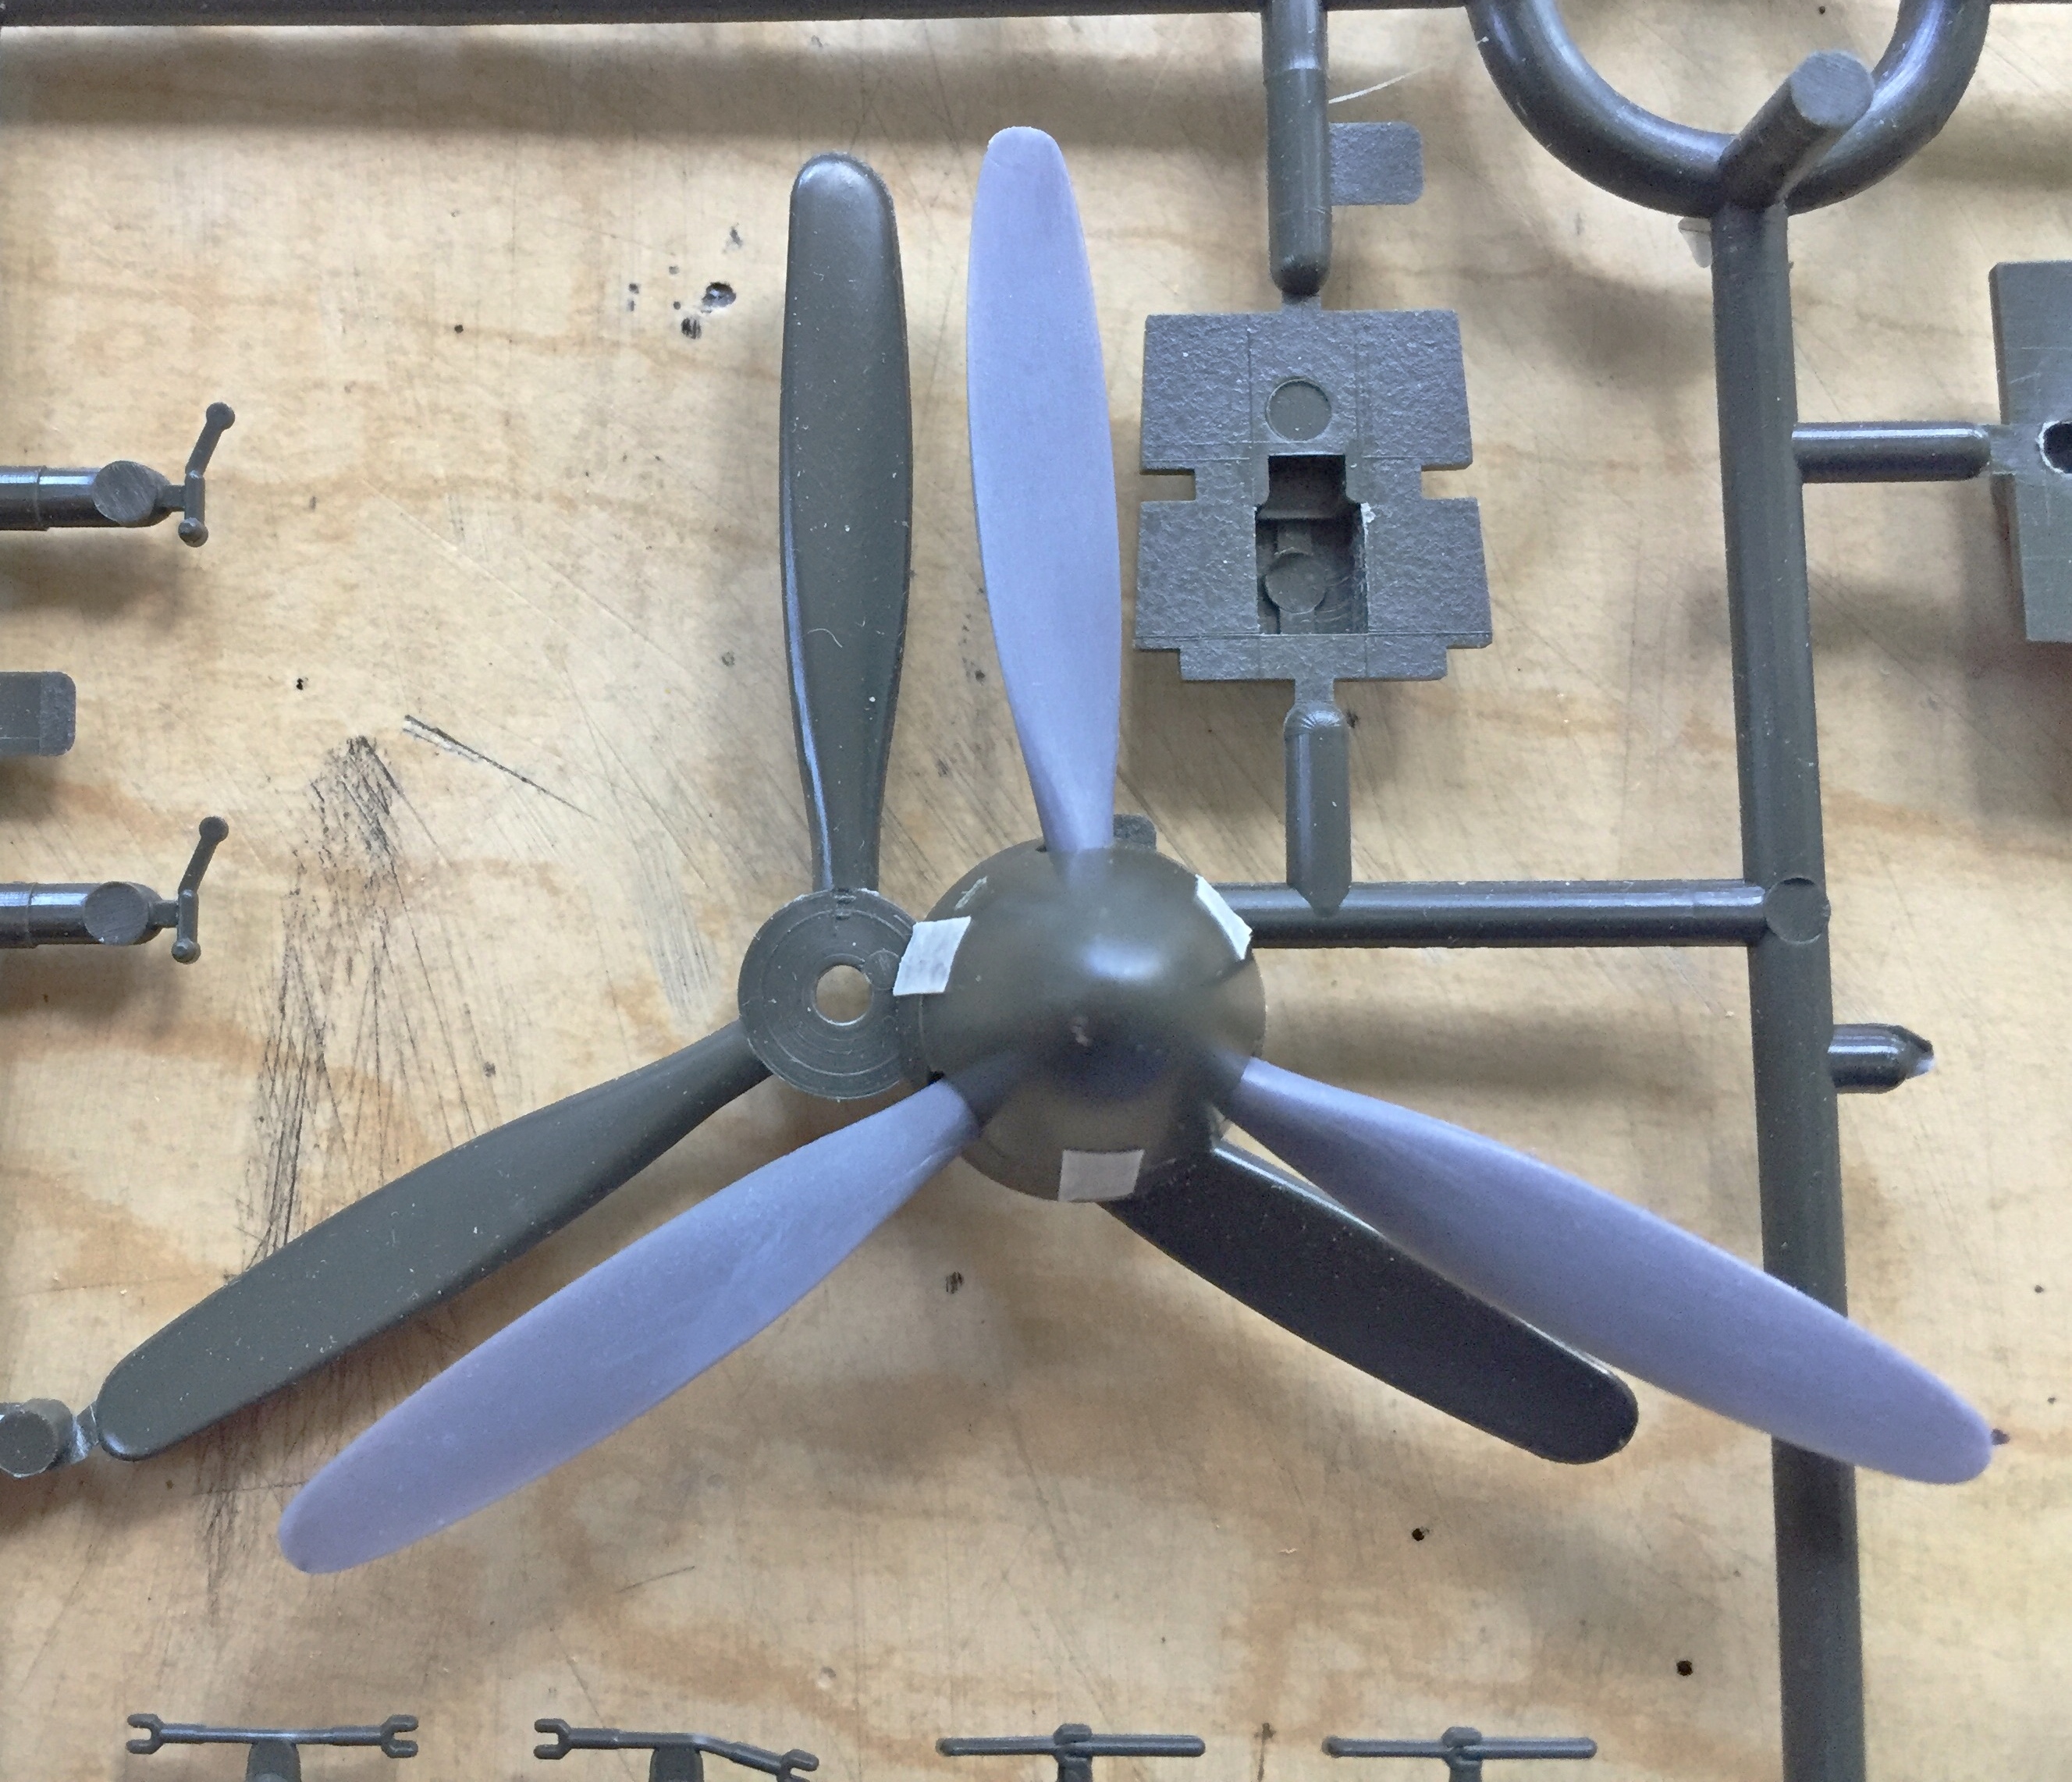
A famous weak point in the Accurate Miniature Allison Mustangs is the shape of the propeller. They look less like propeller blades than they do elongated canoe paddles. Yeah, I could rework the kit parts. Or, I could replace the prop with something more accurate. On my shelves I happen to have the AMT/Ertl kit of the A-20G Havoc. I checked one of the props from that kit against the Accurate Miniature’s prop and it’s a very close match, only without the inaccuracies. But I also want to build the A-20G so I’m going to need those props. In looking online, I found a resin Hamilton Standard prop set for the A-20G. I bought ’em, made molds of the parts, and cast copies.
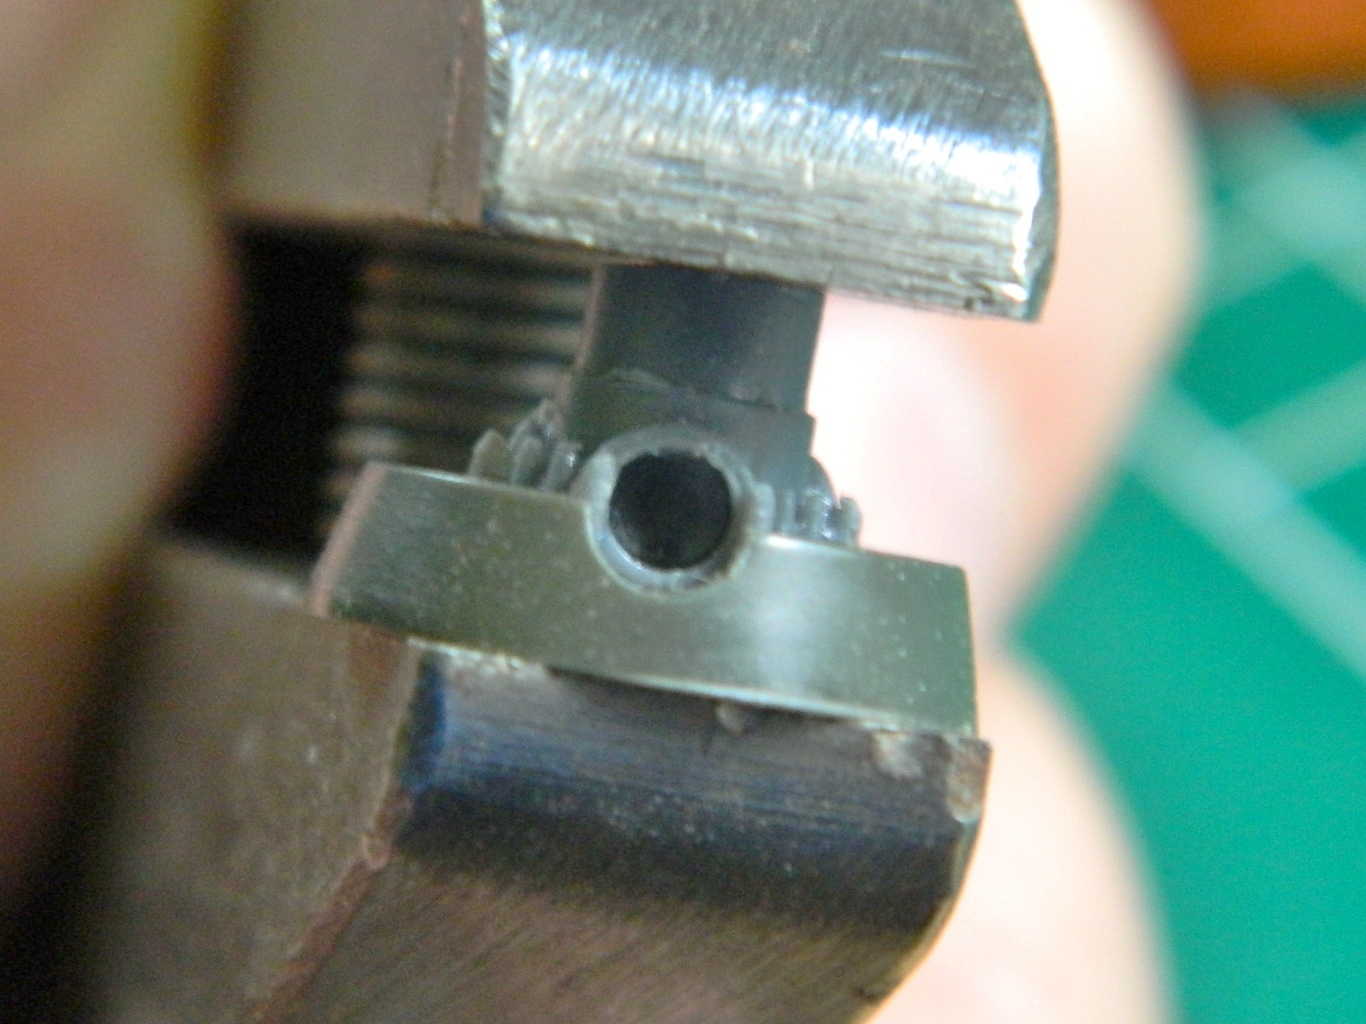
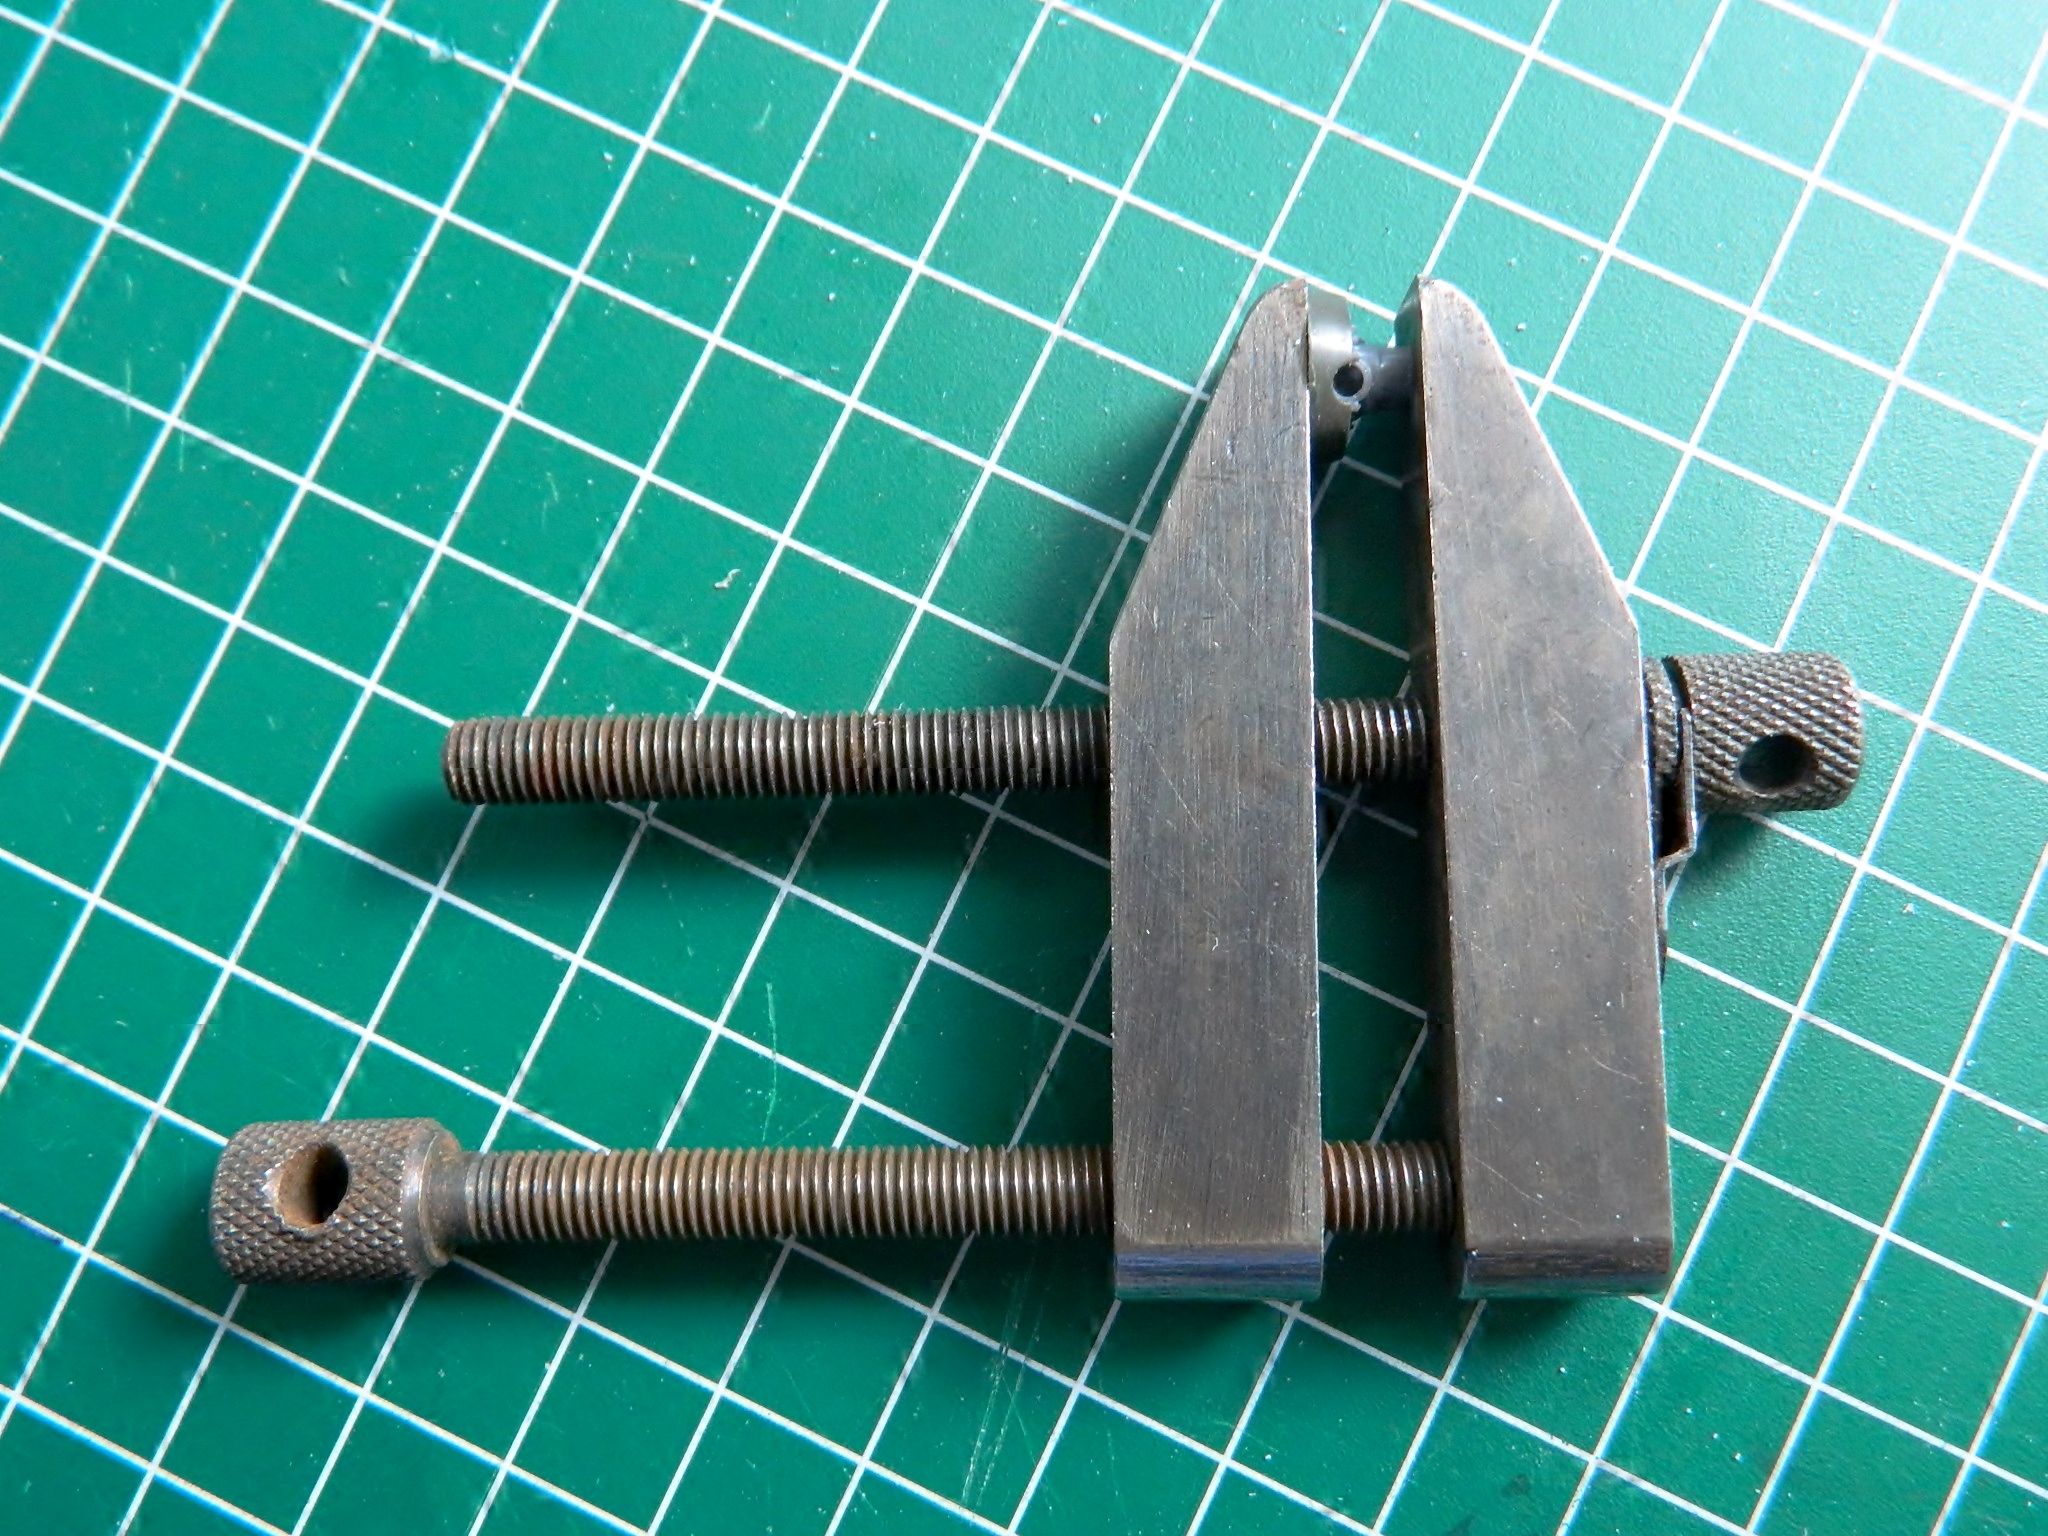
In order for the hub to fit inside the Mustang’s spinner, I had to cut the end off the propeller hub. Then I had to center the hub on the backing plate. To do that, I used a machinist’s parallel clamp to hold the hub in place, then used the MkI Eyecrometer to line up each of the blade mounts with the openings for them in the backing plate:


I superglued the hub to the backing plate and then cut and trimmed flash away from the individual blades and dry-fit them to the hub and then placed the spinner over the assembly to check for fit:


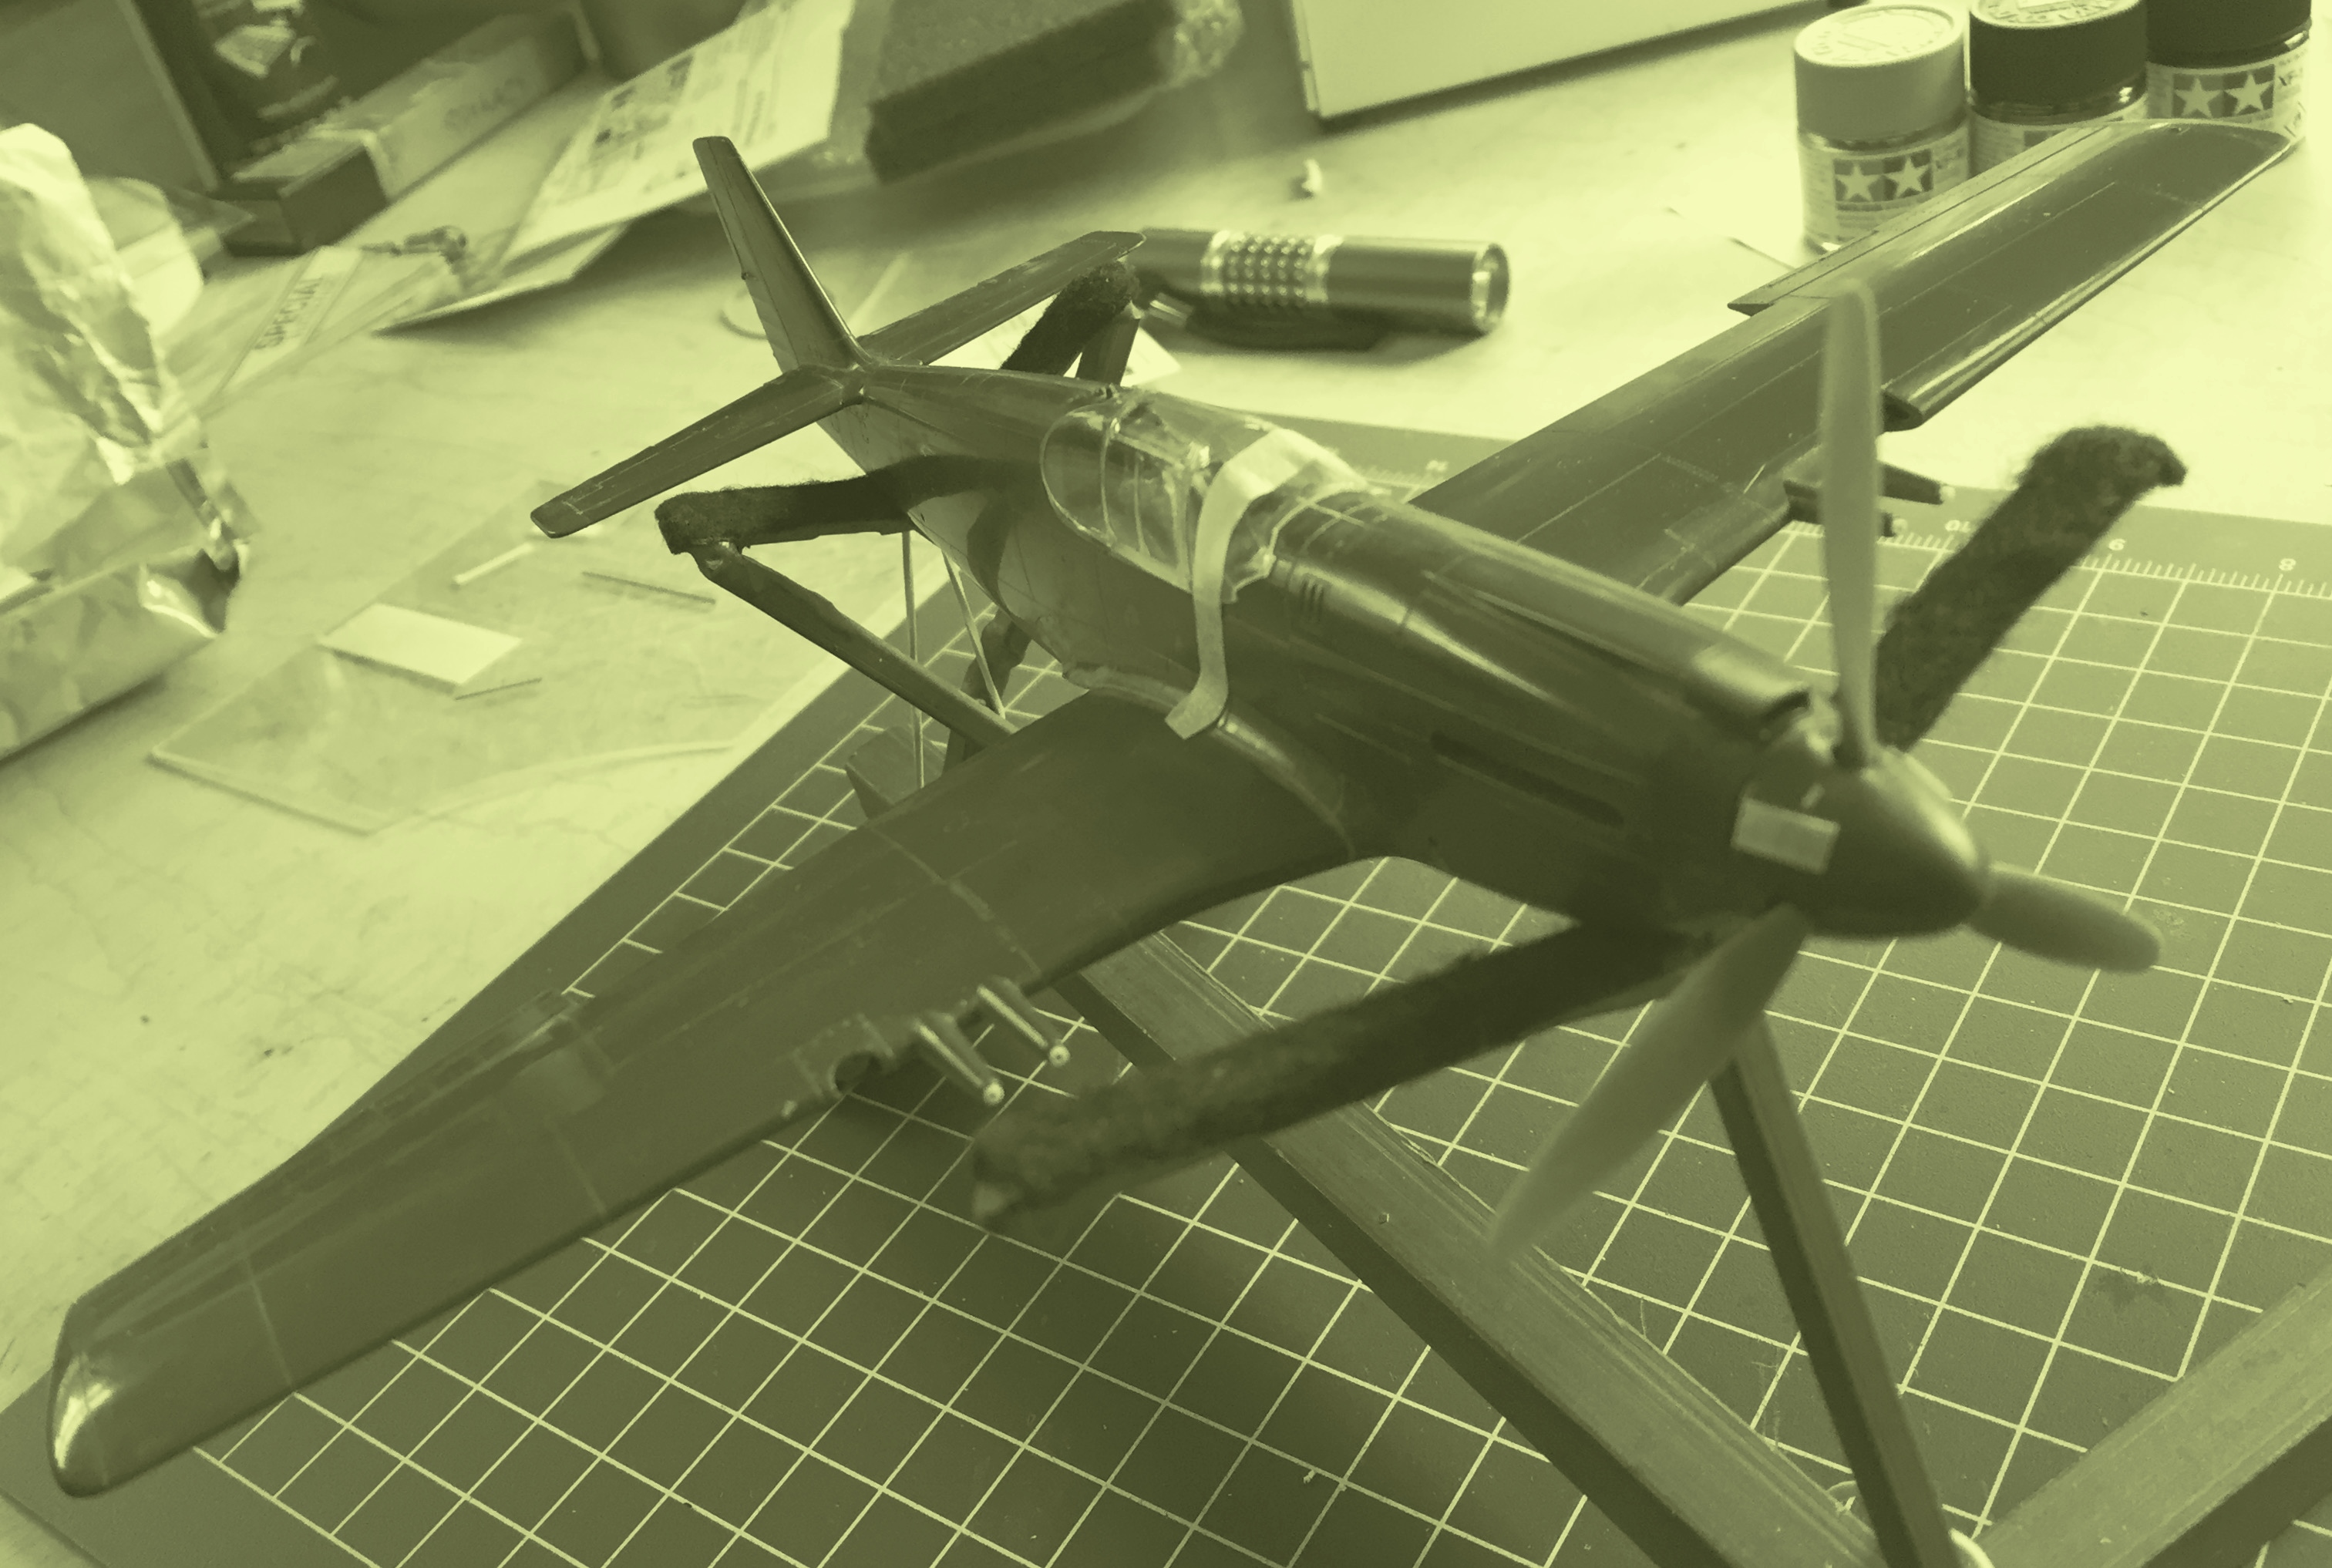
The result is MUCH better than the kit part:
I measured the diameter of the pin that the prop mounts onto and drilled out the resin hub and checked for fit (sorry about the color…):
Pending the arrival of the clear styrene, I could also finish up a couple of things in the cockpit that has to be done before the canopy can be glued down and blended it. The coaming over the panel and gun-sight needed to be painted and then the clear reticle for the gun-sight had to be cut out, trimmed, and glued to the gun-sight (talk about fiddly…that reticle is very small):


With the cockpit finished, I can now glue the canopy down and start blending it to the fuselage while I’m waiting for the arrival of the clear styrene…
