With the decals successfully done, there are a few more things to do before I call it complete. The most obvious is the coat of matte clear but there’s a bunch of final assembly chores still to do.
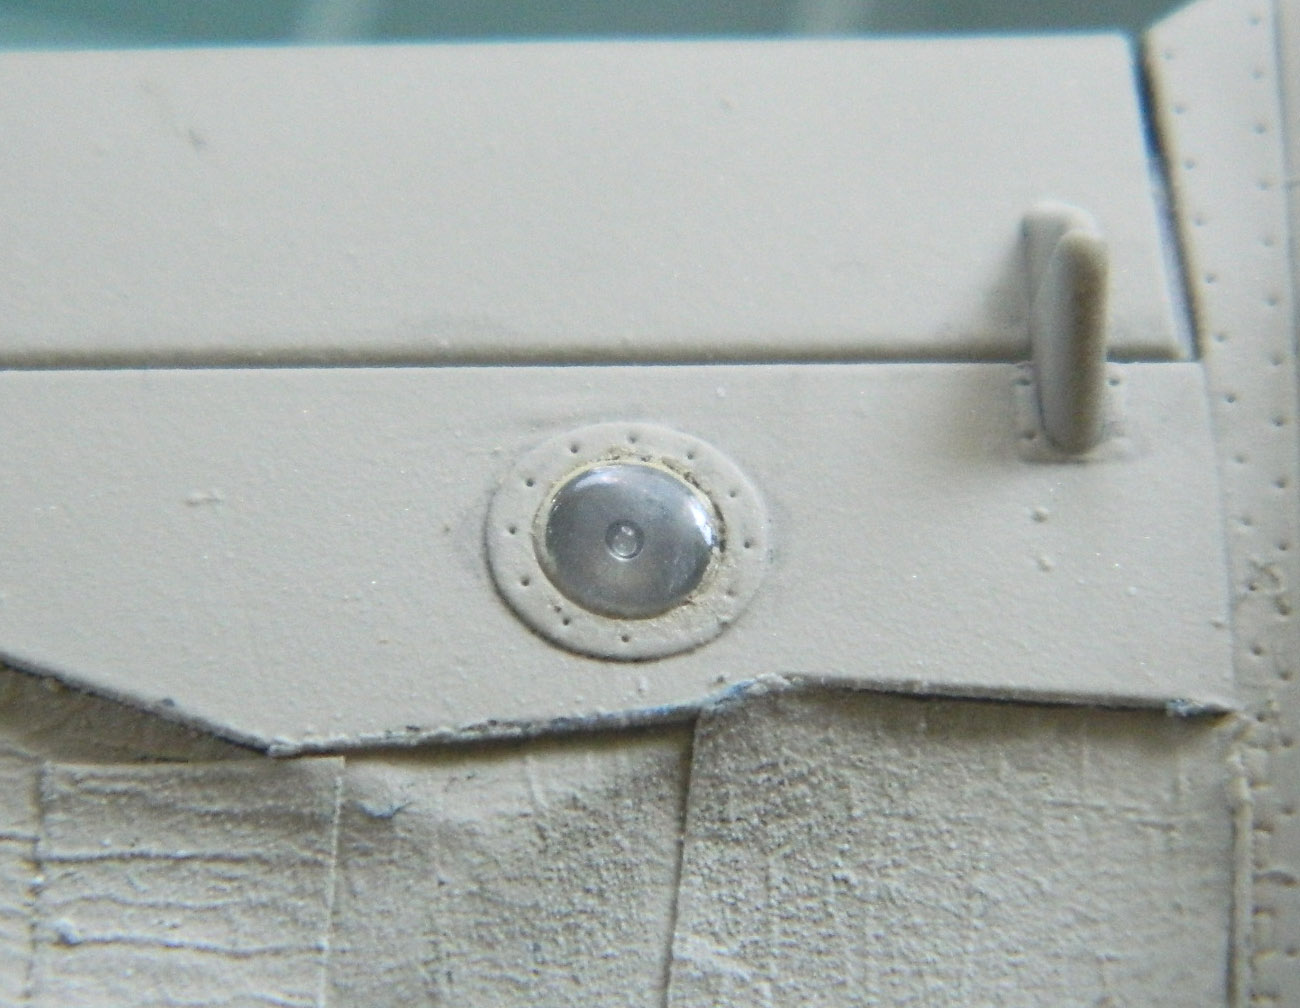
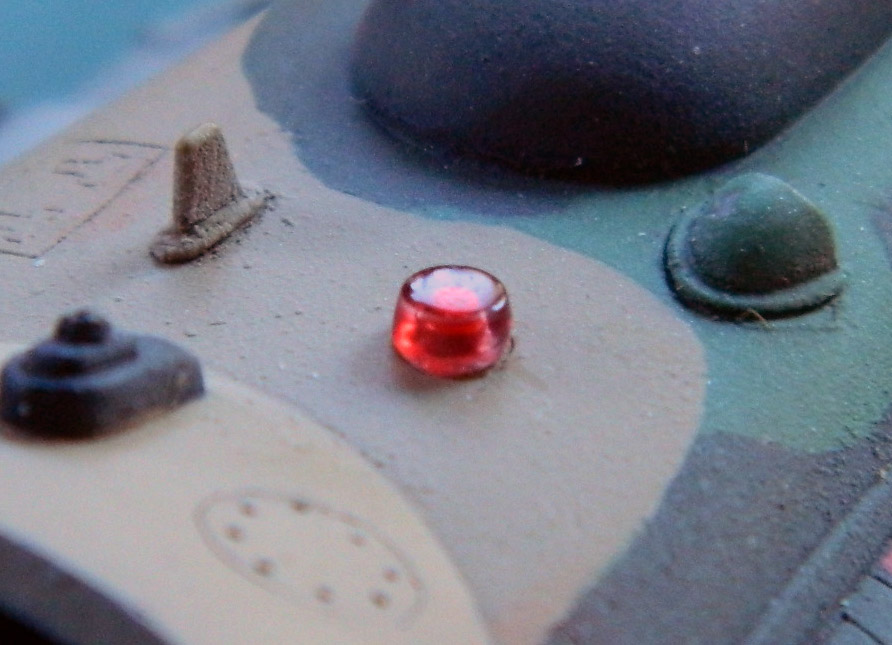
It starts with the dorsal and ventral marker lights. The kit parts are molded clear (with light bulb voids molded in!) and they have to be red. I used Tamiya’s X-27 Clear Red. These weren’t as difficult to do as I thought they’d be (due to their small size and the need for them to be clear no matter what I did to remove the sprue attachment points). They were clipped from the sprue and trimmed toothpicks were jammed into the void molded in for the “bulb.” Having a handle on things made the work much easier (doesn’t it always?). Once the attachment points were sanded down, I used progressively finer sandpaper and sanding films and plastic polish to restore transparency to the parts. Since the parts were still on toothpicks, rather than brush or spray the clear red on, I just dipped them into the jar of paint and set them aside to dry:

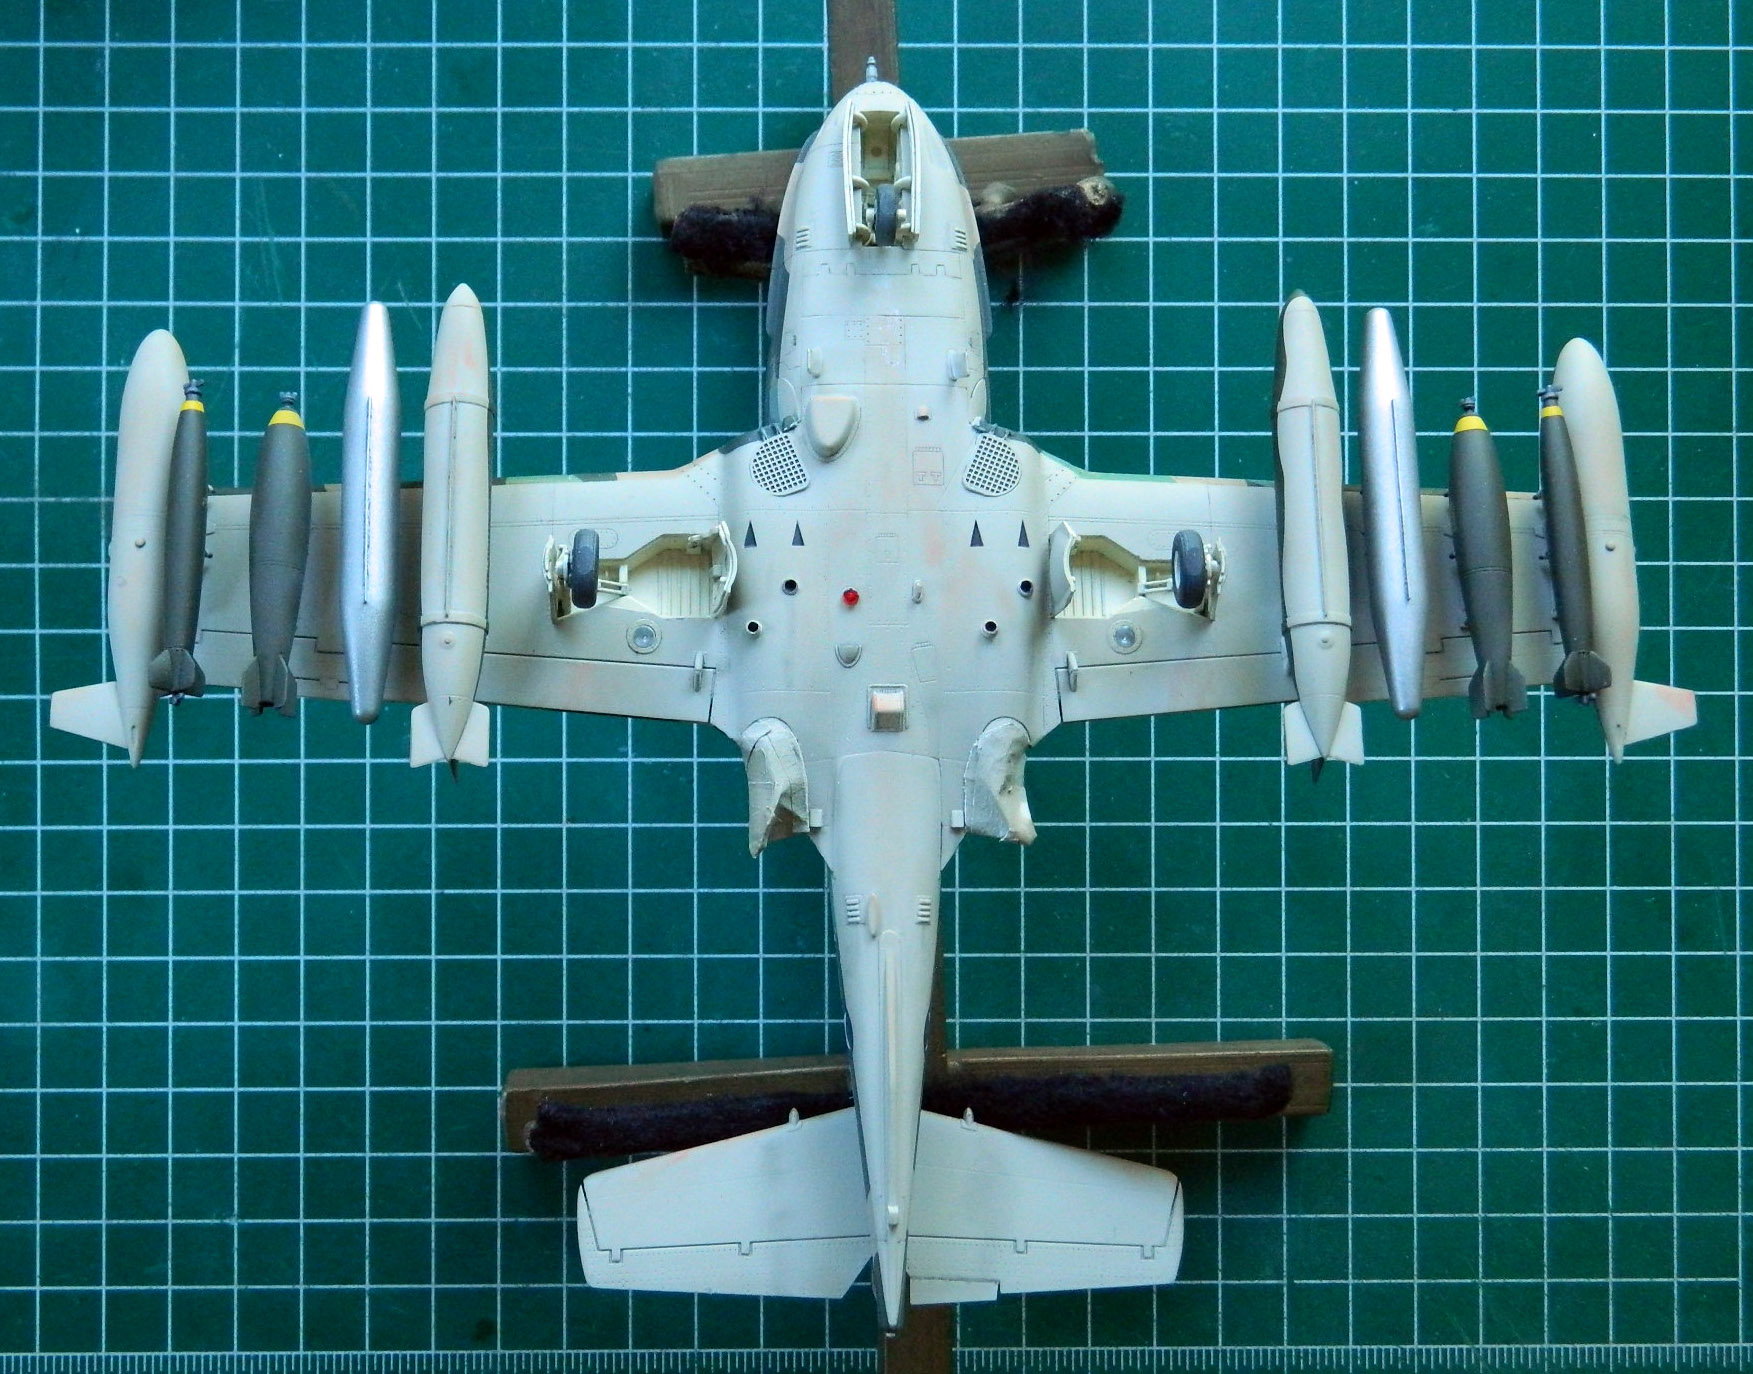
At this point I applied (or tried to, anyway) a coat of clear matte overall on both the model and the ordinance (I didn’t flat coat the napalm tanks; I liked the luster of the bare aluminum paint as is and it contrasts well to all the matte finishes around them). There’s a problem with my airbrush that’s just getting more pronounced. The spray of paint is intermittent. I’ve tried cleaning it with a (brand new) ultrasonic cleaner and though much cleaner inside now, it didn’t solve the problem. That resulted in an uneven “coat” and needed to be shot twice:


While that was all setting up, it’s time to put the landing gear on. I’d painted the oleo-struts “steel” (Humbrol #27003 again), masked those sections, and did the color, clear coat, wash, and flat coat. Time to take the masking off and put the nose wheel on:

I also removed the paint from the under-wing landing lights:
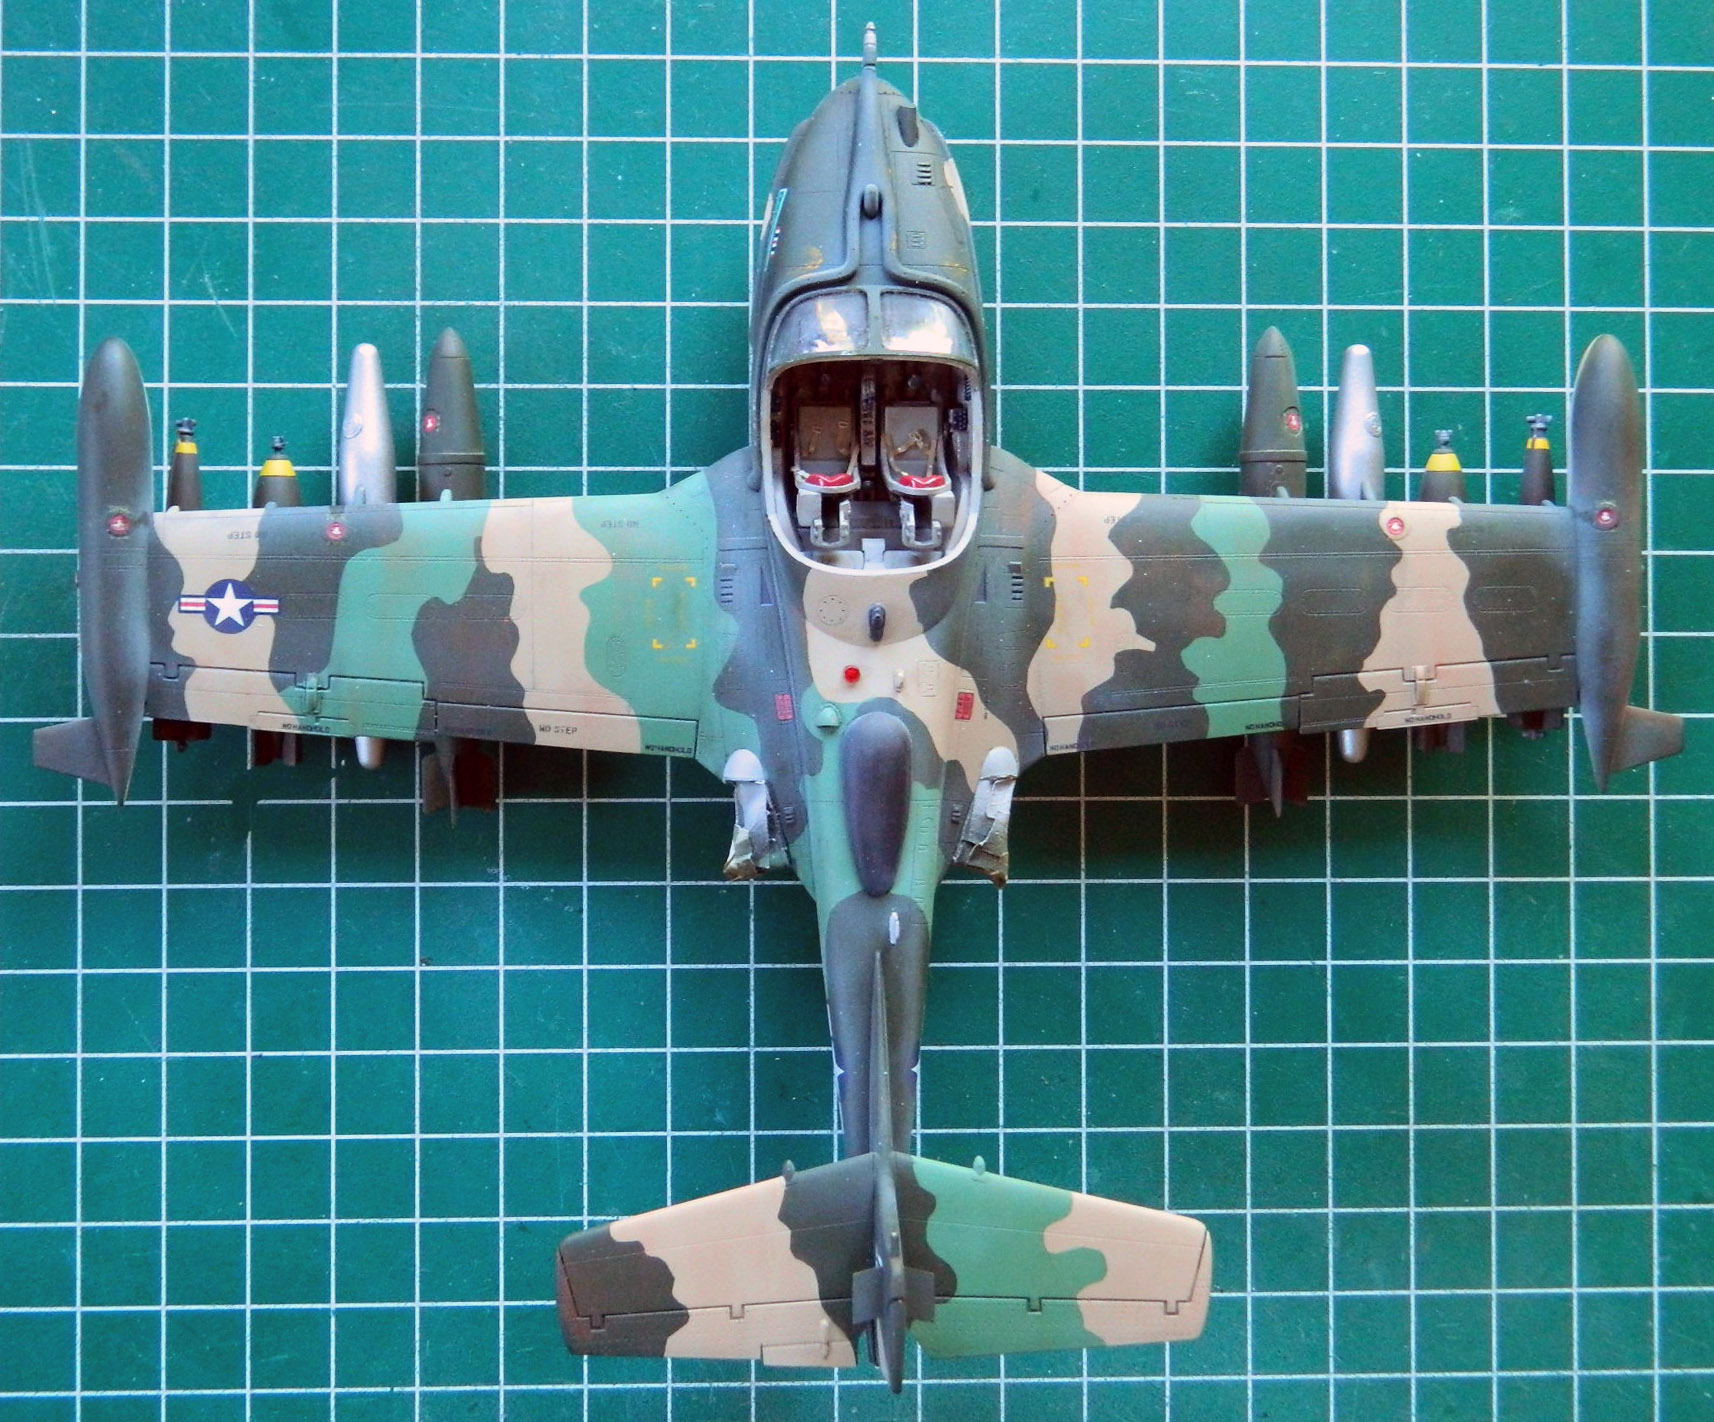
With the two coats of matte clear dry, I removed the masking from the windscreen and canopy and did the touch-ups necessary when the white glue I’d used to seal the canopy to the fuselage was removed. Then it was time to mount the landing gear to the model. The masking was removed from the gear bays and minor paint touch-ups attended to. Once things were aligned and glued, I added the main landing gear tires, aligned them so the flat bottoms were flat on the surface, and glued those in place also. Now it sits nicely on its landing gear:

Landing gear doors go on next (and haven’t those turned out to be VERY DAMNED EASY to knock off the model):

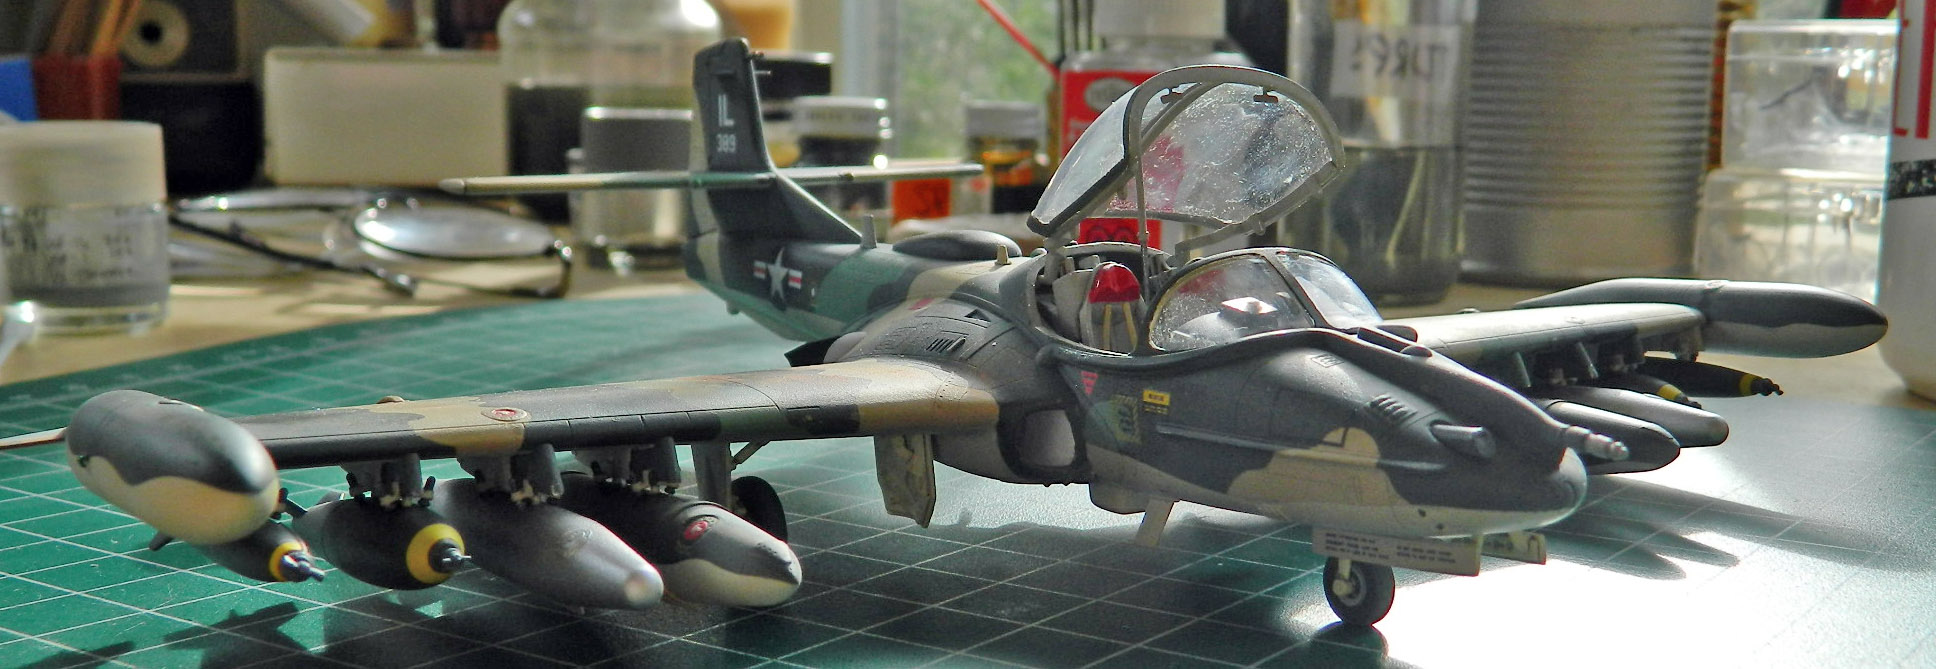
Before I started hanging ordinance and drop tanks from the pylons, I added subtle dirt effects using pastels:

Then the ordinance and drop tanks were attached:

With the dorsal and ventral marker lights dry, it’s time to add them. I painted the bases silver and used a very diluted (and tiny) drop of white glue to attach them:

Then it was time to do the really tiny bits. I started with the rear-view mirrors:
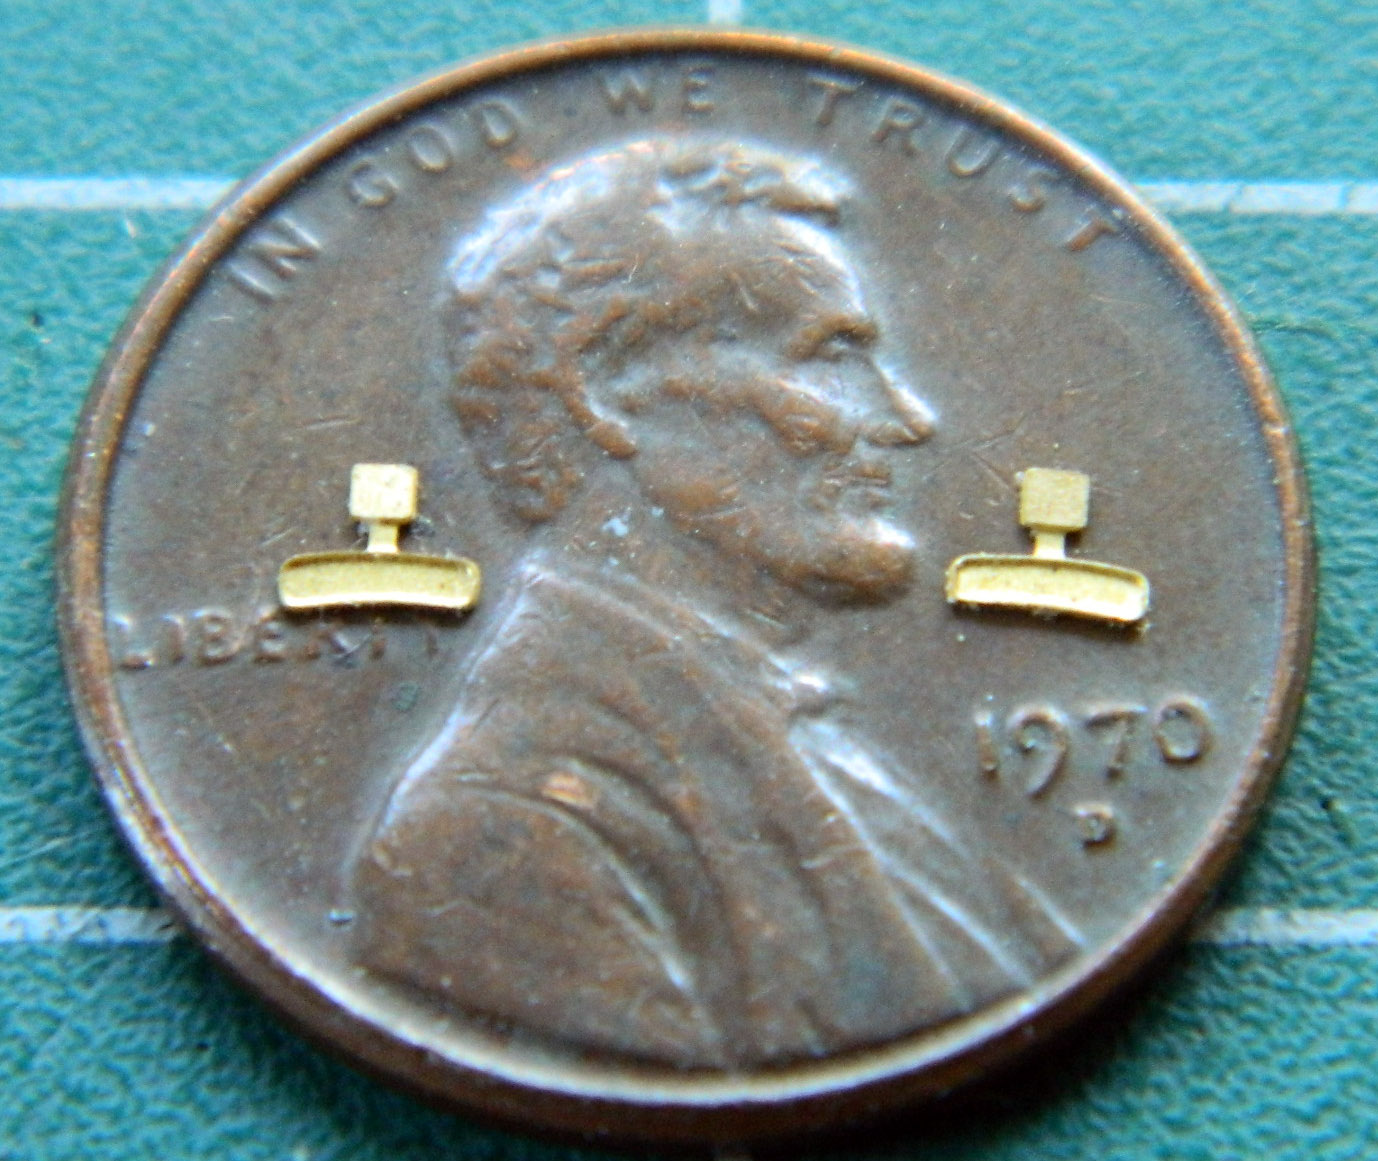
I didn’t even consider painting the reflective surfaces. That looks like what it is. Paint. Instead, I used aluminum foil. I used a TINY drop of superglue on the face and then hammered regular aluminum foil onto them using a rubber eraser and a (oddly enough) hammer:
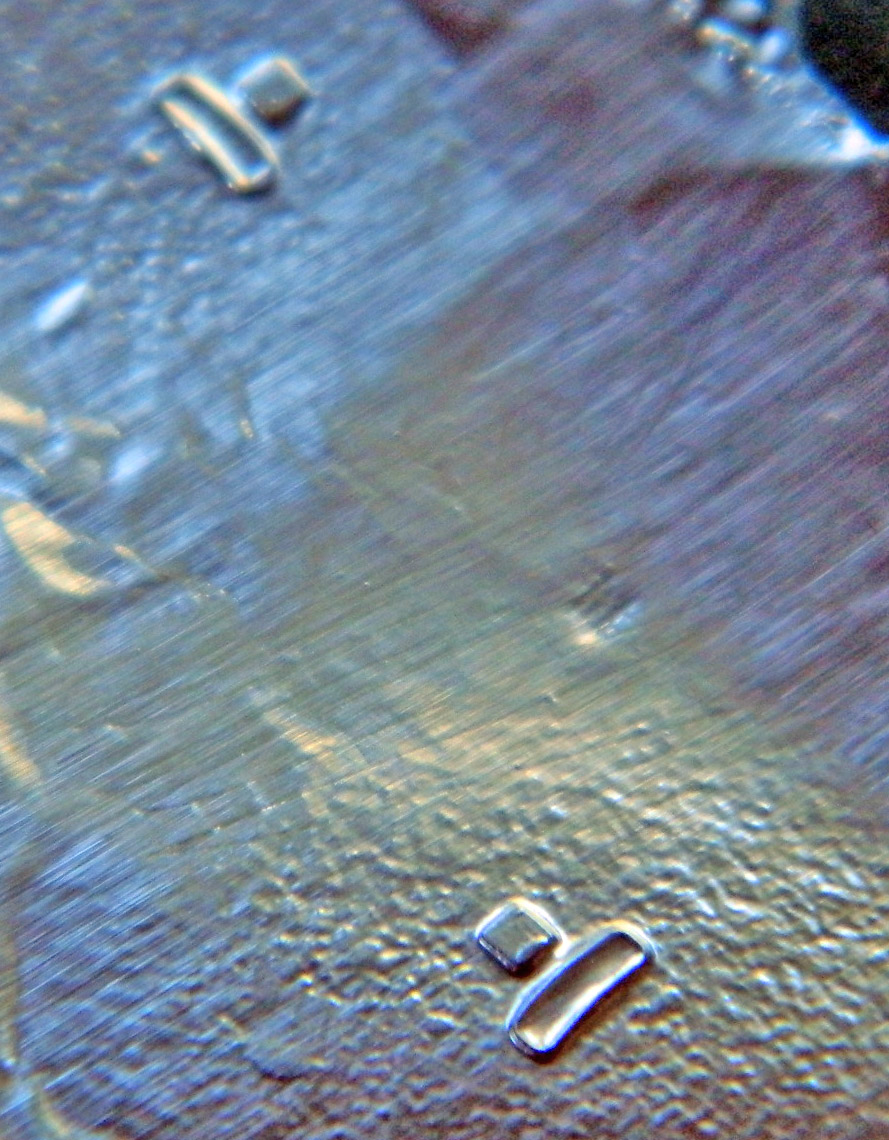
Then I used a sharp razor blade to trim them:

White glue added them to the canopy:
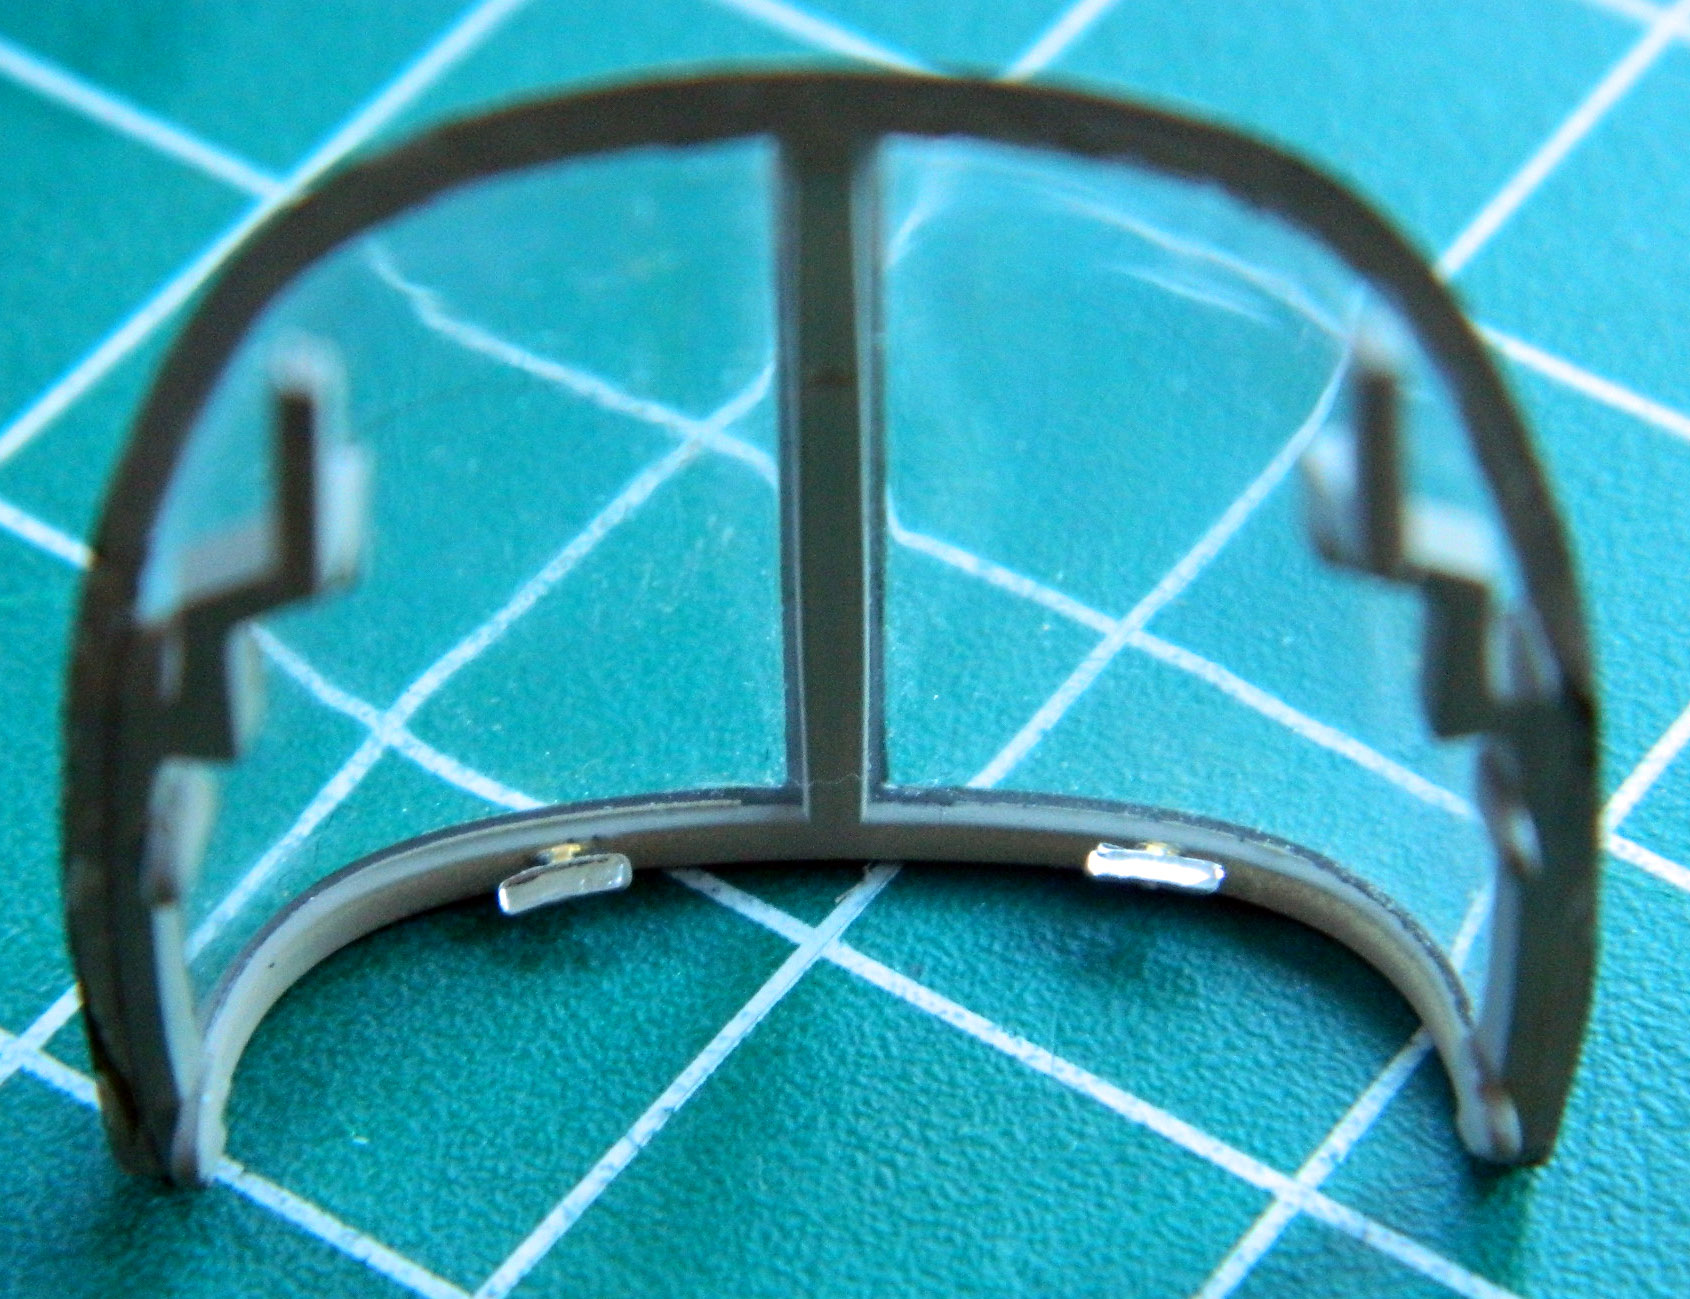
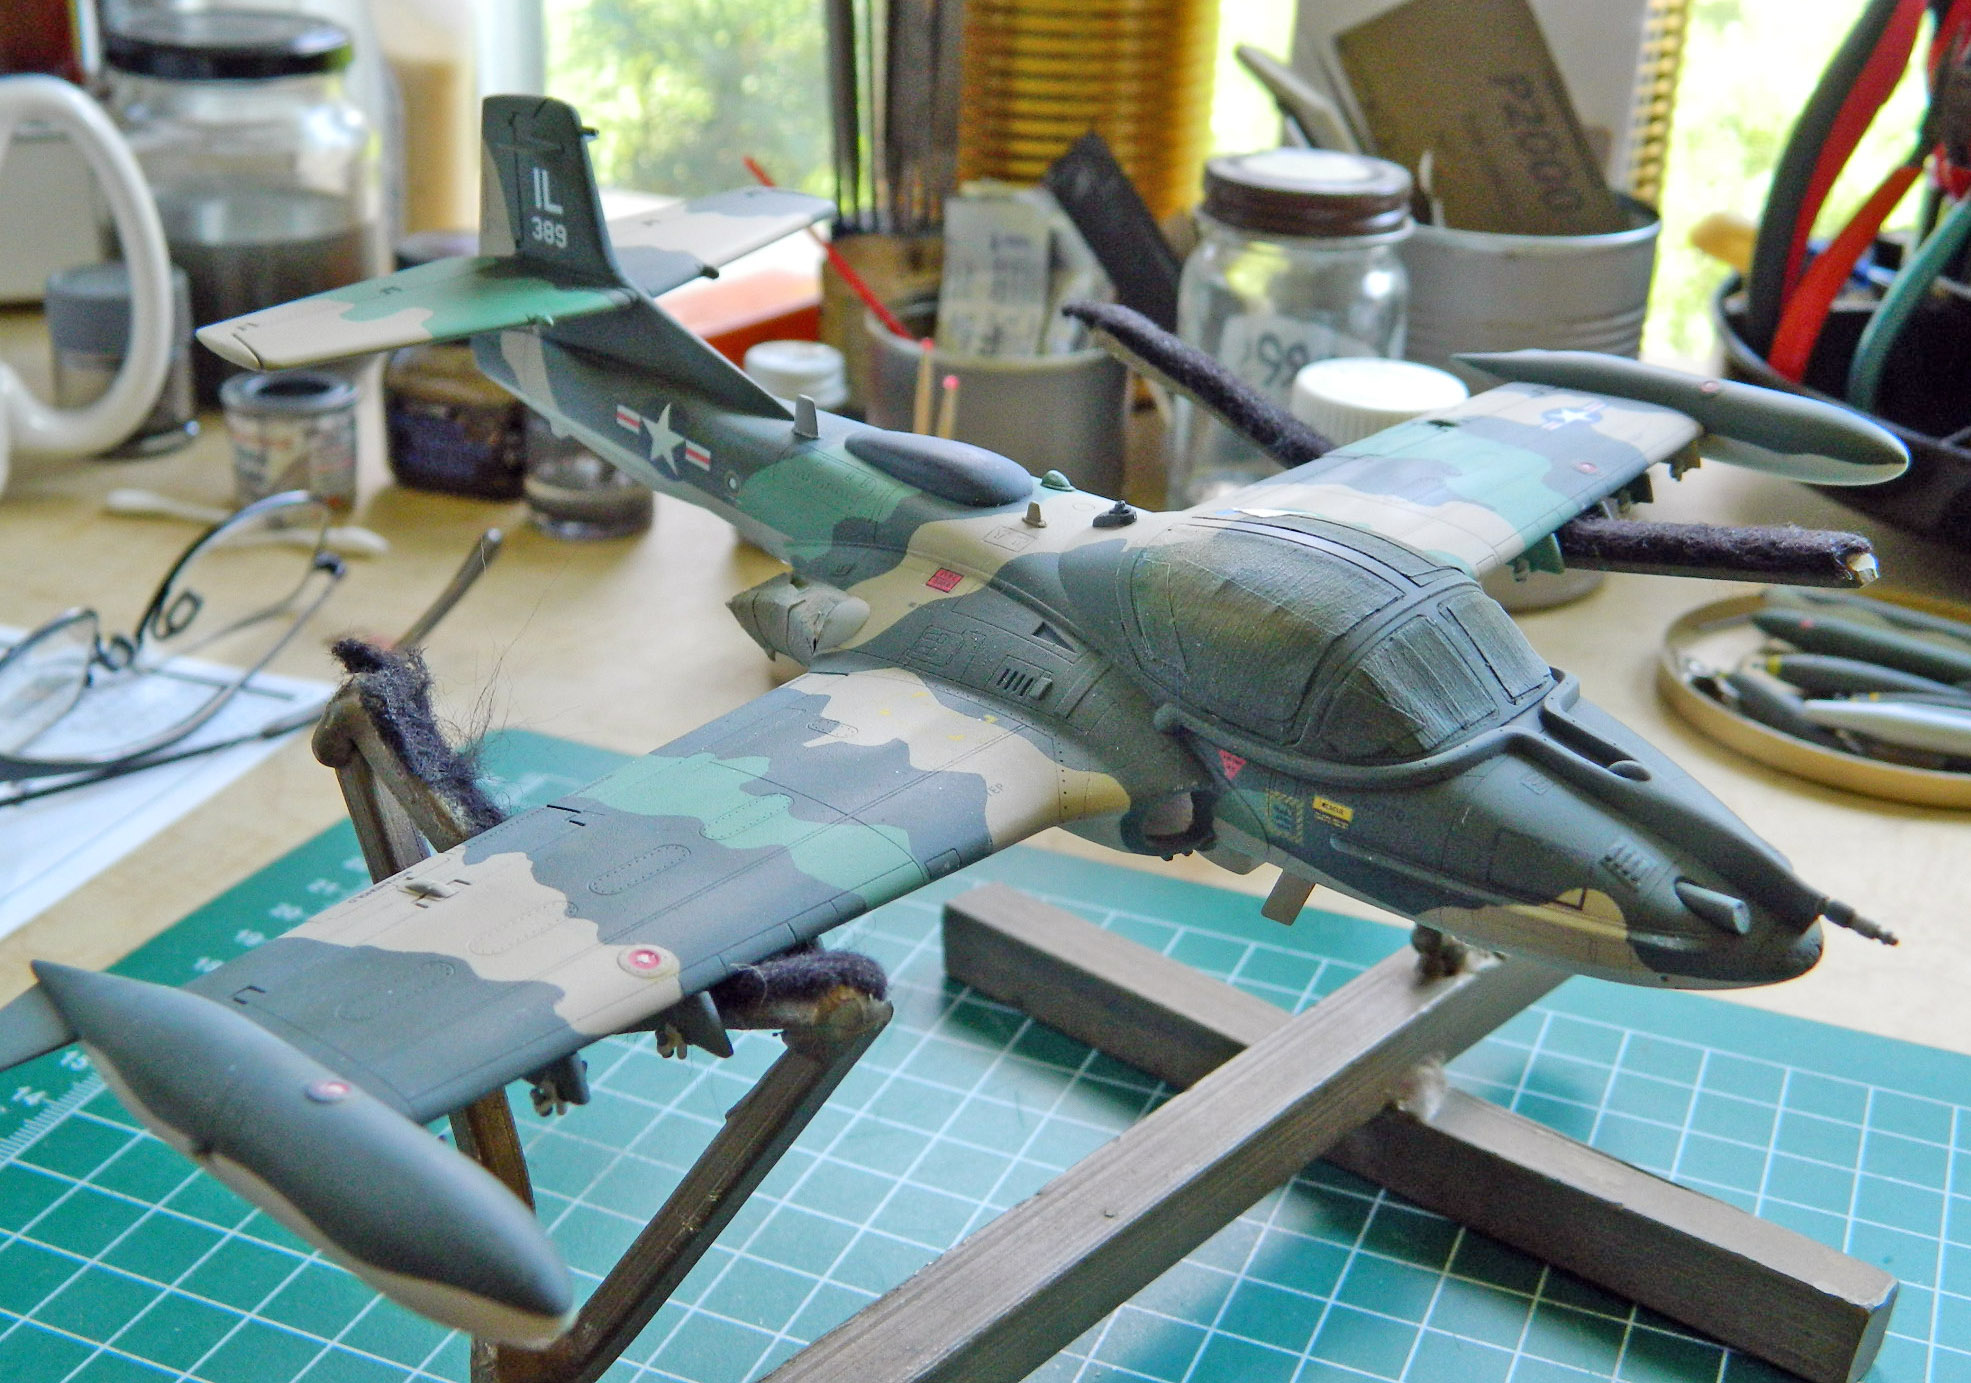
Nothing left to do now but add the canopy to the model:
Hmm…y’know, I think this thing is done:

