Okay…I see a pattern here. I do some work, I get to what I think is close to the end, and then I suggest that maybe the next post will be the last. Yeah… I see the pattern and at this point, I shall not declare the next post may be the last one. I’ll just let y’all be surprised.
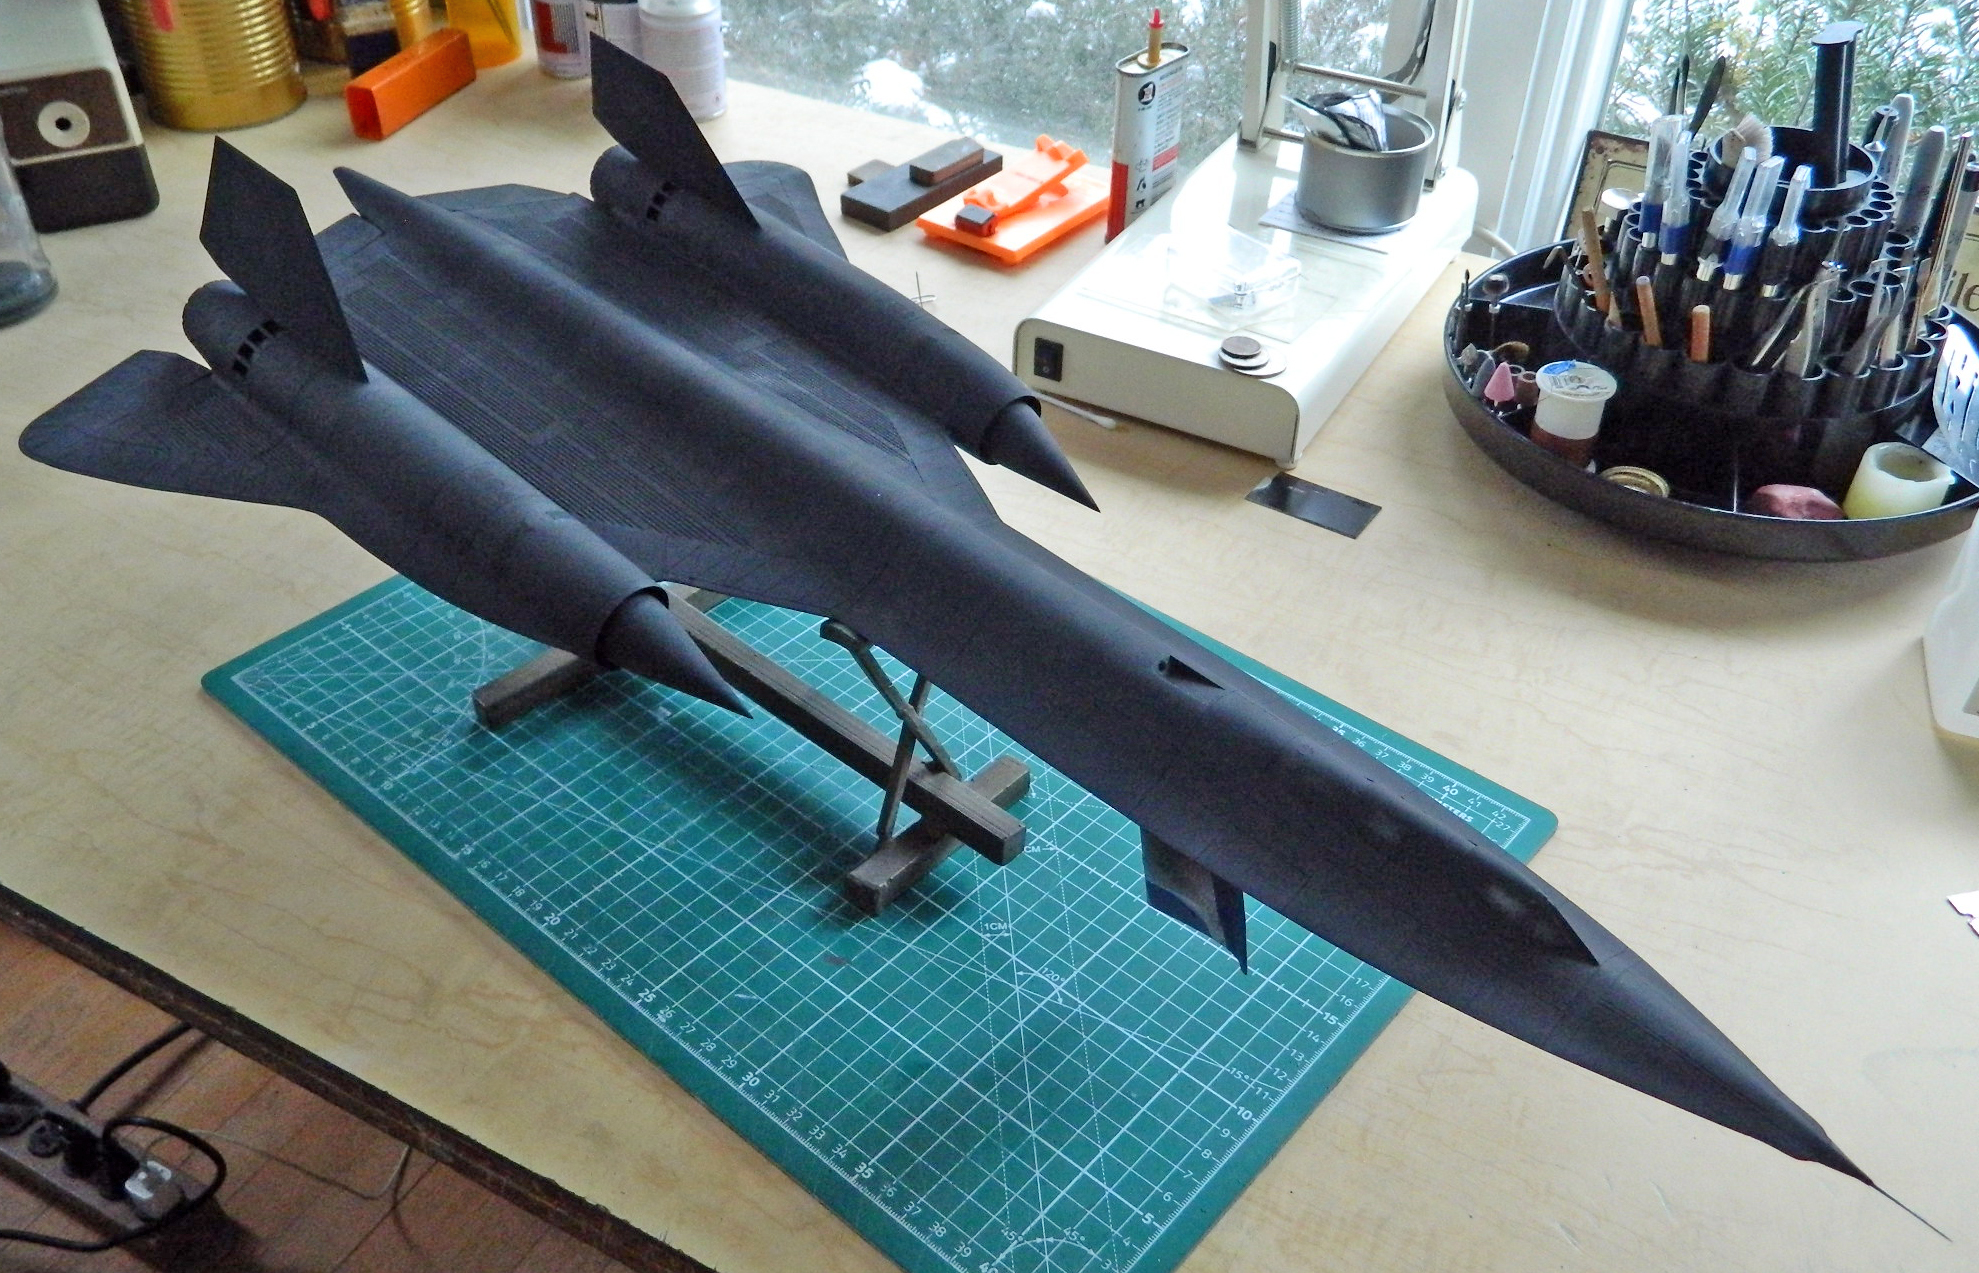
Obviously, I thought this would be the last post on this build. The underside was painted, the topside was primed, all I needed to do was to paint the topside with color-corrected paint like this:
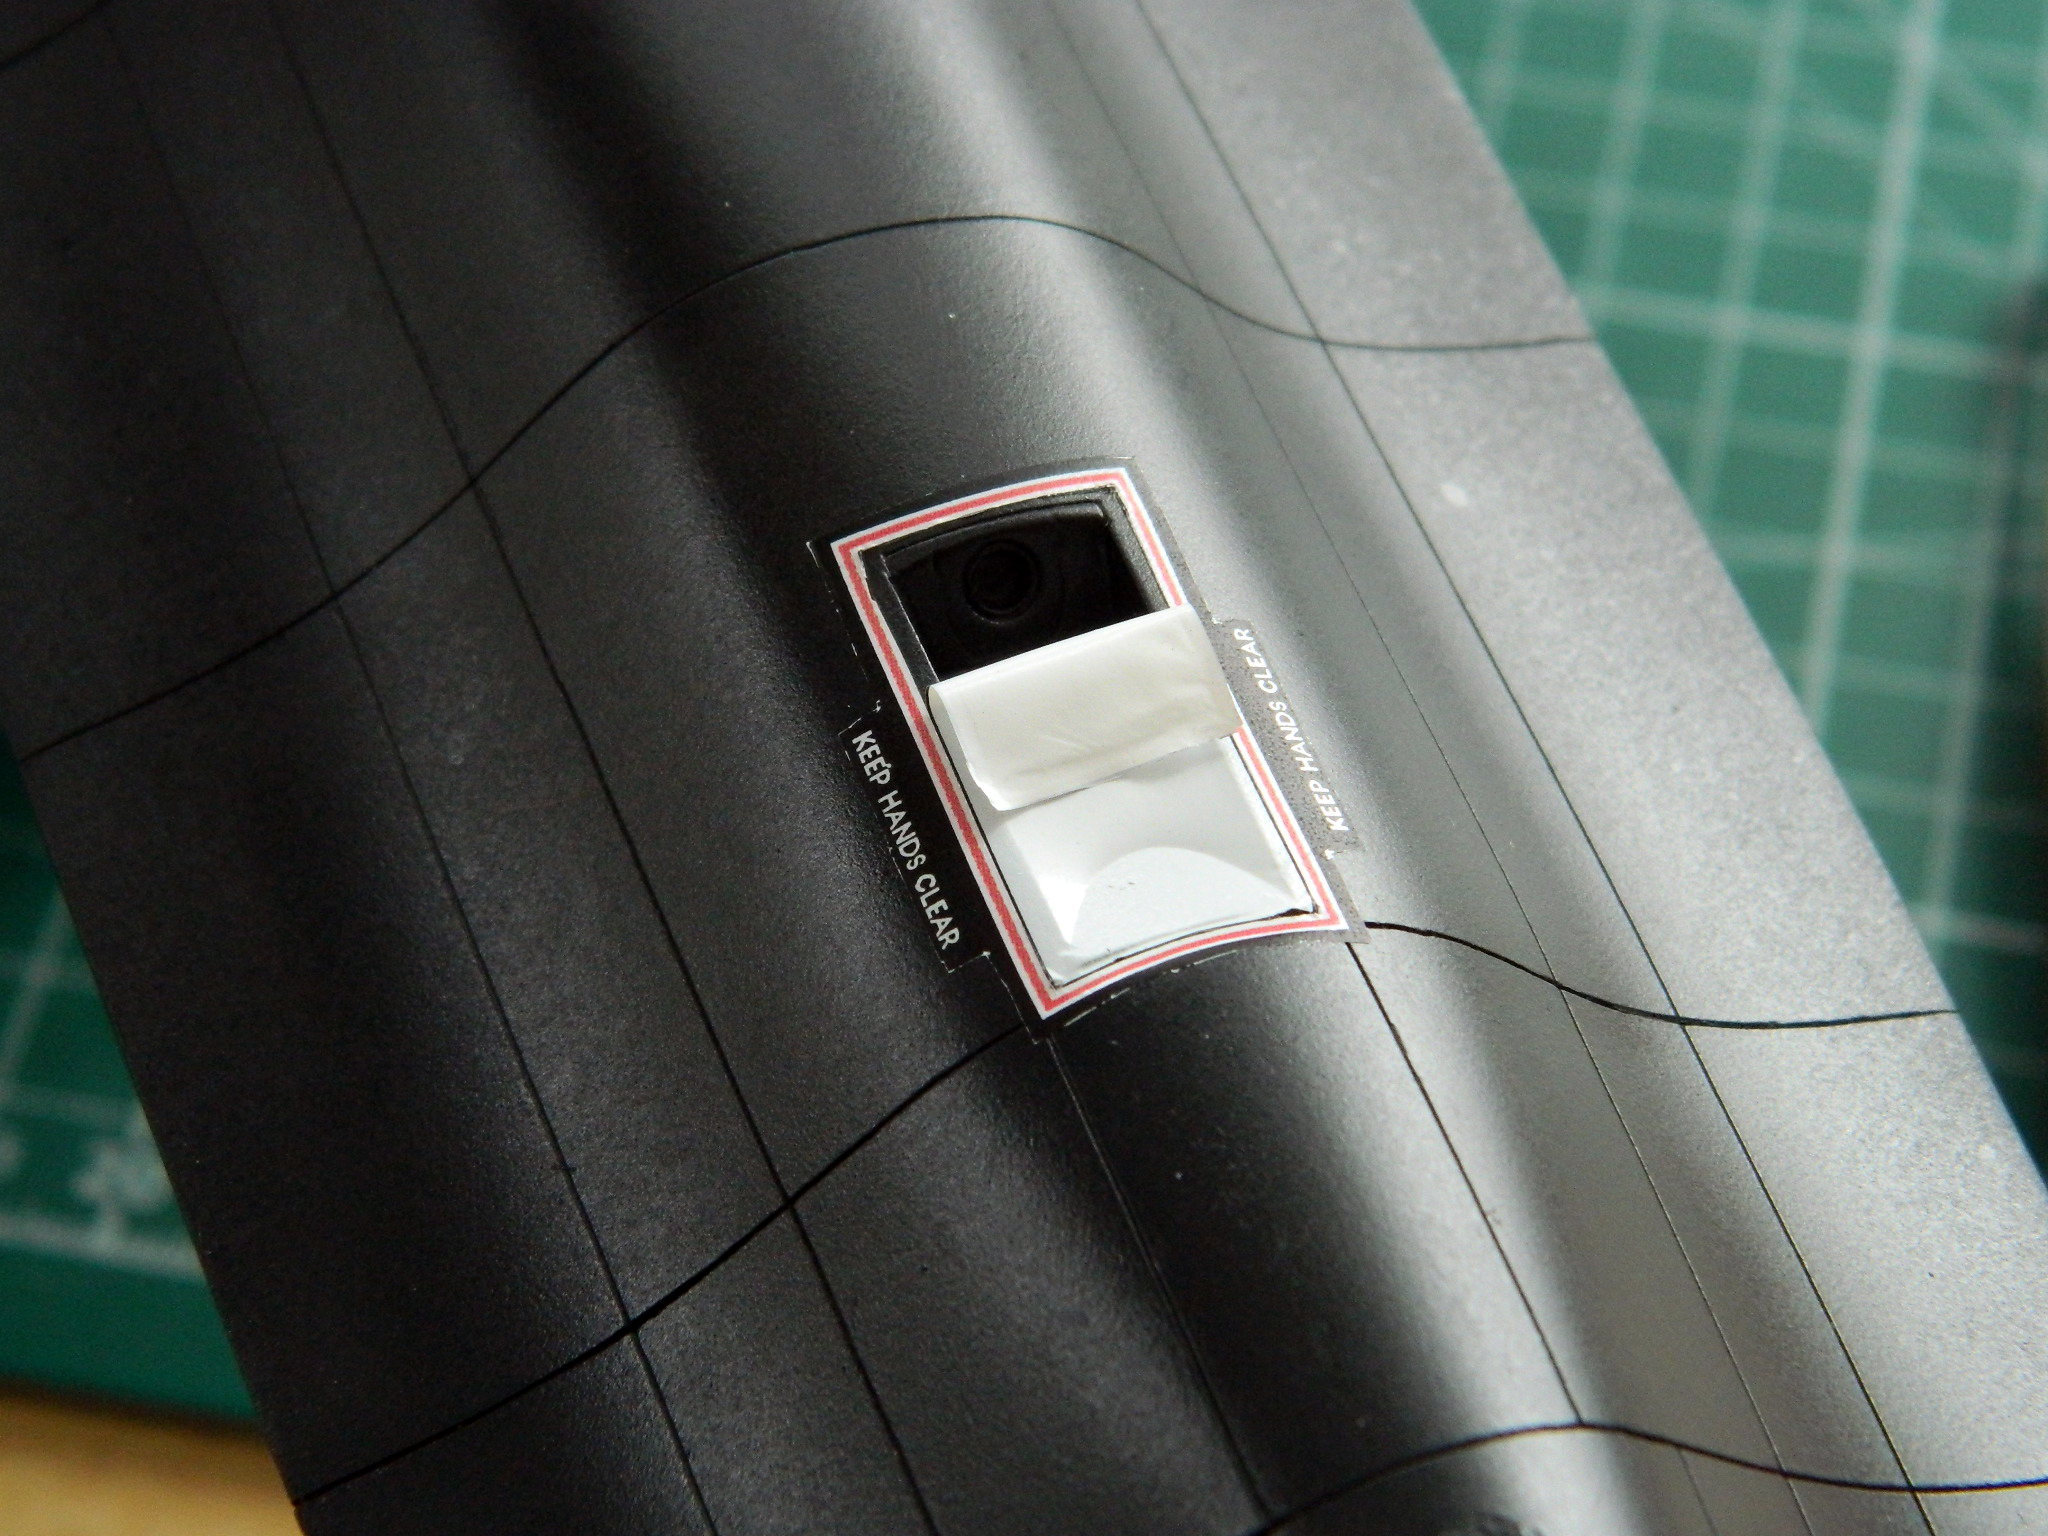
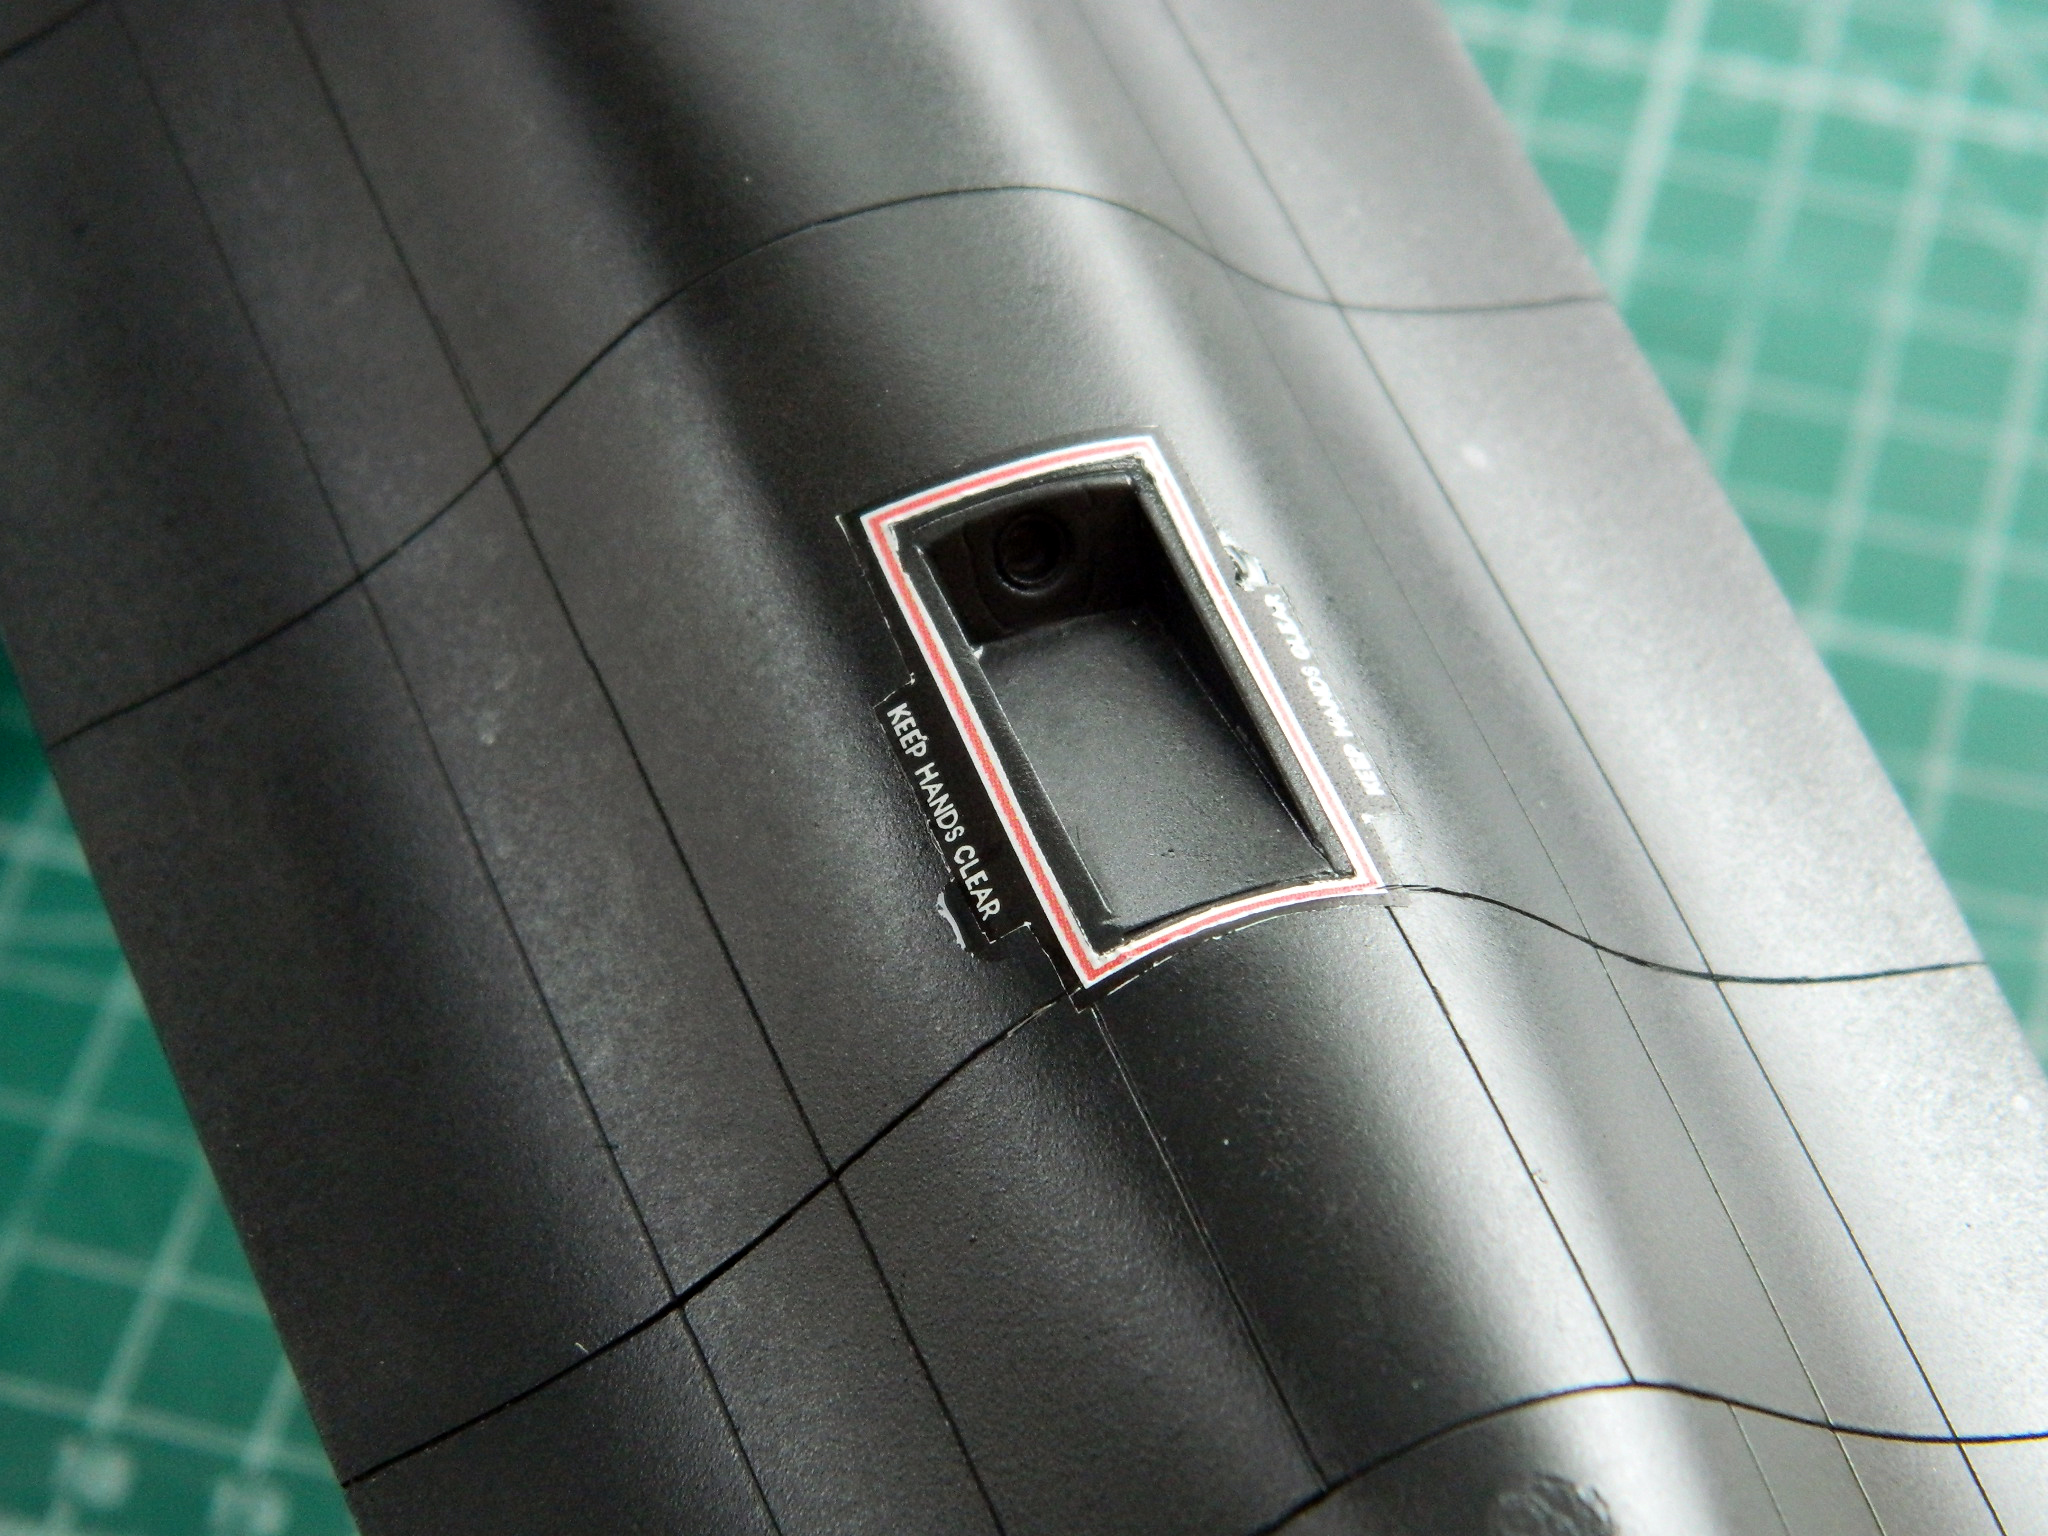
I had the decal paper, I got both sets of graphics (the decals that were printed on clear paper and the decals that were printed on white paper) sized and printed out, and then I started putting the under-decals (printed on white paper) where I wanted them. I started with the refueling receptacle and discovered that the white decal paper was fairly tough; had I treated commercial decals as roughly as I did this one, I’ve no doubt it would have ripped:
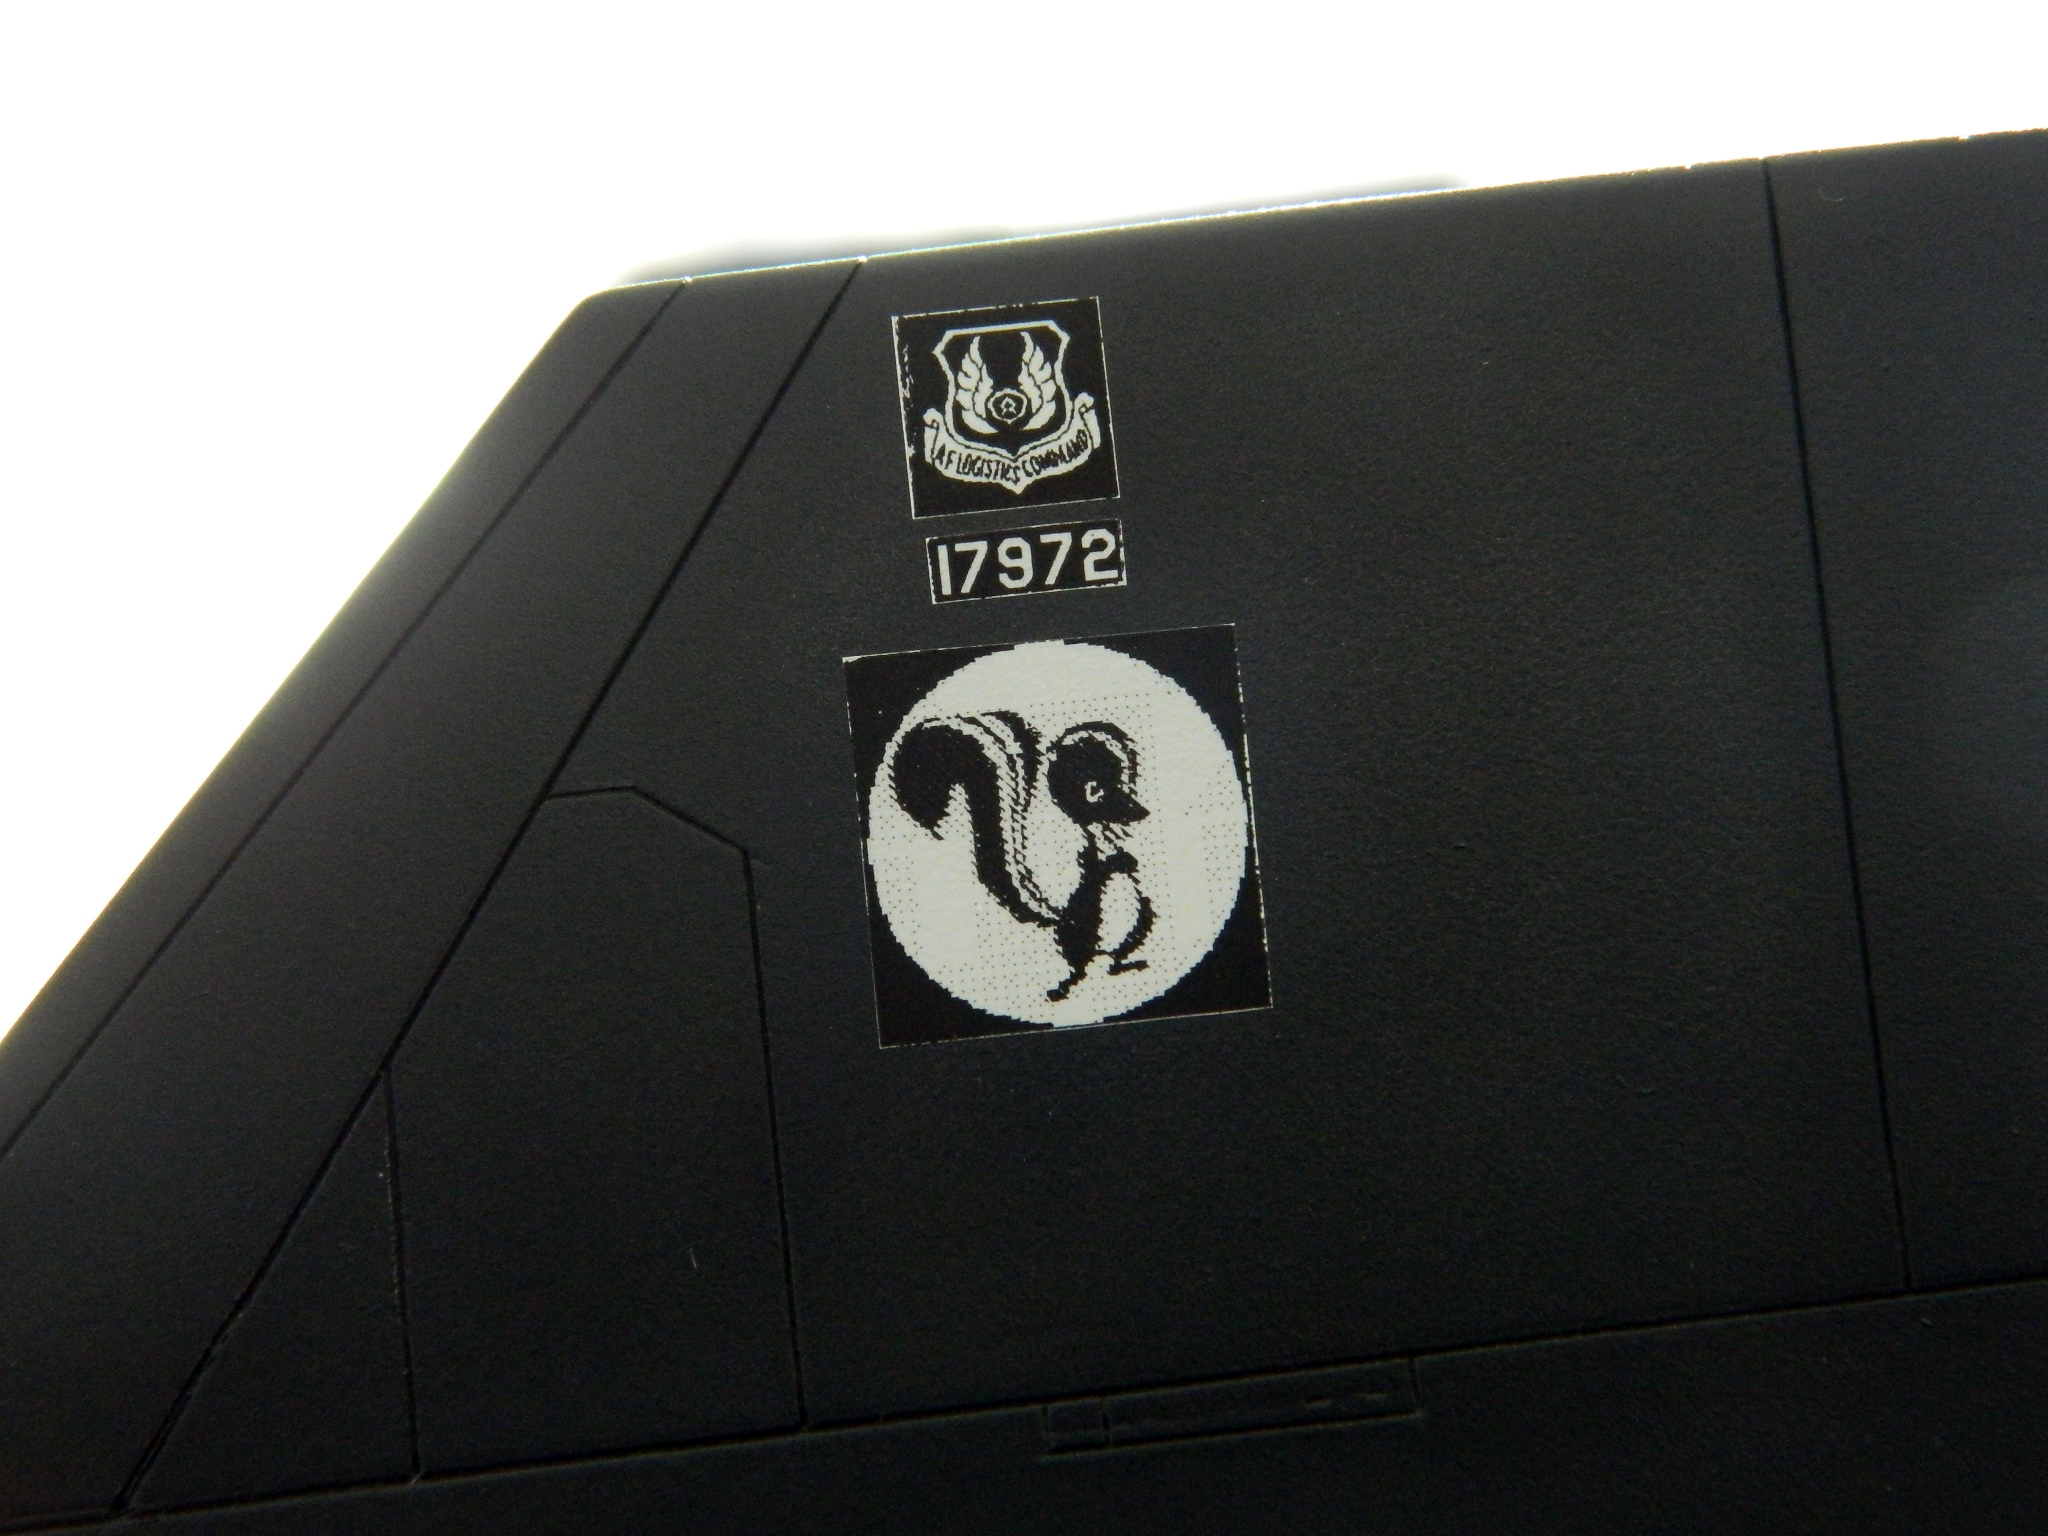
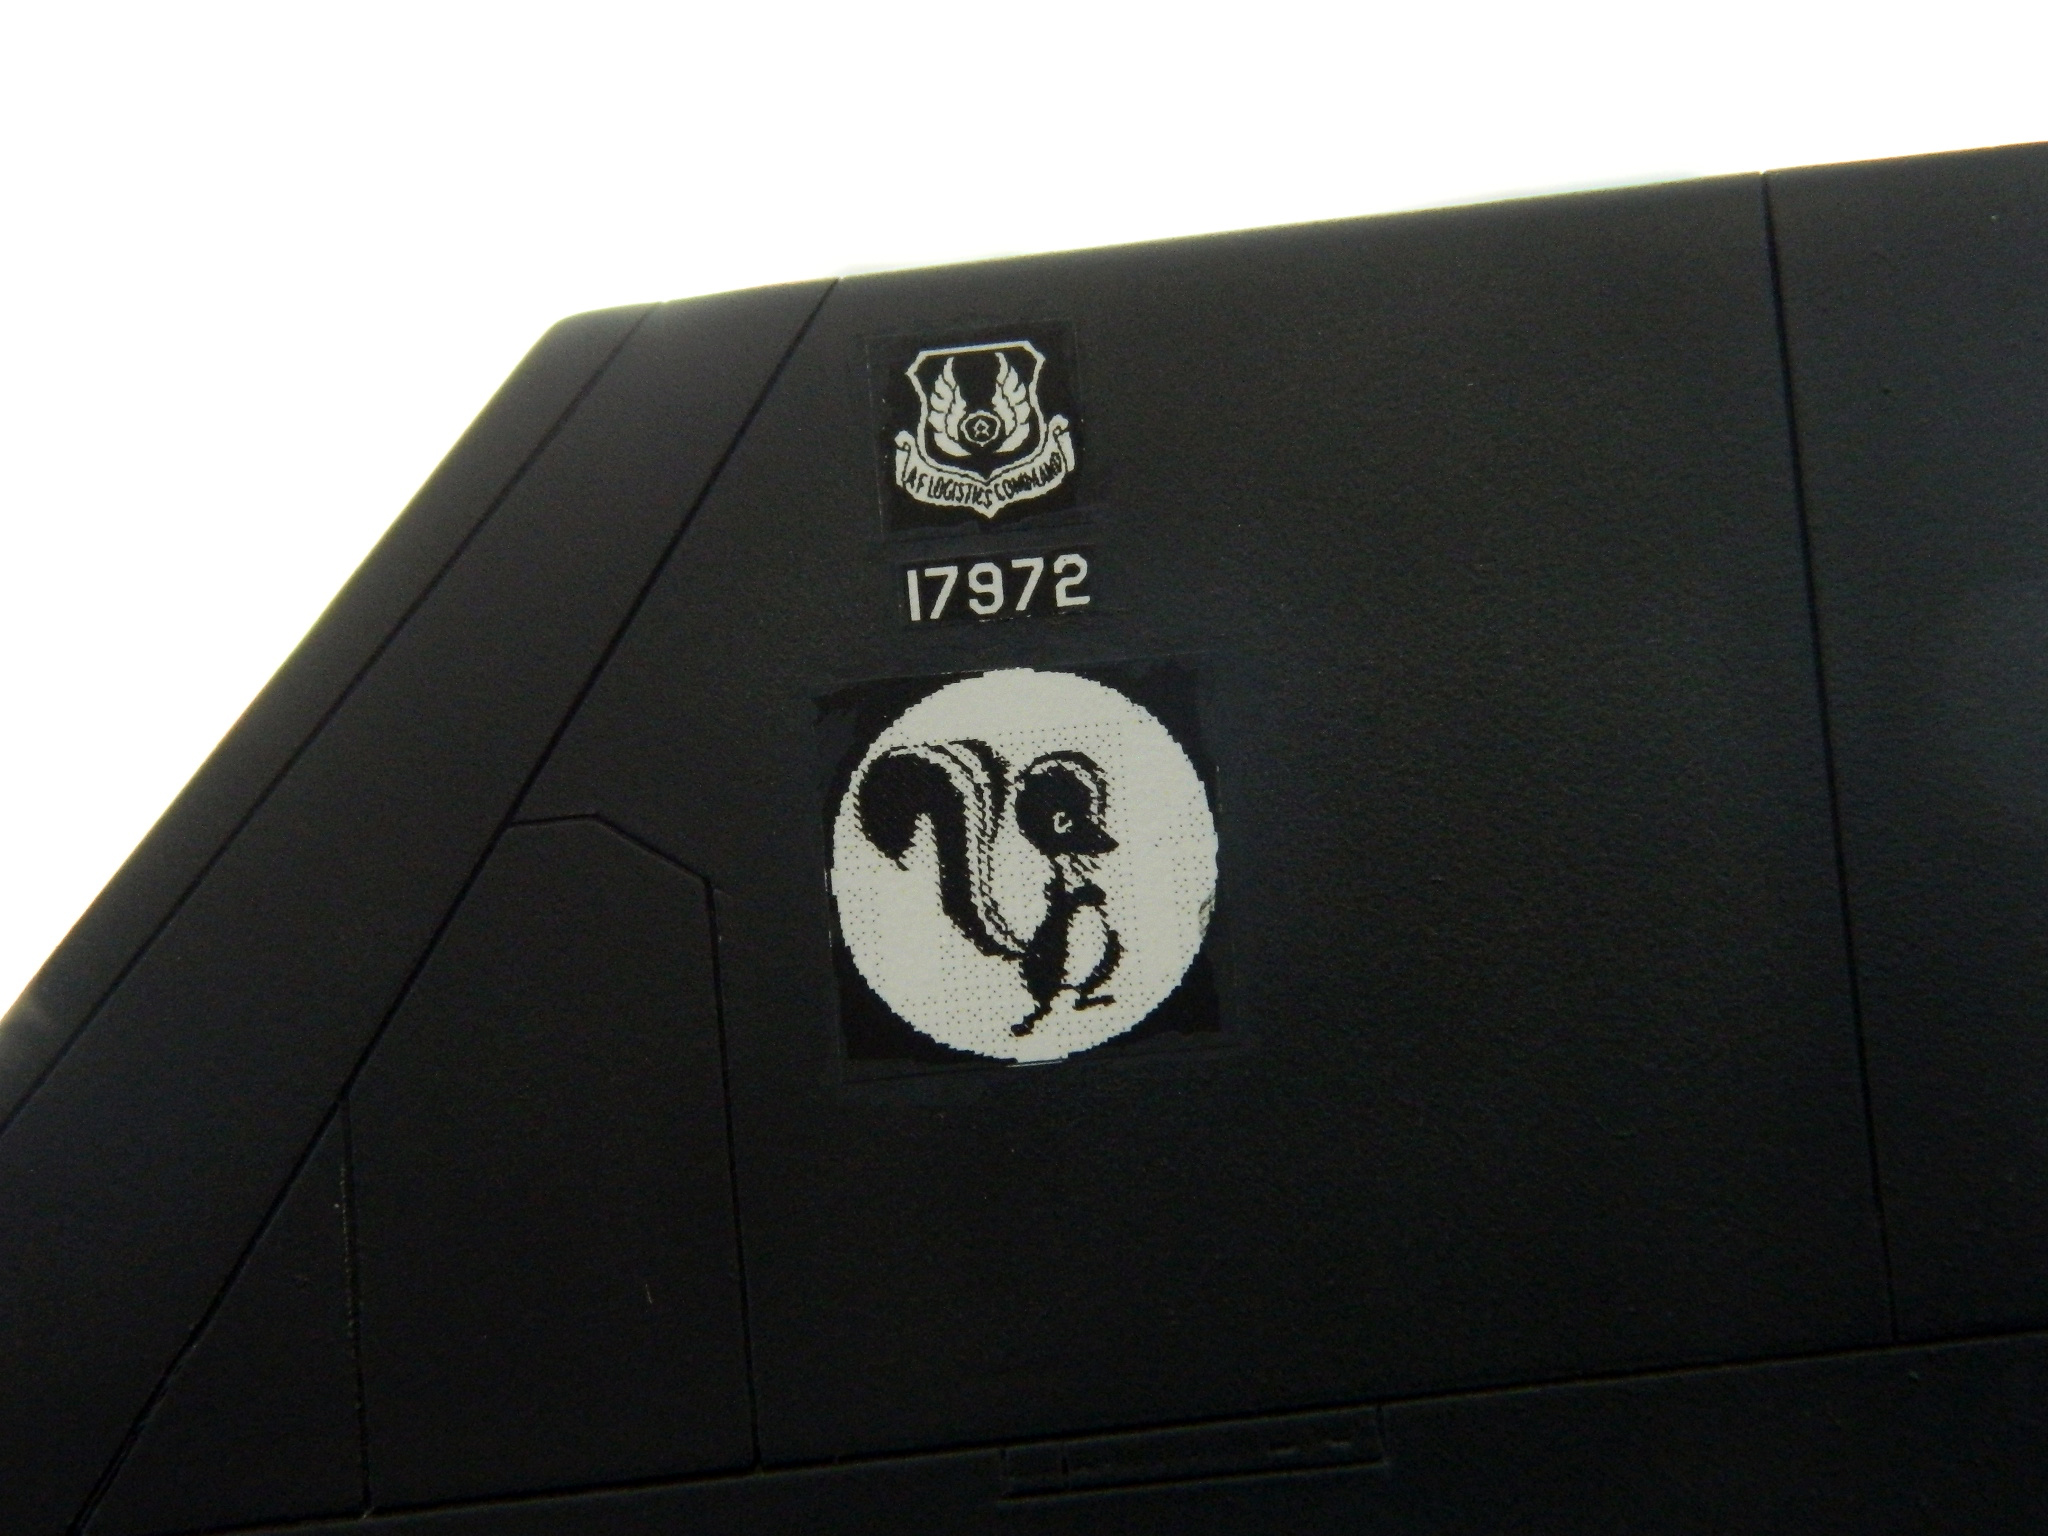
And then I realized that I didn’t have quite all the decals I need. There is the crest for the “AF Logistics Command” on the vertical stabilizers (and what the hell the Logistics Command had a Blackbird for I’ll never figure out) that I didn’t have. I went to my reference photo and copied that section of the photo and started converting it from a photo to a graphic for decals:

Once I’d taken care of that, then I was able to continue. When I started laying down the decals with white backing, I noticed that where I’d cut the decals from the paper, the white of the paper showed at the edges:
Once all the white paper decals were down, I used paint to cover the white edges of them:
The decals I’m using were from the kit’s decal sheet that I scanned into the computer. So that means that this decal was wrongly sized at manufacture:
In the process of producing two sheets of usable decals, I managed to make several more (of both types) that were not usable. That meant I had extra decals that I could use to do what Italeri evidently didn’t figure out (and Testors evidently never noticed):
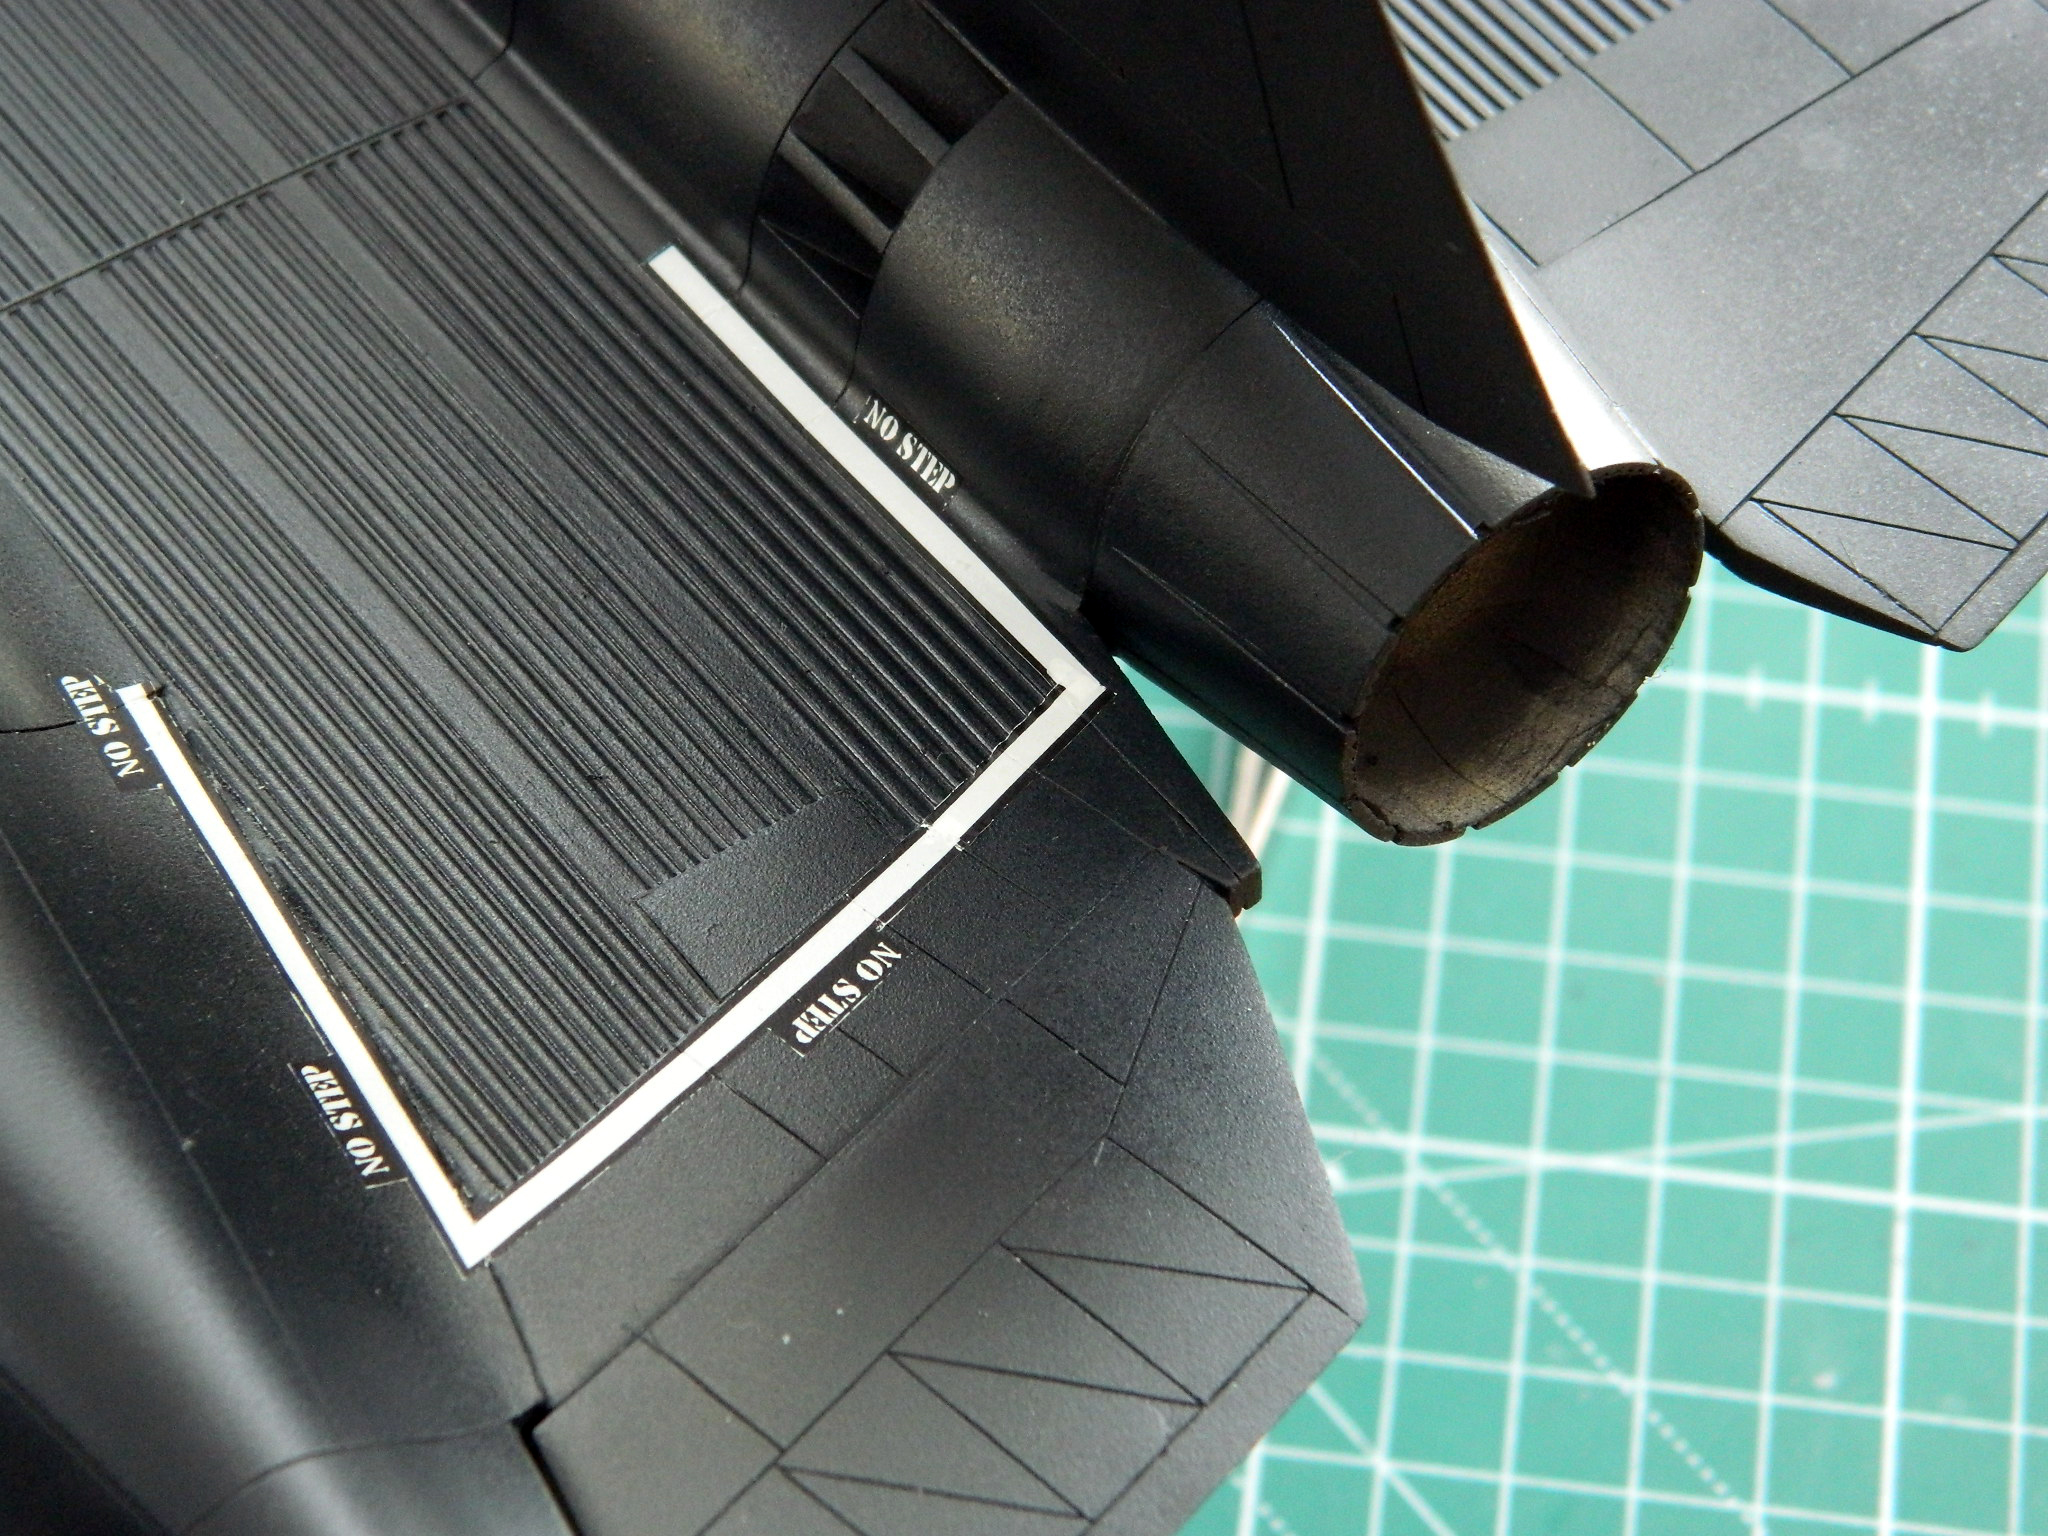
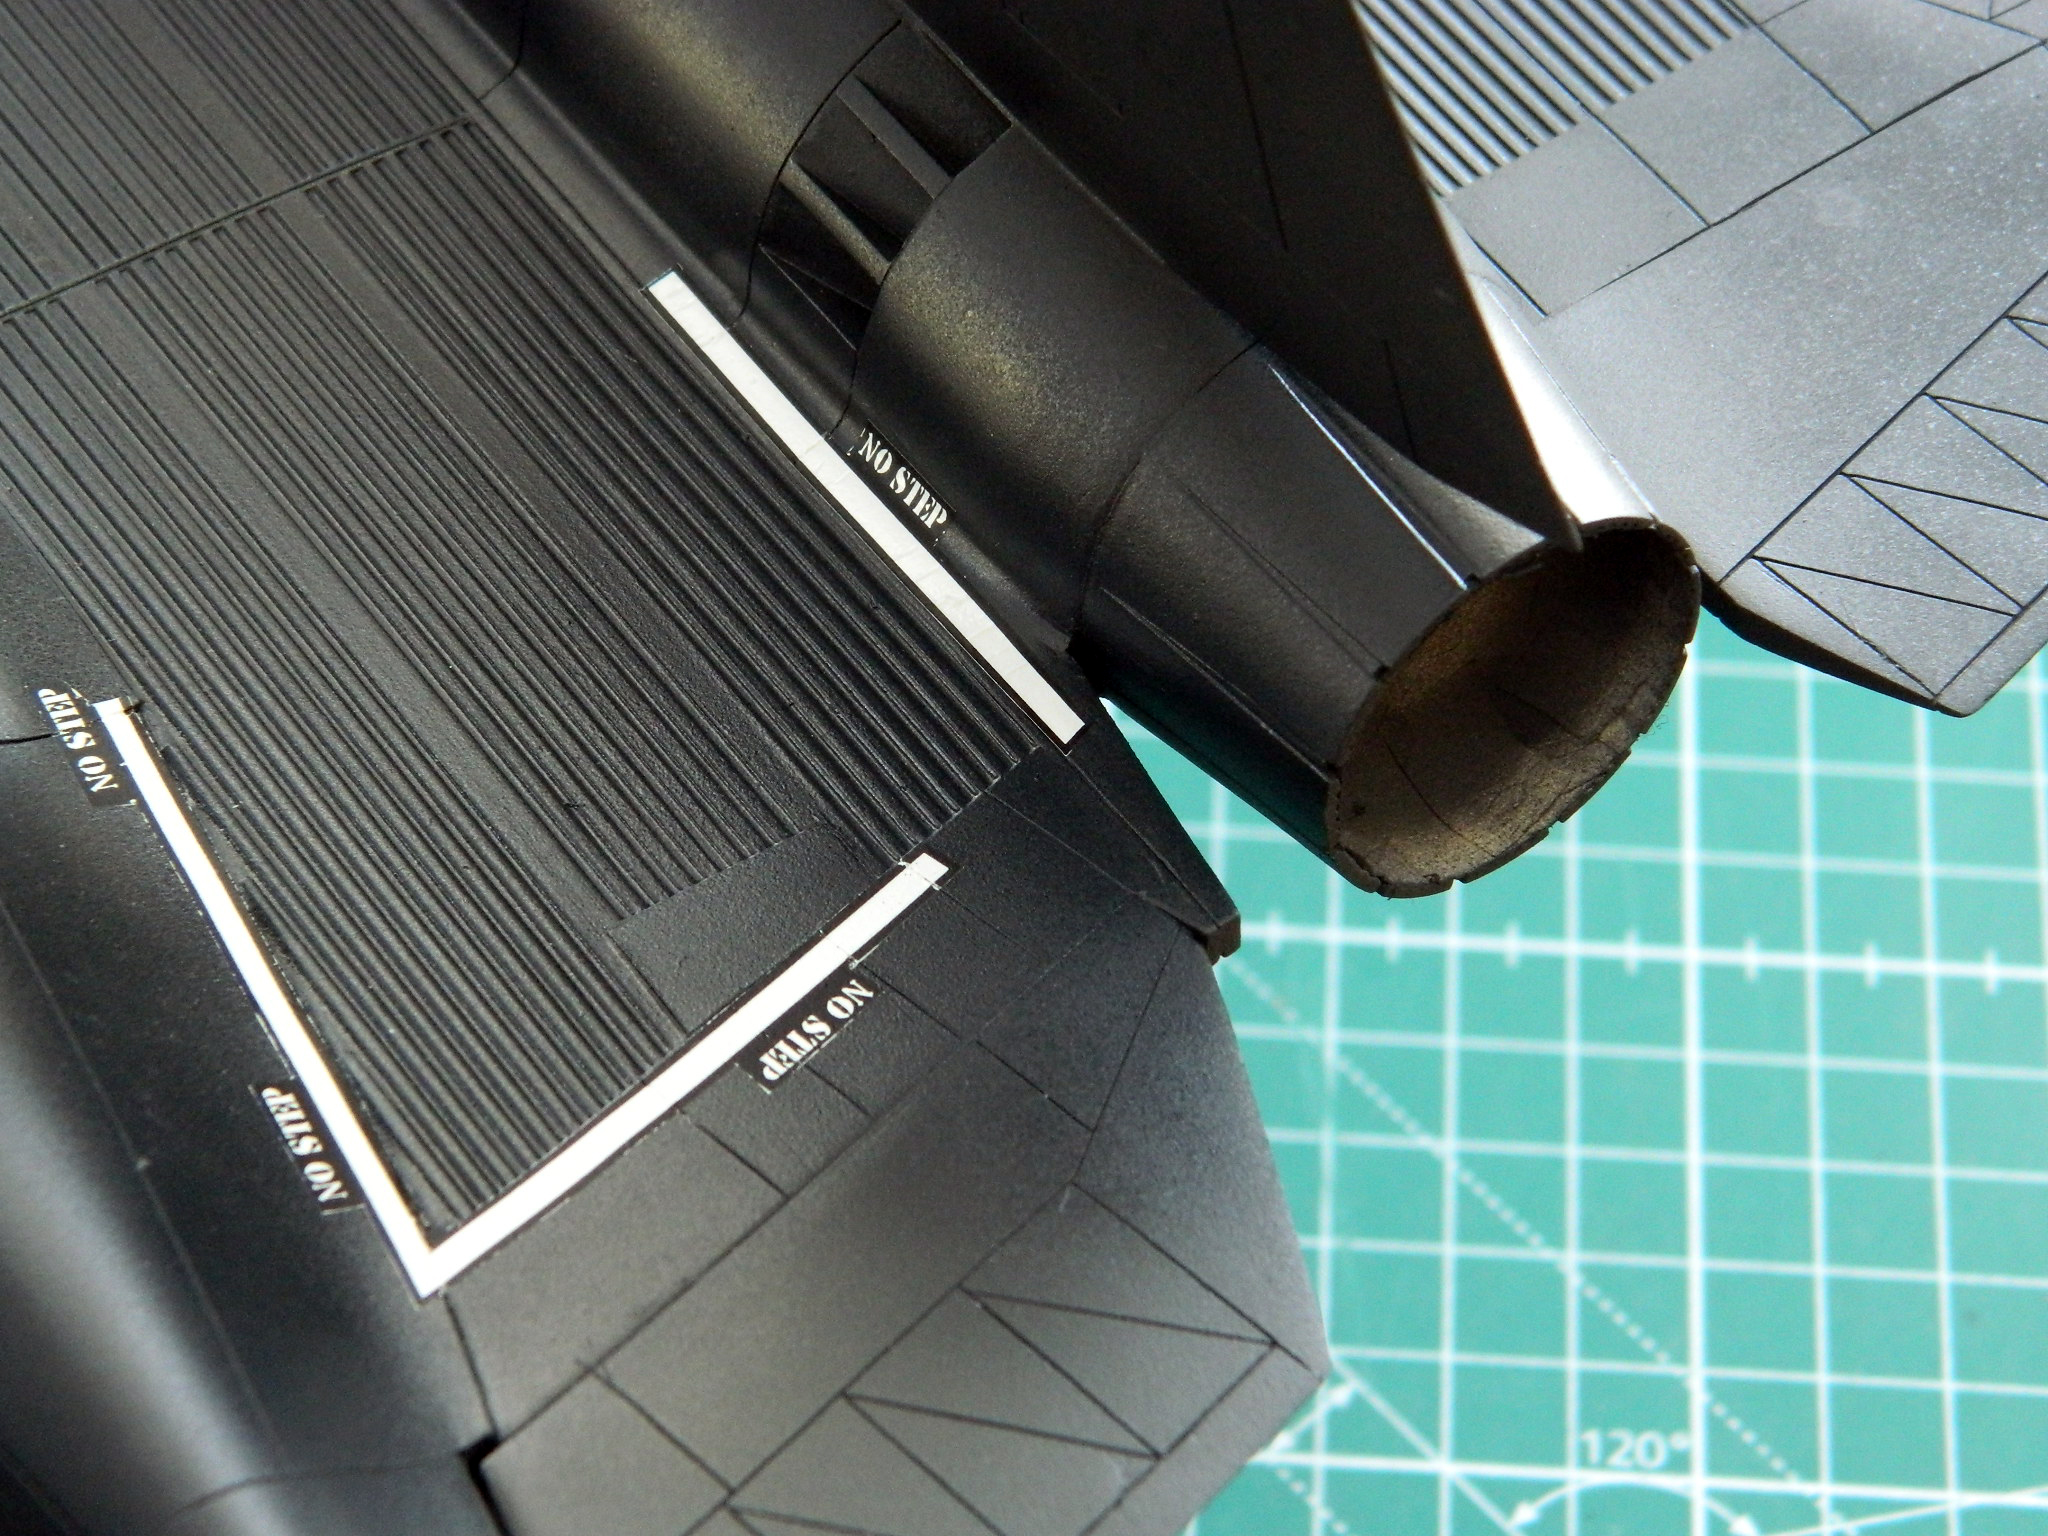
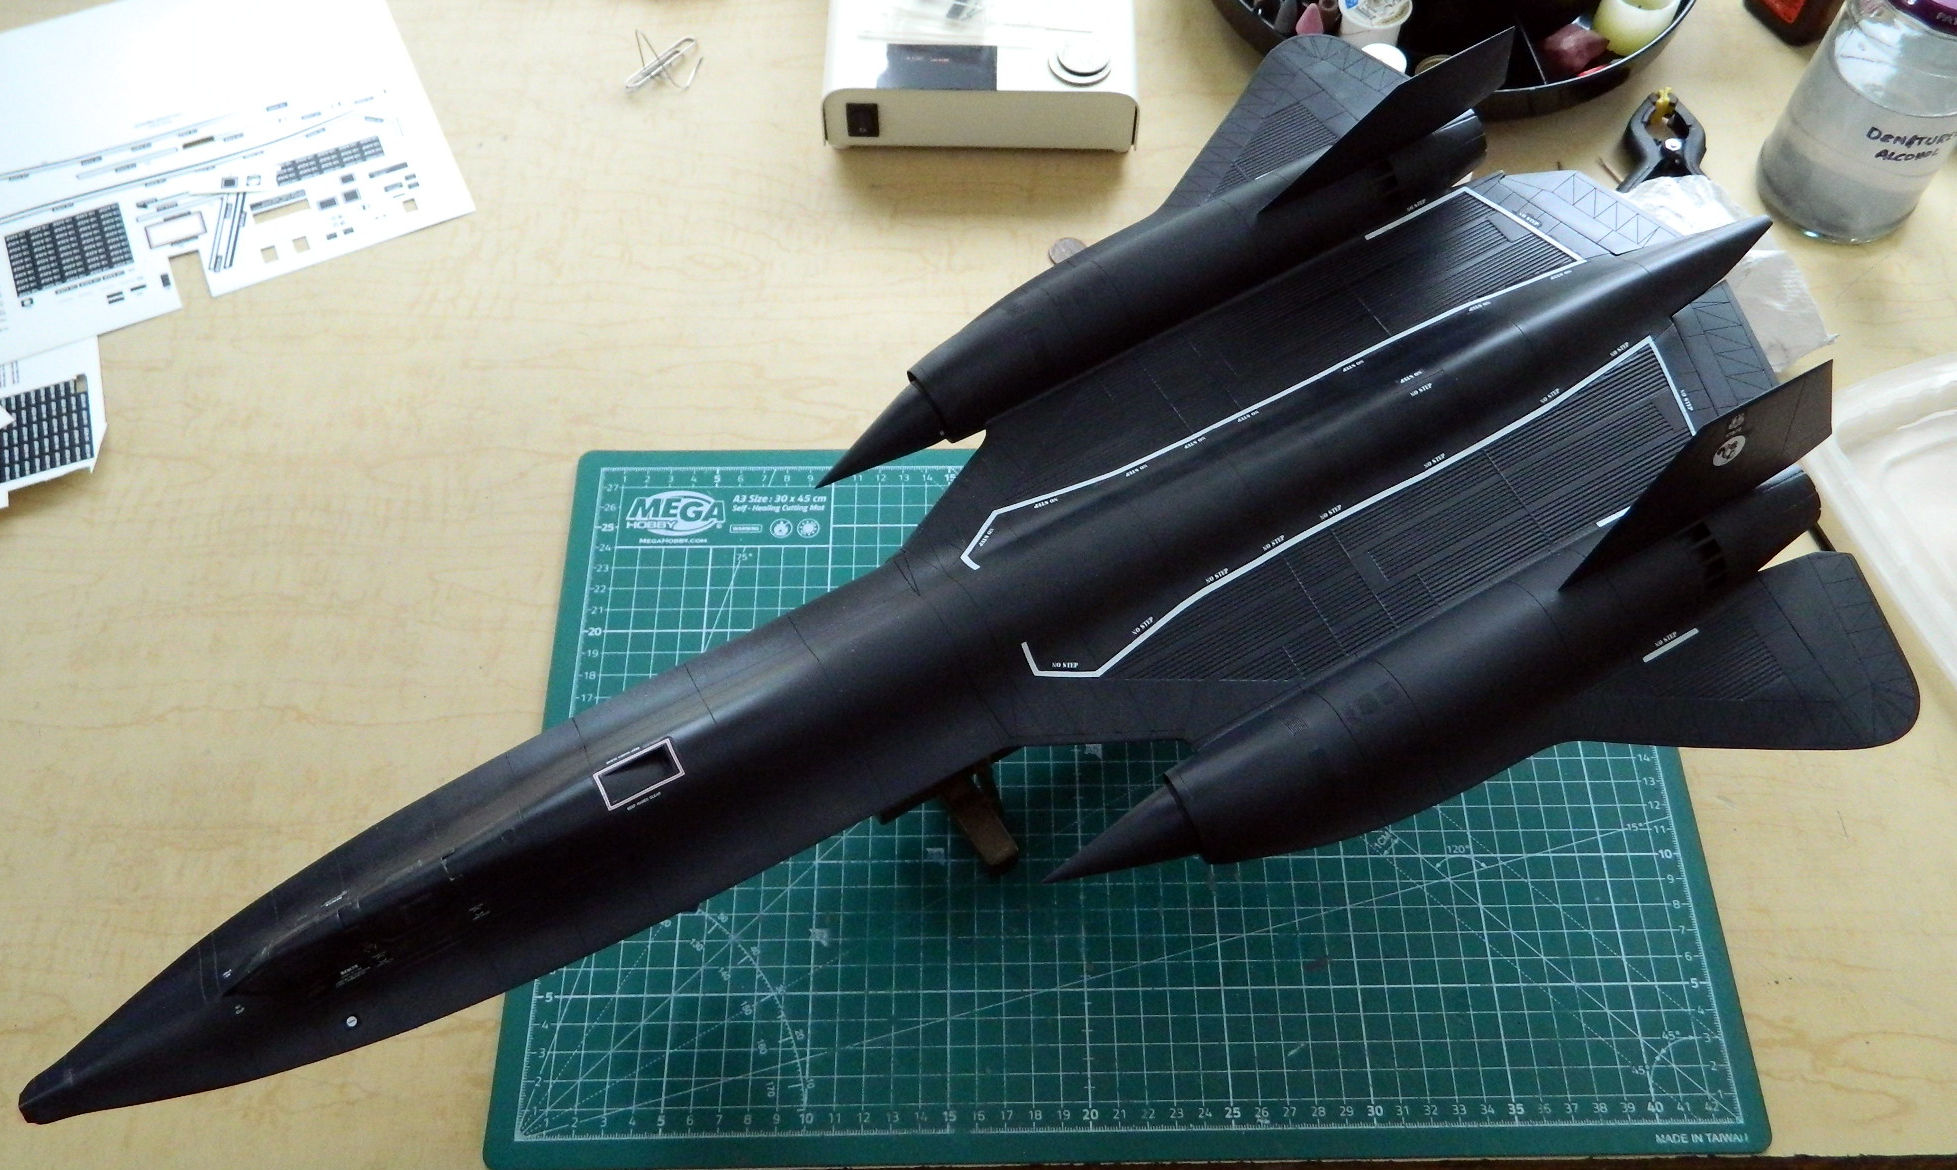
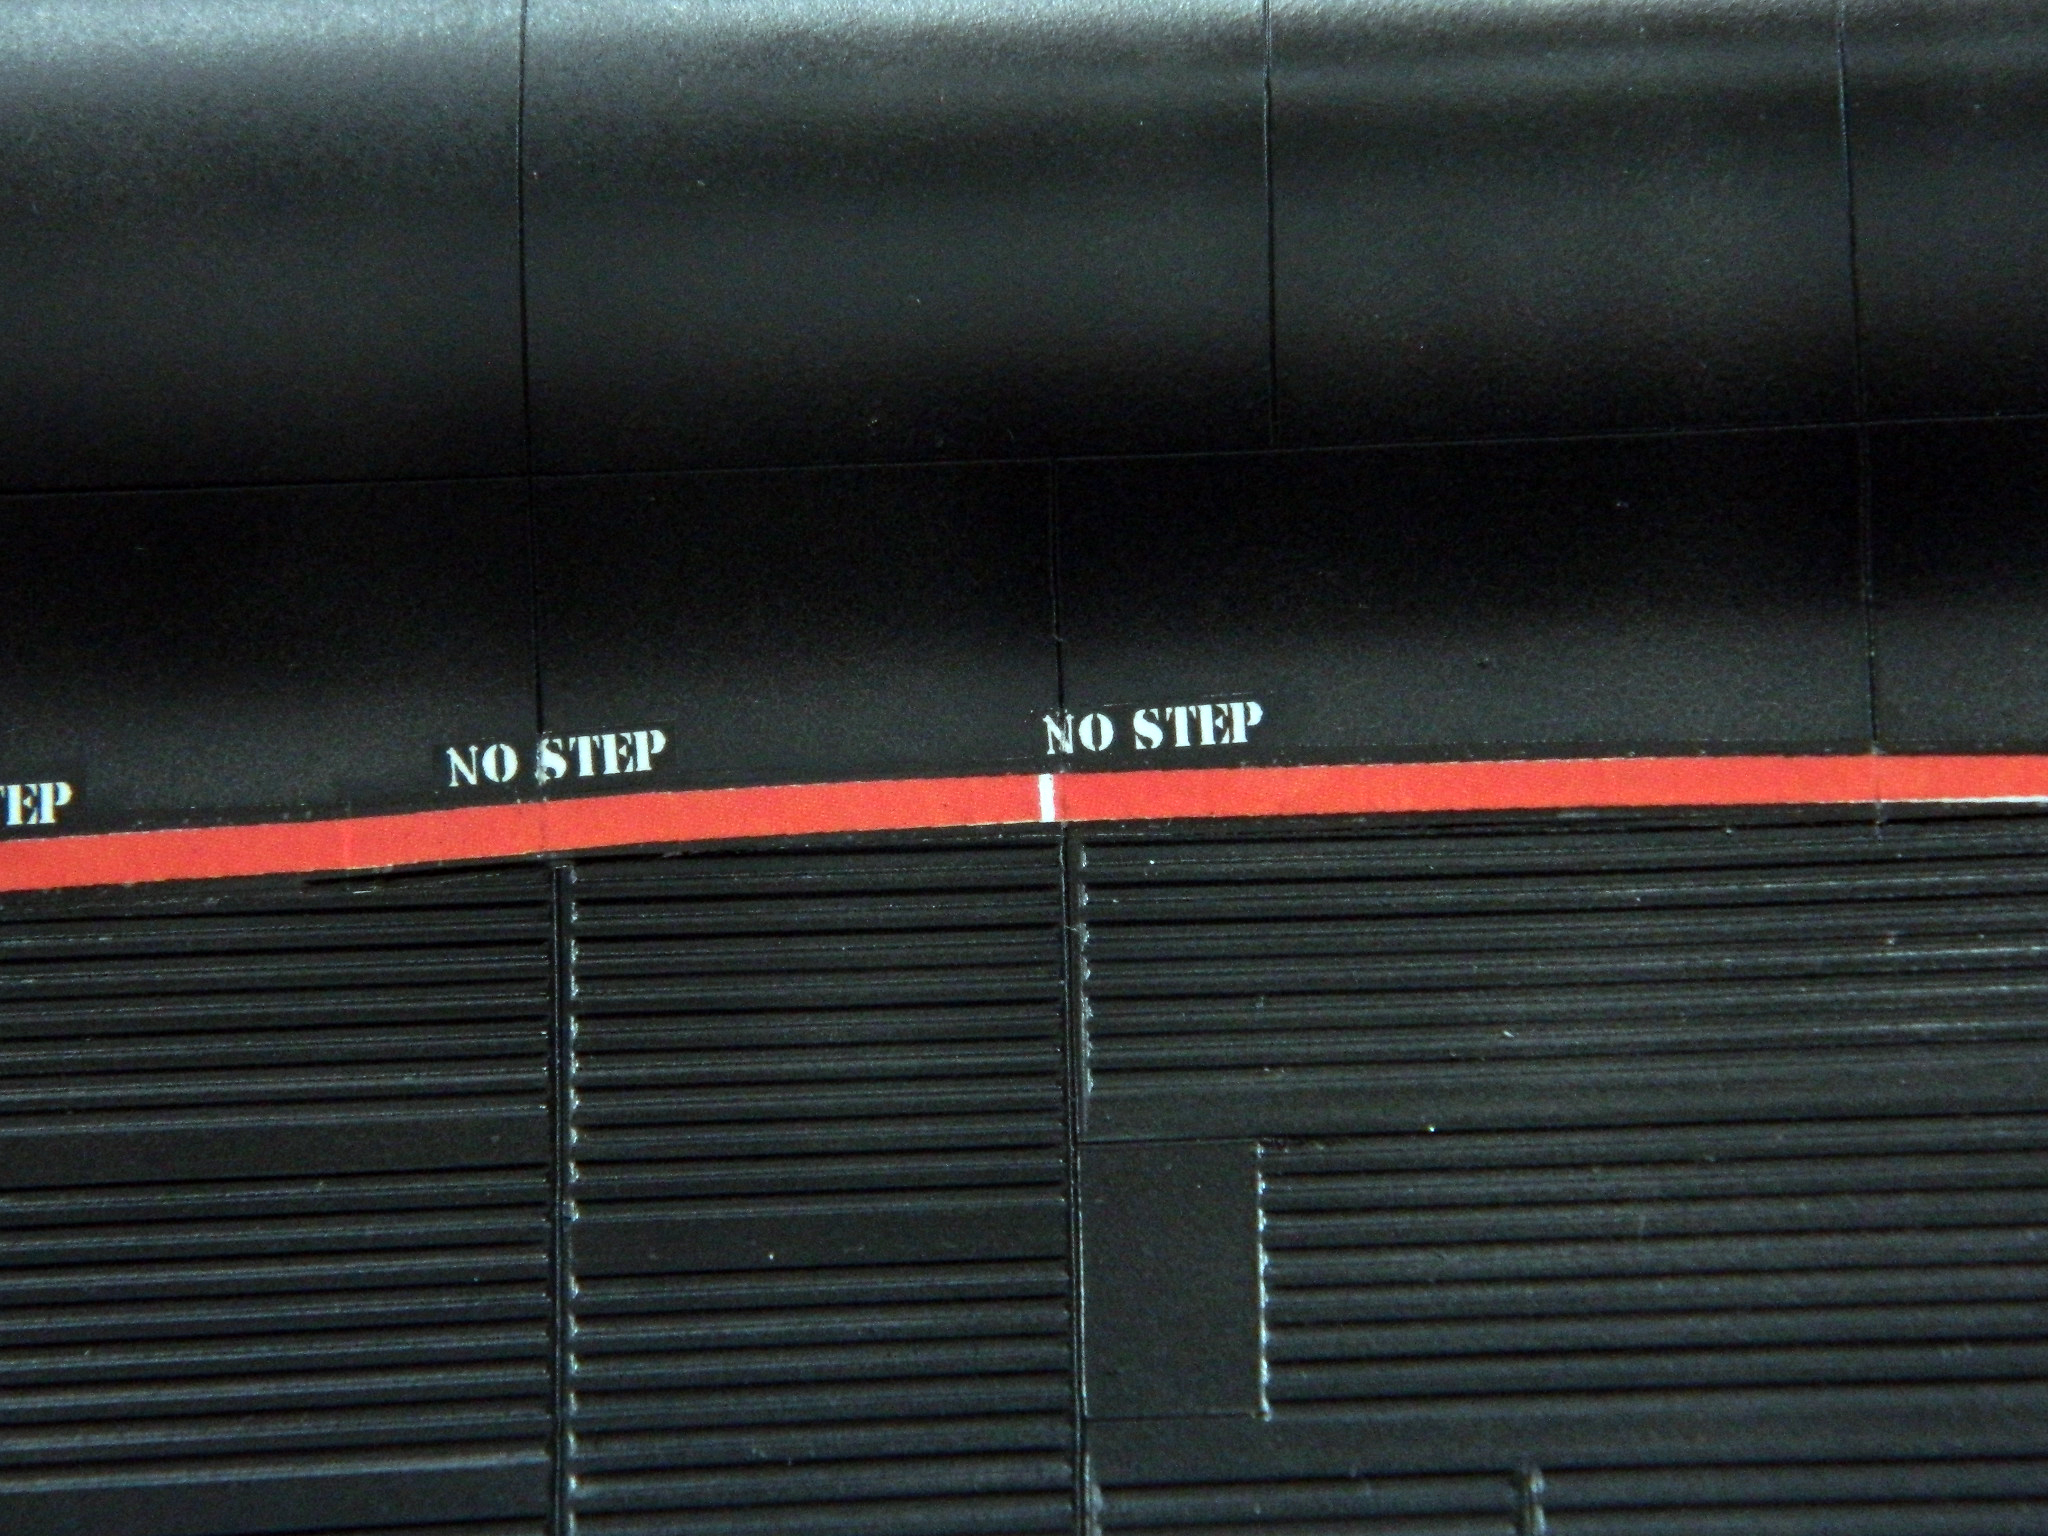
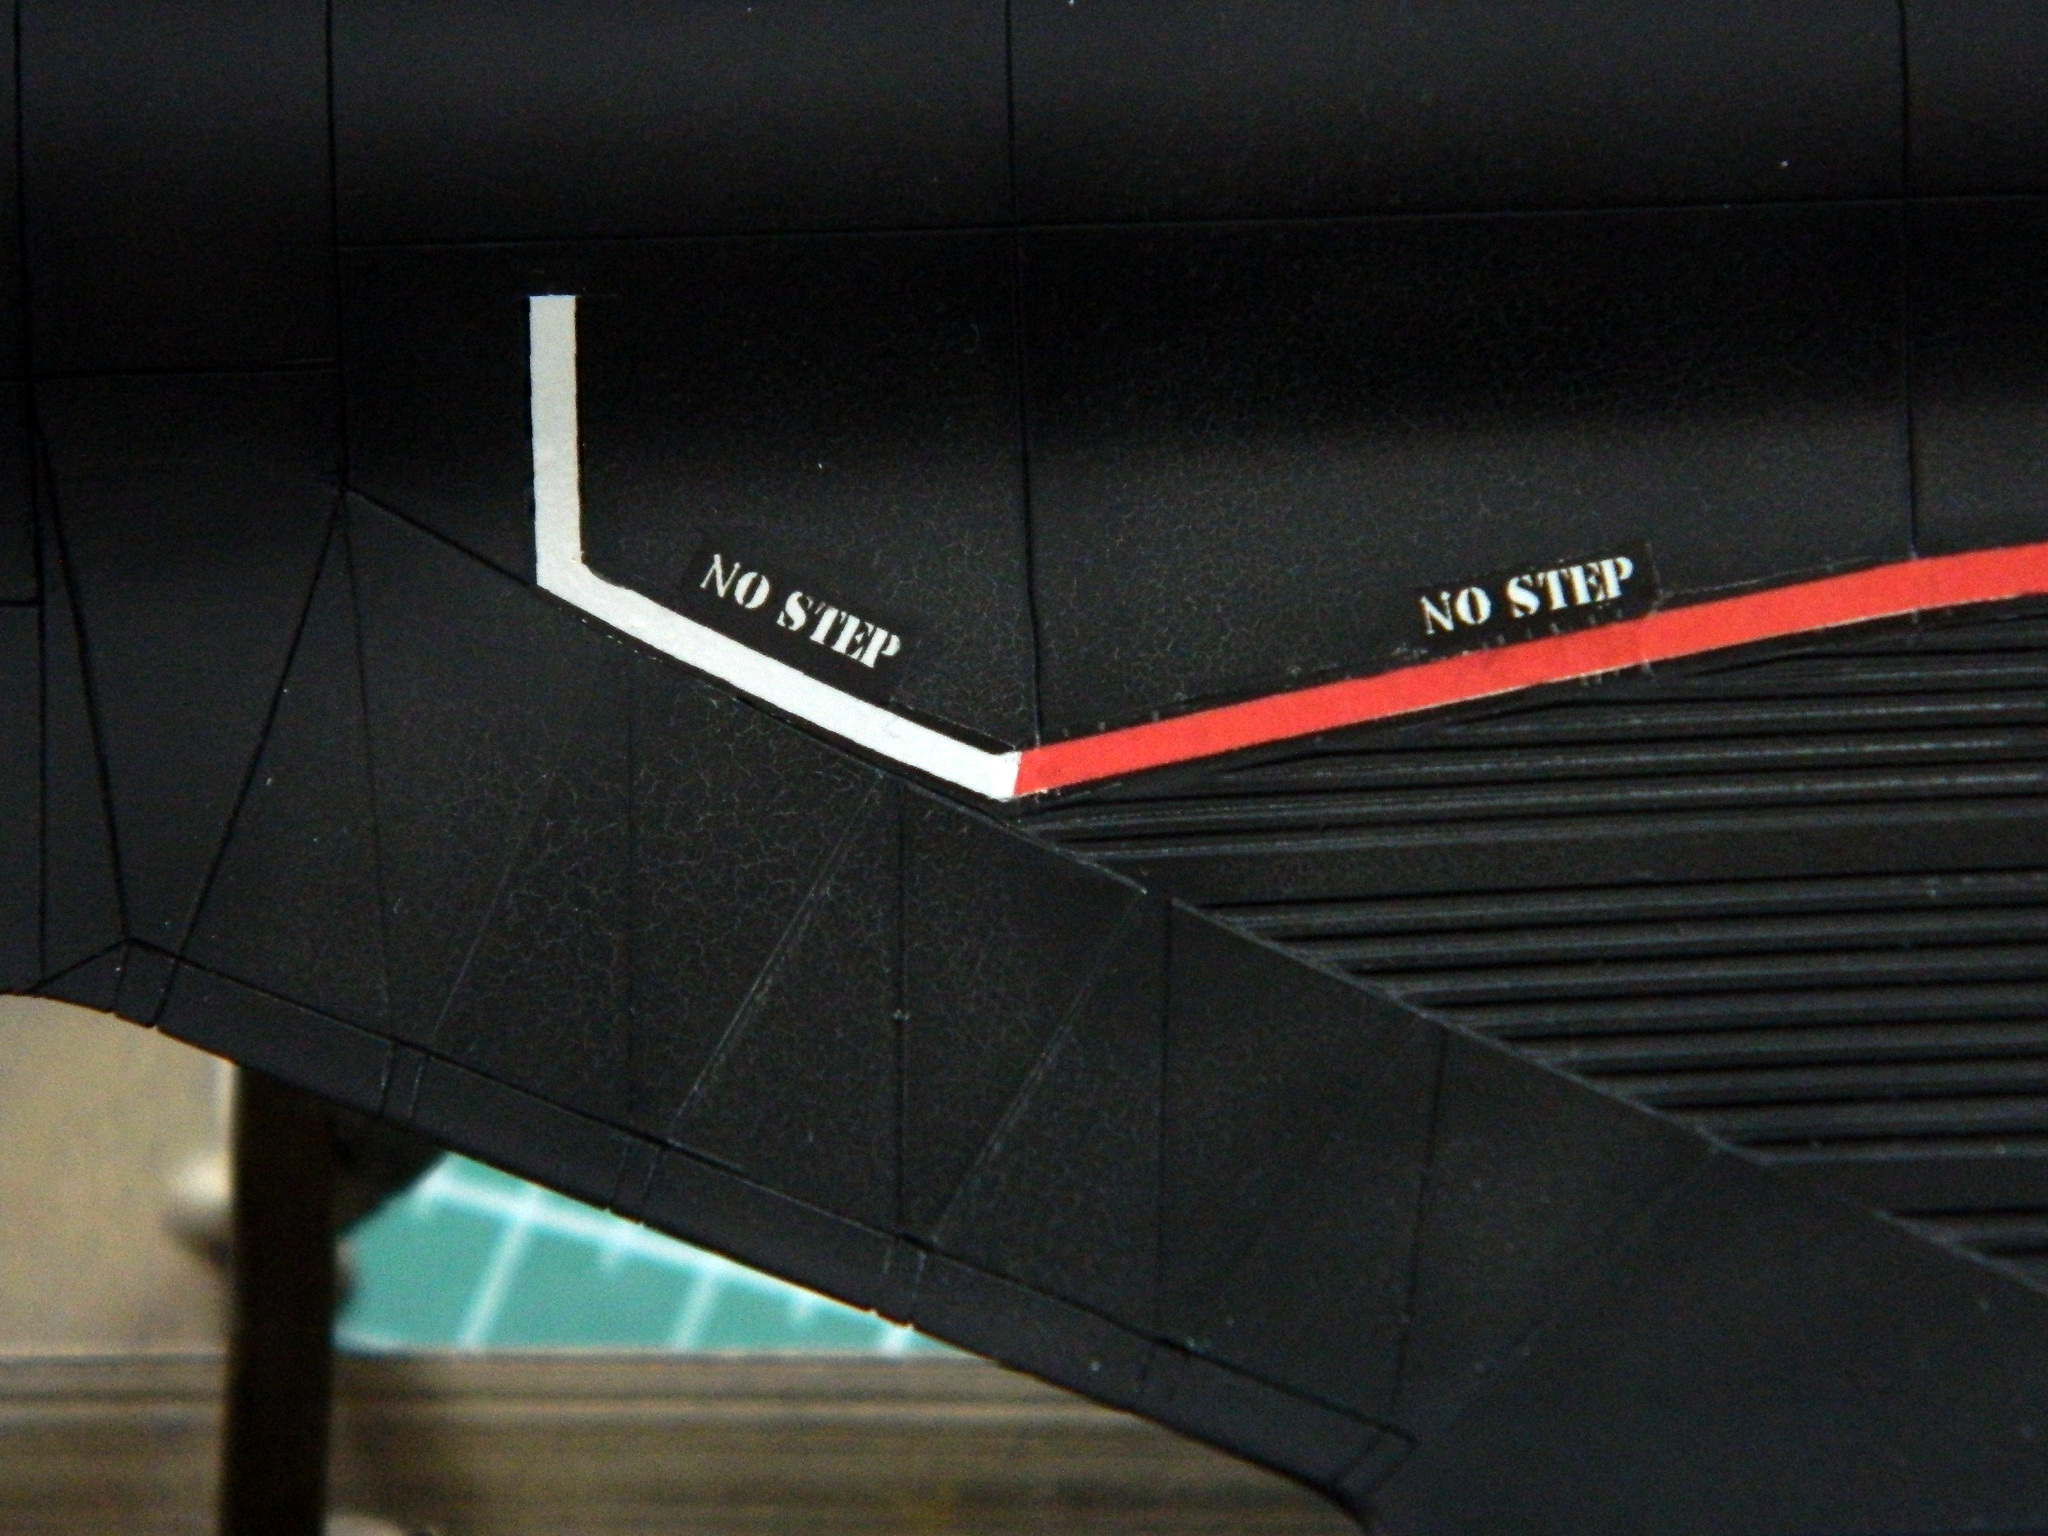
Instead of trying to wrestle with the long decal on the top that delineates the no-step area, I cut it into four easier-to-manage sections. Finally, all the under decals were in place on top (I’ll do the underside once the topside is all finished):
Until this point, I was pleased with myself for having figured out how to avoid using old decals in uncertain condition. As I was putting the under decals down, I thought that maybe they were a bit on the thick side and hoped that a coat of clear matte would take care of that. As I started putting down the color decals, my hope gradually vanished.
As soon as I started putting the color decals down, I realized (after approximately ten minutes as I tend to be somewhat dense at times) that the red decals were not exactly the same size as the under decals! I have absoLUTEly no idea why that happened. I used the red decals FOR the white ones, the only difference being the color ink that would print. But nope…the red decals are just slightly smaller. That meant that for the top decals of the no-step markings I cut the “no step” away from the stripes and aligned them separately:
As you can probably figure, this did not please me. At. All.
Once all of the color decals were down, treated with decal setting solution and solvent, I let the model sit overnight and the next day put down a couple of light coats of Tamiya TS-80 Flat Clear from a rattle-can to cover the decals, create the degree of light reflection I wanted, and blend in the decals.
The decals did not blend in.
The decals did not REMOTELY come close to blending in.
Once panic had subsided (and after a dozen phone calls to friends, hoping I could convince one (or more…I’m adaptable) to stop by, take my shotgun, and put me out of my misery) (none of whom stepped up, in case you were wondering), I thought of a fix. And a fix was desperately needed because if these decals didn’t work, I’d have to strip the top down to bare plastic (and resin and putties), repaint it, and then…and THEN…
::shudders:: Use the old kit decals instead. I cut out one of the decals from the old sheet that I knew I wouldn’t use and tested it.
It came off in three pieces (threatening the entire time to shatter). So that showed me that the decals were probably just over the line separating usable from unusable. That means I HAVE TO make these decals work.
After an inordinate amount of time (most of that time spent whimpering, whining, gnashing teeth (both of them) AND wringing my hands) I figured out a method that just might save things. Saving things was good because the alternative was a nicely built (I hope) SR-71 without any markings. The solution was to cover the decals in a very thick coat of flat clear. Once the clear had dried, sand down the raised areas (stopping before sanding decals) in the hope that with enough paint on there, I can fill that stepped edge of the decals and make it look as if it’s flat.
To make the coats of flat clear any thicker, I think I would have needed a trowel (note the panel lines…there is SO MUCH PAINT on this thing that the panel lines look like something usually found on a die-cast model):
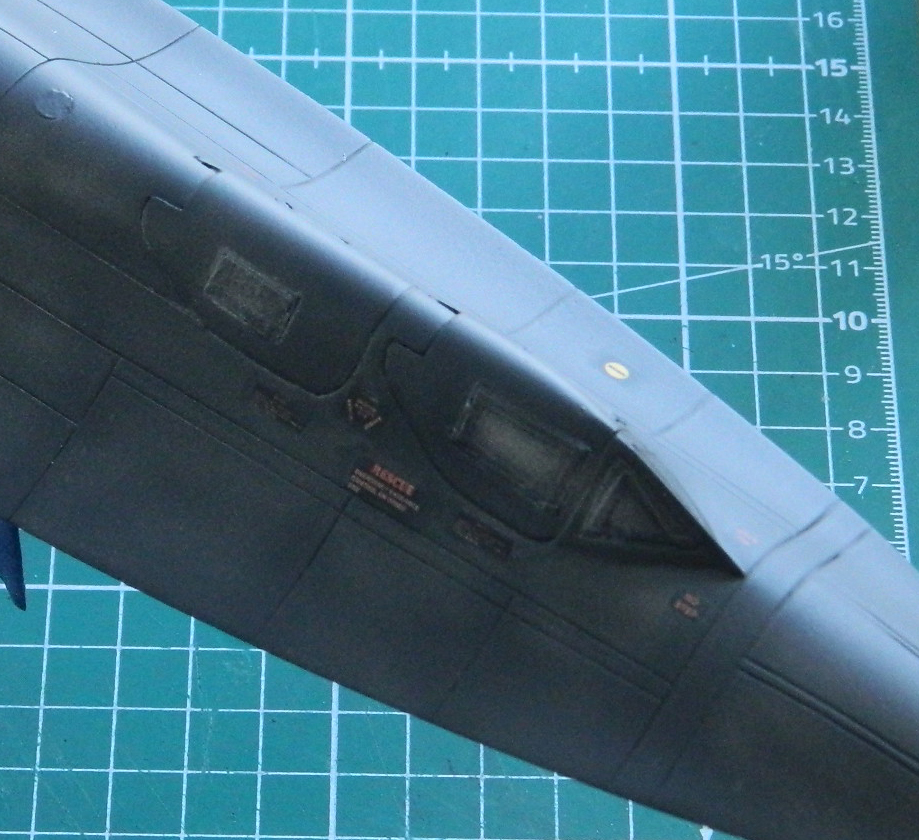
I started sanding with 2000 grit paper; I didn’t want to blow through the paint and dig into decals. When that seemed to take forever (seemed to because the 2000 grit didn’t seem to be doing anything), I went to 1500. Then 600. 400. Finally 320 started doing what I wanted…taking the paint down before I ended up being moved to an Assisted Living Facility.
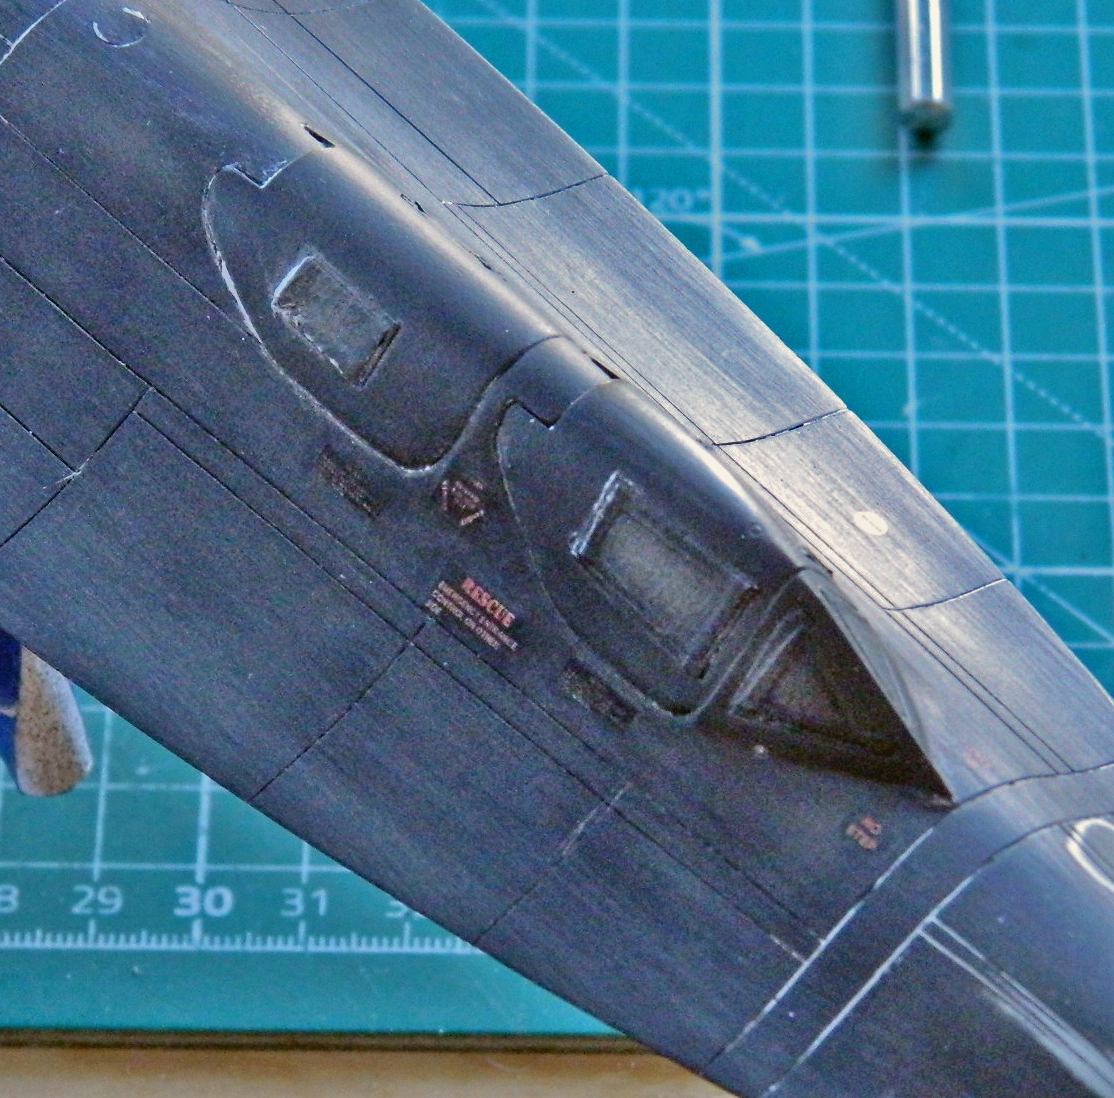
Note the difference between the left side of the photo under the canopies on the side of the fuselage where things haven’t been sanded, and the right side of the photo where they have been:
And the panel lines really did look like die-cast panel lines. I remedied that by, starting with 320, sanding up through the grits to 2000 (rescribing as necessary along the way):

Whew.
Yes…in several places I not only sanded through all the clear flat, I also sanded through the black paint, and then through the primer right down to plastic. But two things: The panel lines now look like PANEL LINES and not trenches, and once all the decals are done on top, I can repaint the black once I’m done:

WHEW!
At this point, I came about six inches from complete disaster.
I have reached over, under, and around this model for many, many, months and hundreds of hours. No problem. Evidently, I was saving up all the small problems of reaching over, under, and around this model for ONE REALLY MASSIVE PROBLEM. While returning my arm to a more usual position after having reached over the model, my cuff caught it and knocked it clean off the workbench.
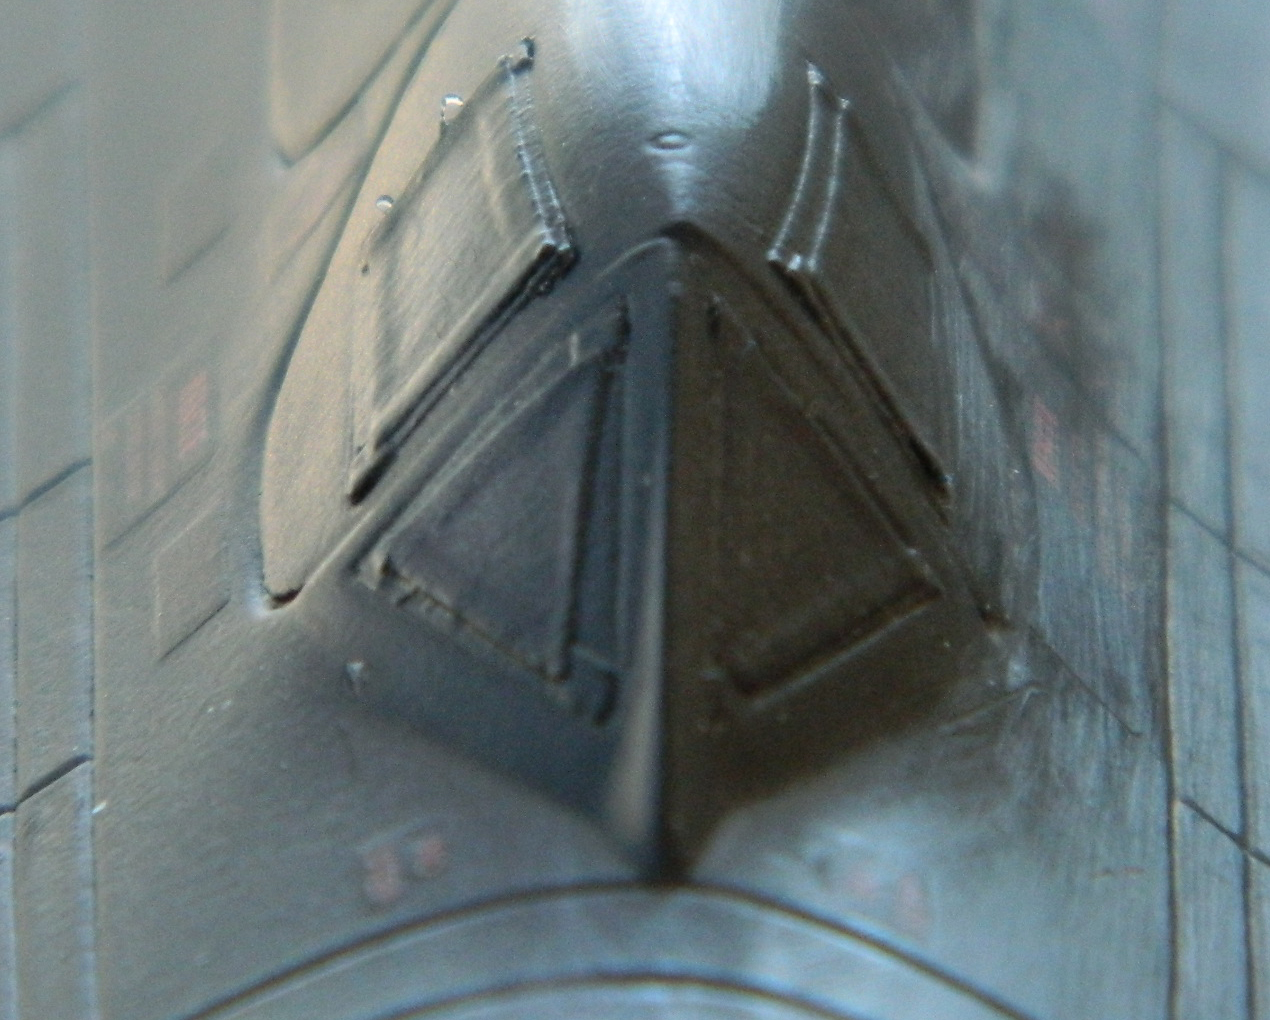
I caught it, falling toward an oak floor, landing gear down (of course), SIX INCHES from the floor. I would have sworn that my ability to move that fast had gone away forever a few decades ago (three, if that sort of thing matters to you). I caught it by the outside wing on the right side (right side because I caught it and if that doesn’t impress you, you are impress-proof). As I caught it, I heard that little “snick” that indicates that something formerly adhering to something else had ceased any sort of adherence. Indications were correct. Where the outer wing met the curve of the nacelle was a plastic-to-resin join of superglue. It cracked, requiring regluing, sanding, etc.:

What REALLY impressed me with this almost-disaster what not having to change any undergarments because shock and horror did not affect any sphincters adversely. (Something else I’m inordinately proud of.)
Since I have to finish troweling on the clear flat and sanding away the steps created by too-thick decals. It’s a lot of sanding and I’d rather not have to sand everything. I masked the areas of the upper surface with tape I don’t want to coat under a very thick layer of clear. Once it’s dry, I’ll start sanding and rescribing.
Again.

My guess is Logistics Command has a Blackbird is similar to the reason it’s predecessor was given a utility plane designation.
Oh, and, nice catch!
LikeLike
That’s a possibility…
Thanks for calling it a “nice catch,” but given that I had to, pixel by pixel, turn a jpg photo into decal, I’d need a sharp (or even dull) stick in each eye to miss that one!
LikeLike