Having broken the frame again, I placed it to the side and distracted myself (and blood pressure) with Other Tasks. That all started with me going online to see if I could find another kit so that I could use its frame. As it turned out, this particular kit is rare. I found a couple online and if I thought I was taking a break for my blood pressure, seeing the prices they were asking only elevated it. I did, however, find an original-issue kit for a reasonable sum and eagerly purchased it. As it turned out, I was a bit too eager and I neglected to read the item description thoroughly. I opened the box to find out that the damned thing had already been built…and poorly packed as evidenced by how many parts broke off in transit. And saying it “had already been built” leaves out the part where it looked like it was built (and brush painted using those horrible Testors square enamel bottled paints) by a ten-year-old. Glue bomb. I suitably chastised myself…then completed the disassembly process that had been initiated by lousy packing until I had the frame clear of the shitte (you can see bits of blue plastic still stuck to the frame in the photo as well as where the plastic has been melted by tube glue):


Most of the crap on this frame, particularly where the tube glue pitted the plastic, will not be seen once this is assembled, but the blue plastic had to come off so that I could fit the frame inside the body and the molded-in transmission was cut down:


While I was dealing with the frame, dry-fitting showed me that the shaft locating the clutch and brake pedals were too far forward. I started fixing that by plugging the opening for it with scrap styrene:
As mentioned in an earlier post, the frame of this car is a C-channel frame, and I’d intended to carve out a reasonable representation of it. In the process of doing so, I’d thinned the frame sufficiently where it broke twice. And though it galls me to proceed on without doing so to this frame, the notion of spending STUPID amounts of money to get a kit from the collector scene just for the frame galls me even more. So I’m going to leave the frame as it was molded and try to do my whining about it in private (that you read that just now indicates how well that’s going to work).
The engine/transmission had been roughed in, now was the time to get them more exactly located. And while I was doing that…bet you’ll NEVER guess what I did…:


In the above photo, you can see the front of the transmission has had a spacer installed to make for a better fit to the engine (it’s the white plastic). While doing that, I discovered that there was a weak spot towards the rear of the frame. *snap* Placing the two parts (where once there was one part) together showed me how that happened (other than the obvious too-much-force-applied-to-old-styrene thing). When whatever kid assembled this kit using tube cement (yes…I’m going to beat that one to death), it had dissolved much of the structure which weakened it sufficiently for it to break off:

Well, this frame has to work so I started by aligning it and gluing the broken section back on:

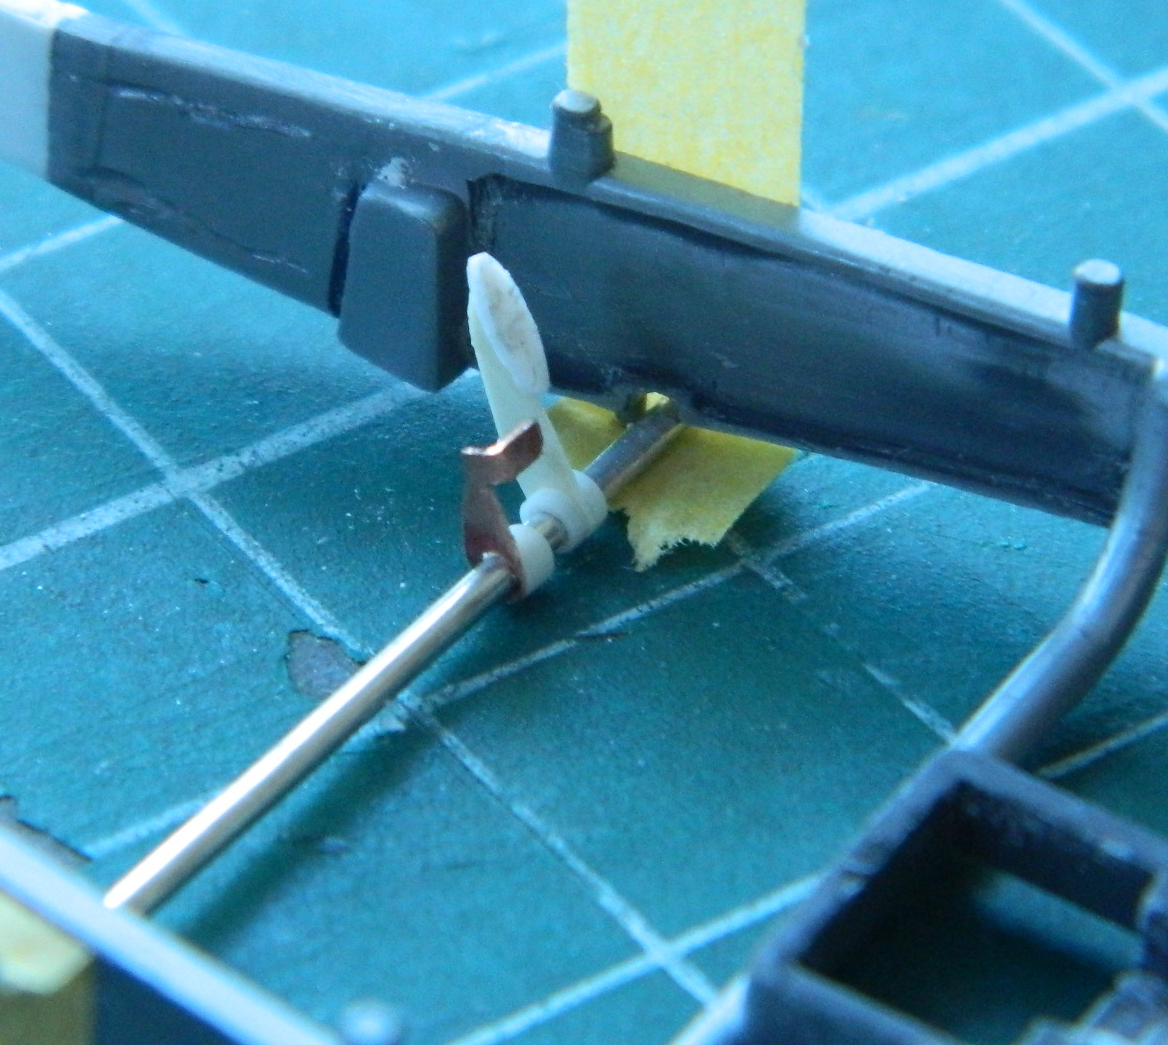
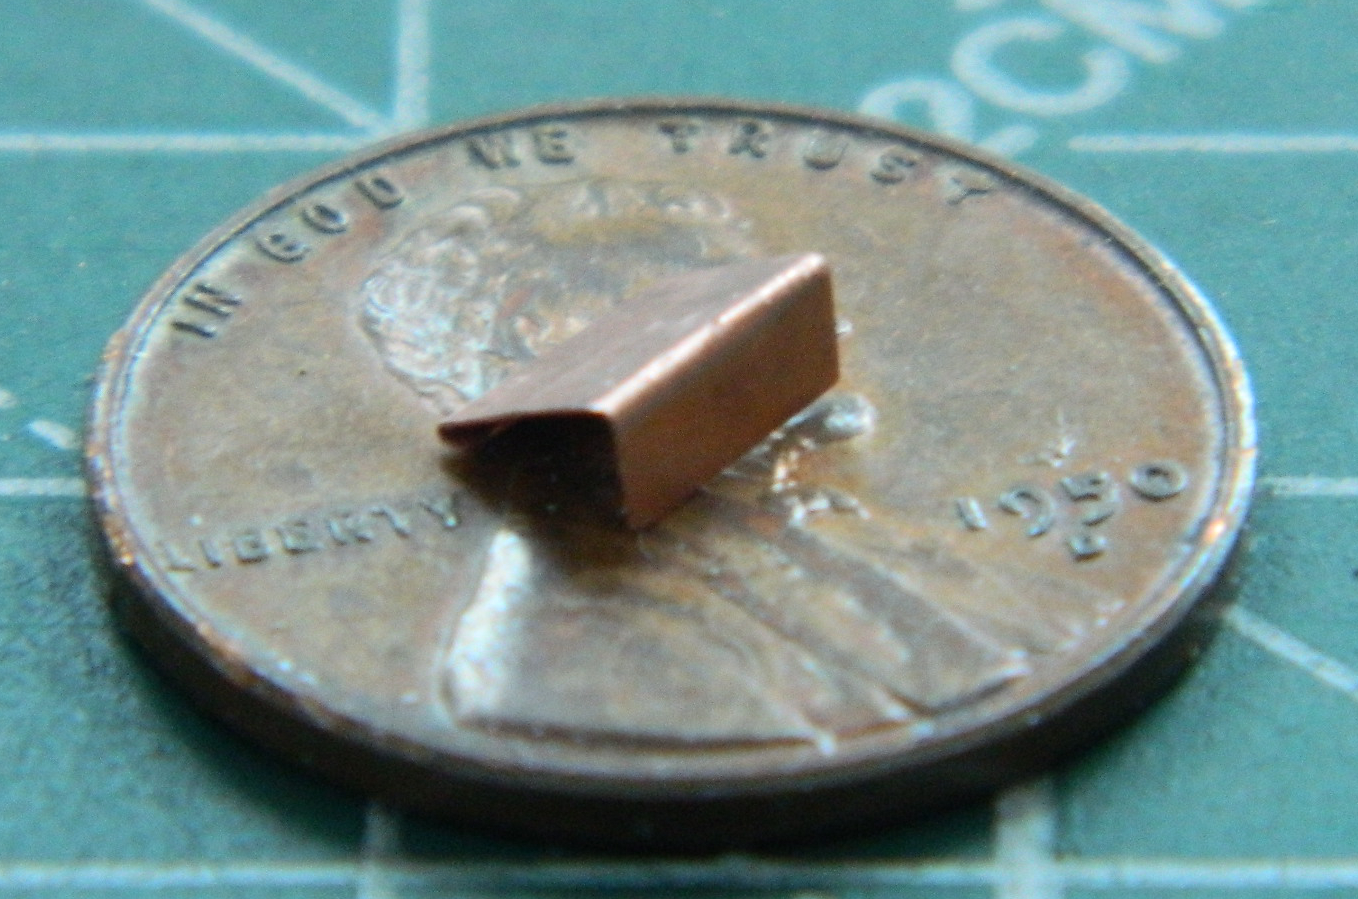
I wanted the glue to completely harden so I decided to anneal some .010″ (.254mm) copper shim stock and bend it to replicate the mount for the rear-view mirror:

Since I was working with shim stock, once the frame had set for a couple of days, I used .005″ (.127mm) shim stock to reinforce the outside weak area of the frame (.005″ (.127mm) because of a clearance problem fitting the body over the frame…it’s snug). I had room on the inside of the frame to use .010″ (.254mm):

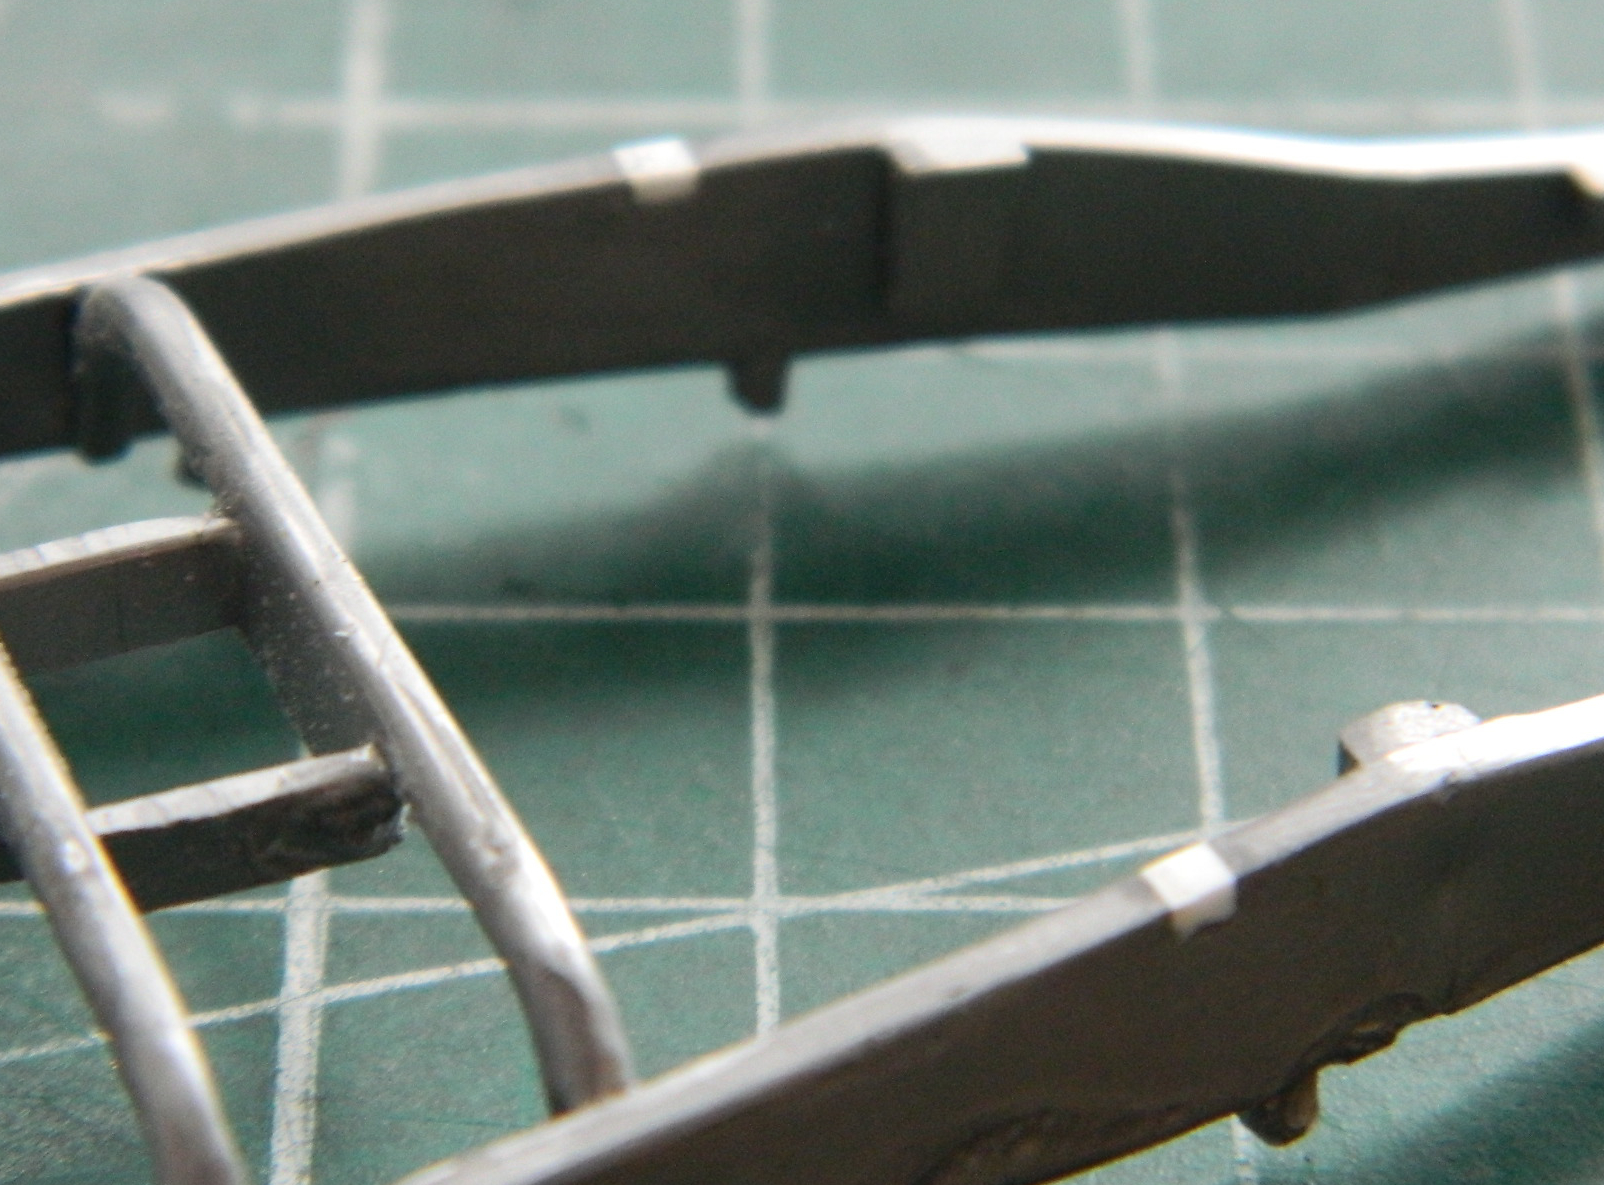
Once the superglue cured overnight, I drilled into (but not through…this area is weak enough already) the frame to set a couple of 22 gauge wires through the shim stock to buttress this area:

Then the protrusions were snipped off and the outside areas filed flush (the inside pins were just snipped as there’s no fit problems nor will this area be seen after assembly):

There will be some work on the body. It starts by sanding down the raised panel lines, body fasteners, and safety wires. Since the fasteners and safety wires will need to be redone, I’d thought I’d take a rubbing of what the kit has and use that as the pattern to replace the sanded-off details. The rubbing didn’t work very well, but pressing the paper down (embossing it, I guess) left a pattern that I’ll be able to use to replace the details. And all that starts by plugging the holes for the fender mounts I will not be using (as I will not be using the fenders):


Then scrap paper was taped on and embossed, picking up the details:


Before I could get into all that, I had to make a common addition that the kit didn’t provide. A leather pad was fitted over the edge of the cockpit and that needed to be built. Then sanding, scraping, puttying, more sanding, and then scribing occurred (on the inside where visible also):


Putting back all those panel fasteners is going to be…fun.

Such patience . . . Great work.
LikeLike
It only requires patience if one (or more) isn’t enthusiastic about their task(s). And thanks!
LikeLike