With the engine nacelles mostly done, it was time to permanently attach them to the rest of the model. Before I started that process, I knew that there would be much handling because (and here’s a surprise) there are substantial gaps between the engine nacelles and the inner wing panels. And because my case of laser-focus frequently likes to gnaw on me, I knew that the edges of the fuselage chines (those VERY THIN edges) wouldn’t fall within the scope of my laser-focus and would get bumped on the workbench…probably on the worst part of the workbench, the hard, unyielding, and unforgiving edges of the workbench. As I’ve already discovered, any bump leaves a divot at the point of contact on the chines, meaning I would probably spend many hours chasing my inattention and rebuilding each of the (probably many) divots.
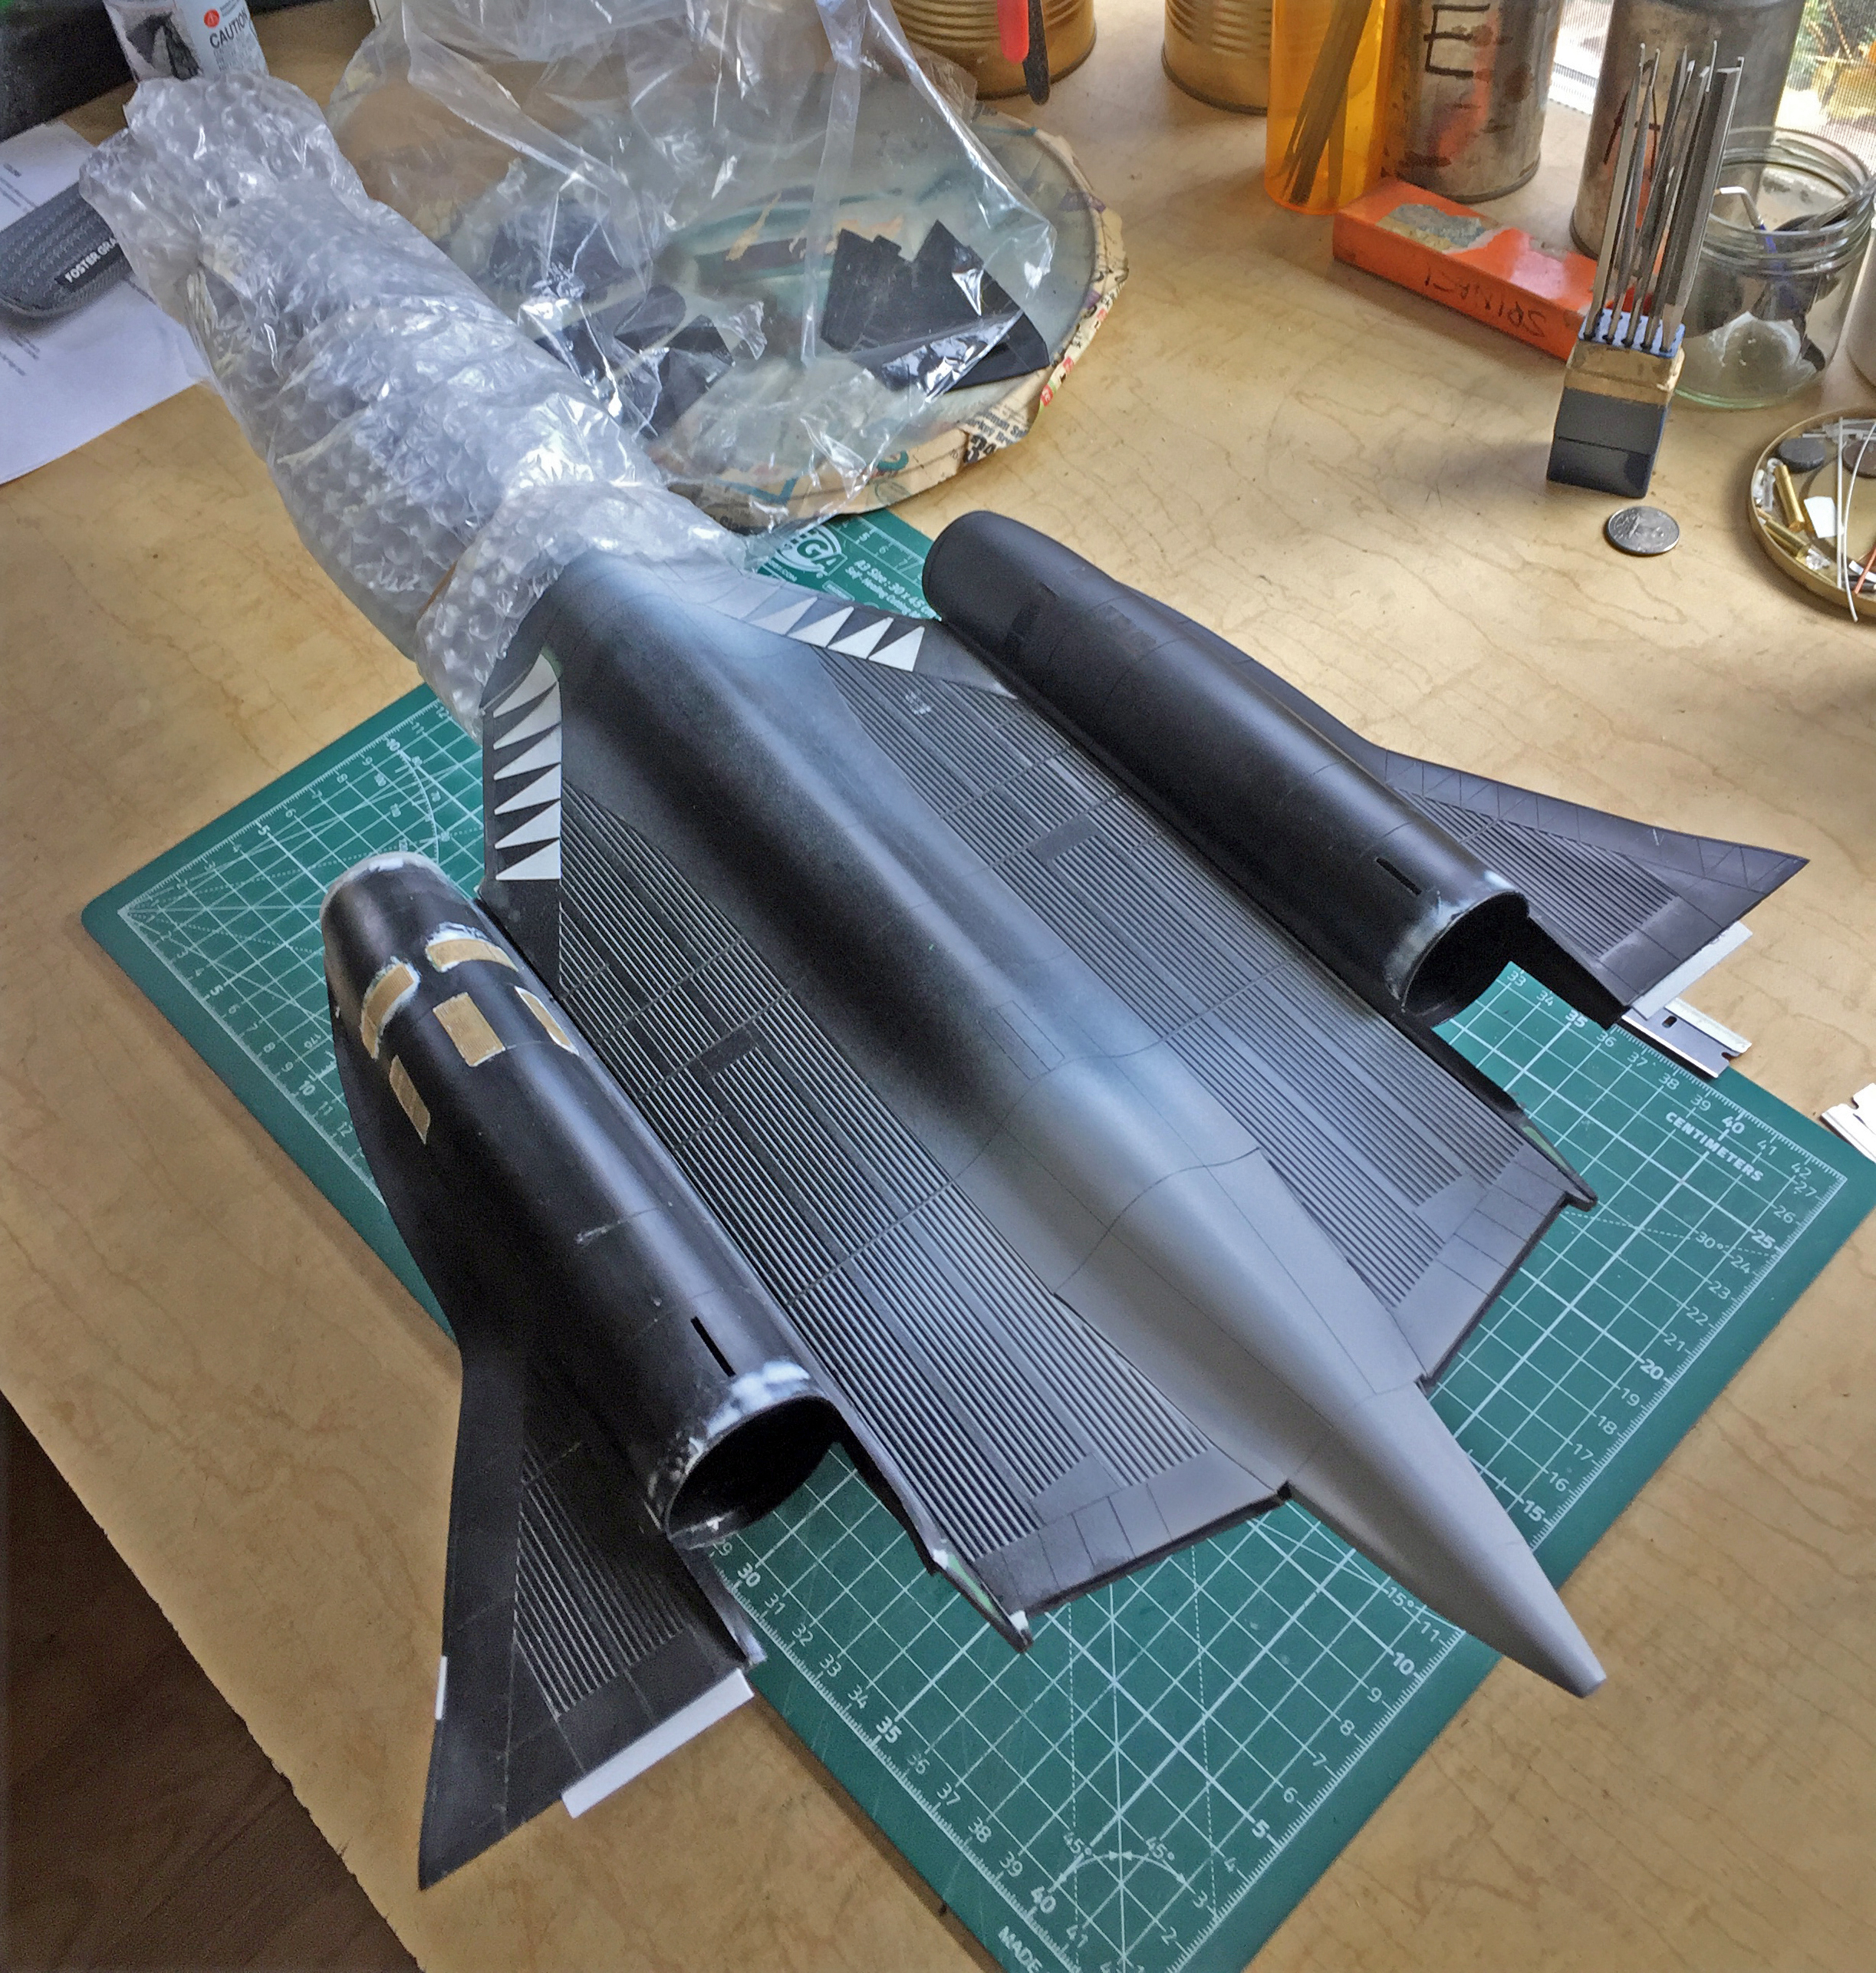
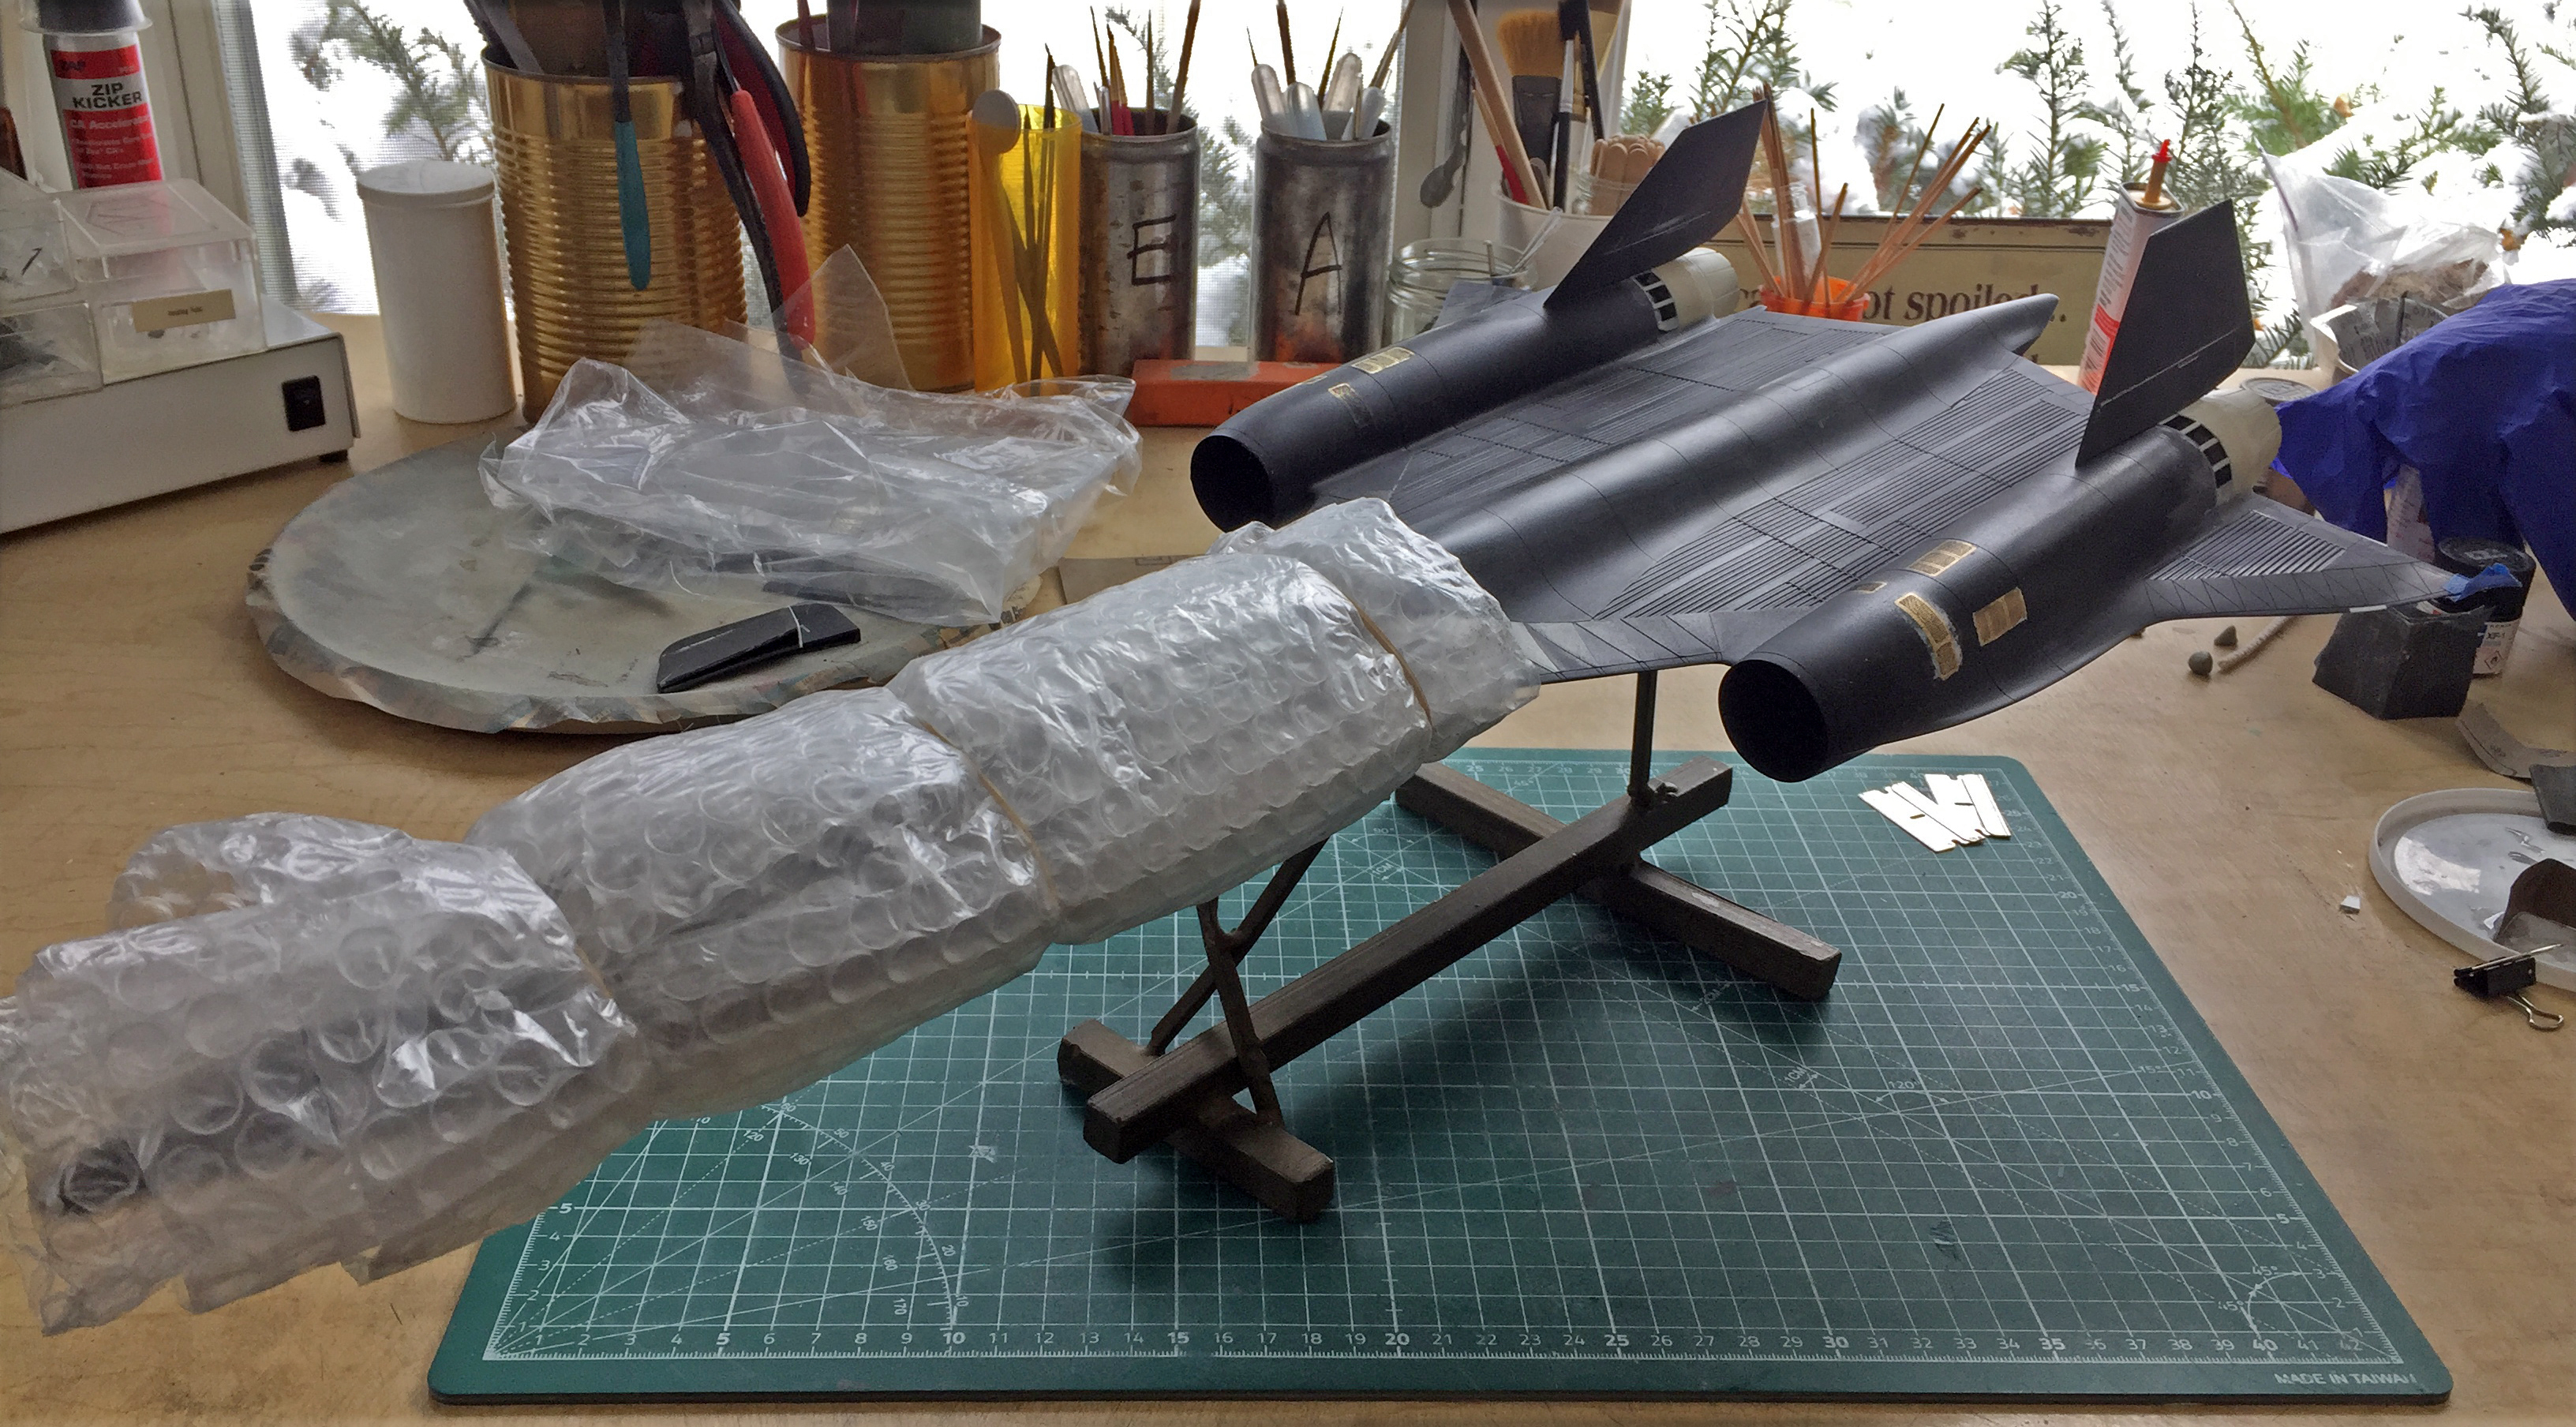
This time I manage to get ahead of my inattention and fixed the problem before it became a problem…wrap the forward fuselage in bubble wrap:
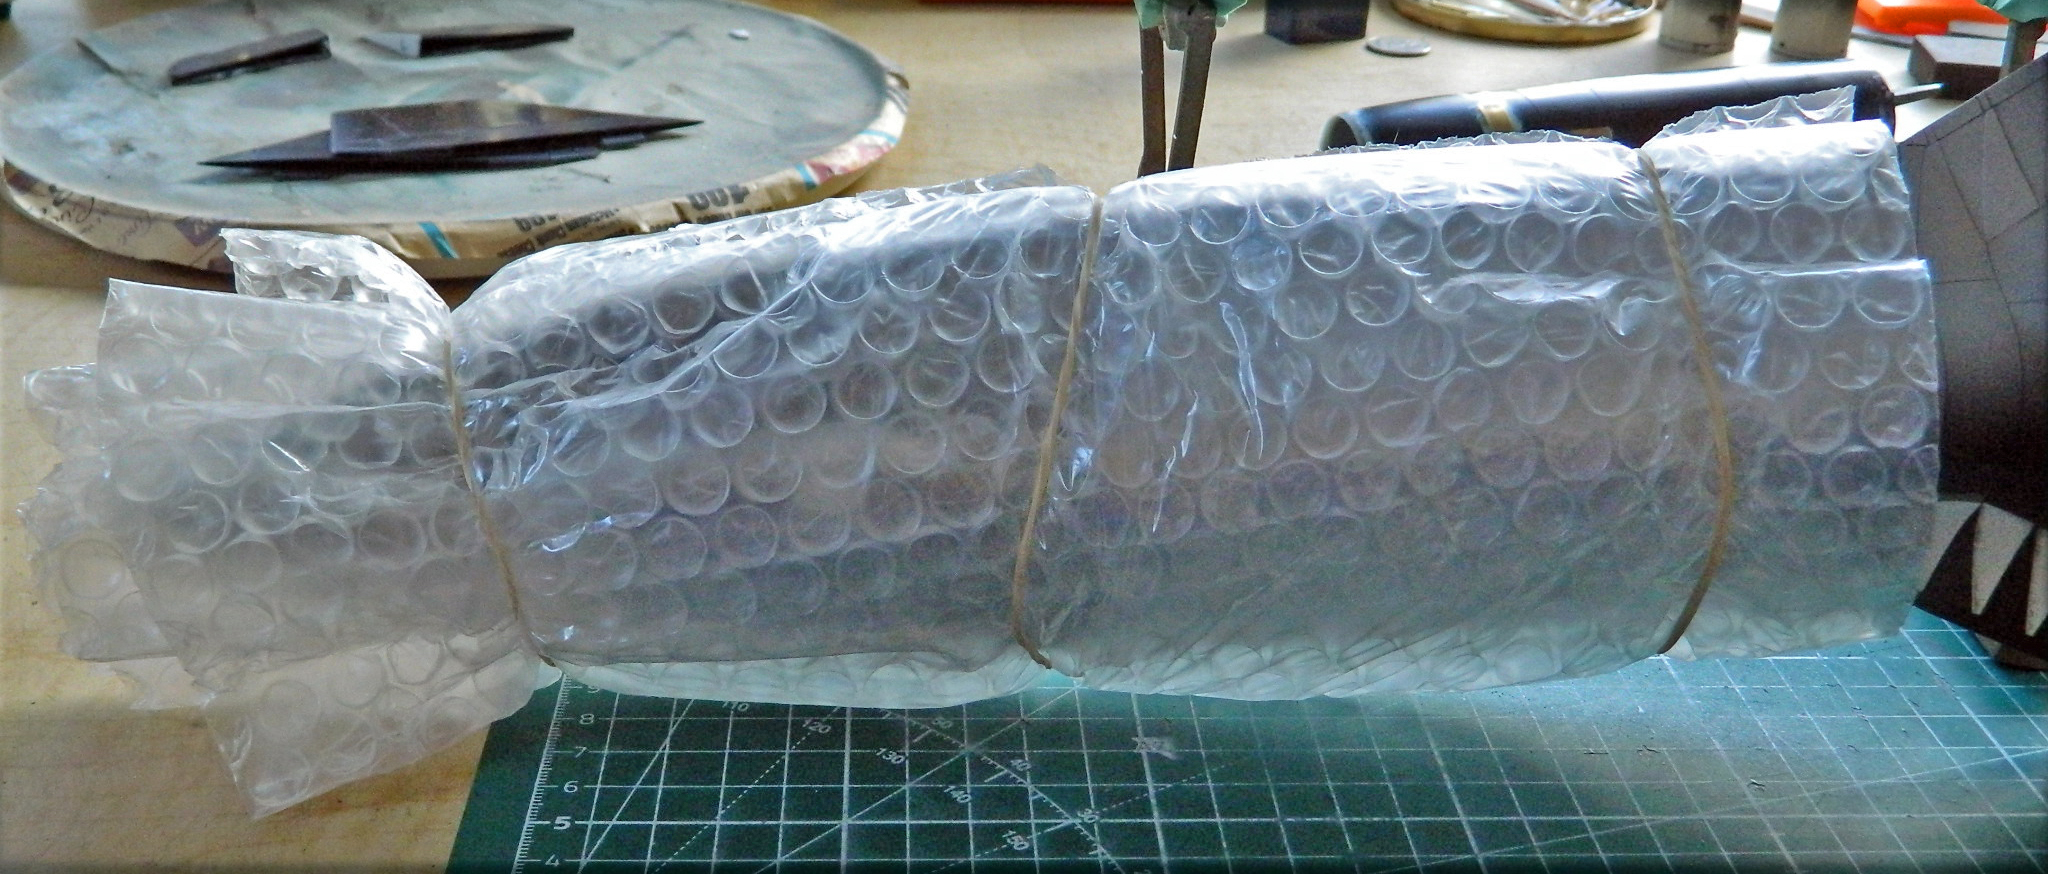
Subsequent events proved that this was a good idea.
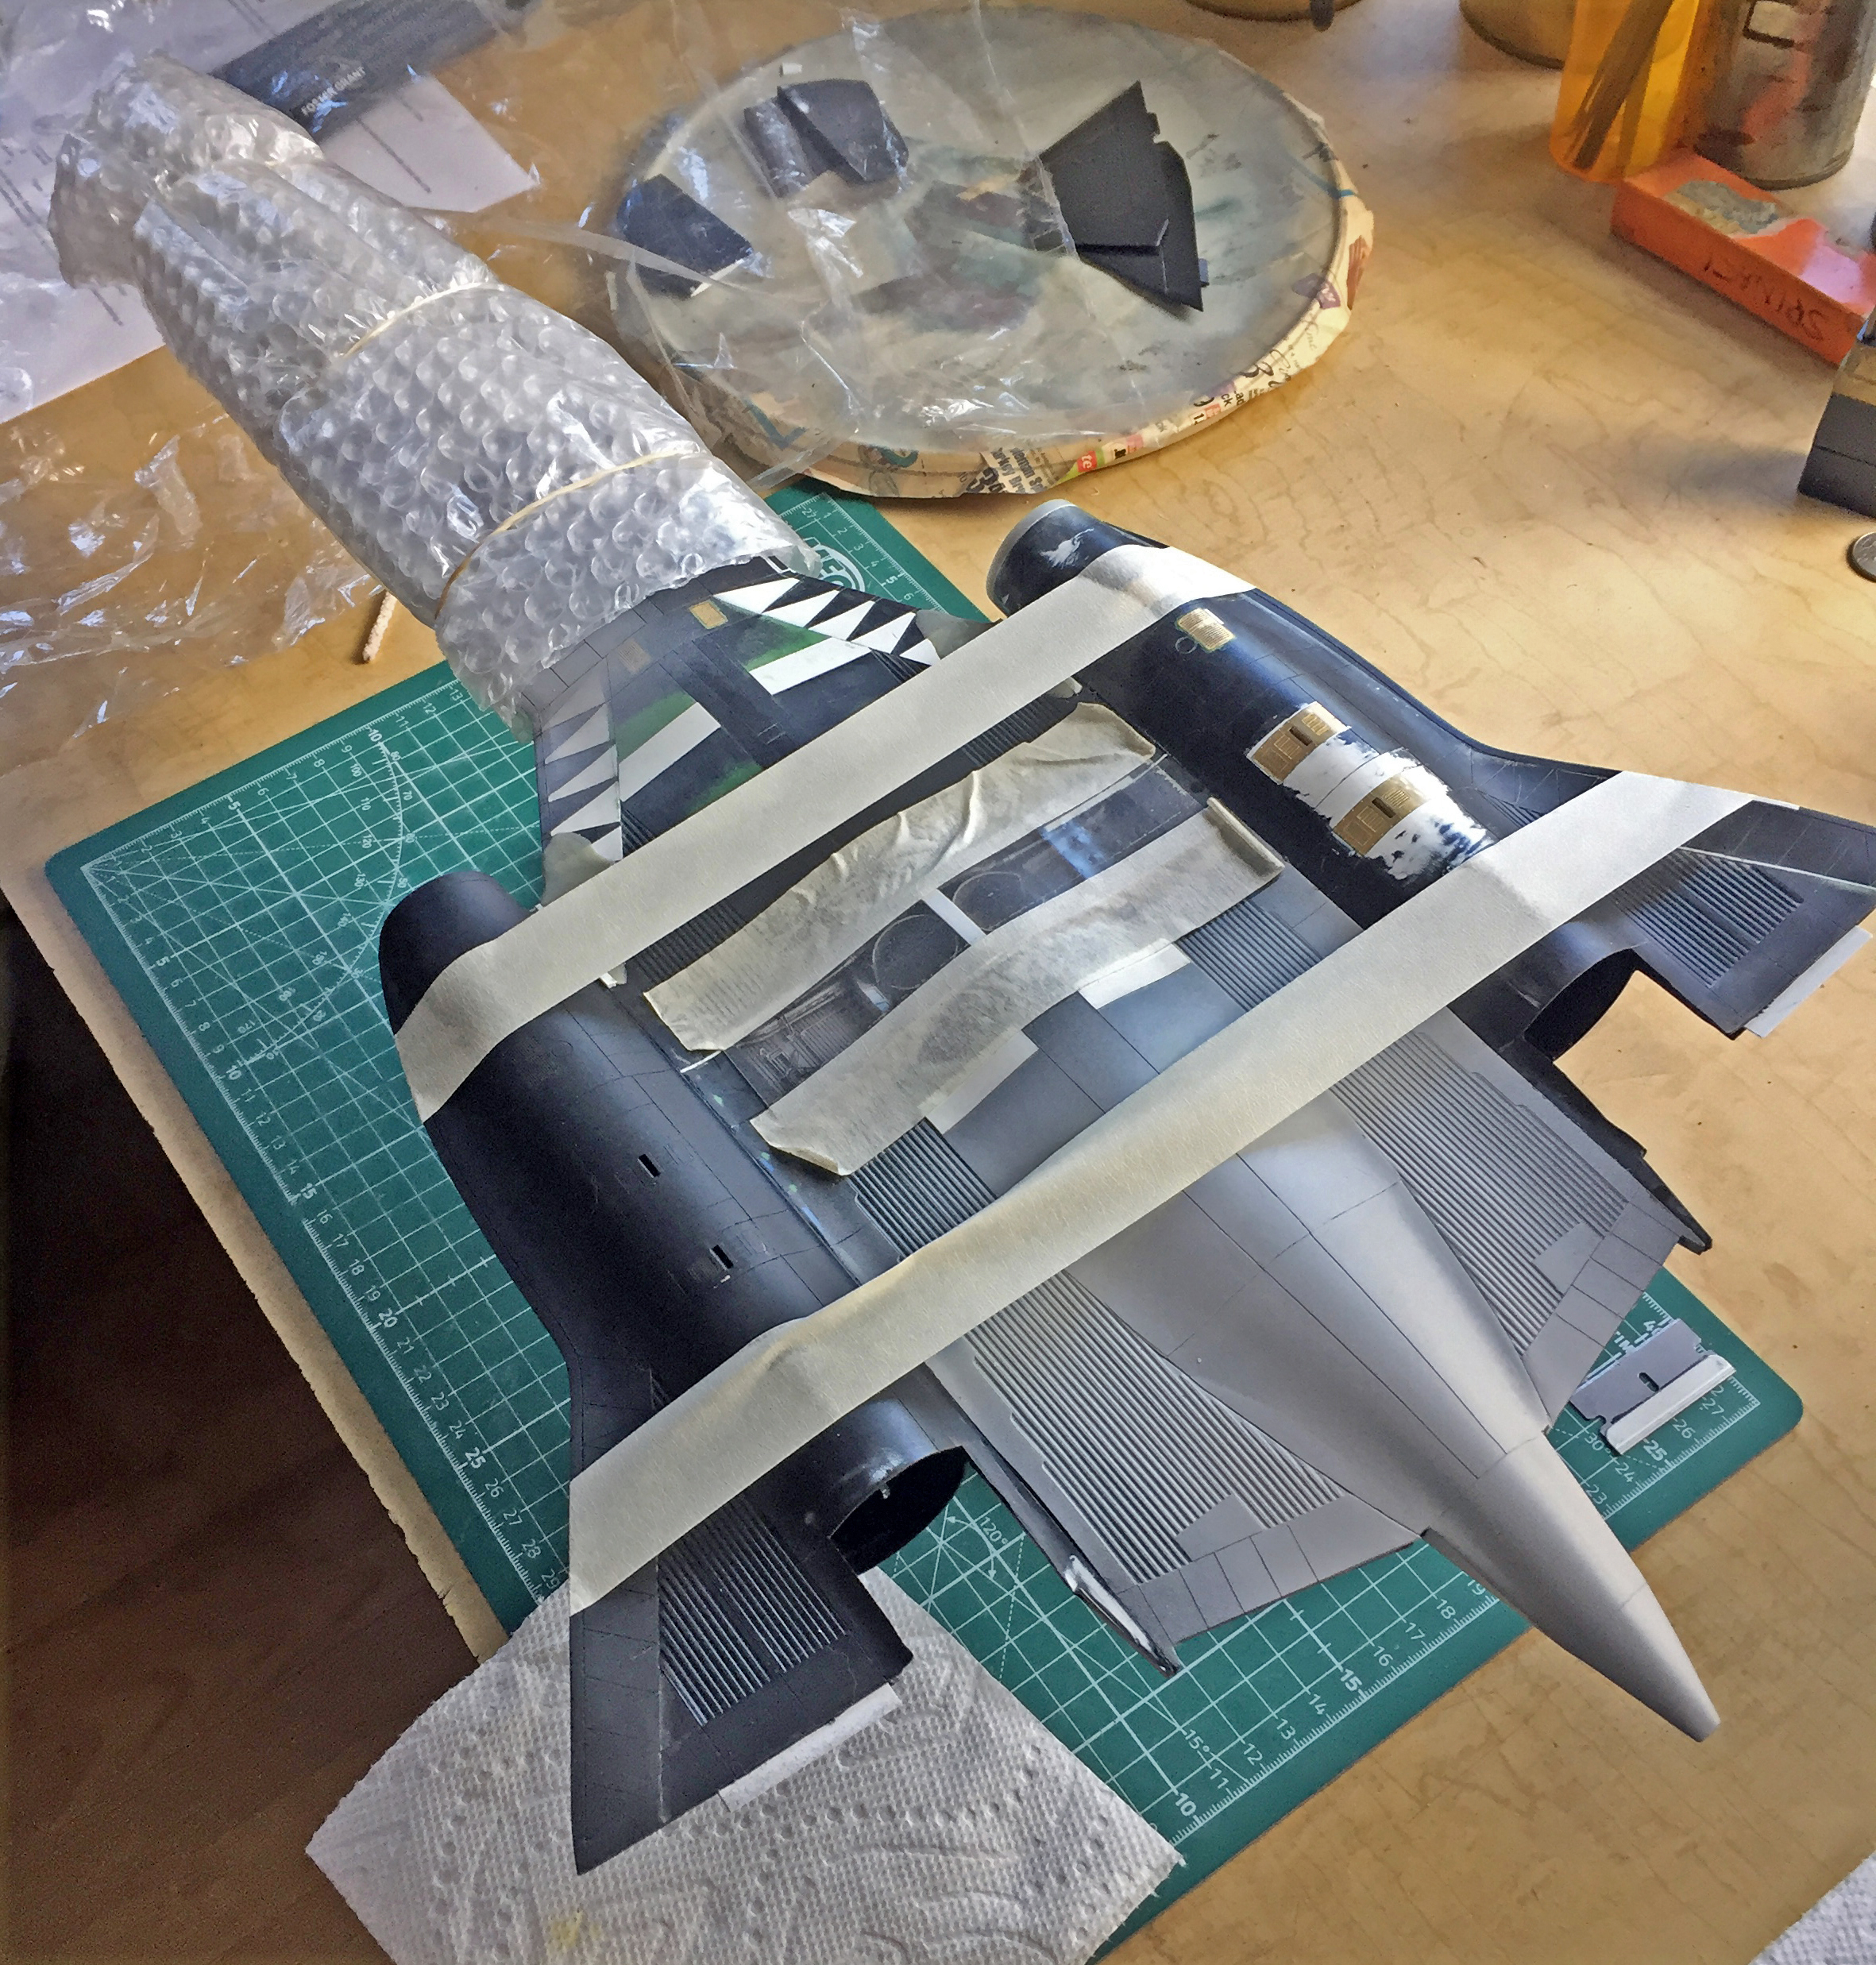
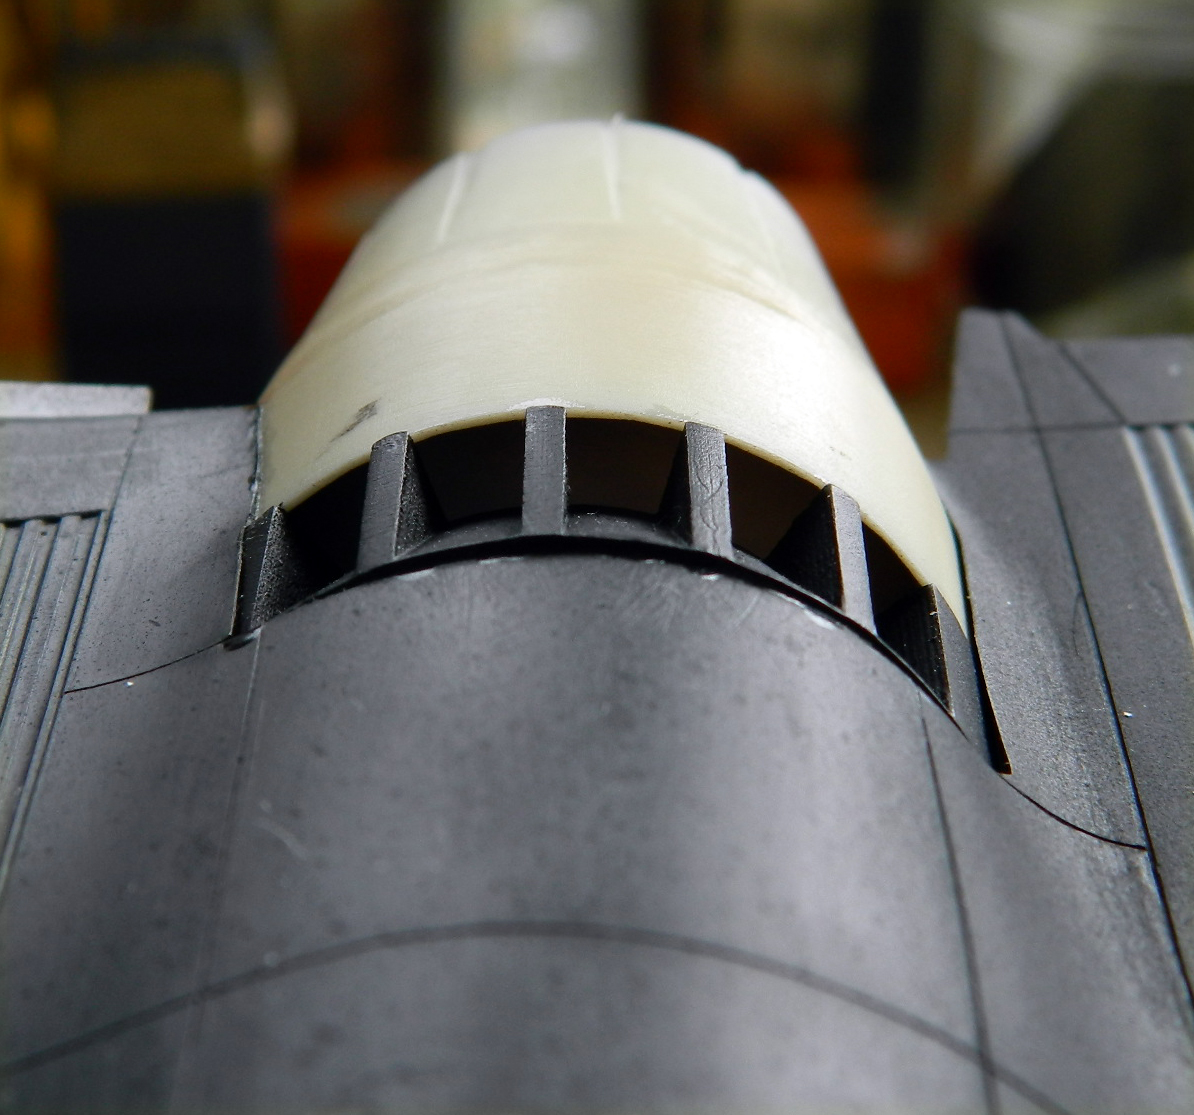
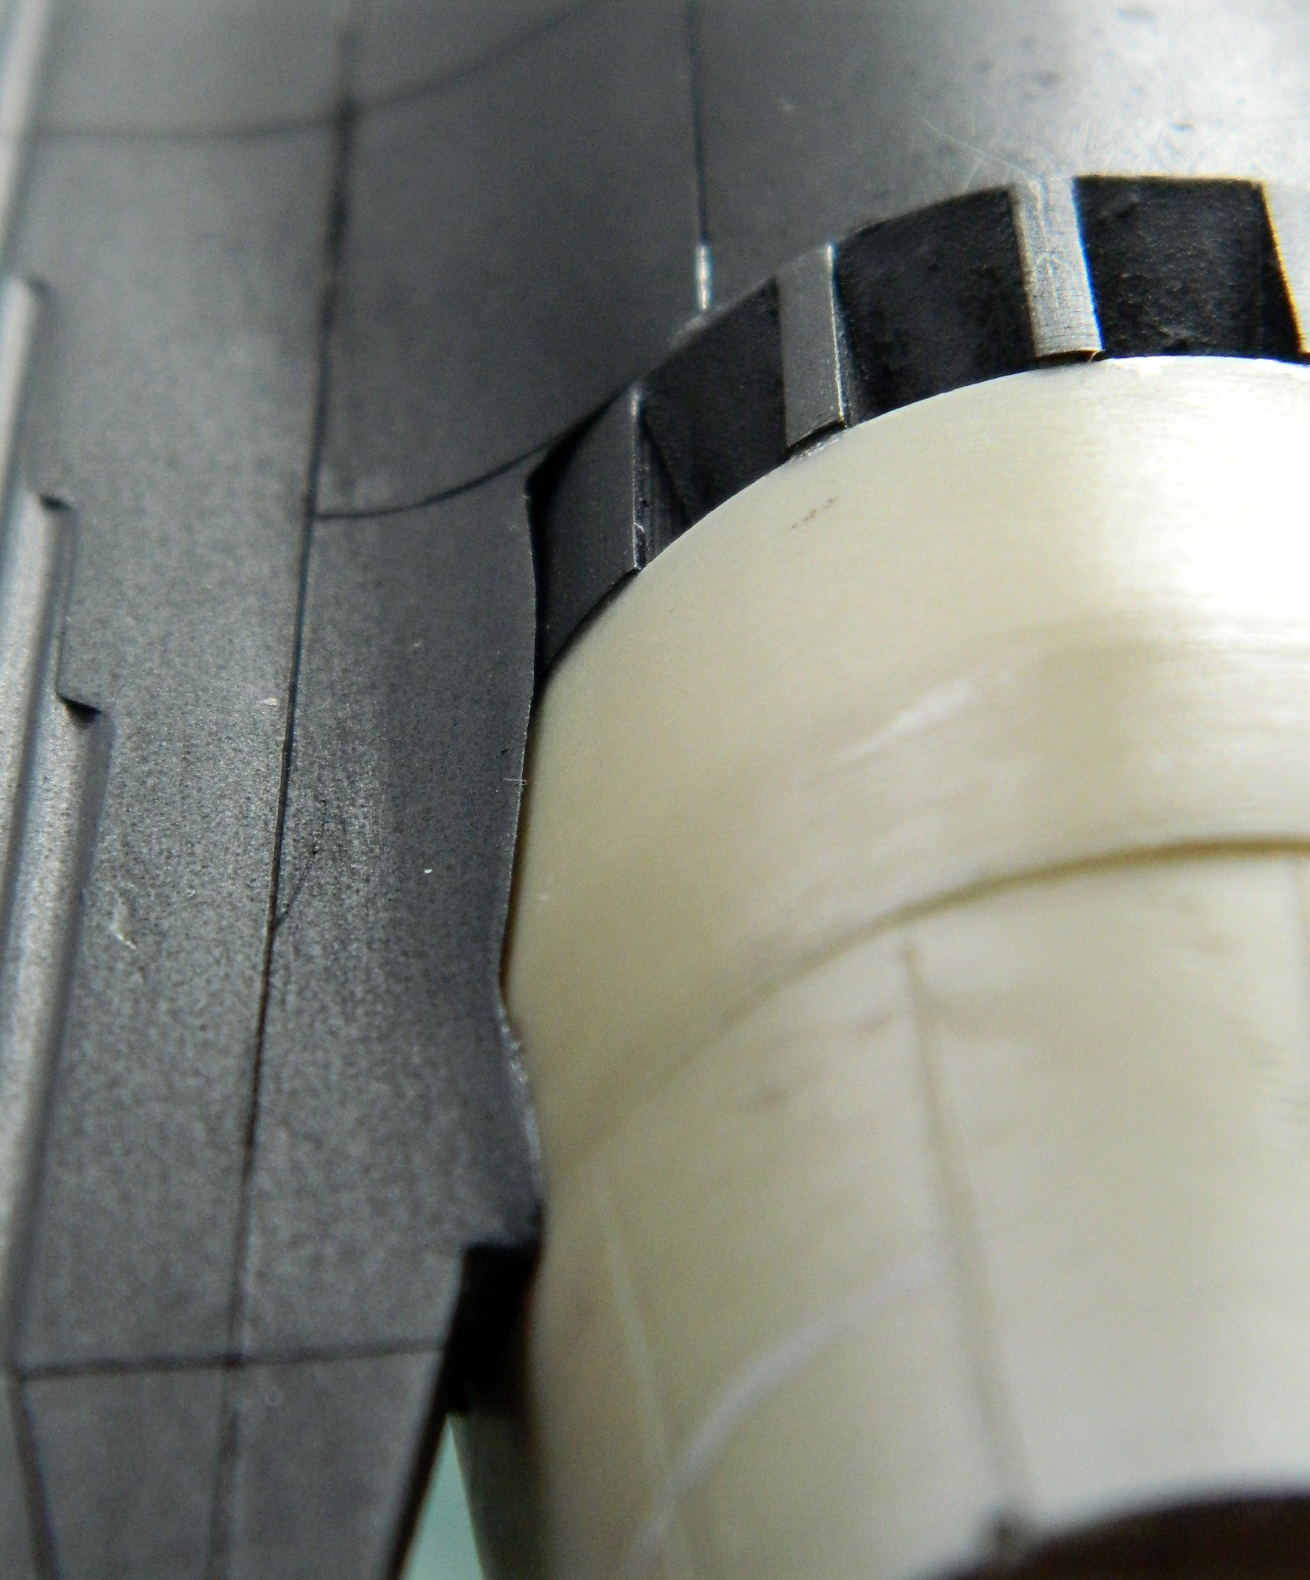
With no more little tasks to distract me, it was time to pull the trigger and glue the ill-fitting (he says as if this is a new thing) nacelles to the inner wing sections:
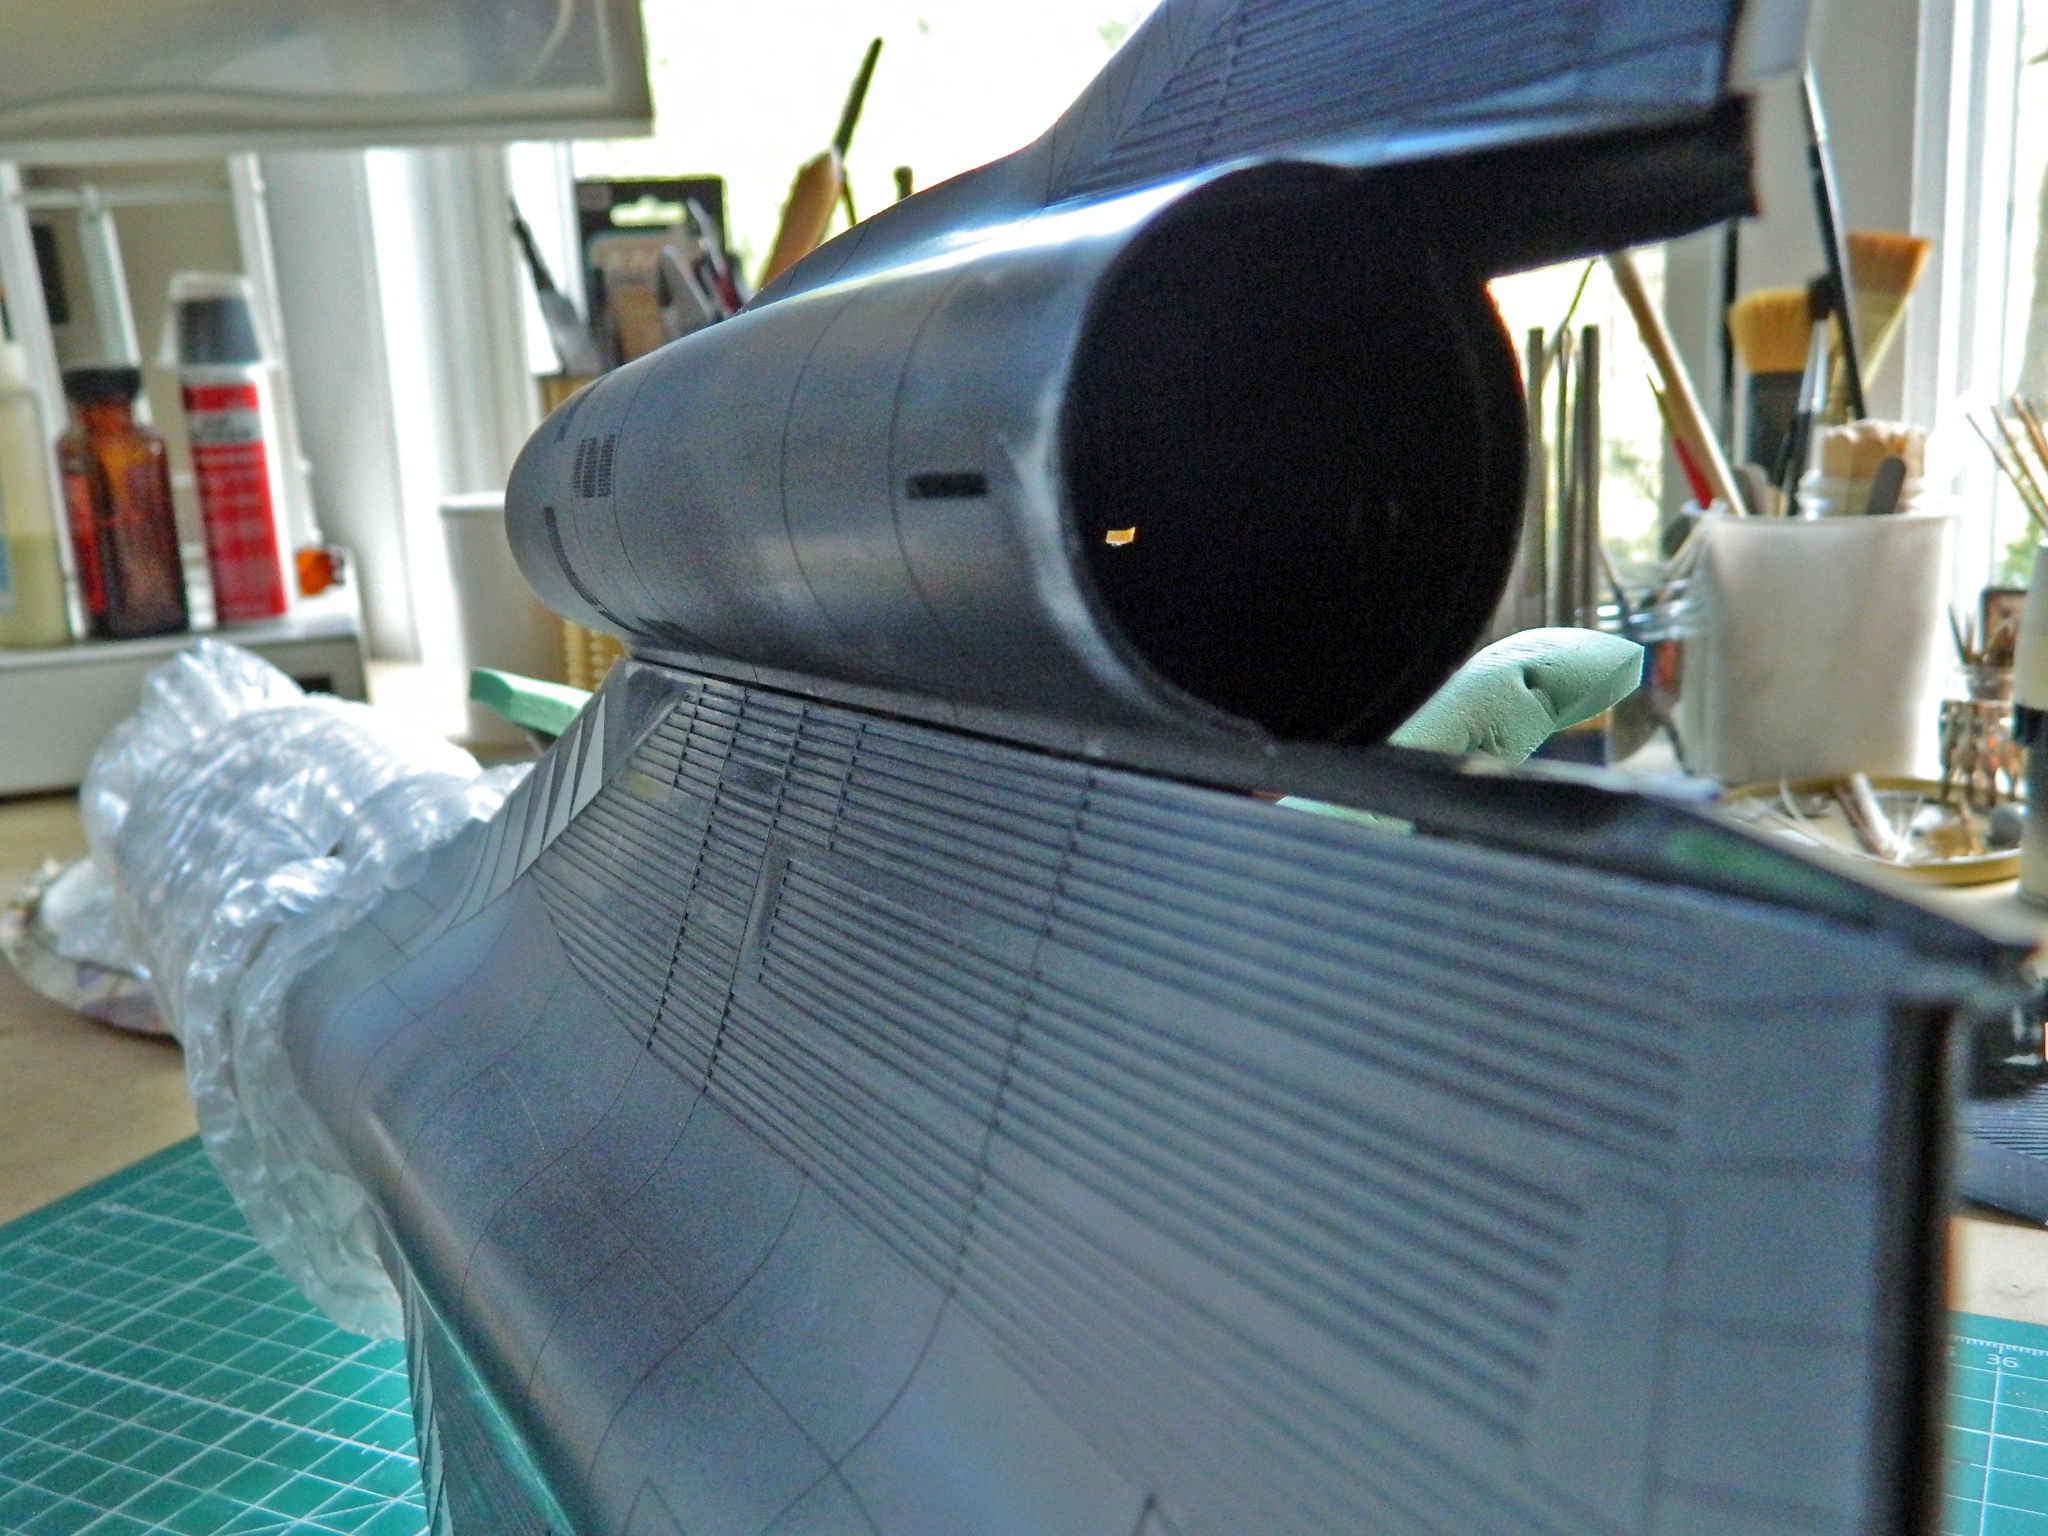
I was quite generous with the styrene cement and before it set up too much to move the nacelles, I aligned them and used tape to hold them where I wanted them…then let things sit overnight:
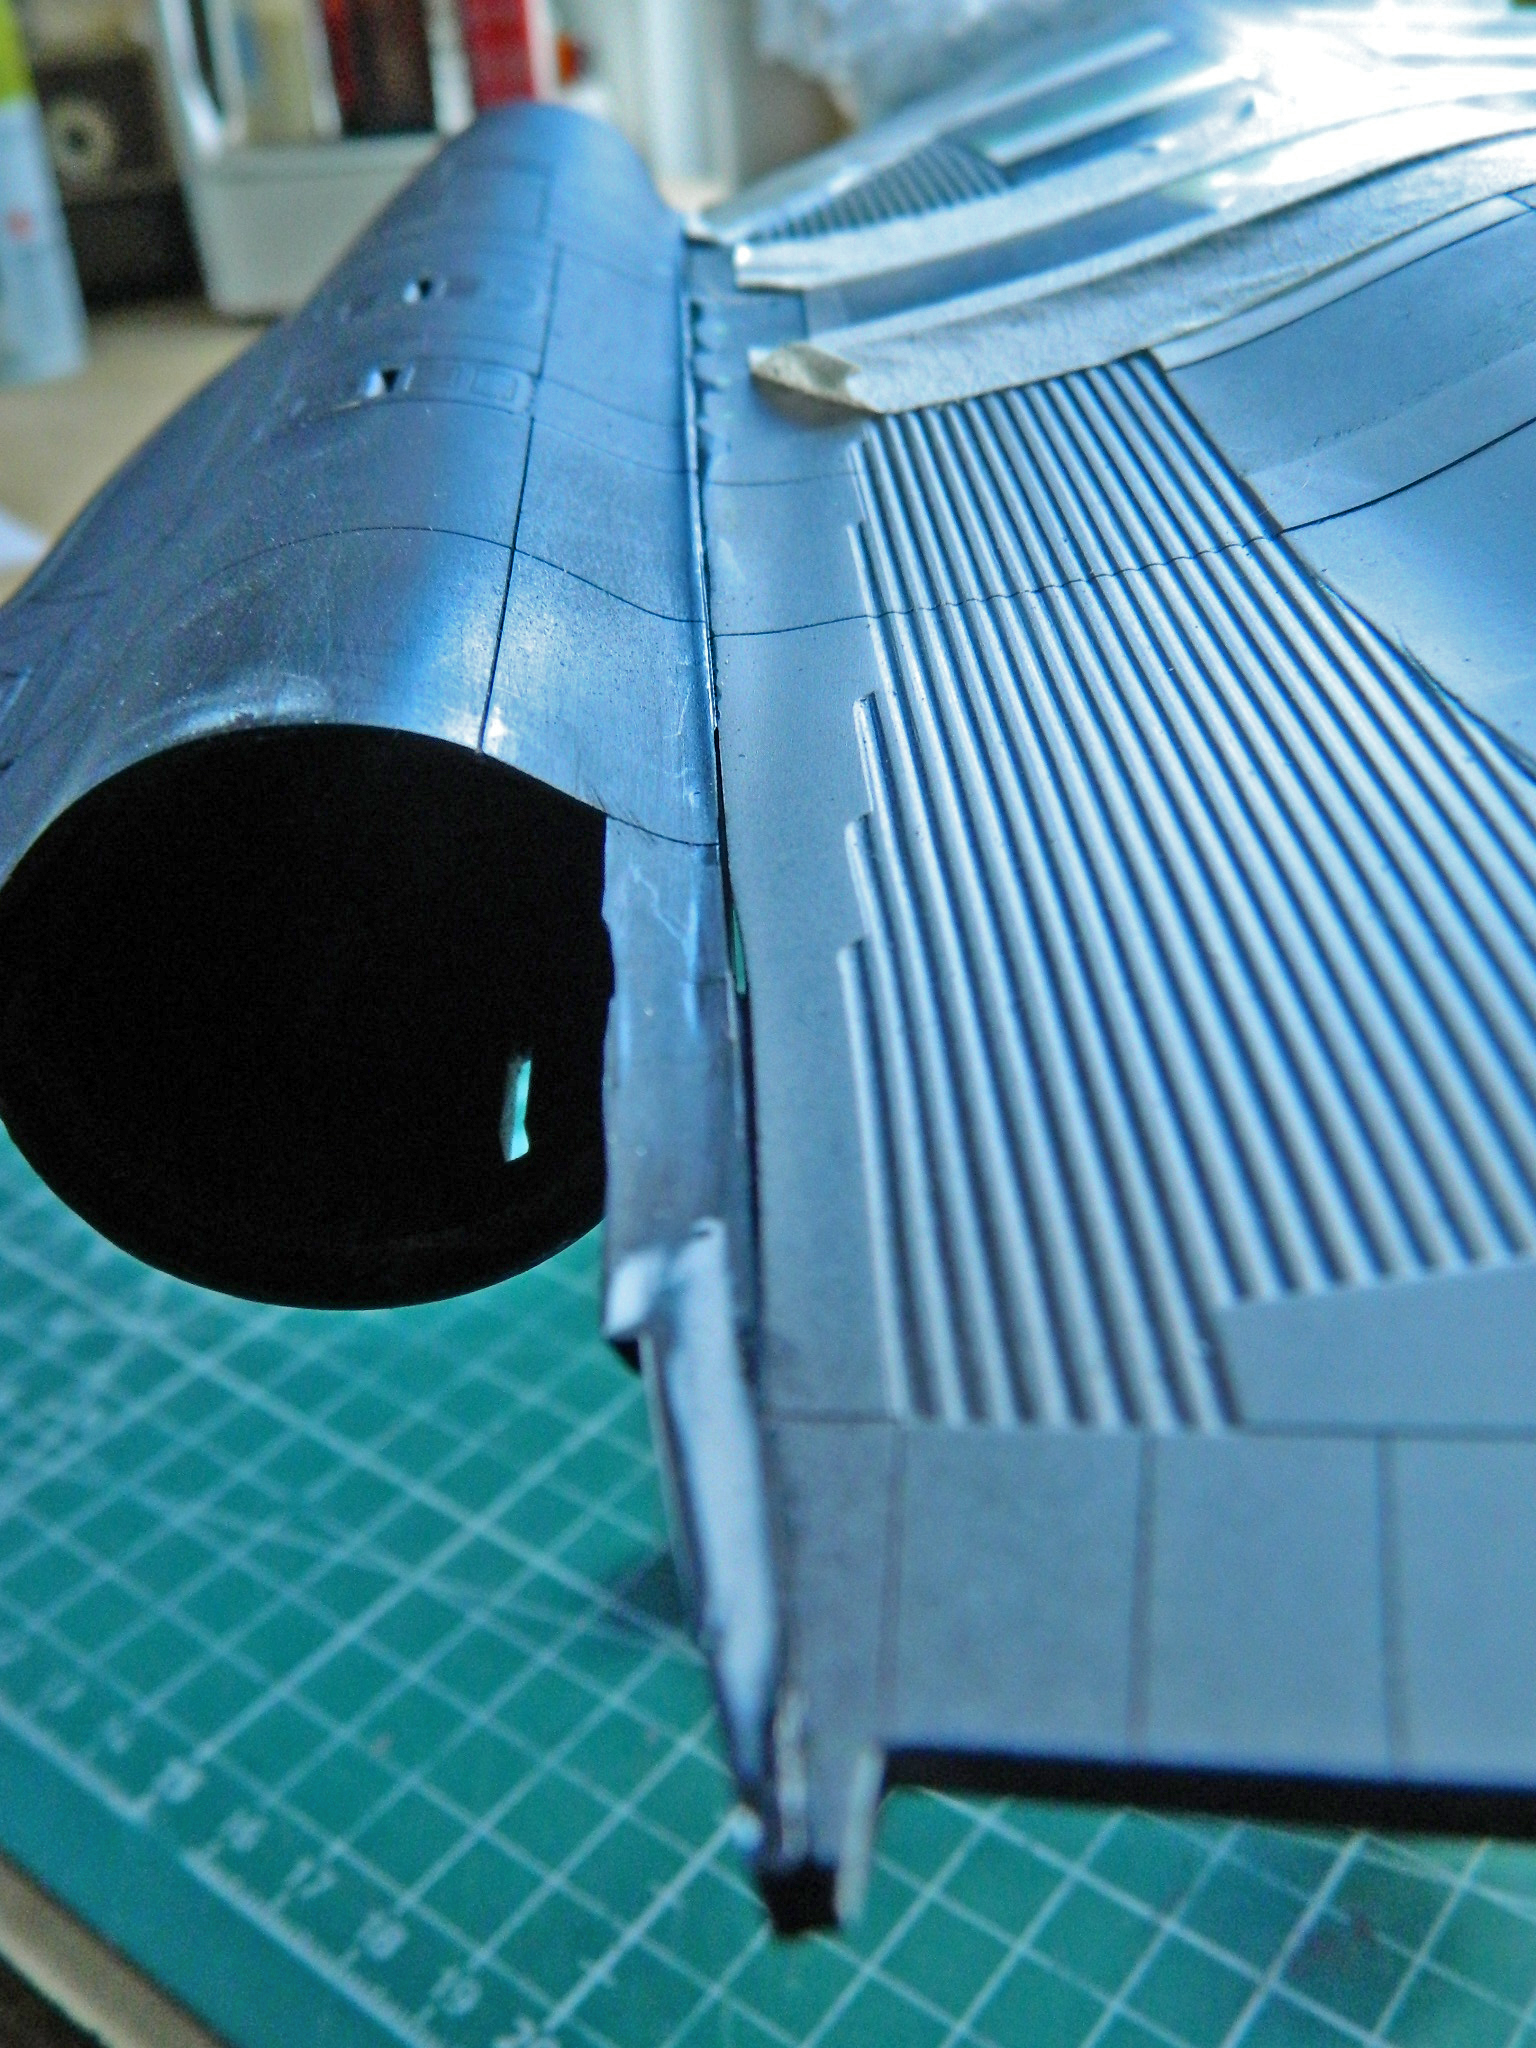
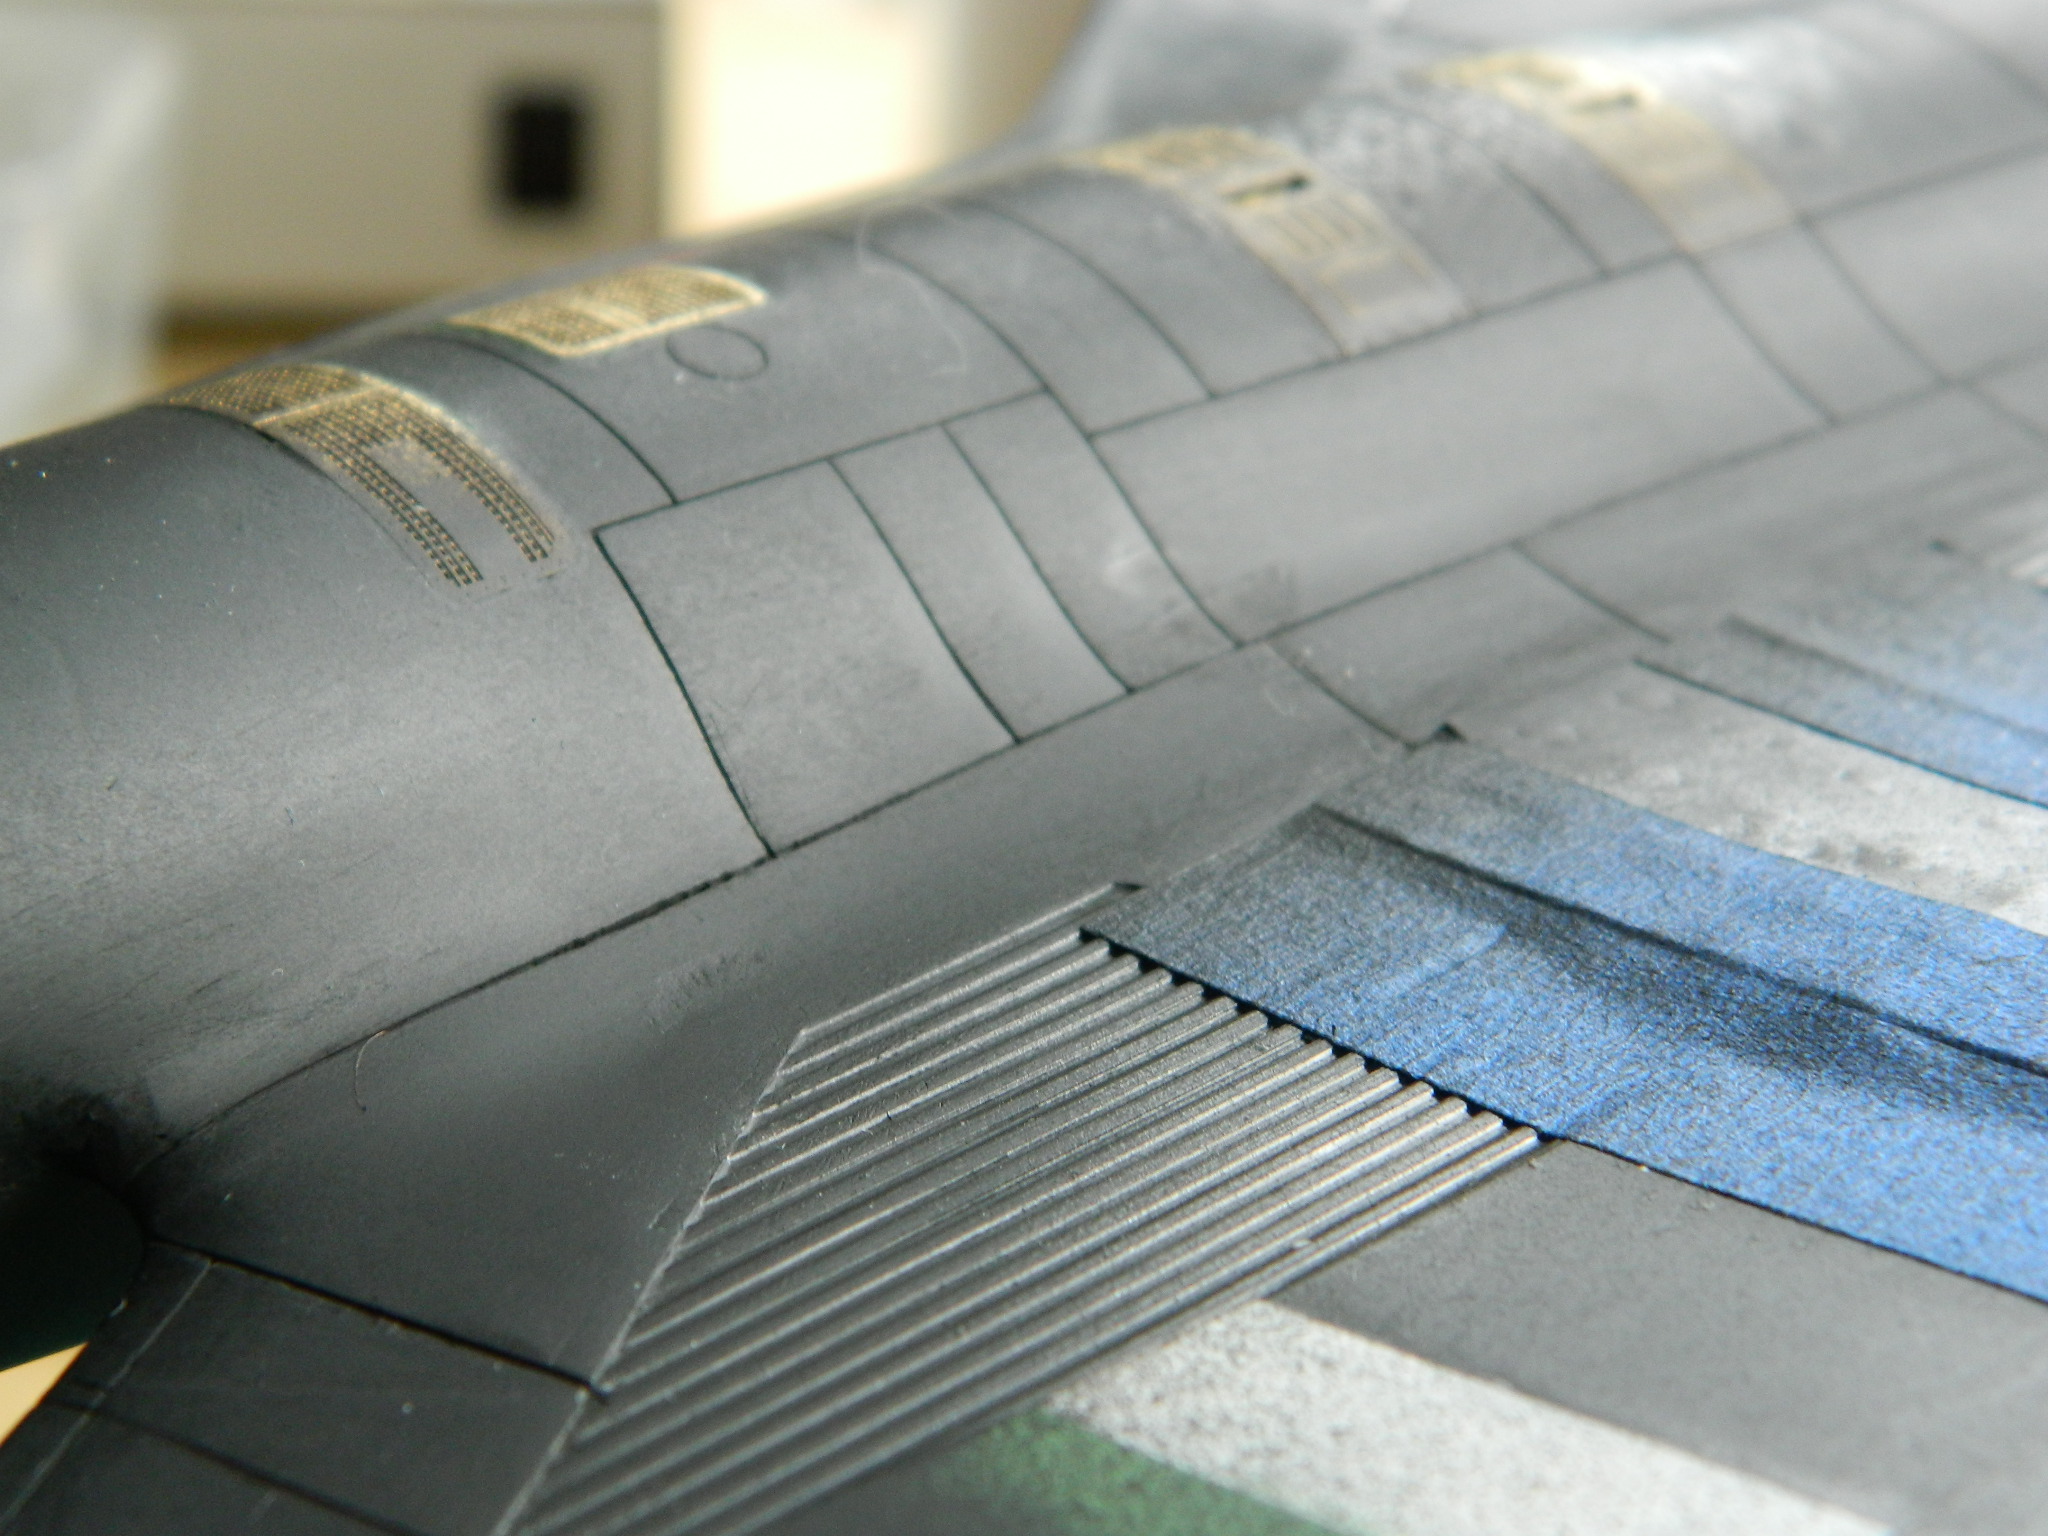
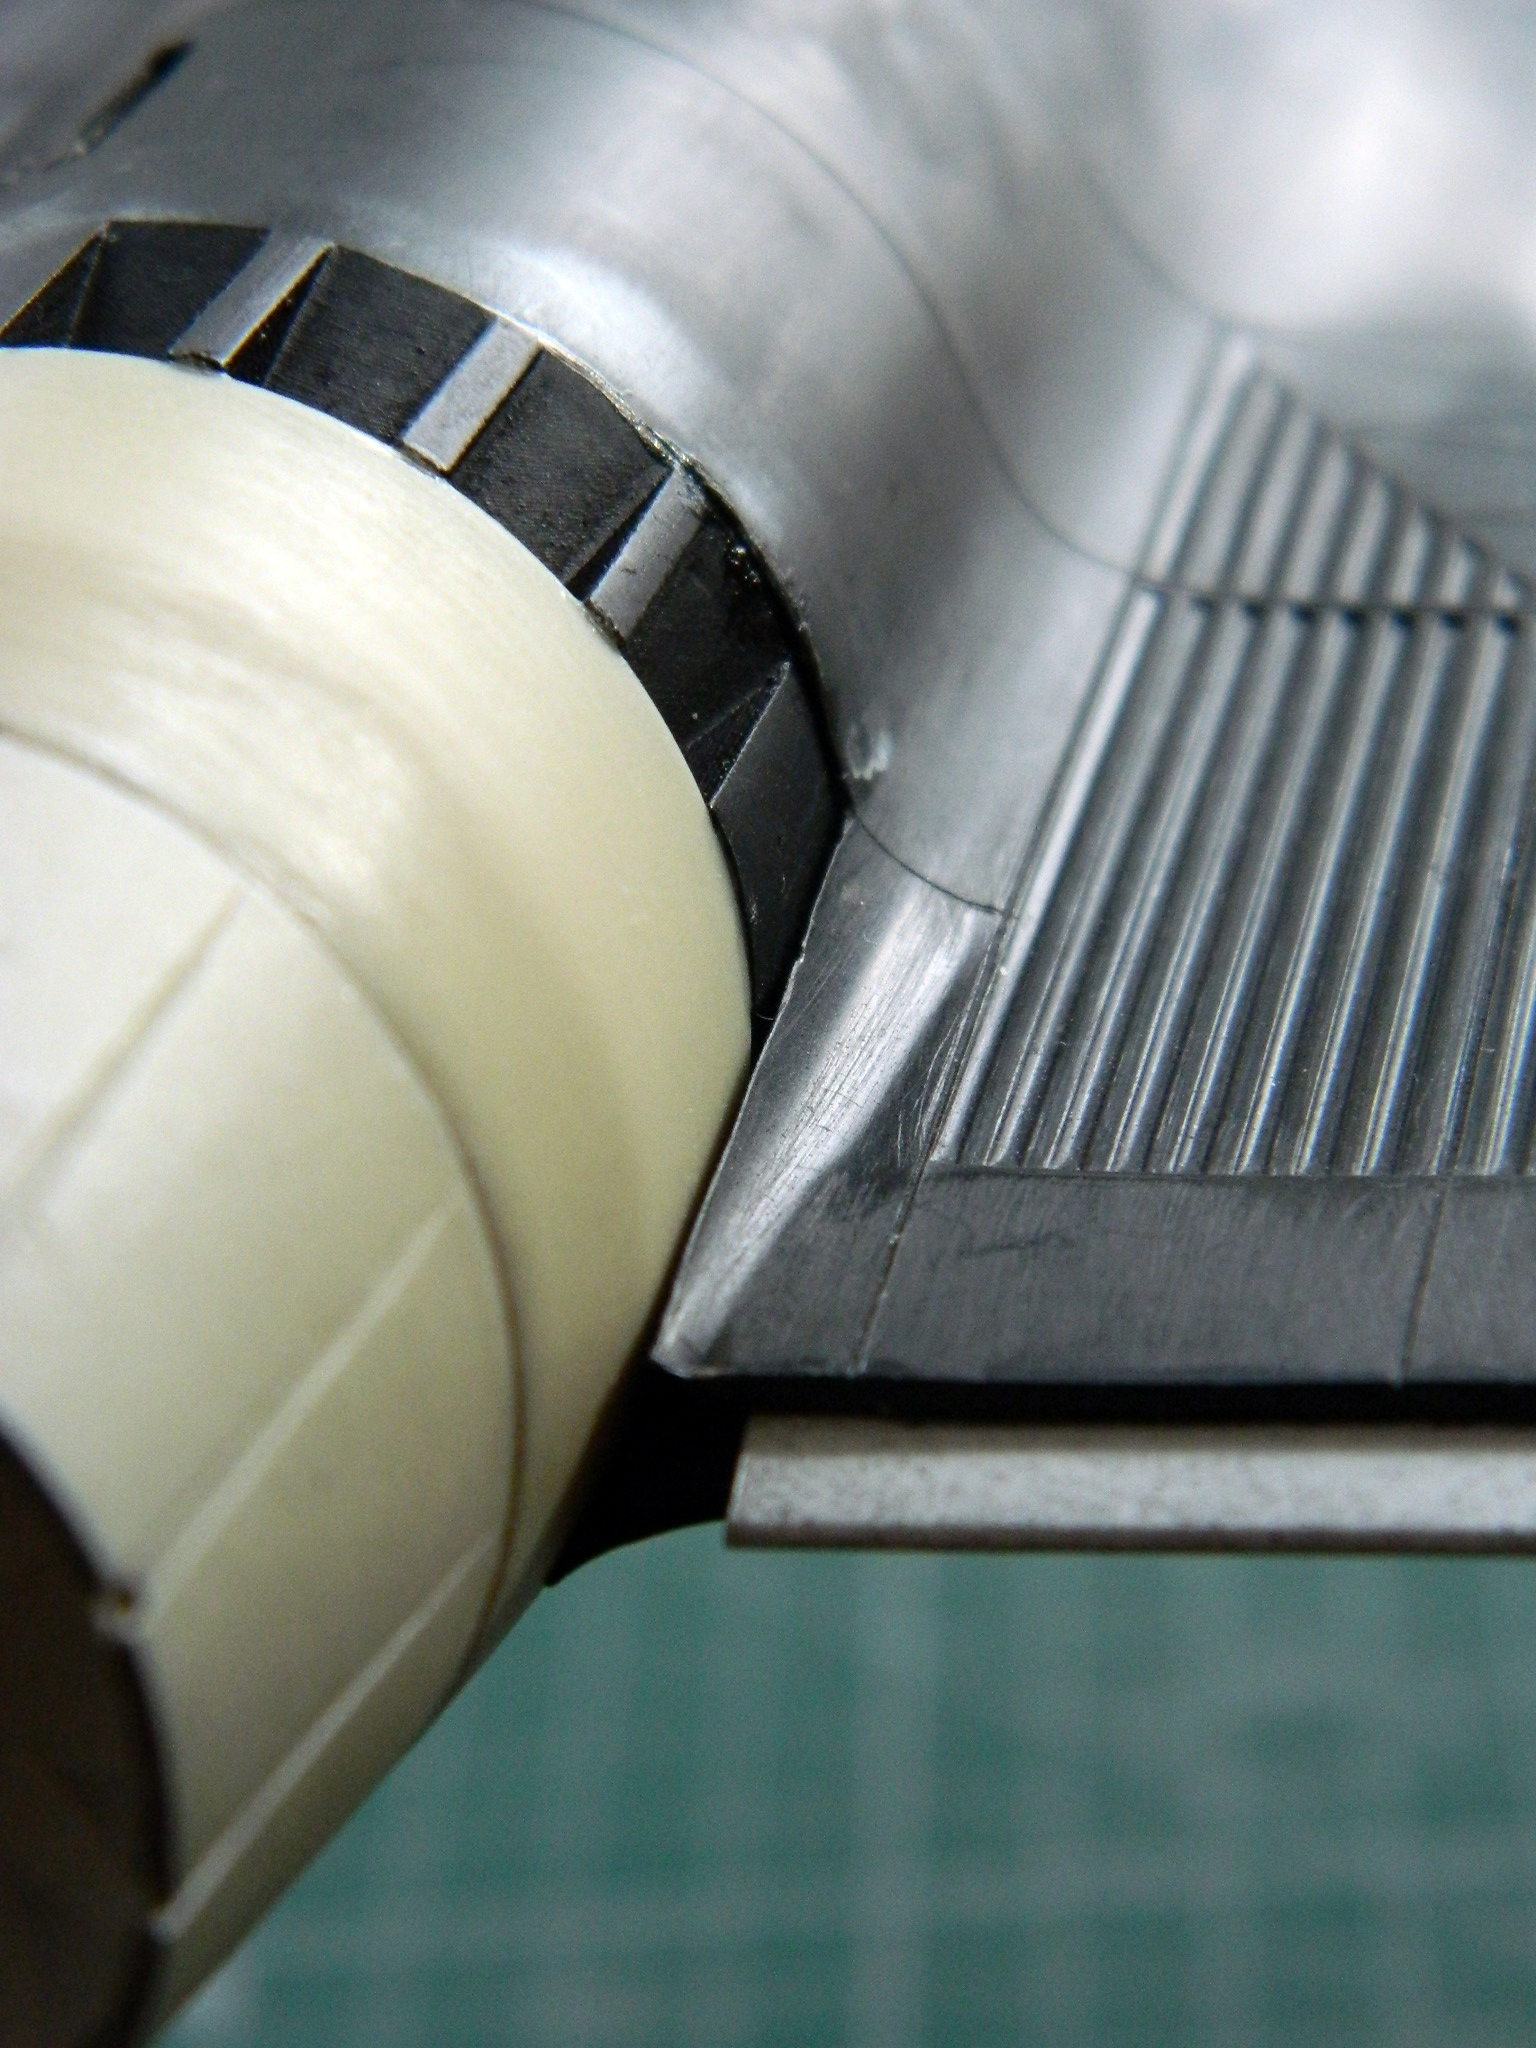
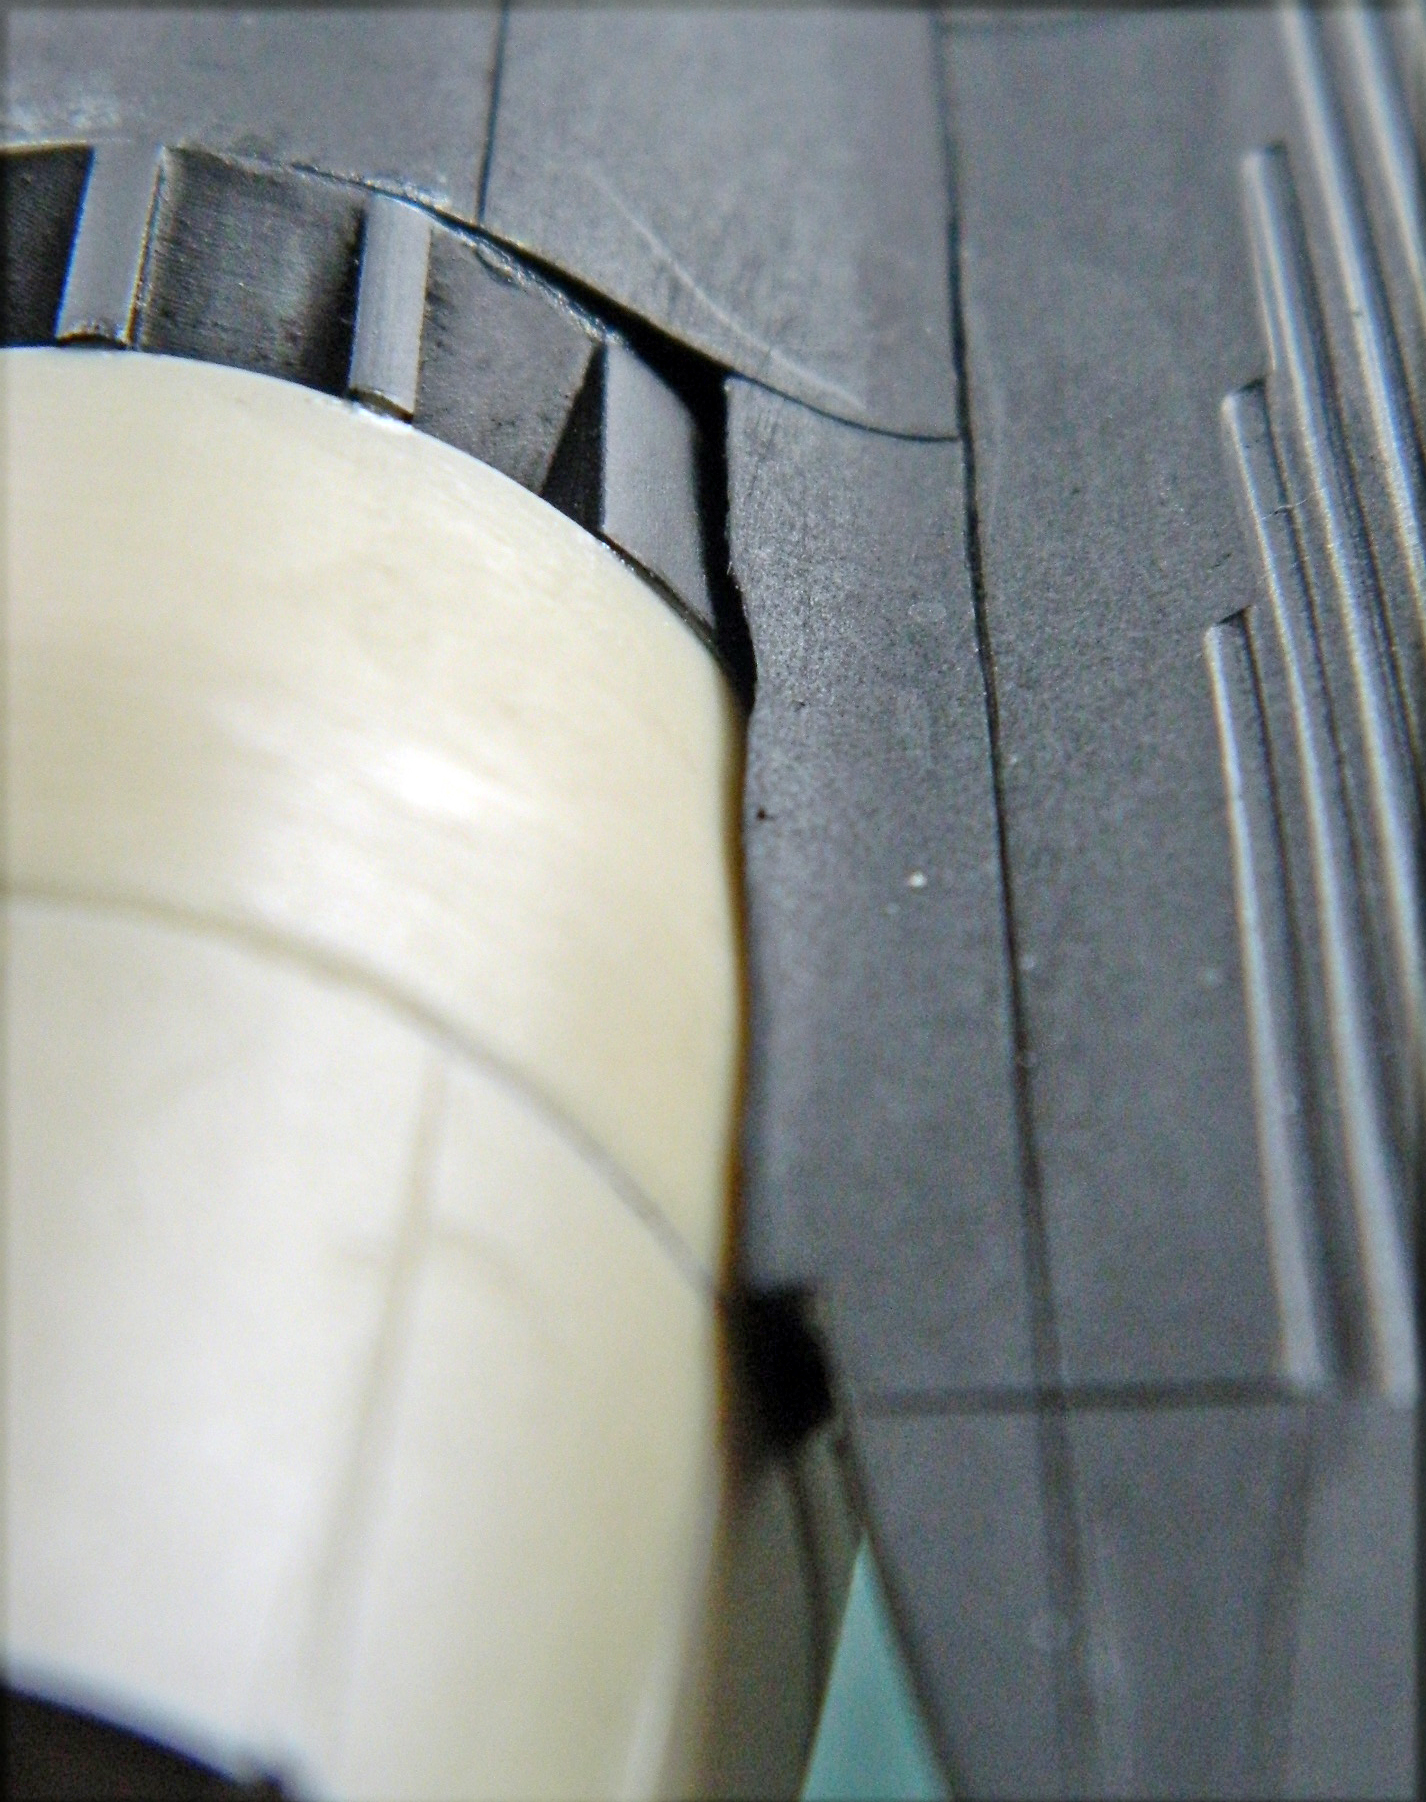
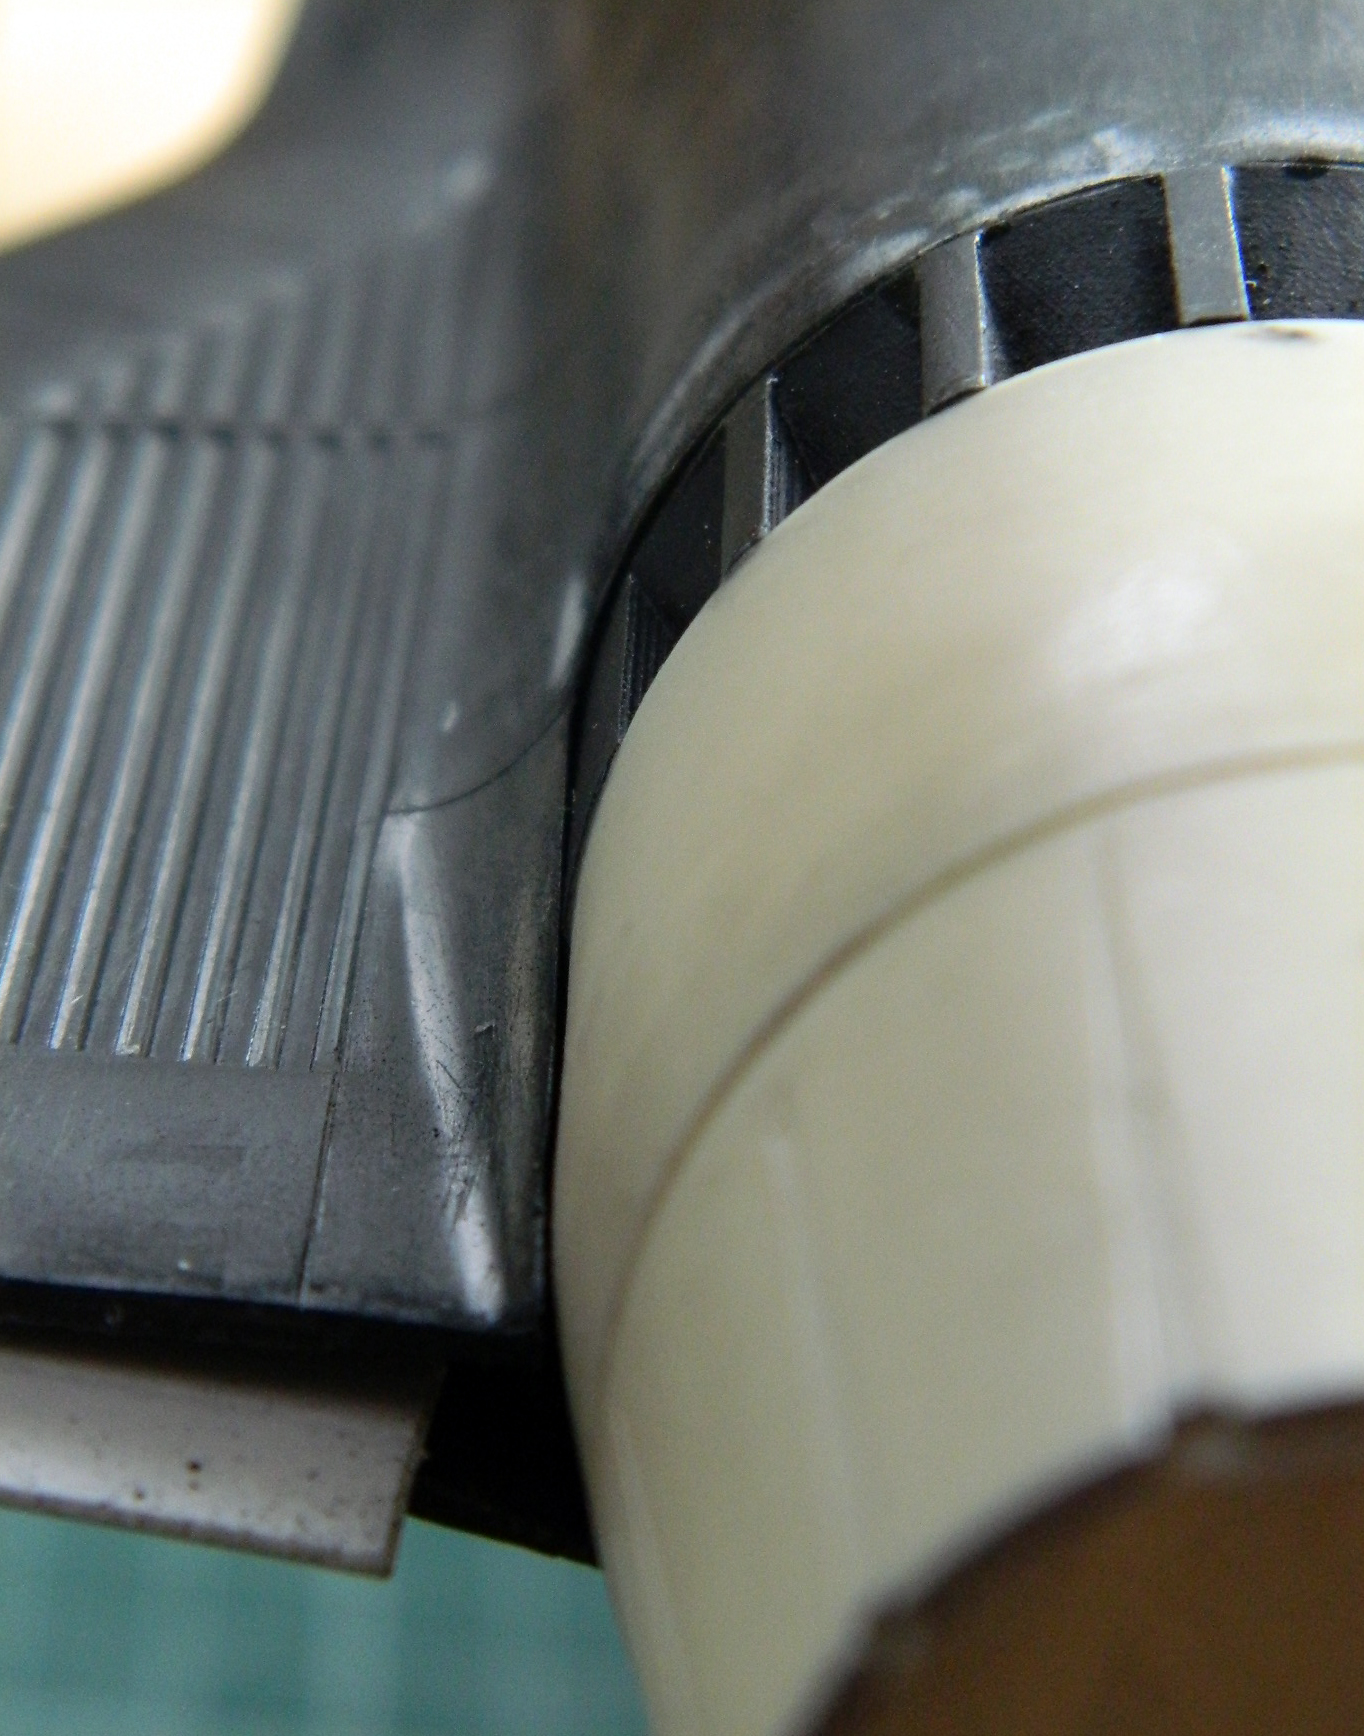
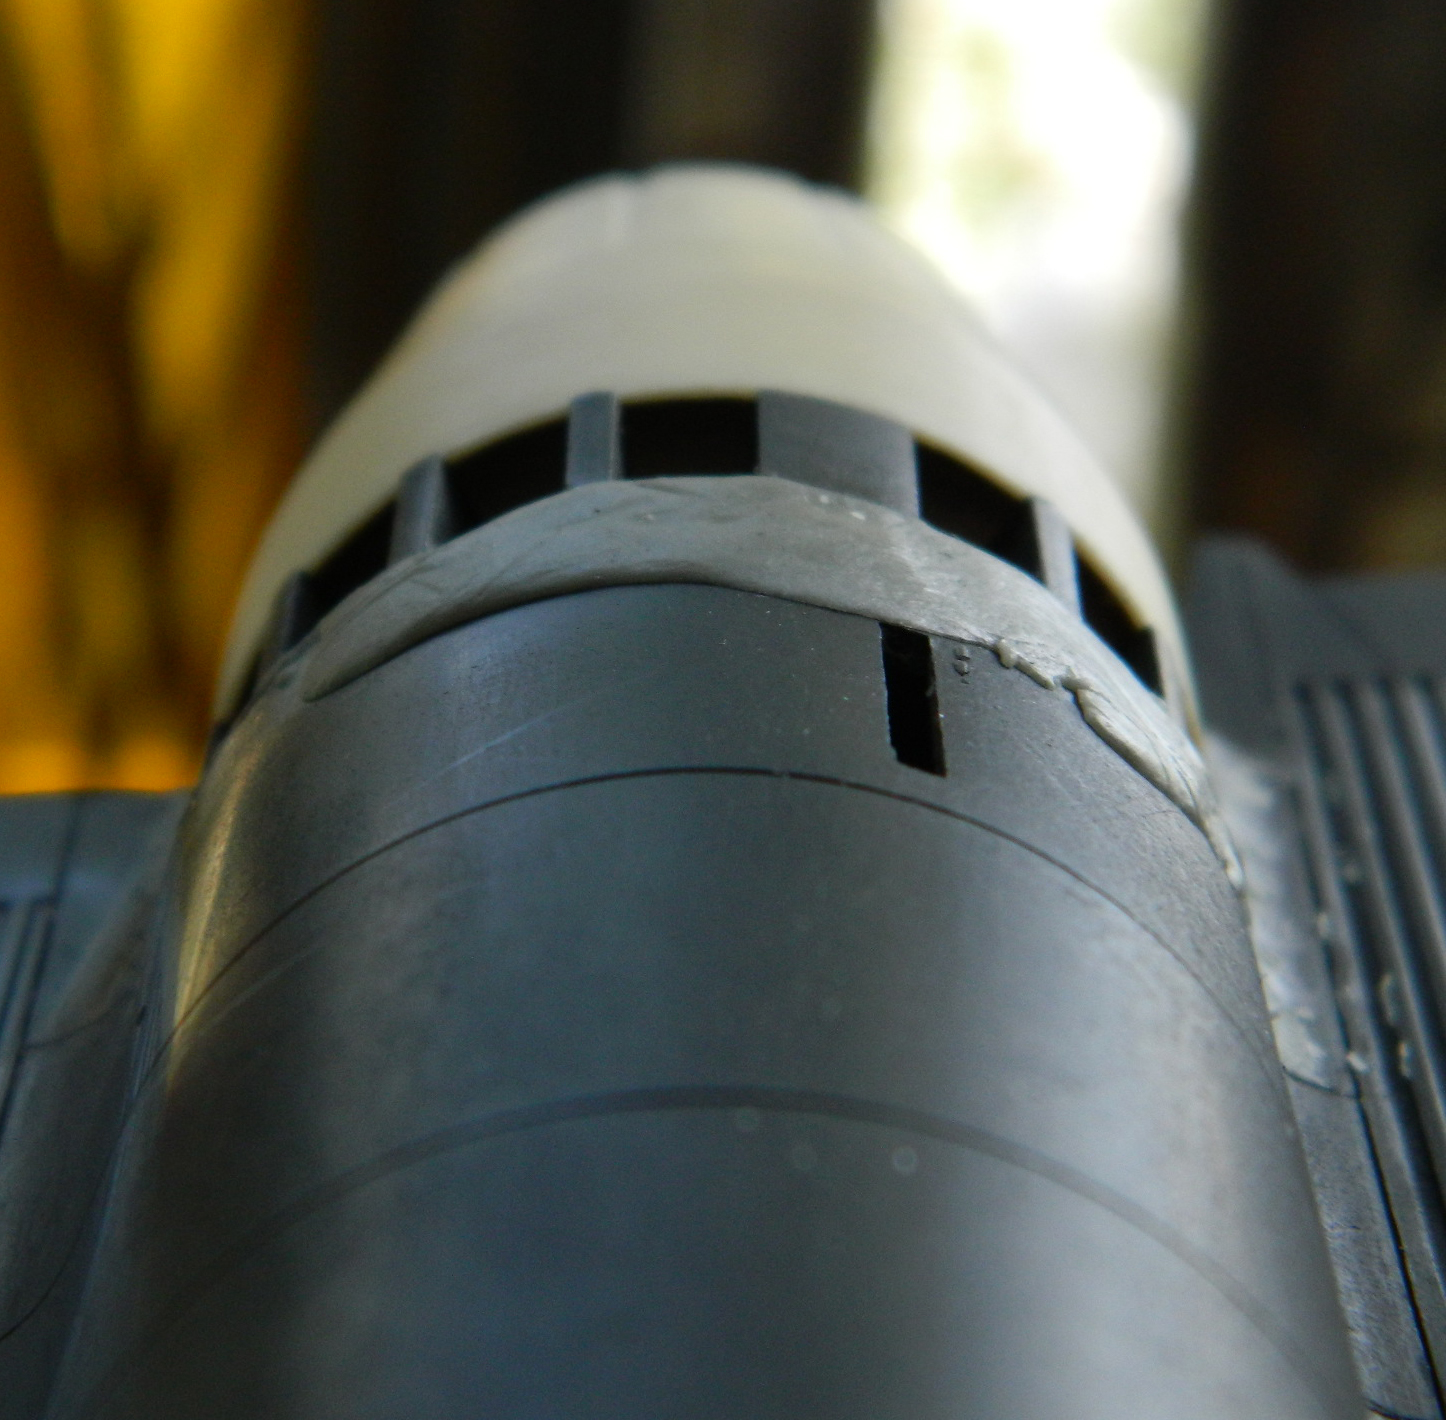
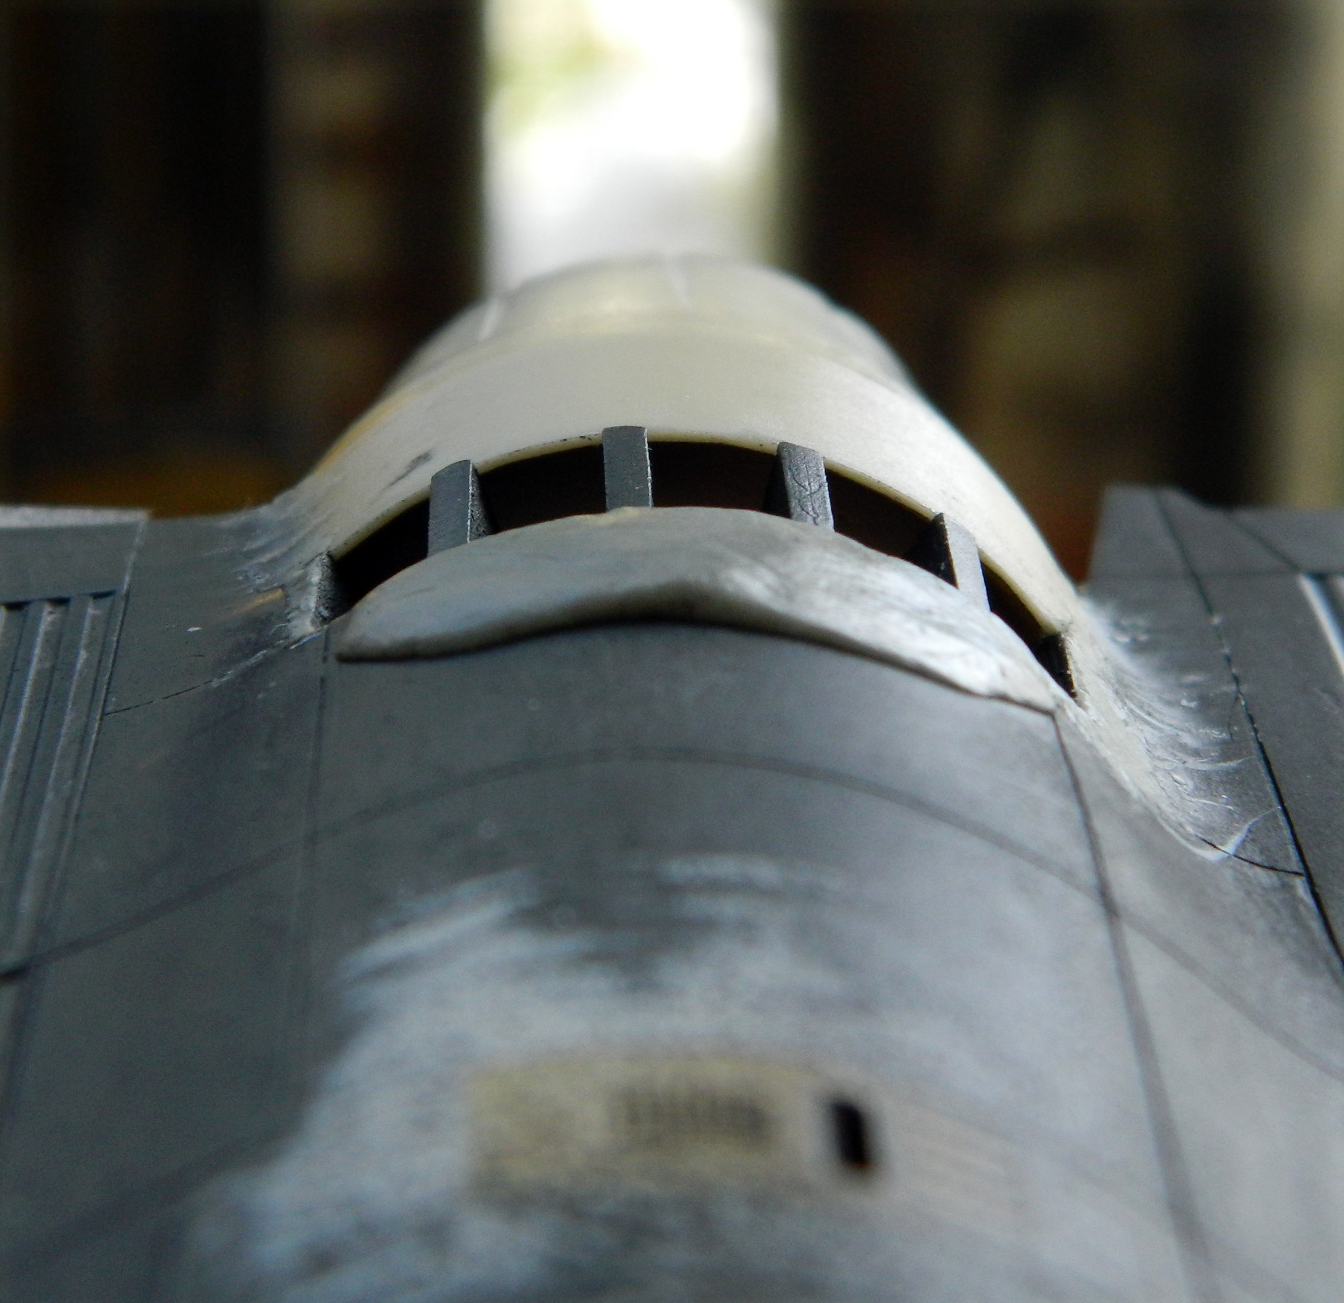
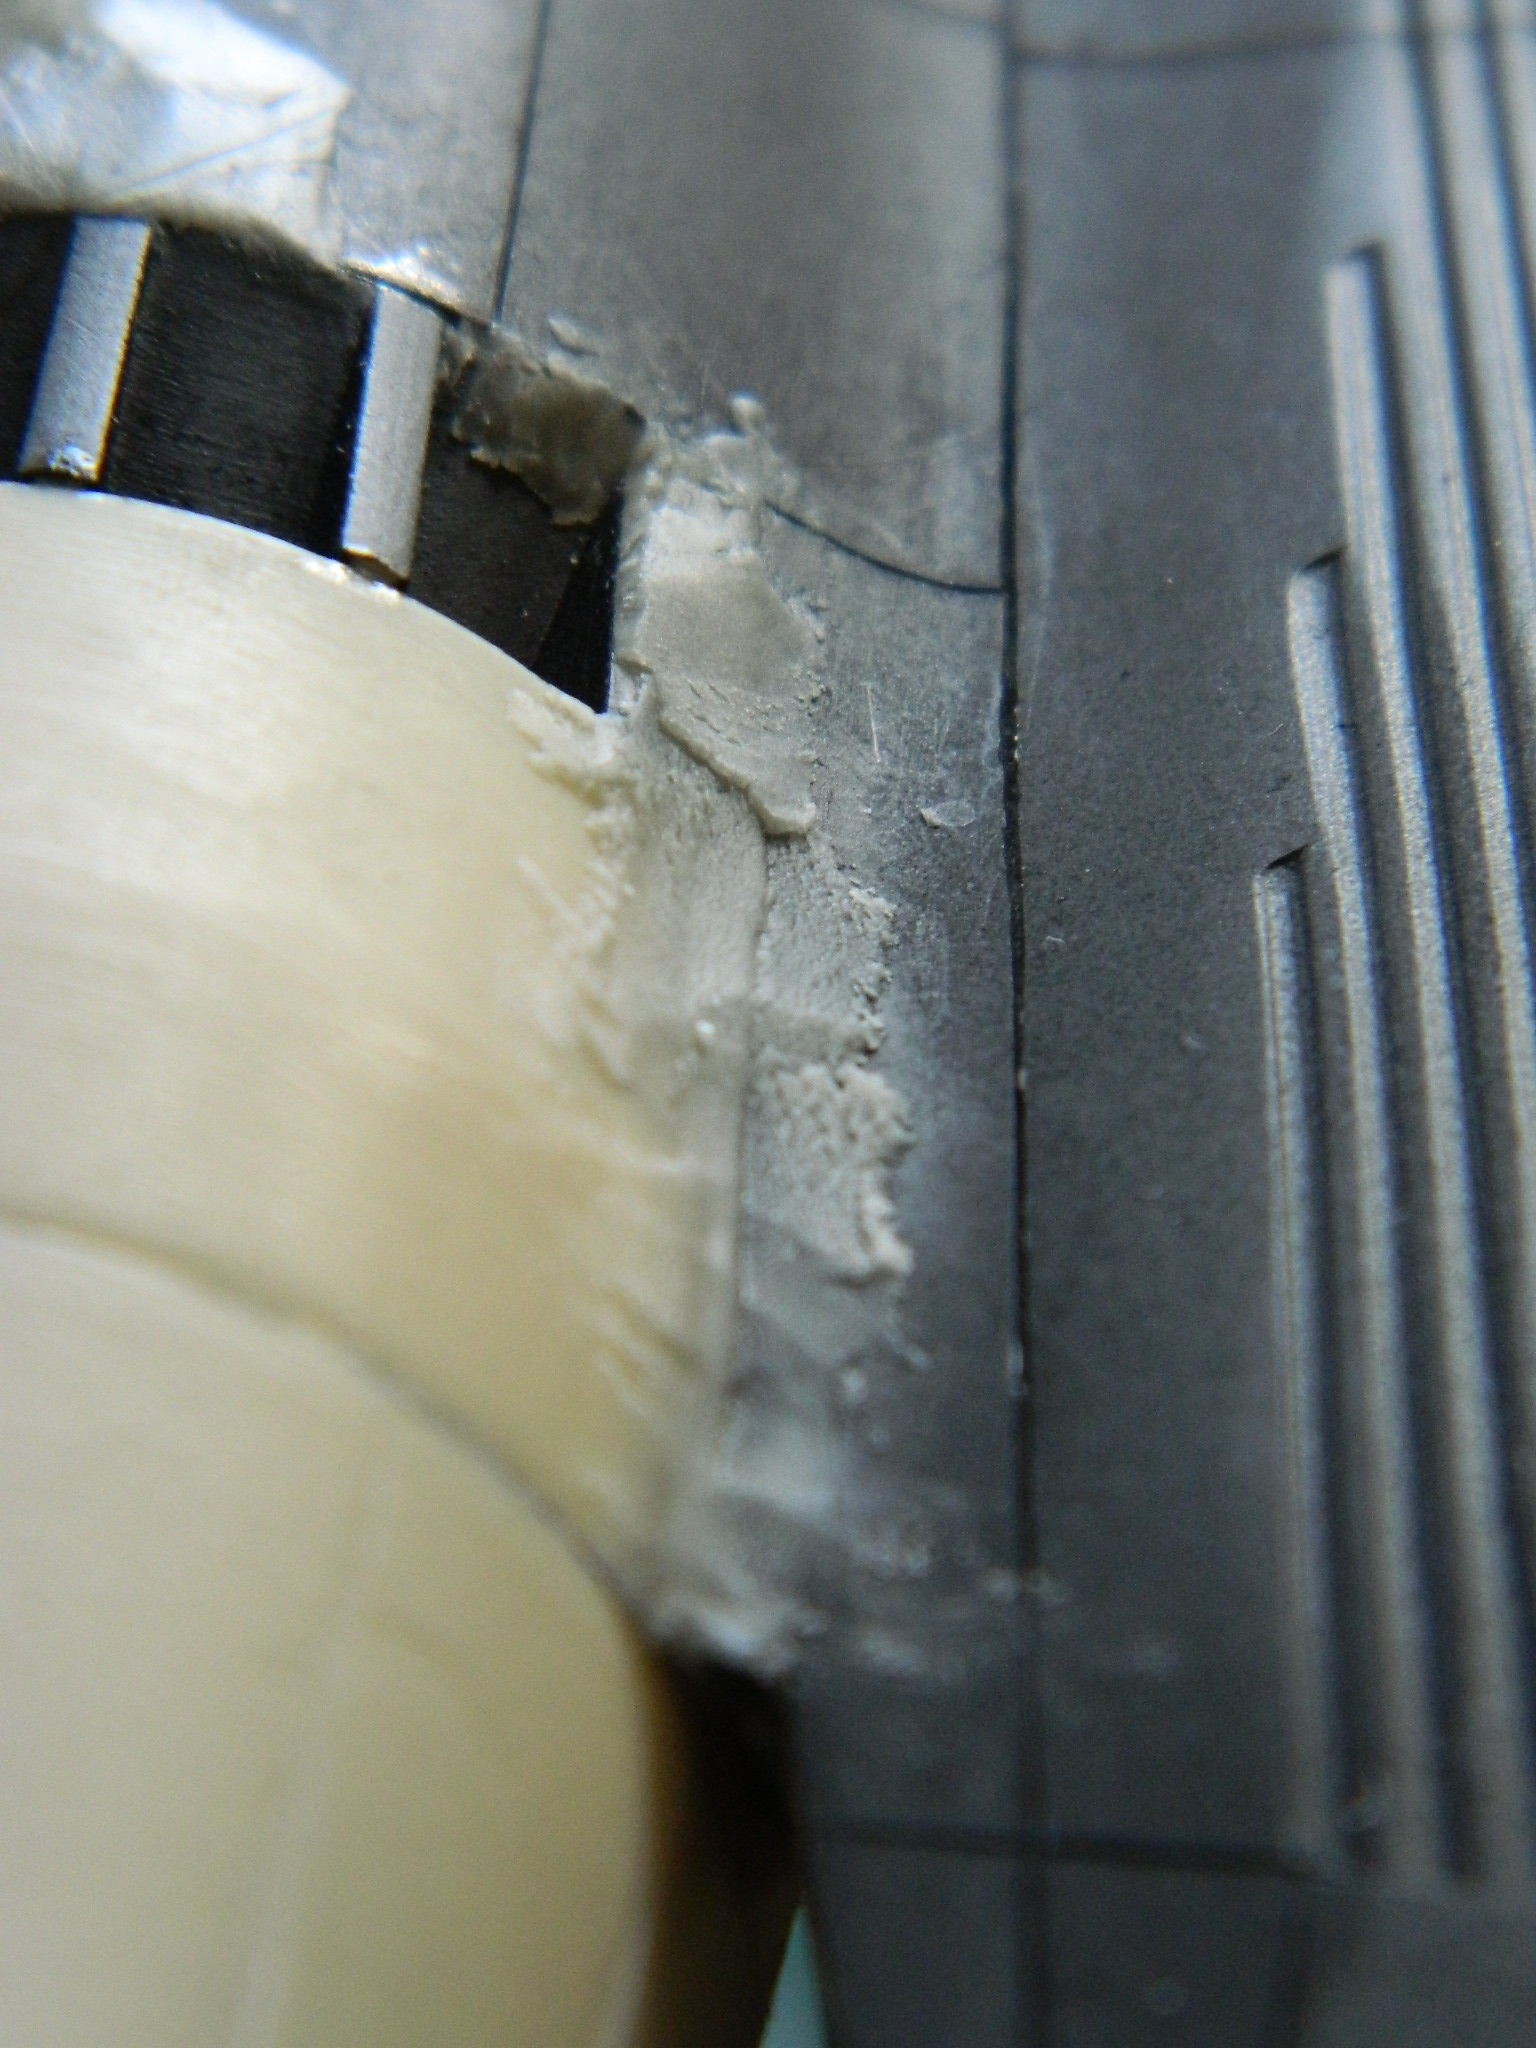
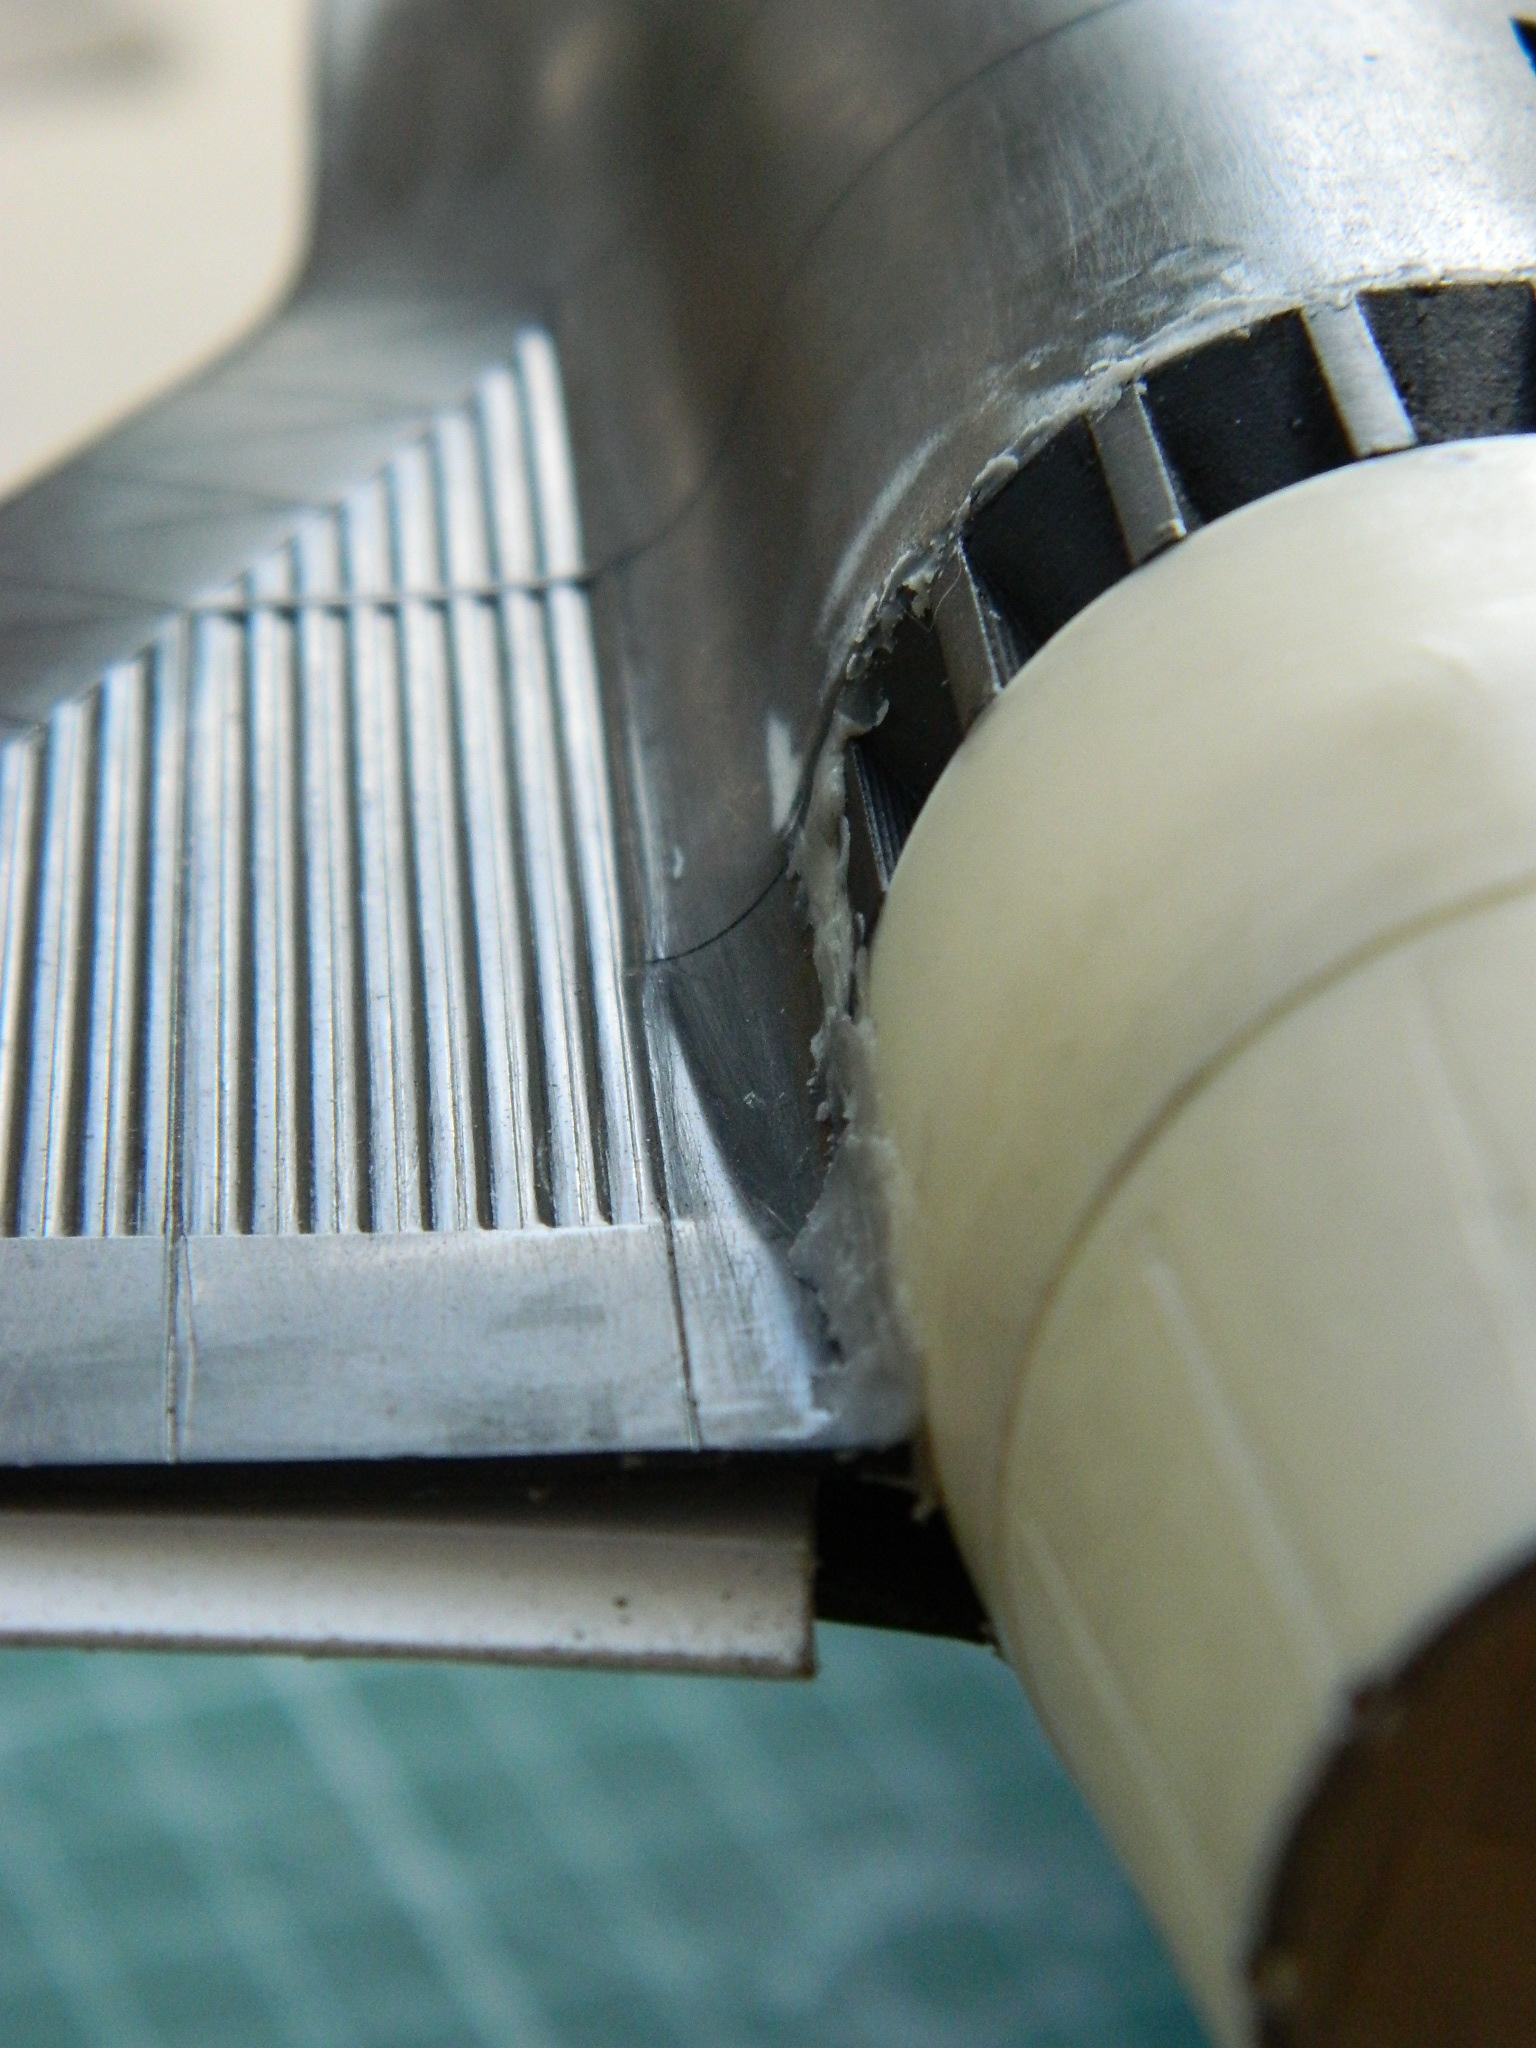
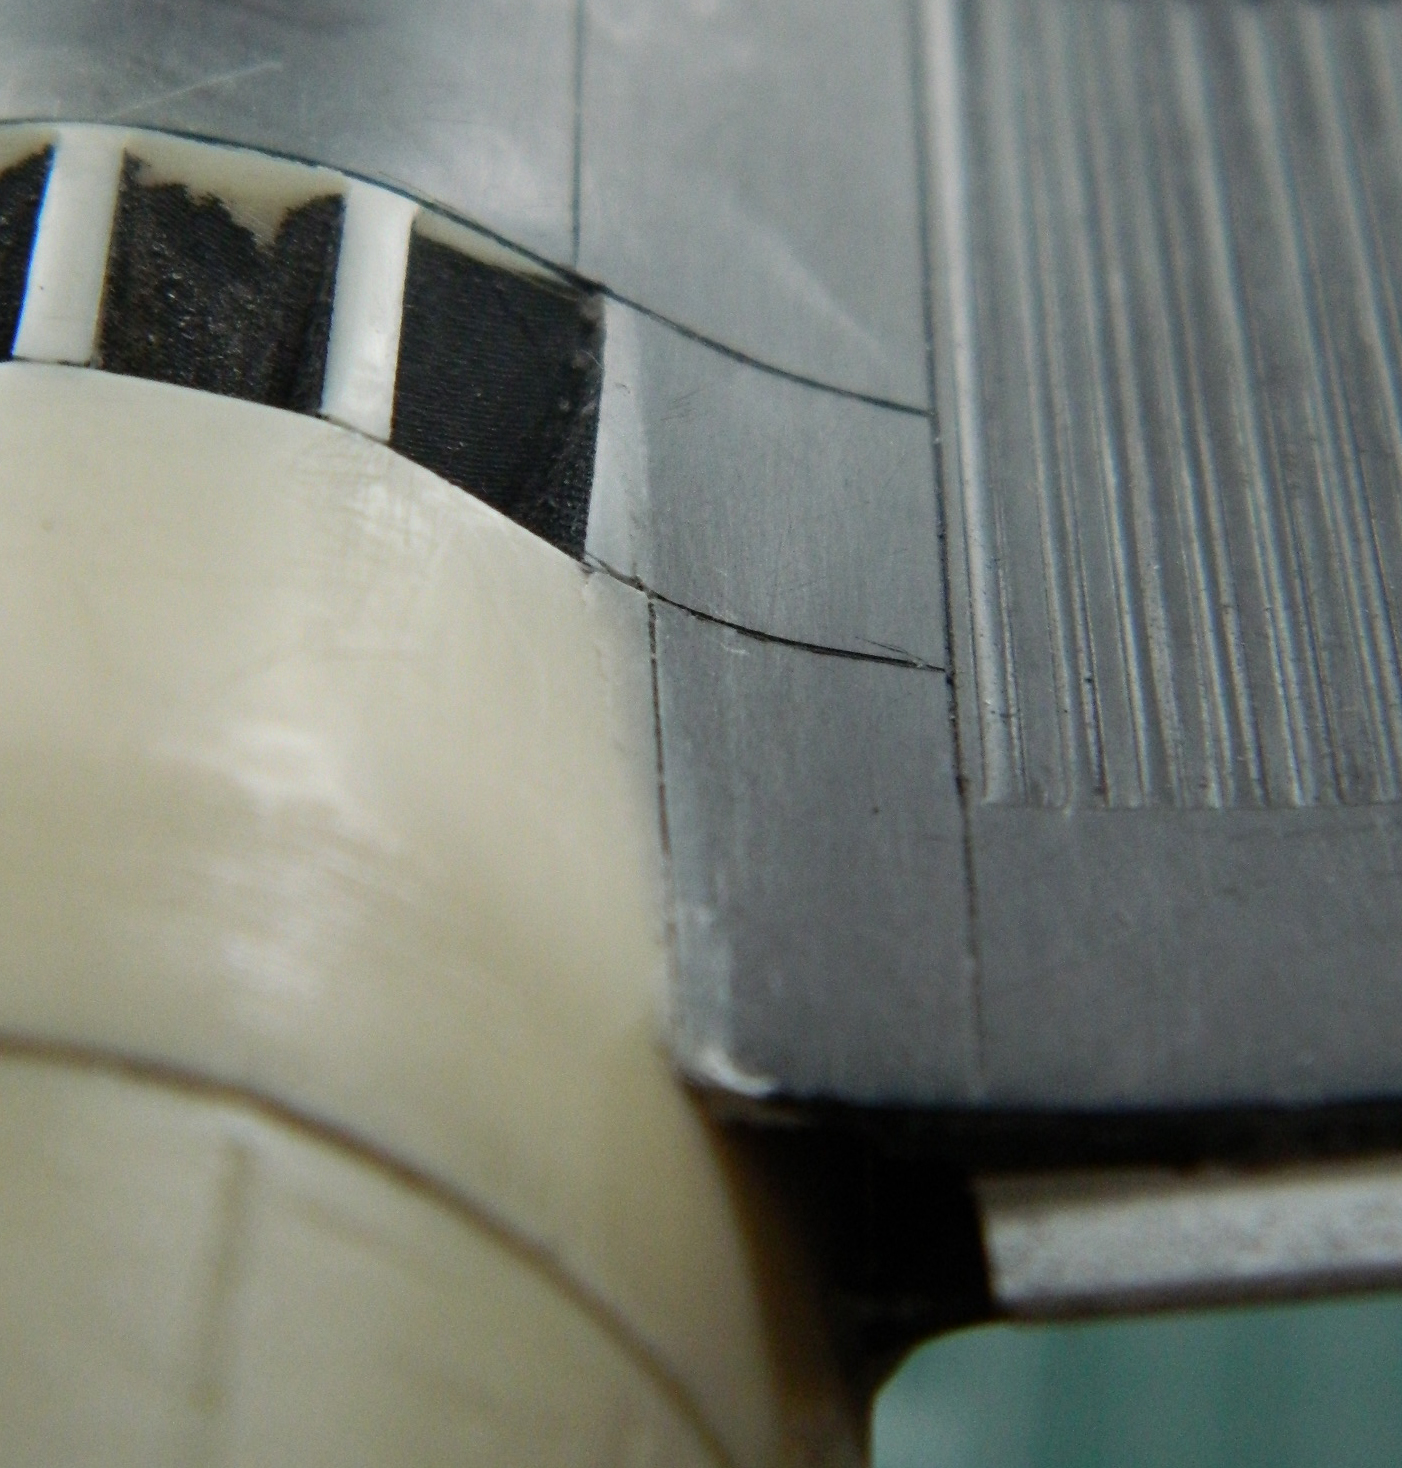
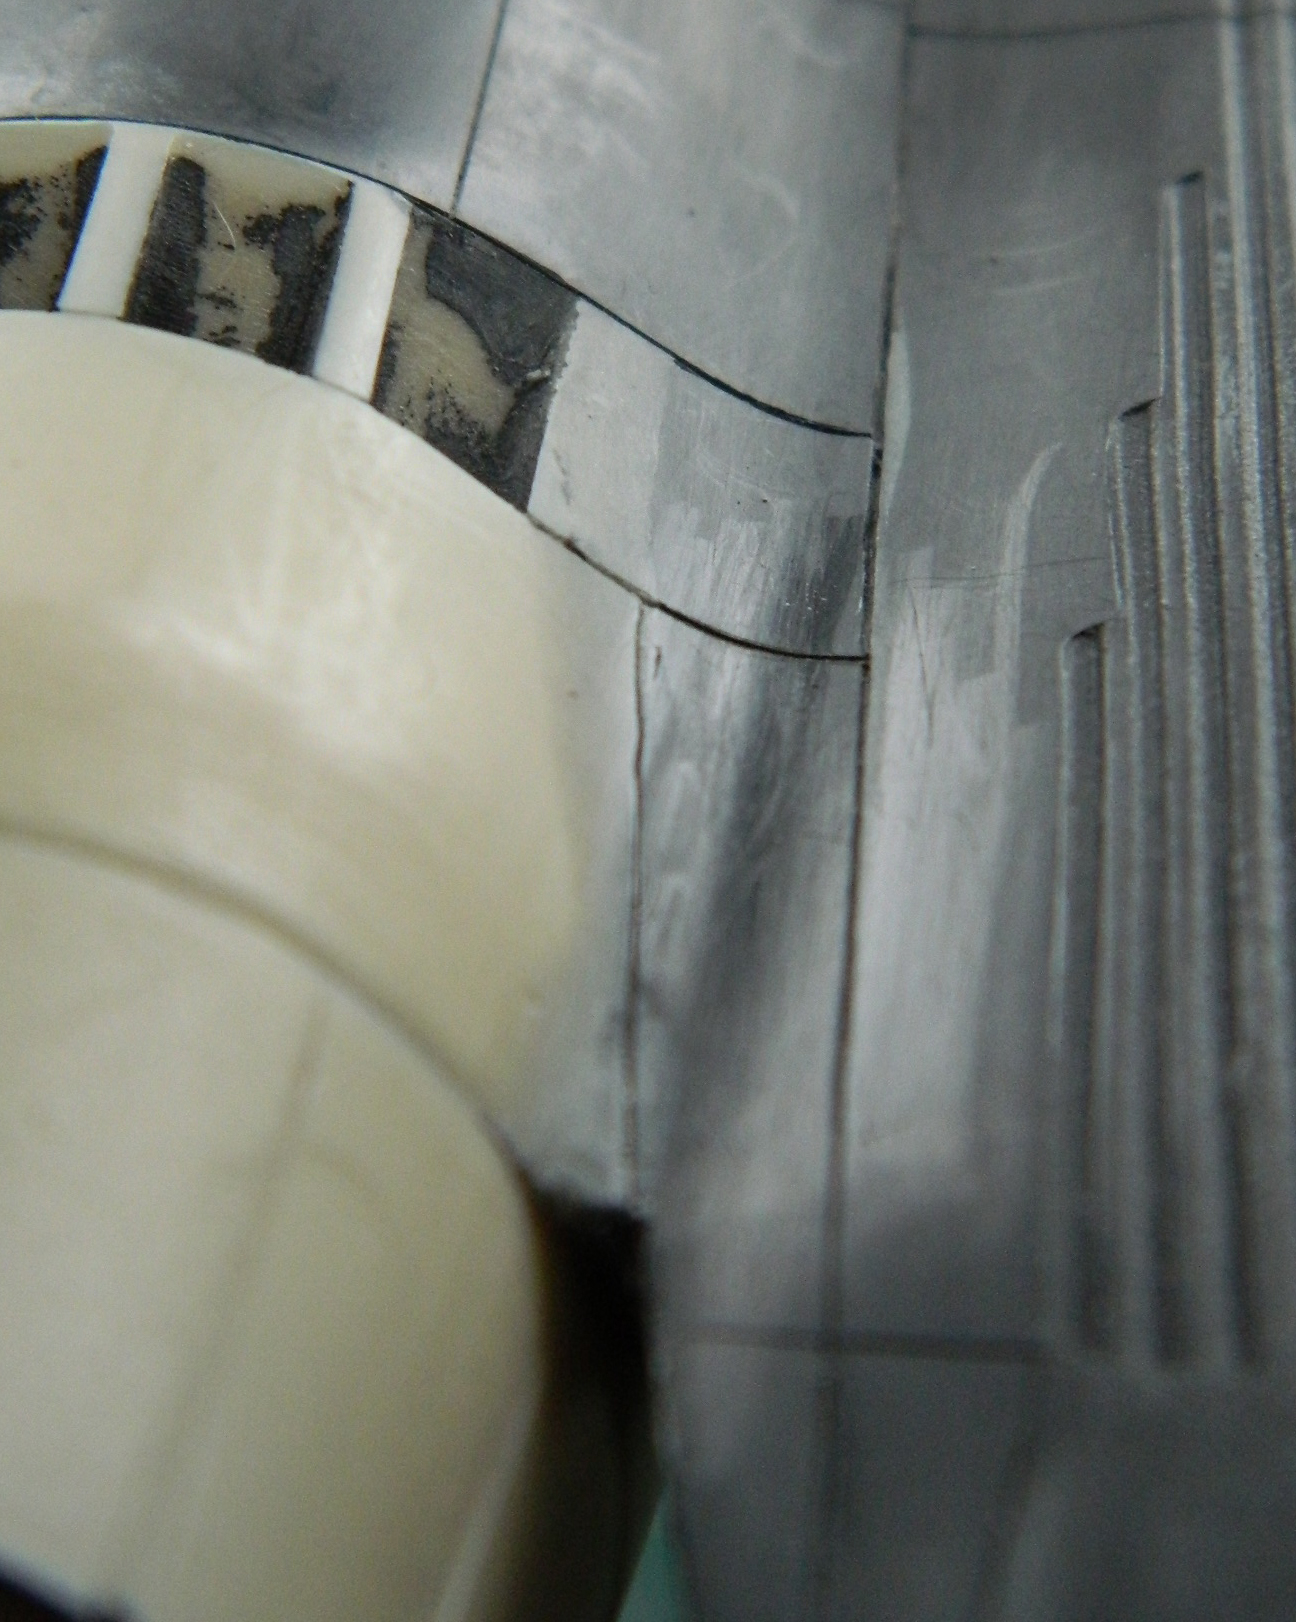
The next day, with the glue as cured as it will ever become, the tape was removed and I looked at the gaps (you can click on the photos and zoom in on them if you’ve a mind to, although to me they look like they should be visible from orbit):

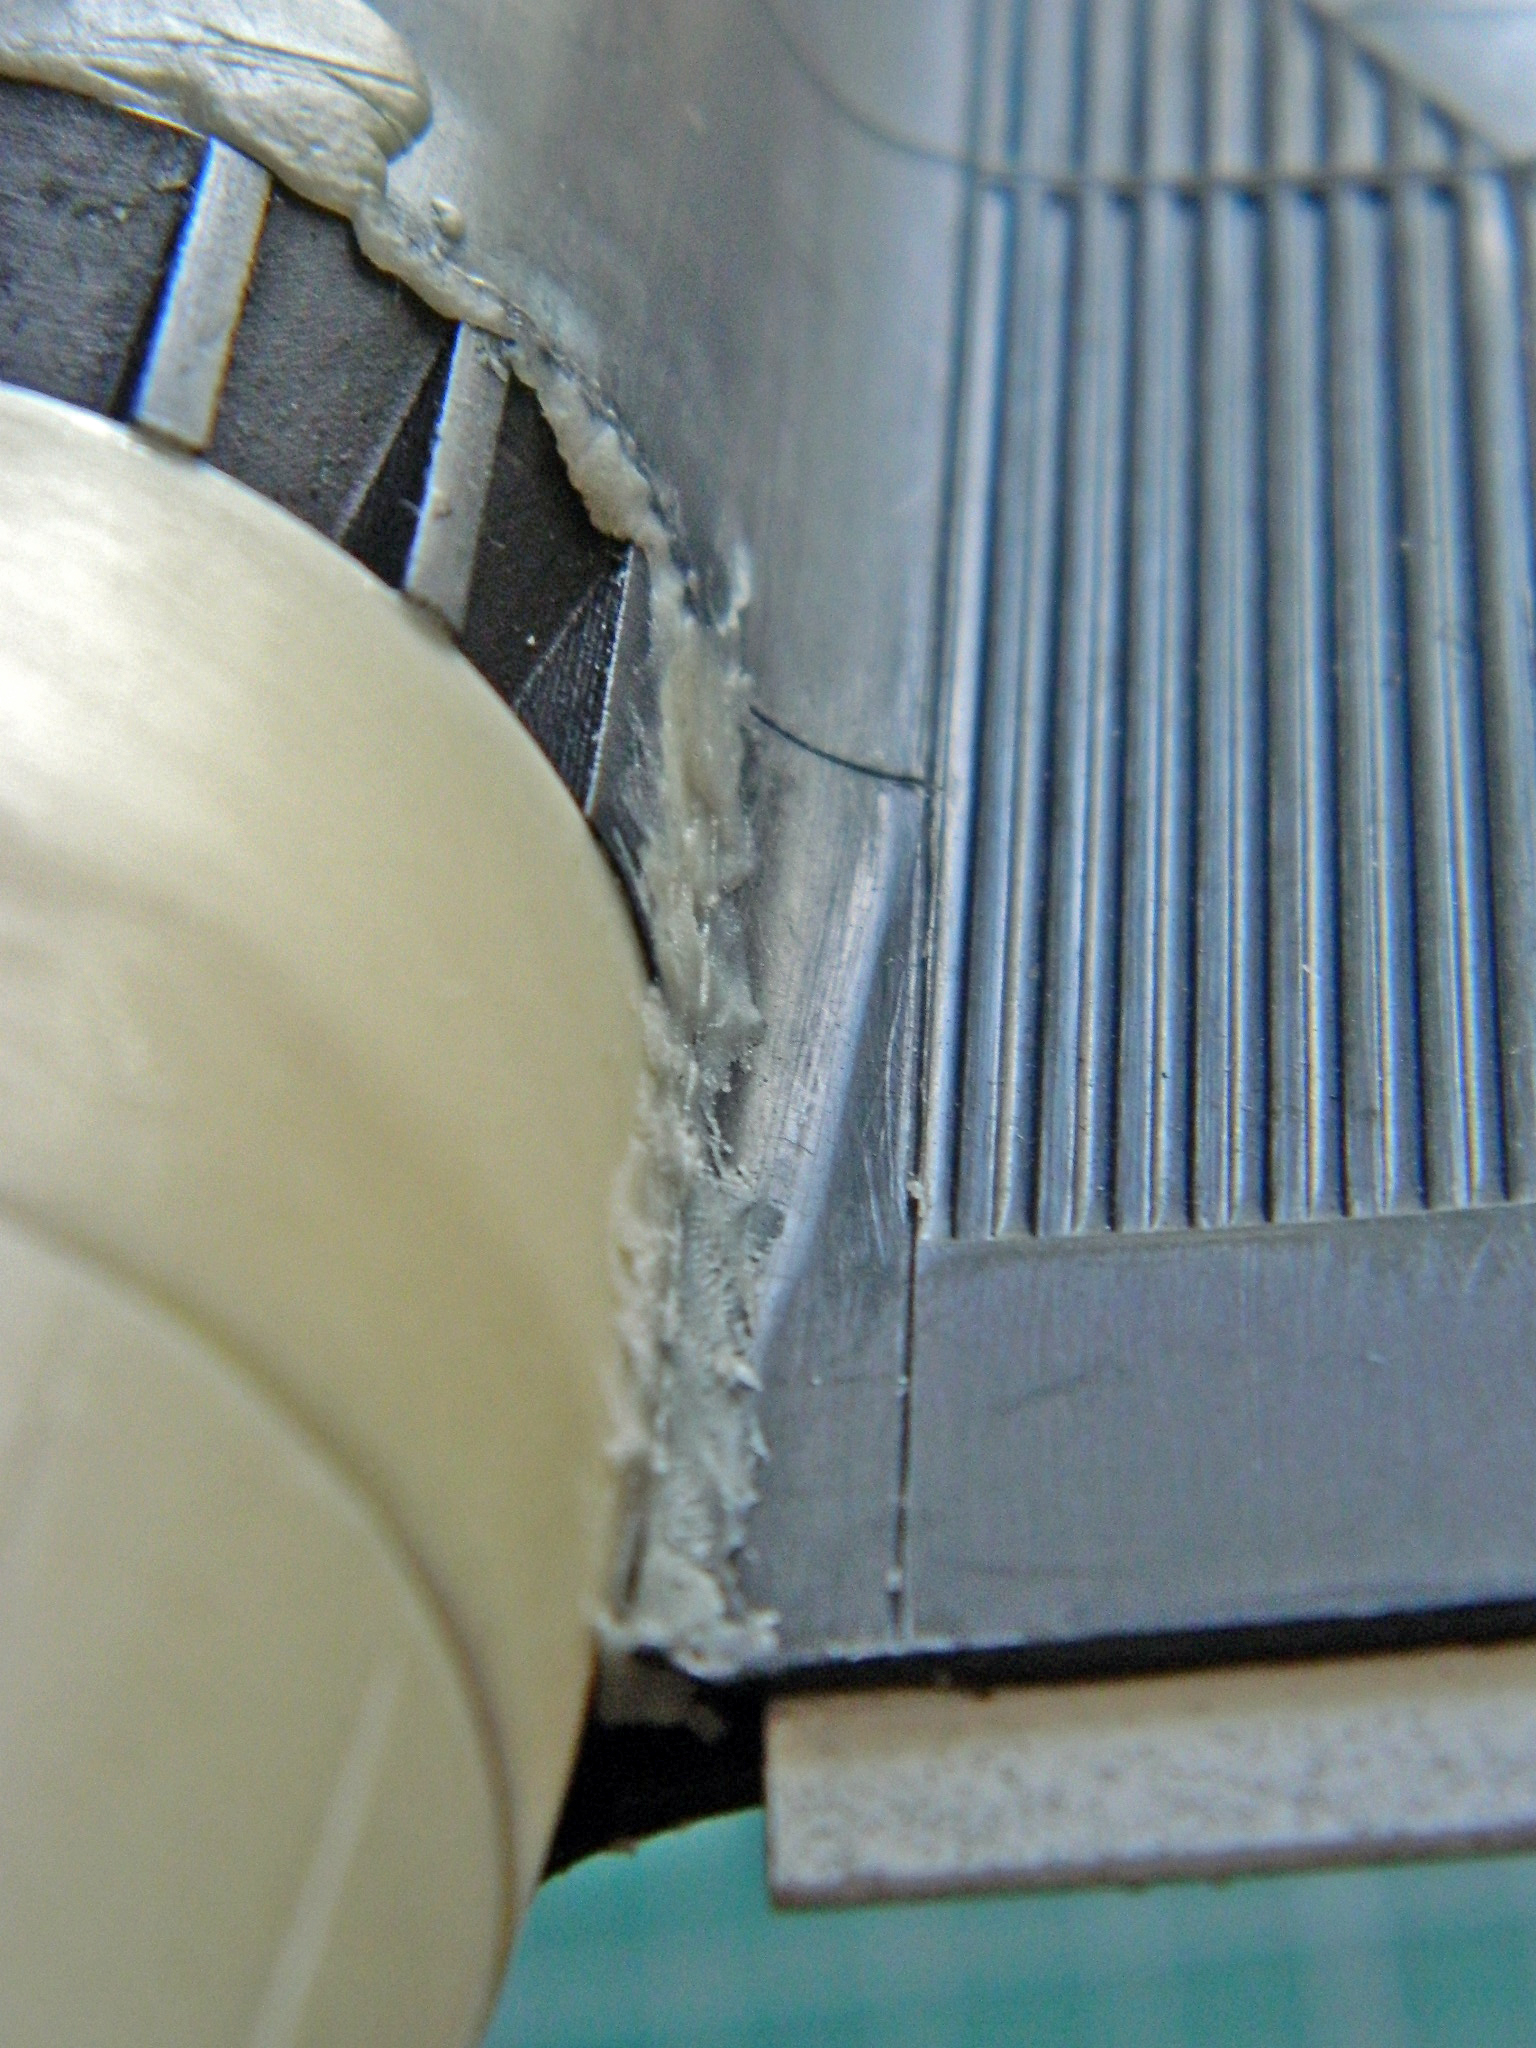
I used epoxy putty for its strength and additional adhesive properties to hold the nacelles securely in place. I laid down masking tape to keep the epoxy putty from going places I’d rather it did not and ran a strip of tape around the edges of the fragile resin intakes to protect them from nicks:
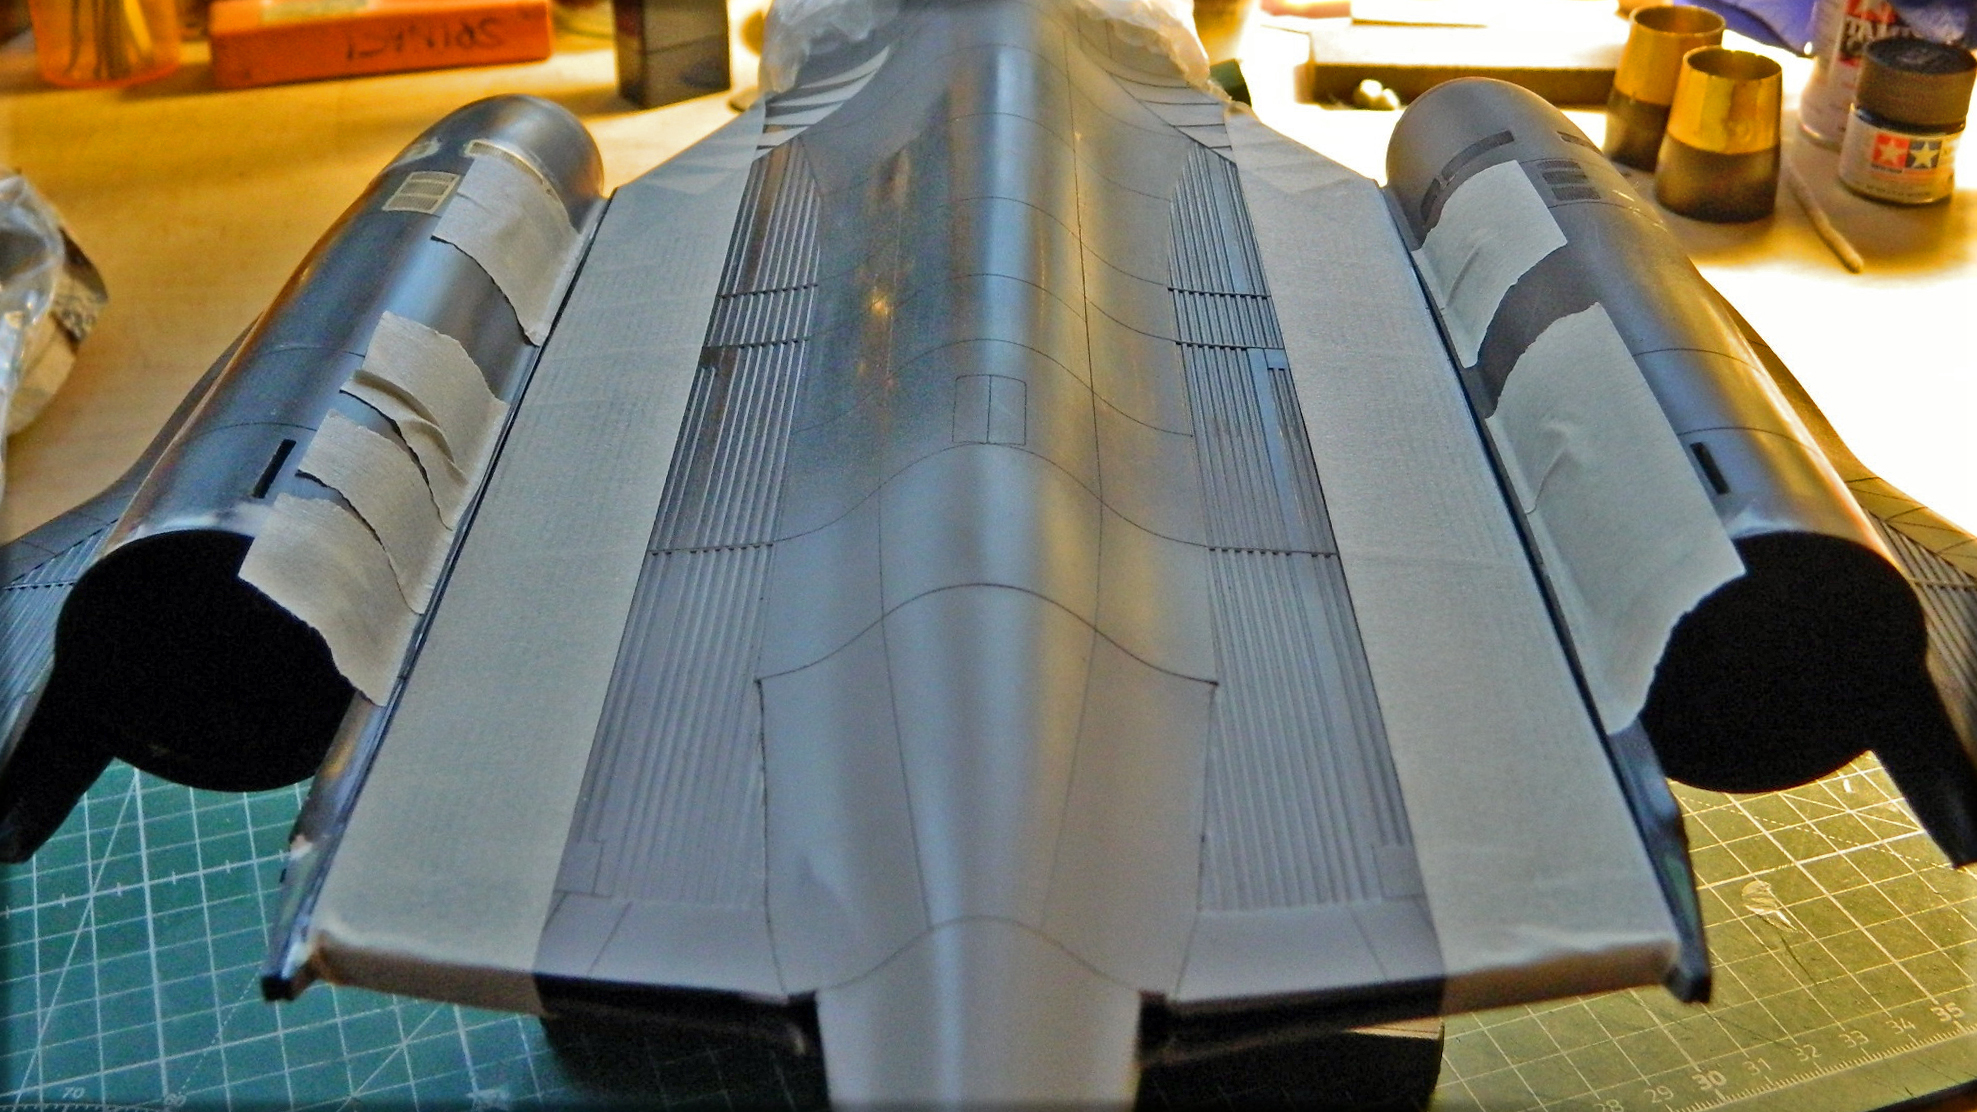
The epoxy putty takes about 24 hours to cure just about completely. With the gaps stuffed full of the putty, this was set aside overnight. In addition to filling the gaps, the putty was also going to enable me to fix the misalignment at the leading edges of the inner wings where they met (sort of) the nacelles.
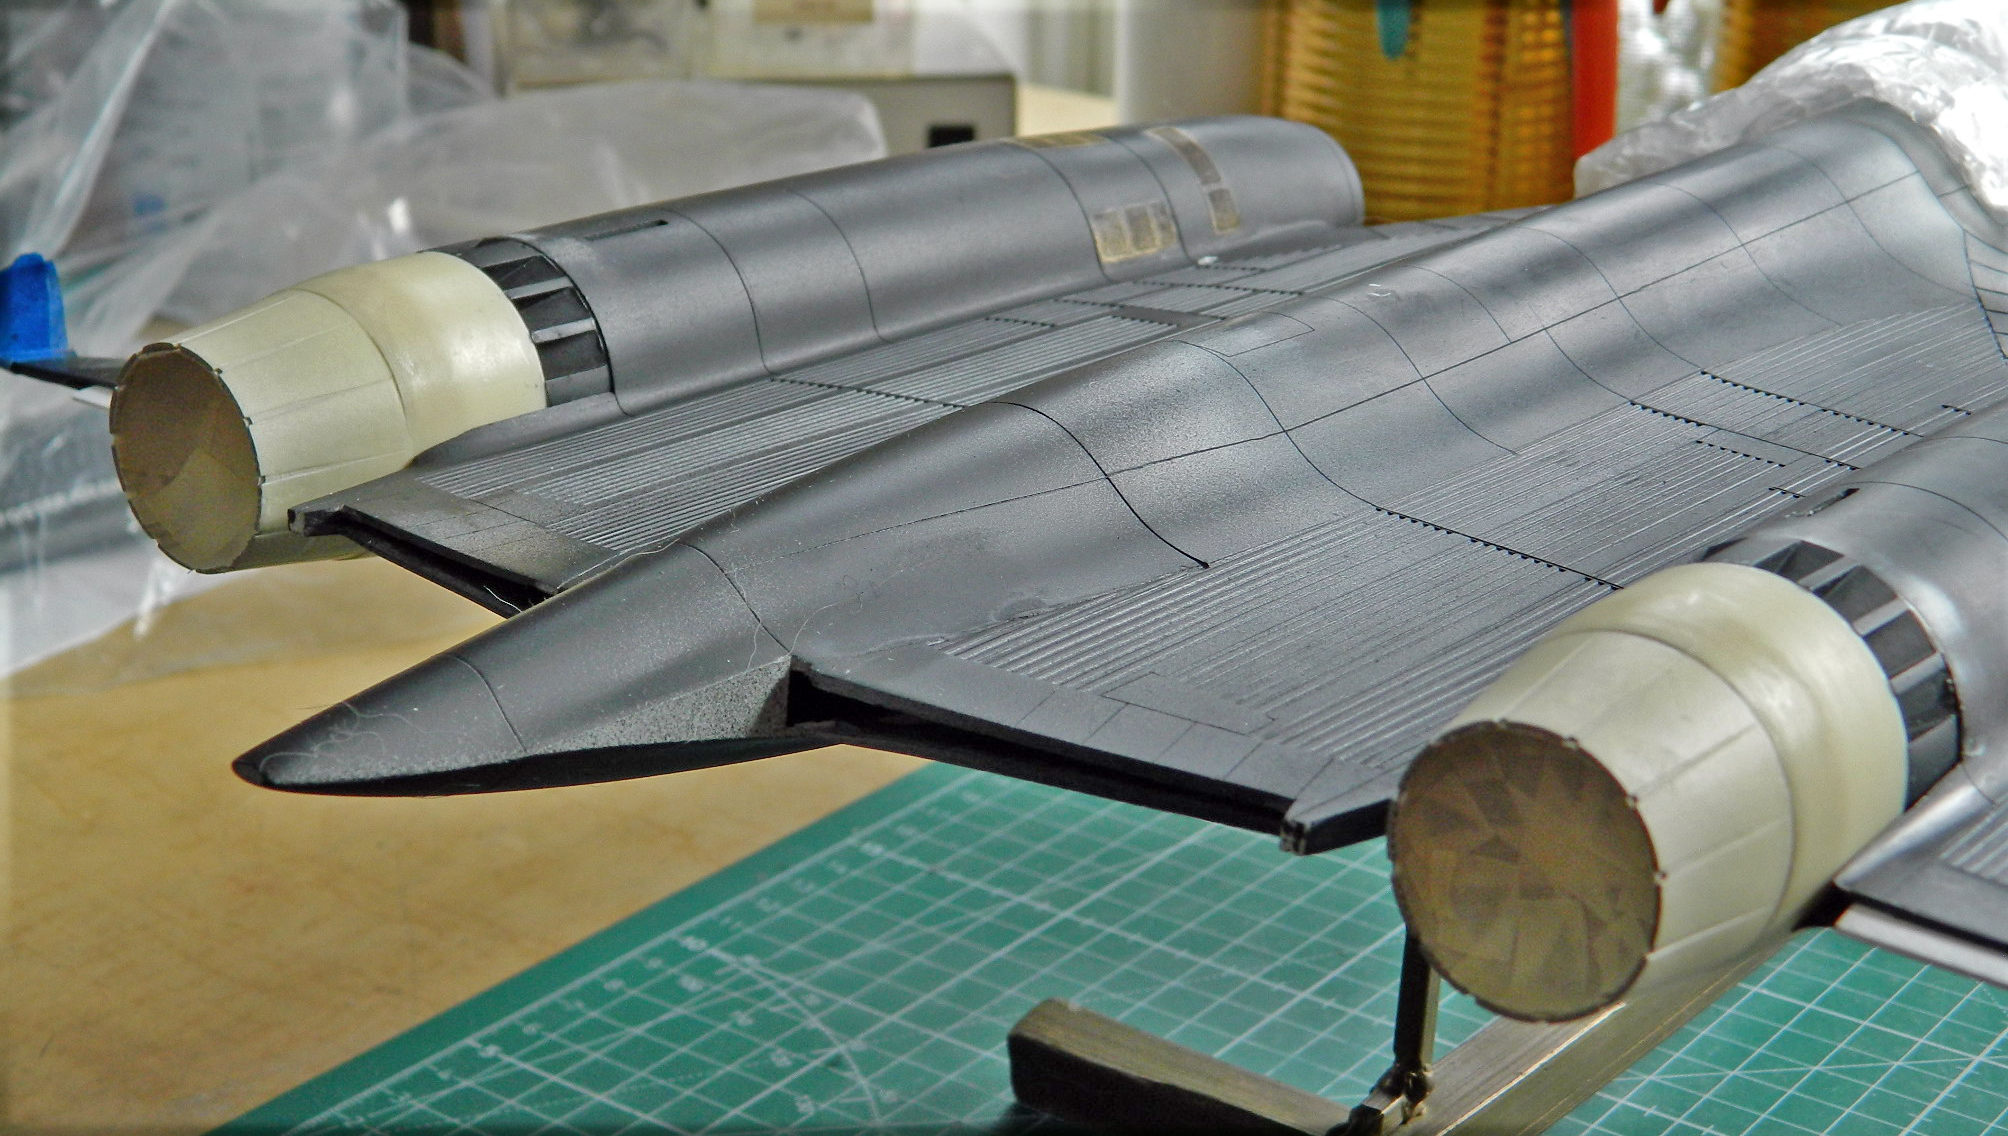
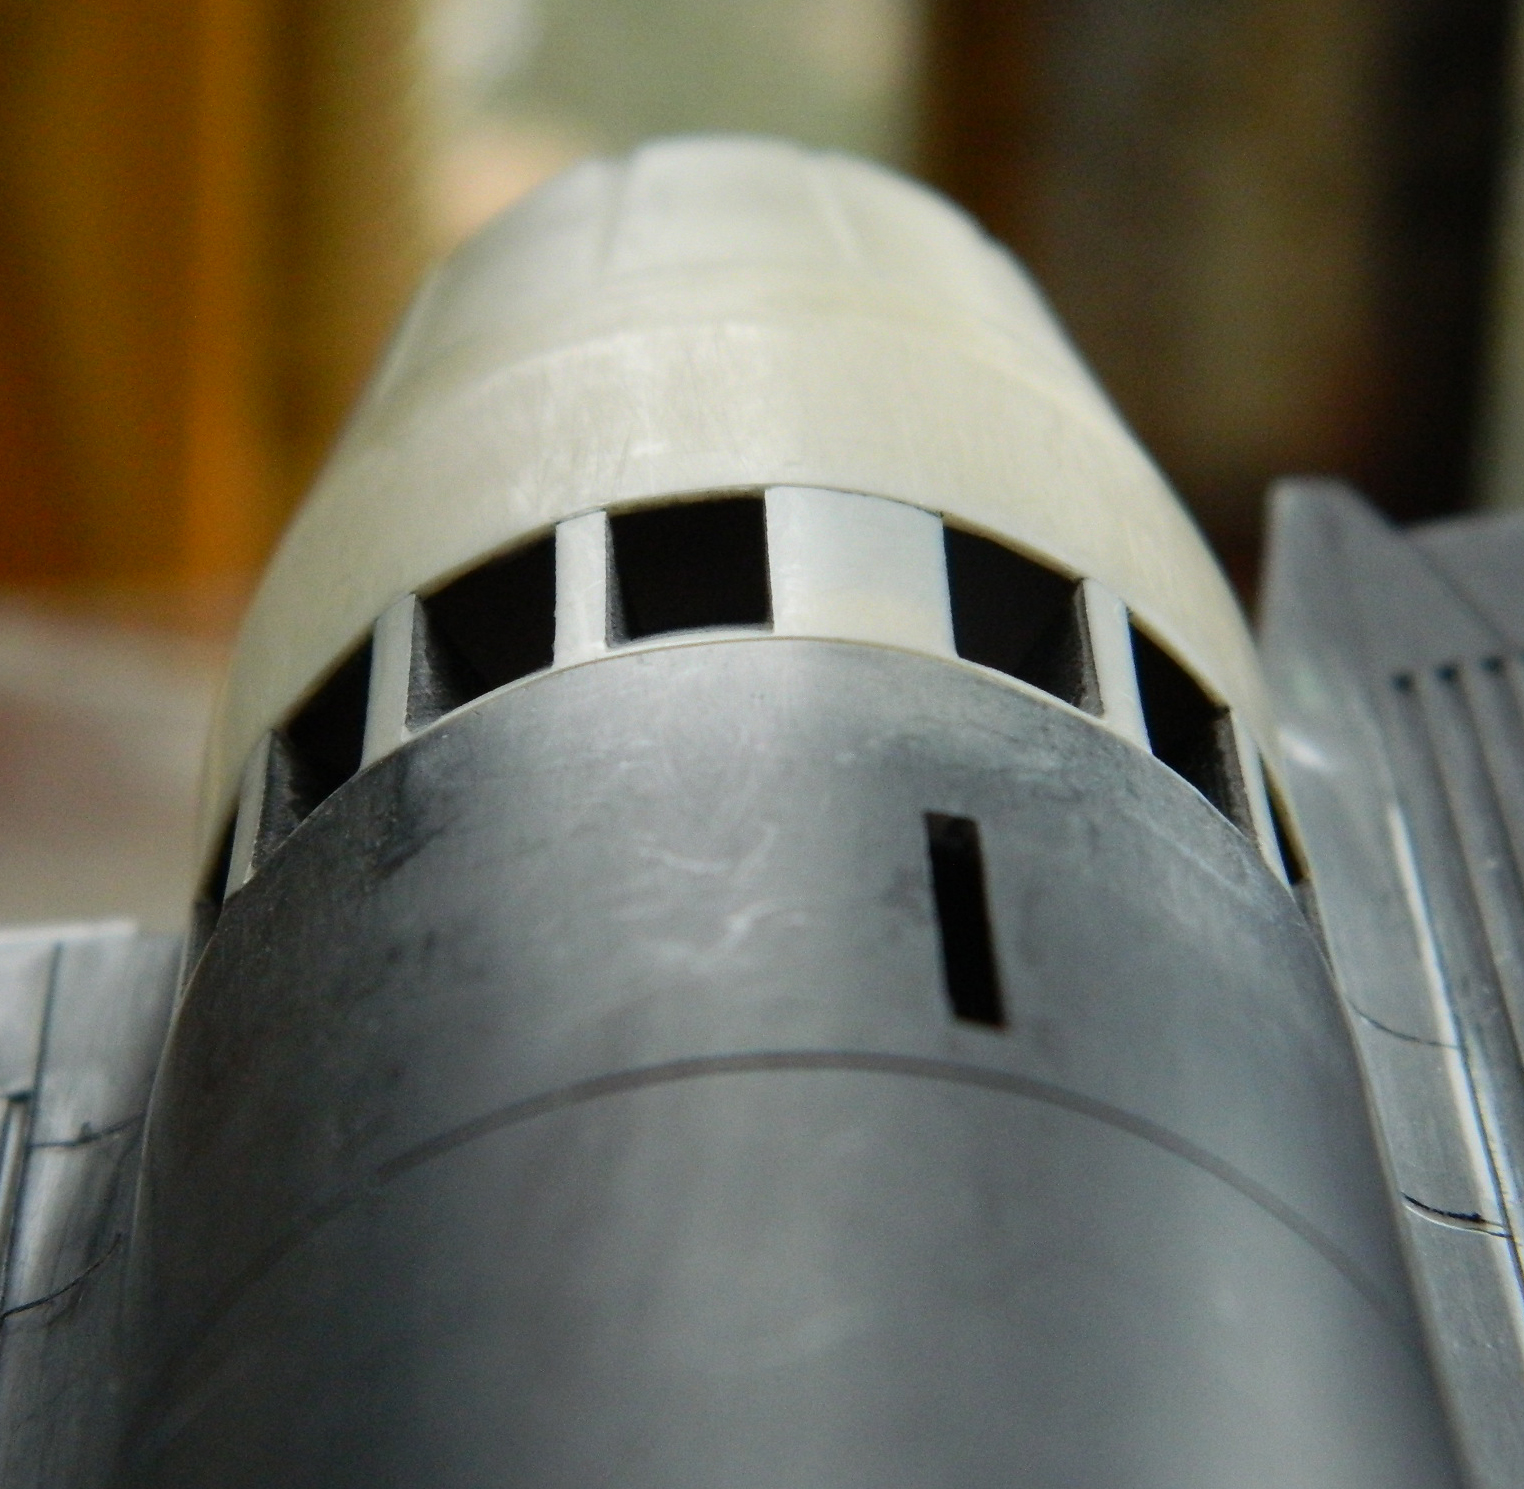
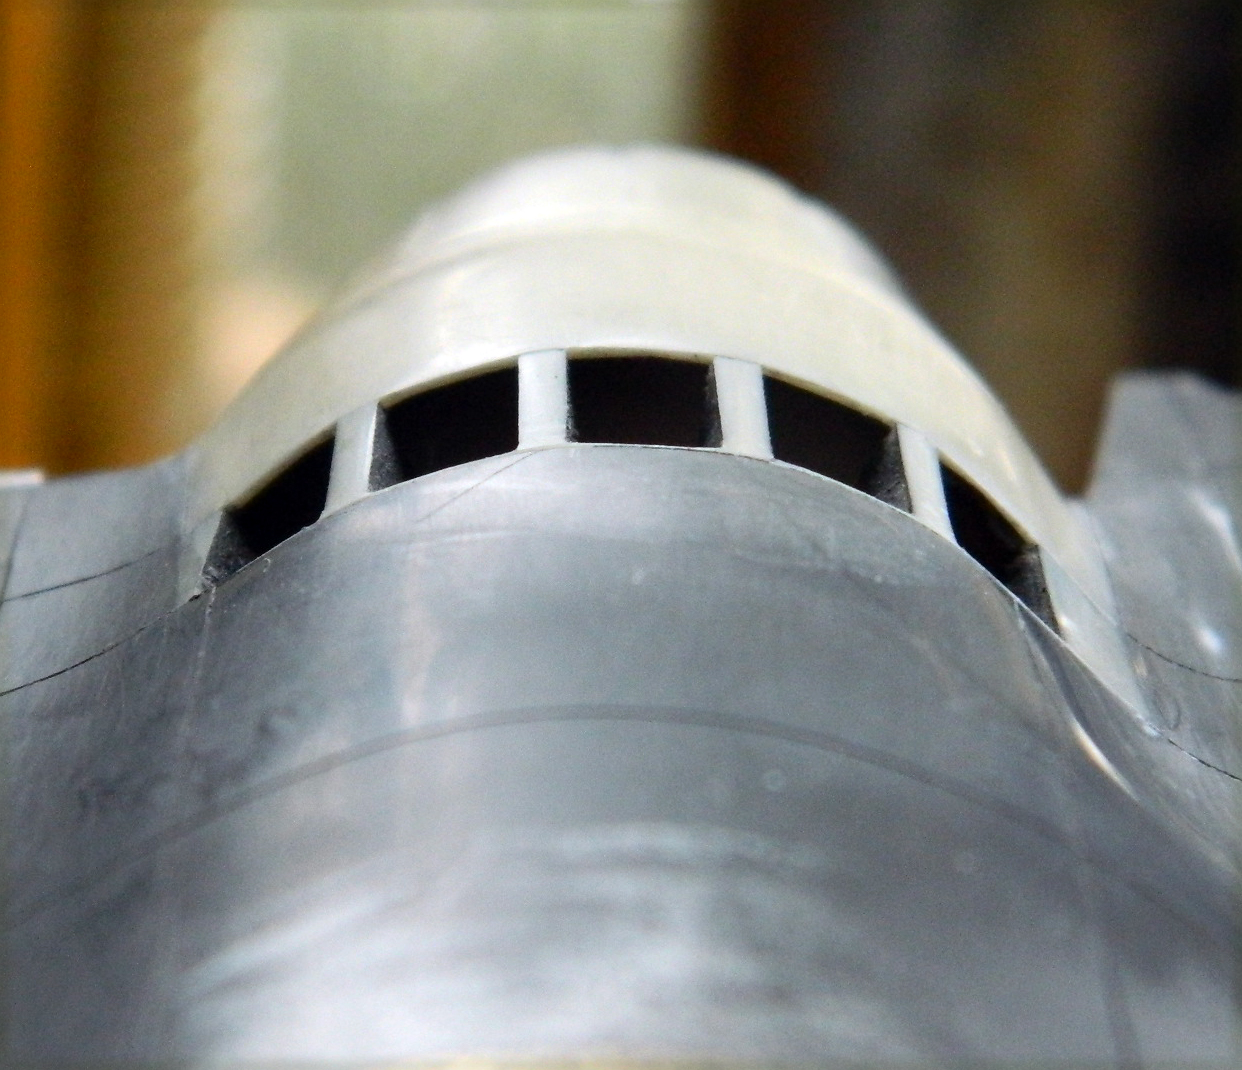
The next day I sanded the putty, starting with 100 grit, working my way through 220, 320, 400, and 600. I was QUITE PLEASED with how well I was able to get the leading edges and nacelles to play nicely with each other:
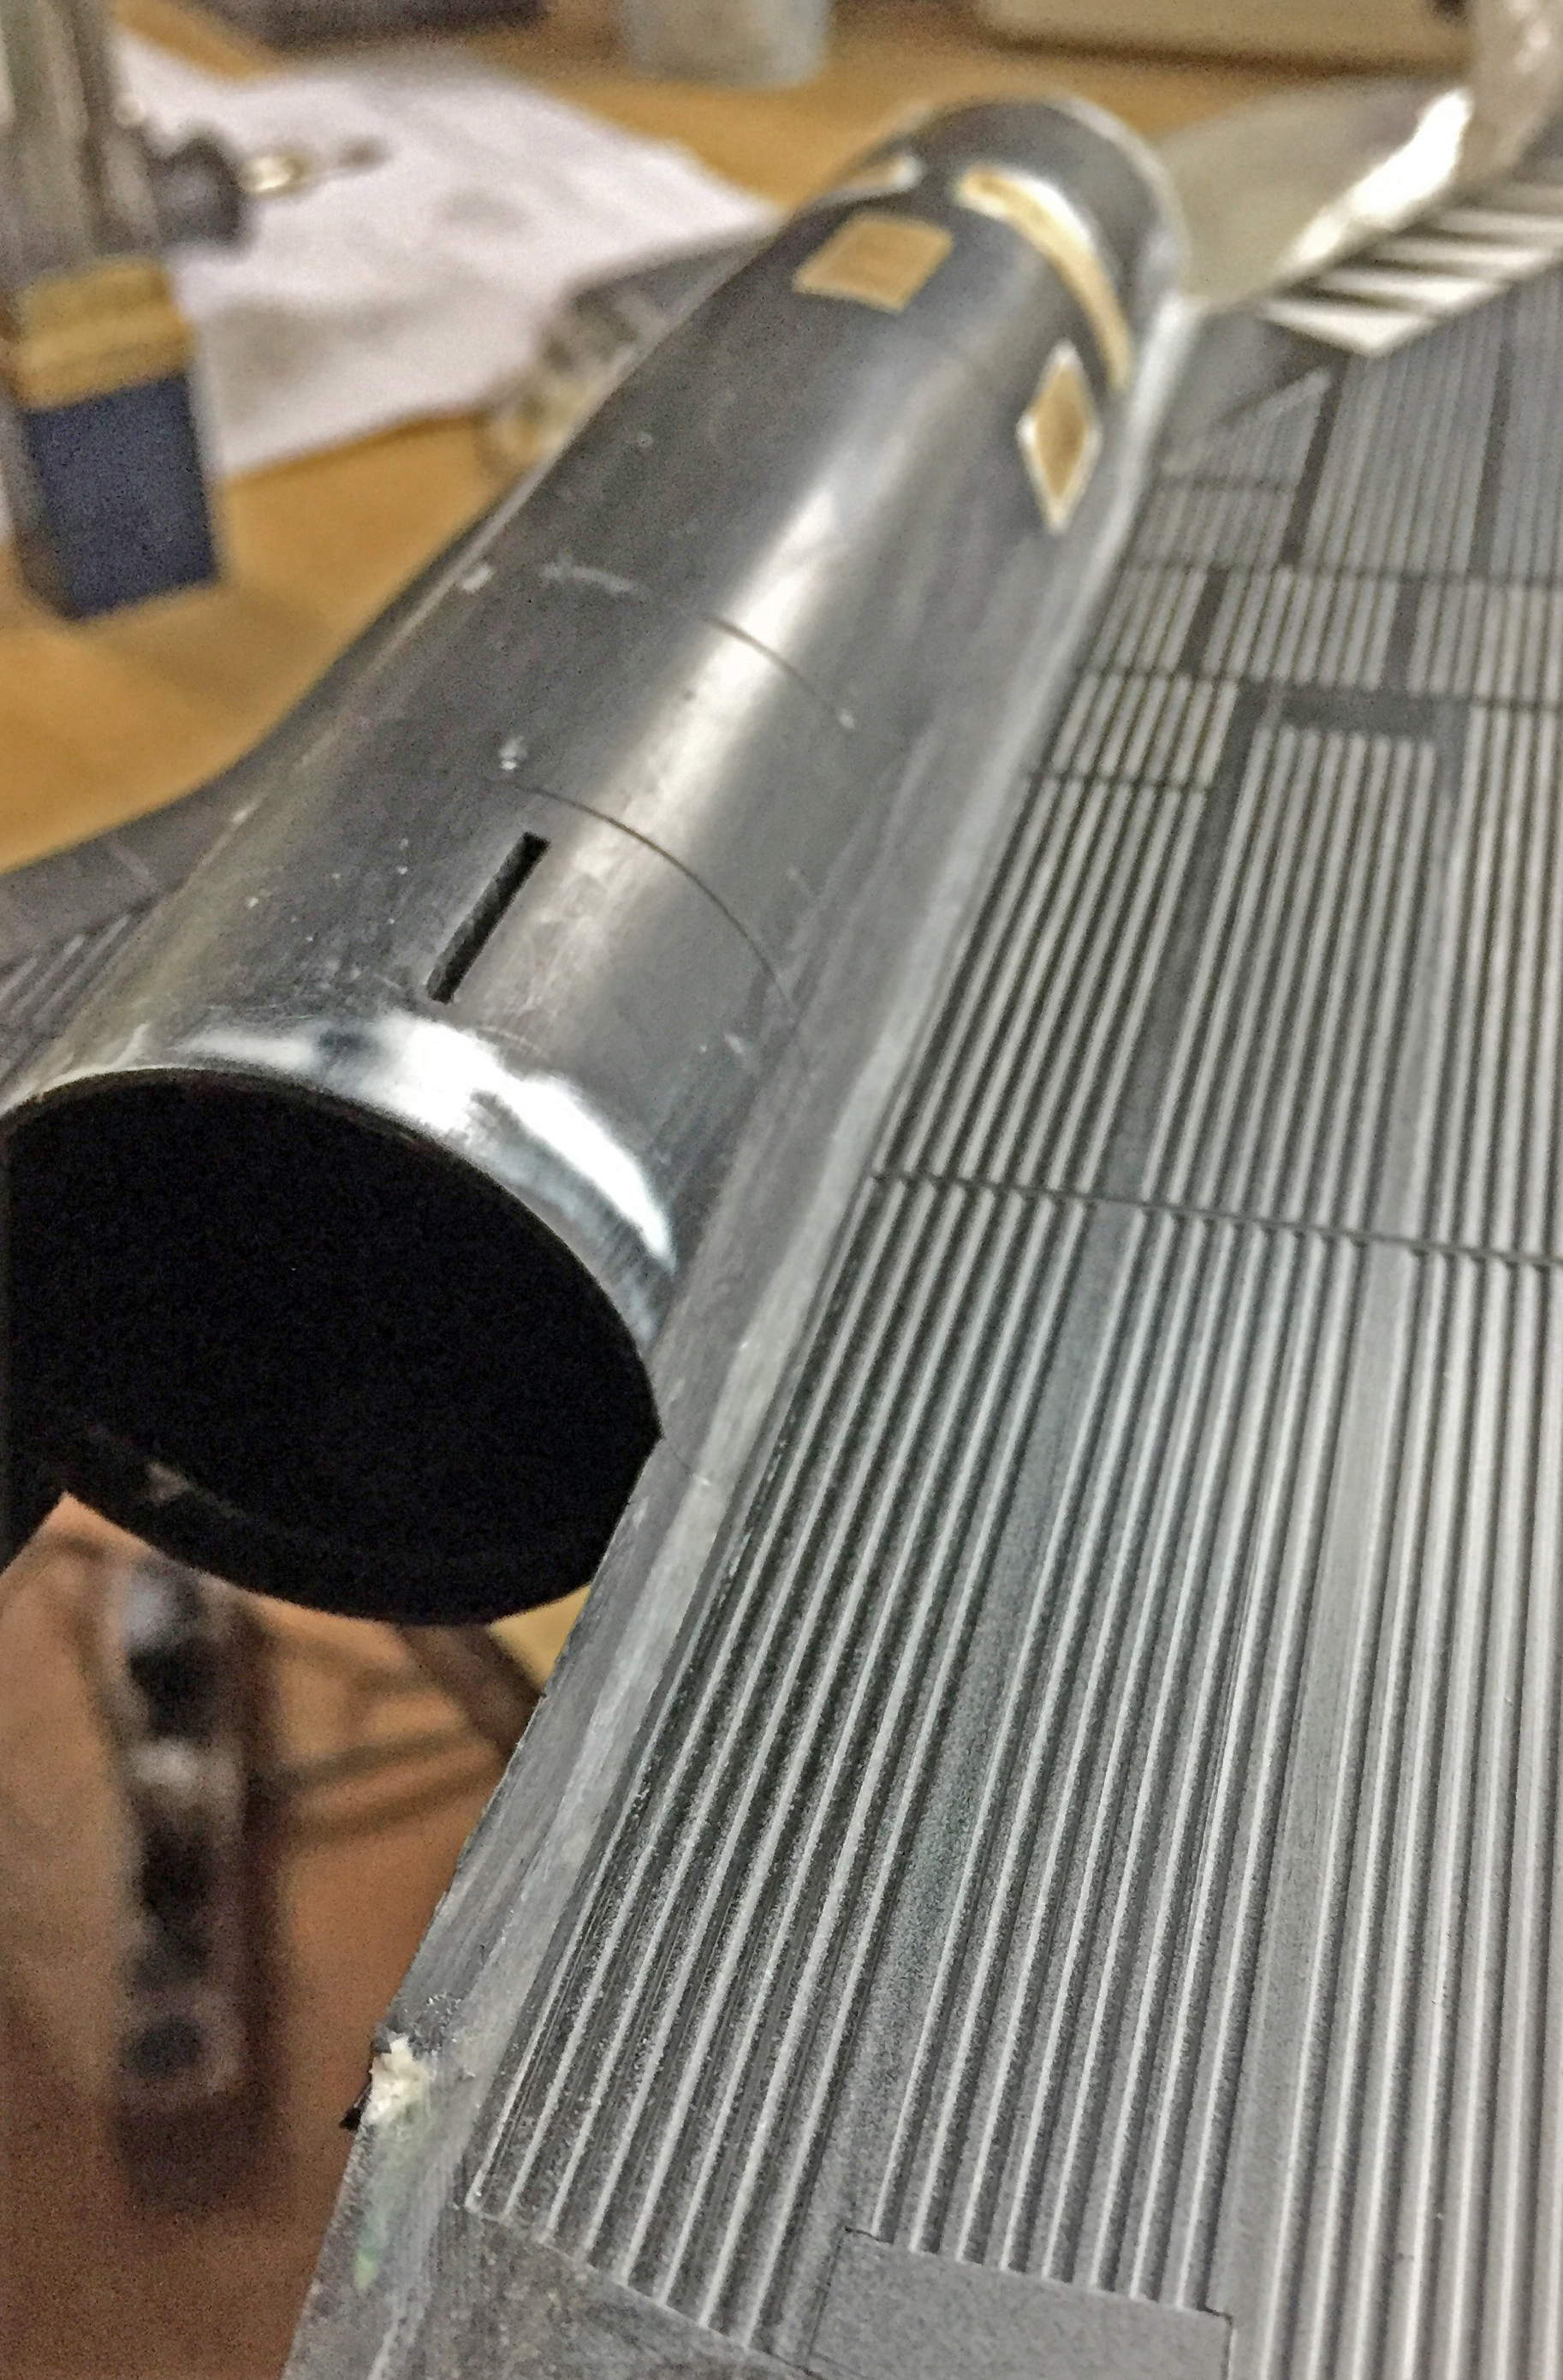
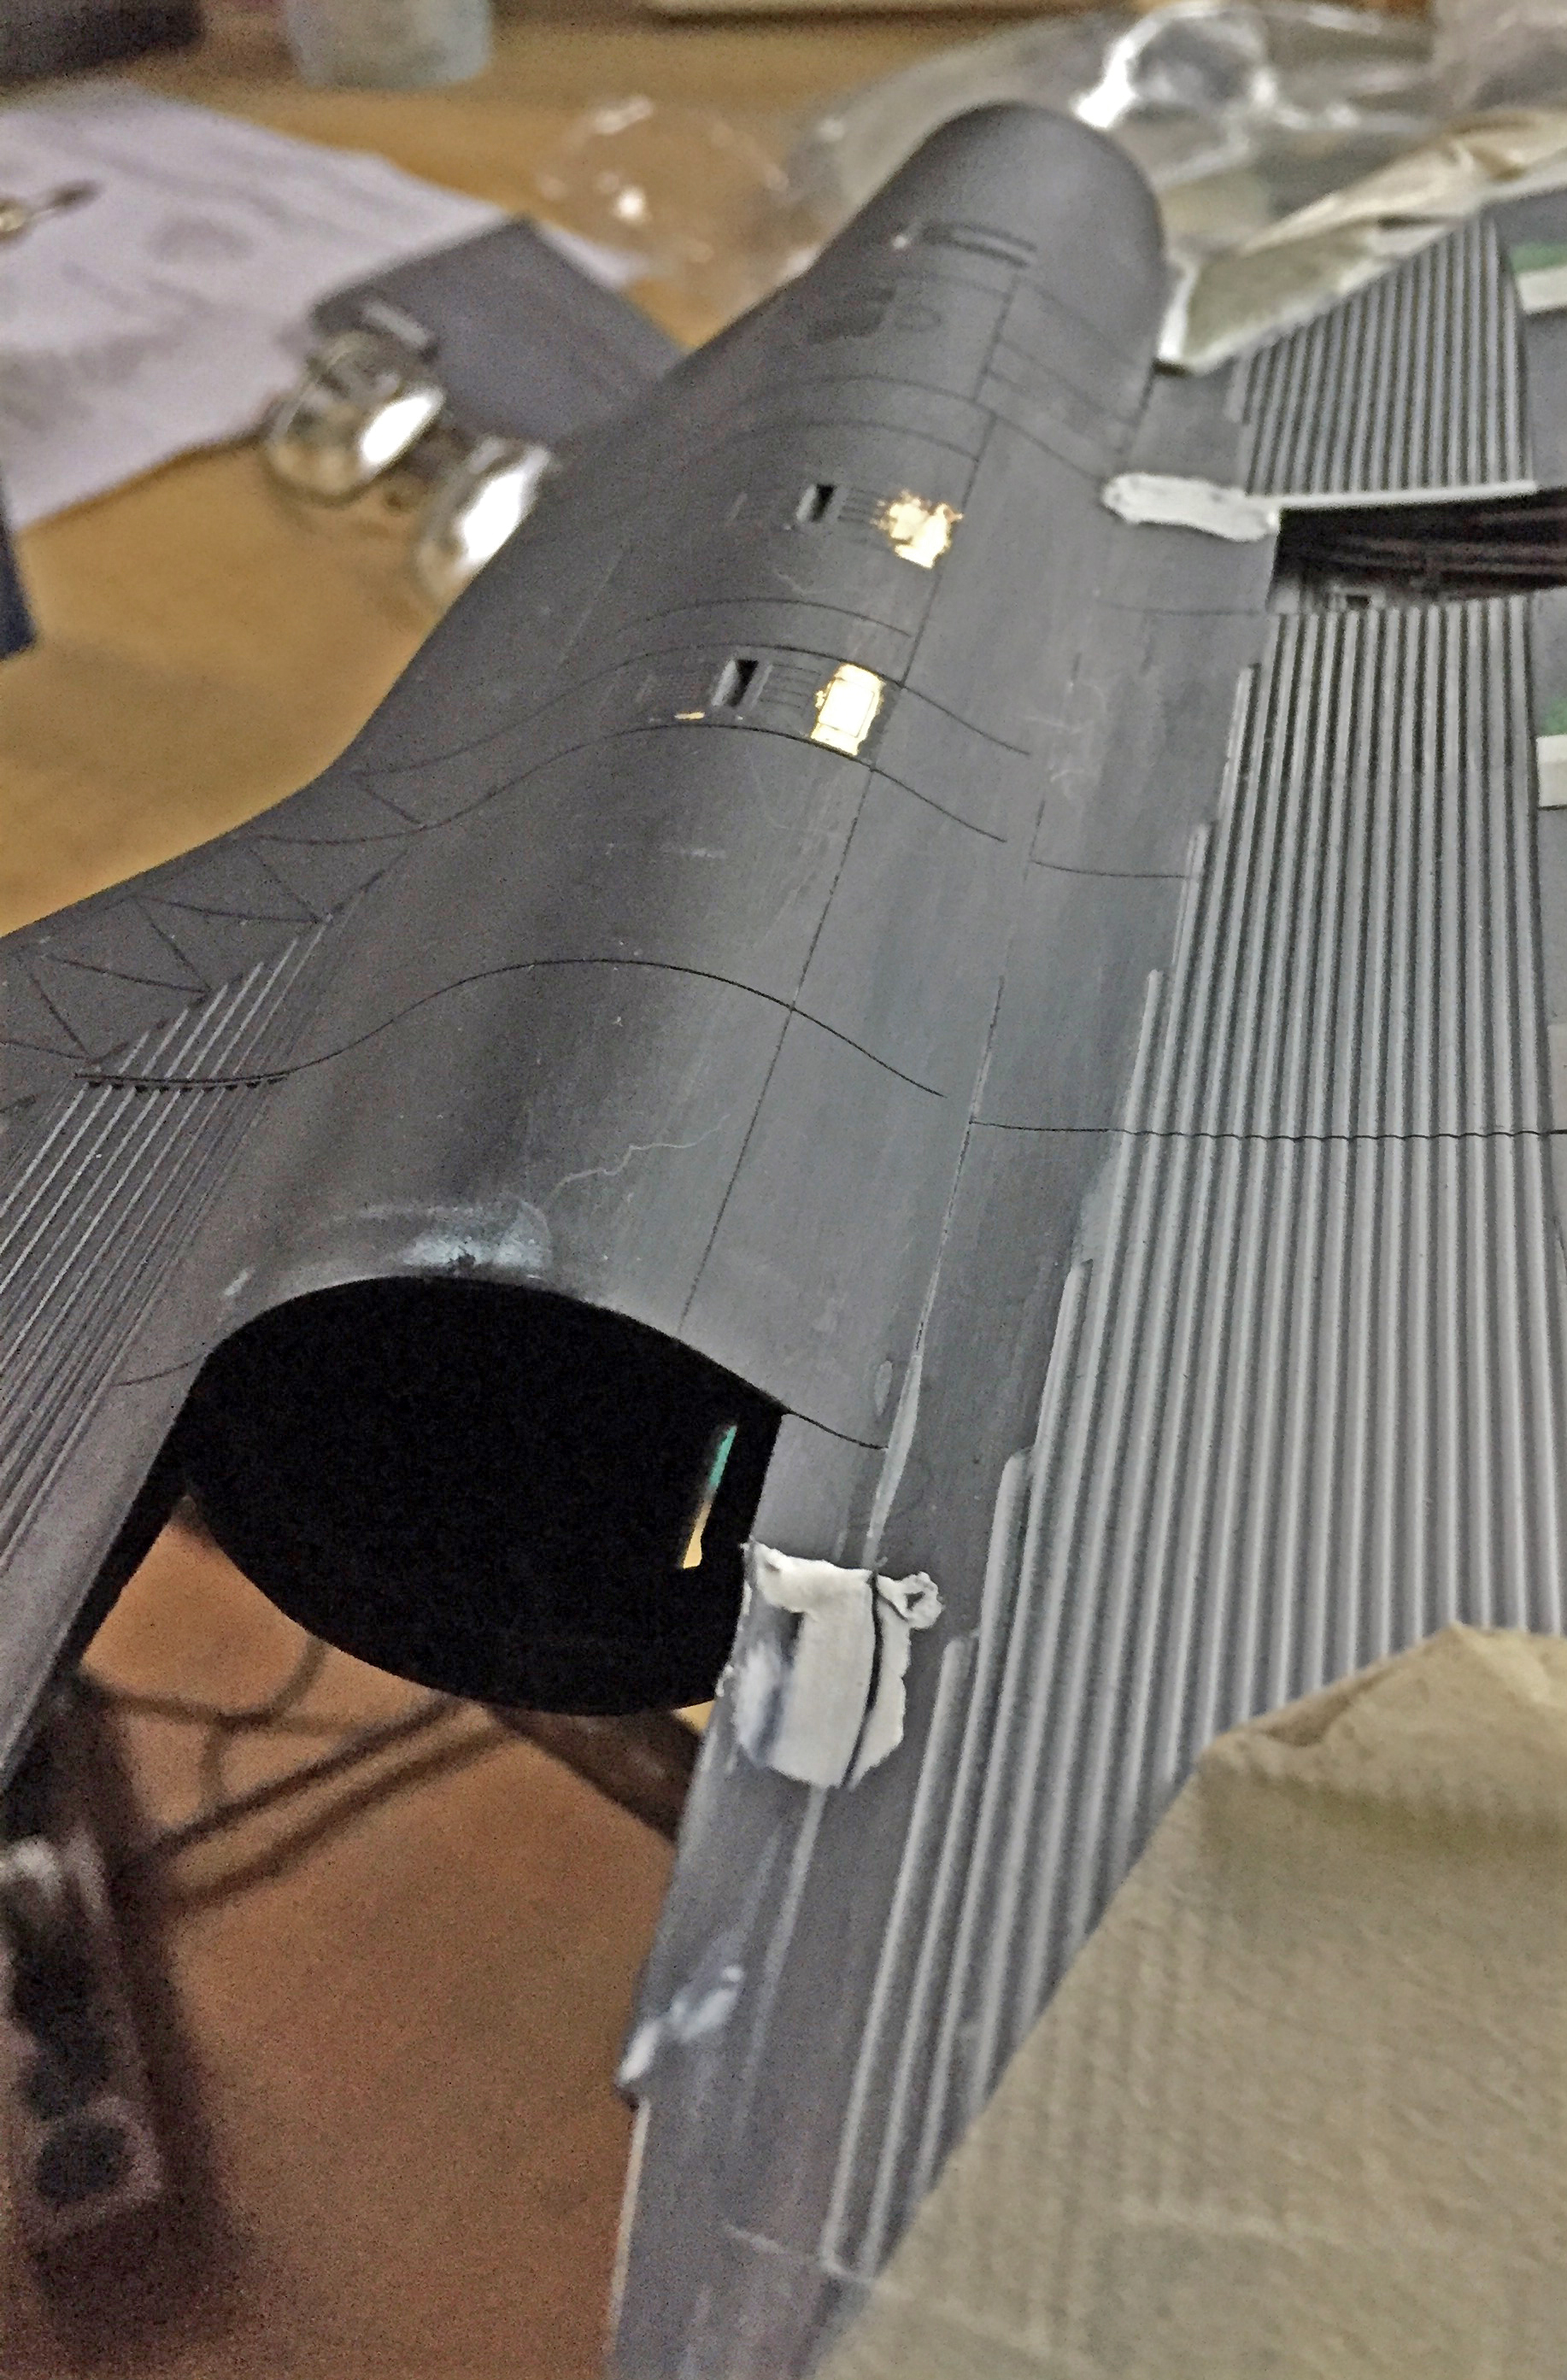
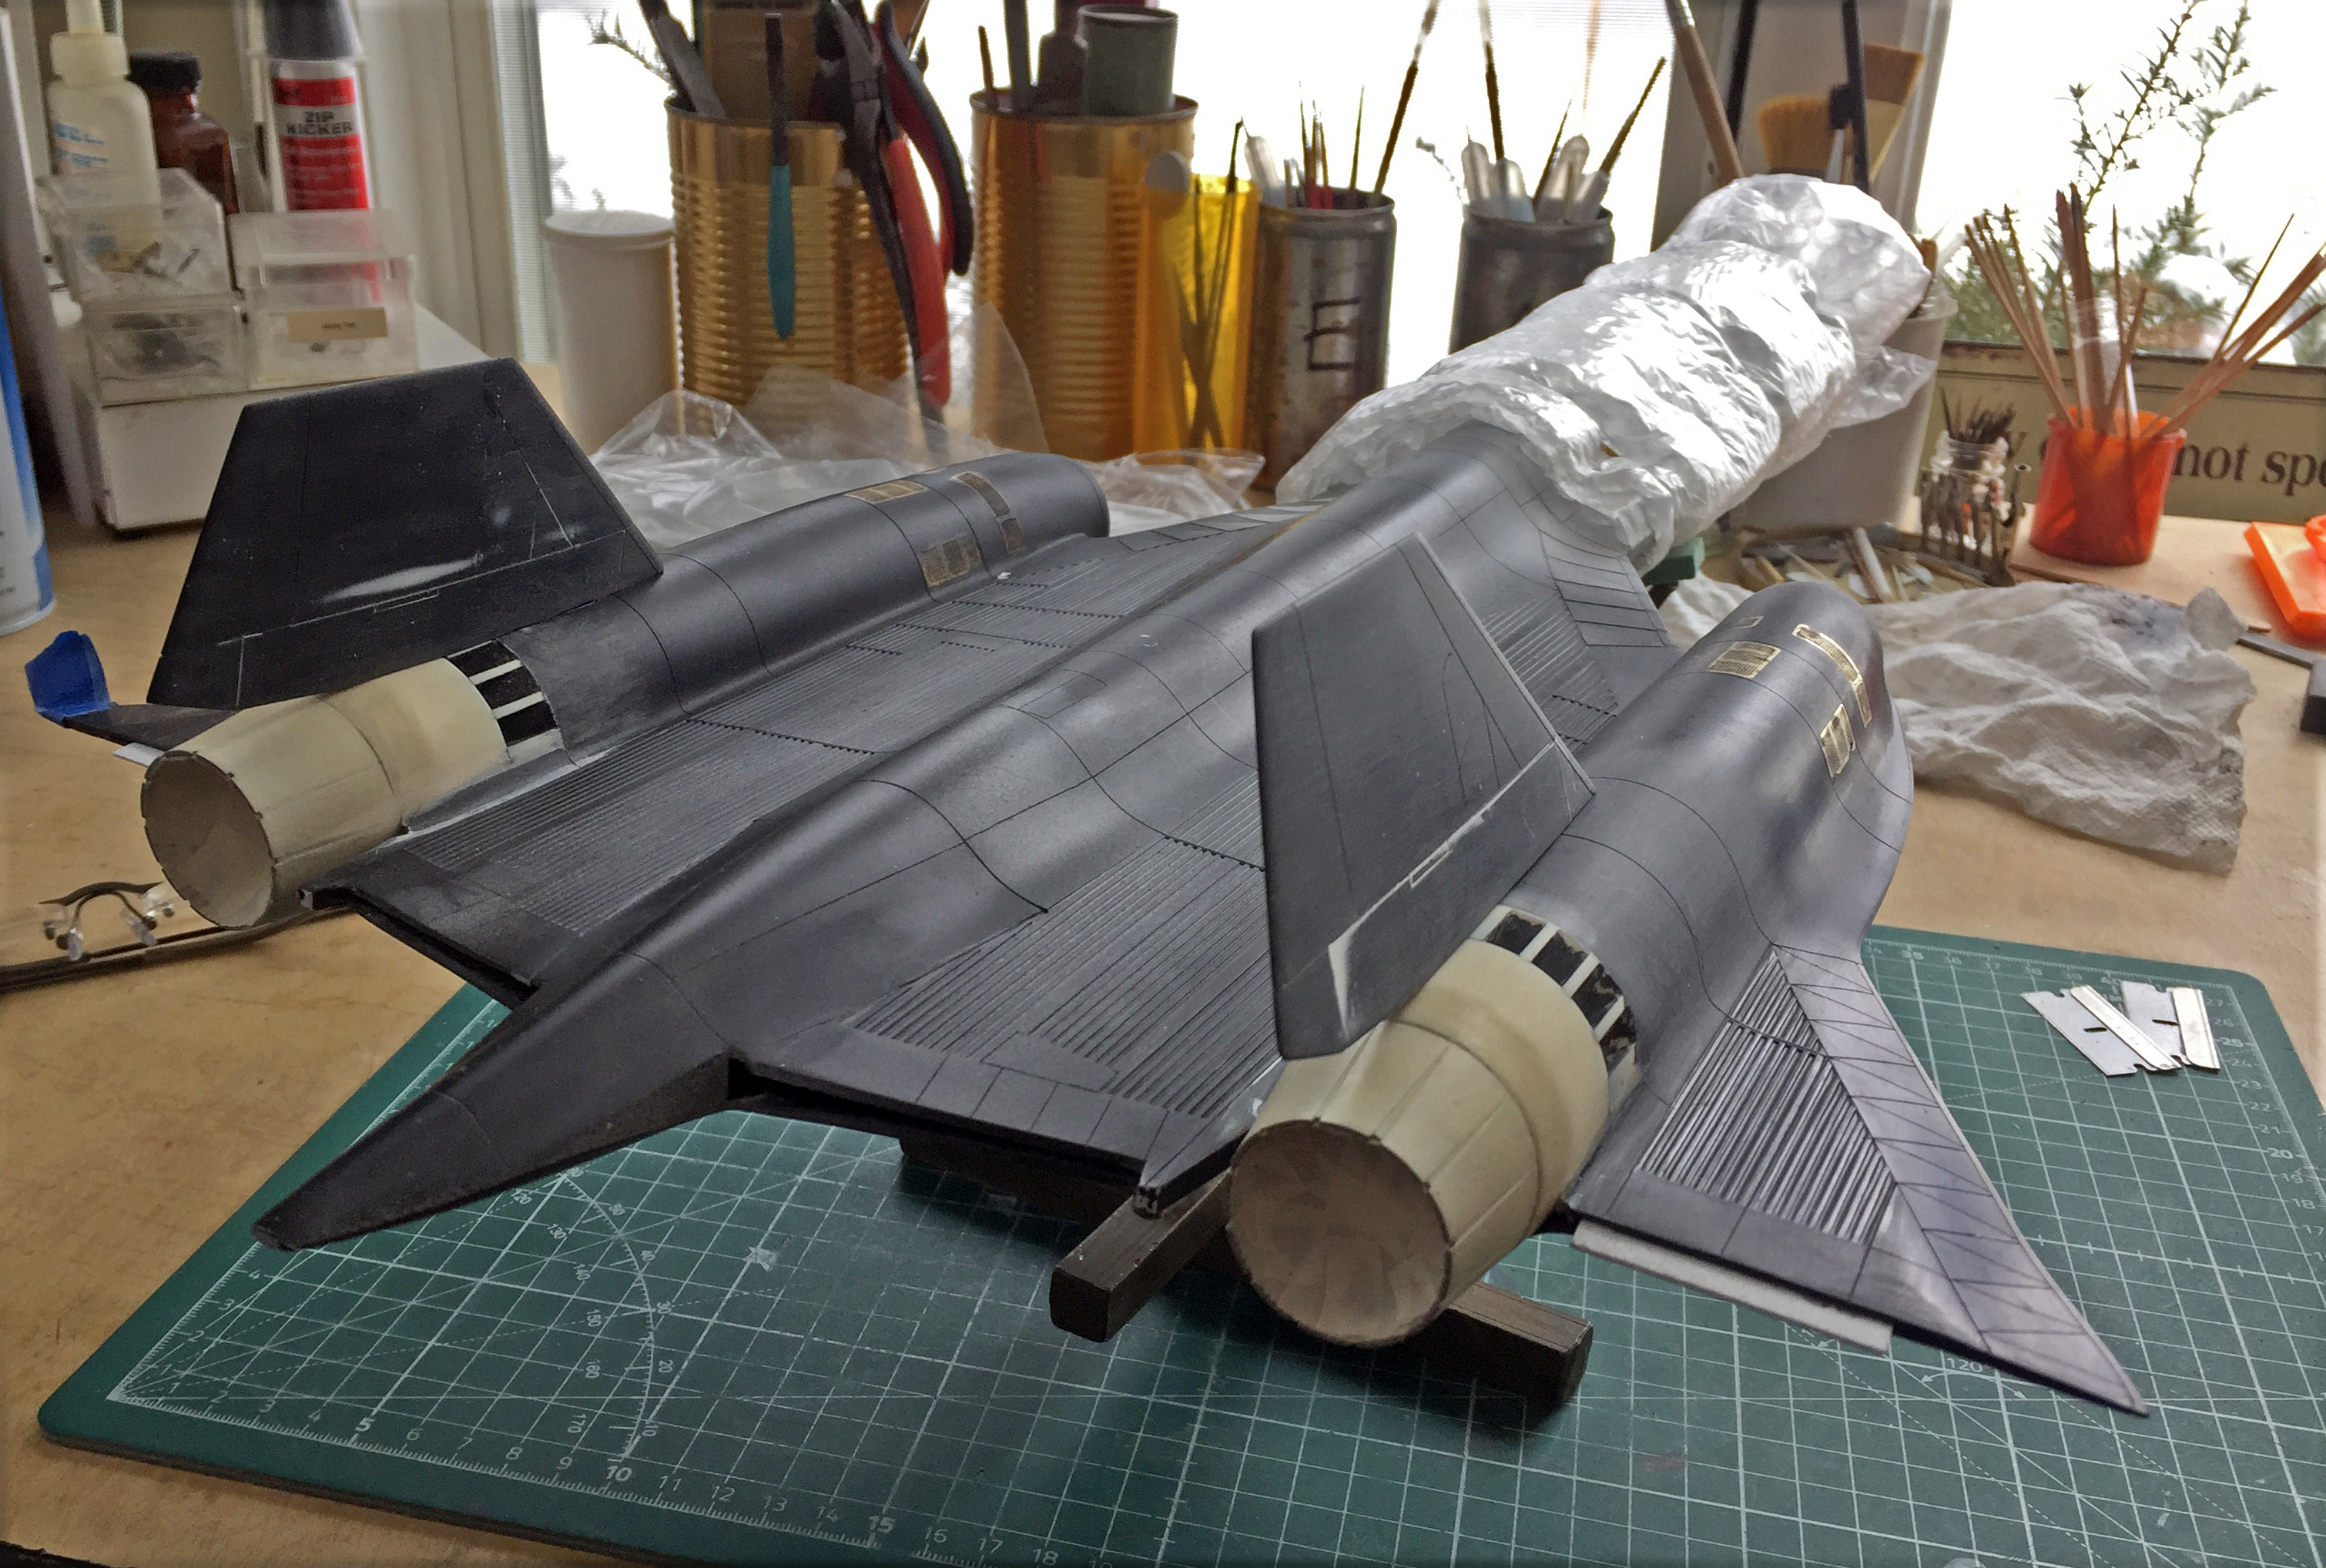
I used Tamiya’s TS-6 Matte Black rattle can as a primer to check surfaces and, with a few minor tweaks still required, found myself very pleased with how this problem was resolved:

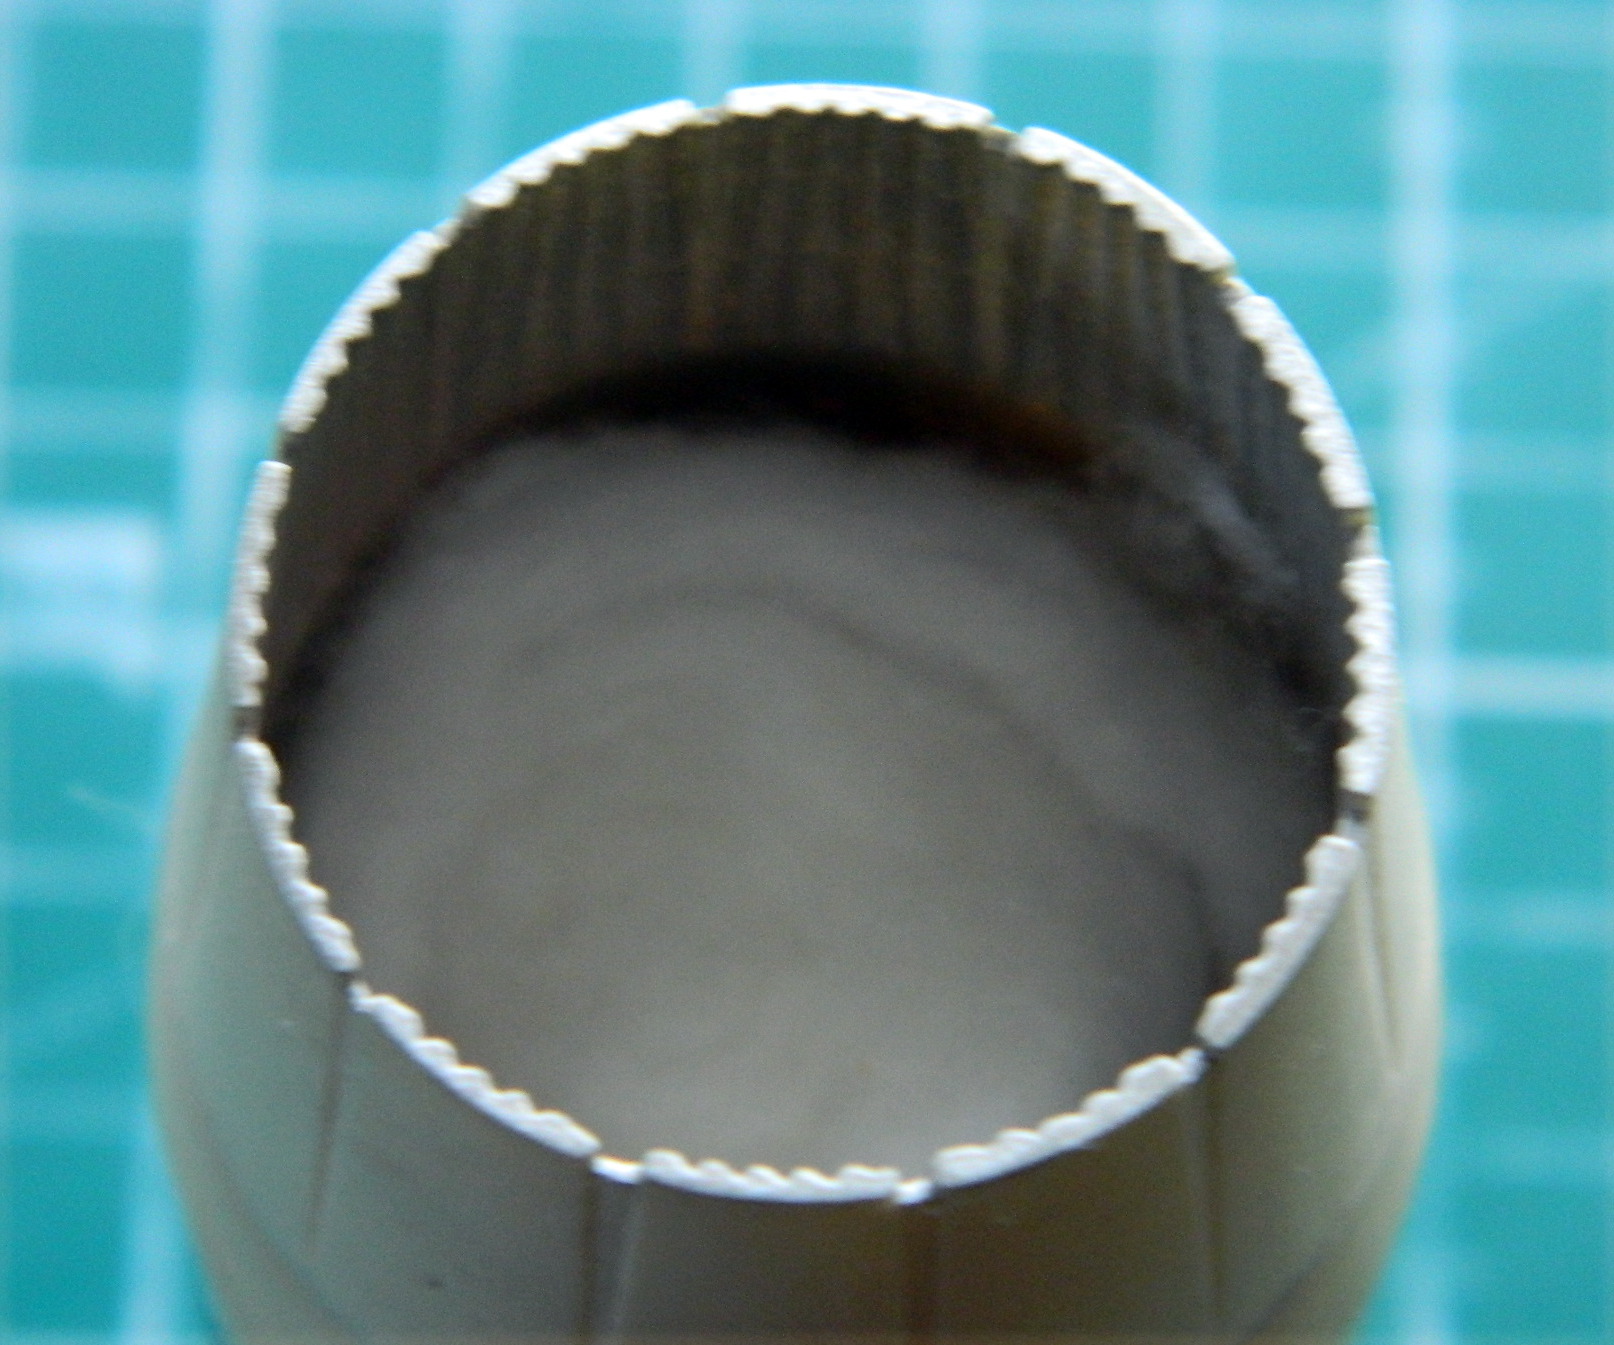
With the afterburners painted and assembled, I wanted to keep paint from infiltrating the interior. I stuffed a cotton ball into the interior and taped over the ends:
With the afterburners glued in, the fit problems and gaps become evident:
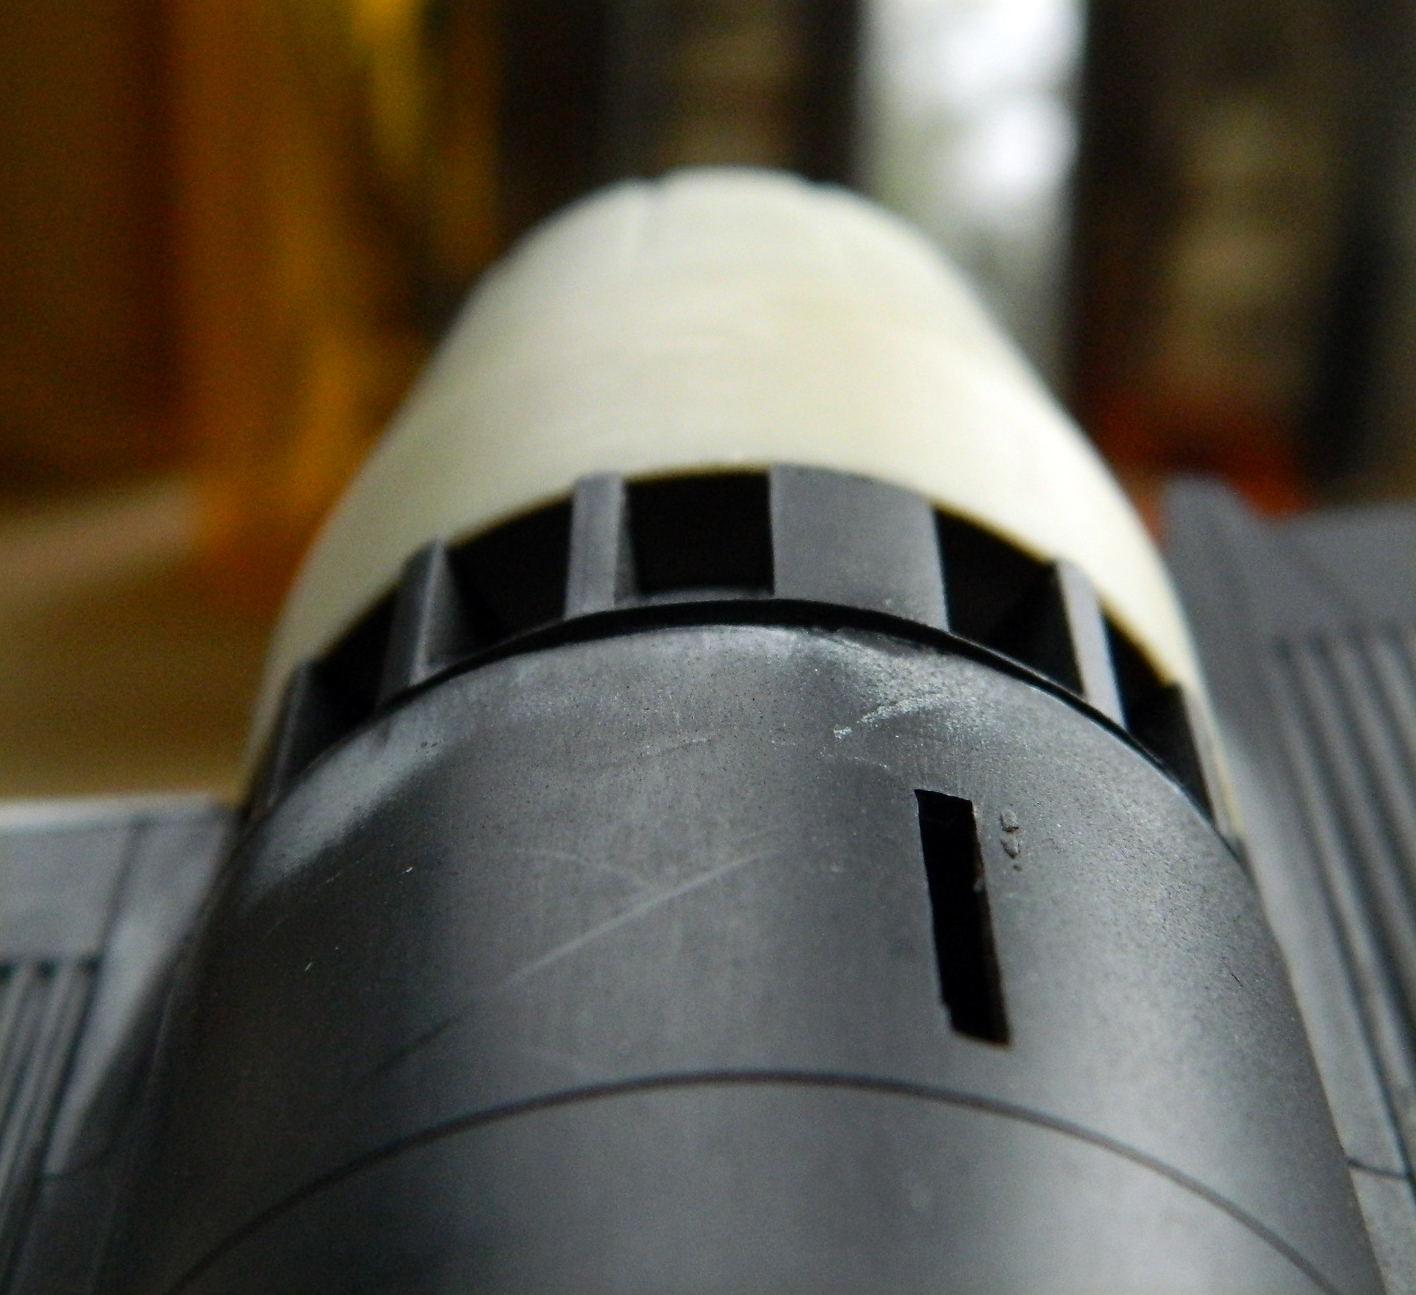
Again, the epoxy putty does double duty; it fills the gaps and adds more attachment points for the assemblies:

Filing, sanding, and scribing gets me to this (these?) point(s?):
The vertical stabilizers/rudders were assembled, puttied, and scribed. Then they were dry-fitted to see how things are going (and they’re going…and they’re going just as everything else has been…fit problems):
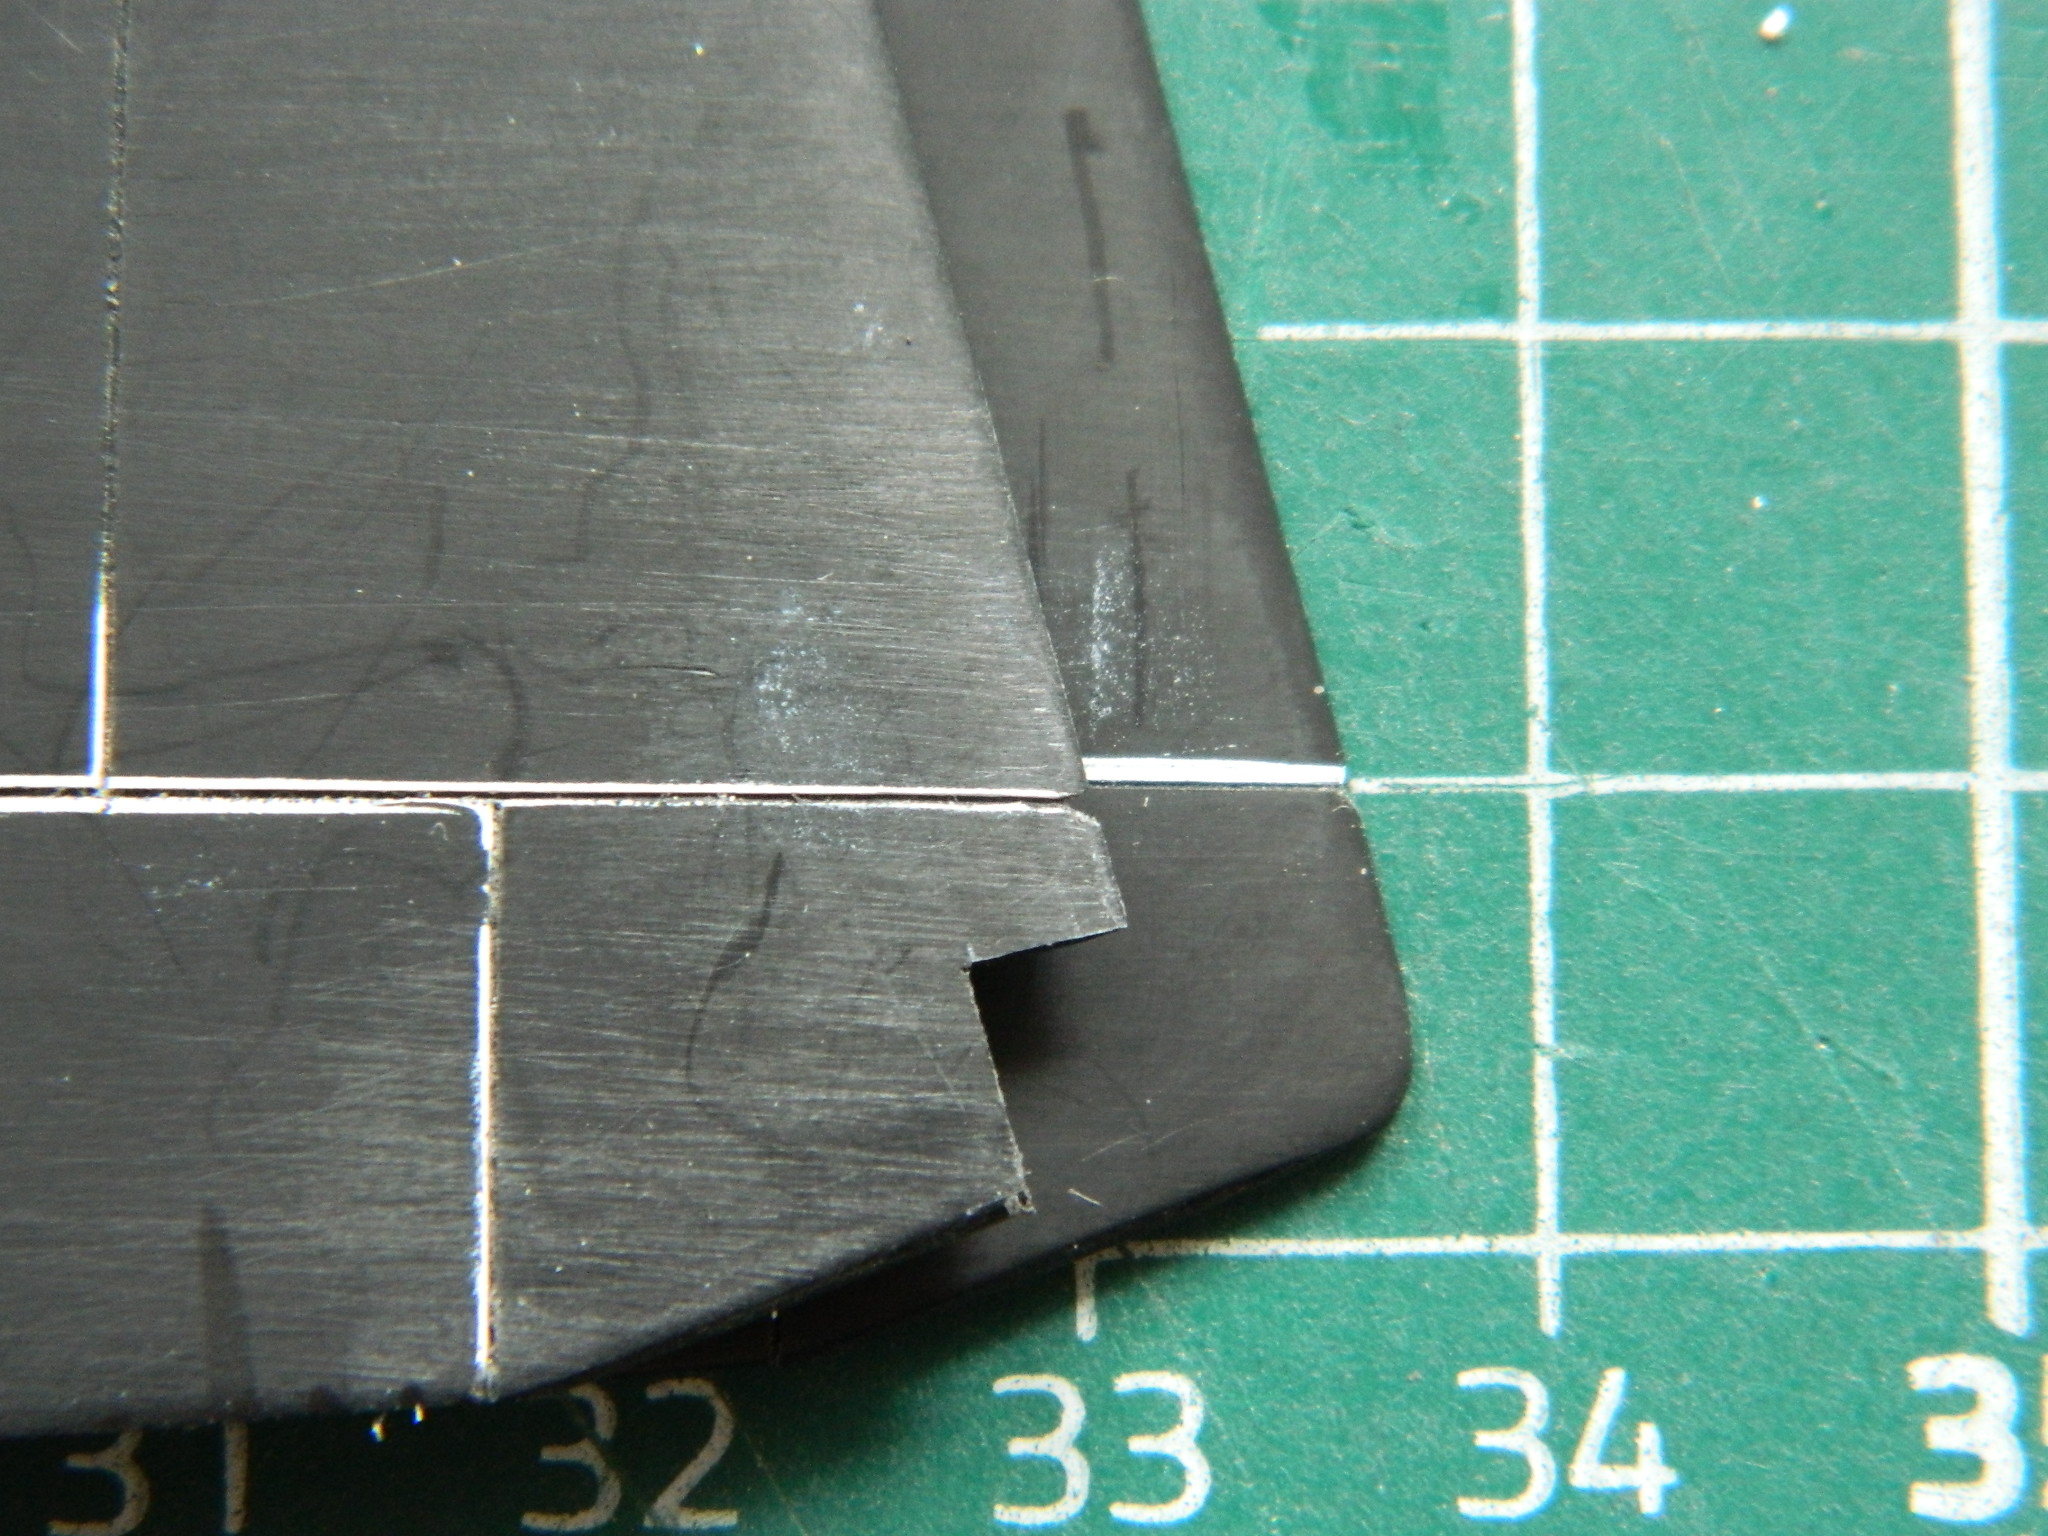
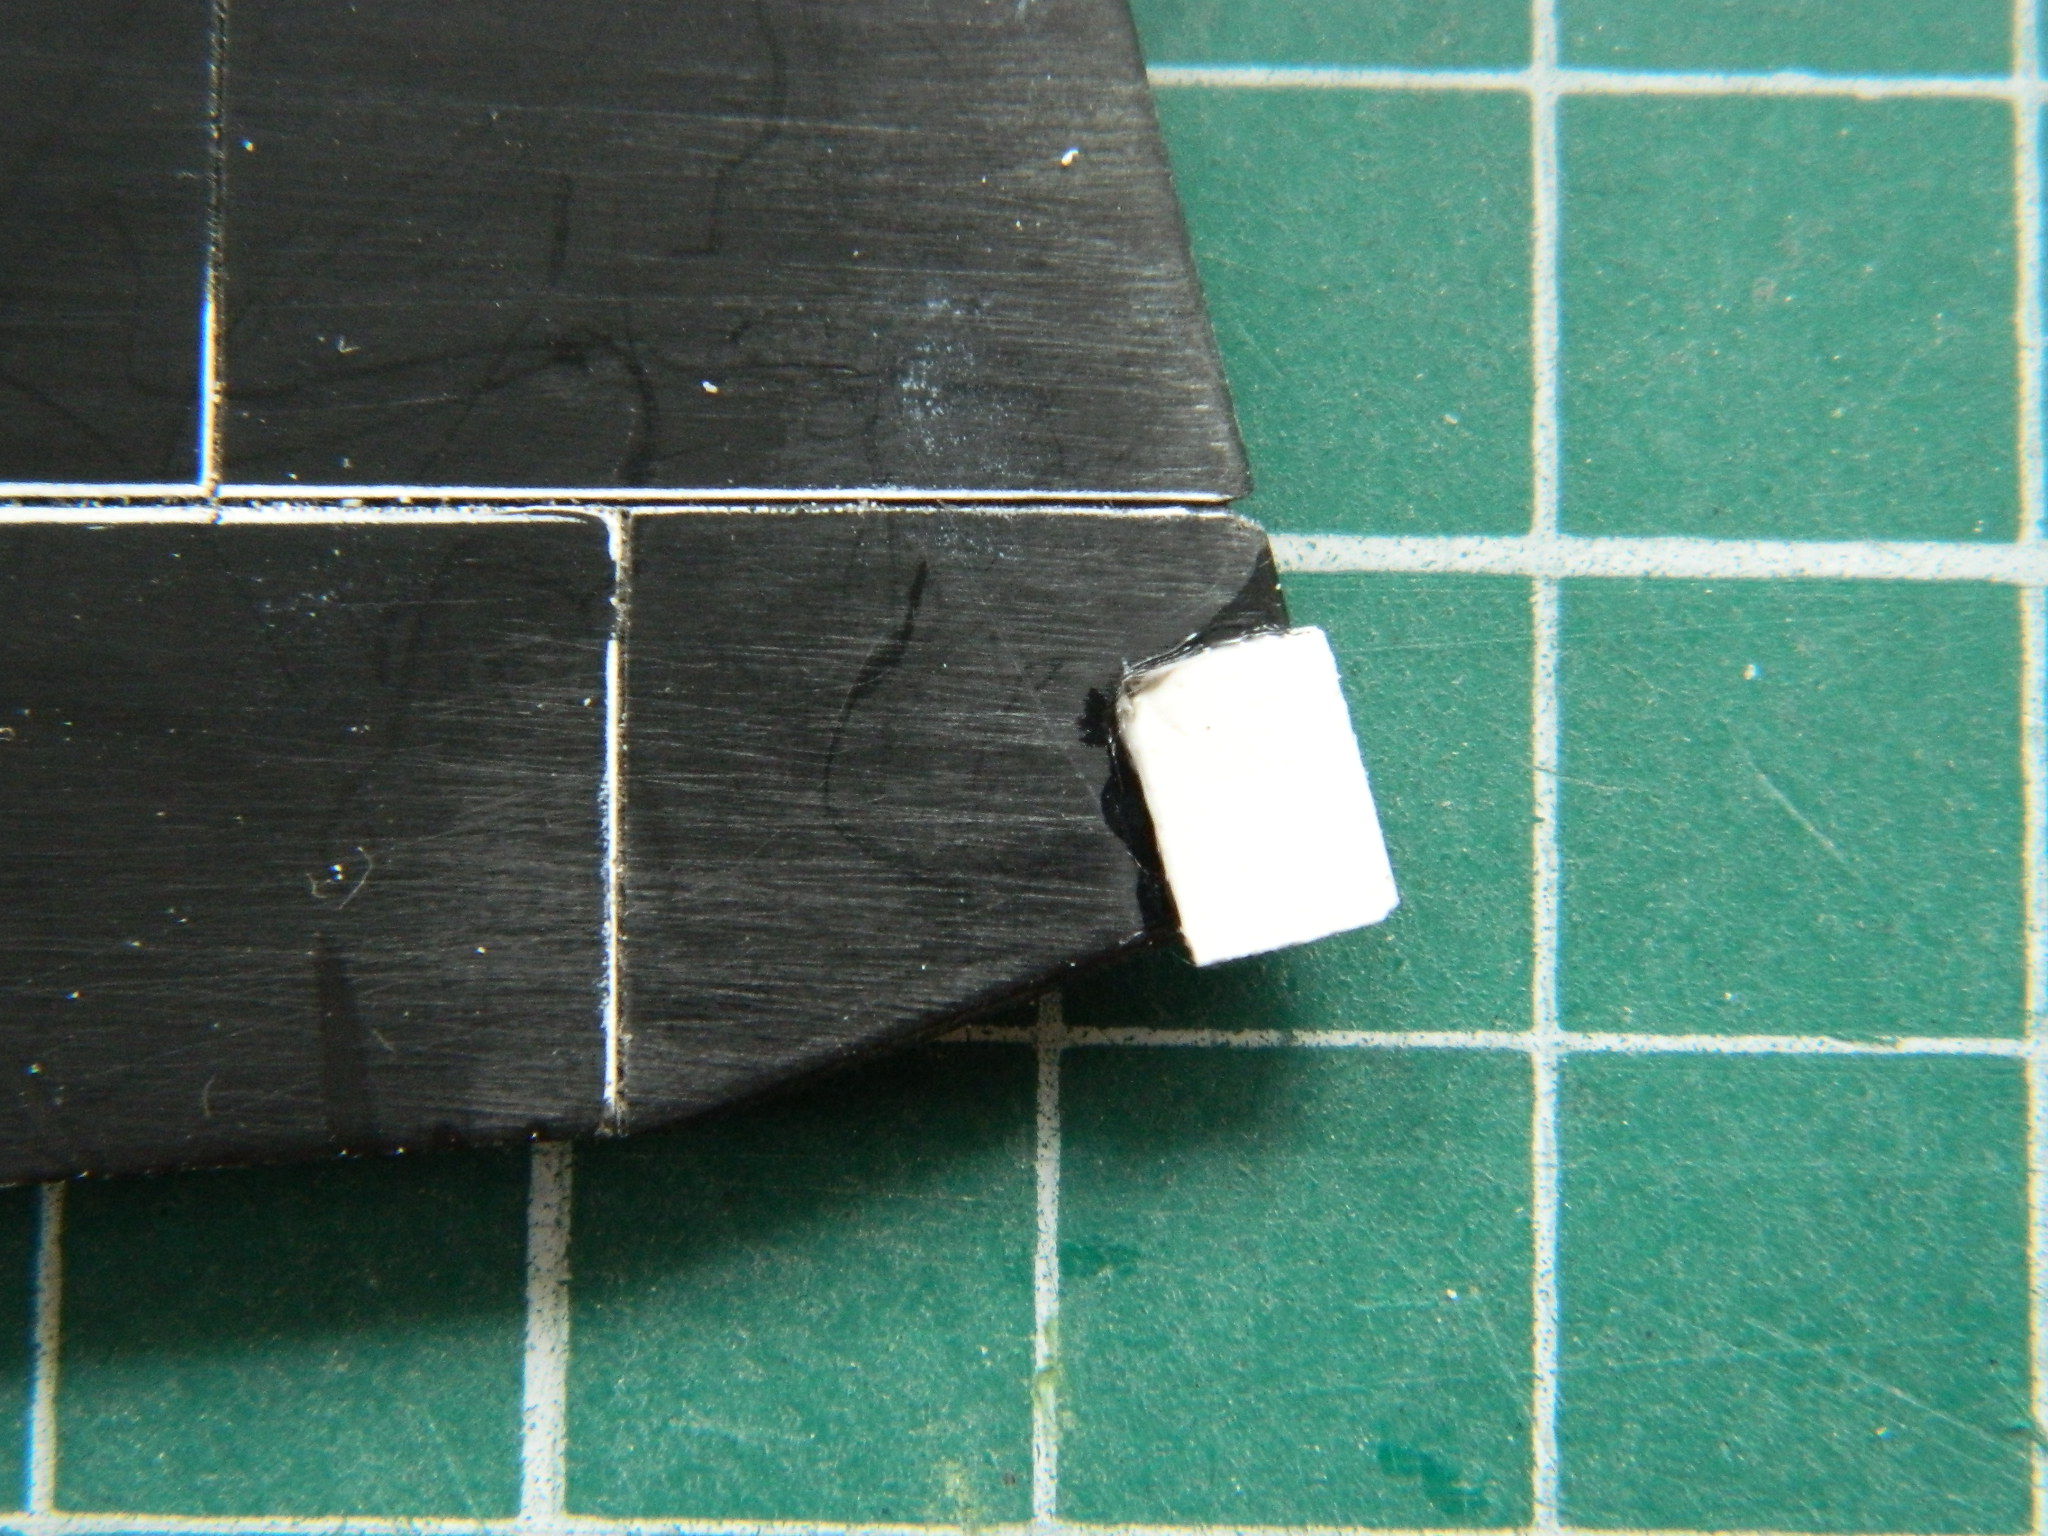
While fitting, filling, and sanding the vertical stabilizers/rudders, I noticed that three of the four corners of each part were not as sharp as reference photos show them to be; the corners each had a radius that shouldn’t be there, the corner should be sharp. I cut all the corners away (for uniformity) and .060″ (1.524mm) styrene blocks were added:

Filing brought down the excess plastic and sharpened the corners nicely and the acrylic putty filled in the small seams:
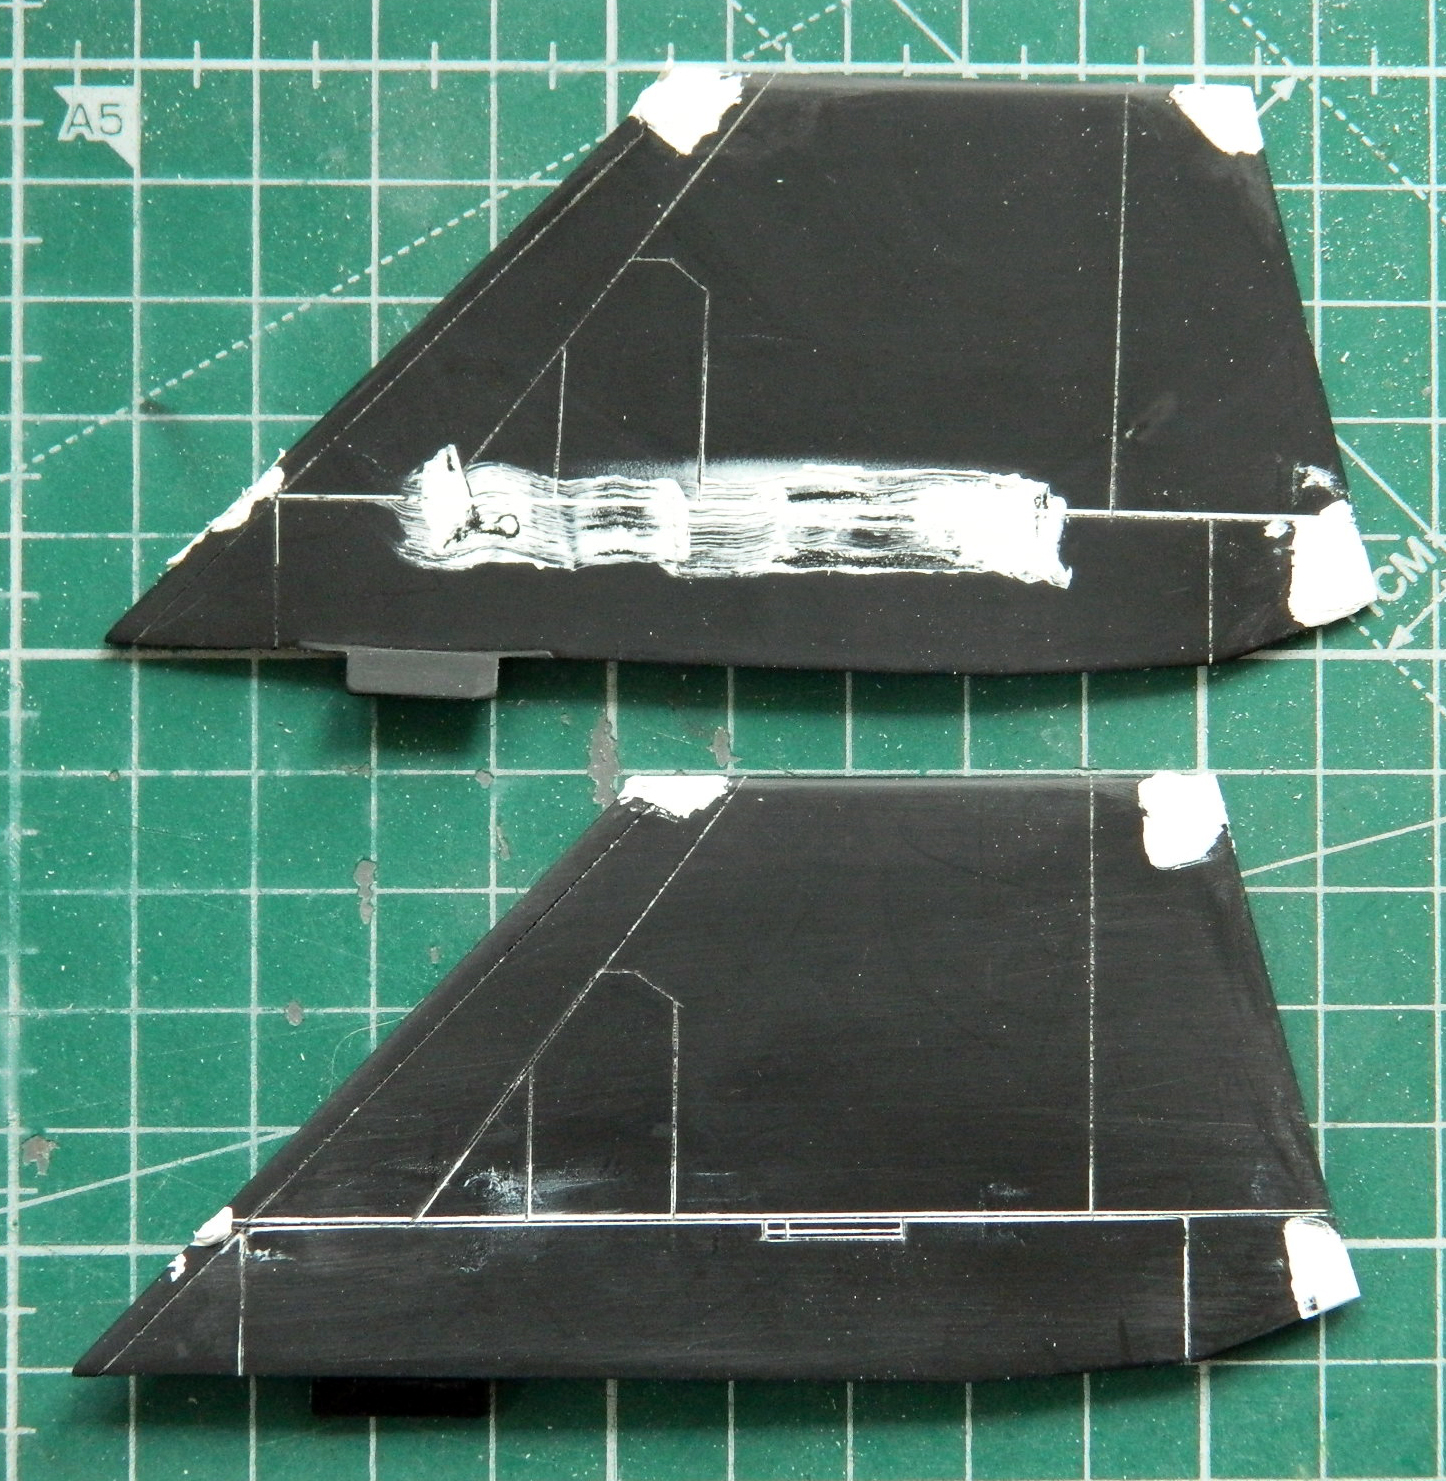
A bit of sanding and now all the corners are nice and sharp:

Next step is to attach them to the nacelles.

It’s starting to look like an aircraft!
And, no, you’re not (entirely) whispering to the void. Keep up the updates, please!
LikeLike
It certainly is!
And thank you for the confirmation that my whispering isn’t going nowhere. Sometimes I wonder. (“Sometimes.” That’s funny.)
Updates shall be posted monthly (generally about the last weekend of the month, though the holidays tend to throw that schedule off somewhat), so keep an eye out!
LikeLike