For all the work that was done this month, I don’t have a lot to show. I have, however, gotten both the main landing gear bays AND the main landing gear completed! All pronouncements of “completed” come with the caveat, “for now.”
Having constructed the basic landing gear, it’s time to detail them. The first part of that was to make a bracket for Mystery Bits to attach to and I went to .005″ (.127mm) copper shim stock for that, cut out both pieces, and soldered them together into one bracket:


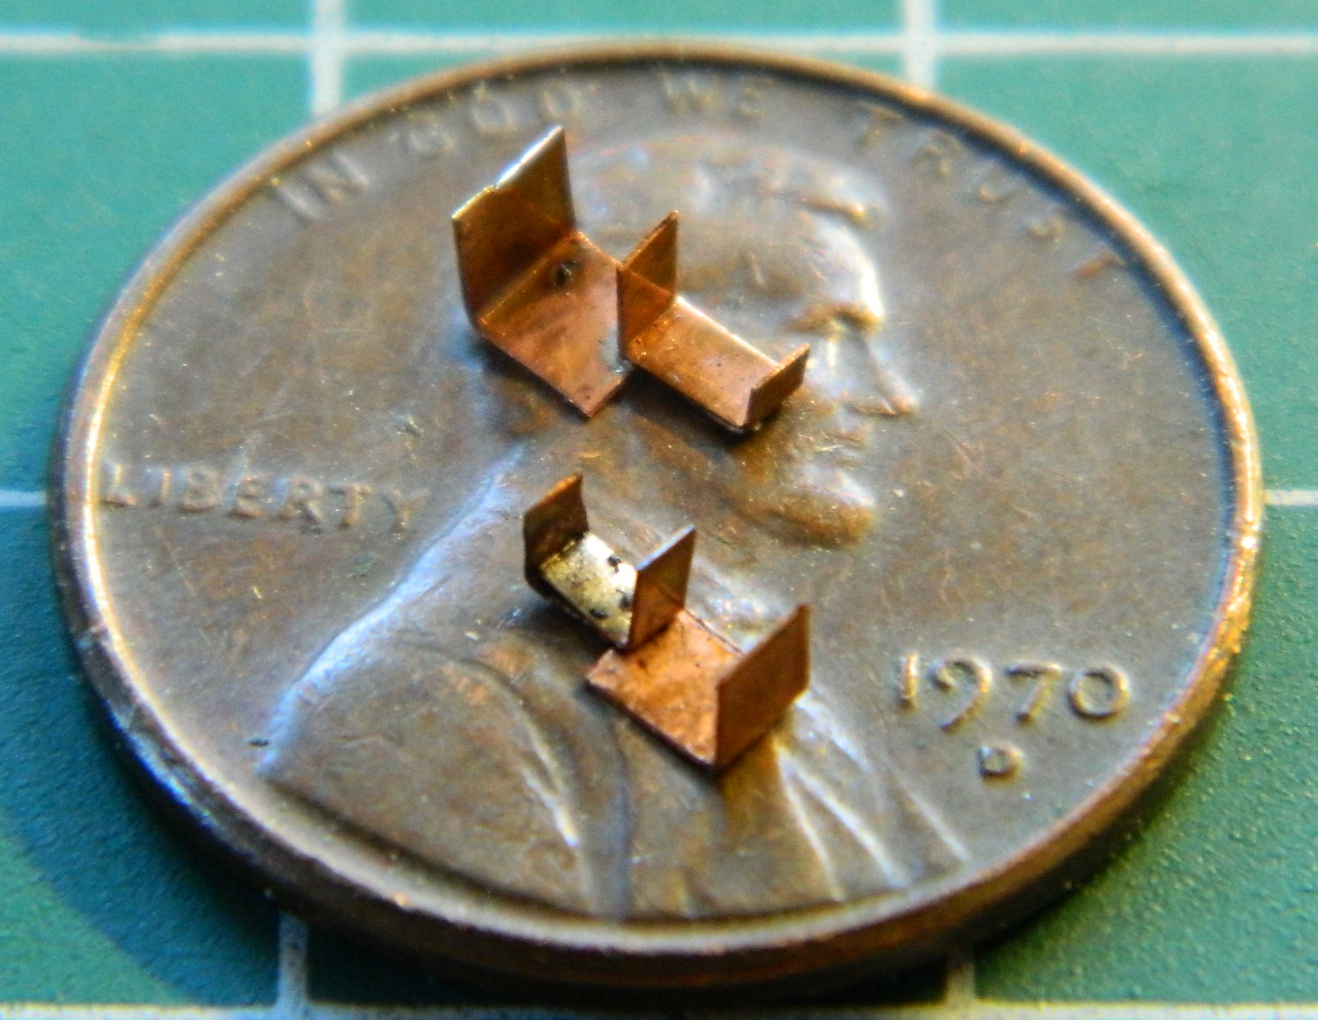
I don’t know why these lines are coiled, I just know that they are and they are visible, so, the coils get added to the bracket (I used solder for ease of manipulation) and the bracket as well as a junction block on the left side get added to the trunnion wings:
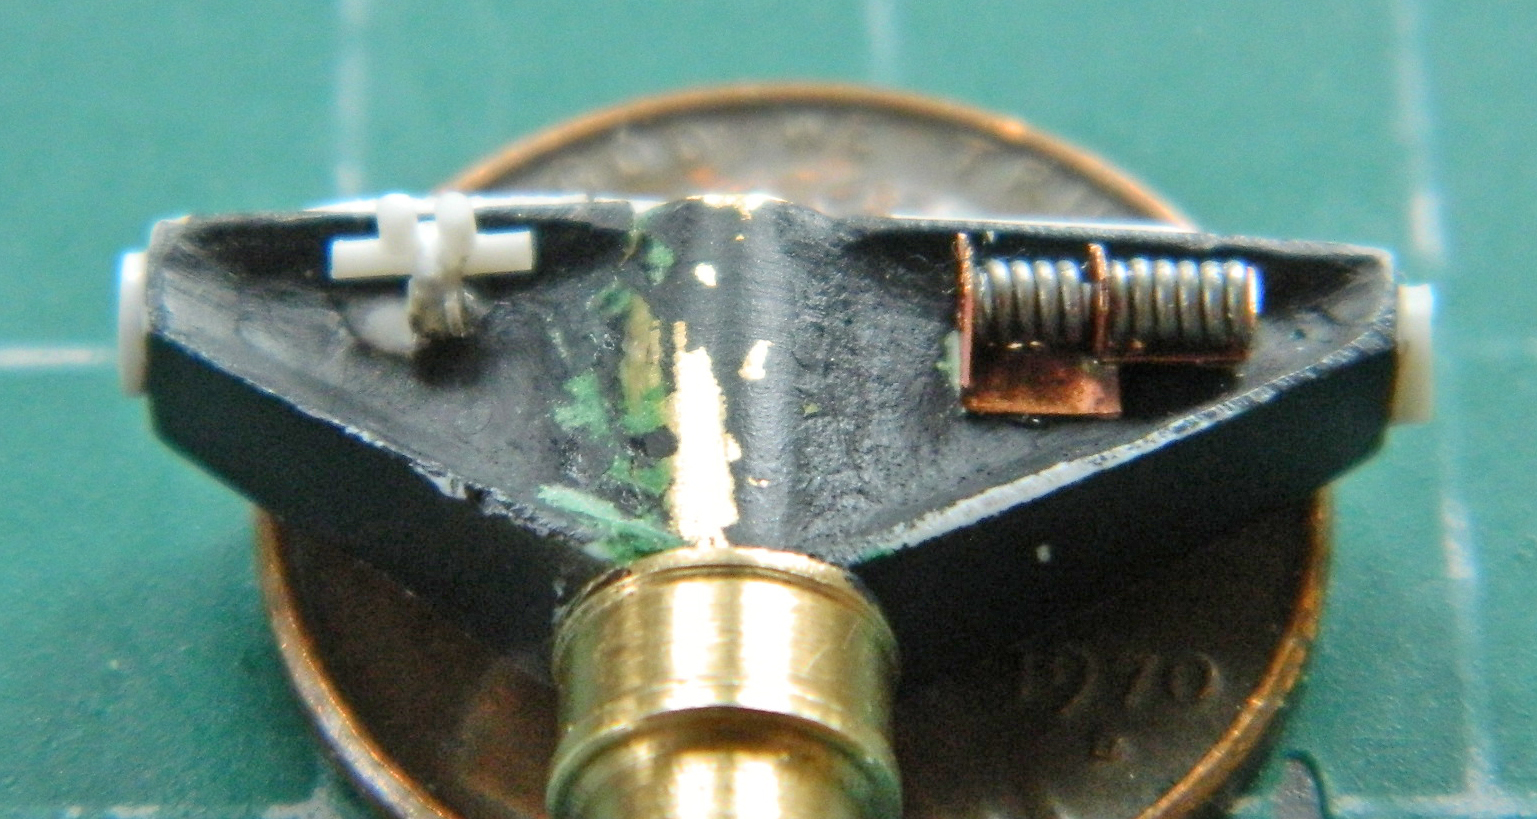
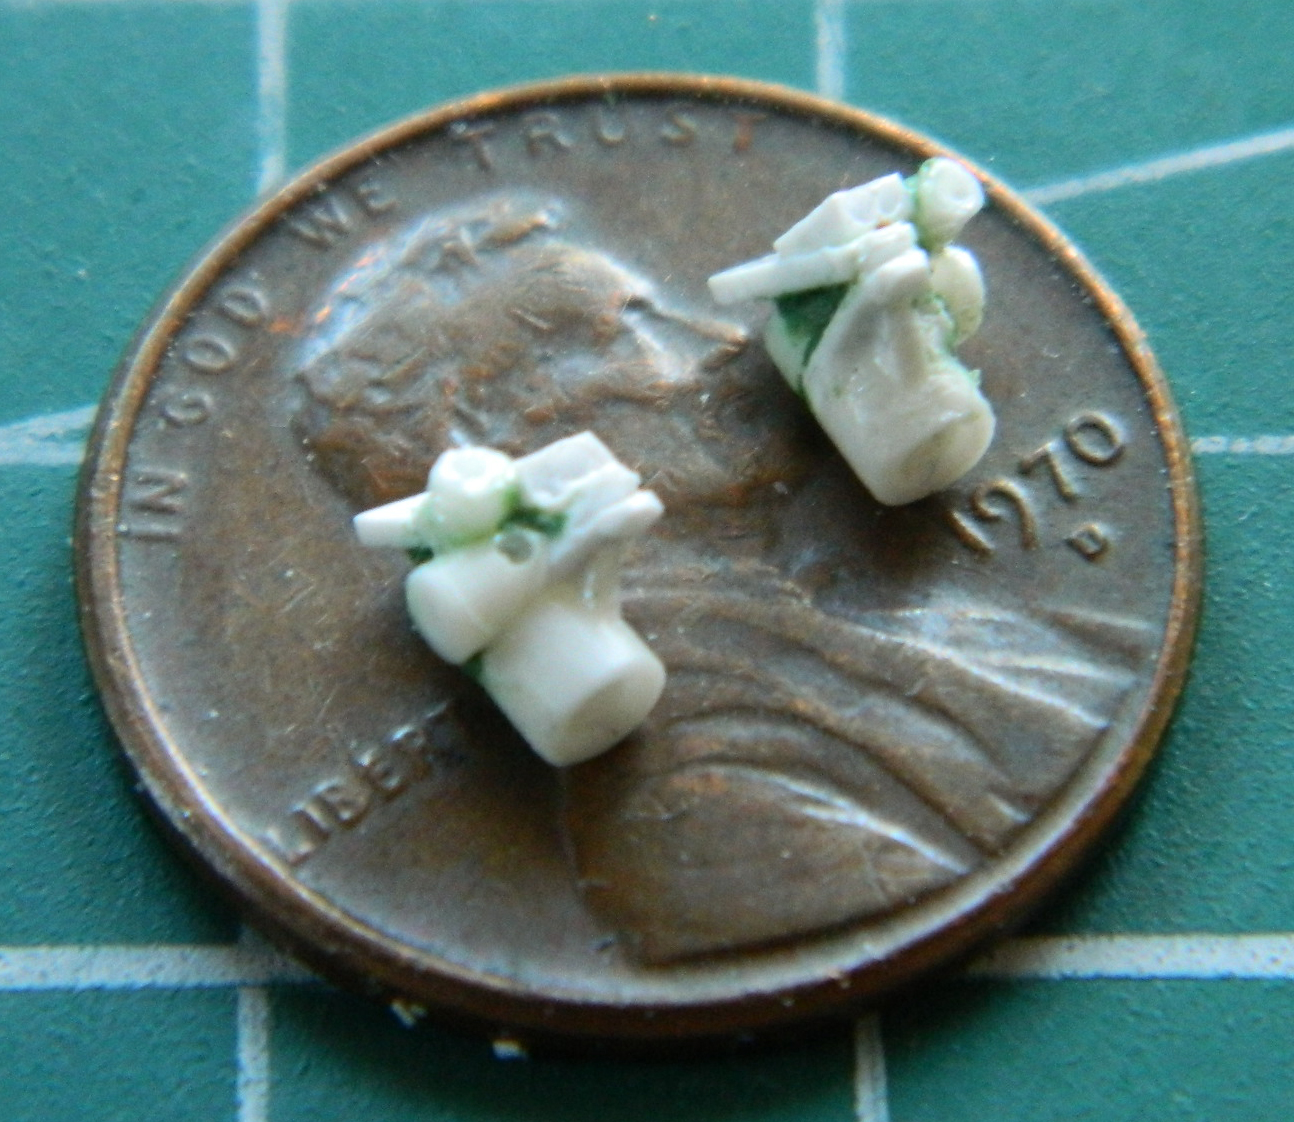
There is another Mystery Bit on each strut that evidently serves as some sort of distribution block for what I assume are hydraulic lines (they also provide mounting points for the linkages that the landing gear door attaches to, which I will deal with later on). Those had to be made and are comprised of about 10-12 pieces each:
Setting those aside, I wanted to paint the compressible section of the struts before I populated the parts with more details. I used Humbrol’s Metal Kote Steel, #27003, which is my go-to paint whenever I need something to look like steel and I can’t put steel in (and yes…I thought about it). It’s a buffing paint; once cured, it buffs to a very nice representation of shiny steel. (And I didn’t take any photos of that; you can find how #27003 looks after being buffed in the Sherman M4A3 build as I used it frequently.) But what I really need is anodized aluminum (and note how well the landing lights on the nose strut turned out!):


The NASM has #972 on display and they have it up on stands that attach to the landing gear. The stands keep the weight off the tires. To keep the oleos from compressing as the seals dry and stop sealing, collars are attached to the compressible sections. To my eye, they look like anodized aluminum. To replicate that, once the steel paint had been buffed and cured, I coated that with Tamiya’s X-27 Clear Red. It’s not aluminum, but the effect is close enough:

While the red is still easy to access, that area was masked.
[EDIT: Yeah, well, that red didn’t last very long. The initial plan was to model #972 as it’s displayed at the Smithsonian. That mean making the smooth cement floor, the stanchions, ropes, and lights (operational lights, of course) just they way they are at the Smithsonian. The person this was for was going to make a display table with a glass top to display #972 under. And then that plan changed at his end, meaning I didn’t have to make the Smithsonian display and probably saved me at least a hundred hours…perhaps…probably…more. I used acrylic thinner to remove the red and buffed the “steel” and that’s why in later photos you won’t see any read on the oleos.]
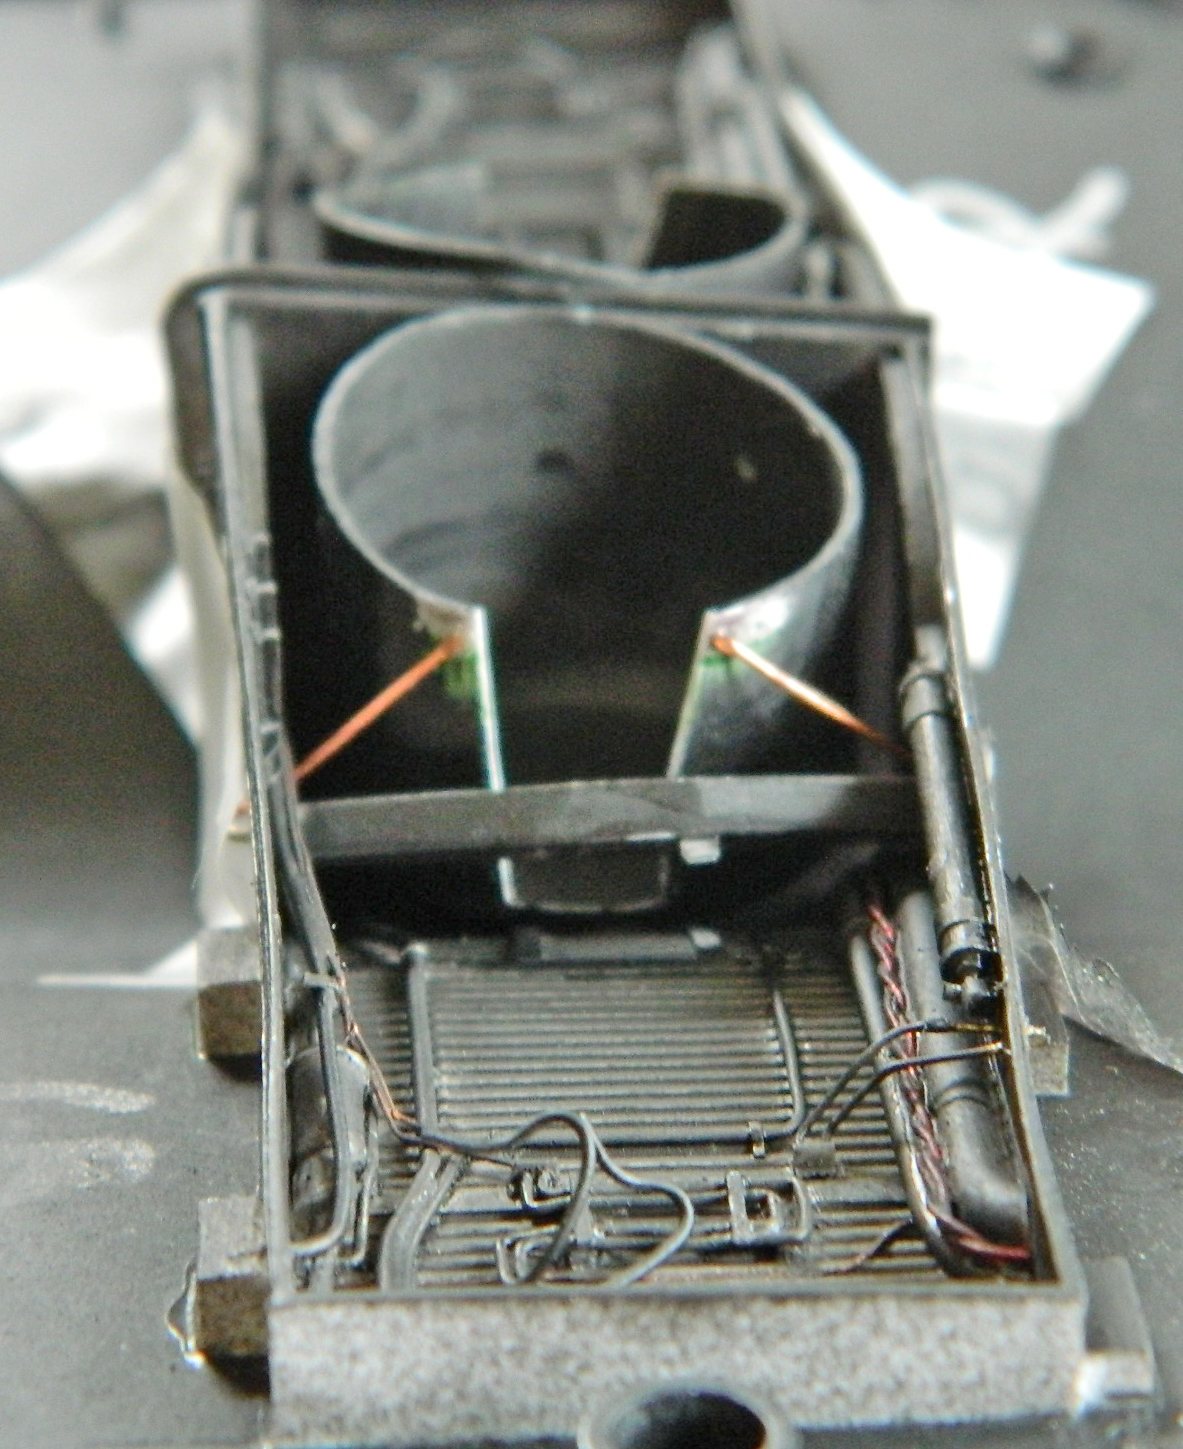
I started the pre-shading process by painting the inside of all the landing gear bays Tamiya’s XF-1 Flat Black:

There are circular blast shields inside the main landing gear bays. Evidently the tires got hot enough to sometimes explode and given how many hydraulic lines and how much wiring is in the area, Lockheed’s engineers decided to protect them. Those were also painted flat black and then glued in place:
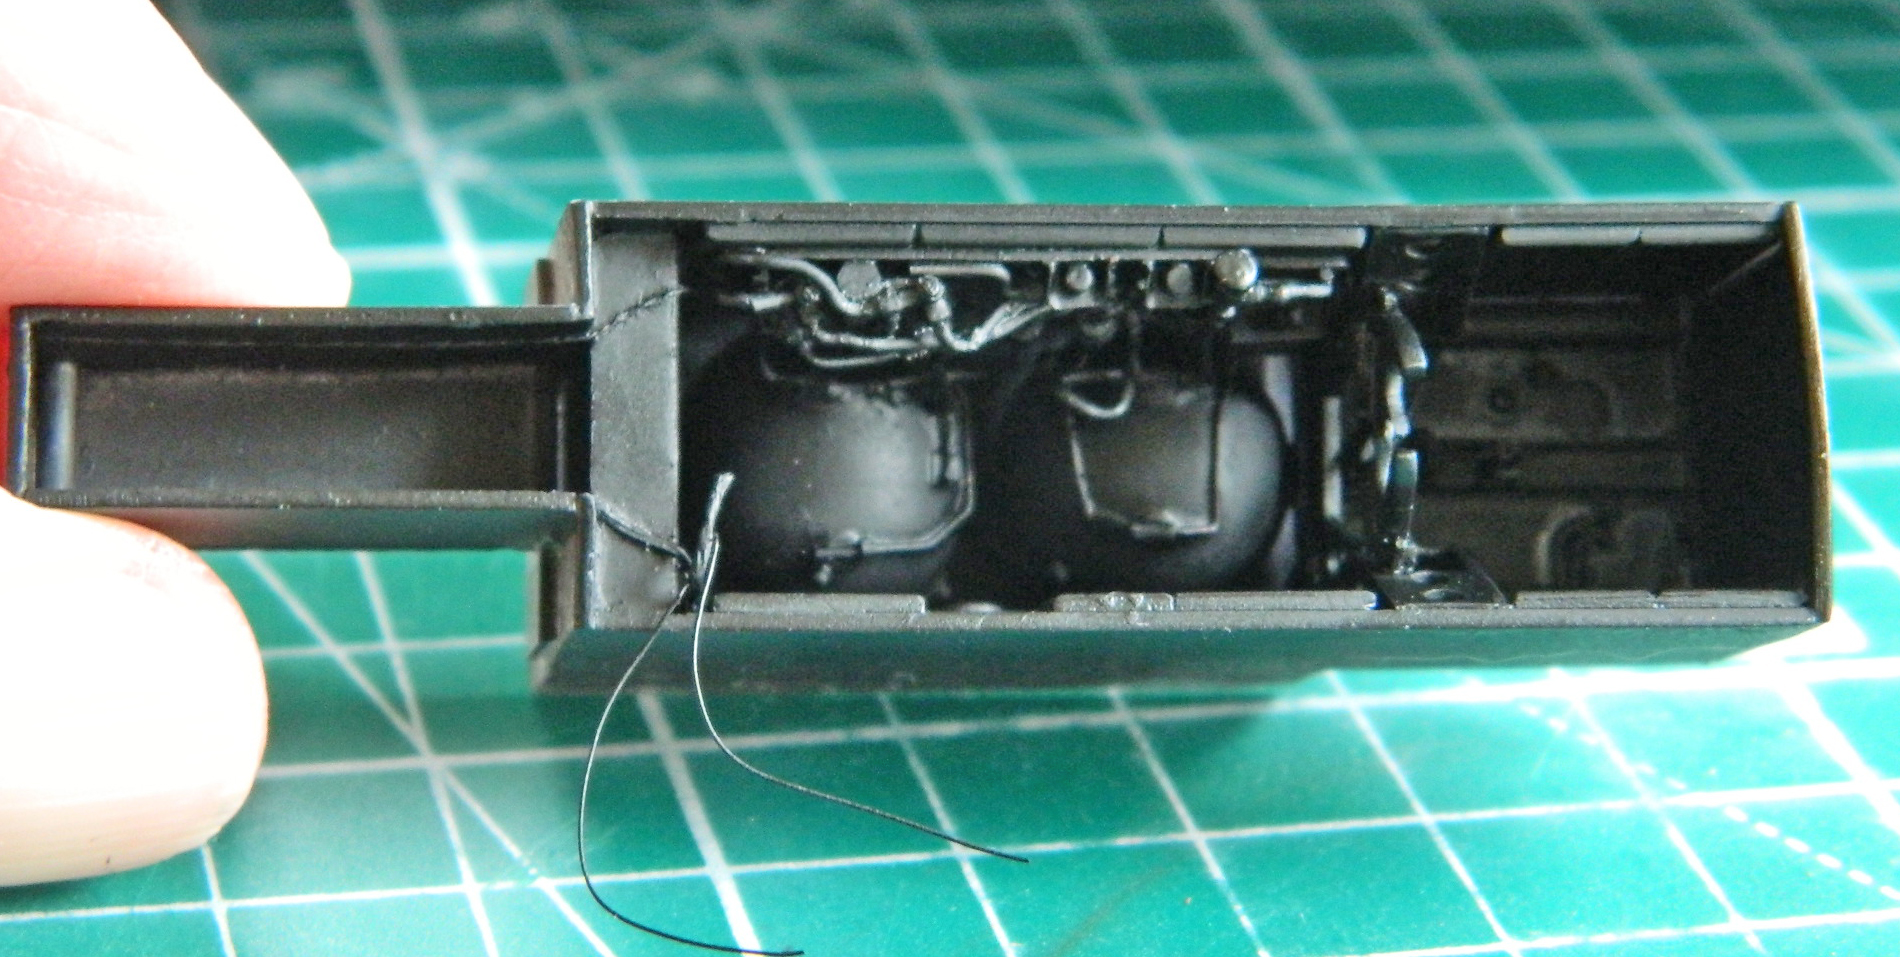
Then I added all the details I could to the main landing gear (the yokes are spread so that I can put the center tire in place once the landing gear has been painted):

My next task is to take a mental-health break while I figure out what the next step will be. I’m thinking it’s time to start putting the fuselage parts together. This will require me to glue the nose landing gear bay in place, fill MANY GAPS where the fuselage goes (relatively) together, and scribe panel lines…
