Applying decals over a matte finish causes the background film to frost. This is because the surface is actually pebbled which reflects the light away from your eyes making the surface look matte. Great for your eyes, lousy if you want decals to appear painted on. To give the decals a smooth surface, everywhere a decal goes gets shot with clear gloss.
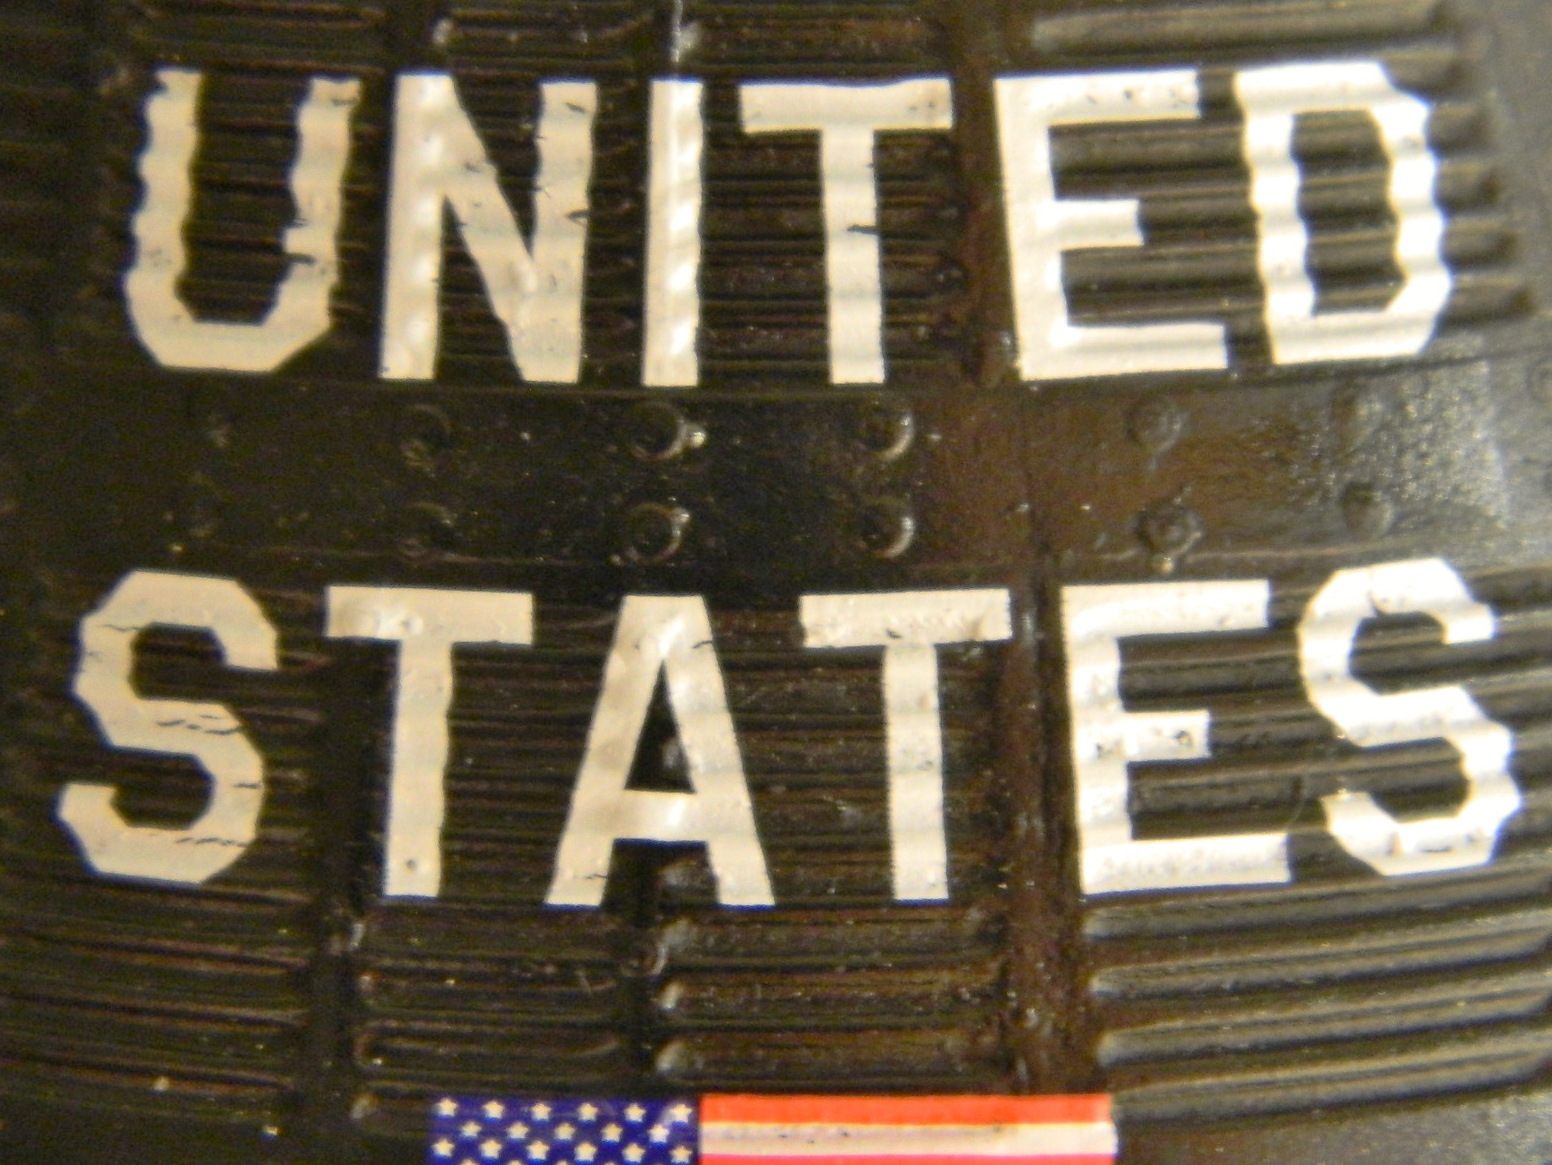
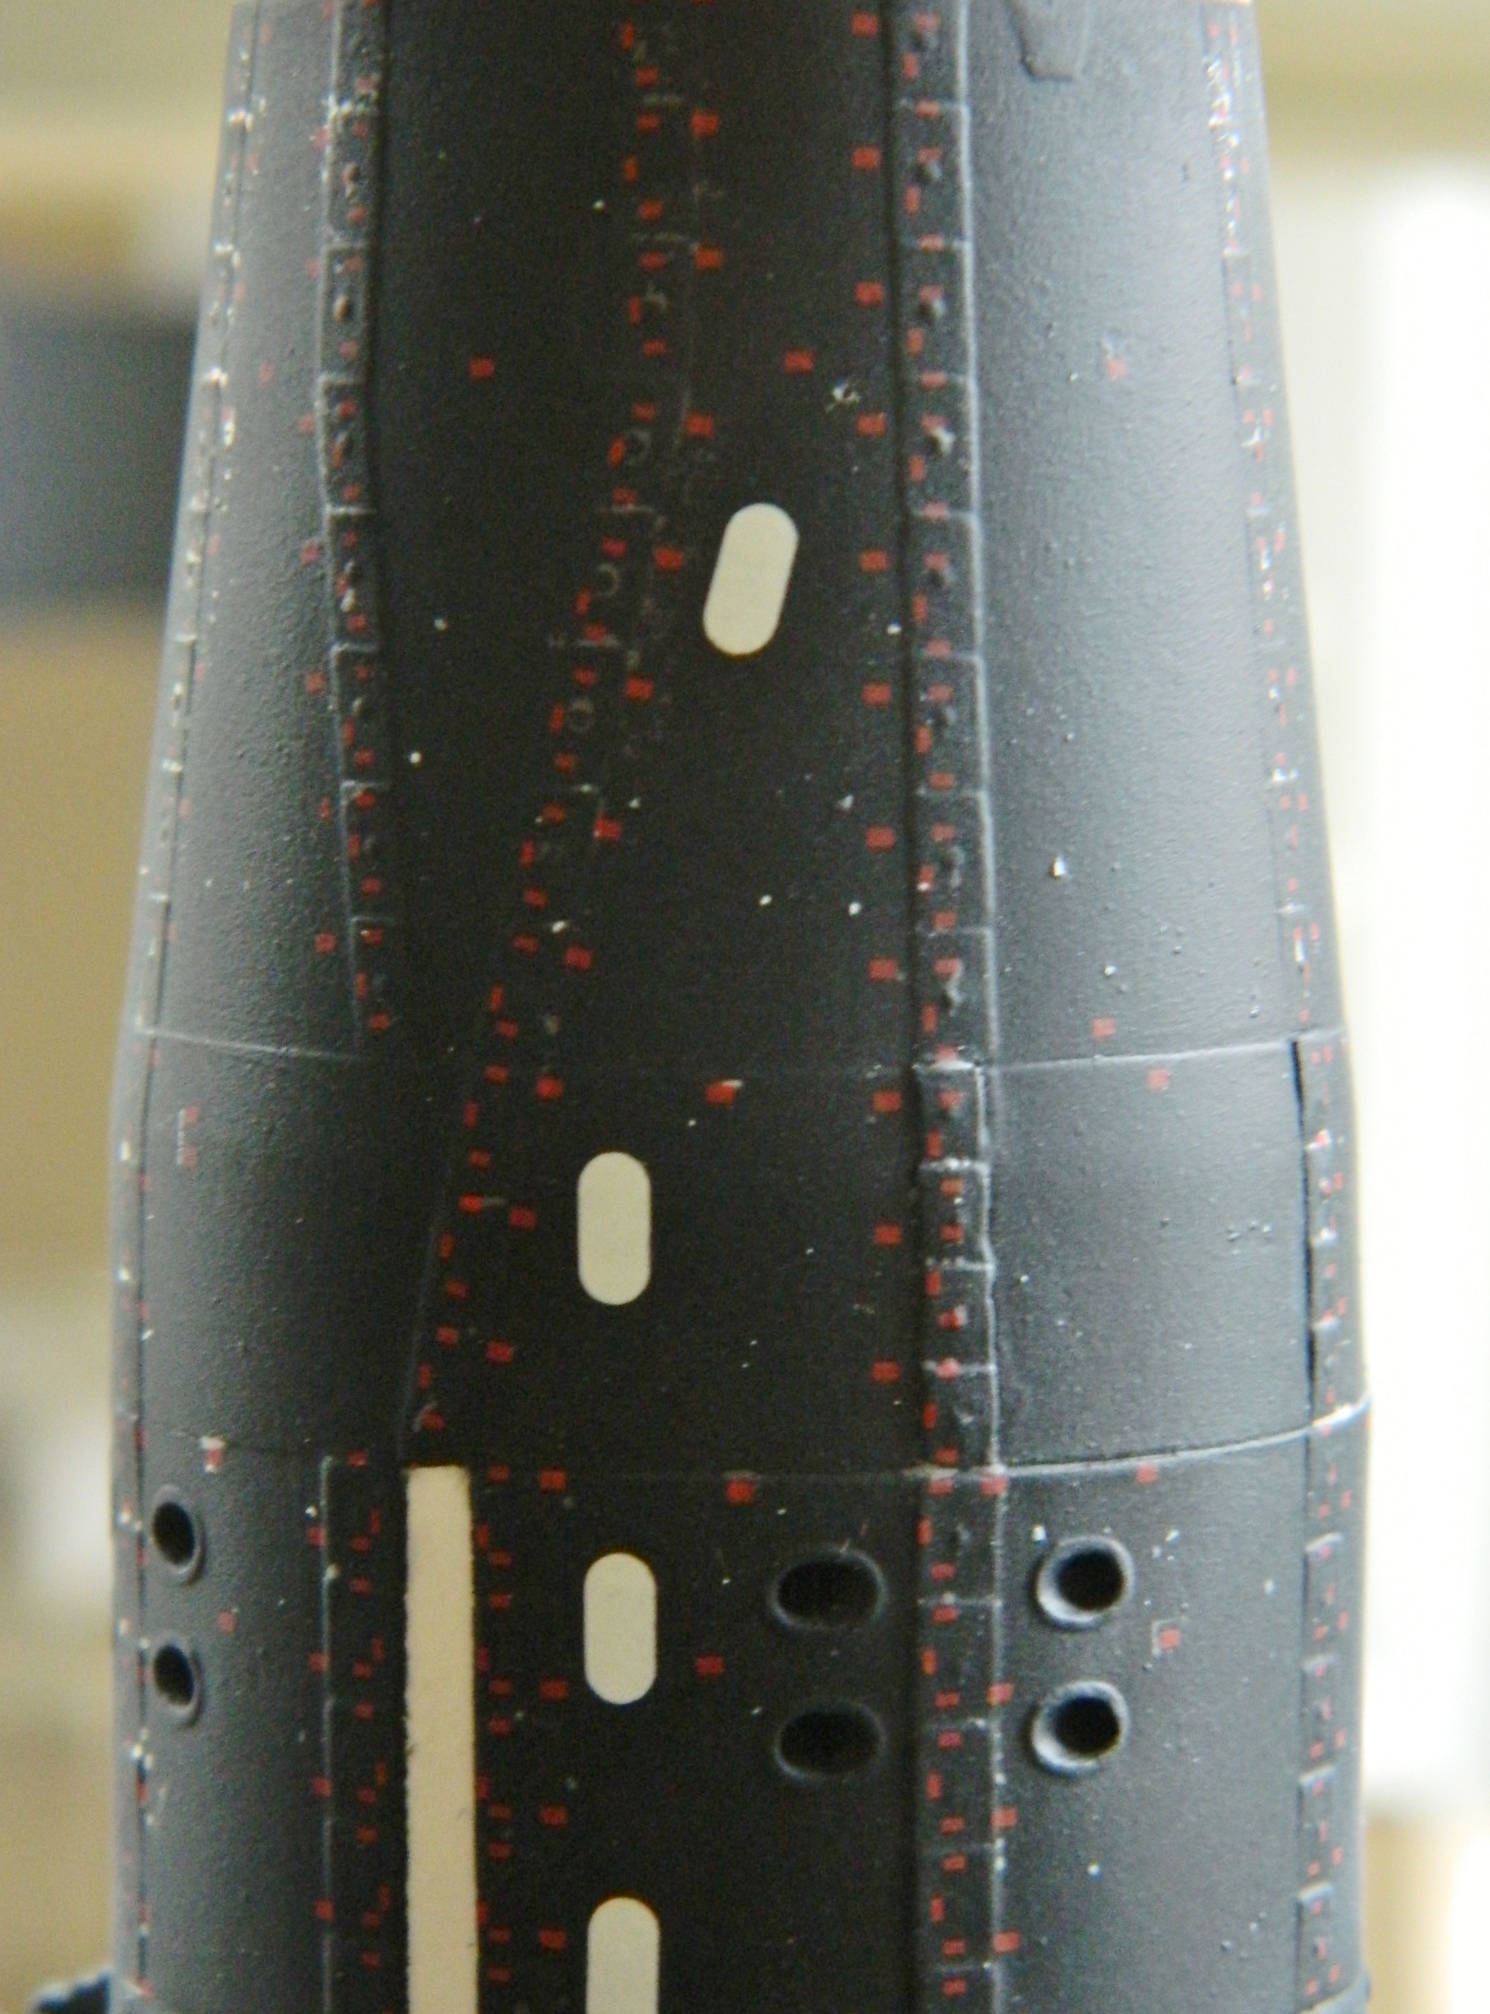
Once I’d done that, I started with the decals that would require the most work to get right. The surface of the capsule is corrugated and I need the decal to fit down into those small troughs and up over the raised details. Decal solvent is what allows that to happen. The solvent dissolves the decals slightly enabling them to conform to whatever surface details they have to fit into and over. Never touch a decal after applying solvent! The solvent really does dissolve the decal slightly and if you don’t touch it, as the solvent evaporates, the wrinkles in the decals’ surface go away and they snug down.
Sometimes decals require more than one application of solvent. Sometimes they require MANY applications of solvent. Surprising me not at all by this point, these decals are in the MANY applications of solvent category. Each decal took two and a half hours until they had conformed to the surface.
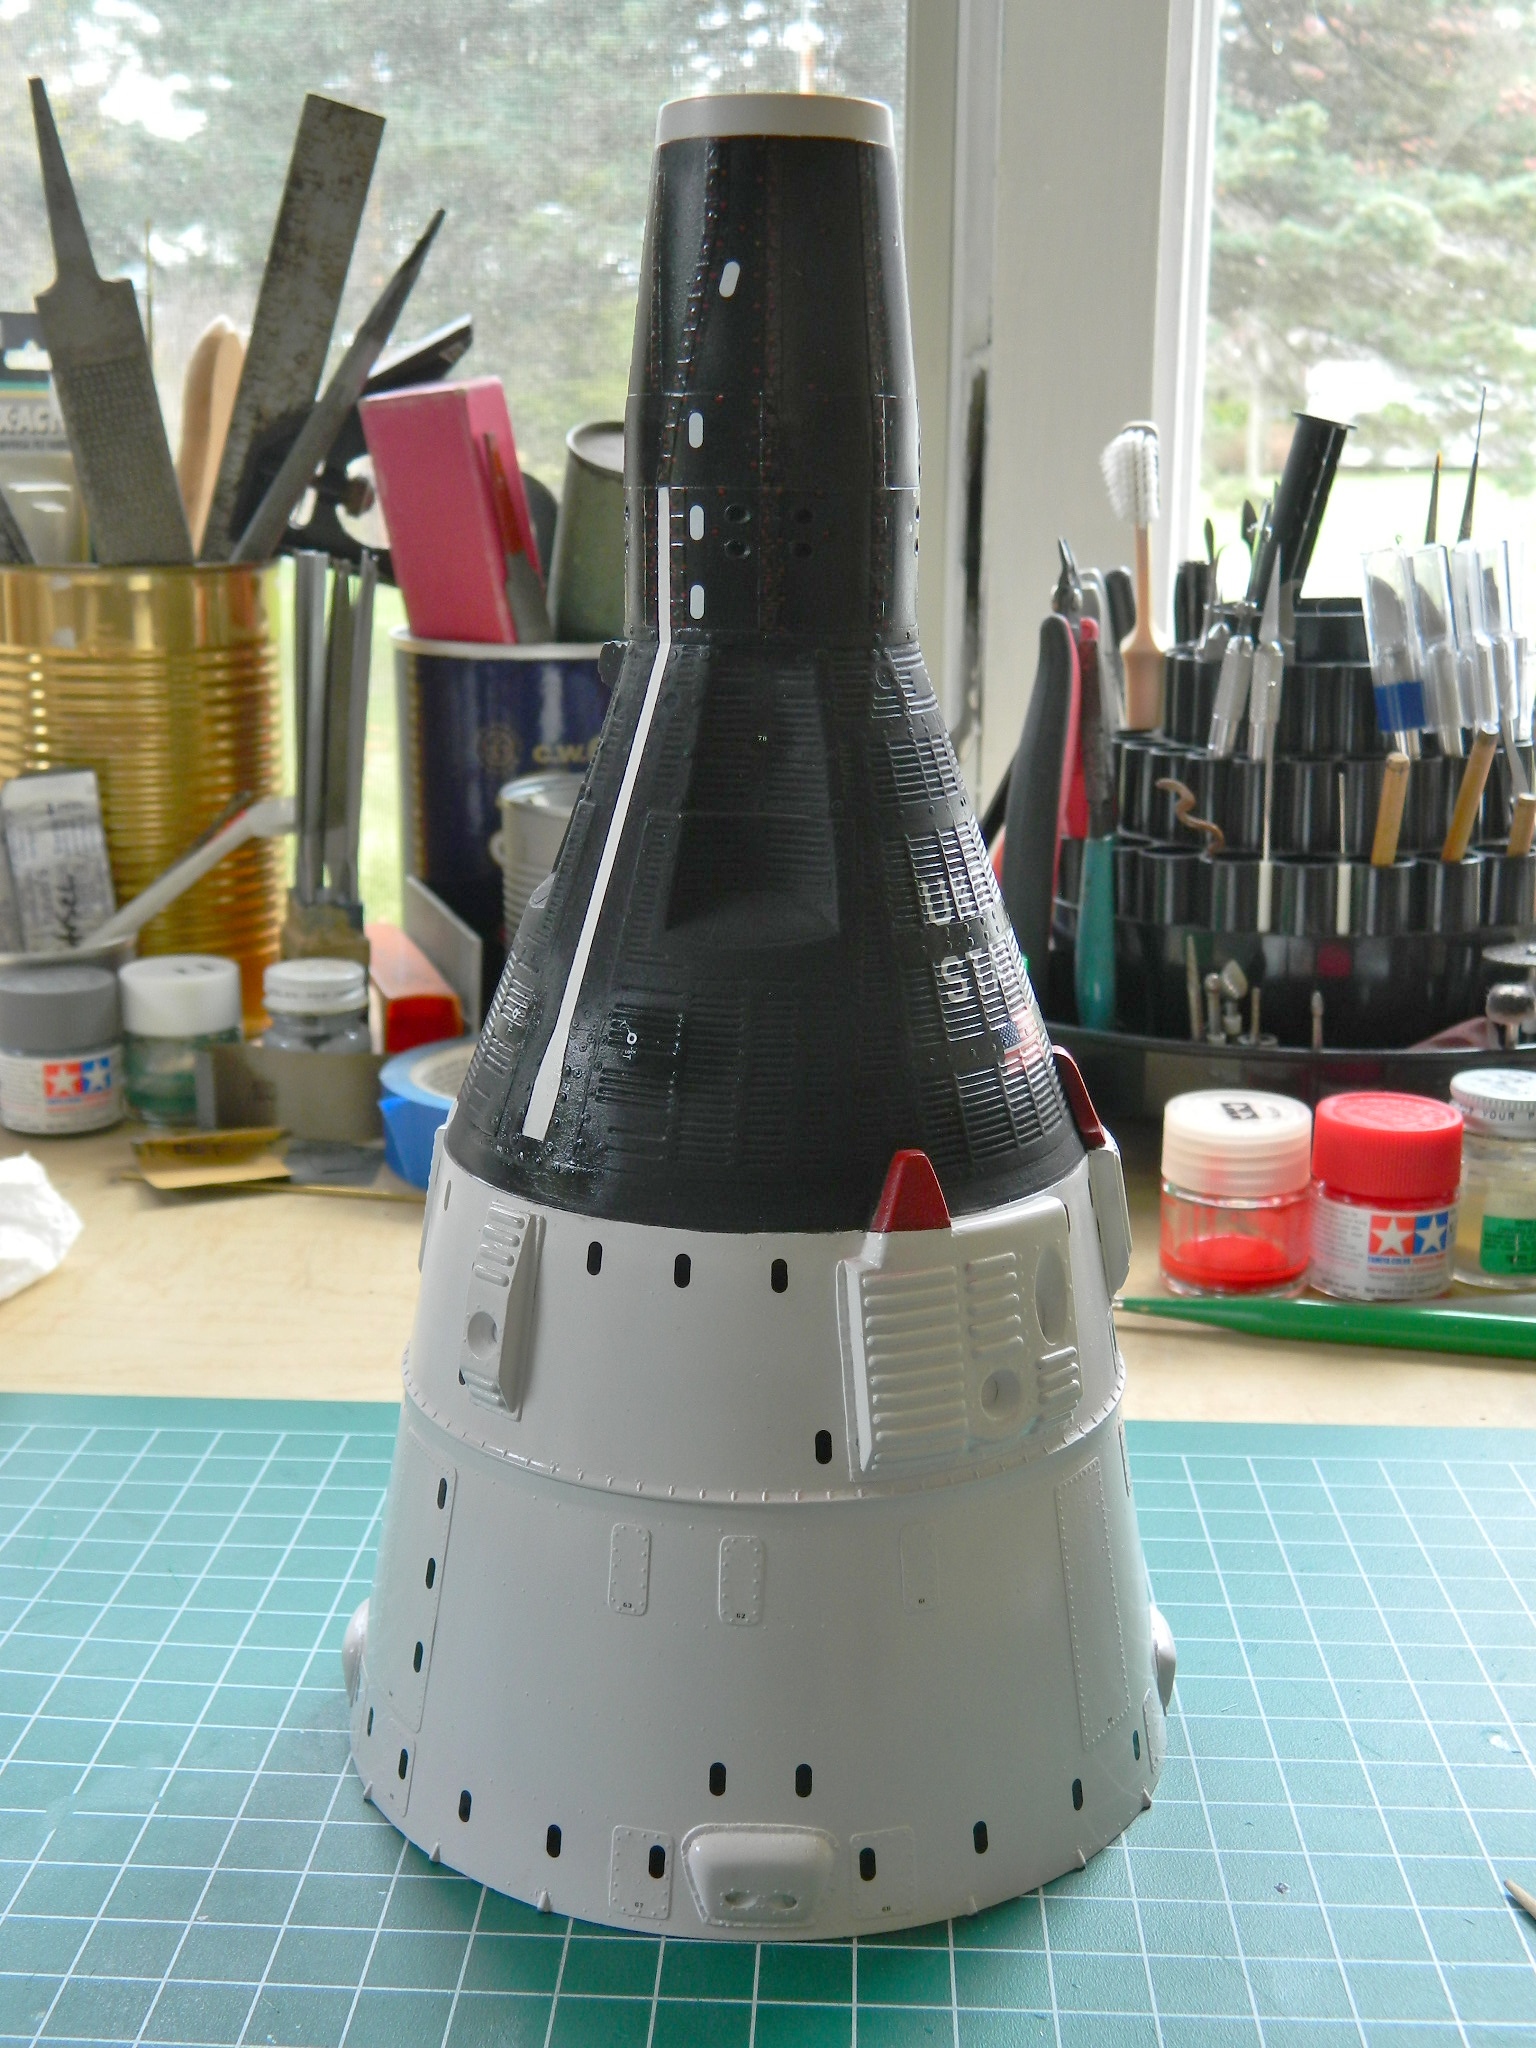
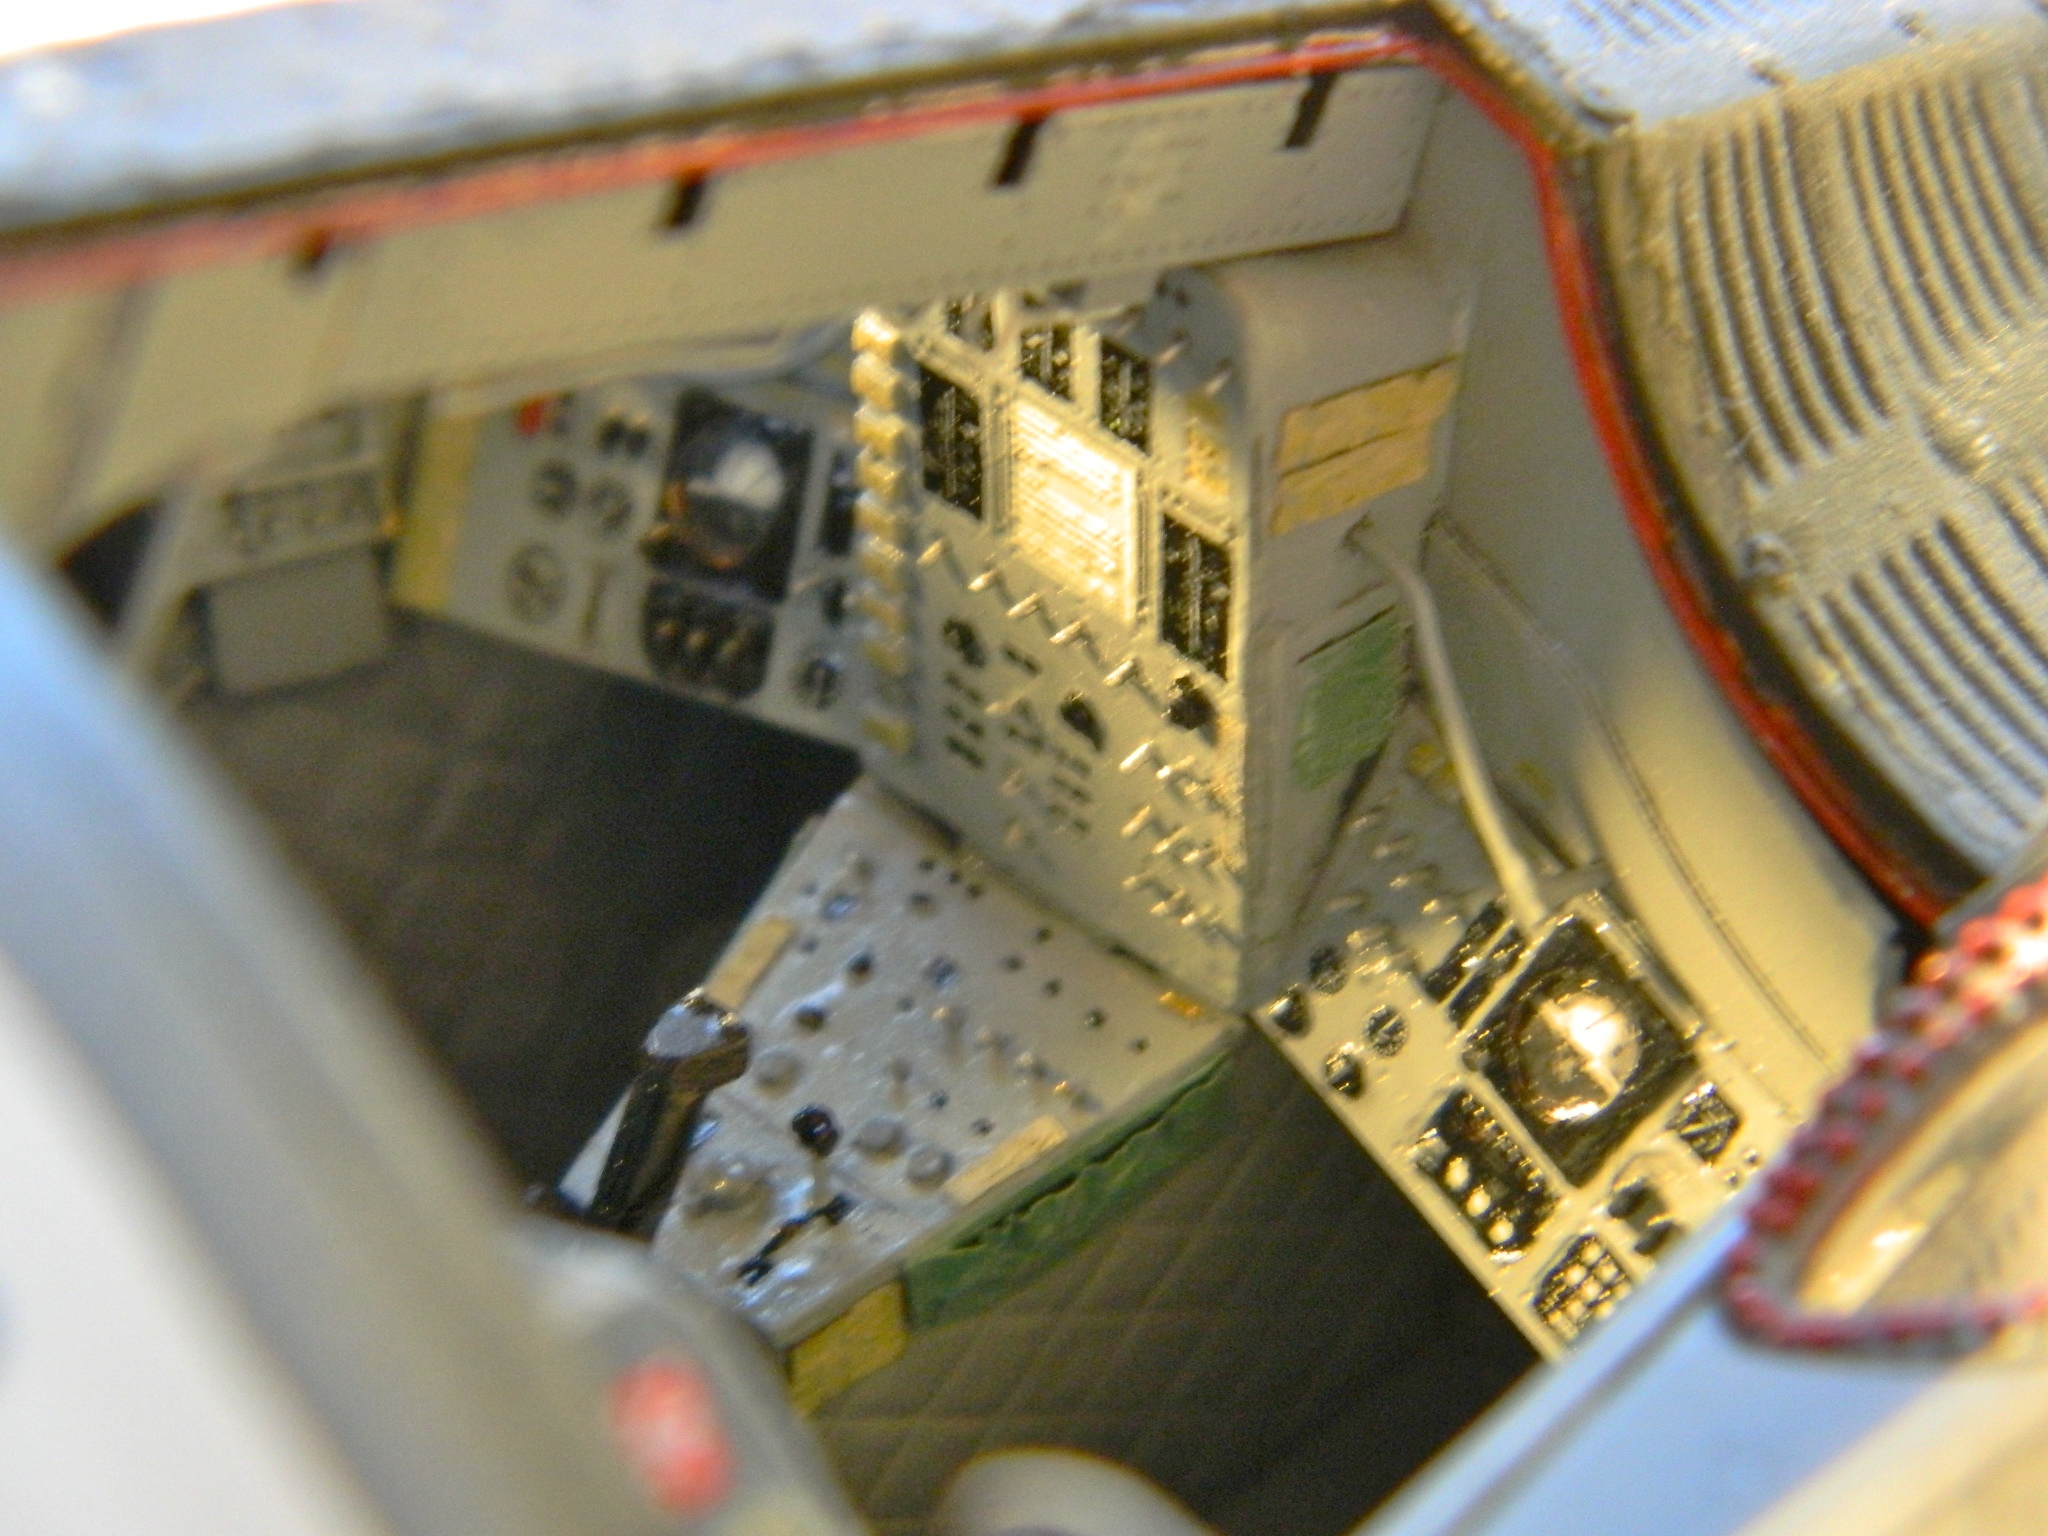
The decals go on and you can see how they’re resting on all the high points of the surface:

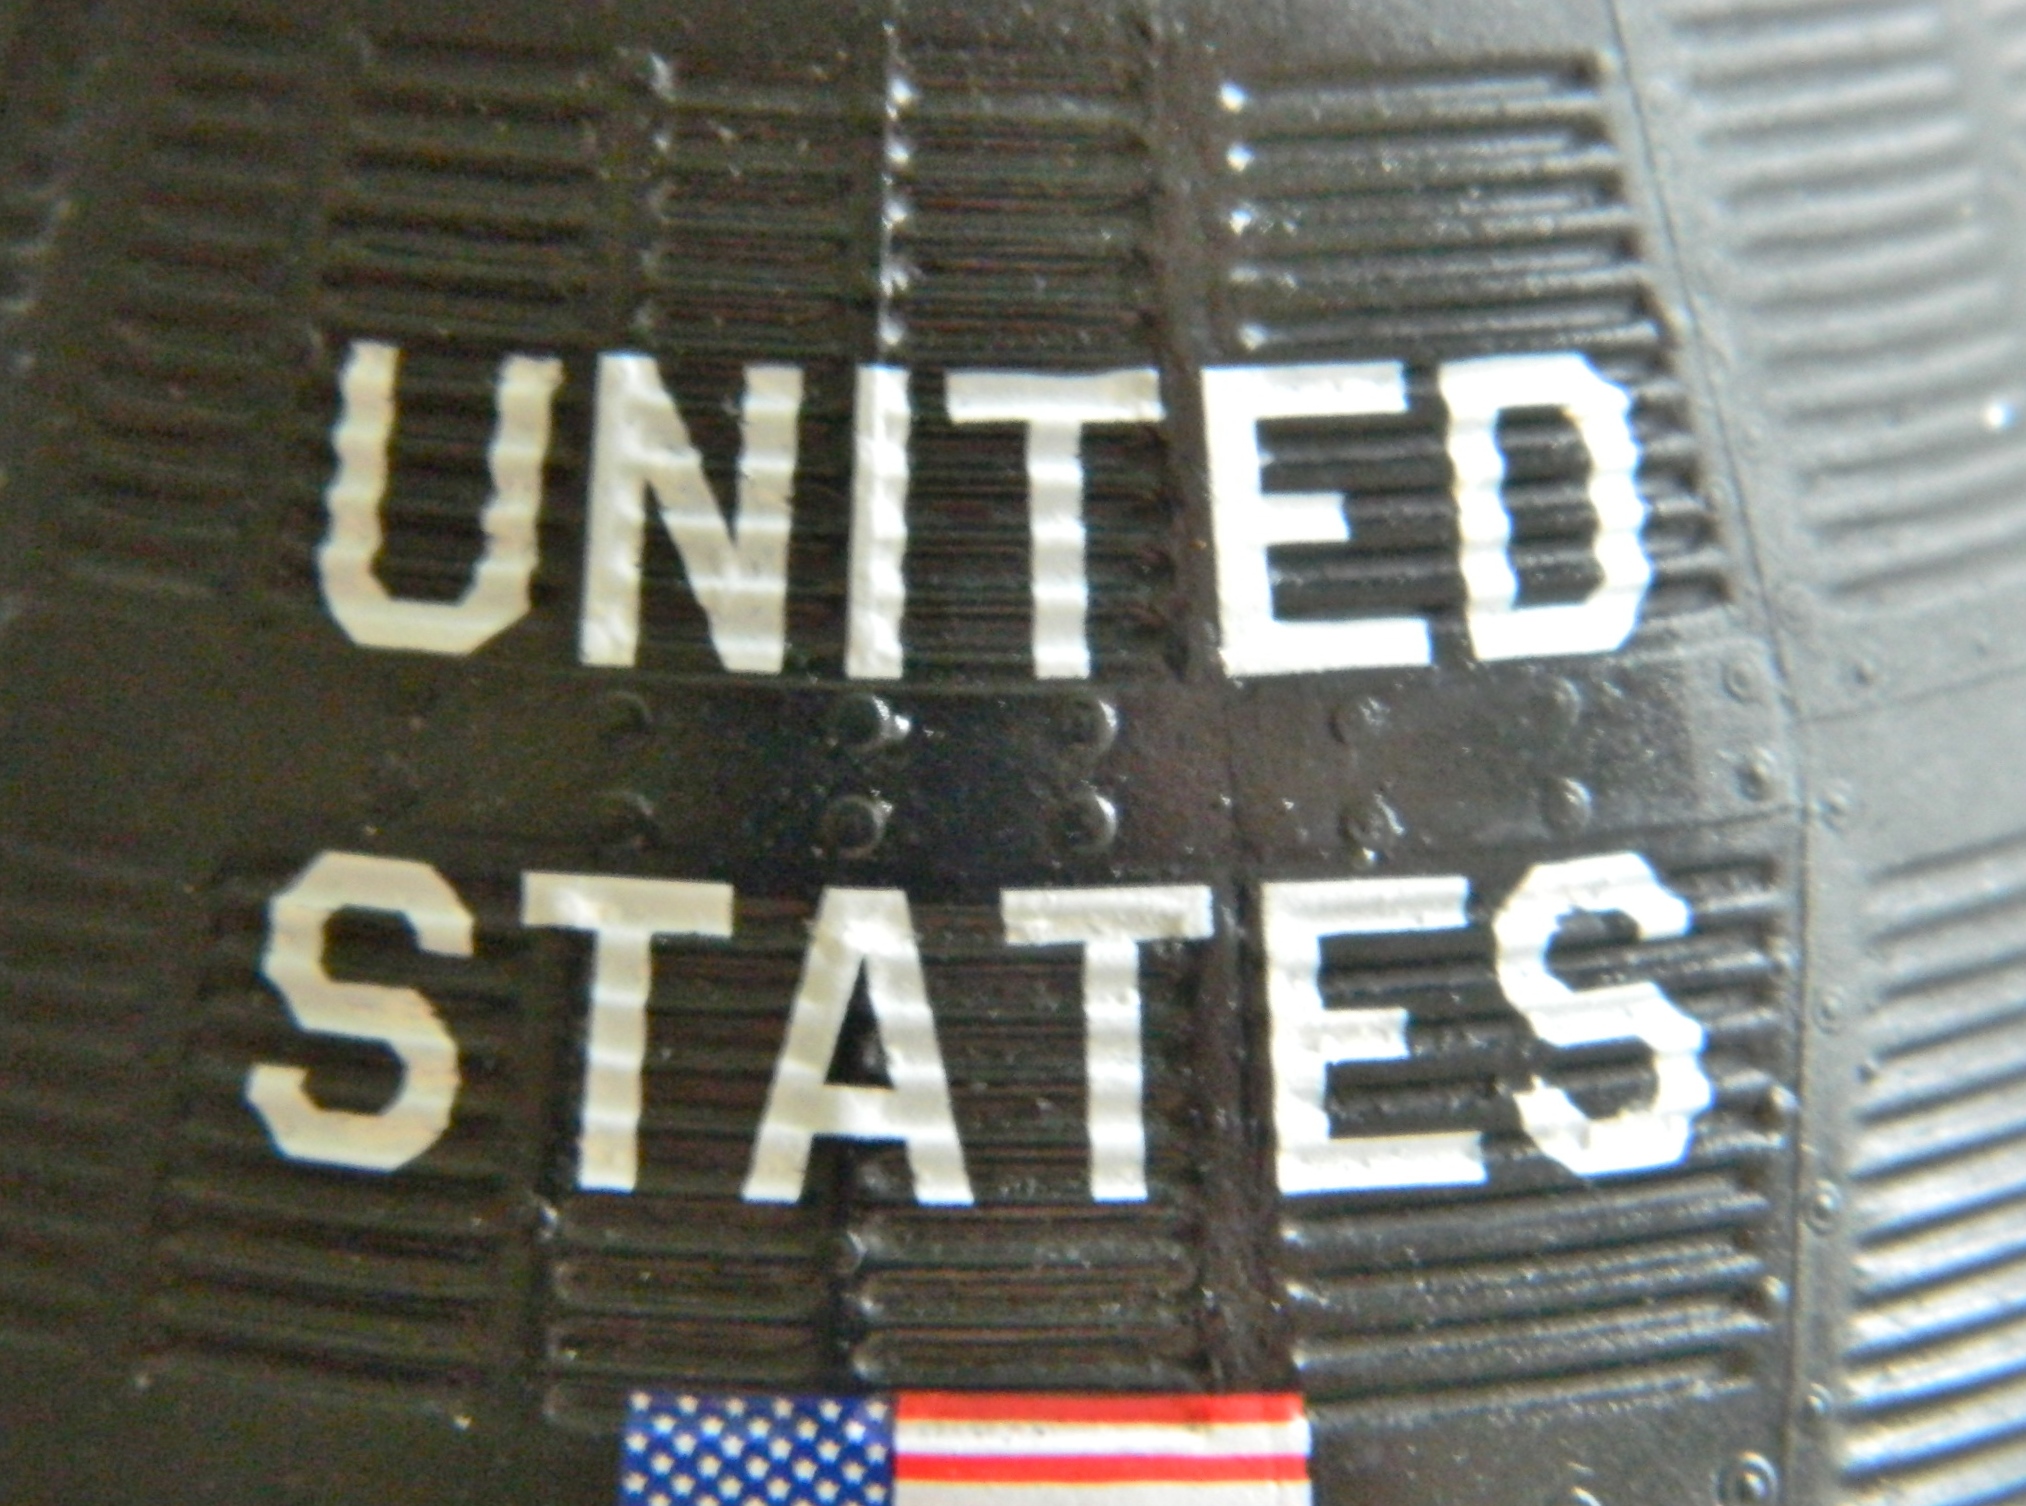
The first (of many) applications of solvent begins softening and dissolving the decal:

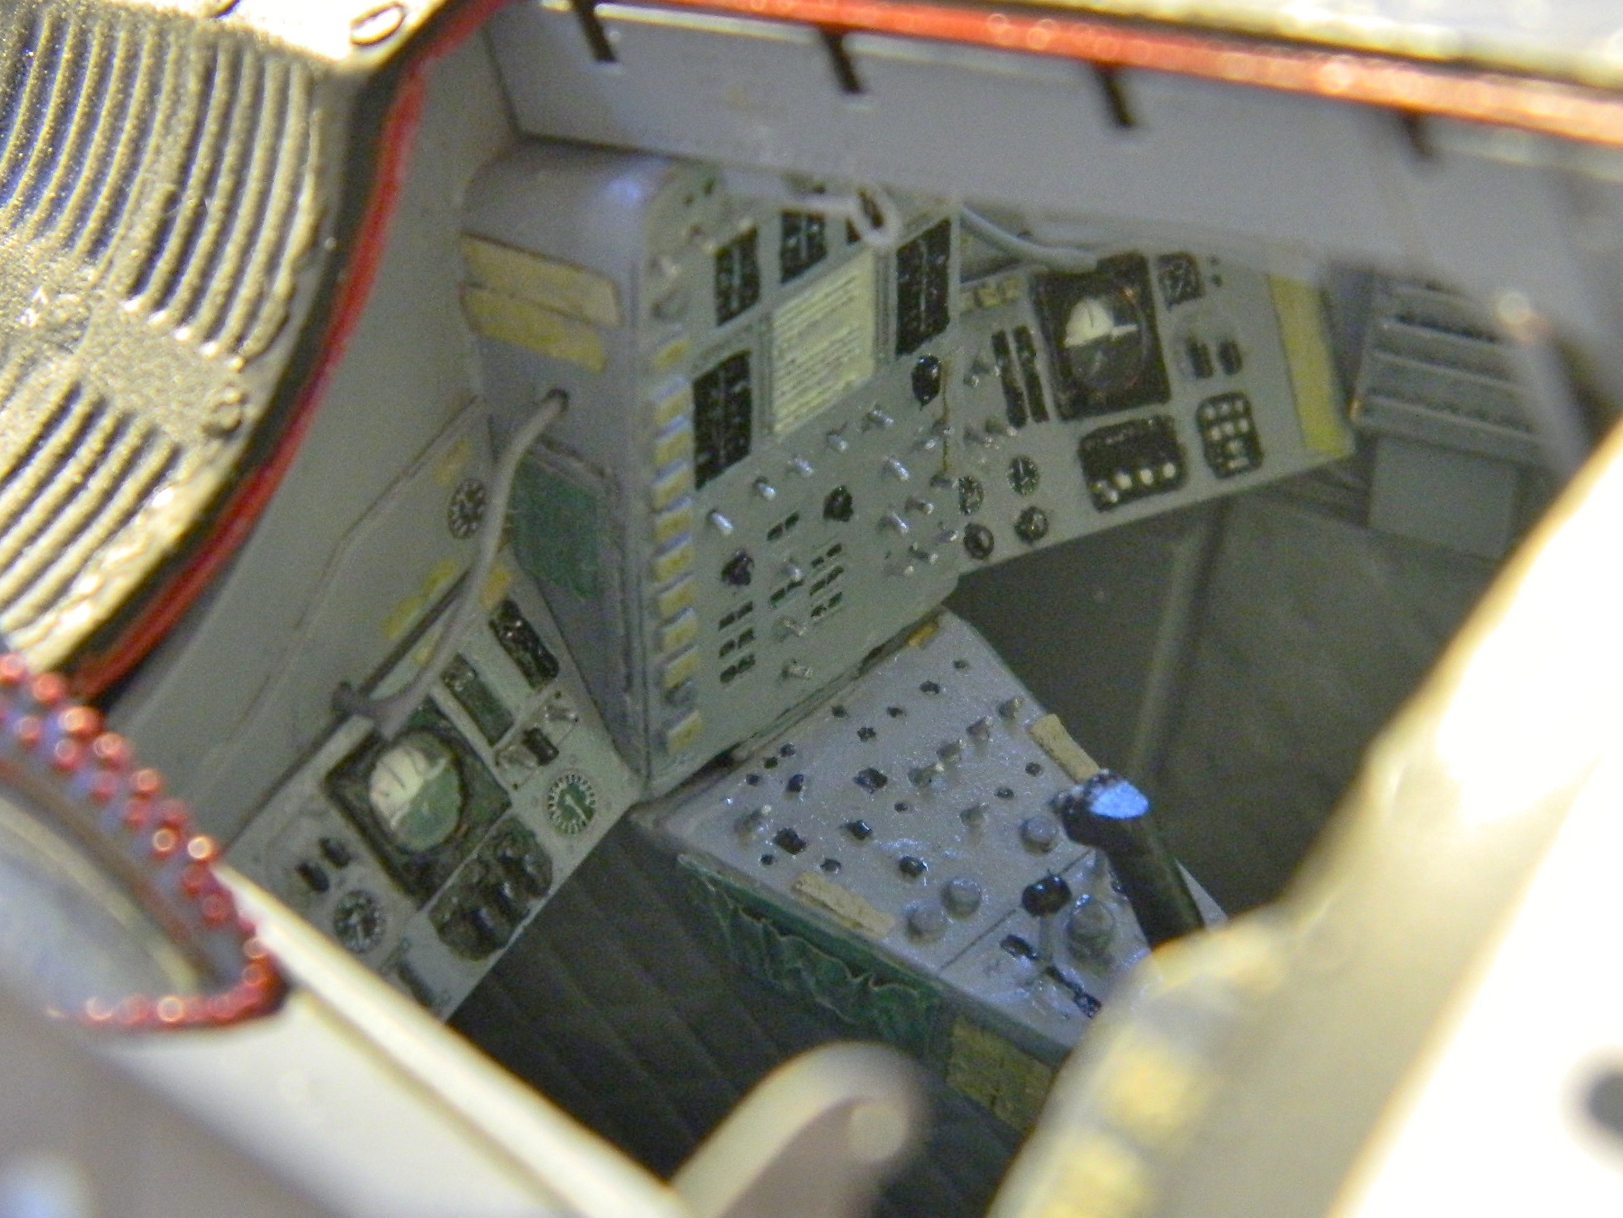
Two and a half hours later, this is what I ended up with. The decal had to move so far that it actually tore during the process:
I was fortunate in that the torn areas are simple white over black which enabled me to touch up the tears with white paint:
The other side received the same treatment of decal, solvent, solvent, solvent, tears, and painting. It took a while but the results were good.
While I was waiting for multiple coats of solvent to work, I went back to building the display stand:

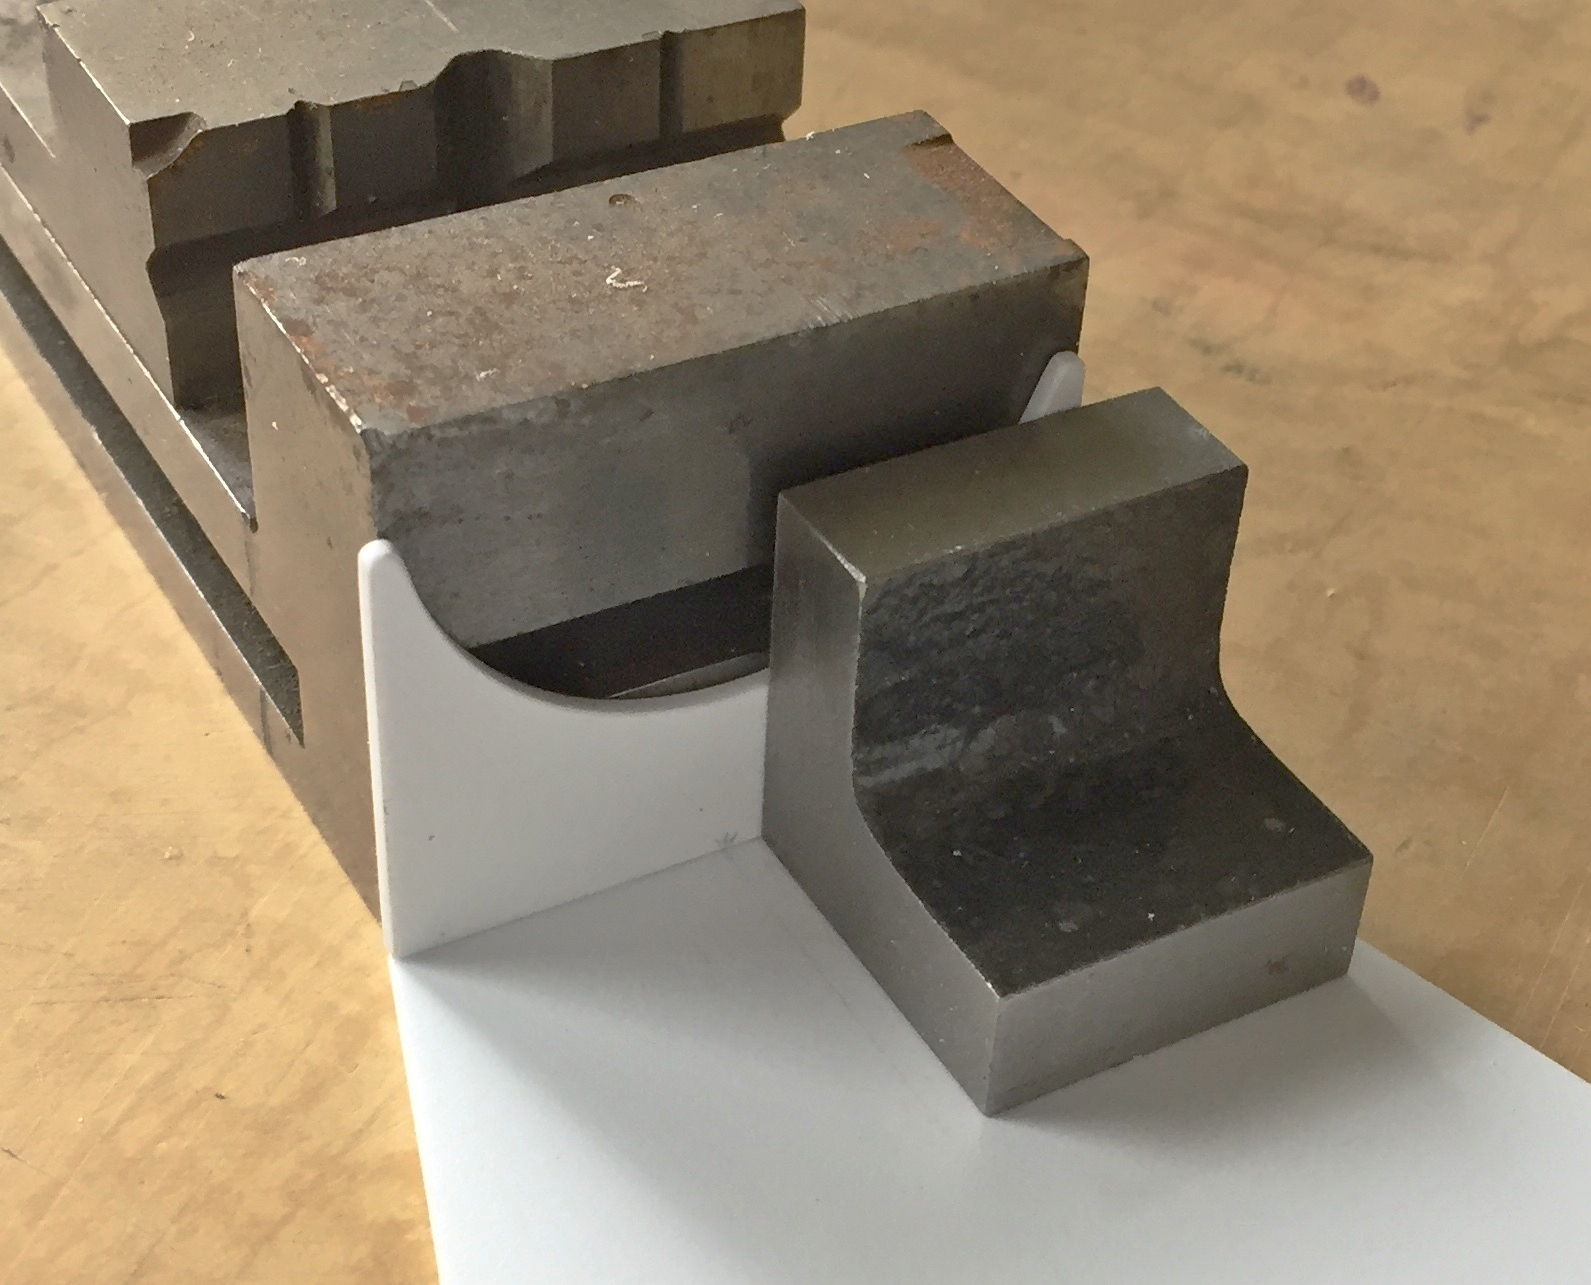


I didn’t like how the model displayed on it so I needed to snap the nose cradle off and redo that:

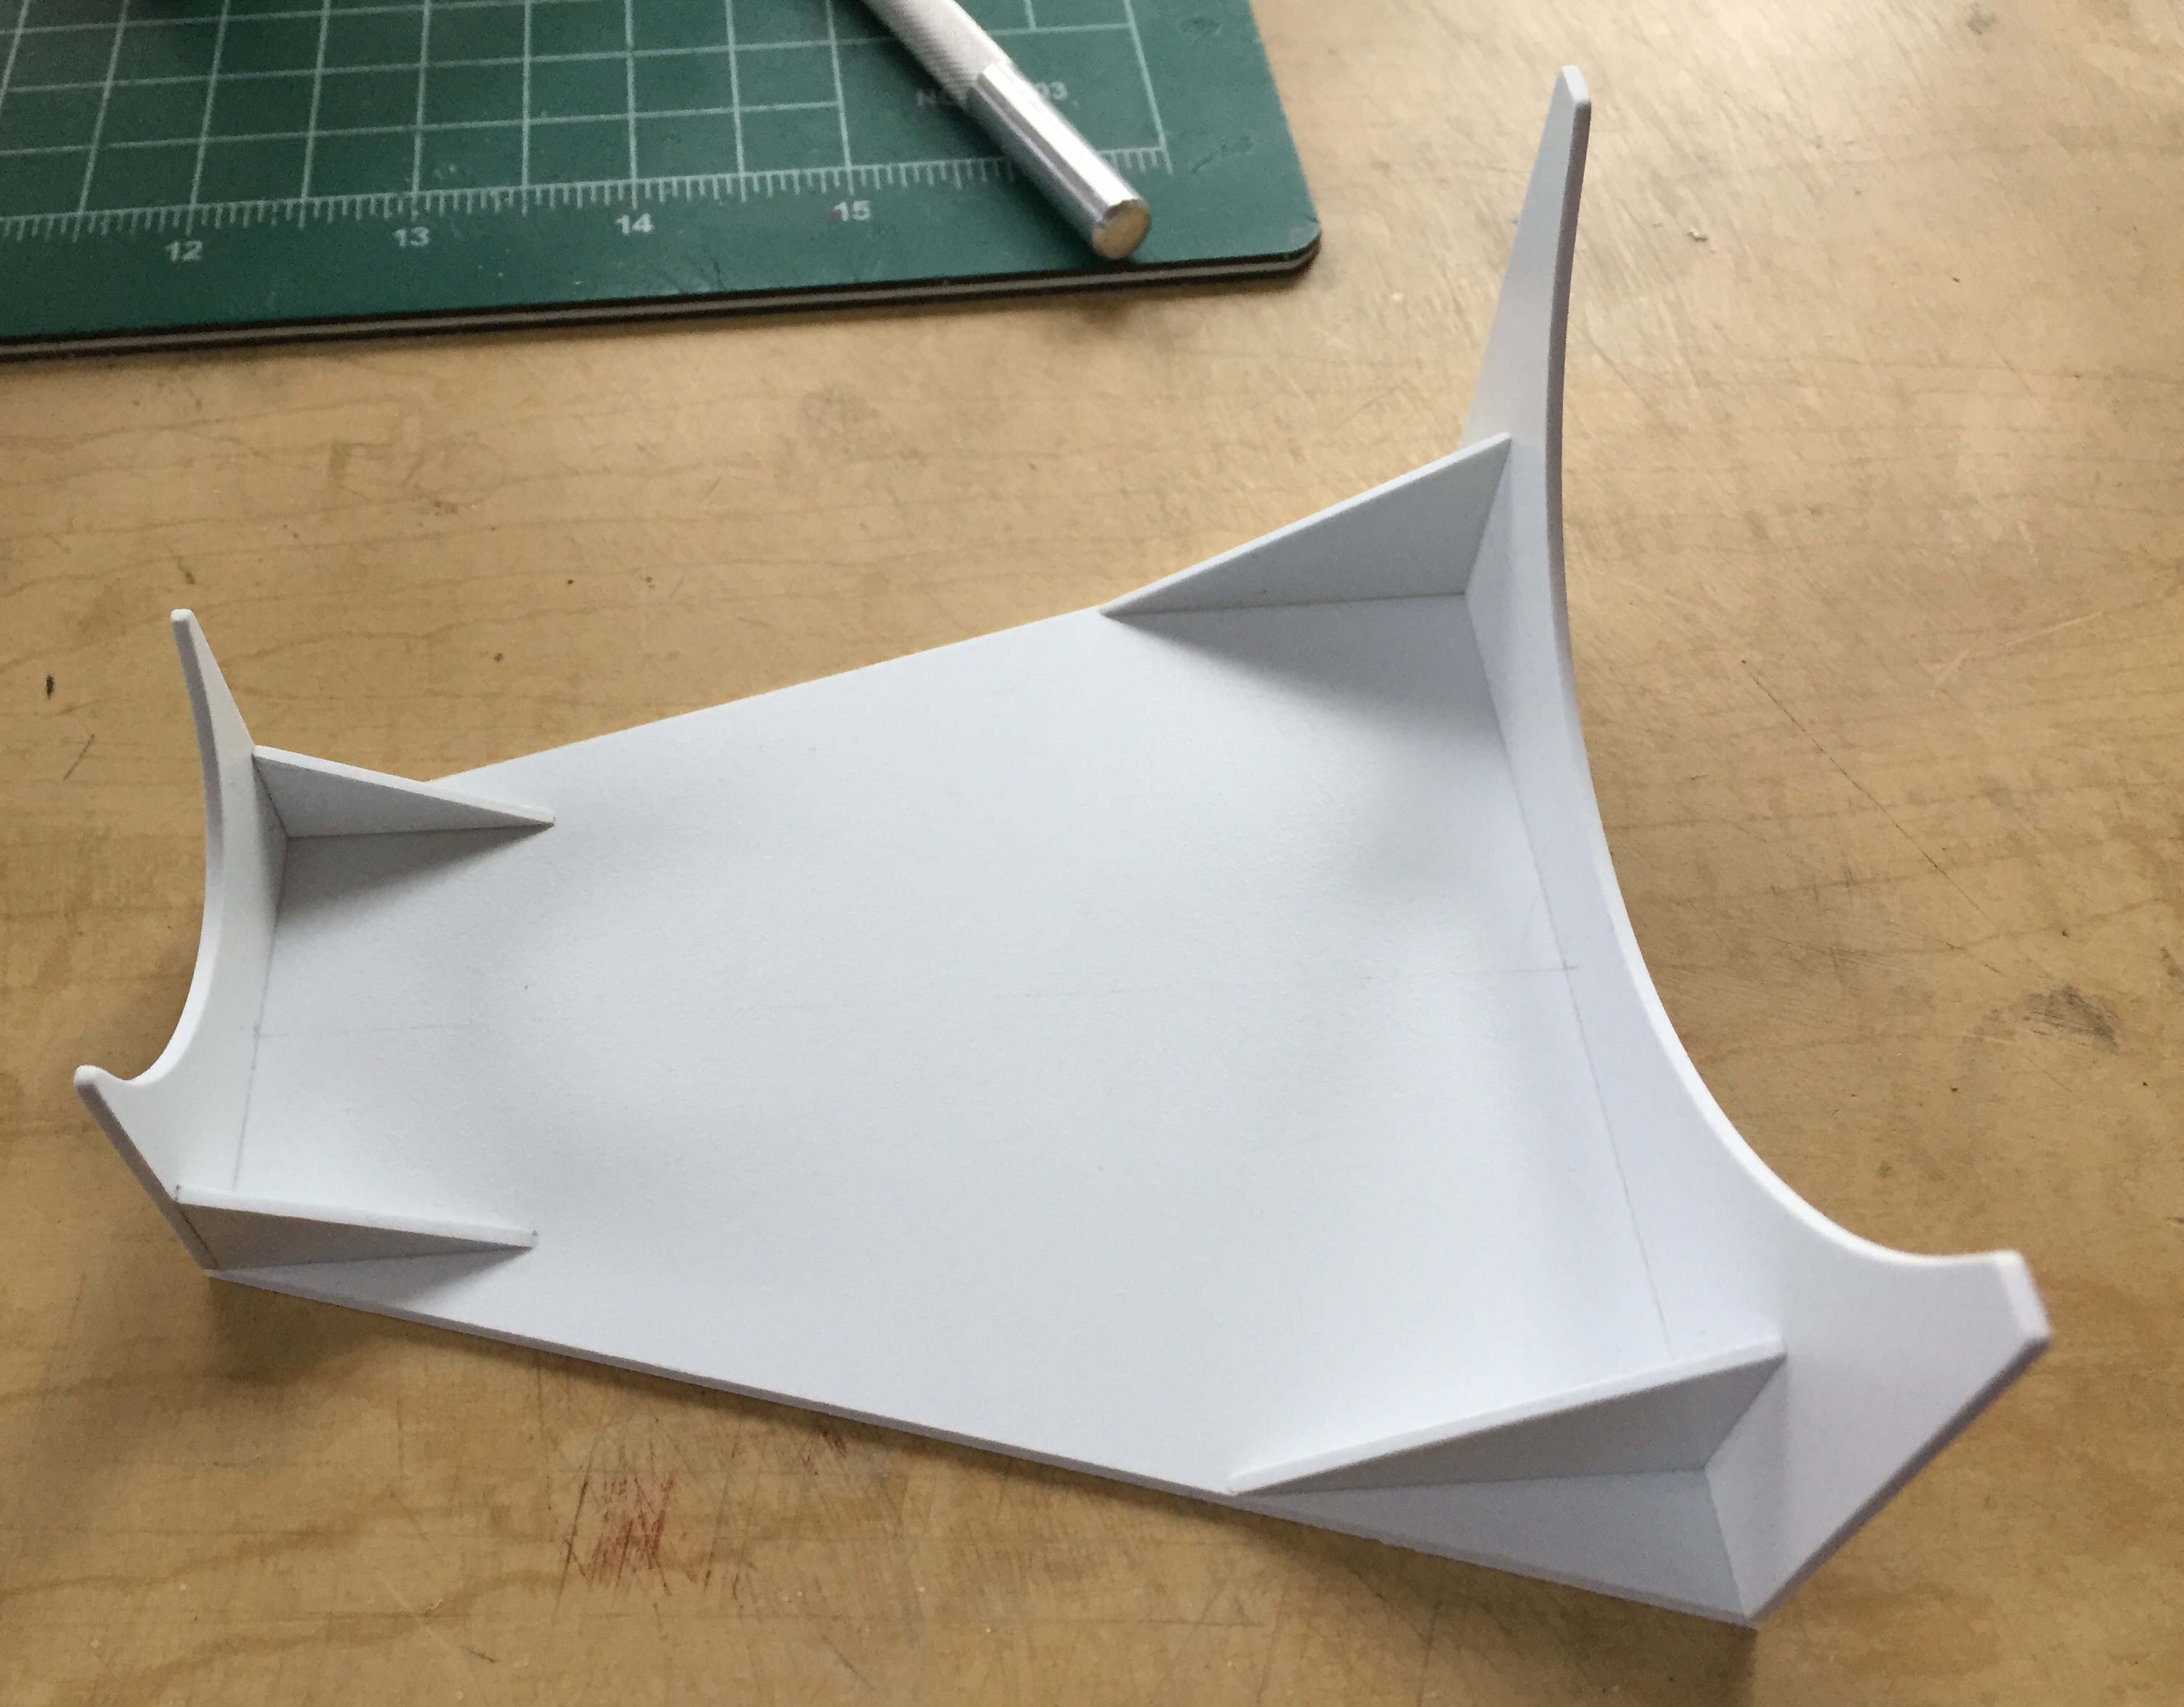
I added more plastic to the nose cradle and ended up with something much better:


Once the solvent had set up, the rest of the decals were added:


Once the decals were dry, the black was sprayed with matte clear. I don’t know (yet) why my airbrush added all these white speckles but they needed to be dealt with. Some of them I could pull off with tweezers, some wouldn’t budge. The recalcitrant specks were touched up with flat black:
The horizon sensor snapped off during all the handling, so I took this opportunity to spray it matte white. And well, gosh…more bubbles:

So I used denatured alcohol to remove all the paint and fill more freaking bubbles:

Once I’d filled all those DAMNED bubbles, the mounting plate was done in matte black and the sensor mounted to the hull:

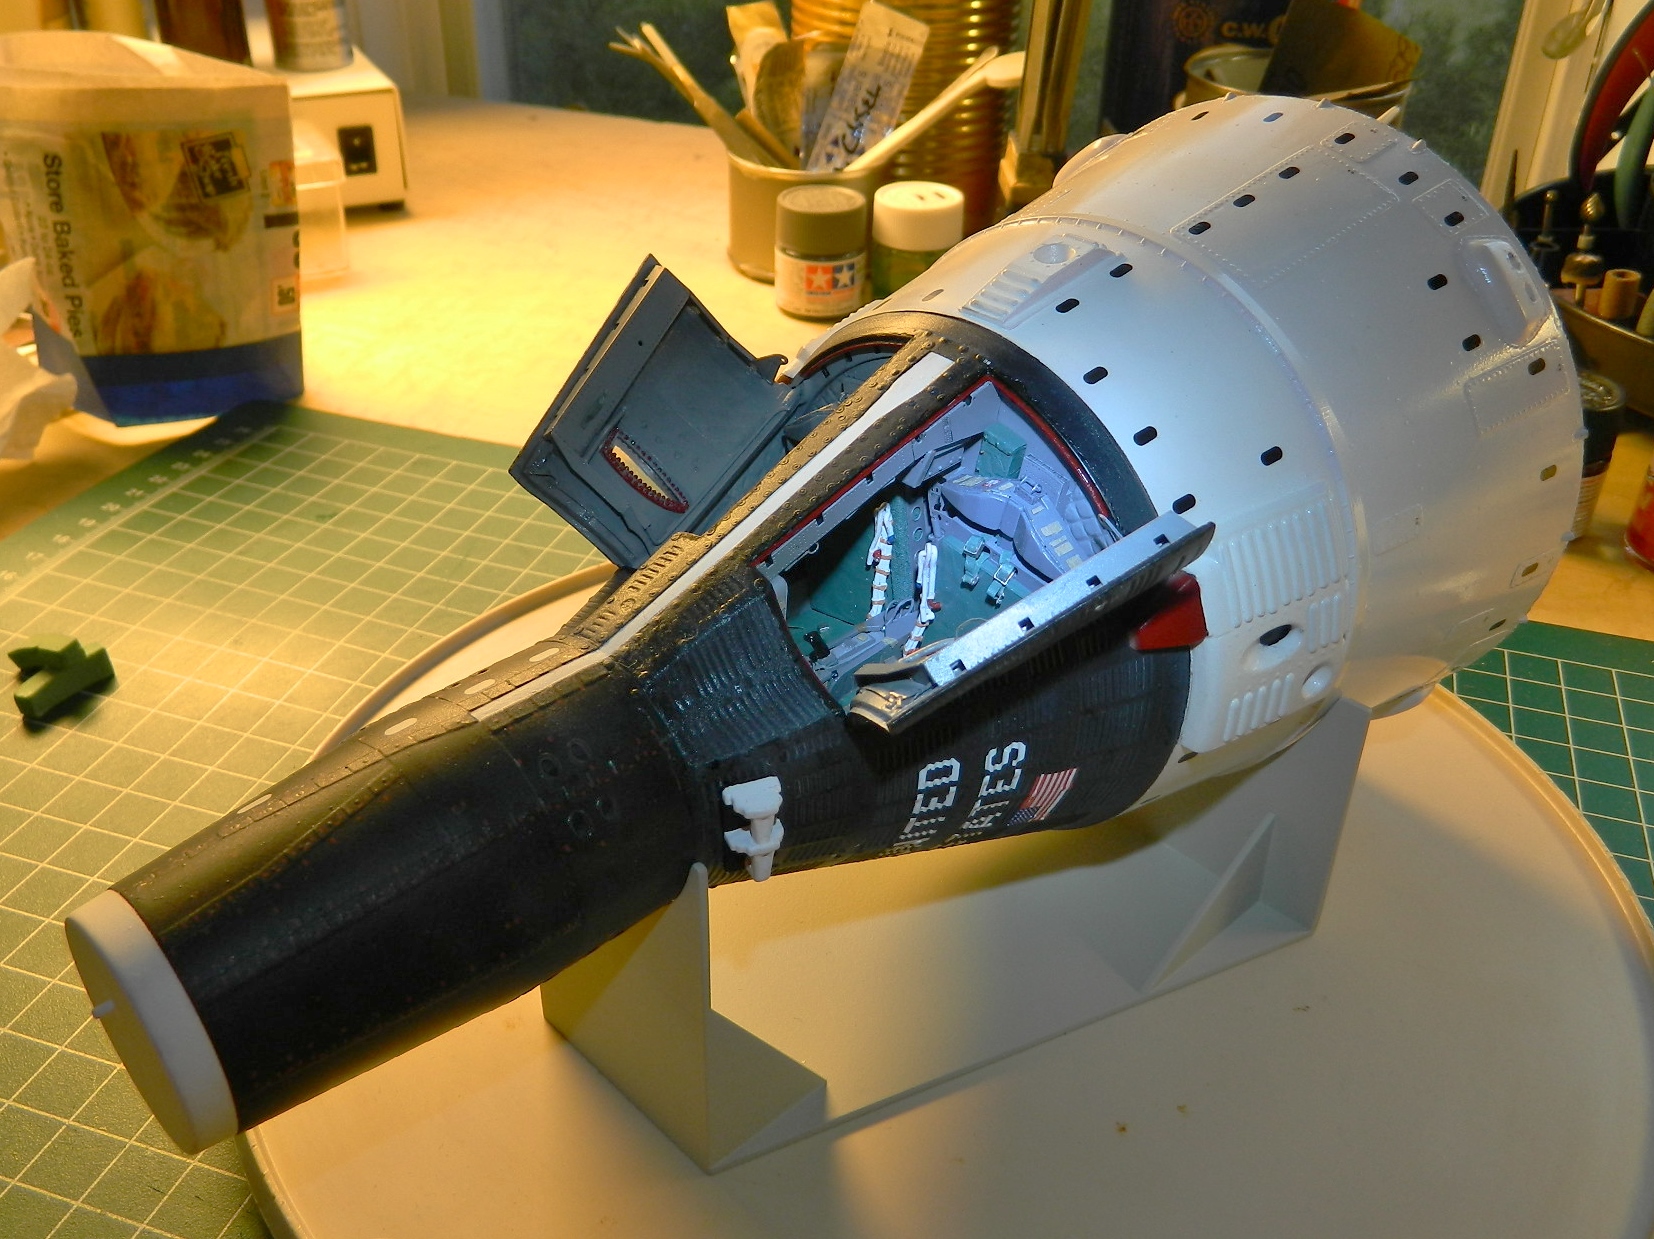
During the working and reworking of the exterior paint, a LOT of denatured alcohol was used. I was pretty sure that none had insinuated itself into the cabin but until the hatches were popped open, I couldn’t be sure. With more than a little apprehension (because ANYTHING that could go sideways with this build did…and many of the things that couldn’t go sideways went there anyway) I pried the hatches open and removed the white glue:
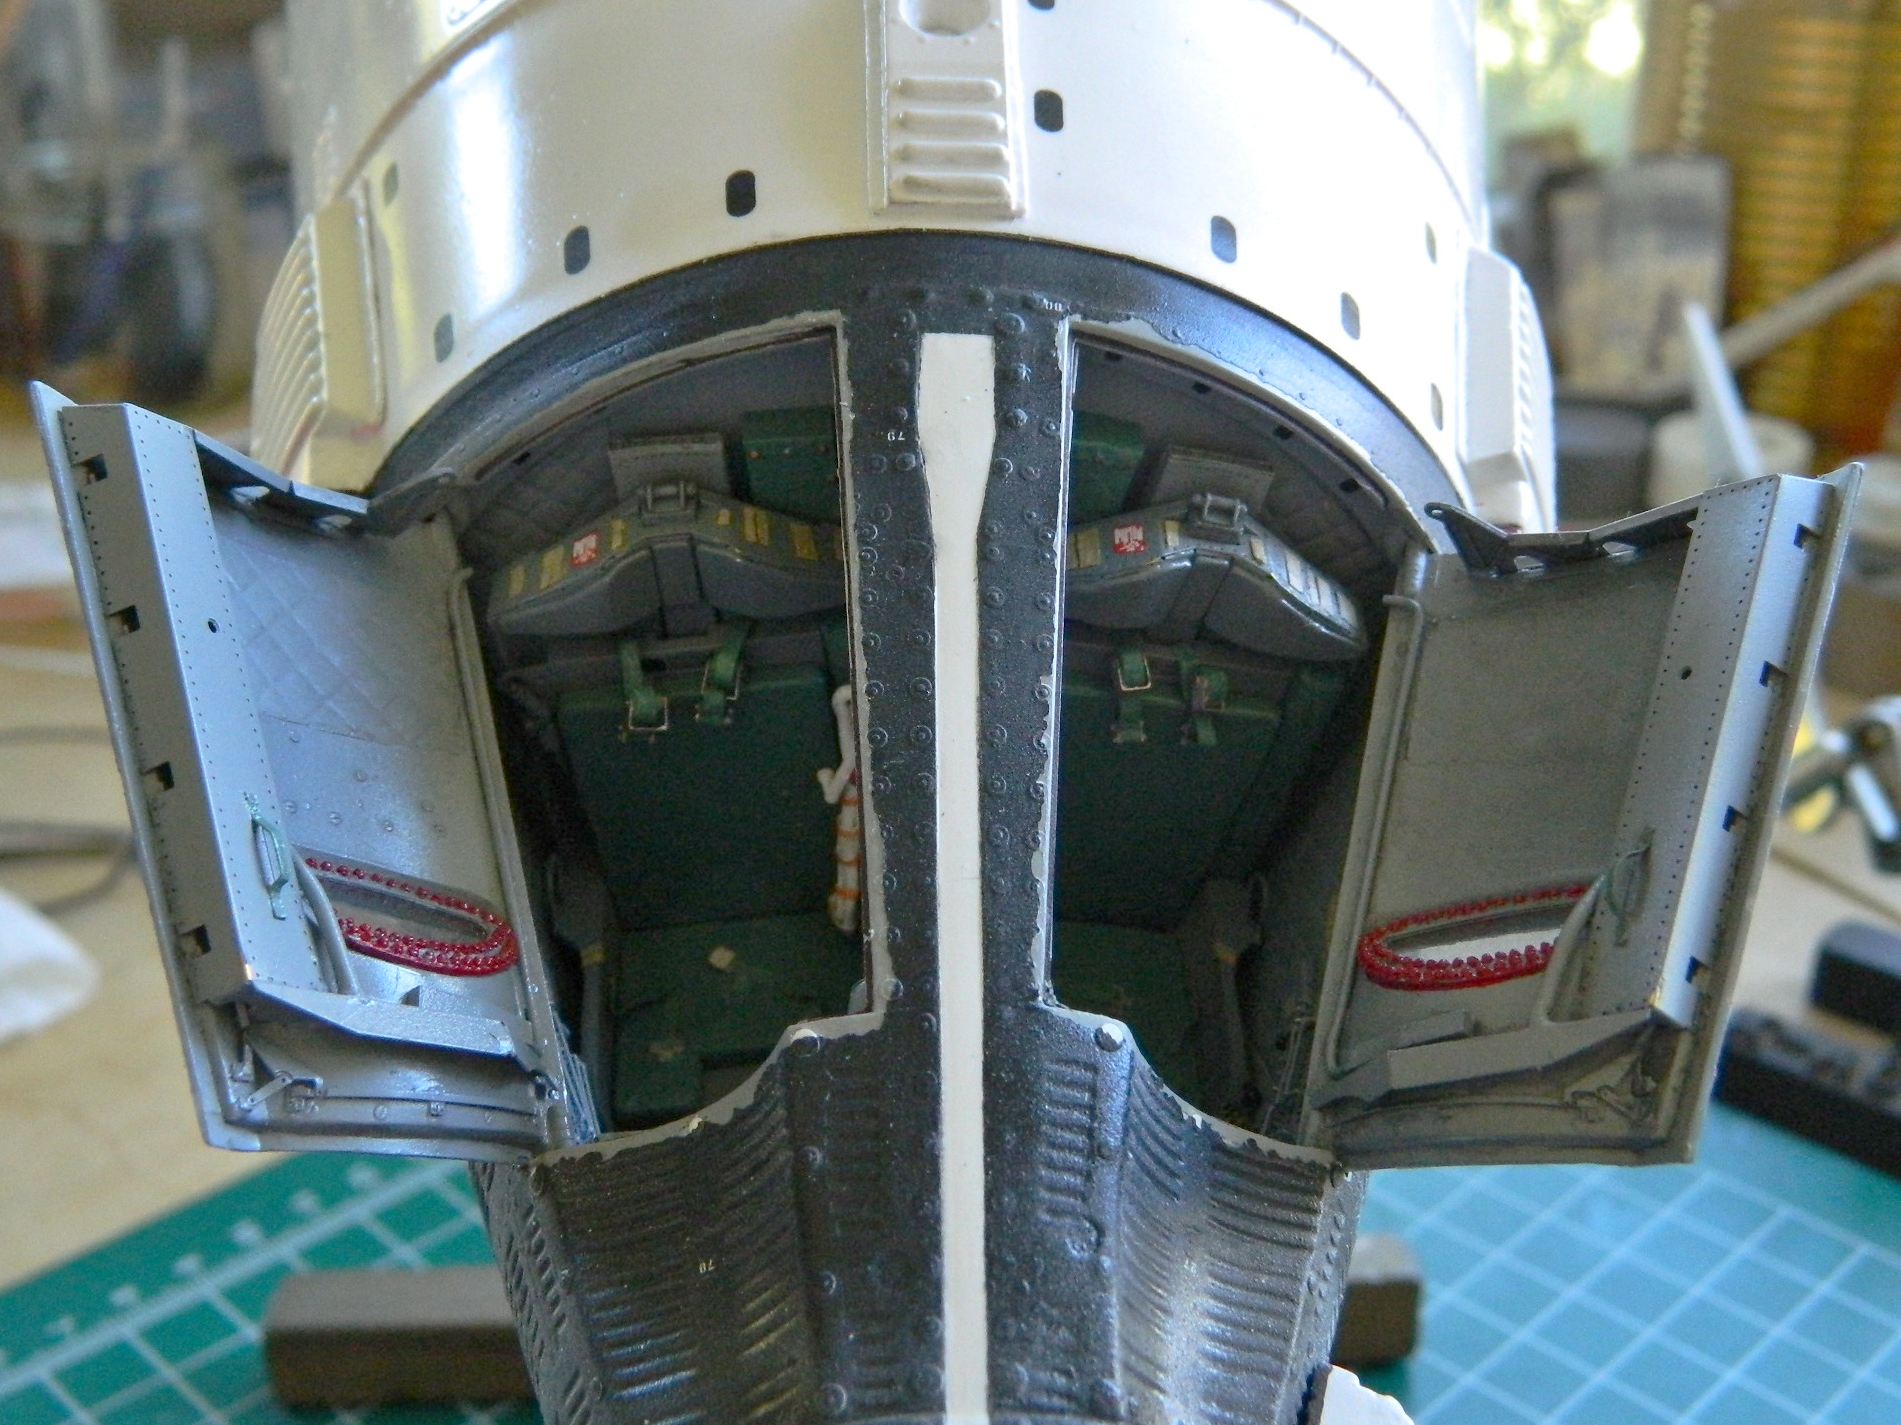
Good news! Nothing worked its way into the cabin so THAT nightmare was avoided! I knew there would be touch ups needed around the hatch openings and the edges of the hatches. What I didn’t know was that I could NOT match the paint of the hull exactly (or even moderately). Since by this point I’d overshot the matte black with clear semi-gloss, I’d mistakenly figured that black semi-gloss would work. No. Not even close. I ended up using matte black instead. Yeah…it worked, but I’m not really pleased with the result. (That could be the theme for this ENTIRE build.)
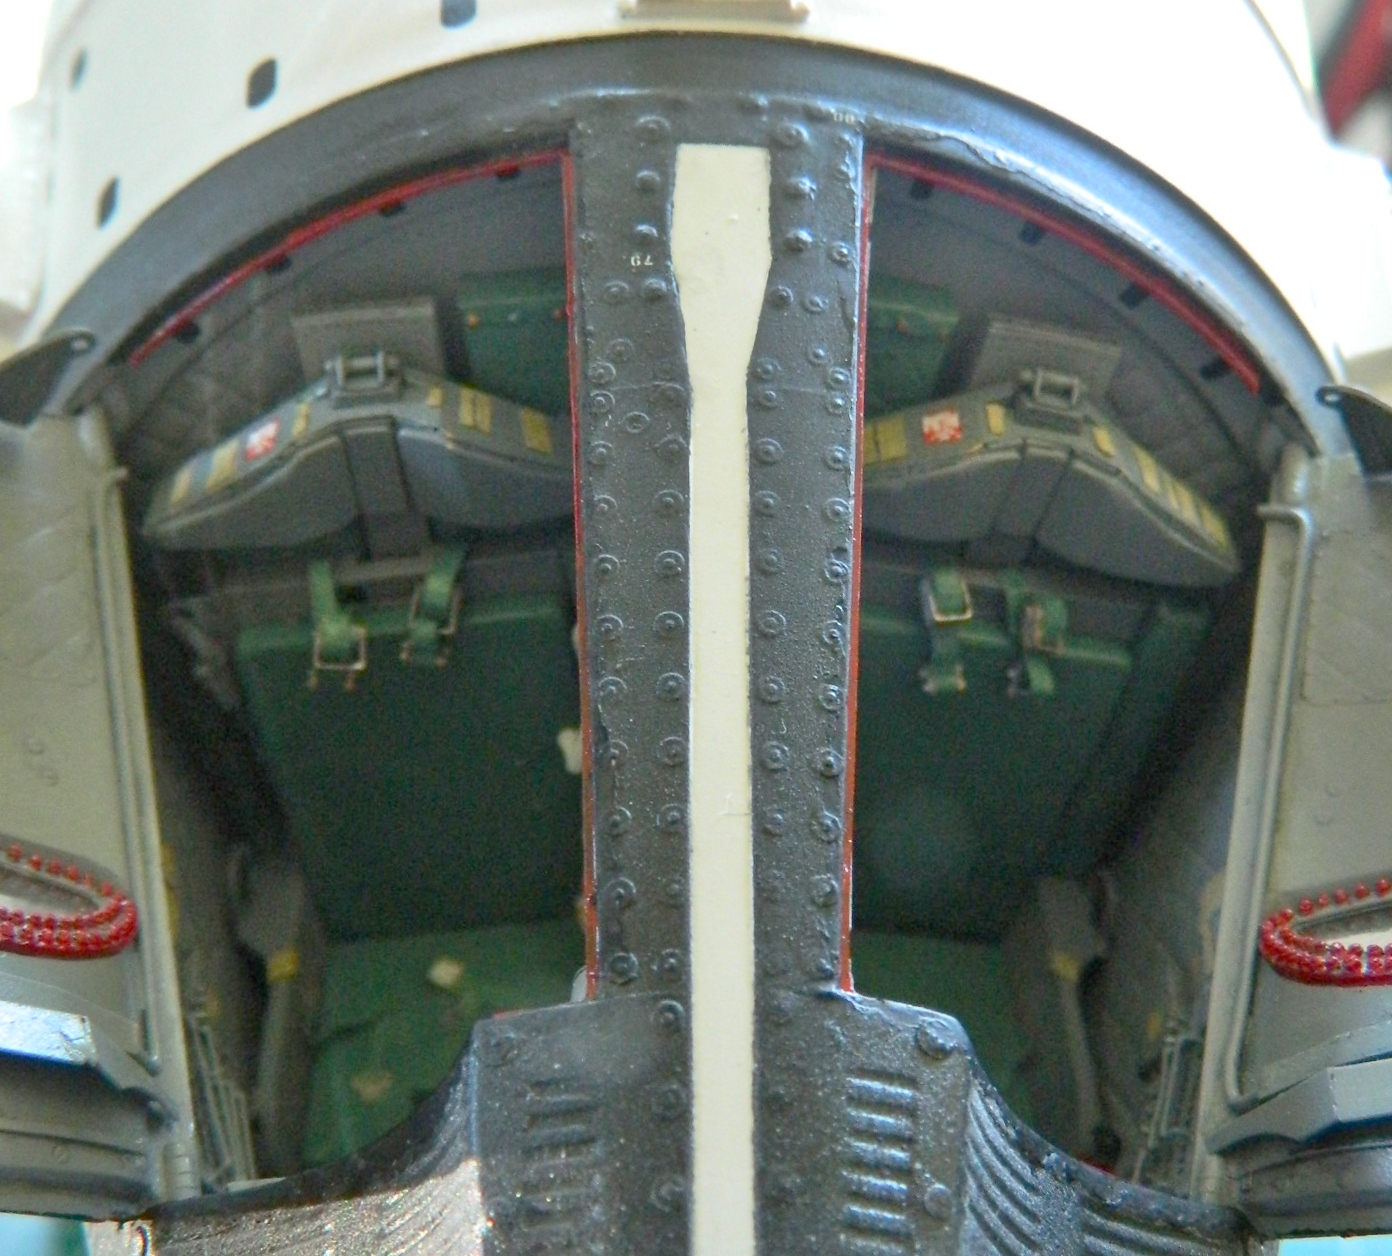
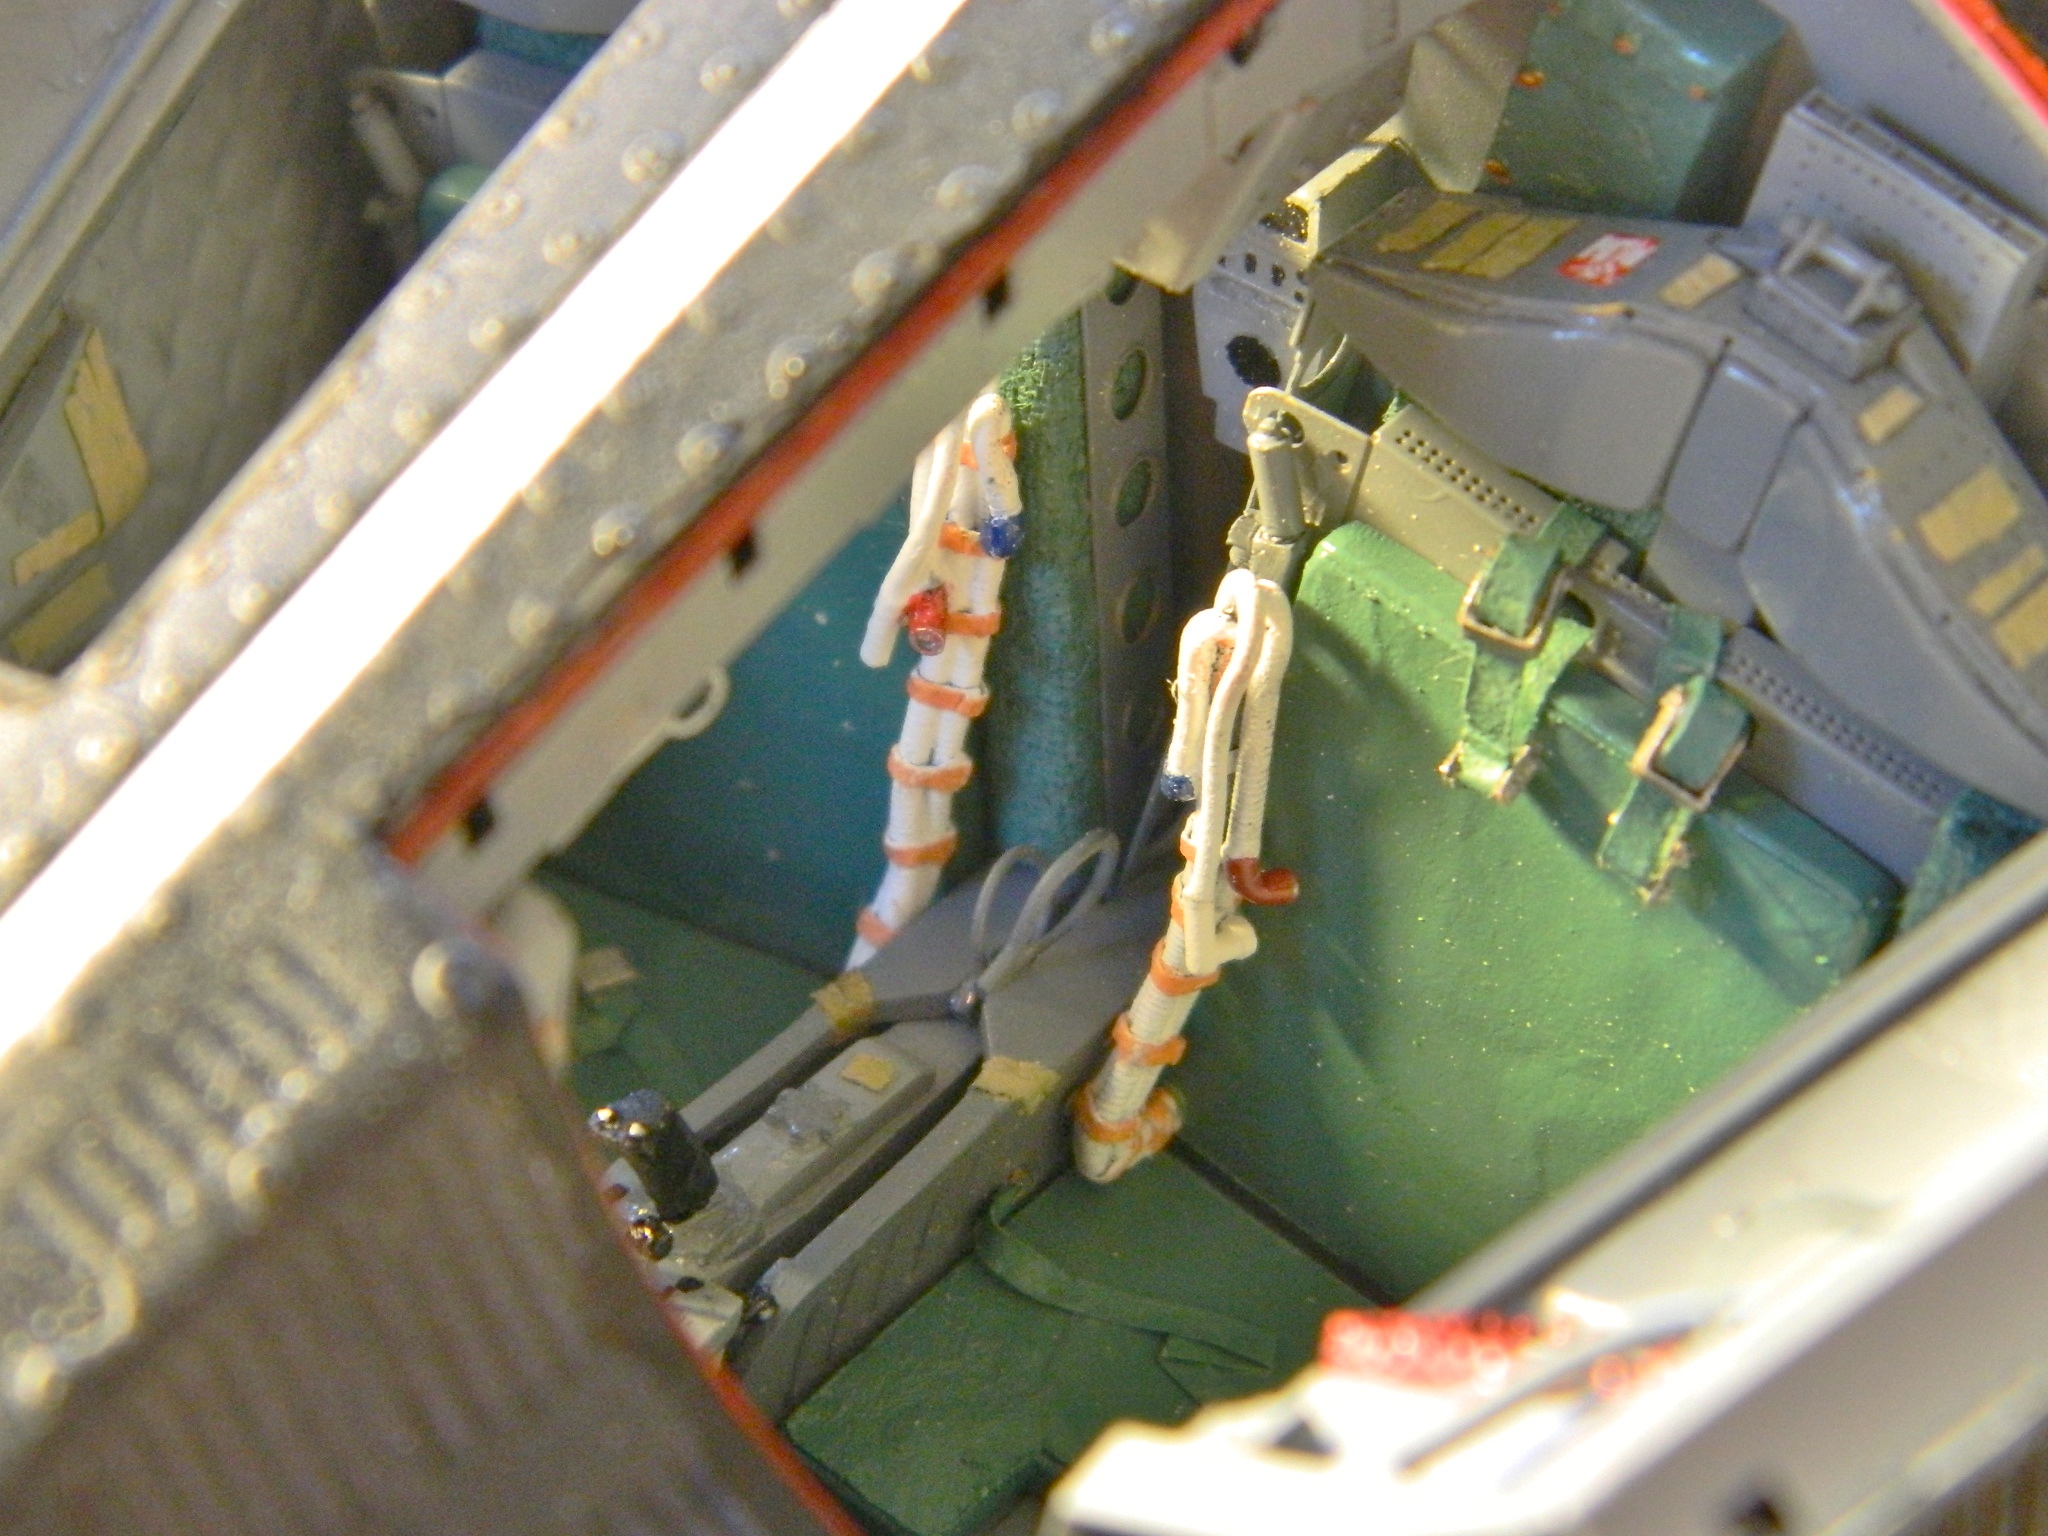
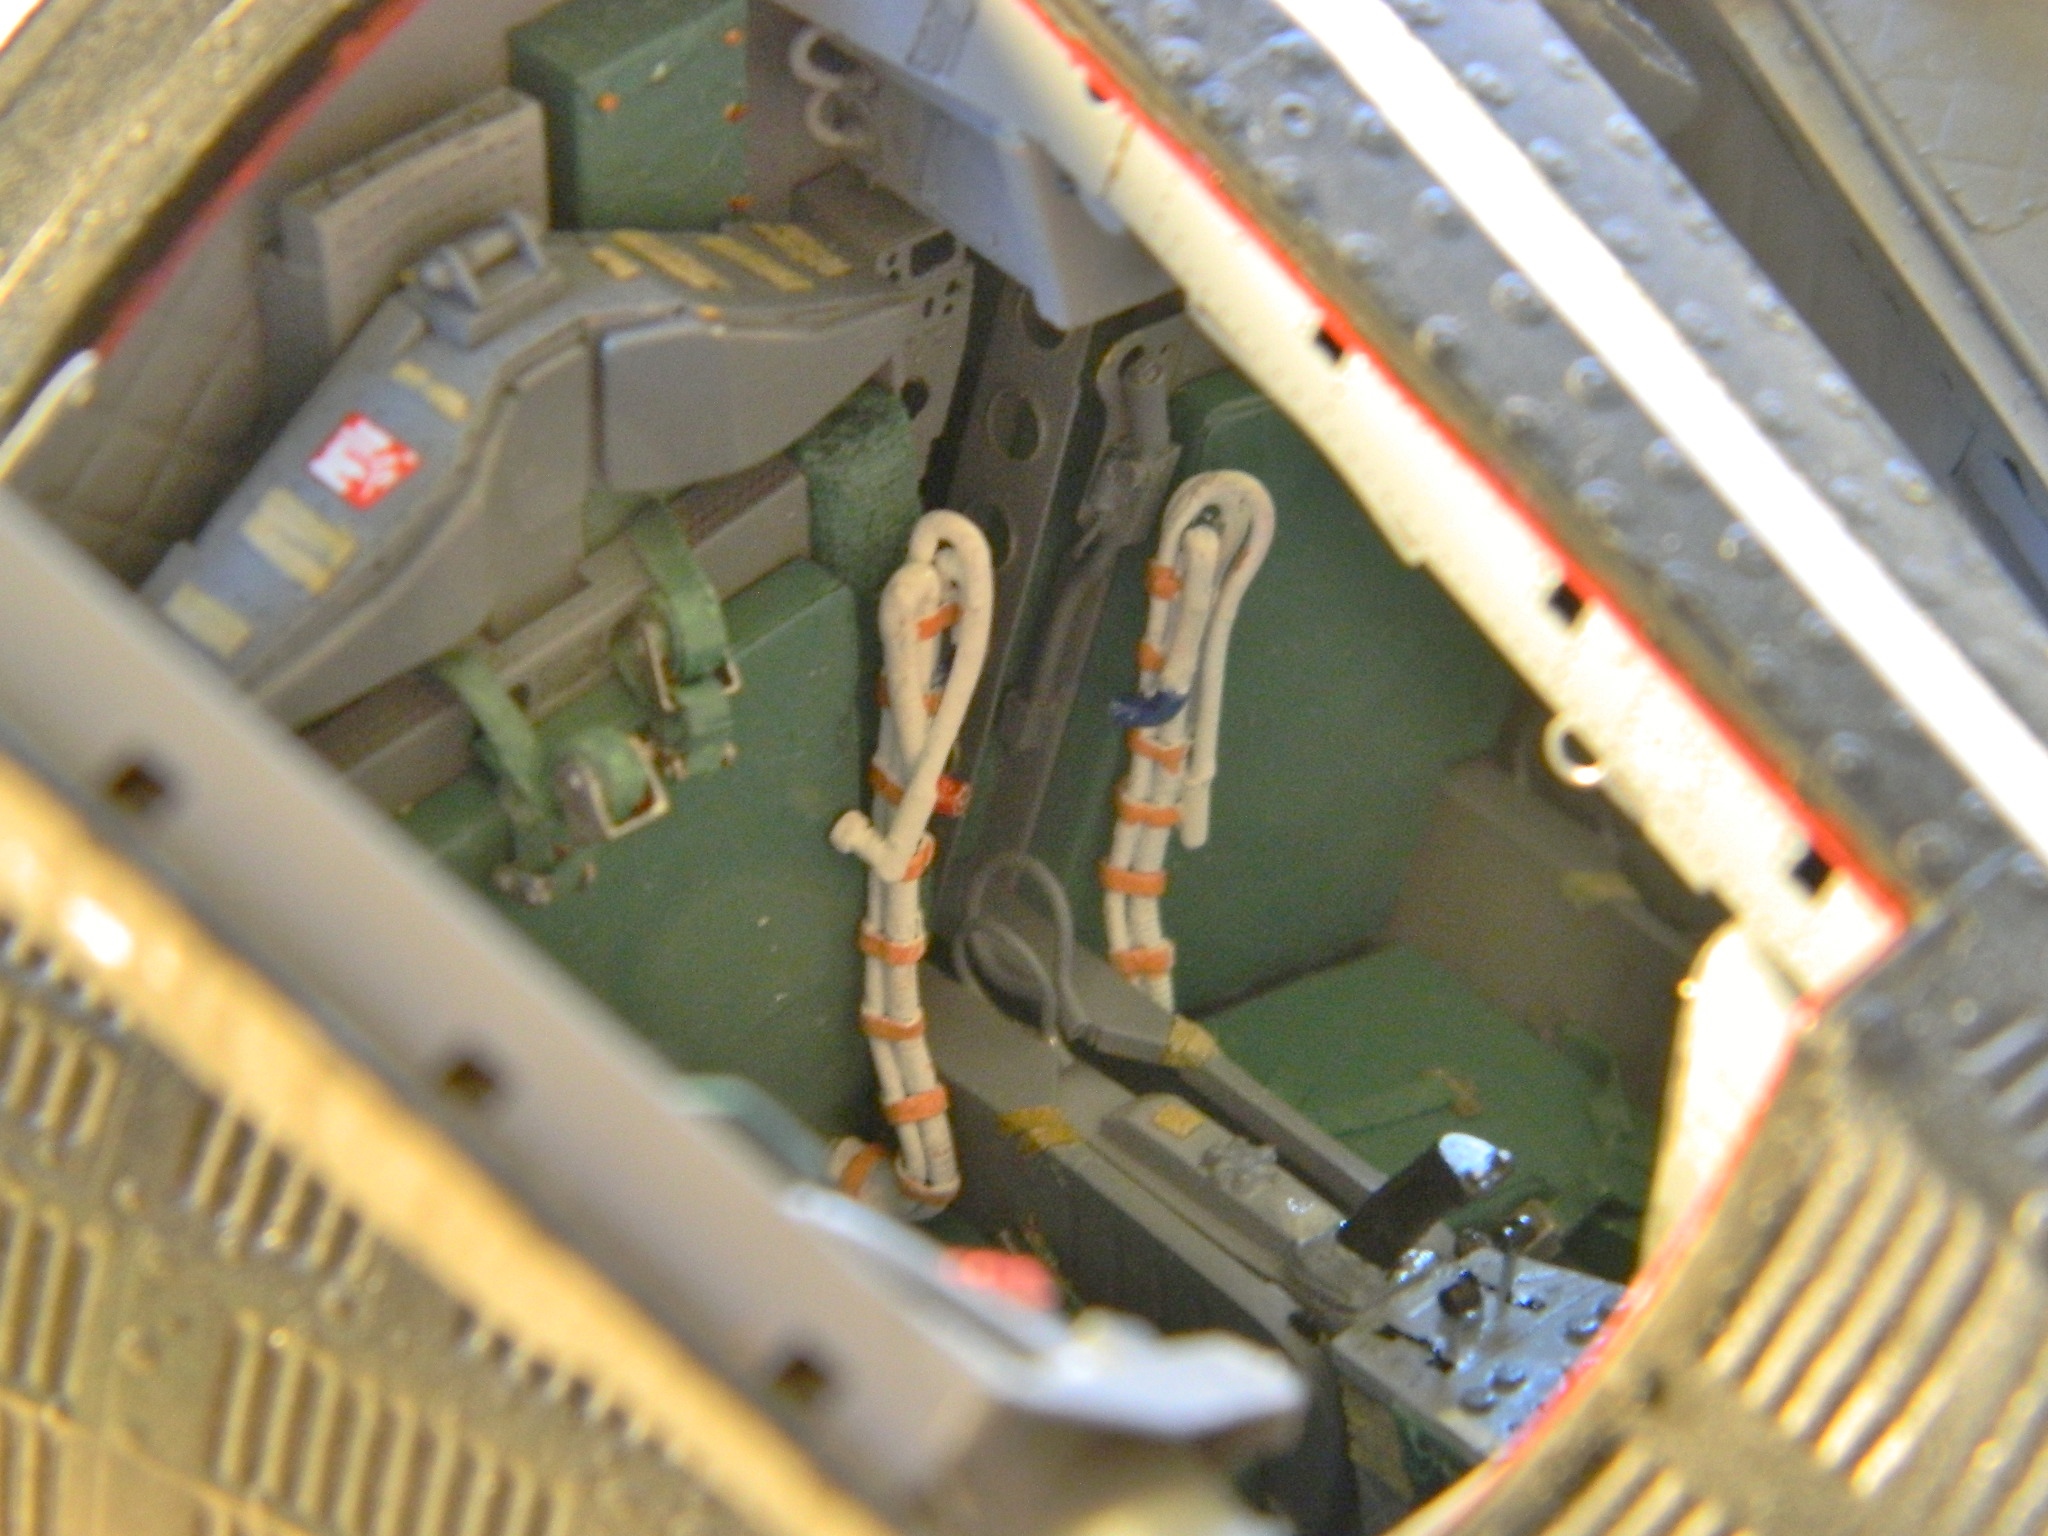
With the edges of the openings and hatches done as well as was possible, the red hatch seals were replicated with paint:
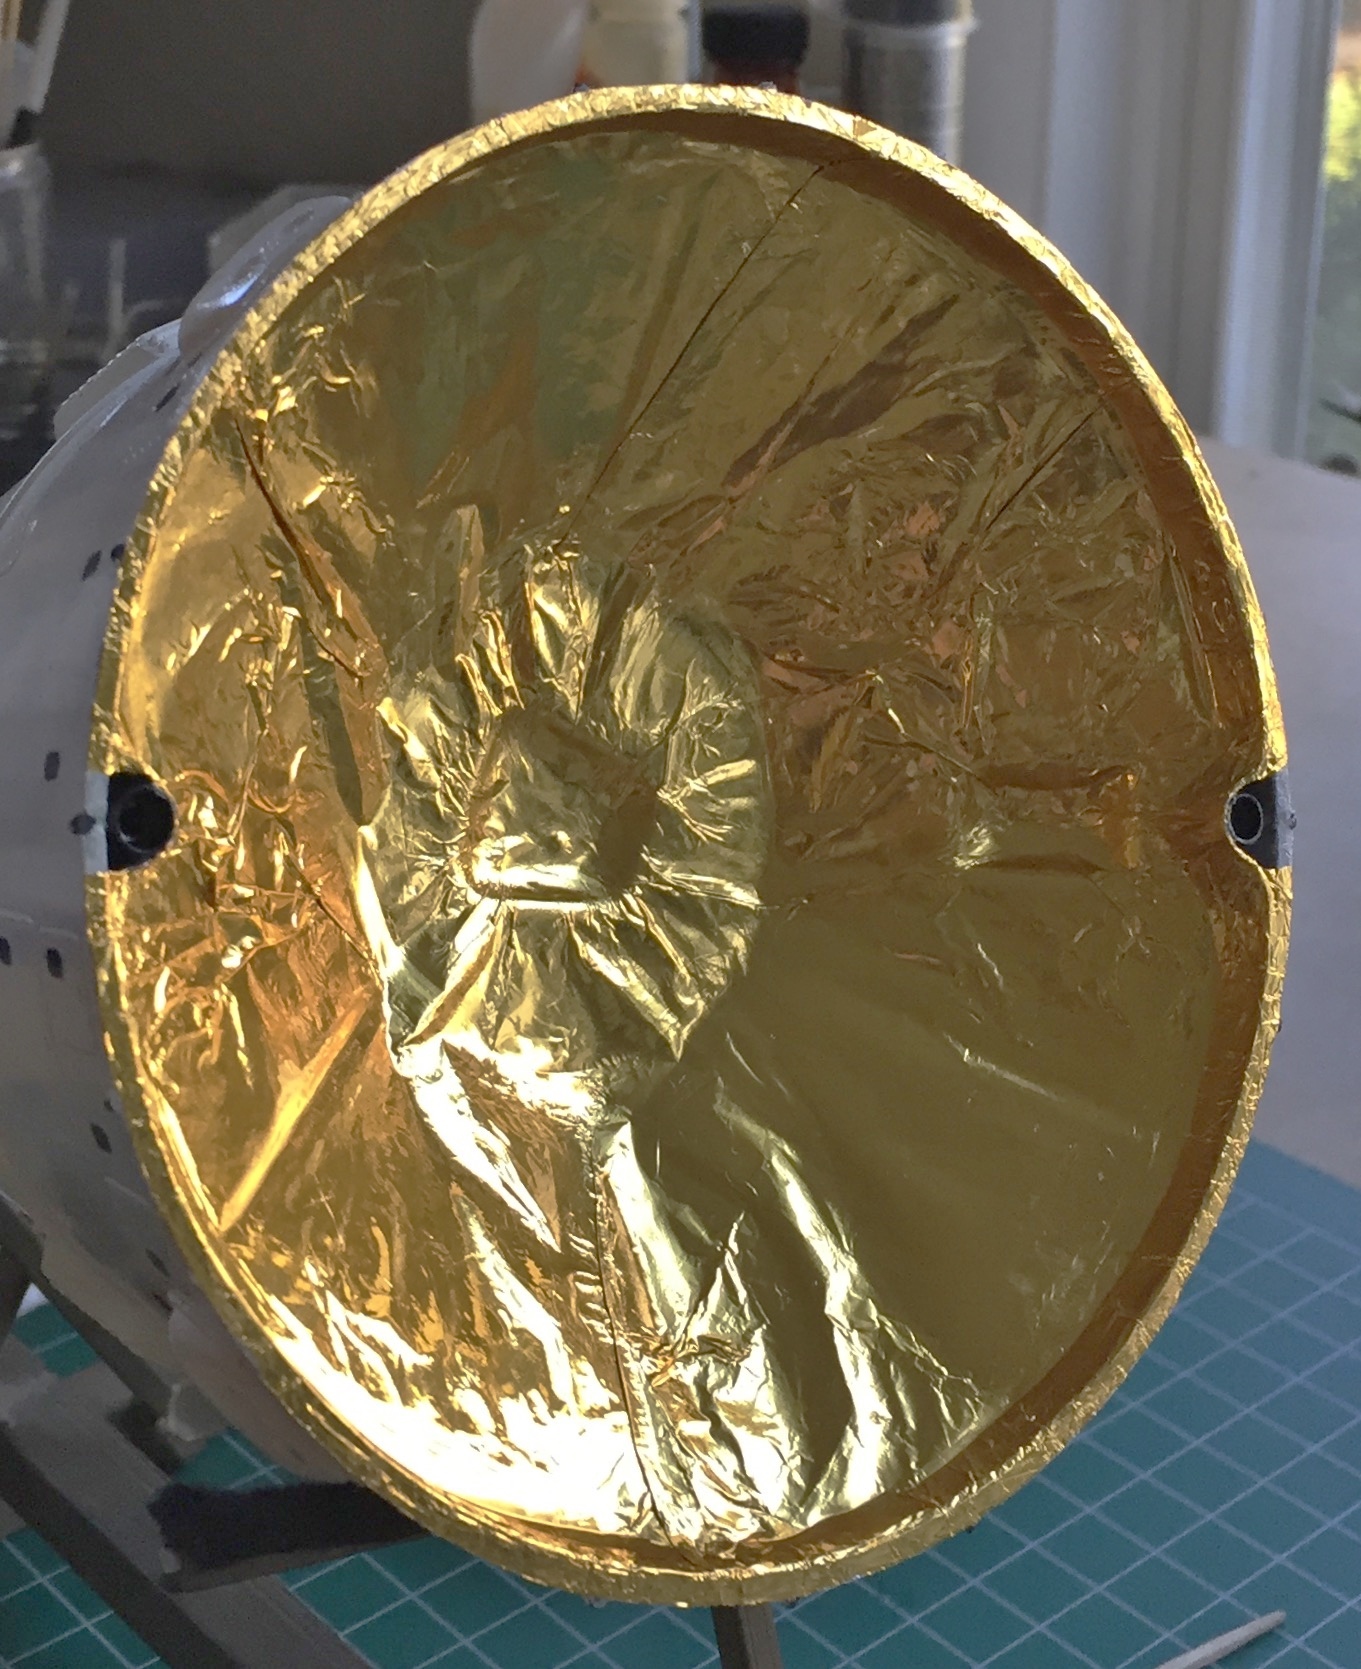
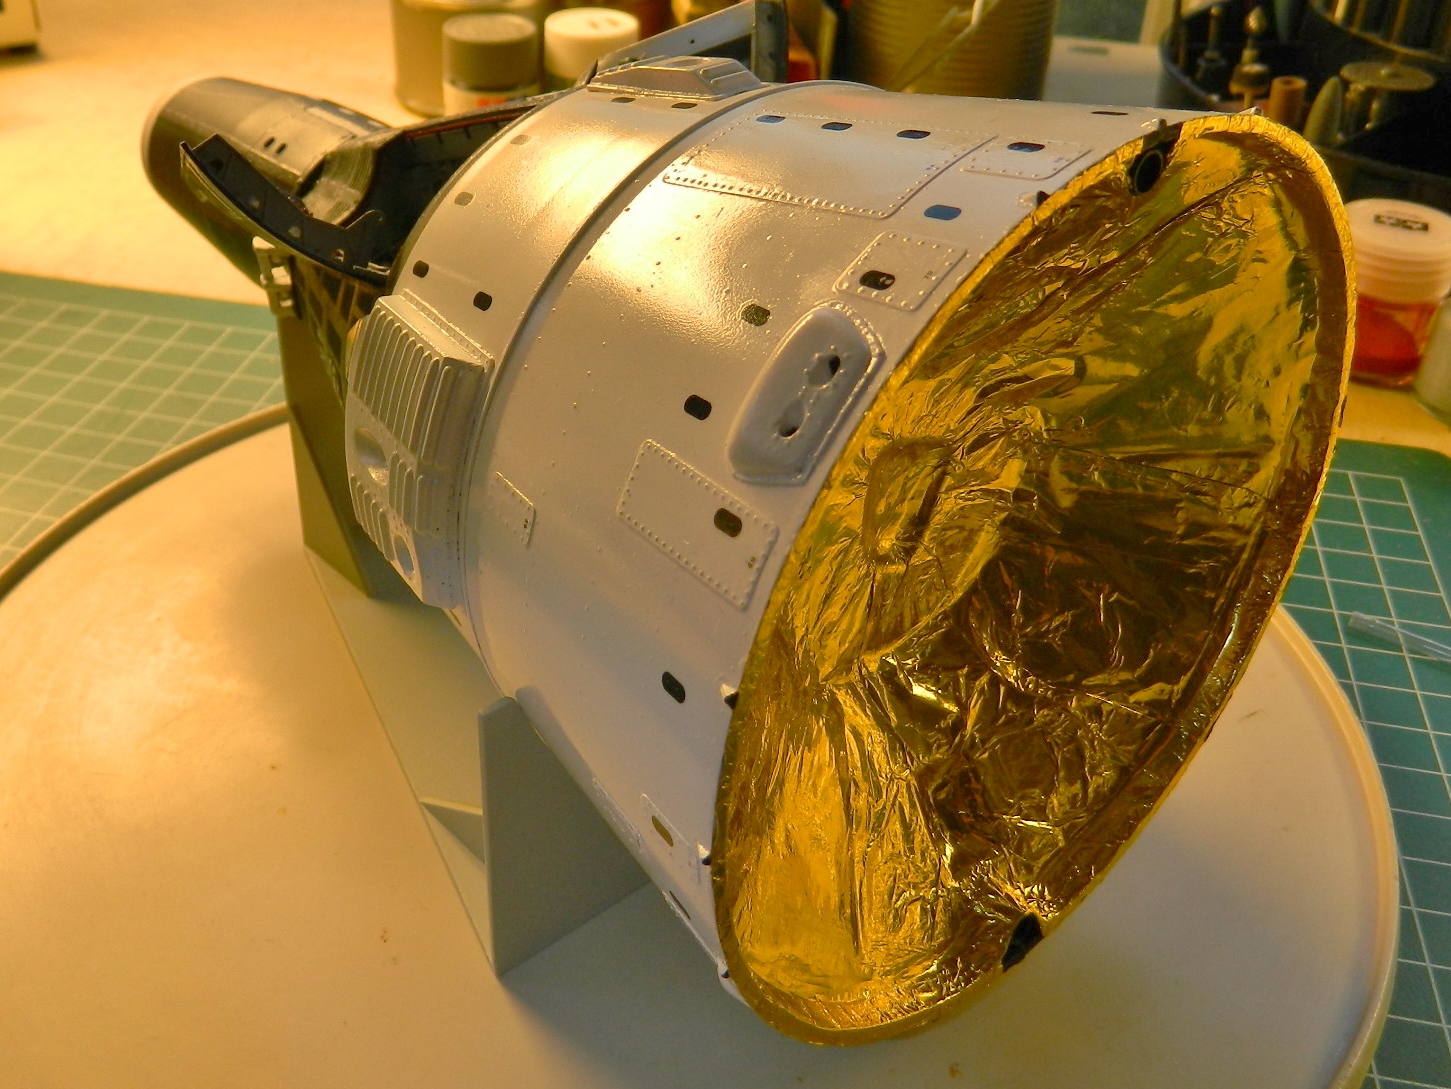
I decided to not use the sunscreens which meant that the last part needed to be added was the gold-colored foil used to replicate the mylar thermal shield. The “funny” people at RealSpace Models (the people that made the resin exterior details, and you already know how impressed I’m not with those) gave me just enough foil to cover the support:
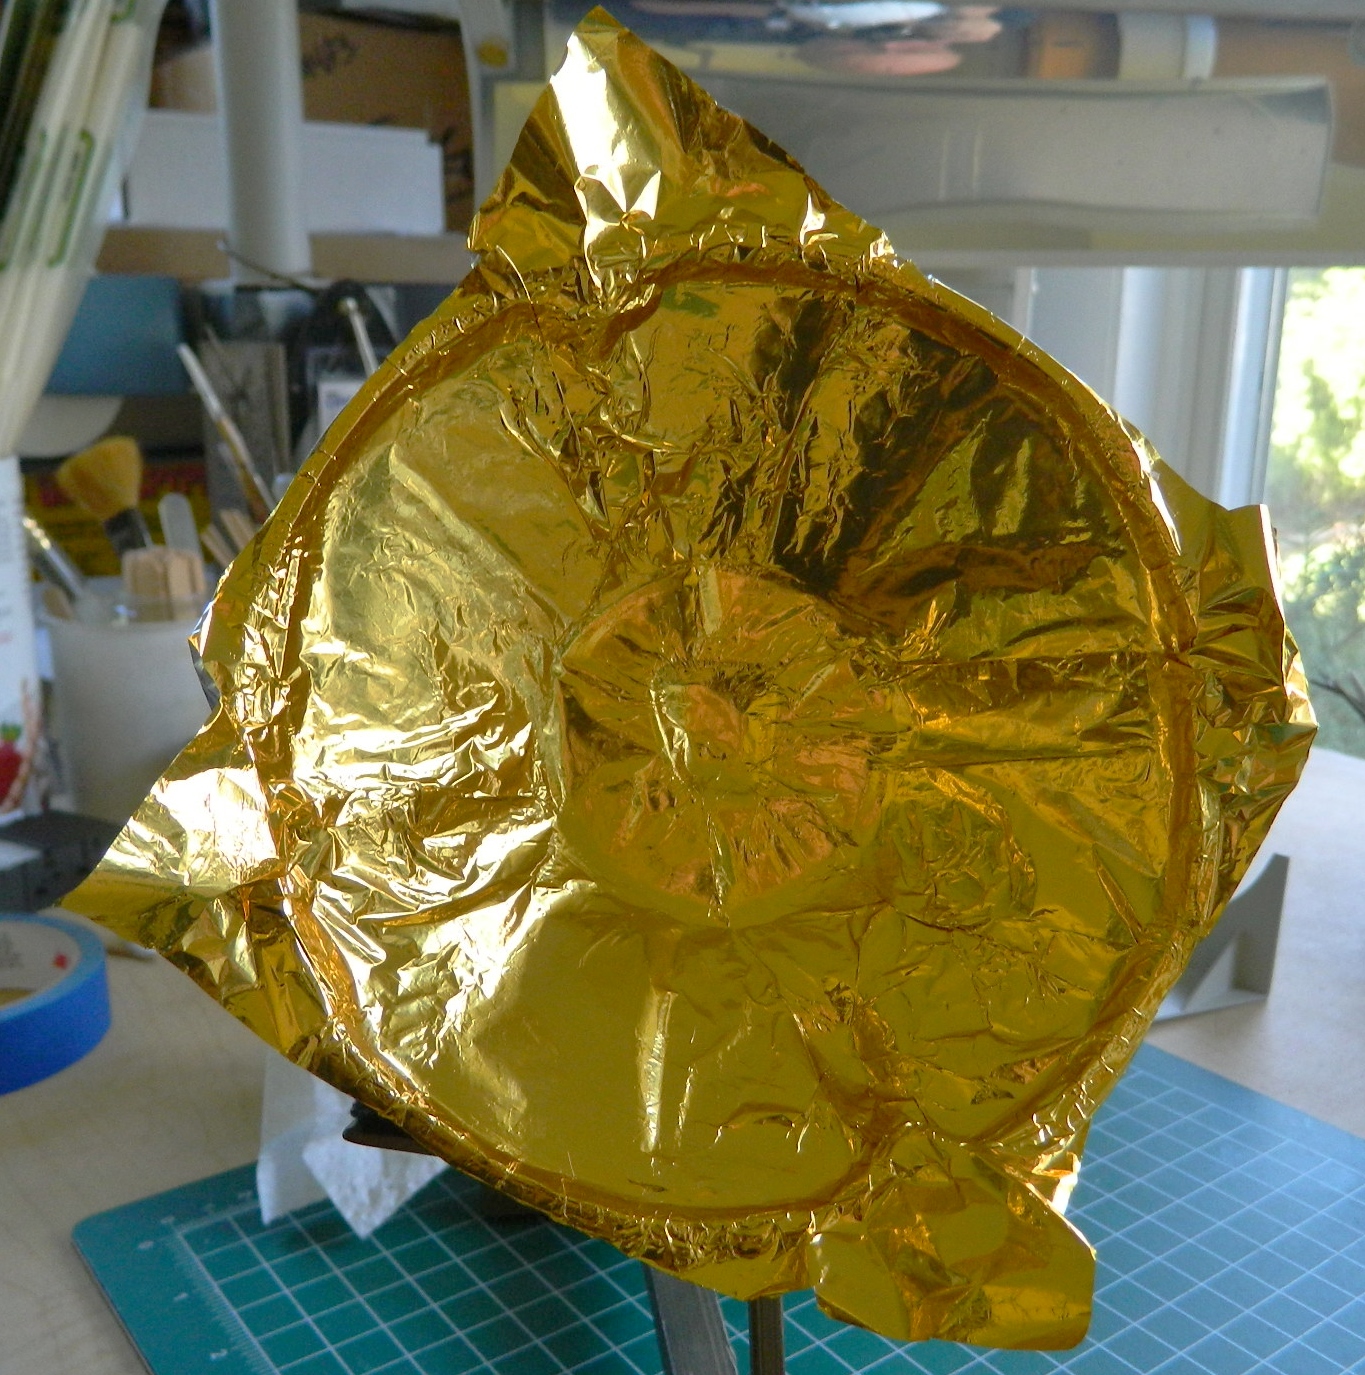
I used watch crystal cement to attach the foil at the periphery, and then came the nerve-twisting trimming:

Once my pulse rate dropped back to normal, I touched up the maneuvering thrusters and edges of the service module where the foil didn’t cover:
Then I sat there looking at the build and wondered what was next…AND THERE WASN’T ANYTHING “NEXT”! I’m DONE!! I had already painted the display stand so there was nothing left to do but be OH so thankful that this pissy build was finished:


This was fun to watch. Your interior is outstanding! I’m in the process of building the same kit (August 2018) with the same AM but am not as experienced as you seem to be.
I’ll hafta read through some of your posts again to fully understand how you solved the fit issues with the interior. Those PE seats are a bear! But nice at the same time.
Thanx for posting your build and I’m glad to have found it!
LikeLike
Hah! I’m glad SOMEbody had fun with this! Honestly, thus far it was my most annoying build. I expected, given the age of the kit and the technology for die-cutting back in the 60s, that the fit would be rotten…and it was. What I did NOT expect was for the resin AM parts to be so poor as well. Not only were they out-of-scale, there were bubble holes EVERYWHERE. Freakin’ maddening!
Well, enough of that. If any of my work (and frustration) can help you, I’m glad. If you have any questions, feel free! Thanks for looking!
LikeLike
Great build and I feel your pain. I’ve been thru a few of those myself. But…(I can point this out because you said your bar was set higher than most), if you are displaying the capsule in its pre-flight configuration (with the radar section cover attached), you should have built the capsule with the horizon sensor fairing attached. The fairing was not jettisoned until orbit insertion.
LikeLike
Never found a reference showing the horizon sensor cover.
LikeLike