Having started on the engine bay, seemed to make sense to get the engines assembled and detailed. I quickly discovered that the carburetors wouldn’t stay glued on. There’s very little surface for the glue to adhere the parts to so the carburetors needed pins:

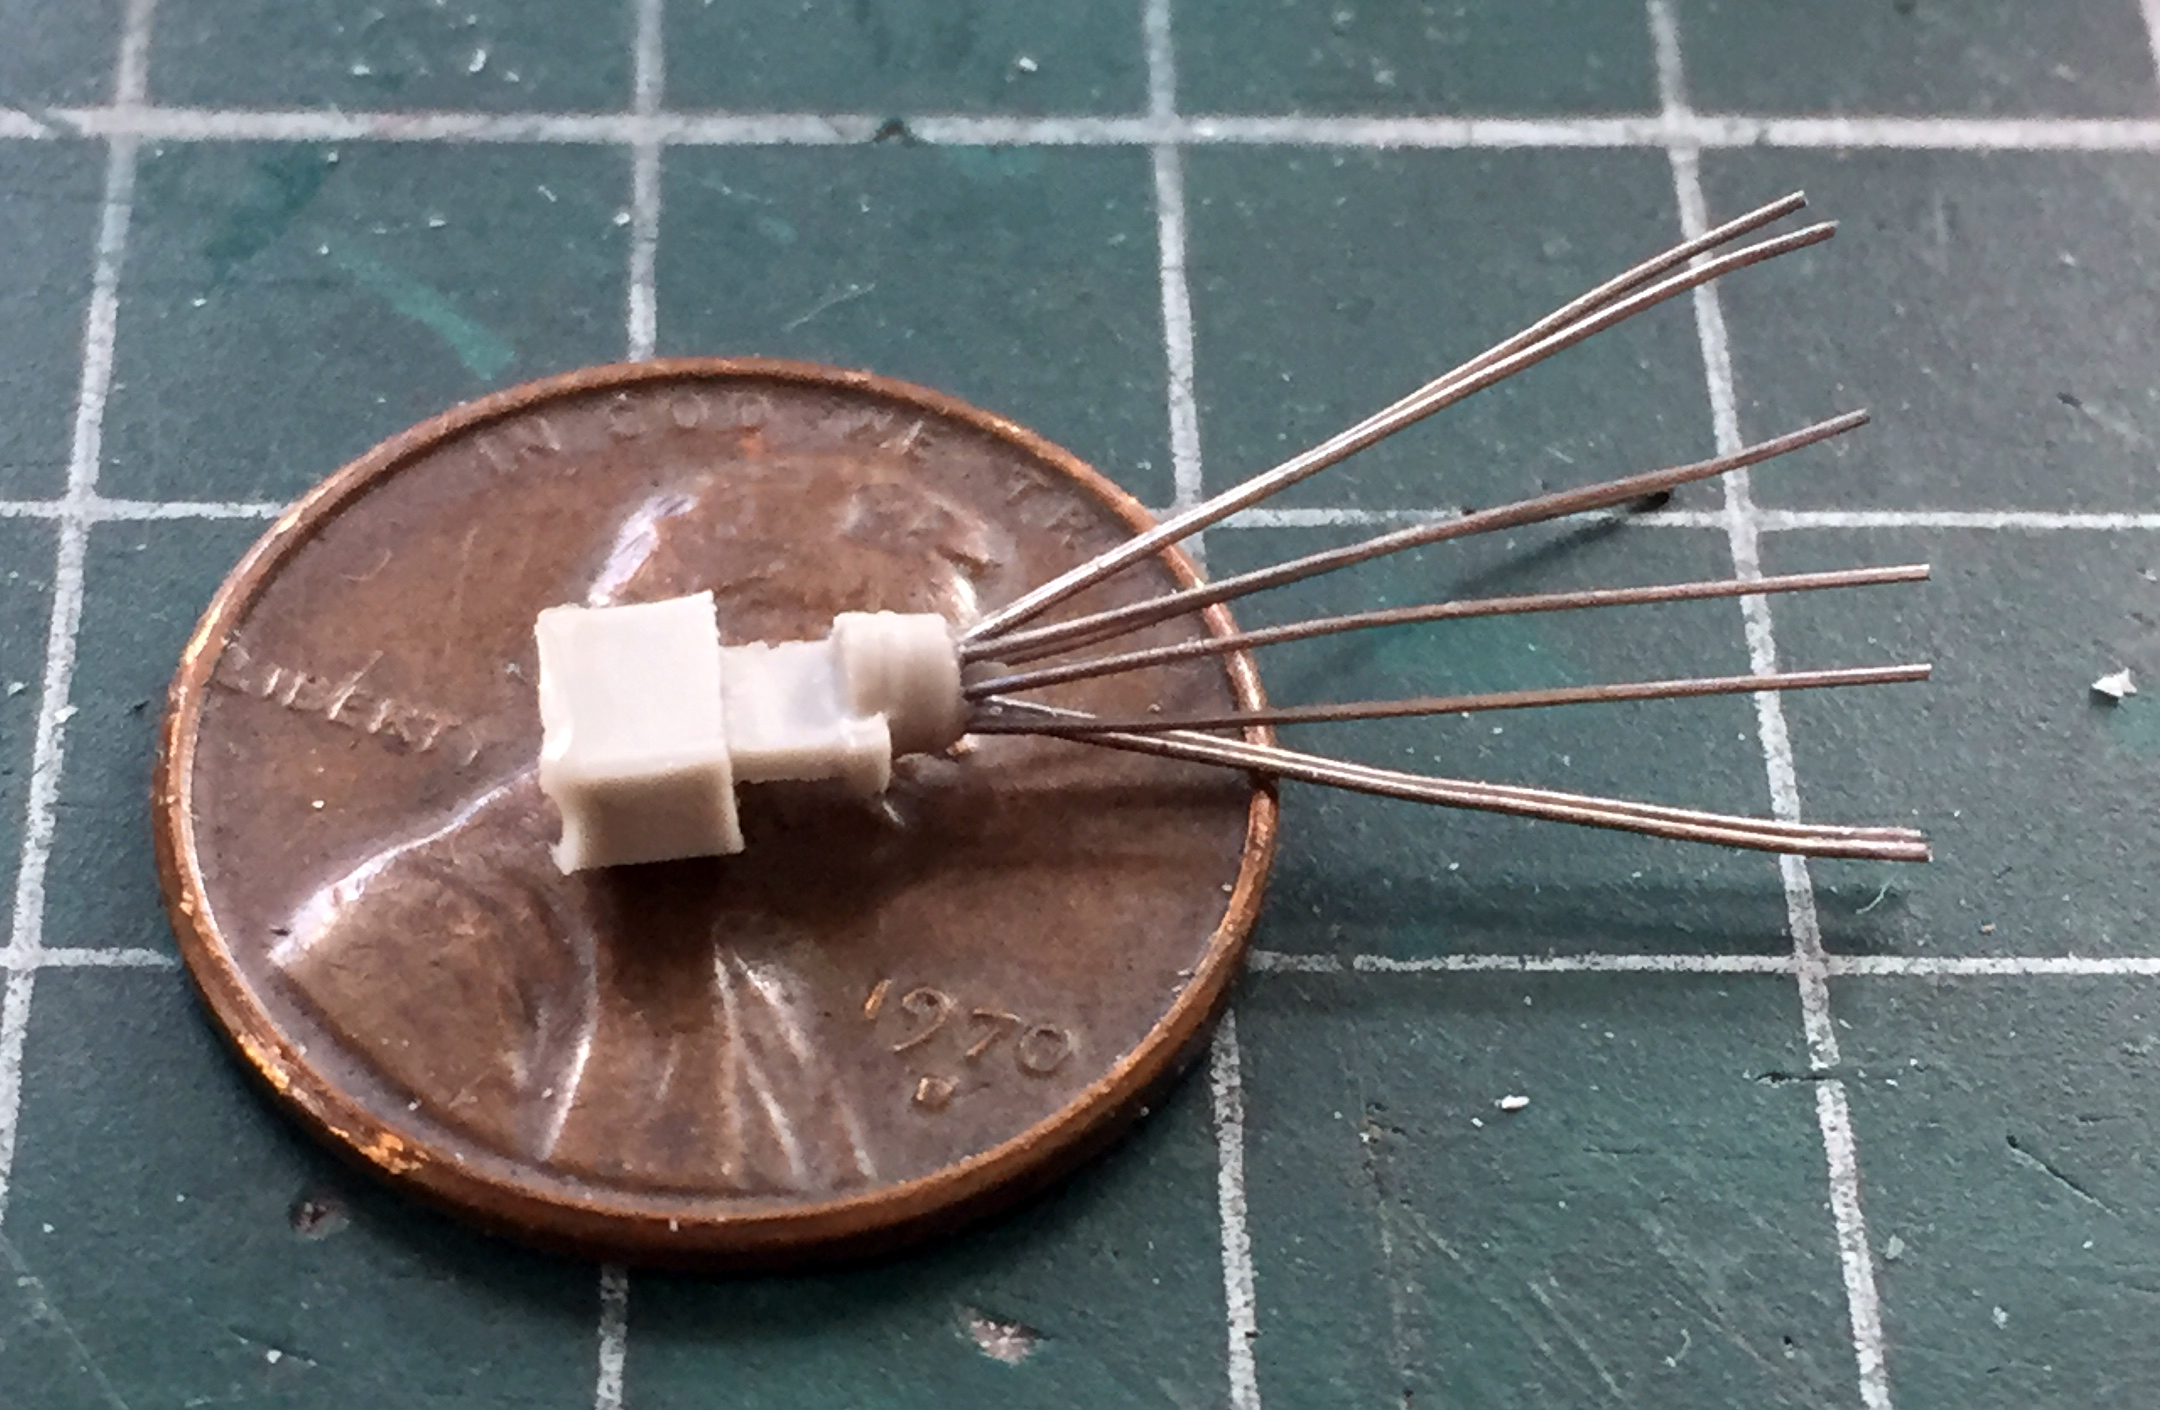
The most challenging of what the engines would need was to get eight TINY (.010″ (.254mm)) holes drilled into the distributor caps and then glue eight TINY lengths of .010″ (.254mm) solder into them:
While the superglue cured a bit, I added the fuel lines to the carburetors’ float bowls:

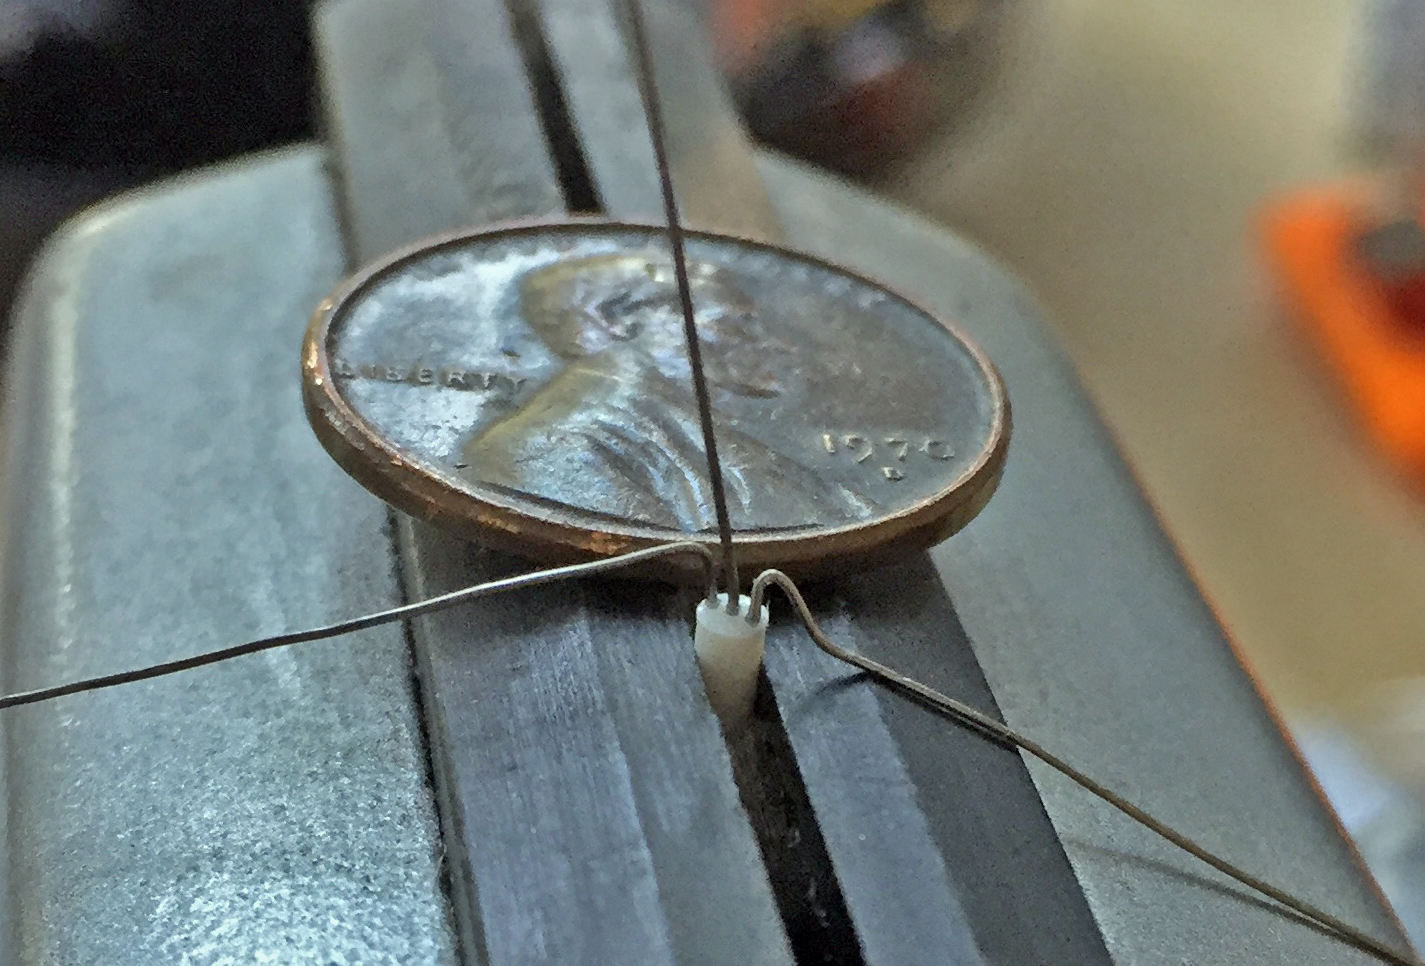
Then I had to drill the distributor mounts to accept a pin; there’s NO WAY this solder and resin assembly could stay on with such a small surface to adhere to:
Okay…time to add the distributors:
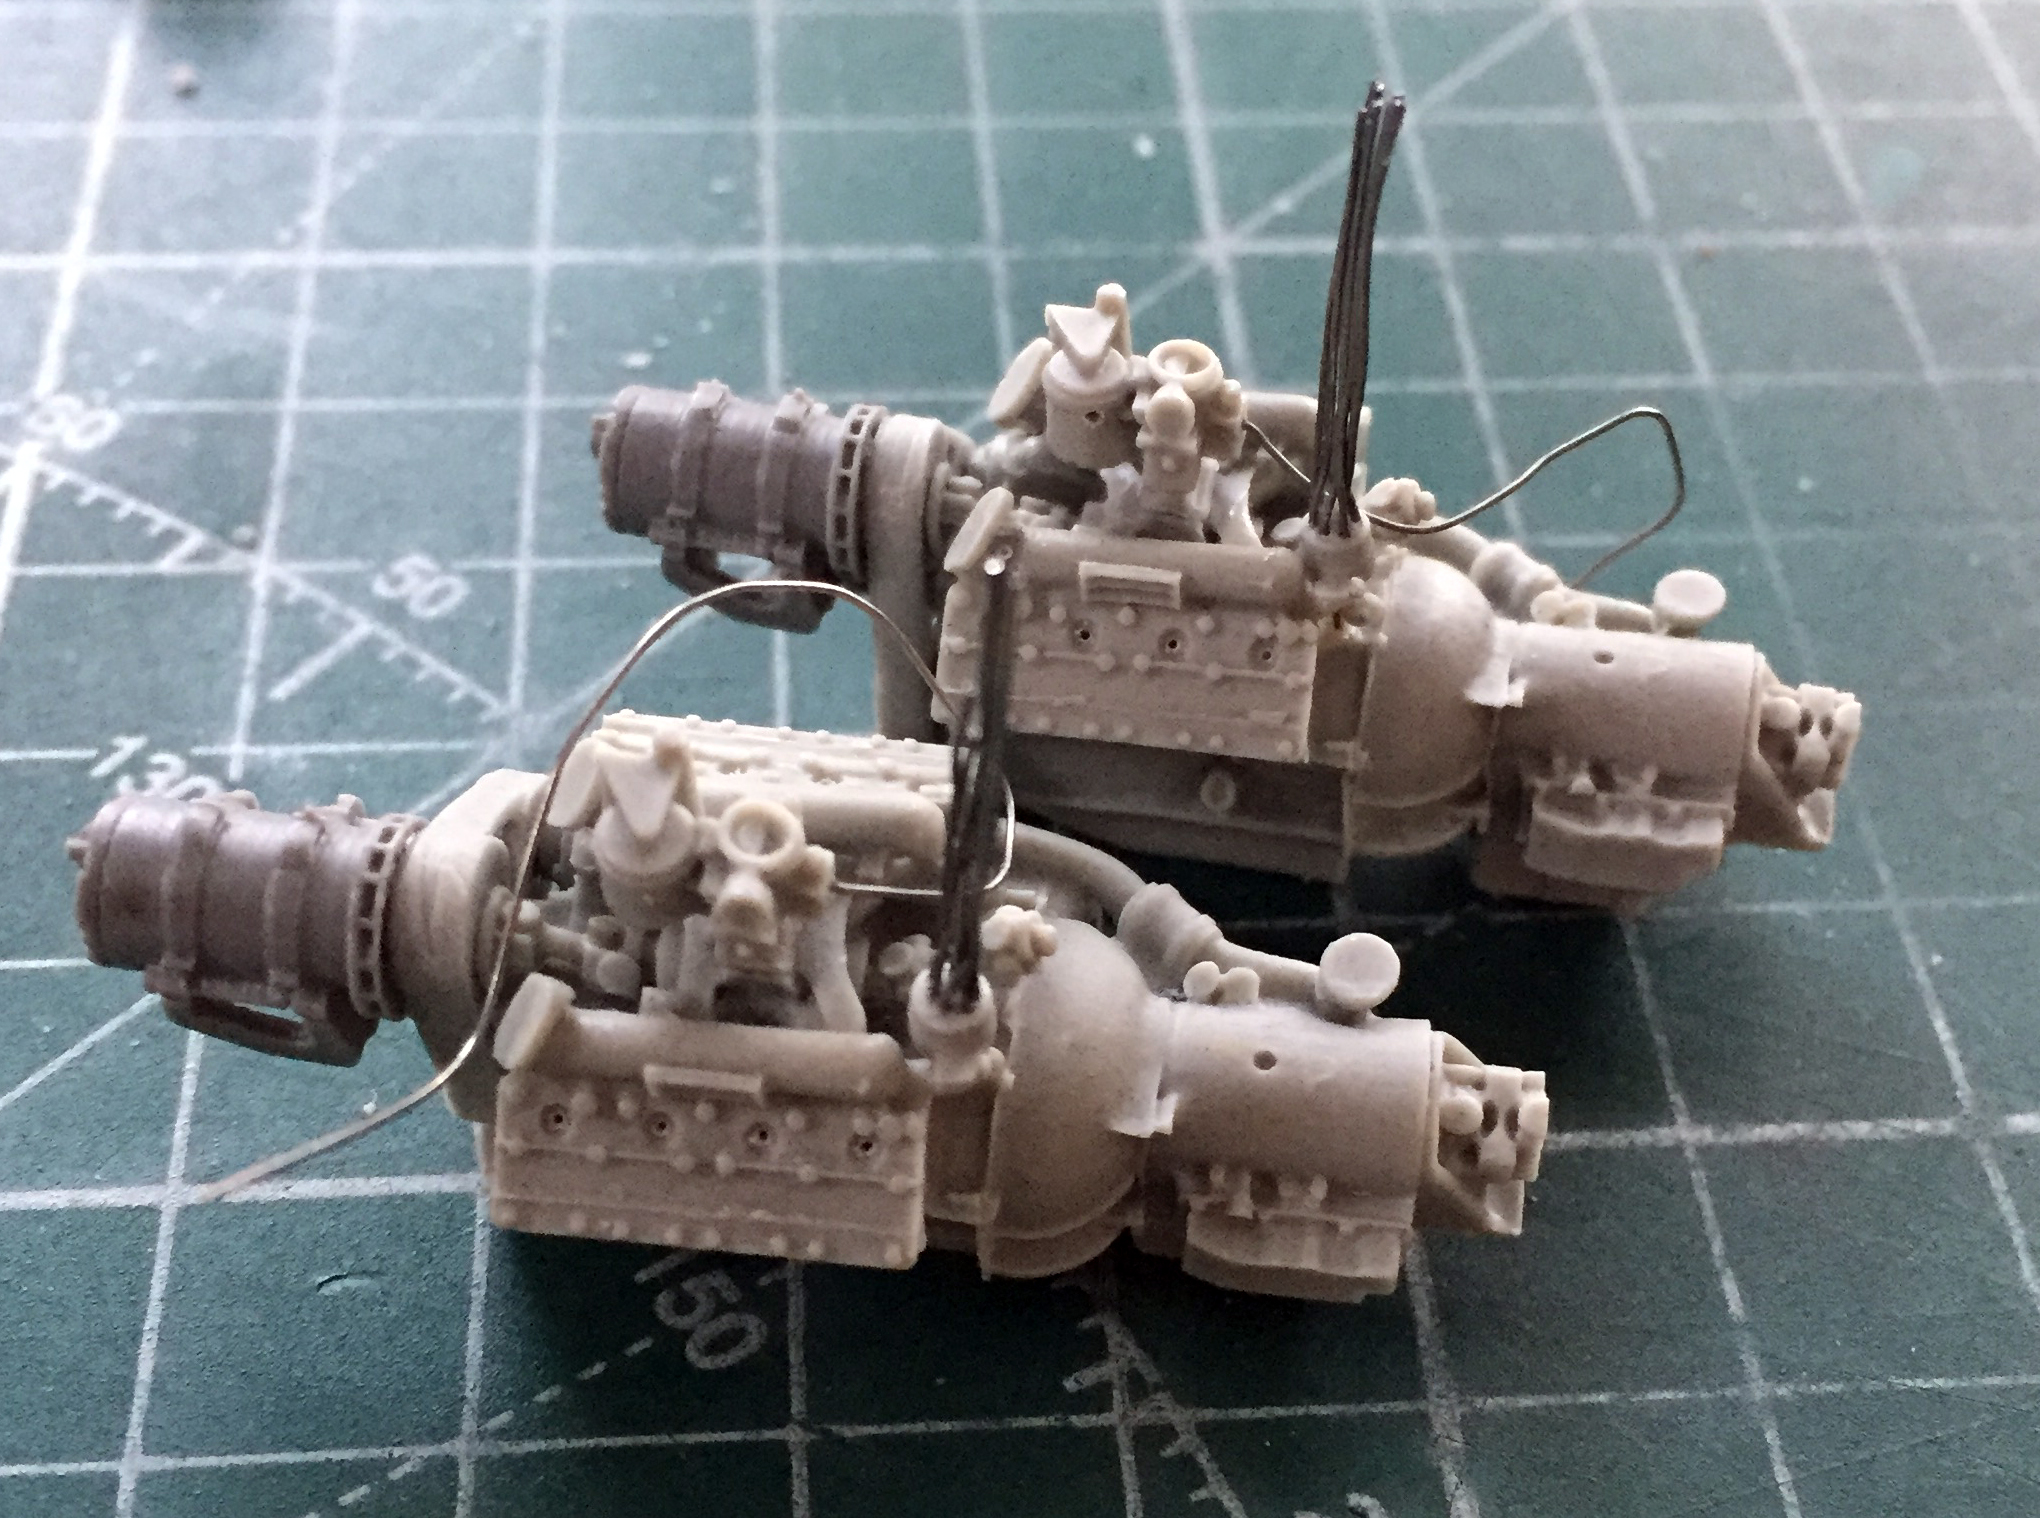
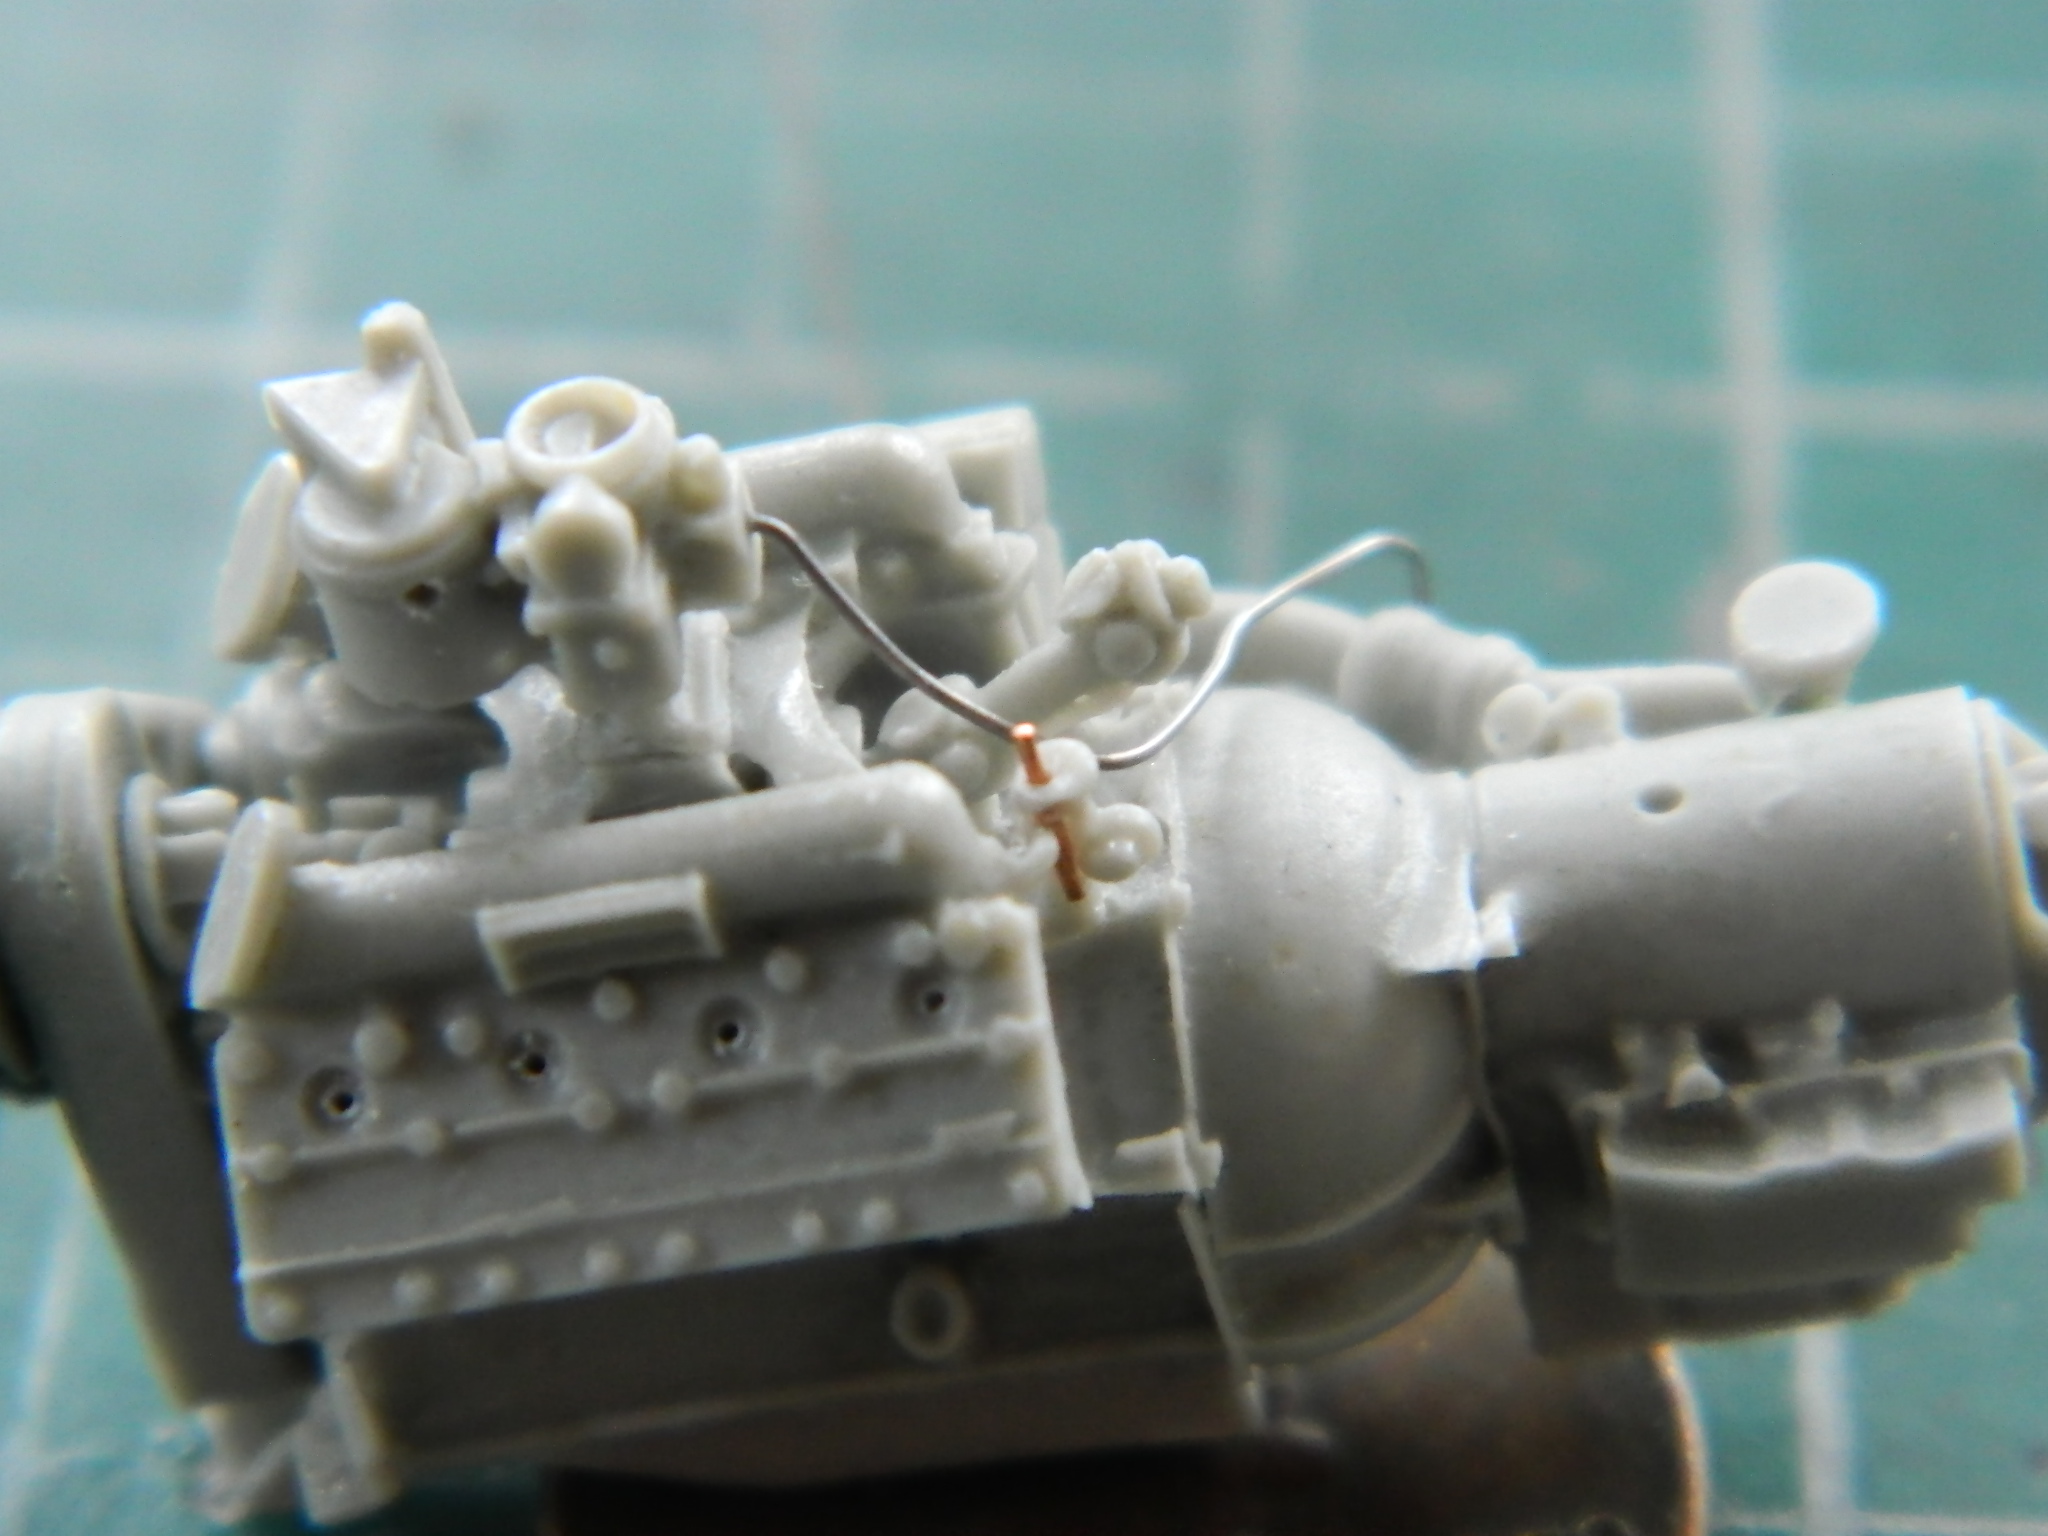
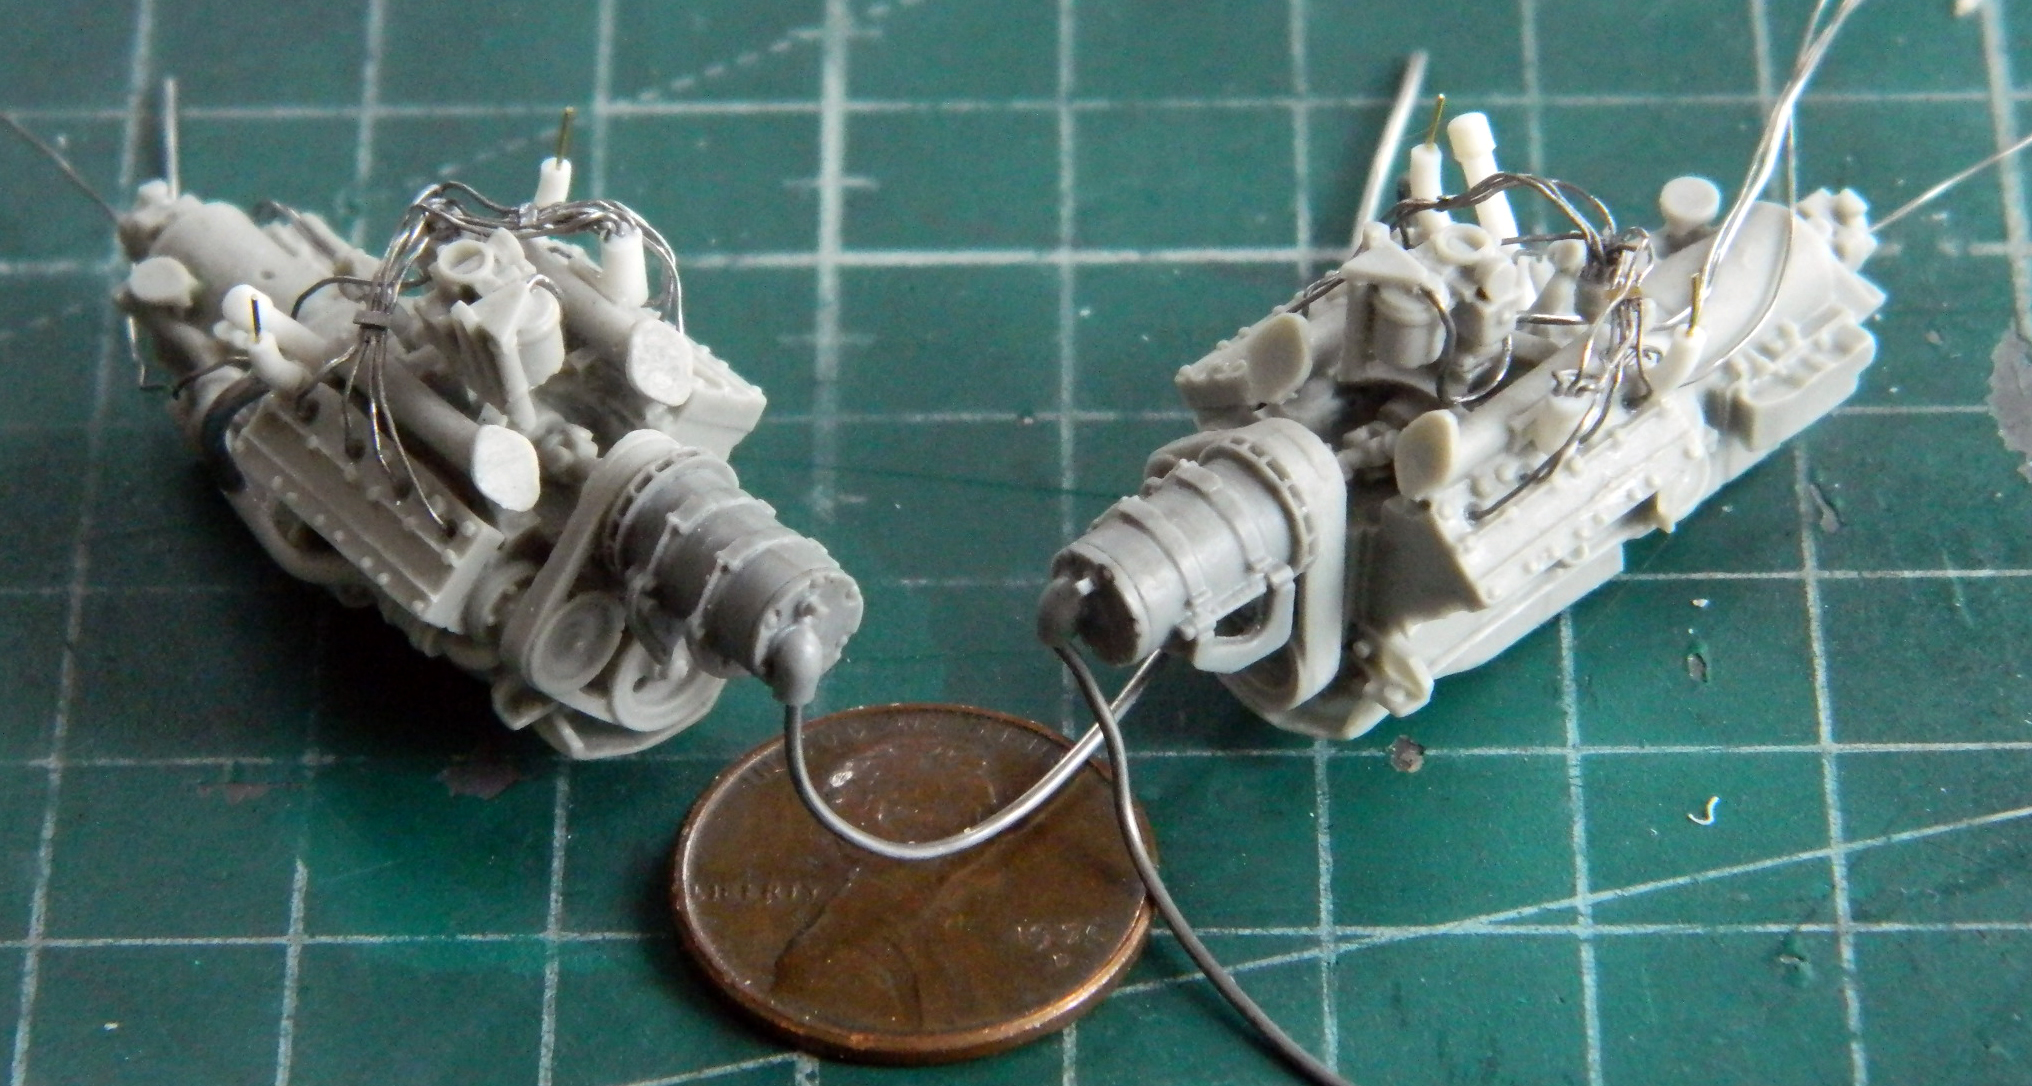
Of course, ignition wires (which I manage to get the firing order correct on) then get routed:
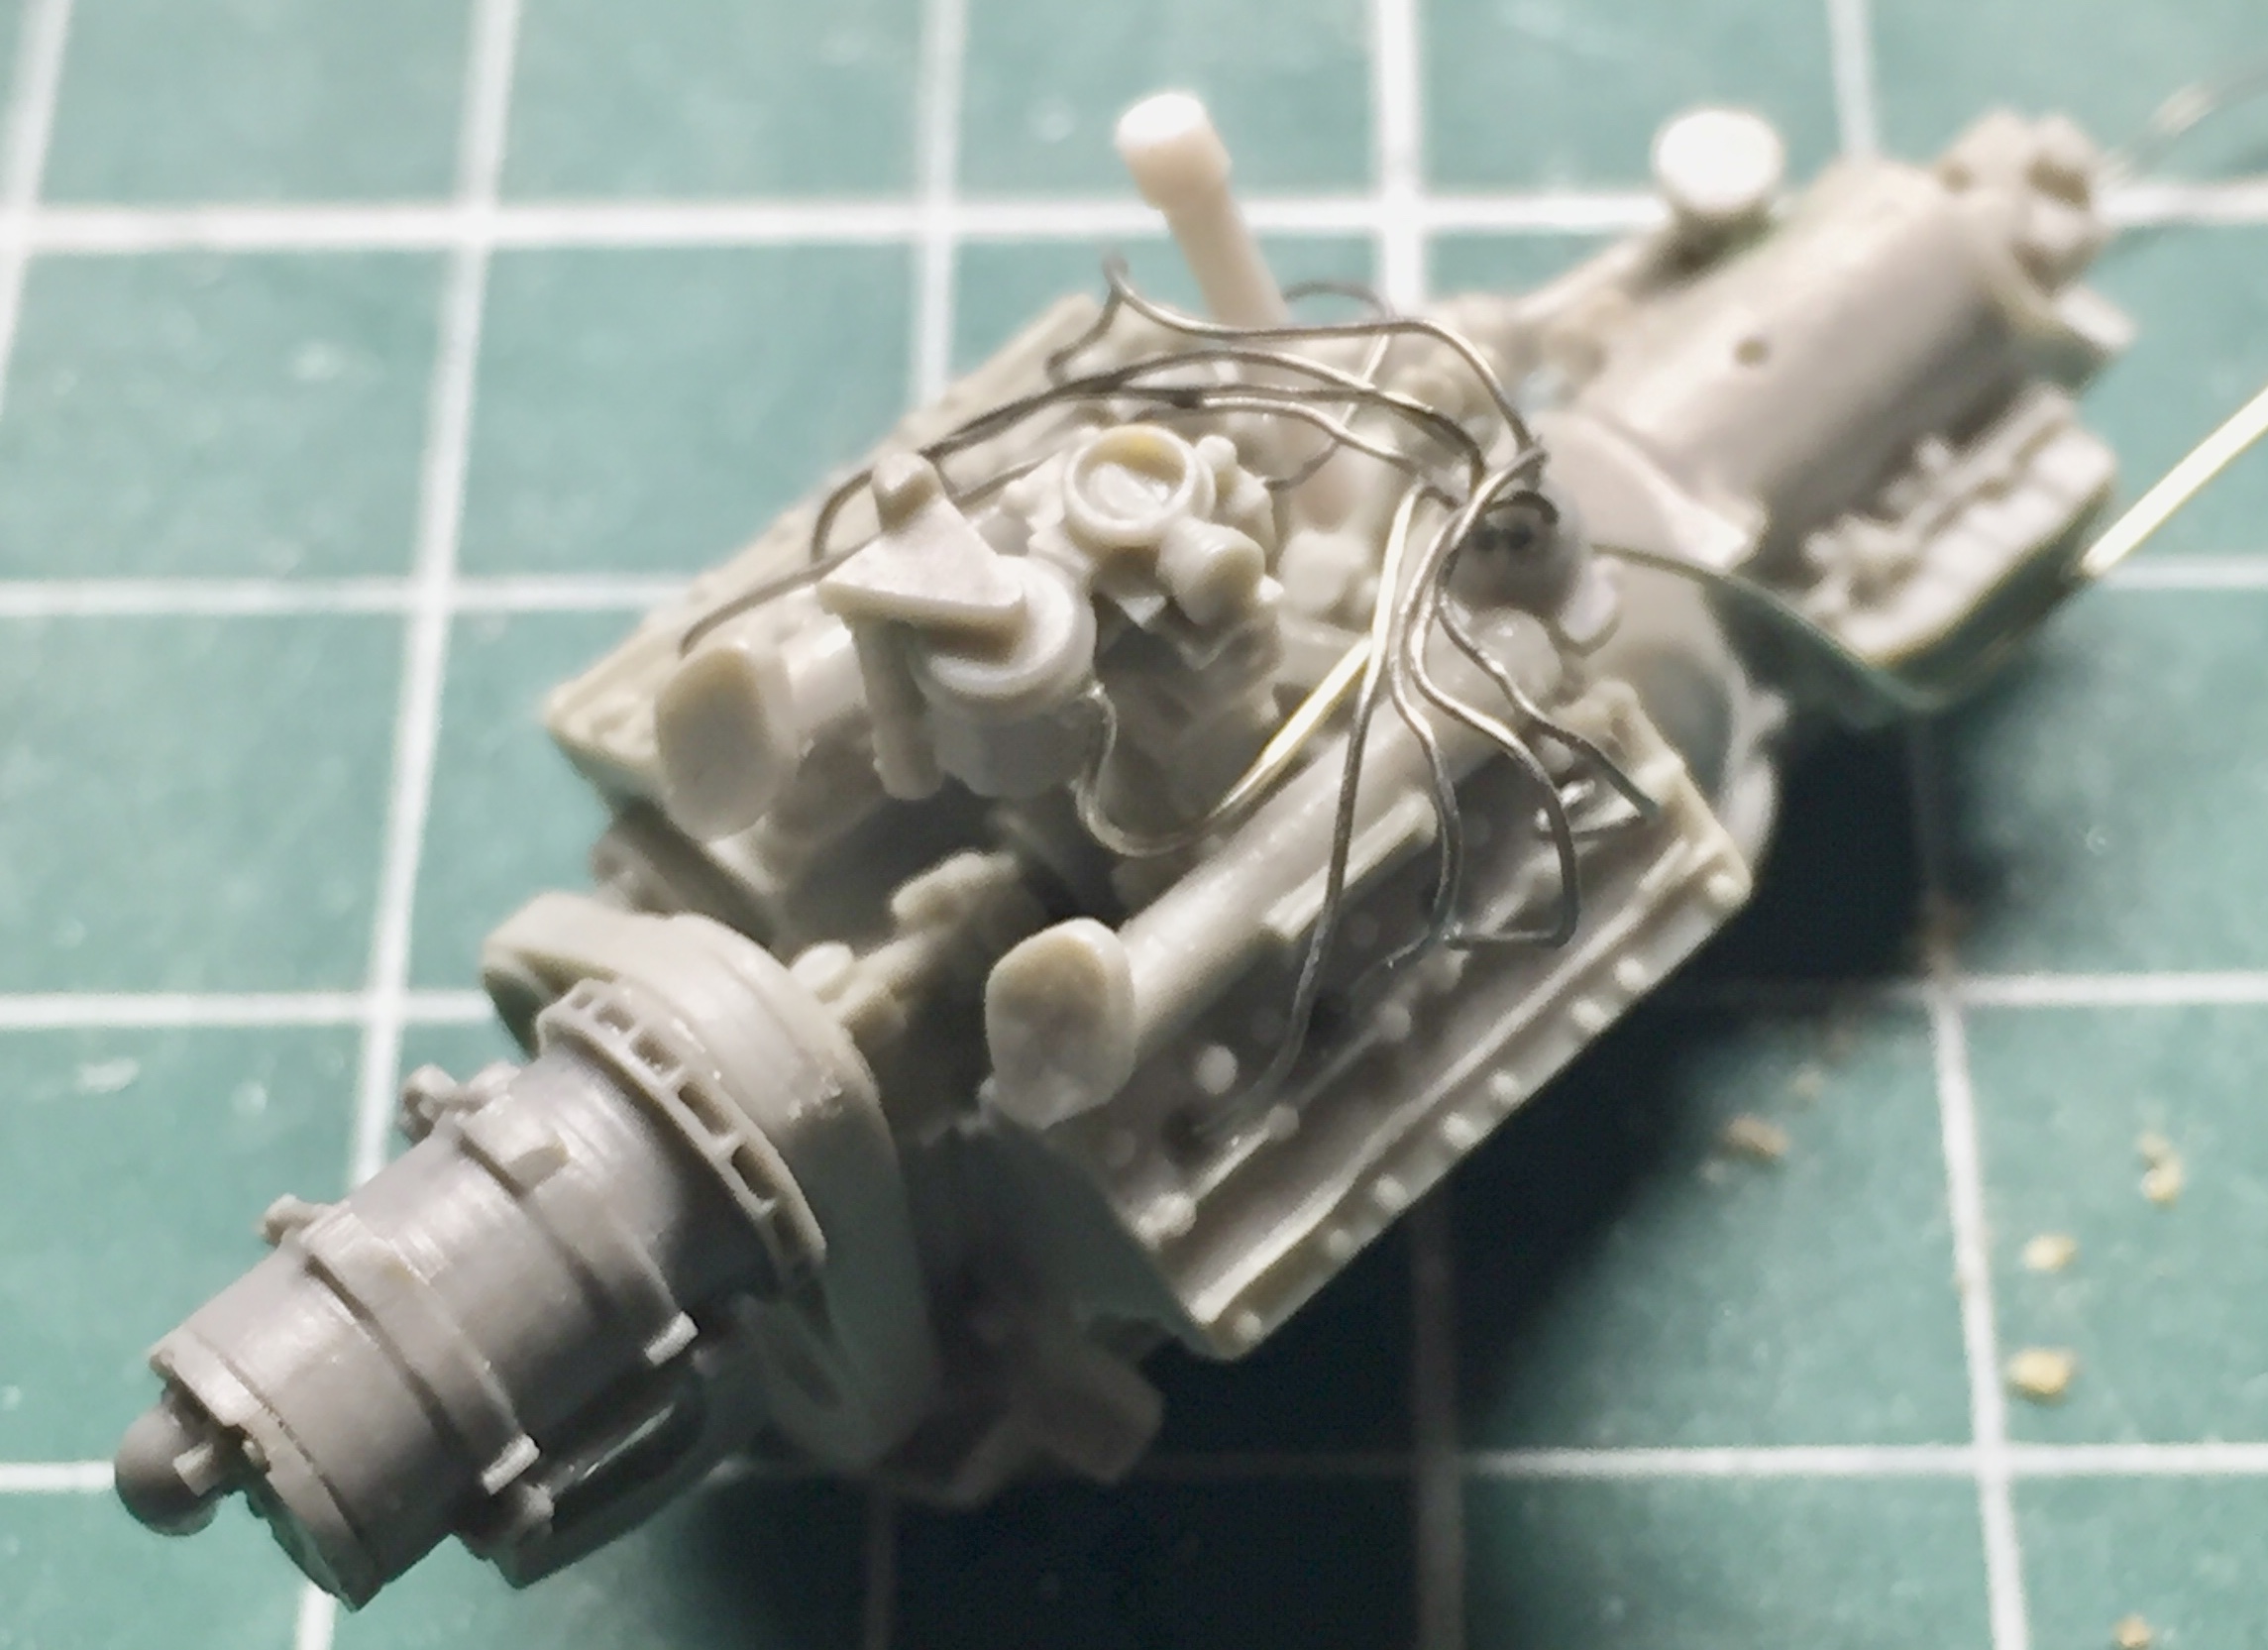
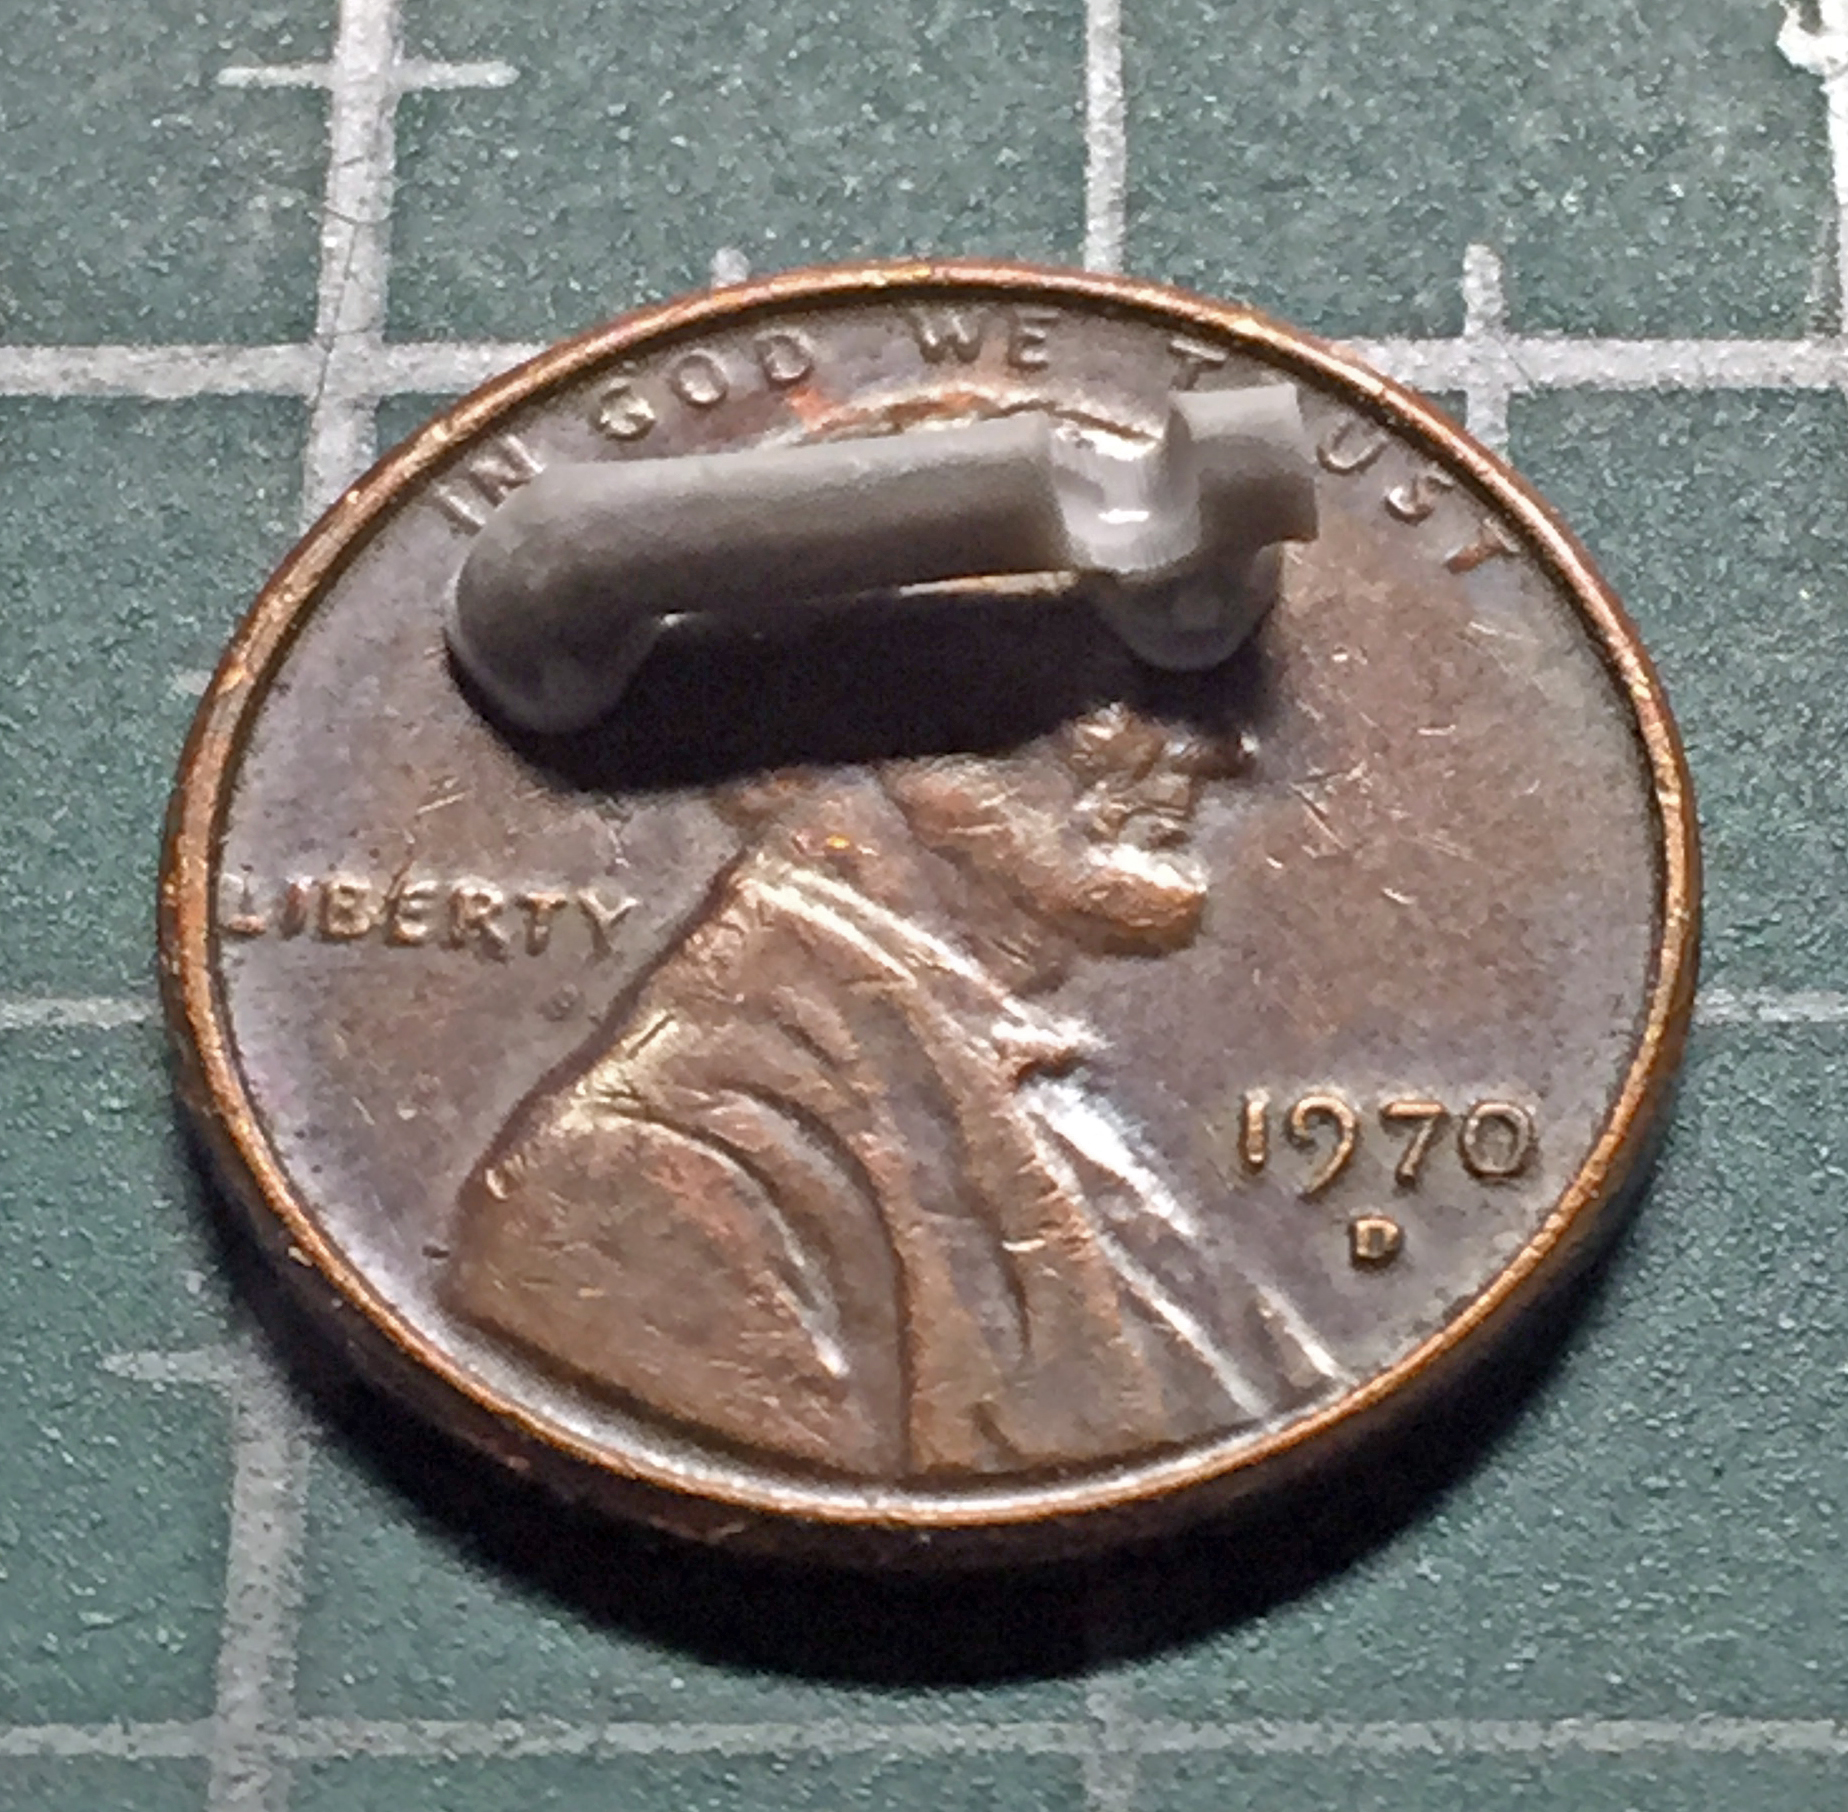
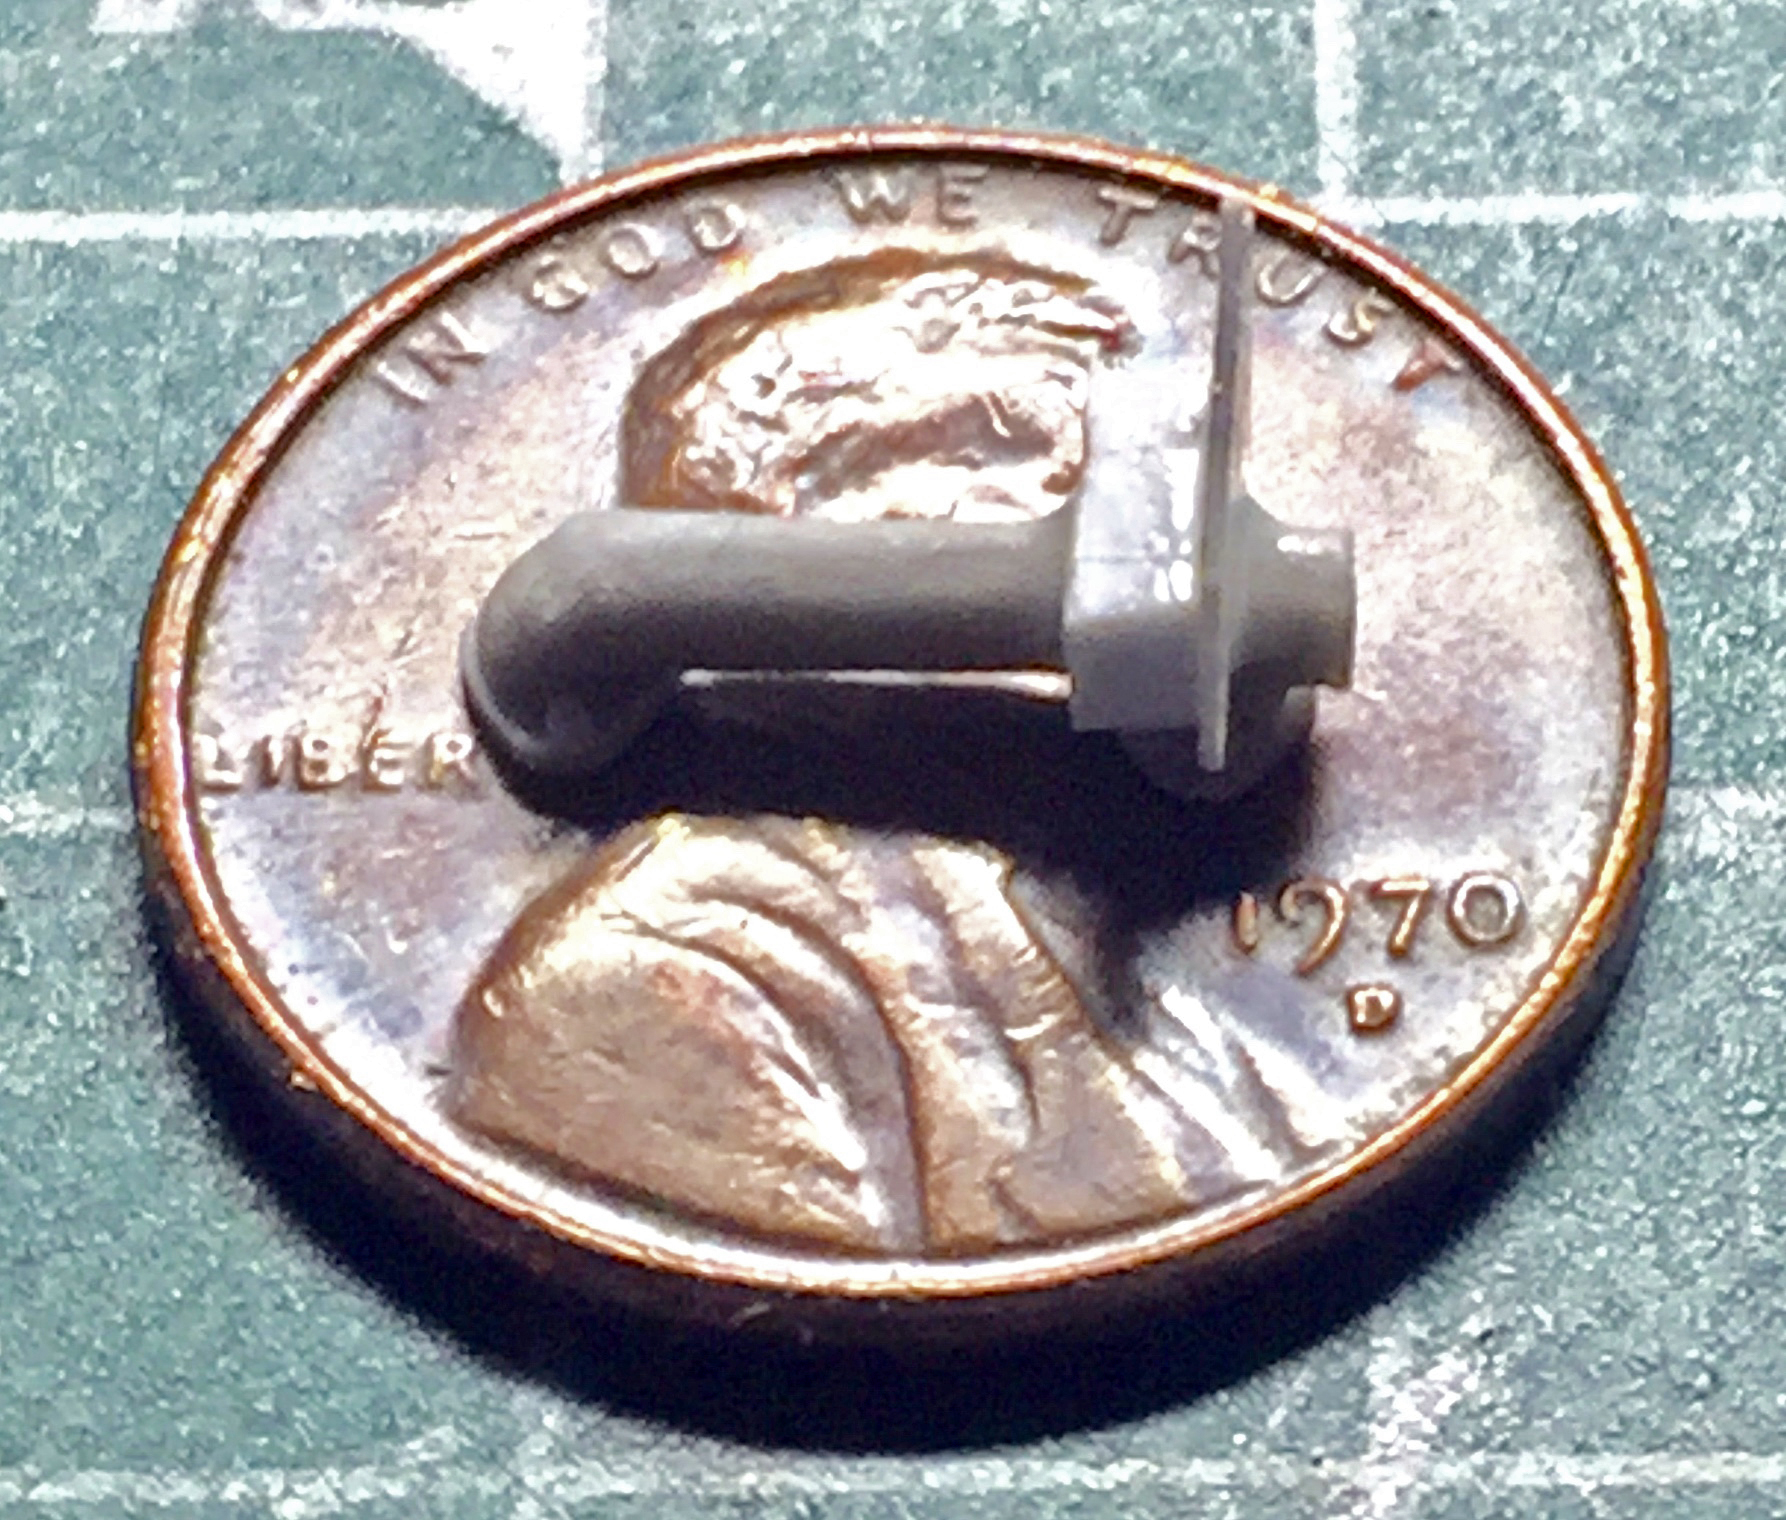
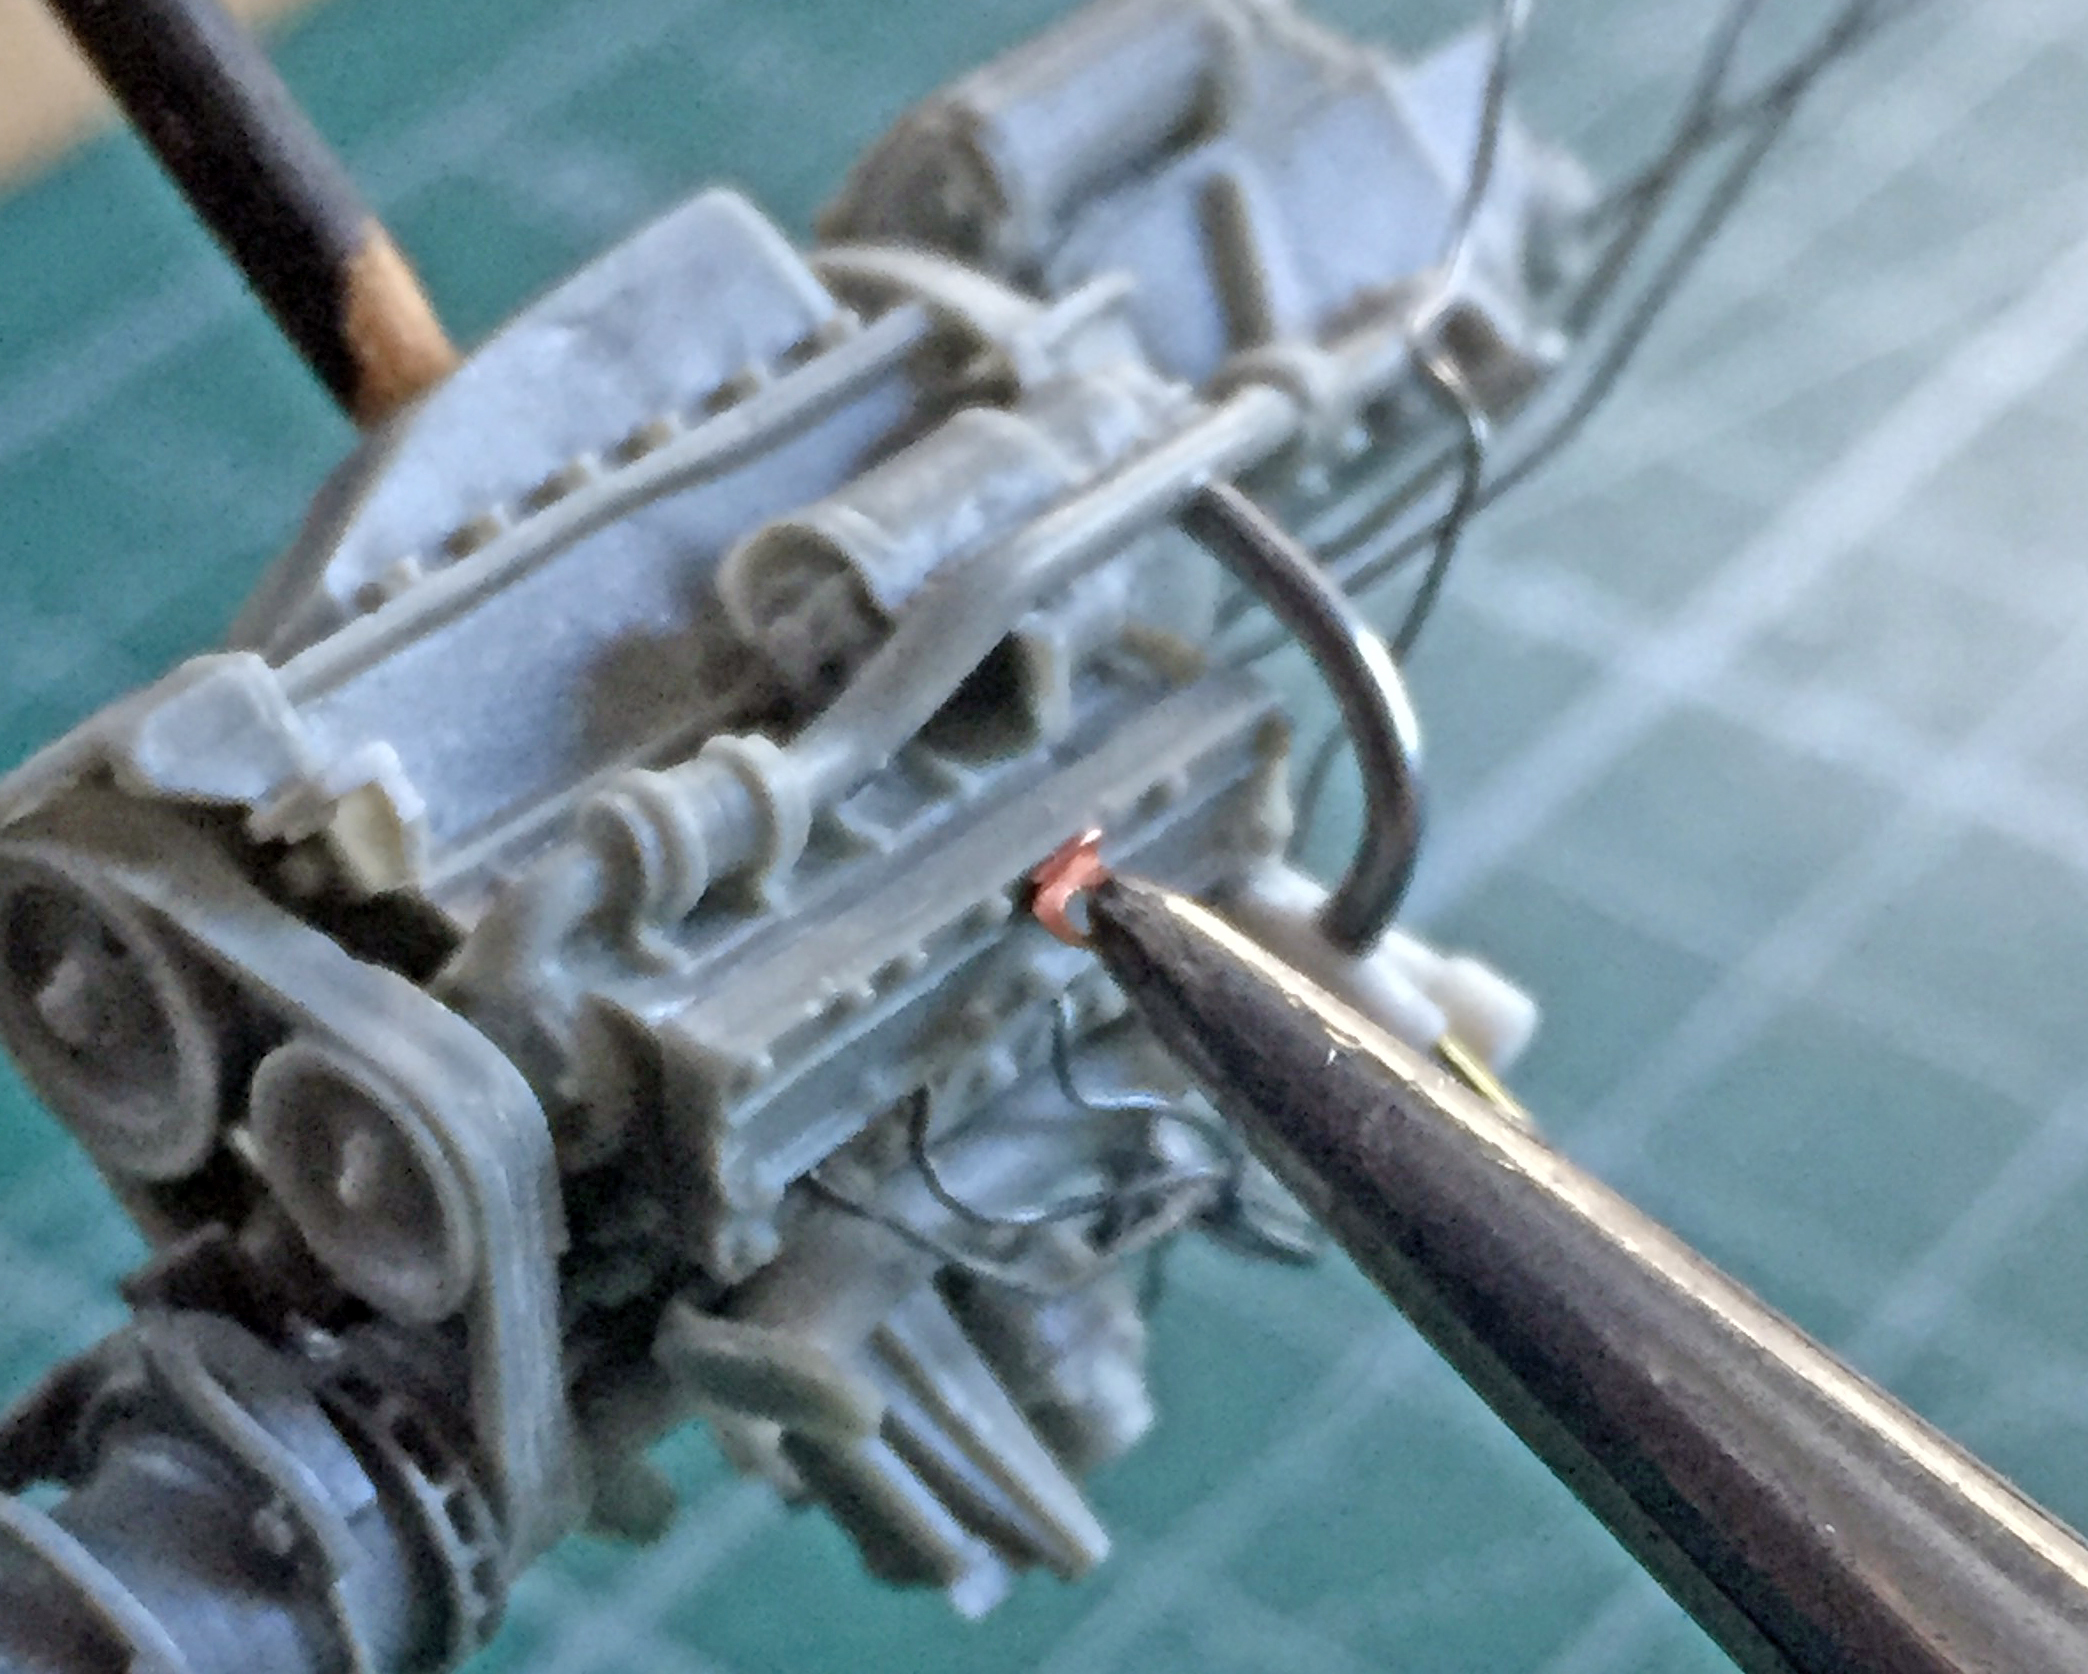
Each engine required the coil to step up the voltage for the spark(s). I used 1/16″ (.062) (1.58mm) plastic rod as the coils, drilled three holes for more .010″ (.254mm) solder, and then mounted them to their respective engines (as well as adding some lead foil for the wiring loom):

The hose/pipe arrangement needed details added as well as adding the oil filler tube and cap (the styrene rods that have a copper wire sticking out of them are part of the hoses; later those wires will be trimmed to fit):

Return lines were added to the crankcase vents, and the power leads were added to the generators:
Somehow I failed to notice that one of the exhaust manifold parts had a large bubble in it. I cut the thinnest sections of the bubble away to see if I could fix it. The part as-is isn’t usable so I had nothing to lose by trying:
I squared the bottom of the gap and then added styrene scraps to fill and then glued the hell out of it all:
It worked:

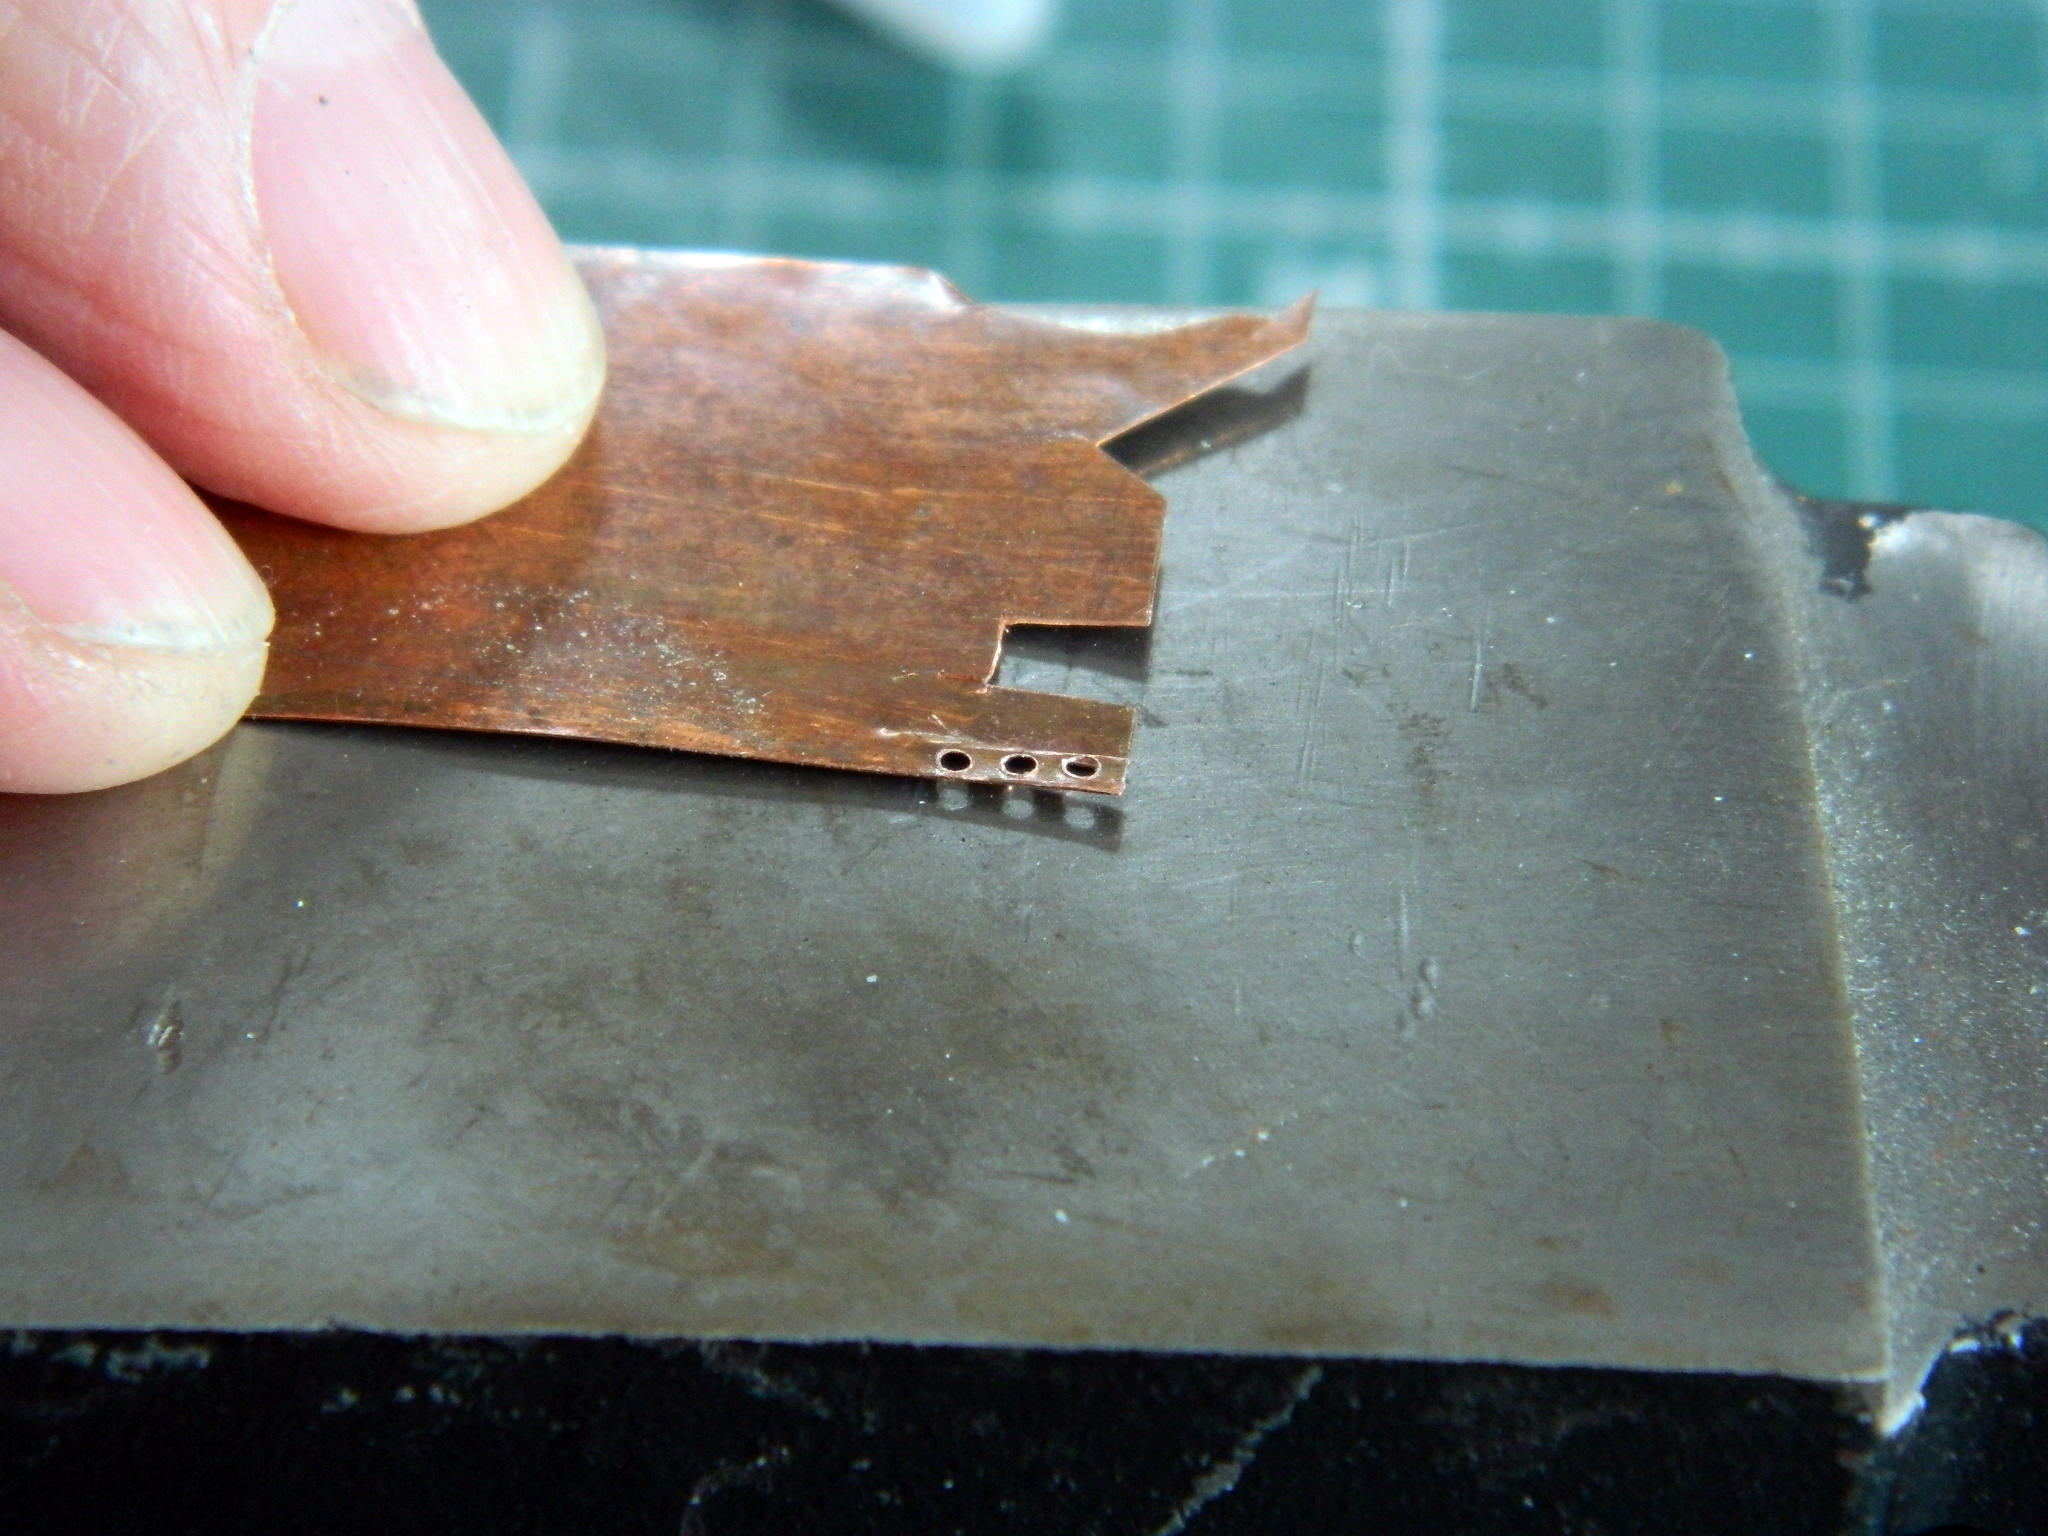
A prominent feature on the engines is the lifting rings bolted to the top of each head. I didn’t consider using styrene at all as scale size dictates .005″ (.127mm) be used. Instead, I used .005″ (.127mm) copper shim stock. I was fortunate that the smallest punch of my punch and die set was just the size opening I needed. For ease of manipulating very small bits, I punched the holes first:

I used scissors to cut the strip from the stock and then LIGHTLY tapped the surface with a hammer to return it to a flat shape:

Hammering too hard will cause the soft copper to deform, so if you ever do this, softly with the hammer is required.
As it turned out, my first attempts were too small. There isn’t enough material left on one side to form the mount:
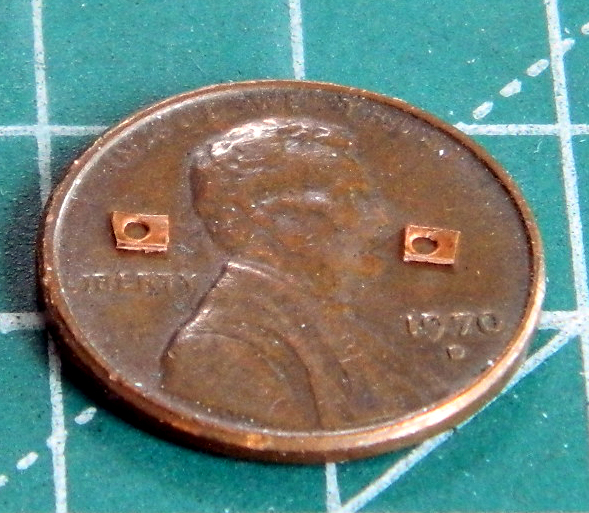
Then my brain caught up with events and informed me that IF I wanted a nice bend with a tight radius, maybe I’d better anneal the sodding copper…so I did:
The first attempt (shown in the above photo) worked well. I needed three more. Then my pattern of the-first-is-easy-and-the-rest-anything-but-easy showed up. Again. I only needed another three, but it took me eight more sodding tries to get three that were acceptable.
::sigh::
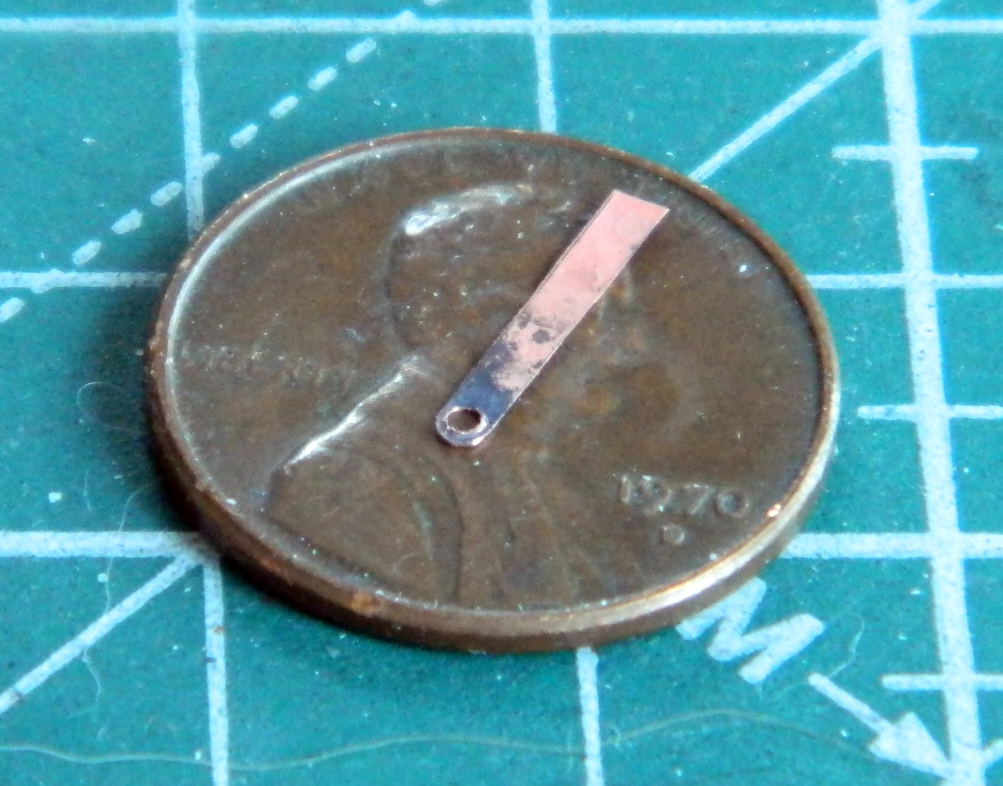
With the lift rings finally done, all that needed to be done was to shave off the head bolts so the parts would fit flatly and then glue said parts in place:

I was surprised that this part of the assembly was easy:

Whew. Tiny details. They take forever (it seems). Having done all that, the next step is to start painting while the parts and assemblies are out and accessible. I want to pre-shade the parts, assemblies, and engine bay, which meant that I had to spray them Tamiya XF-1 Flat Black:
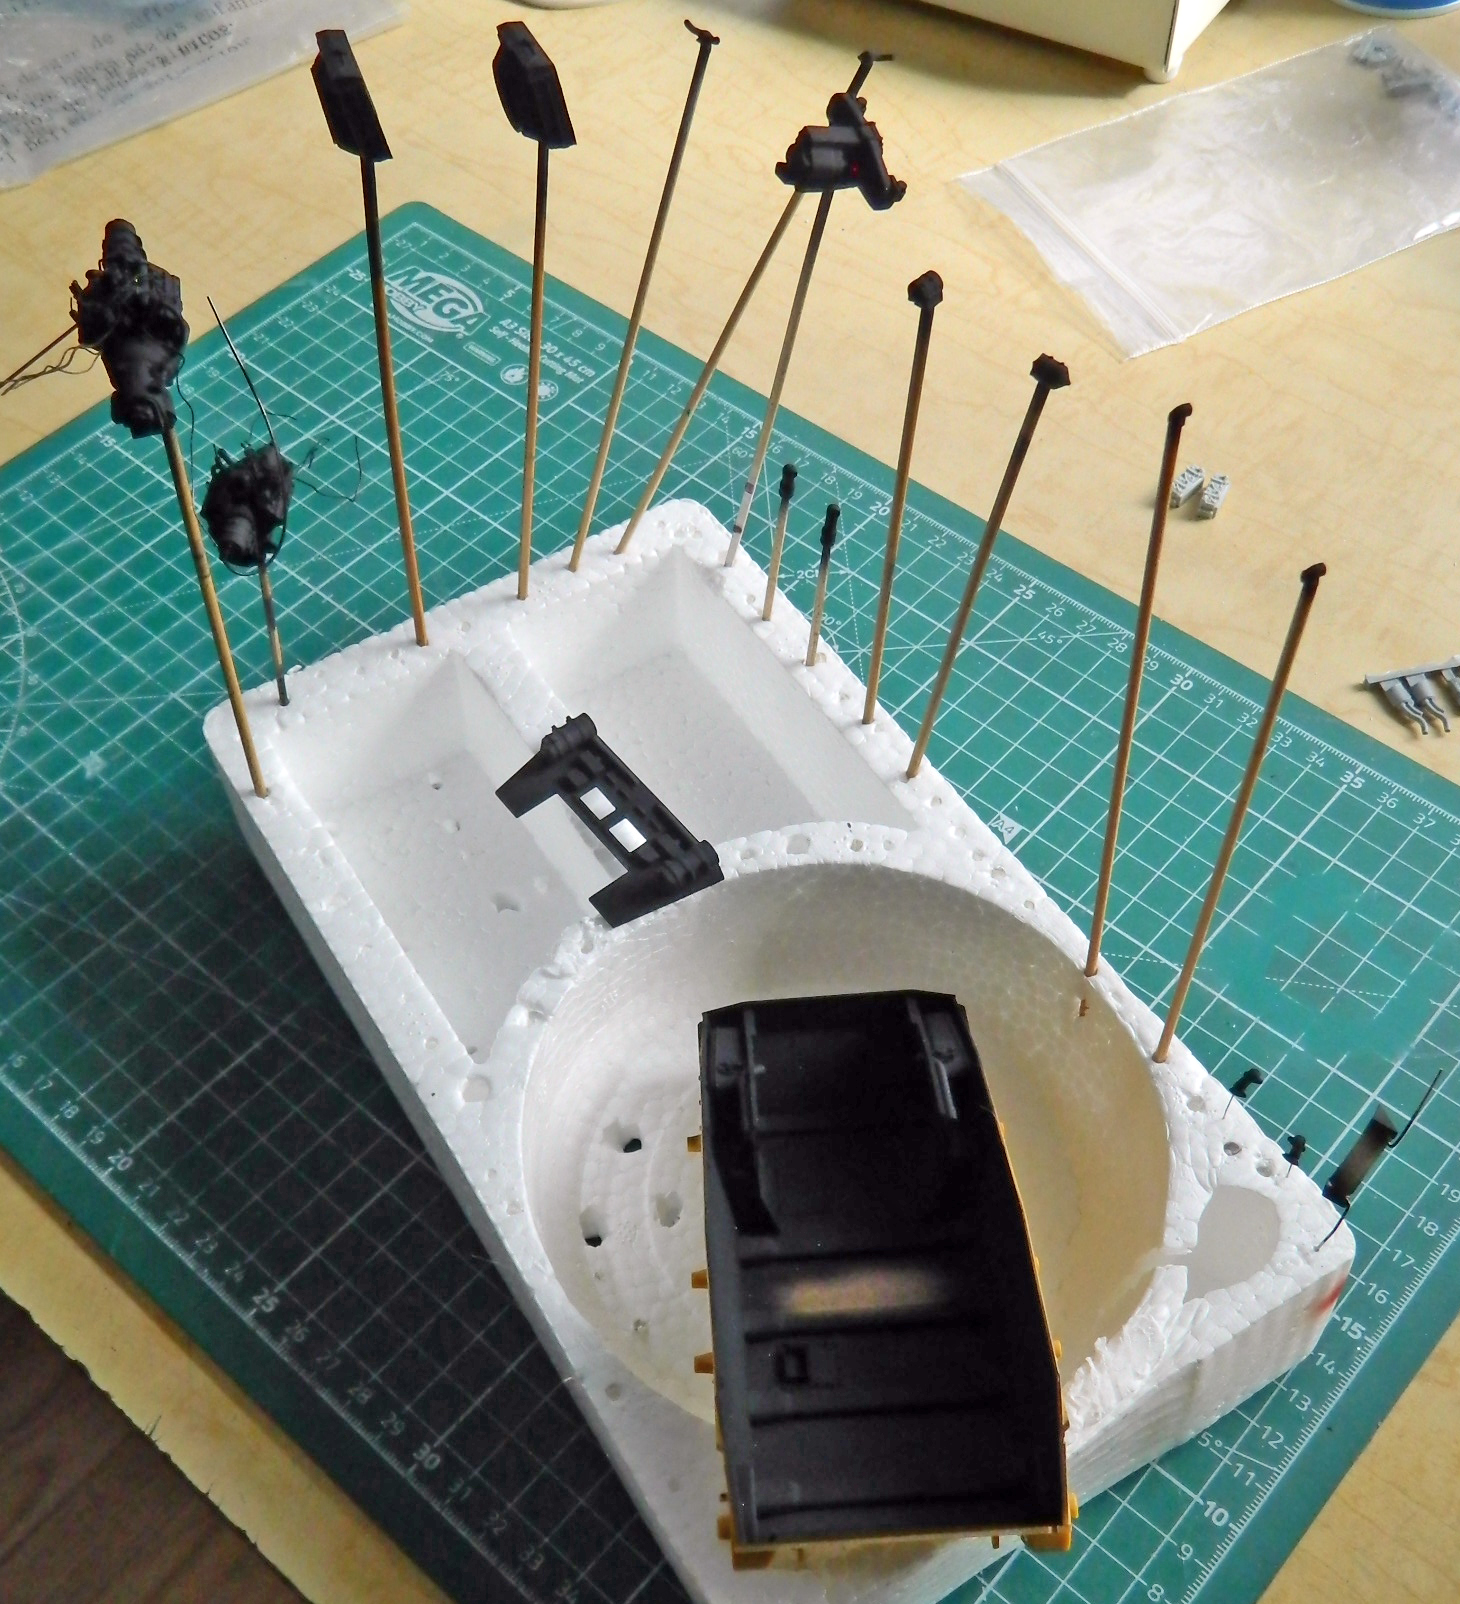
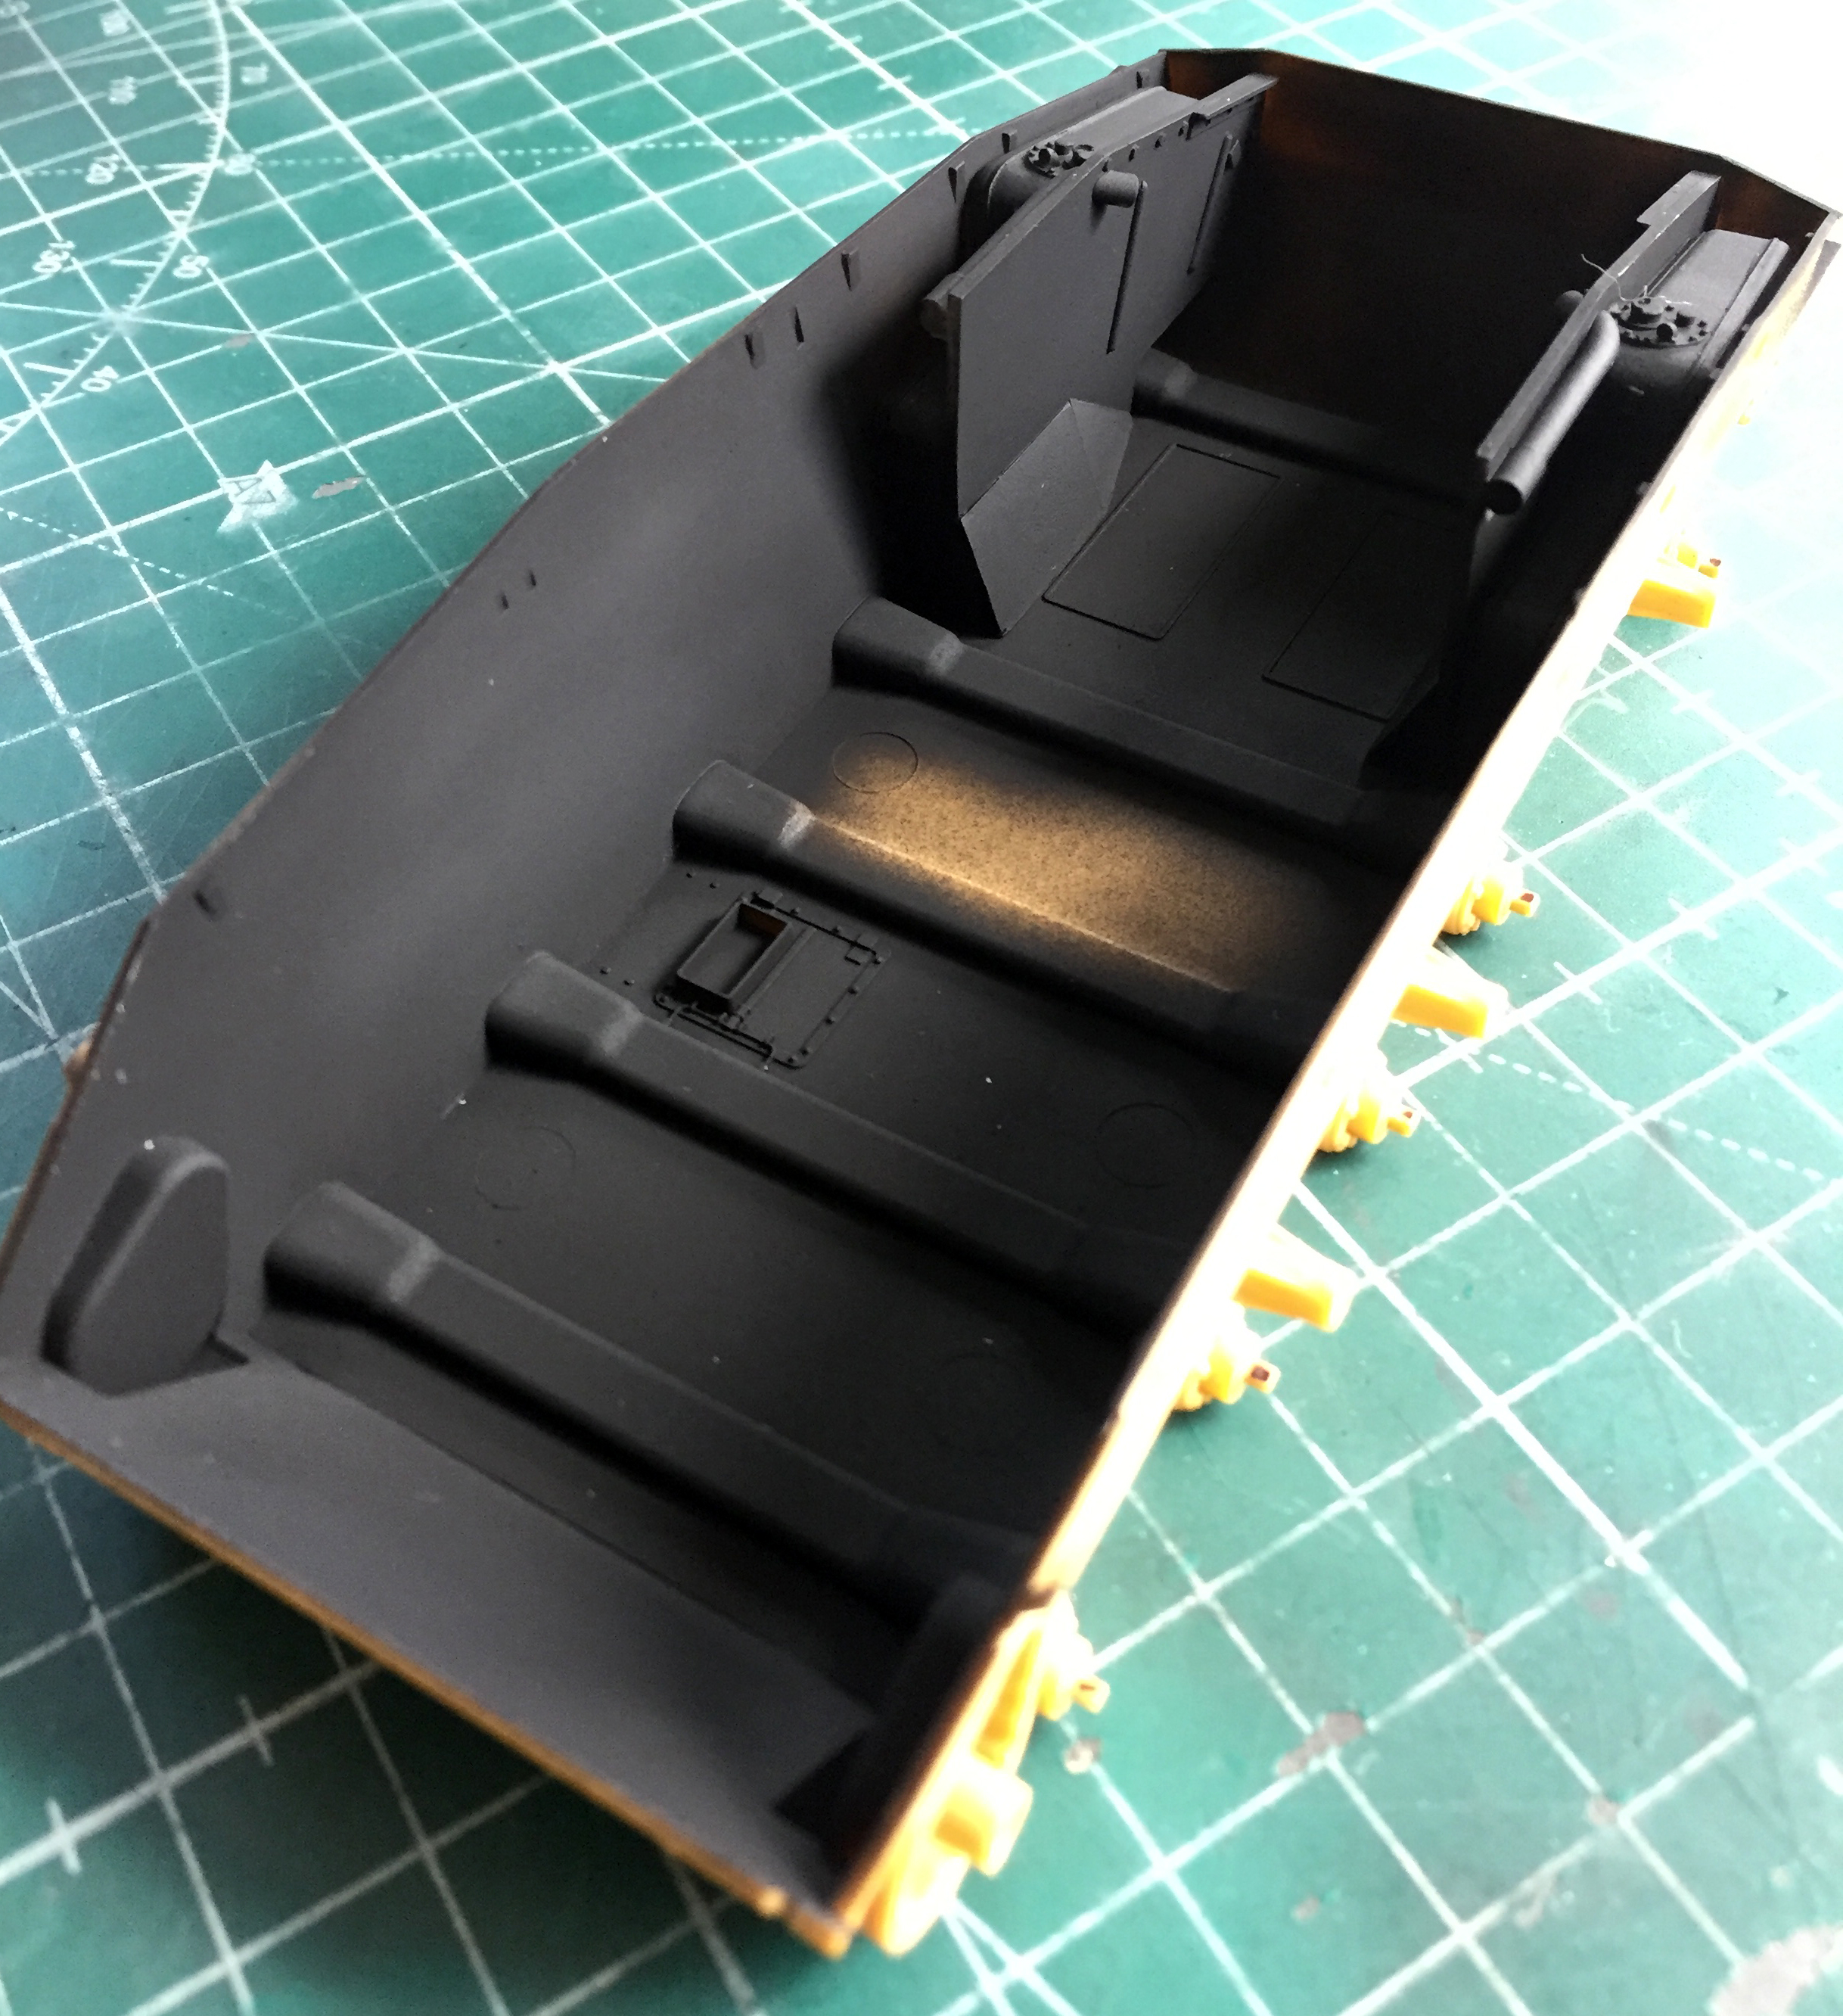
While I had the airbrush loaded with flat black, I did the inside of the lower hull:
That was the easy part of painting the engines and associated parts. What comes next could be challenging…

Solo puedo escribir WOW, EXCELENTE DETALLE EN EL MOTOR MI AMIGO, espero poder admirarlo cuando lo termines. Saludos desde Venezuela
LikeLike
Mi español es horrible Dicho esto, gracias por sus amables palabras y saludos desde donde sea que esté hoy. (Ha sido uno de esos días).
¡Espero terminarlo también! ¡Vigilar!
LikeLike
This is very cool. It’s interesting that as we age and our physical abilities diminish, vision compromised, hands trembling slightly, we tackle projects that require patience to master frustration. The mind, accumulated knowledge, compensate for the frailties of the body. This is modeling on an inspirational level. Well done.
LikeLike
Geez…y’tryin’ t’make me blush?! I’m glad you liked what you found here. Accomplishing what I set out to accomplish is more a matter of just deciding to do it and develop new abilities to replace those lost to Time than anything else. I’m an obdurate bastid and Life has taken what it generally takes from people my age. I refuse to cooperate. When I have no choice BUT to cooperate, I refuse to do so politely, gracefully, or calmly. I pout, whine, and thrash my lil footies.
LikeLike