Satisfied with how the .30 caliber (7.62mm) machine gun plugs came out, I glued the L-shaped parts to the upper hull:
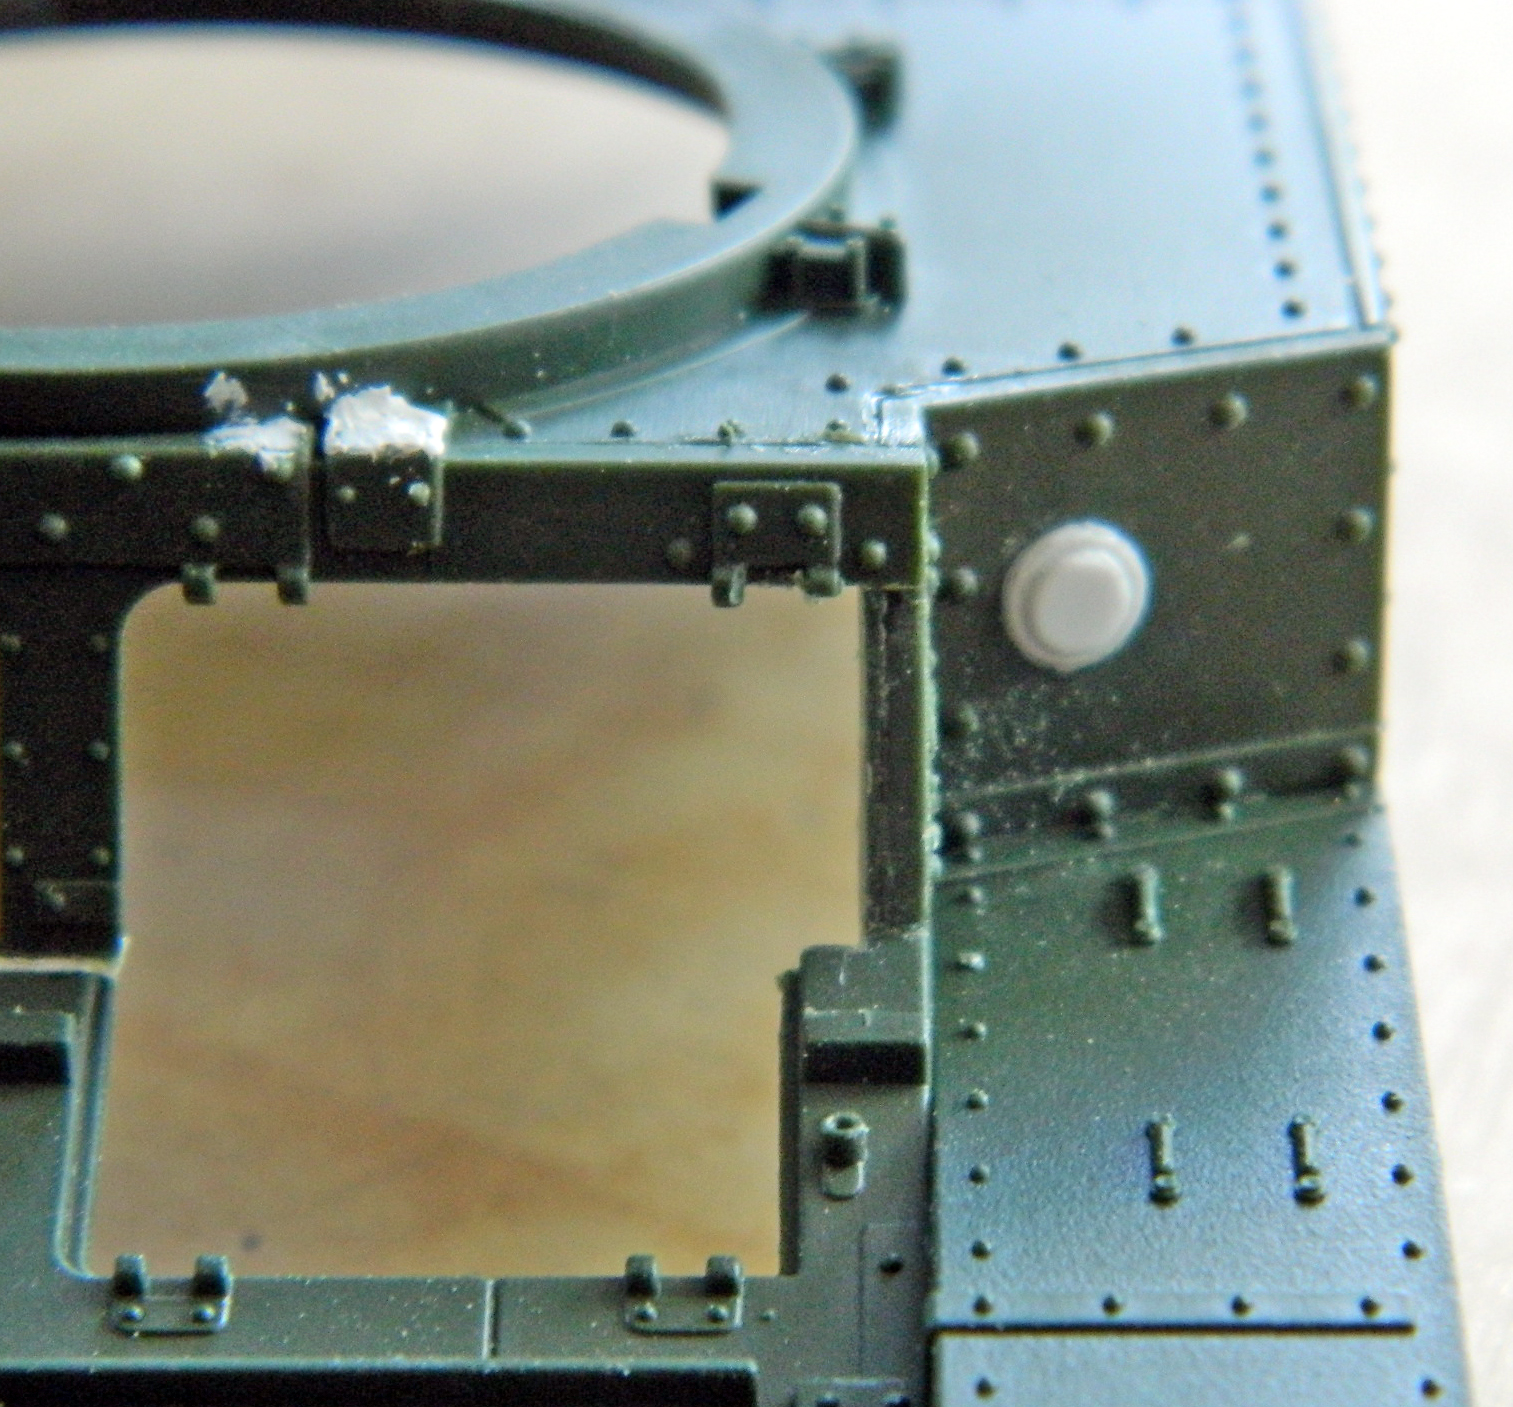
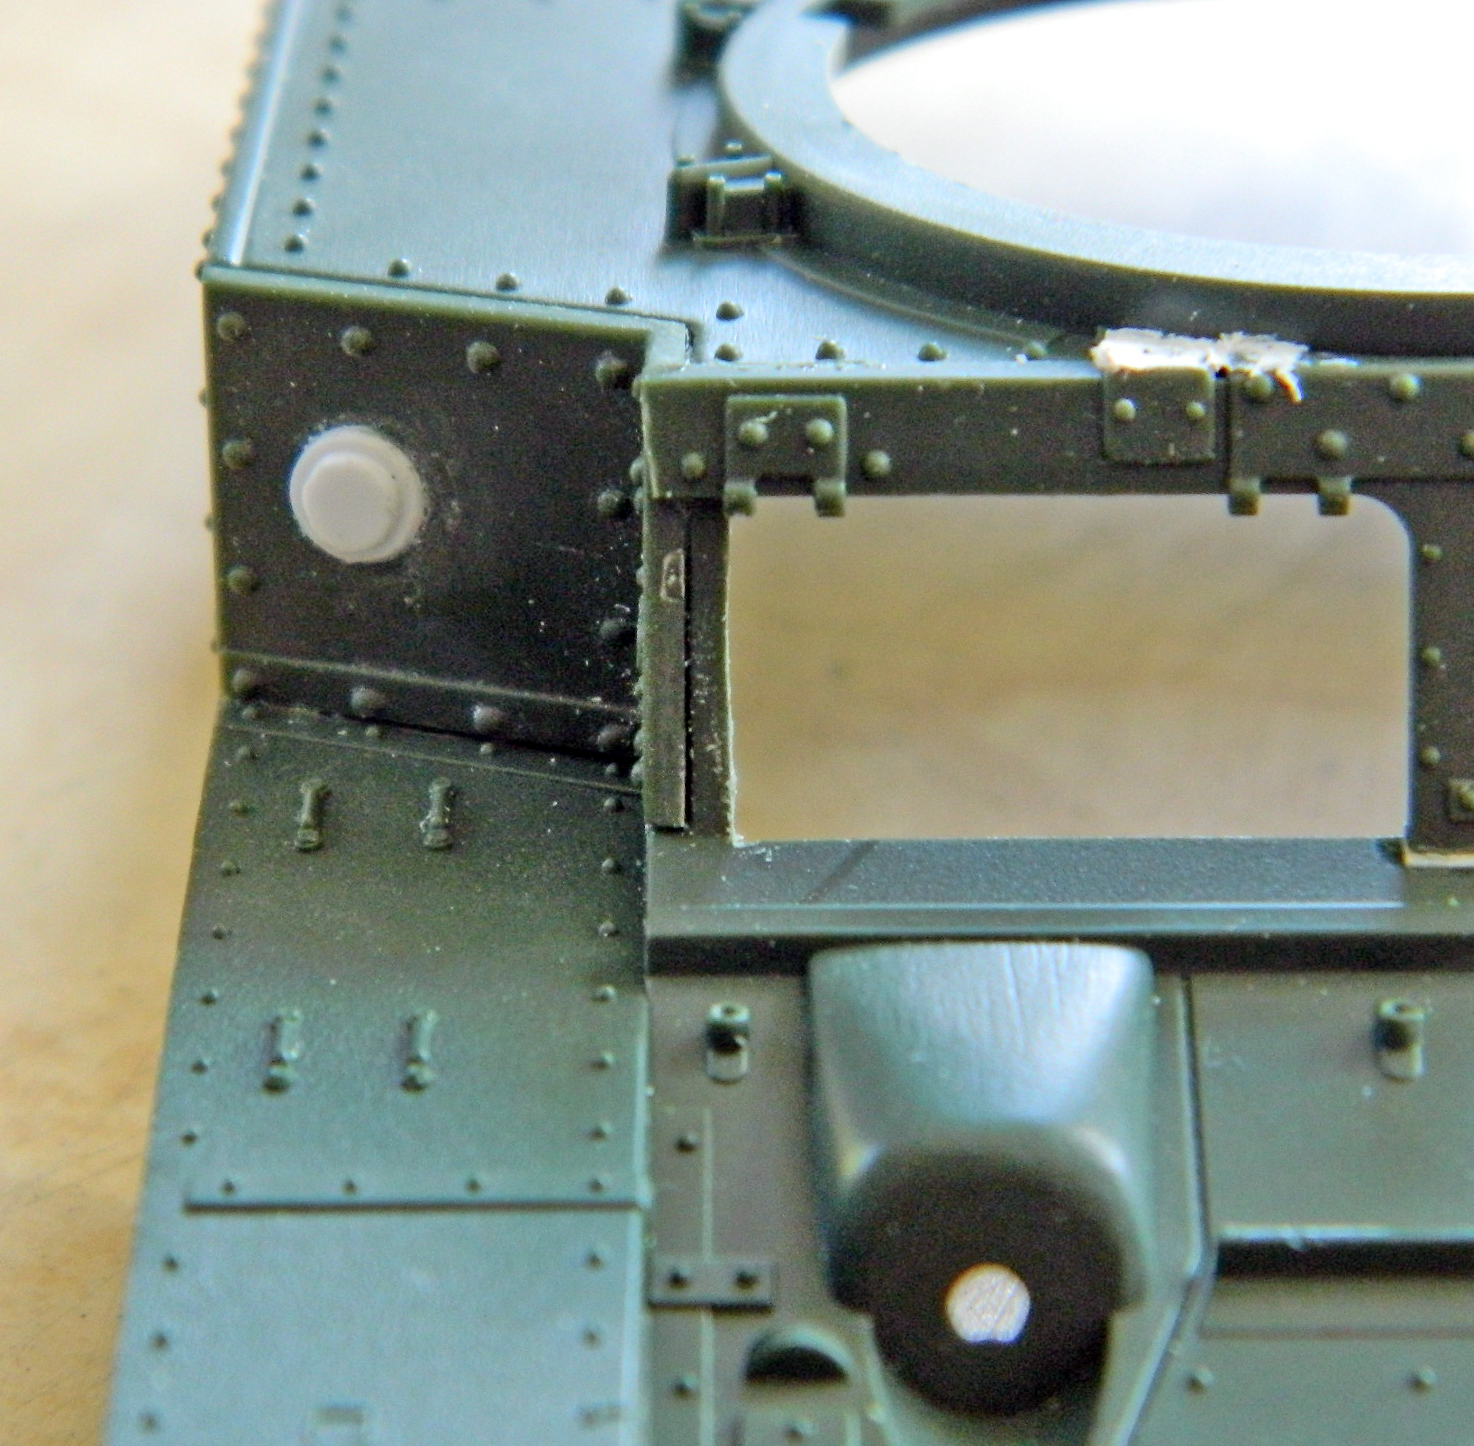
If you look at the photo above, you’ll see how the vertical side to the left of the opening is doubled. That’s way too thick, so I scraped the inner panel away, which resulted in a more scale thickness.
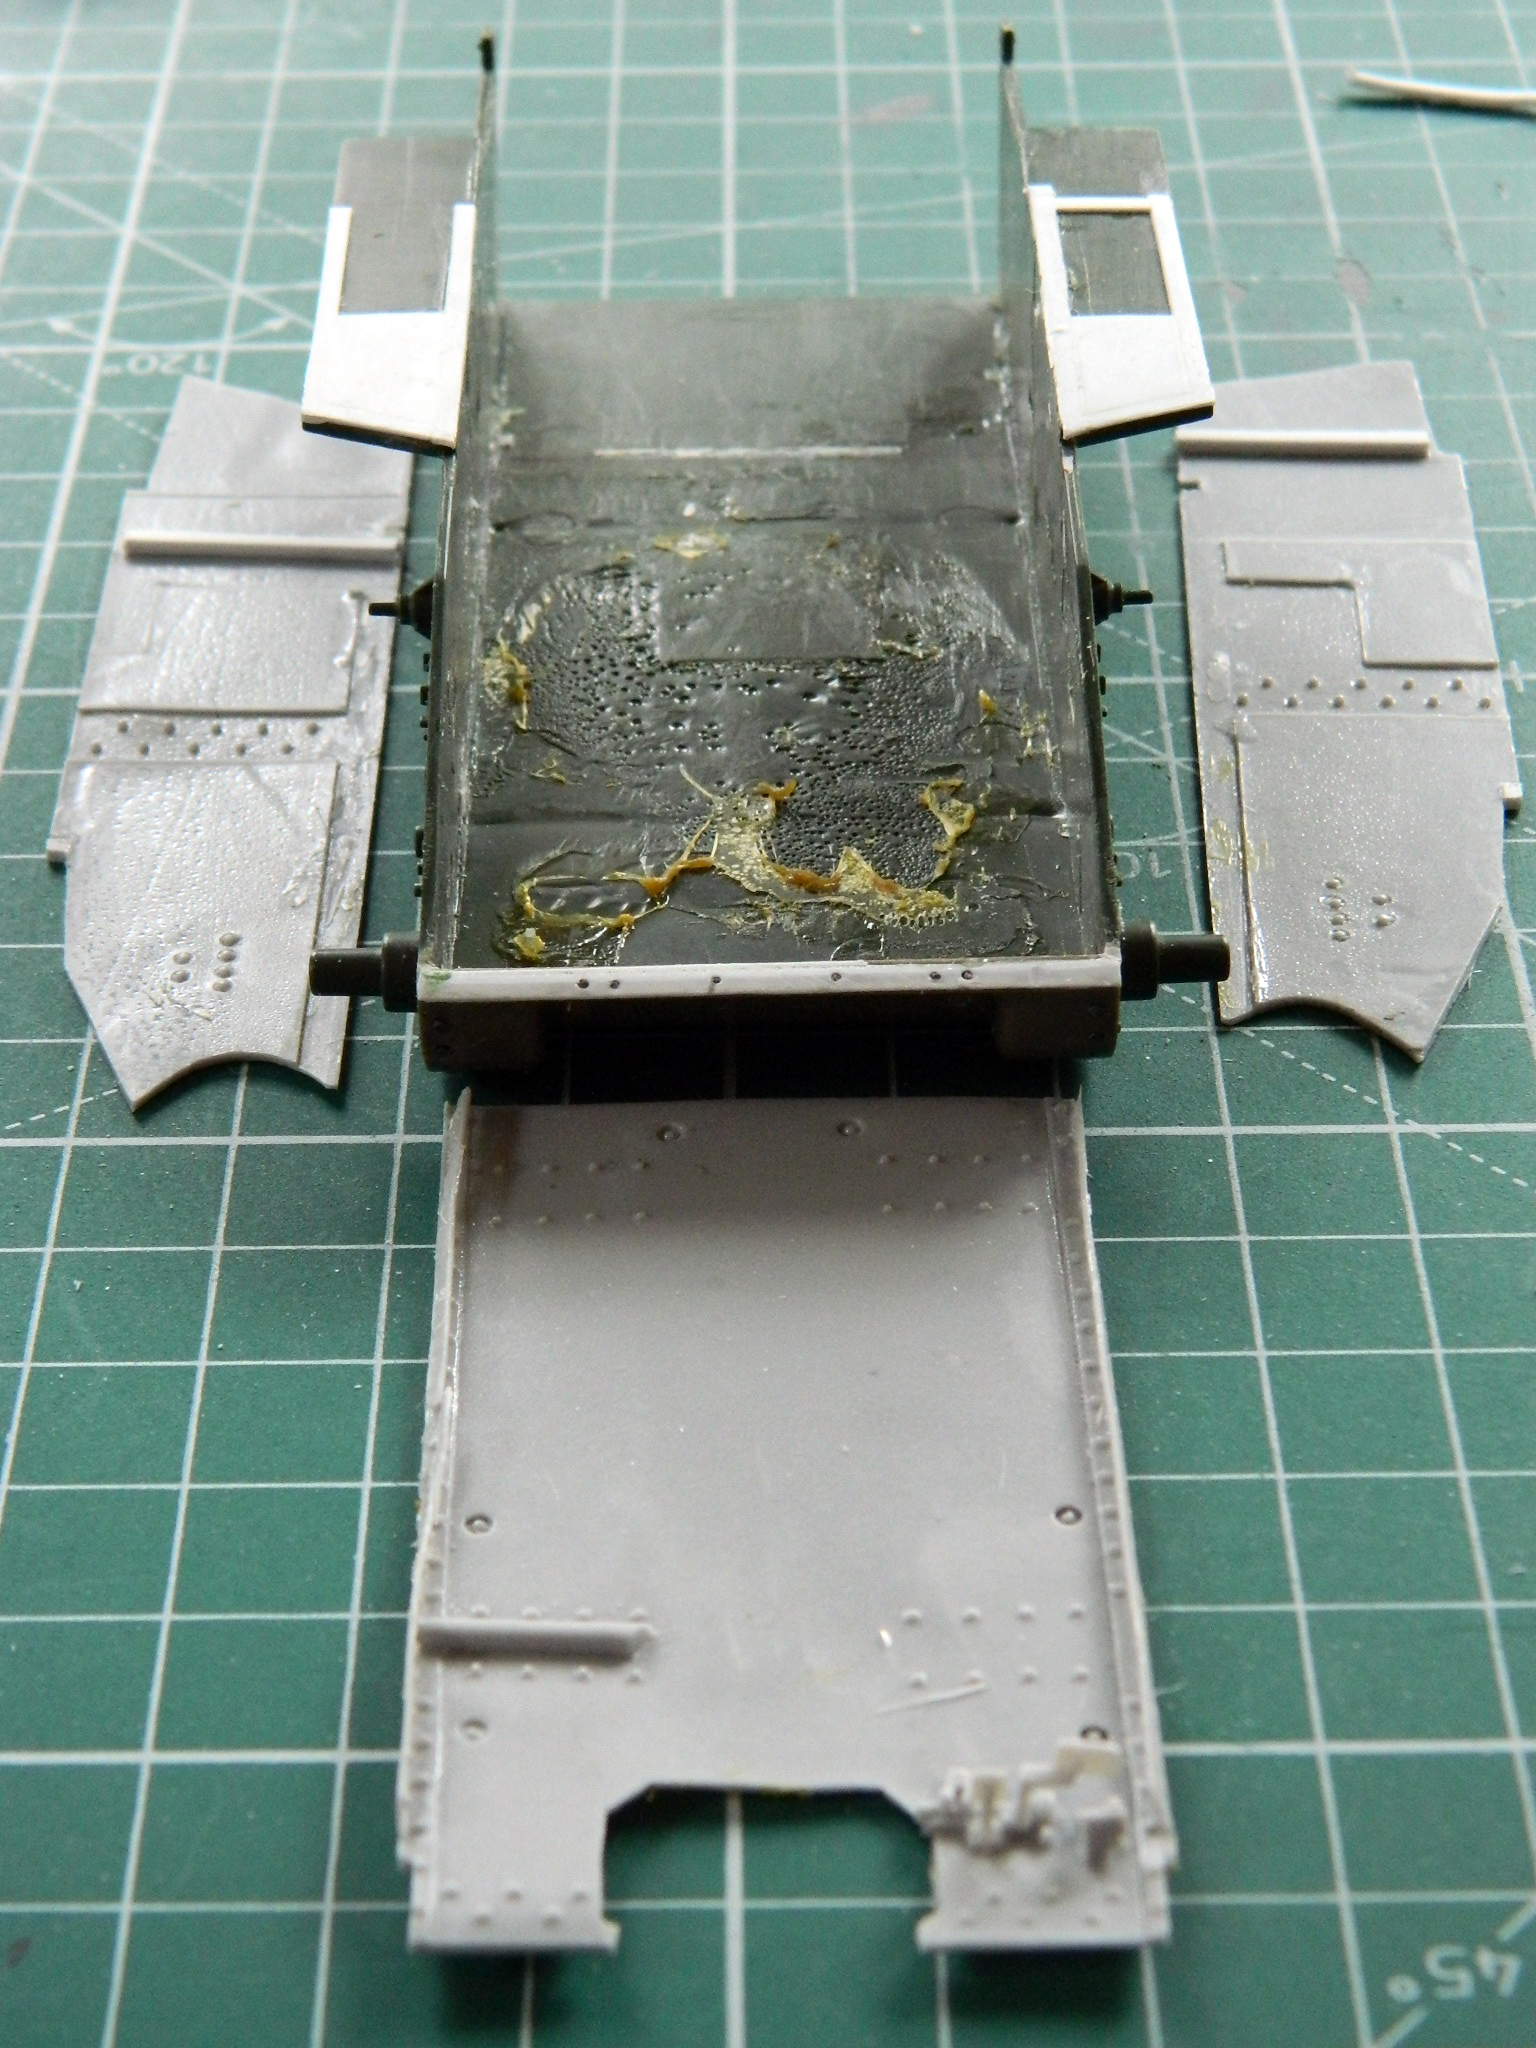
As more parts were cleaned up, pouring stubs removed, and parts dry-fitted, I came to the realization that somehow I managed to put the floor and walls in the wrong position; they were too far forward. The first step to fixing that was removing all three parts and then reattaching them correctly:
The idea of doing ten track links a day worked well. Most of that tedious task I wasn’t really aware of. I sat there, drinking coffee and drooling, while my fingers did a mindless task…and now that task is done (and I’m still mostly mindless):

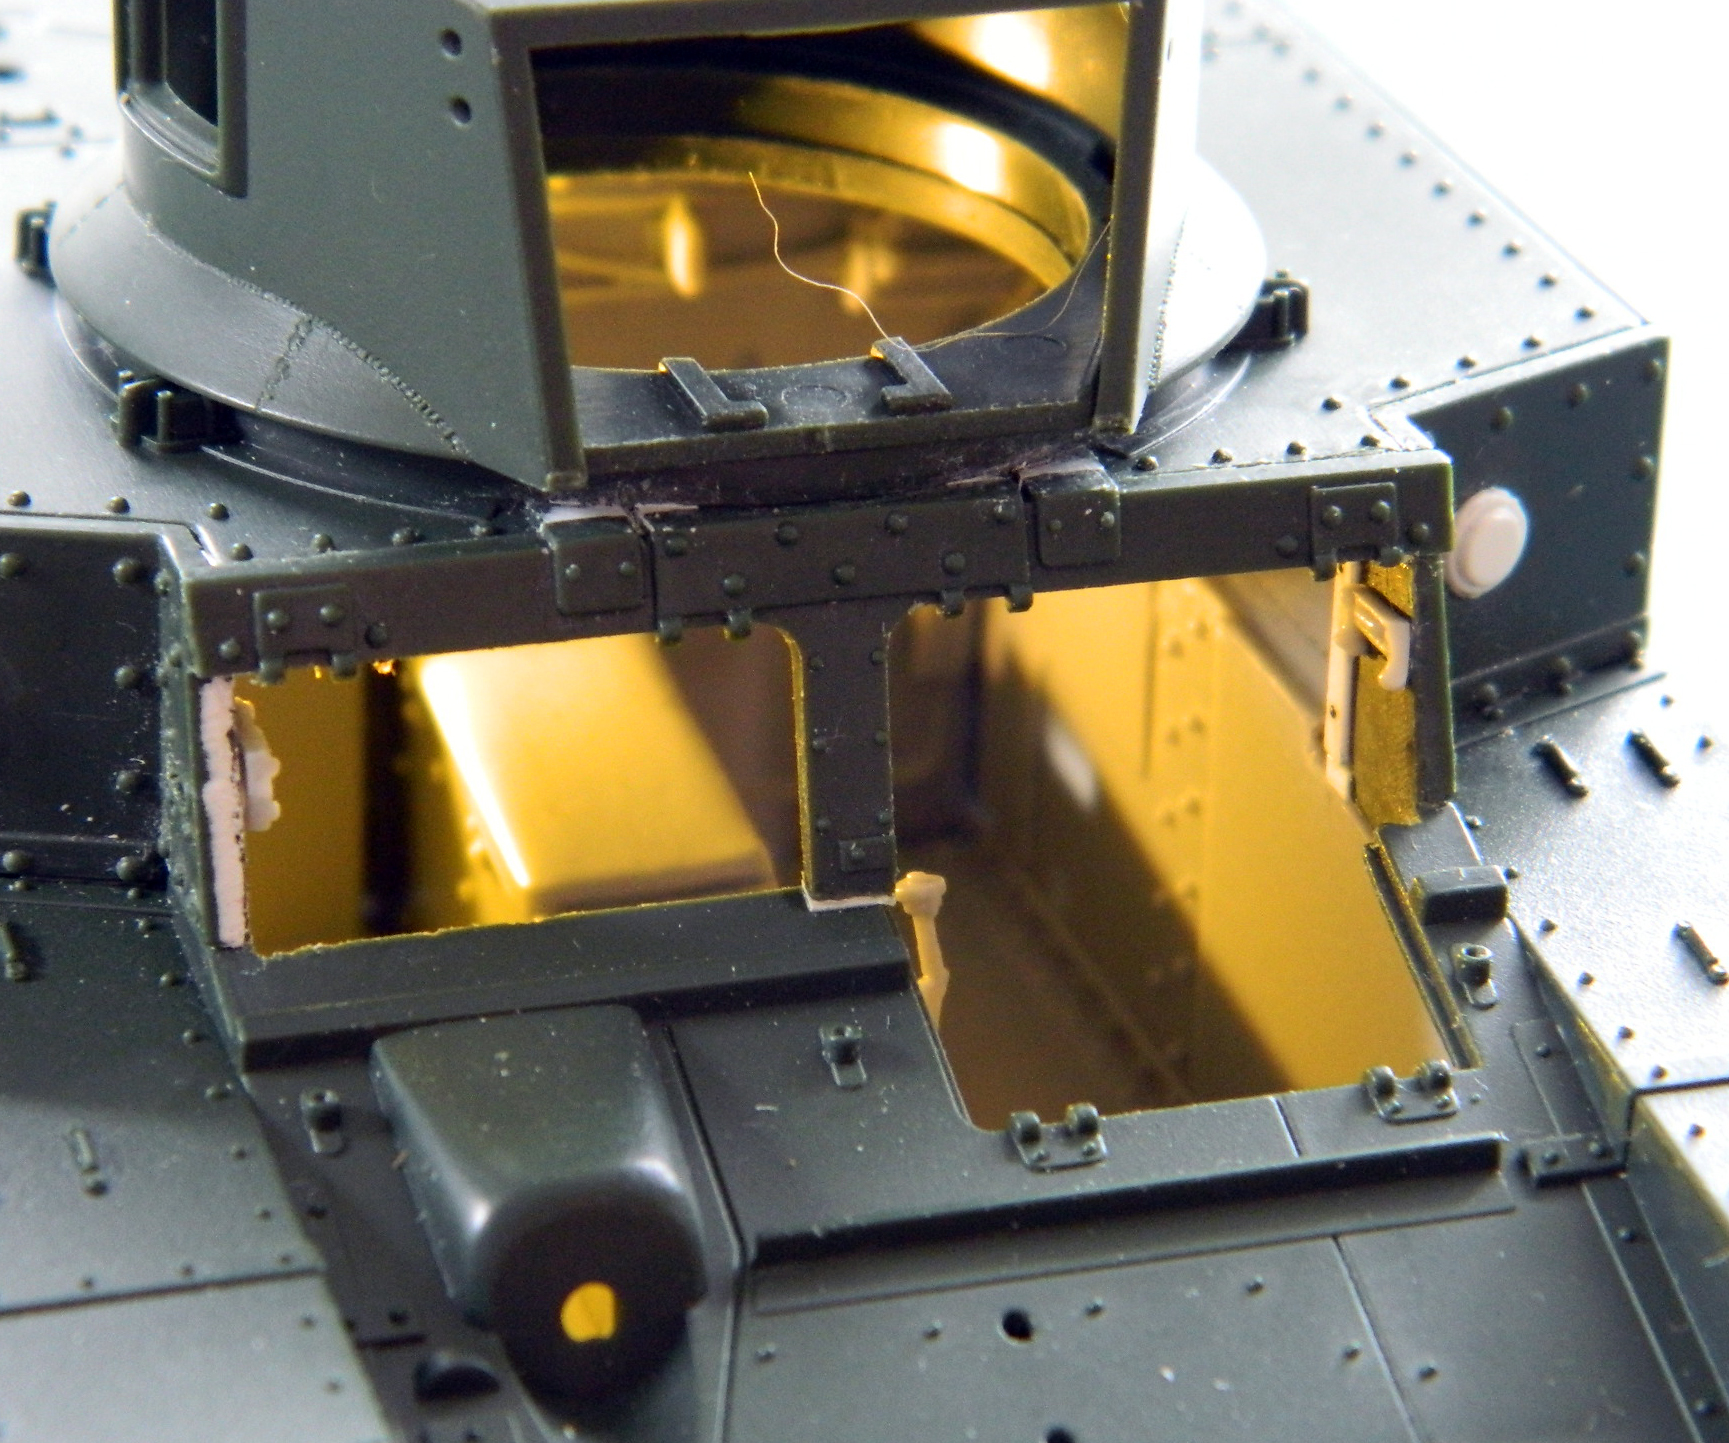
The early M3s had riveted hulls (and turrets, but the turrets switched to all-welded construction before the hulls were switched) and the inside of the hull had straps of steel that supported the hull plates and gave the rivets something to attach things to. Since those sections can be easily seen through the front lift-up hatches, I cut .015″ (.381mm) styrene into strips and used Archer’s rivet decals to add that detail:
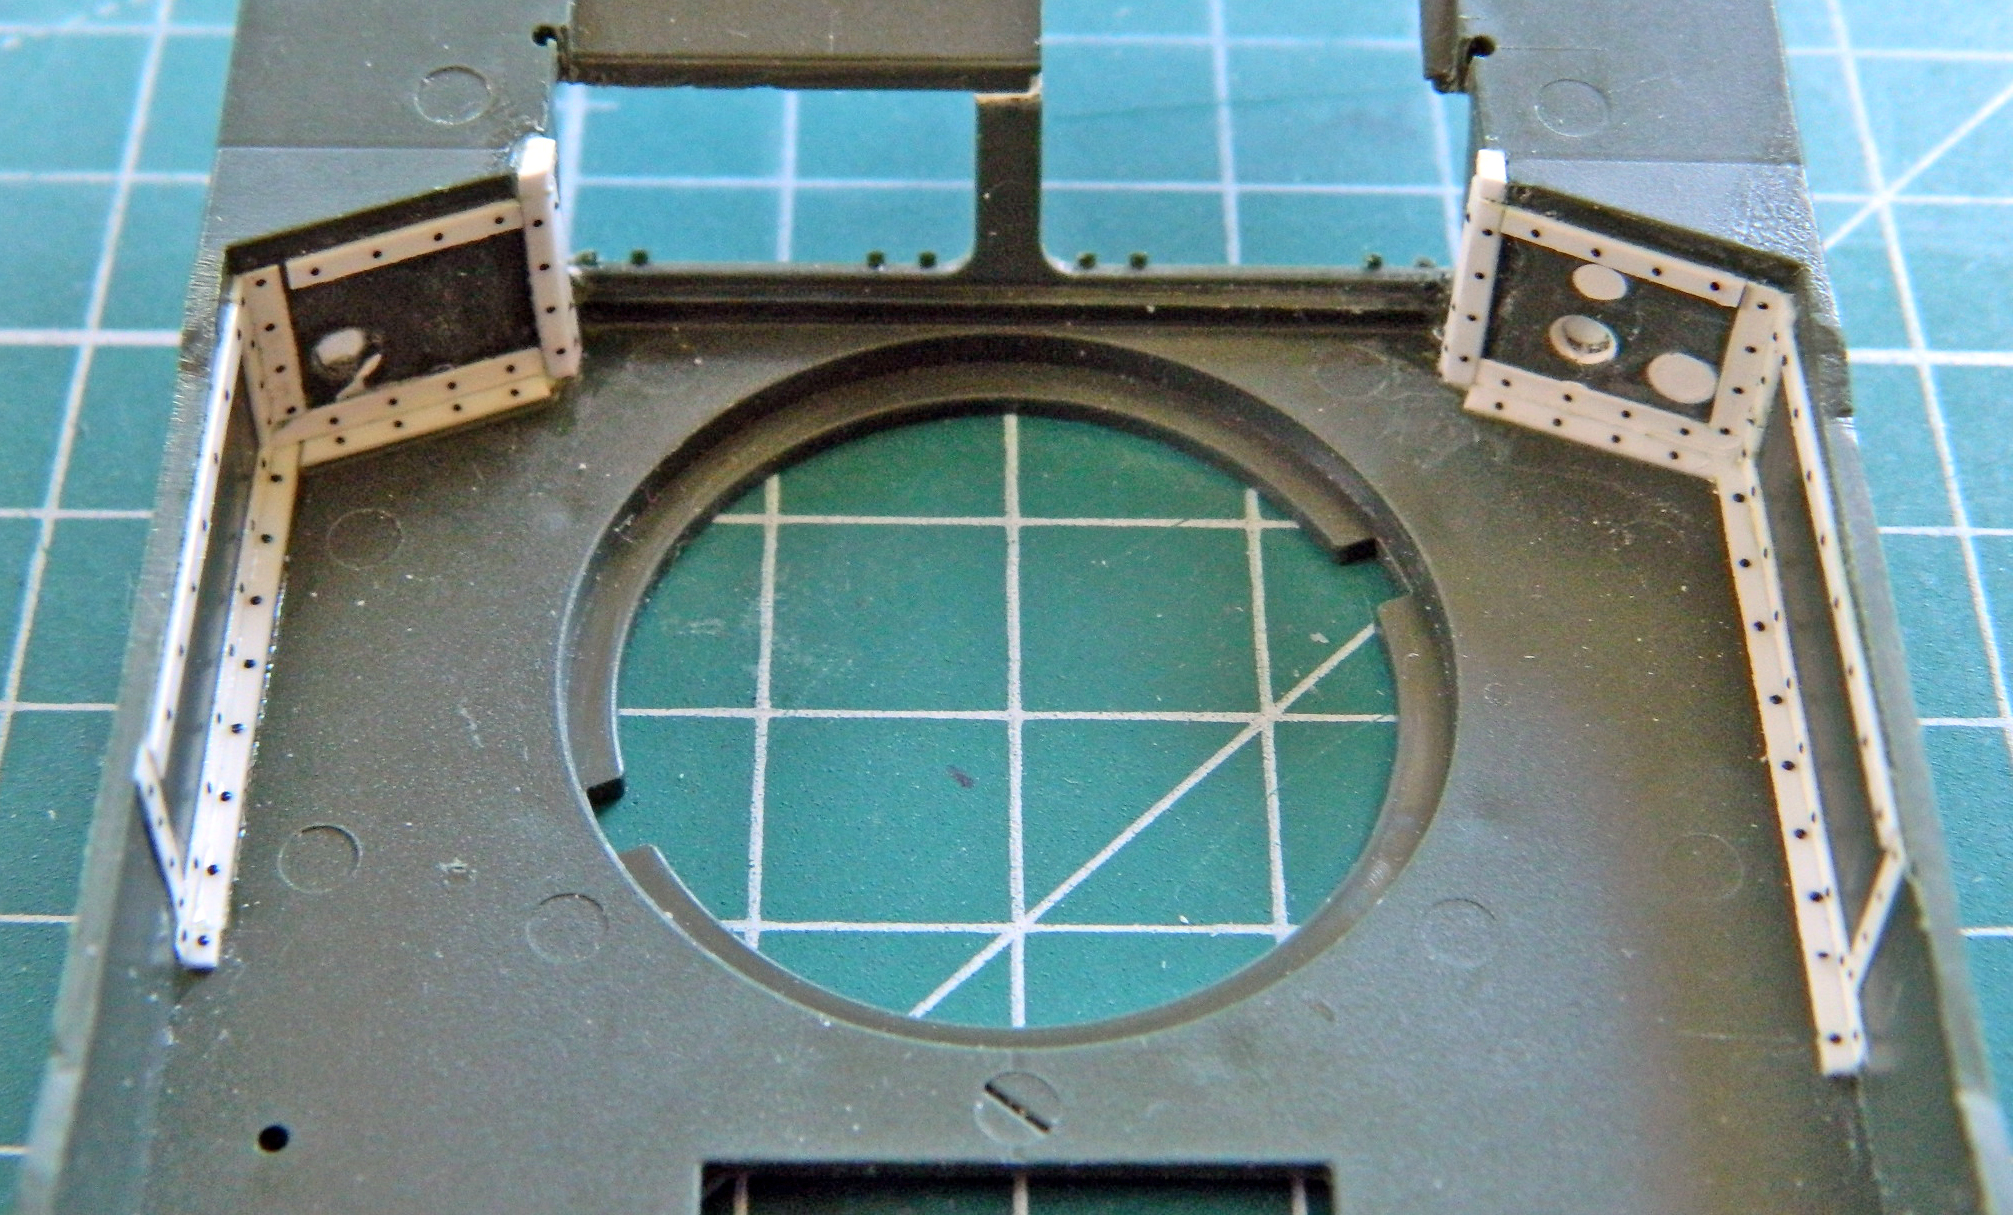
More rivets will be added to the exterior, but given how fragile they are once laid down, I’ll wait until later and as close to painting as can be.
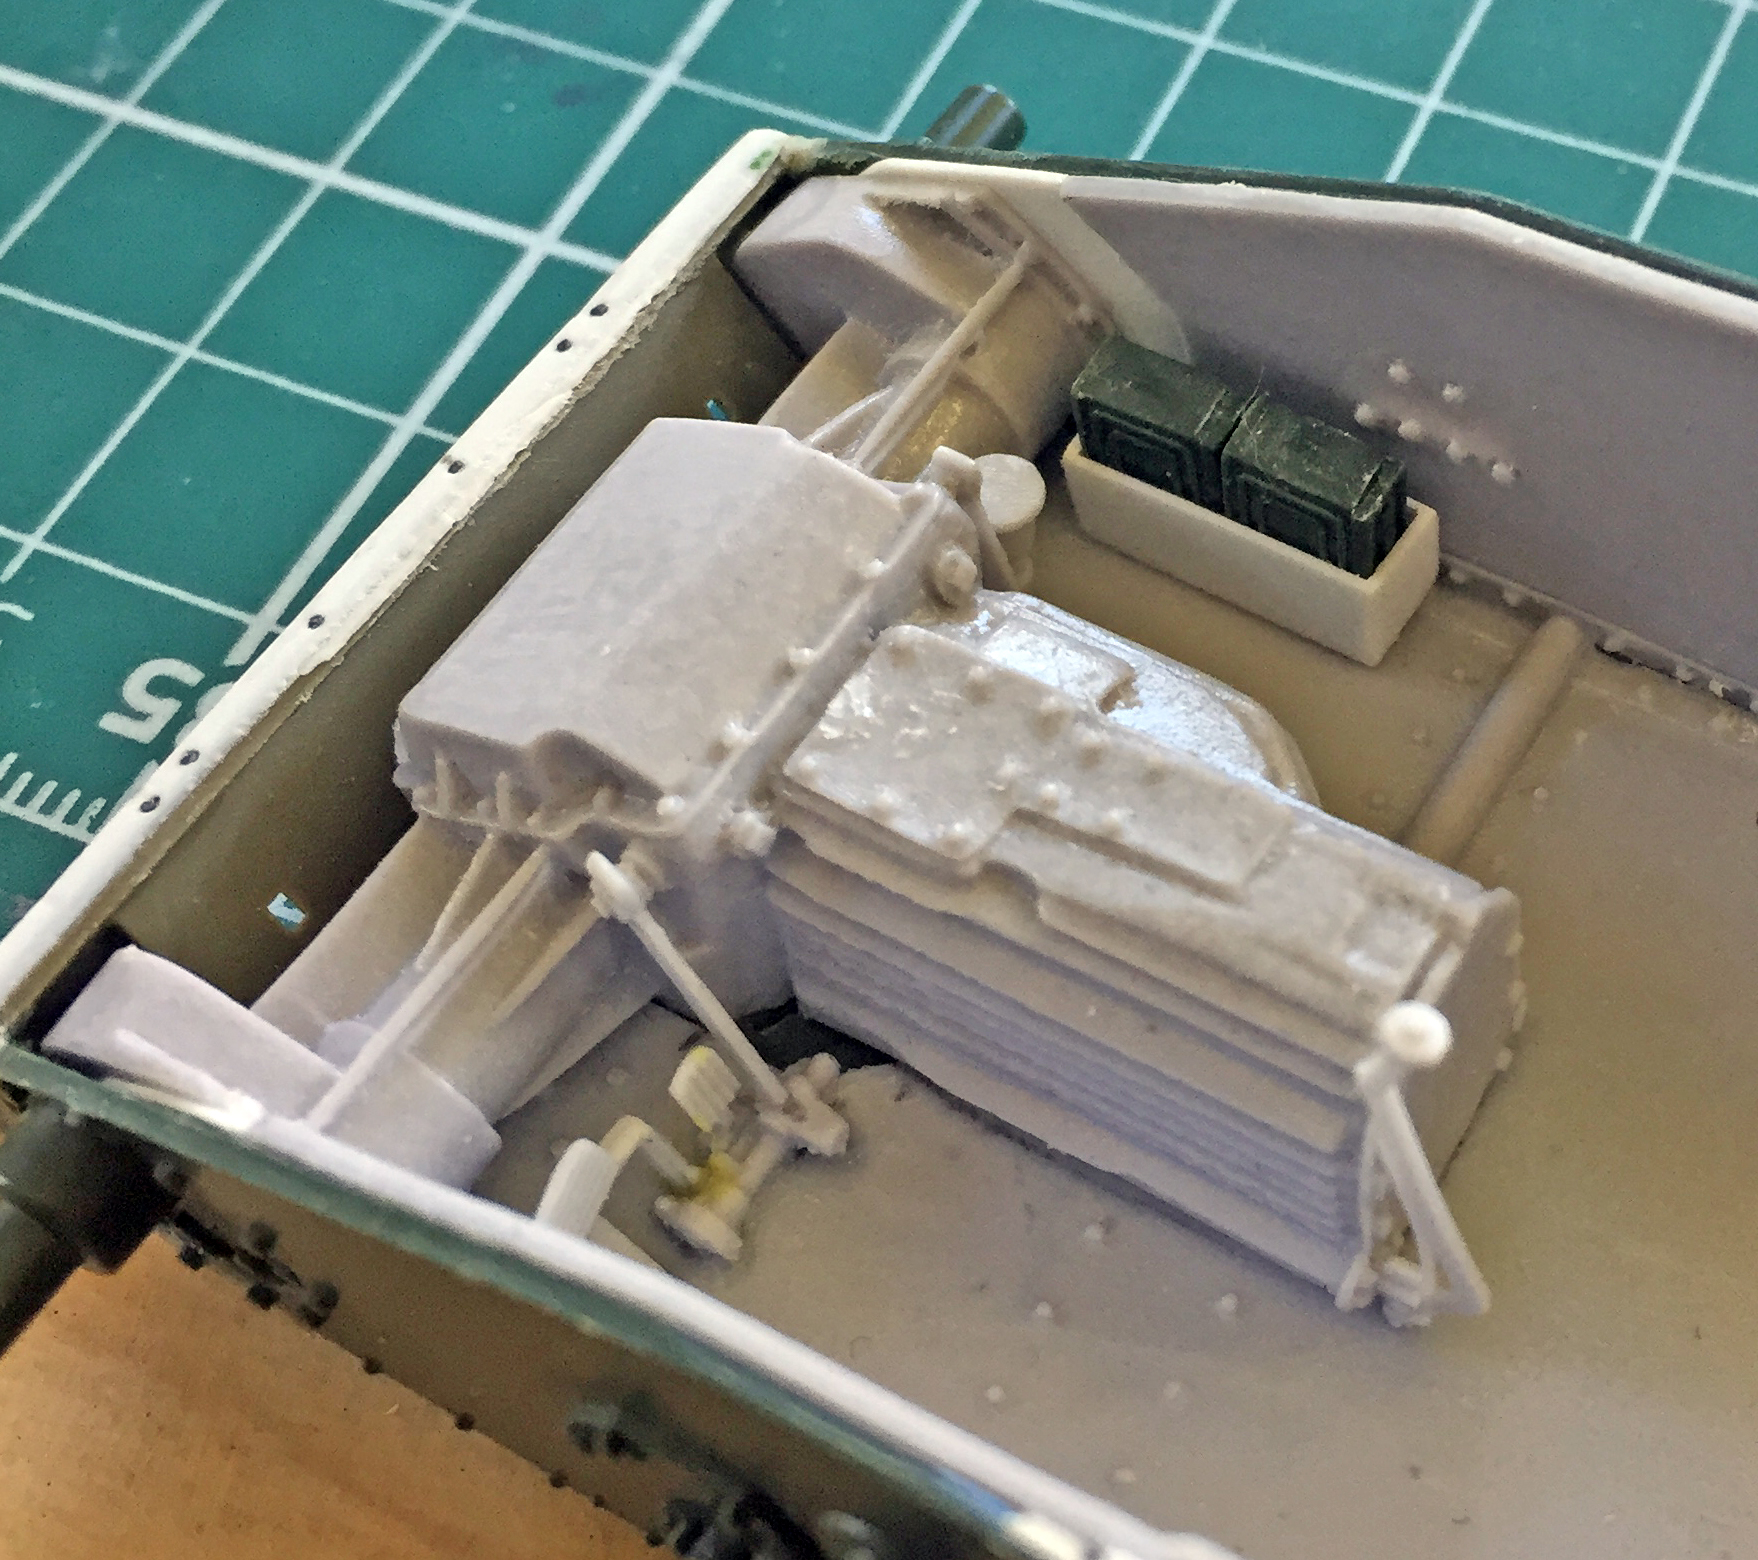
One of the things I want to do with this build is to add a light to the interior. The battery and switch will go into the space where the engine would be, and the LED is going here, not finding any references as to where, or even if, the actual tank had a light, I put it at the upper right side rear bulkhead. That little yellow rectangle is the LED; I had the choice between cool white and warm white and I went with the warm white to replicate a 1940 light bulb:
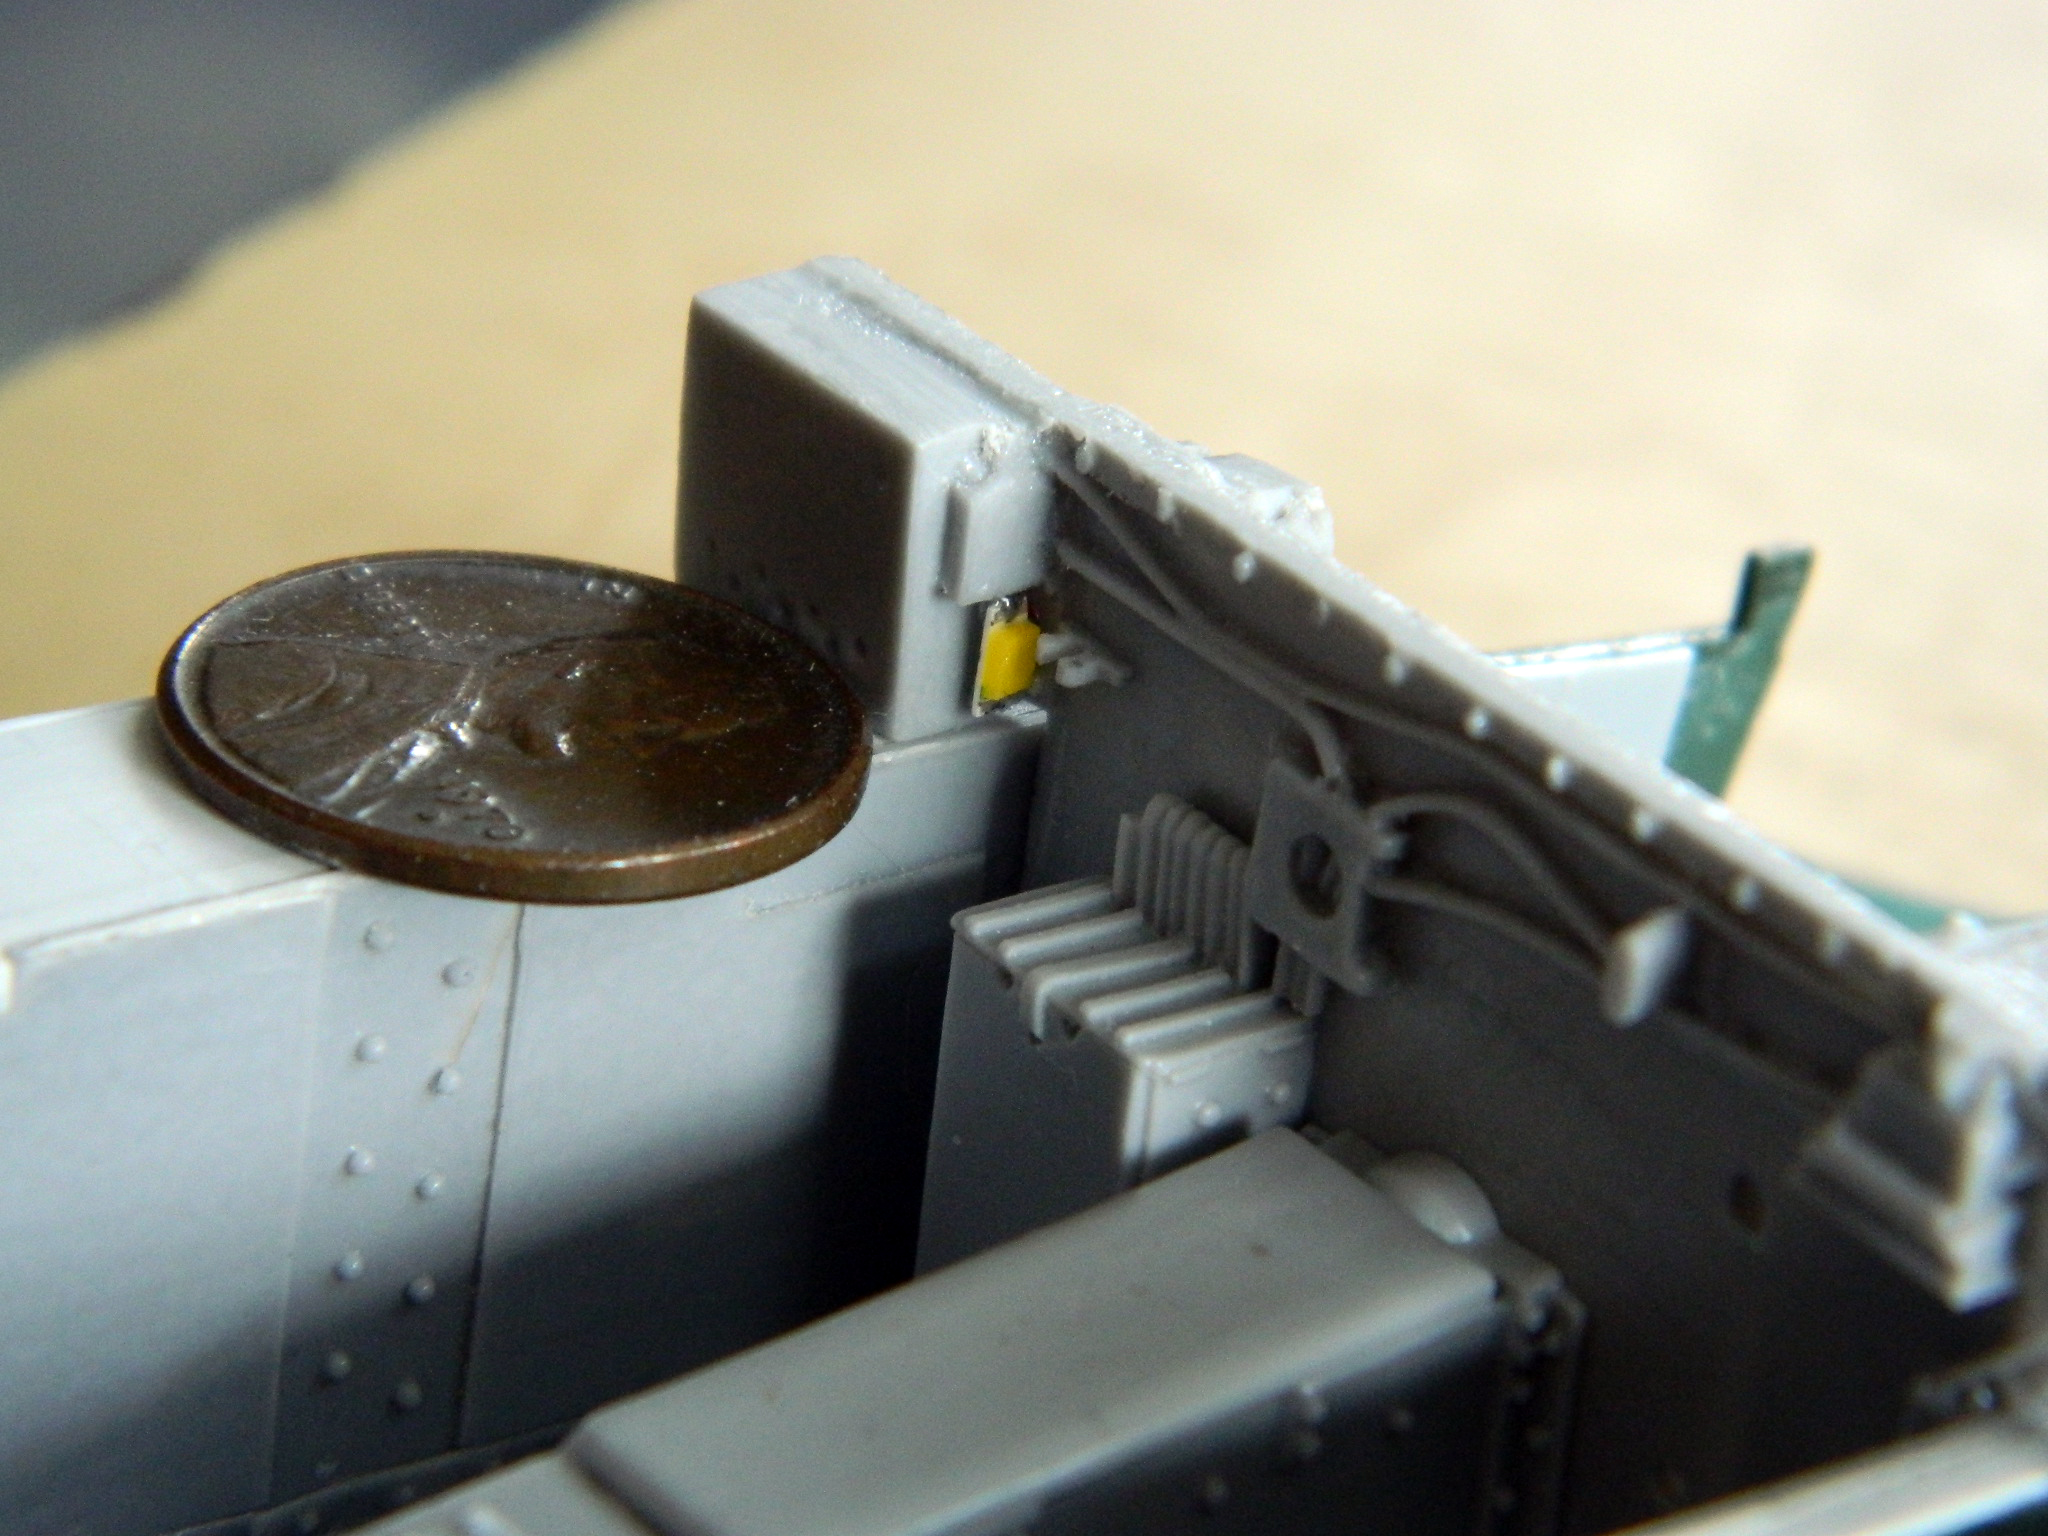
I tested the amount of light that TINY thing puts out (an impressive amount) and, once everything is painted white inside, that should be enough light without overdoing things:
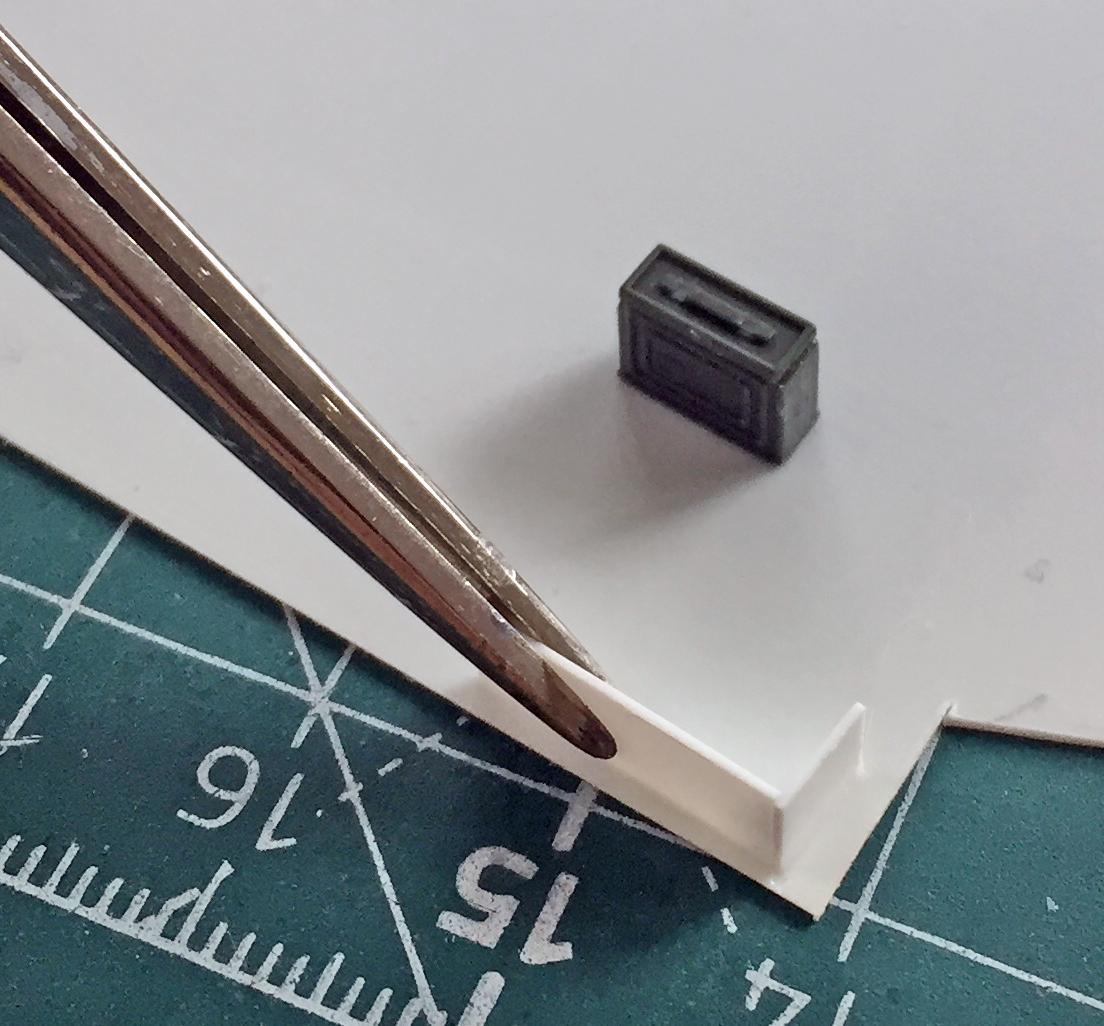
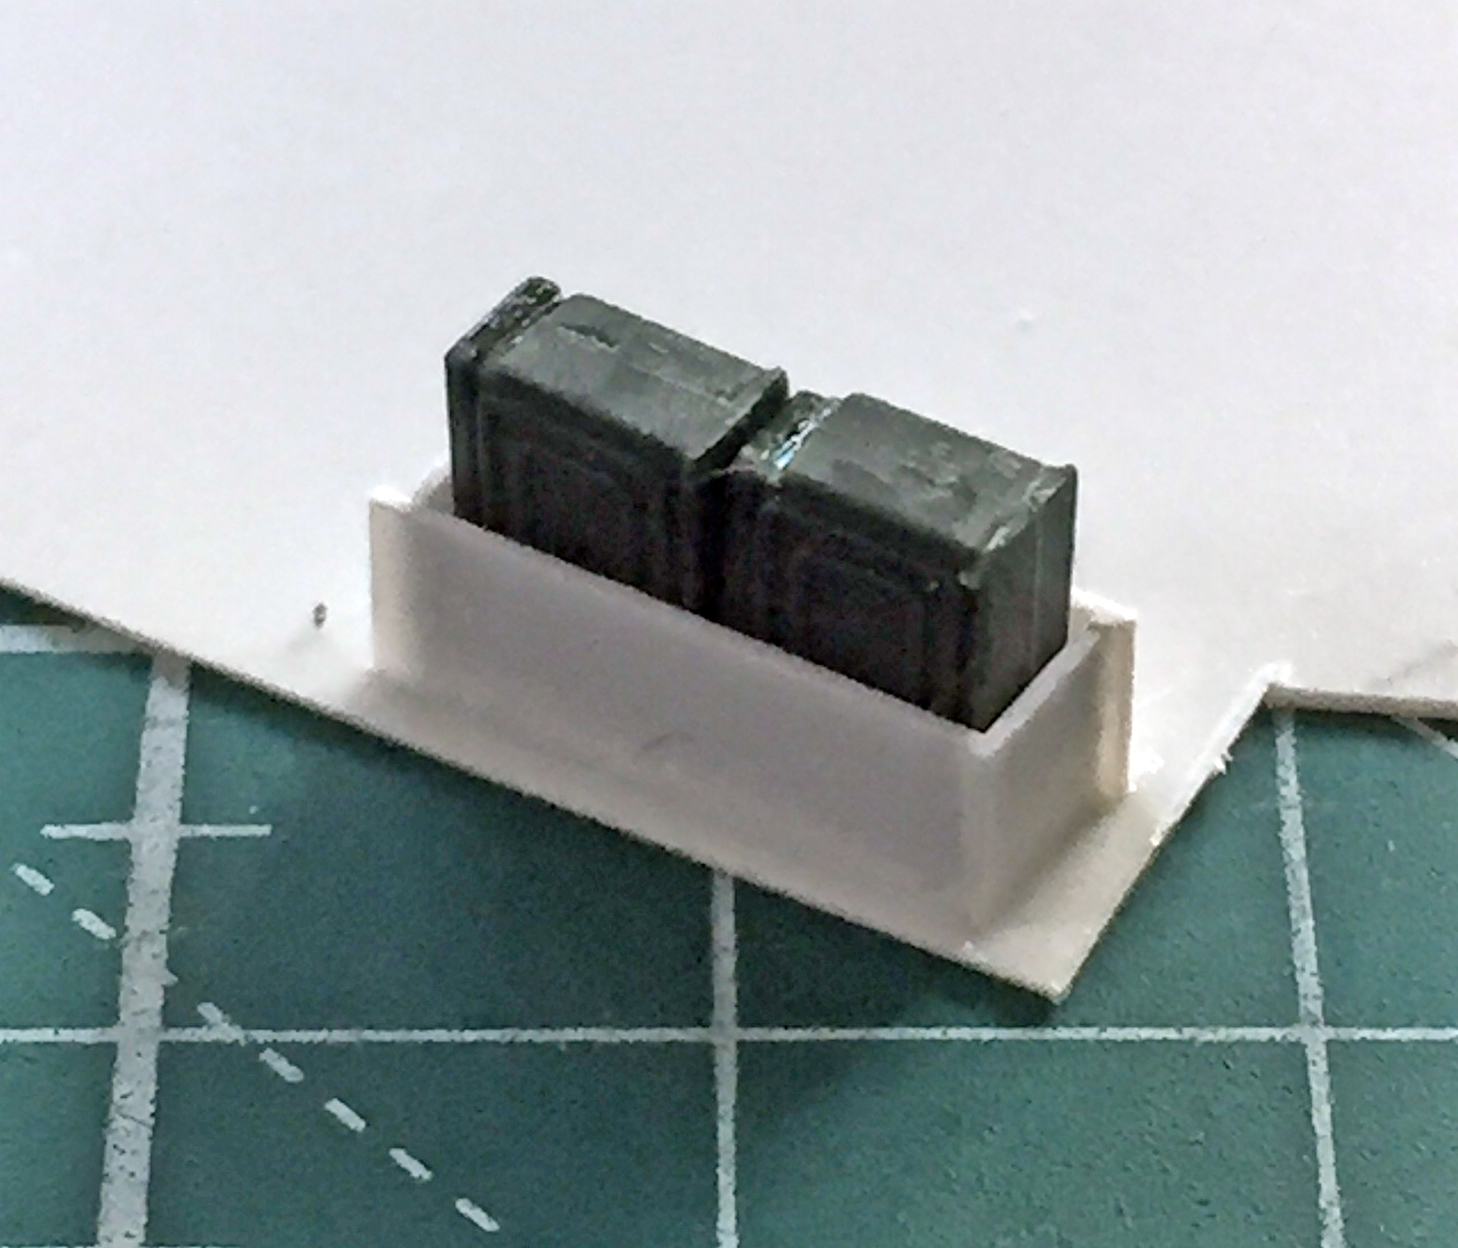
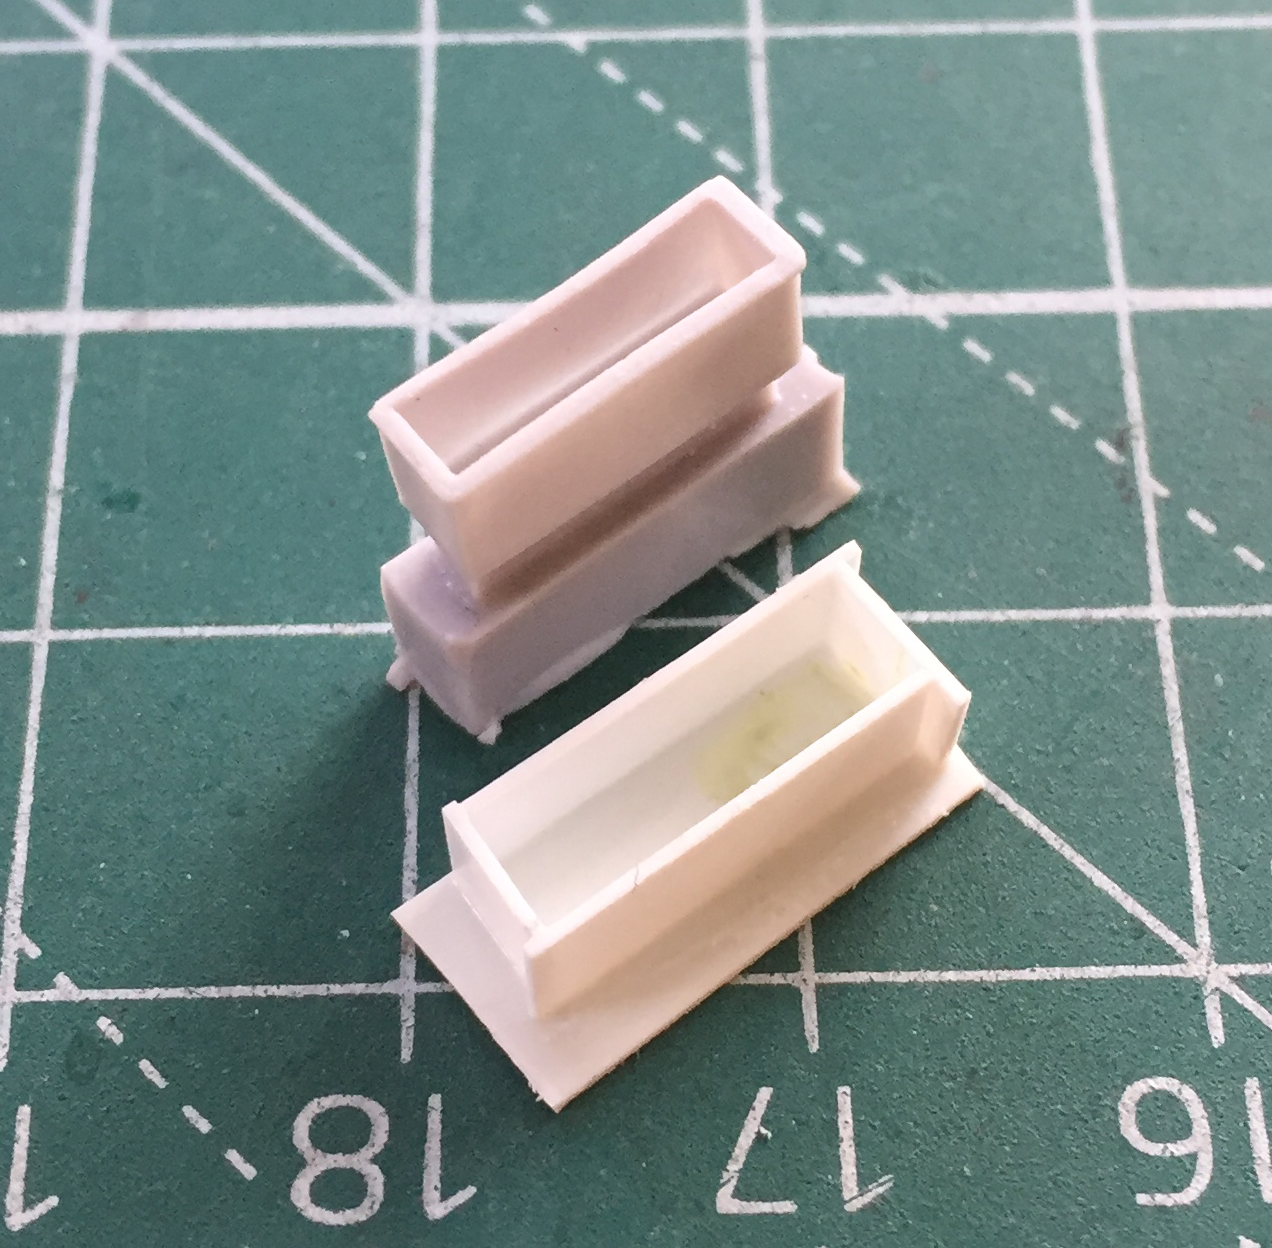
The tray on the floor next to the co-driver’s seat held two .30 caliber (7.62mm) ammo cans on end. The resin part was too small for the cans I’ll be using, so I made one from .015″ (.381mm) styrene scrap:

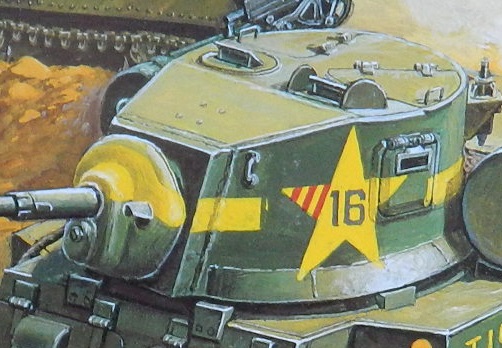
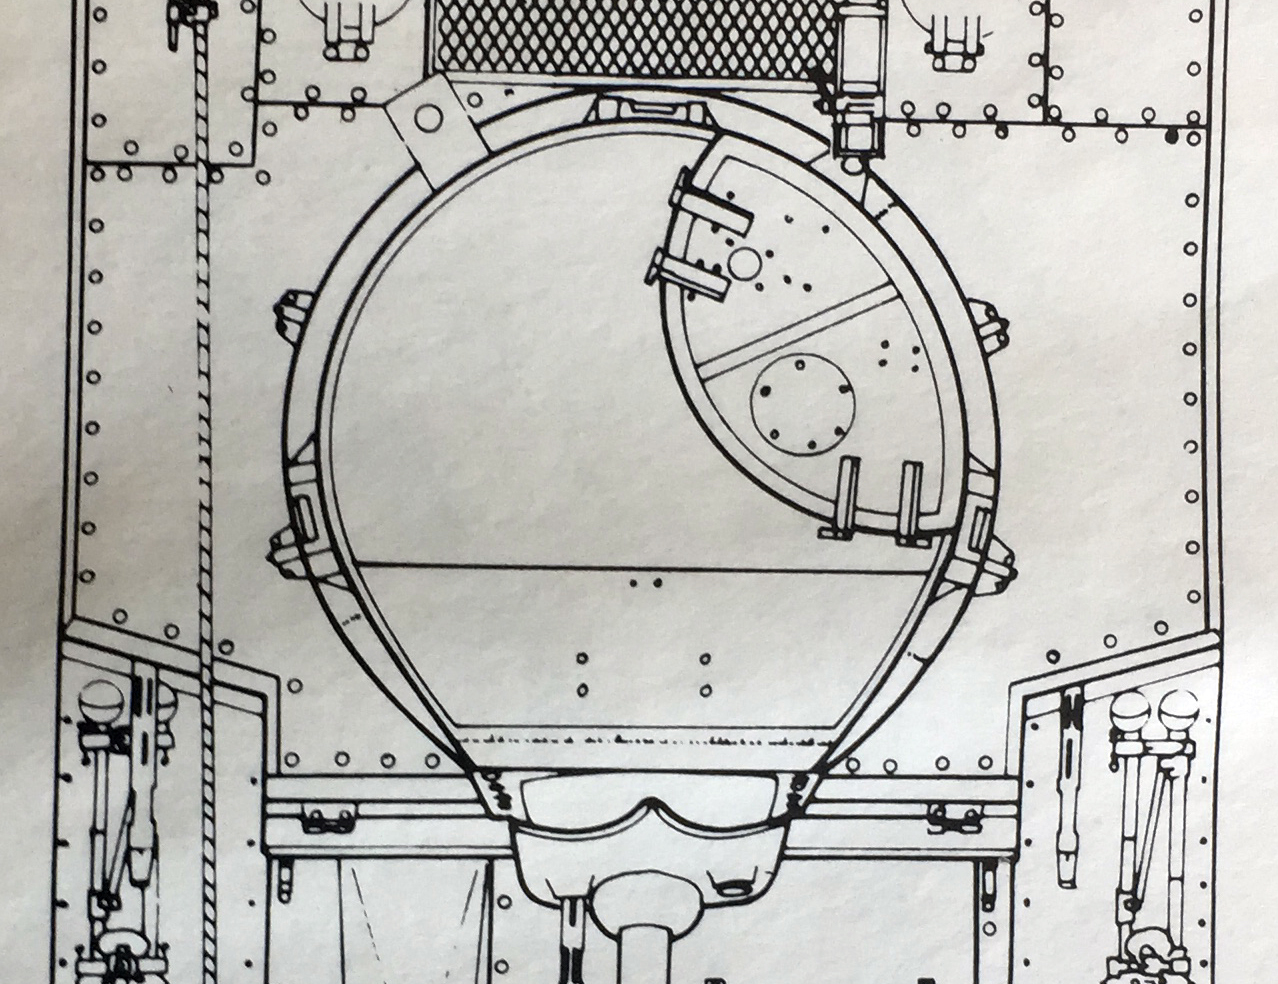
Frequently while I’m building things (usually what I know how to do), my mind ponders things I’ve yet to do (usually what I don’t know how to do). In this case, I want to backdate the turret from the D58101 turret that came with the kit which is more appropriate for an M3A1:
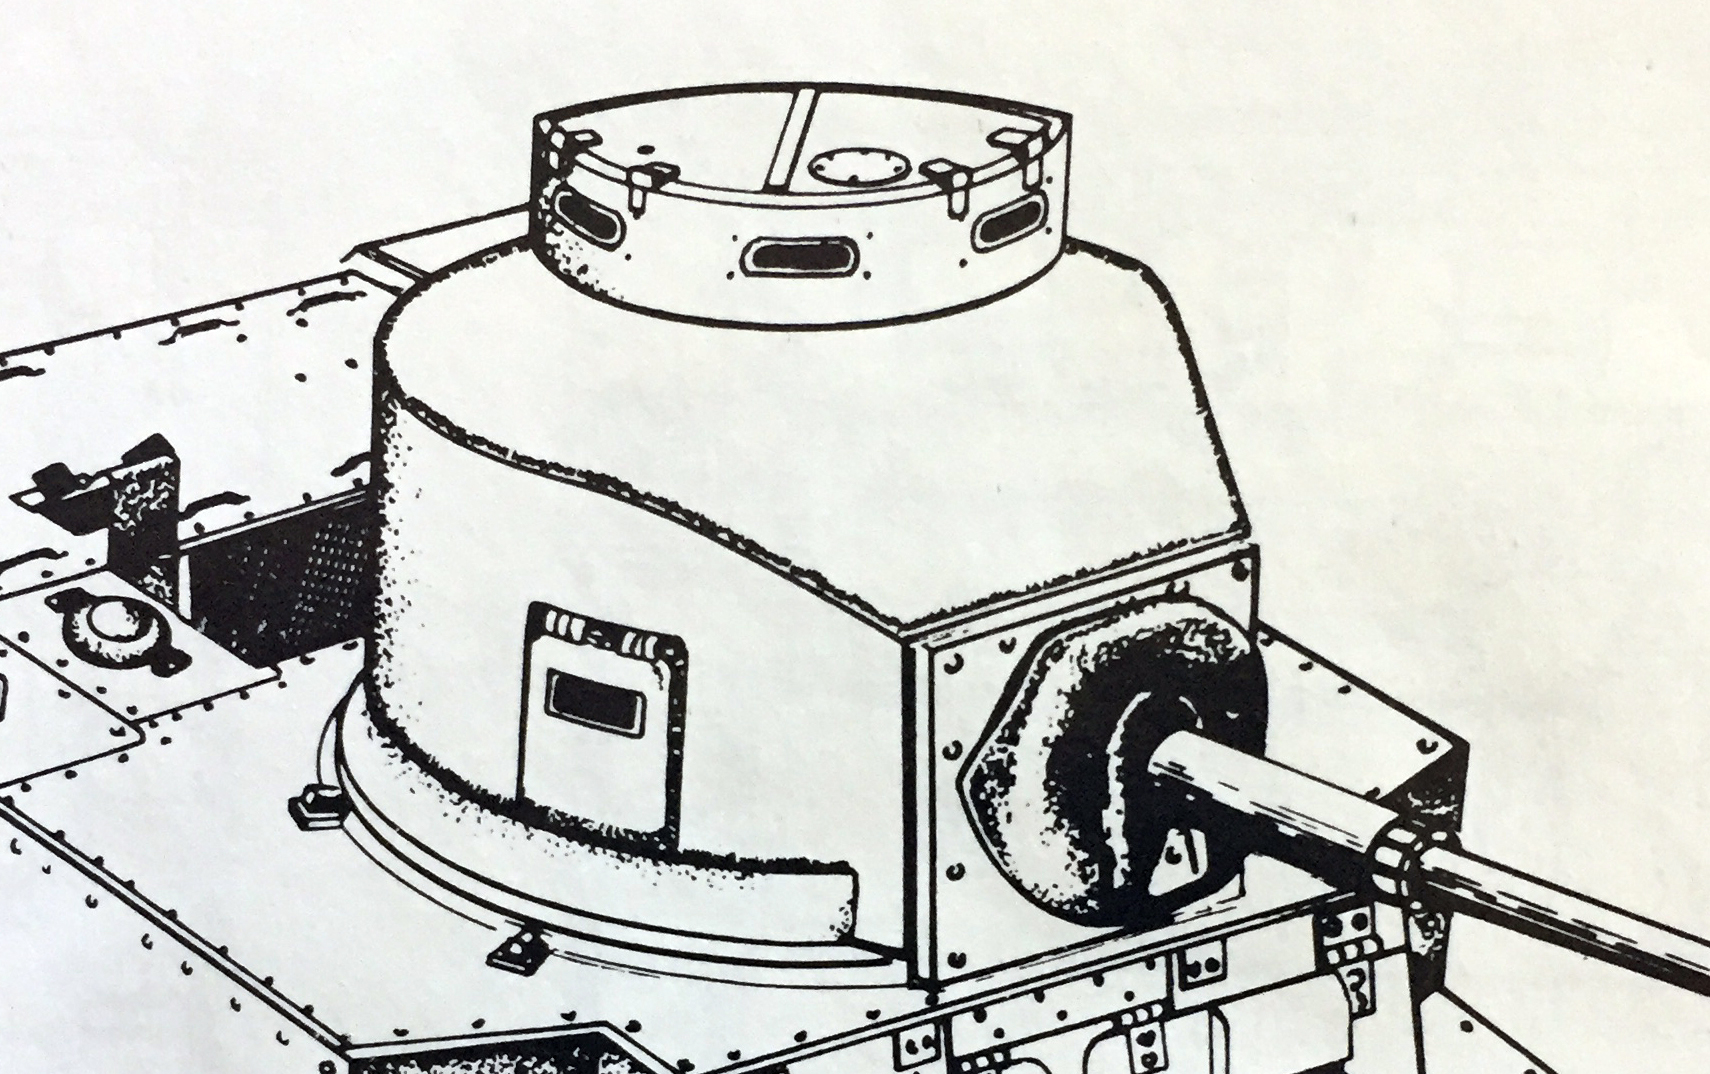
To the earlier D39273 turret which is more appropriate for an M3:
To do that, I’m using the turret from the old Tamiya M3 kit, #3542. I had intended on using the top of that turret to replace the top of the turret that came with the Academy kit. Then I realized that doing it that way would leave me with an internal seam that would need to be filled and sanded. Being an internal seam, doing that, though possible, would be an ass-pain. Instead, I decided to assemble the Tamiya turret to the extent where I could cut the commander’s cupola off as a unit and then graft it onto the Academy turret.
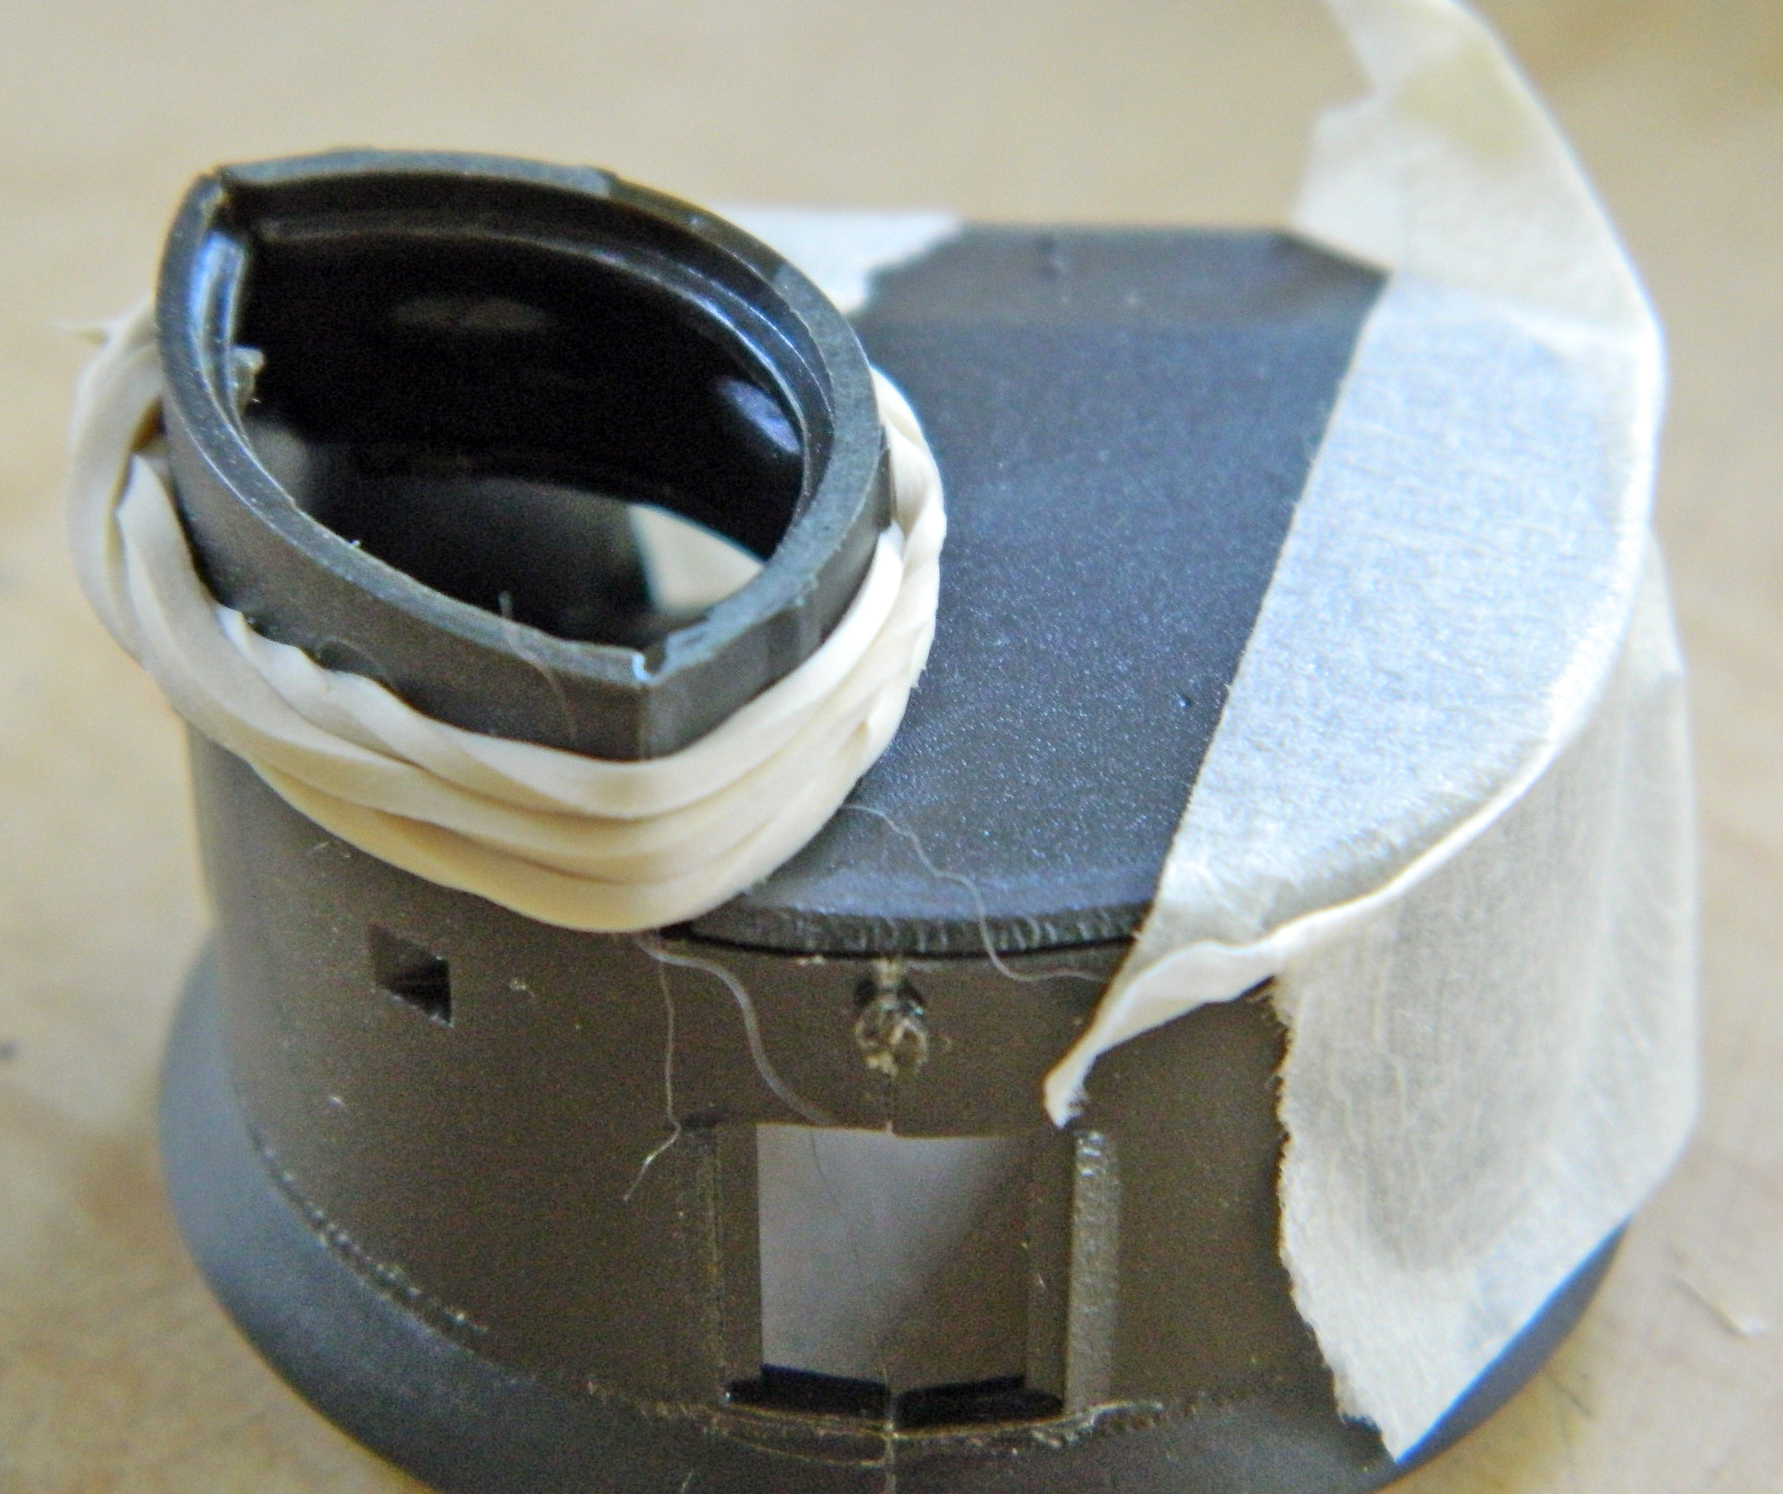
So the first step is to assemble the Tamiya turret. The mistake I made, though, was using a rubber band to hold the cupola sides together. The rubber band wicked the glue to places I didn’t want glue to be:

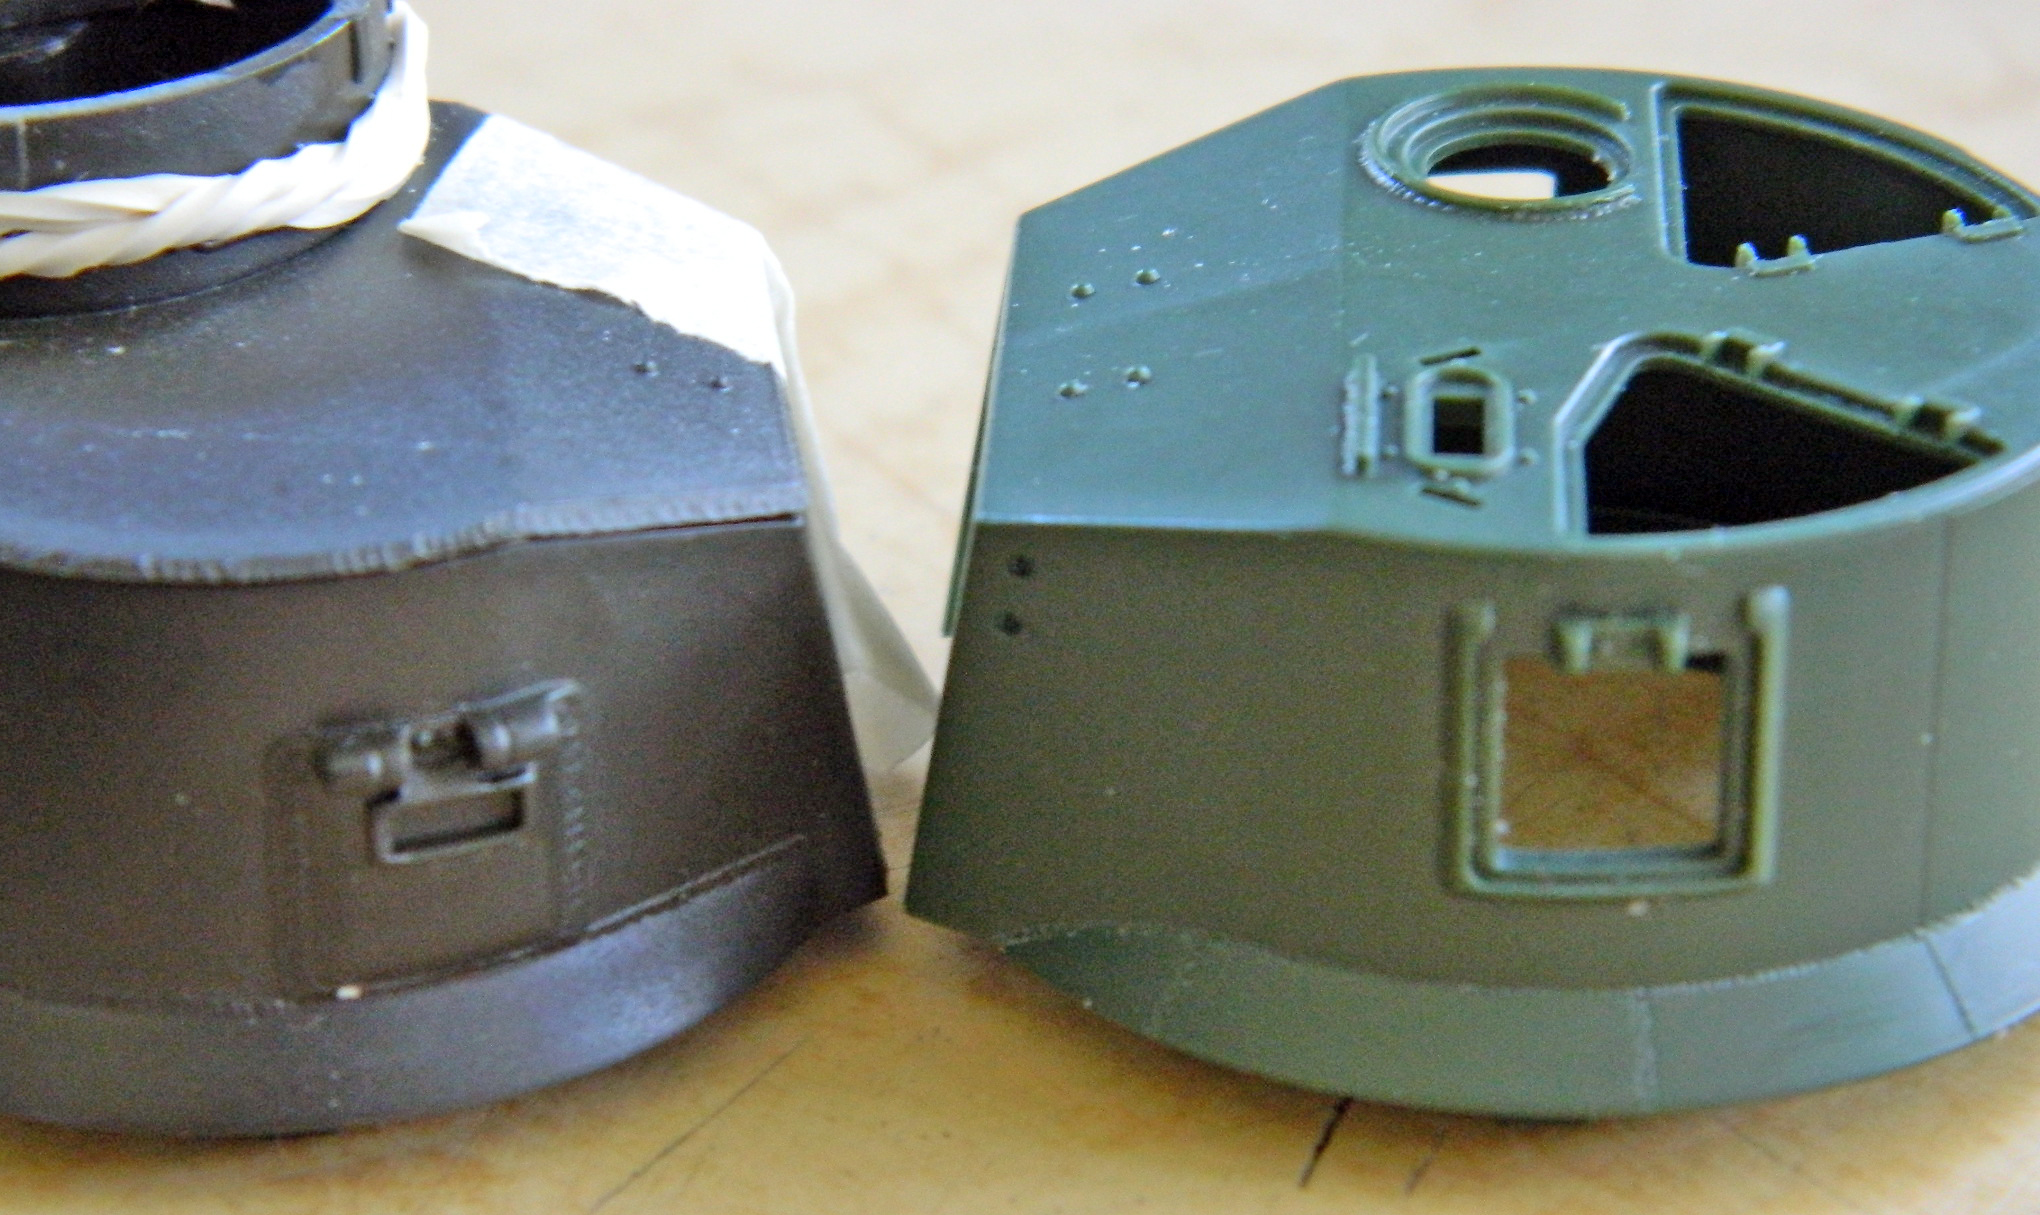
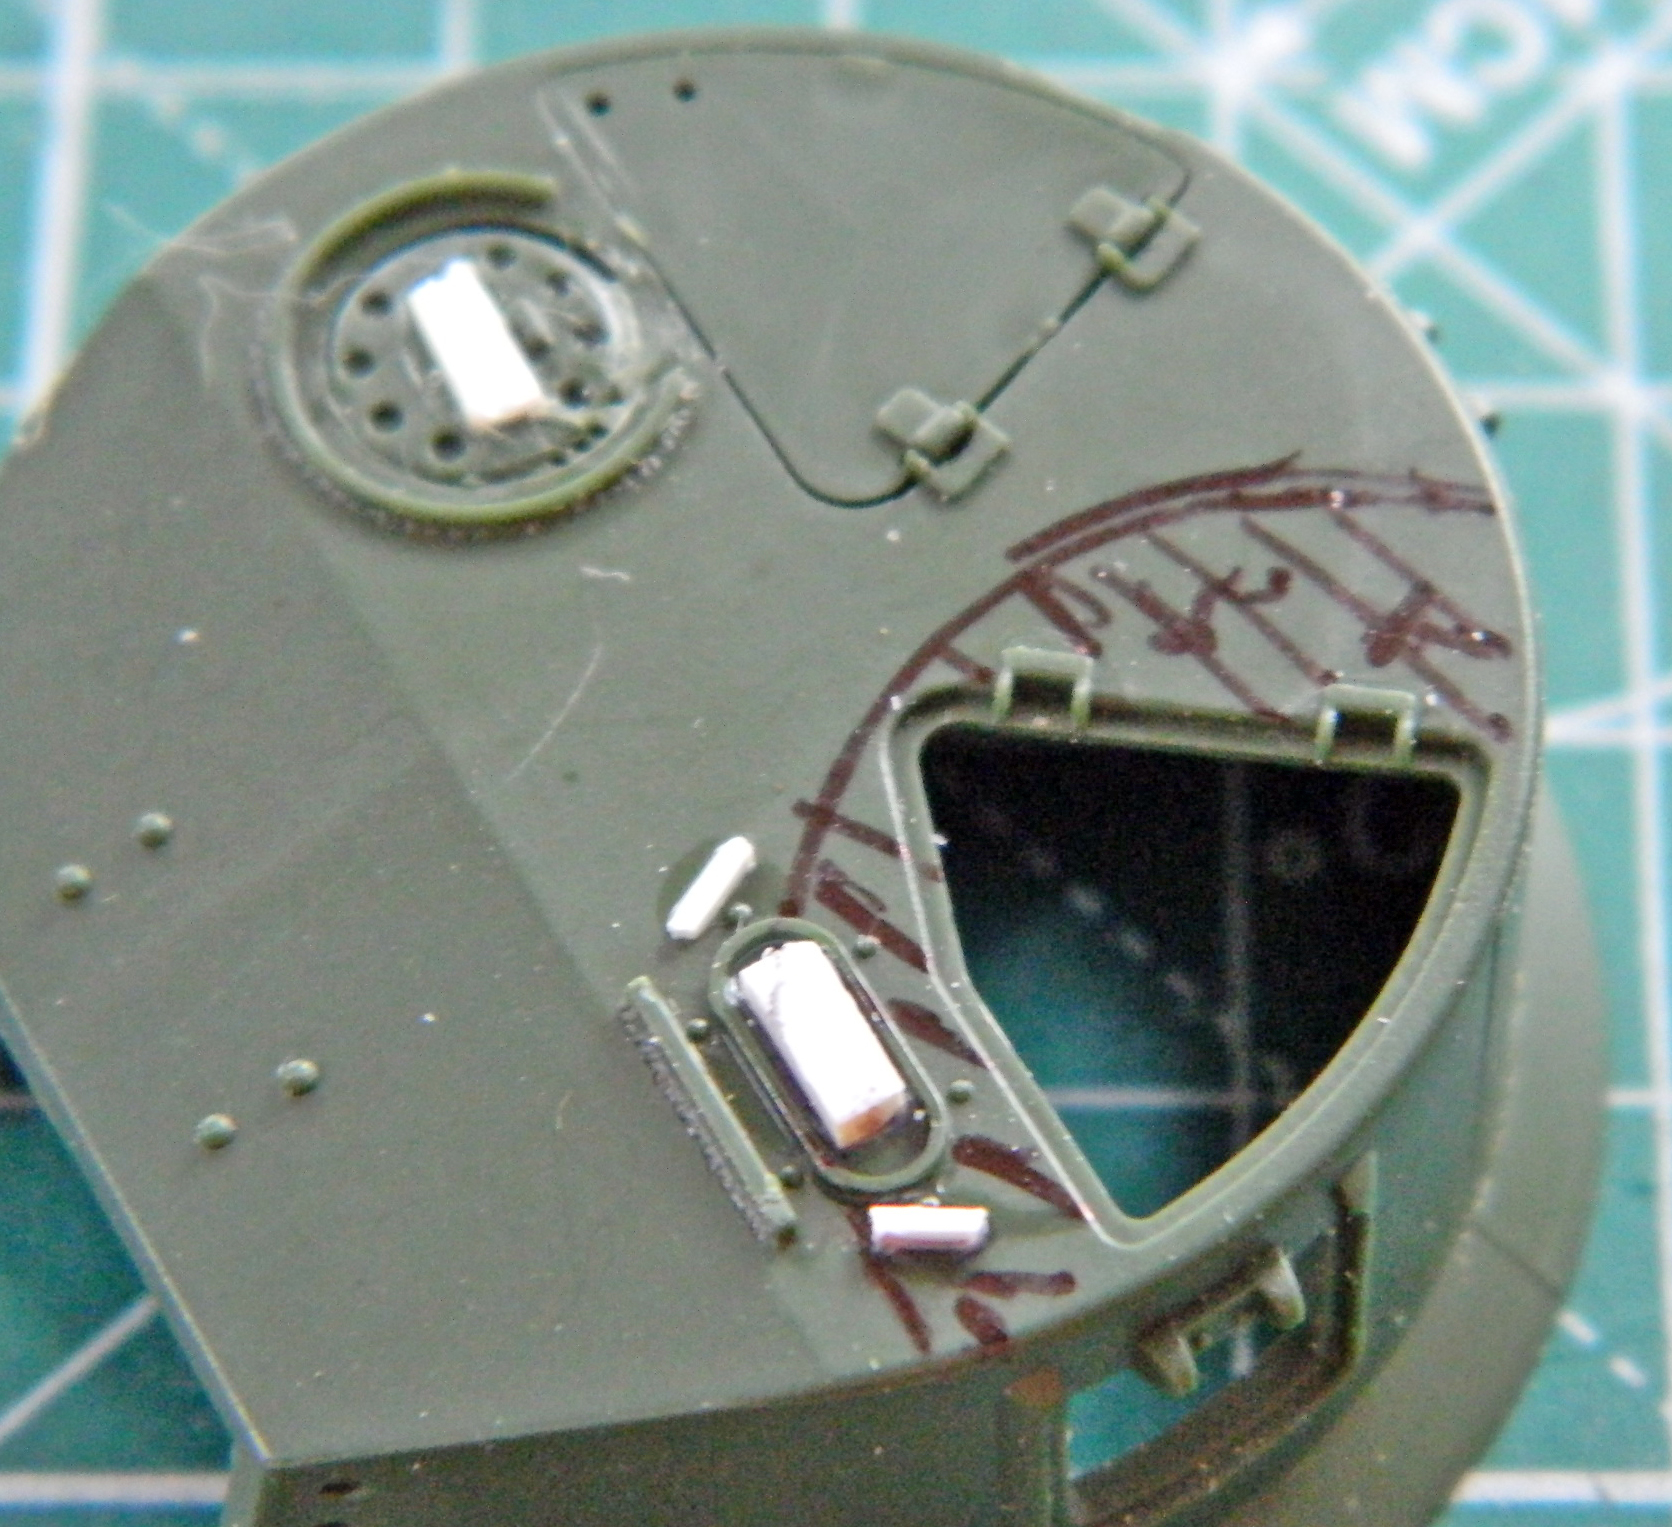
While the glue was curing, I checked the locations of the three pistol ports. One of the changes between the two turrets was that the later D58101 turret (on the right below) had the pistol ports higher than the earlier D39276 turret had them. (The D58101 turret also had the ports arranged asymmetrically and the D39276 had them evenly spaced between the two sides.):
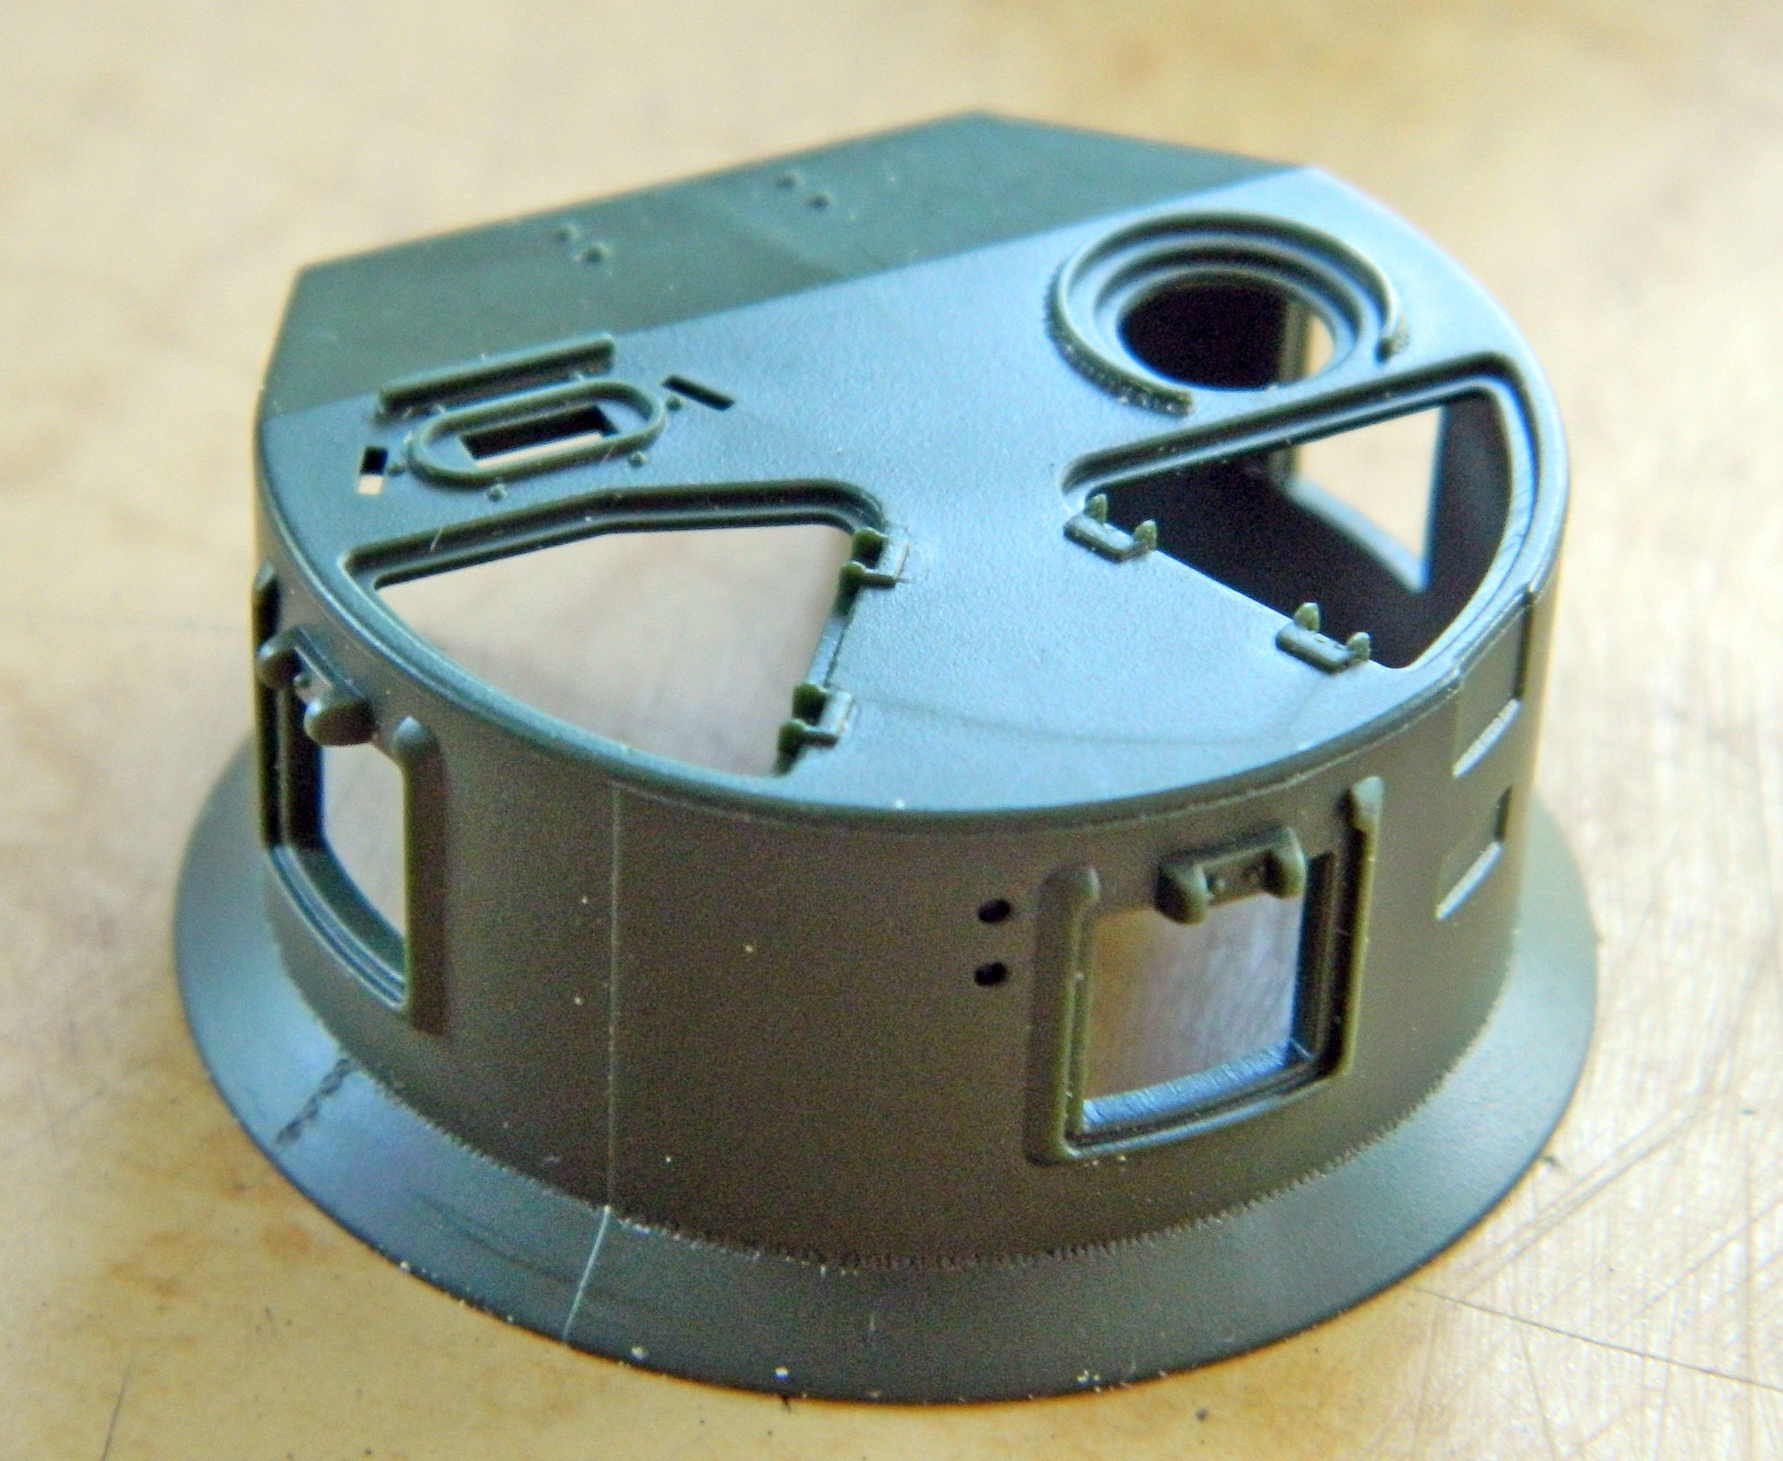
There are also openings in the turret top that need to be filled:
Scrap styrene does the deed for periscope locations and the loader’s hatch fills the hole it’s perfectly sized to fill:
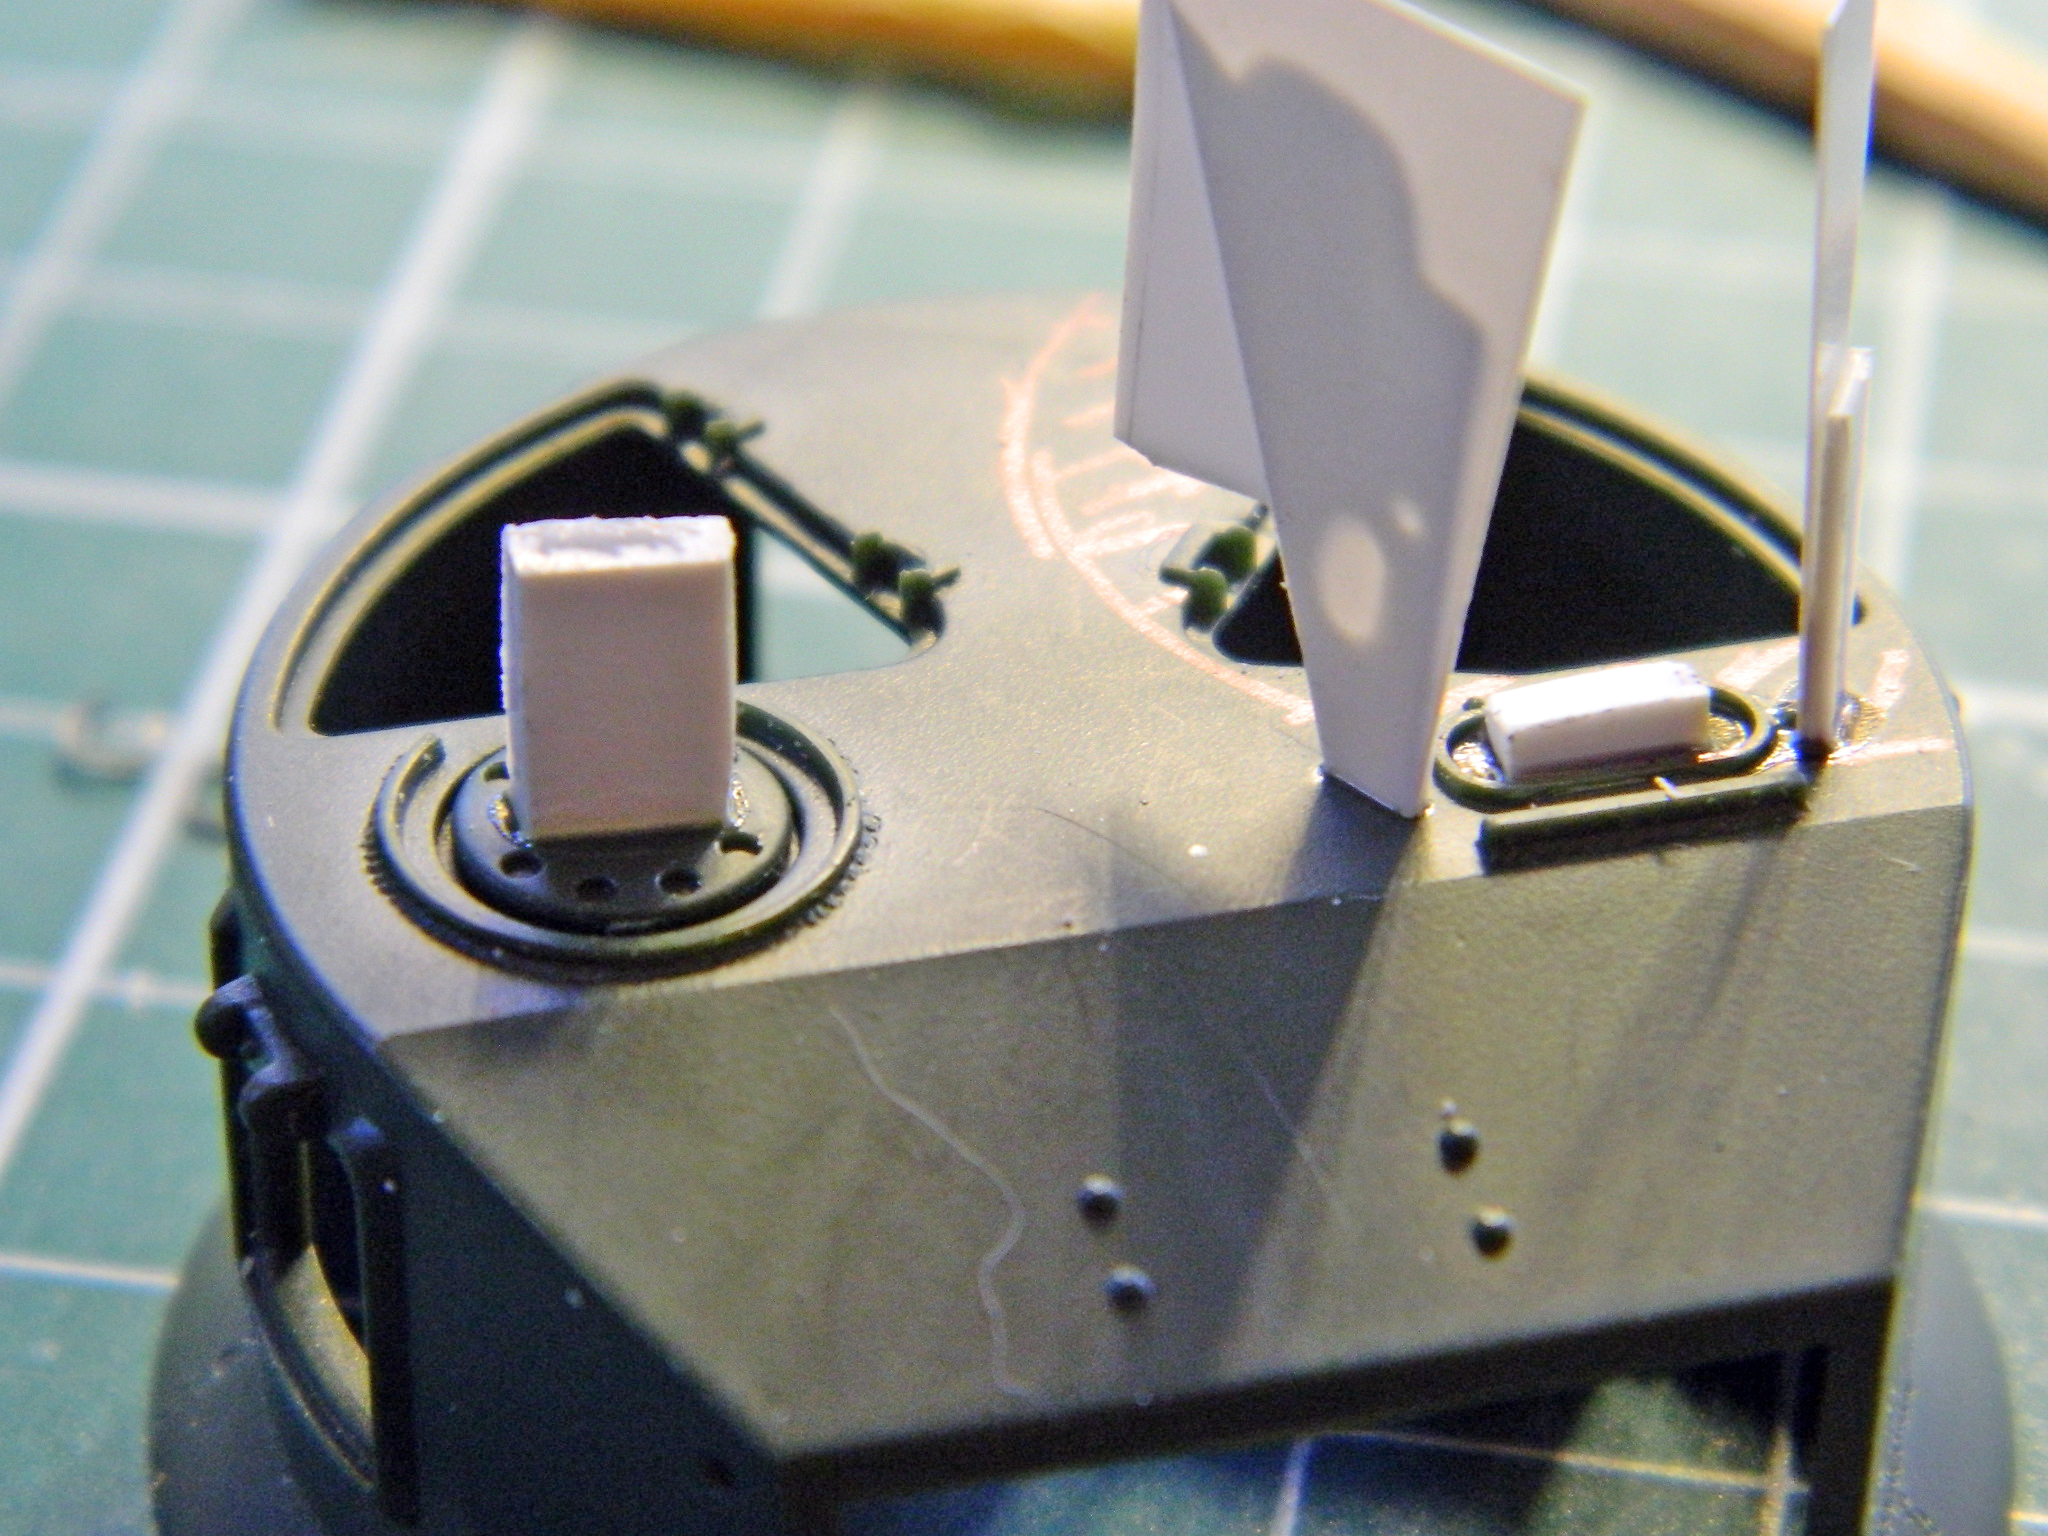
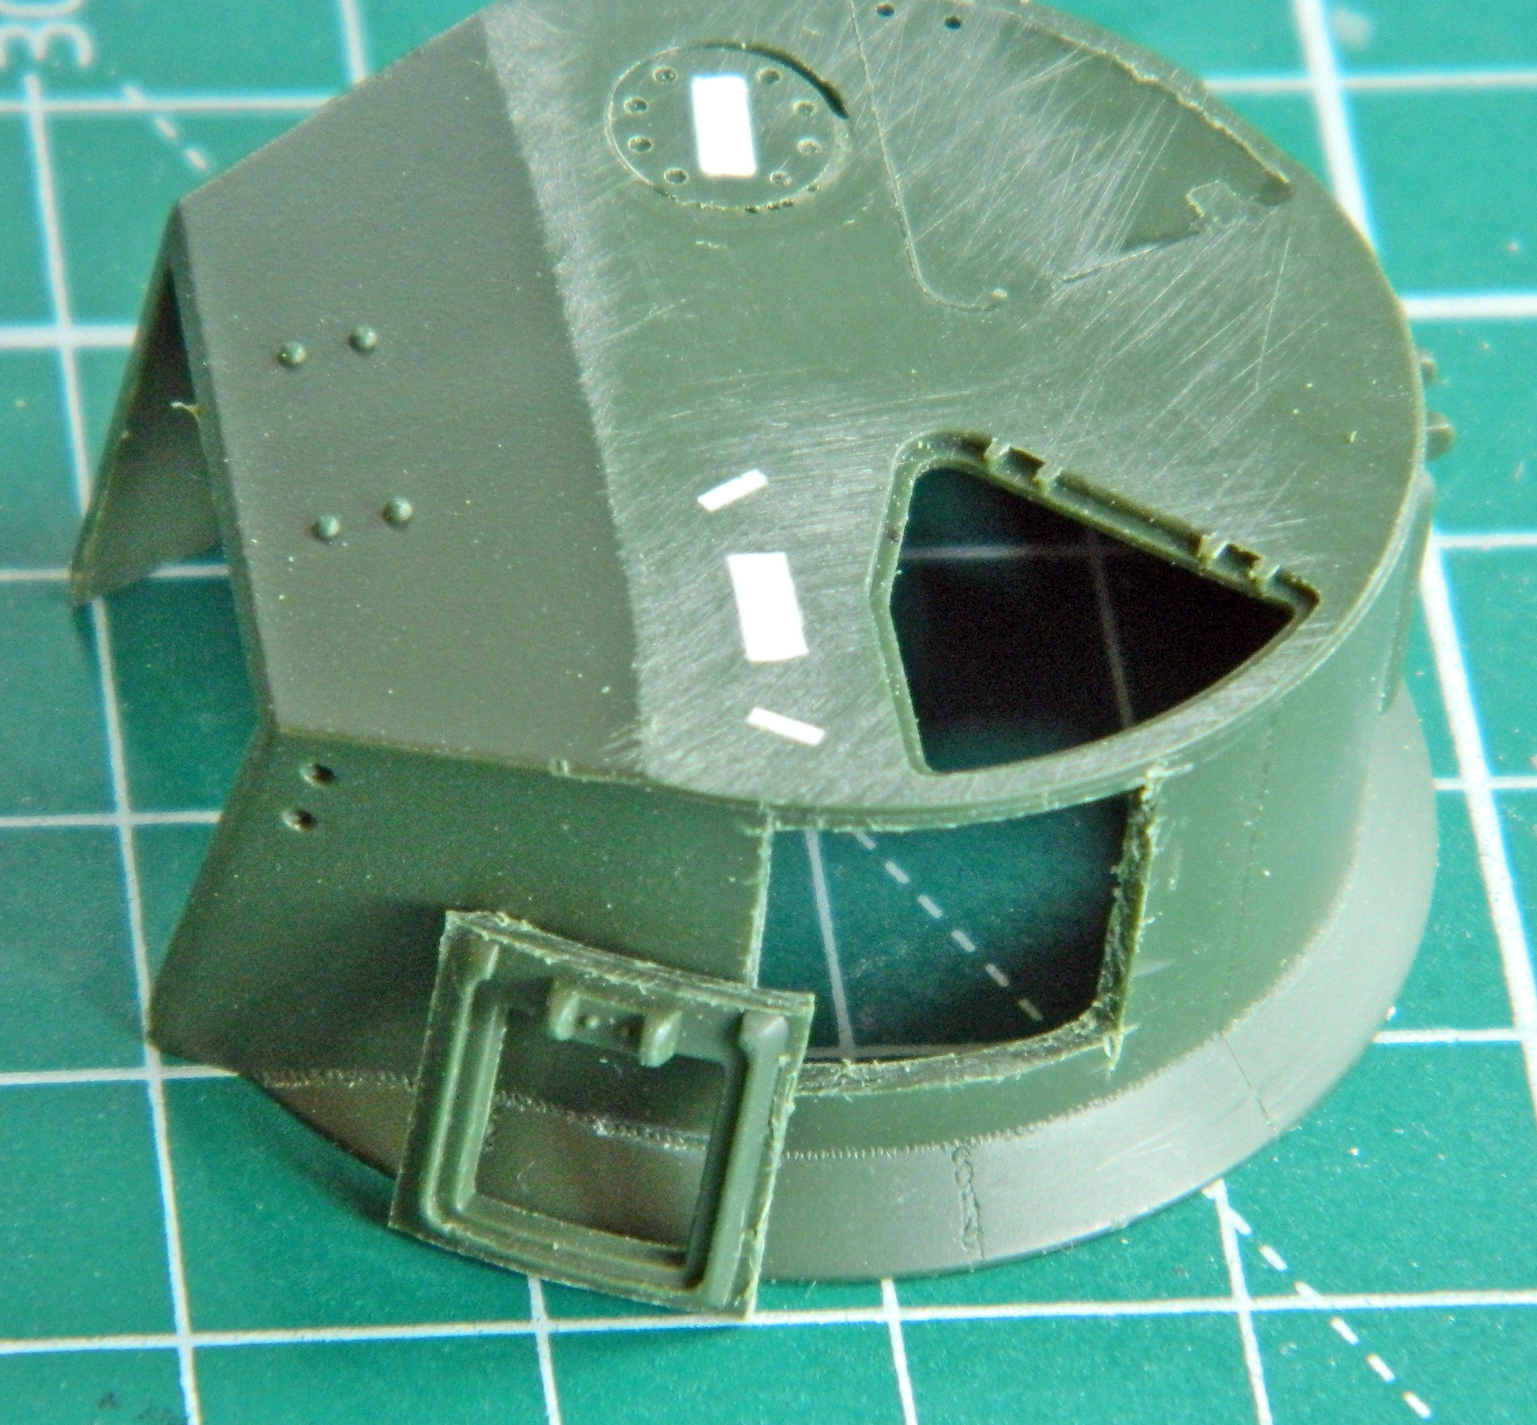
I also needed to see exactly (or within 90-95%) where that cupola sat on the curve of the turret’s side:
With the openings filled, things got smoothed flat:

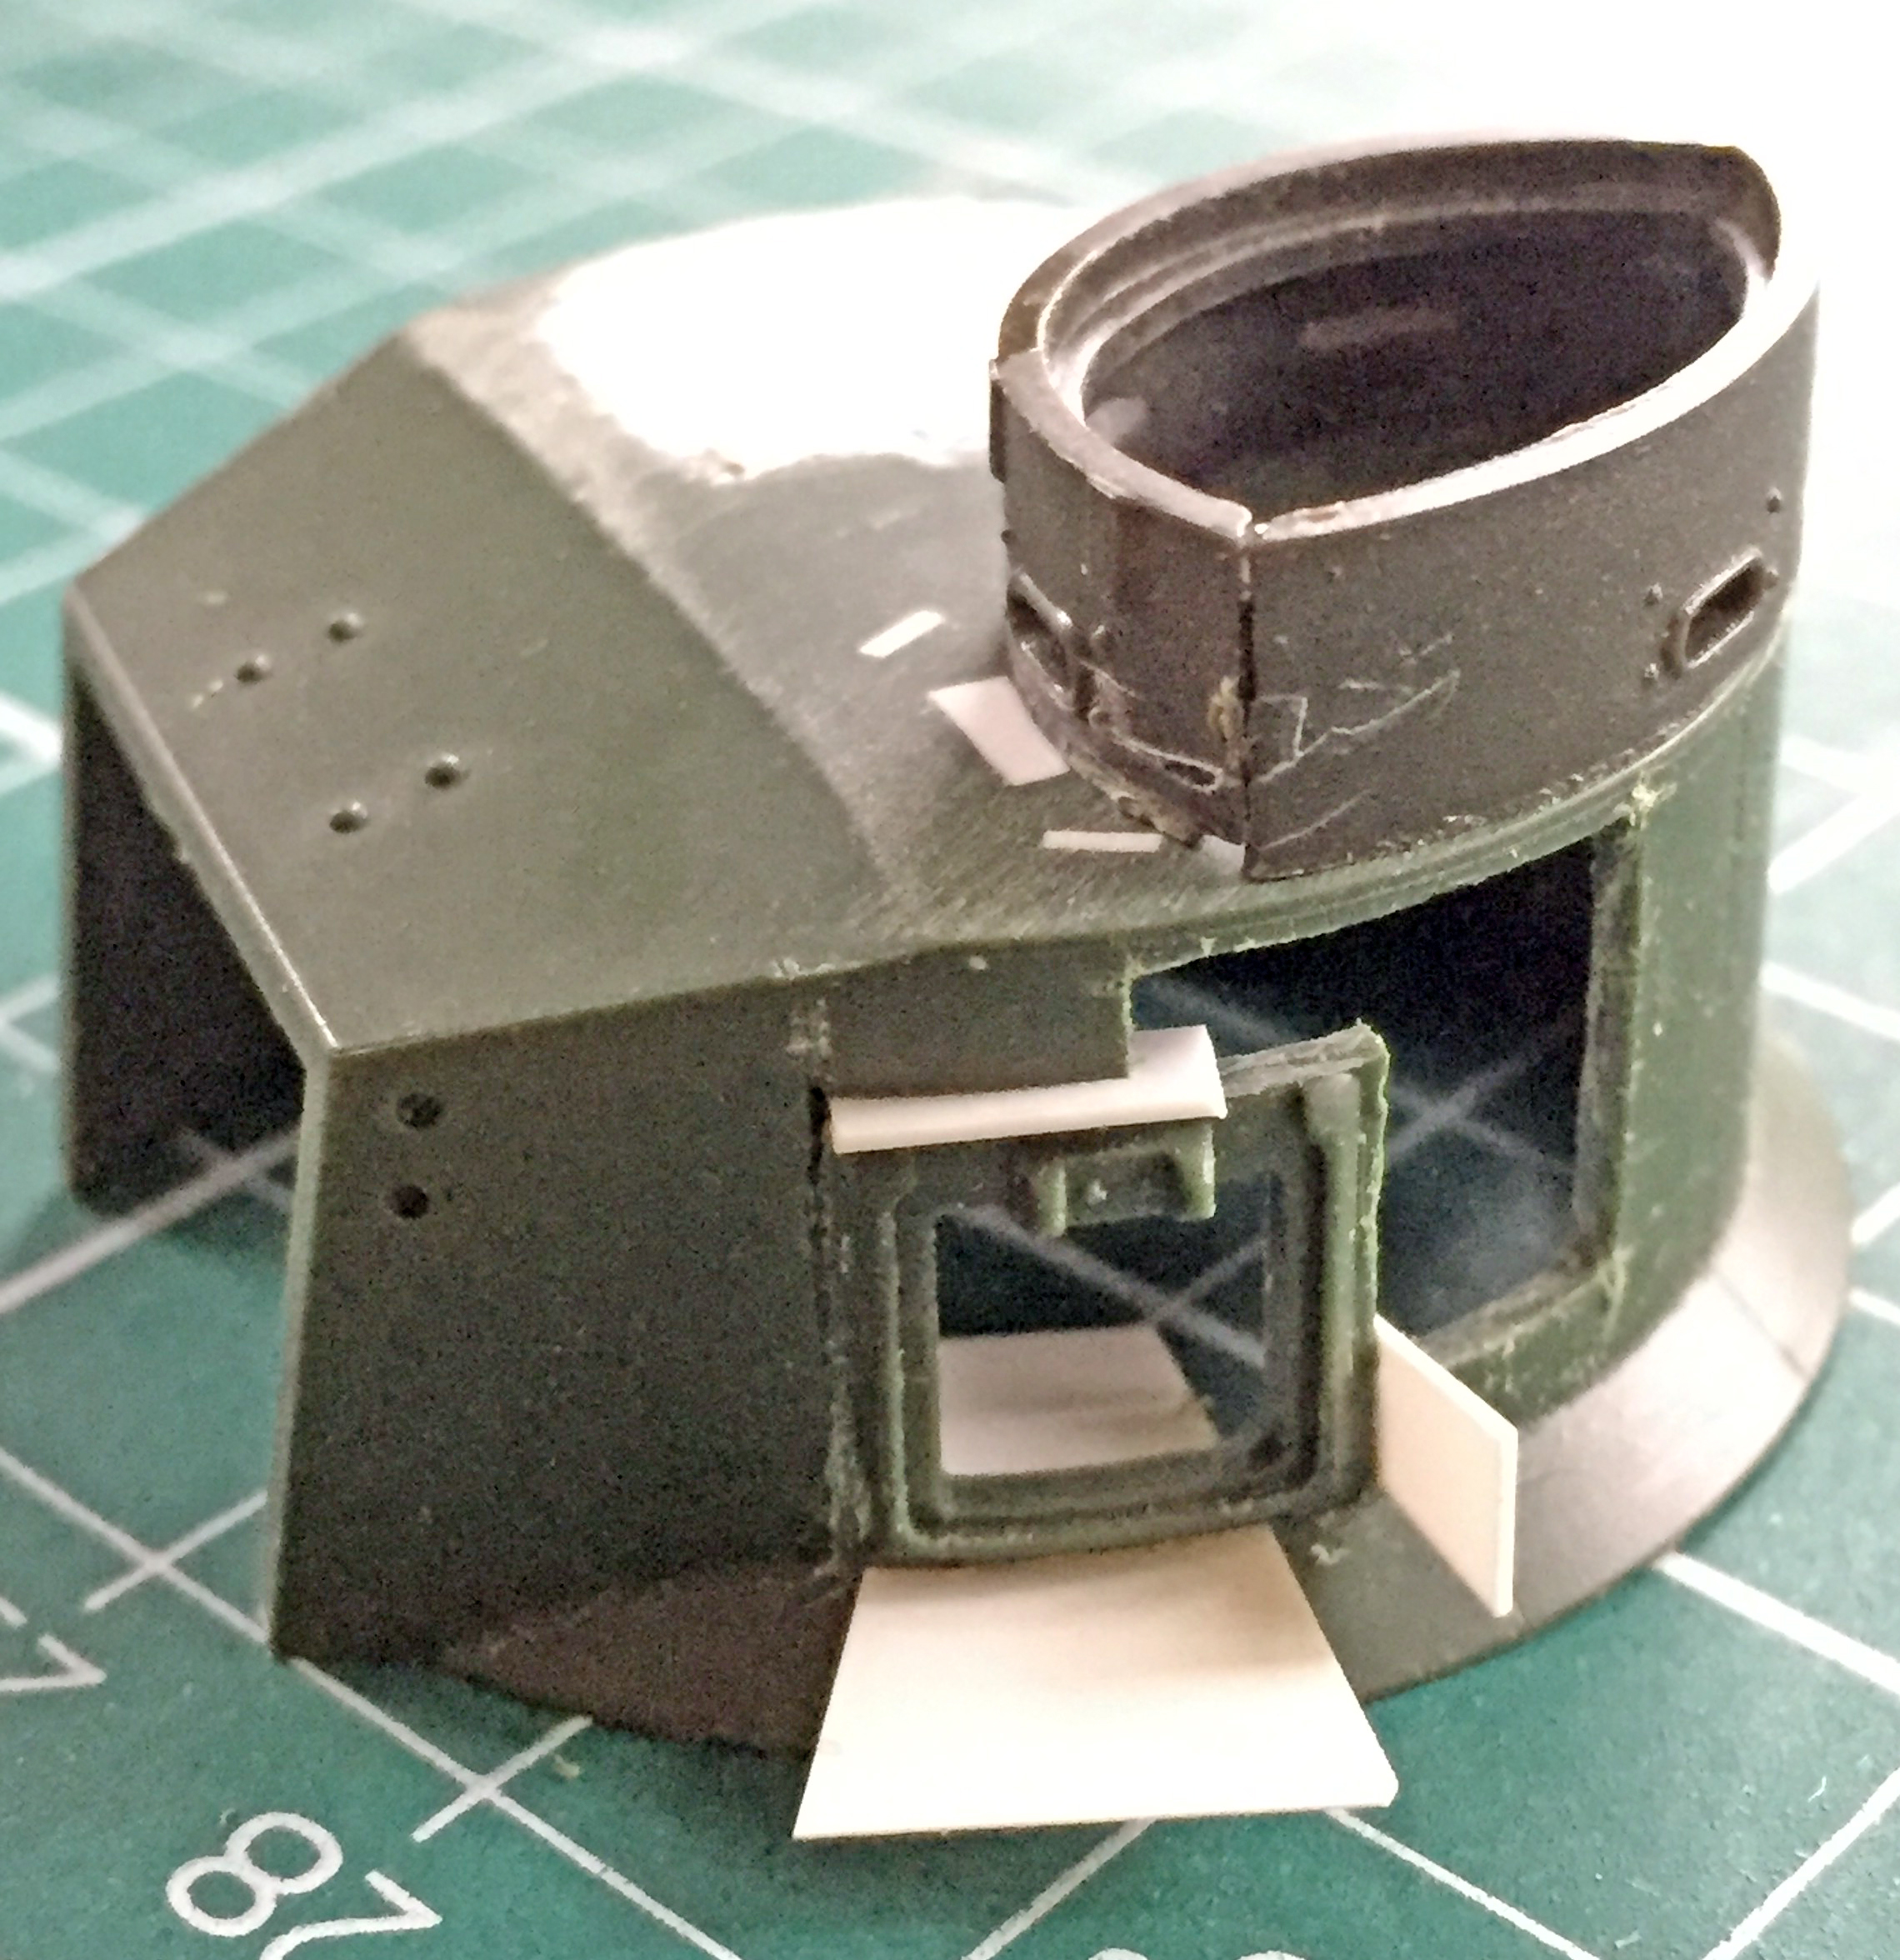
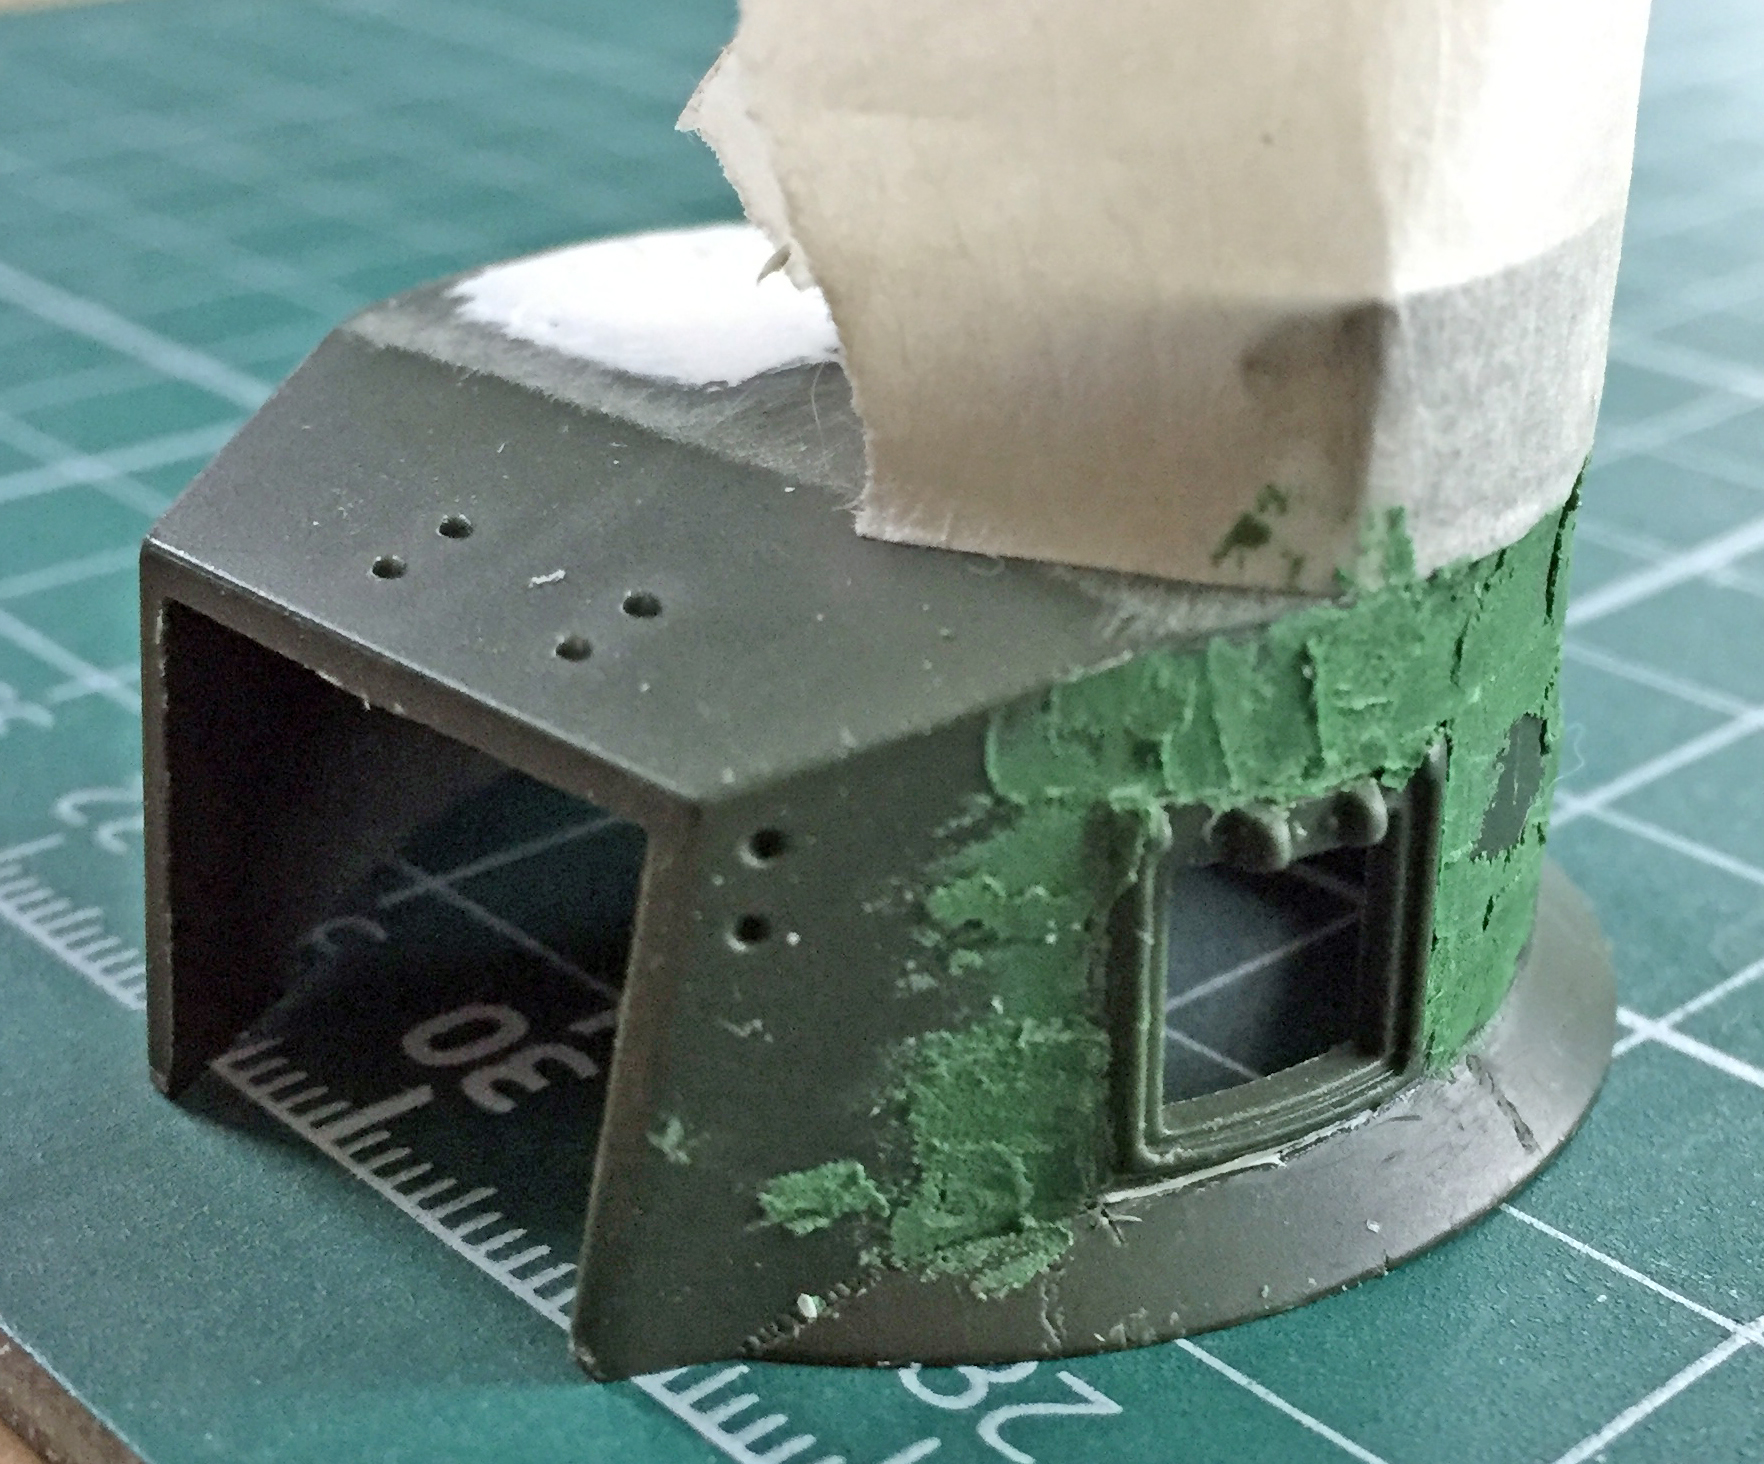
Then started cutting away the first pistol port:
More plastic from the side of the turret had to be removed as this port not only needed to be moved down, it also needed to be moved forward:

I’d initially thought that I’d have to fill the space where the port came from with styrene…which meant getting the curve and thickness correct. Then I realized that I’d just cut away an L-shaped section of the turret so that I could move the pistol port to. I tacked the port in place and added scrap to fill the kerf and added the back-dated cupola:
I added the section of the turret I’d cut away and puttied over the joints:
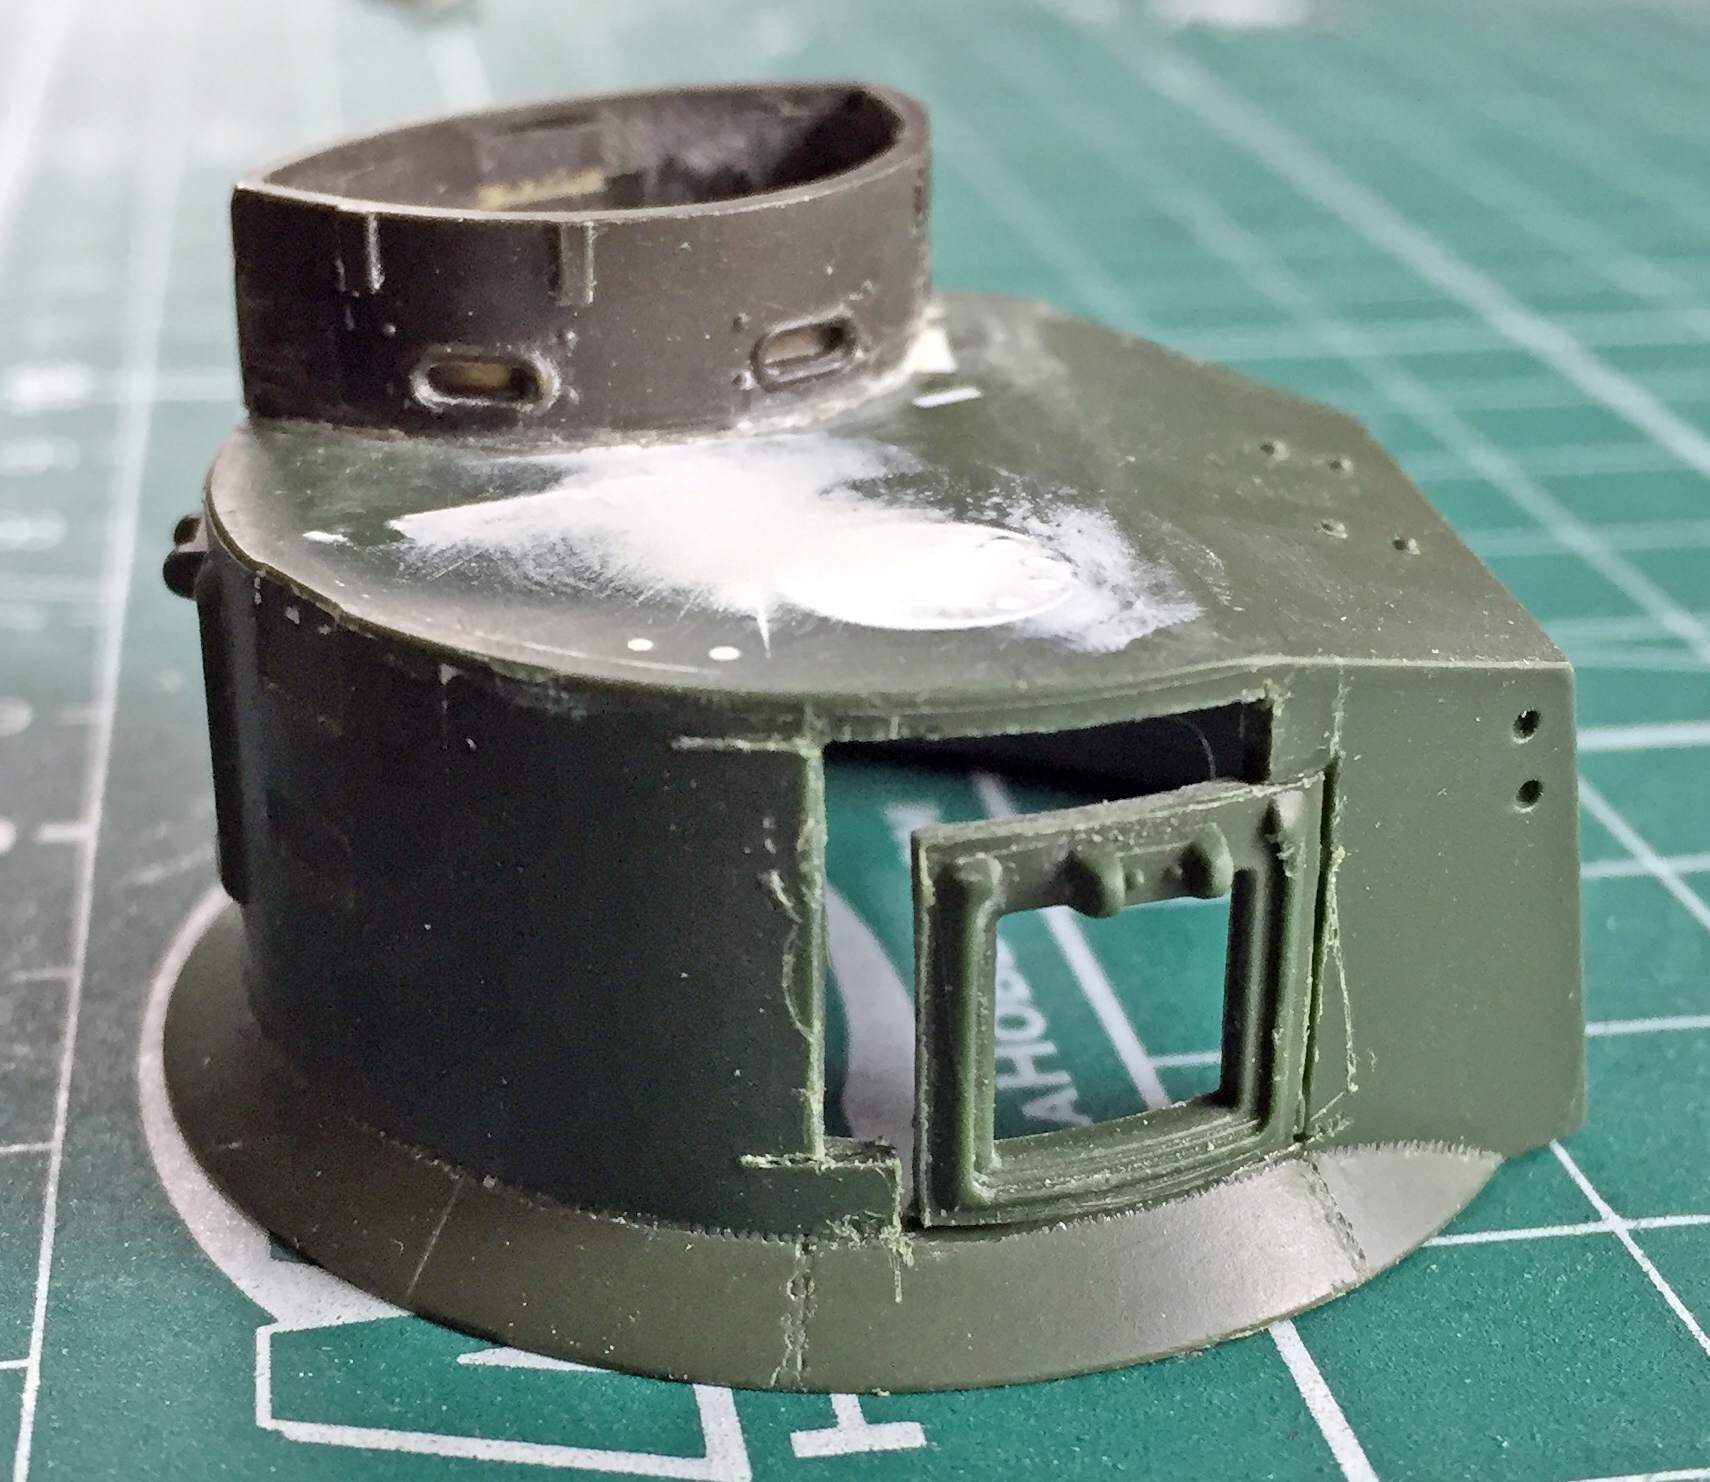
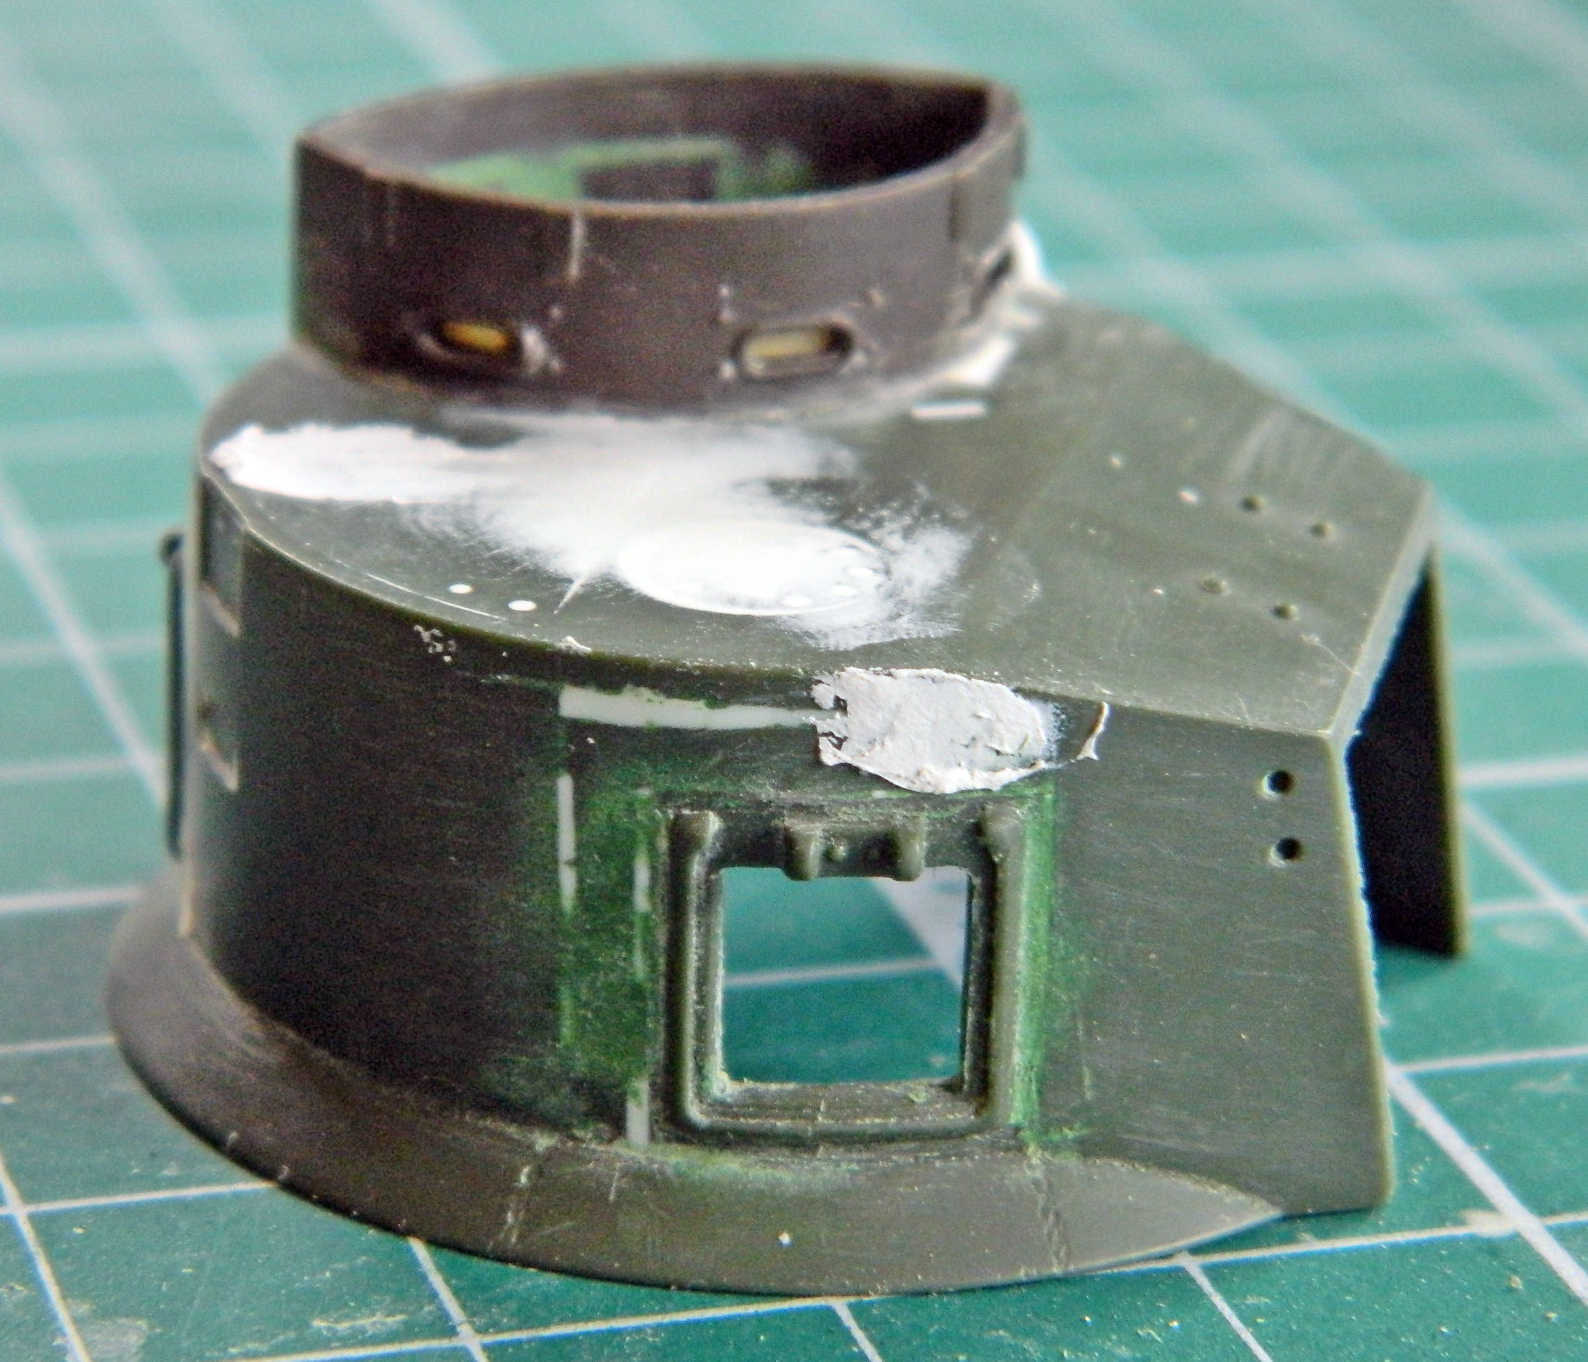
I puttied the top, cut out the turret top inside the new (old) cupola, then smoothed the putty:
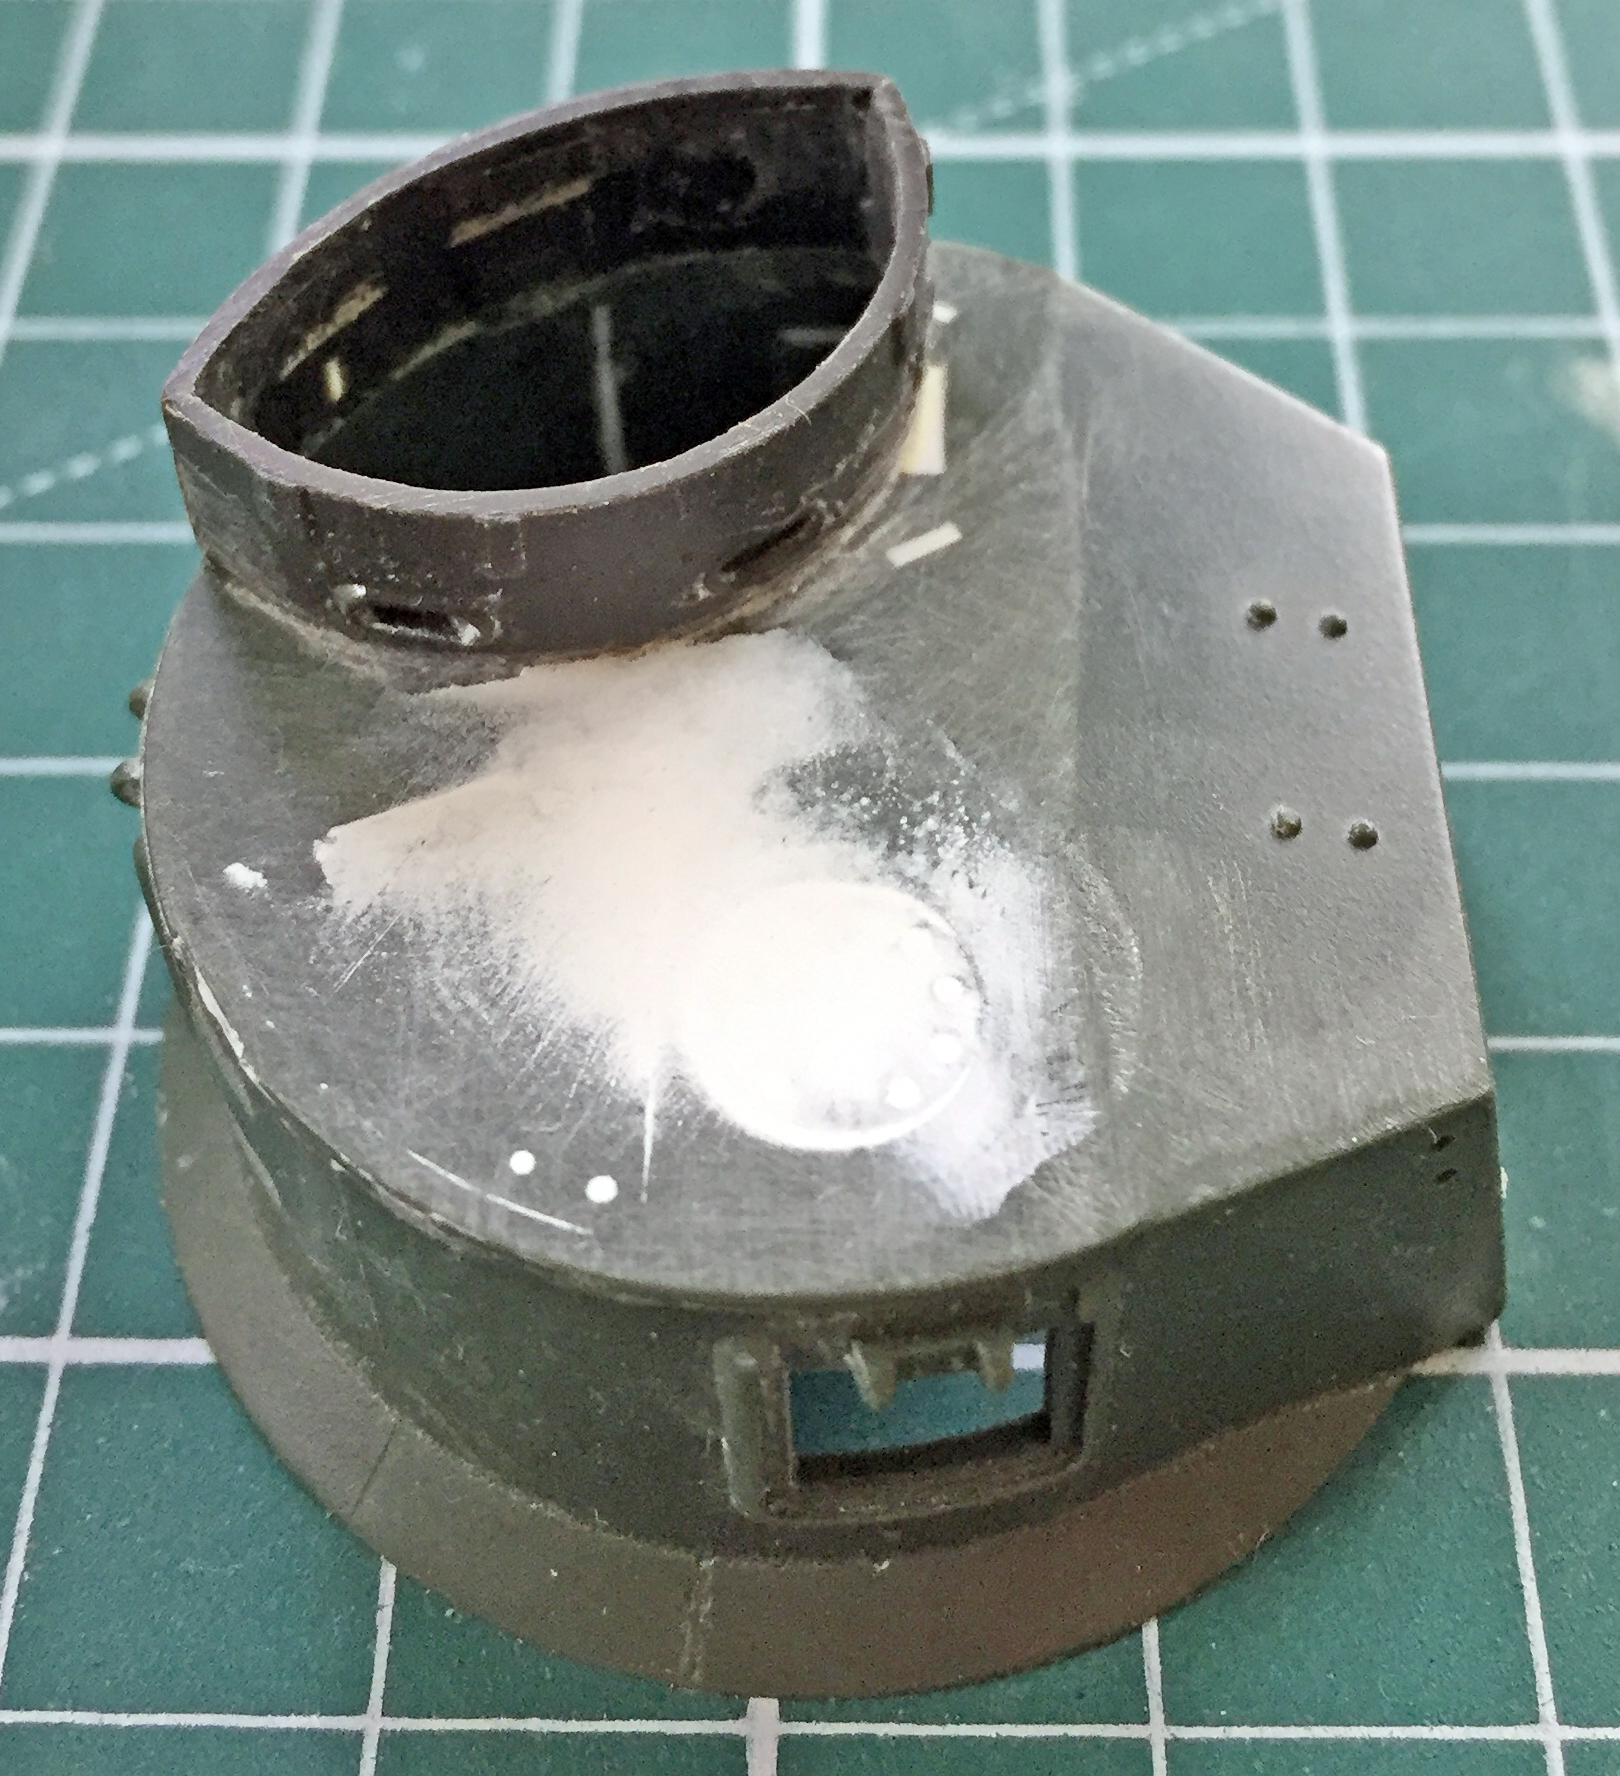
With the cupola added, the top smooth, and the gaps around the repositioned pistol port puttied and sanded, that all looks like this:
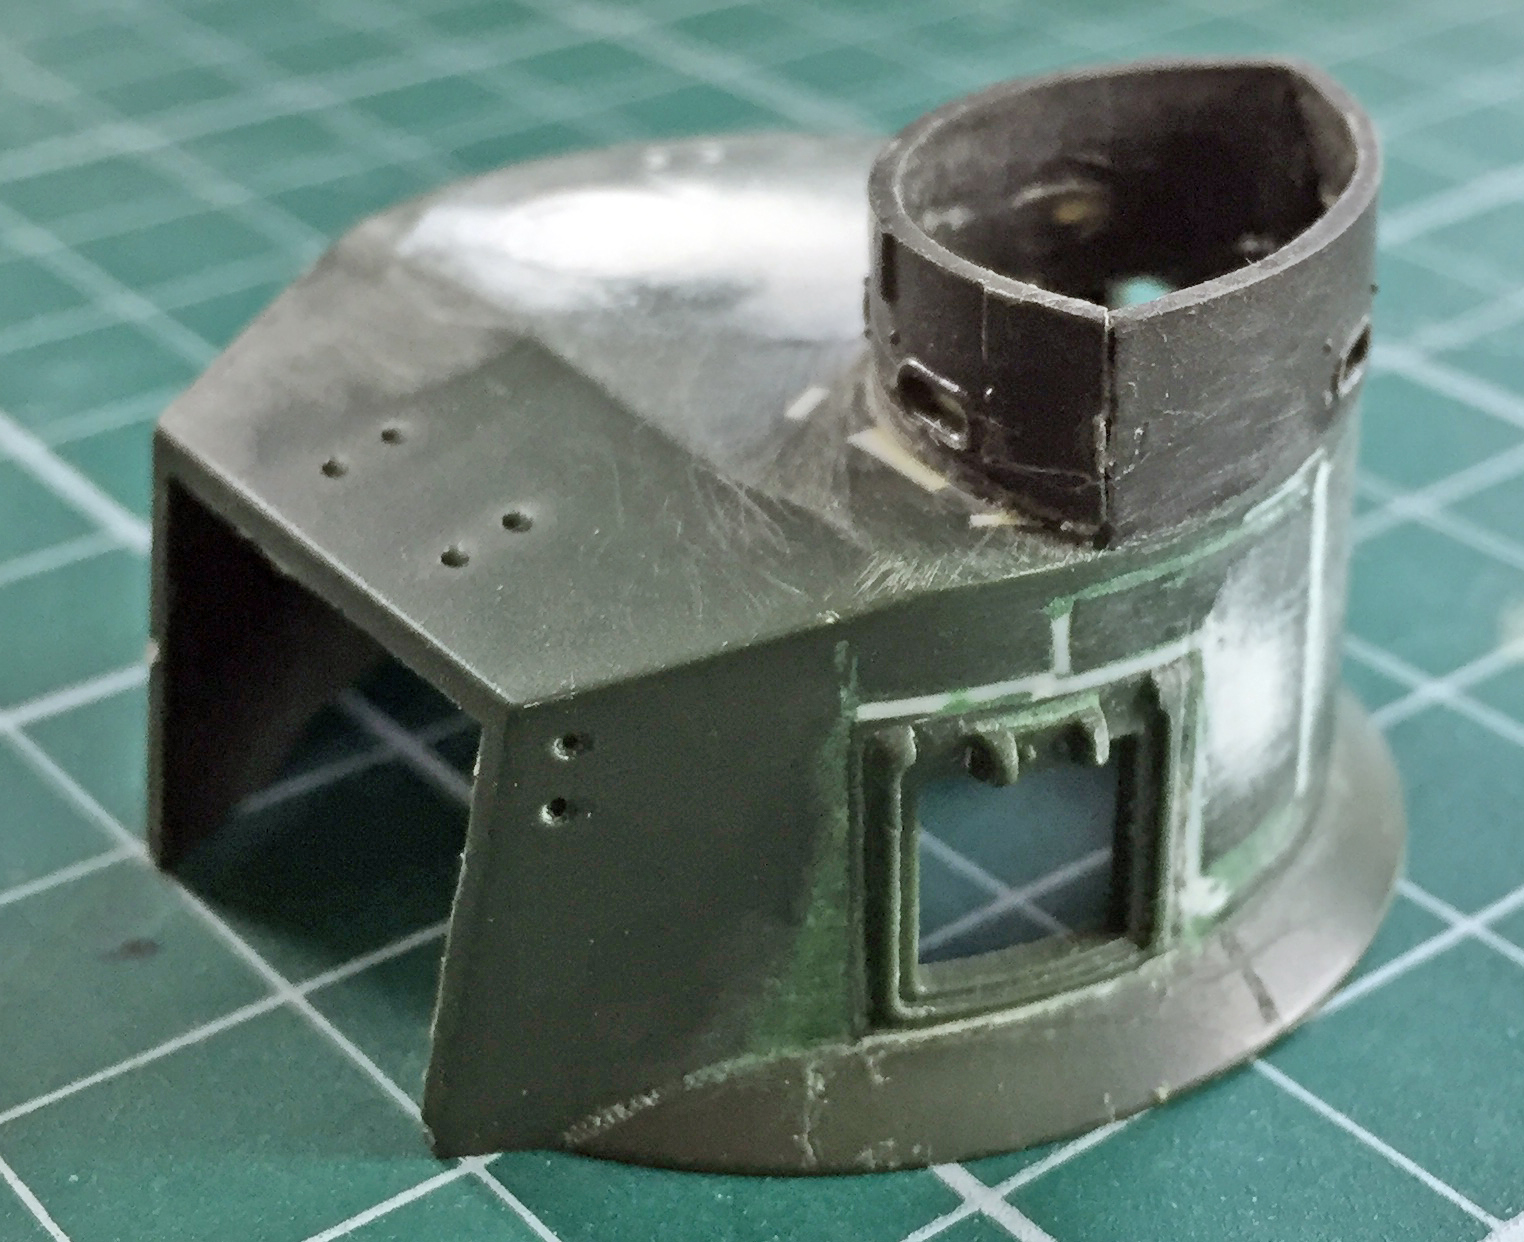
One down, two more to do. The right side pistol port, though needing to be moved down the same amount as the left side pistol port, wasn’t as far rearward. As with the other pistol port, I used the section of turret I had to cut away to move the port as the patch for the hole left behind. The kerf was stuffed with scrap styrene, everything puttied (at least three times), and then sanded:

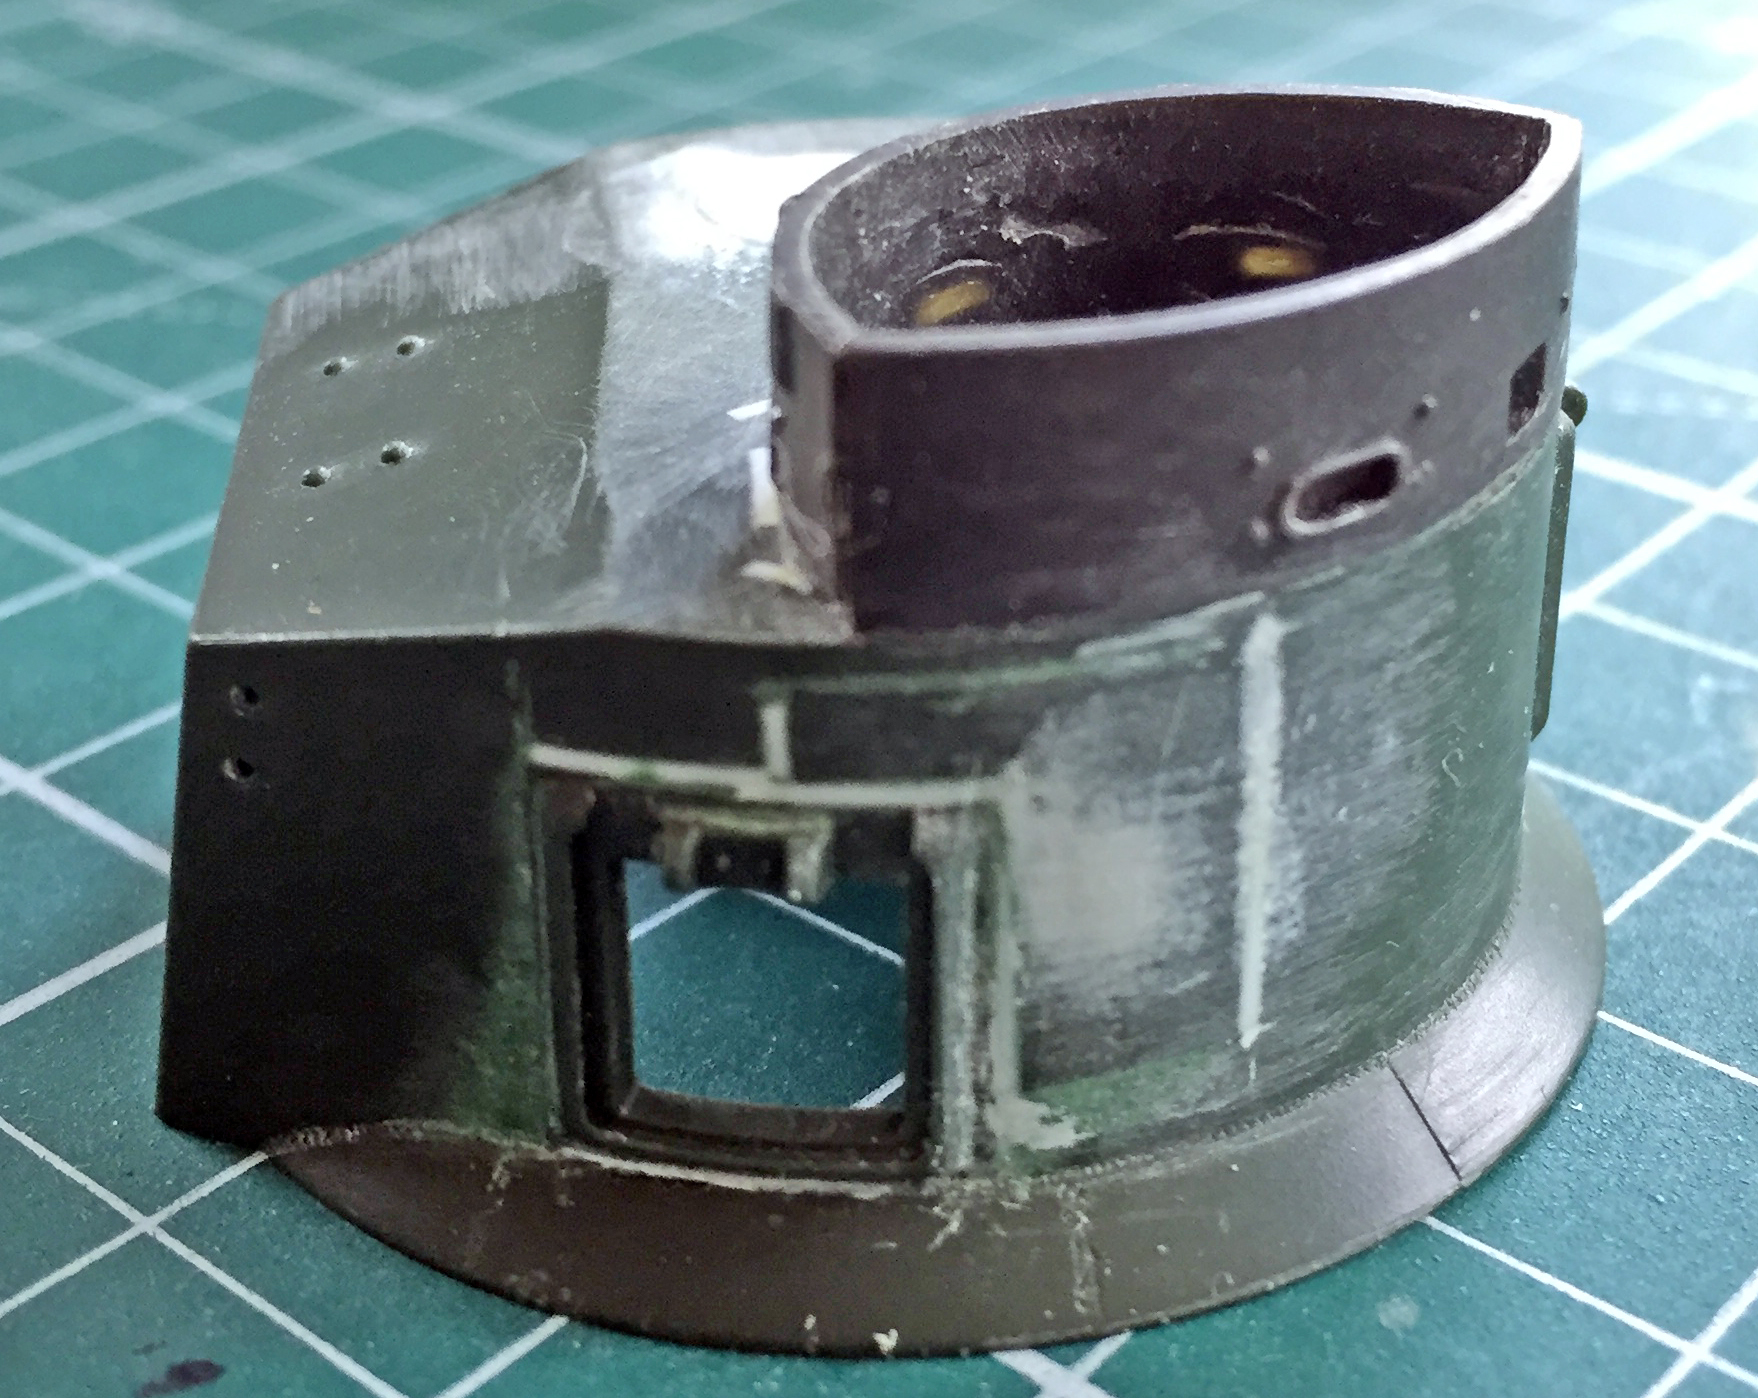
Two down, one more to do. This port was just moved down:

There are a few more details to do to complete the backdate transformation from a D58101 turret to the earlier D39273 turret. But, having this done, it’s now no longer hanging over my head and bugging me!

Appreciate the time you put into showing the sequential processes. Thanks.
LikeLike
Appreciate the time you spent to come here! You’re most welcome.
LikeLike
I really like the way you tie the history and the actual differences to the kit yer building. Great site, thank you.
LikeLike
Glad you like it!
LikeLike