Thus far this build has been a little different. I usually sequester myself in the Mad Scientist’s Lair, and while cackling gleefully, immerse myself in my latest obsession…er…build. As those of you Out There who engage in this activity know, it’s mostly a solo activity, interrupted for bathroom breaks, refilling of the beverage of choice (with sharp things and potentially hazardous chemicals, I think alcohol consumption should not be part of that scenario…unless your local hospital ER has cute nurses and you’re more desperate than I am) (assuming that’s even possible), and sometimes sustenance to keep the vision from blurring. Okay, so maybe you don’t build that way, but I certainly do…or had until this build.
A dear friend of mine (for whom I had built the M3 Stuart) wants to see how I progress from a pile of parts and pieces through the Process of Modeling Glory (TM) and manage to end up with something that looks like [INSERT MODEL TYPE HERE]. Yes, this site is informative for her, but the process of Q&A can be rather cumbersome. So she’s been sitting next to me while I’ve been working. Being a simple-minded sod with limited multitasking capabilities, this has upset my routine of clip, scrape, diddle, and fit and then take pictures for inclusion here. So the beginning of this is a bit off from my usual form. That said…
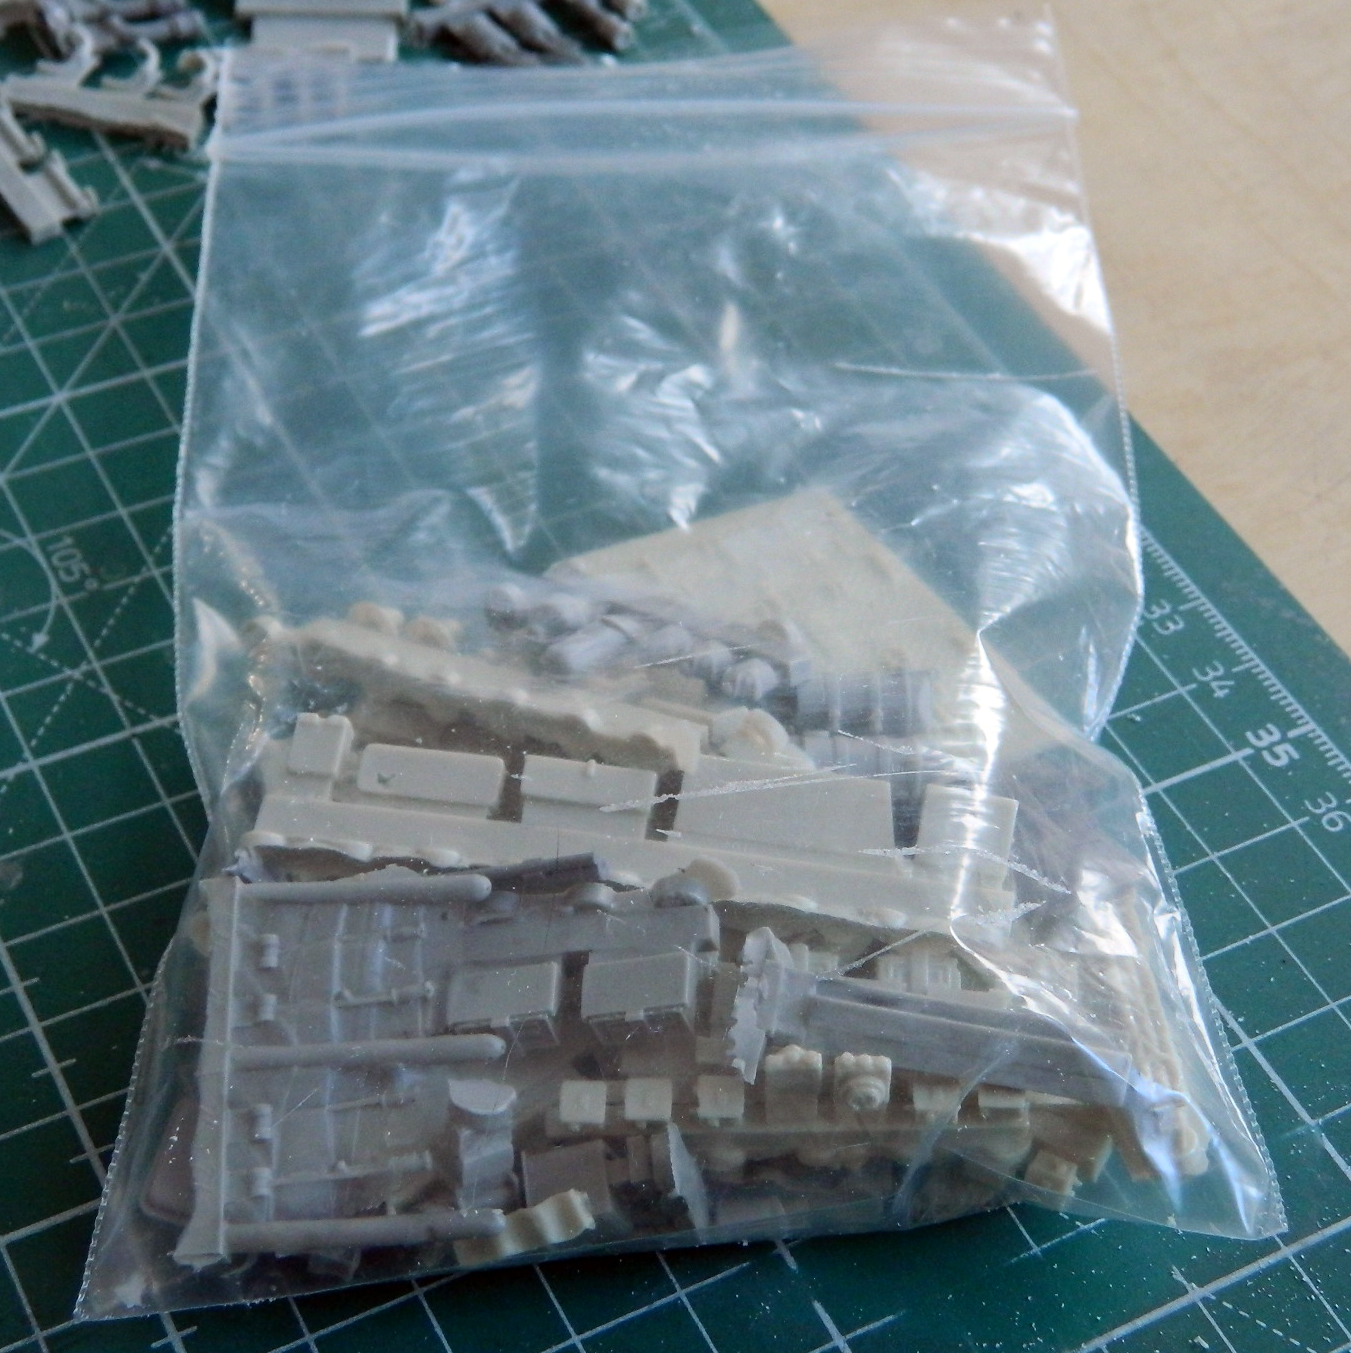
Here are the parts:

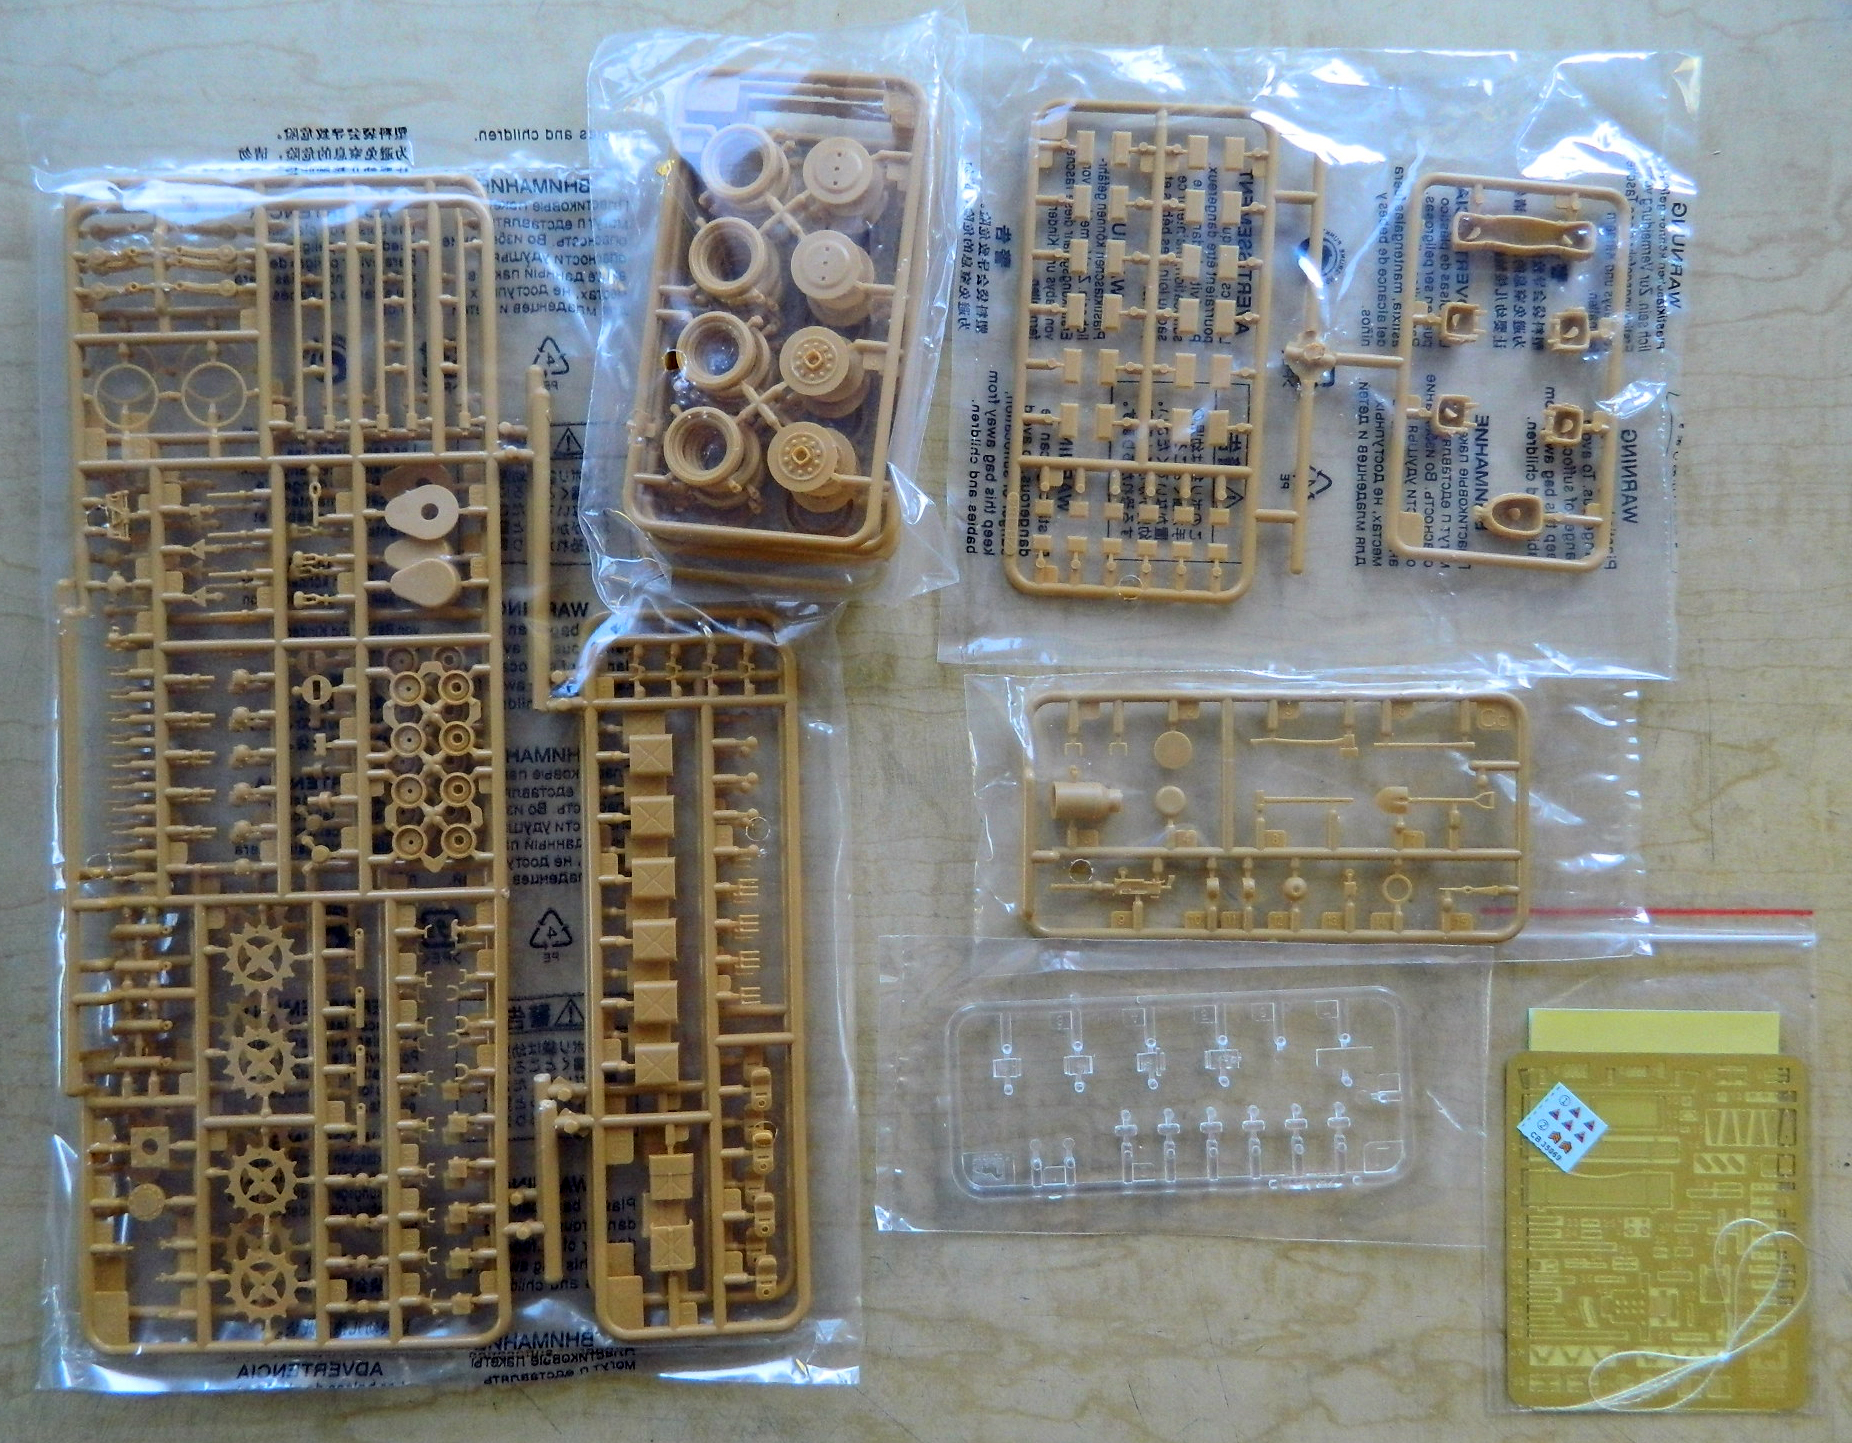
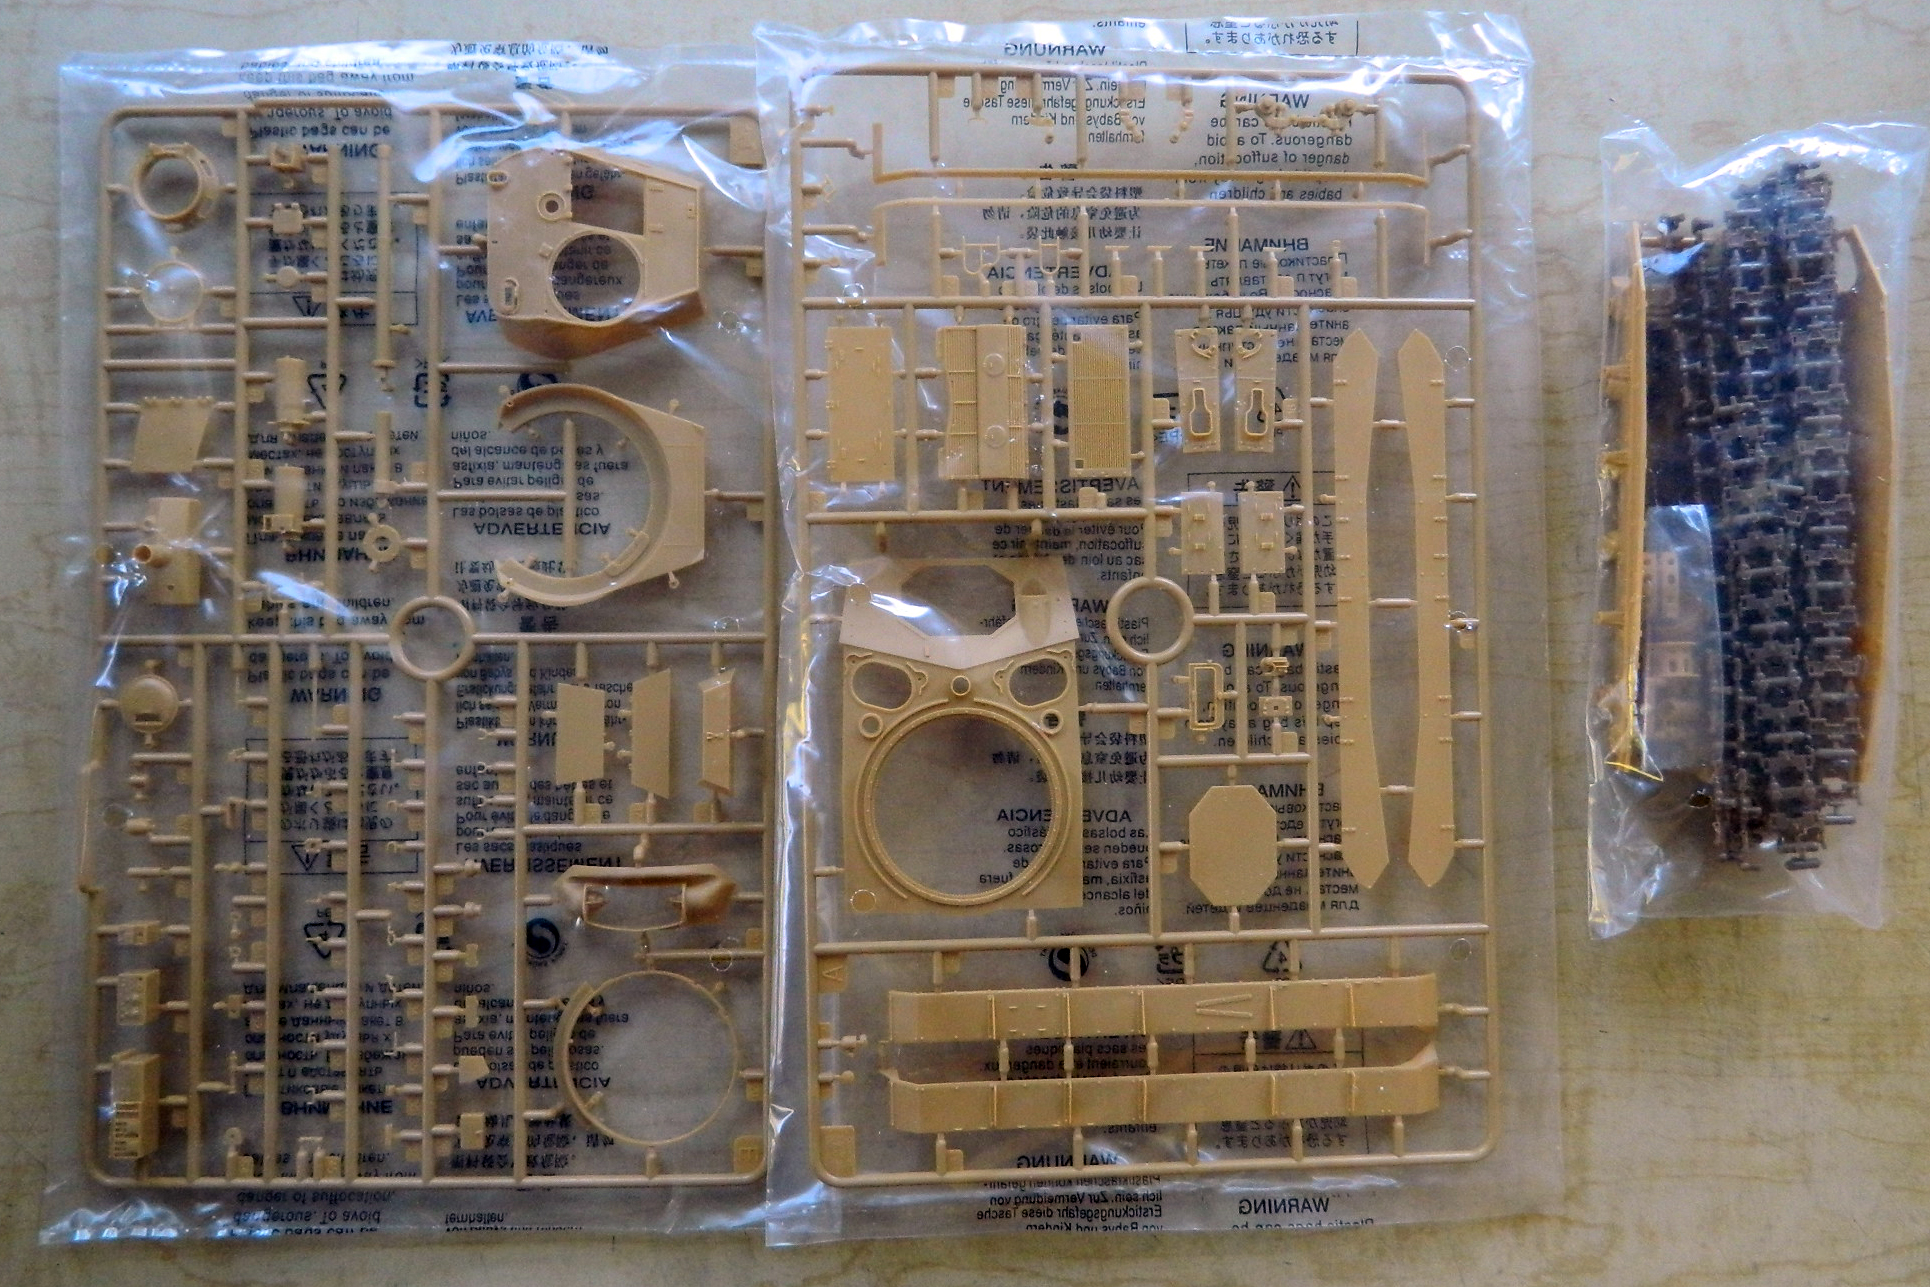
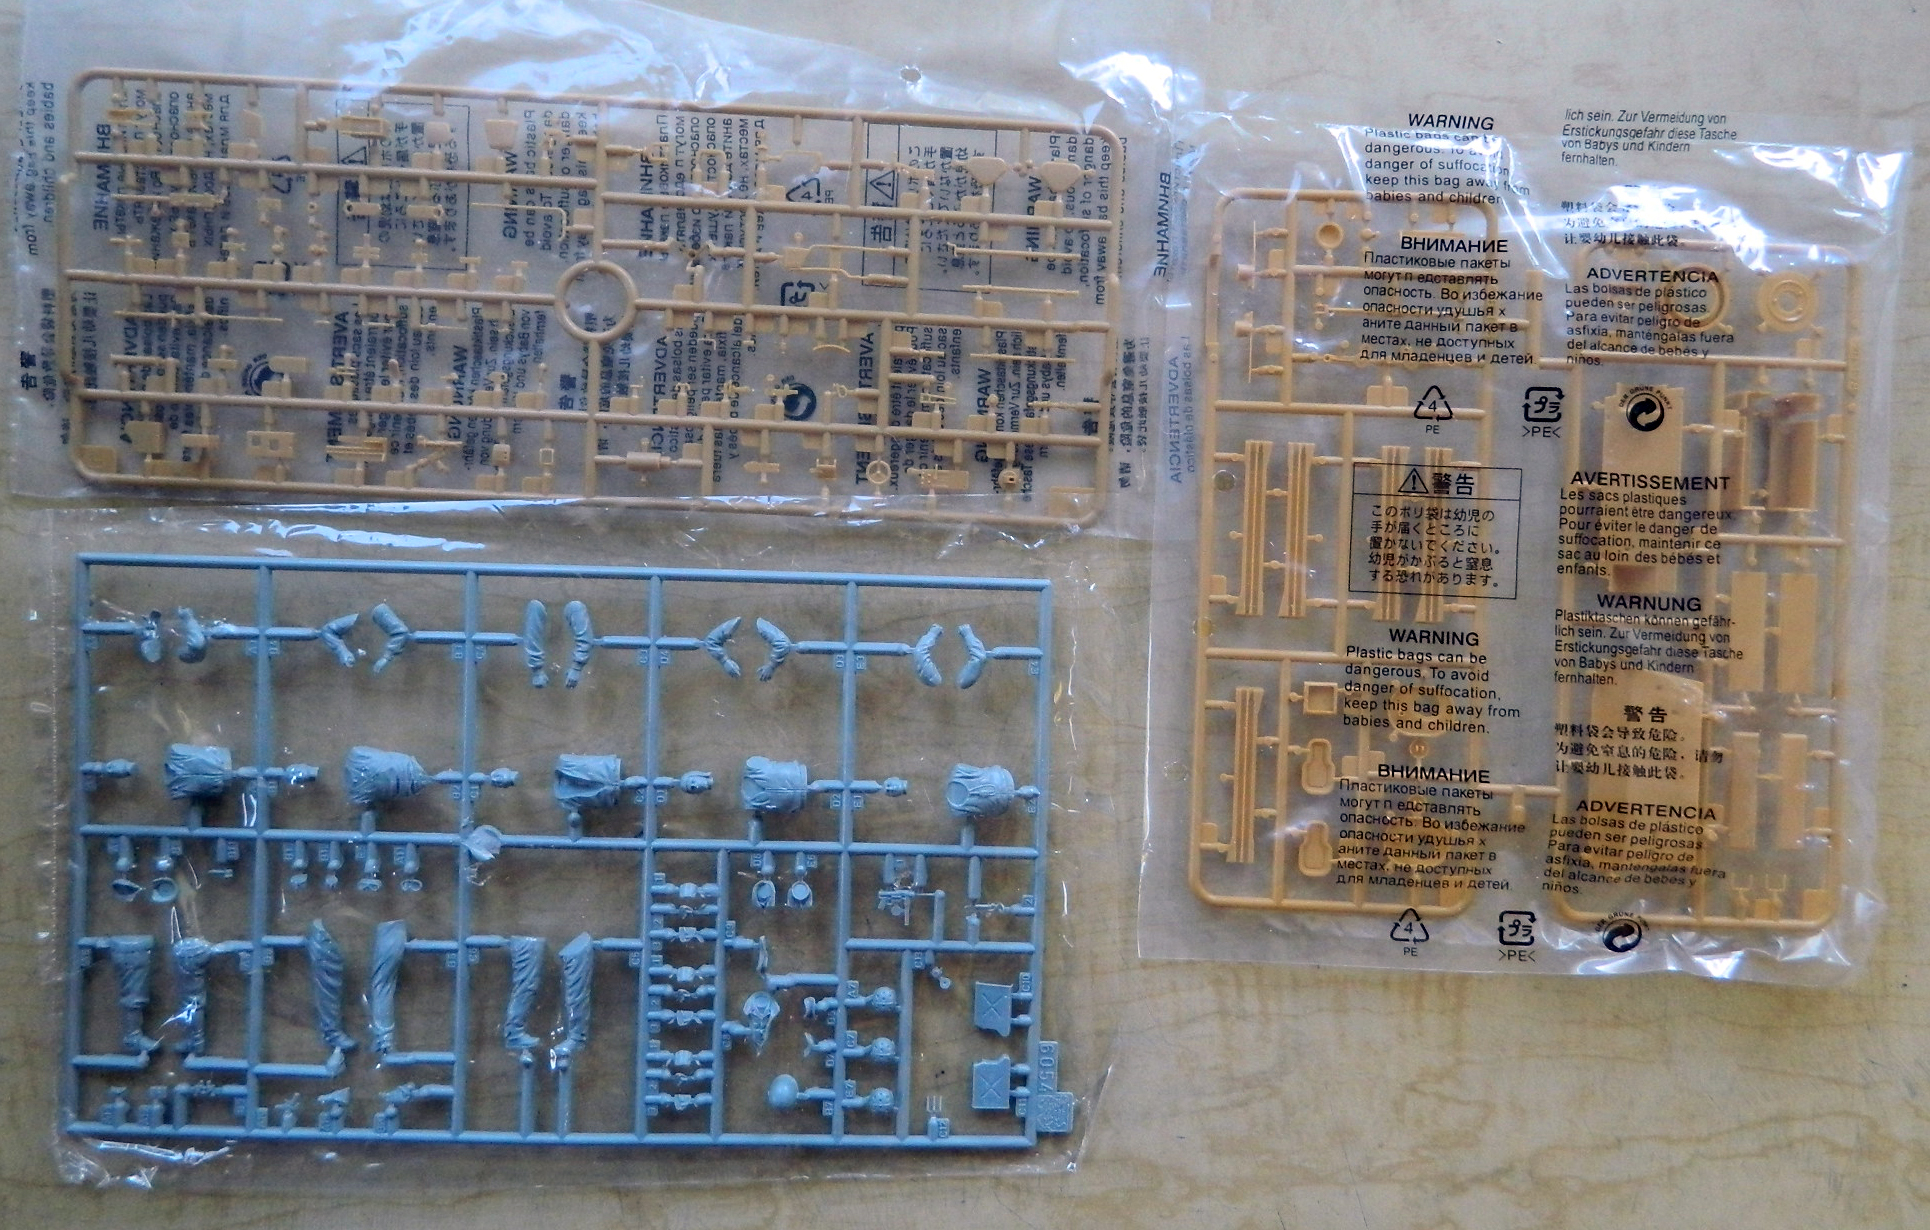
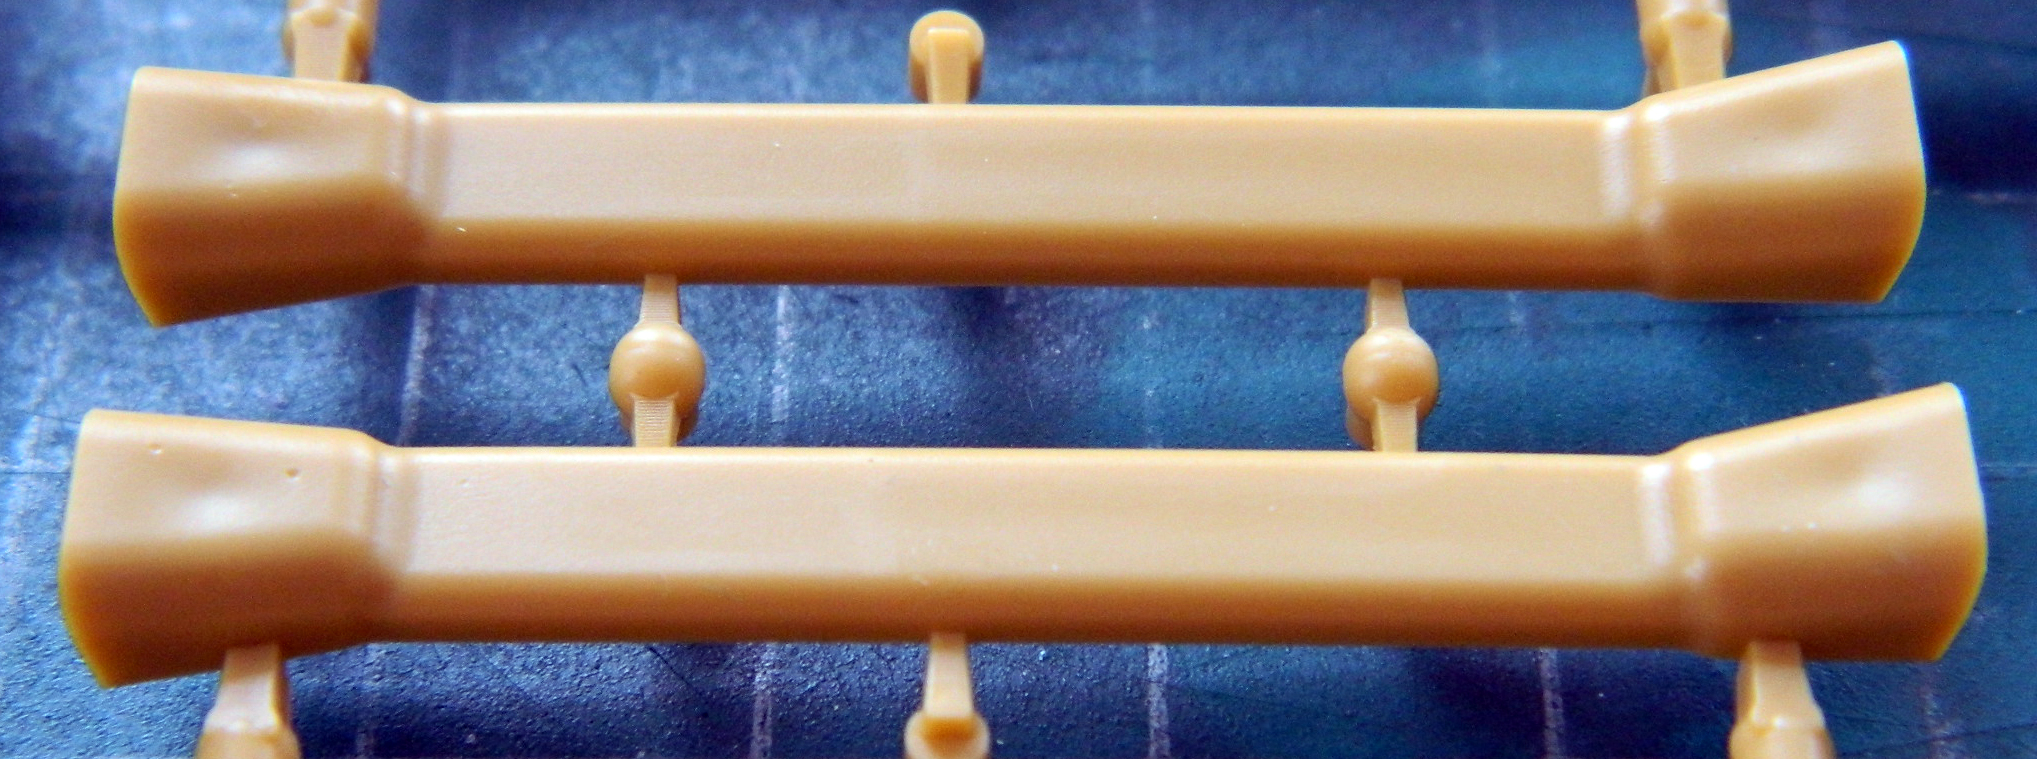
First look at the parts shows judicious use of slide molding. The main gun barrel was molded in one piece including the muzzle and rifling. I usually use metal barrels whenever possible but the kit’s plastic barrel seems good enough to use instead. Parts count is high but they all seem to be well molded without flash. I’ll see as I go along how the fitment of these parts works out.
I intend to add an engine compartment and engines as well as a full interior. Verlinden made a resin detail set for both the engine compartment and interior (interesting note – if you look at the box for the interior set, you’ll see it was made for the Tasca model…except to my limited knowledge Tasca never made one):
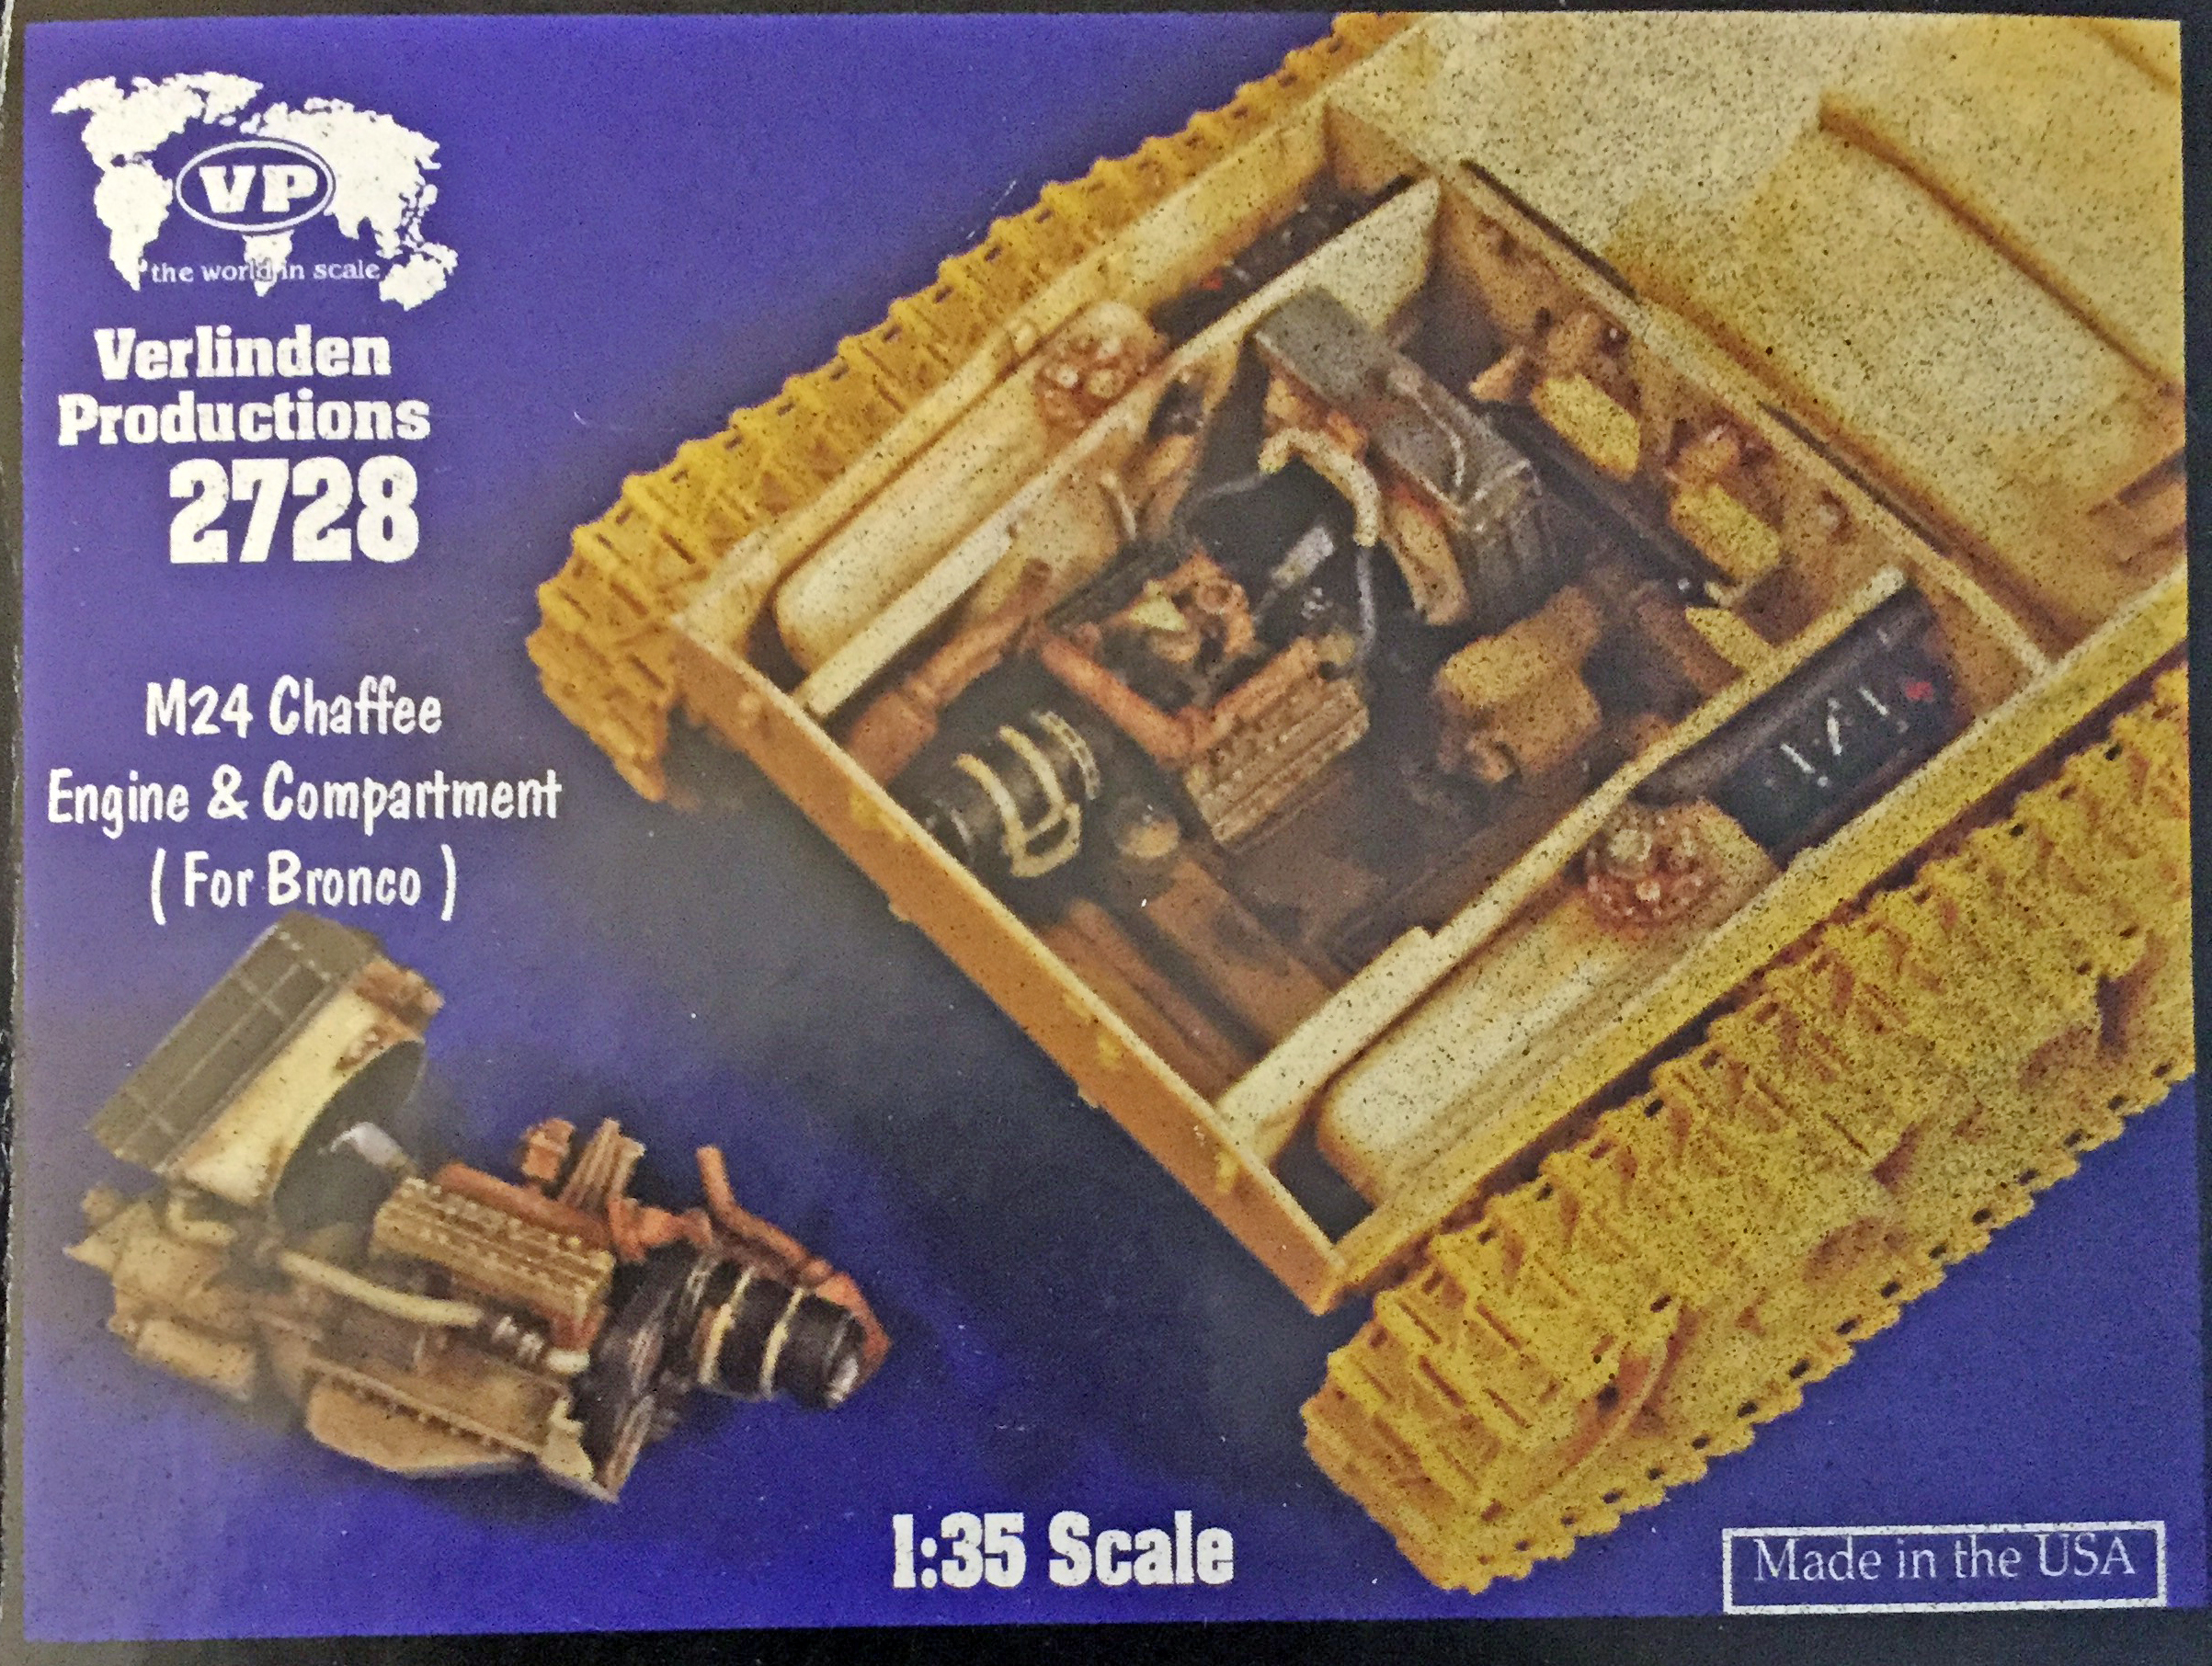

Since Verlinden parts will become more scarce, and thereby more expensive, as time passes, I’ve made a habit of copying Verlinden’s resin and using the copies instead of the actual Verlinden parts:
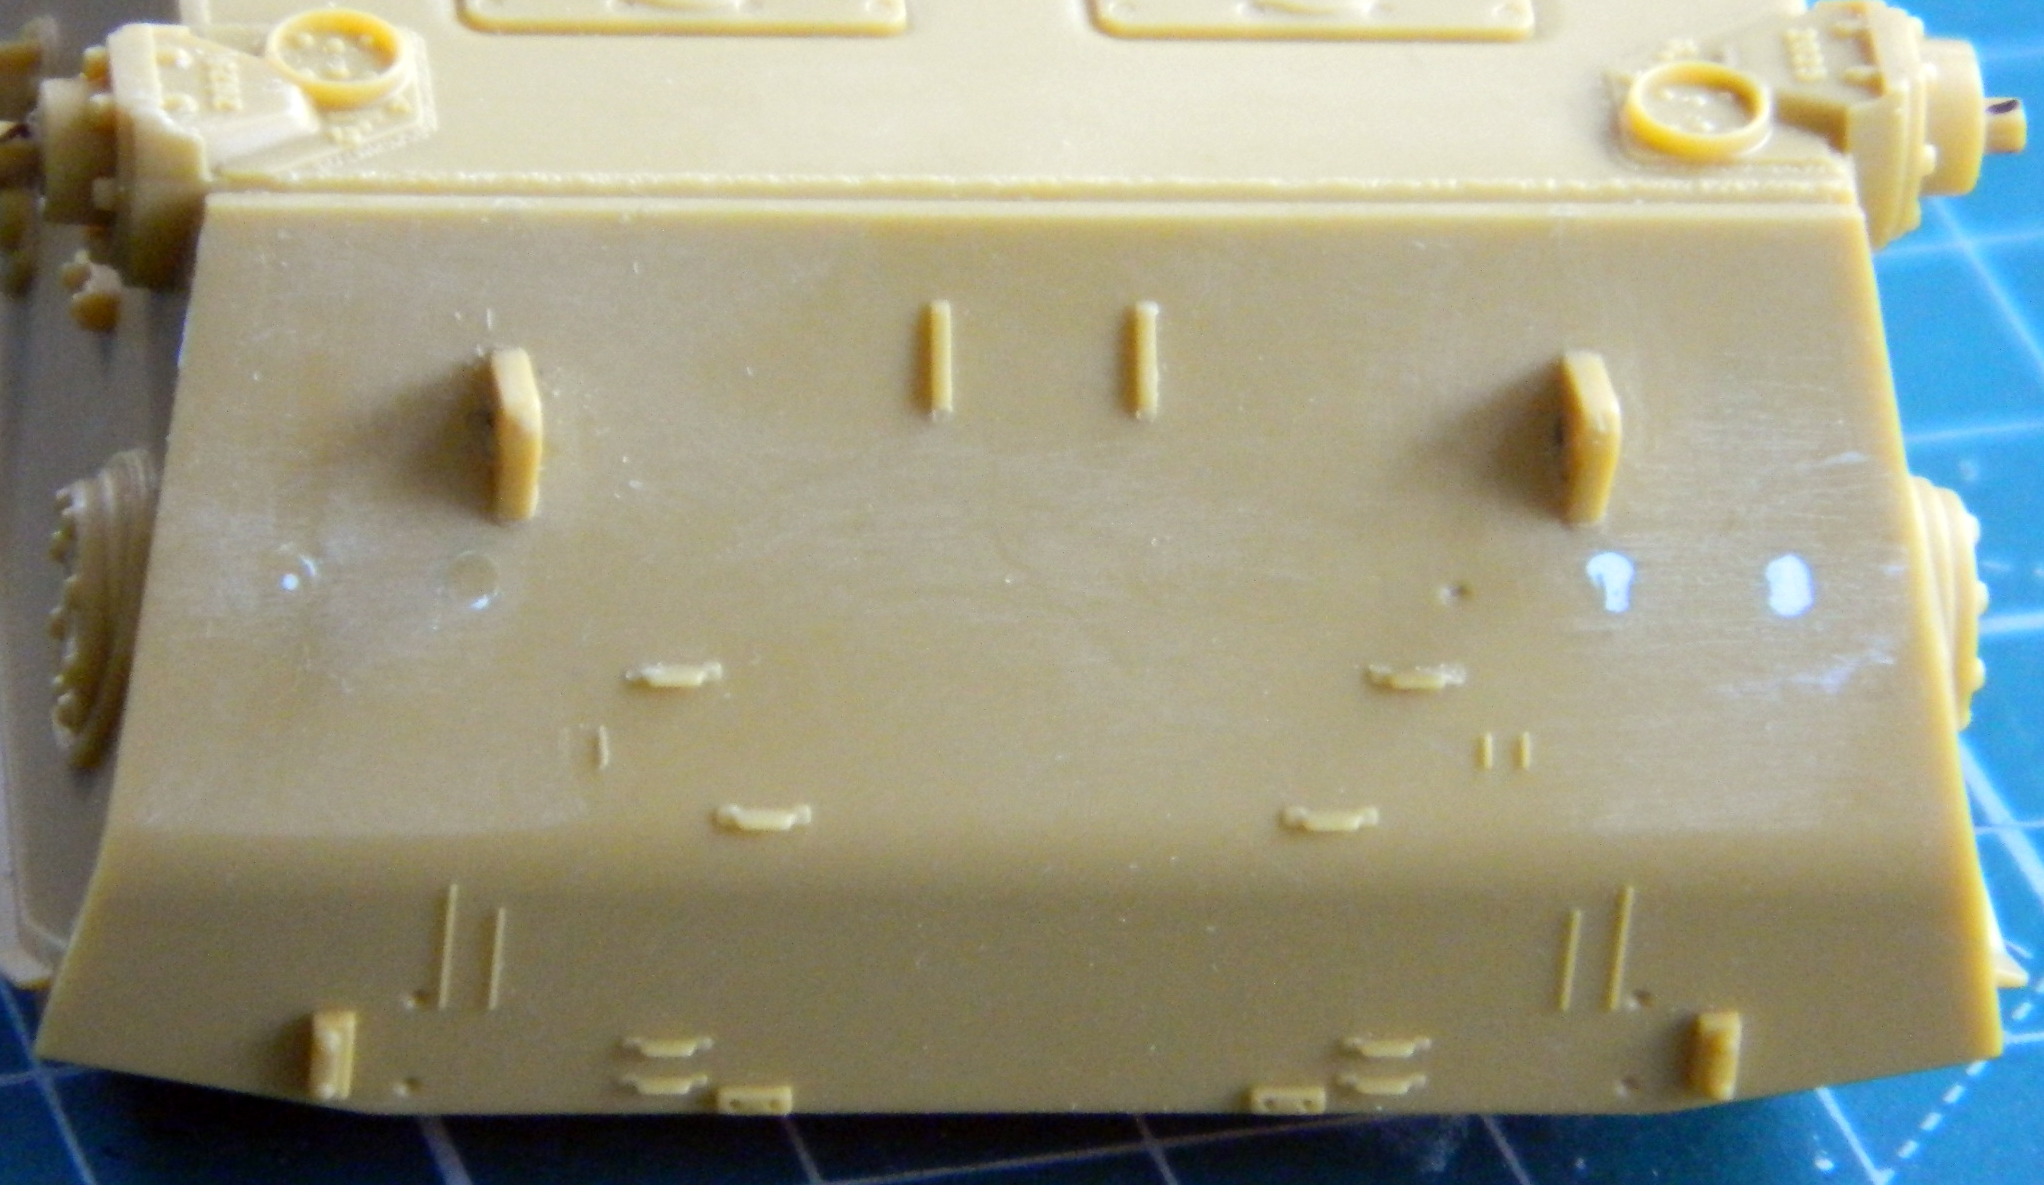
I started by constructing the lower hull. The bottom and sides are molded as one unit and show very nice surface details (including casting marks found on the actual M24). Once those were in place, I added the tow hook mounts at both ends. Since this is supposed to be an early production vehicle, the mounts for the flotation devices shouldn’t be there. The mounting pads aren’t on the front lower hull but there are mounting holes for the rear mounting pads that the kit supplied. Oops. Not supposed to be there. I filled the mounting holes with stretched sprue. Since both the interiors of the hull ends will be seen later on, I had to fill the places on the inside where the tow hook mounts showed through:

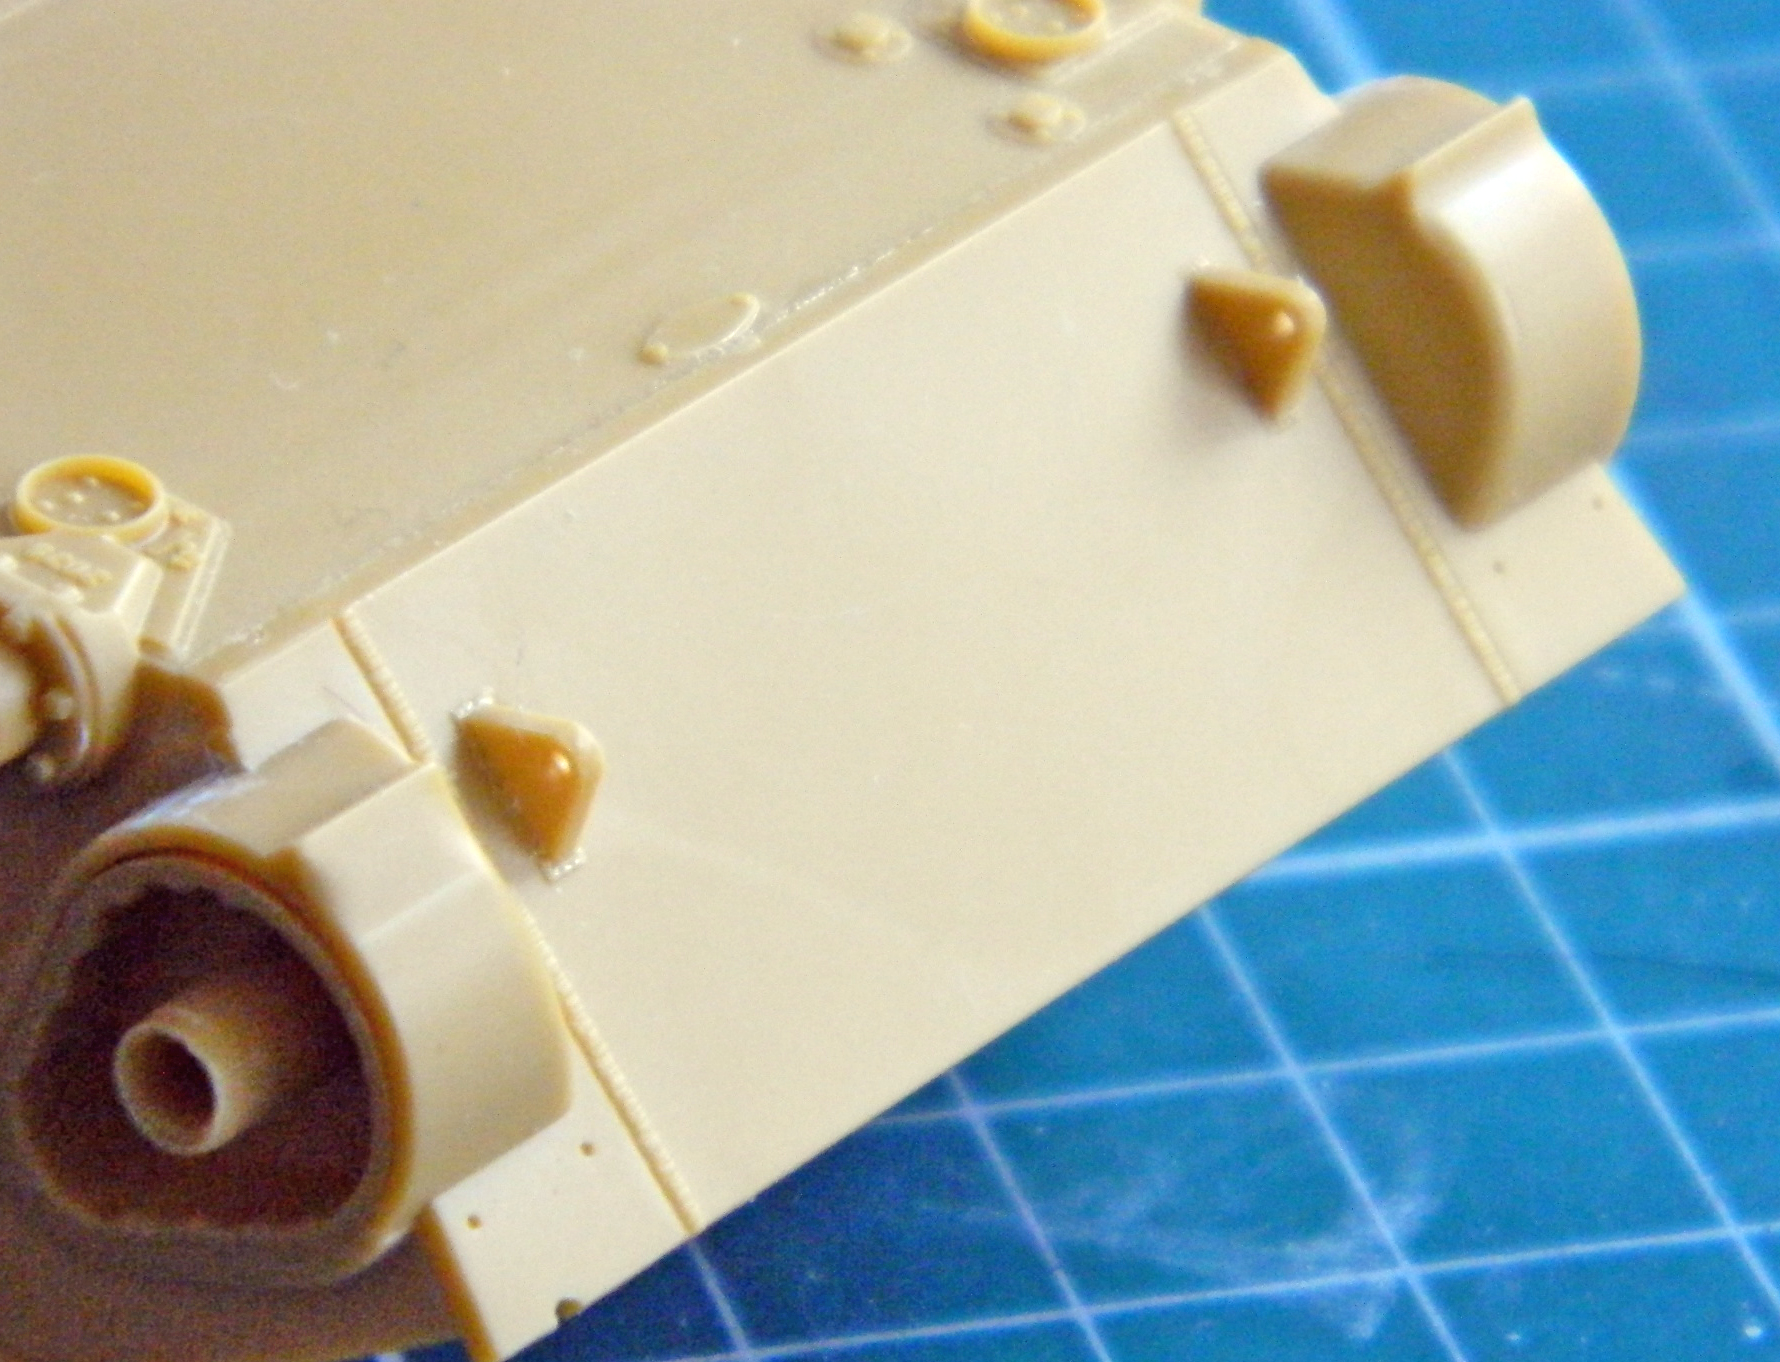
The first observation I made after mounting the front and rear lower hull is that the upper front hull doesn’t fit well with the lower (check the lower right of the next photo). Not a good start, Bronco:

I pressed the sides out and settled the upper hull where it’s supposed to go, taped both sides to the upper hull, and immersed the whole thing into a sink of HOT water:
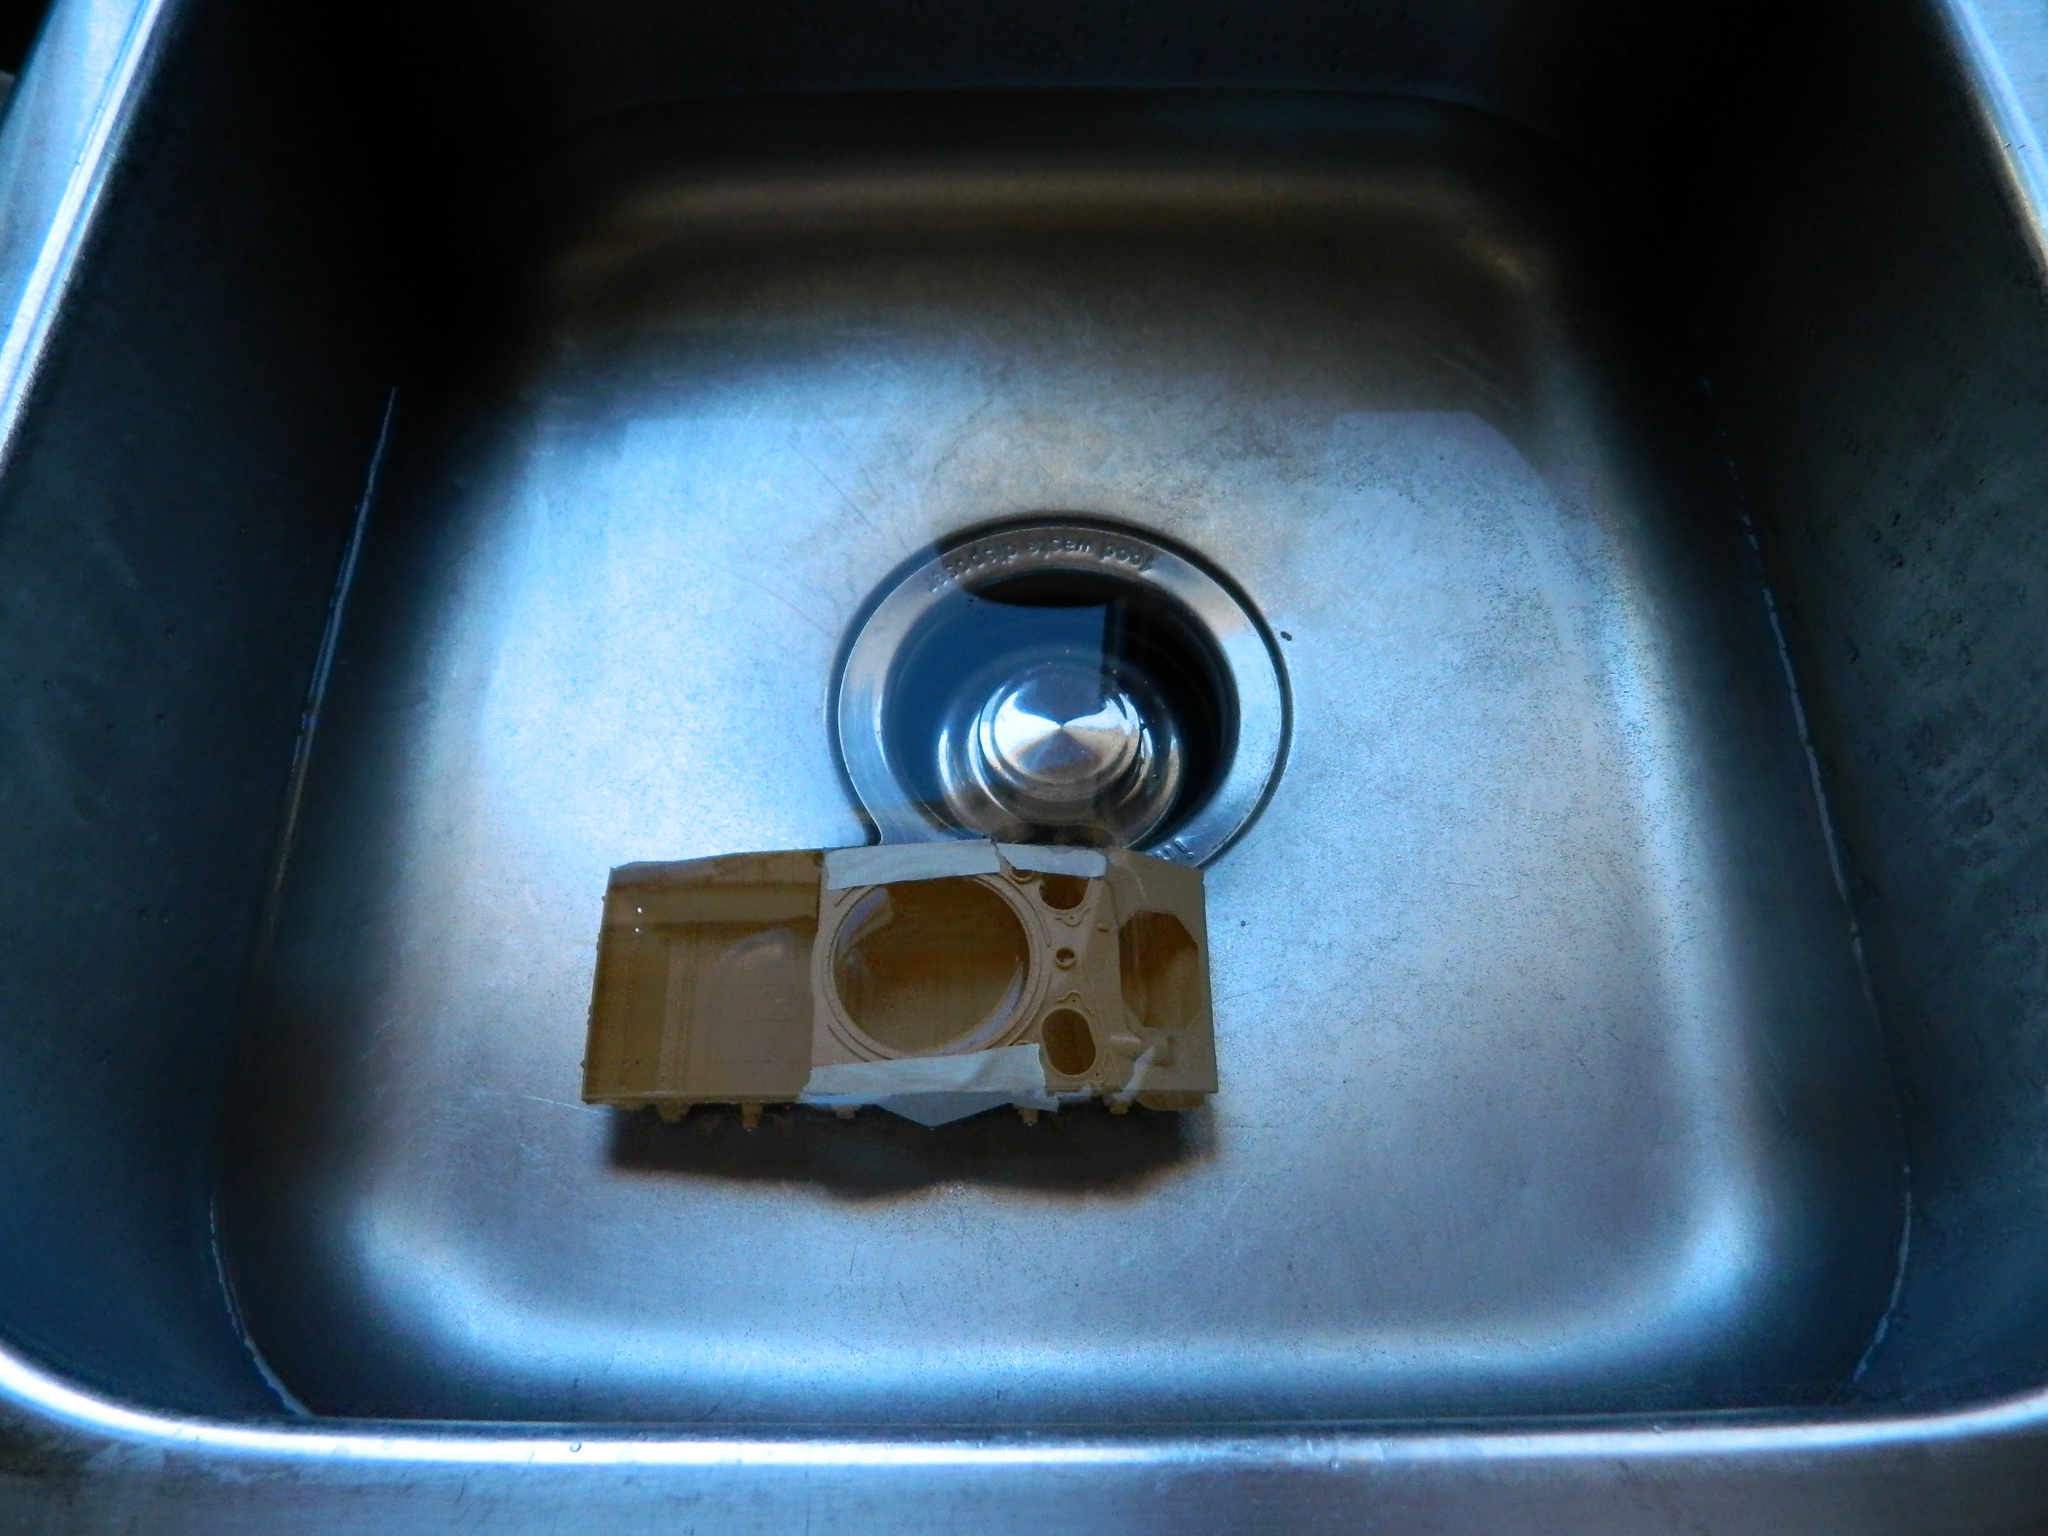
The result was better; about 75% of the misalignment was fixed. The remaining 25% will be dealt with as I add interior parts, particularly the bulkhead between engine and crew compartments.
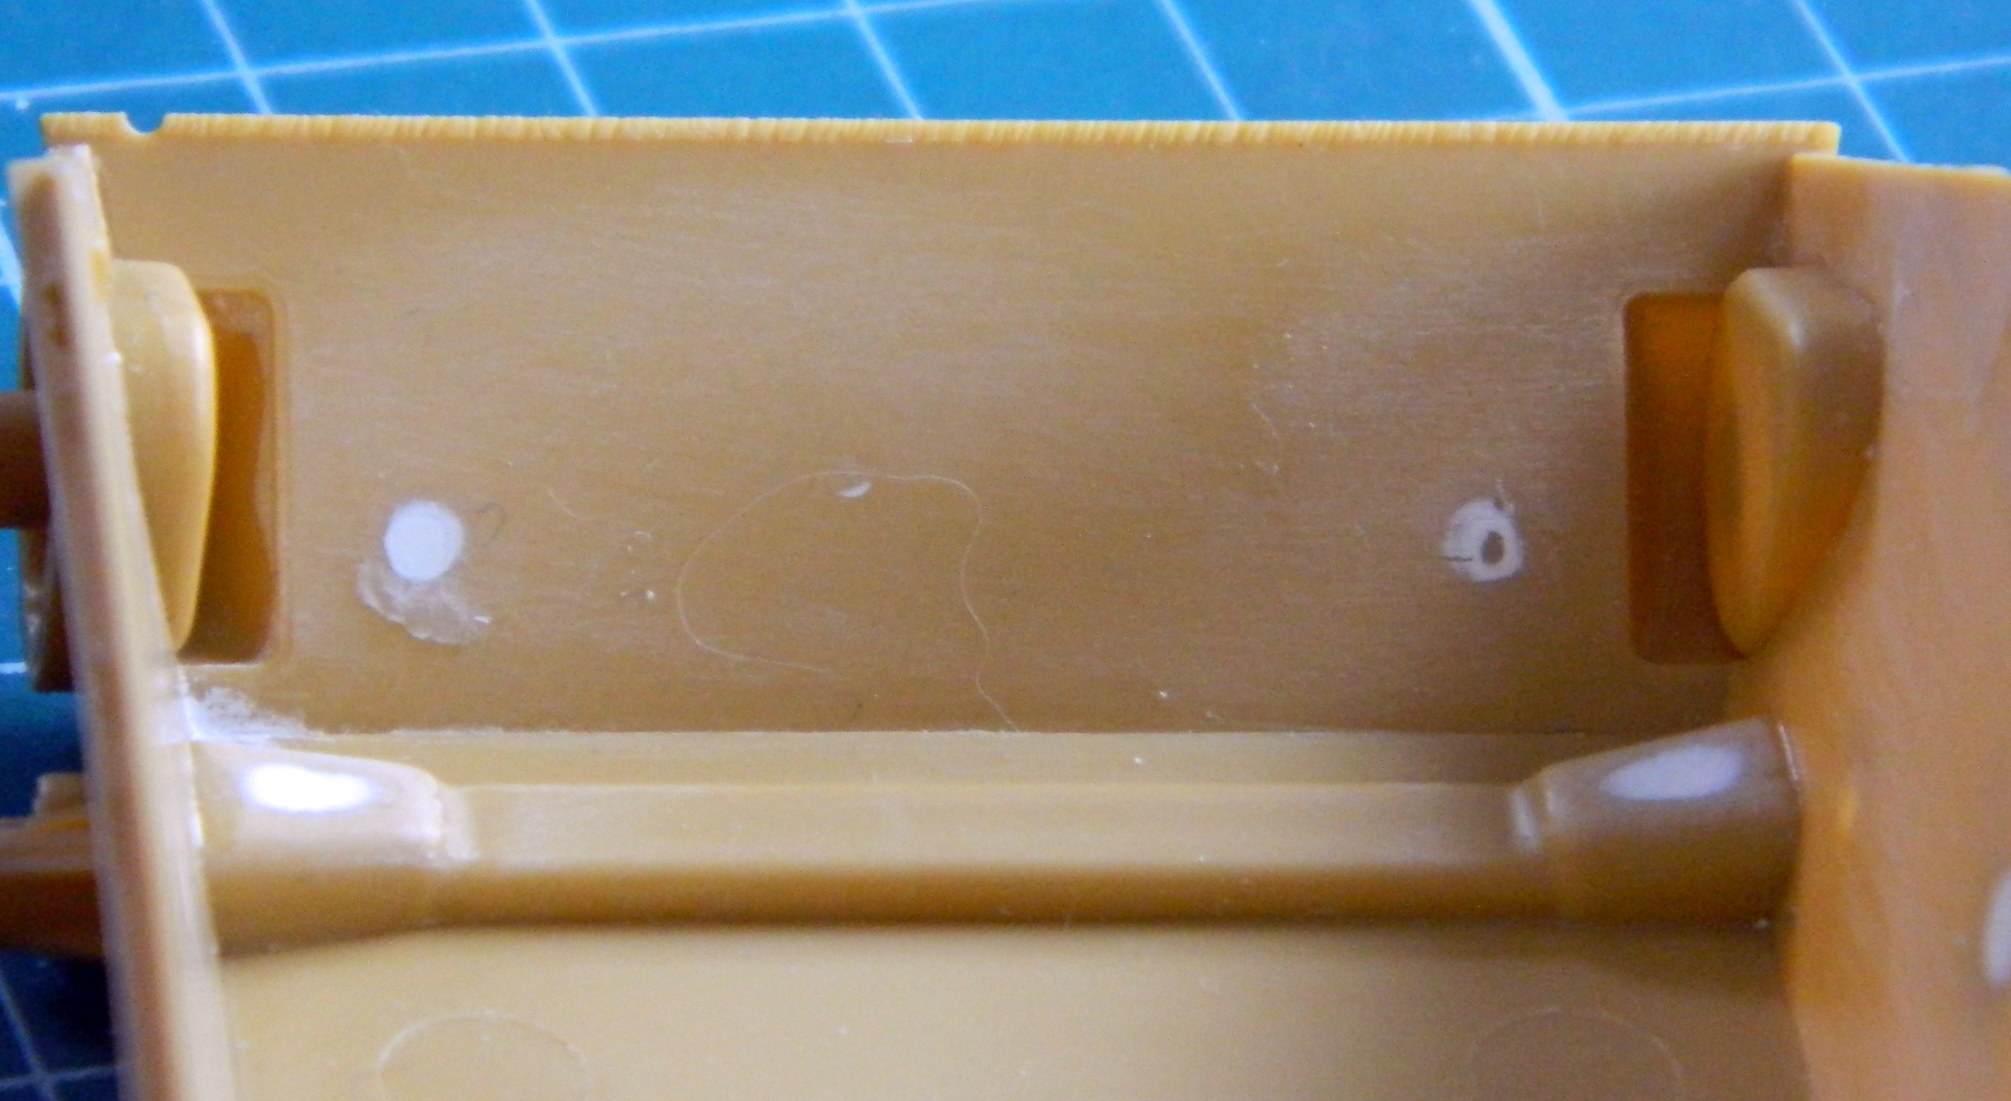
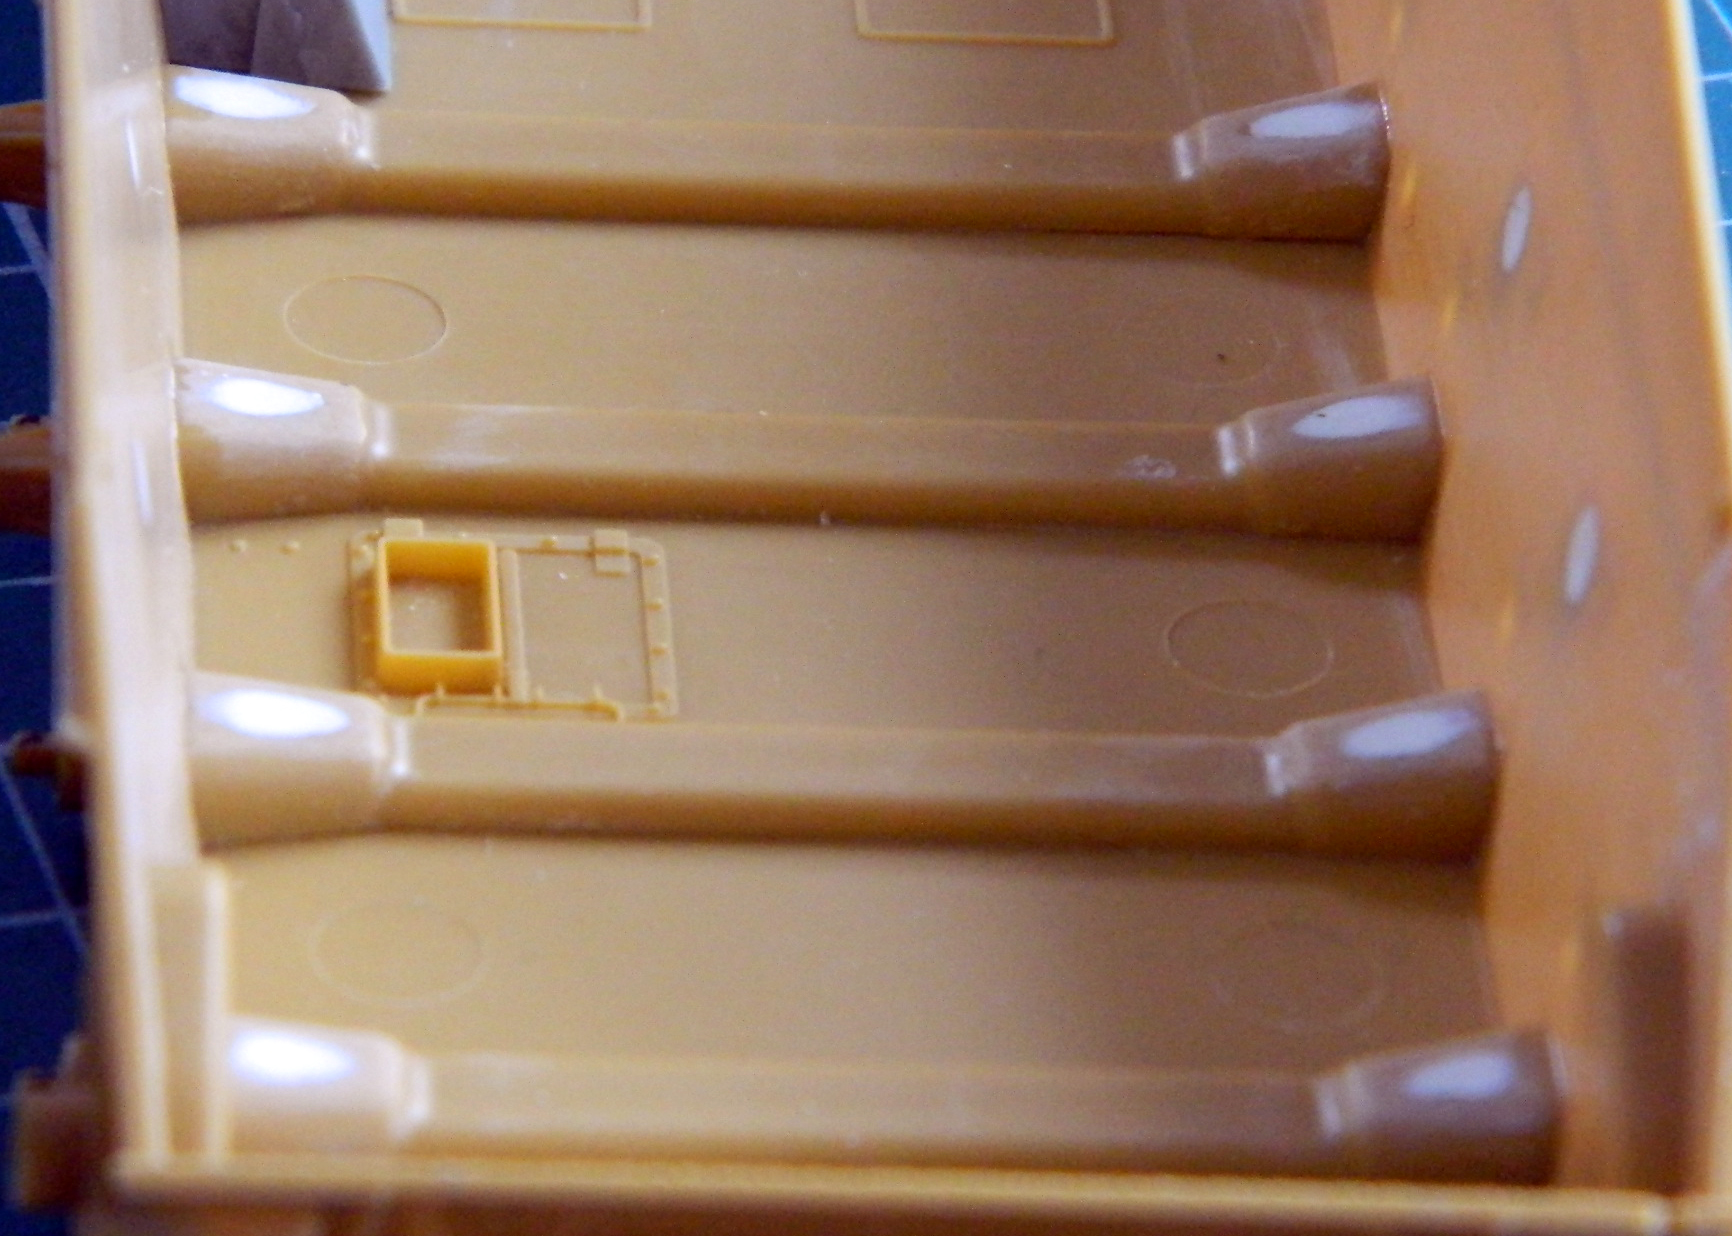
There are things about this kit I find somewhat gimmicky. There is a spring inside the main gun’s receiver that allows the barrel to “recoil.” Why? And the suspension is clearly designed to be “workable.” It has separate torsion bars for each set of sprung road wheels. Again…why? I suppose having the suspension posable could make posing the tank on an uneven surfaced diorama possible, but posable is different from workable in my mind, leading again to the question of why. The days of models with “workable features” are over. I’m building a model, not a toy that I’m going to play with until it breaks. I added the torsion bar housings and torsion bars as well as the final drive covers that show inside the hull:

There aren’t many sinkholes in the parts, but I found that all the torsion bar housings had them on the flared ends:
Not a big deal, just add putty:
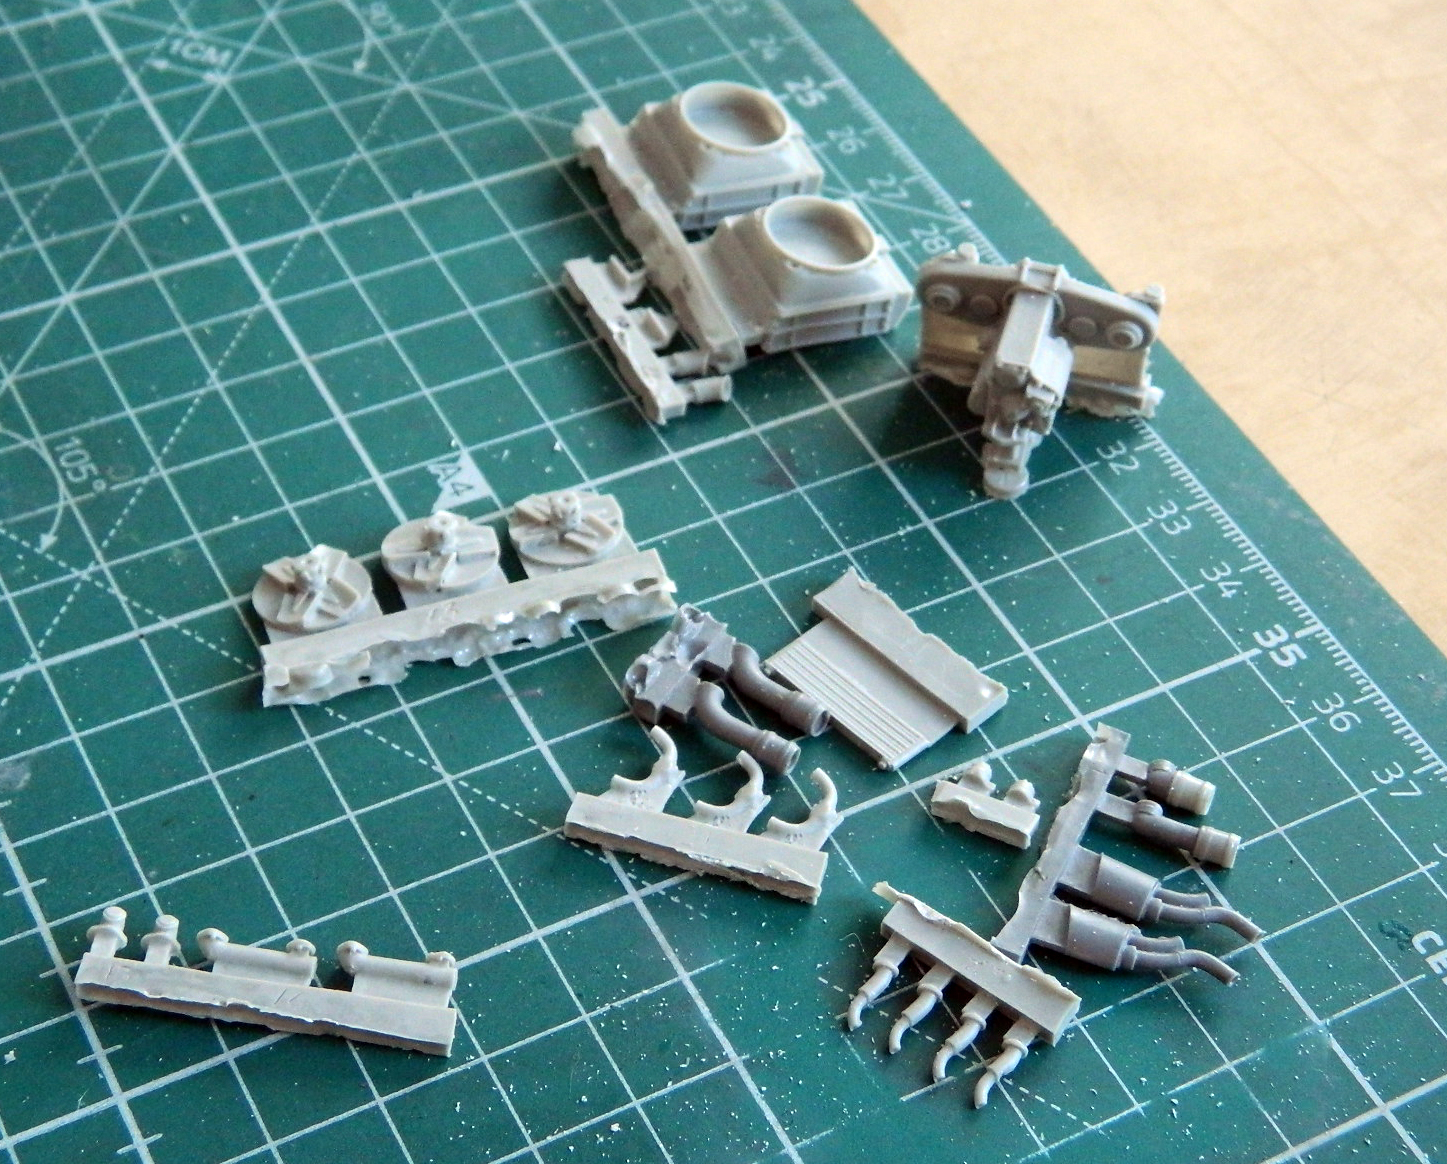
Time to start populating the hull interior. Using an AM set will frequently result in me sitting there wondering where to start. There’s a lot of parts that have to fit inside this thing and not many definitive places for me to start at. In this case, though, there are two places that the parts can only go into the hull one way; the differential in the front and the sides of the engine compartment in the rear. I decided to start at the rear and installed the fuel tanks/compartment walls (molded as one piece):

With both fuel tanks/compartment walls in place, that gave me the position for the bulkhead. In this photo, the bulkhead is just taped into position to check how it affects its position relative to the sides of the hull, which according to the upper hull is too narrow:
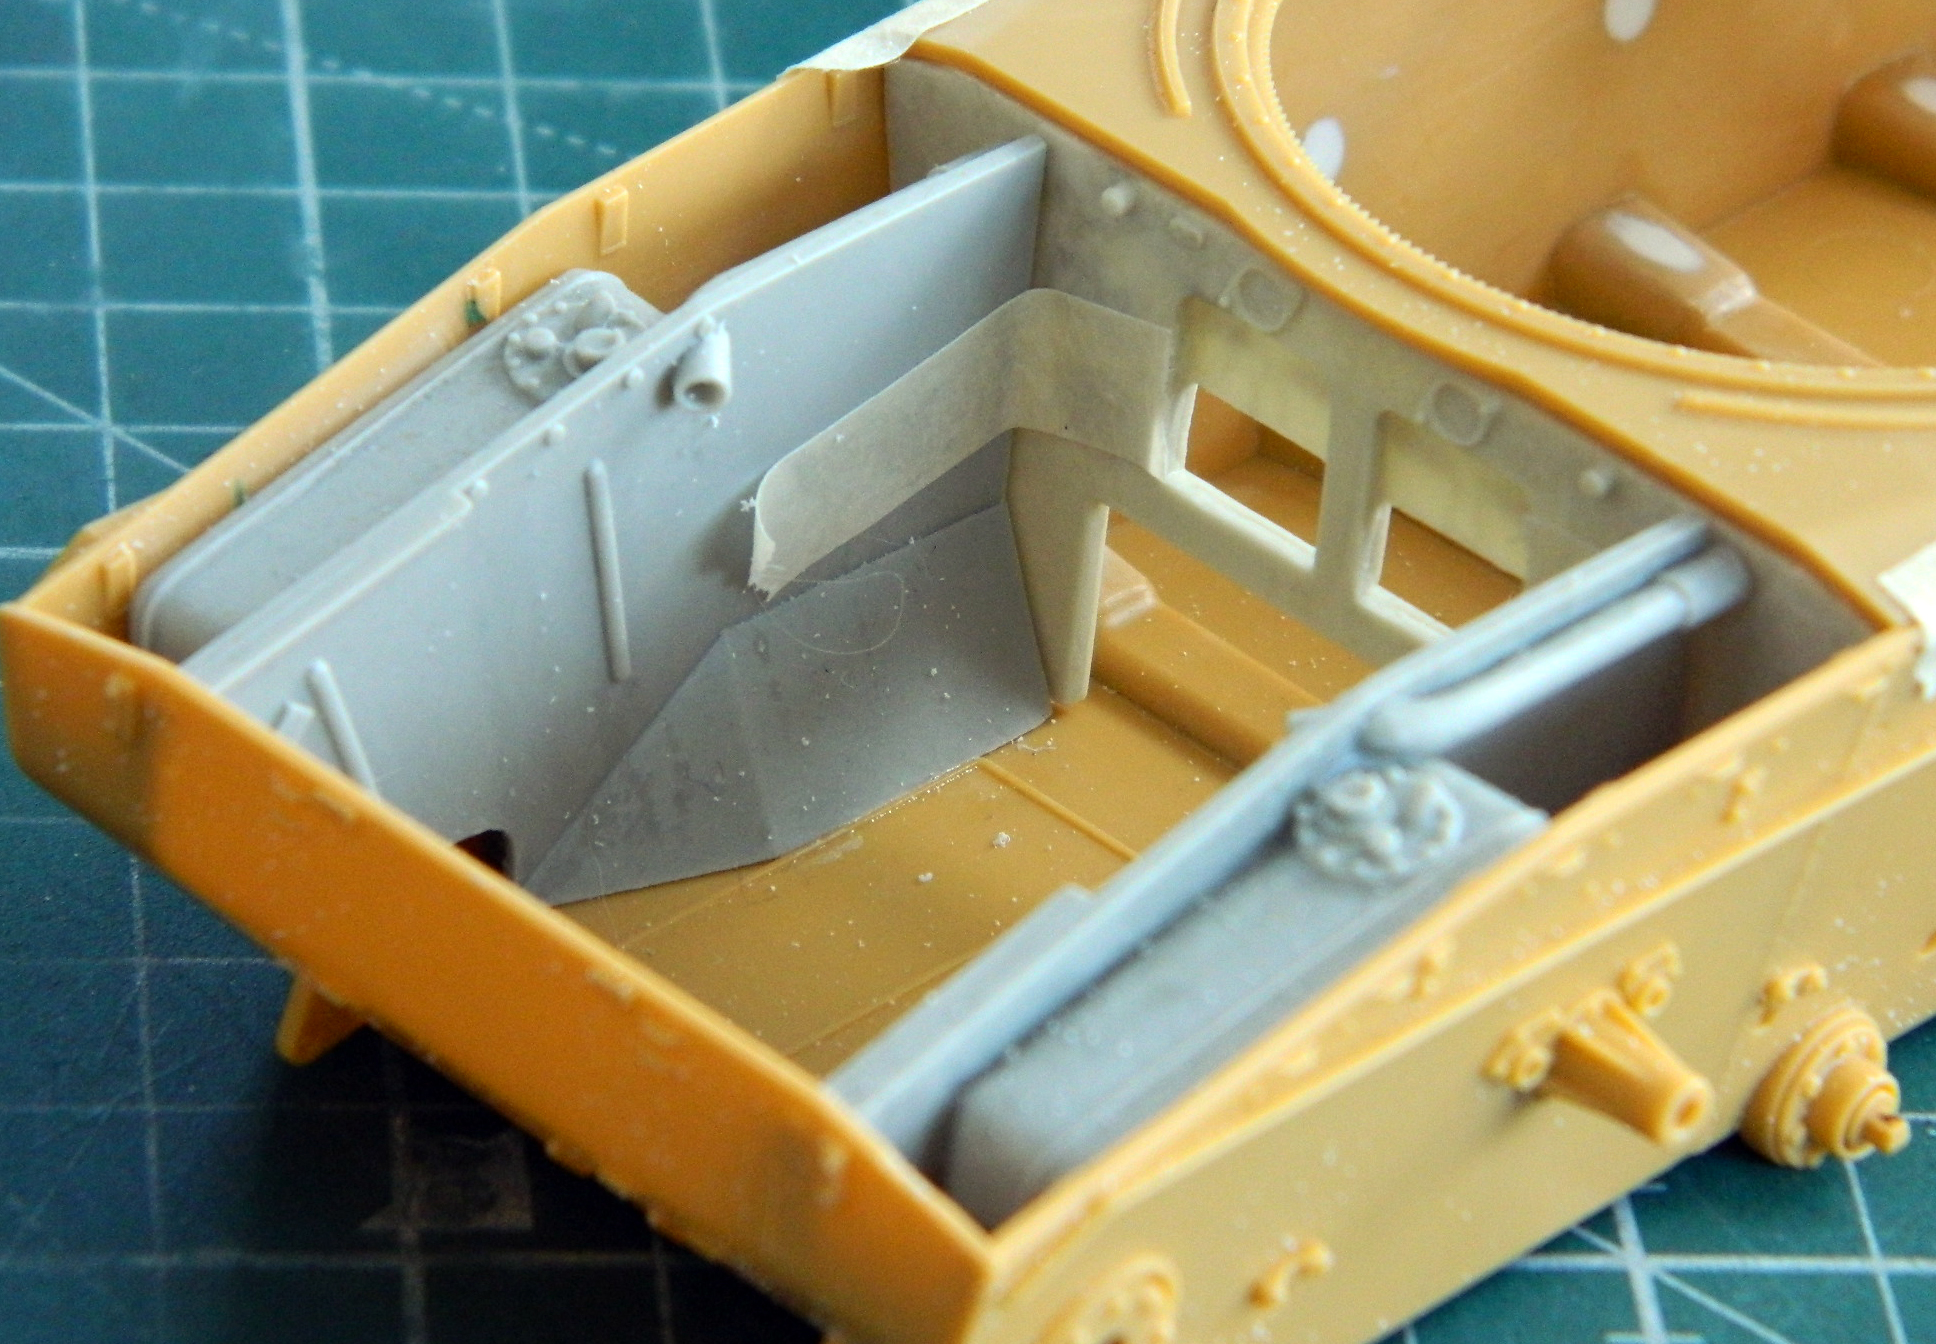
There are gaps on both sides and the top. I’ll add plastic strips to fix them later. Before I do that, there are more parts to add to the bulkhead which will be much easier to do with that part free.
Since I now have a rudimentary engine compartment, it was time to start assembling the engines:
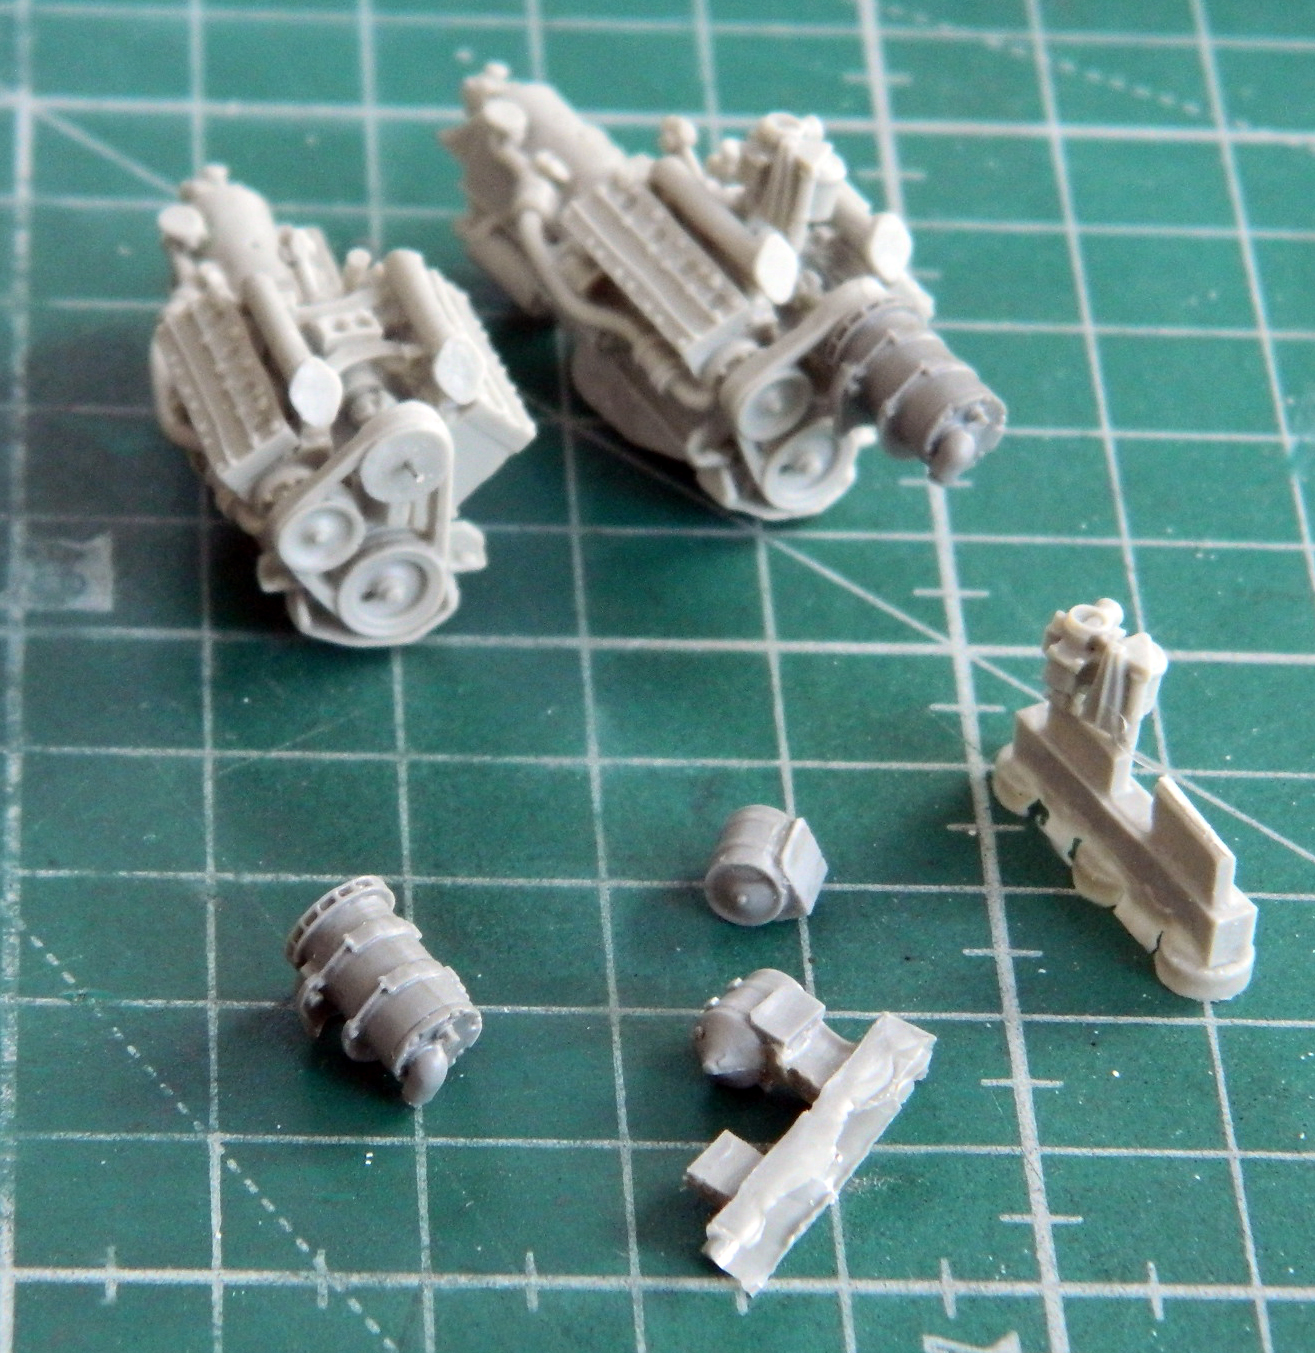
Here are more parts for the engine compartment that I will need to find permanent homes for in there:
This kit contains a fret of PE parts. Among those parts are the casting marks for the lower front hull. They’re VERY TINY and so far I’ve managed not to launch any of them into oblivion. One side is done. Oh…and on that note, Bronco failed to photo-etch one of the “1” numerals…so it’s missing from the left side (there’s supposed to be a “10” next to the star, not a “0”):

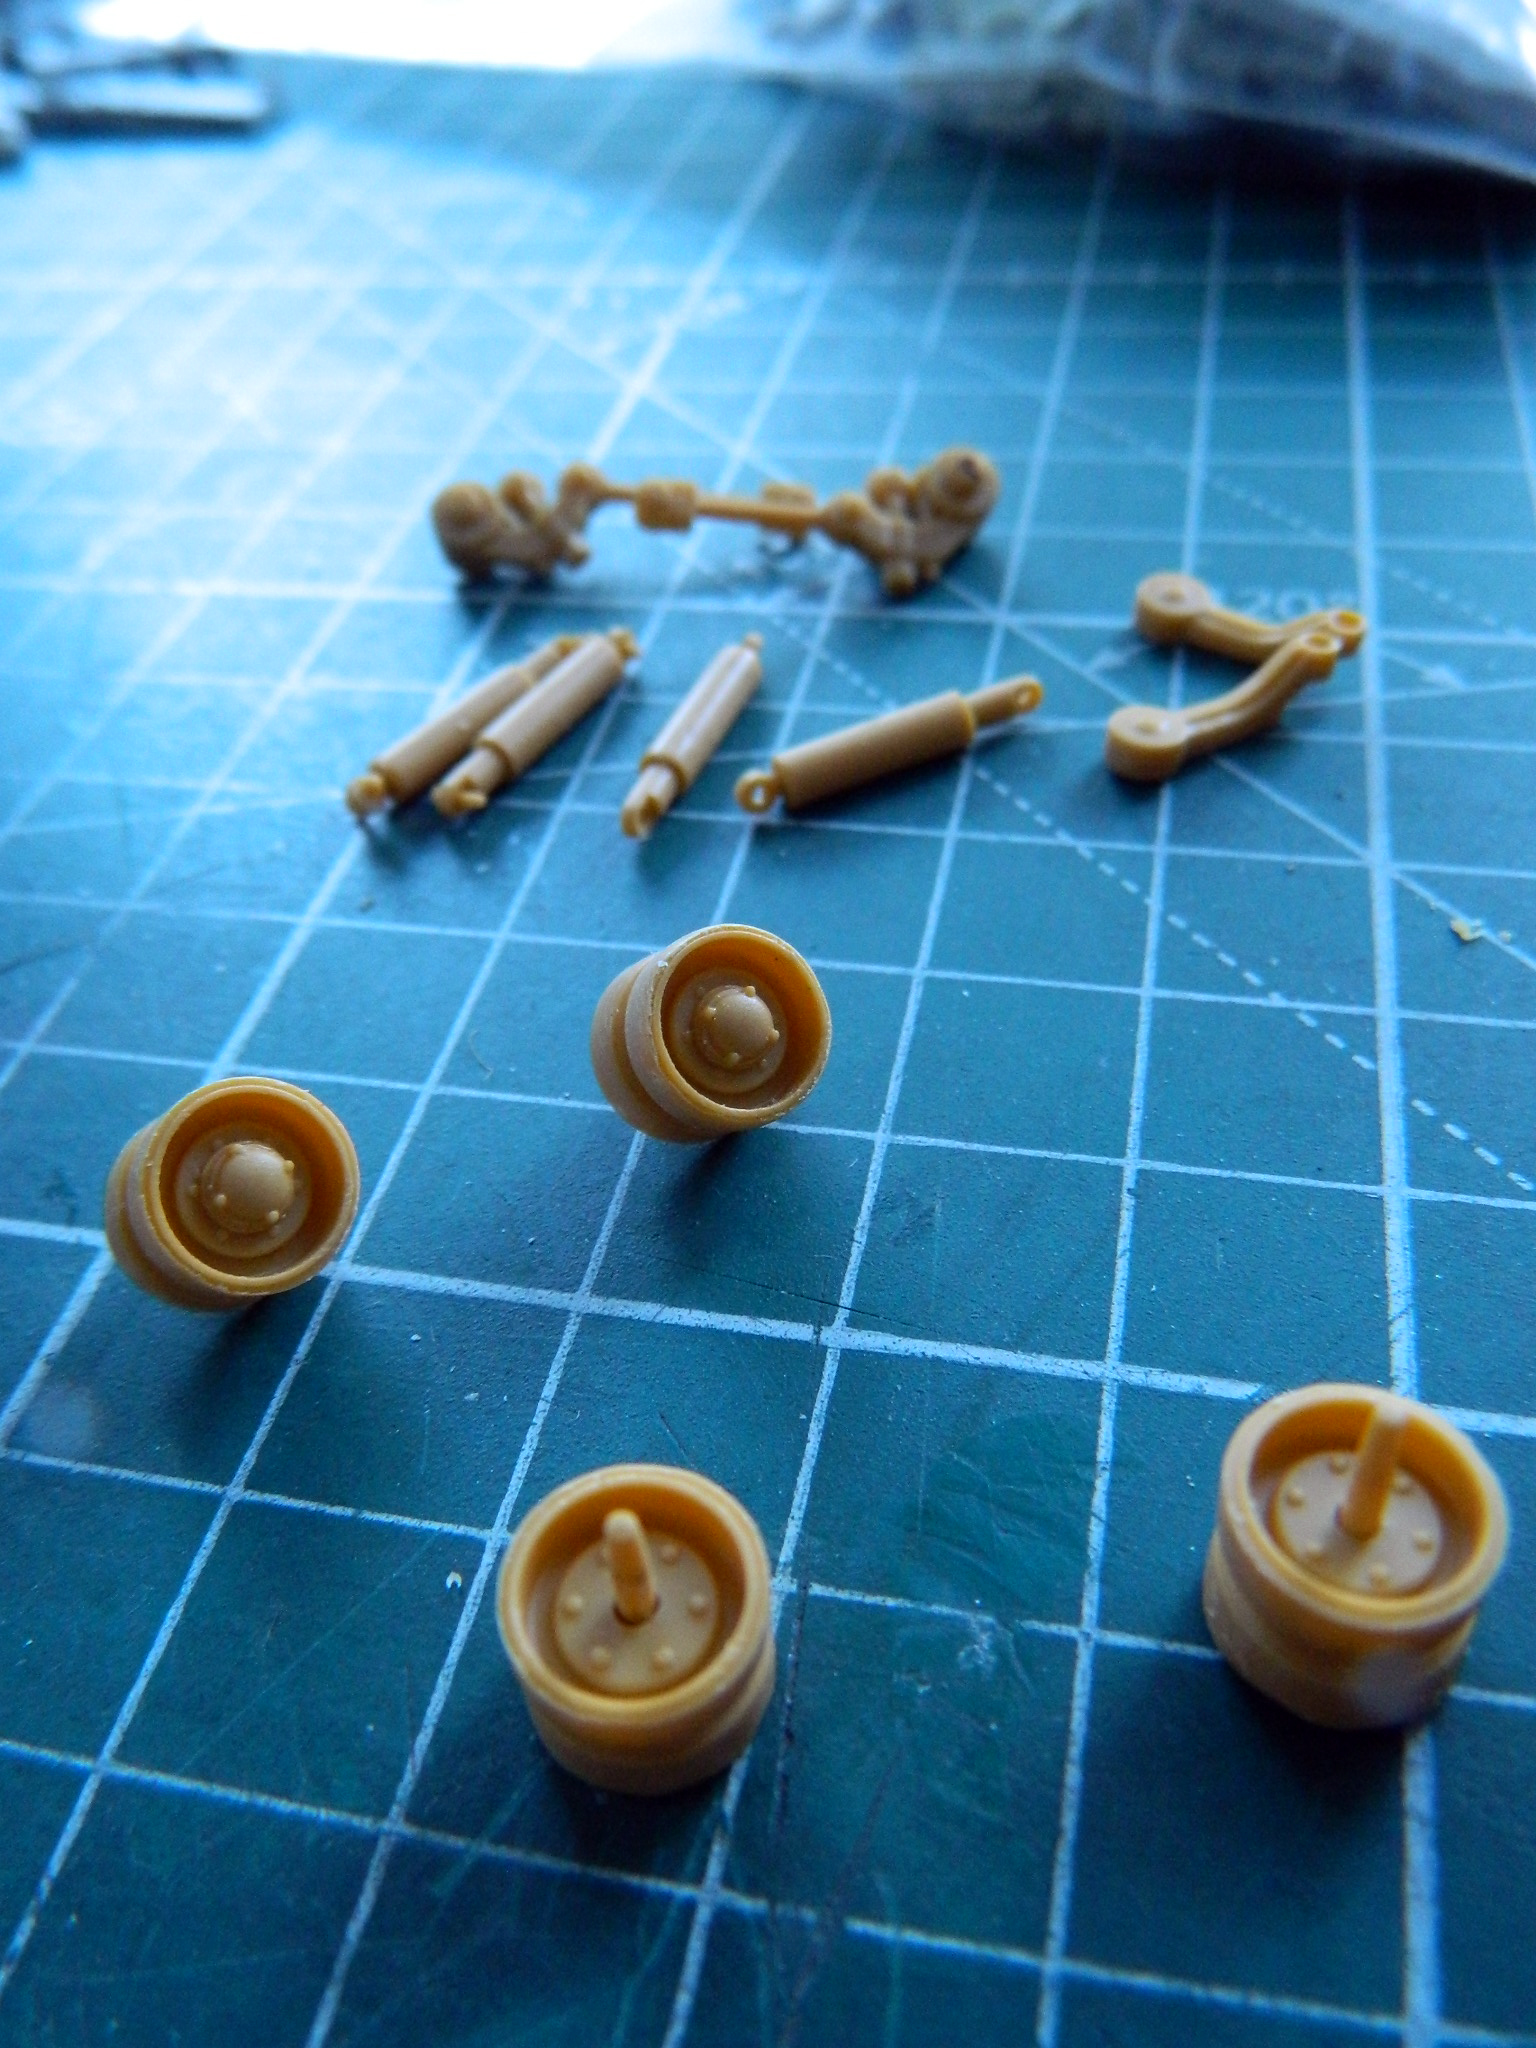
I also started assembling some of the suspension components. Each of these return rollers is comprised of four parts and the bolts that hold the shock absorbers in place are tiny and INCREDIBLY fragile:
Once I started the build, I assembled the tracks, ten shoes a day while I sat at the workbench in the morning, having my tea and waiting for my dried up neurotransmitters to hydrate and begin transmitting sparks again:
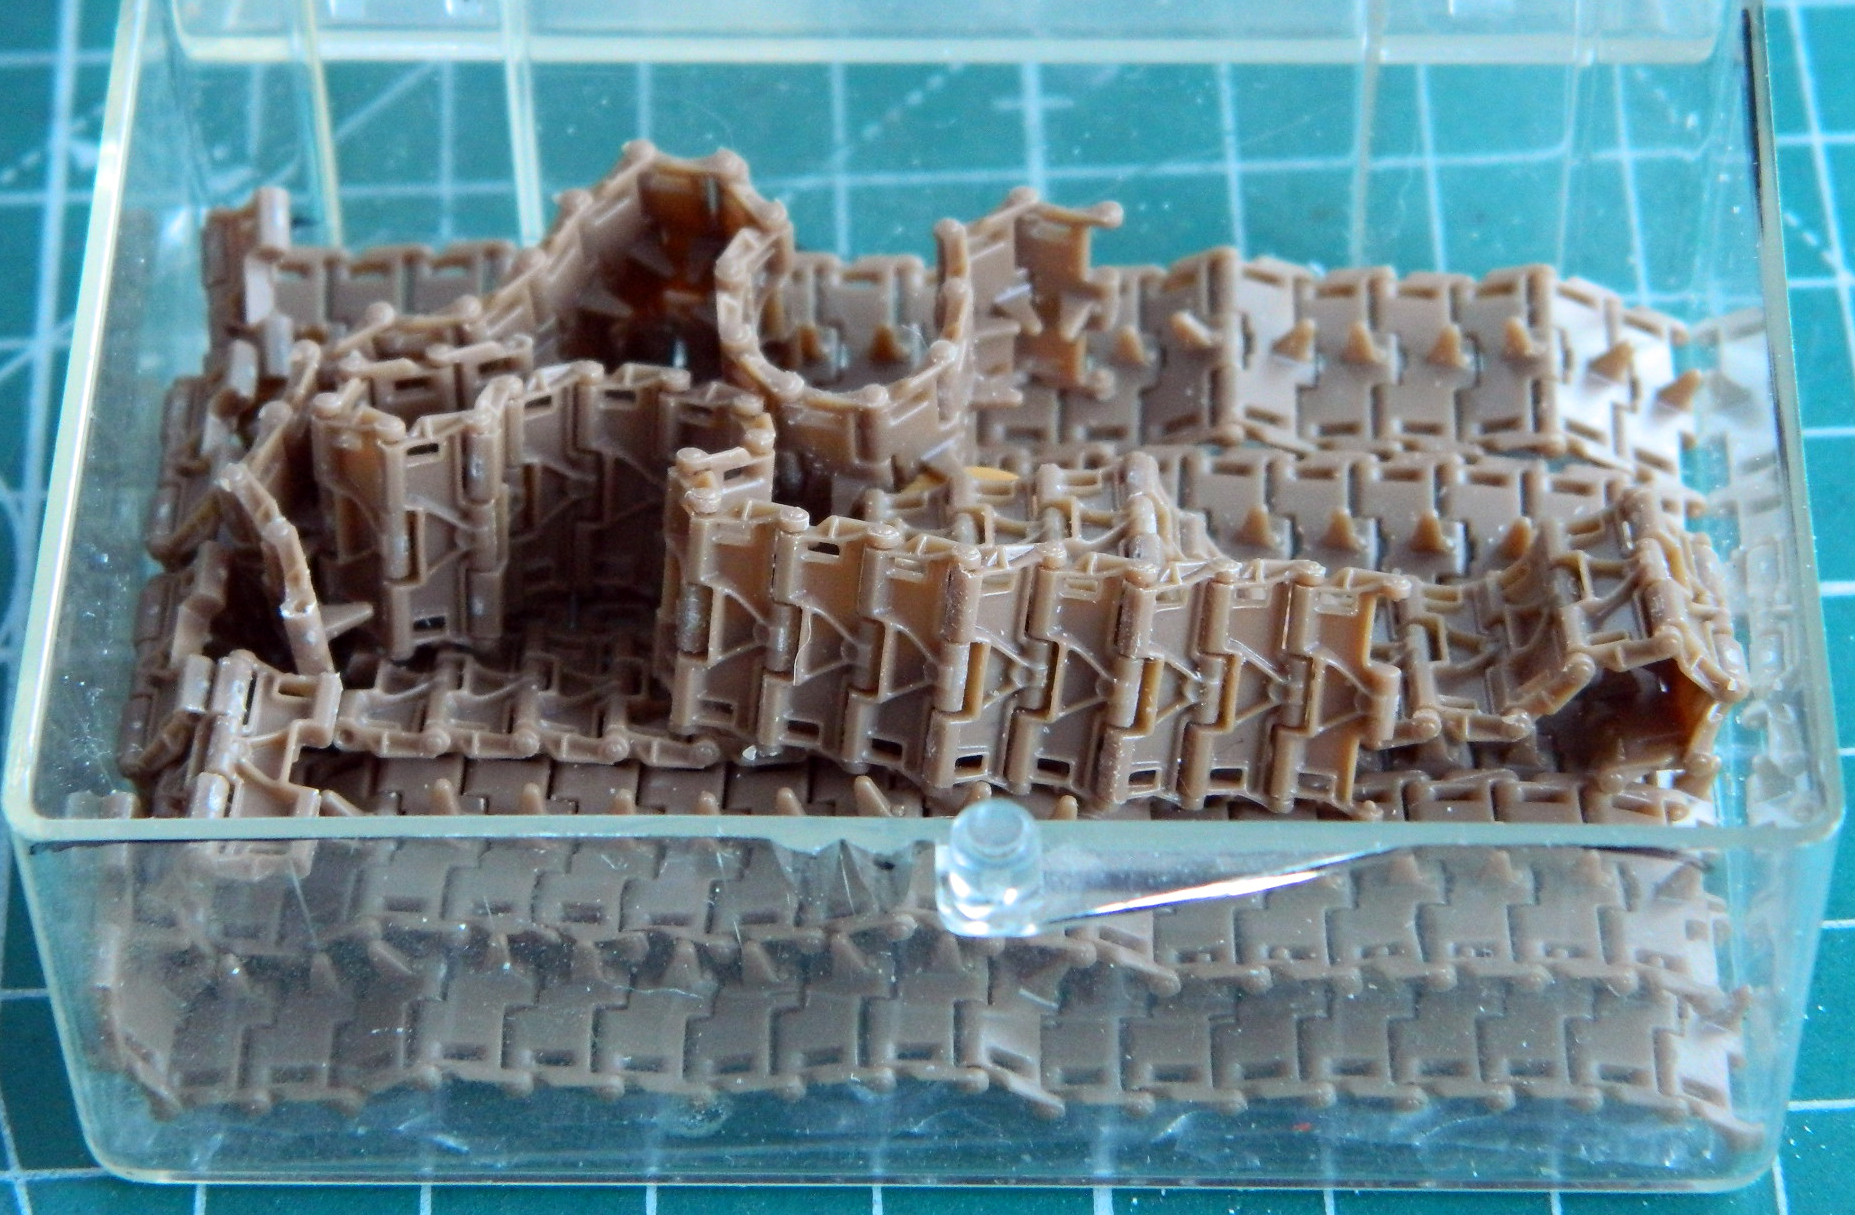
The tracks are finely molded. Perhaps they’re too finely molded. I managed to snap two into unsuitability while assembling them. Fortunately while perusing the ‘Net, I found a discounted set of metal T72 tracks that I will try using instead…which means I get to do this tedious task again.
