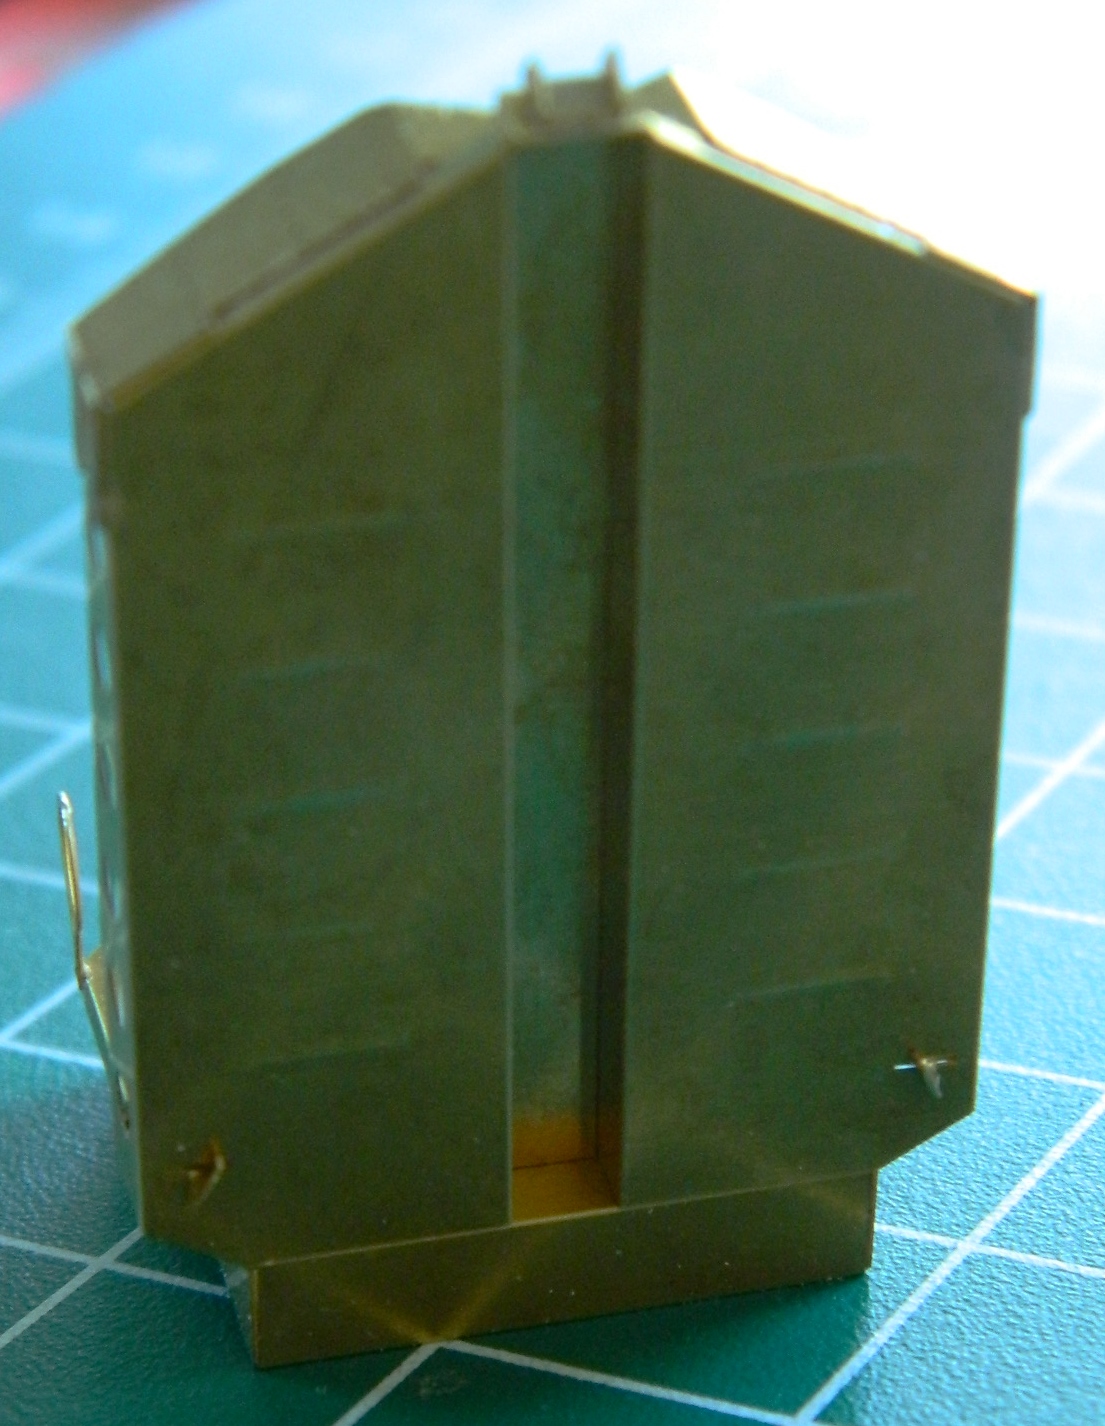
With the glue (finally) set, I masked off the surface to minimize having to clean putty away from unnecessary surfaces and applied the putty:

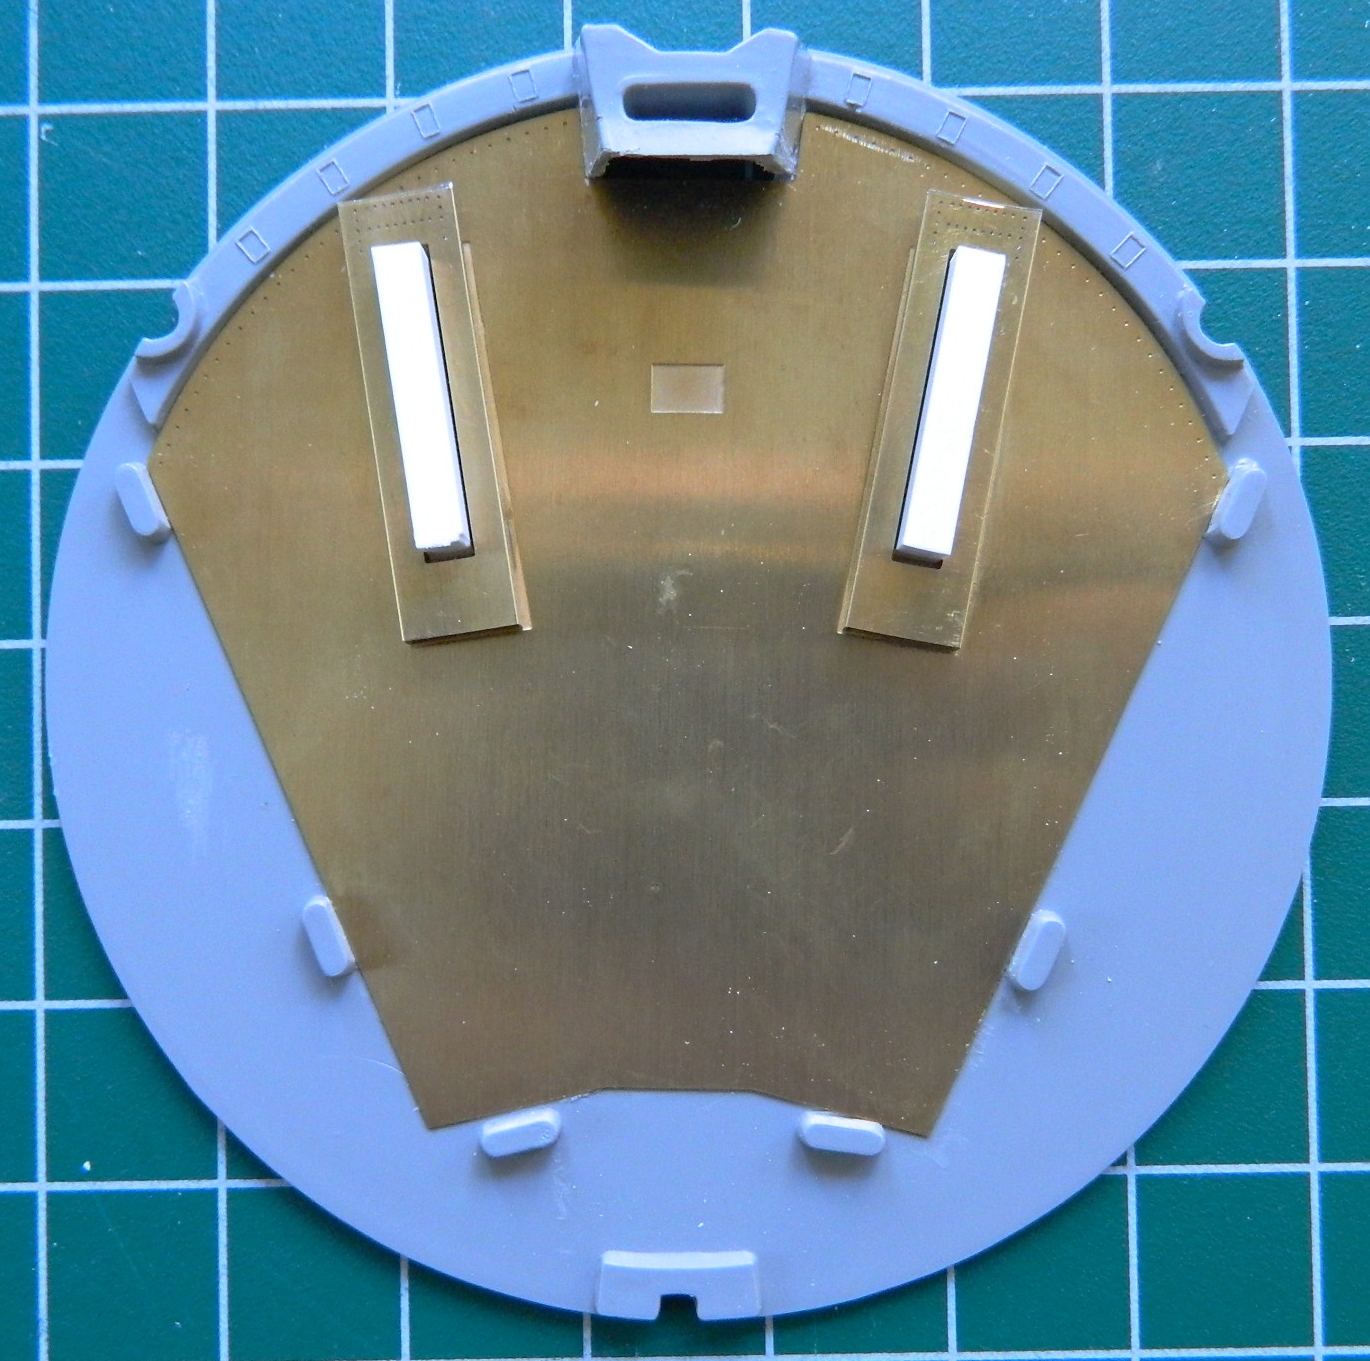
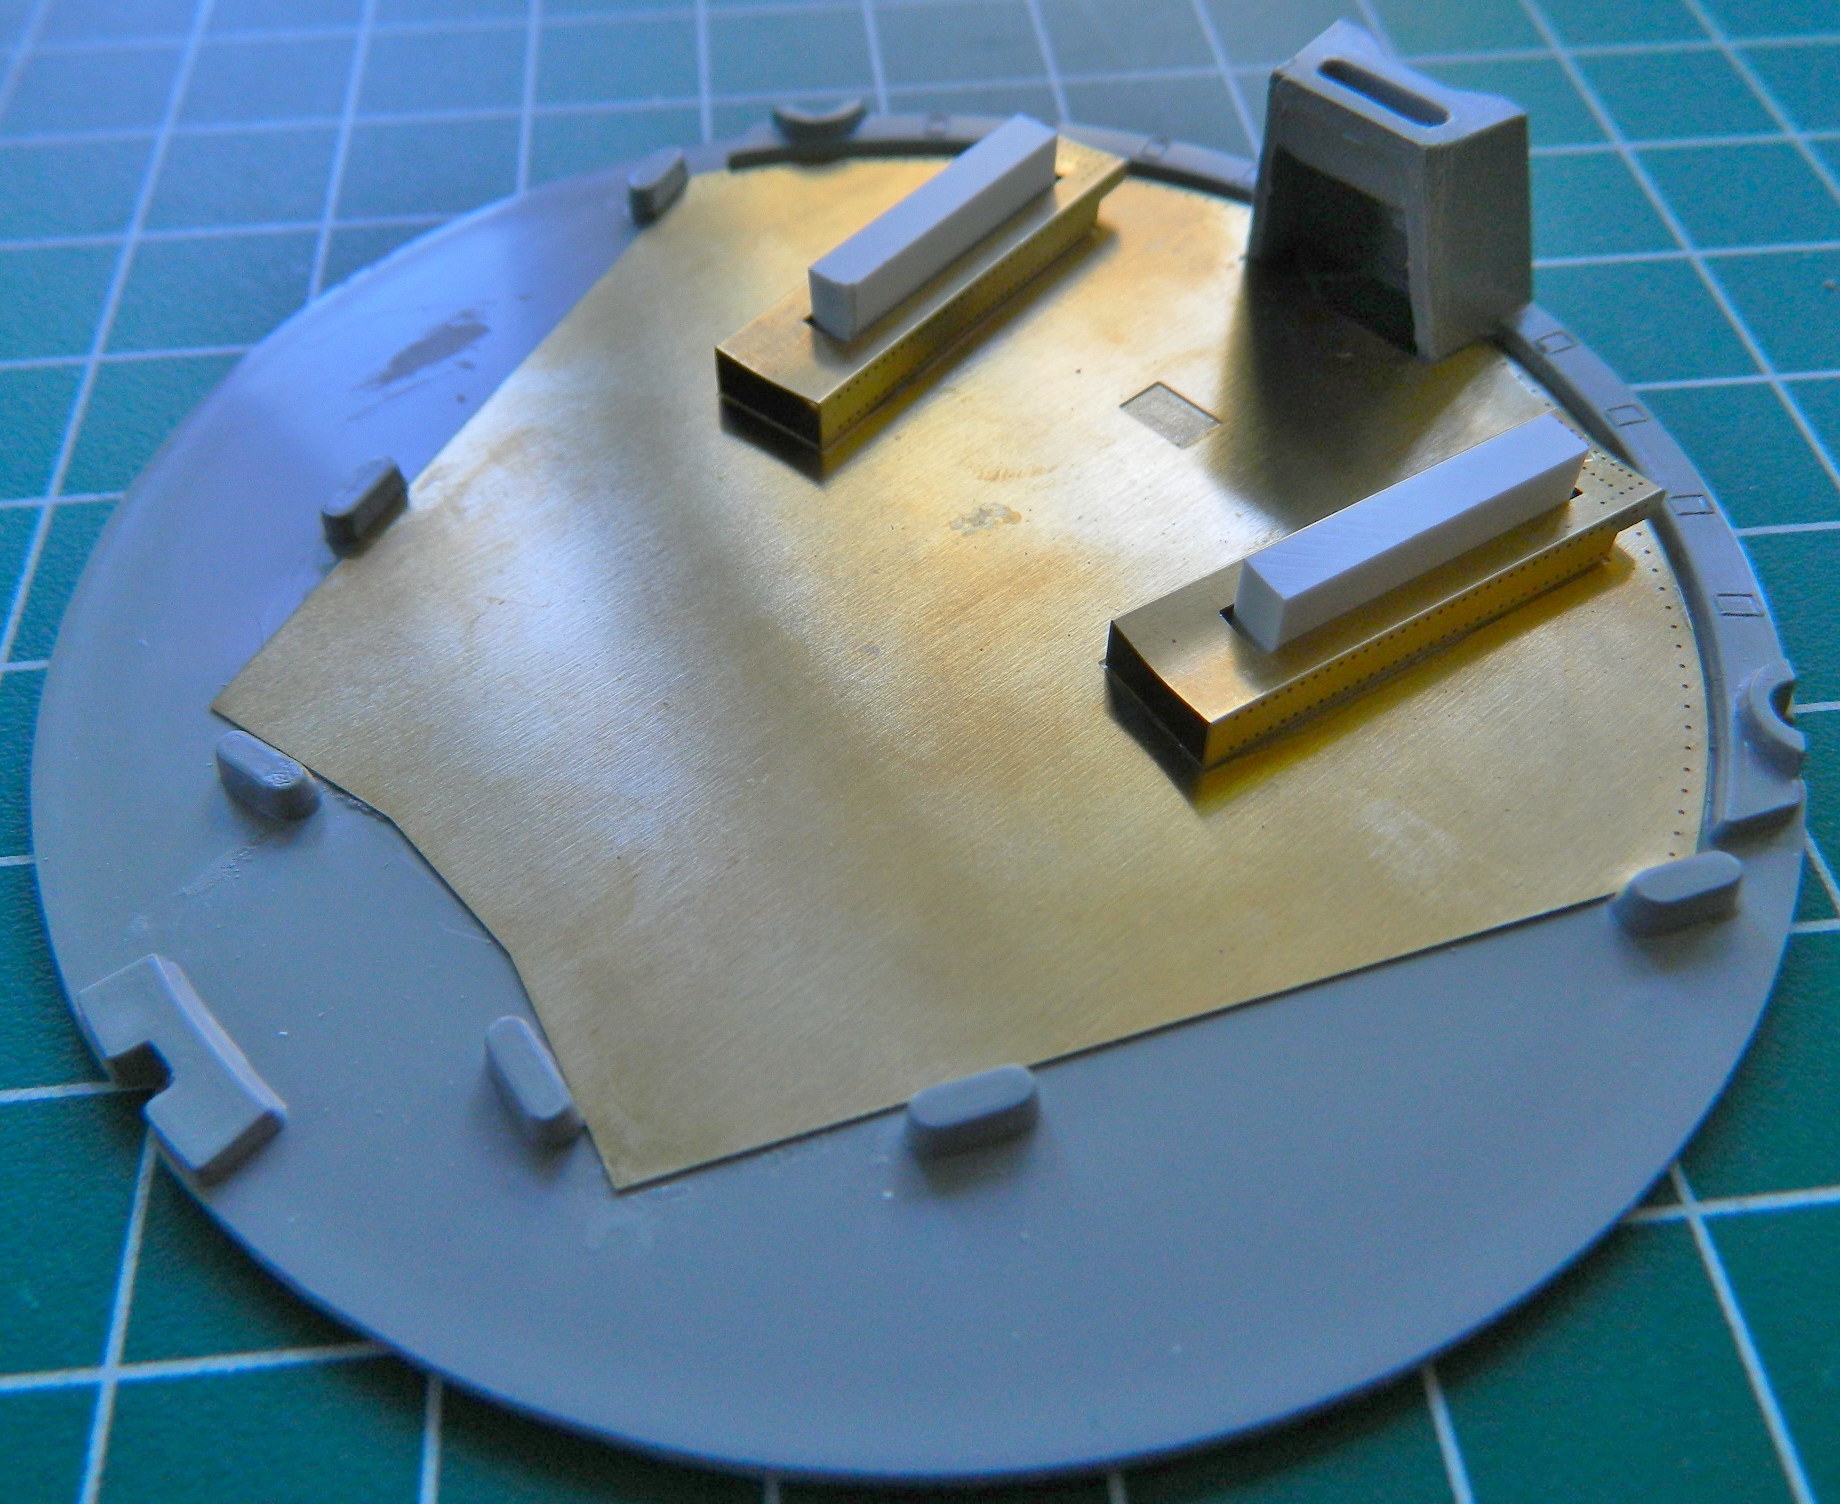
I added the mounts for the ejection seats to the rear bulkhead:
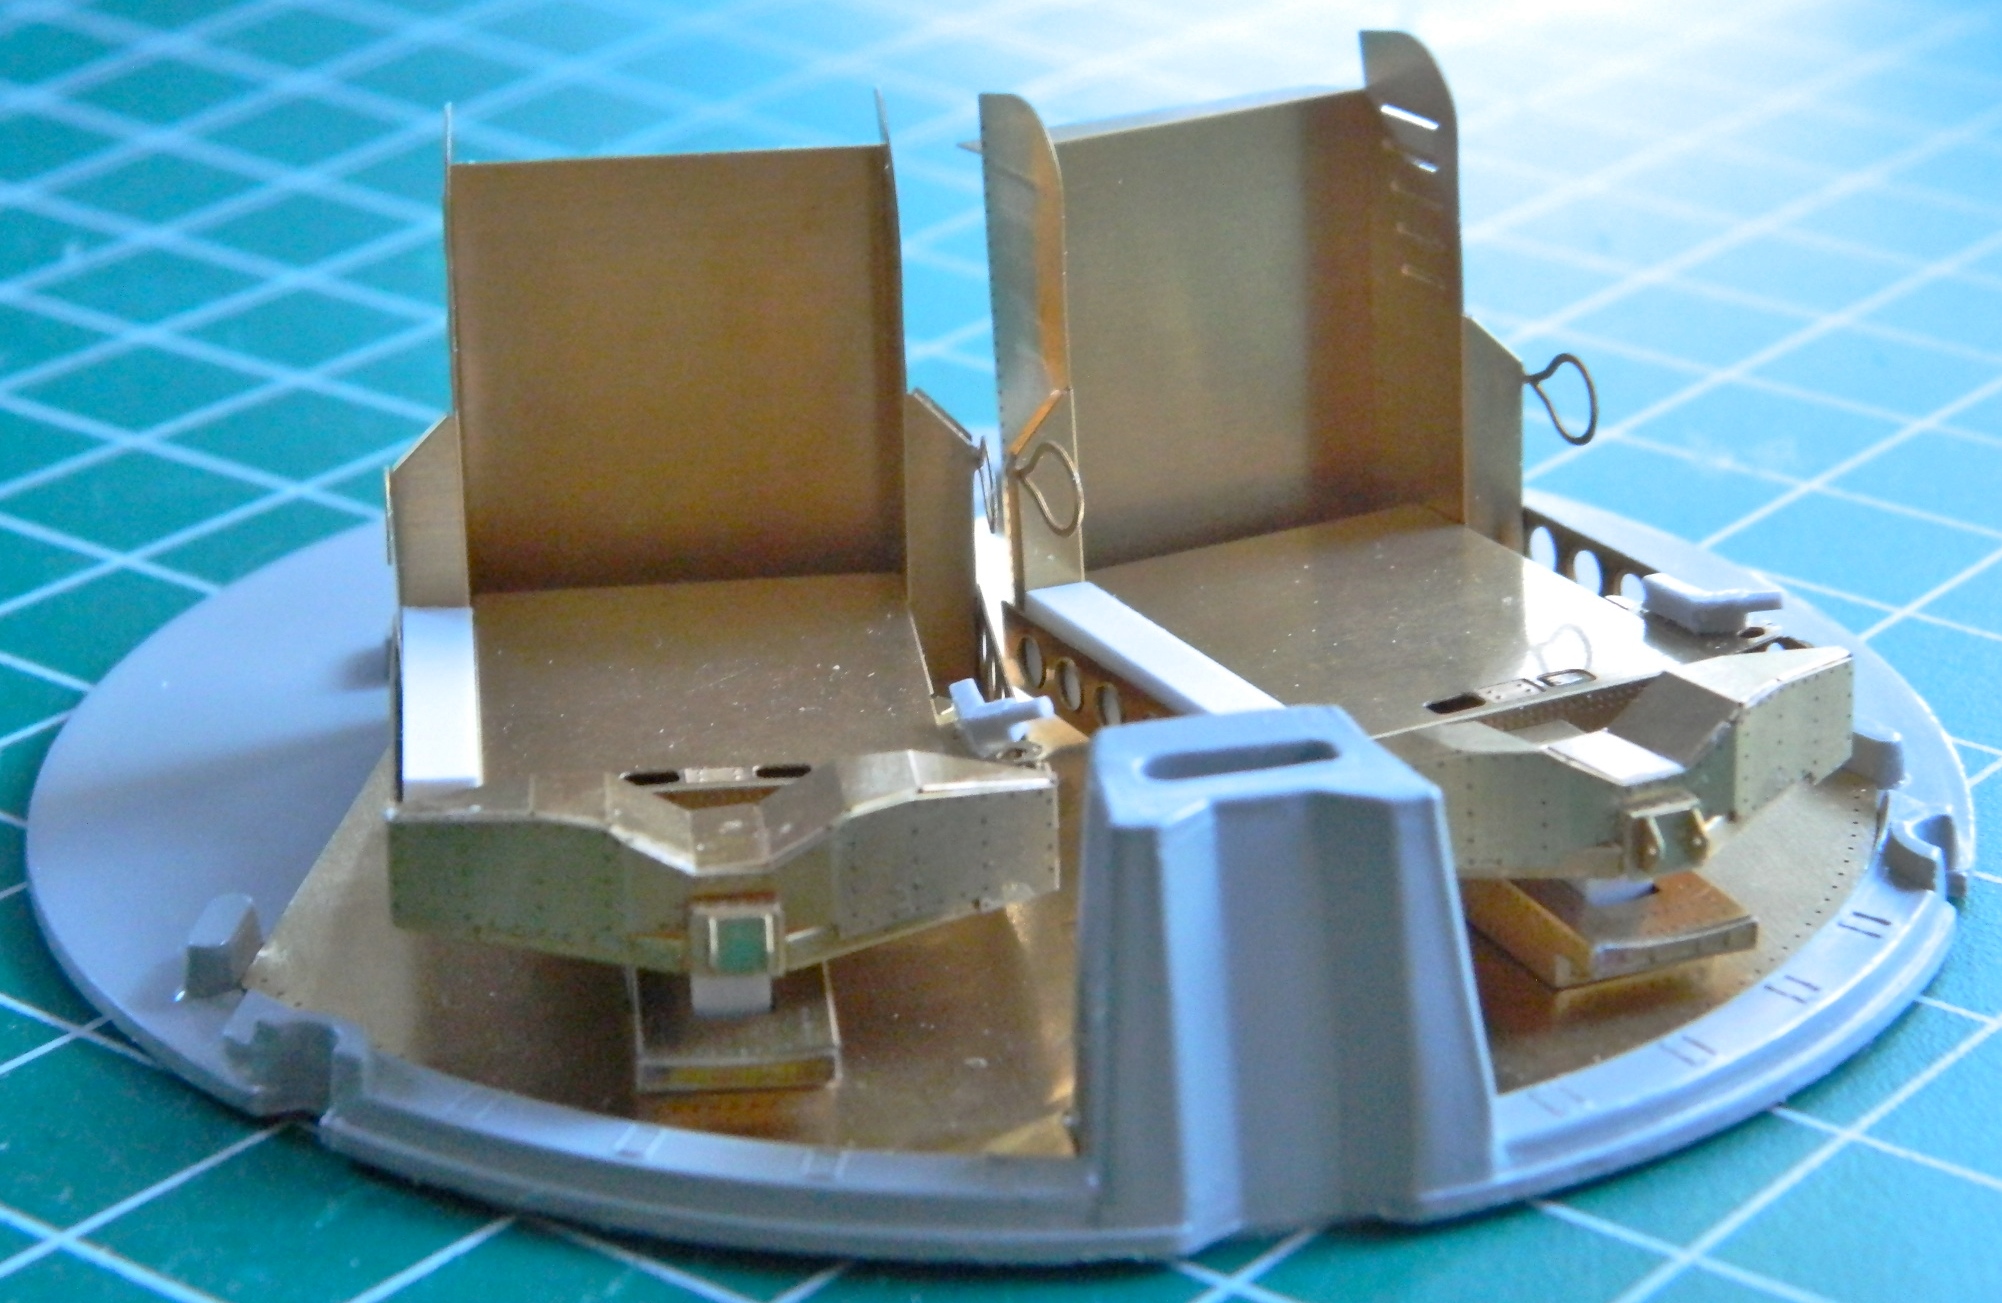
Then I started on the ejection seats themselves. When I first cut the parts free, I wondered how much of a drill this was going to turn out to be:
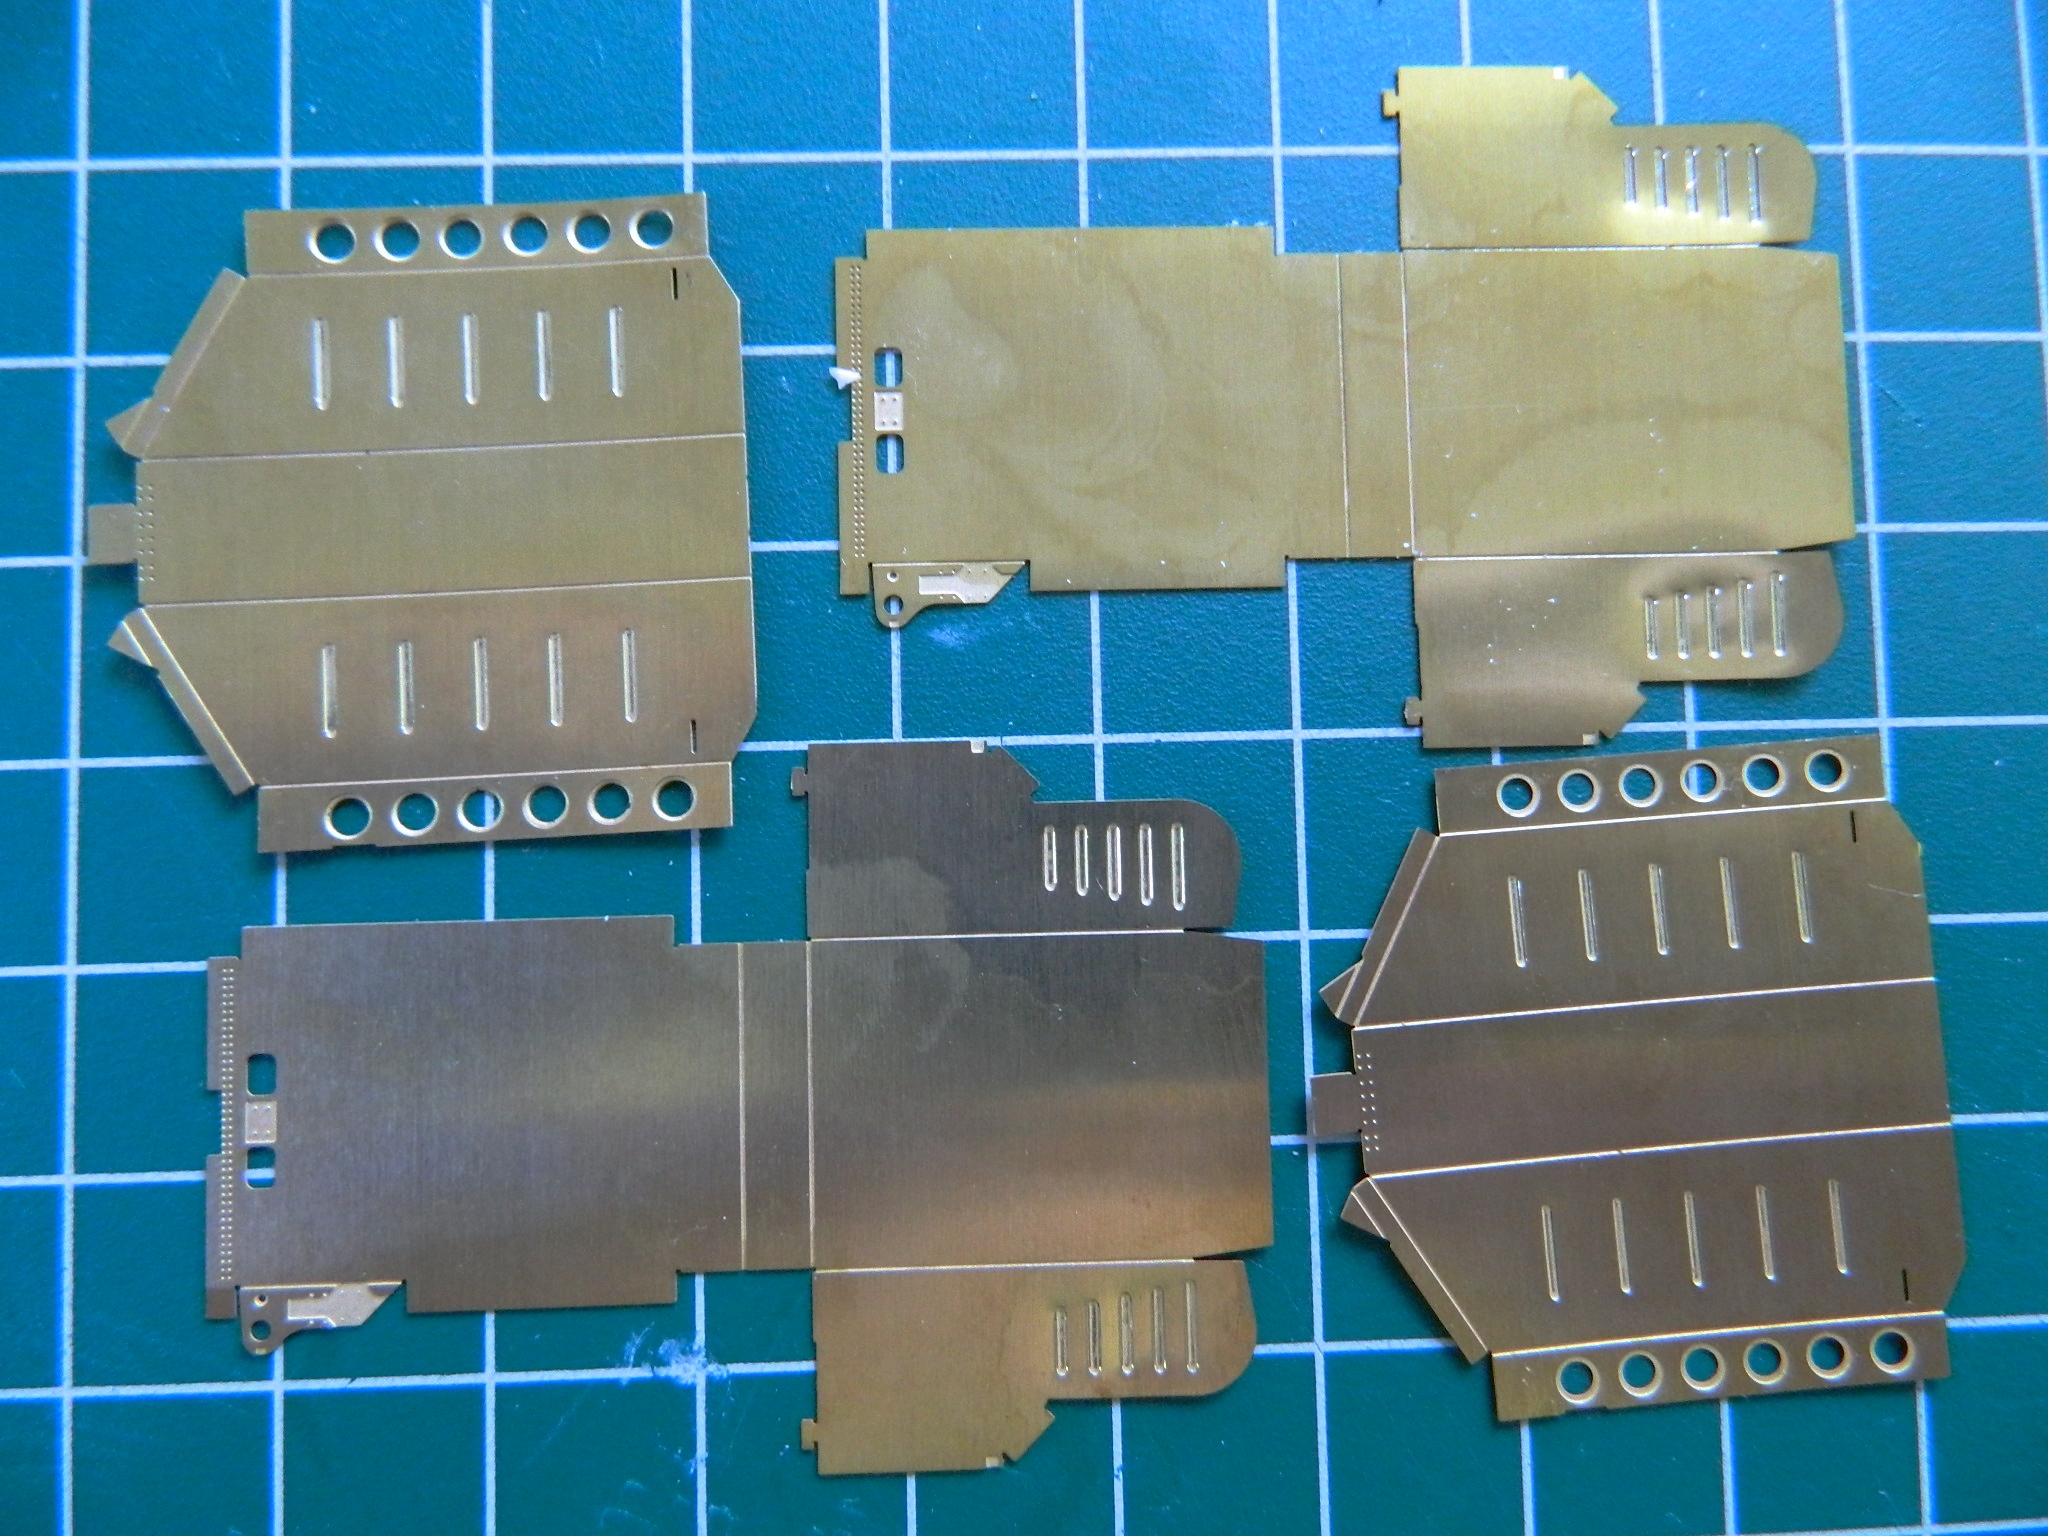
LVM Studios, the people who produced this AM set really engineered it beautifully. The parts fell together as much as something this complex can. The scored panels made making all the bends SO much easier:
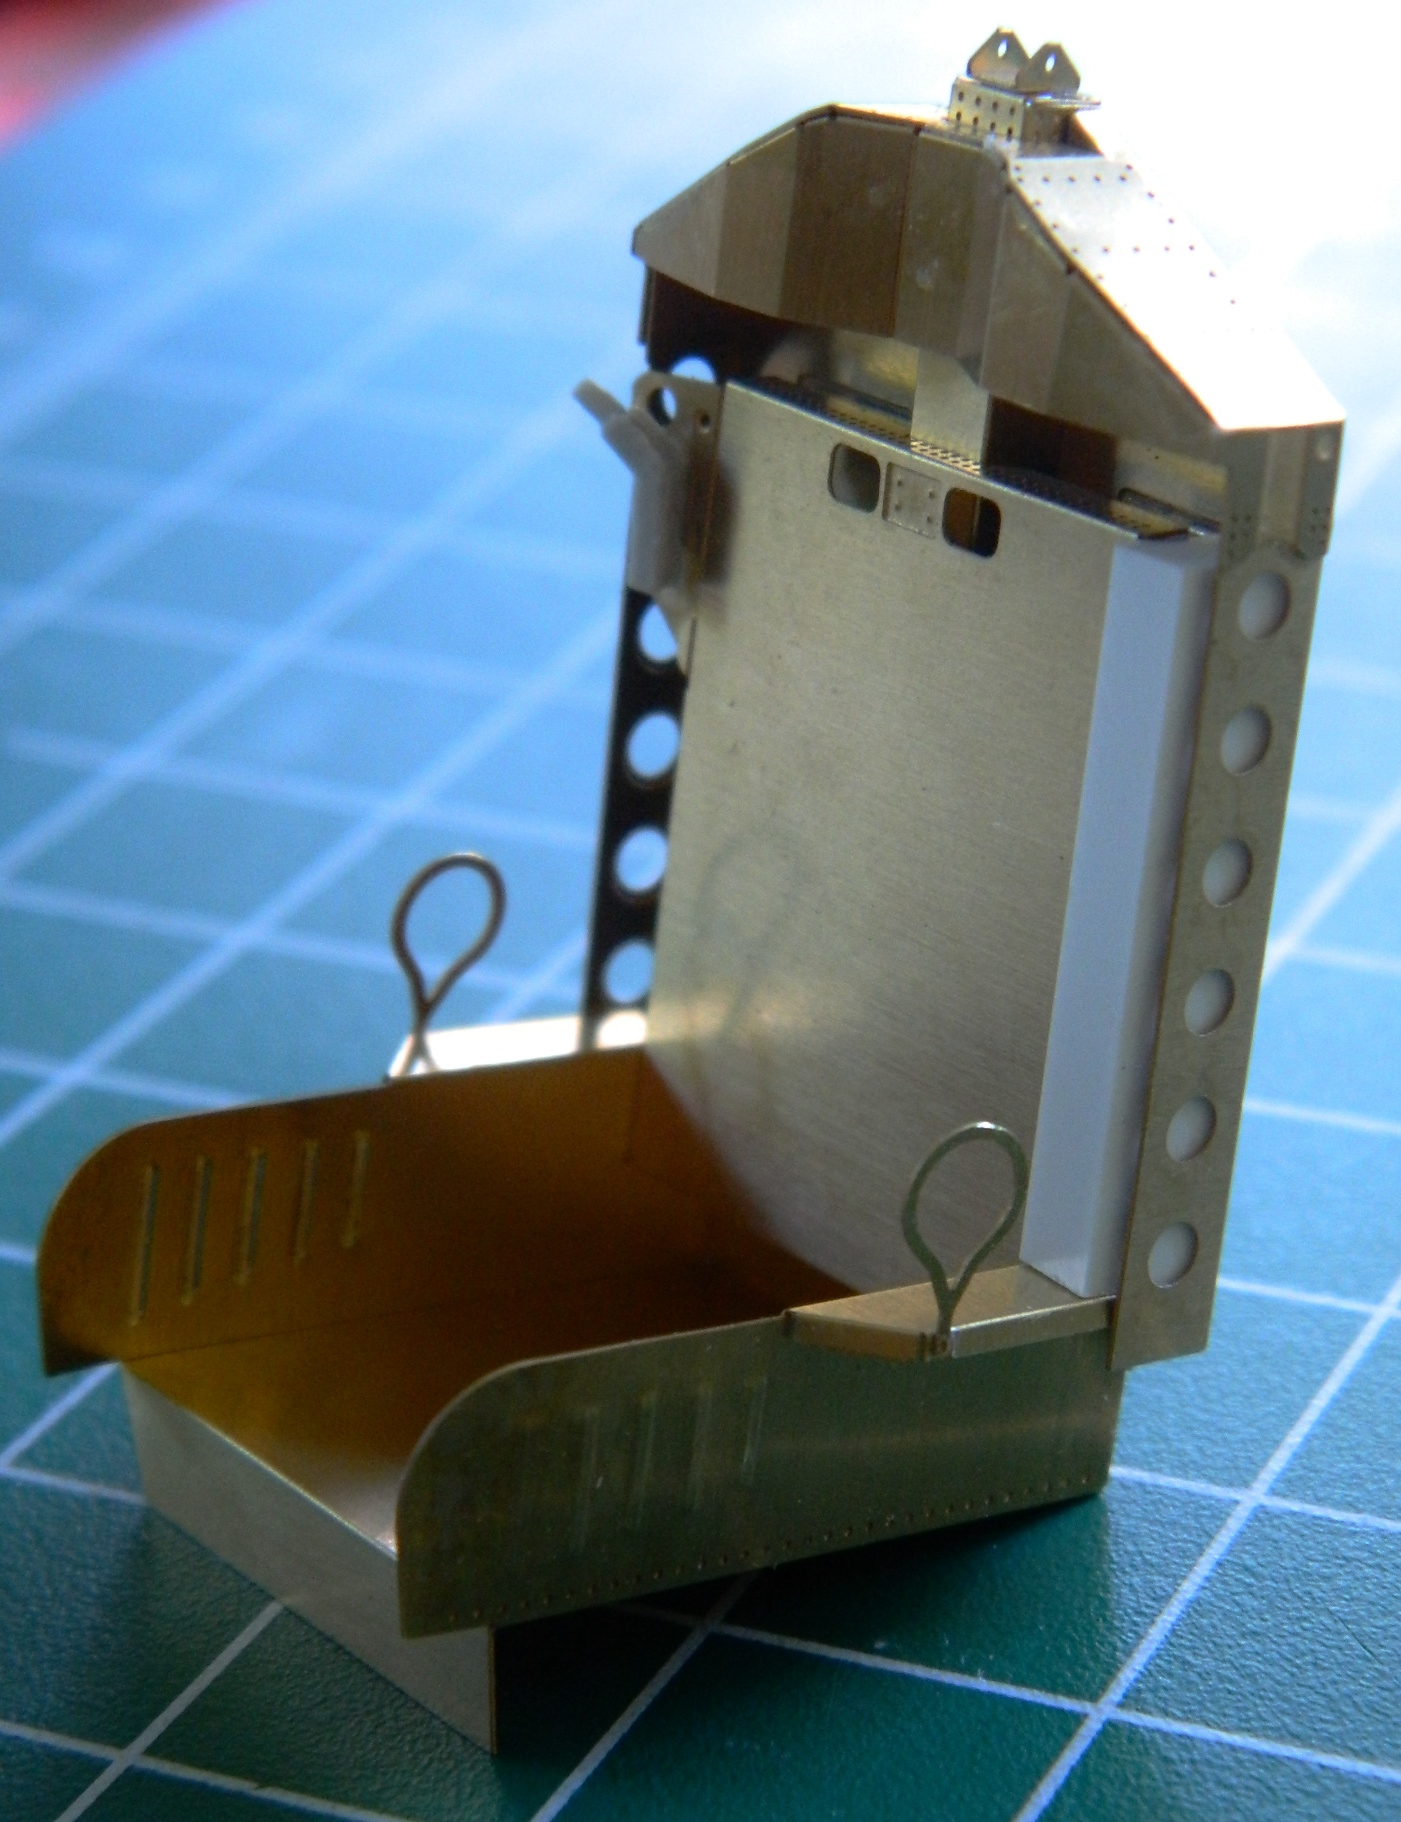

The first one went together easily using superglue; no solder. So I made the second one and dry-fit them to their mounts (I’ll attach them permanently after painting them):

The (surprisingly) easy part done, I’ll turn my attention to cleaning up the exterior next. I suspect that won’t be easy at all.
