Prior to gluing the service module to the retro module, I wanted to add the support for what had been mylar on the original capsule that will be replicated by gold-colored foil here. I have come to expect that the kit parts don’t fit well. And I thought that now that I had added all the kit parts, I wasn’t going to have to deal with that fit crap anymore. Silly me. The AM set doesn’t fit very well either. The seats didn’t fit into the crew cabin without major surgery on the cabin tub and the seats, so why did I expect the foil support would fit? Fact is…it doesn’t. So I tacked it in place in four locations and clamped it while the glue cured:
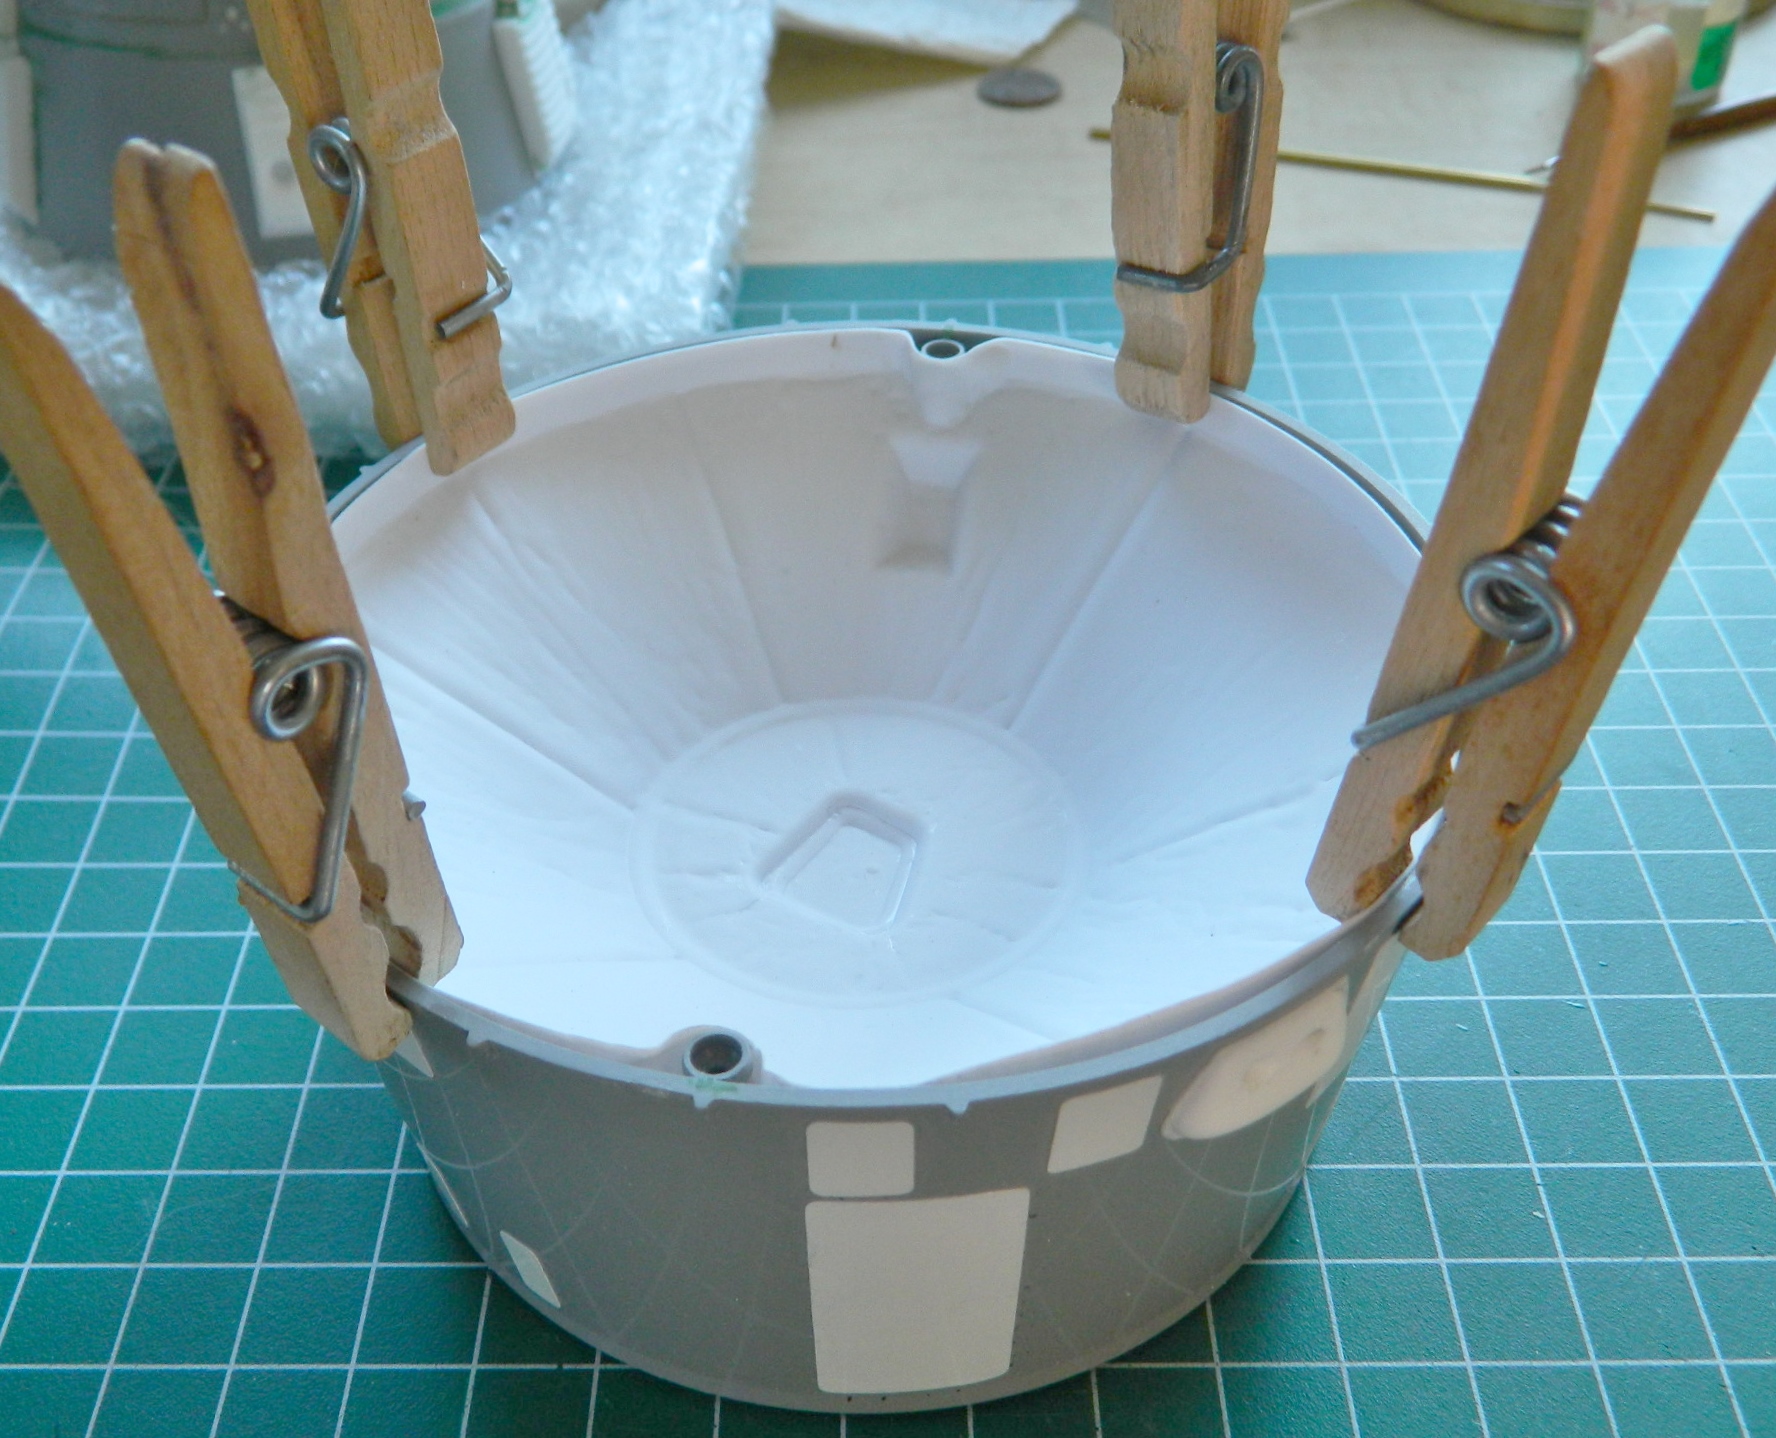
You can see how much that’s stretched the support at the lower right of the above photo. I tried easing the next round of glue-and-clamp into place and for a (short) while it looked like it was going to work…and then the form cracked at the edge. My next attempt involved a hair dryer to heat the plastic so that I could flare the edge of it outward into contact with the inside of the module.
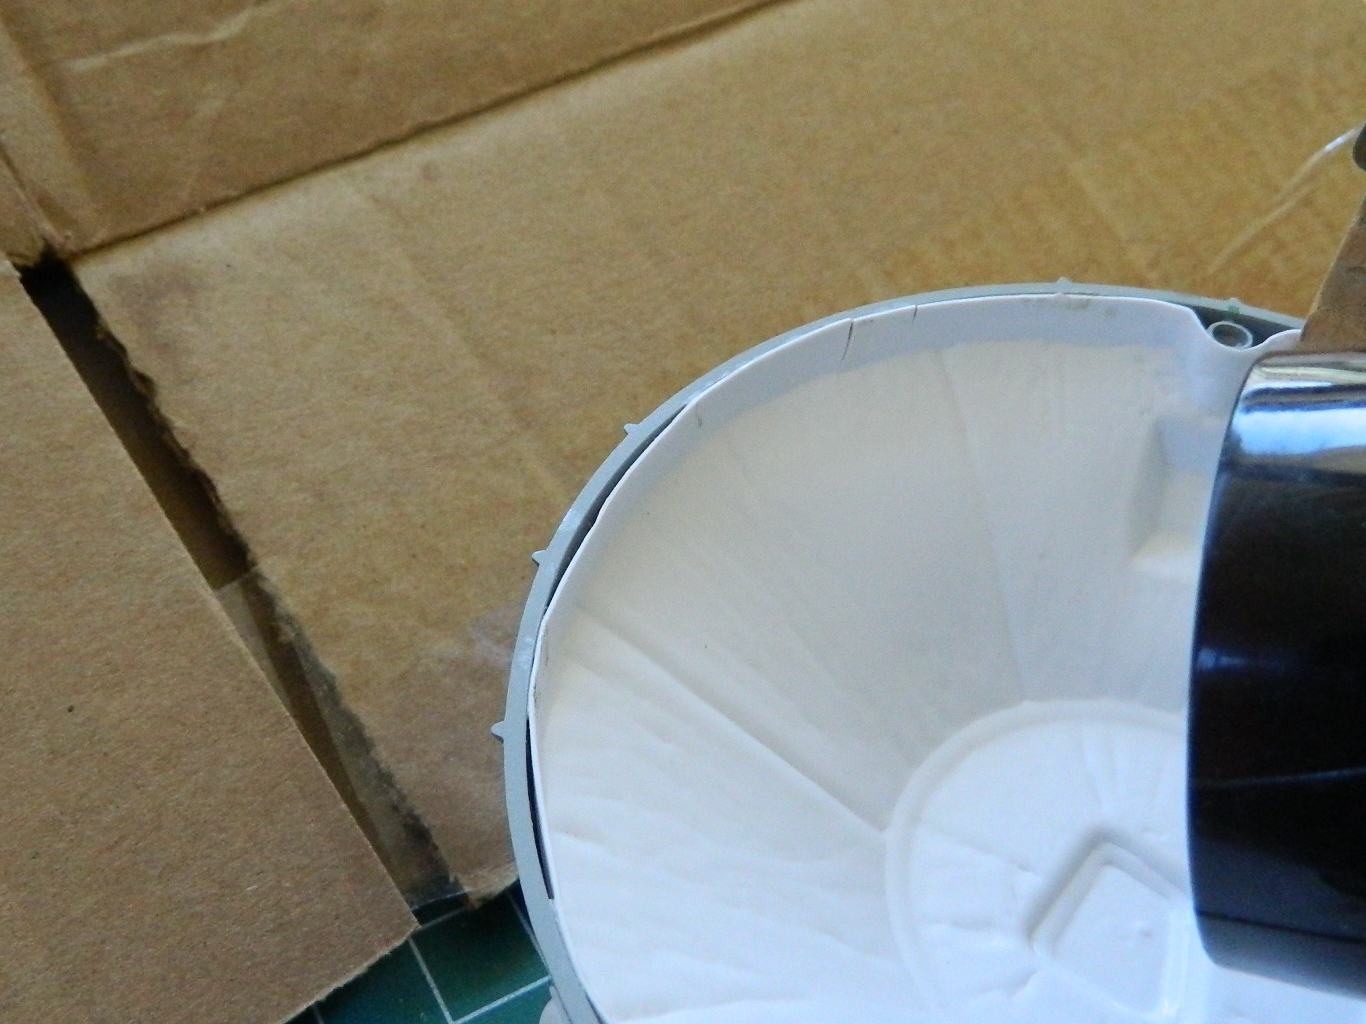
Here’s a tip. If you want to clean your workbench and move everything light off of it whether it’s parts, junk, or dirt, turn a hair dryer on. Belatedly I realized there’s a fan in there. So I braced an empty box behind it to use as a blast deflector (because that’s what it looked like when I first turned the hair dryer on…like the bench was blasted) while I heated the plastic:
With the edge heated, I used the modified clothes pins to clamp the section I’d just heated in place and then glued it. All seemed to be going well until this one time when I smelled melting plastic. Hmm…hadn’t smelled that before. What’s different? Melting one of the reshaped maneuvering thrusters is what was different:

::sighs::
Good thing I had another kit on hand with two more thrusters:
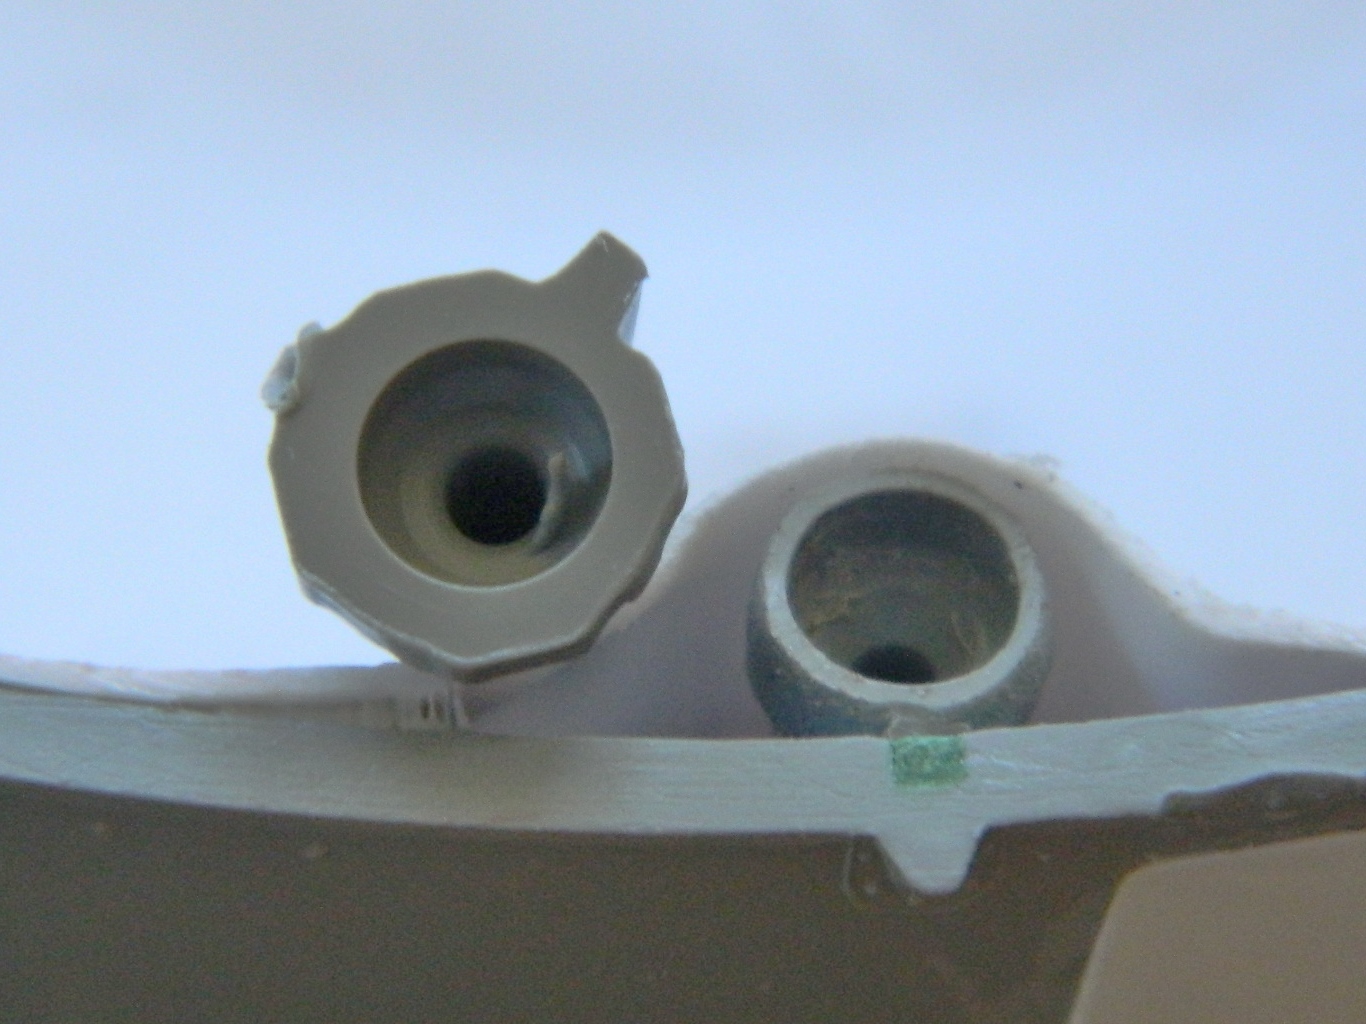
When I looked at the other thruster, I saw that I had also melted it but only slightly. I found a punch in my toolbox that would serve to move the slightly warped thruster mouth back into shape with the application of (more) heat:

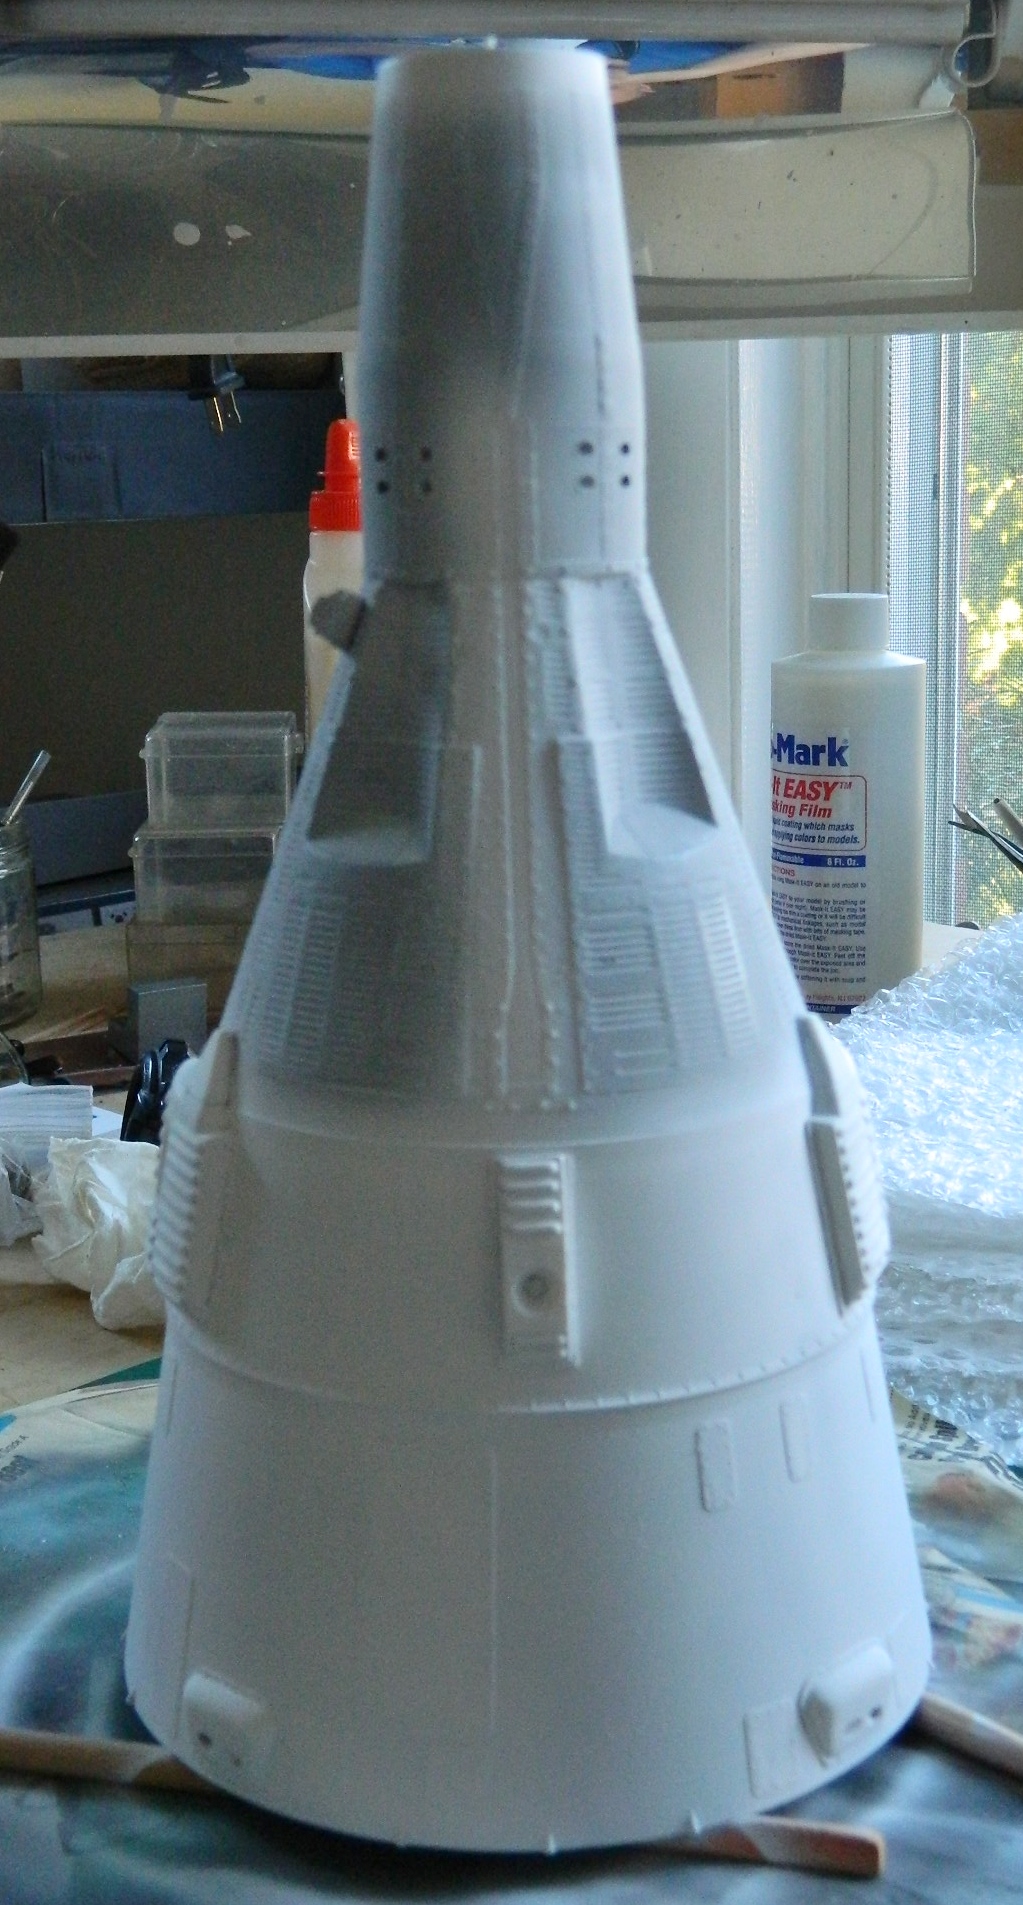
Before I glued the service module into place, I wanted to check all the work I’d done on the capsule and retro module. The best way to do that is to get the surfaces to all reflect light the same way. The best way to do that is to hit it with a coat of primer:
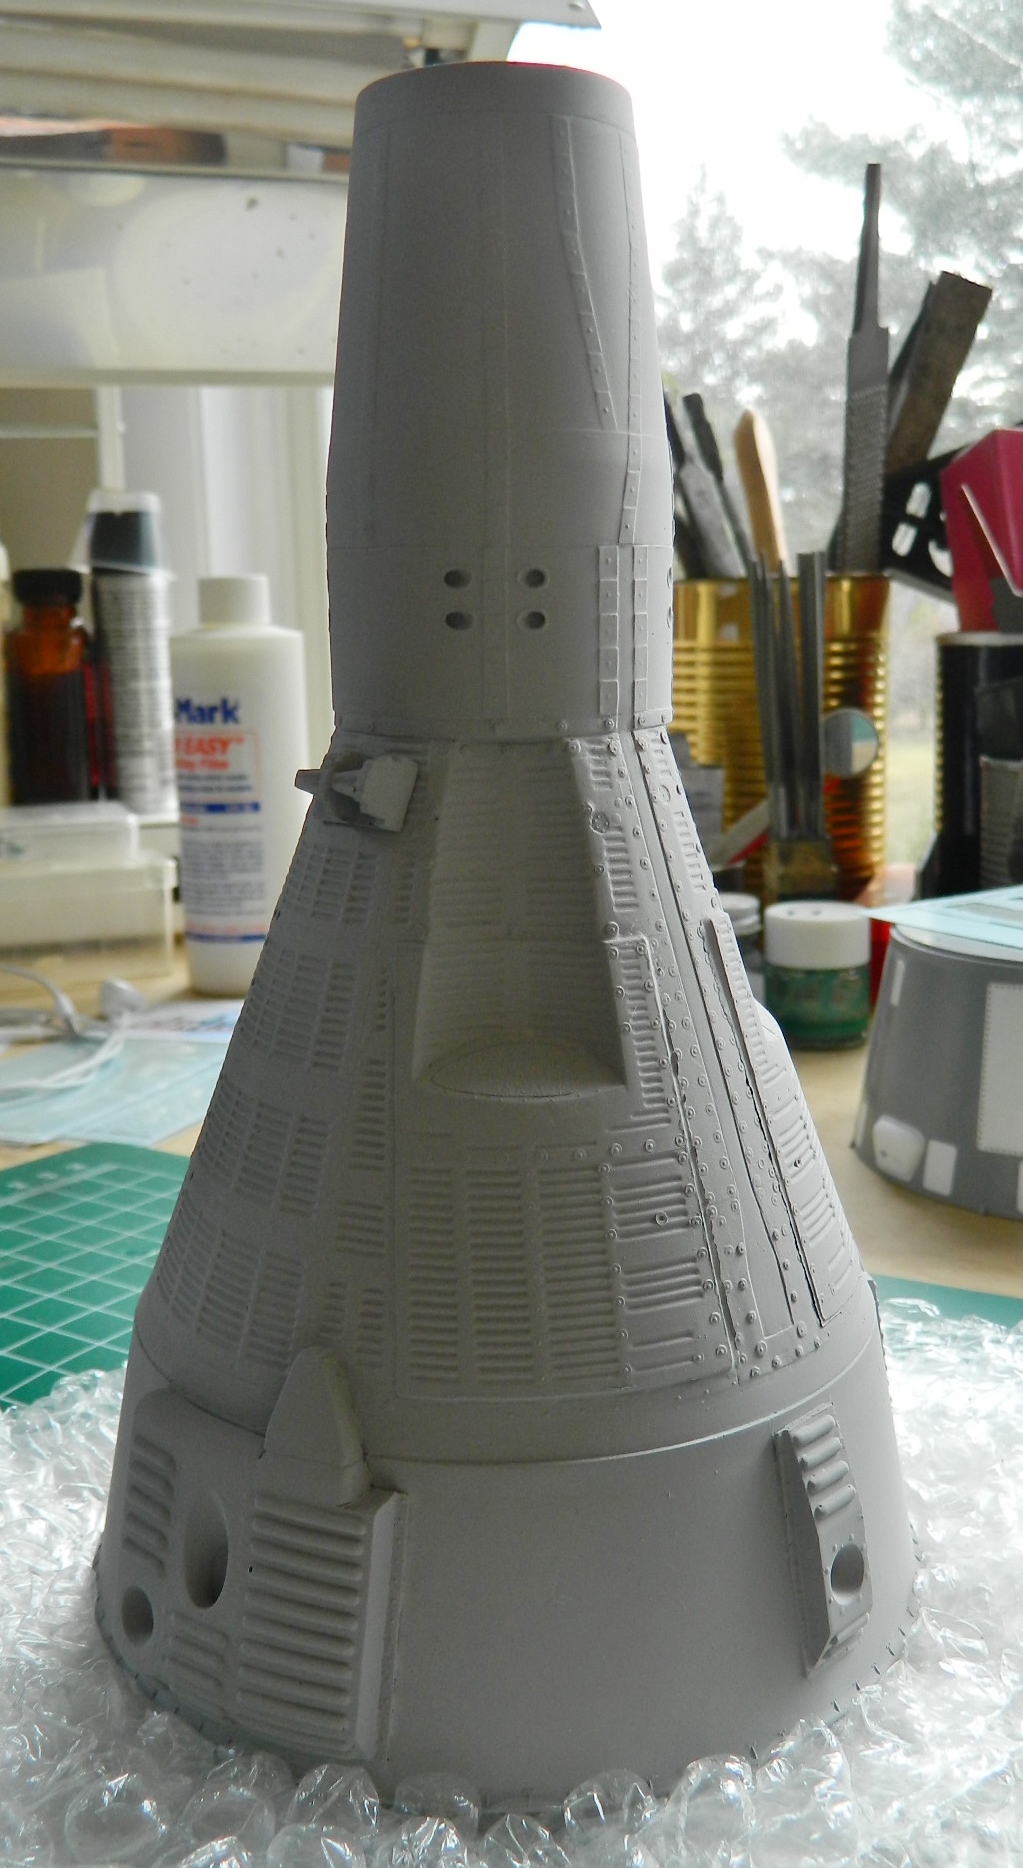
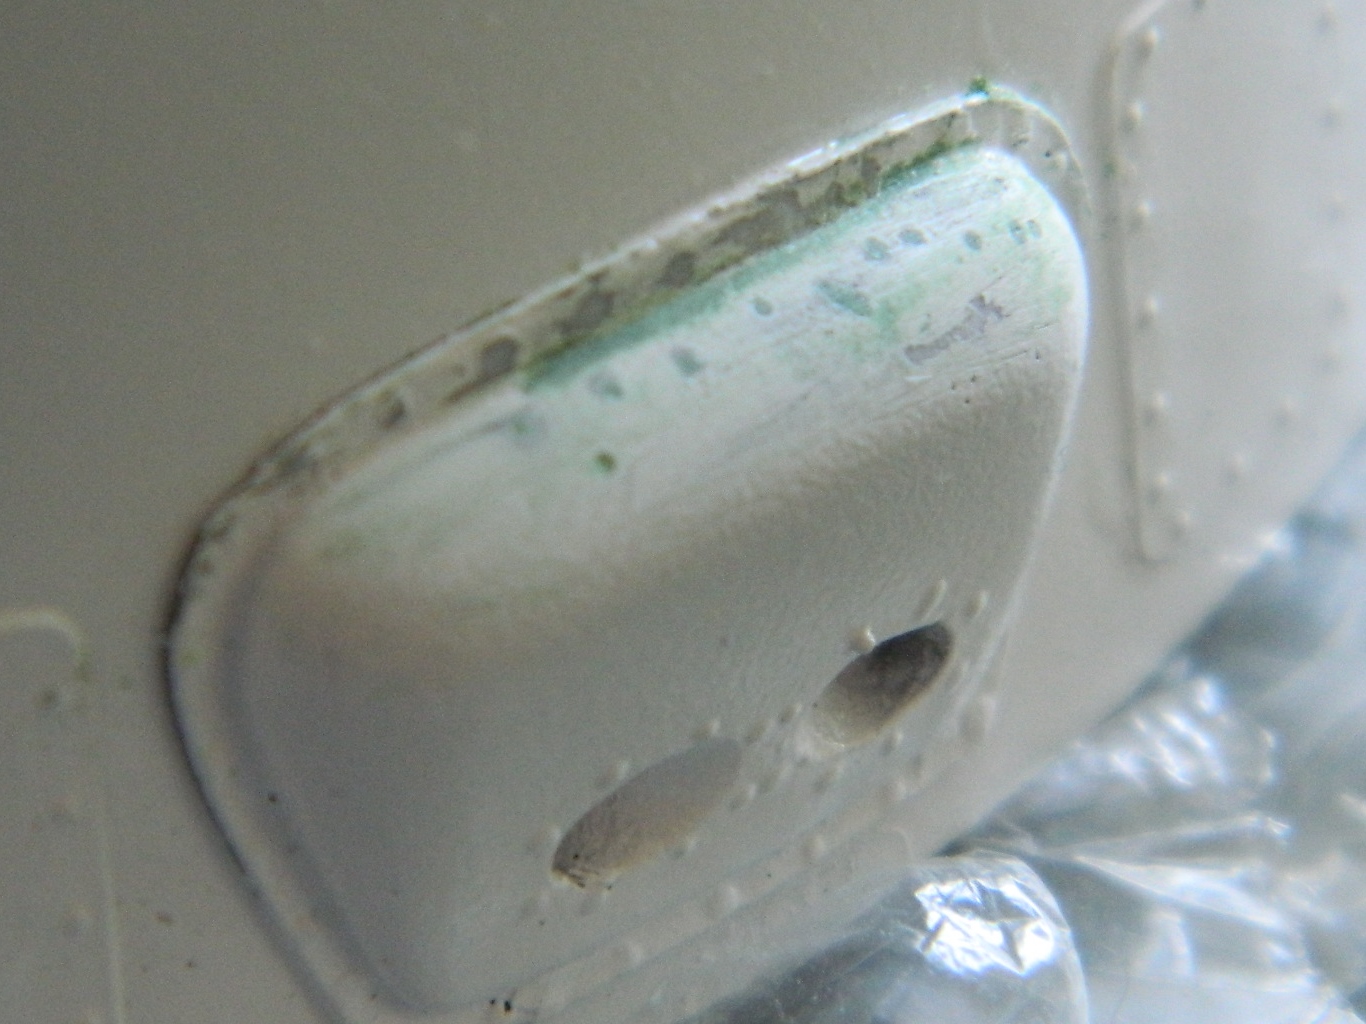
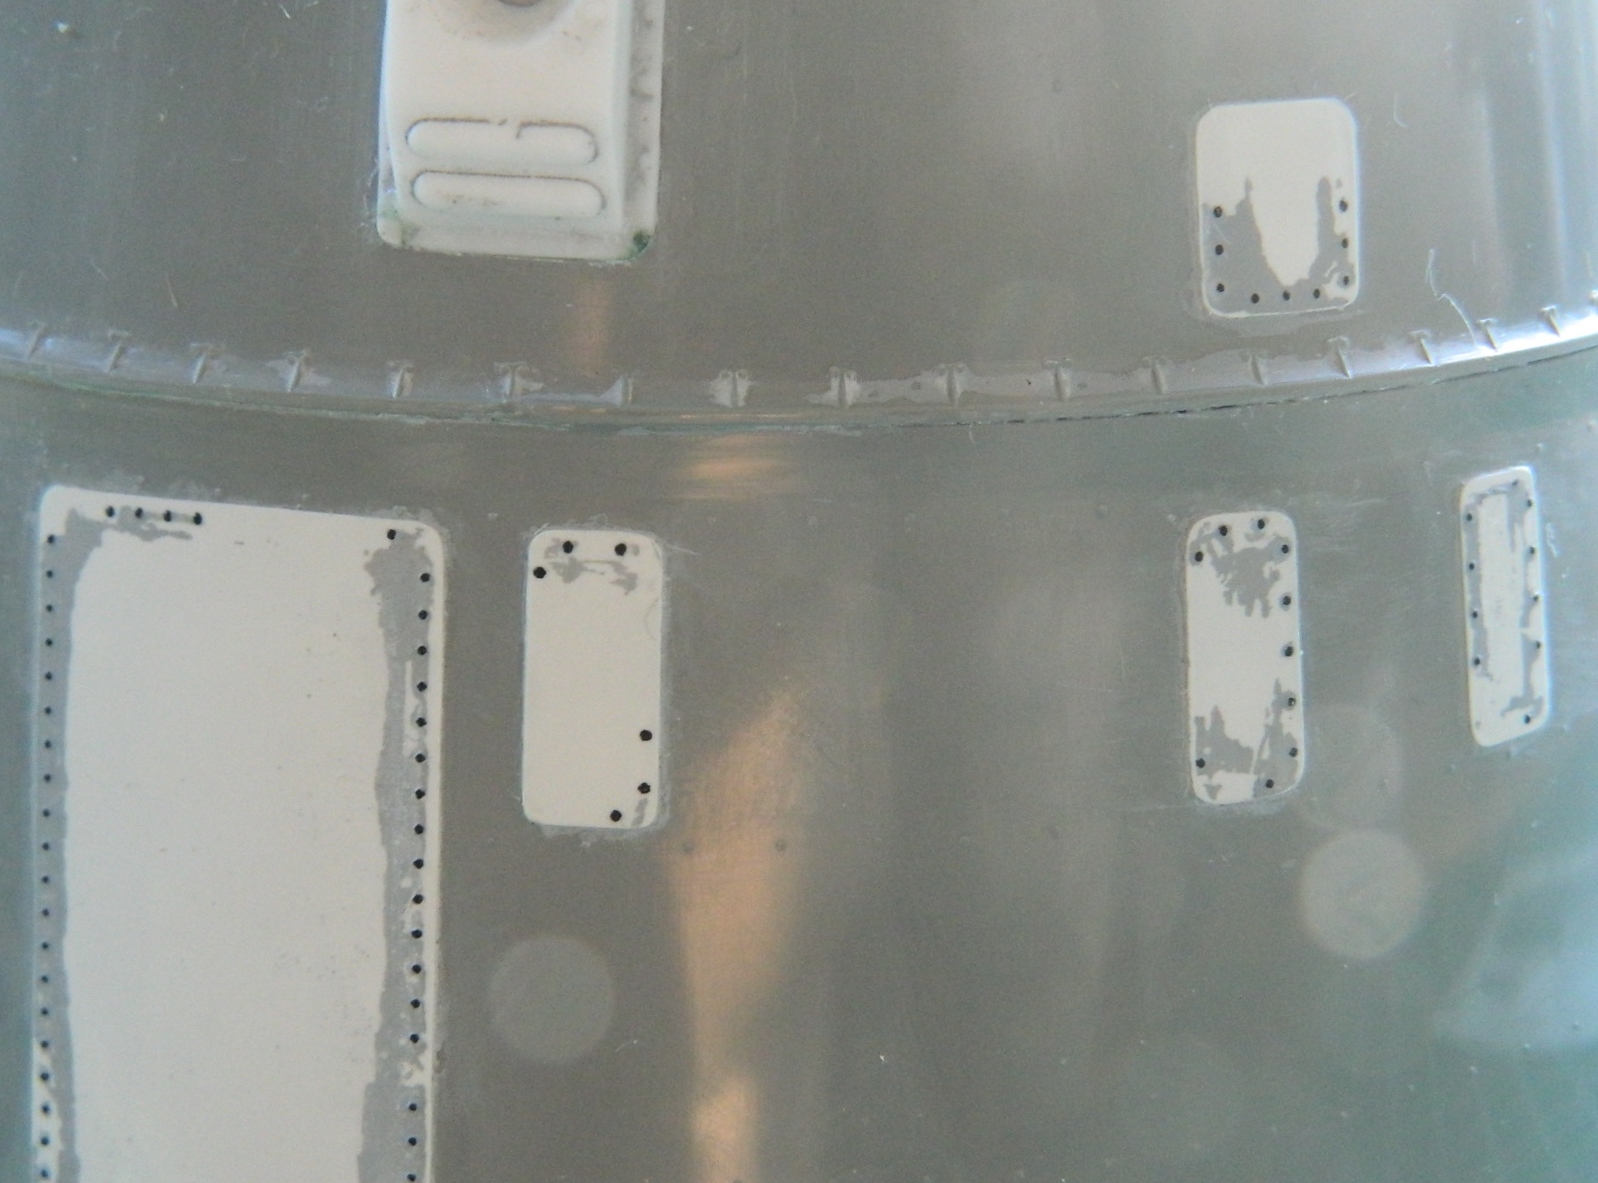
And that’s when I saw all the SODDING BUBBLES! I don’t know if the vendor who cast these parts is aware of pressure casting or not, but I am certain these parts were never pressure cast. (Frankly, I make better resin parts than this vendor does…and I’m a sodding amateur!). This part is the only one I took a picture of but every other part had bubbles to some degree. Unacceptable bubbles:
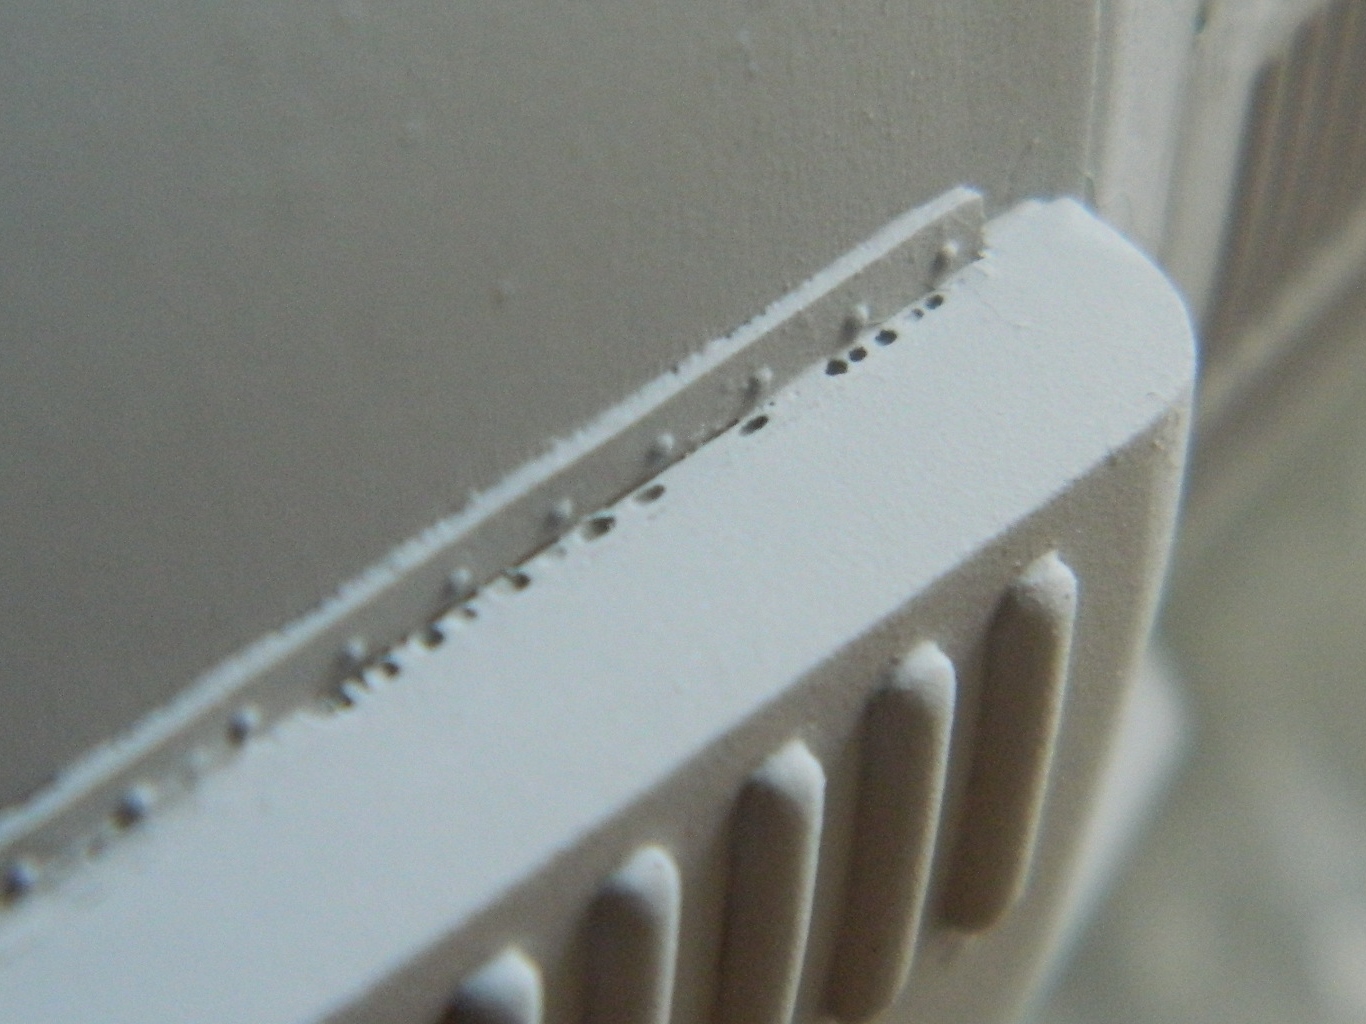
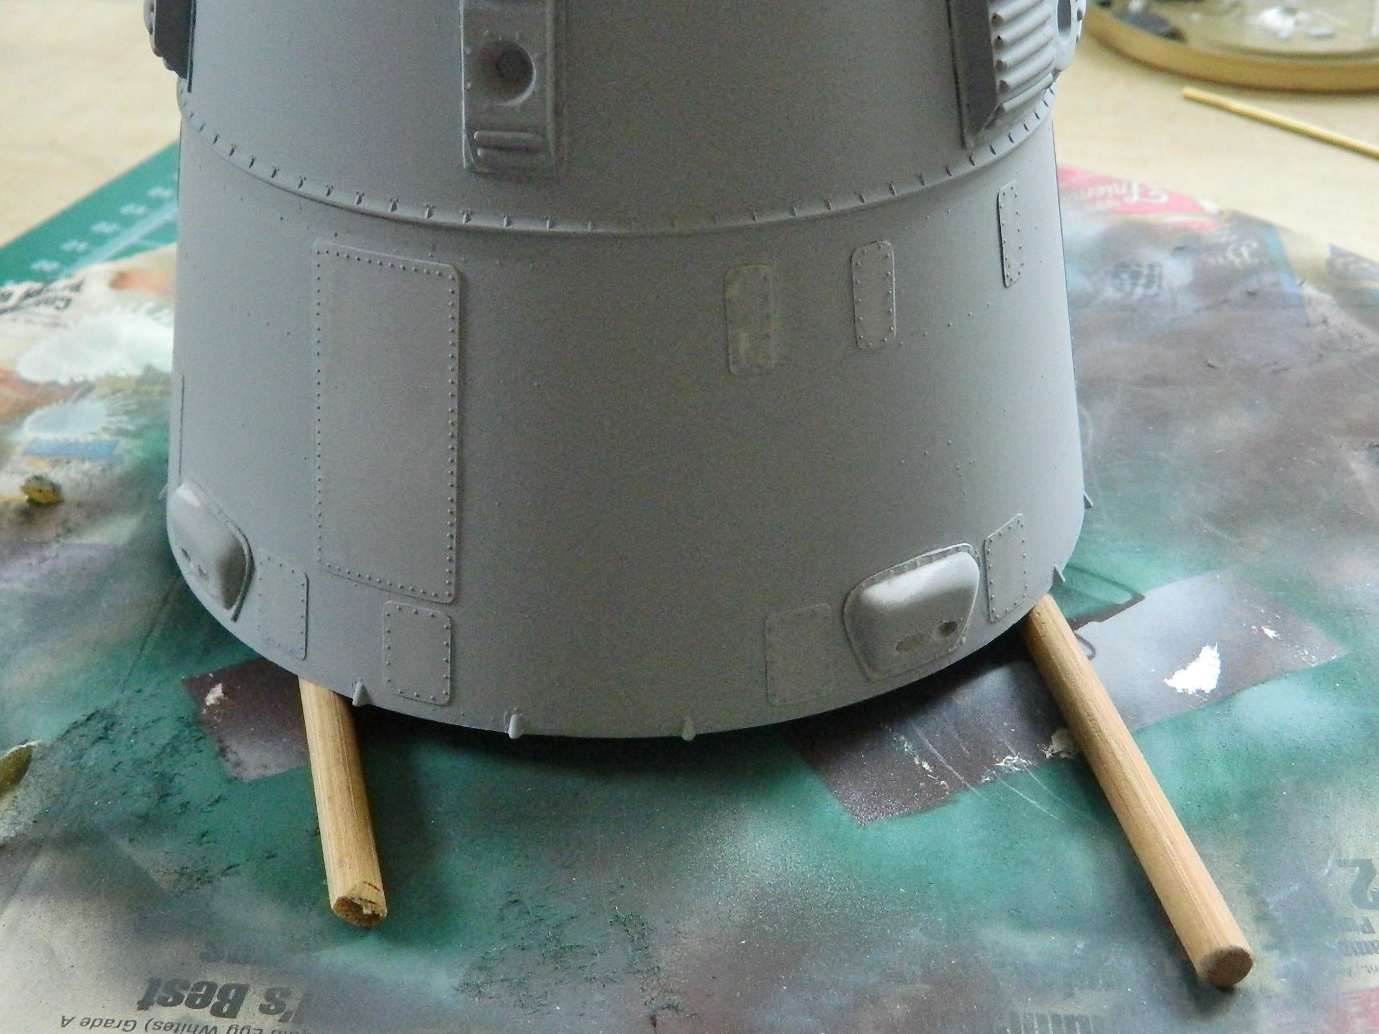
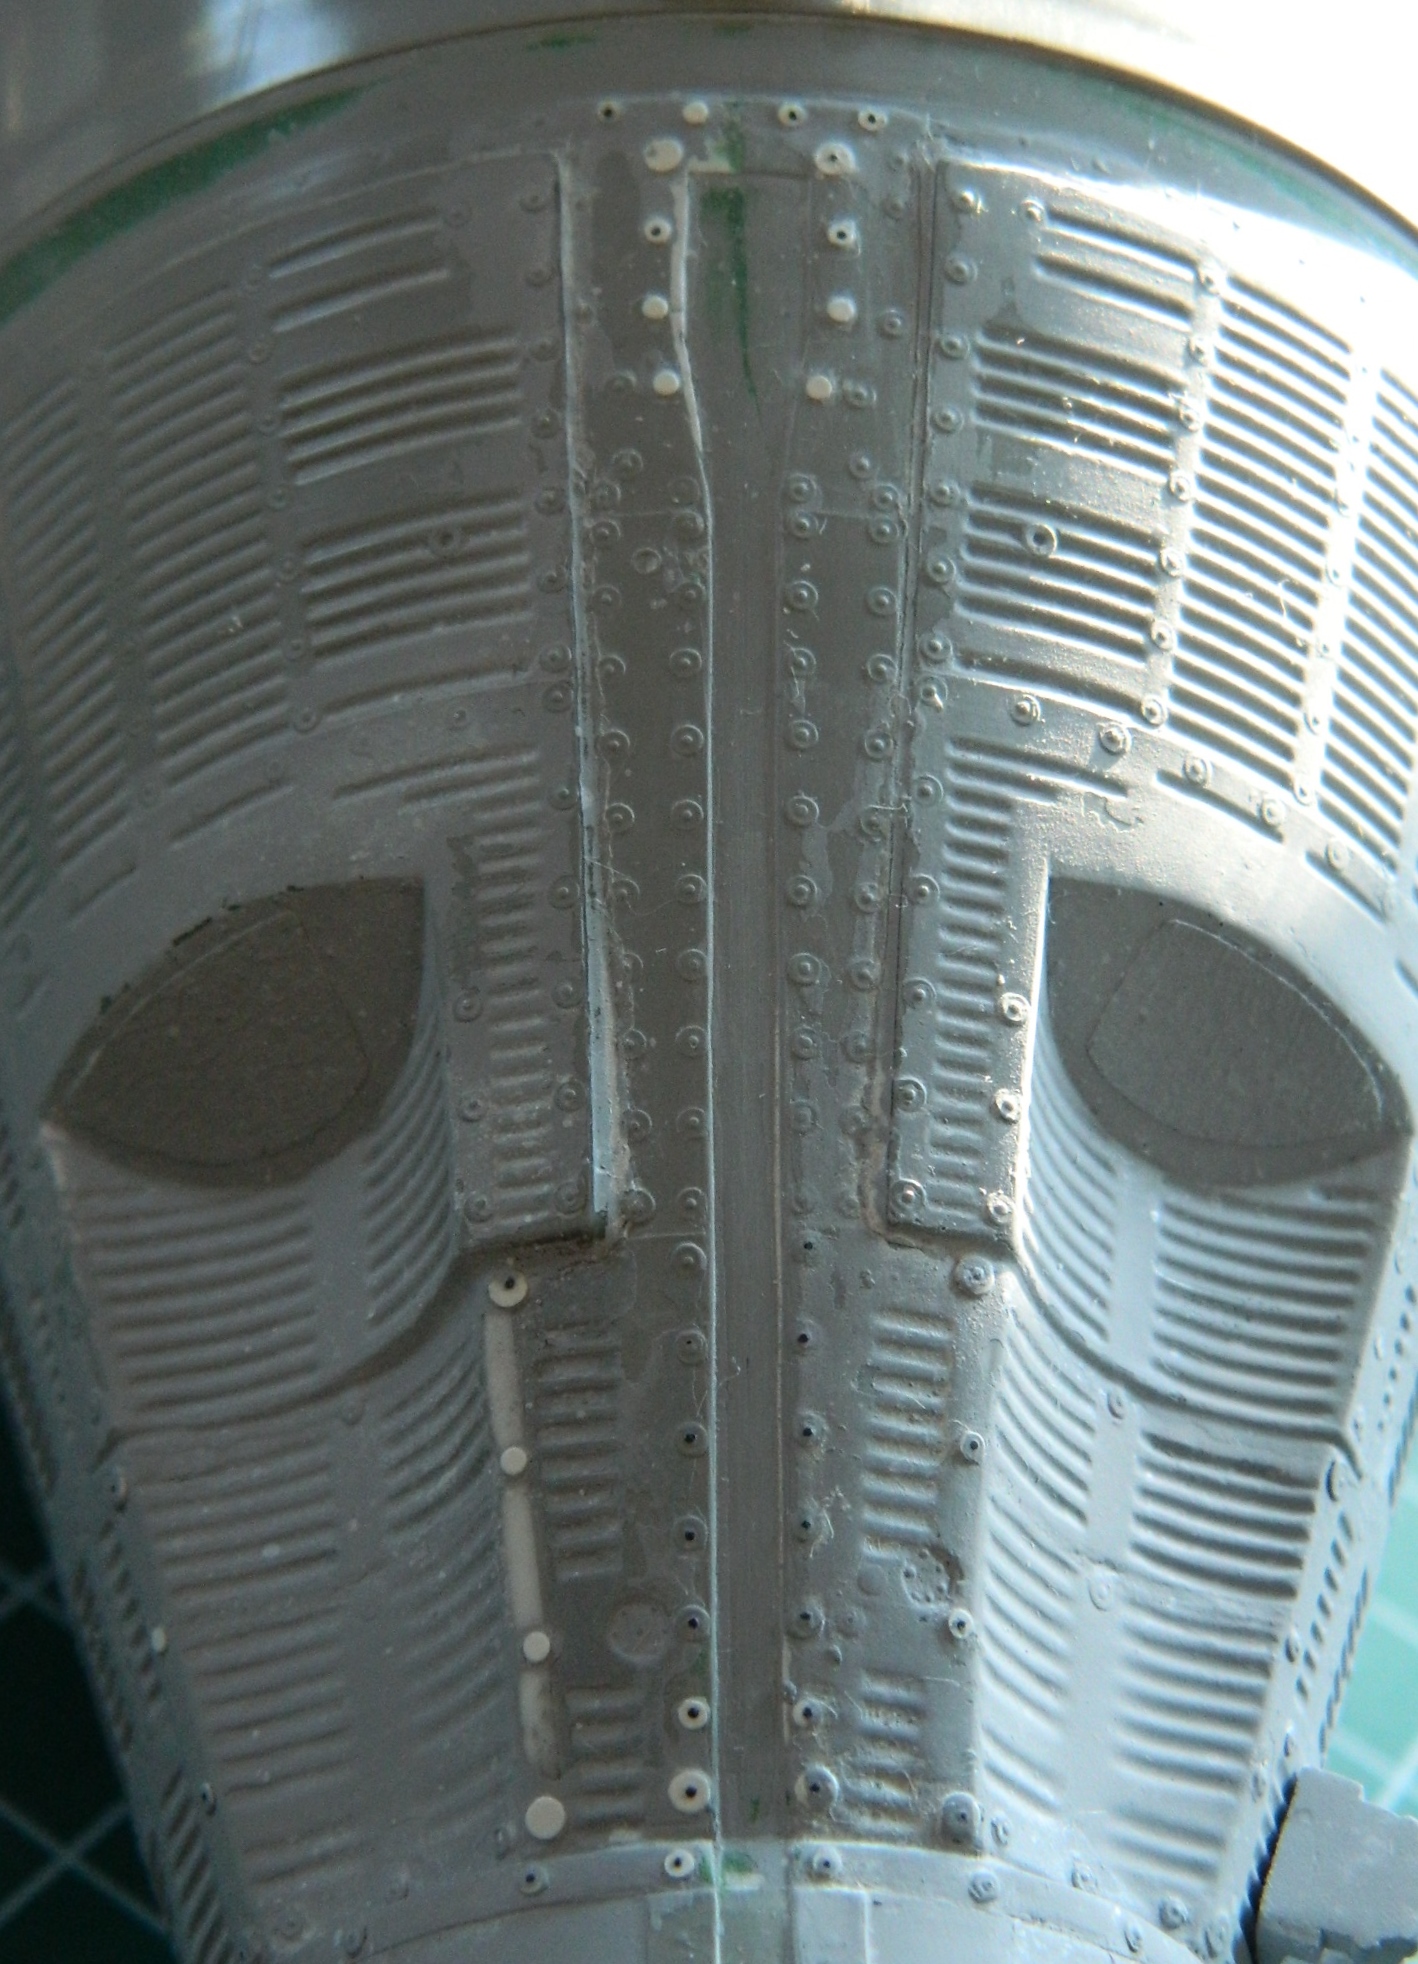
Some bubbles were small enough to putty (such as the ones in the above photo), some were so large I needed to plug them with plastic (again). I set the primed stack of bubbles to the side to let the primer cure and started adding the rivets to the panels on the service module. As tedious as the task could have been, using Archer Transfer’s sheets of resin details eased that task greatly. They print 3D resin details onto decal film and then the details are added the same way decals are. Trim, soak, transfer, align, curse, re-align, and repeat. Often. Keep at it, though, and this is where it ends up:

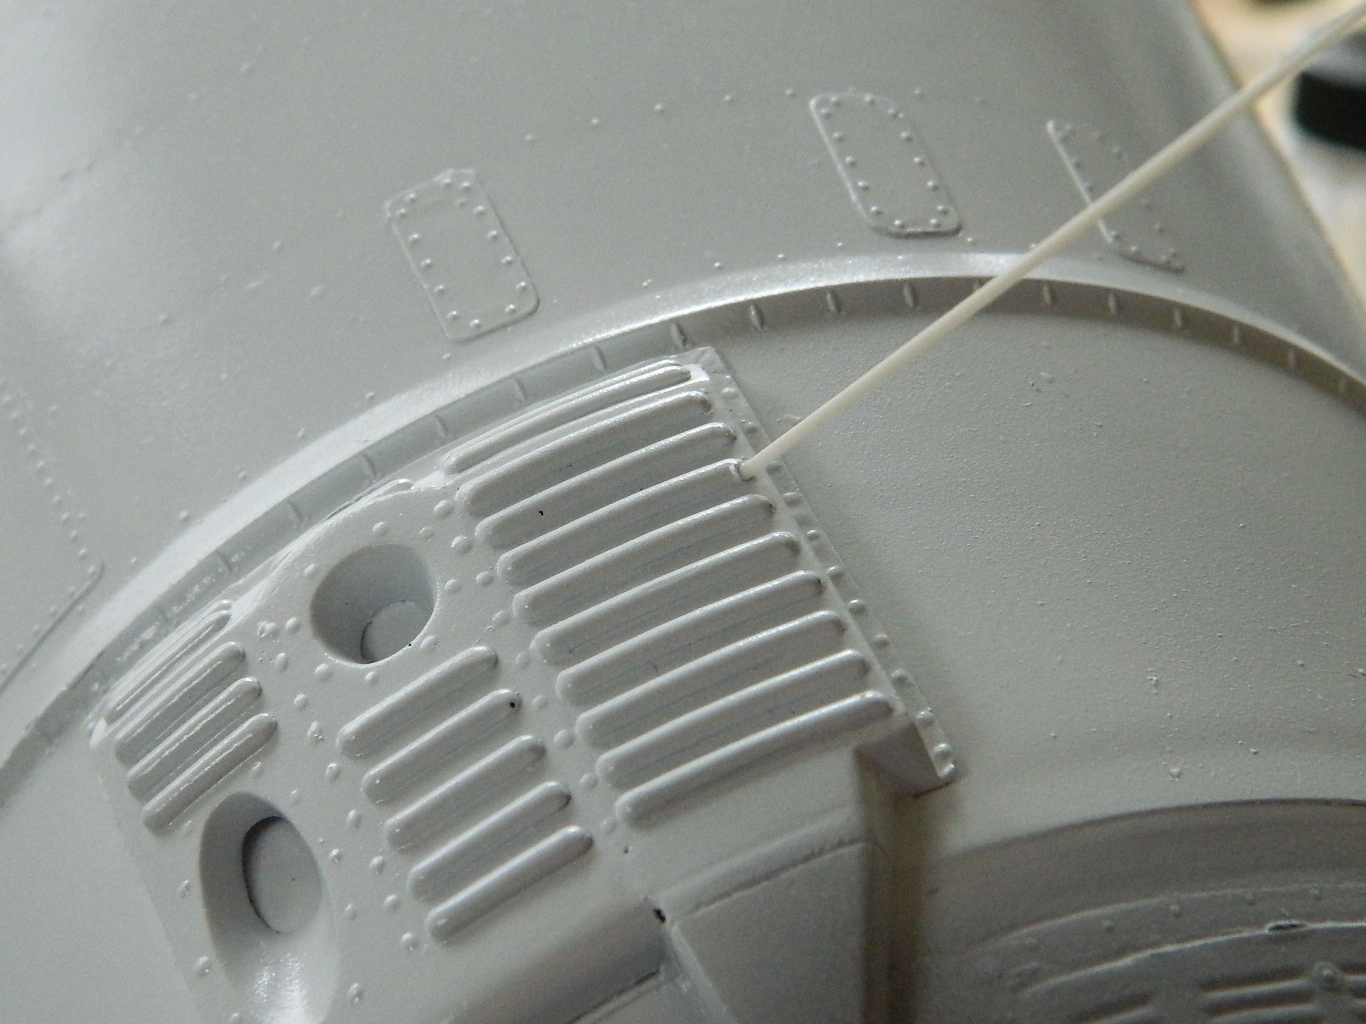
If there’s a downside to using these resin decals, it’s fragility. These things are SMALL. Sure, they can be cut, soaked, and applied in strips, but there isn’t a lot of surface area for adhesive and unless one is VERY careful (which sometimes I’m not, in spite of my best effort), they’re dislodged and have to be done again. Painting over them, however, greatly increases their resistance to being dislodged, so I hit the service module with a coat of primer and glued it into place at the end of the retro module:
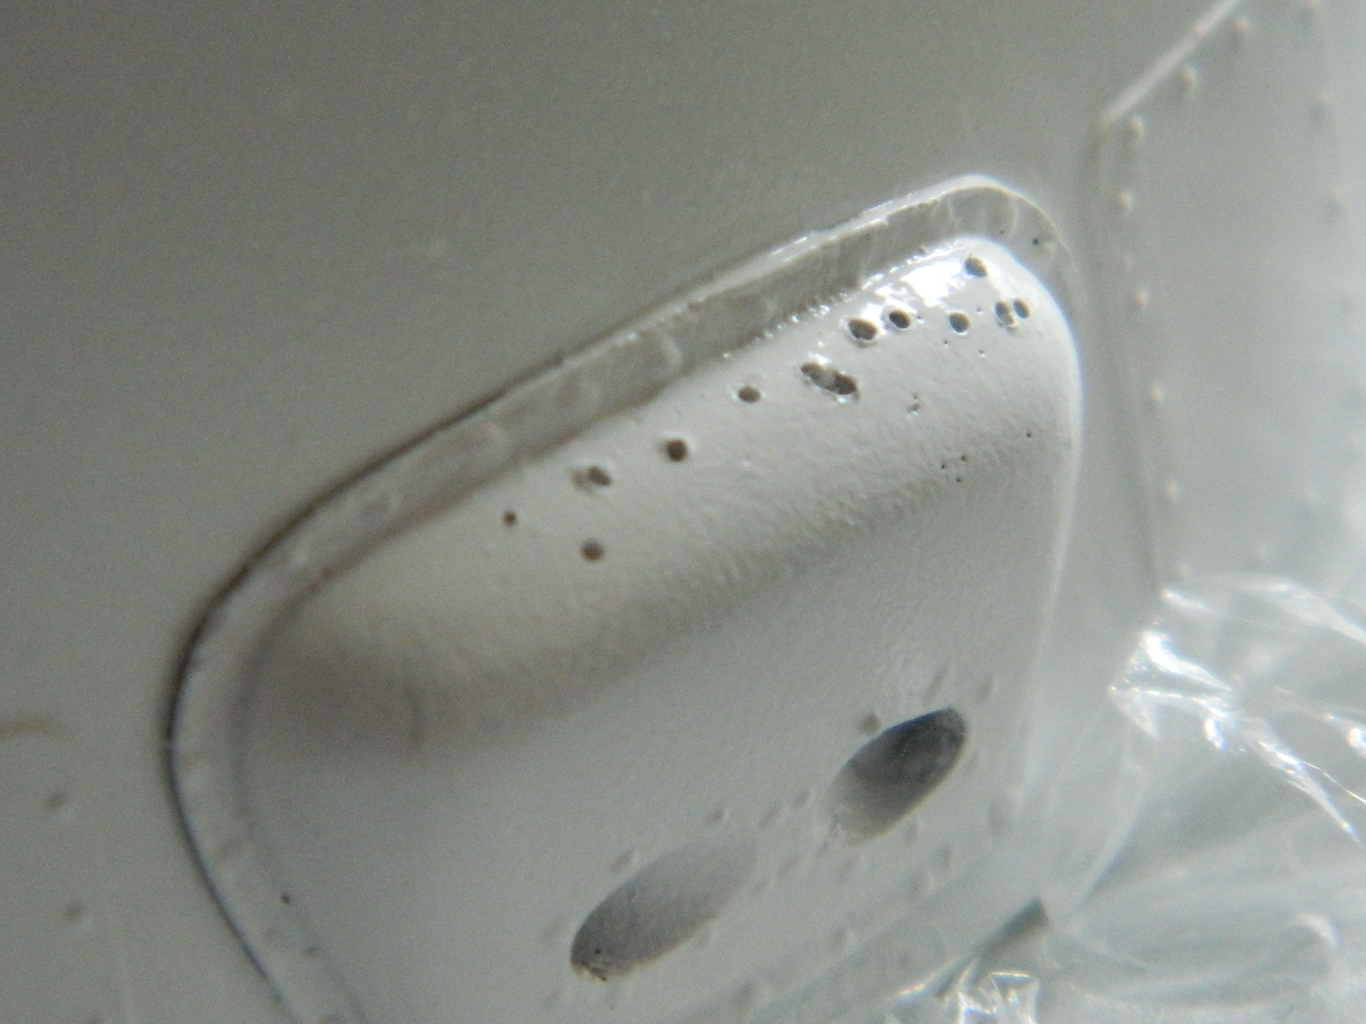
These two modules are gloss white, so I painted them gloss white. It seems as if each time I paint this thing, I find MORE bubbles in the damned resin parts. Large ones require plastic be used to fill them:
Small bubbles can be puttied. Often the bubbles have to be enlarged so that there is space for the putty to be able to fill the hole and have enough surface for the putty to get a good bite. I used a needle to enlarge the bubbles for that:

And it seems no matter HOW WELL I dust the shop, sweep cat hair, some always lands in the paint job. By the time I noticed this one blob of cat hair, the paint had started to skim over. When I pulled the hair away with tweezers, it took a blob of paint up with it (and this foreshadowed a much larger problem as you will see later). I coated my finger with thinner and smoothed the edges to make feathering easier (or at least that was the plan…):
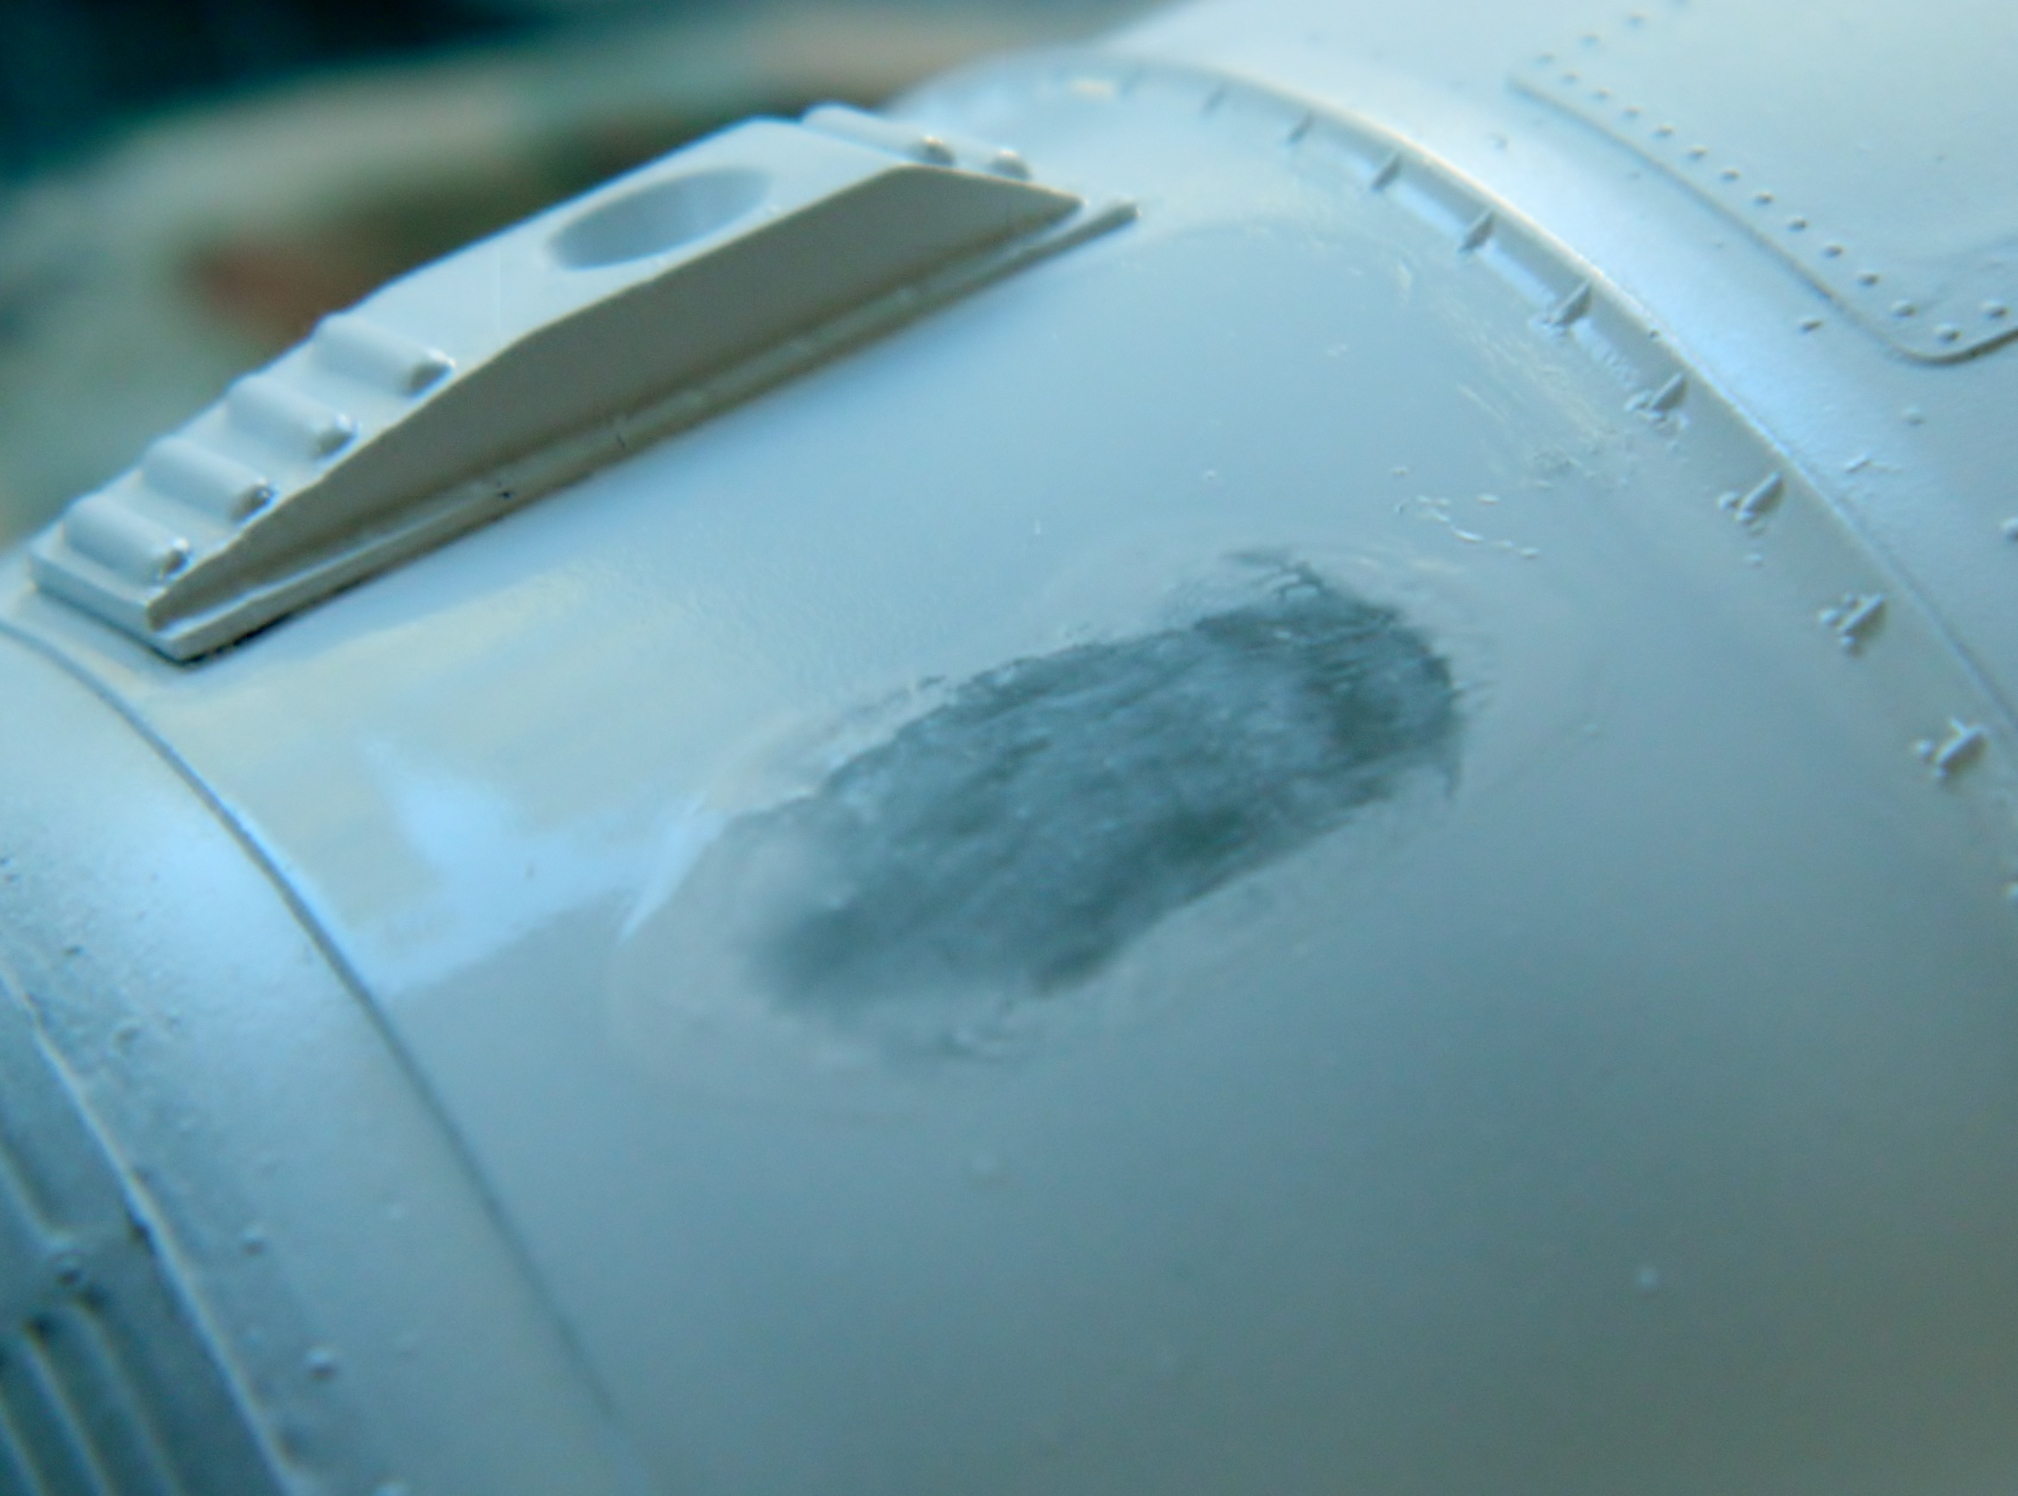
I let the paint dry overnight and in the morning discovered that I’d missed another blob of cat hair on the nose cap. I sanded it away and noticed something disturbing. Yes…the color coat feathered nicely. No…the primer did not feather at all. Just about the time it was one pass of 1500 grit sandpaper away from being feathered, the primer would come off in a chunk and I’d have to start over. And over. So what was a relatively small repair turned into this:
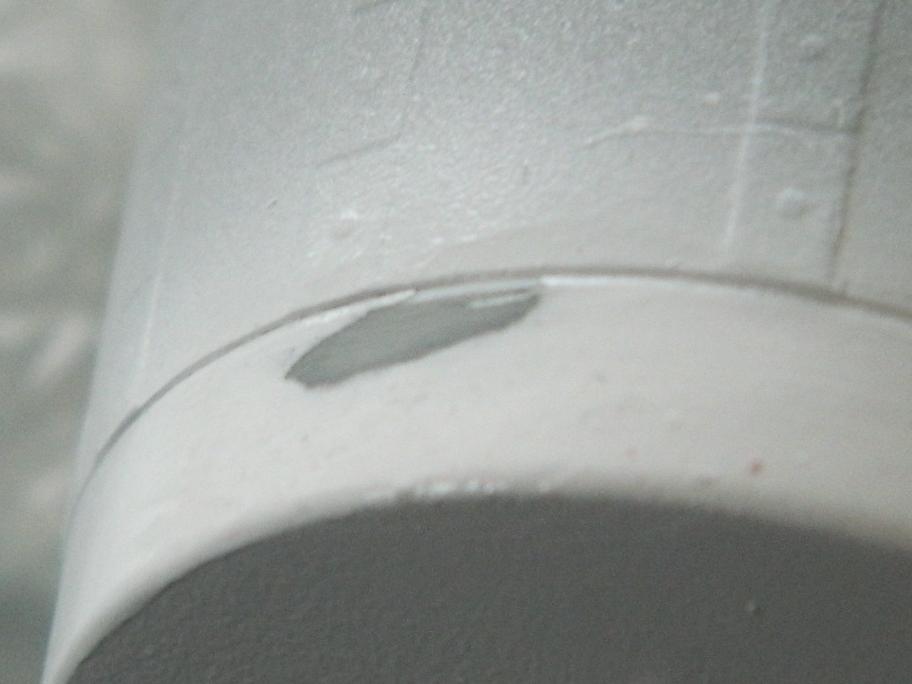
The big blob on the side was treated with another coat of gloss white and once it dried, 2000 grit worked well to smooth the blemish away:
More paint and more sanding and the flaw on the nose cap was minimally acceptable:

I’ve noticed that gloss paint seems to take longer to set up than matte paints do. So before I started masking off the white of the cap, parachute bridle channel, and modules, I let it cure for a couple of days. When it was no longer even faintly tacky to the touch, the parts I want to stay white were masked:
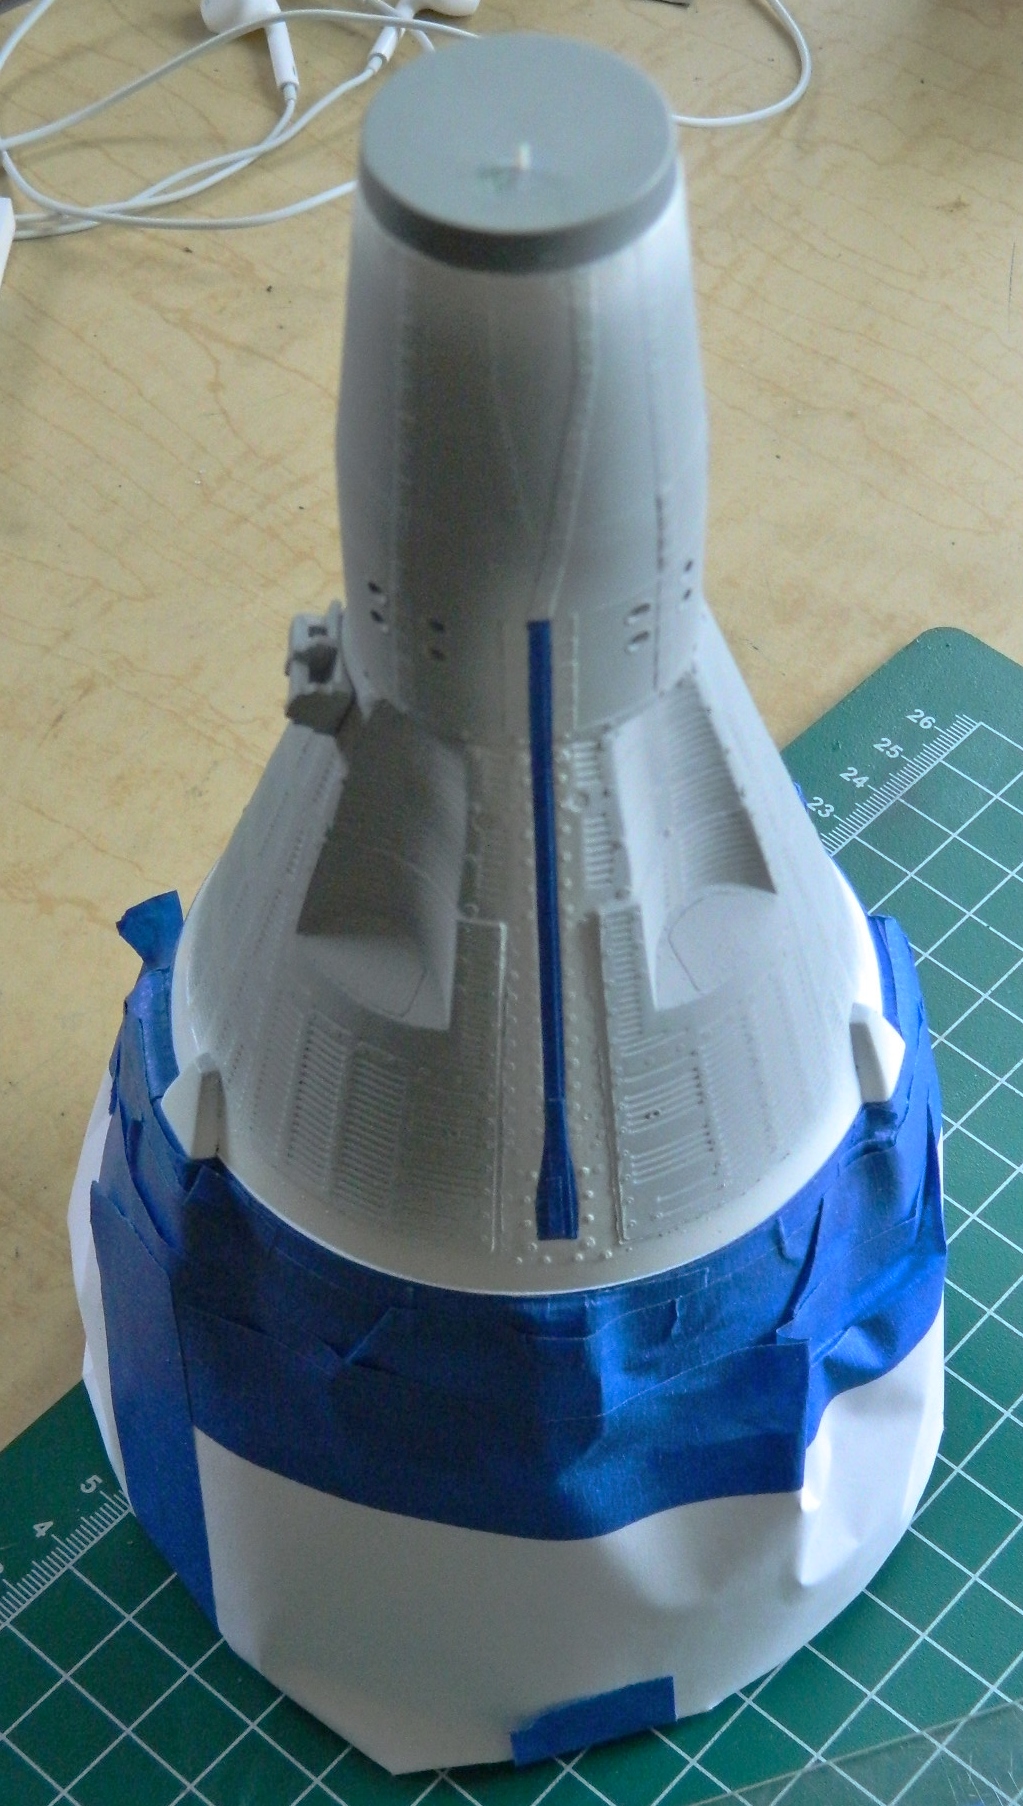
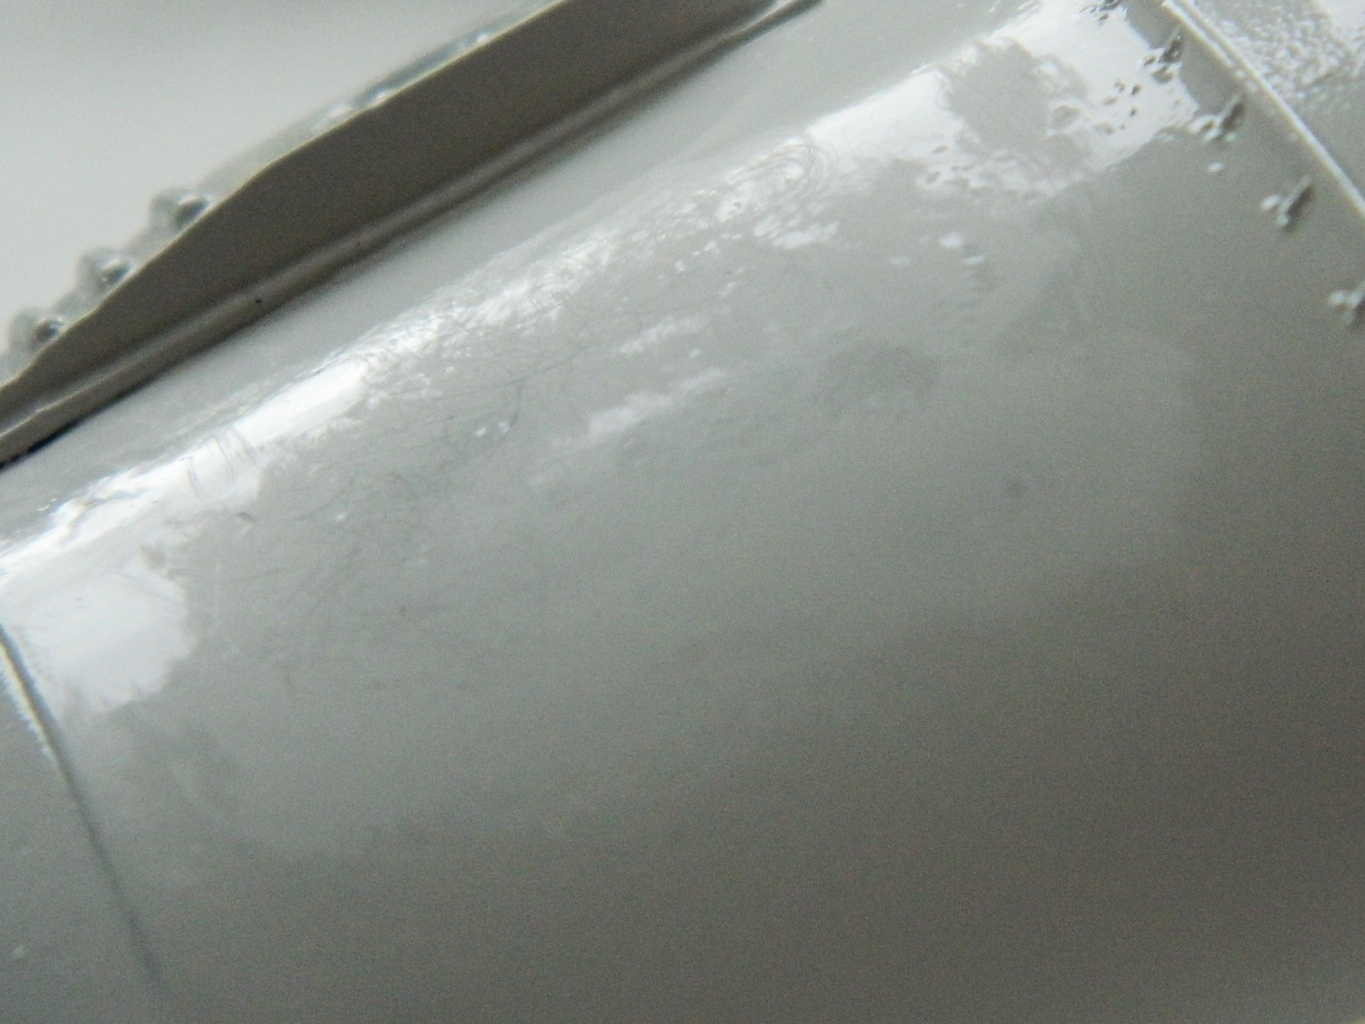
One small piece of masking tape went down in the wrong place, so I moved it. Now look…this is the blue masking tape which is NOT high-tack tape. It ain’t that sticky! When I picked up the small piece of masking tape to adjust placement, THE PAINT UNDERNEATH IT WENT WITH IT. So I tried moving the tape in other places and each time, THE PAINT UNDERNEATH IT WENT WITH IT, leaving me with this:
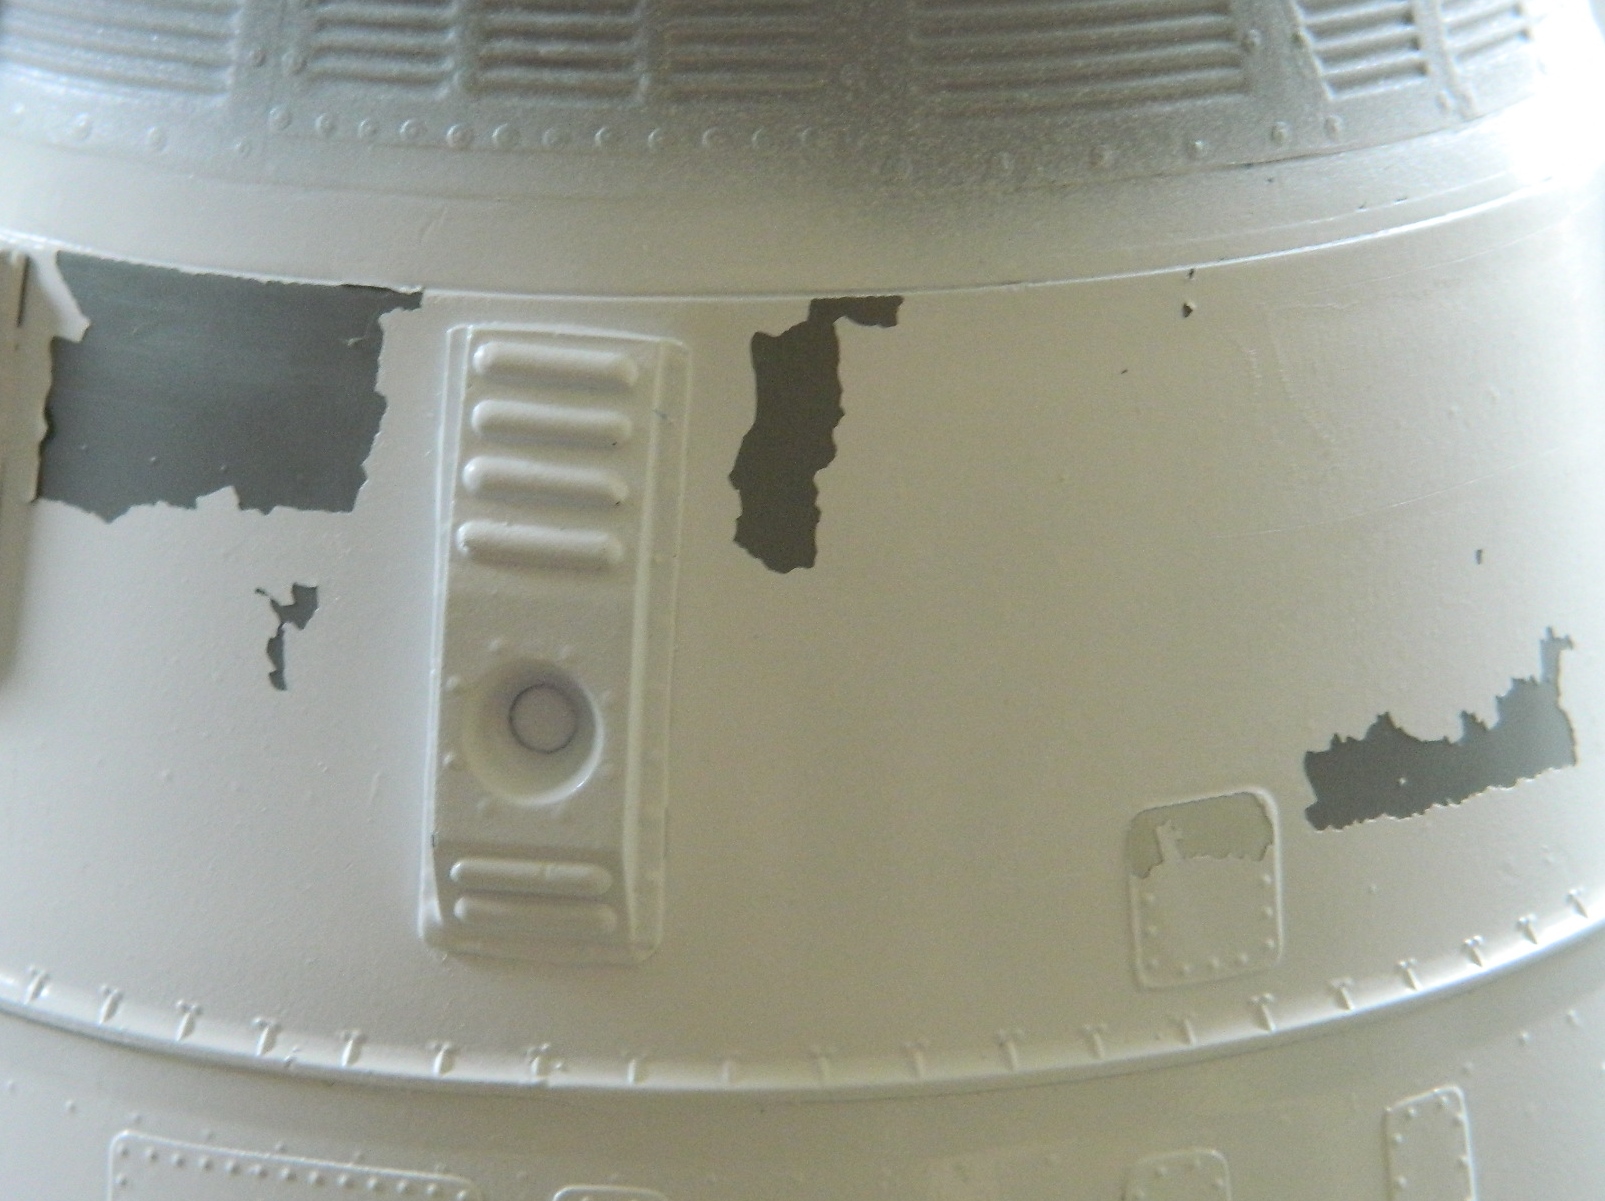
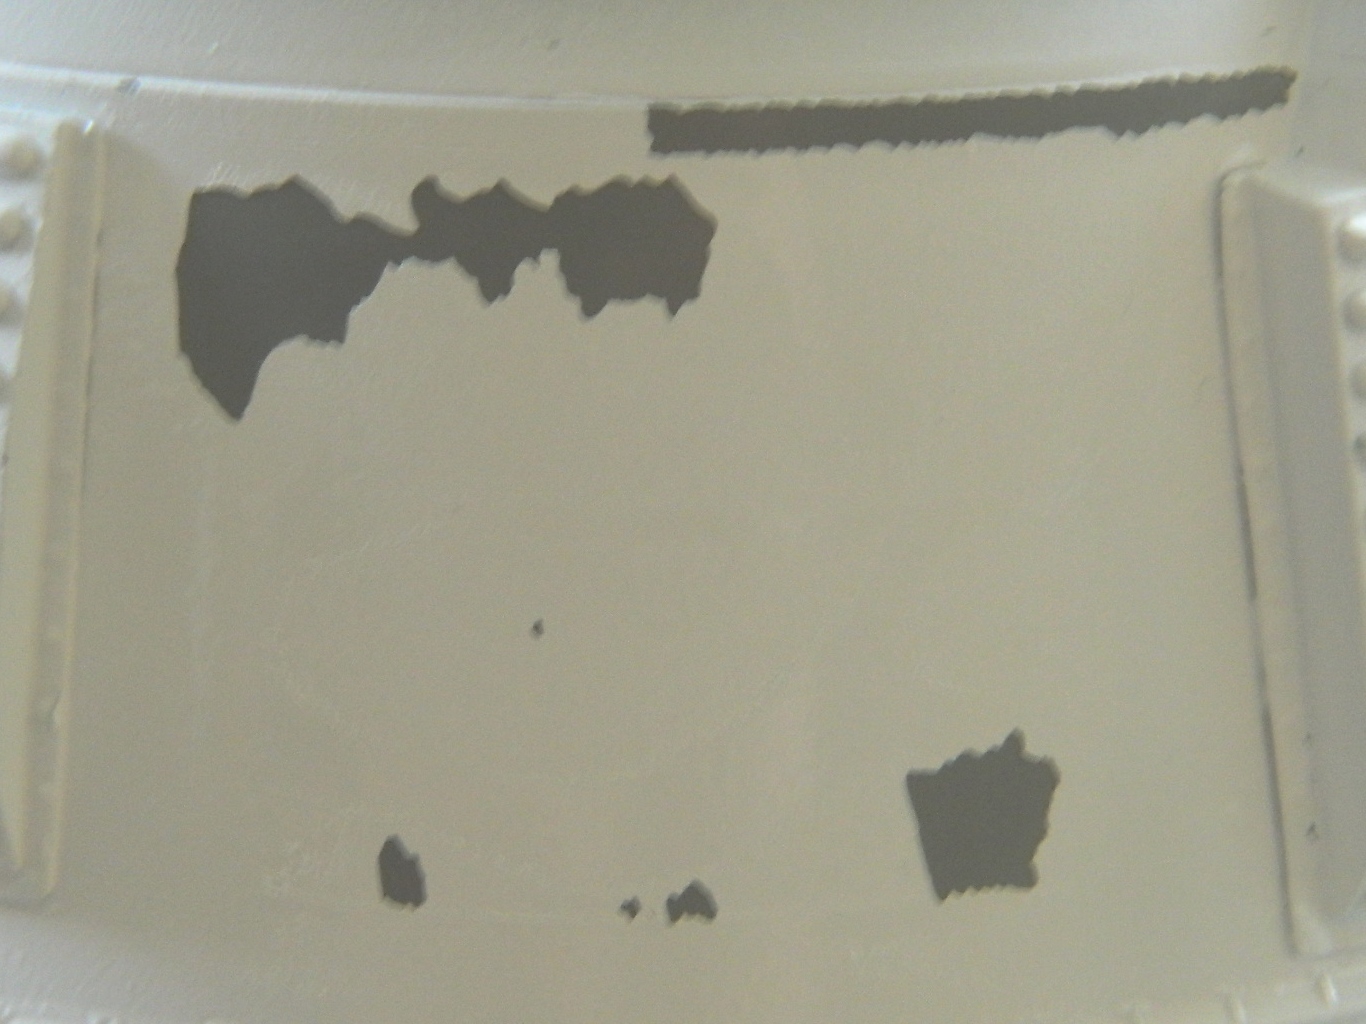
Not. Pleased. (Livid is more accurate.)
So my first thought was to sand and feather the paint. Remember the primer that doesn’t feather? Yep…that’s the primer that covers THE WHOLE SODDING MODEL. Well, how do we fix this? We fix this by stripping the paint off and starting over…and that’s what we did:
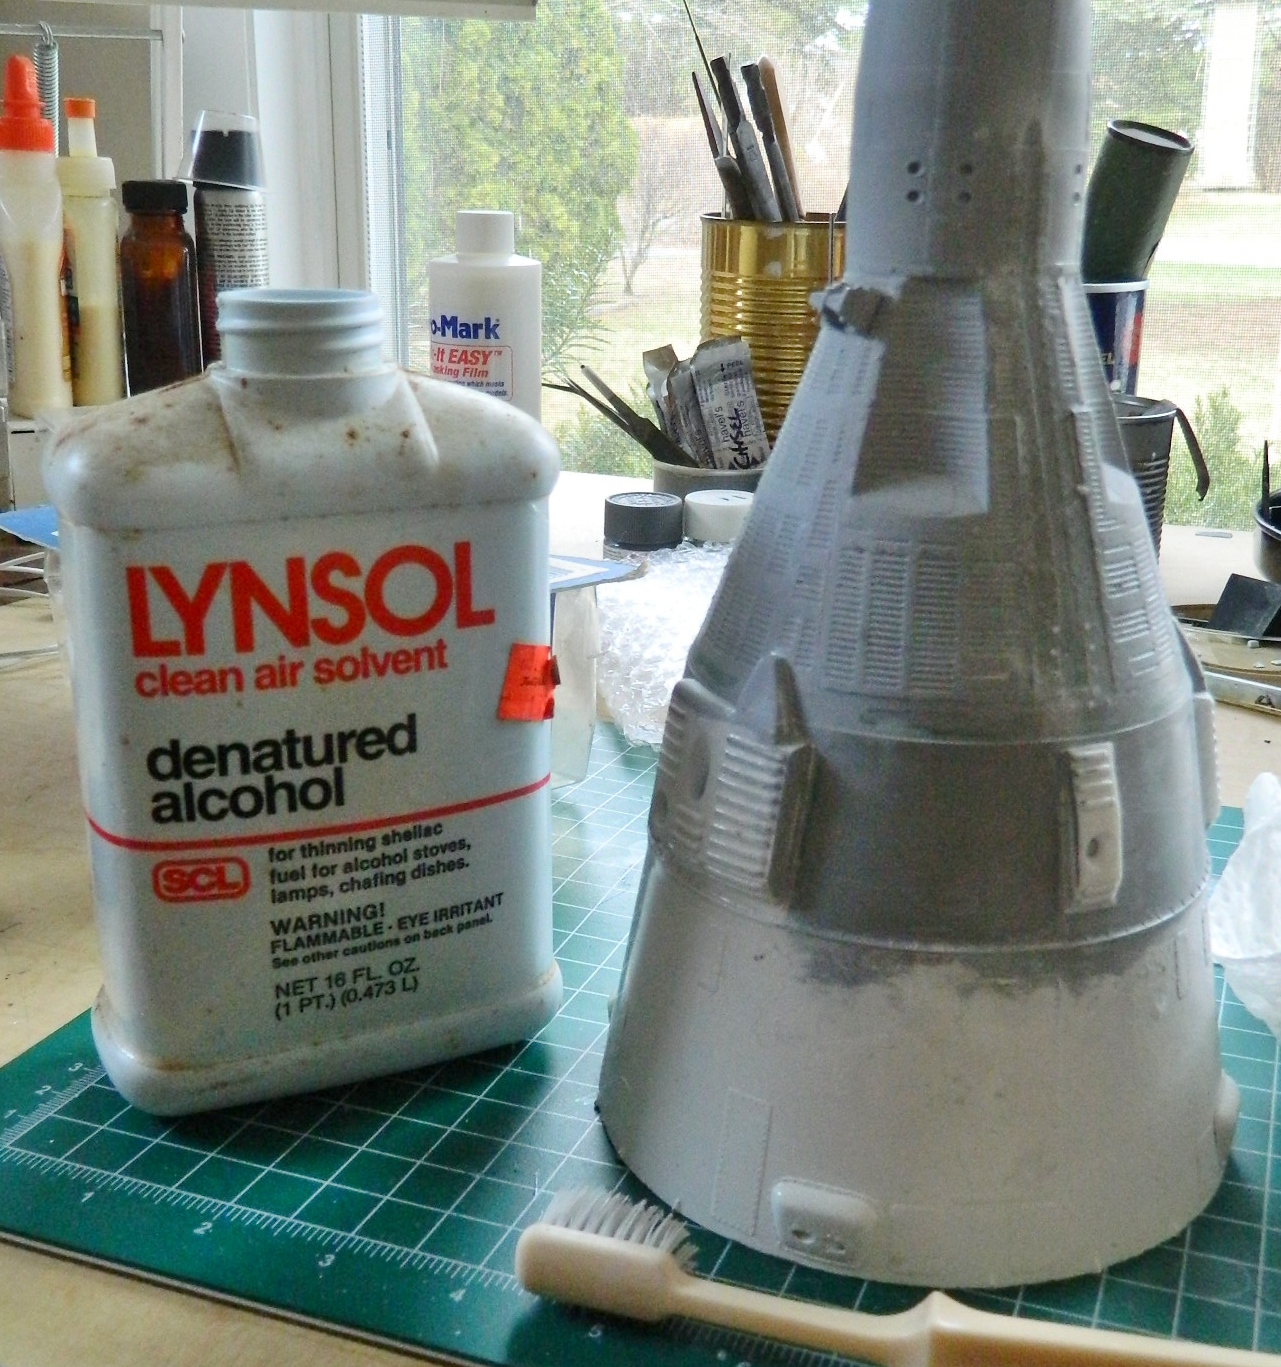
Denatured alcohol does a GREAT job of stripping acrylic paint, even old acrylic paint, away. Remember those fragile rivets? Remember what held them securely? Yup. Paint. The very same paint I’m stripping away with a toothbrush. And many of the rivets went with the paint:
Once all the paint was removed and the surface cleaned thoroughly, step one of the recovery was replacing the missing rivets (and yes…I didn’t remove all the lousy, REALLY lousy, primer…that was so that I didn’t have to replace all the rivets):


Step two was to repaint the white. This time I didn’t use gloss, I used matte. I don’t know why the paint peeled away but time is running out and I didn’t want to repeat the previous nonsense (dunno as my blood pressure would take it well):
Step three was to mask the white areas again. This time, after letting the matte white sit overnight, I tested the tape on the paint to see if the paint lifting would repeat…and it didn’t:

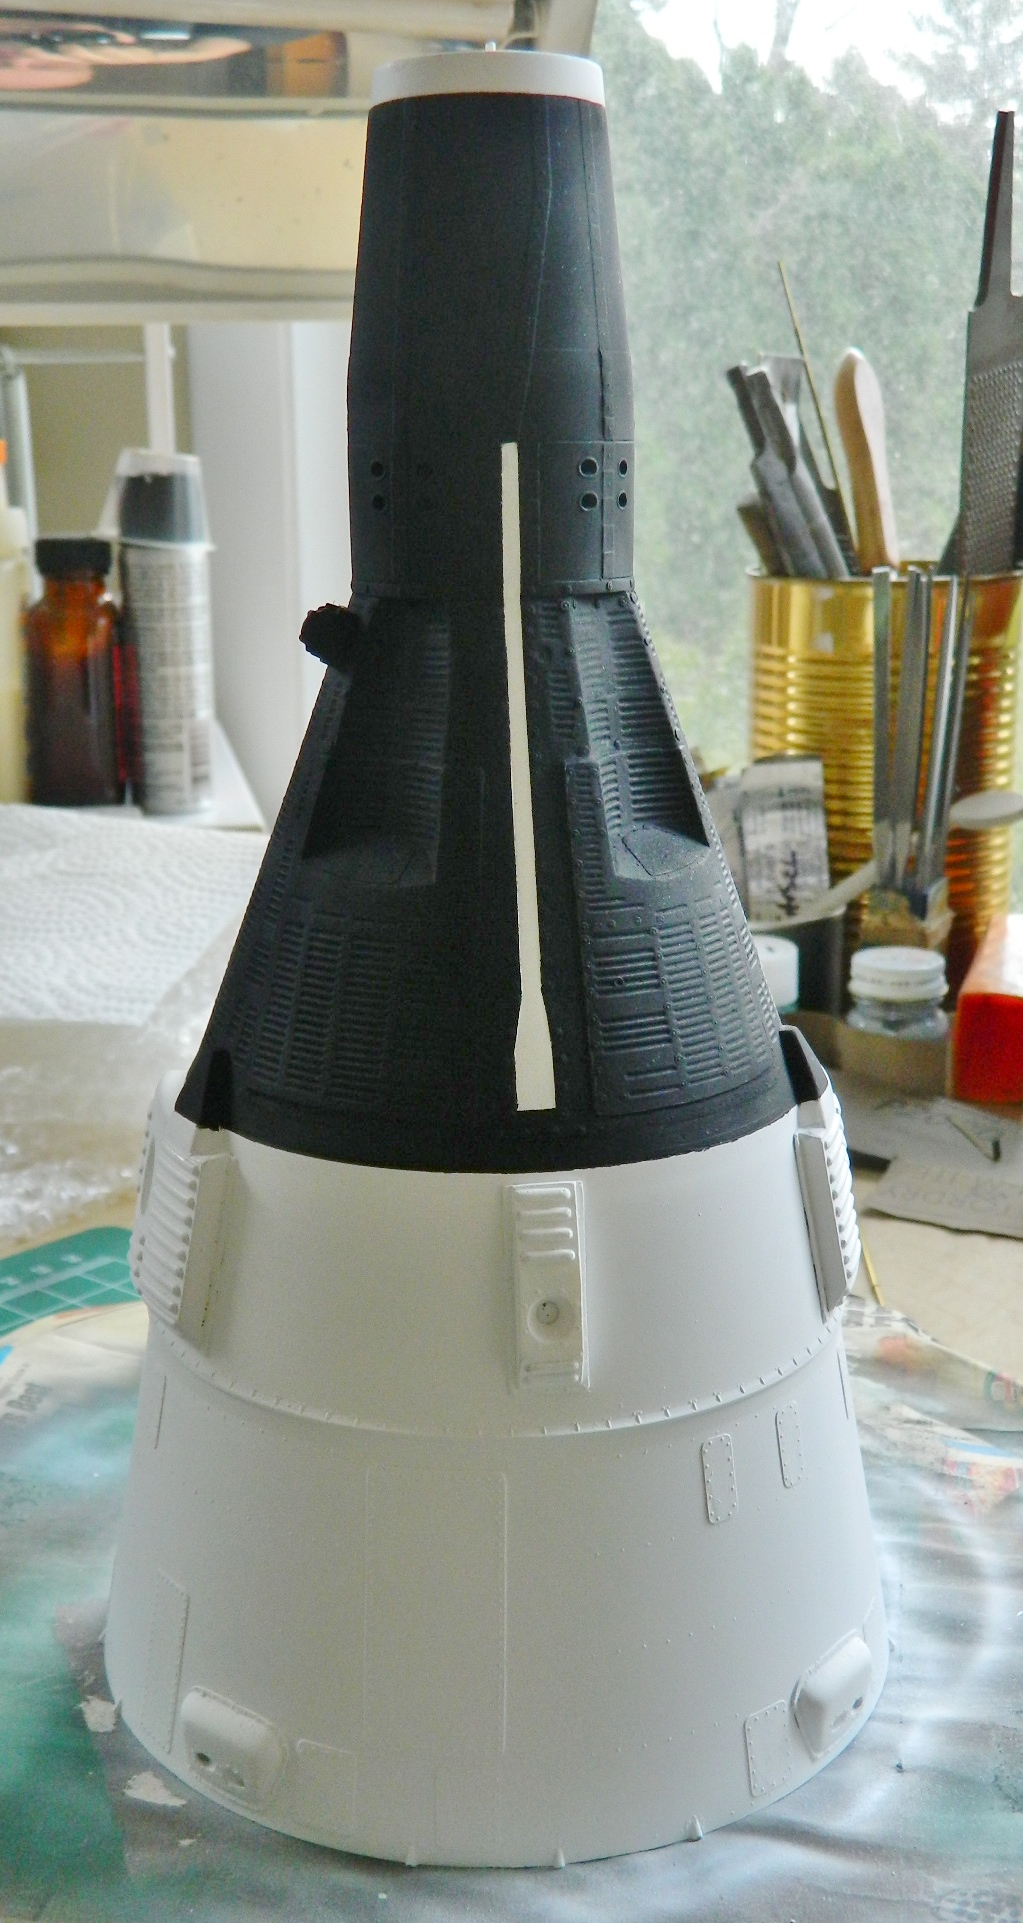
Back to where I was a couple of days ago, it was time to shoot black onto the capsule (though shooting the capsule itself did occur to me):

No masking job is perfect (okay, mine aren’t) and I figured there would be touch ups required. When it was time to remove the masking, I probably burned through five years of stomach lining before I touched the tape. Needlessly. Everything worked just fine:
So I touched up what needed paint, sanded away the over-spray where I could, and set the beast aside to let the touched up areas cure before moving on to the next step. While that was happening, I started work on the display stand:

I know…that doesn’t look like much of a display anything. Later on it will all make sense.
There are three places on the exterior that need to be shot with red paint. With both the black and white down, I masked off the areas and got ready to shoot the red:
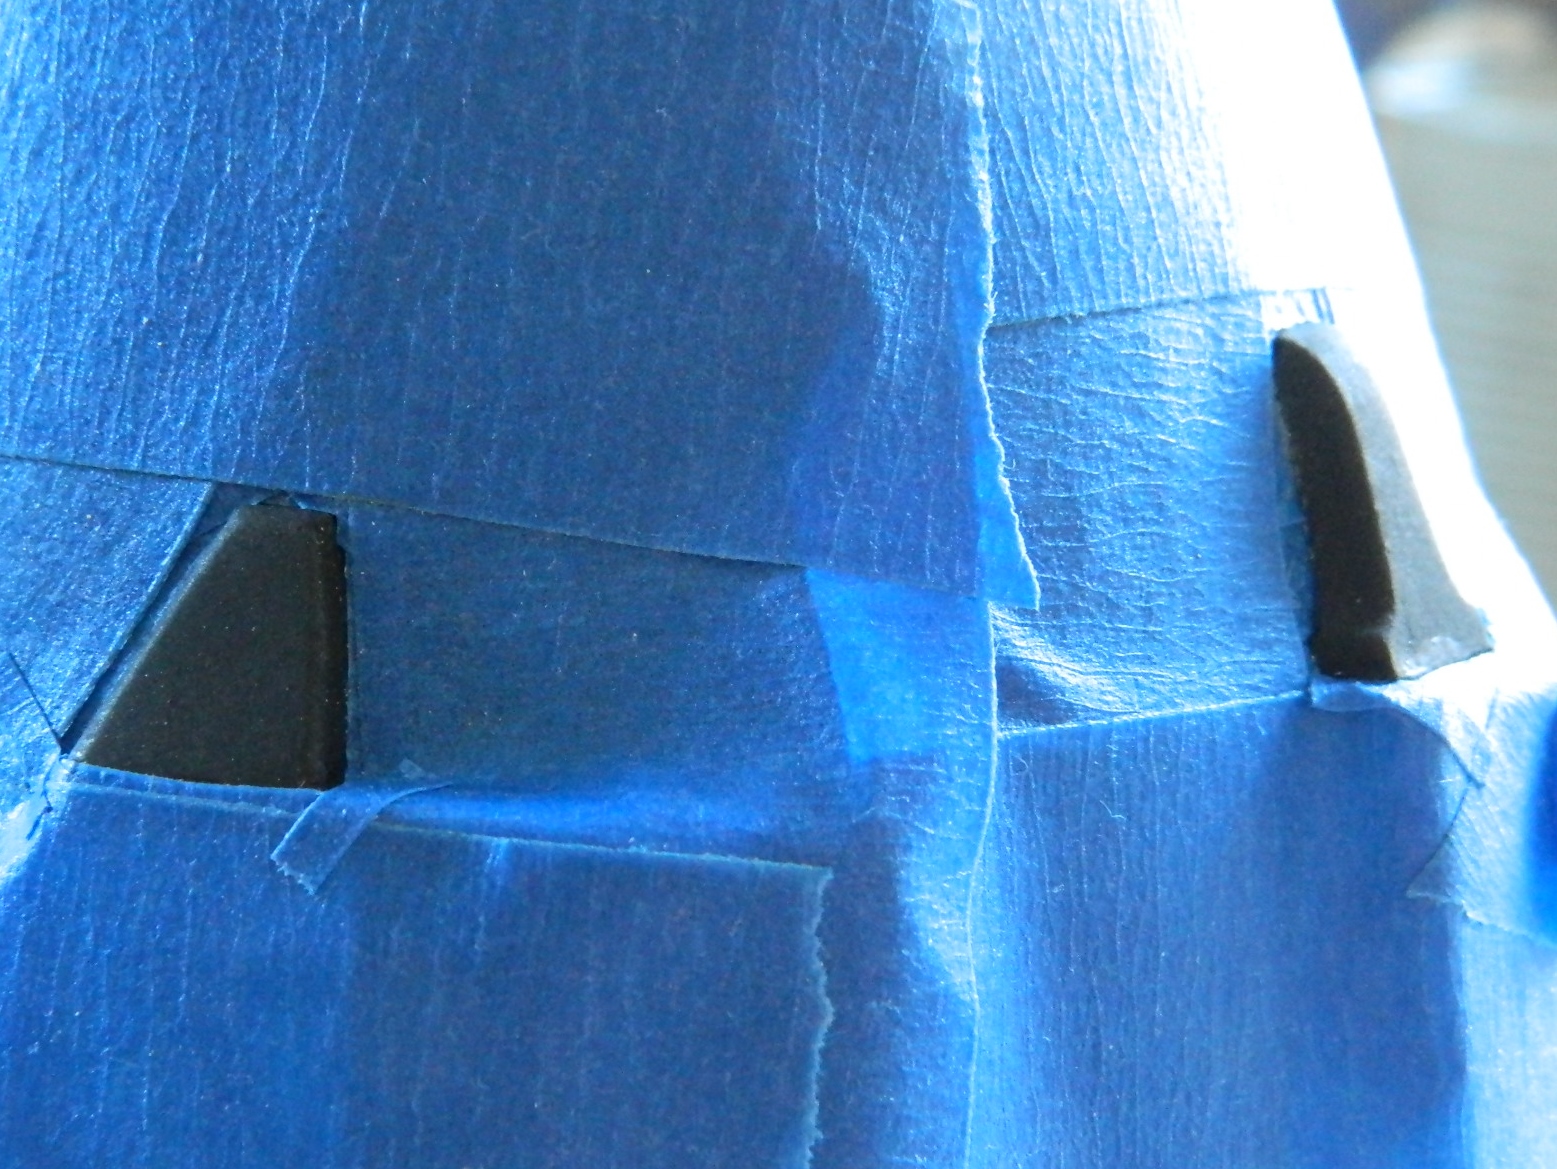
Paint mixed and shot, then the masking was removed:
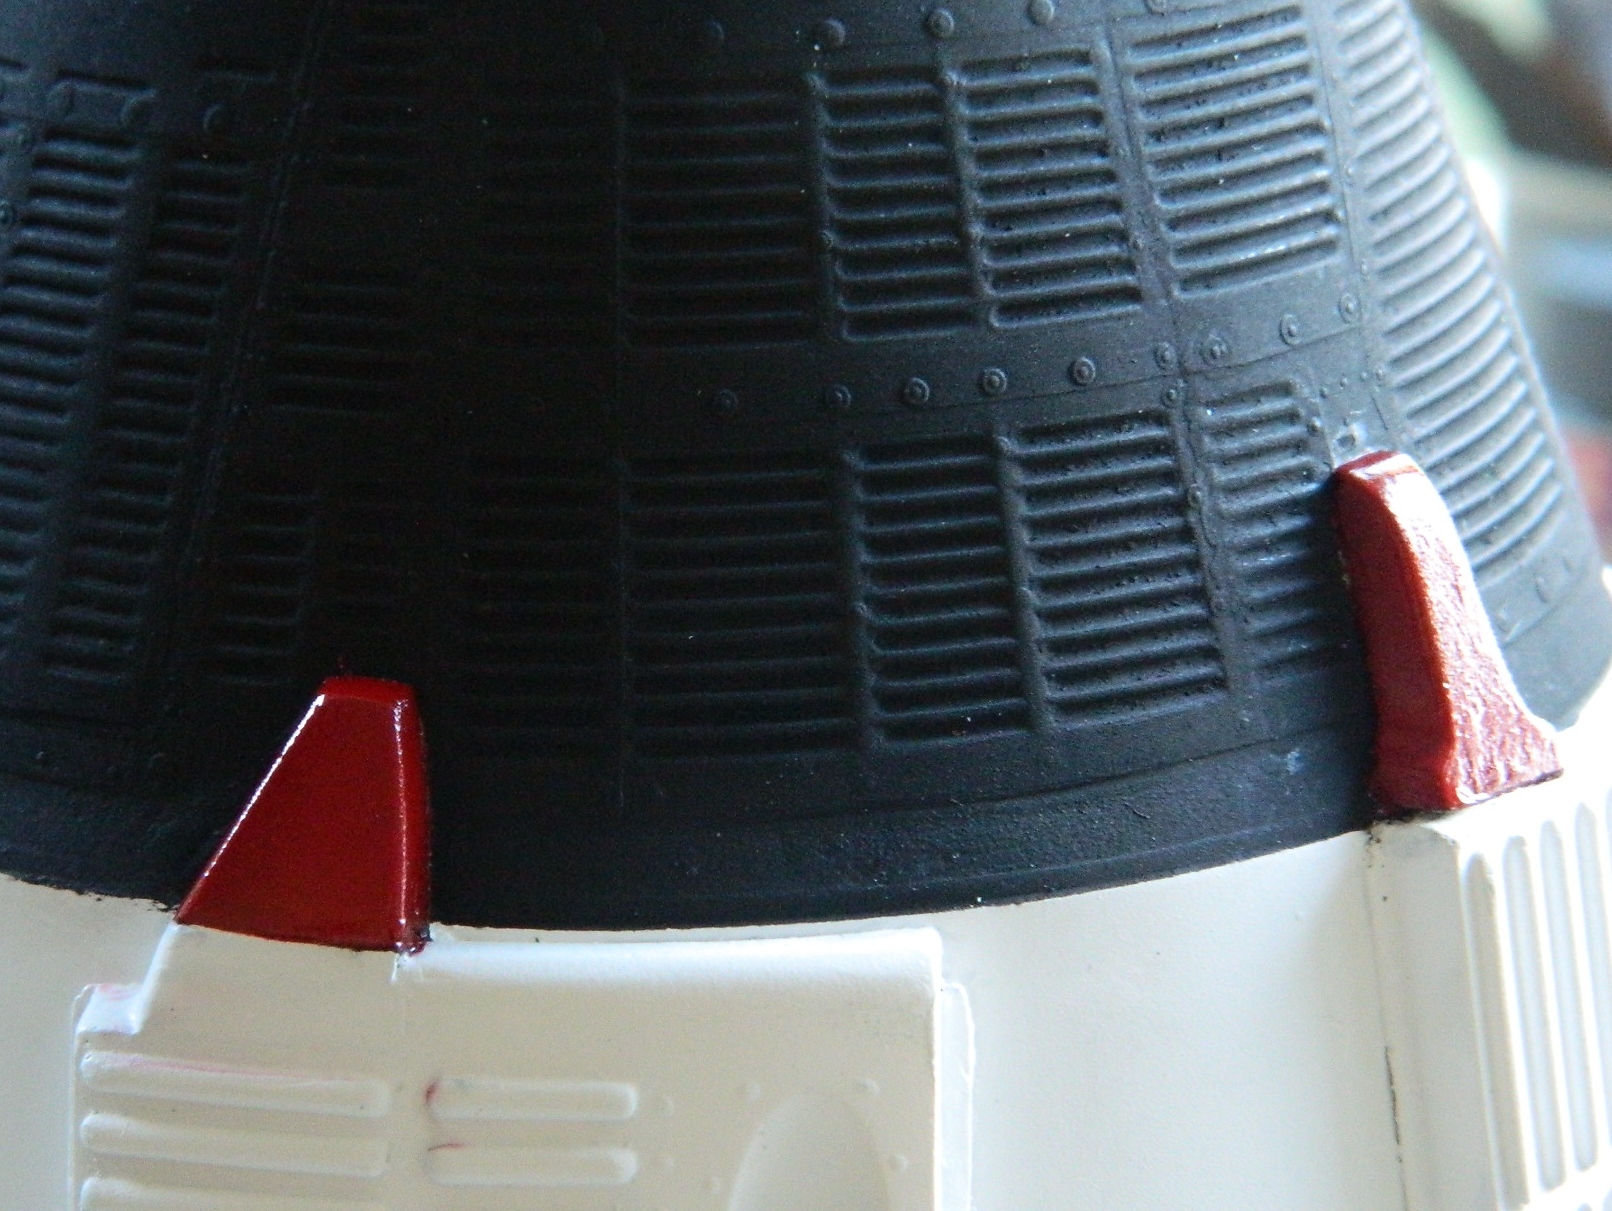
I’m letting it all sit overnight to set up more, then tomorrow the white modules get coated with clear gloss. There are some areas on the black paint that also have to be given a coat of clear gloss. That’s because the next step is to add decals!
