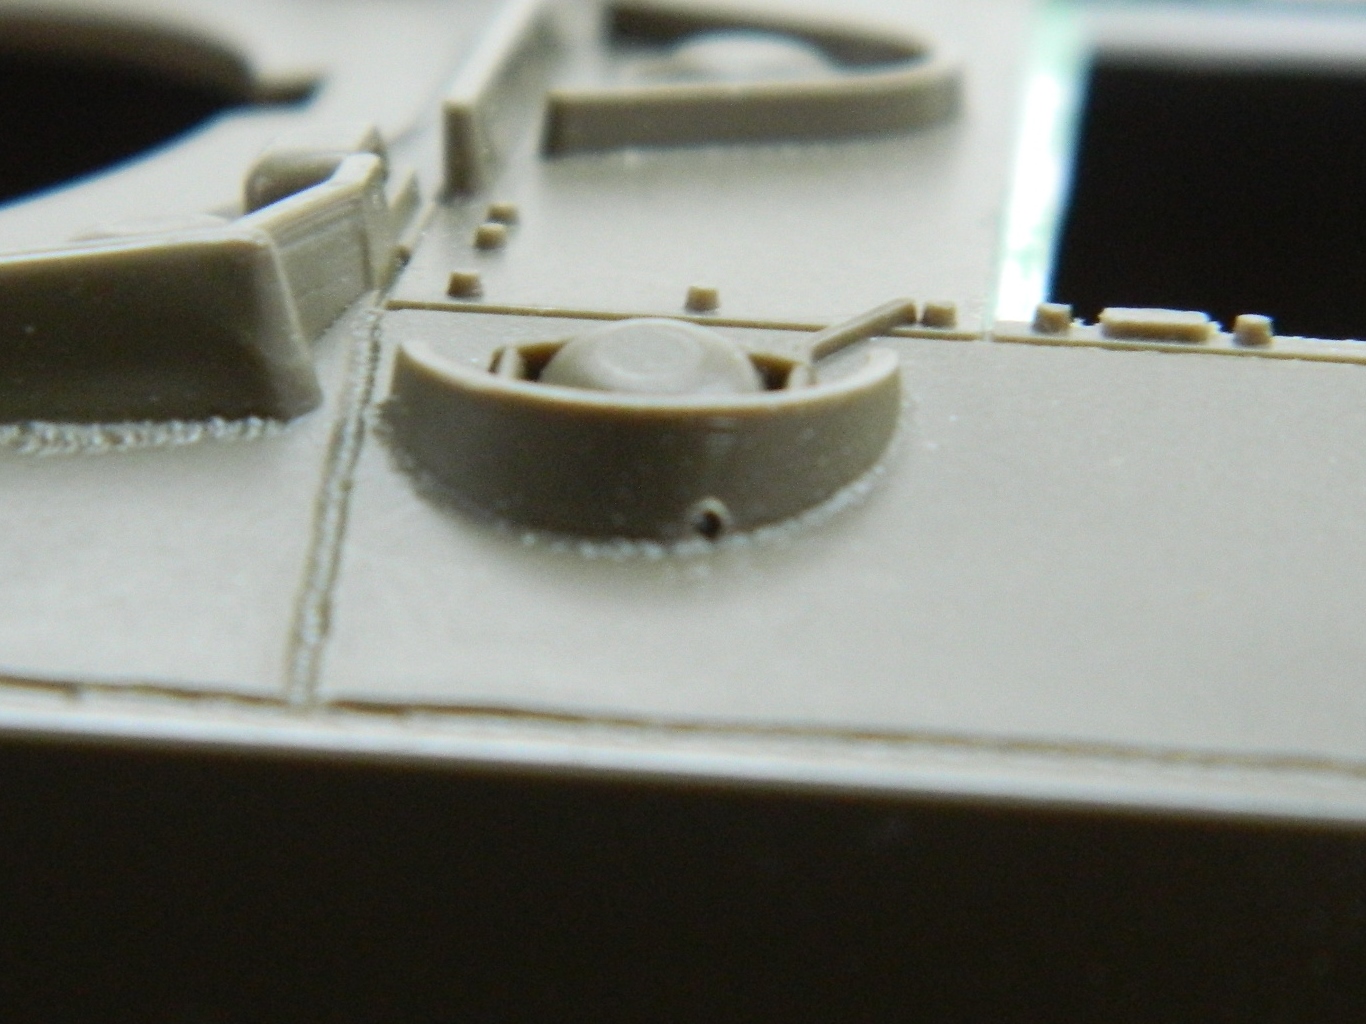
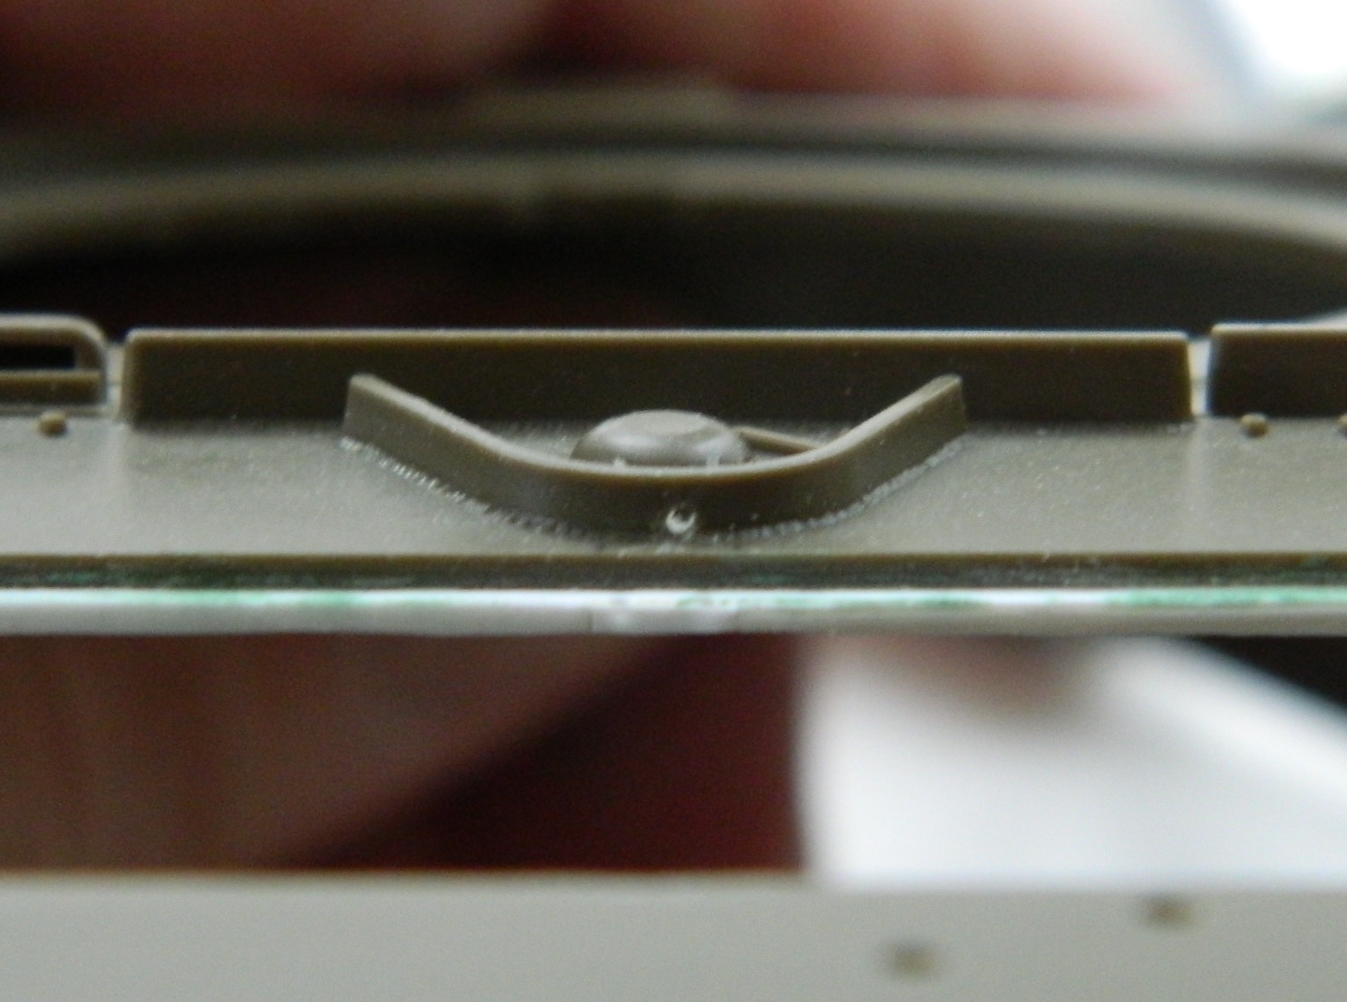
h As you can imagine, a tank takes a lot of incoming small arms fire. To keep errant rounds (for the crew, anyway) from knocking caps off, they have armored covers. On the Sherman, these ridges around the caps are to keep bullets from knocking off the fuel filler caps (on the left) and the coolant filler cap (on the right). To keep fluids from accumulating around the fillers, holes are drilled so I added them to the model:
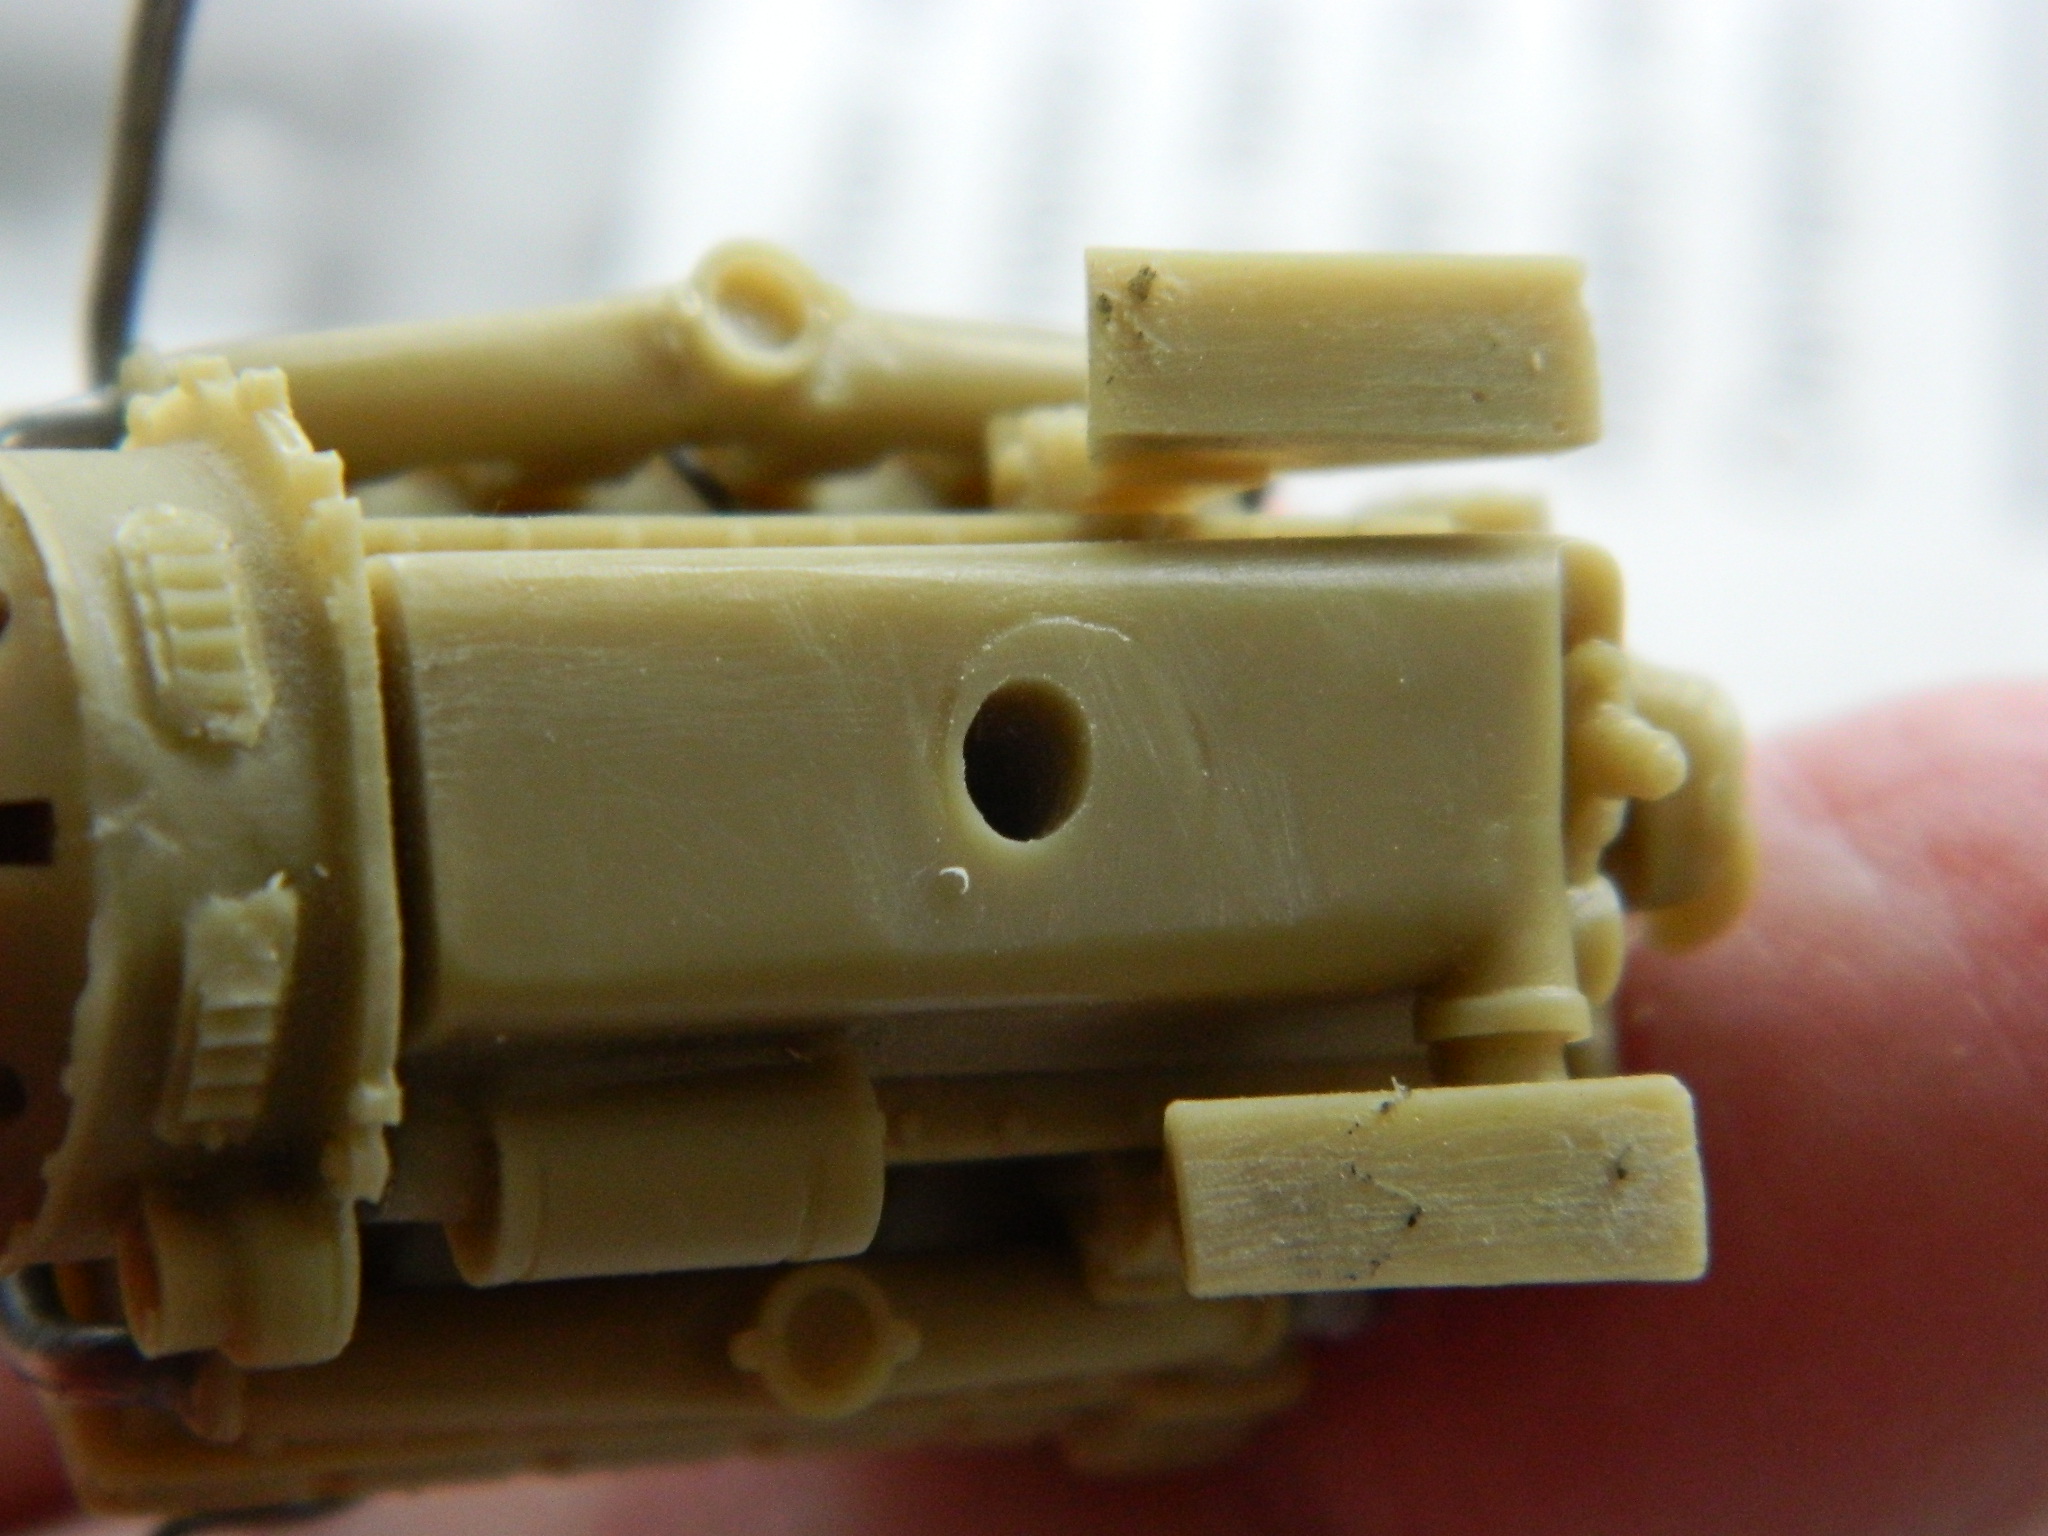
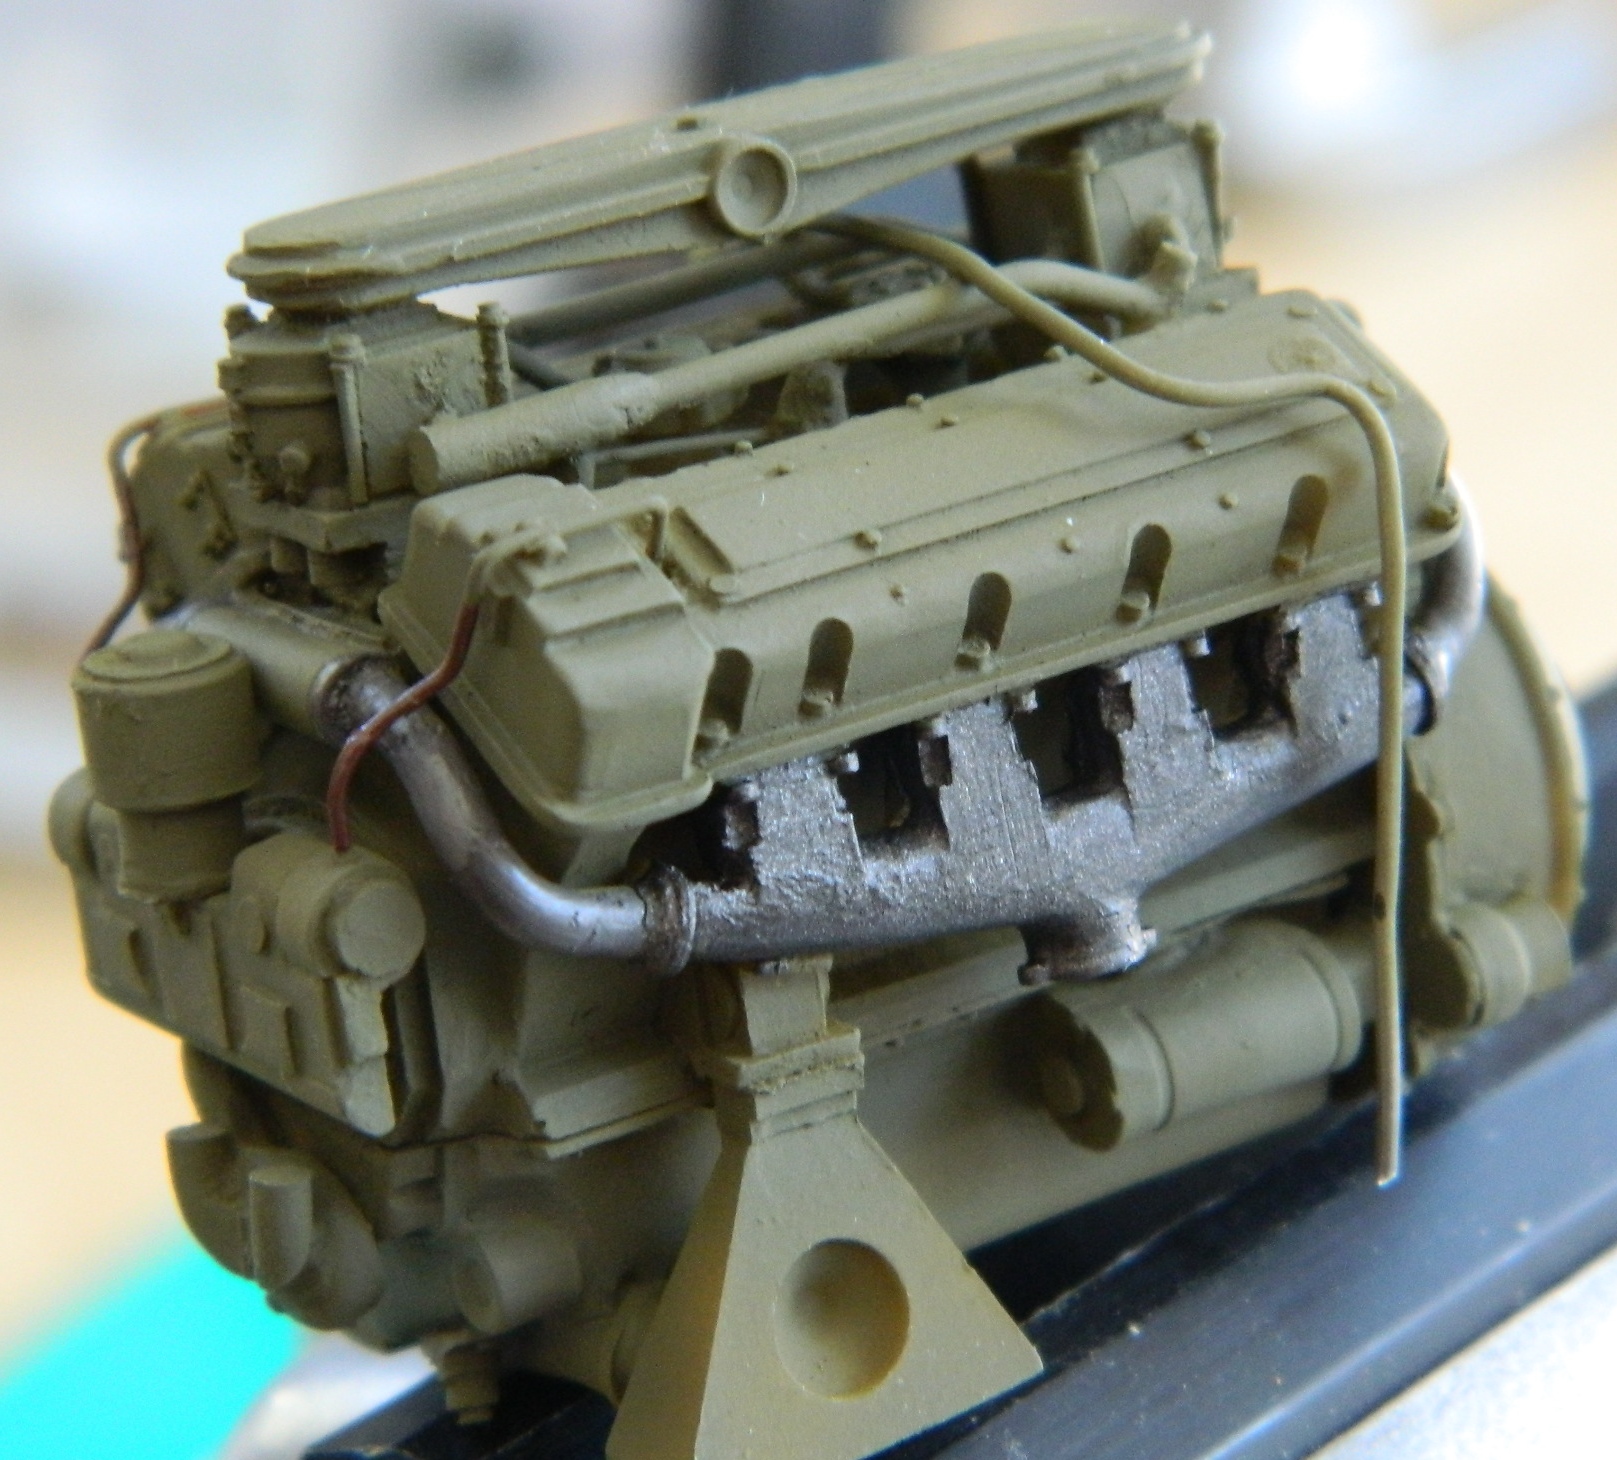
I added fuel lines to the engine and with all the bits on the engine done and installed, it’s time to paint it. So that I can handle something this small without marring the paint, I drilled a hole in the bottom (where it will never be seen) and added a screw so I could manipulate it:

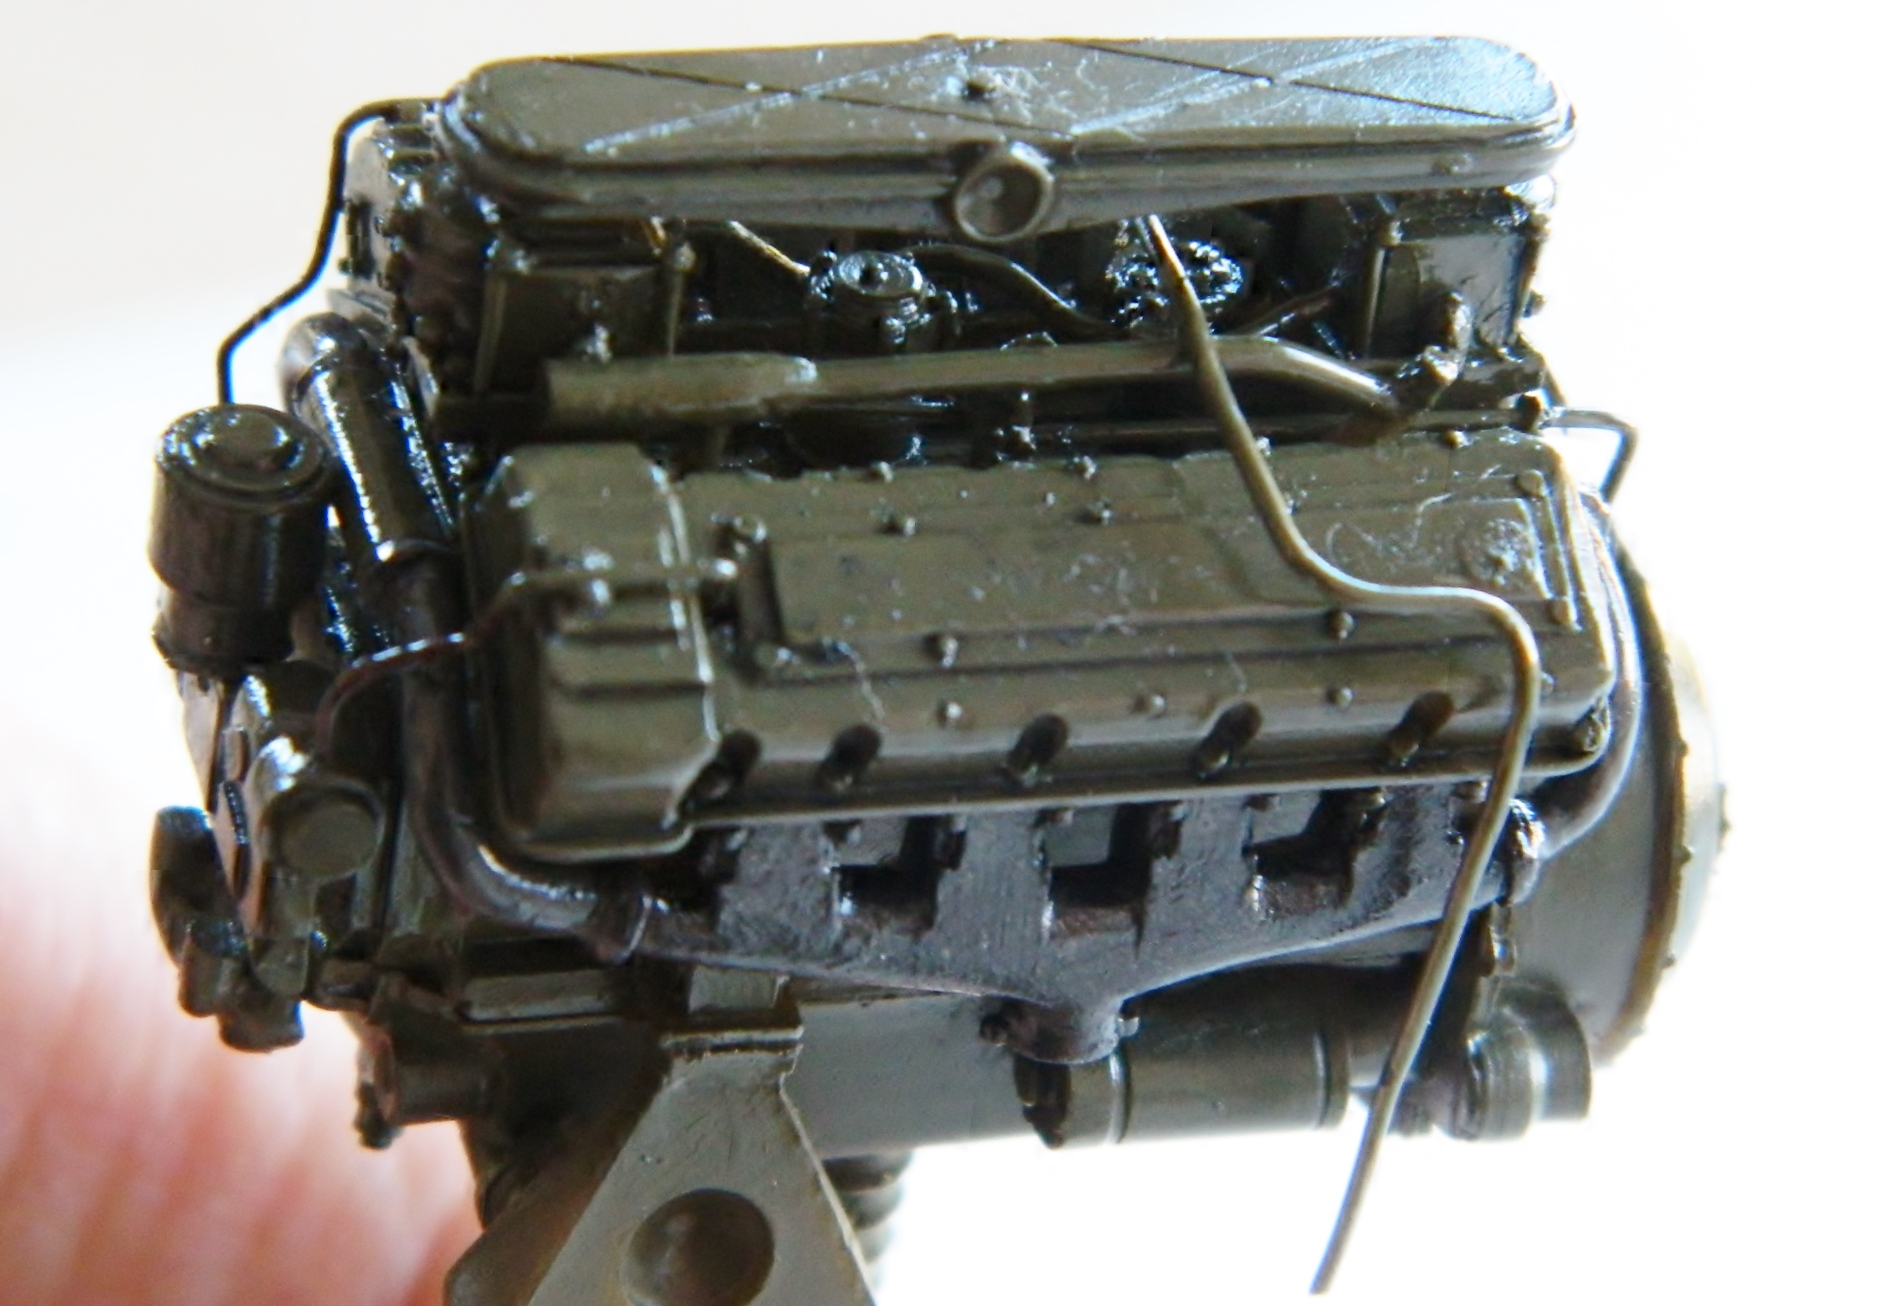
Then I hit it with Tamiya’s XF-62 Olive Drab:


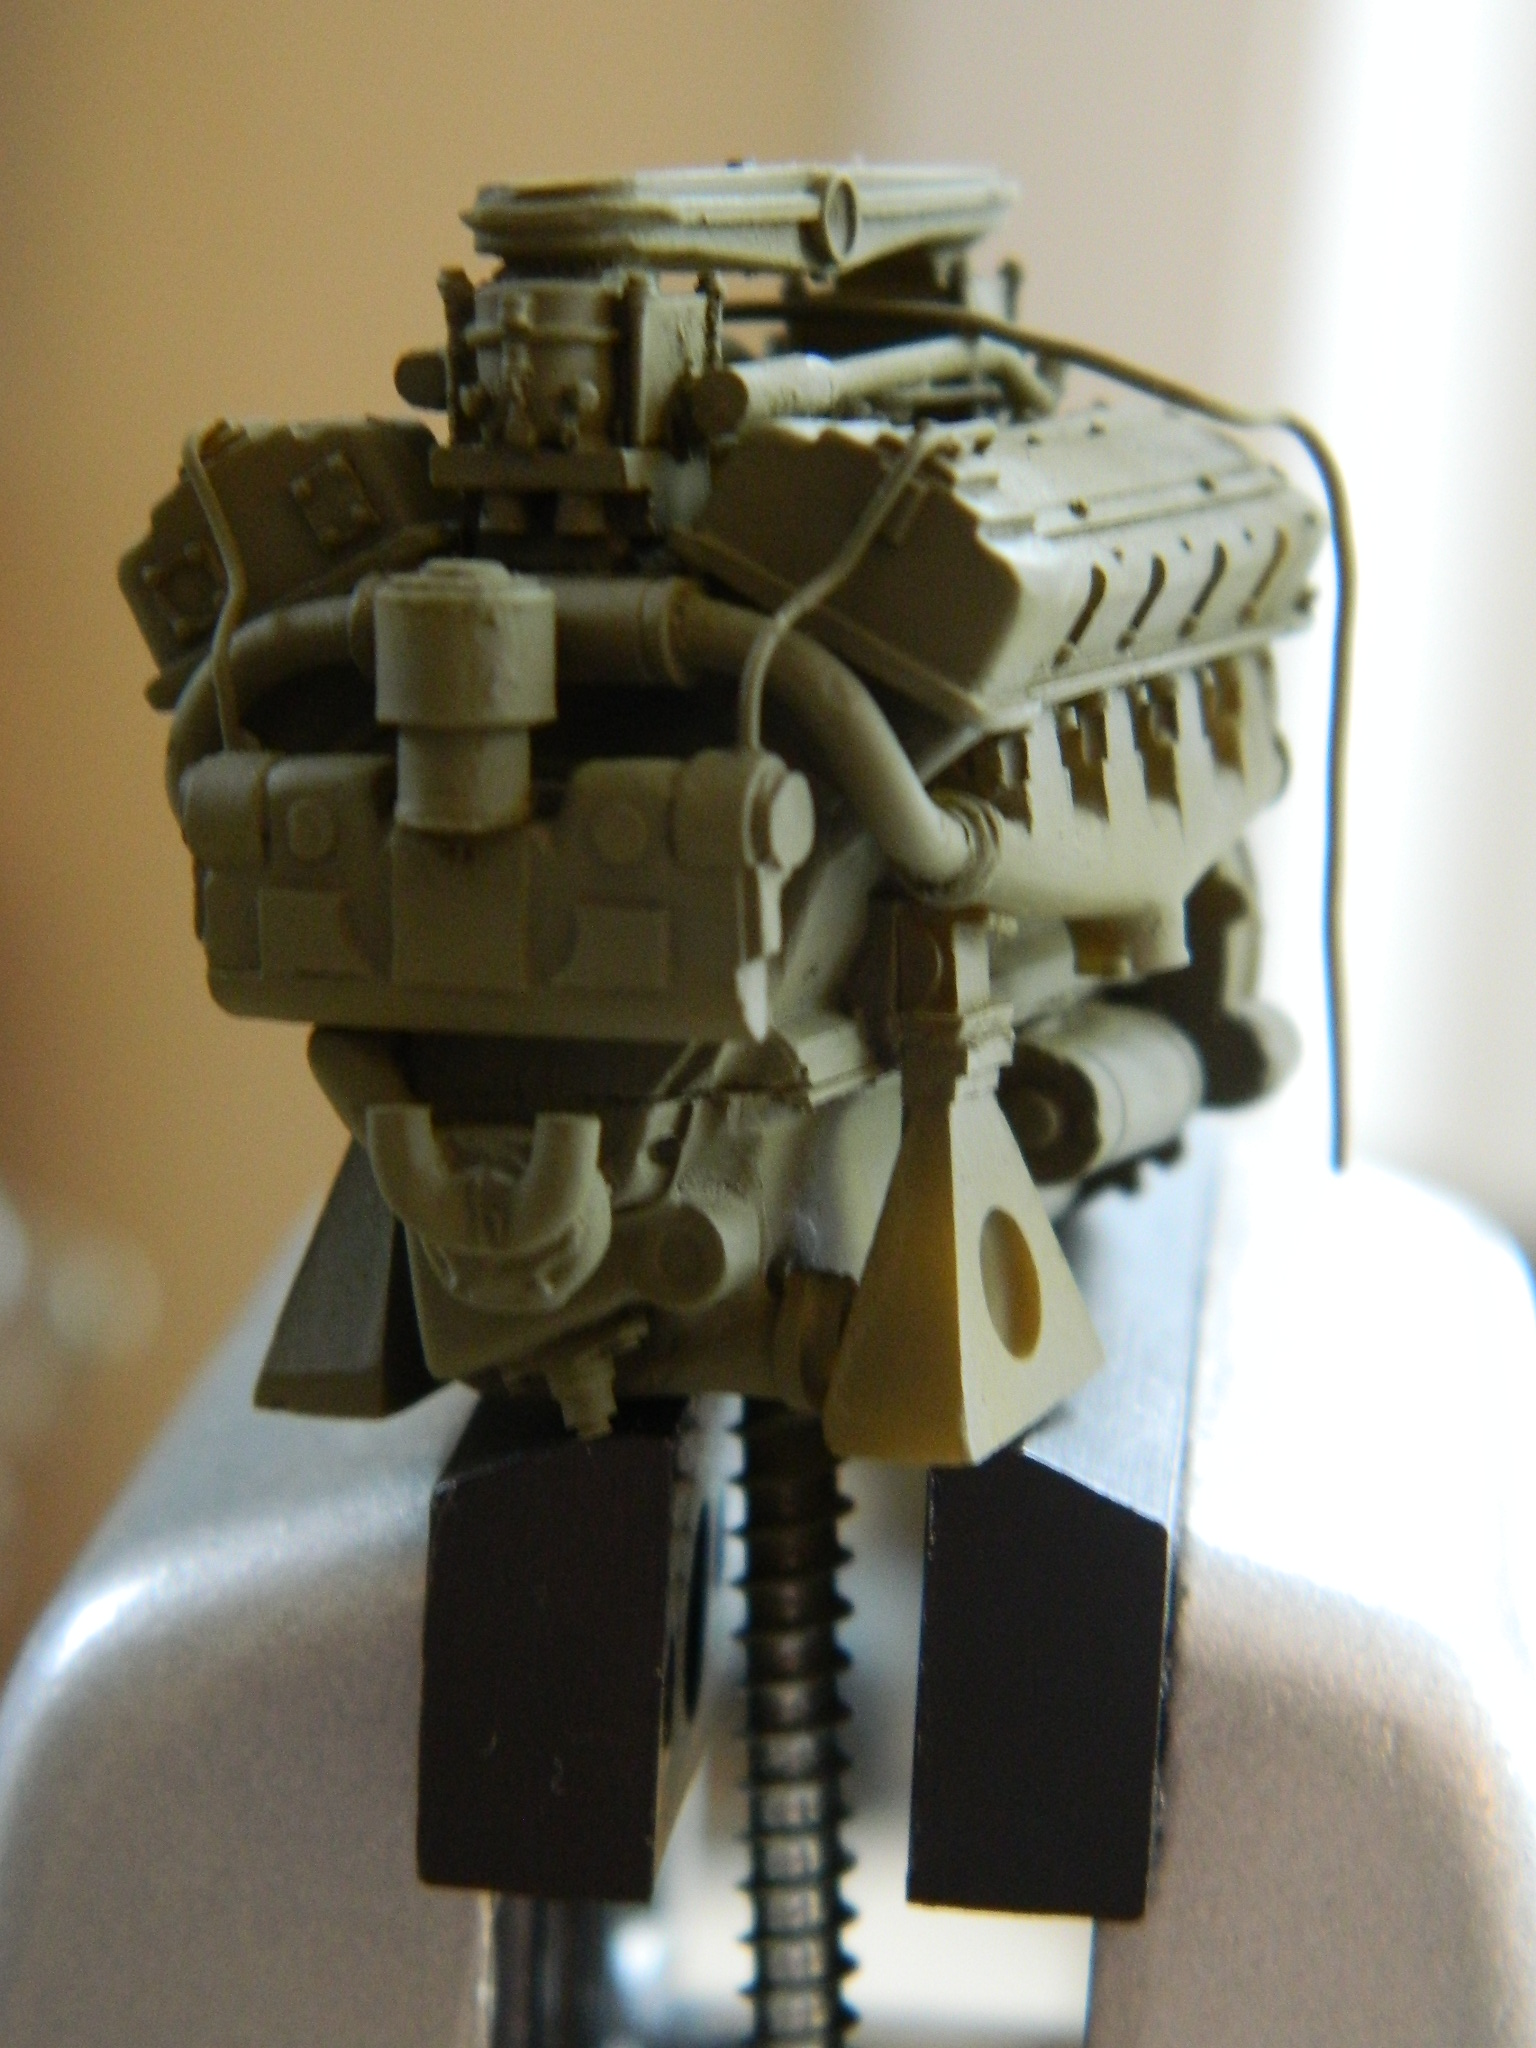
I painted the exhaust manifolds and piping with Tamiya’s XF-54 Dark Iron:
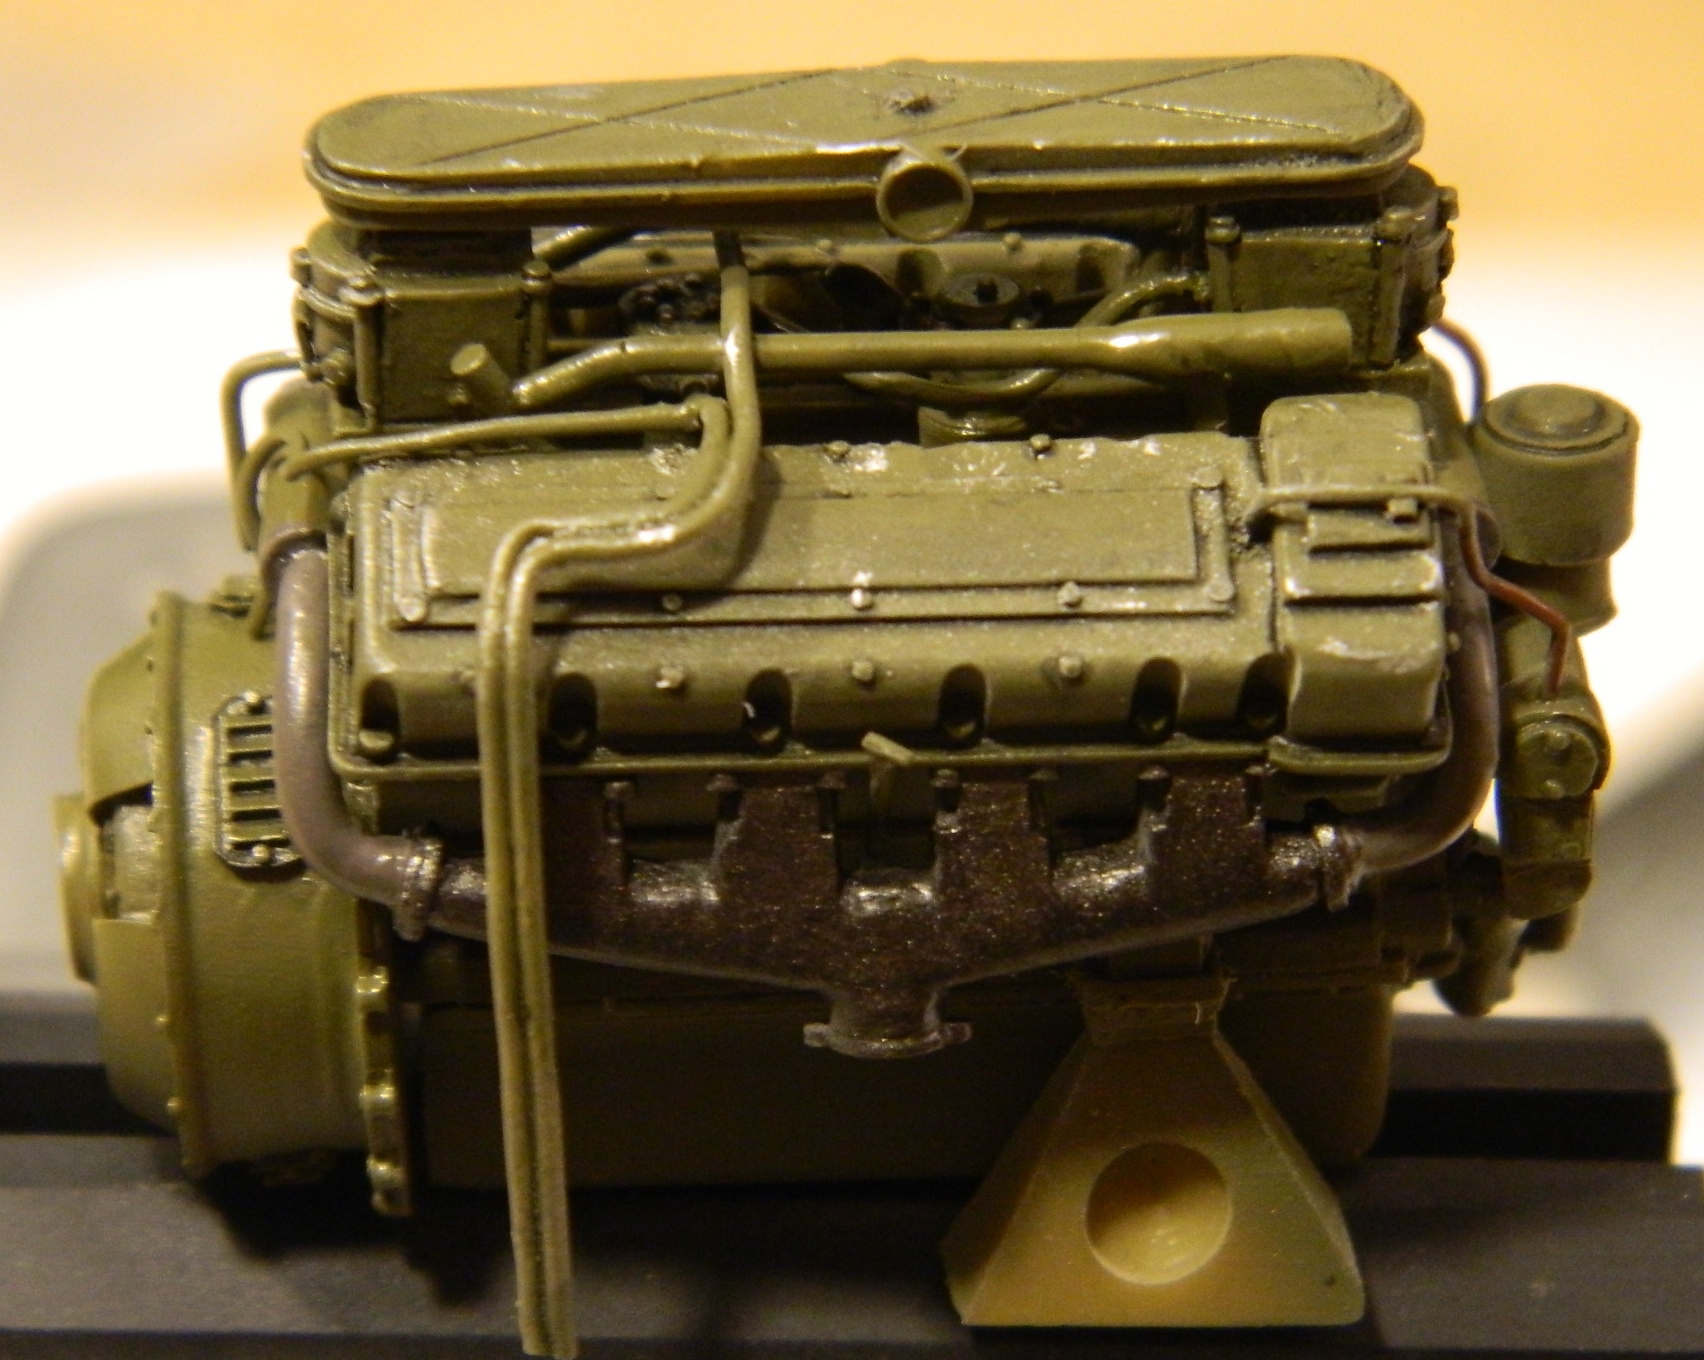
After letting it sit overnight to cure a bit, I sprayed Tamiya’s X-22 Clear Gloss mixed 50/50 with Tamiya acrylic thinner over the engine to prepare it for a black wash:

Now if you compare the photos before the wash and after, you can see that the engine in the before photos looks smaller than it does in the after photos:


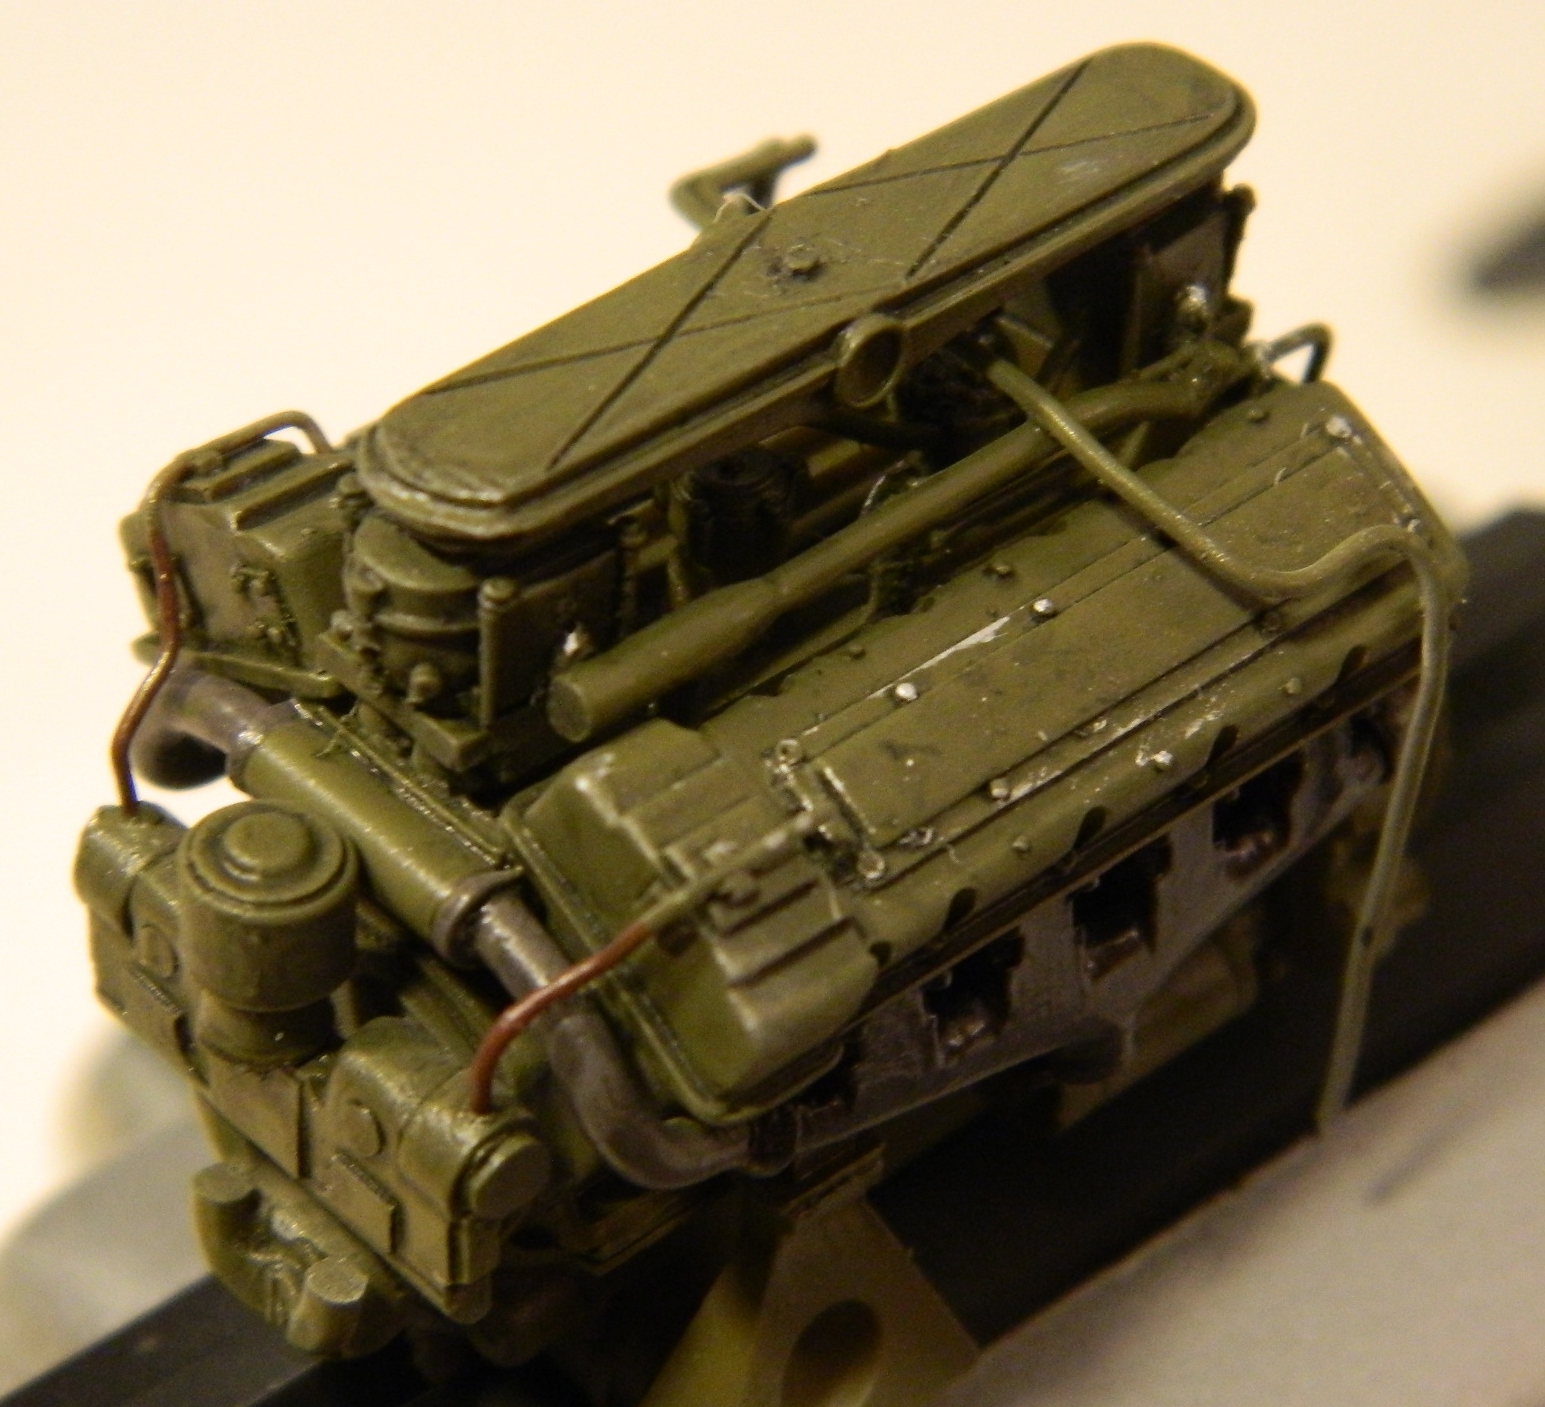
The next step is to apply wear, and for this I used Humbrol’s steel again and dry-brushed the wearing and chipping and then overshot the whole thing with semi-gloss. And hopefully now when you look at it, absenting anything else you know the size of for scale, you can’t tell what size it is…and that’s the whole point:

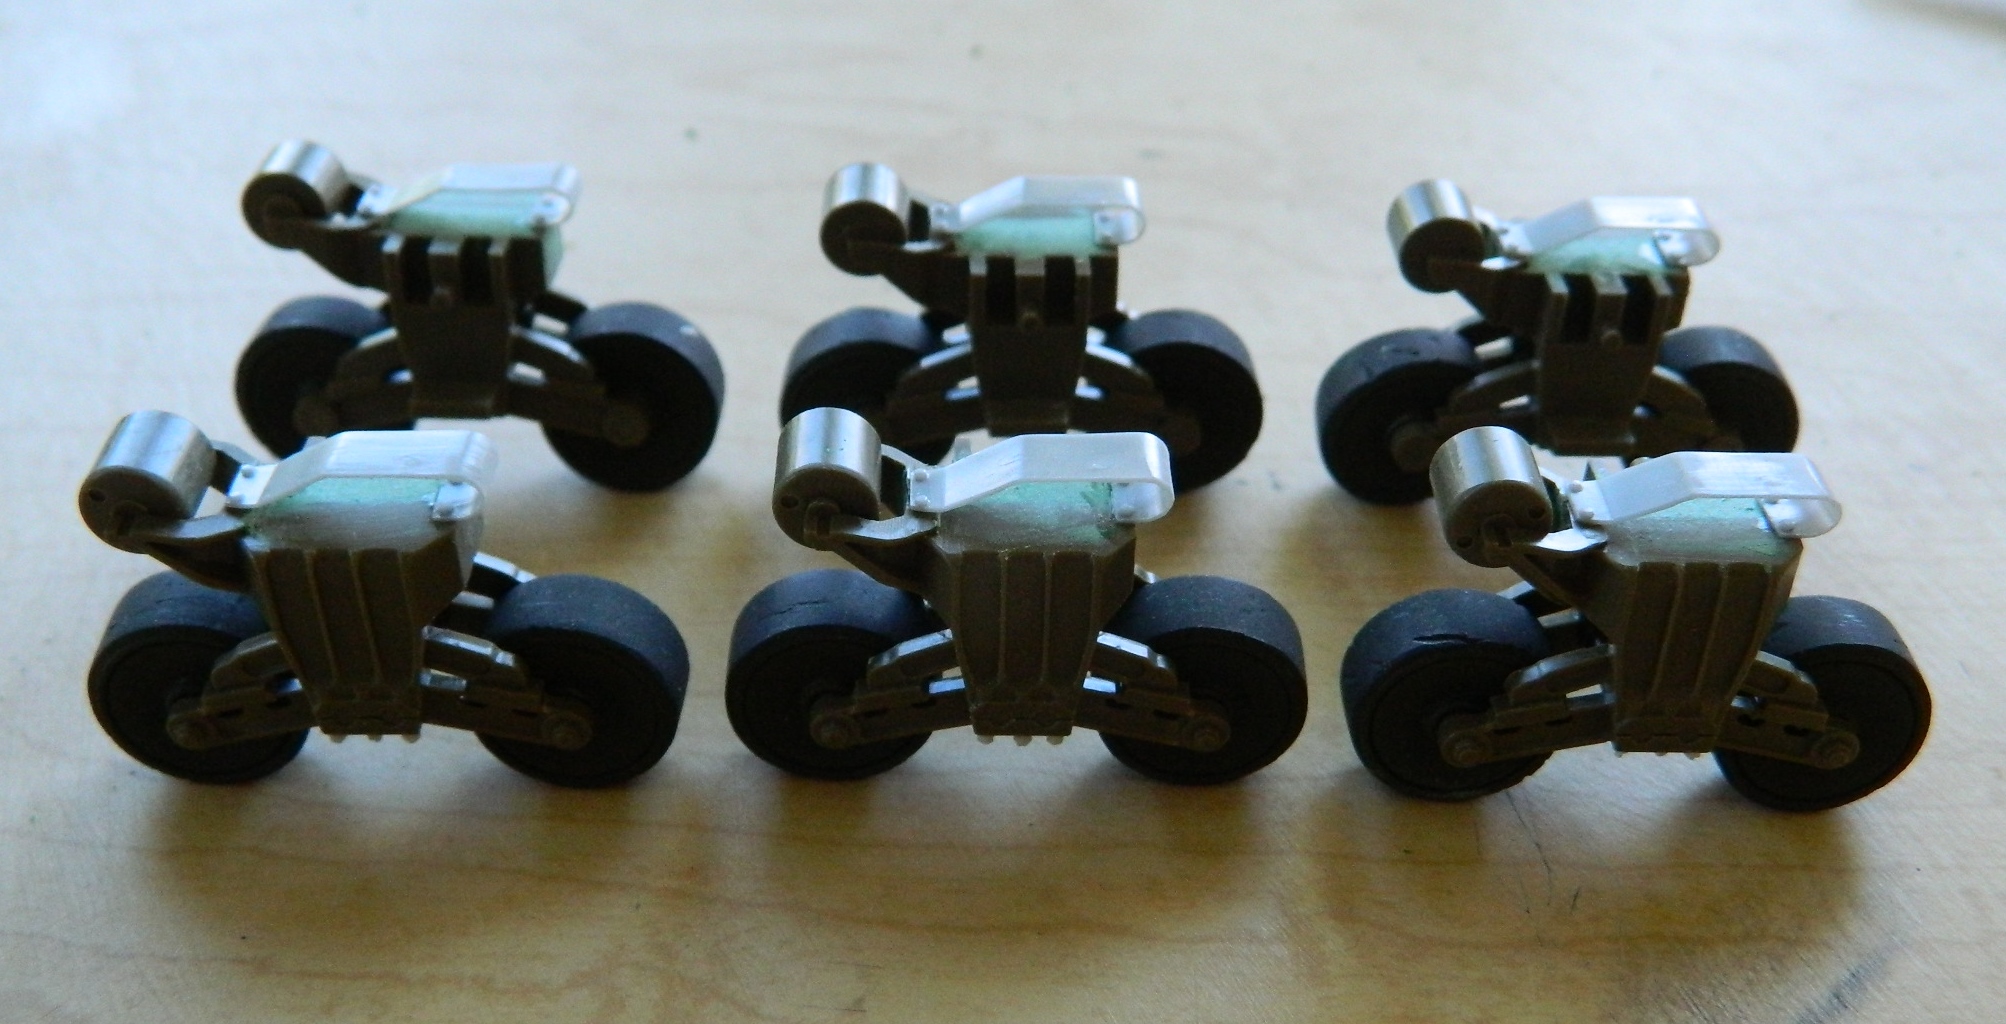
With all that done, covered to keep dust (AND CAT HAIR) from sticking to it, it’s time to address some suspension parts. Though better than the kit-supplied wheels, these road wheels need work, too, which included drilling out the hubs so they would fit over the kit’s axles (because they weren’t intended for a Tamiya M4 of any variant):
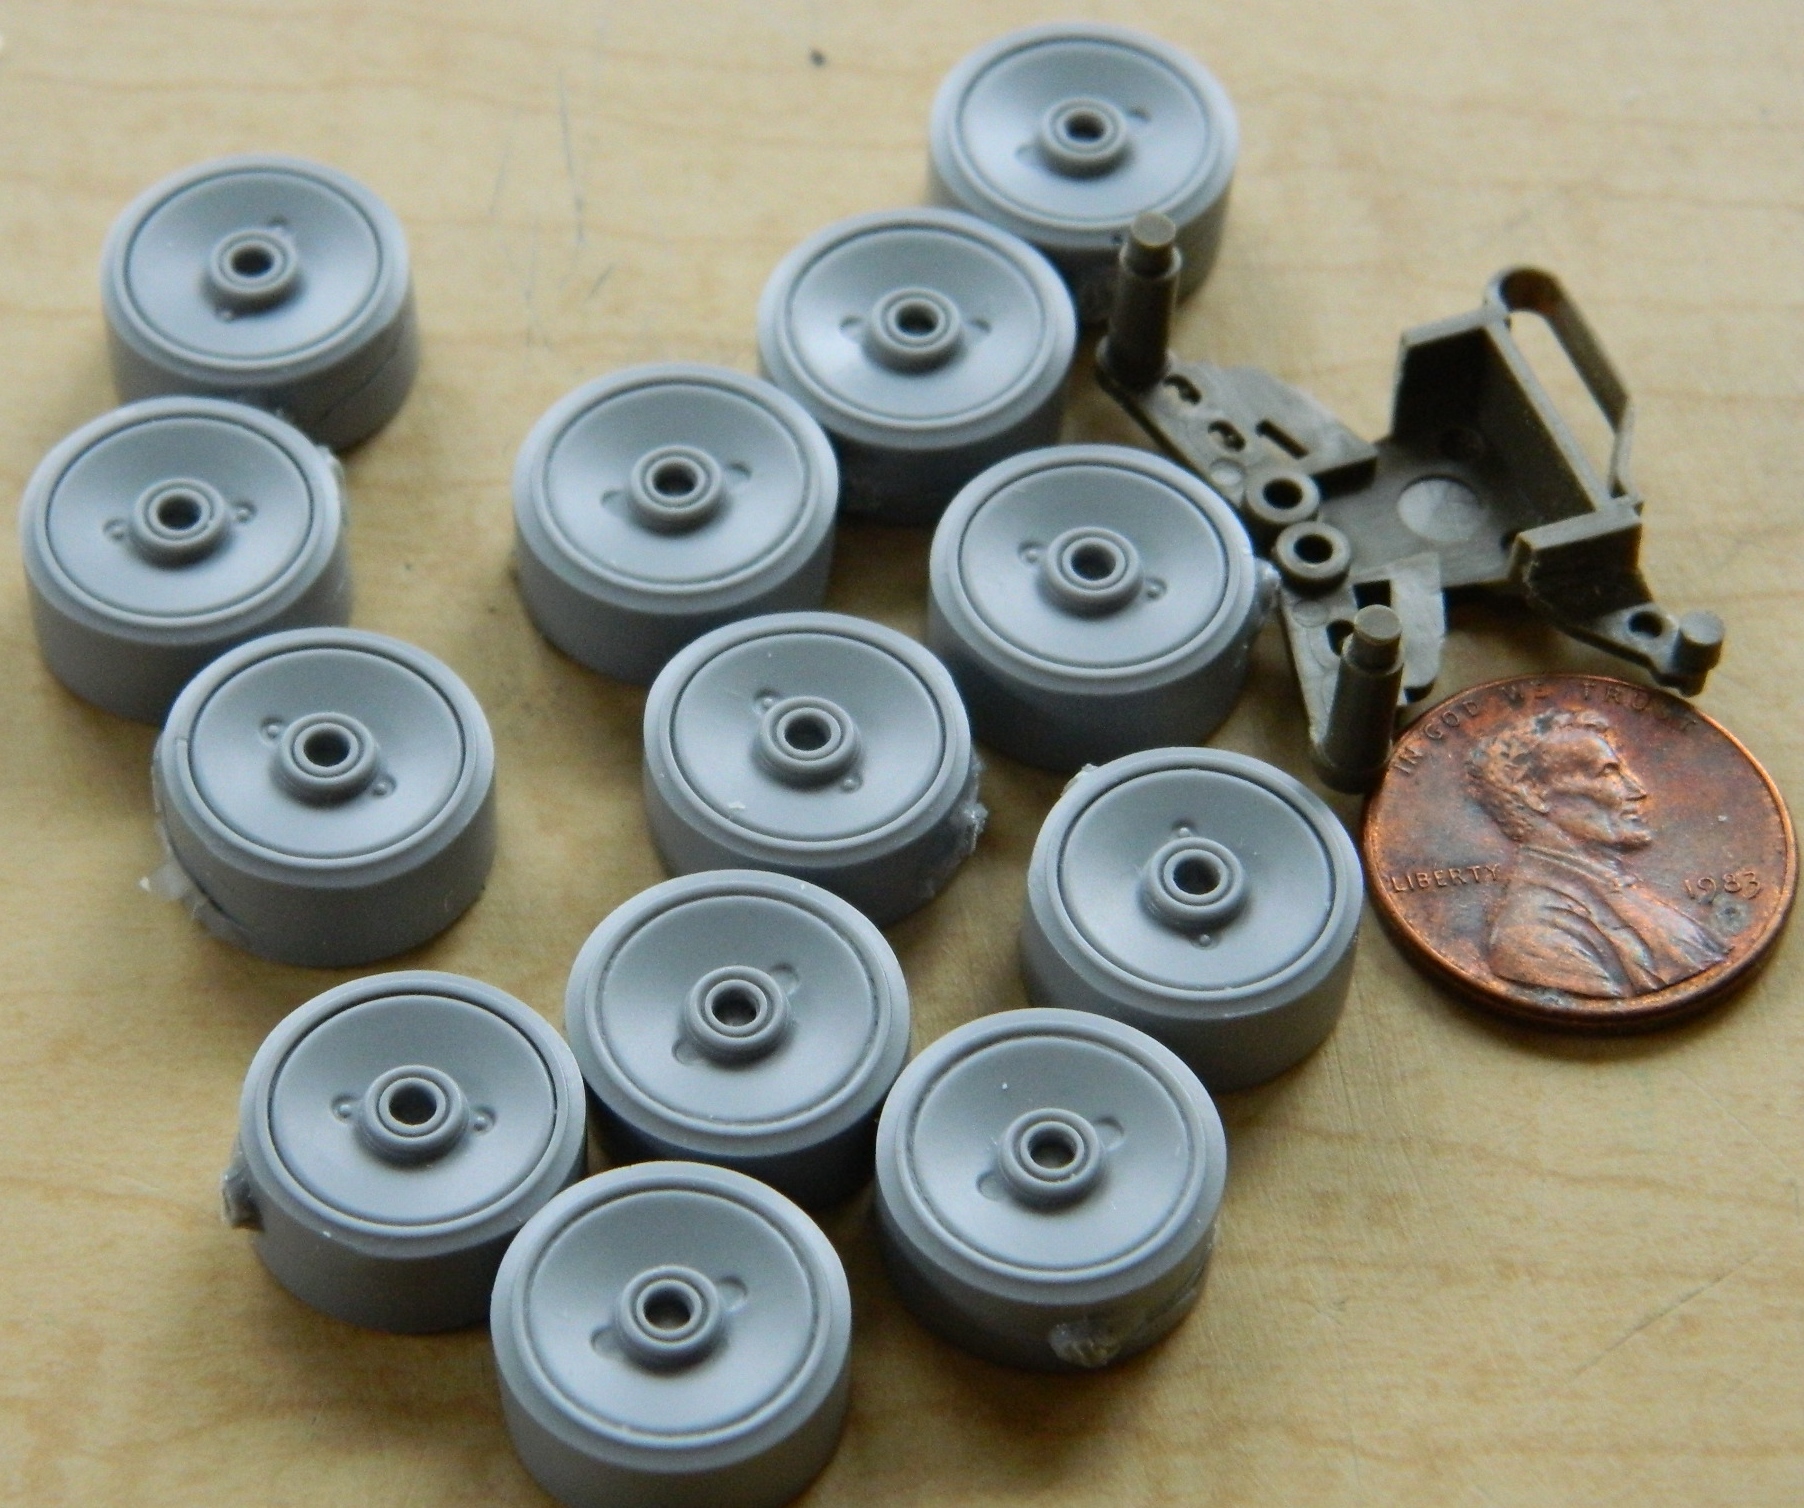

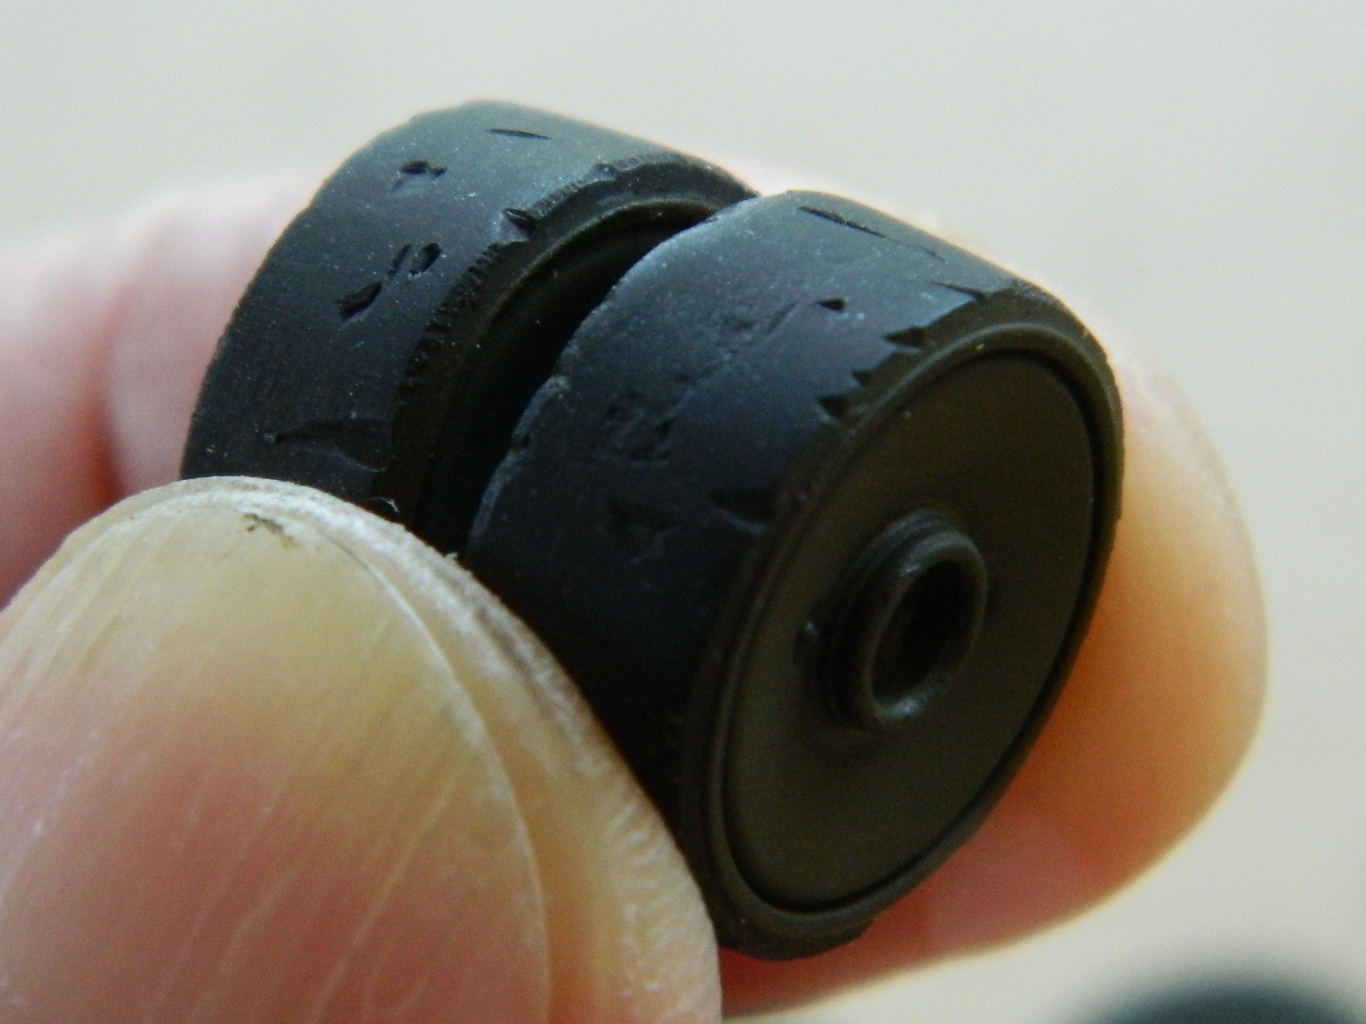
The roadwheels of tanks have steel centers but the outer rims are rubber. A tank’s world is a harsh environment and that rubber wears, tears, and nicks. I’m looking to model a tank that is well-used without being used up, so it’s time to add nicks and tears:
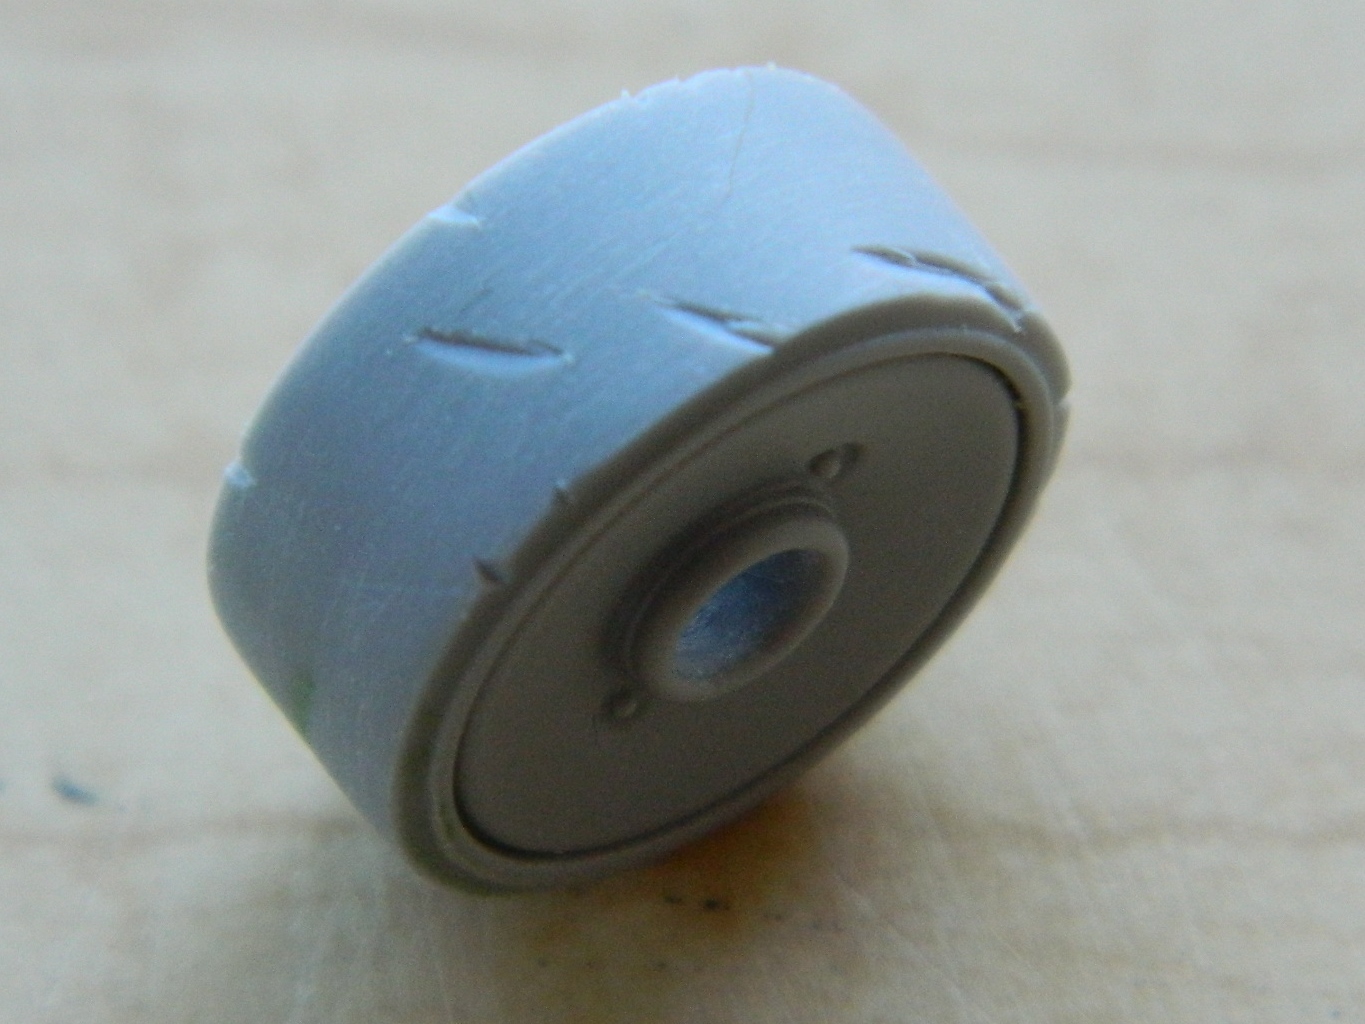

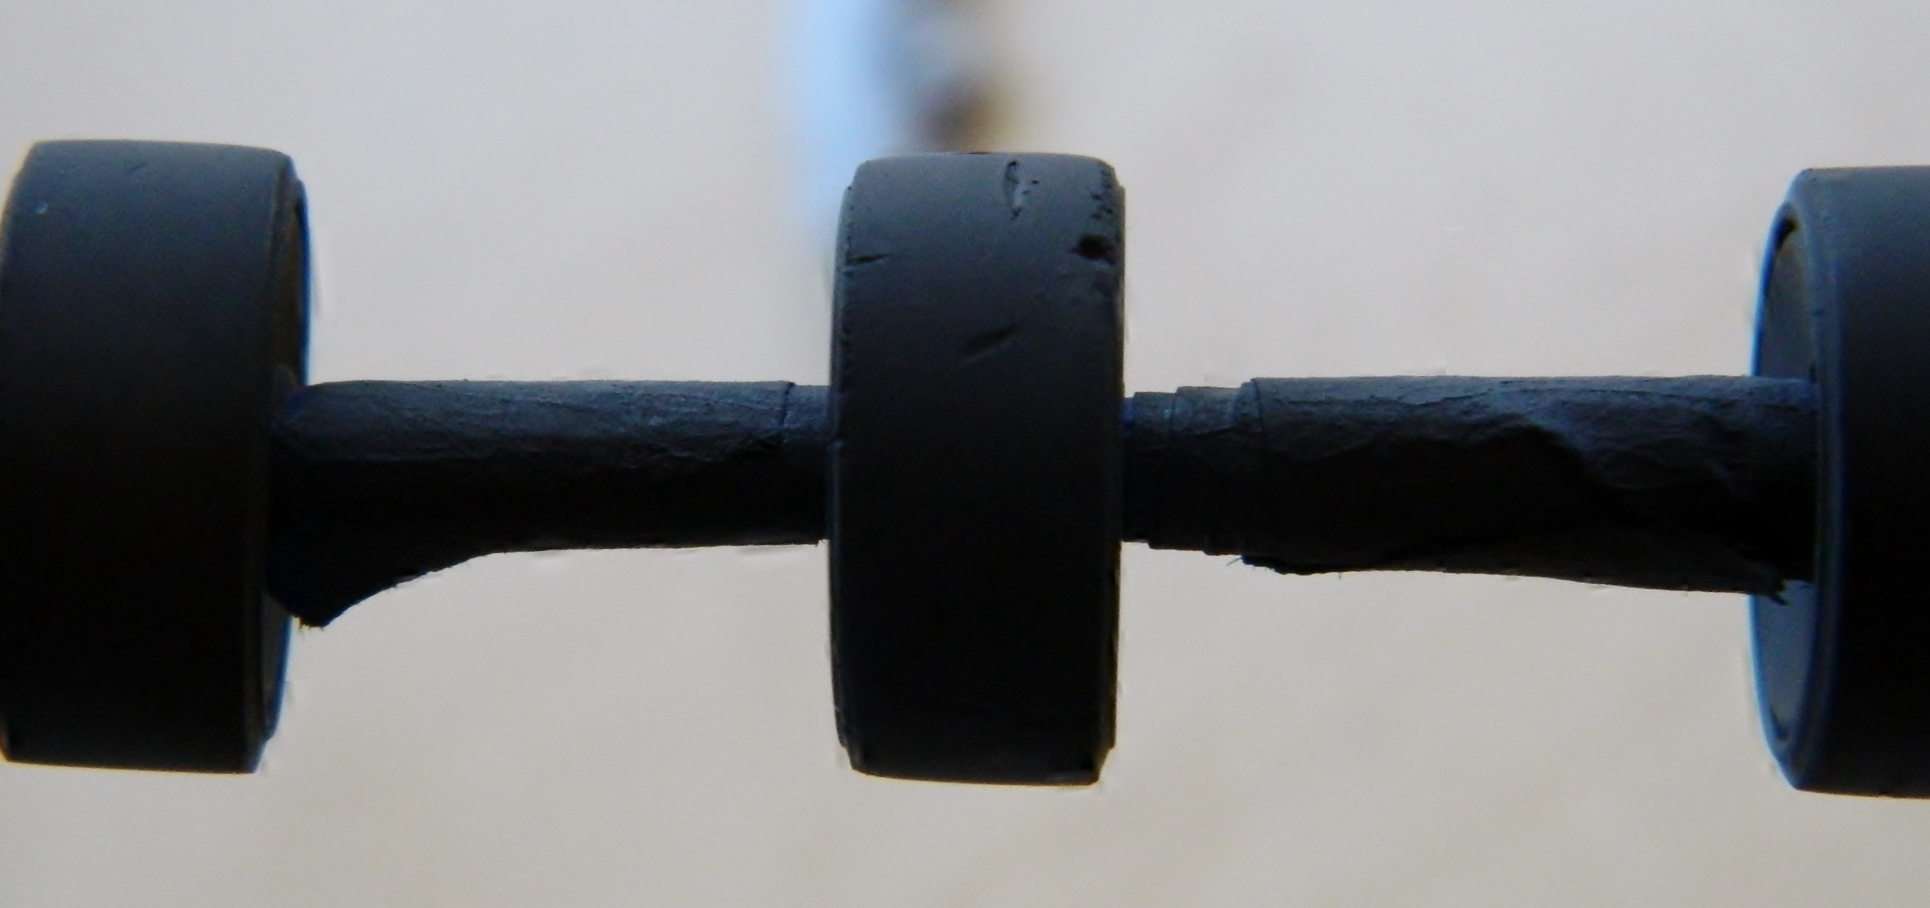
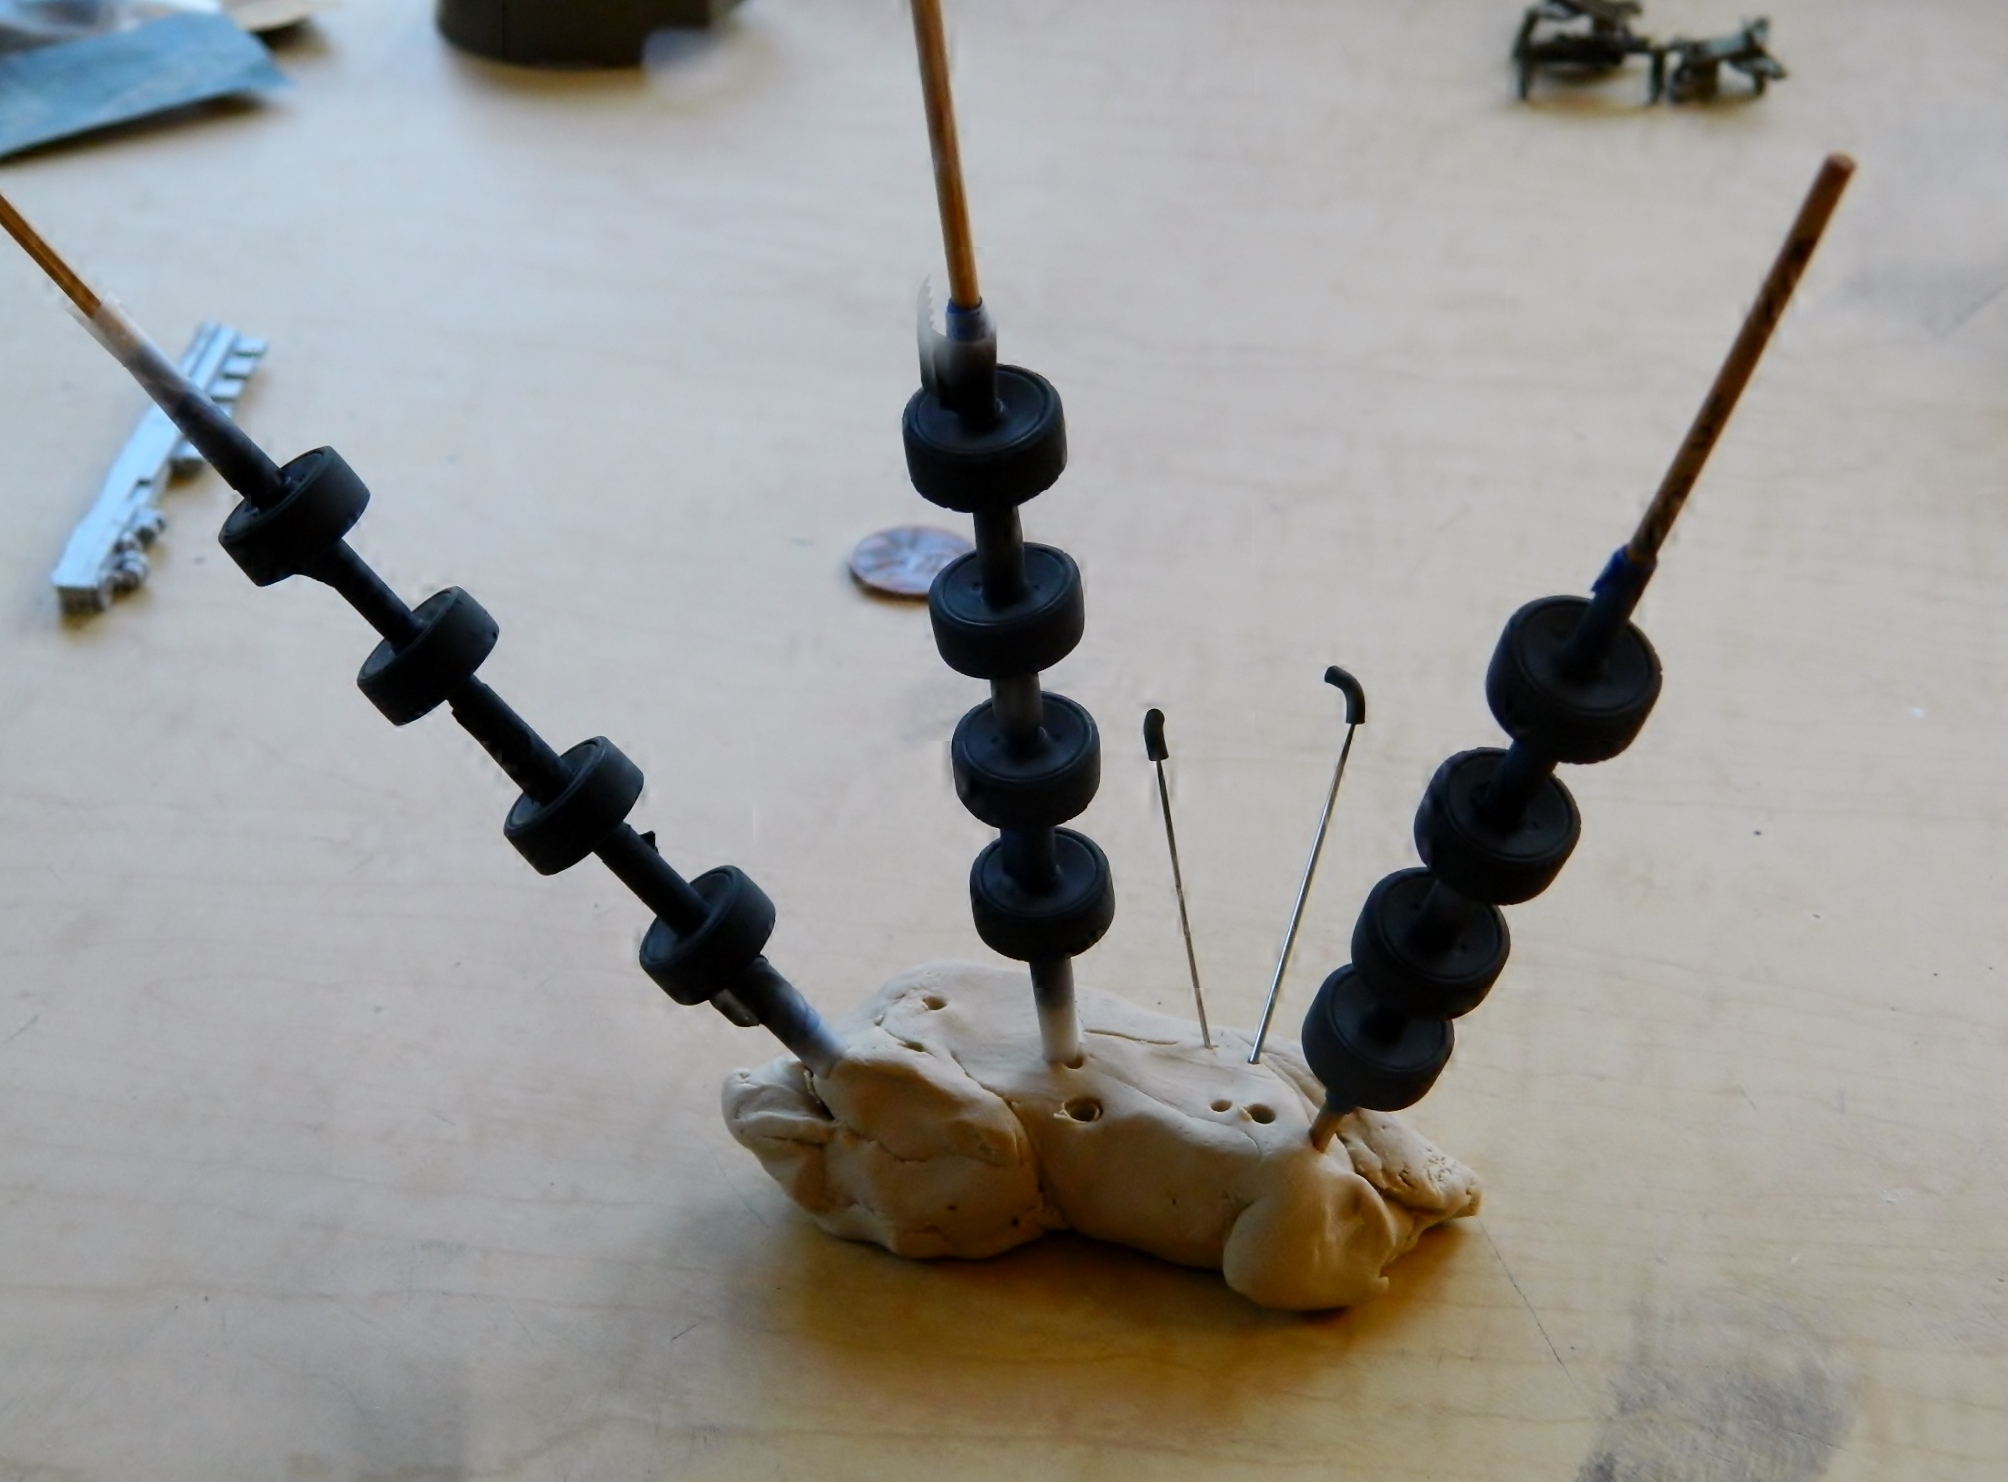
Tamiya makes a very handy paint, XF-85 Rubber Black and it looks just like rubber, so I painted the rubber surfaces of the road wheels in that color. I mounted them on a skewer, held them apart by wrapping the skewer with masking tape, and painted:

In looking at the kit-supplied bogies, the skid returns that are mounted on top of them are way out of scale and will need replacing:

I’d initially thought of using brass shim stock for that and then found a very nice set of late-model resin skids (Tiger Model Design again) and got me a set of them. I assembled the bogies and road wheels, cut off the kit’s return skids, finished the seams, and added the TMD skids (which also came with the bolts on the bottom of the bogies that the kit didn’t have):


The reason I did all the suspension parts was so that I could get to installing the interior…
