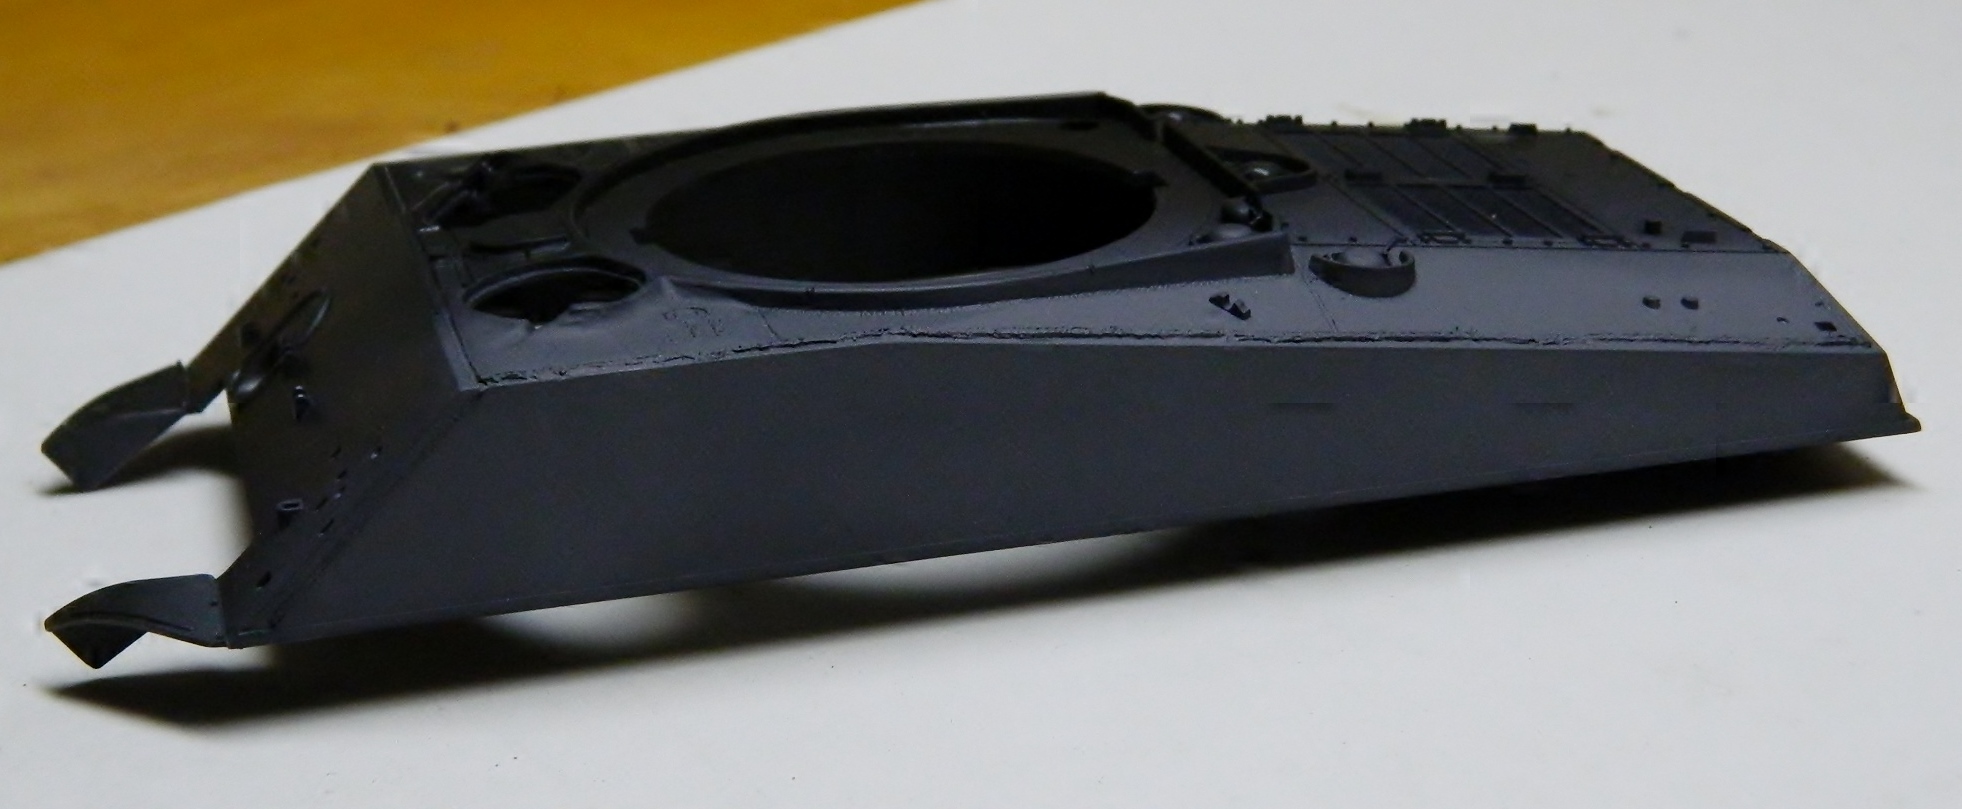
As I mentioned previously, resin isn’t exactly solid and if pressure is applied, it will deform. Below you can see where the (blurry) corner closest the camera is slightly bent upward, probably from crowding after packaging to ship:

Warped resin parts (and plastic, too) are actually not hard to fix. Run it under HOT (not boiling) water, bend it into position, and let it cool. Well, it turns out that this formulation of resin has a memory! What that means is that once I heated it up, it straightened out all by itself. That was good news because there were a few other bent parts and warped parts that needed to be straightened out (yeah, tight packaging):

Next I wanted to try an experiment I’d read about online. For that I would need to break out my airbrush (that I hadn’t used in 21 years!). I cleaned it up where some corrosion had set in during its long idle period, tested it, and it works just fine.
To perform the experiment, I first needed to shoot what will become an “under coat.” (I’m using a spare kit, my painting mule, that I’m using for spare parts and experiments…I have no intention of building it and it’s just used for testing things out). What I’m looking to do is to replicate paint chipping and wear, so I want to put down a coating of Humbrol’s Metalcote enamel paint called “steel” (stock number 27003) first. It’s a paint that’s come to be called a “metalizer.” “Metalizer” is actually a trade name of Testor’s Paint who were the first ones (to my knowledge, anyway) to pioneer this type of paint. Nothing looks like a given metal but that metal does, and Testors ground metal particles ULTRA fine and suspended them in a substrate (to the best of my knowledge; I am not a chemist for any paint company) which is then sprayed on. Subsequent manufacturers of these types of paints, regardless of what they call it, are generically called metalizer by modelers. Once it’s dried for a few hours the paint is buffed with a soft cloth and damn if it doesn’t look just like the metal it’s supposed to replicate, which in this case is steel.
Sprayed before buffing:
And then partially buffed to show the difference in finish:
There are places that are more prone to wear than others (a protruding edge will wear, a recessed area won’t). And there are two basic types of wear, just in case all that’s not confusing enough. There’s impact wear, caused by something hard hitting something else hard that just happens (or happened) to have a coat of paint on its surface. Then there’s friction wear, caused by a surface constantly being rubbed in one area so that the painted surface wears away.
One of the problems modelers can encounter is the difficulty in make a supposed random effect, chipping wear, actually be random (friction wear isn’t as random). One of the things our minds does is to impose order and symmetry on our creations, which if that’s what you’re after is fine. And ultimately there is an order to how equipment chips and wears, it’s just not generally symmetrical. So I found a technique online that randomizes the chipping wear and it’s called “salt chipping.”
Salt chipping is where the undercoat (in this experiment, steel) is applied using acrylic or enamel paint. Moisture is laid down in the areas most likely to chip, and while the surface is still moist, salt crystals are sprinkled onto the damp area; use more salt for heavy chipping, less for less. Once the moisture has evaporated, whatever the base coat is, acrylic or enamel, the other type of paint is then painted over the base coat and salt crystals.
Yes, yes…I know. All you painters out there and now squirming in your seats saying, “One never mixes paint types on the same surface, they don’t bond!“
EXACTLY! I don’t want them to bond, I want the top coat to chip and if it’s not bonded to the base coat it will.
So this is the set of tools. I have my instructions, copied from the ‘net and printed out and handy (because I have no memory and less experience with this process), a small dish of water with just a touch of dish-washing soap (to break the surface tension of the water so it covers the area and doesn’t bead up), plain old table salt, a brush and a victim…er…subject:
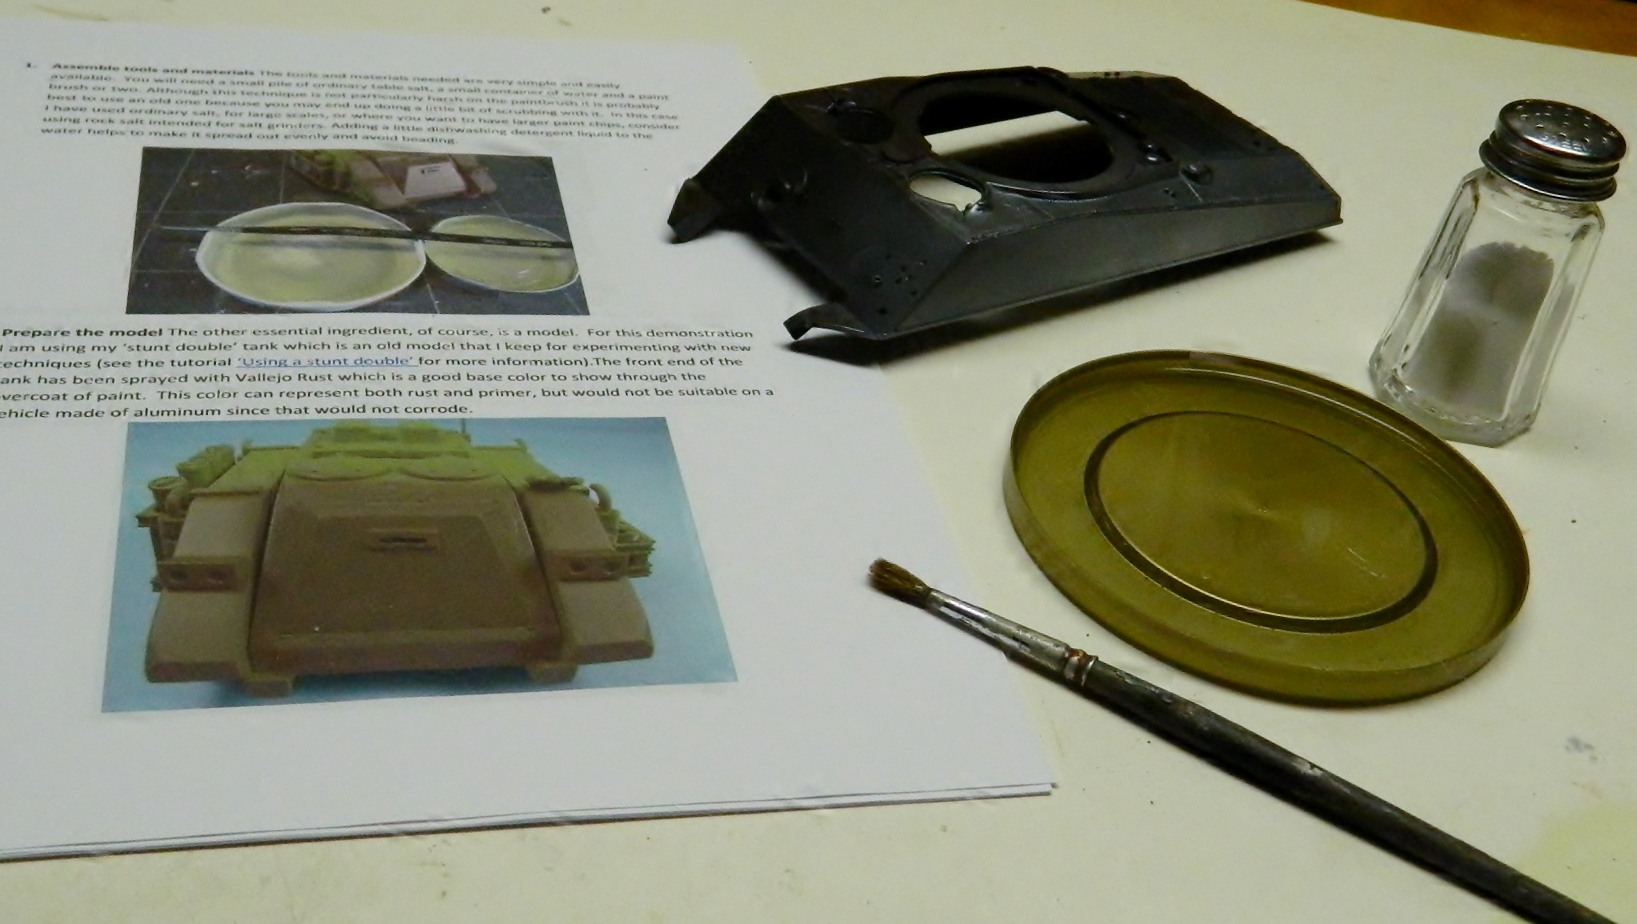
I applied the water sparingly overall, because I want the surface damp and not wet, and the salt more heavily to edges and less so on surfaces:


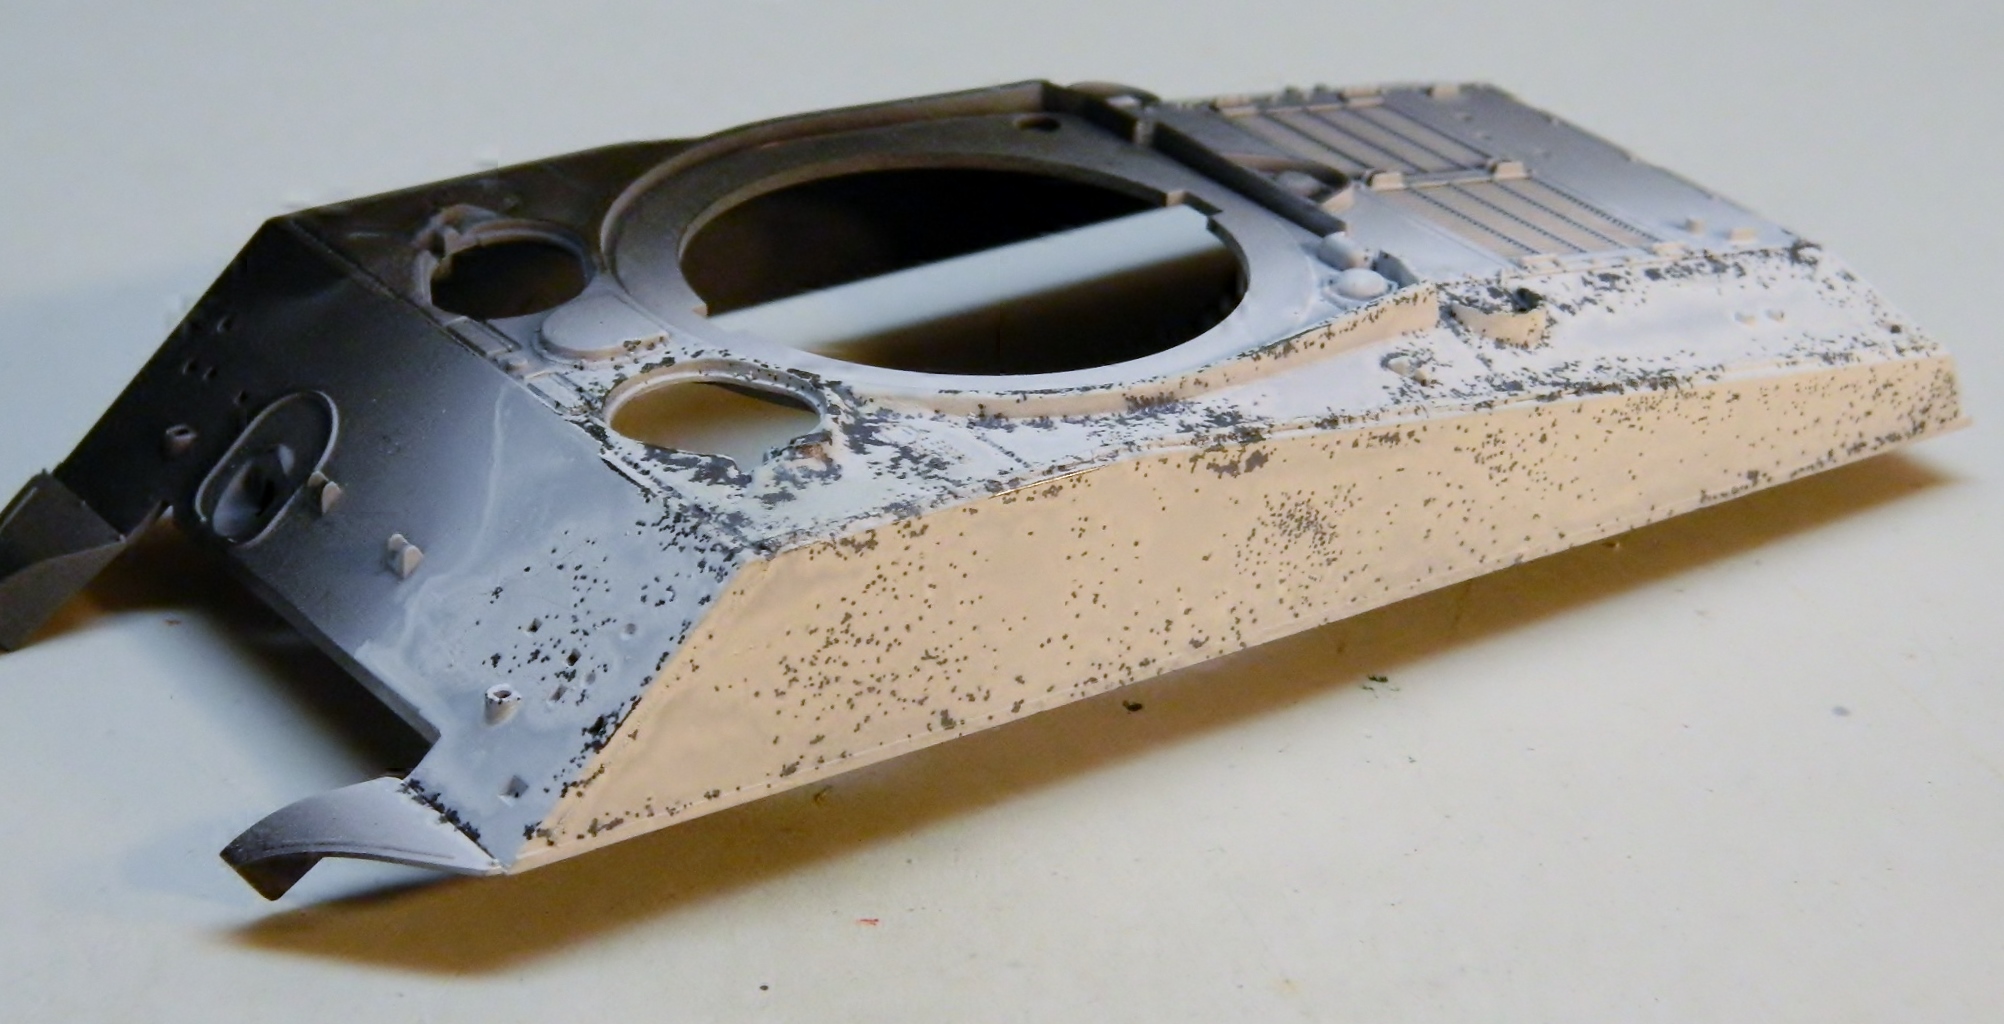
Once the water has evaporated, I applied the top coat of flat white. Acrylic paint hardens as it cures so I didn’t want to let the surface coat sit overnight, I wanted it to chip so as soon as it was dry to the touch, I took my fingertip and rubbed away the salt crystals, taking the white paint with it and exposing the steel underneath:
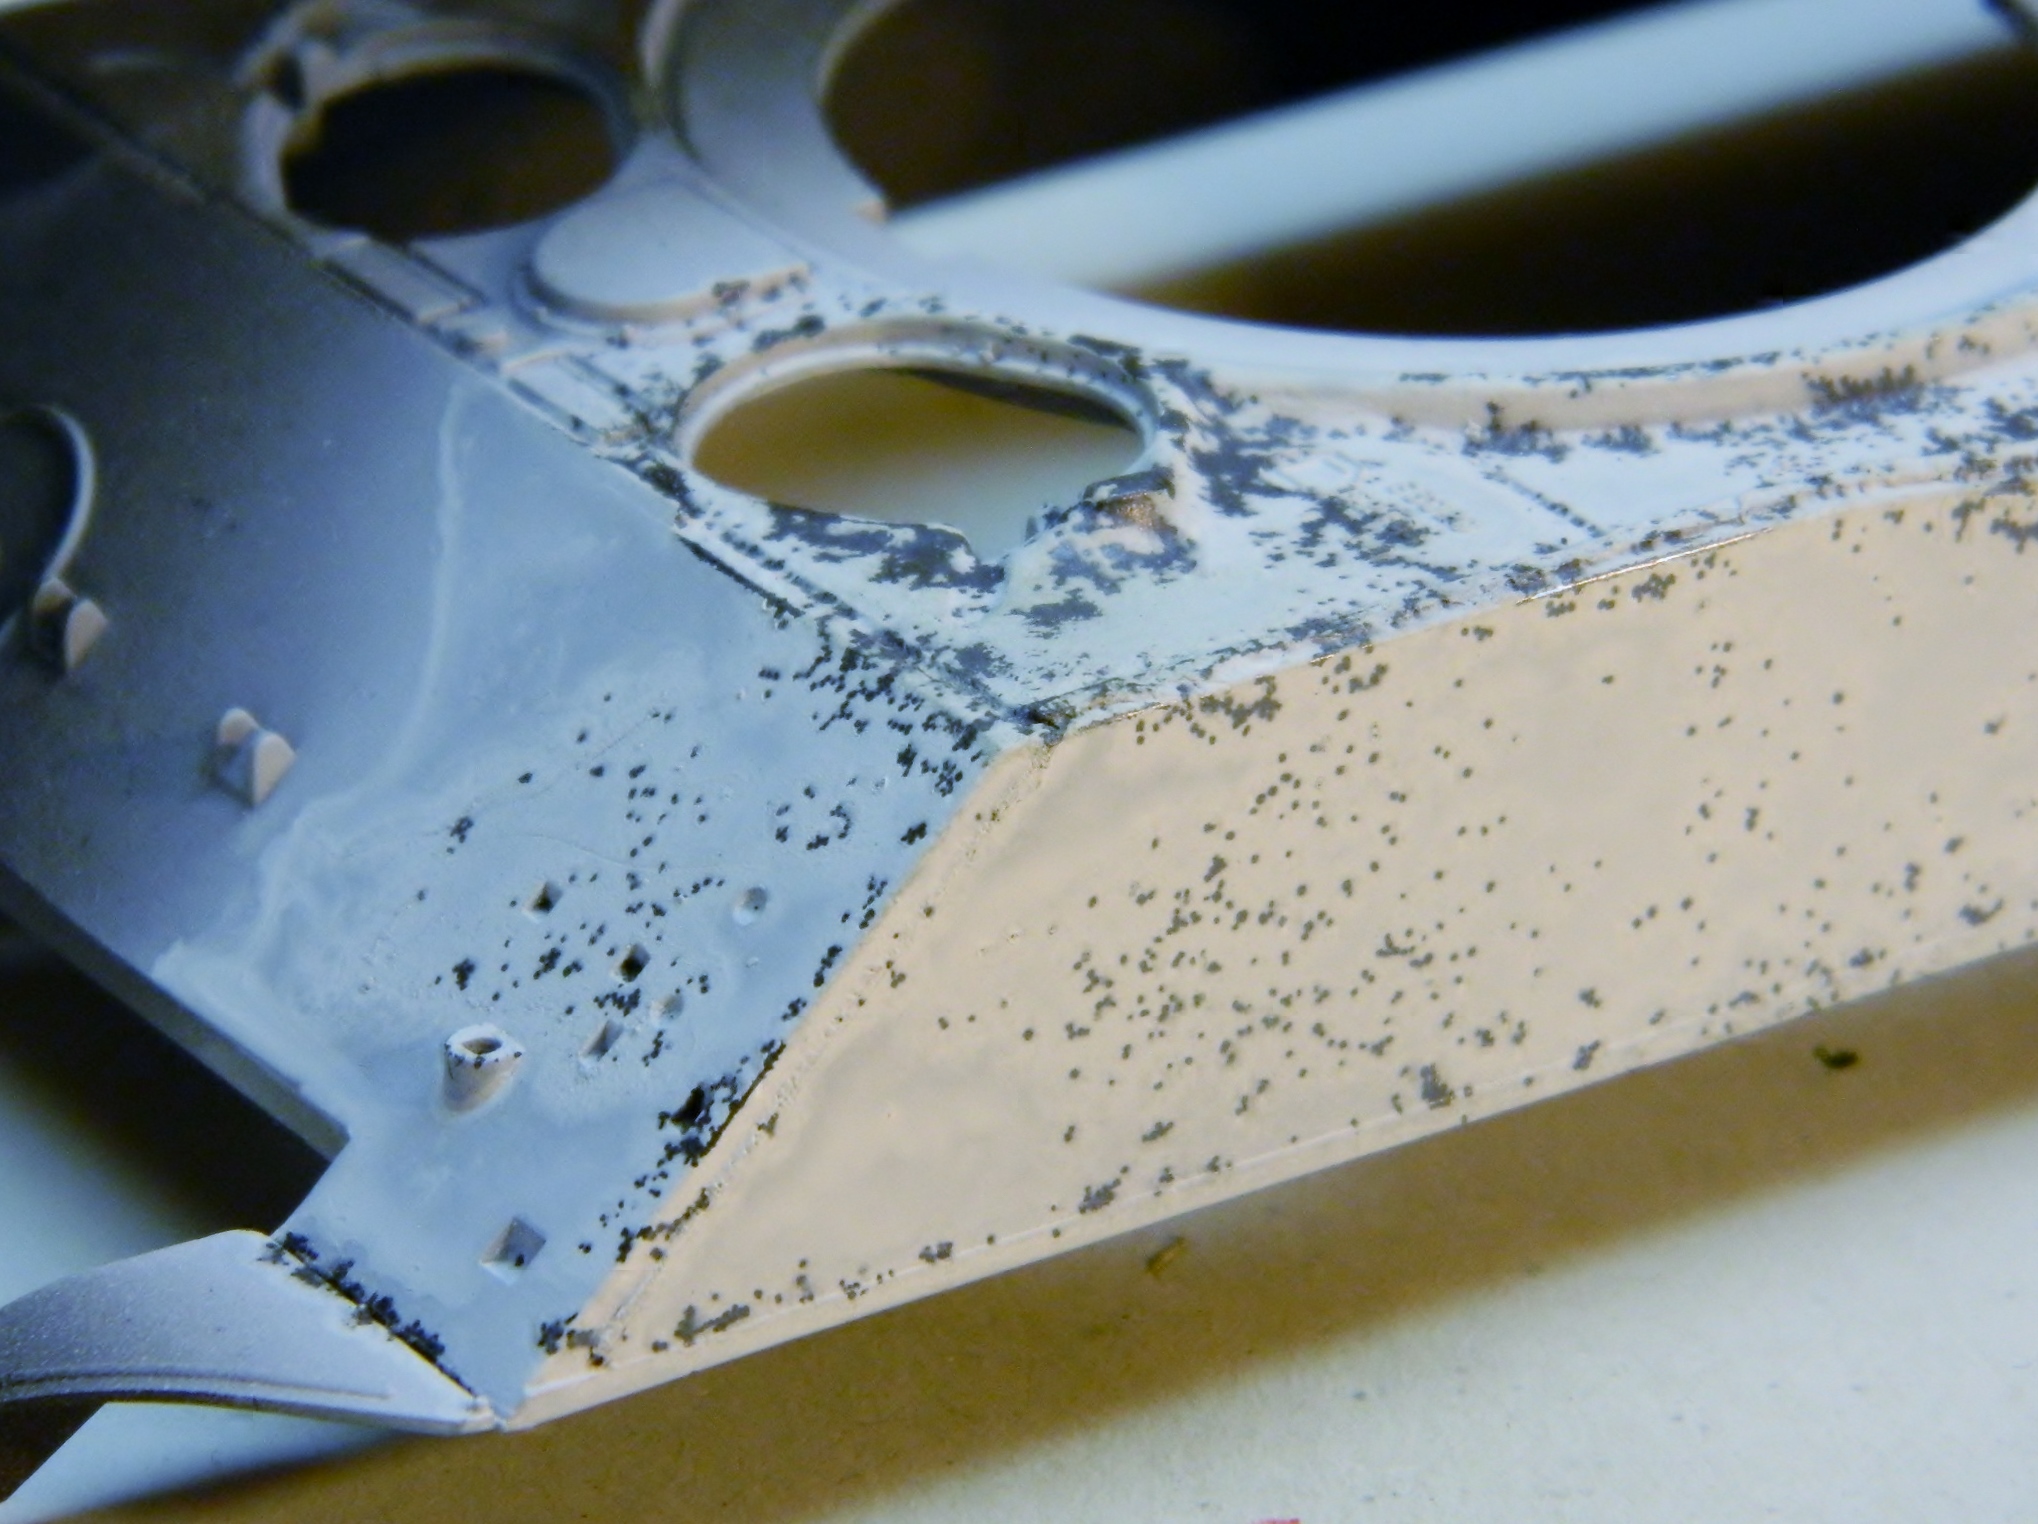

OH yeah! I can use this! Satisfied with the results of the salt-chipping experiment (and grateful for the break it provided), it was time to go back to work on the coolant manifolds.
