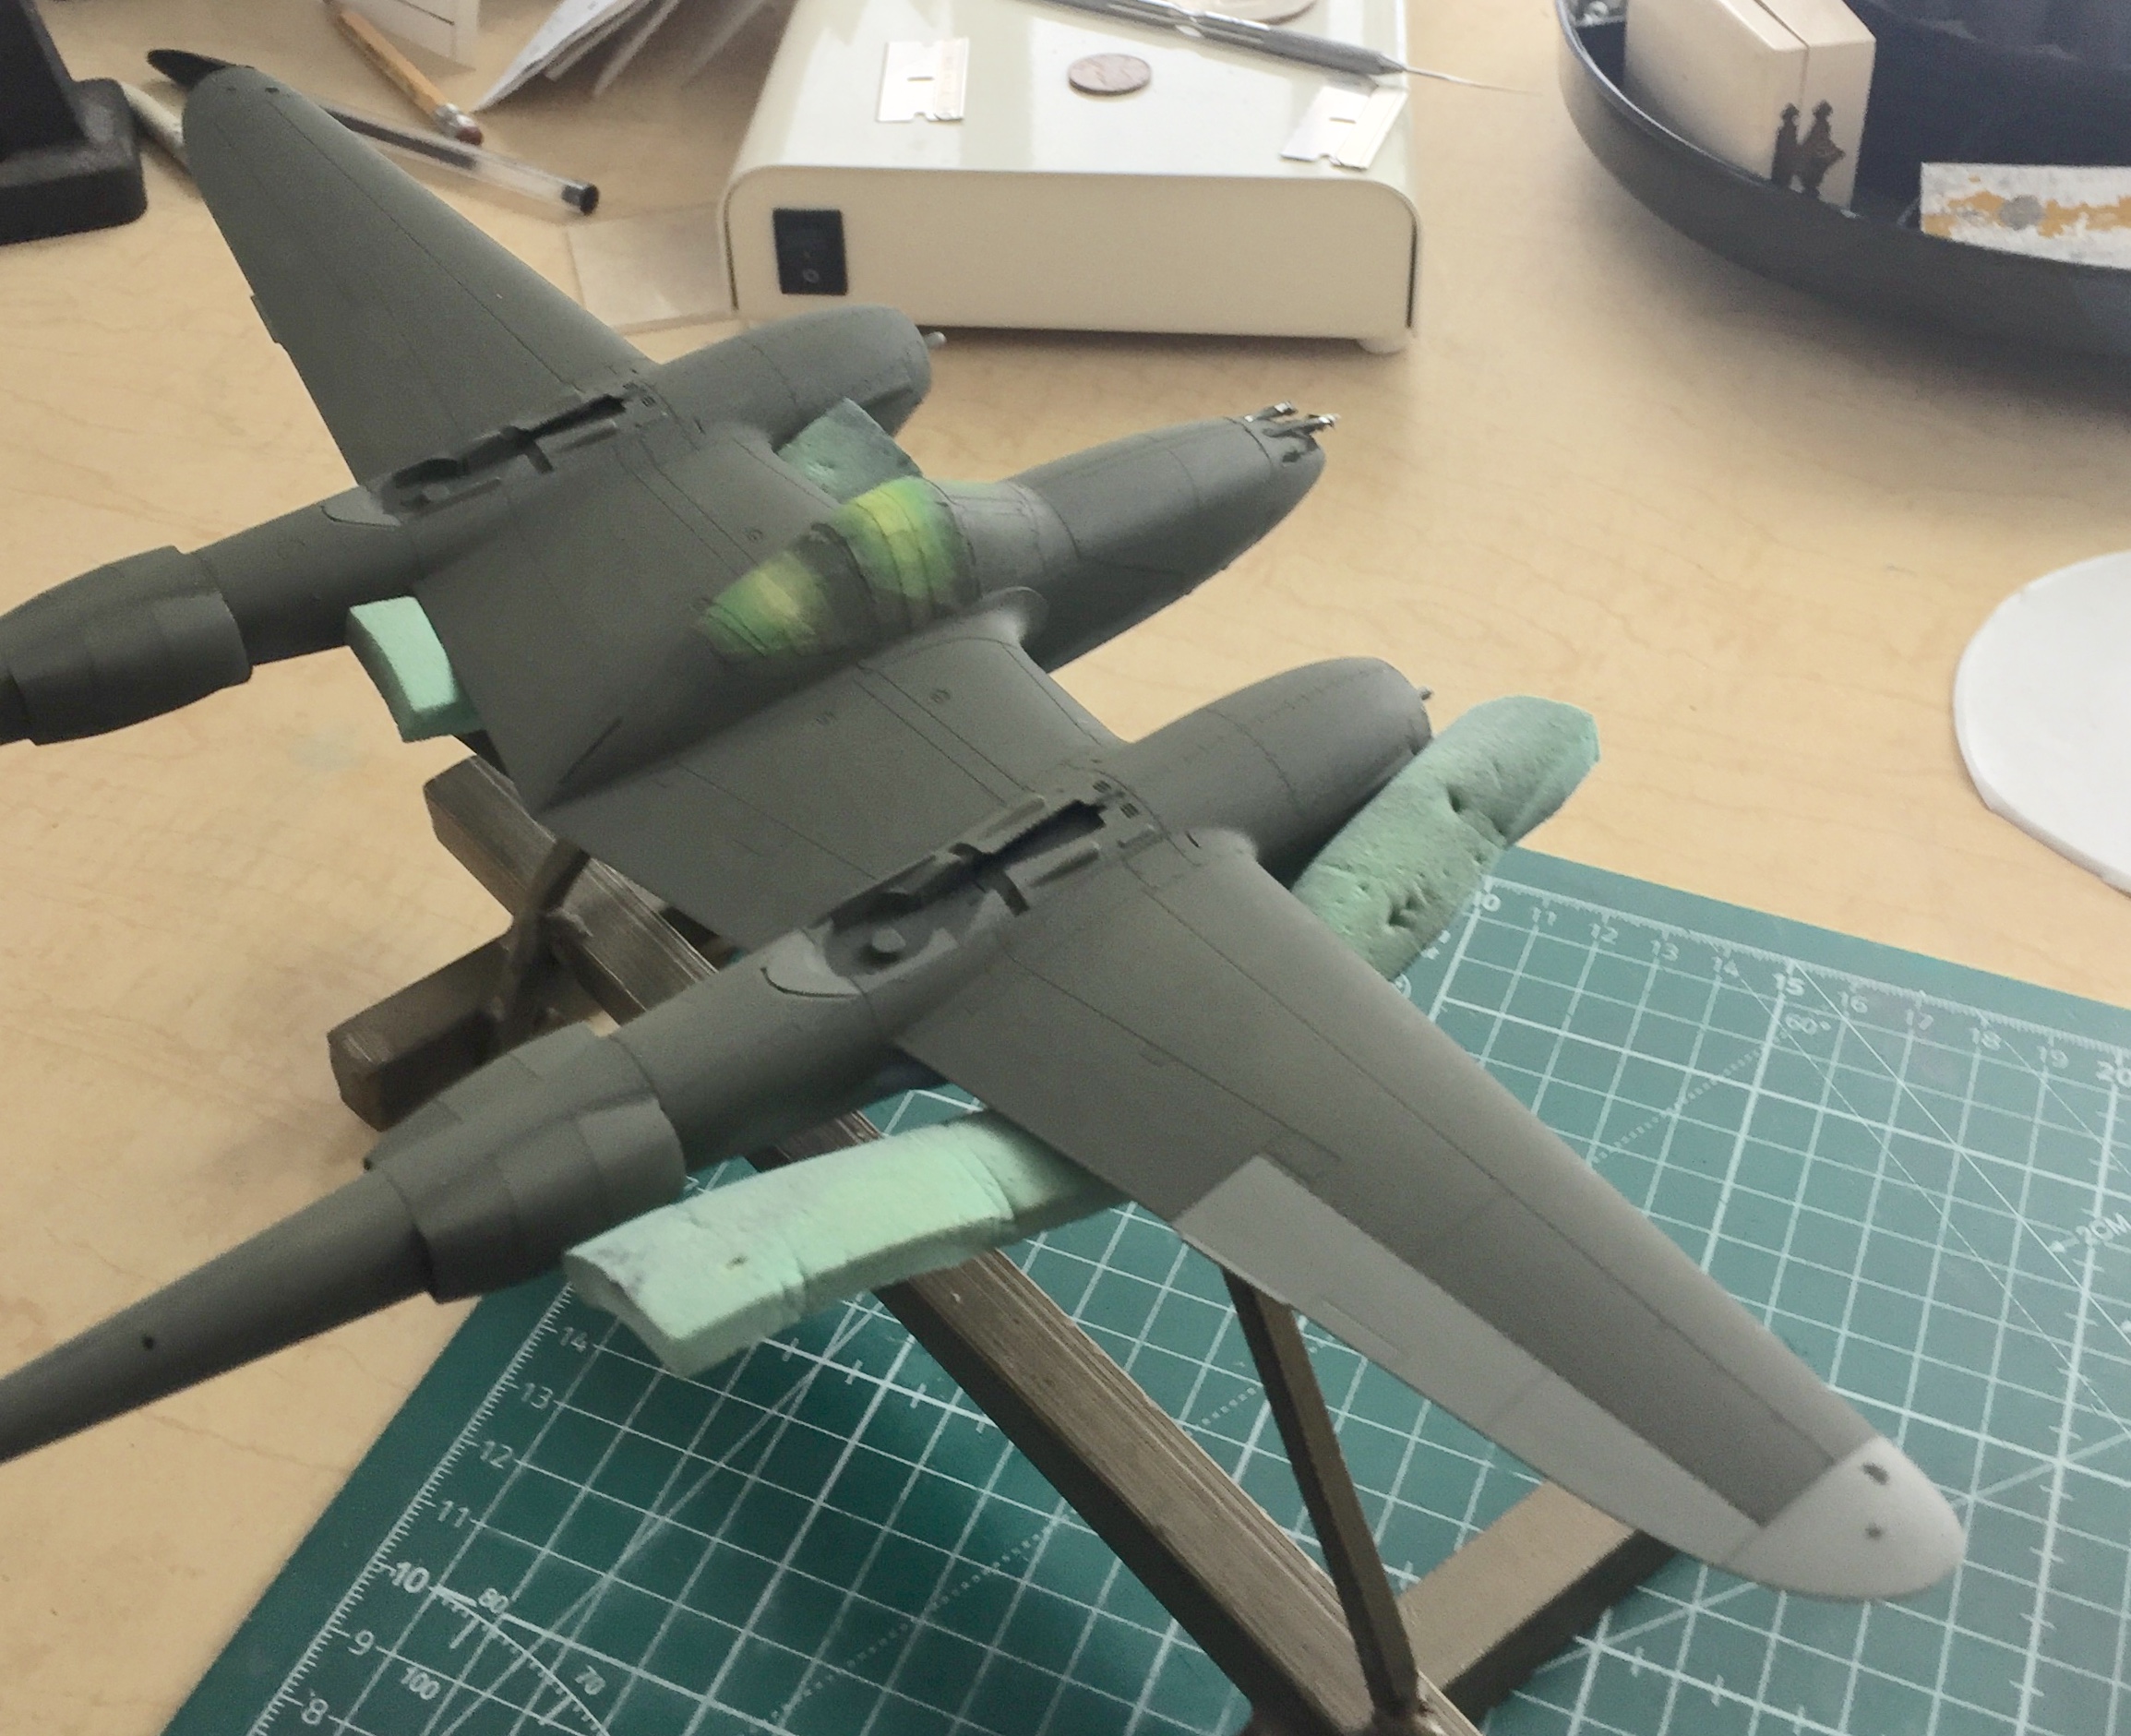
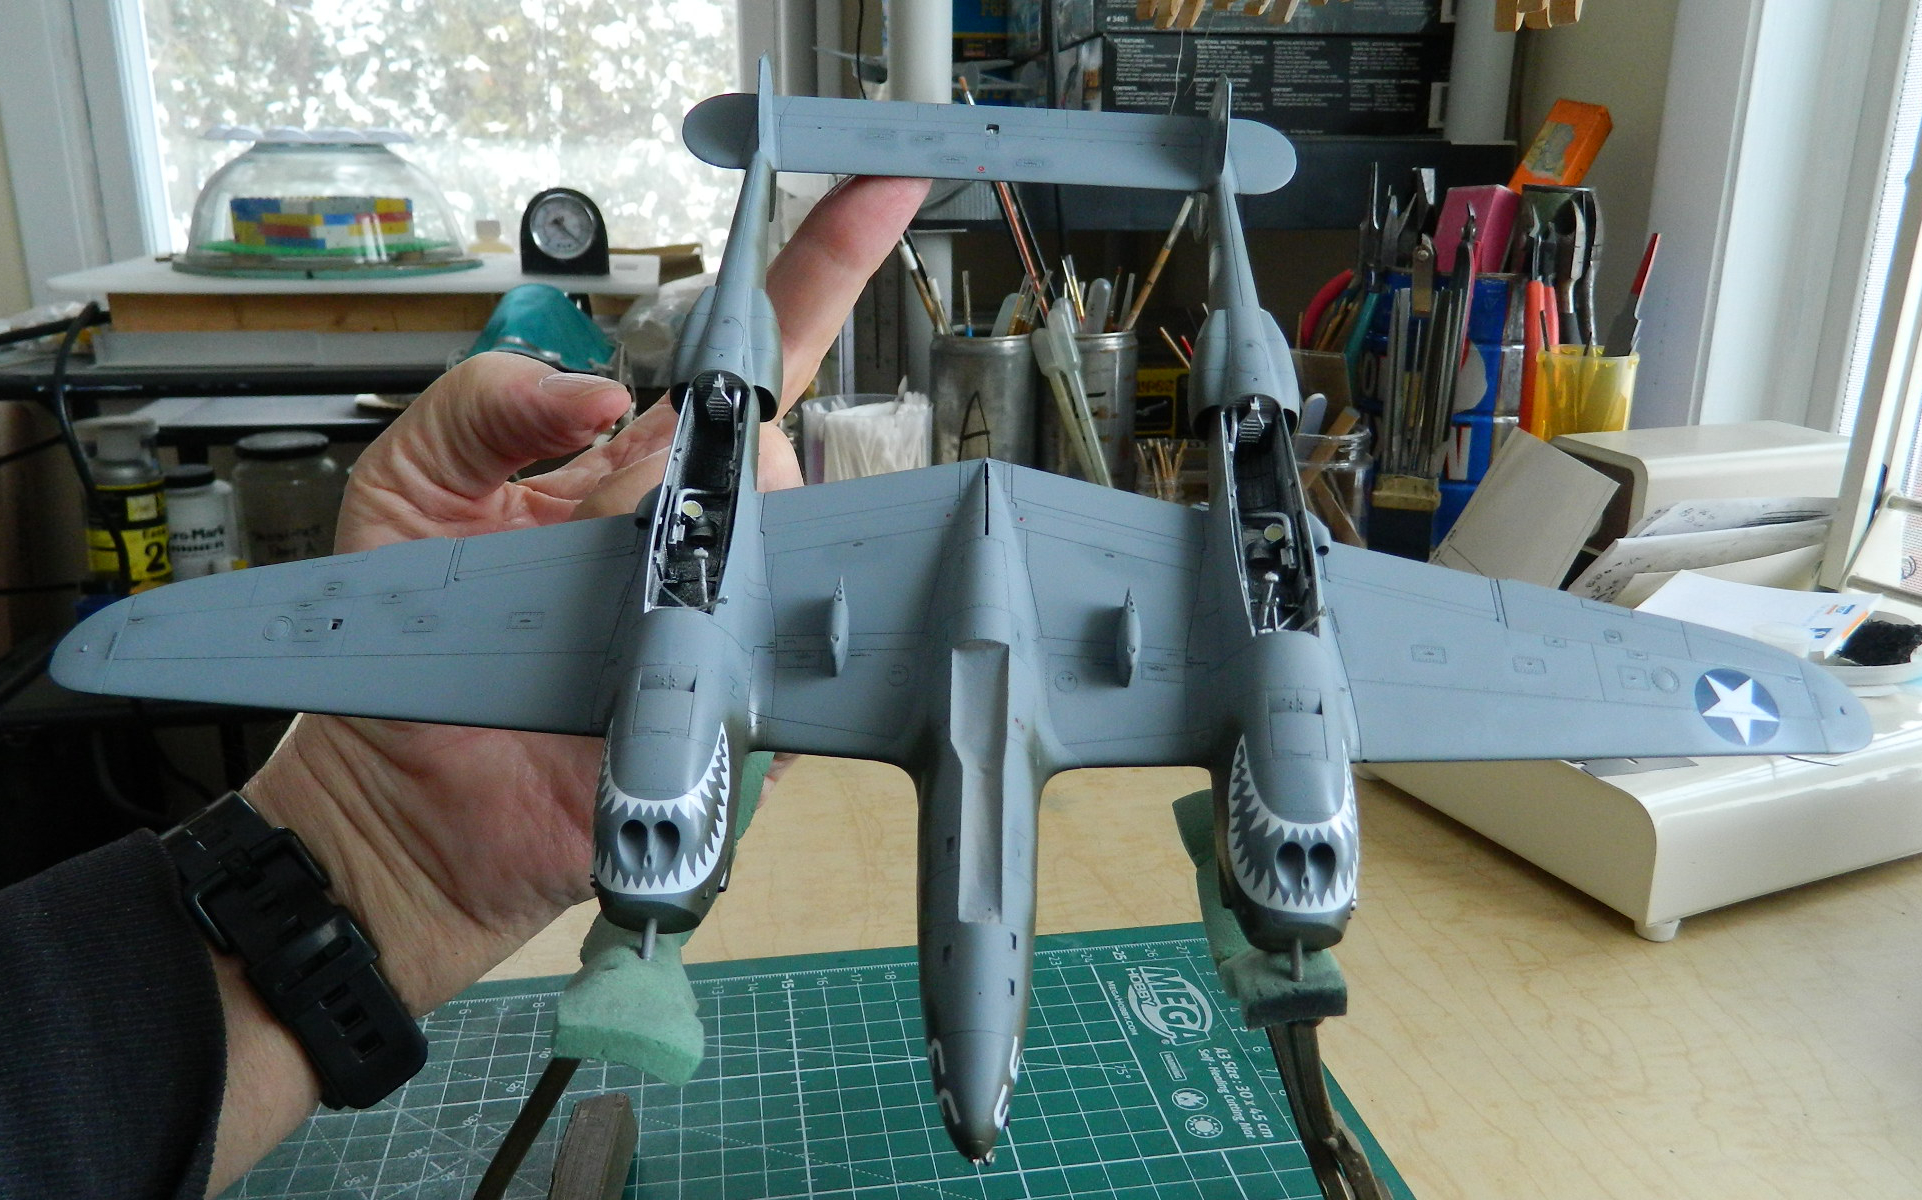
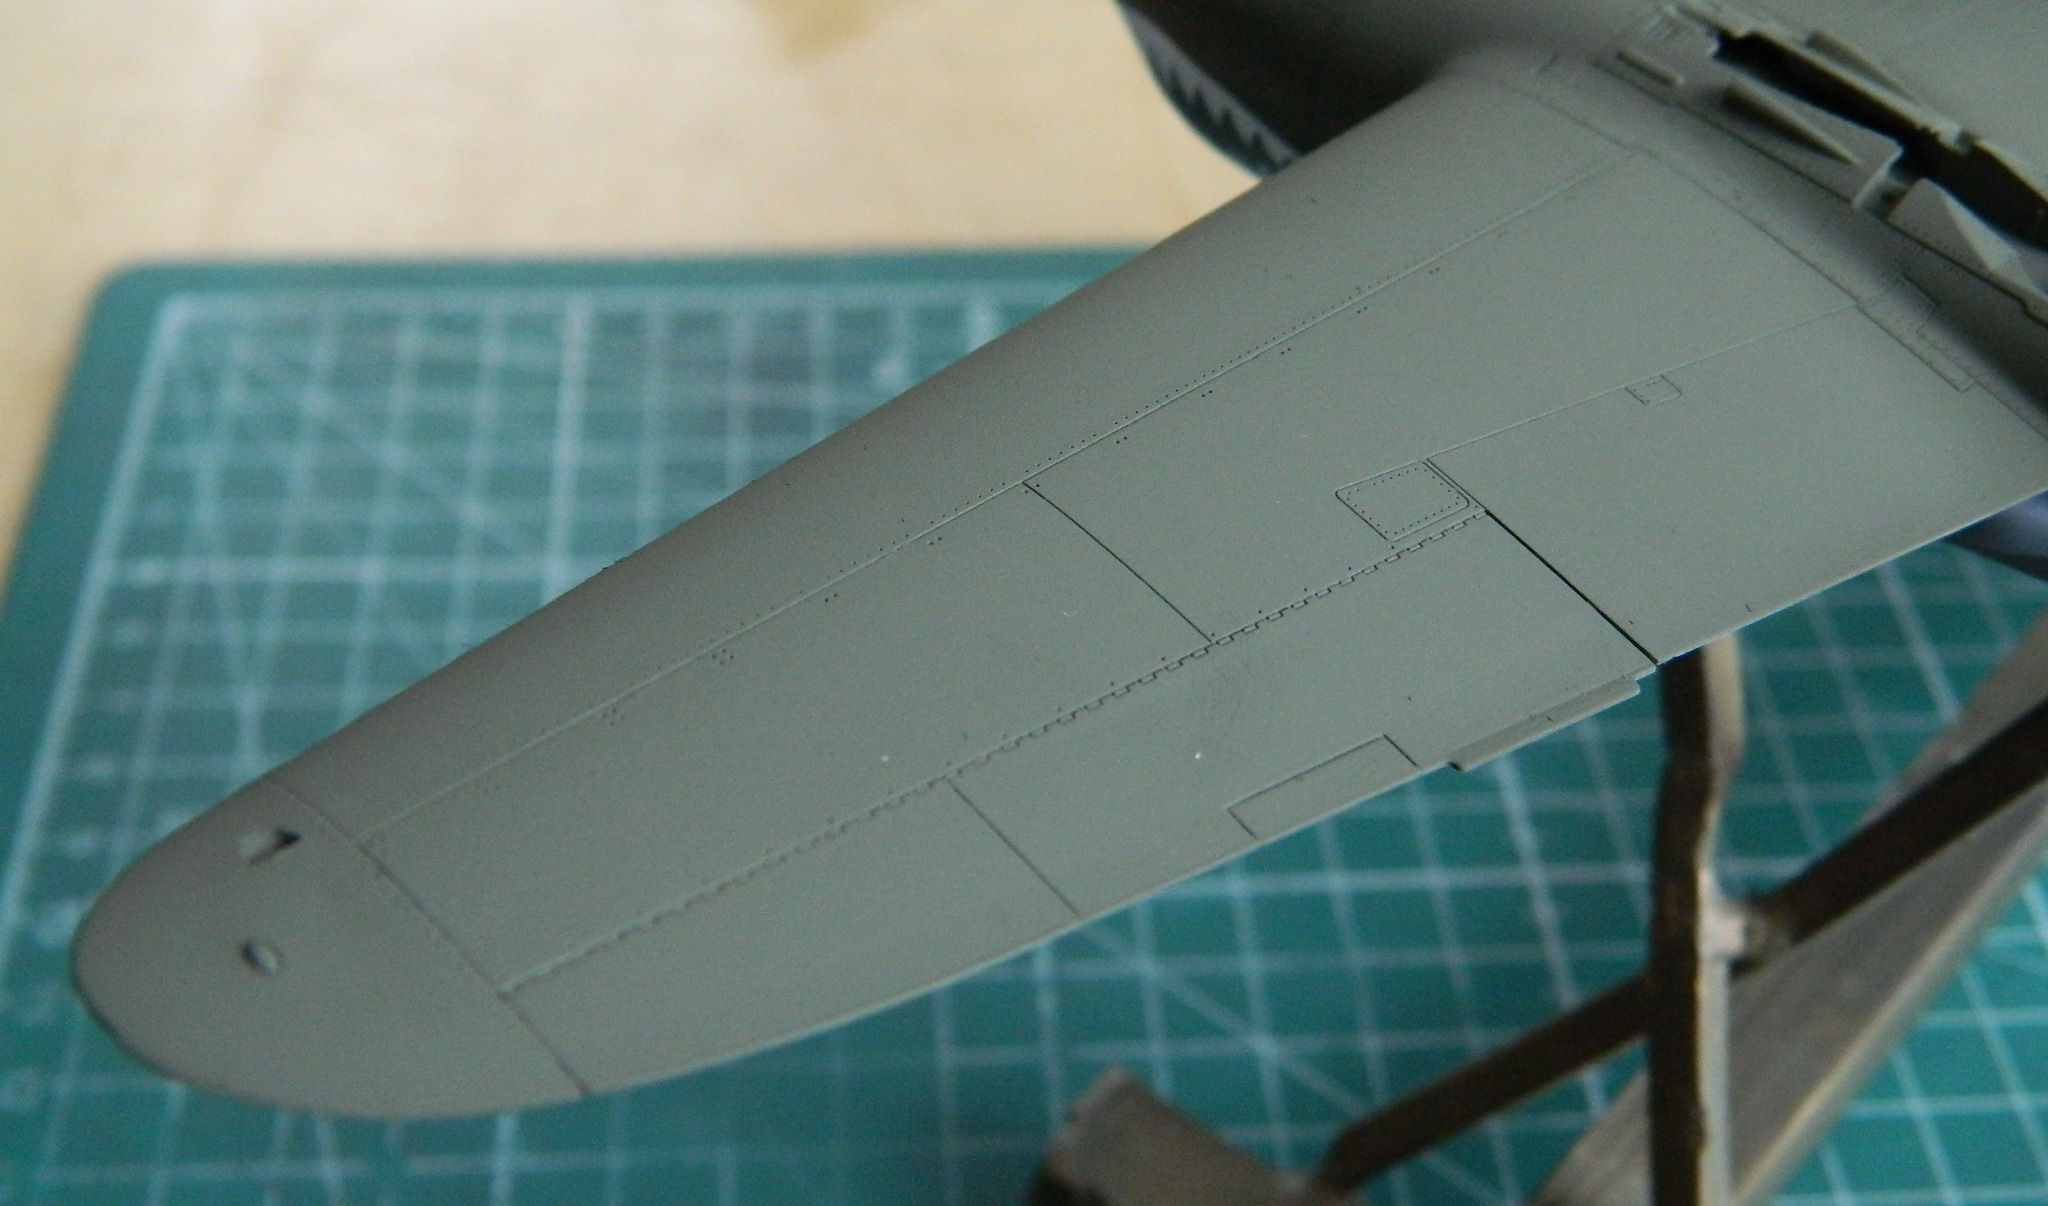
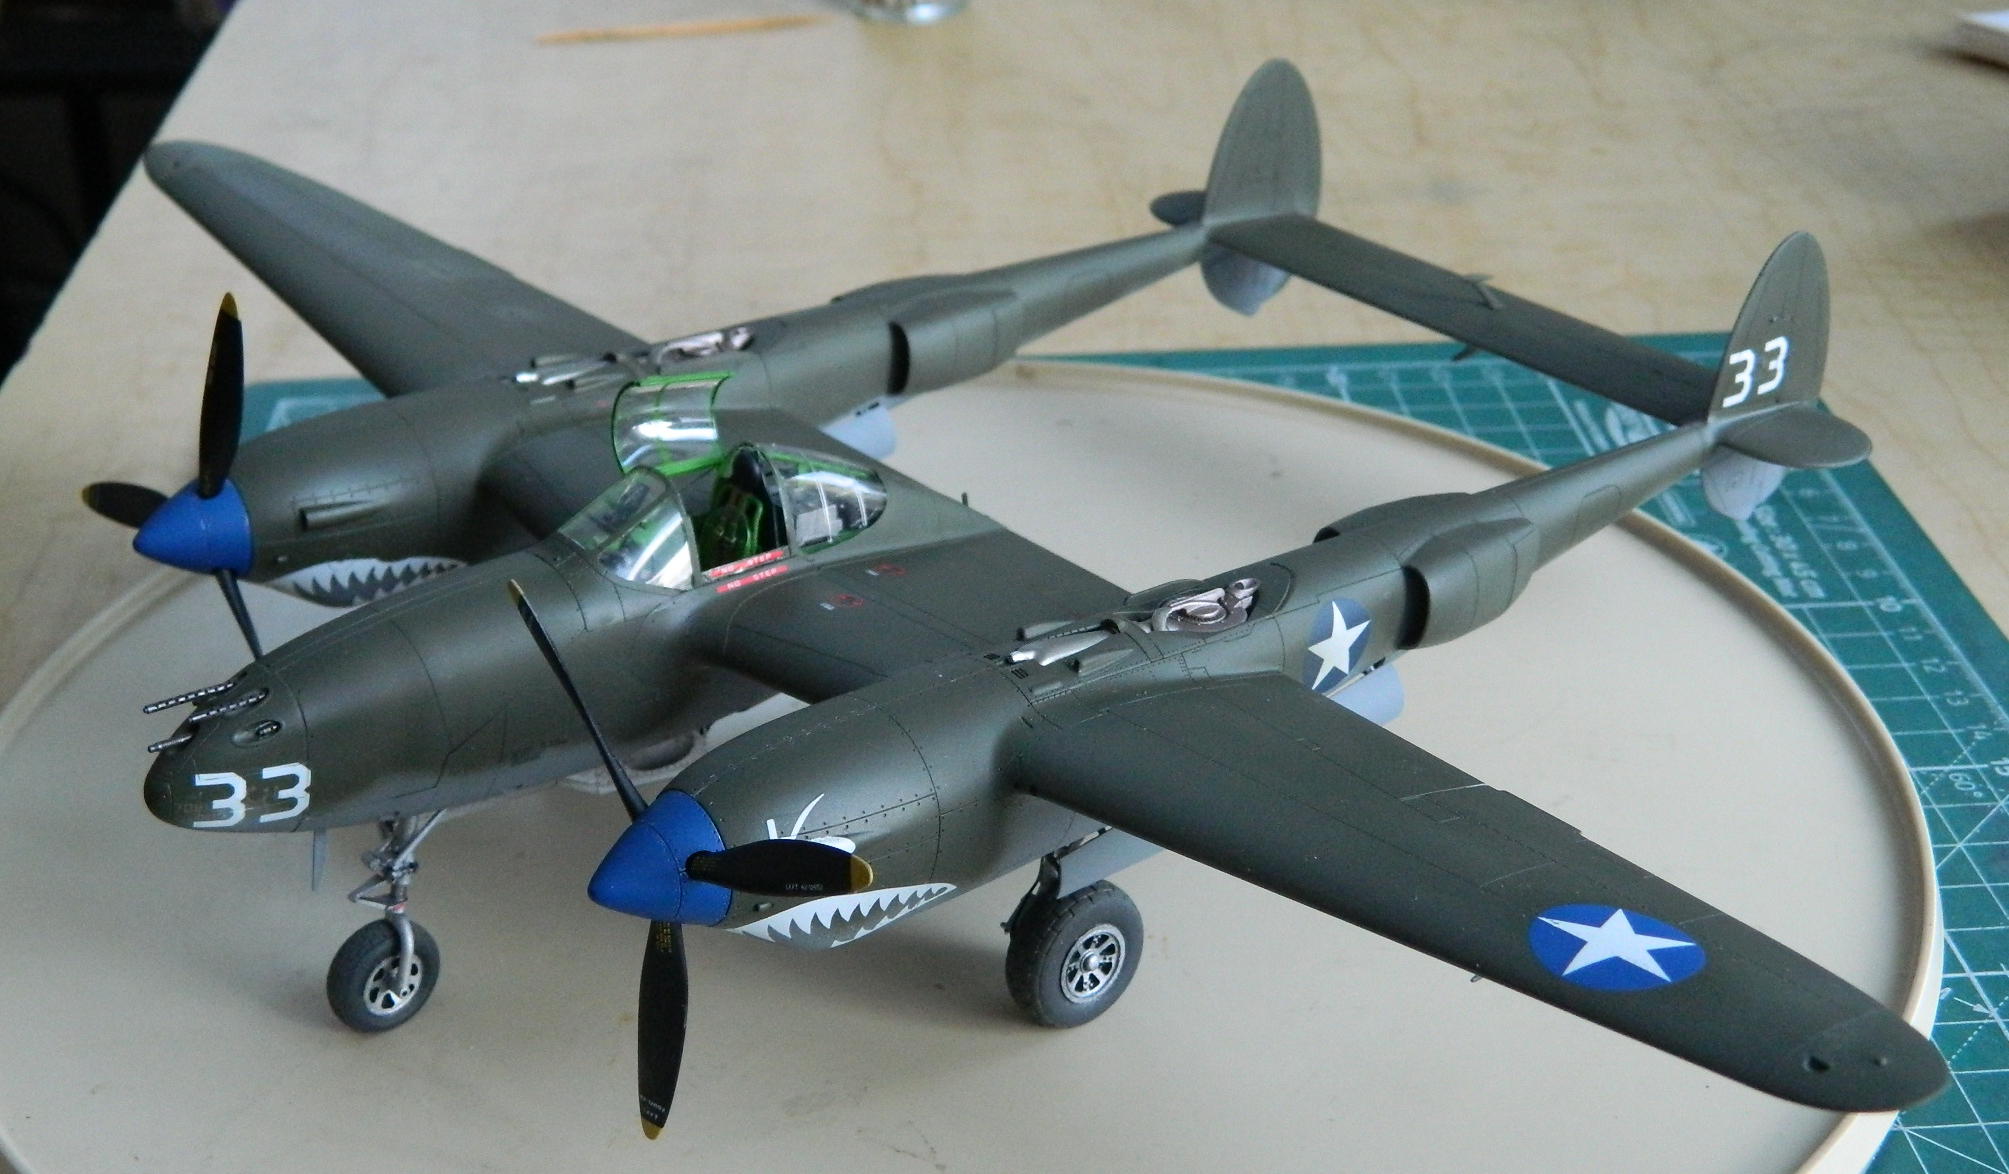
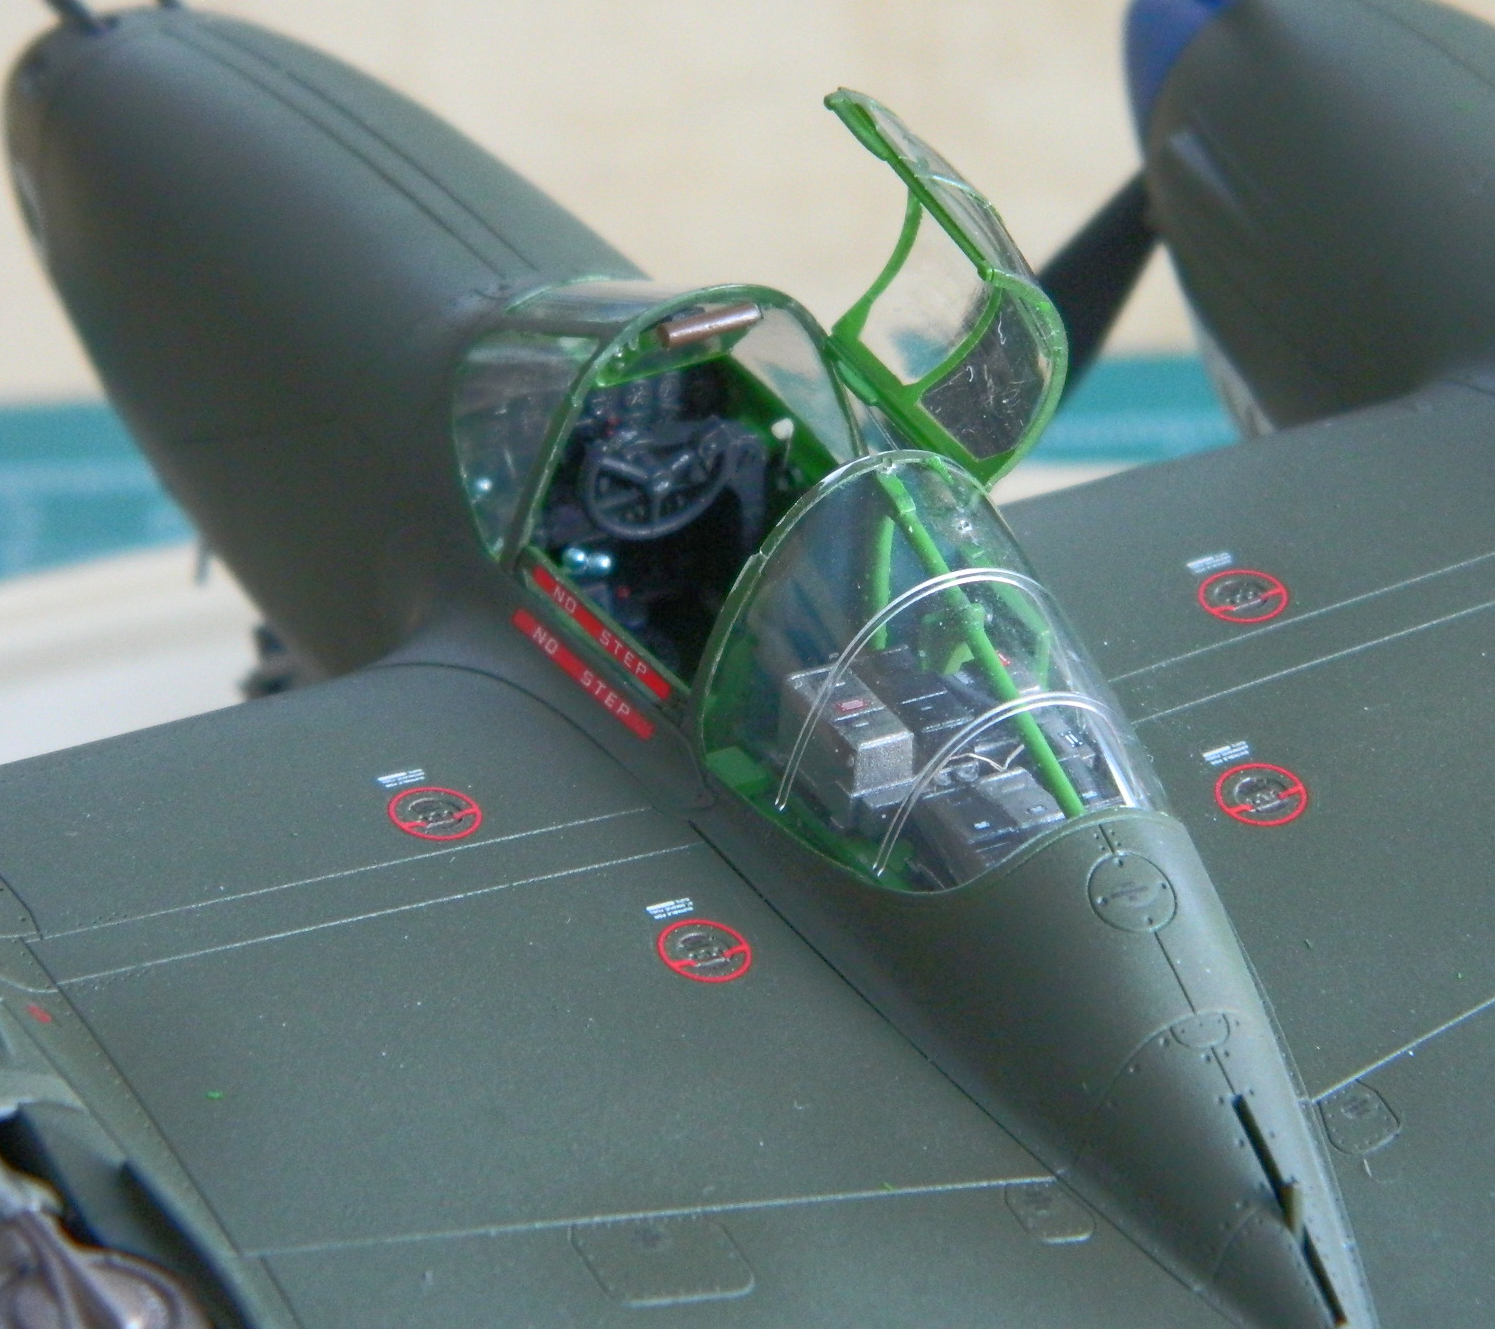
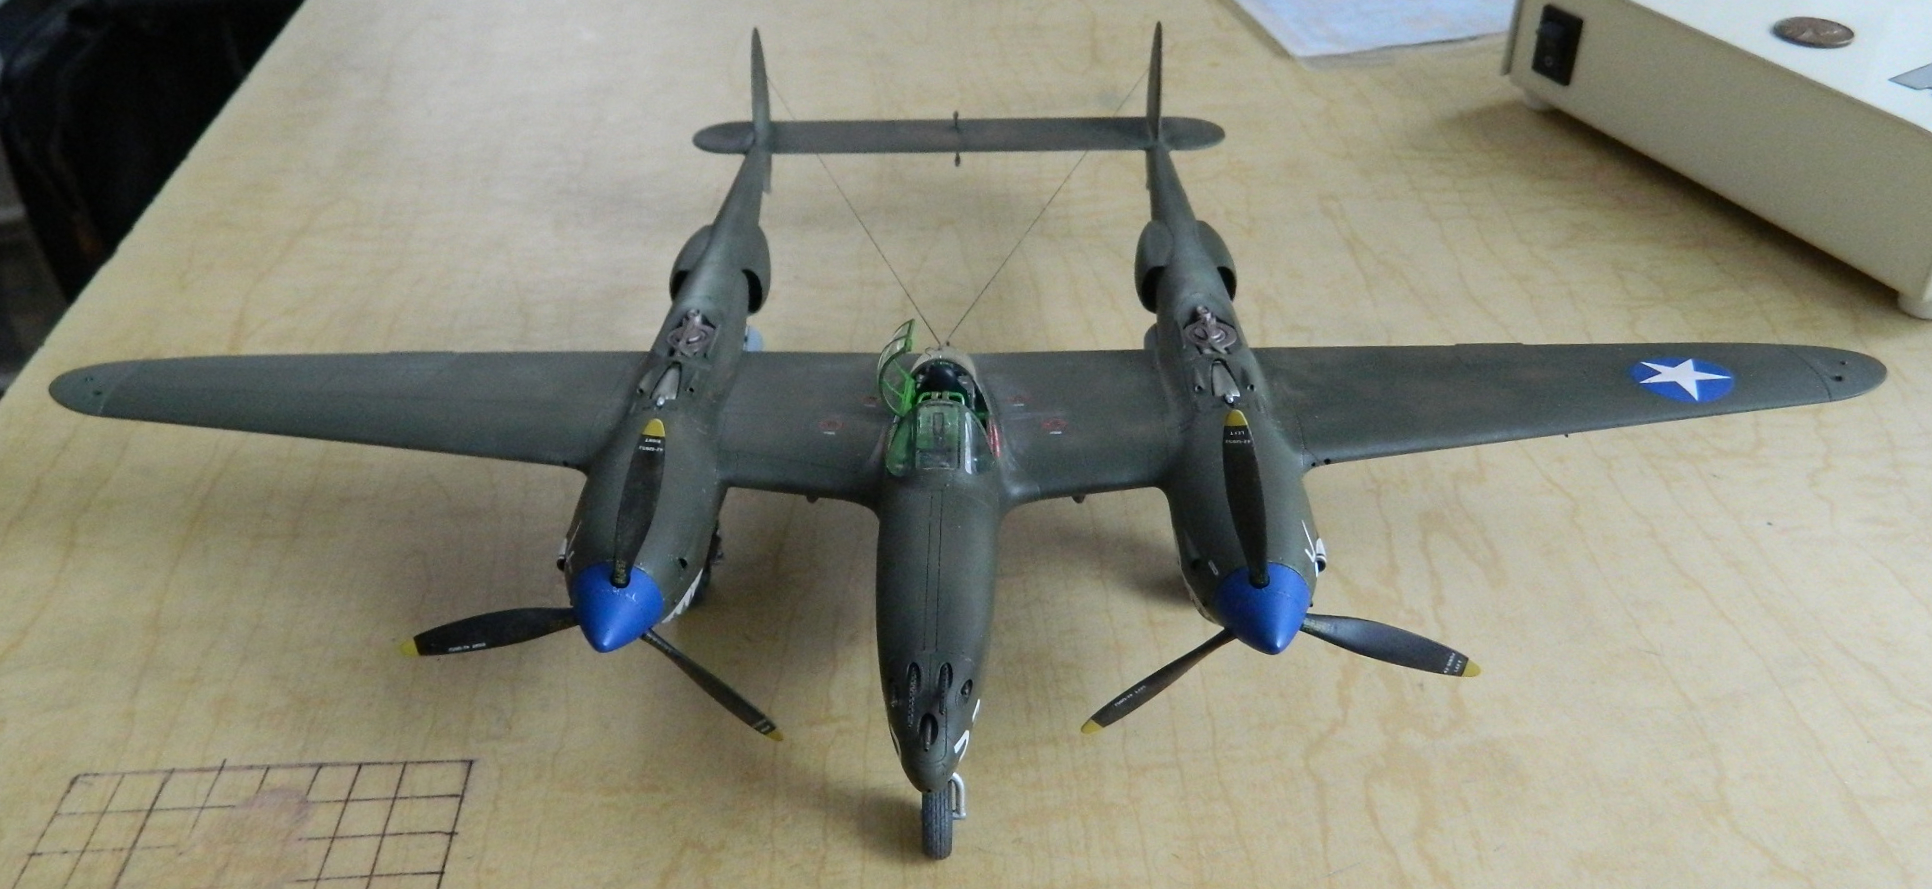
With most of the assembly done, the painting starts (generally) with light colored paint first and working darker. The underside was painted with Tamiya XF-25 Light Sea Grey and 25% Tamiya XF-2 Flat White for scale color correction. The top was done with Tamiya XF-62 Olive Drab, also with 25% Tamiya XF-2 Flat White for scale color correction. The main landing gear doors were just dry-fit in place so that I could mask the landing gear bays:


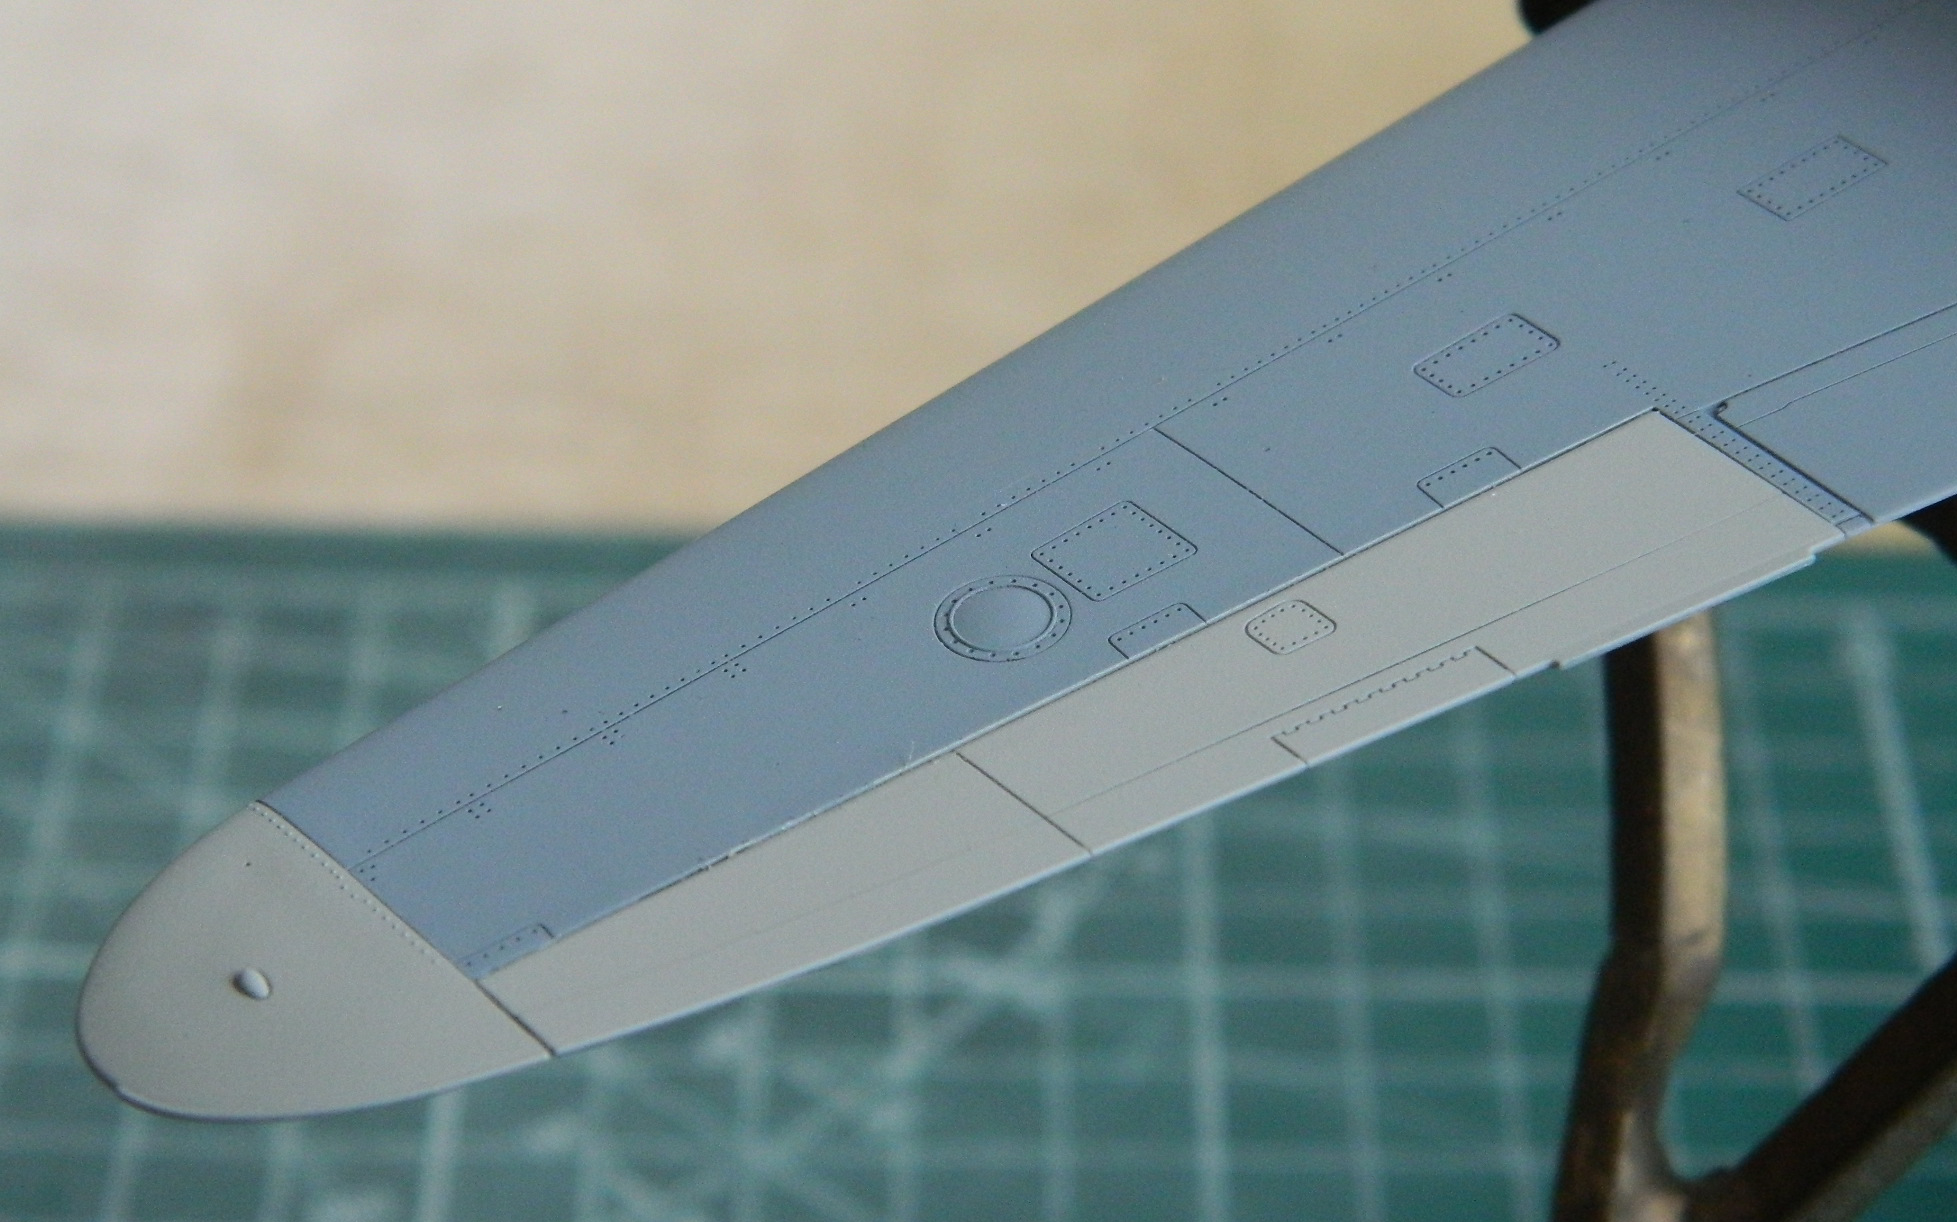
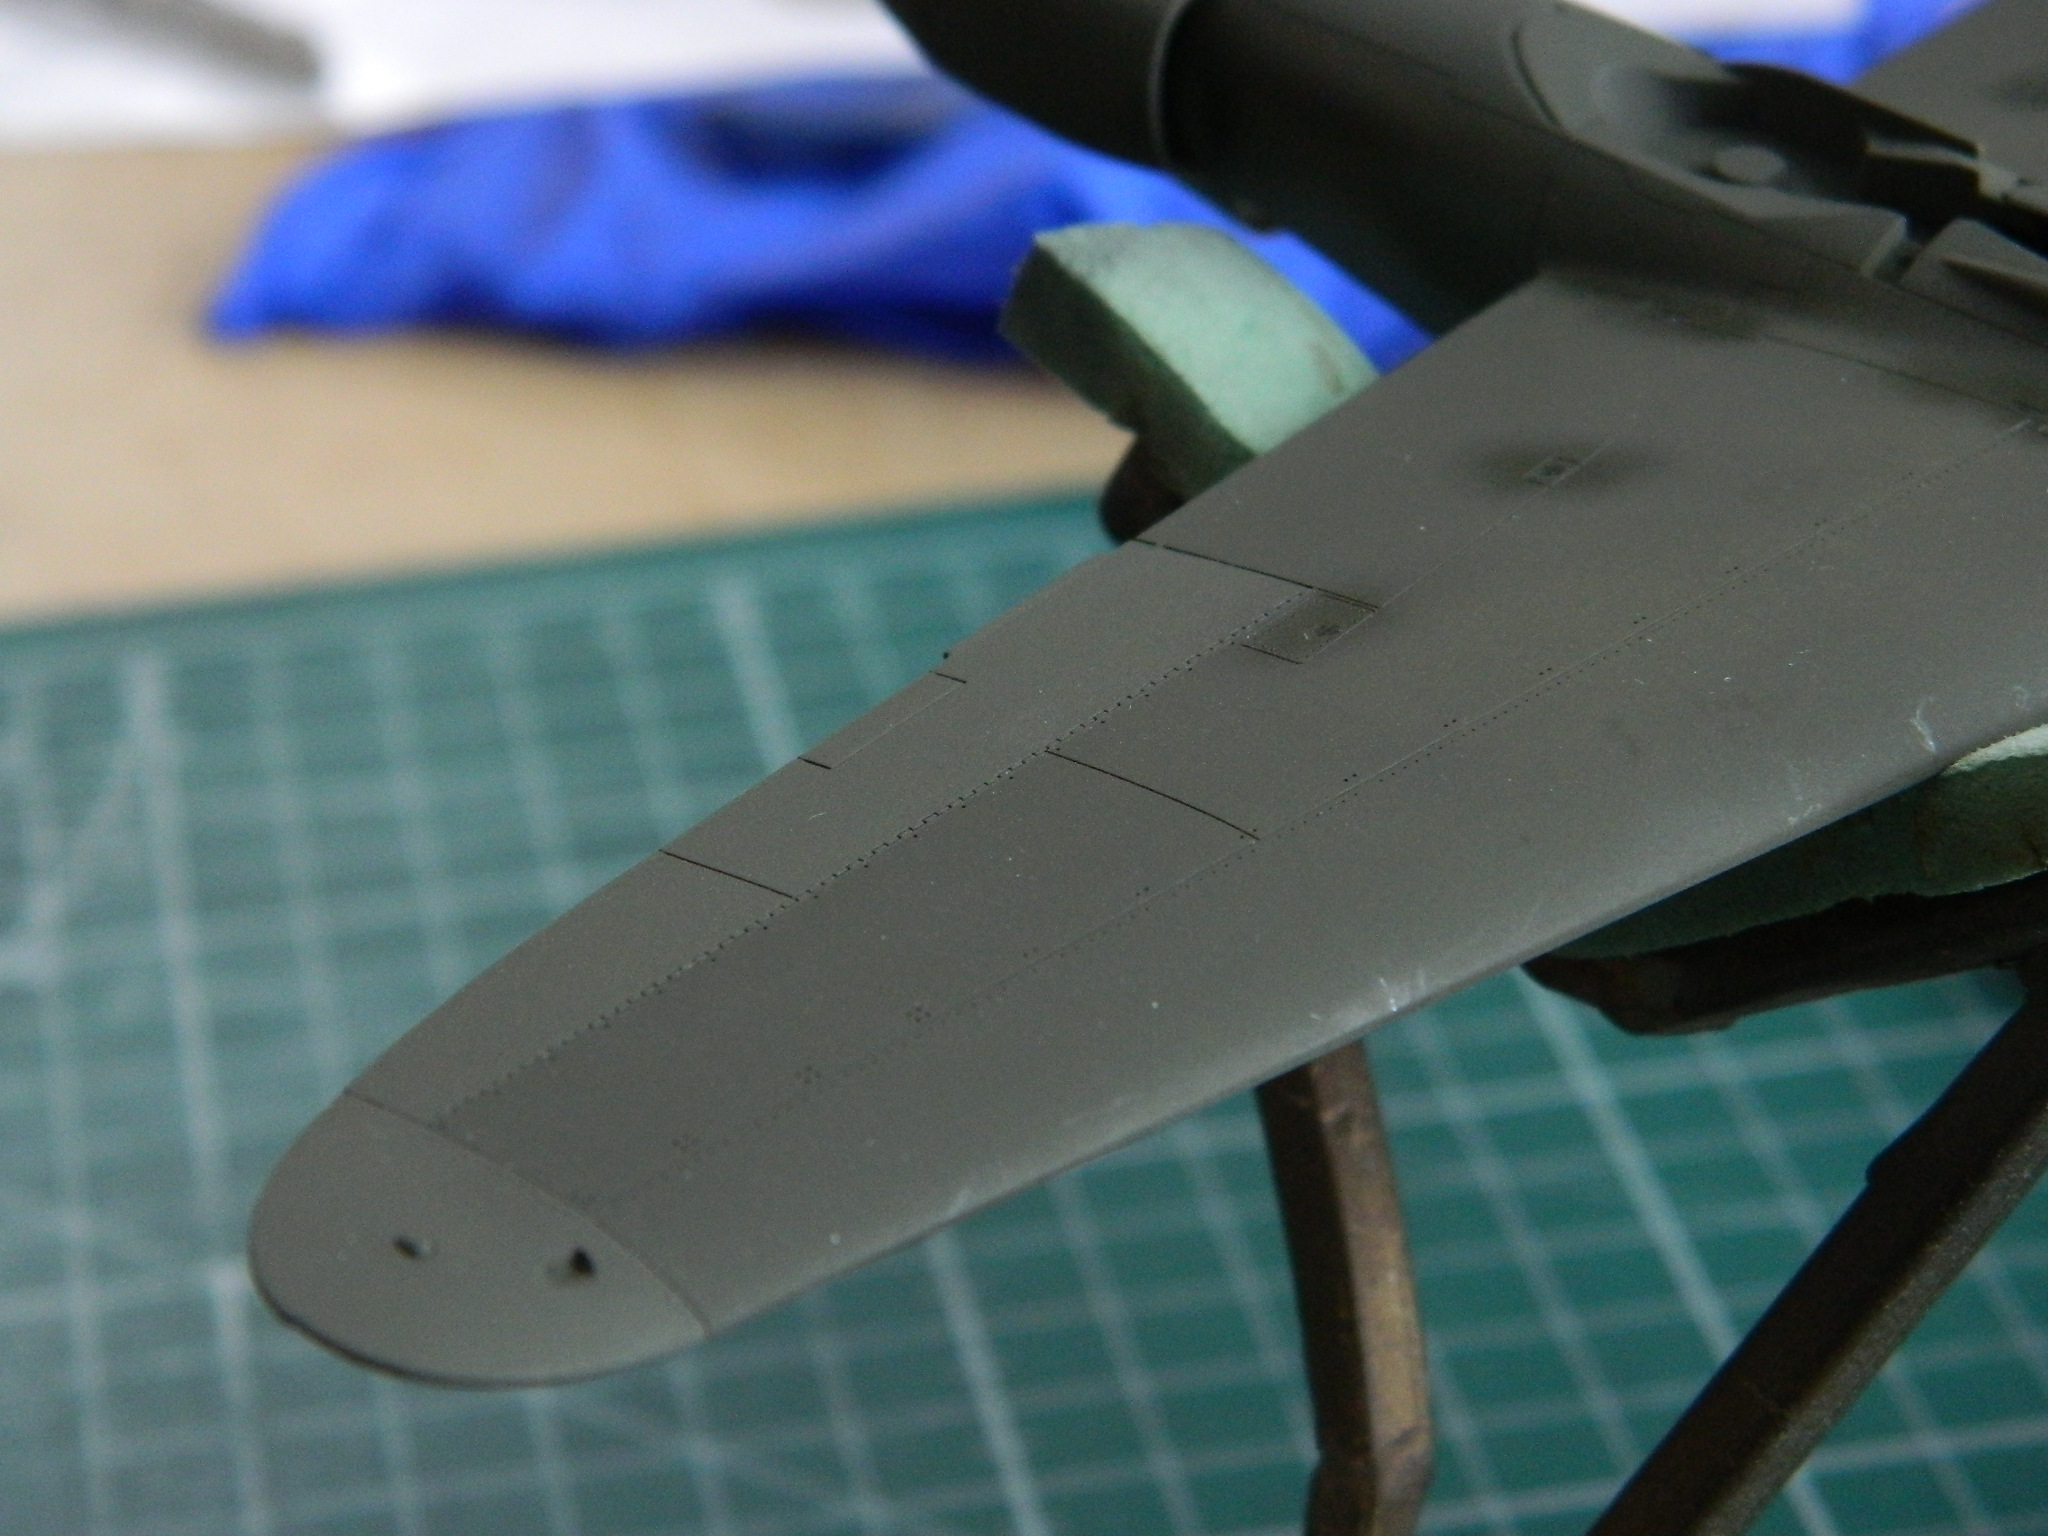
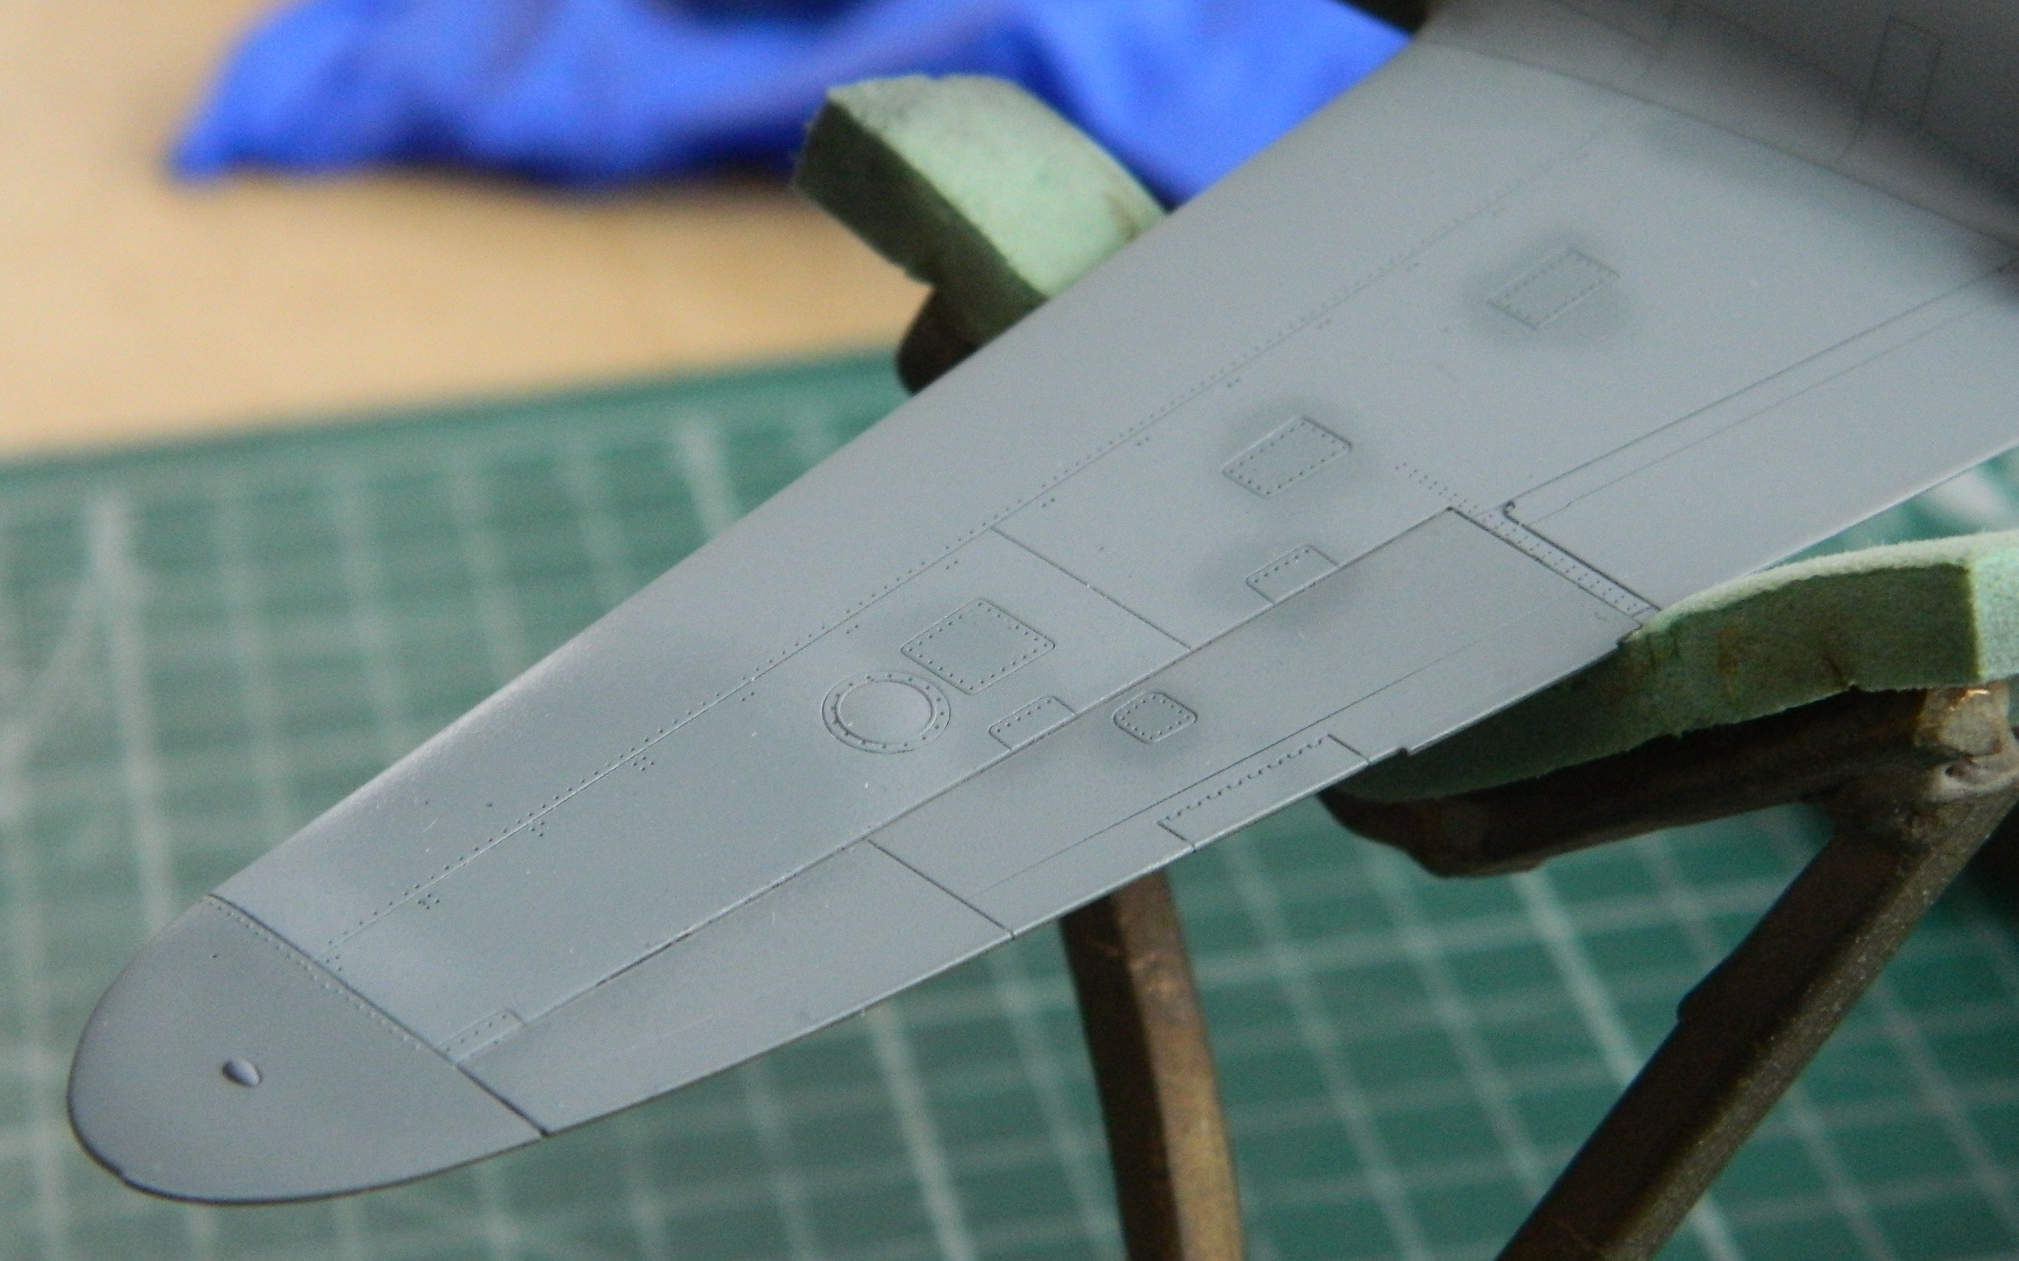
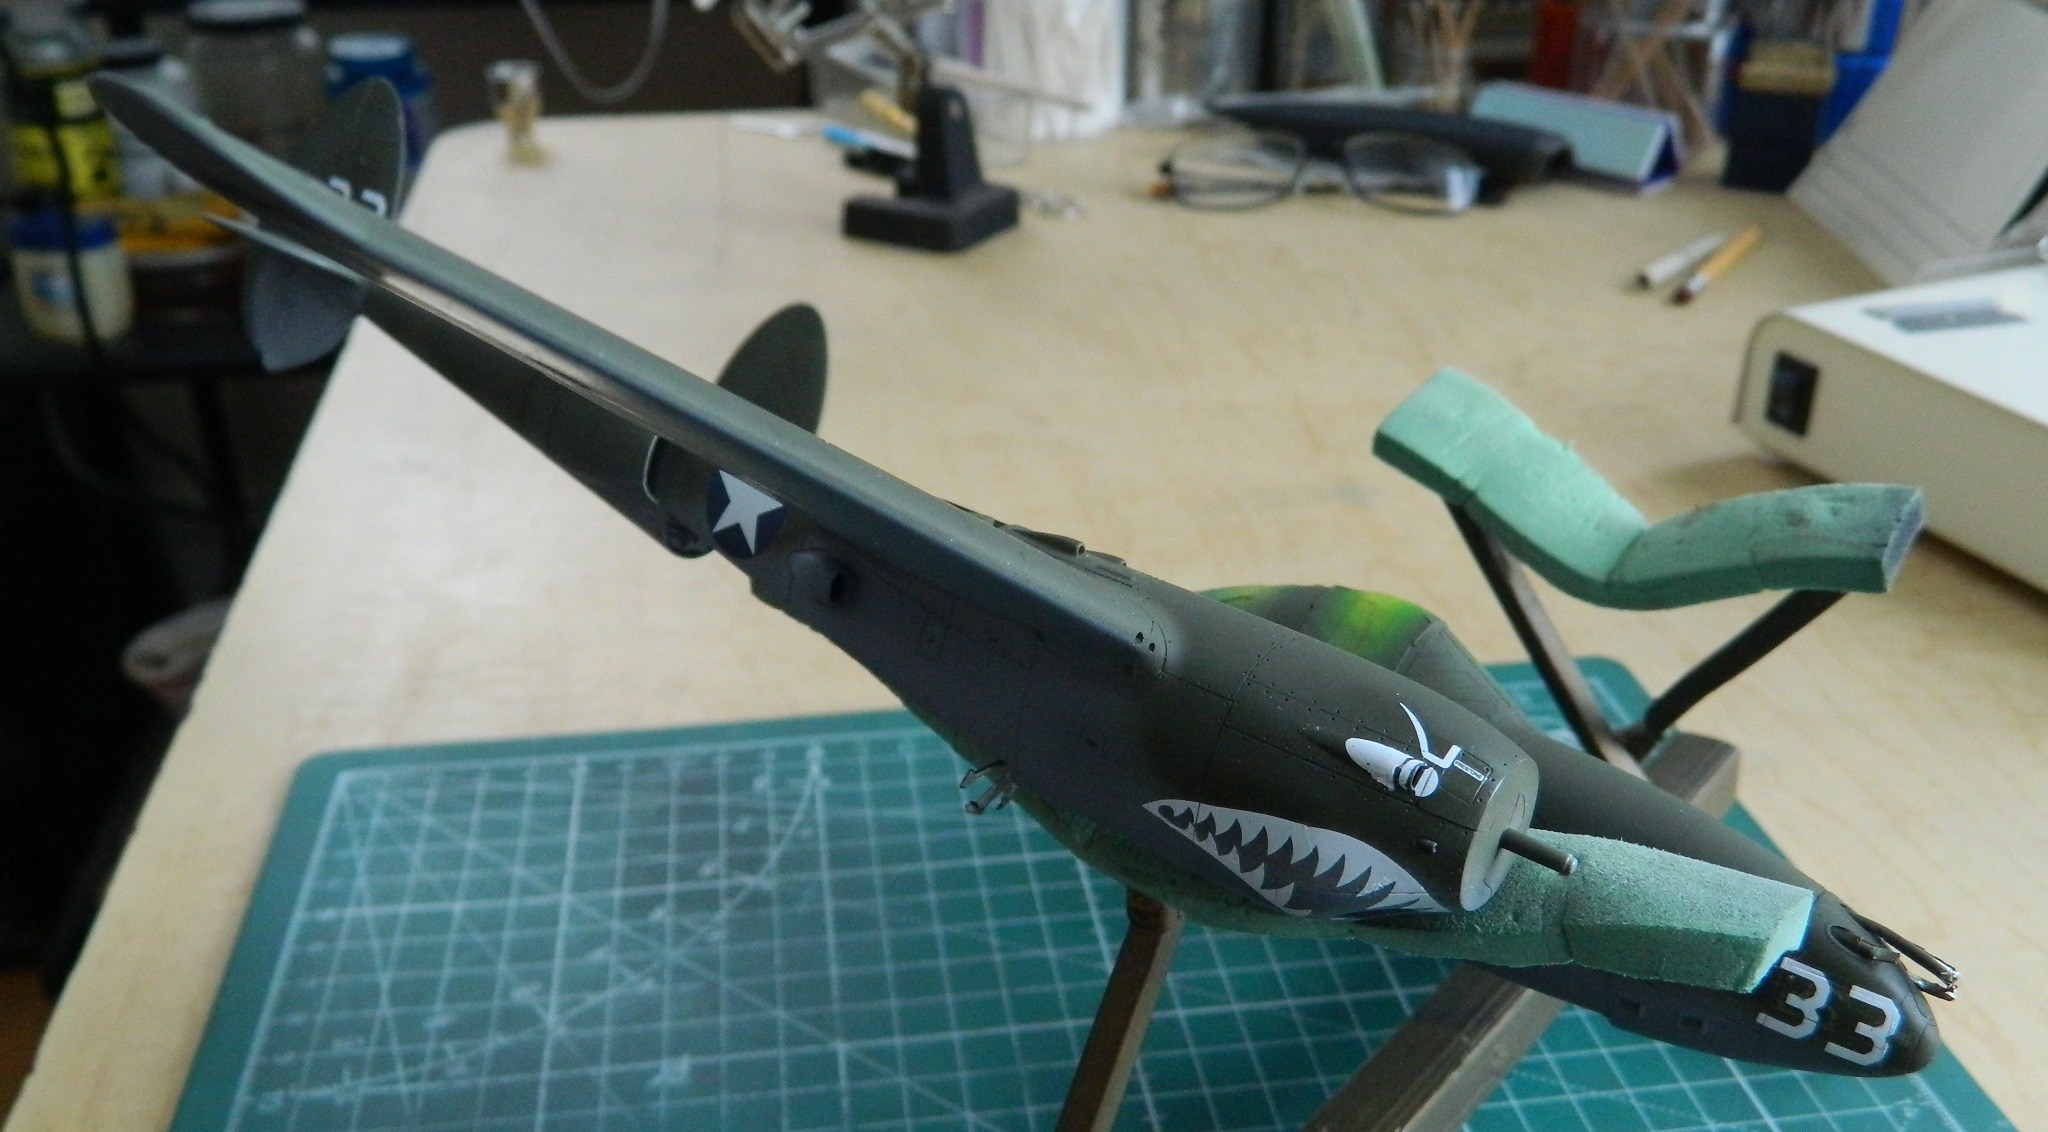
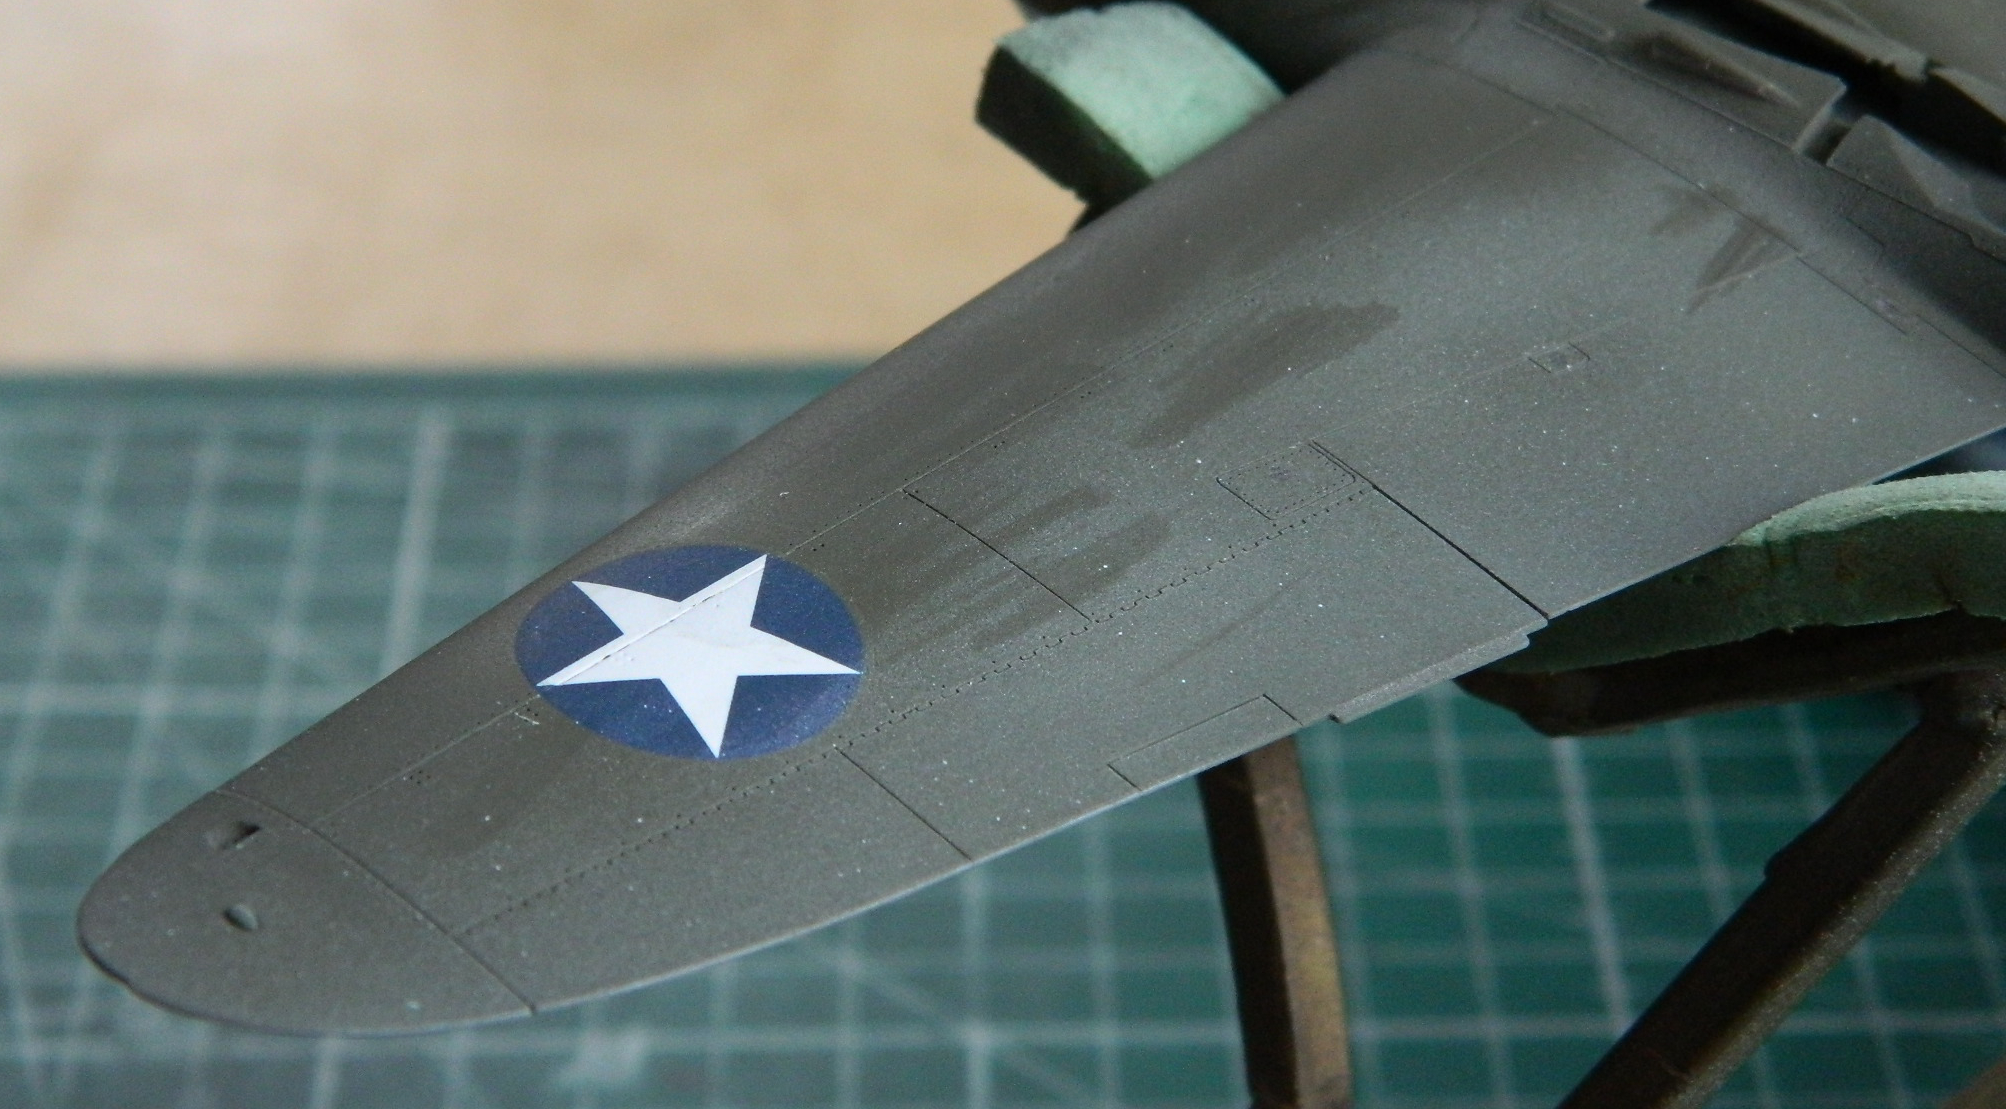
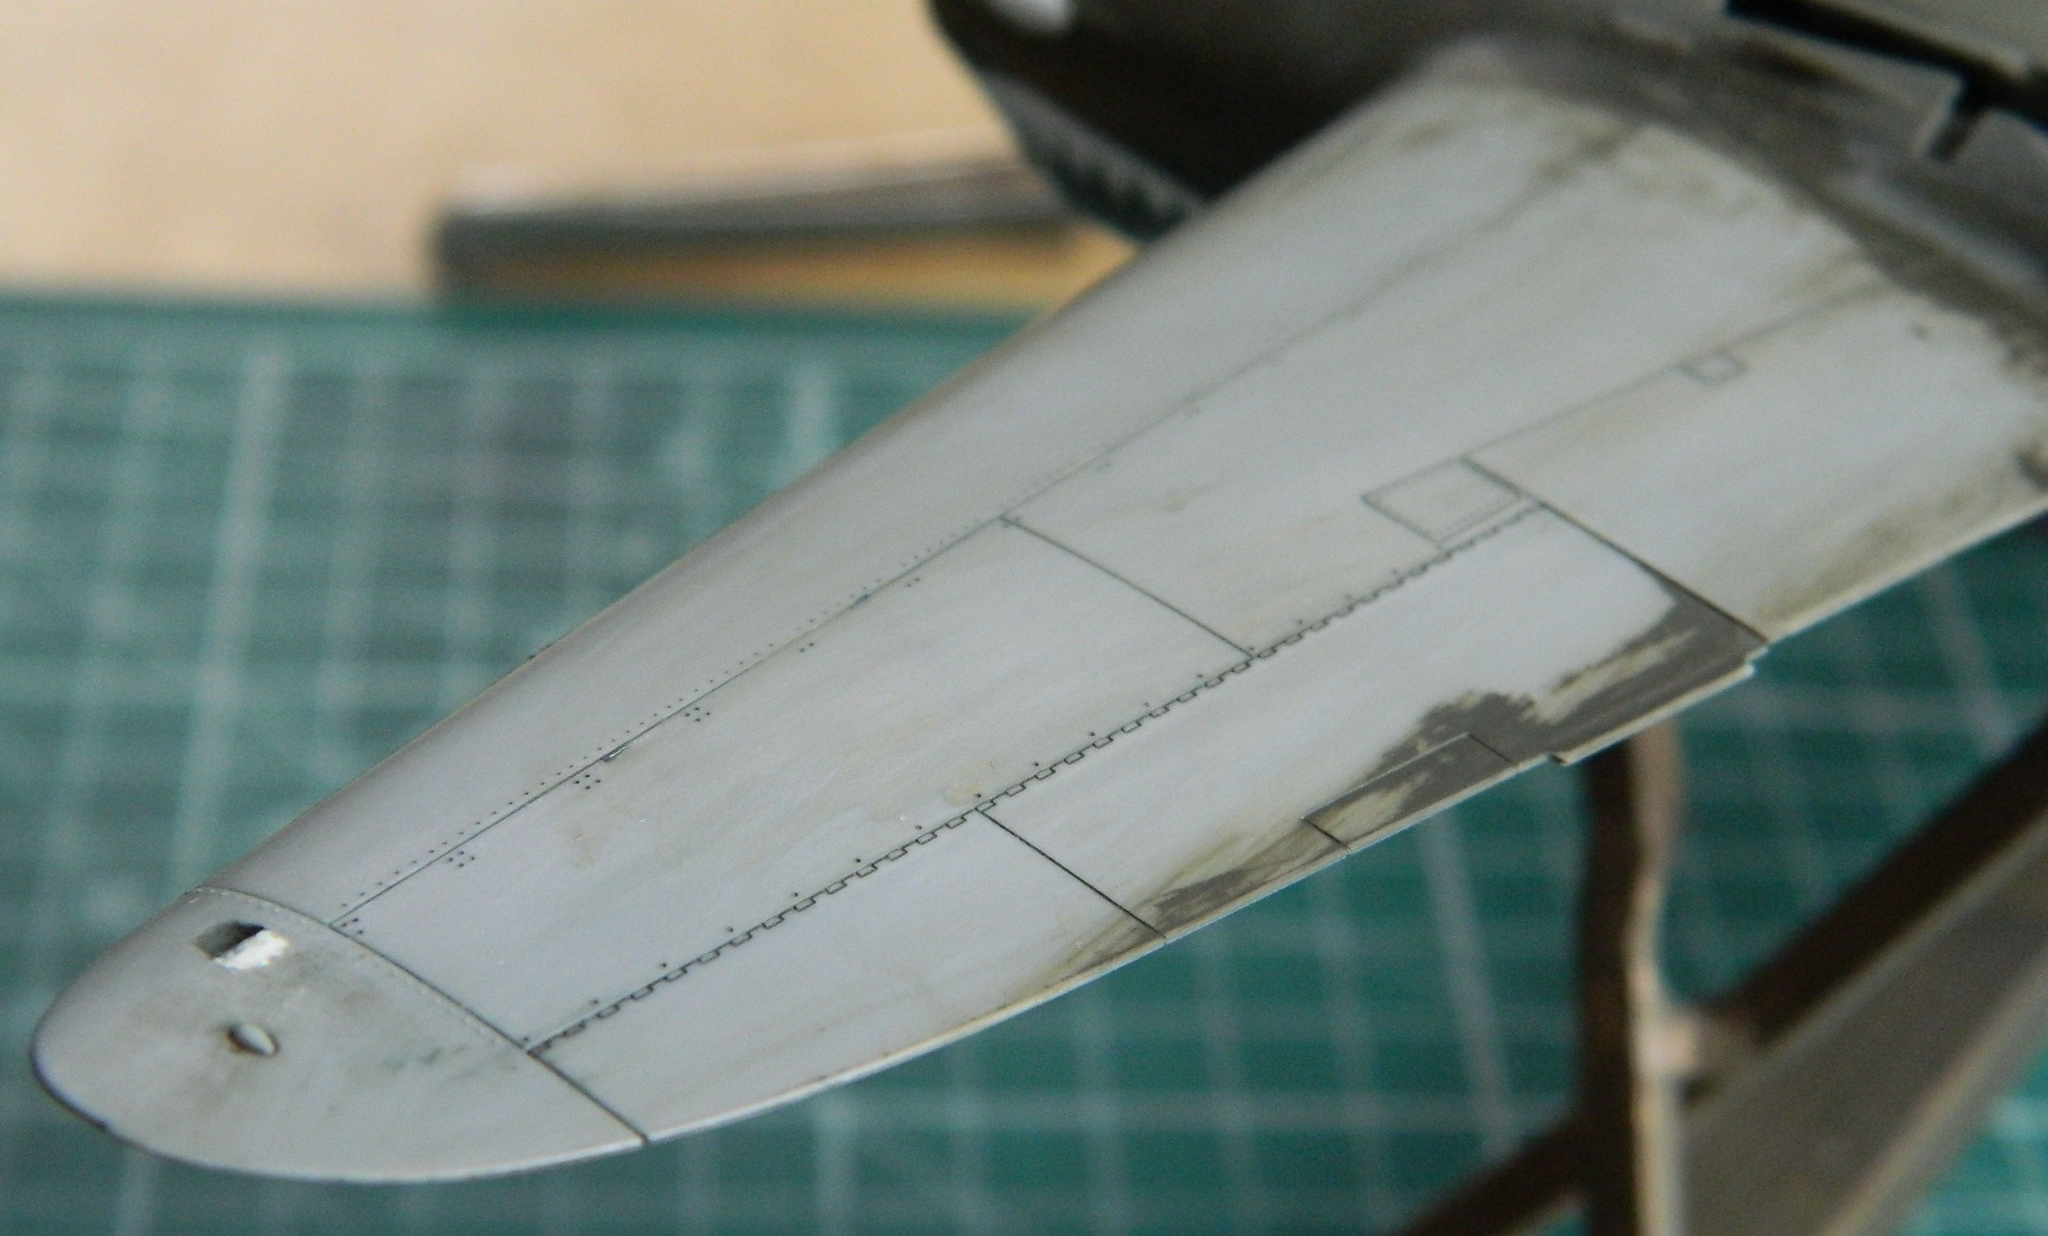
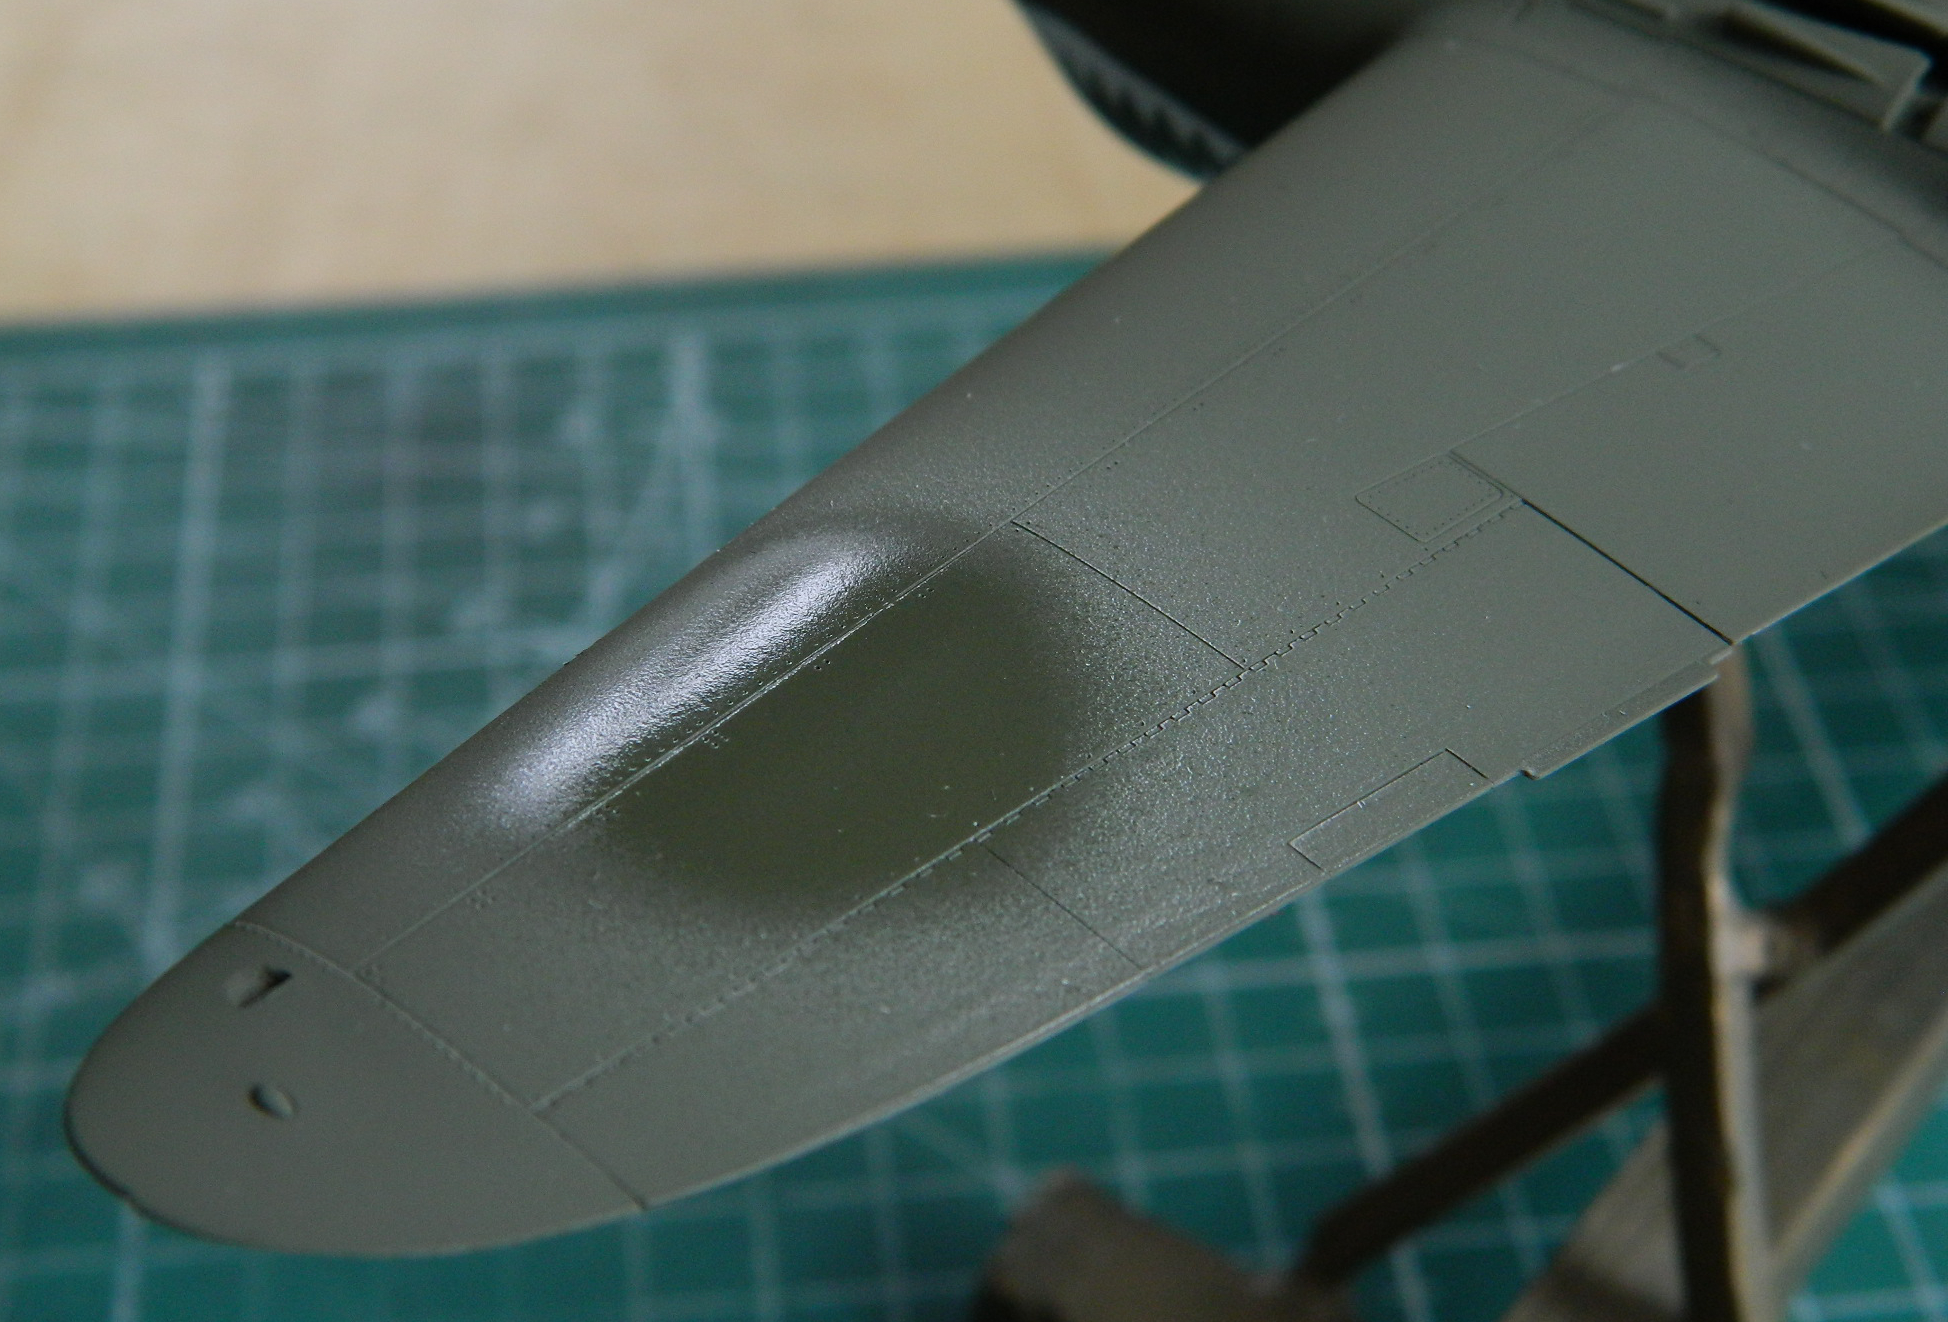
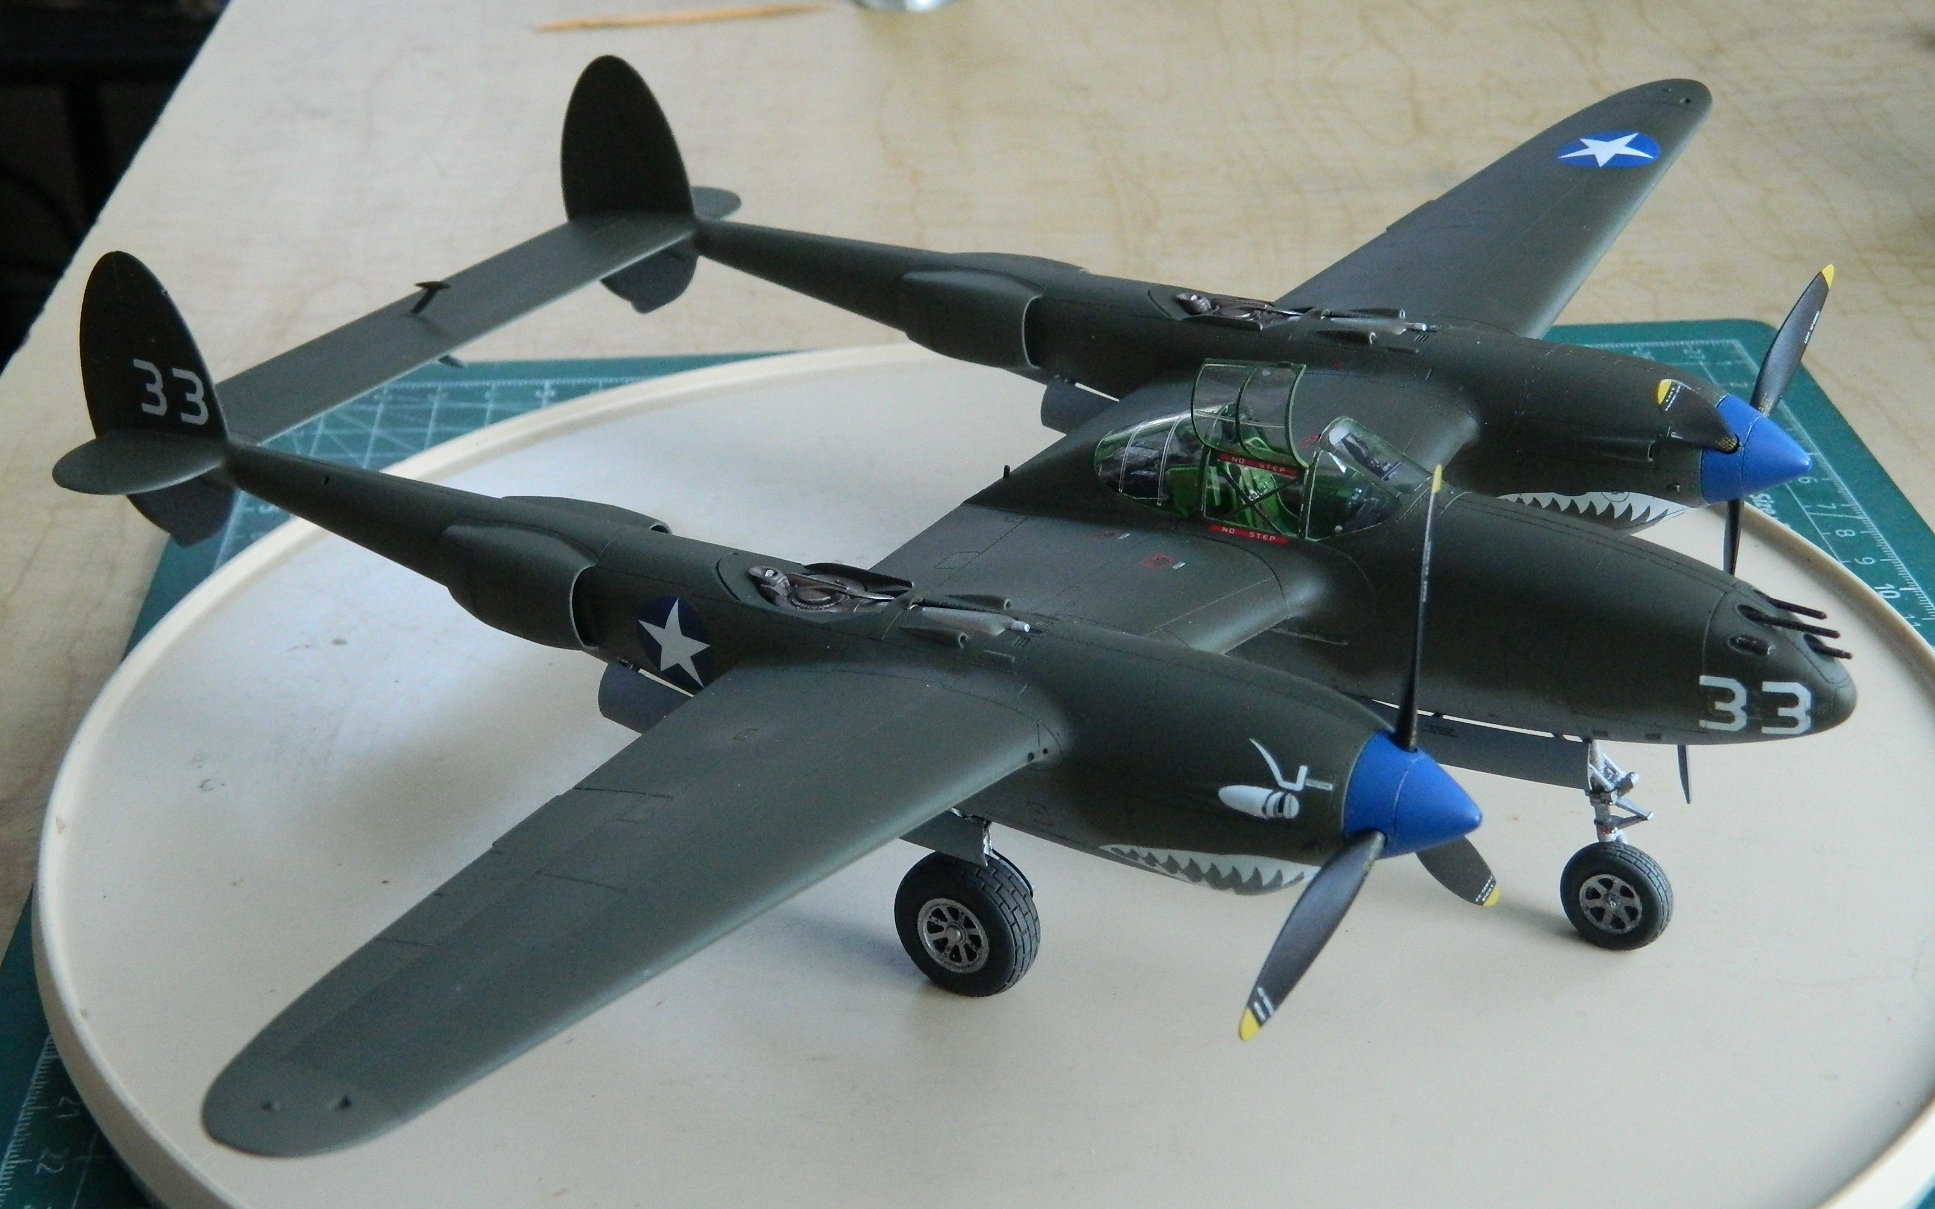
This particular aircraft, “White 33,” on December 31, 1942 collided with a Ki-43 Oscar which damaged the right wing tip (tore it mostly off) and right aileron. Here’s where imagination kicks in… White 33 was stationed at the 14 Mile Drome located at Papua, New Guinea. That’s a really long supply chain from Lockheed’s plant in California to get spare parts, things like wing tips and ailerons. However, being at war, some aircraft, though they made it back to base, had been damaged enough where they ended up being worth more as parts (White 33’s ultimate wartime fate). So my imagination decided to model this aircraft after repairs were done using parts salvaged from the boneyard. To indicate that, the right wingtip and aileron are painted slightly different shades than the rest of the aircraft.
My first attempt was just wrong:
Glaringly wrong. My second attempt was a little less obvious (the splotches are where clear gloss and decals were done):
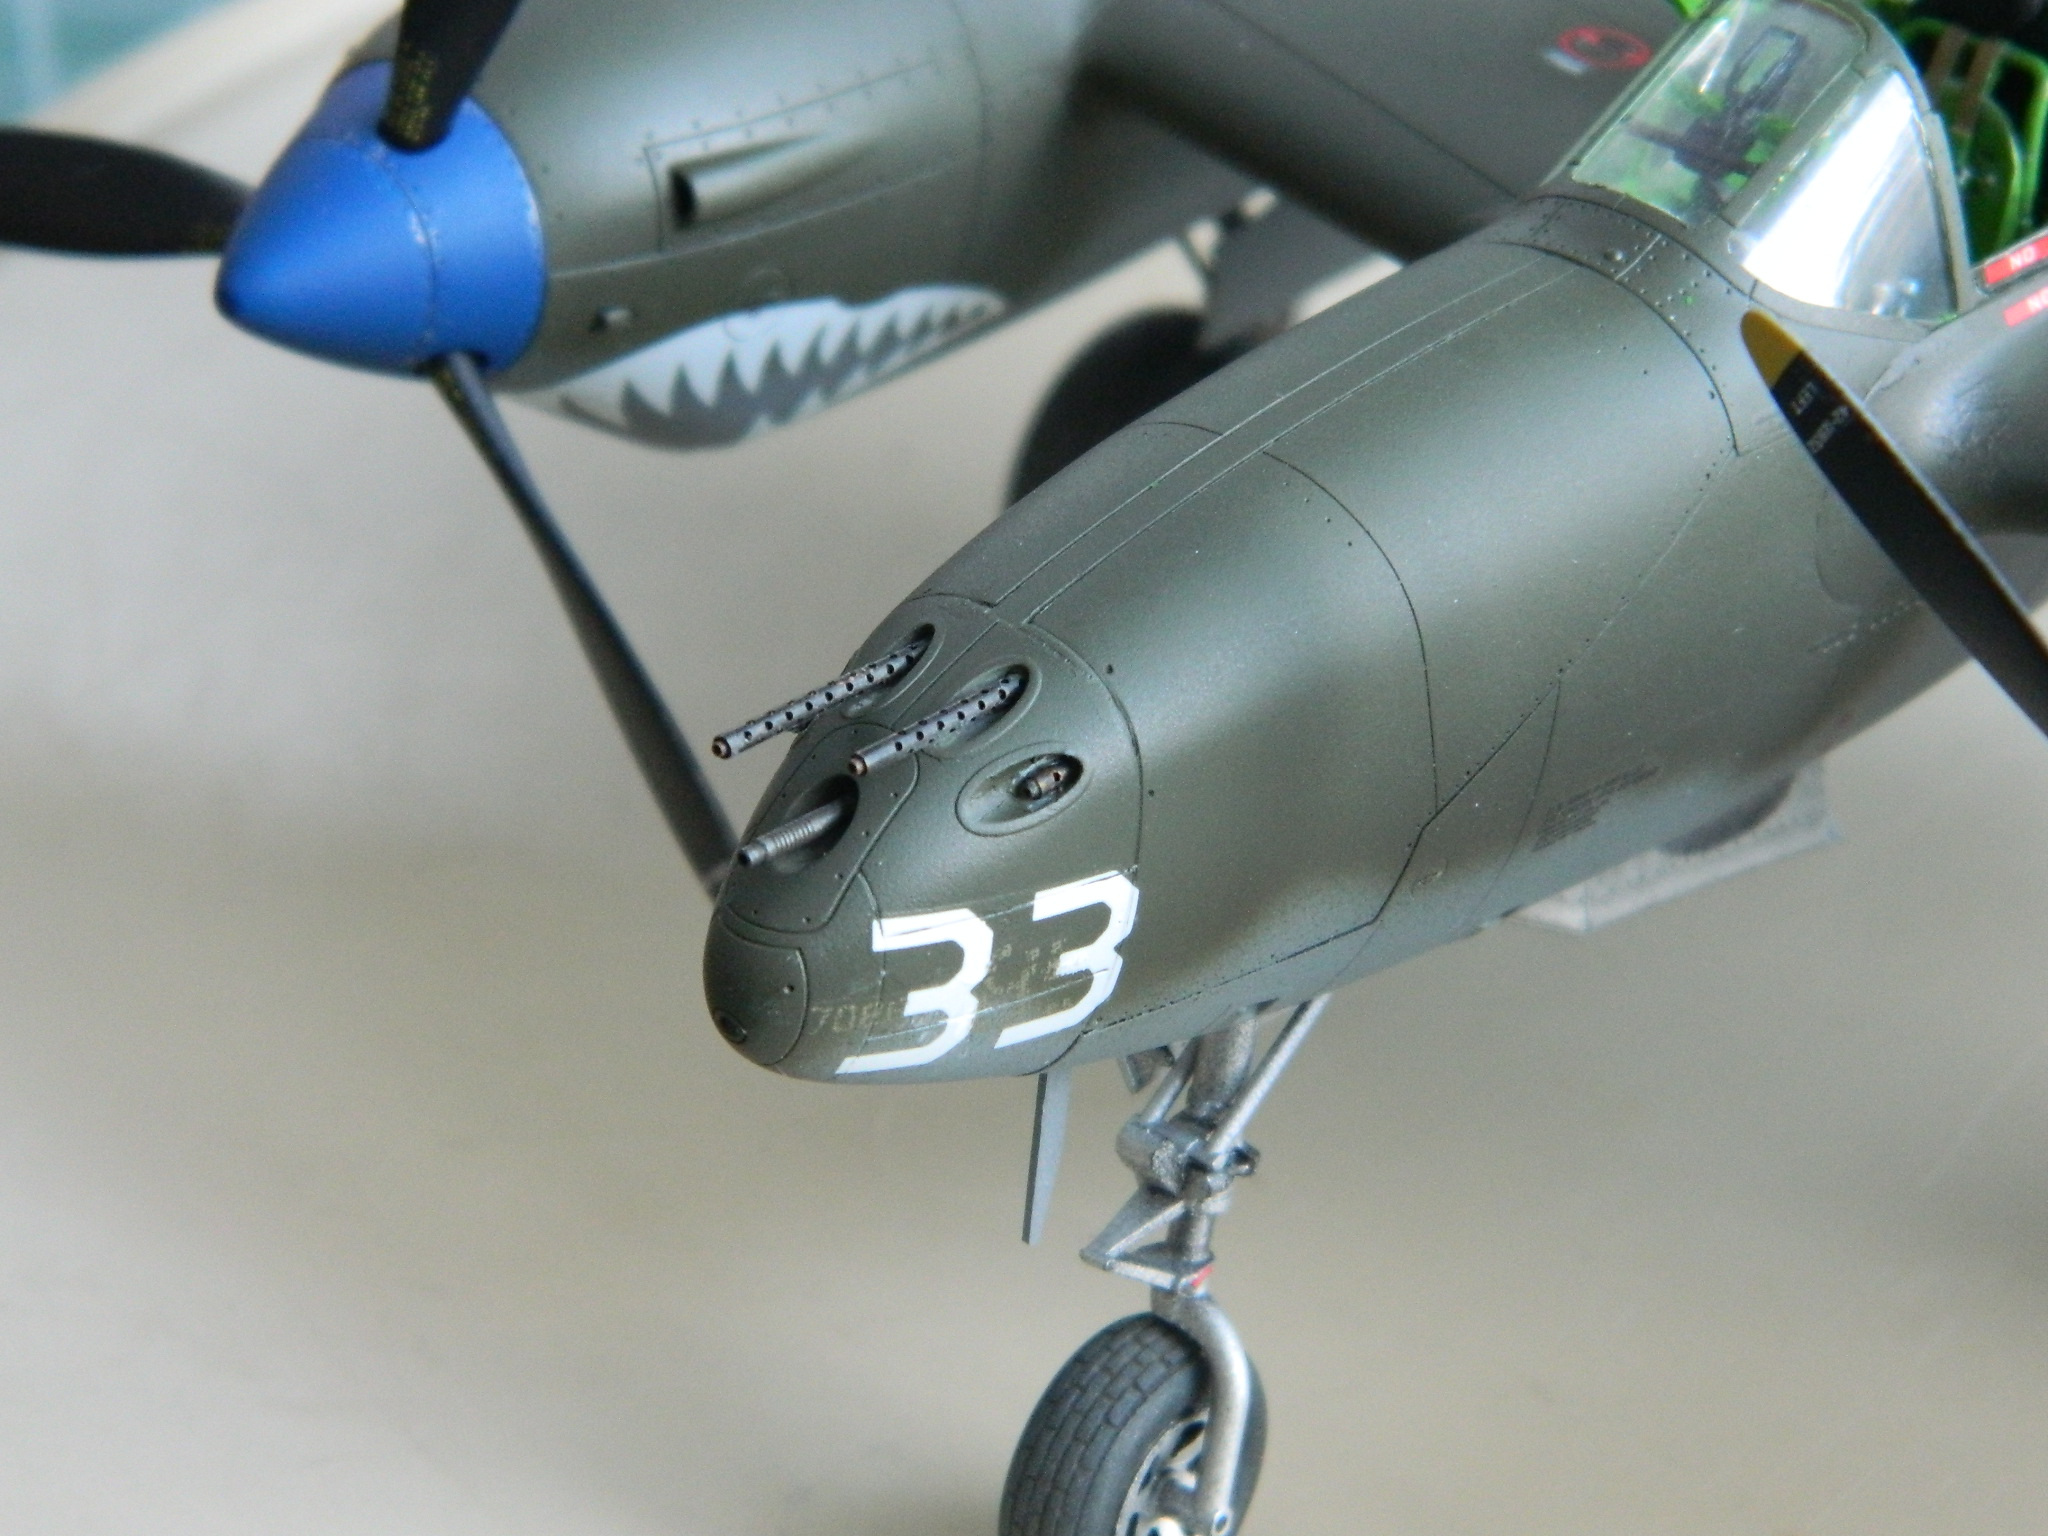
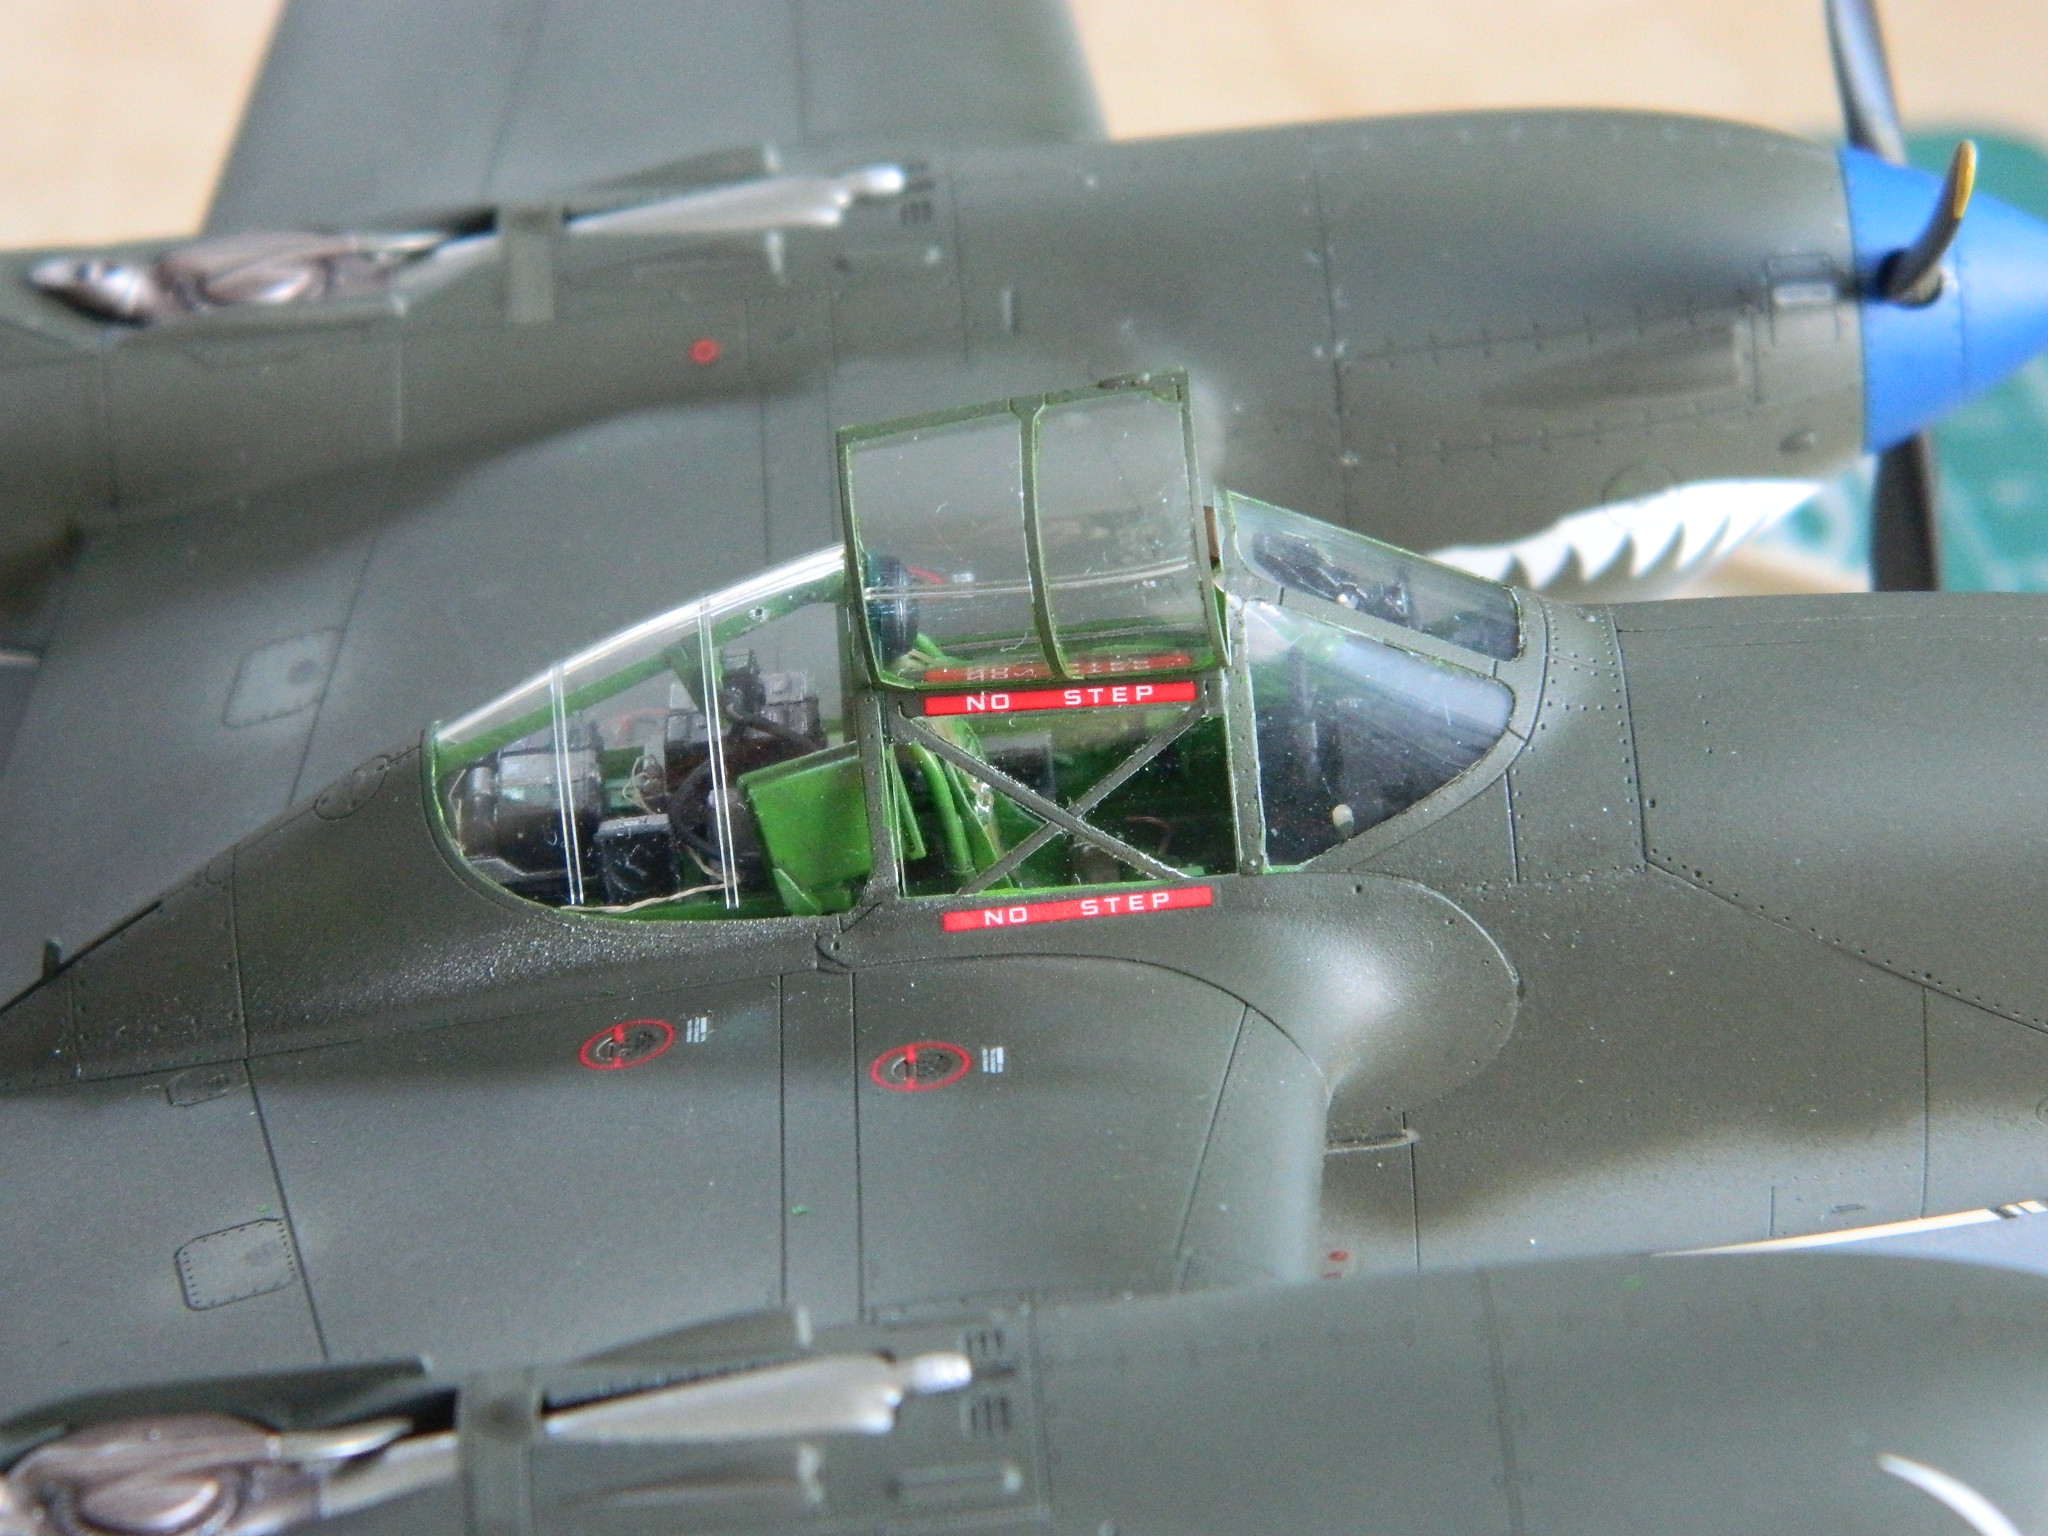
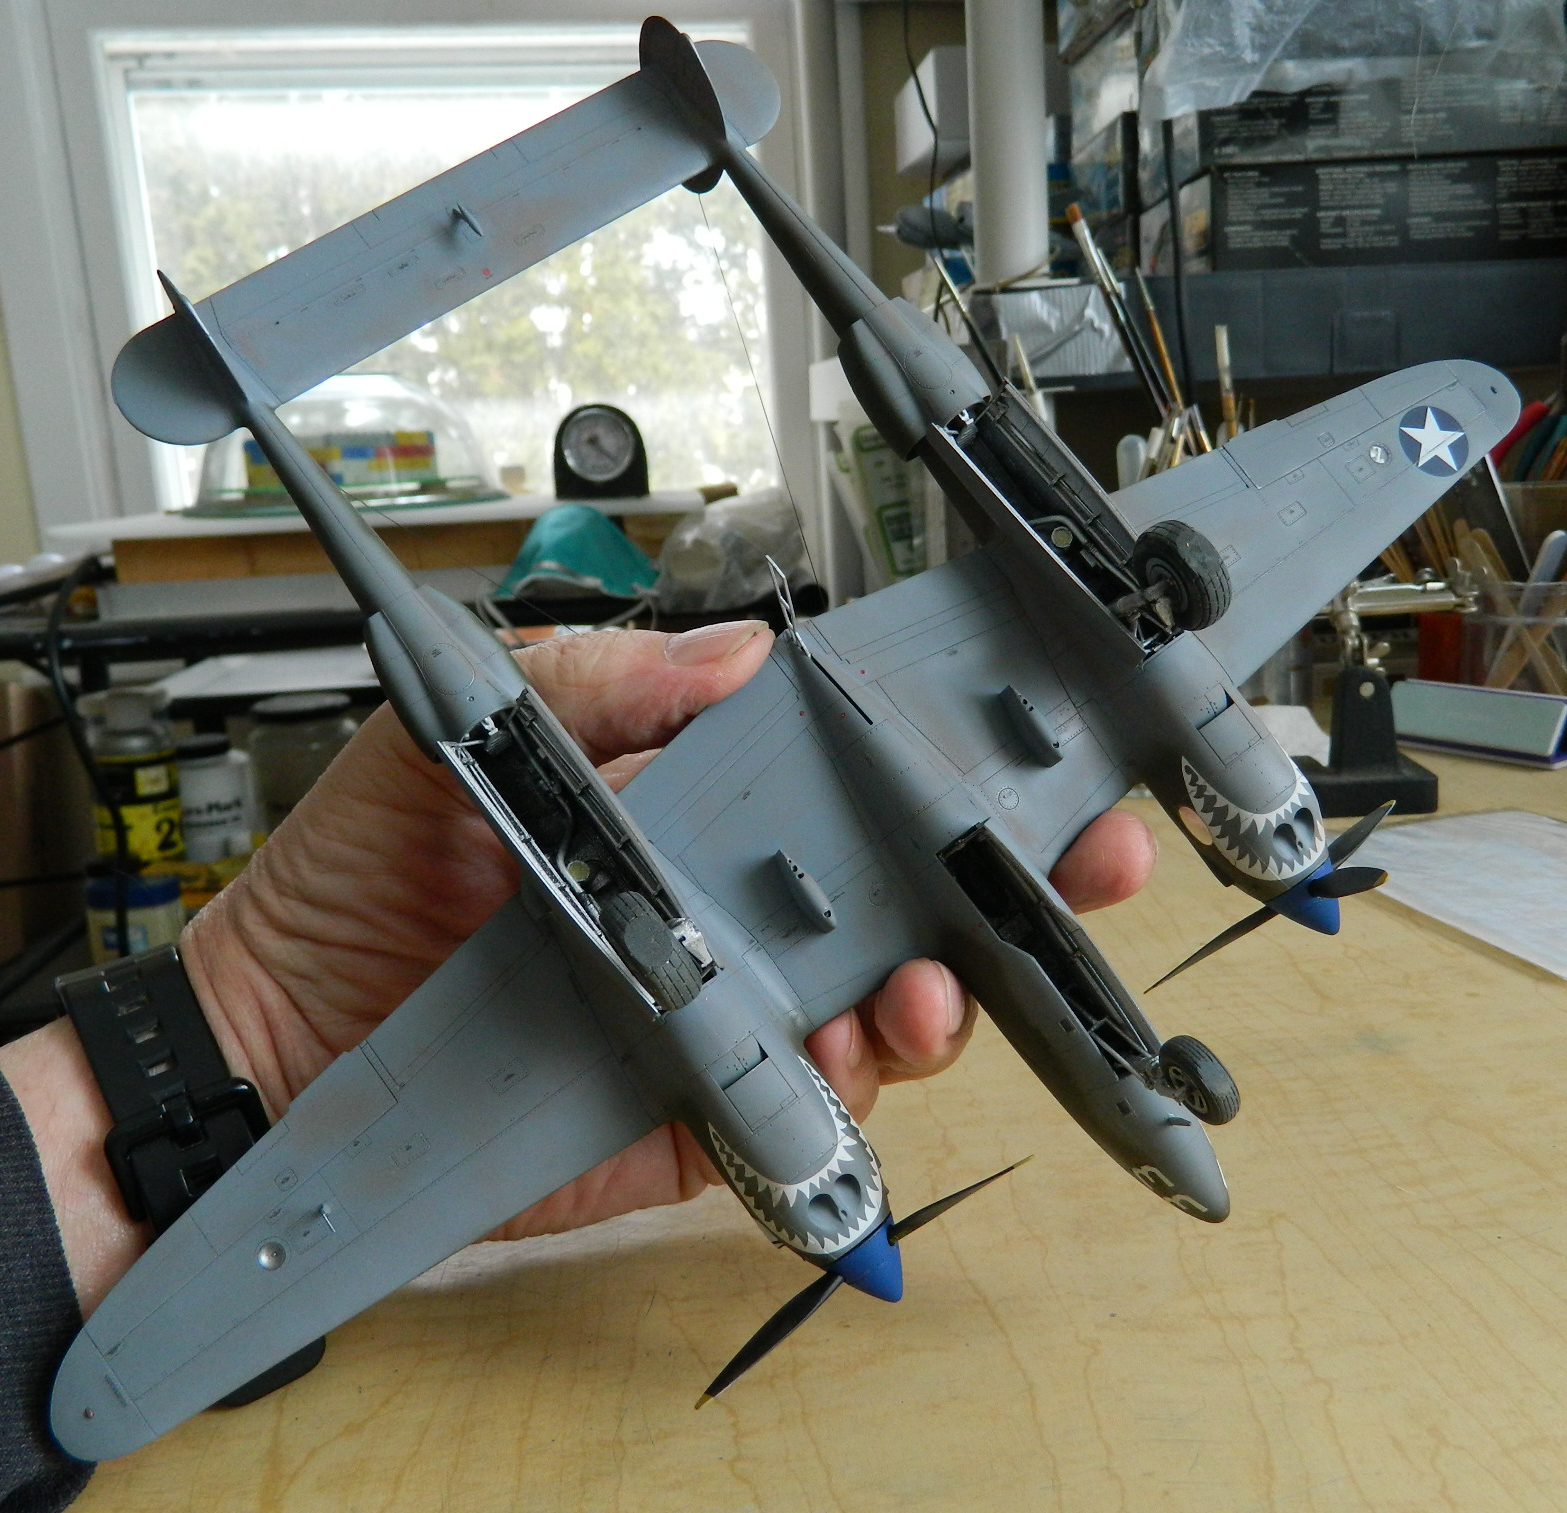
The locations for decals were all hit with Tamiya’s X-22 Clear (gloss), all 139 places. Just the application of decals took 16.5 hours over four days (small decals, diddling them into position). The decals I was most concerned with screwing up were the shark’s teeth decals. Each set of teeth were two parts, plus the eyes, plus the brow. The surfaces that the eye decals had to conform to were a more severe curve and the process of getting MicroSol decal solvent to get them to conform to the surface caused them to tear and wrinkle (and one of the lower sets of teeth also wrinkled, as evident in the upper photo below):
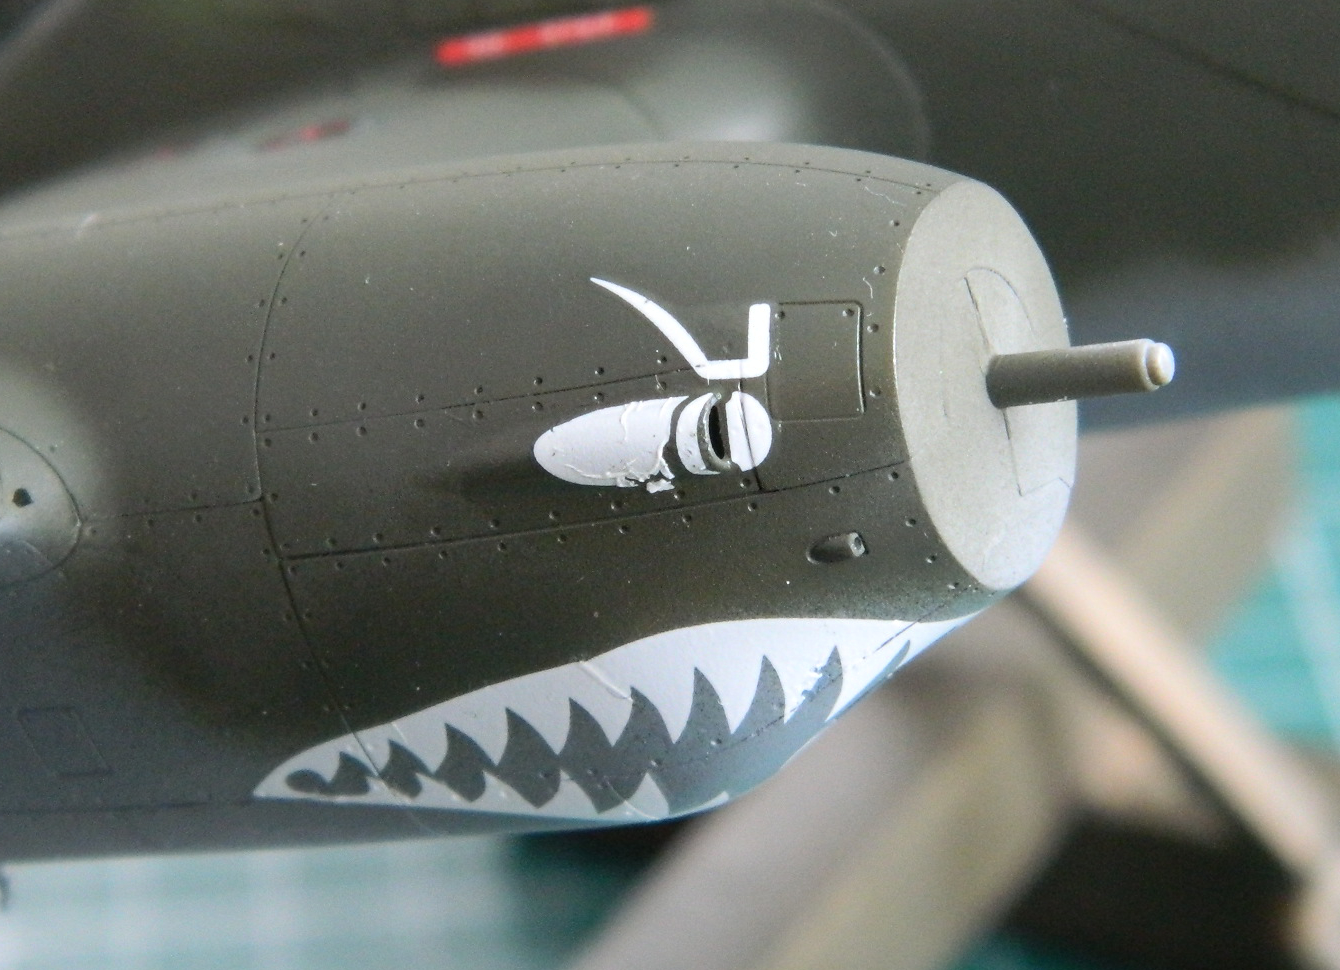

Once the decal solvent had completely evaporated and the ink of the decal was firm, the wrinkles were (mostly) dealt with using 2000 grit sandpaper to lightly sand most of the wrinkles out. Where the decals tore, an application of Tamiya XF-2 Flat White fixed those. And decals, decals, decals:

And then I screwed up. For whatever reason, the clear flat I’d been using started blowing chunks. Since the result wasn’t useful at all, I tried using a cotton swab lightly moistened with denatured alcohol, to remove them. You can see how well that didn’t work:
Since I had the denatured alcohol handy…:
Which leads to repainting things:
And finally, they were all on:
Even fresh off the assembly line, these things didn’t look that clean and the finish wasn’t that uniform. Time to add wear and staining. All of where the OD has worn away to show aluminum underneath it was done with a silver pencil (turns out the undercoat of aluminum was a waste of time and paint).
I added the antenna wires to the vertical stabilizers and ran them forward to the canopy, then added .015″ (.381mm) solder for the brake lines on the main landing gear. One section of the brake lines was painted Tamiya XF-85 Rubber Black to replicate the rubber section of the brake line. Then the landing gear and gear doors were added as well as the extended boarding ladder, and just like that, it was done:

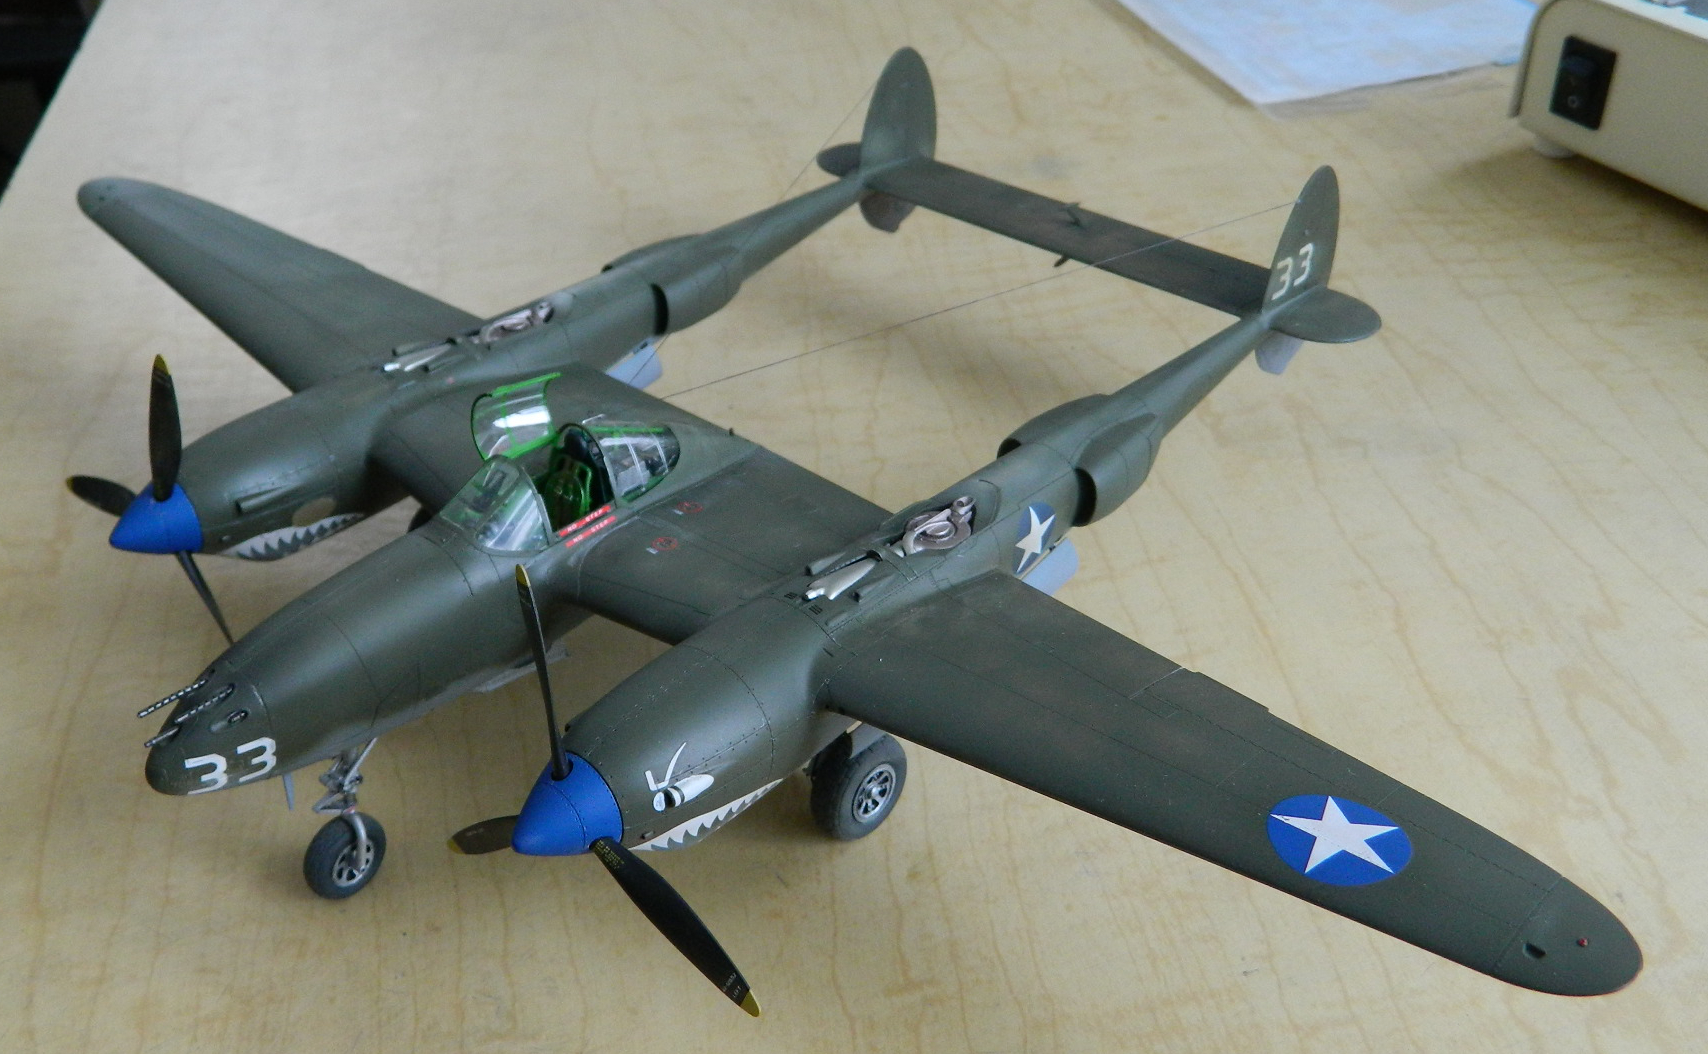
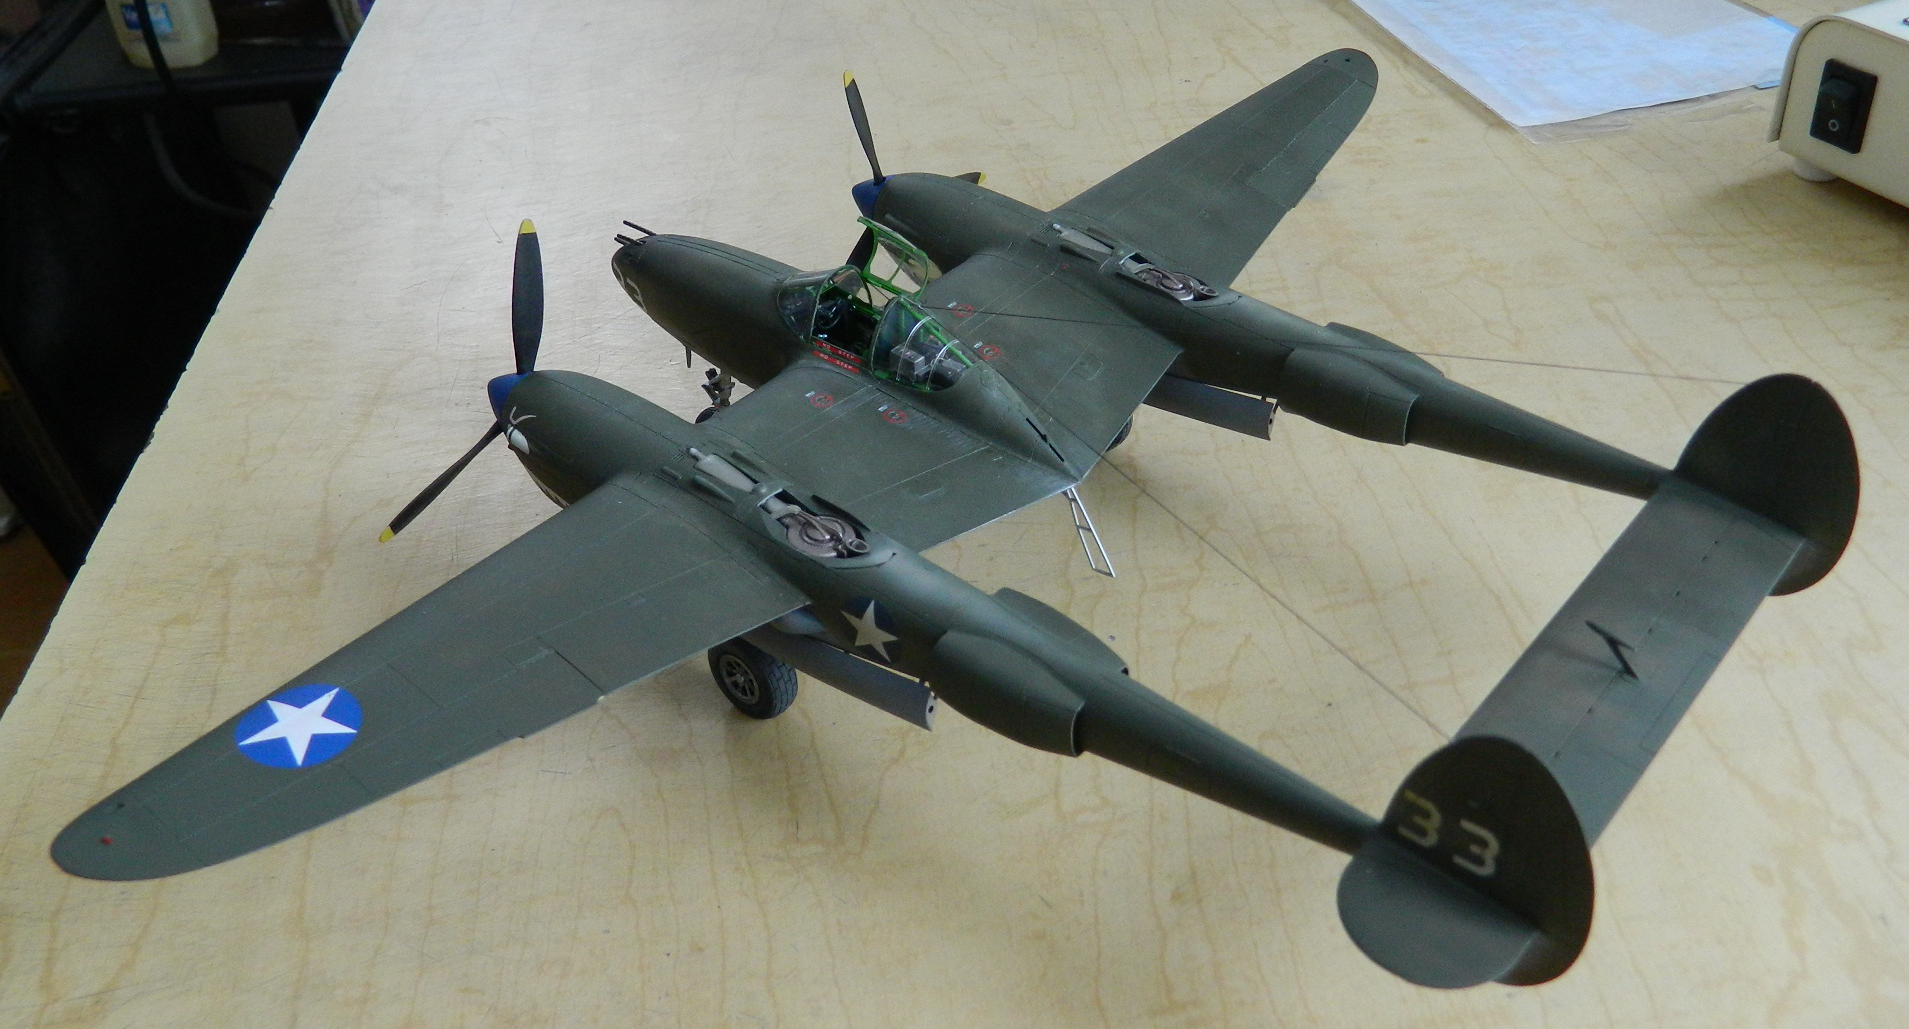


Well done! I really like the “repaired” panels.
LikeLike
::bows deeply:: Thanks!
LikeLike