Time to turn my efforts towards the wings but that gap in the fuselage in front of the cockpit just sat there…looking at me. Fine, since it was going to be like that, I’ll fix it. Sheet stock was added and trimmed and now the coaming is ready to paint:
With that annoyance dealt with, my efforts did go towards the wings…for about five minutes. Then something else started demanding attention. This kit had sat in a hot attic for about 13 years. Evidently, this caused things to warp (other than my mind) so when the fuselage was being assembled, I realized I needed the addition of putty to smooth things out, so I added putty to smooth things out:
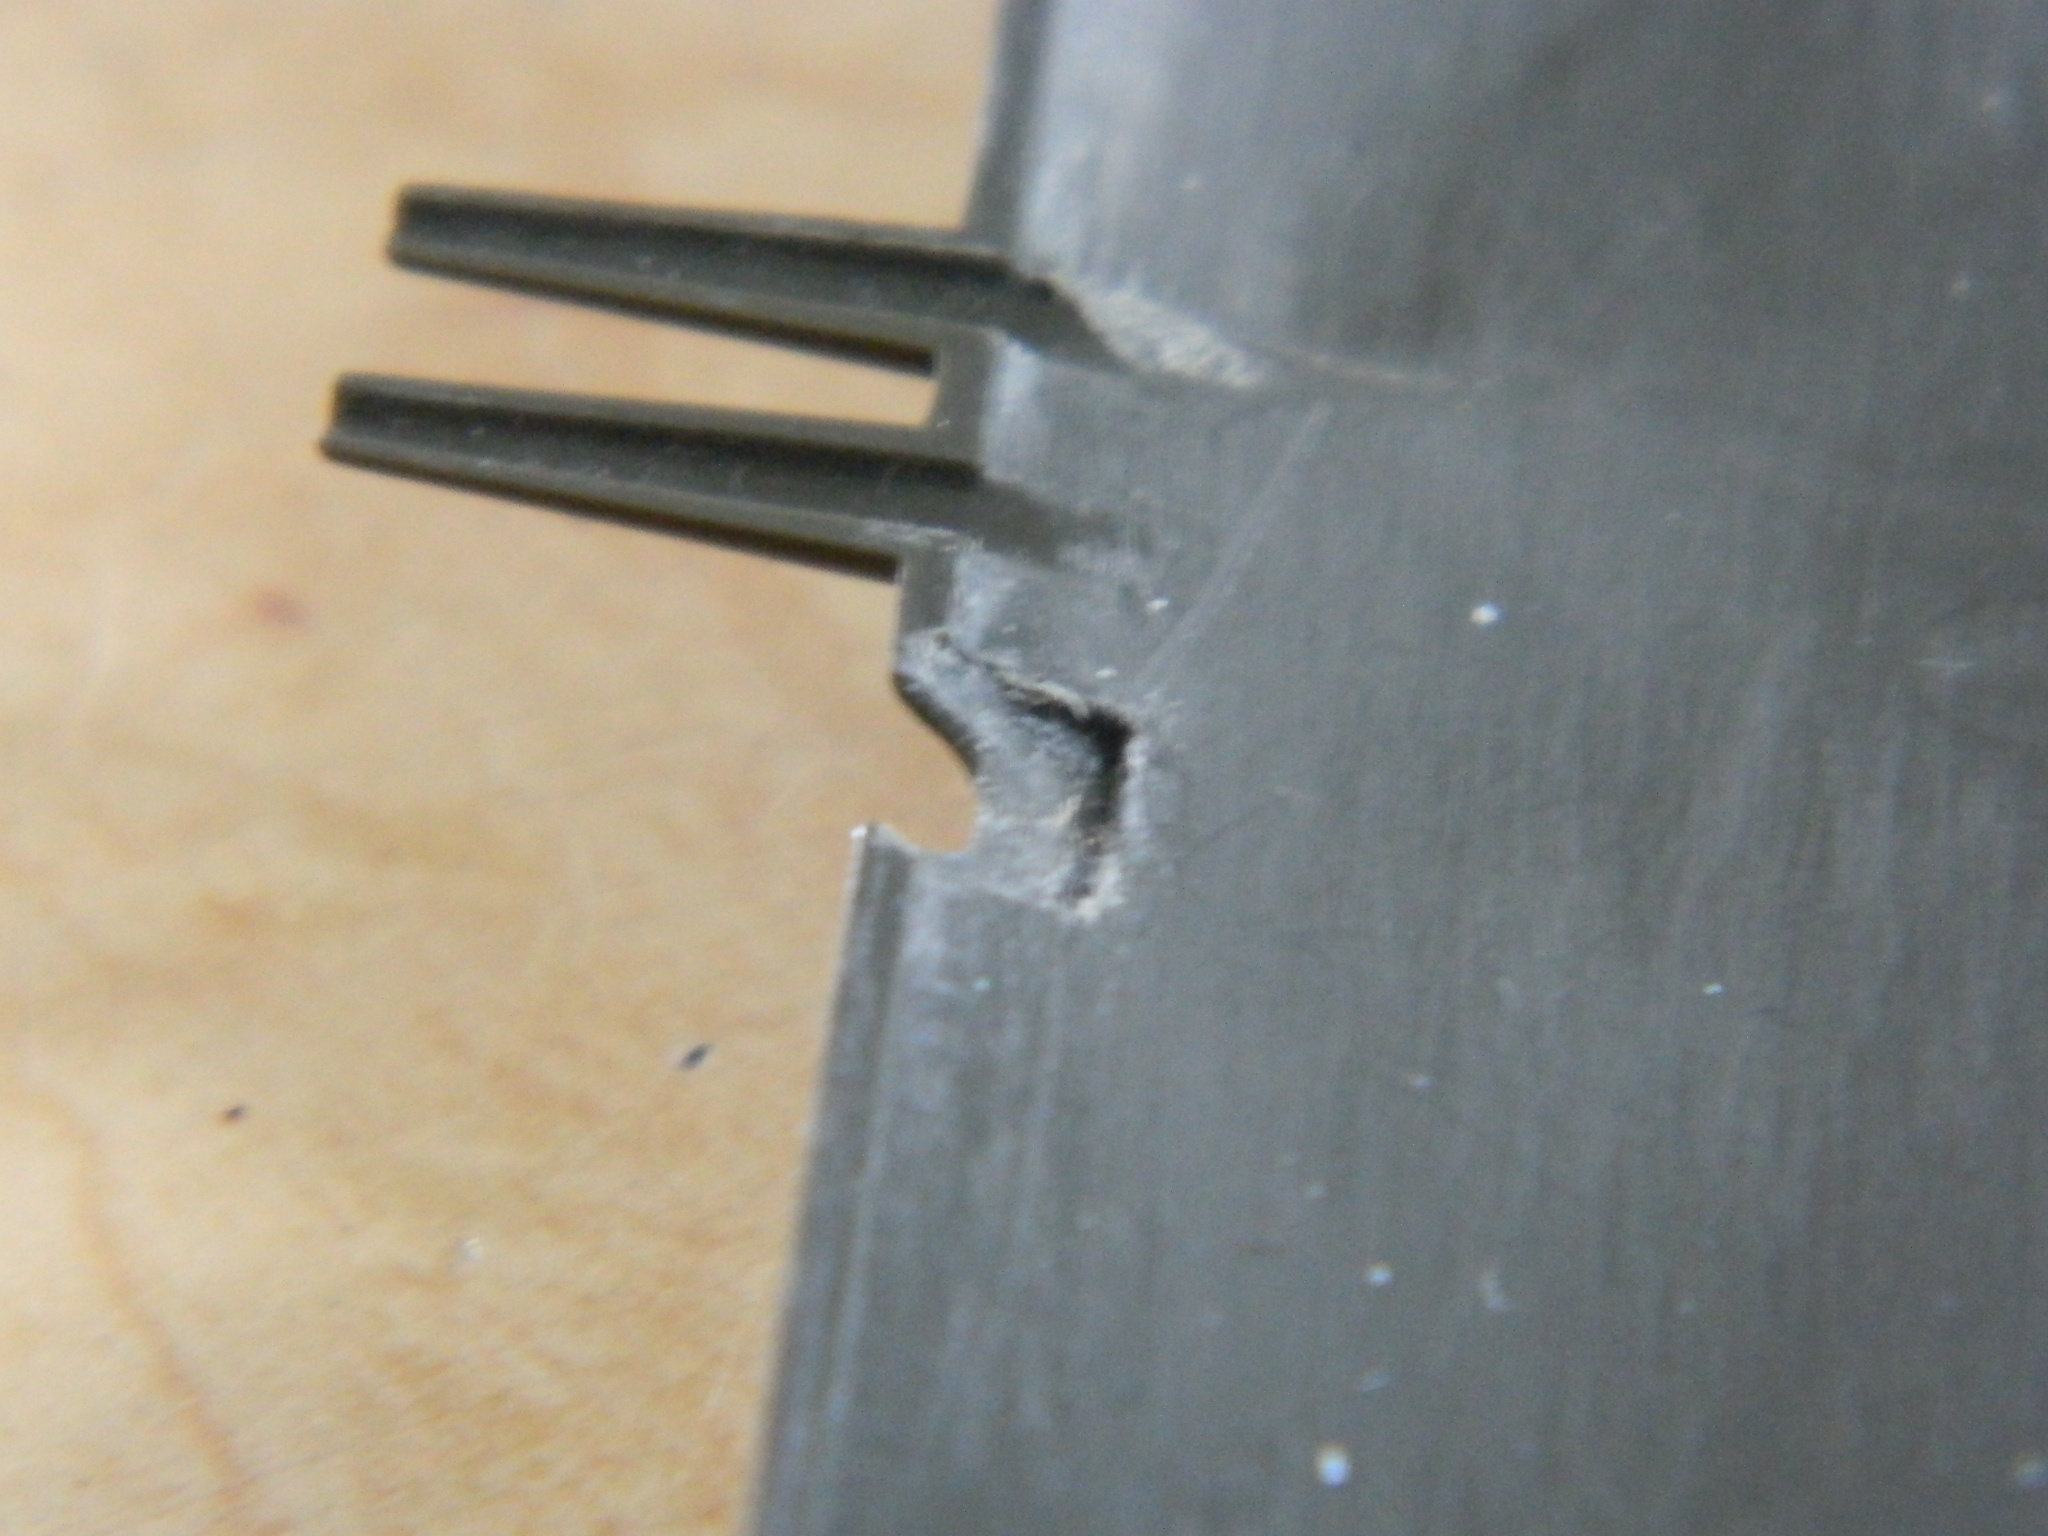
Right. Wings. Let’s get to those now. The first thing that jumped out in my eye was the apertures in the leading edges of both wings for the landing lights. The P-51 was the only Mustang to have a landing light in each wing. Though Accurate Miniatures made the attempt to thin this section, it was still far too thick, so I had to thin that area to a more scale thickness:

And then I noticed that the landing lights are angled downward (which, given the location of the ground to a taxiing or landing aircraft, makes sense), meaning there is less of a cutout in the upper wing surface than there is in the lower:
My initial intent was to build scale lights (that’s what that cylinder in the photo below-left is the start of). Then I realized that I don’t need scale lights, I need something that looks like scale lights. So I decided to see if easily constructed lights would look correct (reminding myself that building a model is not engineering, where things have to be correct…it’s modeling, where things have to look correct). I started by finding a punch of the appropriate (as in, looks right) diameter. I punched out a disc of .020″ (.508mm) plastic. Then I centered the disc over the next smallest die and punched the center out so that I would end up with a pair of bezels (he says using 26 words that made it sound easy and carefully not mentioning how many off-center discs got tossed):


Aligning the bezels to the holes was easy; I used the punch as the alignment tool:


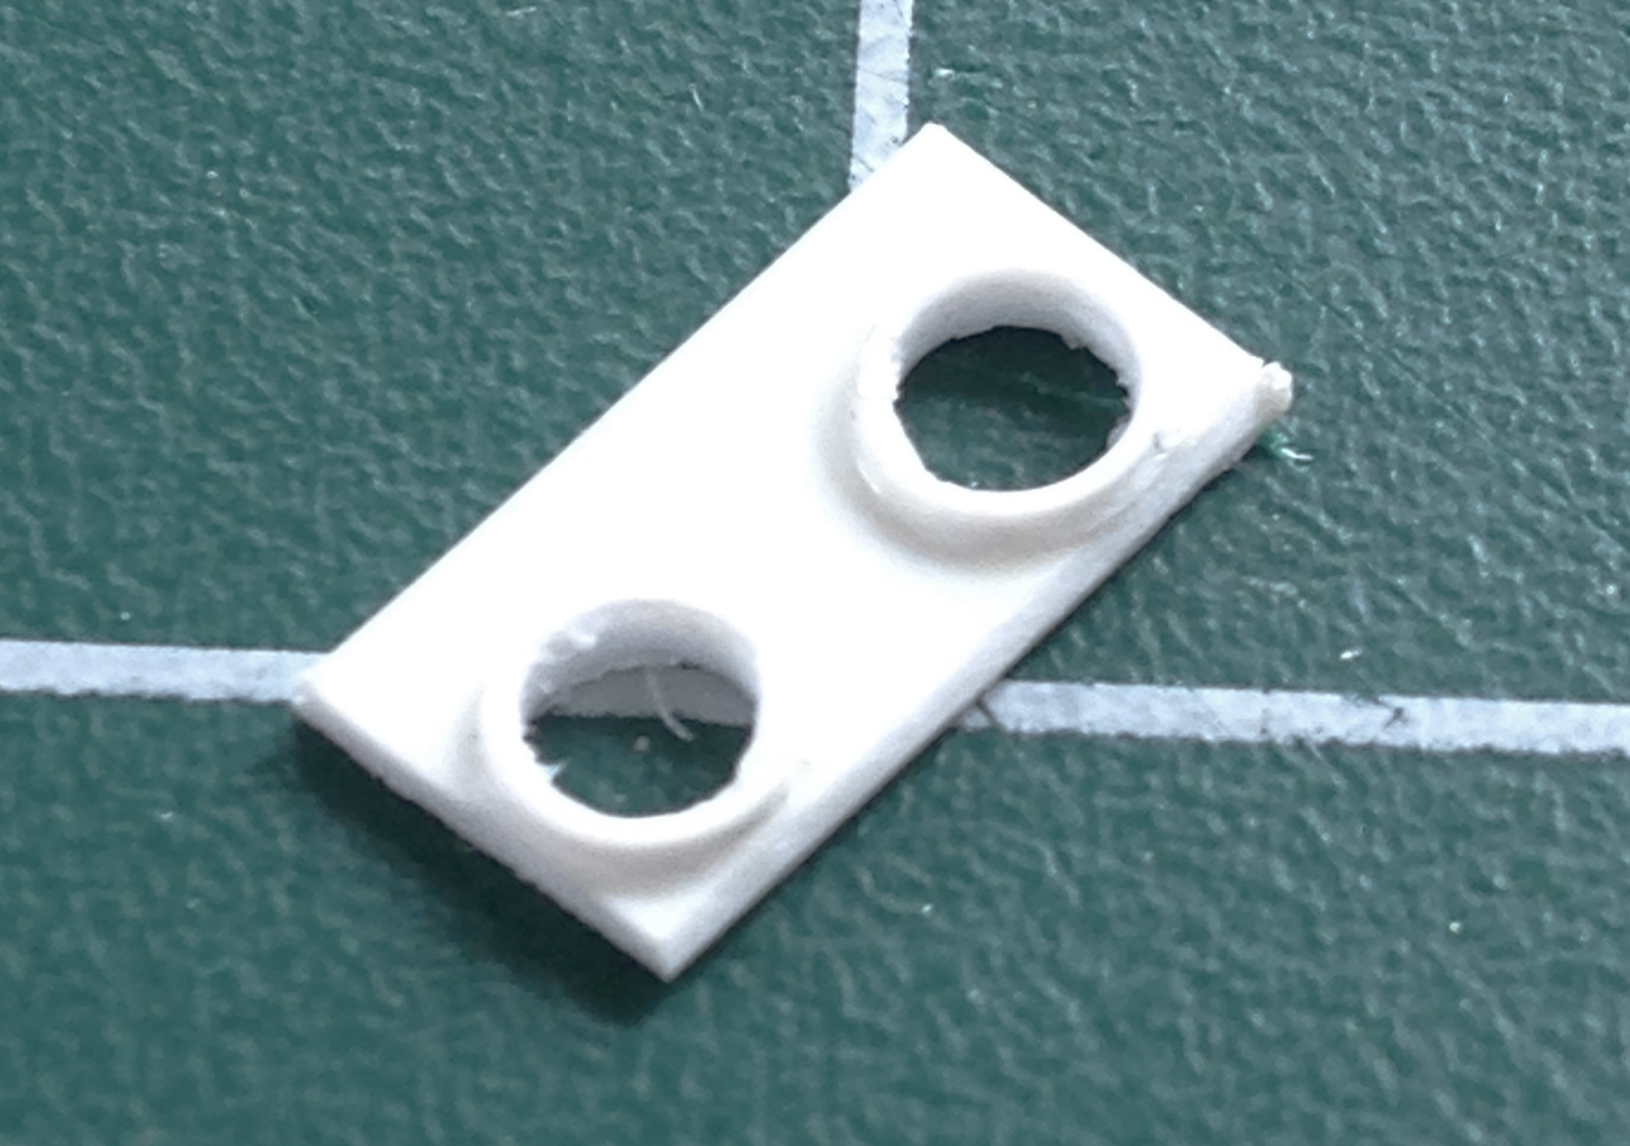
I cut the two apart and then roughly placed one inside the wing to see how things would look (not bad) and how things would fit (not good):

I carefully thinned the area where the landing lights go on both wings:
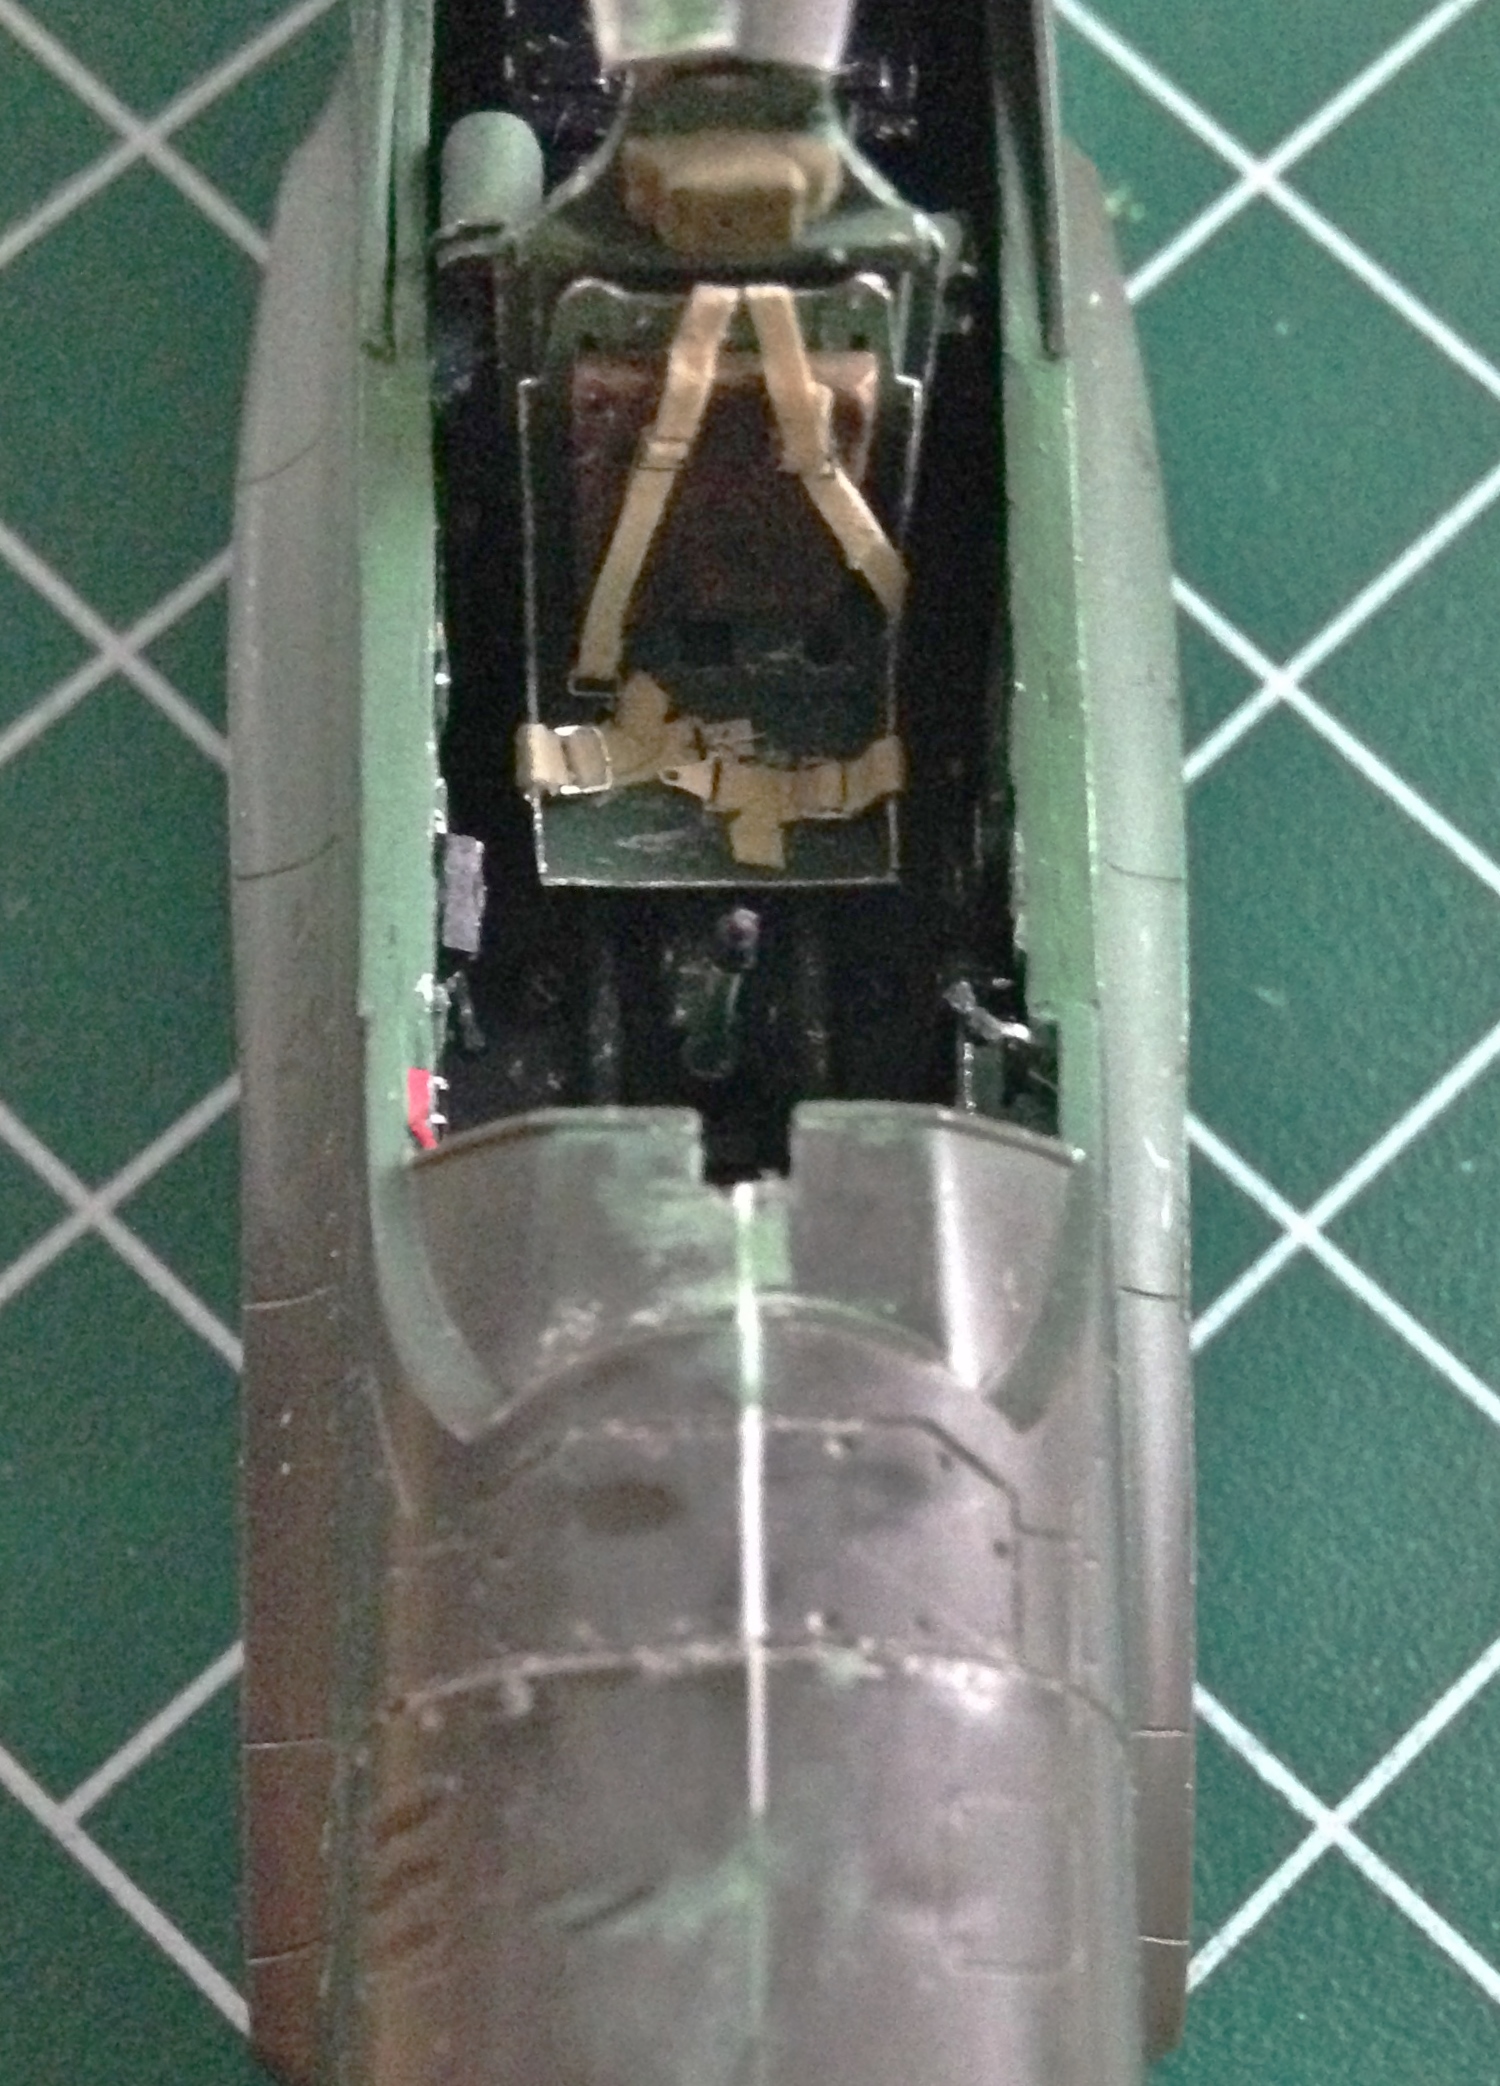
I placed a landing light in place and dropped the upper wing where it goes and was pleased with how it looked:
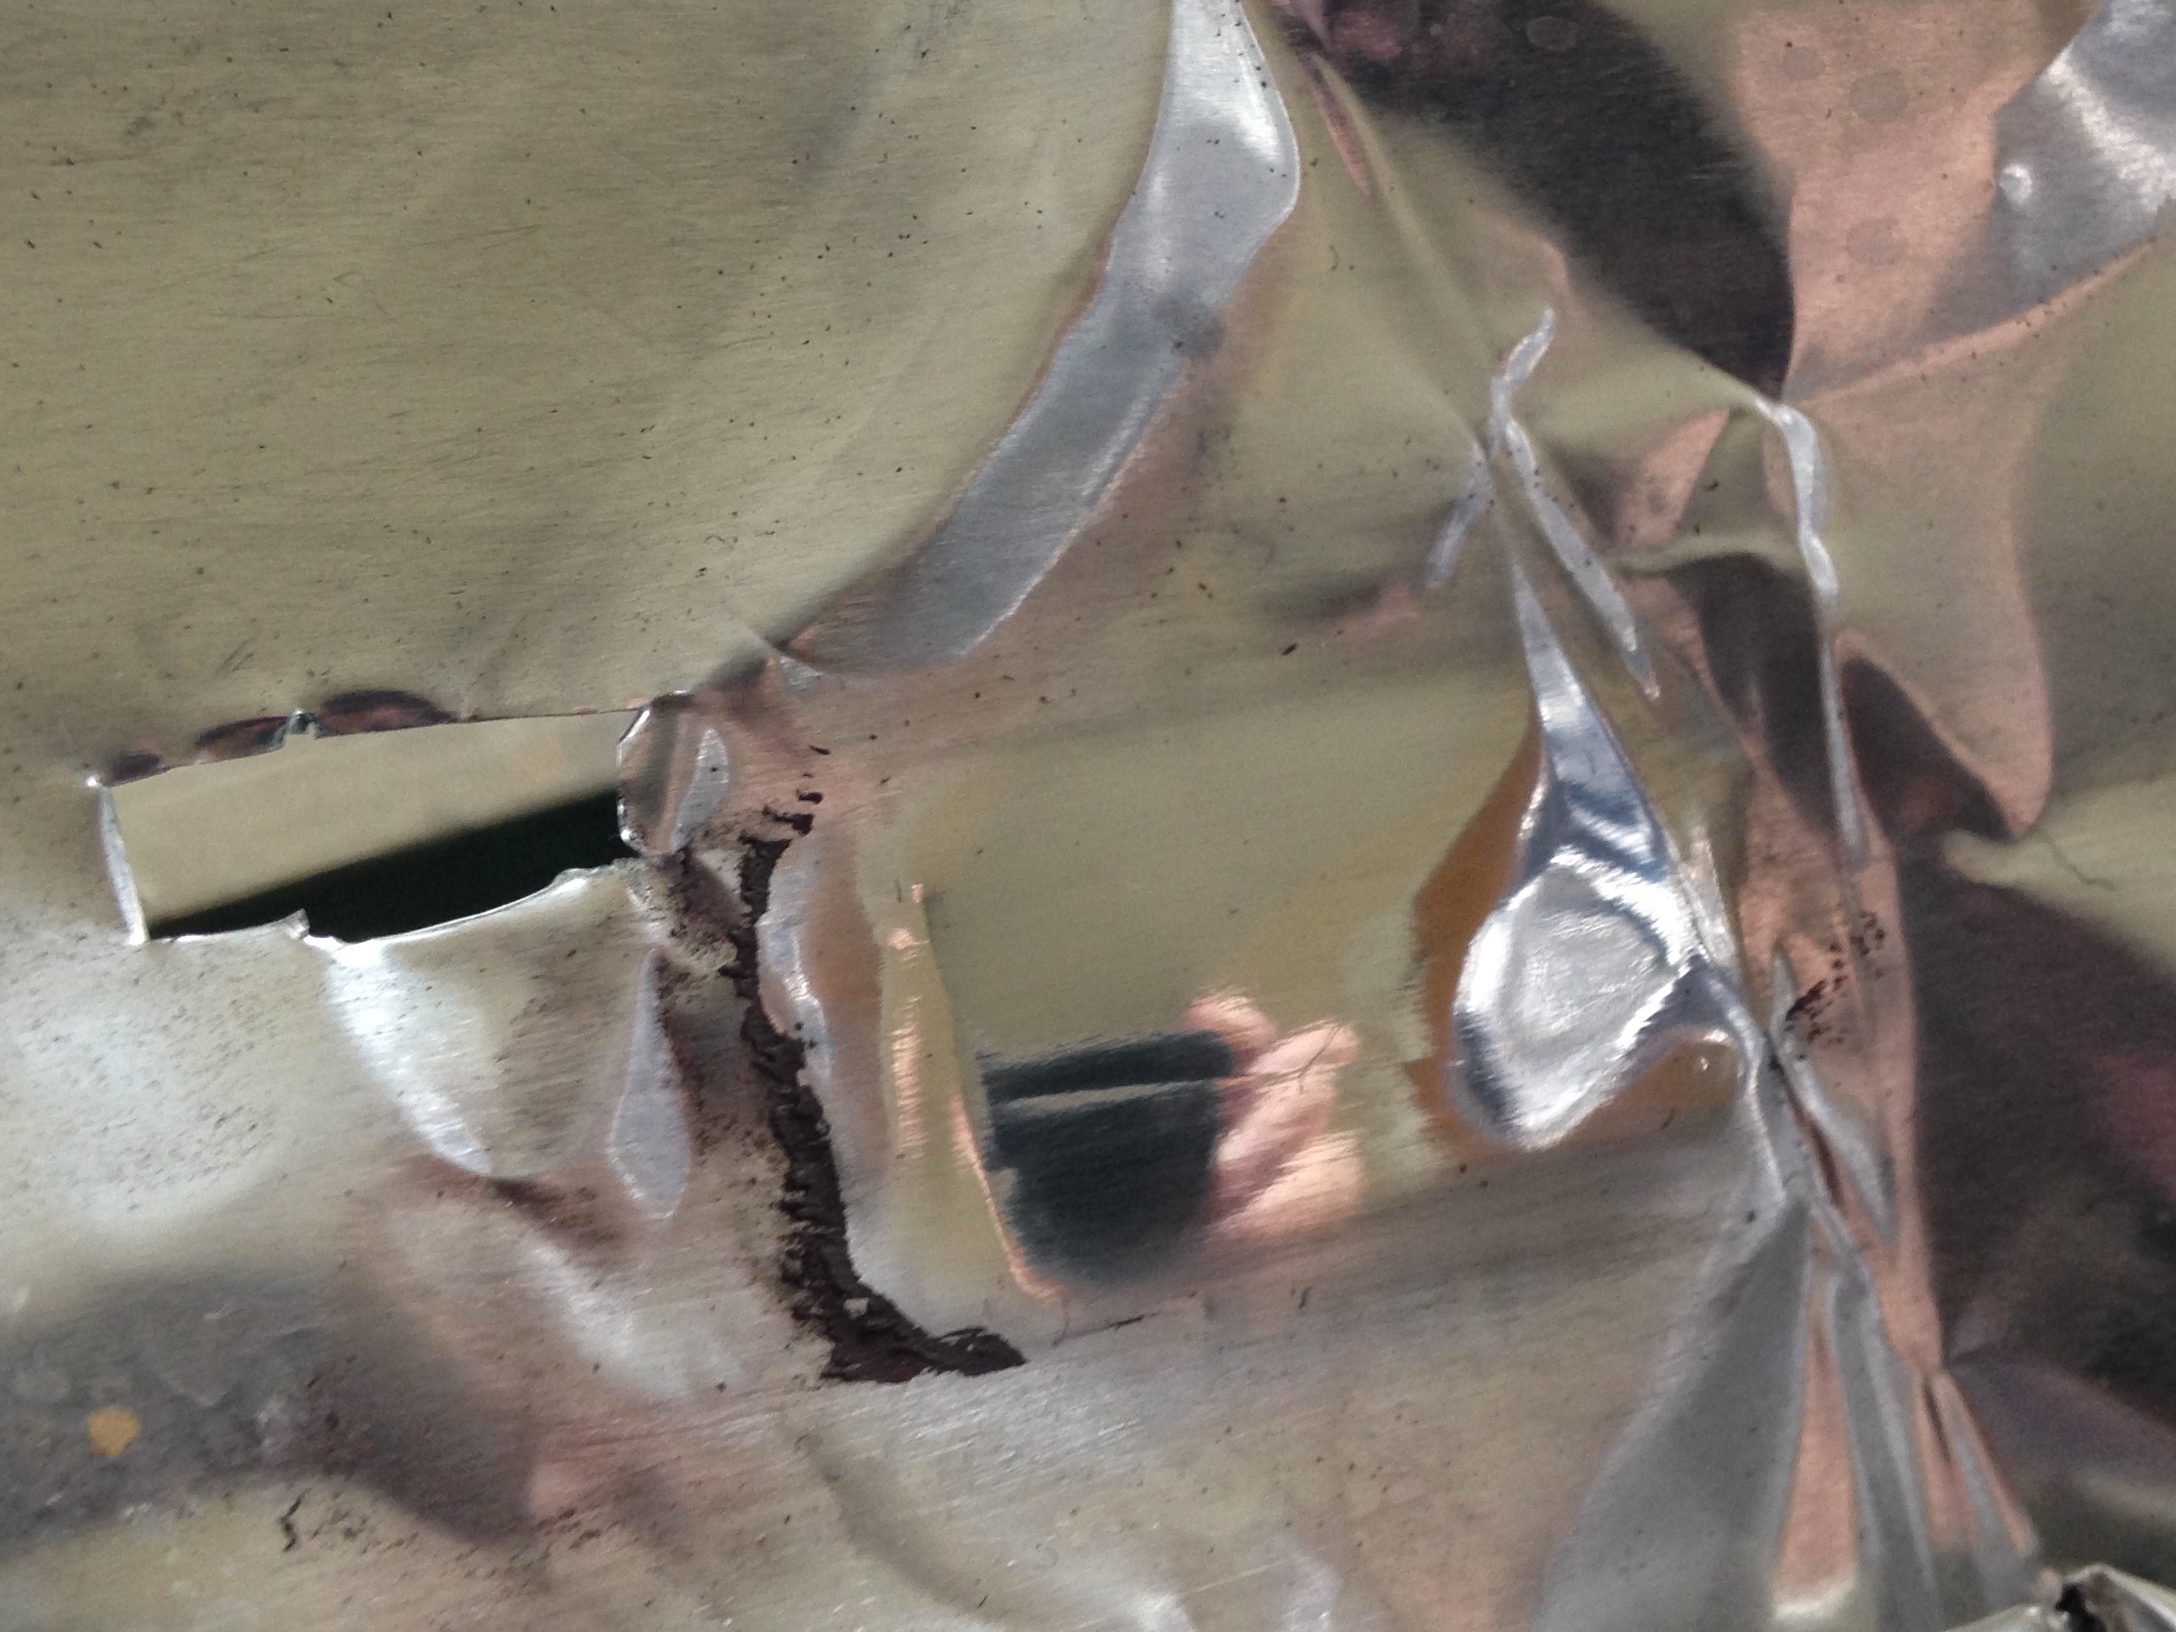
Now I needed the landing lights. For a reflective surface, I took a disposable aluminum baking pan and sanded and polished it, then I cut the polished area out and glued it to the back of the landing light, using a fine marker to make a dot for the “bulb”:

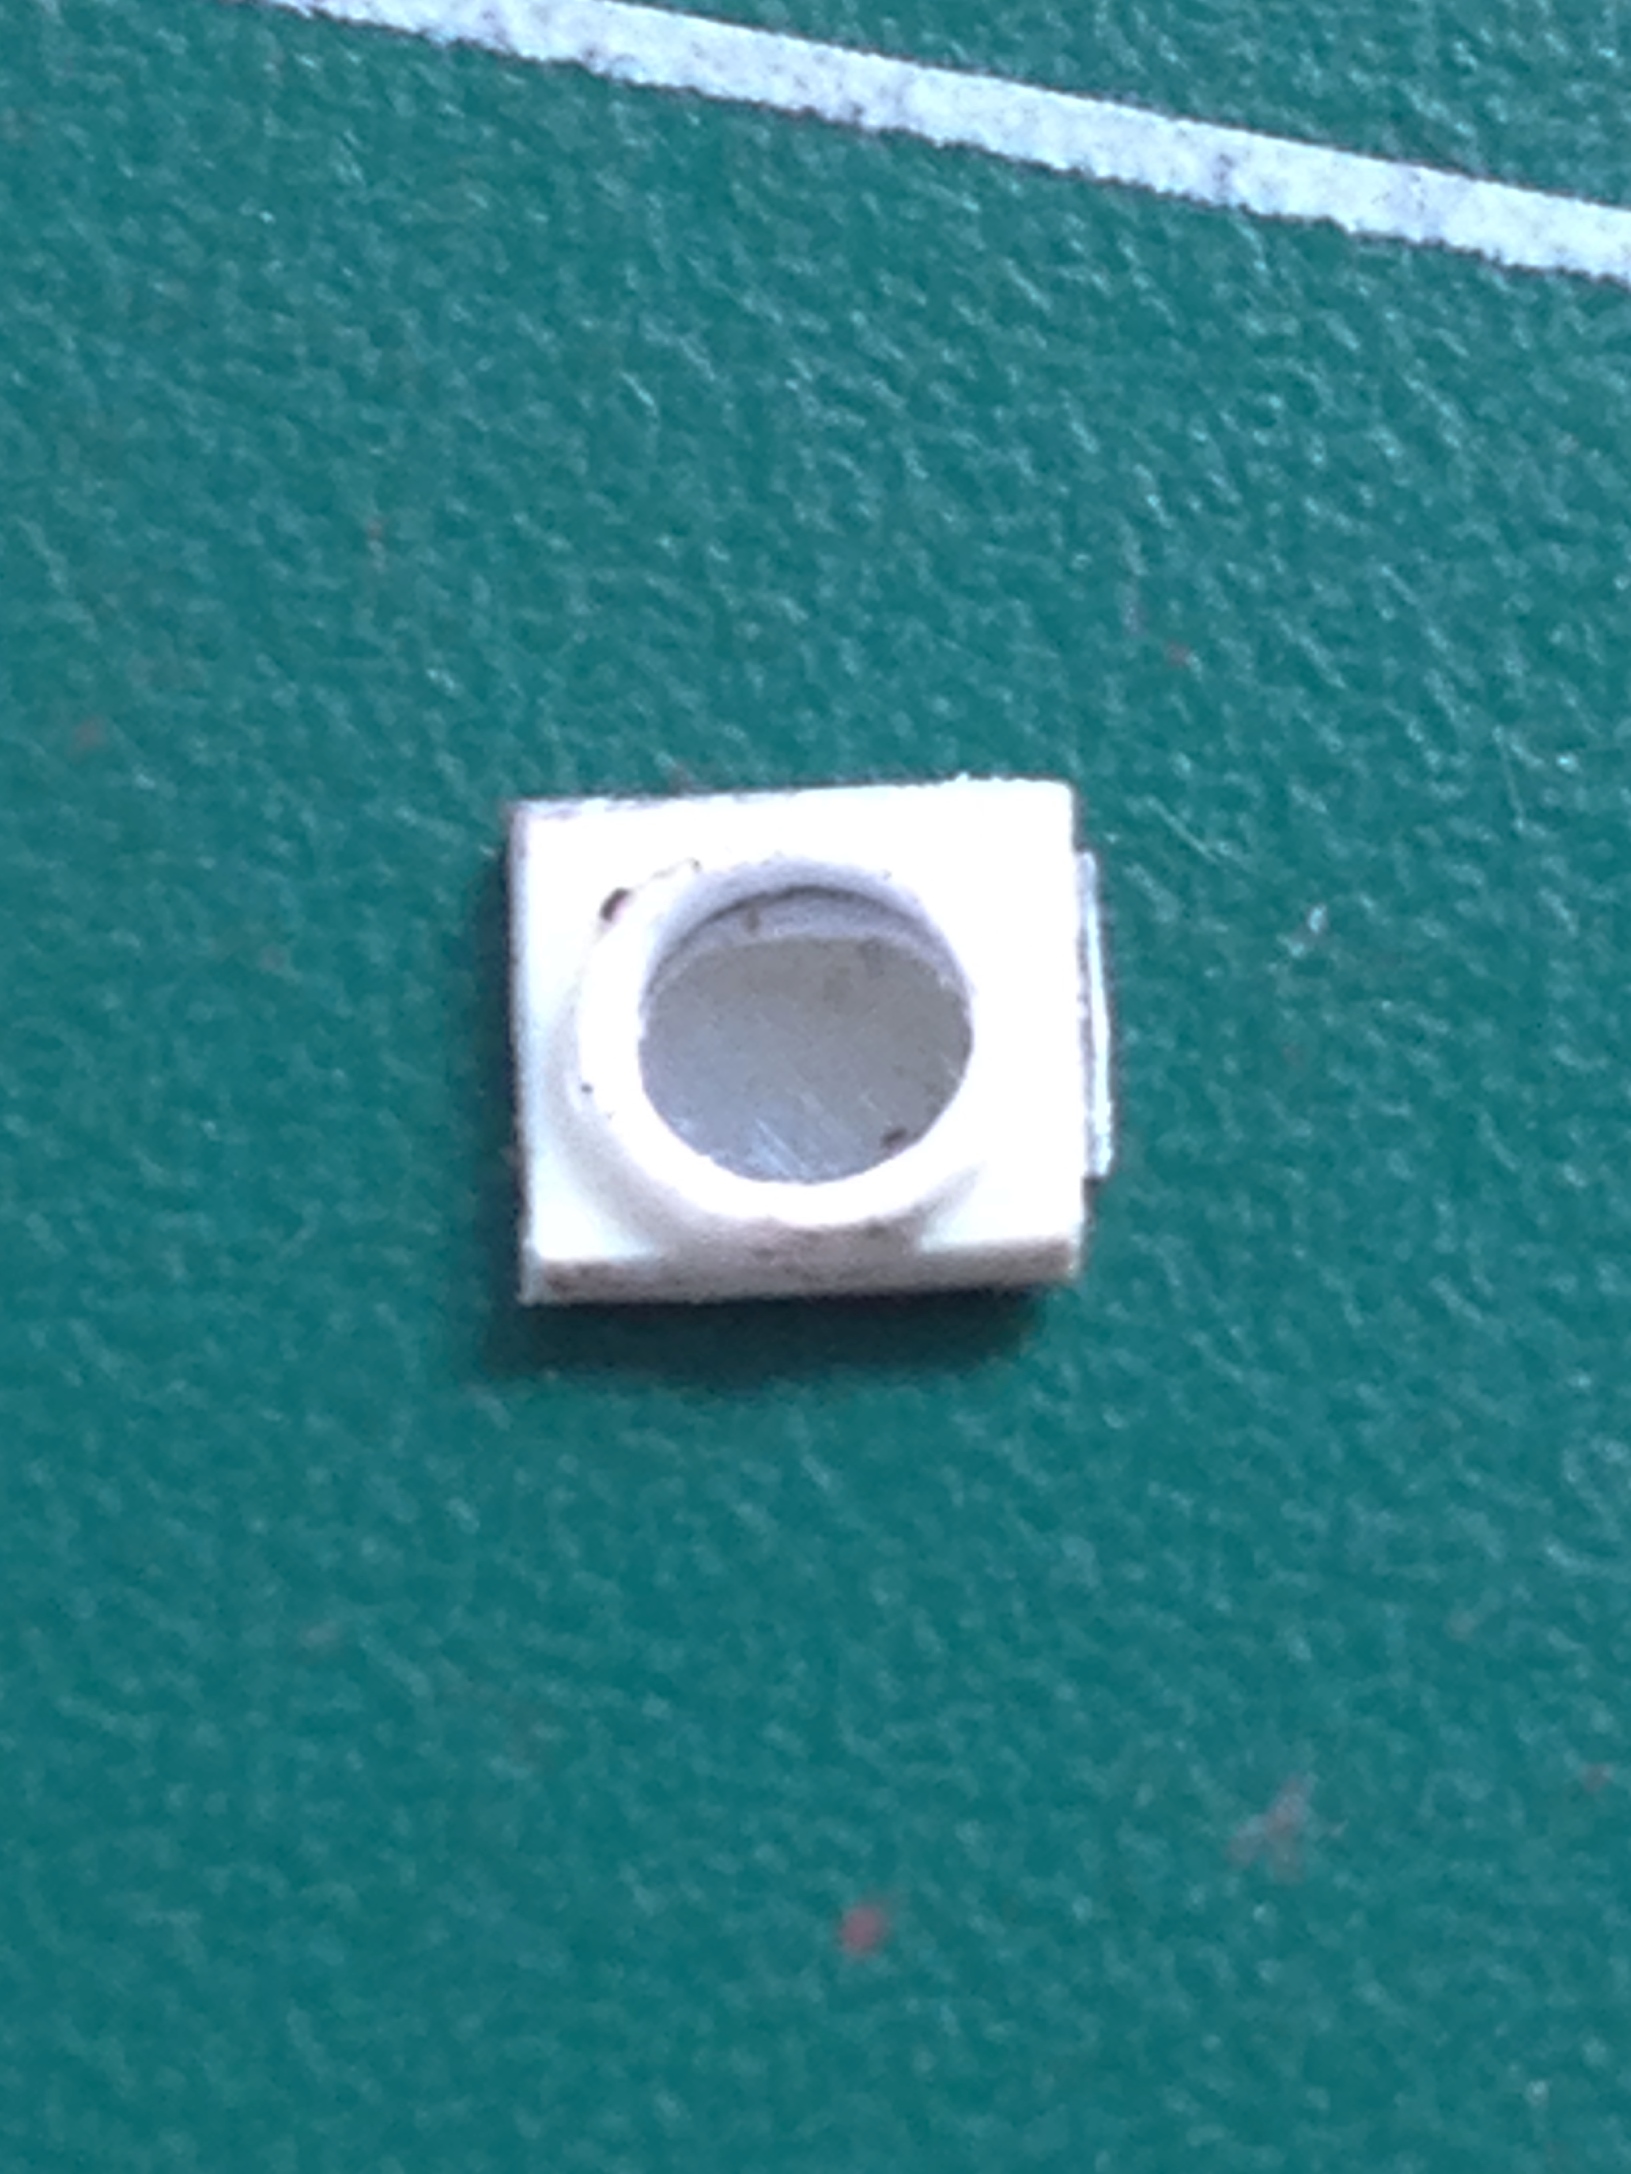

To make the lens, I punched out a piece of clear butyrate, put it in place, and was pleased with the effect:
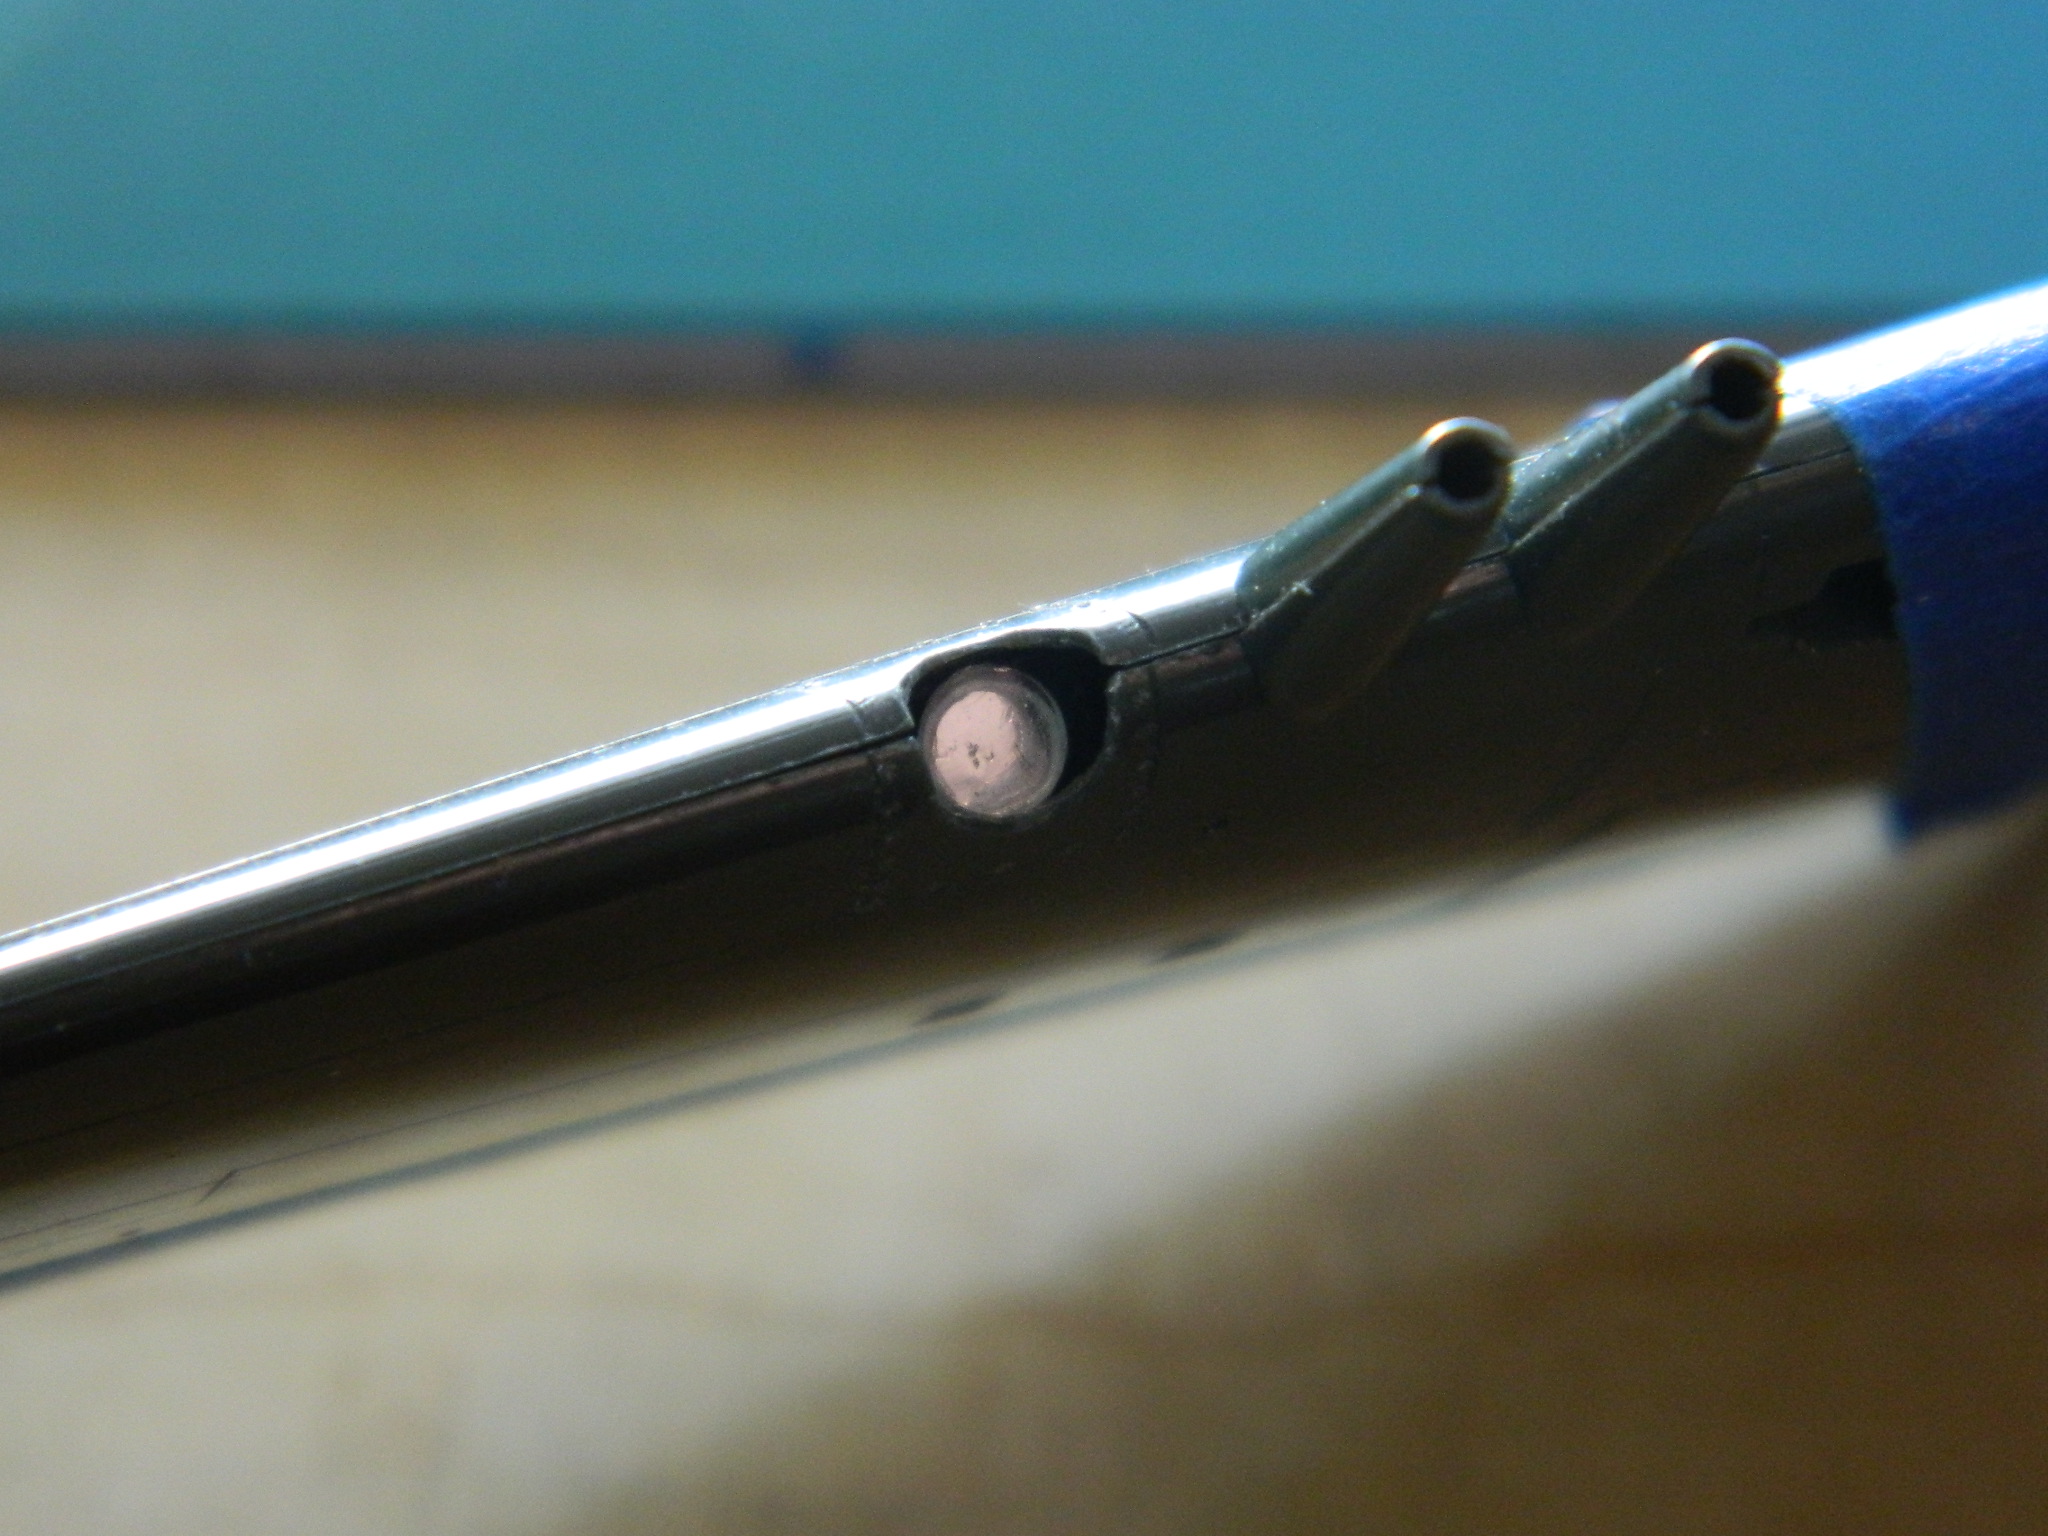
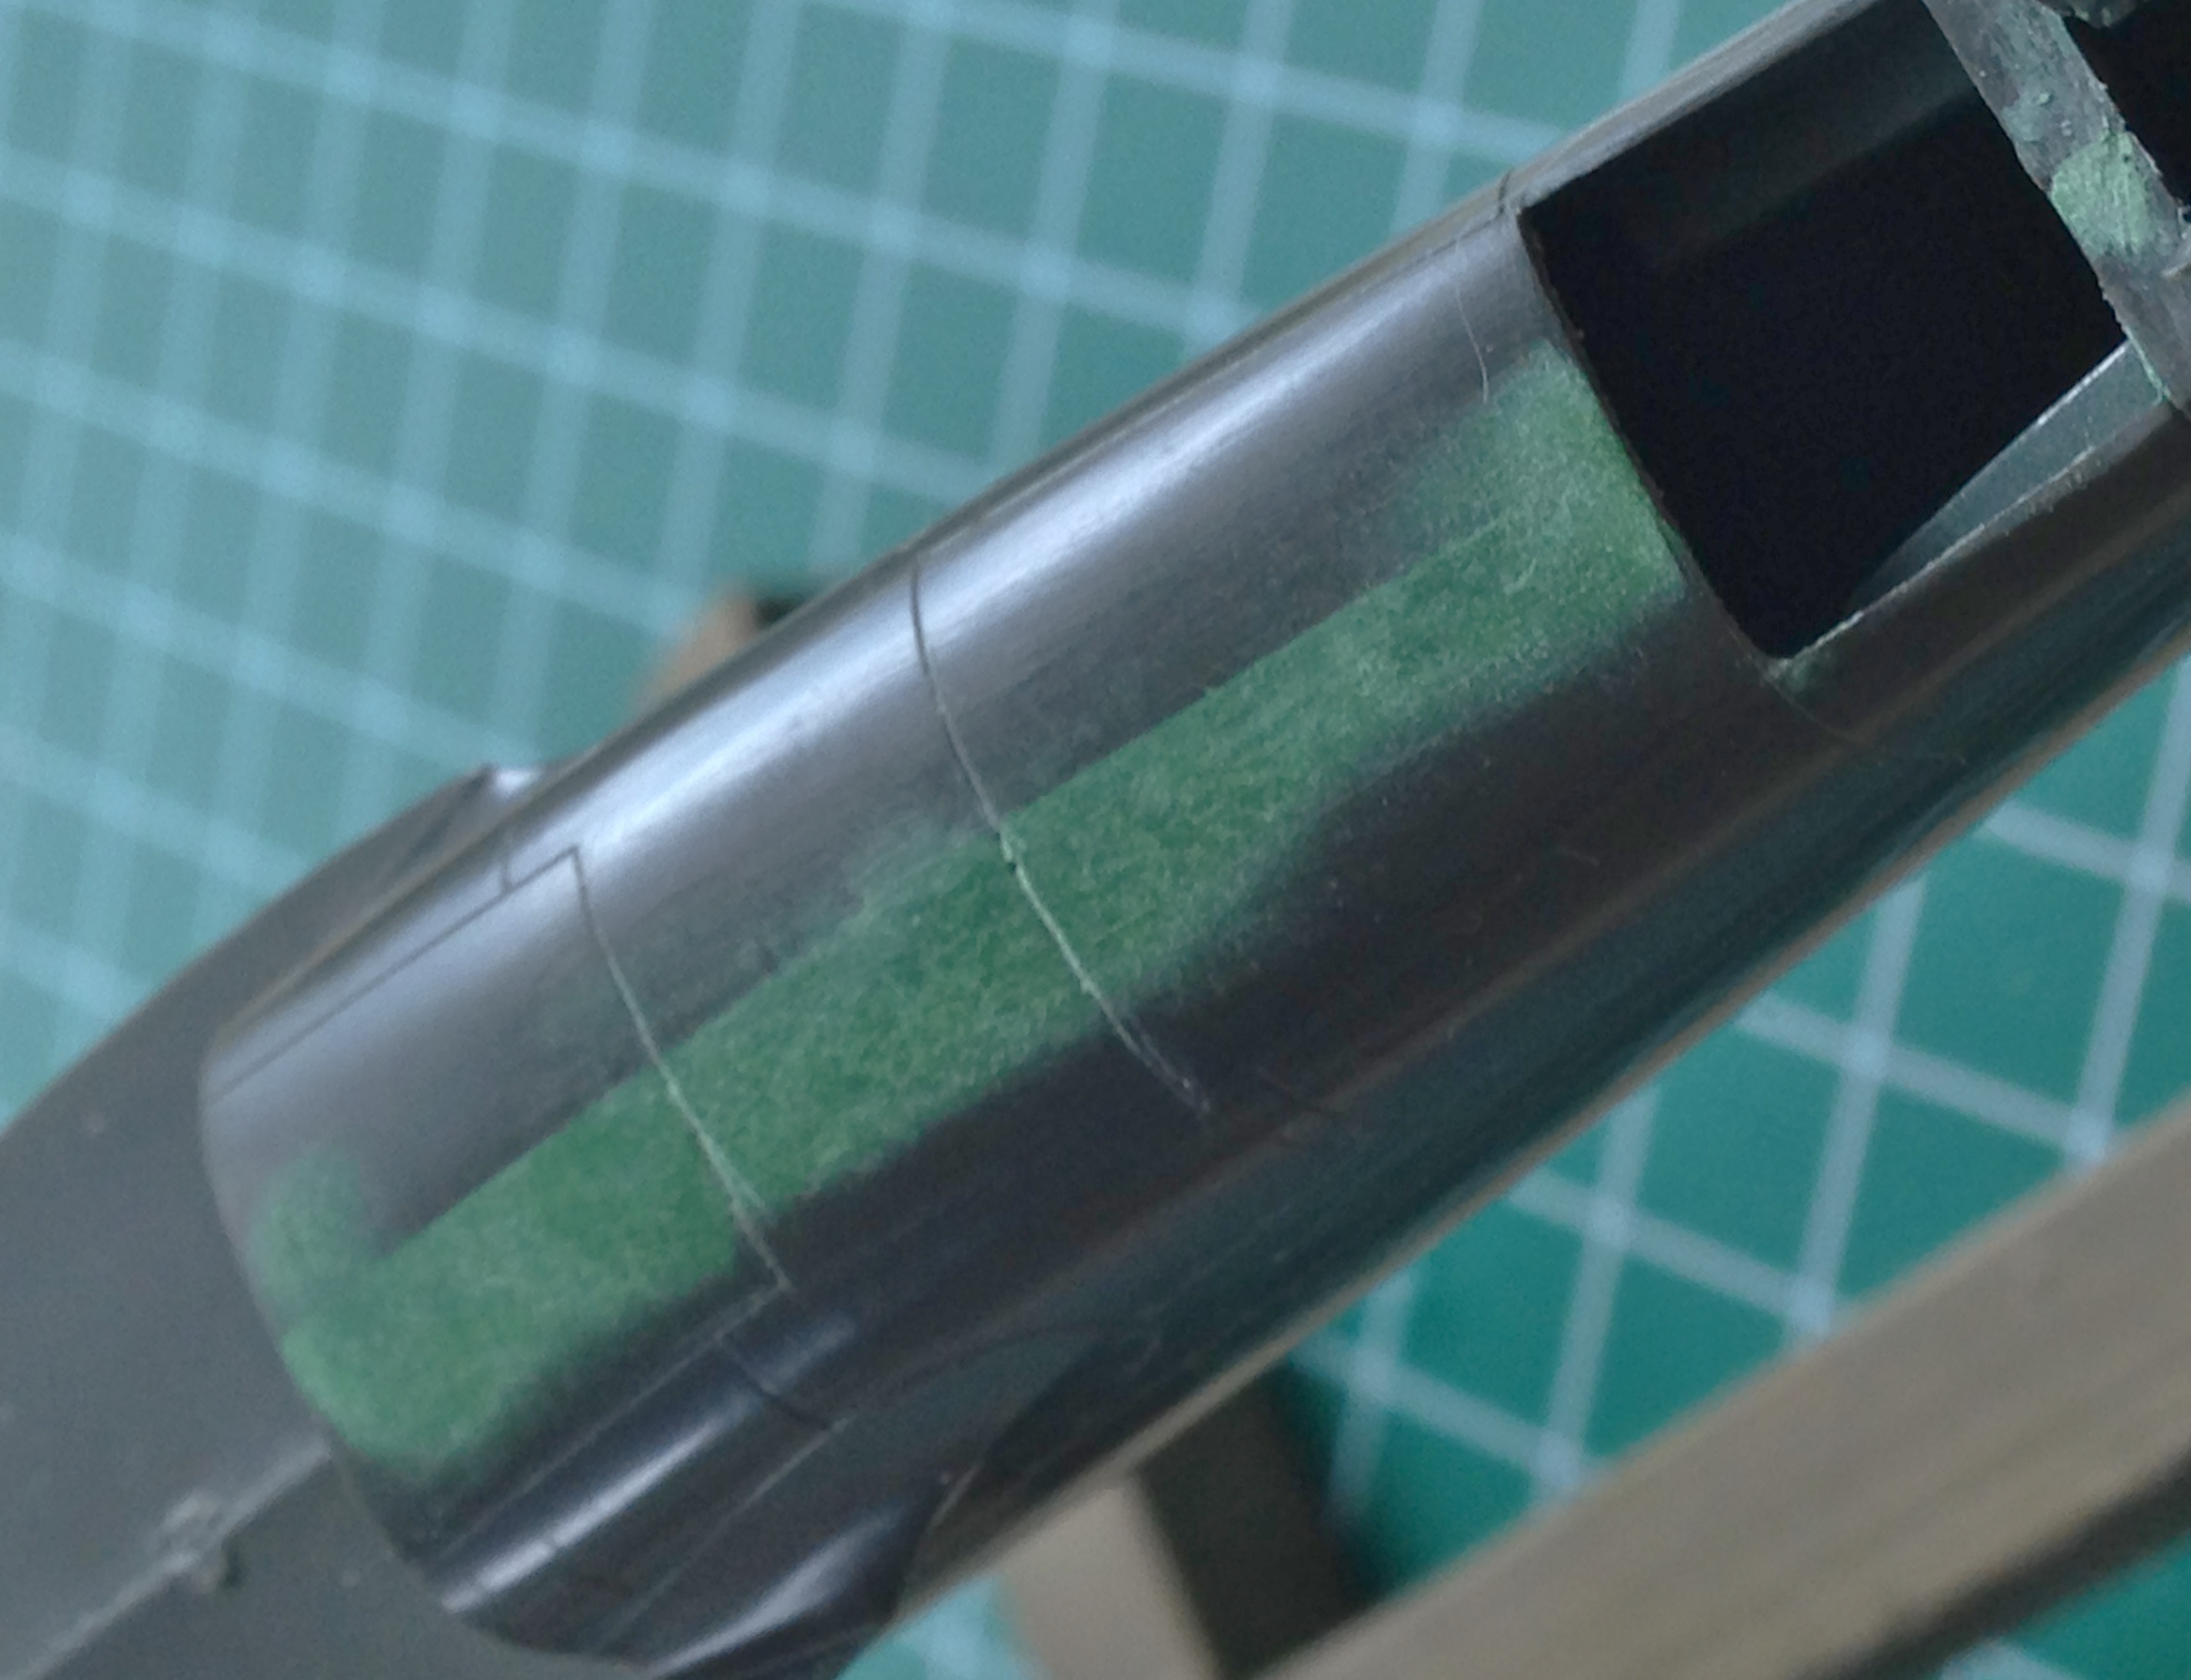
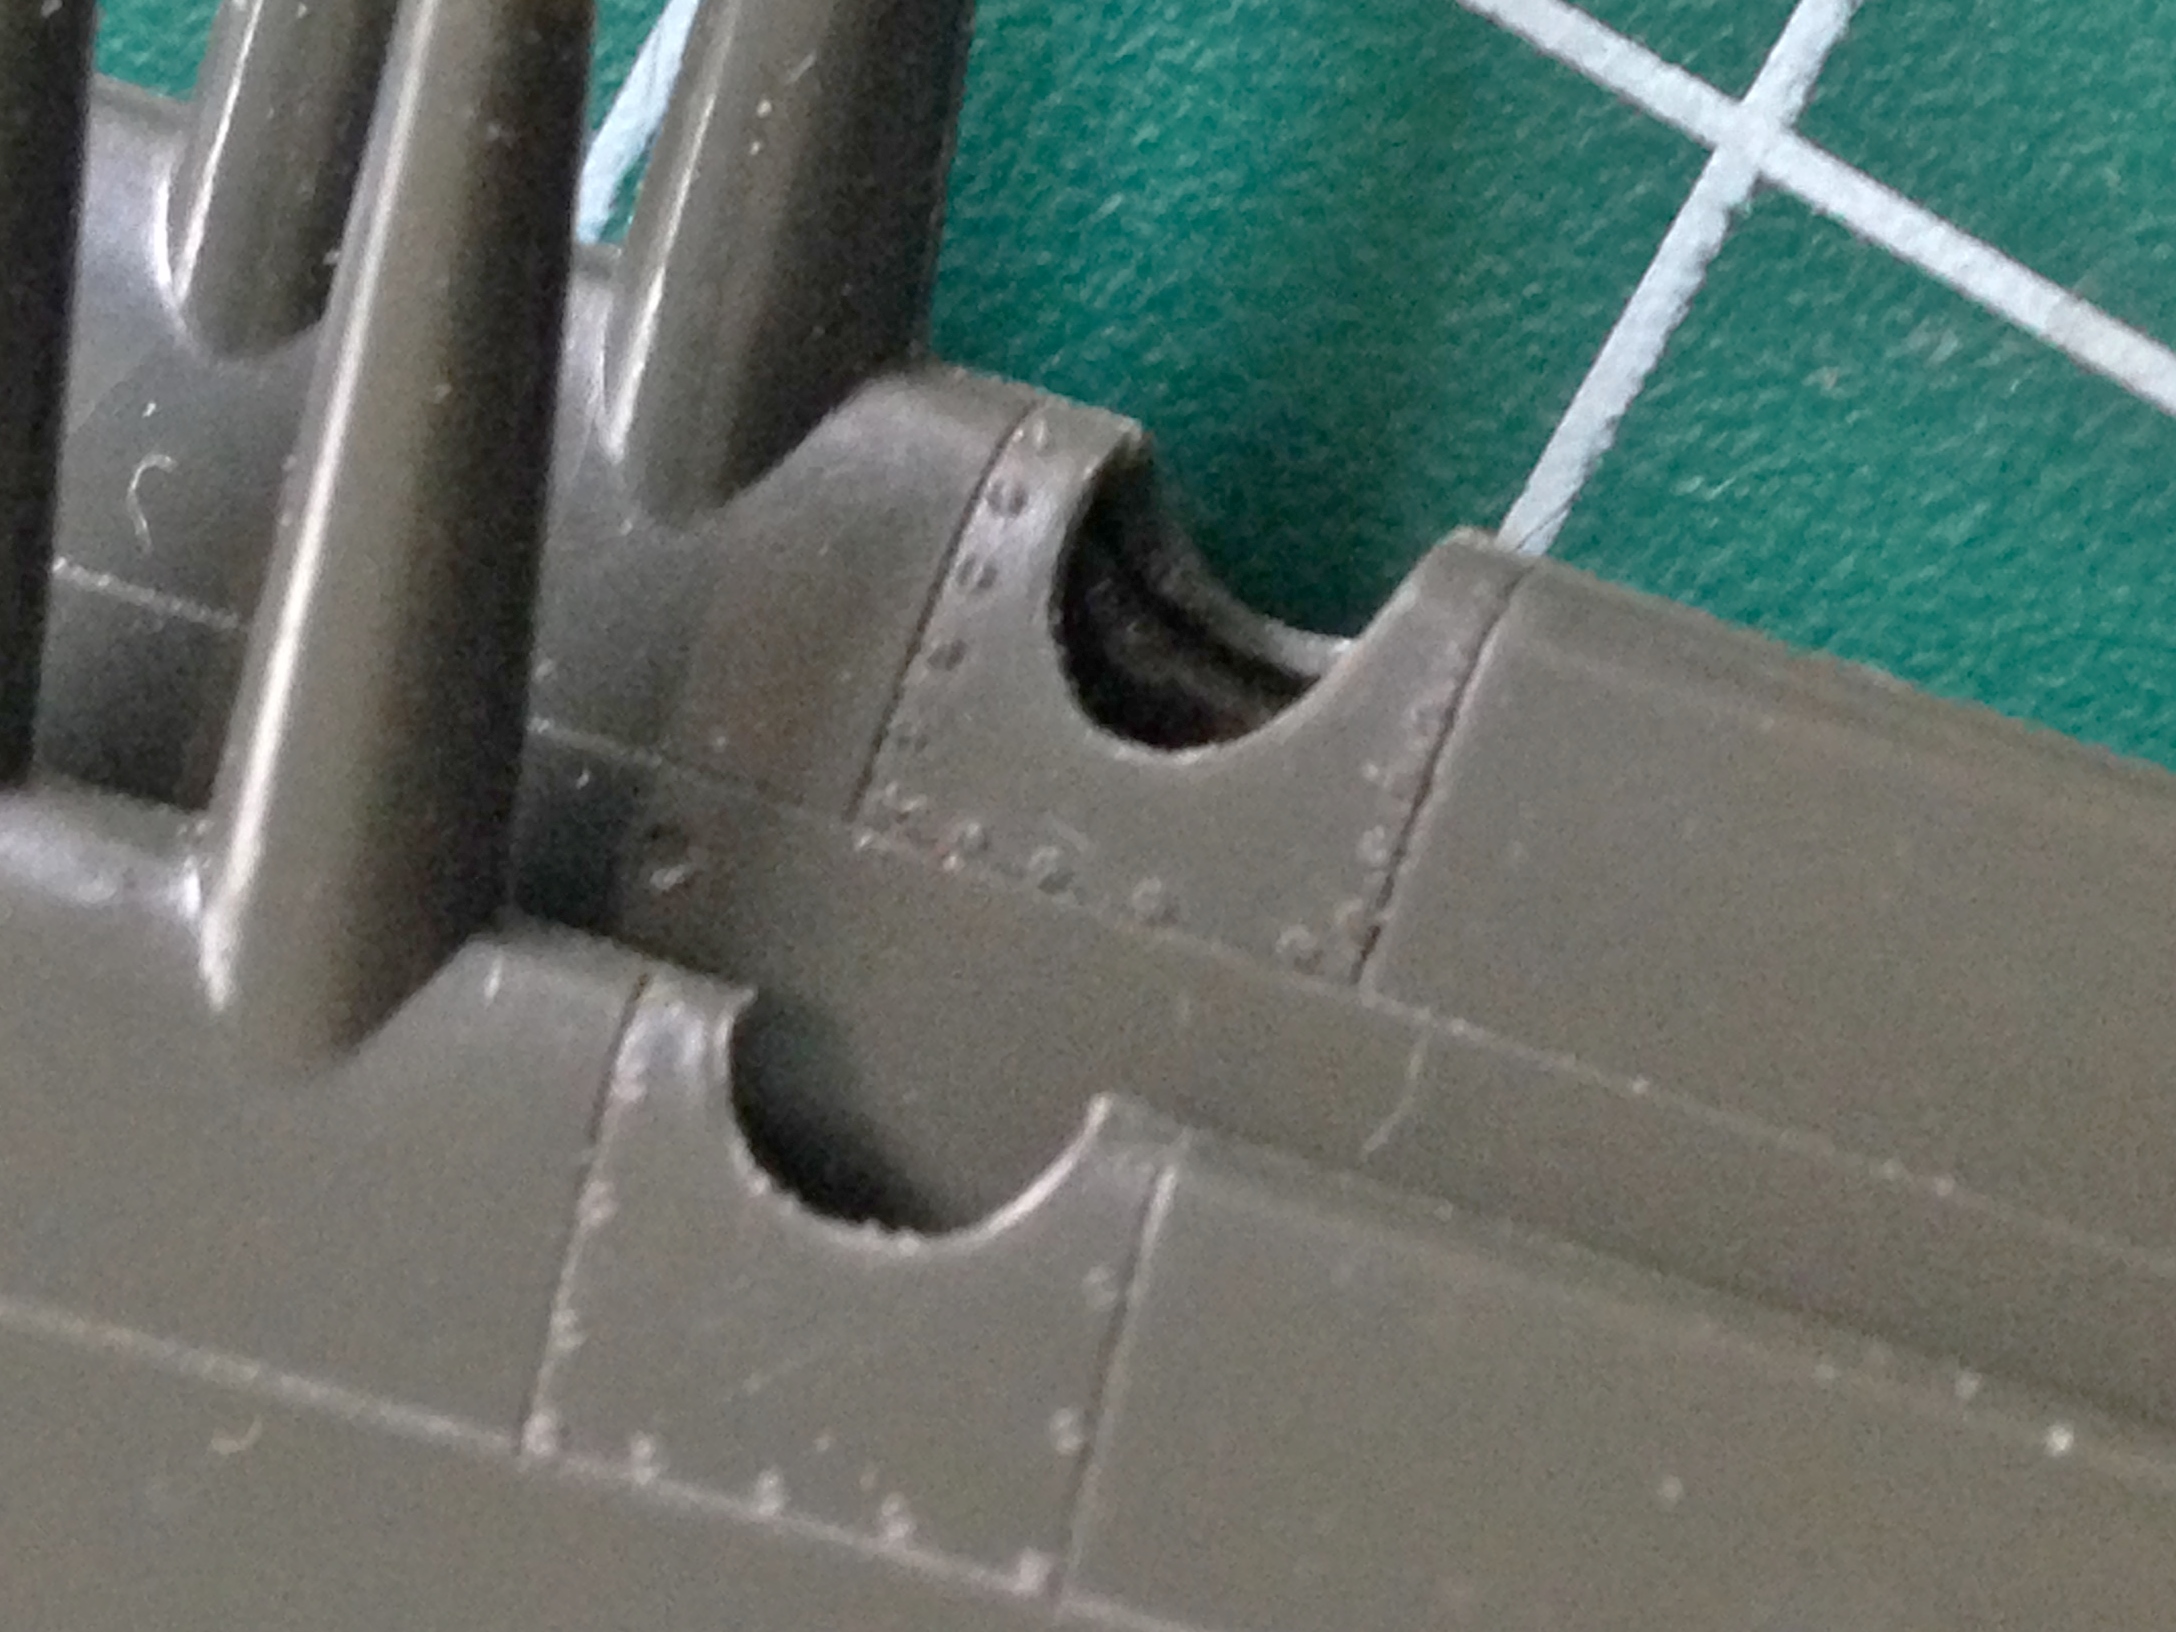
Moving inward from there, I wanted to fix the armament. The P-51 was the only Mustang to have 20mm cannons (Hispano Suiza units with 500 rounds per gun) and those were fairly large, resulting in much of the barrel being shrouded where it extended out of the wings. The kit’s “barrels” have what I take are cooling fins along the section of the barrels that aren’t shrouded. Some of my resources showed P-51s with those fins and some showed P-51s without those fins (since my attempts at making fins to fit were so frustrating and BAD, I’ll be making barrels without them). The kit-supplied guns were really bad so it that means that I’m not using those parts. Instead, I used .032 (.082mm) brass tubing that I widened the holes in. The references (see…sometimes I consult them) show a lip around the muzzles. I drilled the center out of .047″ (1.1939mm) styrene rod:

After doing that eight times, I ended up with a decent set of 20mm gun barrels (the muzzle band will be aligned better later):
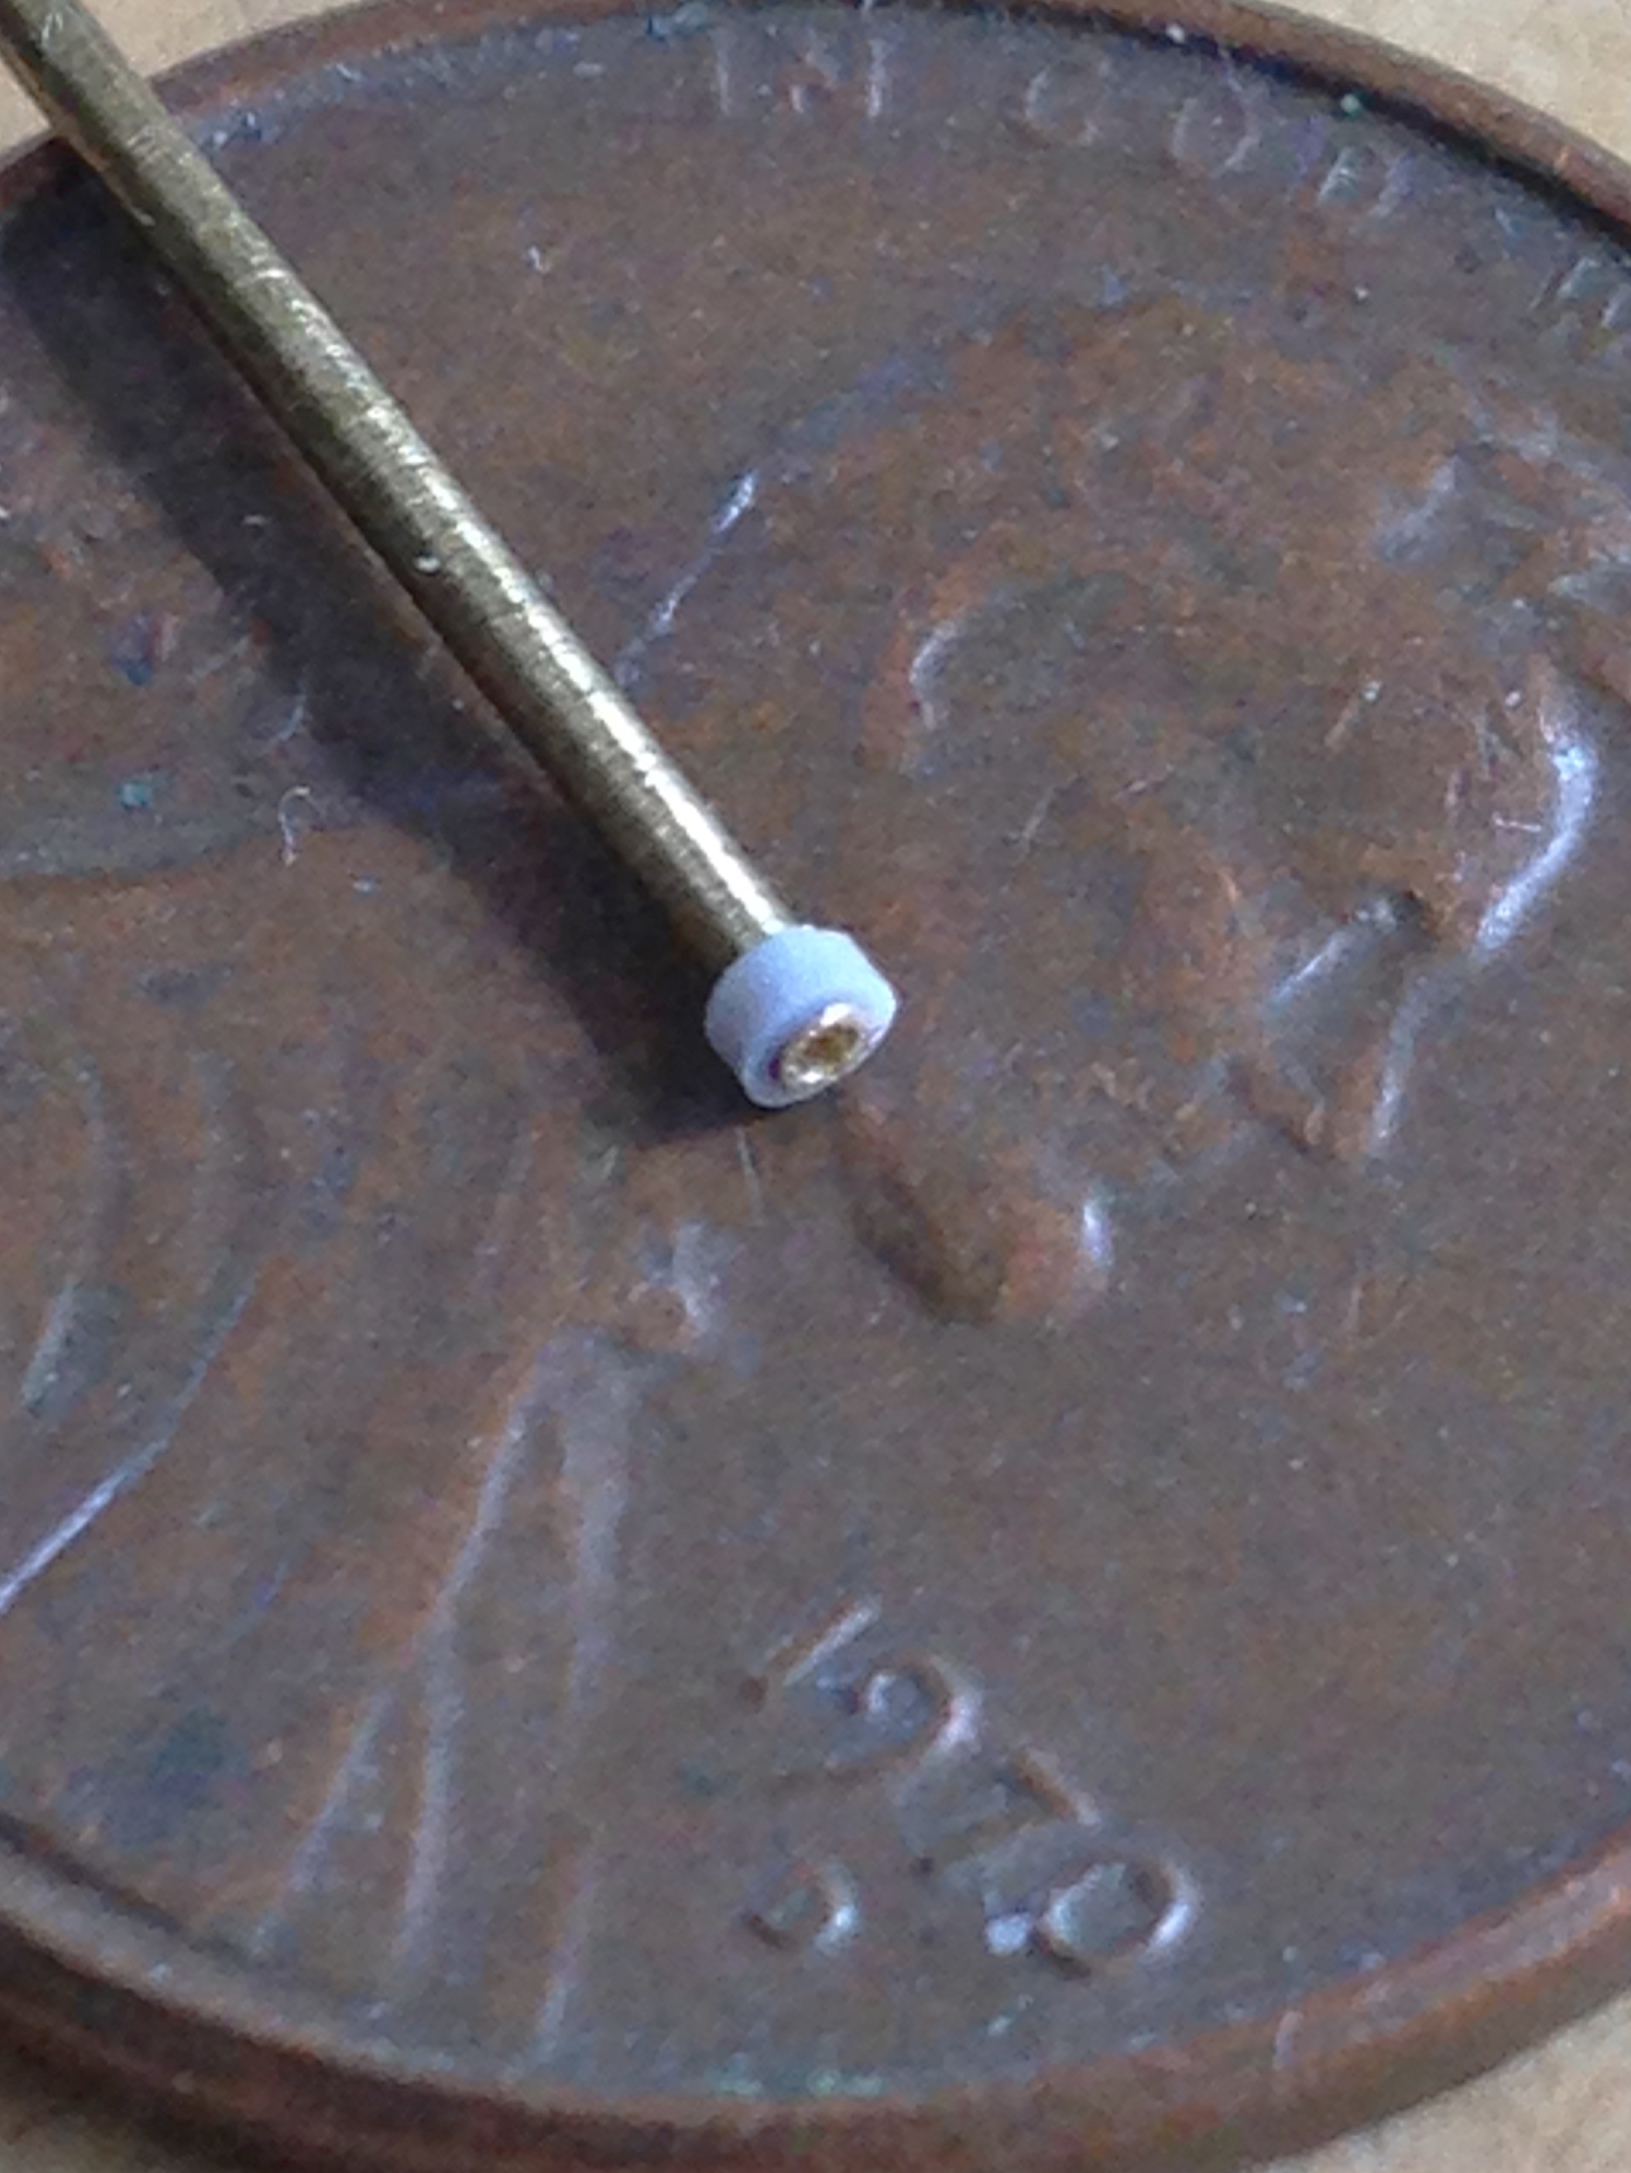


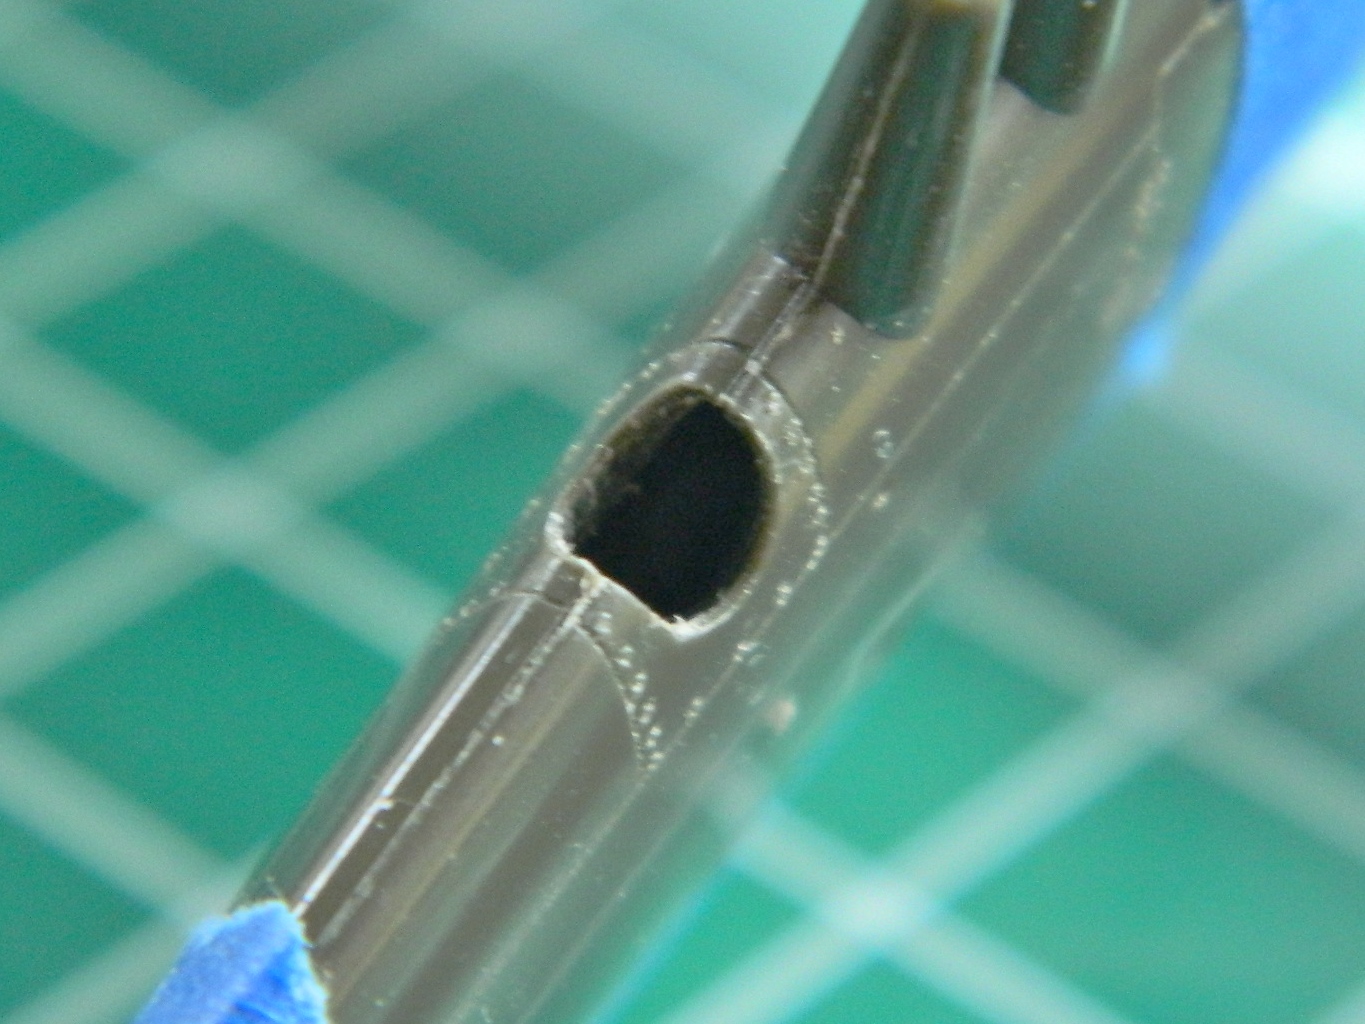
And then I drove myself crazy(er) concocting elaborate and complicated means of getting the barrels mounted and aligned. Thankfully, before I started burning through materials and/or screwing up the only set of wings I have for this variant, I hit on a Clever Idea ™. I noticed that there is a slight lip where the barrels meet the shrouds on the actual aircraft. Since I had the .047″ (1.1939mm) rod right there, as well as recent (successful!) experience center-drilling them, I’d use the drilled styrene rod as mounting sleeves! I also made a fence so that the barrels extended the proper distance from the shrouds (that turned out to be unnecessary, so I didn’t do it for the other wing/gun setup):


I didn’t attach the barrels at this point. Having them removable (they just slide in and out like…ahm…yeah…never mind) will make painting them a lot easier.
A word about dropped landing gear doors and flaps…
I’ve read references that stated the reason the doors on Merlin-powered Mustangs drooped was because they lacked the mechanical locks that kept Allison-powered doors up once hydraulic pressure in the system bleed off. I’ve read references that said the opposite. I’ve also read the same things for the flaps, both one way and then the other. From what I’ve been able to figure out, the flaps would stay up unless someone pulled the T-handle that released the hydraulic pressure from the hydraulic system (the reason given was so that nobody would step on the relatively fragile flaps while they were in the up position and thereby damage them). It seems the landing gear doors are still a matter of mystery (at least to me) as to when and why they would drop down. (If I ever come up with a definitive answer, I’ll come back and edit this.)
For whatever reason they drop down, most of my references show the flaps down regardless of which variant of Mustang pictured and the landing gear doors down on Merlin-powered Mustangs. That’s how I will build them and that starts with this one.
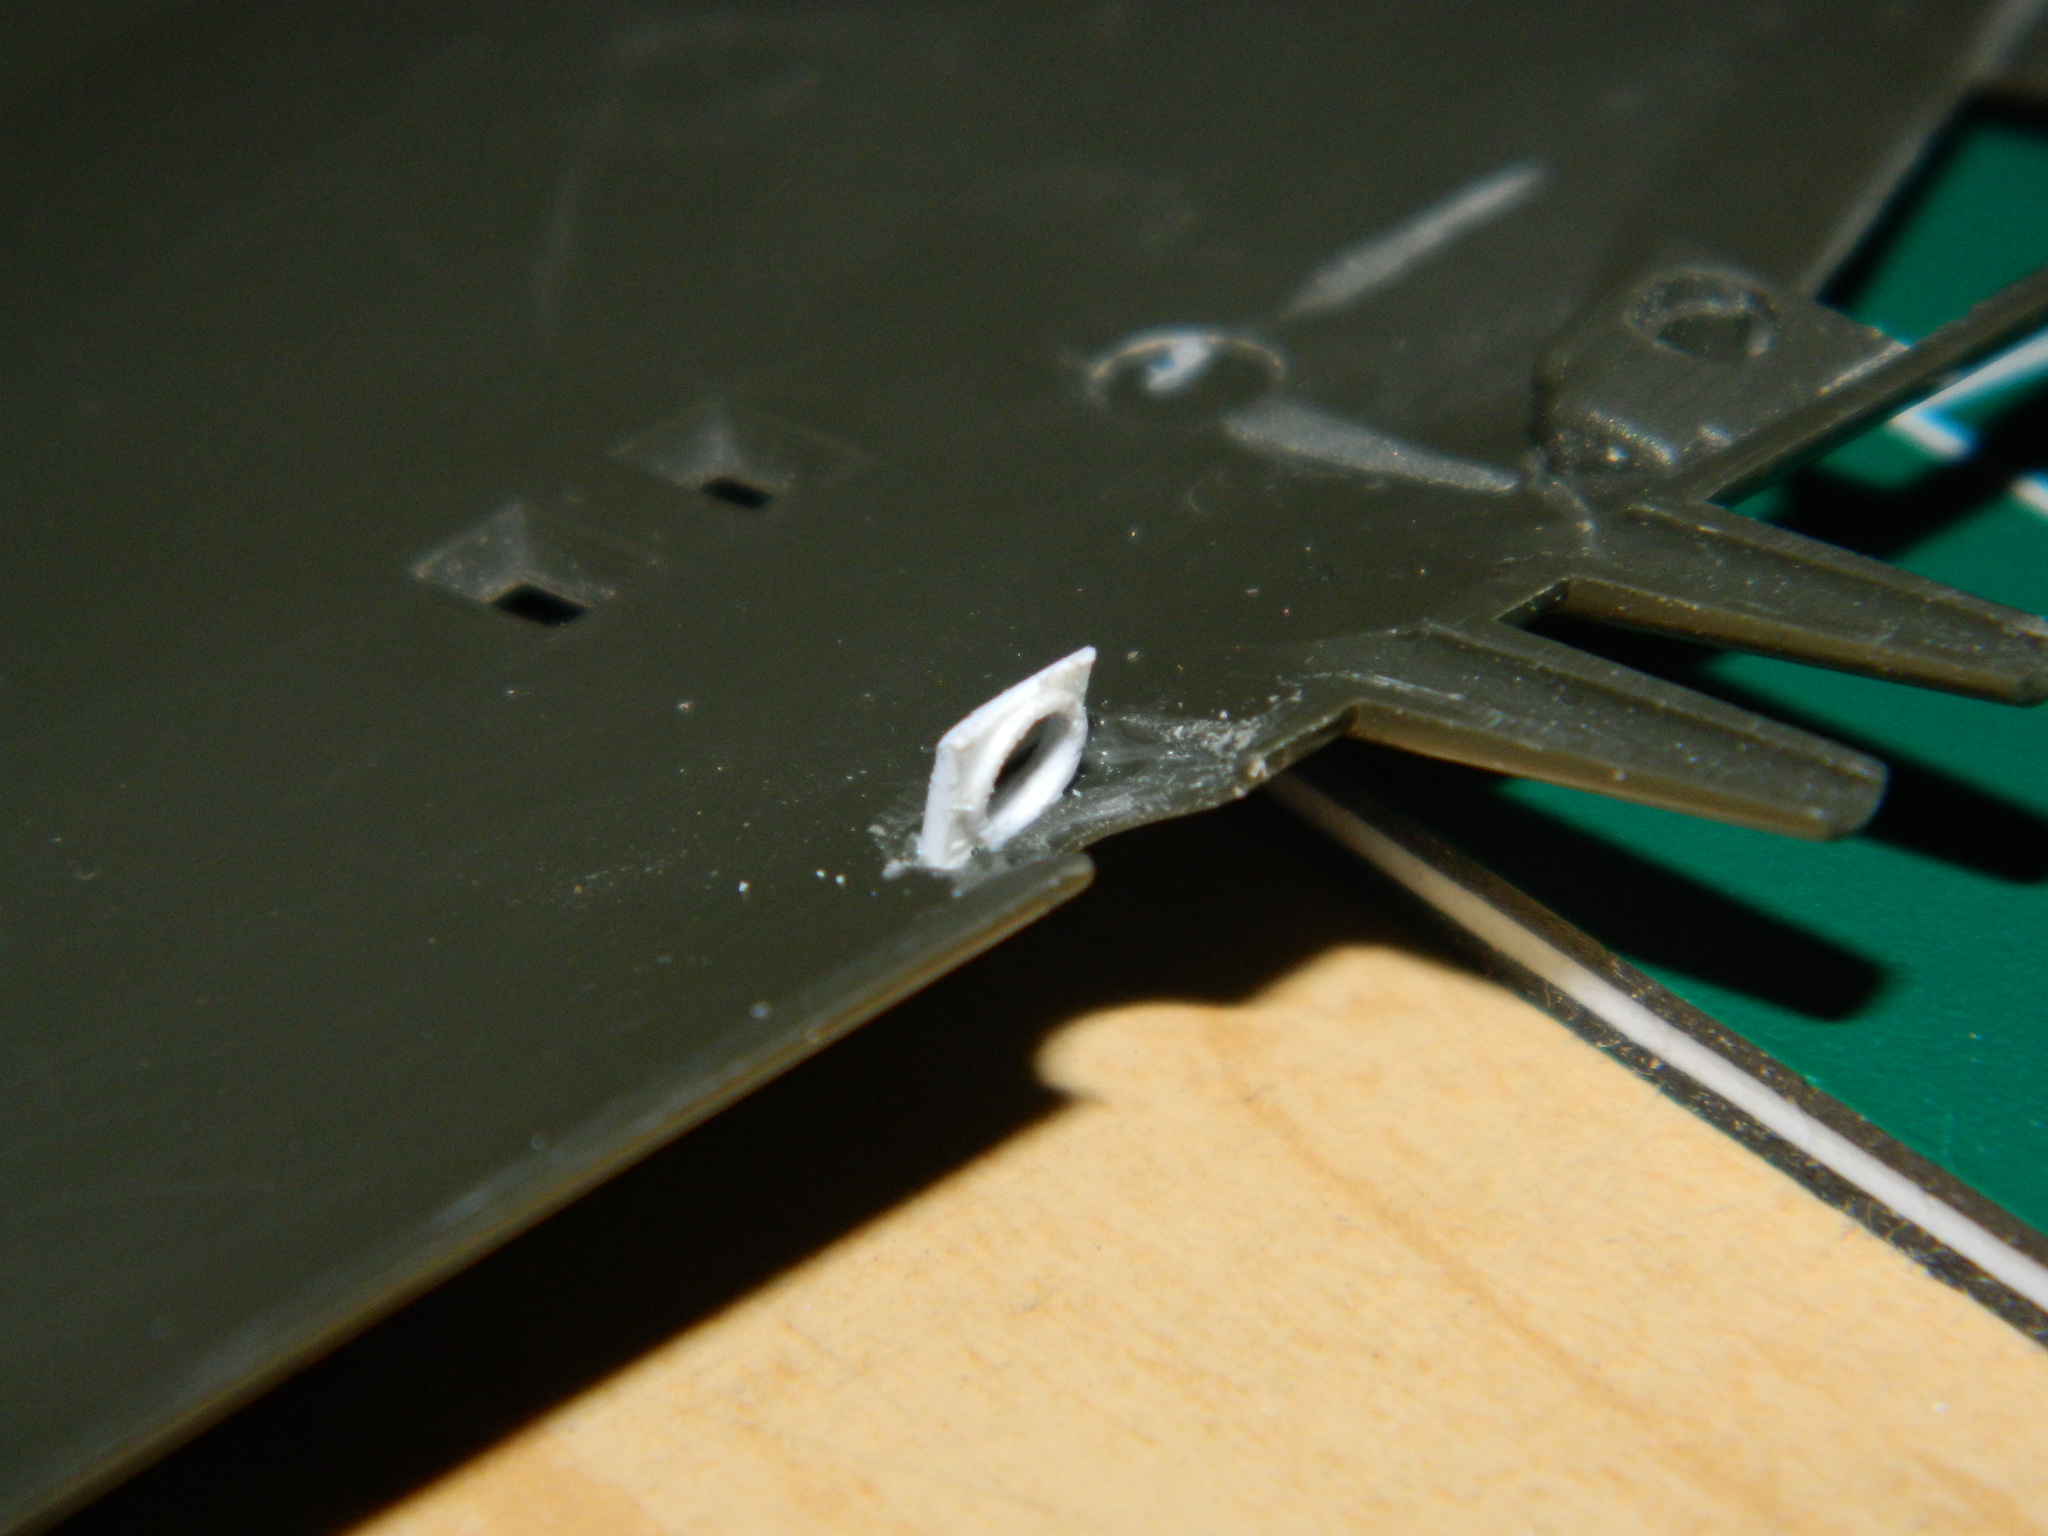
The Verlinden cockpit detail set also included a set of flaps, so I thought I’d use those. The first thing I noticed was that the flaps weren’t long enough, which meant I had to add plastic to the ends of them:
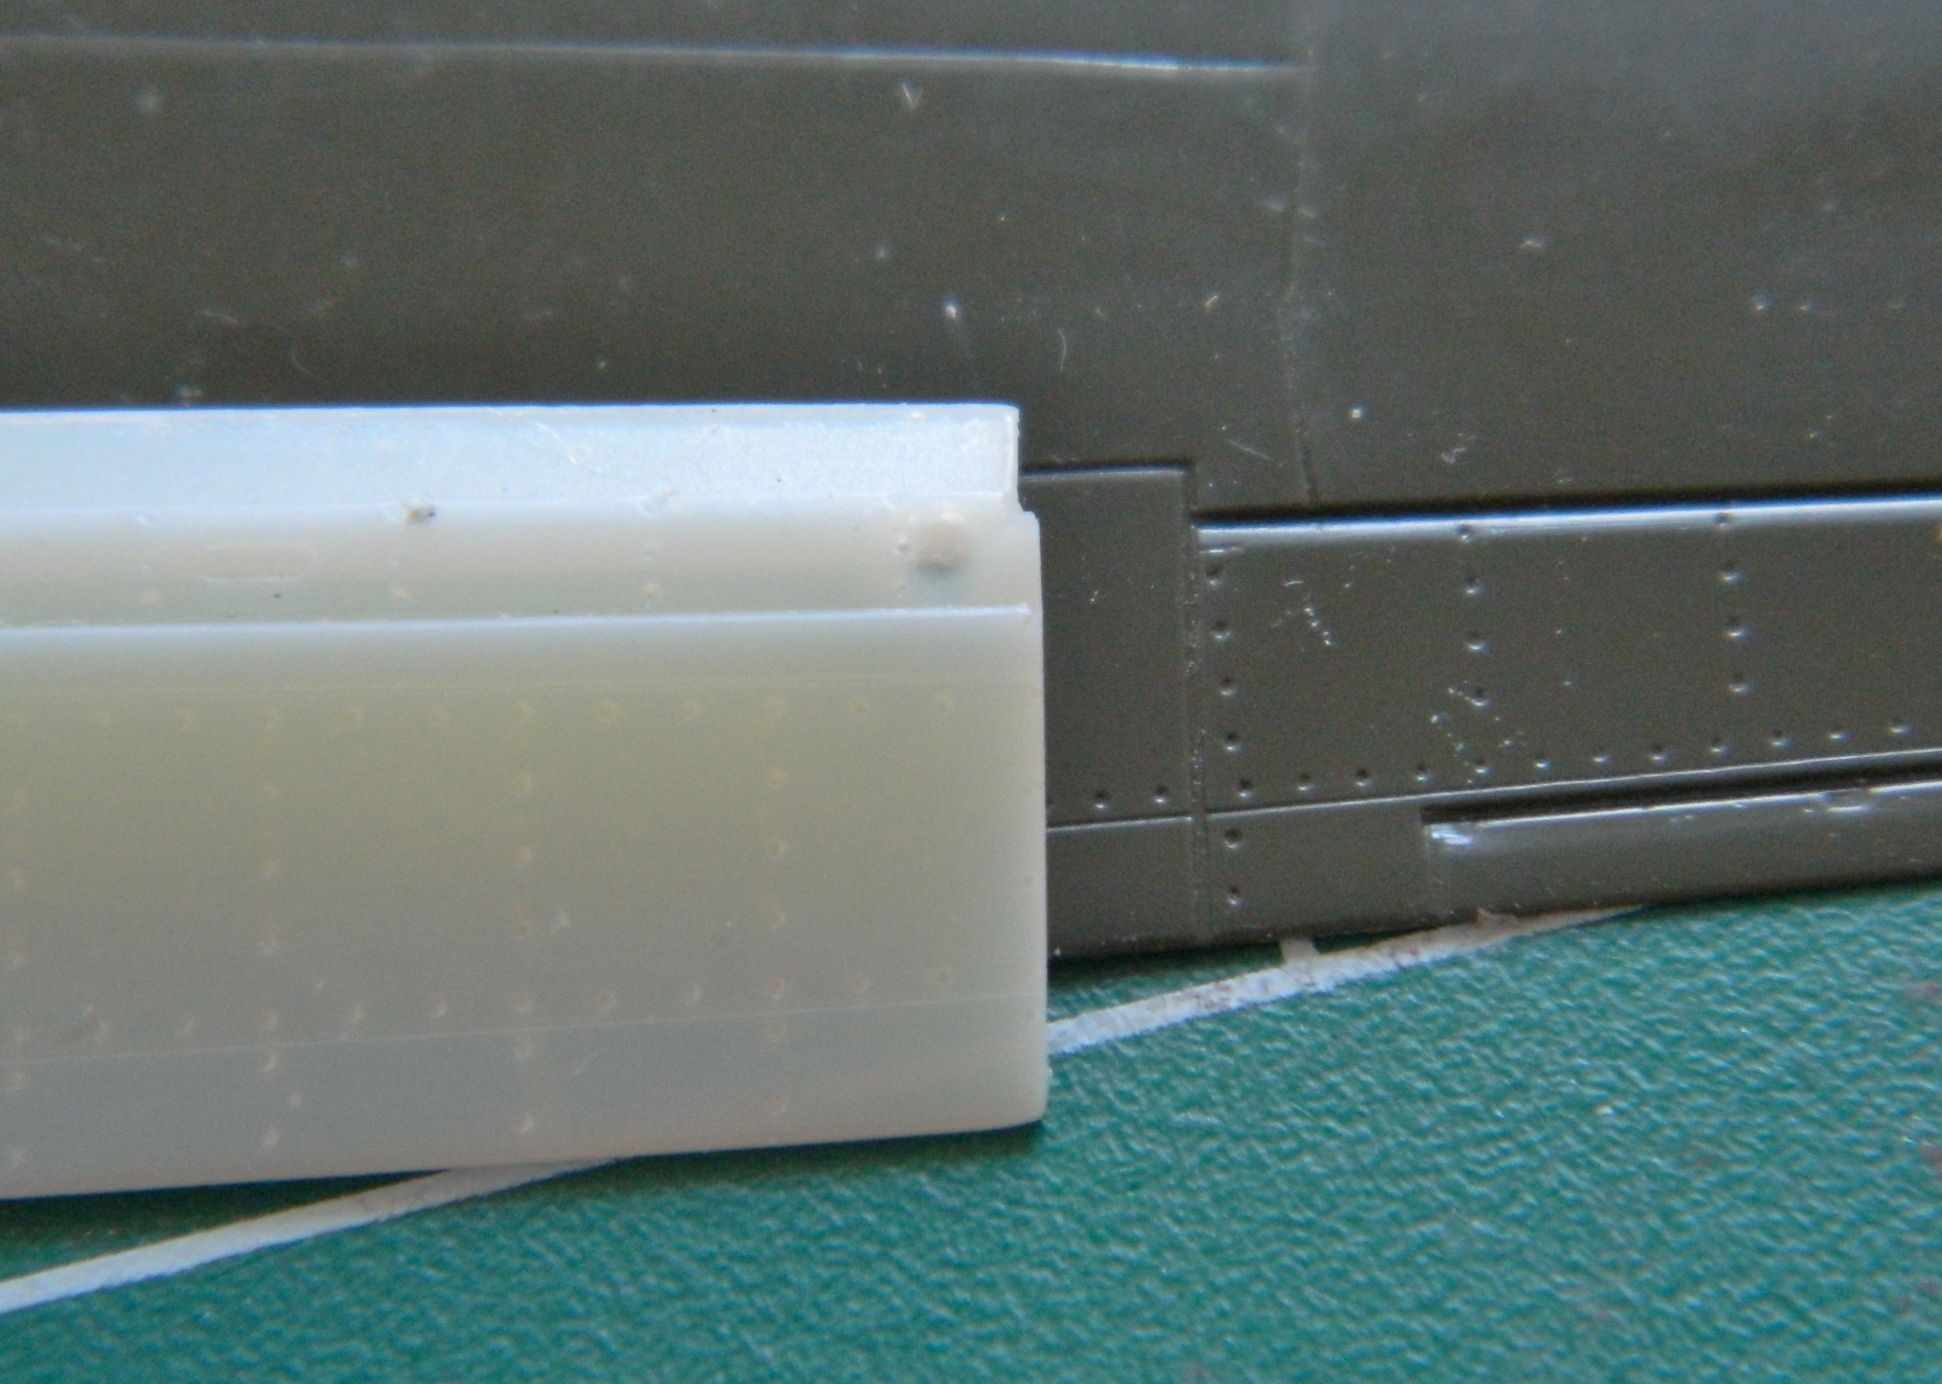

And then I noticed that the resin flaps were about half as thick as they should be where the flap meets the wing:

Well, then…looks like I’m going to cut the flaps out of the wing and make those work instead:

First I carefully glued just the flap sections together so that the profile would be established. To keep the kerf as small as possible, I used a panel scriber and MANY passes to separate the flaps from the wings.
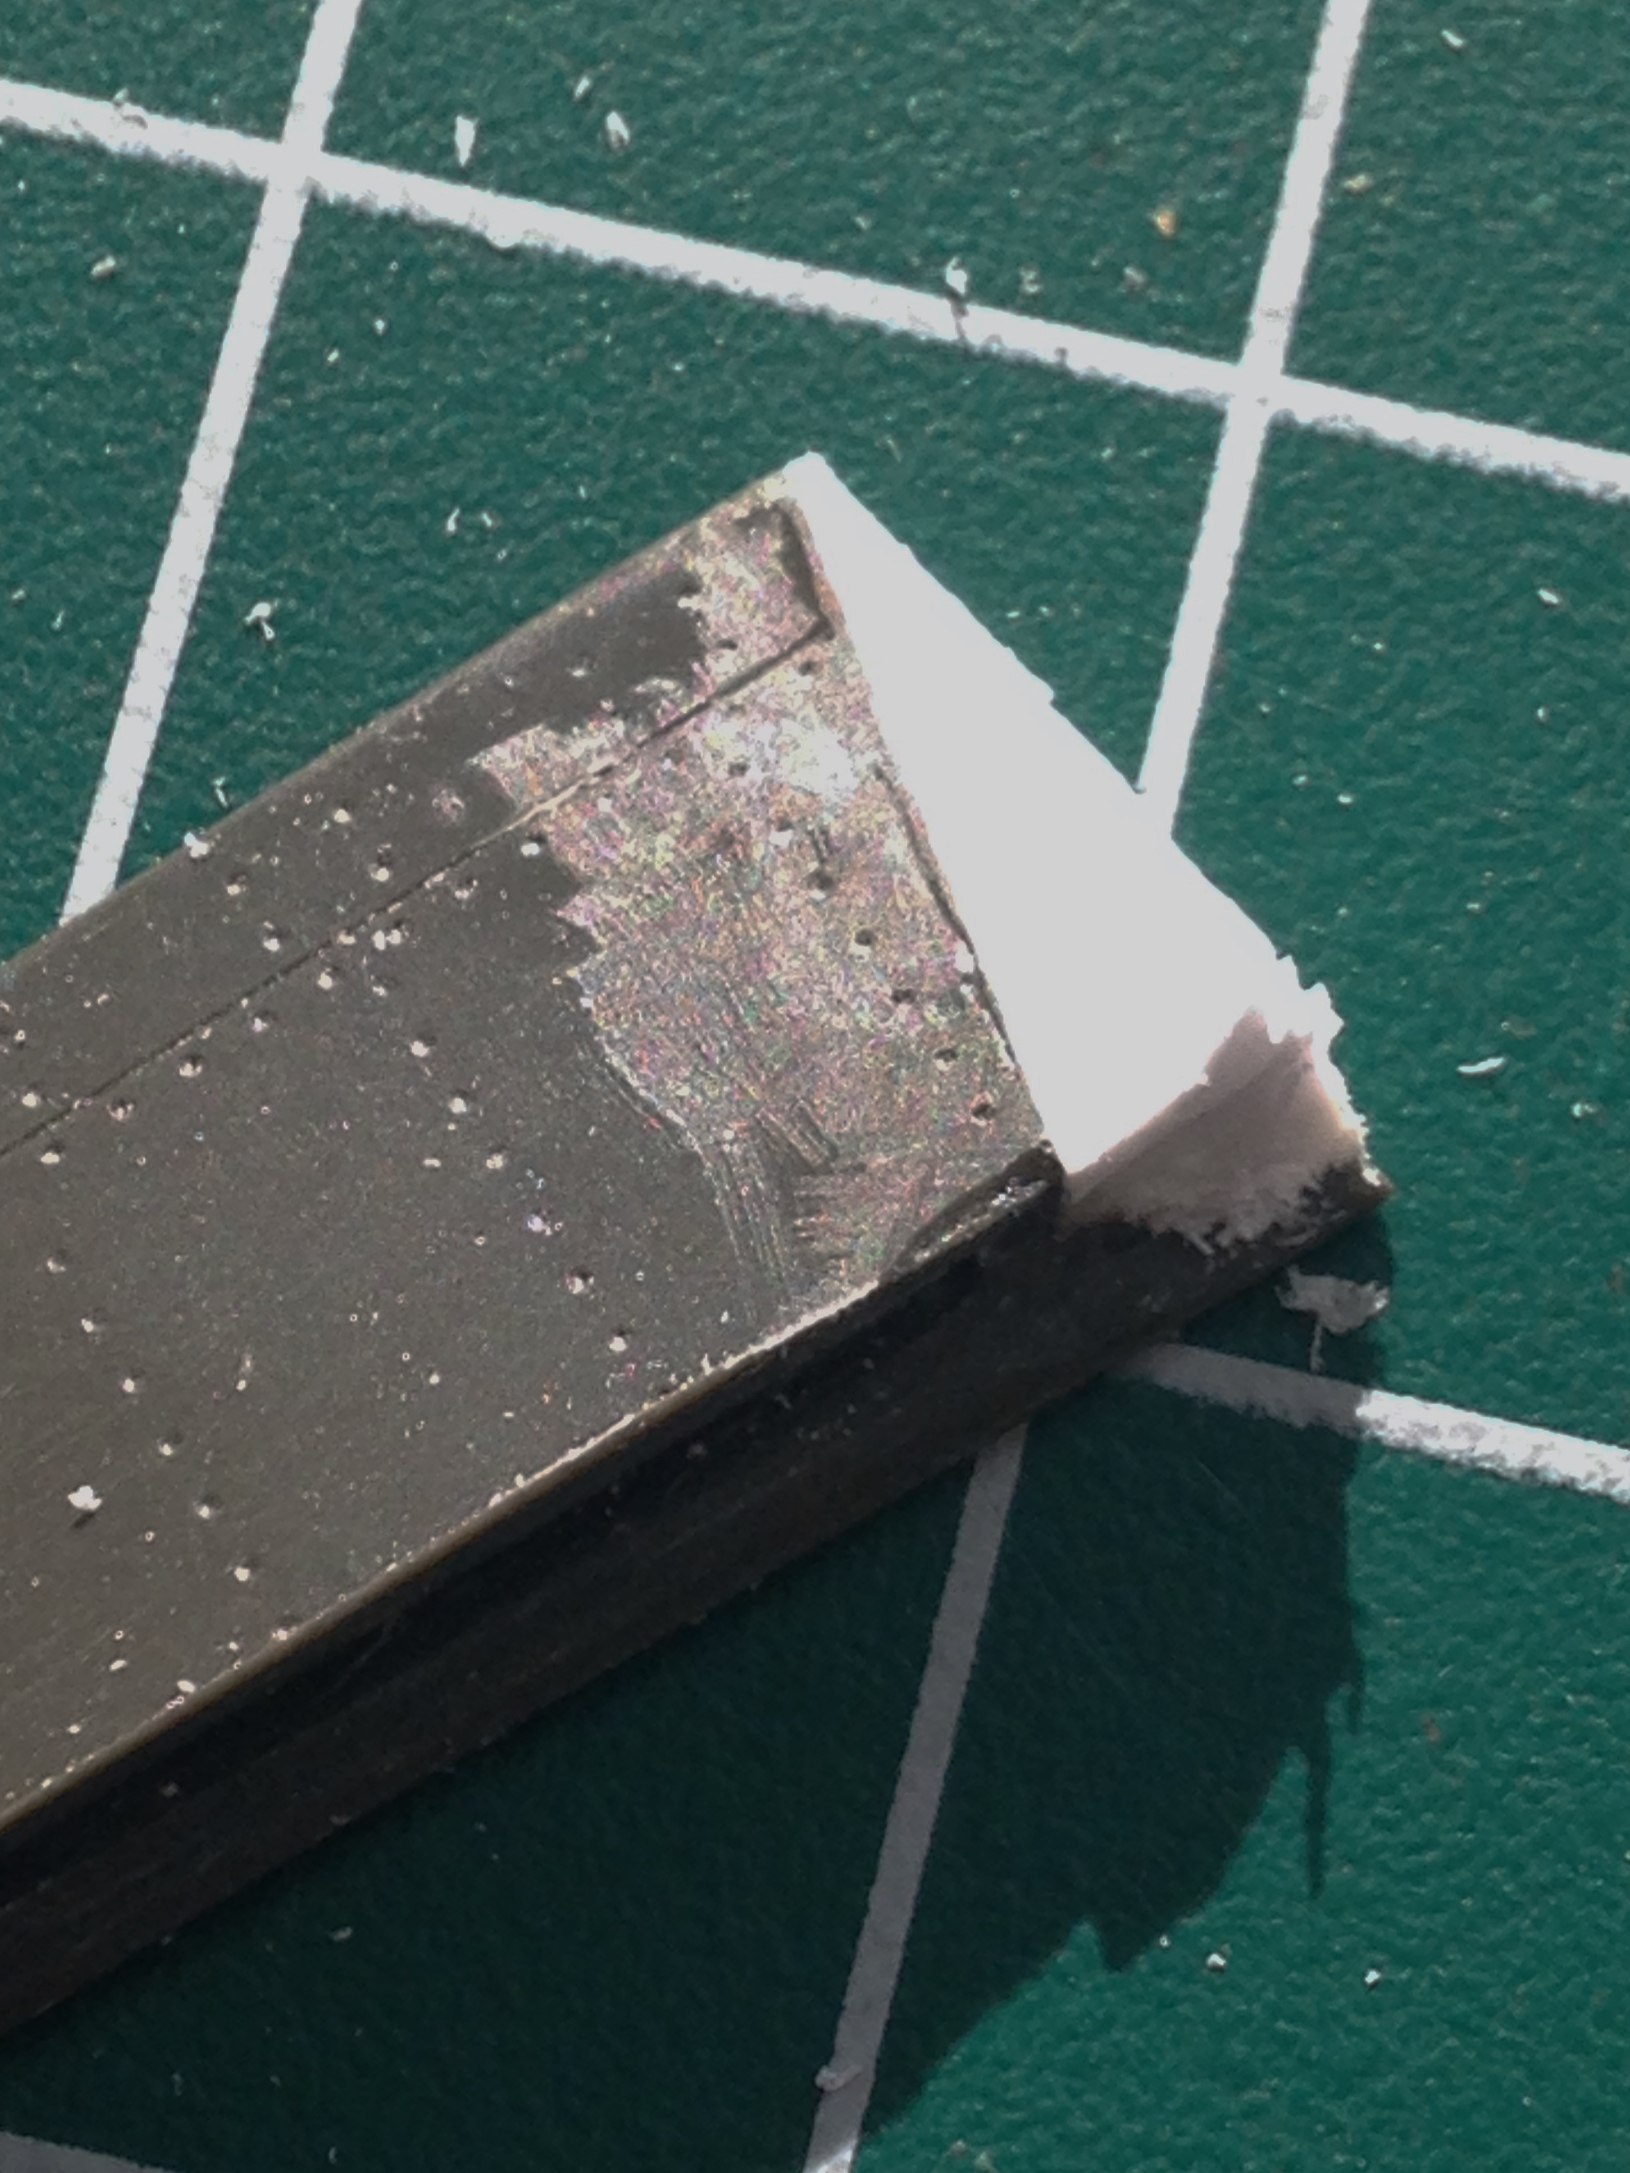
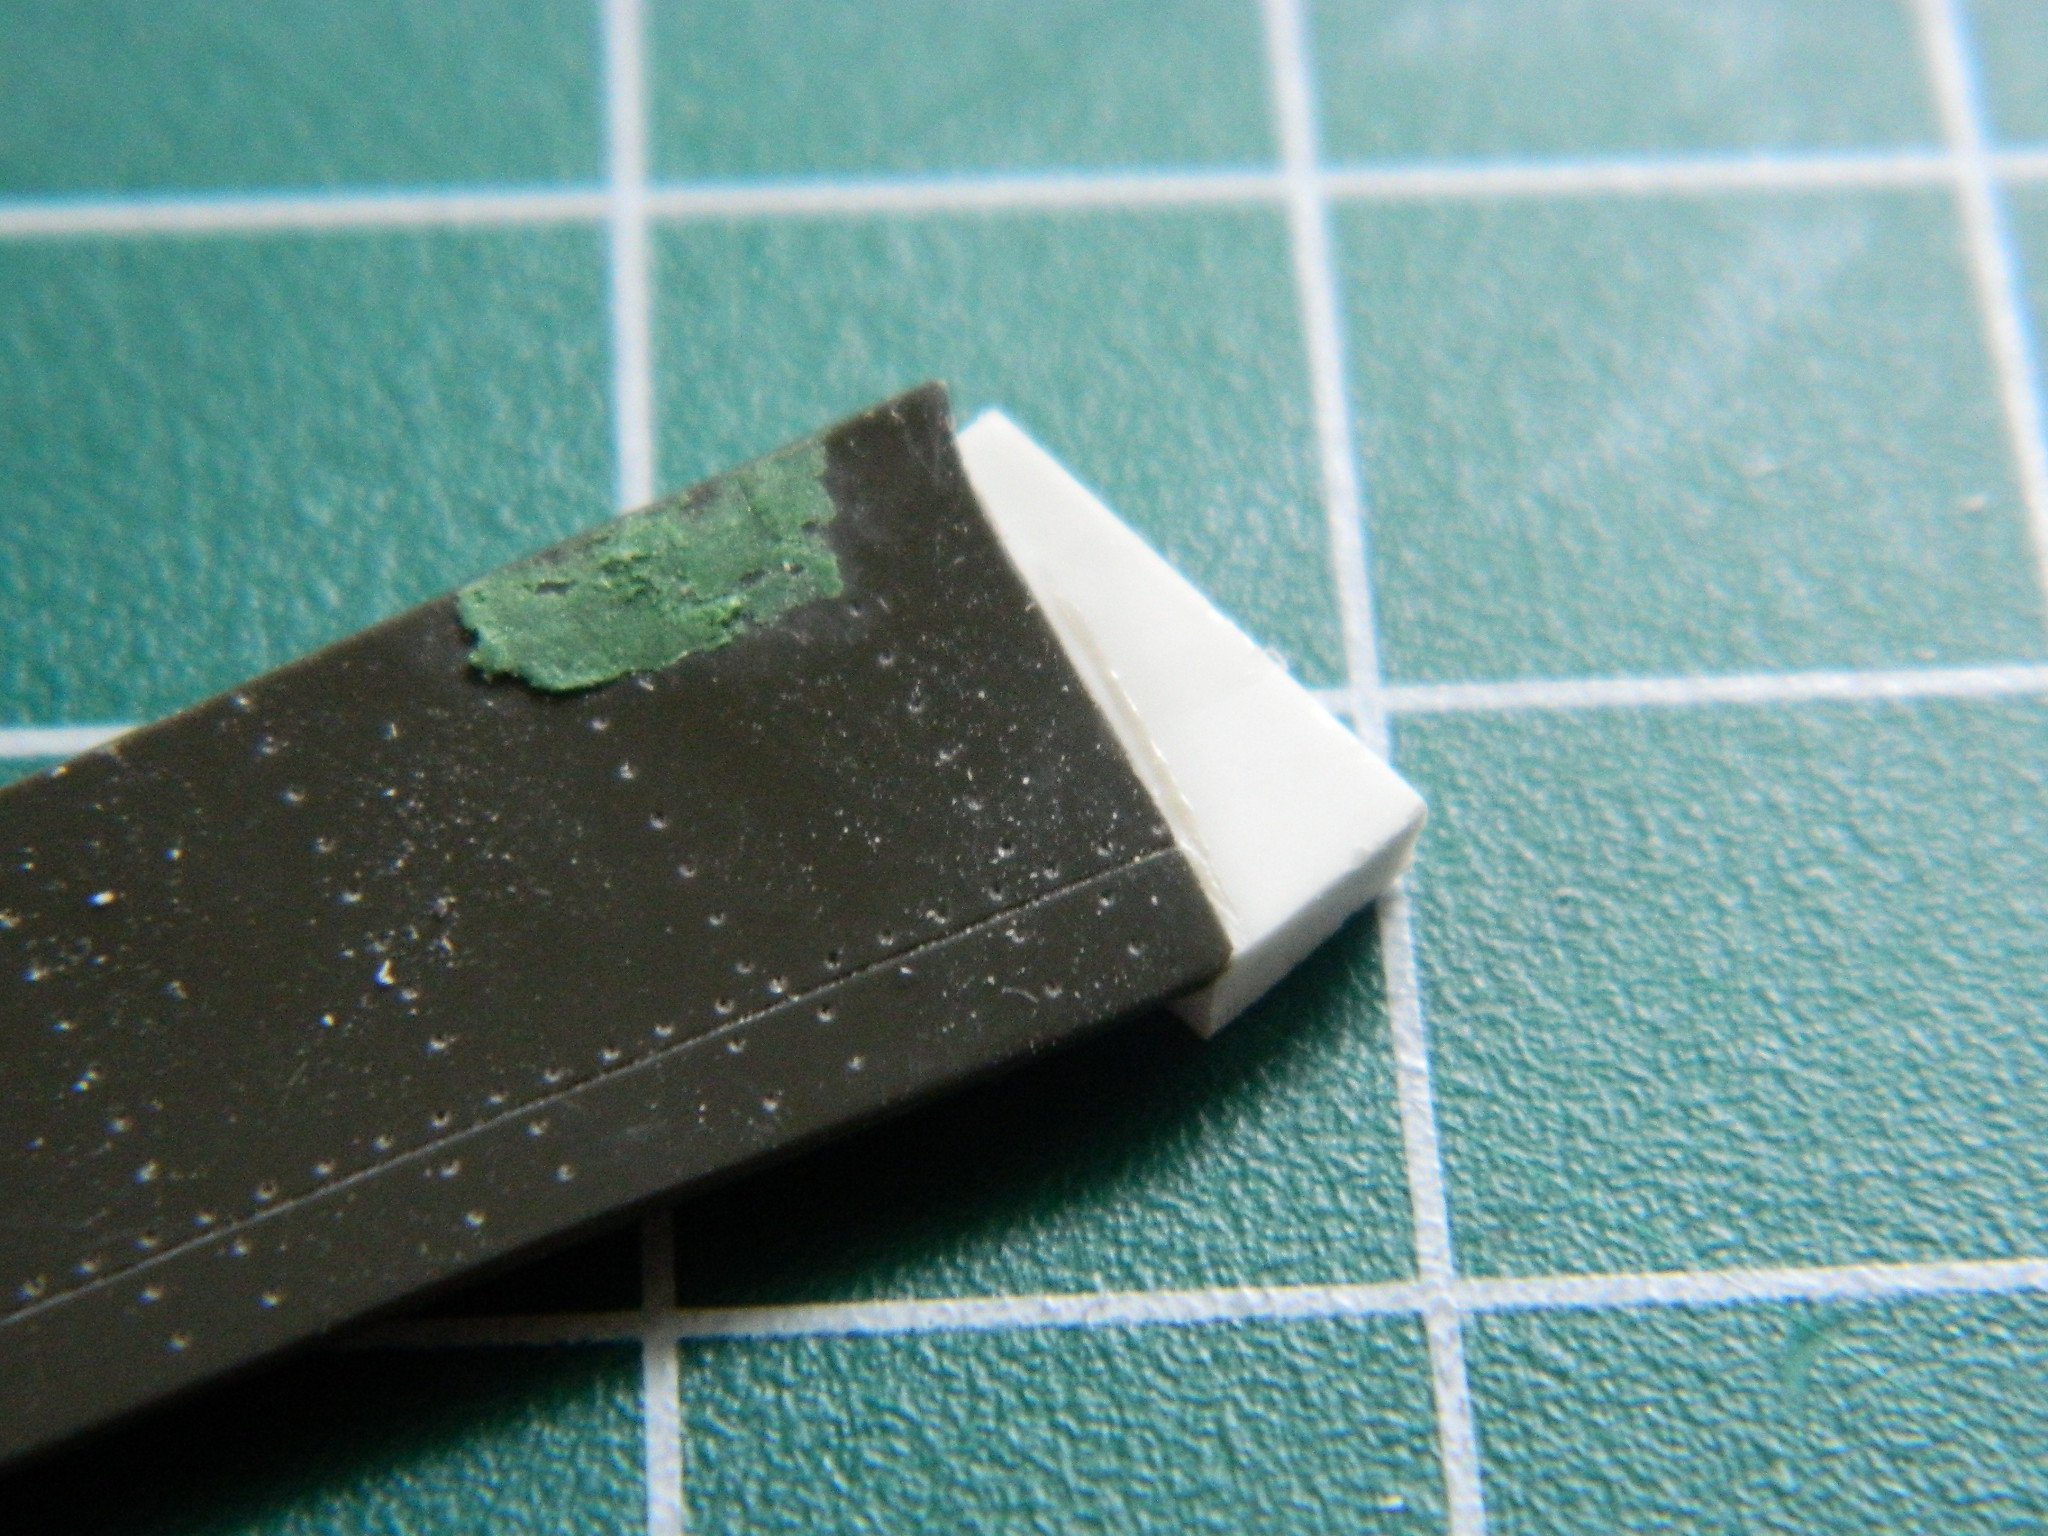
And here I insert a warning about scribing tools. I like them better for most panels than using the back of a knife tip or needle because the knife tip is often too wide and the needle raises a lip on either side of the resulting groove that has to be sanded away. I’ve reshaped my scriber to be about as thin as I can get it and still maintain its structural rigidity and most of the time it works quite well. But it’s a tool. Any tool can be misused and if you look at the above photo closely, you’ll see a diagonal scrape to the right of center on the flap. This is what happens when a person gets impatient and tries to take too big a gouge out of the plastic too soon. Several light passes are MUCH BETTER than trying to take a lot of plastic out with one pass. Several light passes do create a groove that keeps the tip of the scriber from doing what I did with it, having it wander and gouge a surface that should not be gouged. So what my impatience has done, as it so often does, is make more work for me. The errant gouge needs to be filled. ::bangs head slowly on desk::
Look closely at the flap in the above picture again, but this time look at the curved section on the left of the flap. The actual flap fits under the faring at the wing root. The kit part meets the faring and, were I building this with the flaps up, that would be fine. So that area needs to have plastic added so that the surface of the flap is even across its width (after much scraping and sanding, of course):

If you look closely at the lower picture at the edge near the plastic addition, you can see where the TINIEST of brushes by a spinning Dremel tool’s bit took a gouge out of the plastic. So that will need to be fixed with another addition of plastic (and since fine motor control had deserted me at this point, I glued on more plastic and called it a night):