I like pre-shading things. It helps to make the view deeper and more realistic (I could go on about that; if you’ve any interest, drop me a note and I will). Pre-shading starts with painting the parts and assemblies flat black:

With the flat black “shadow” layer down, the color (in this case medium gray) gets misted over the surface. The objective is to not get complete coverage but to have the more recessed areas more black than gray and then establish a gradient from the darkest surfaces that don’t get as much light to the lightest surfaces that get the most light, being more gray than black. In the following photo, the shaded areas are not due to light but to the flat black base coat that wasn’t totally covered by gray. The masked areas are intended to stay black:

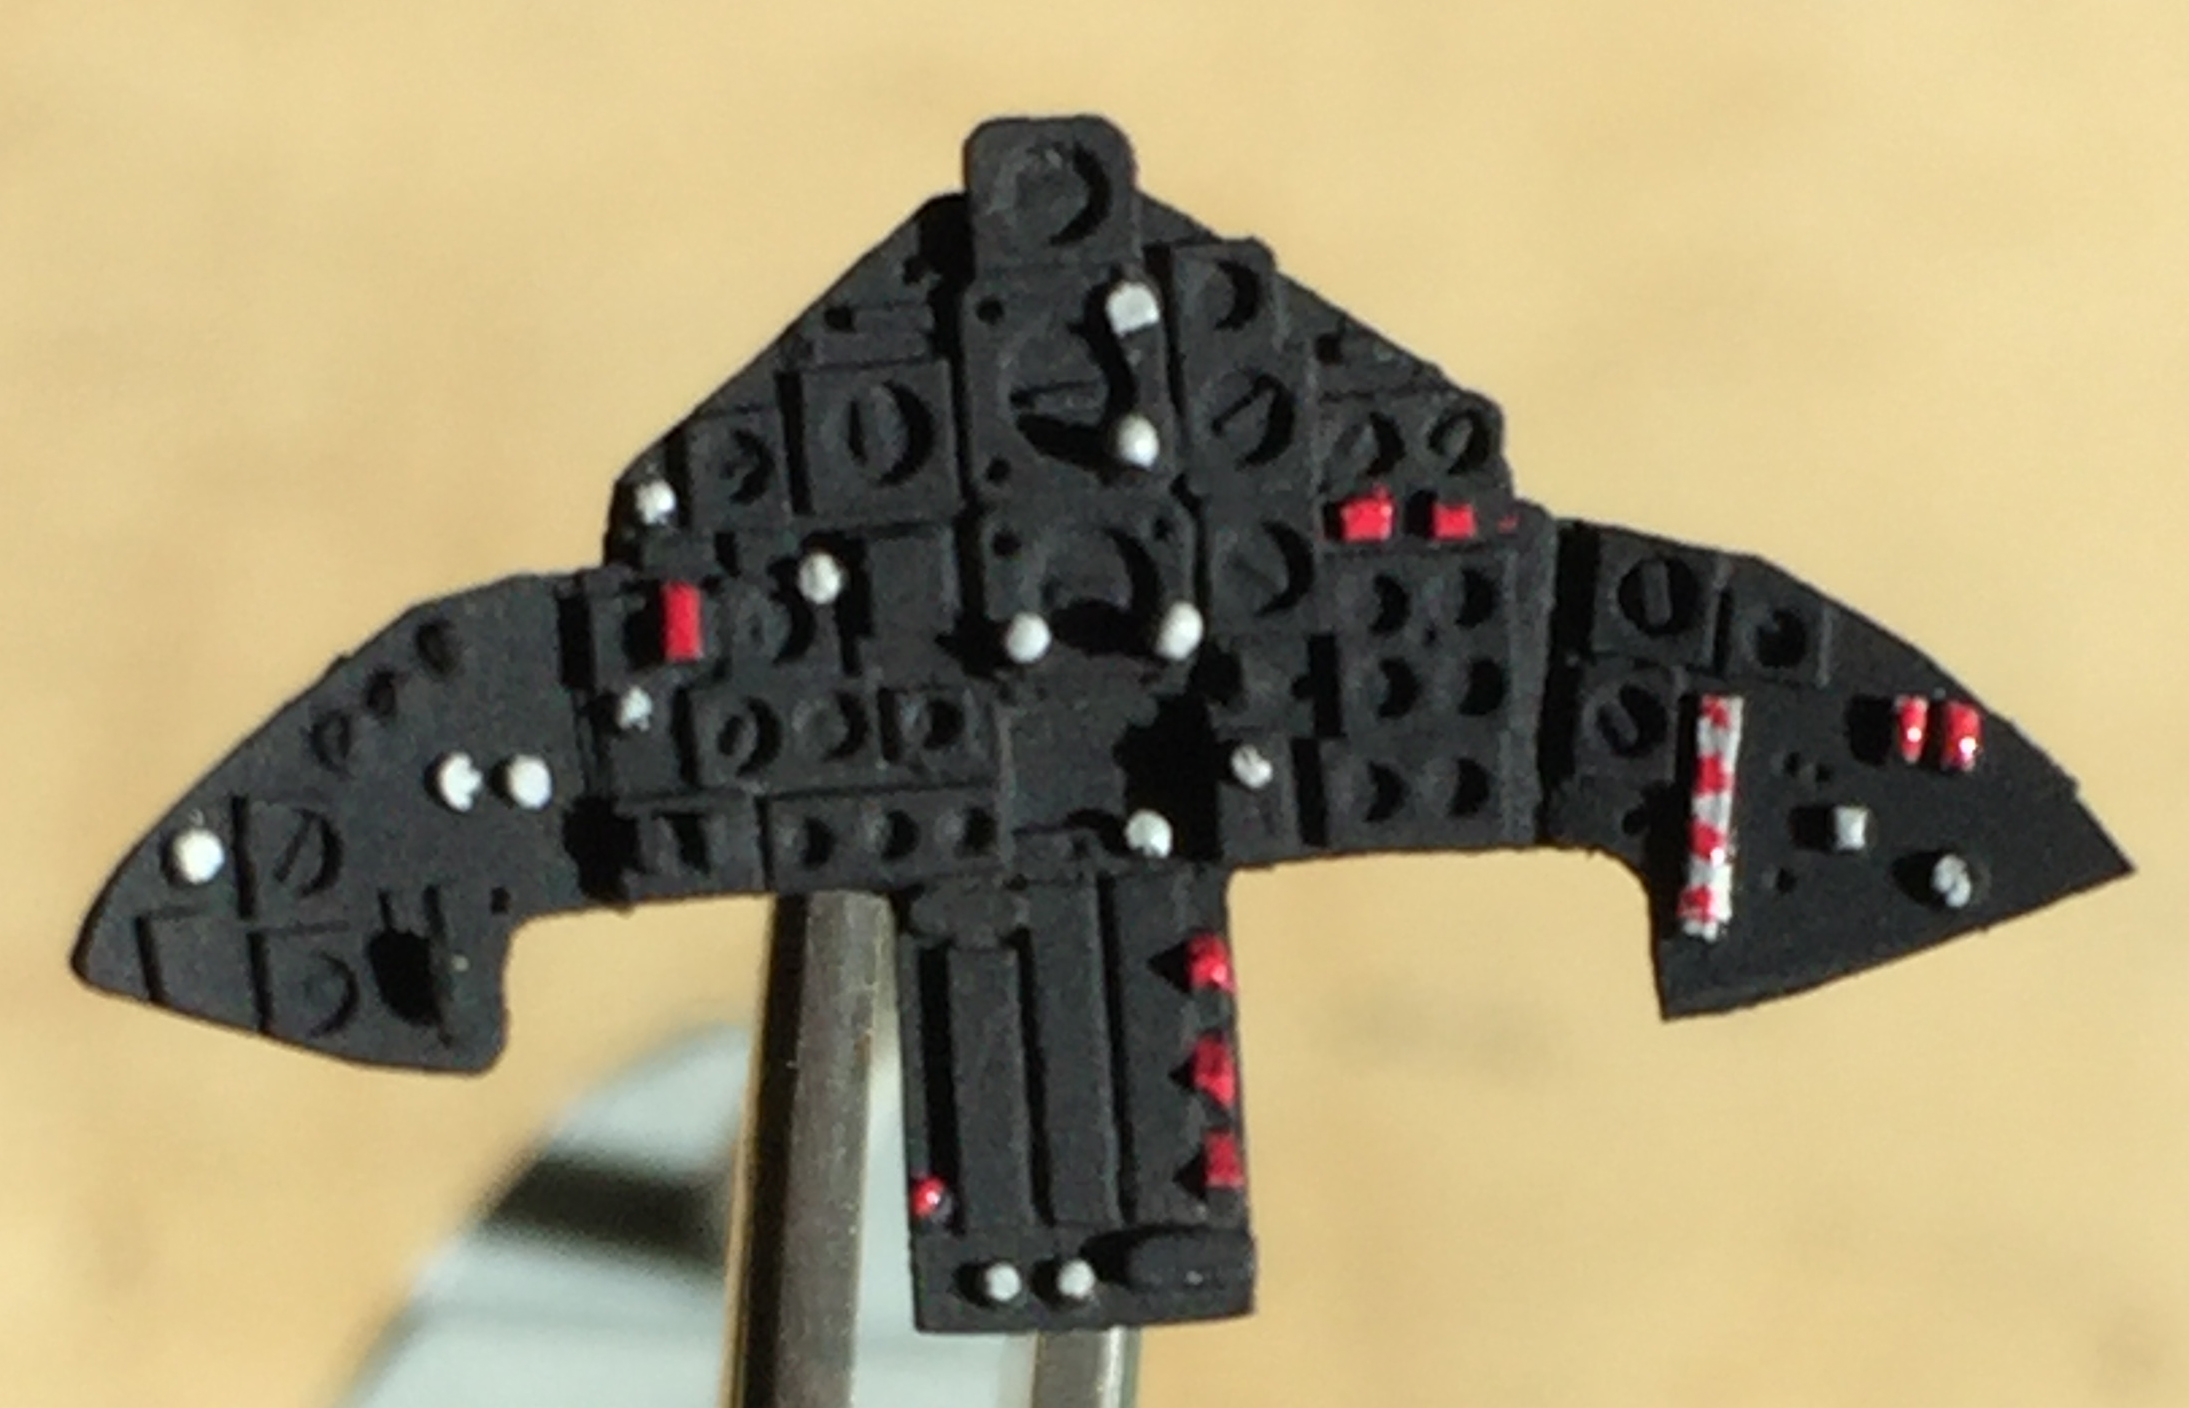
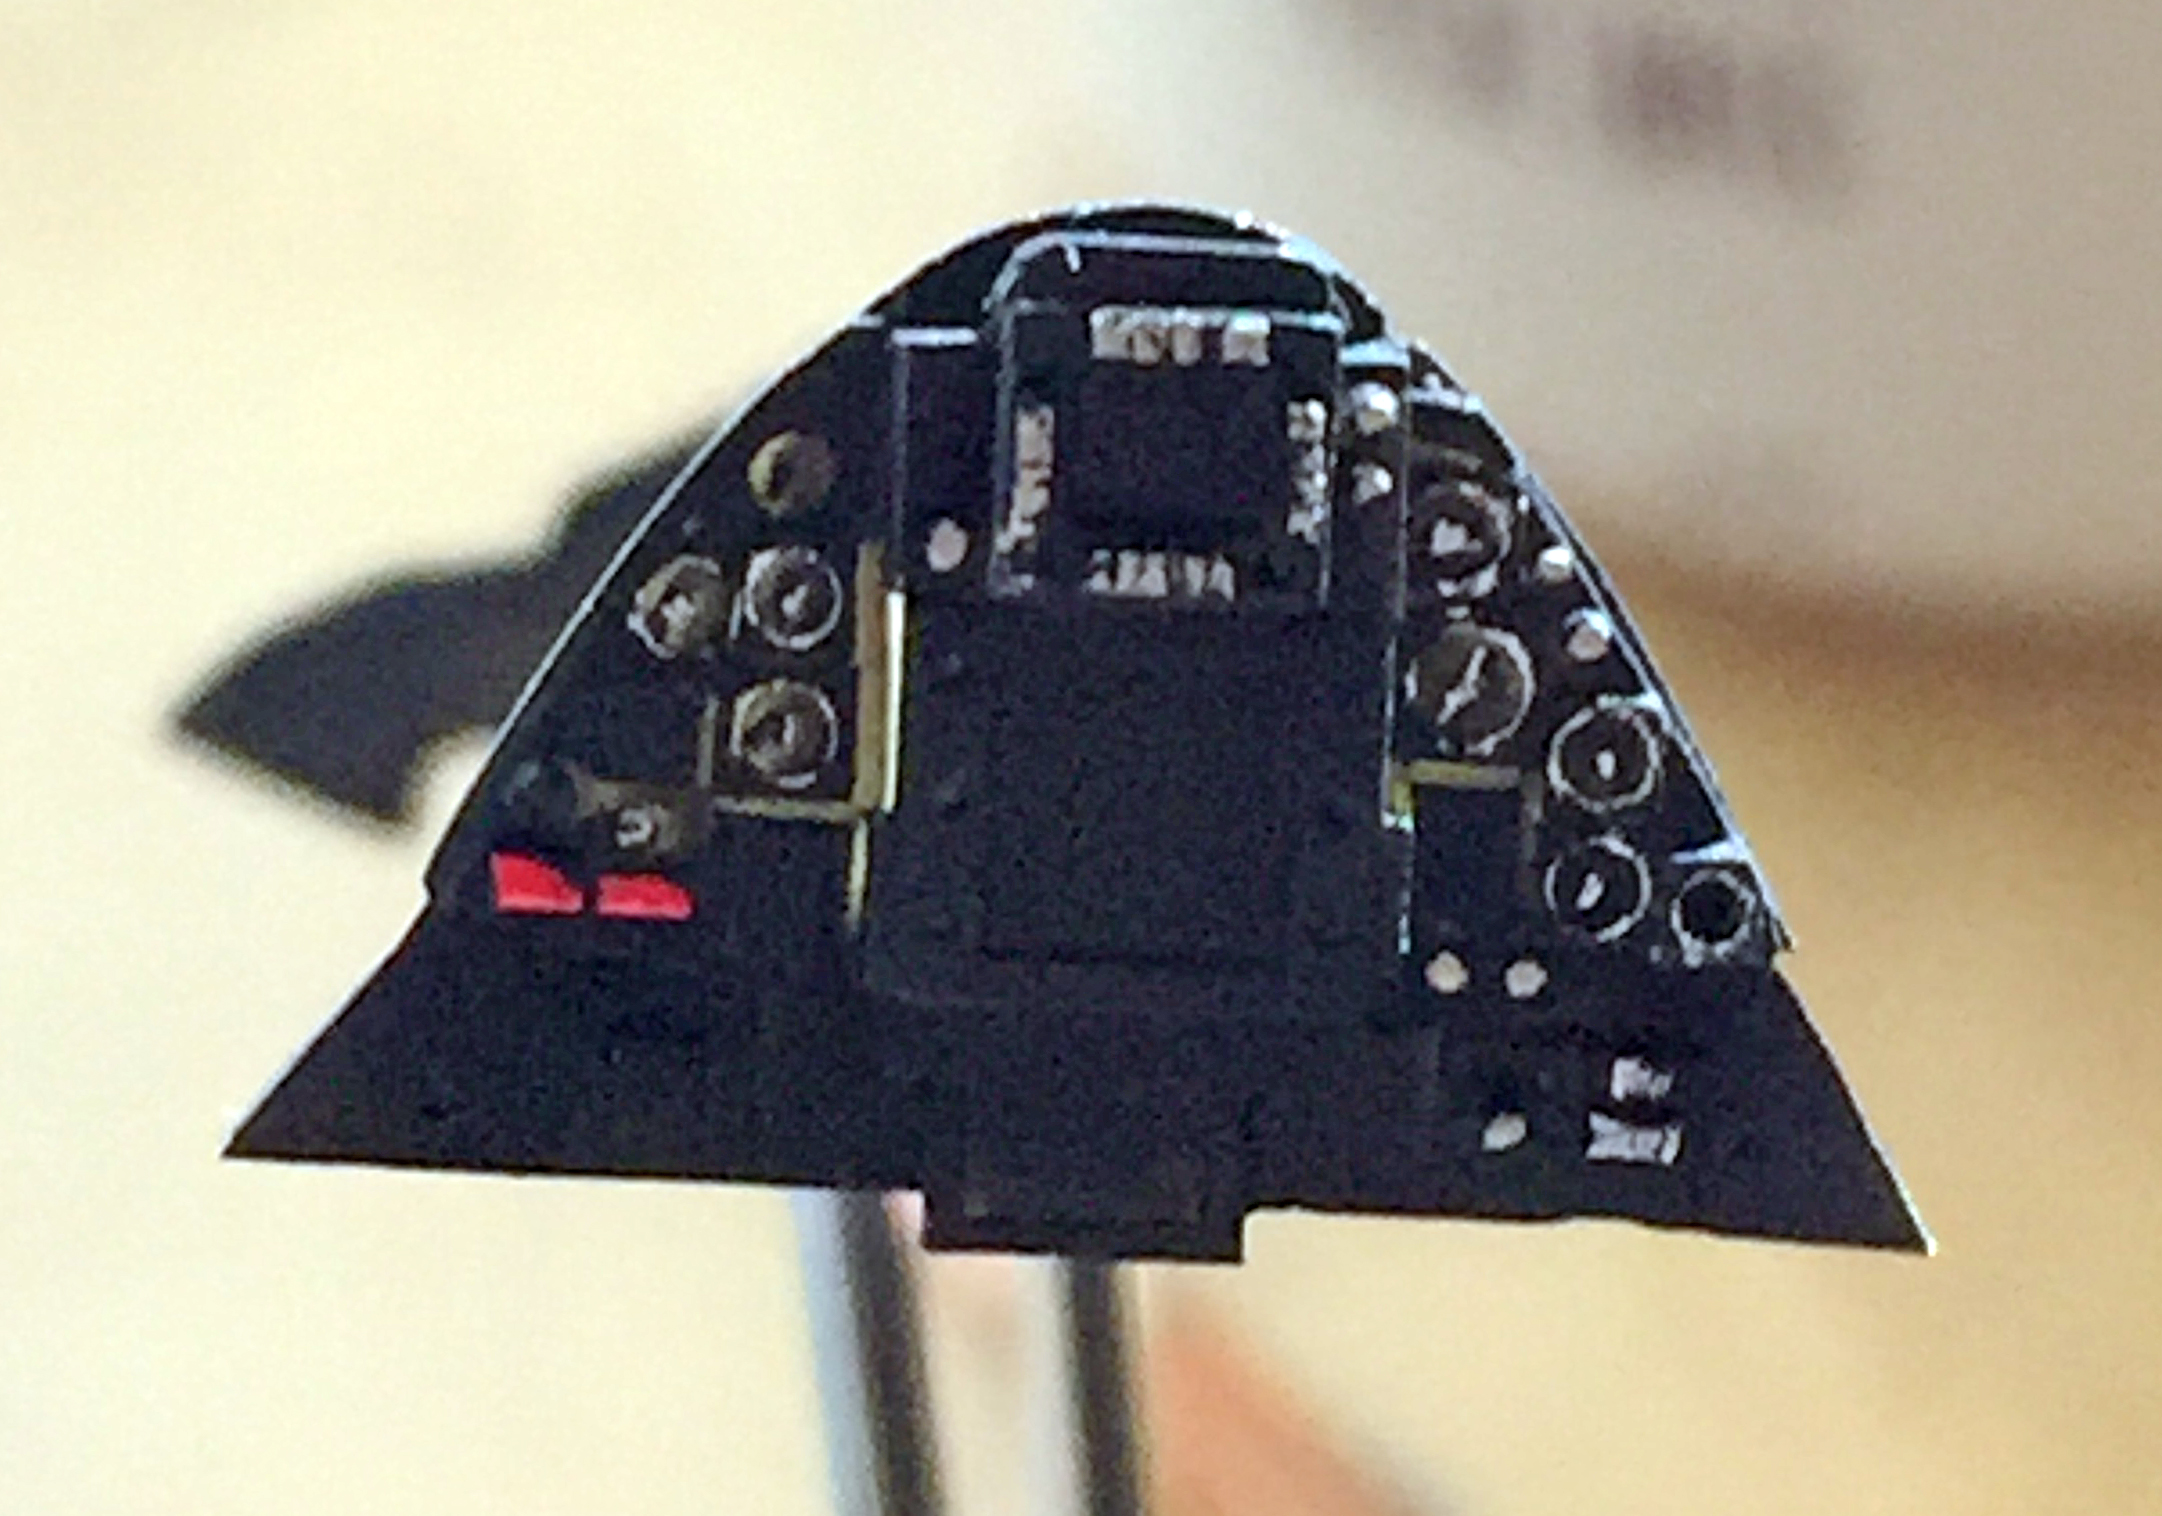
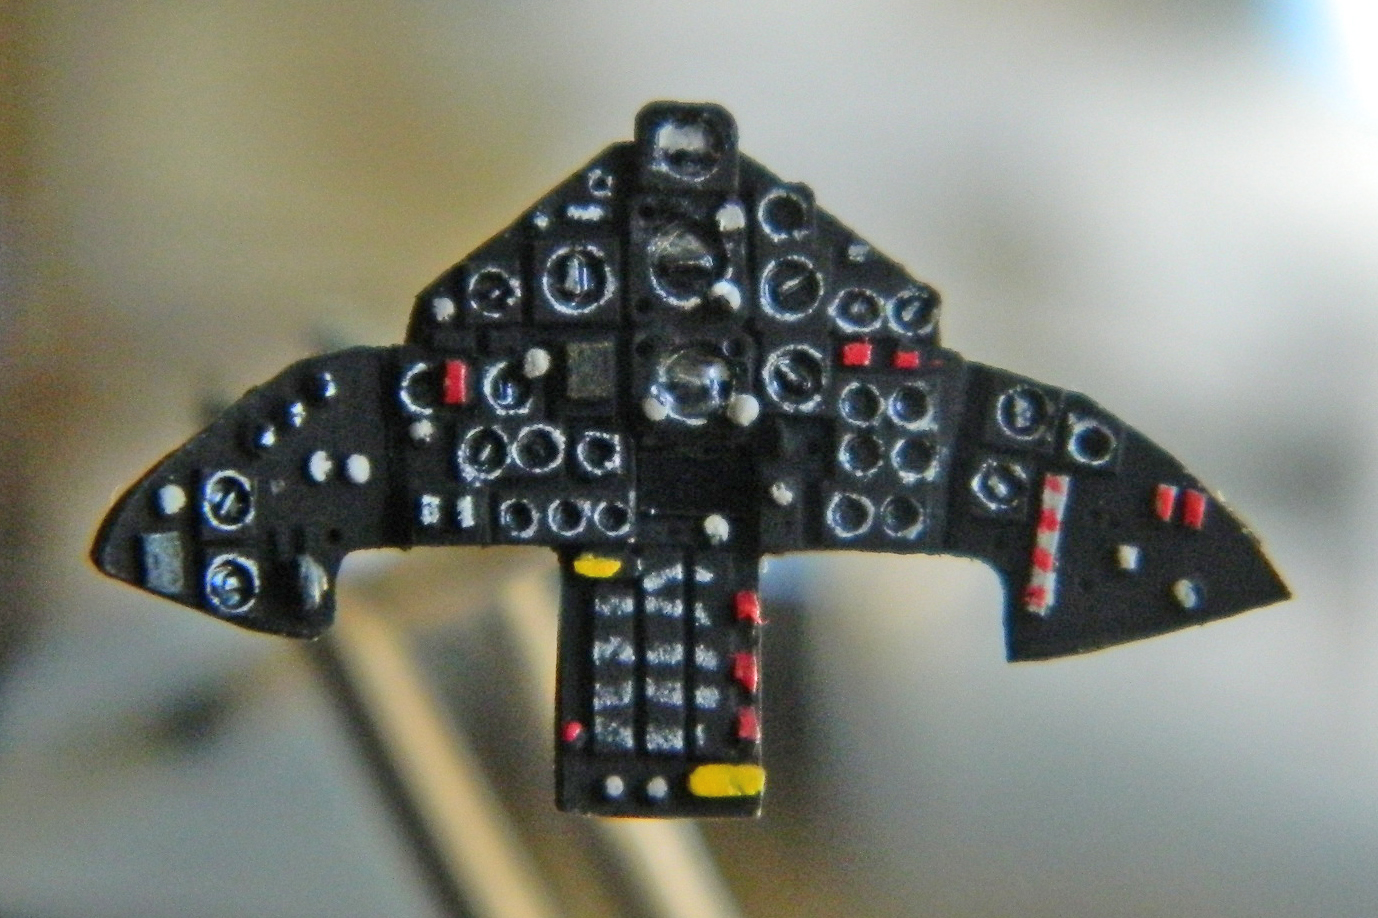
With the base coats down, the next step is to pick out the details with contrasting colors, some of which was done with paint and the really fine detail work was done with a white-colored pencil (SUCH a handy tool, that!):
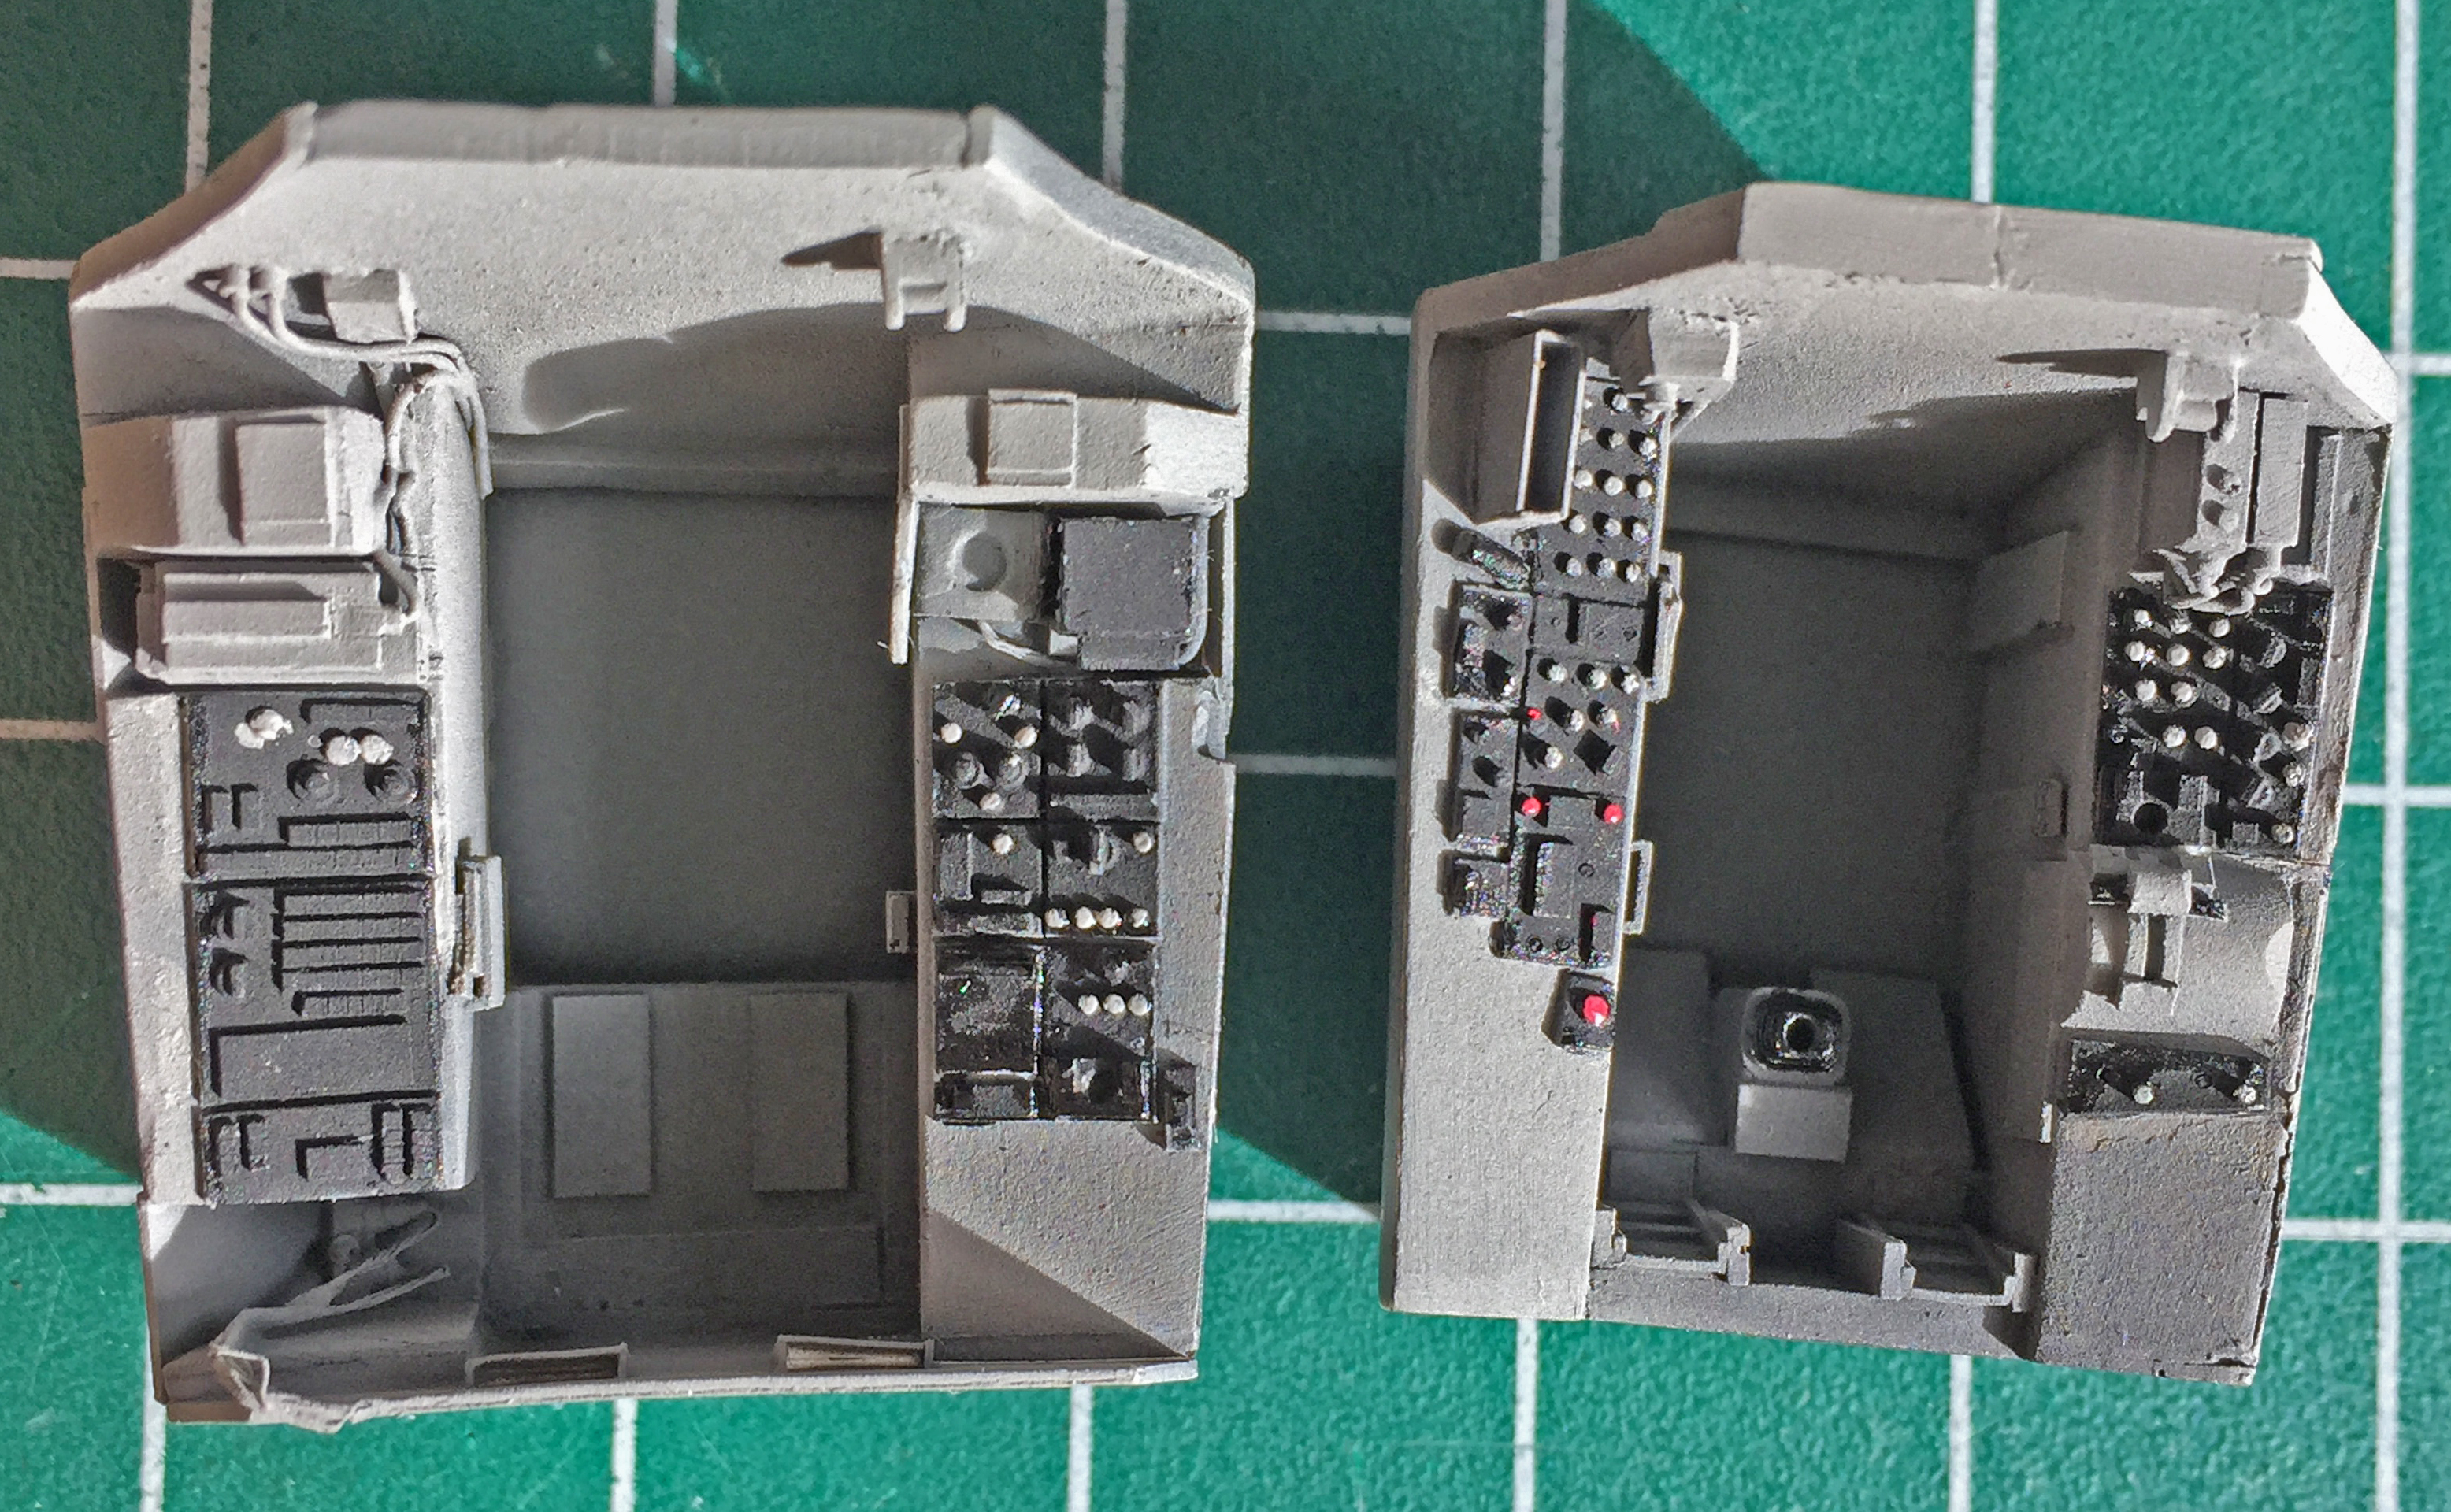


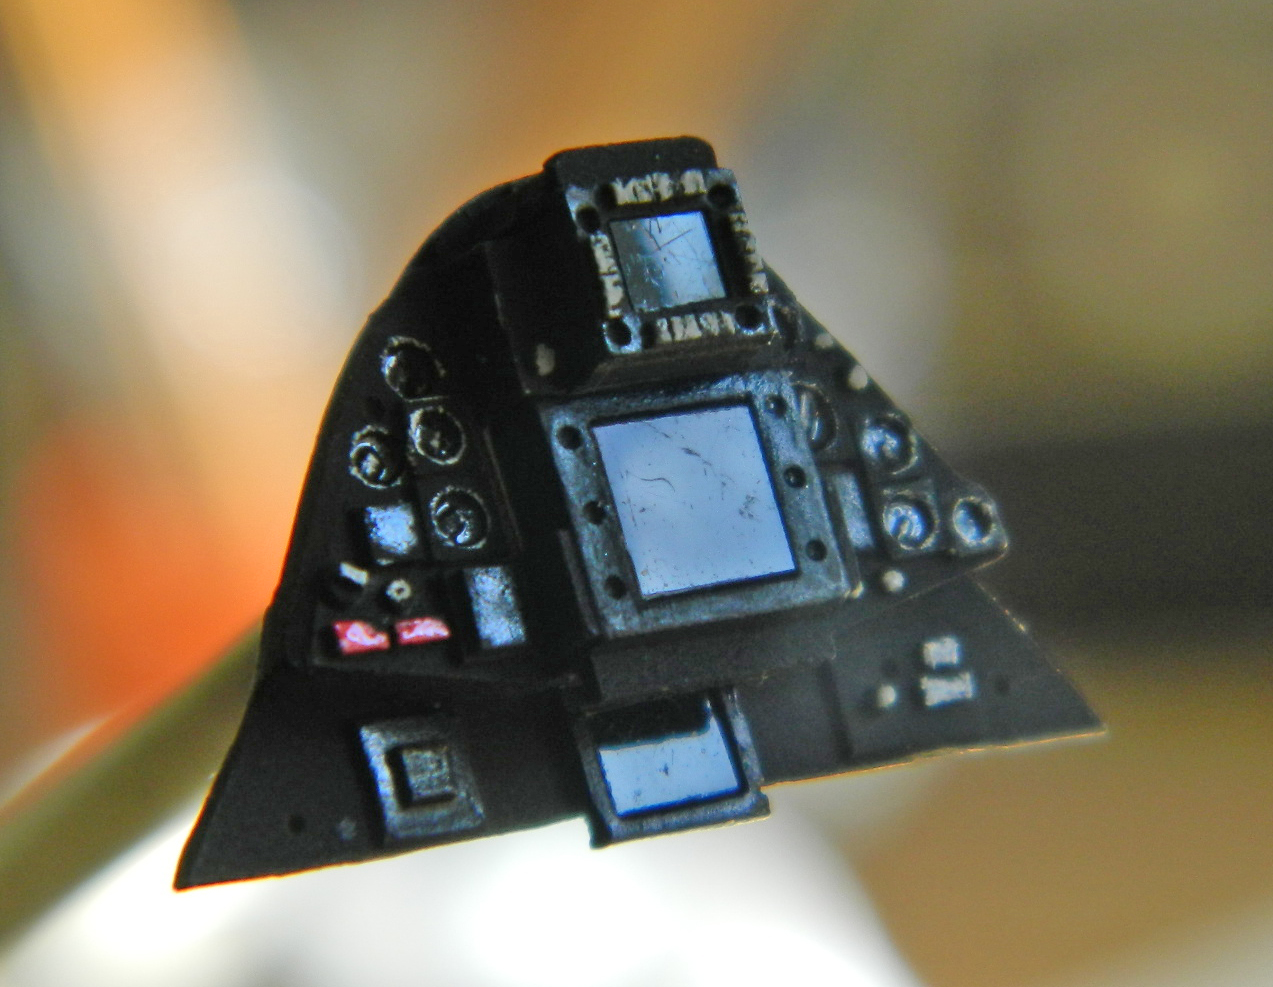
With the basics done, it was time to do the really fine stuff. For the pilot’s panel that meant I put a drop of clear gloss on each instrument. For the RSO’s panel, I glued the film I used for the CRT screens into place using diluted white glue (the pilot’s panel also has a small CRT screen under the three center gauges but it’s almost impossible to see) (almost):


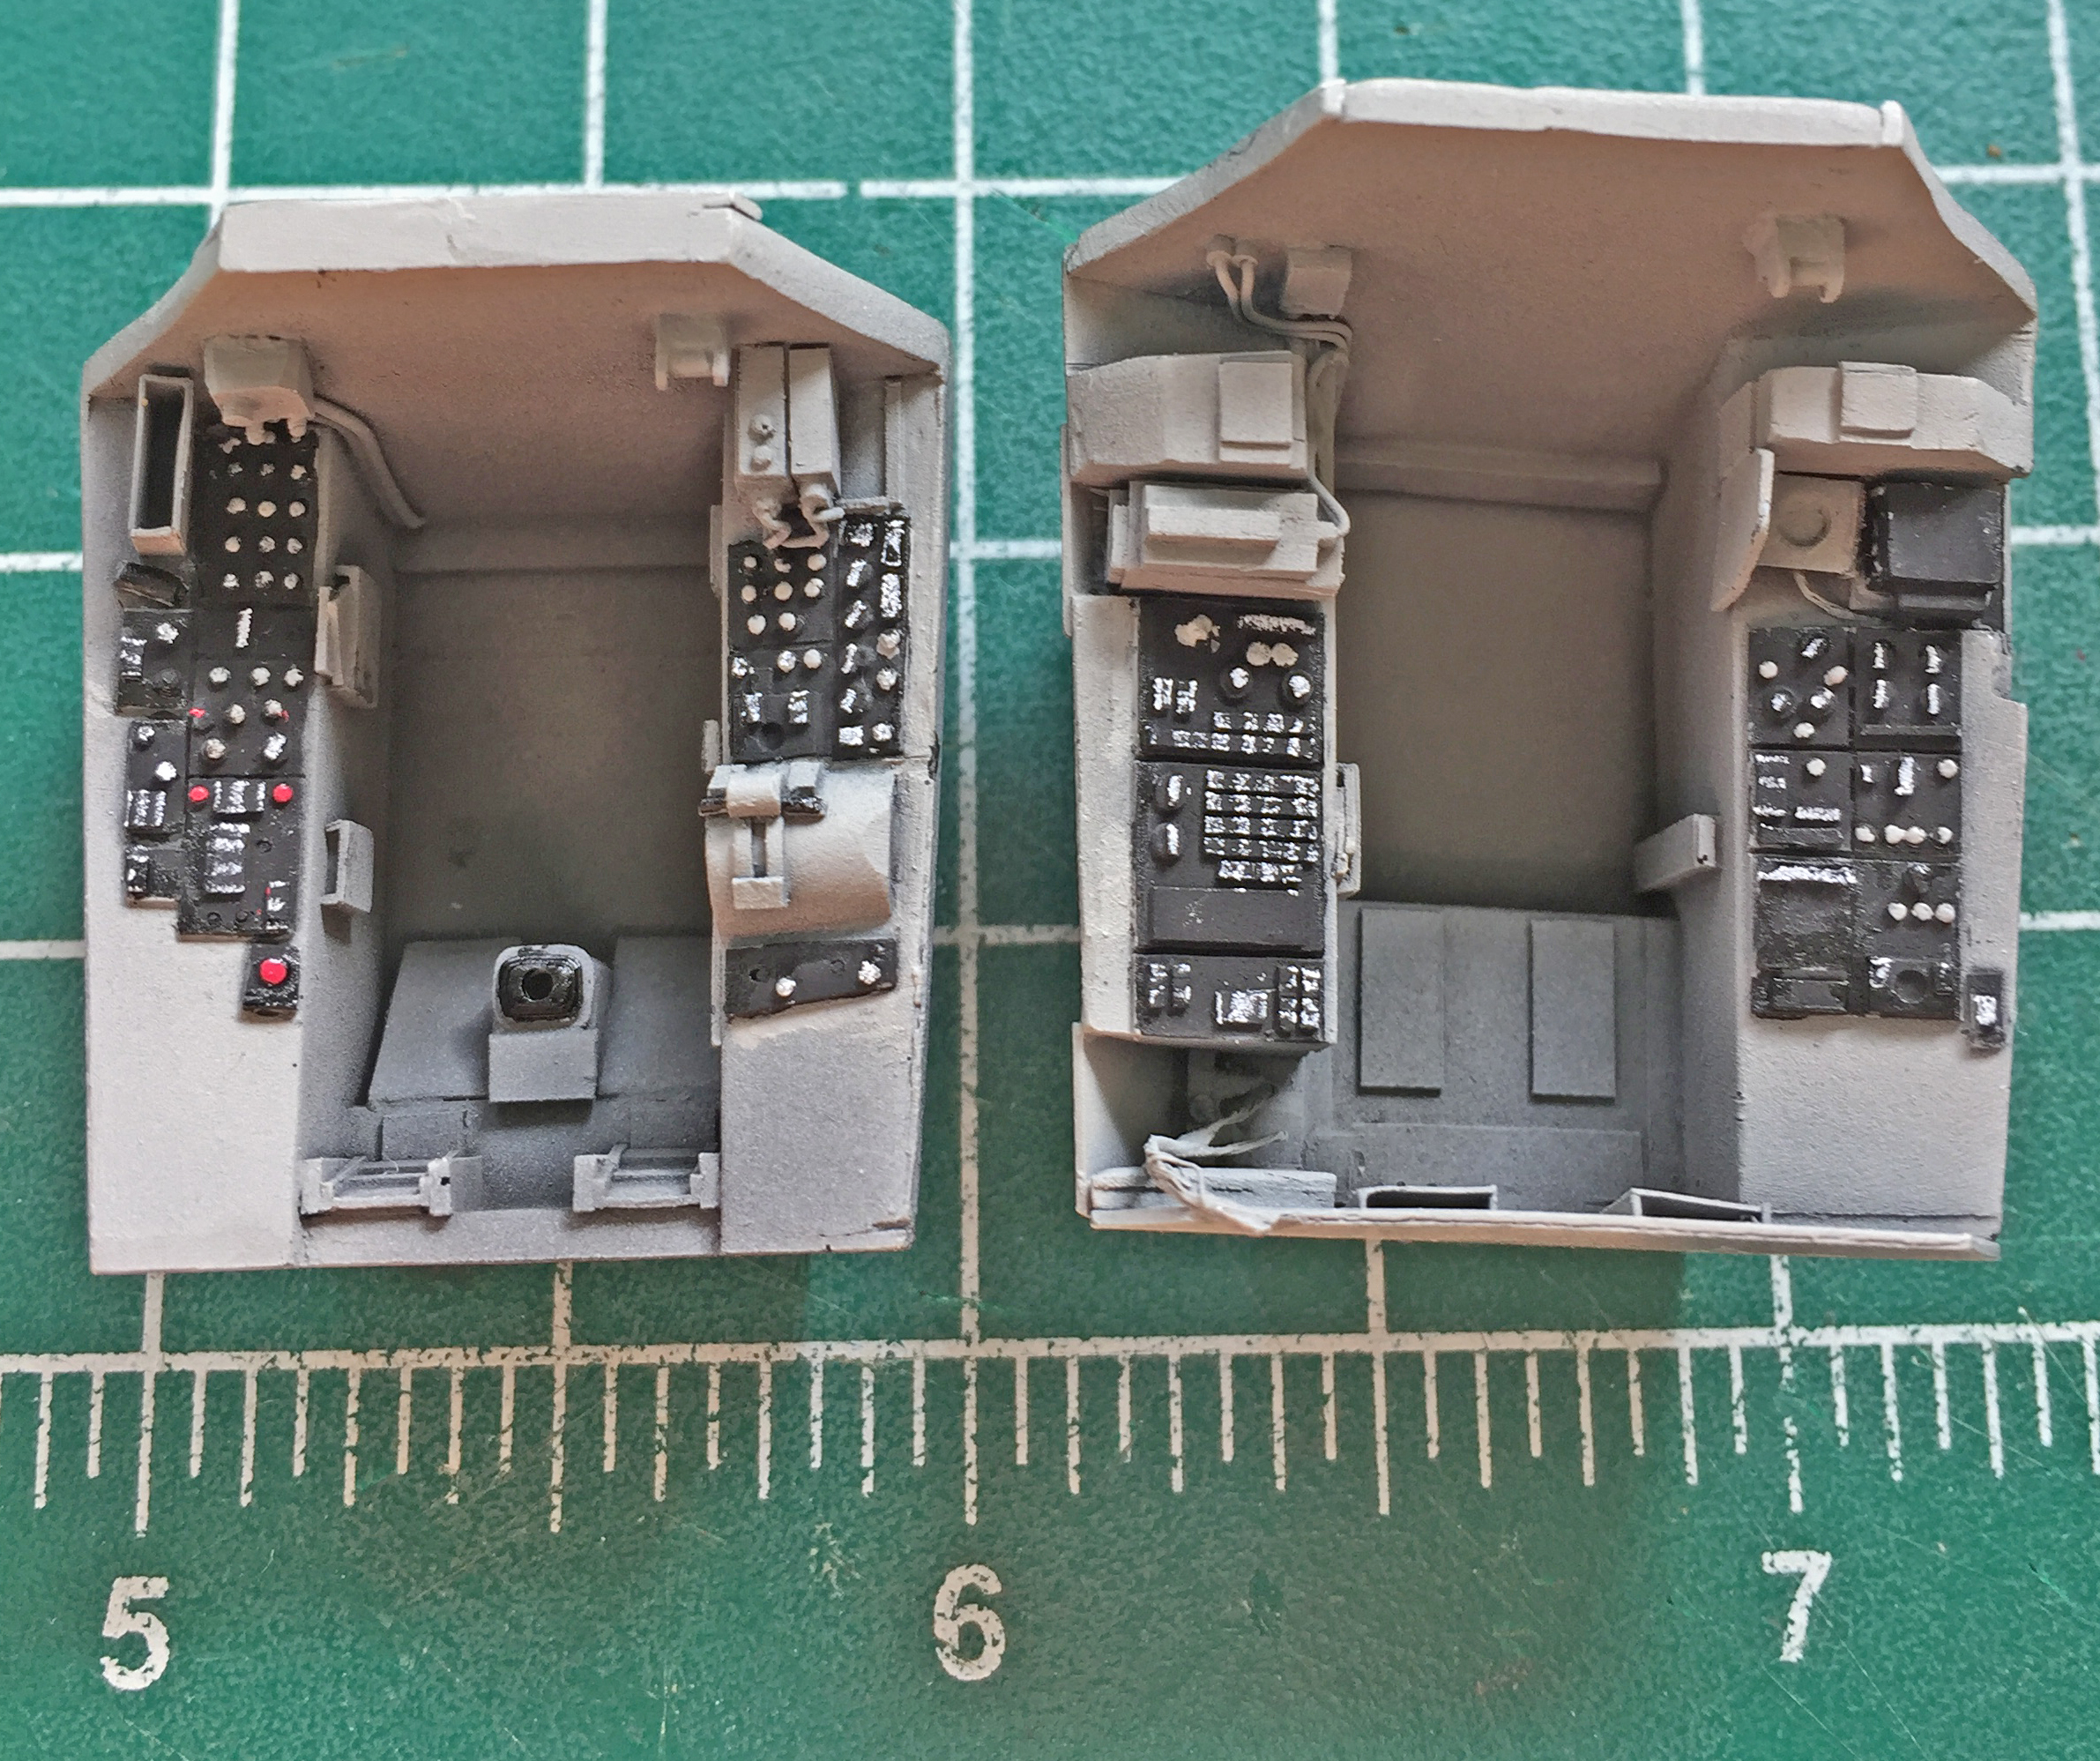
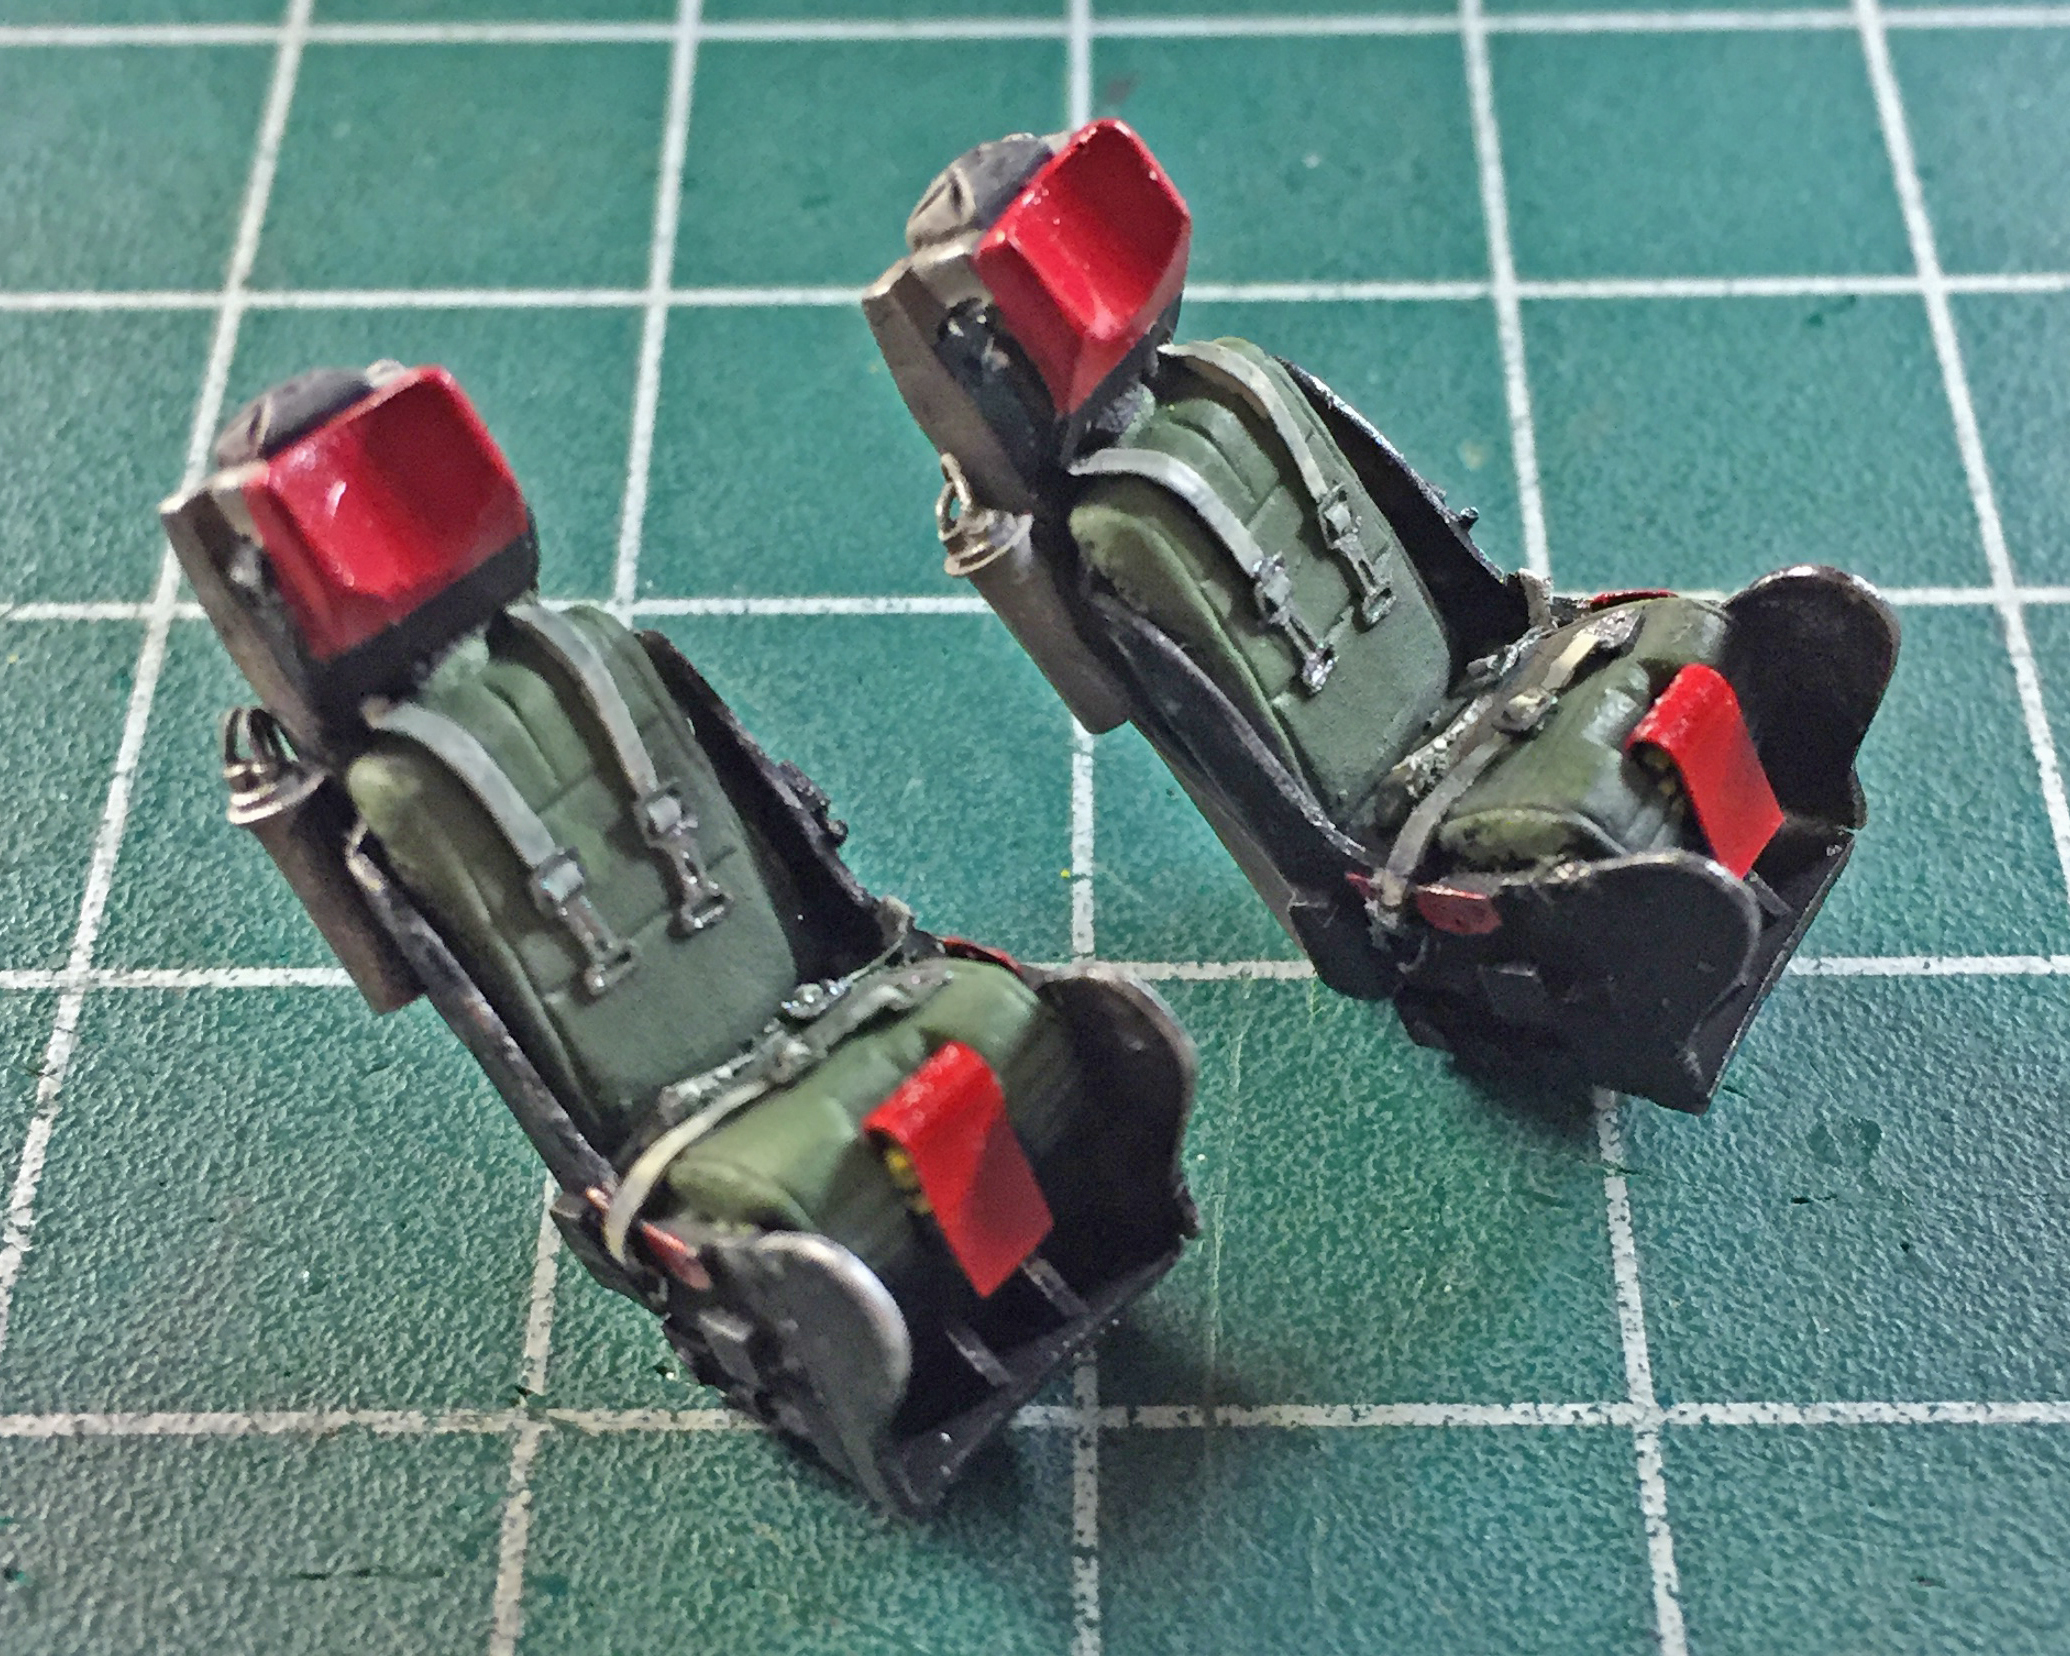
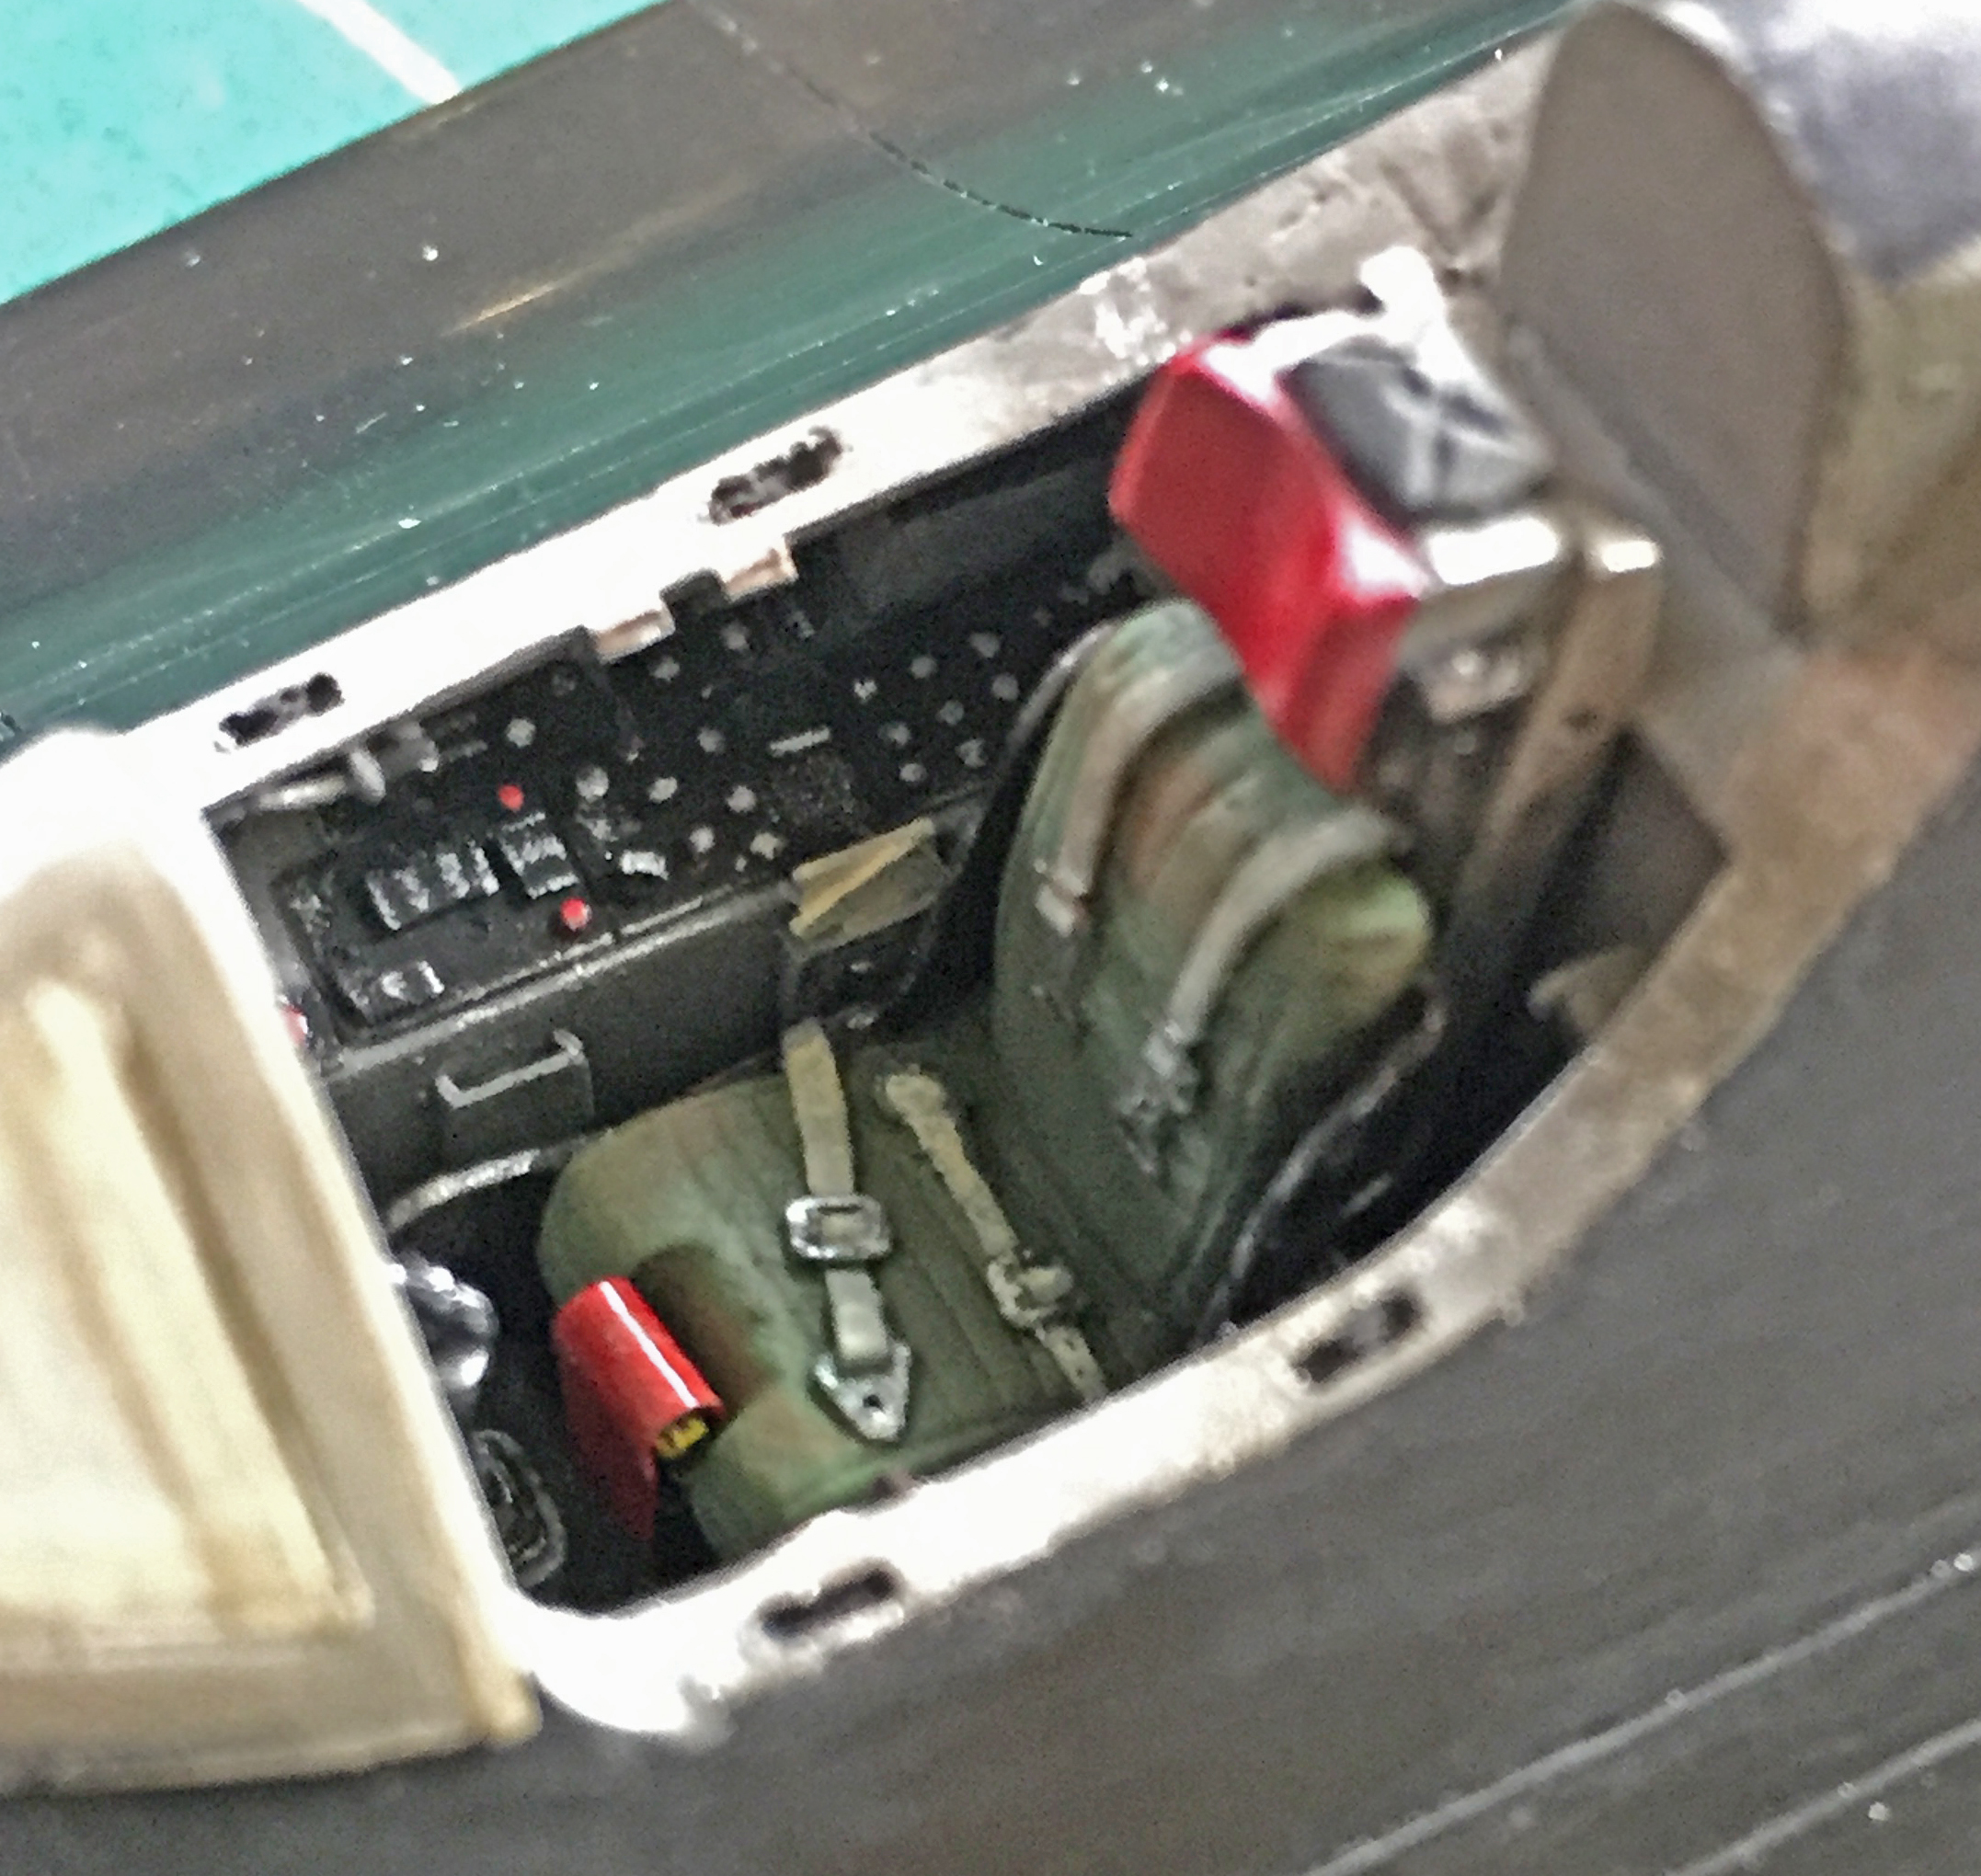
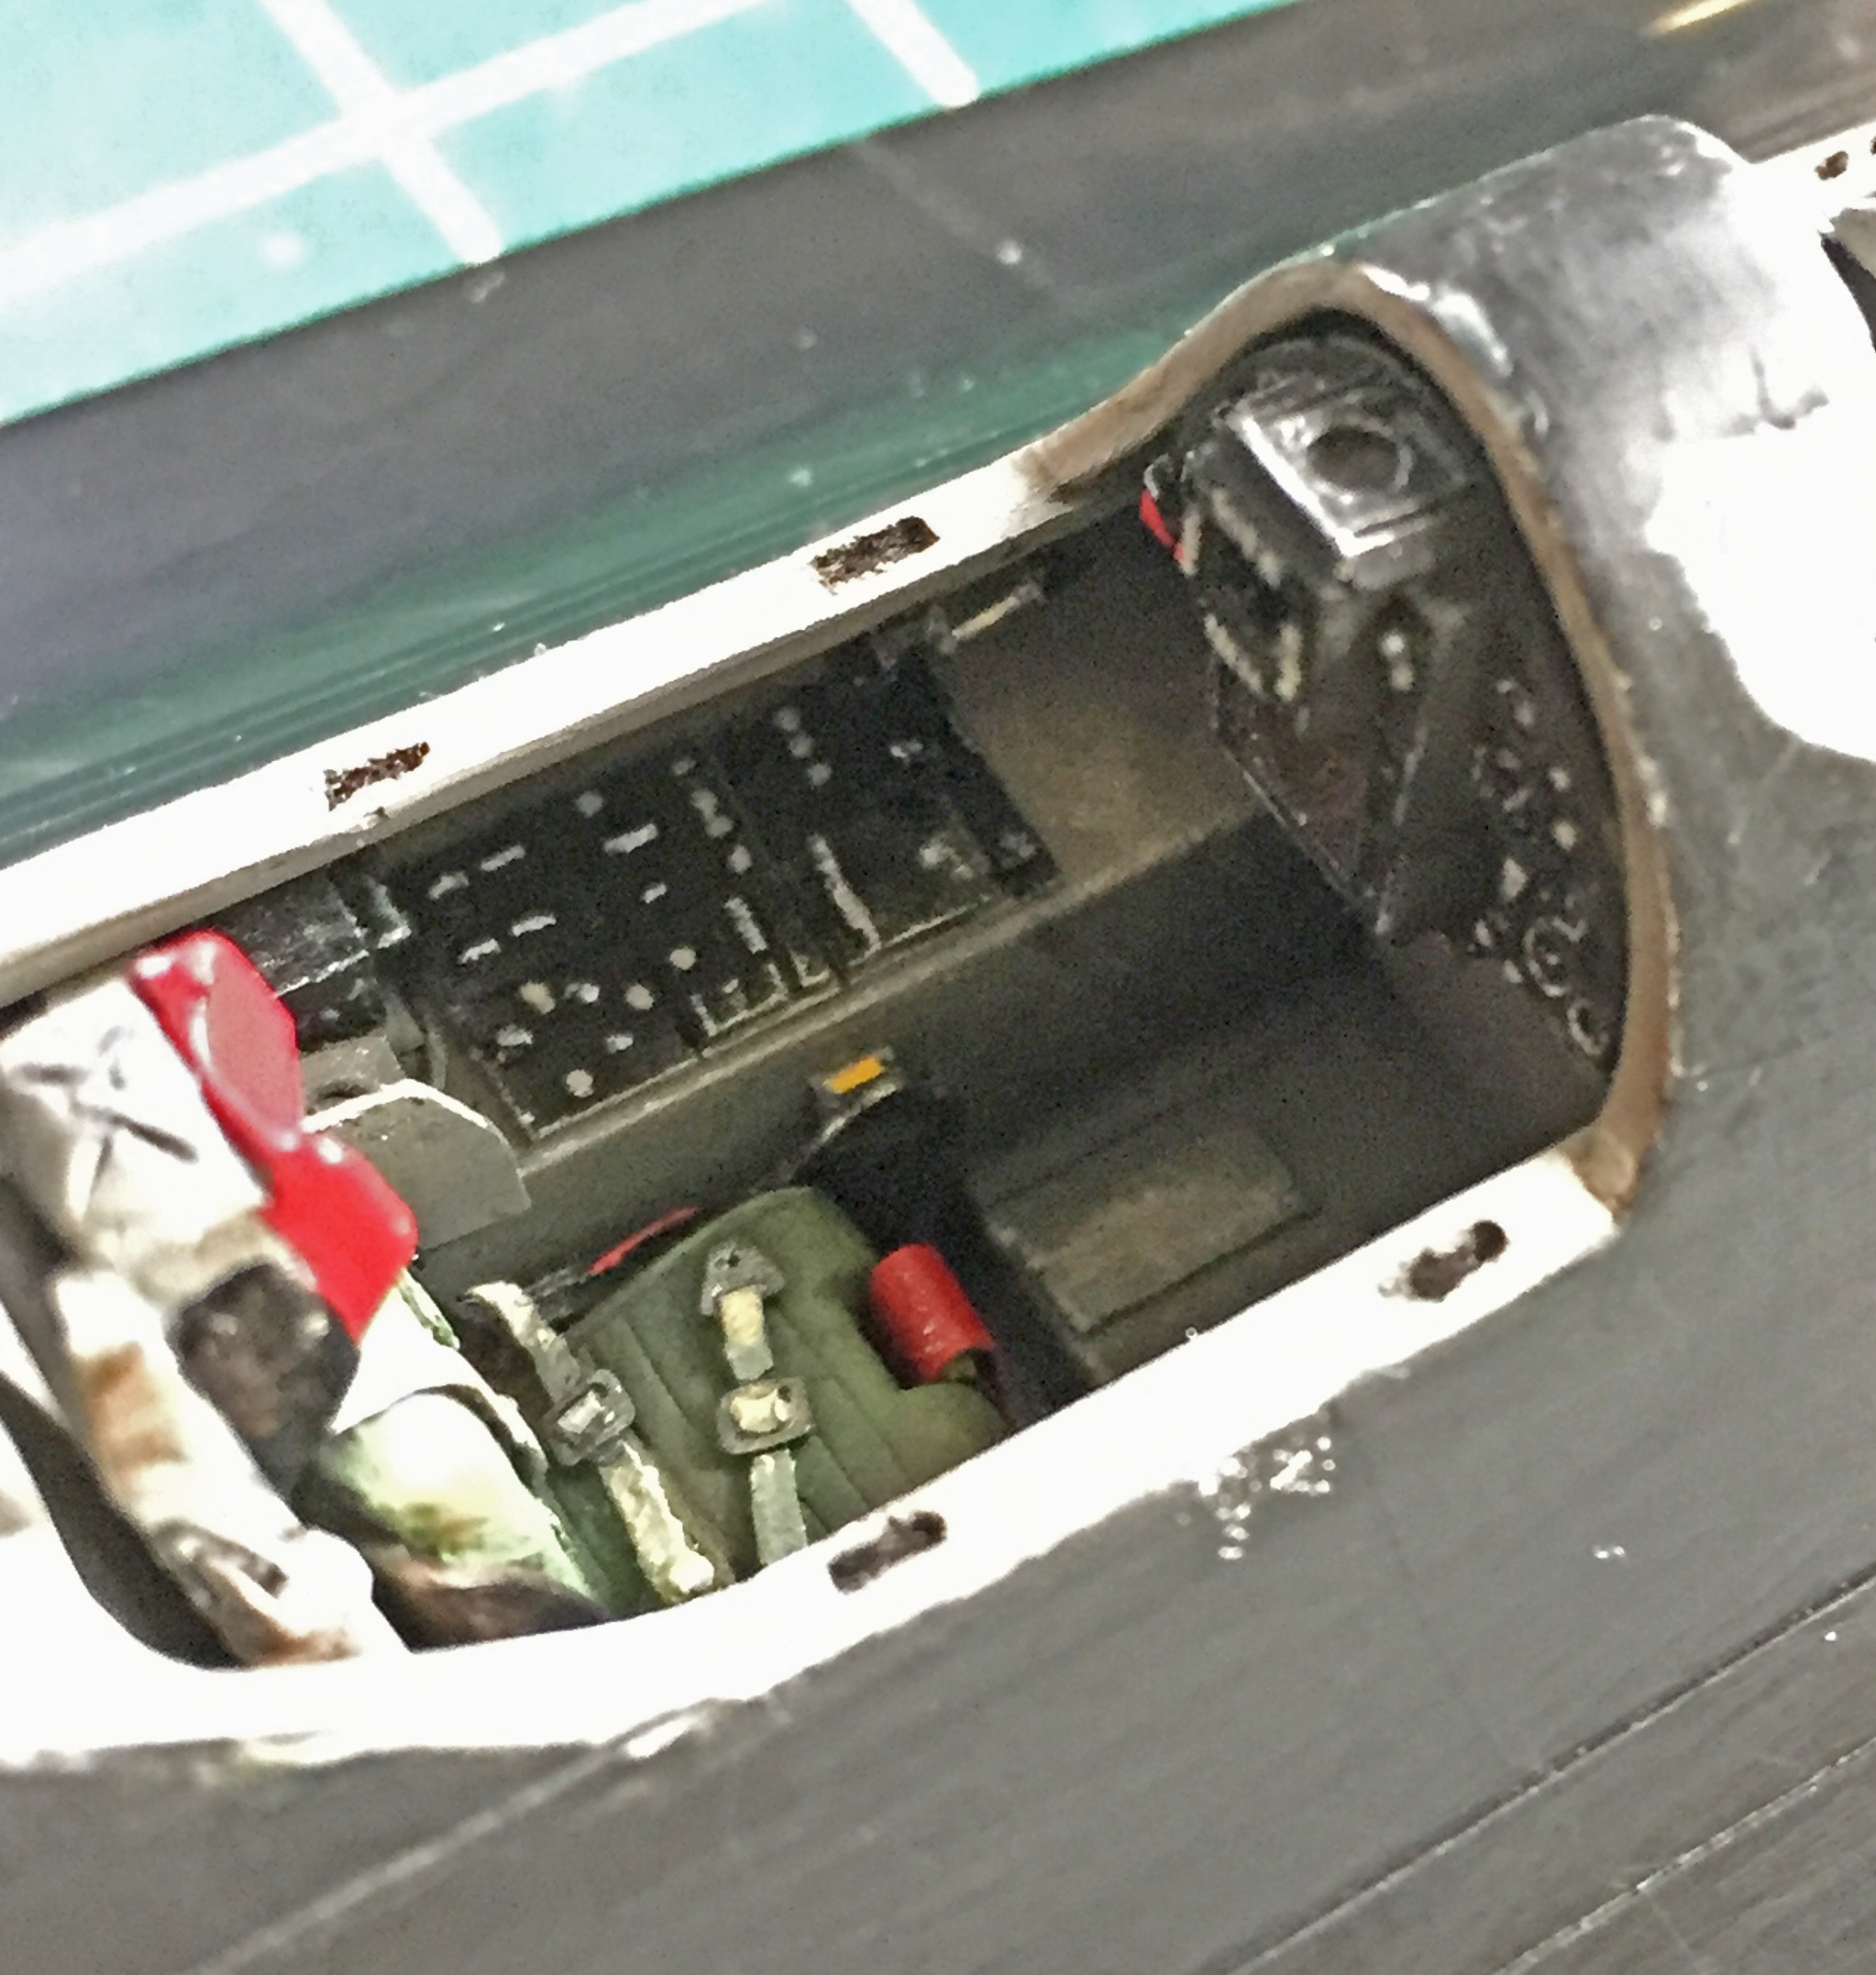
The ejection seats get several different colors added (the green was misted over the flat black in the same manner the gray was done on the tubs). Red was used on headrests and ejection seat trigger covers, and aged white was used on the harnesses (as well as the “papers” in the in the trays in the cockpit tubs). Once that was done I used flat aluminum paint on the harness latches and to add chips and wear marks:
While I was in the mind of chipping and wear (really, because I had silver on the brush), I added the pilot’s joystick and then wear to the cockpit tubs (as well as painting a few of the details):


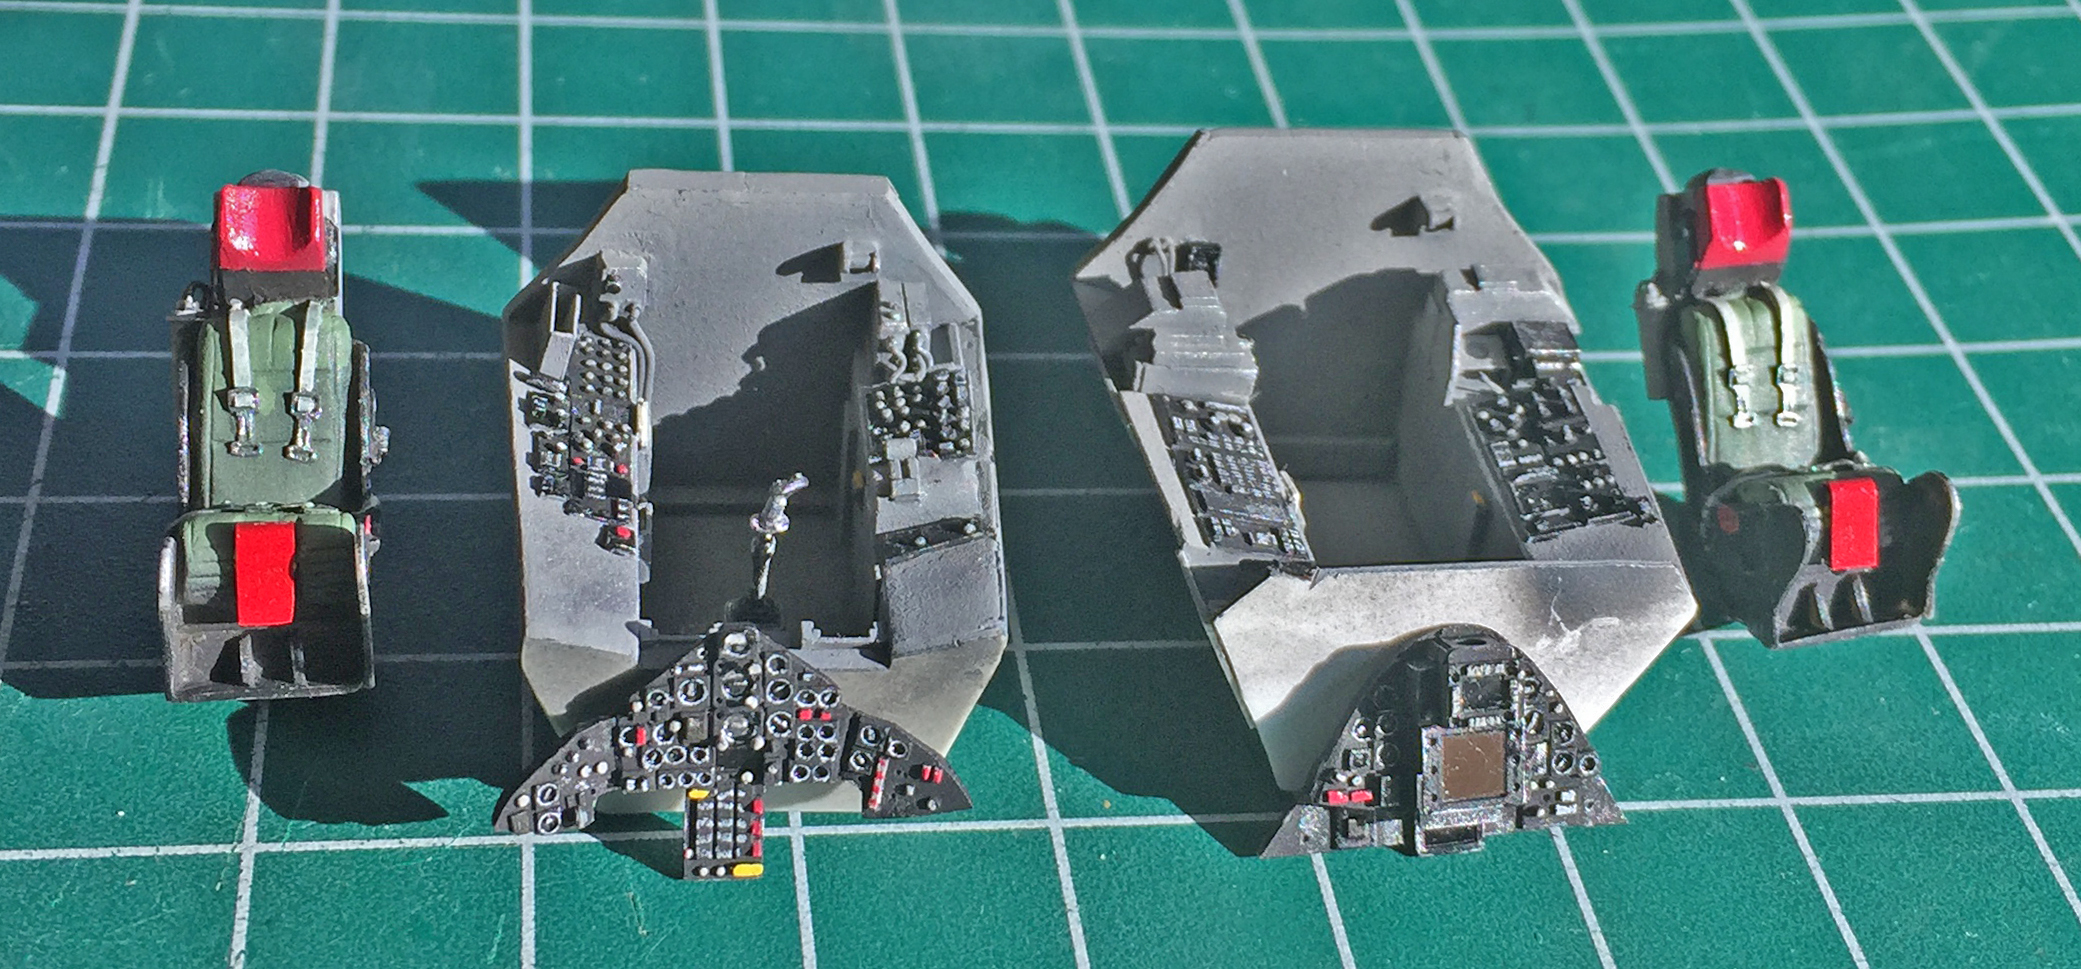
Nothing left now but to start putting things together. I glued the seats into the tubs using Contact cement. Normally I glue resin to resin with CA but there would be some positioning required that CA wouldn’t allow me the time to do. Being resin, the Contact cement wouldn’t attack the material the way it does styrene. Once assembled, I added generic use-dirt with pastels (no relation to sleep-dirt…the latter being more crusty in my experience) (unless it’s gooey):

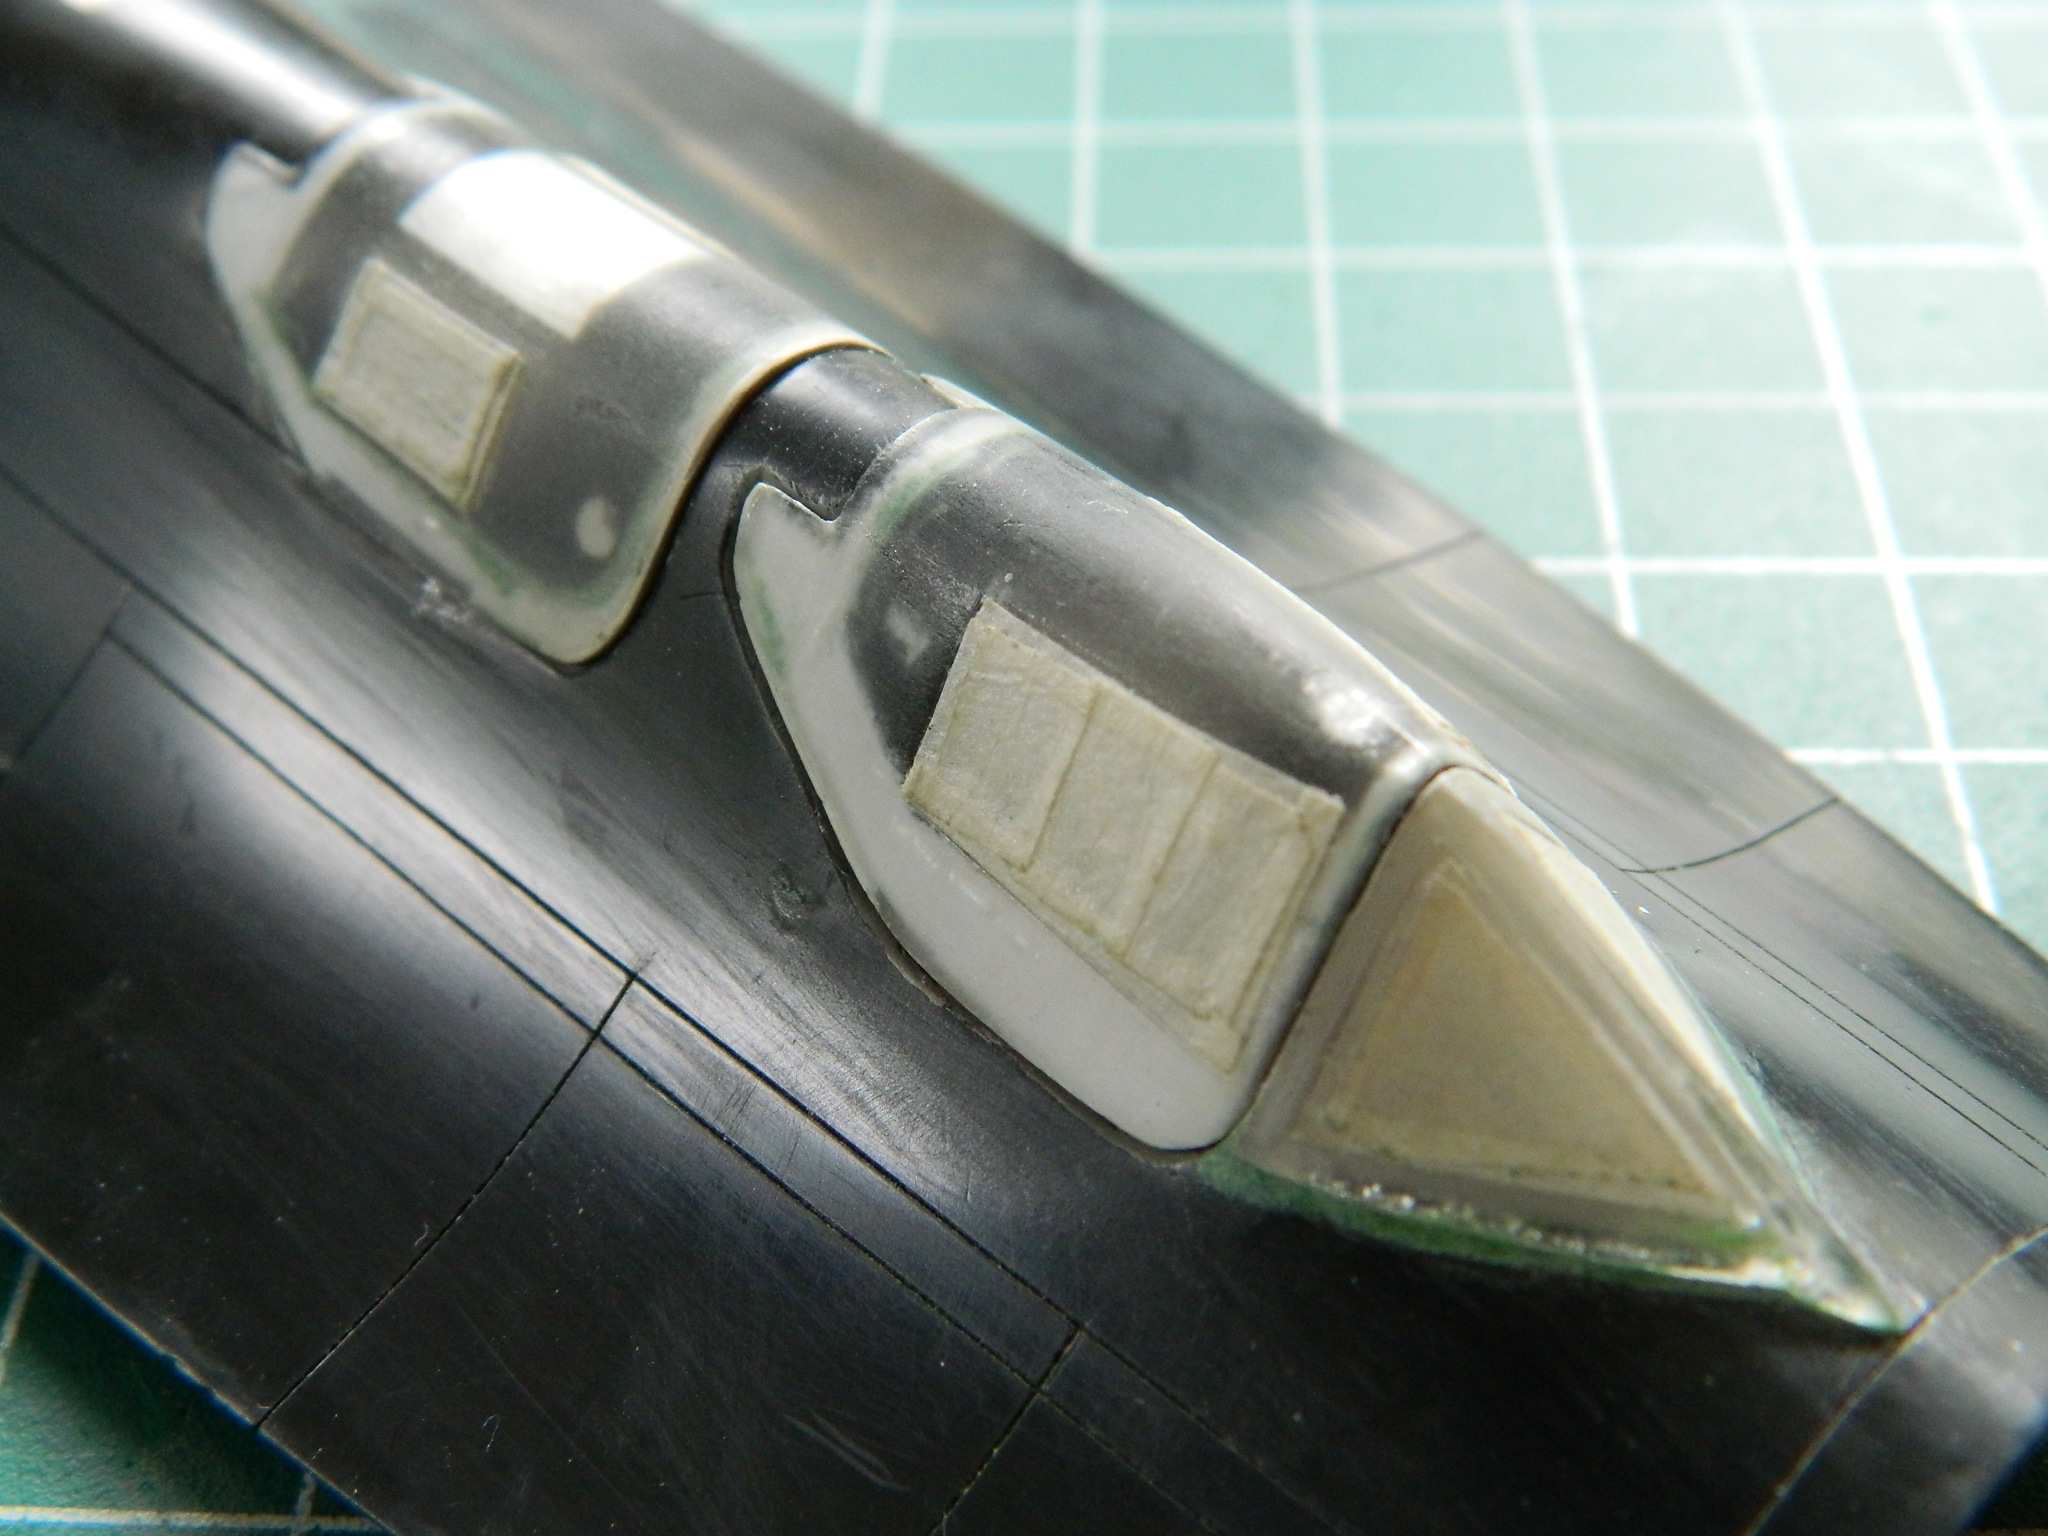
Time to attach these assemblies to the fuselage part. I added the instrument panels first, then the tubs, and then the windscreen:


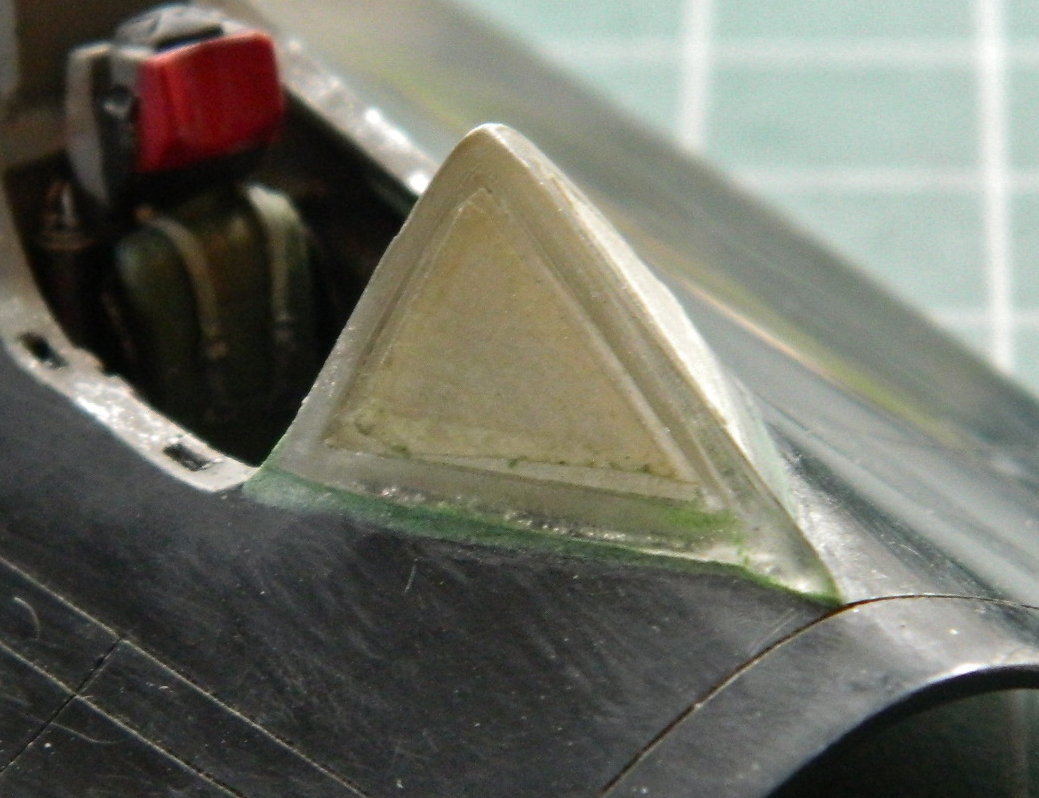
The windscreen was just slightly wider than the area it mounts to, due possibly to all the sanding I’ve already done on the fuselage. Regardless of why it’s larger, larger it is and putty was needed to make things fit:
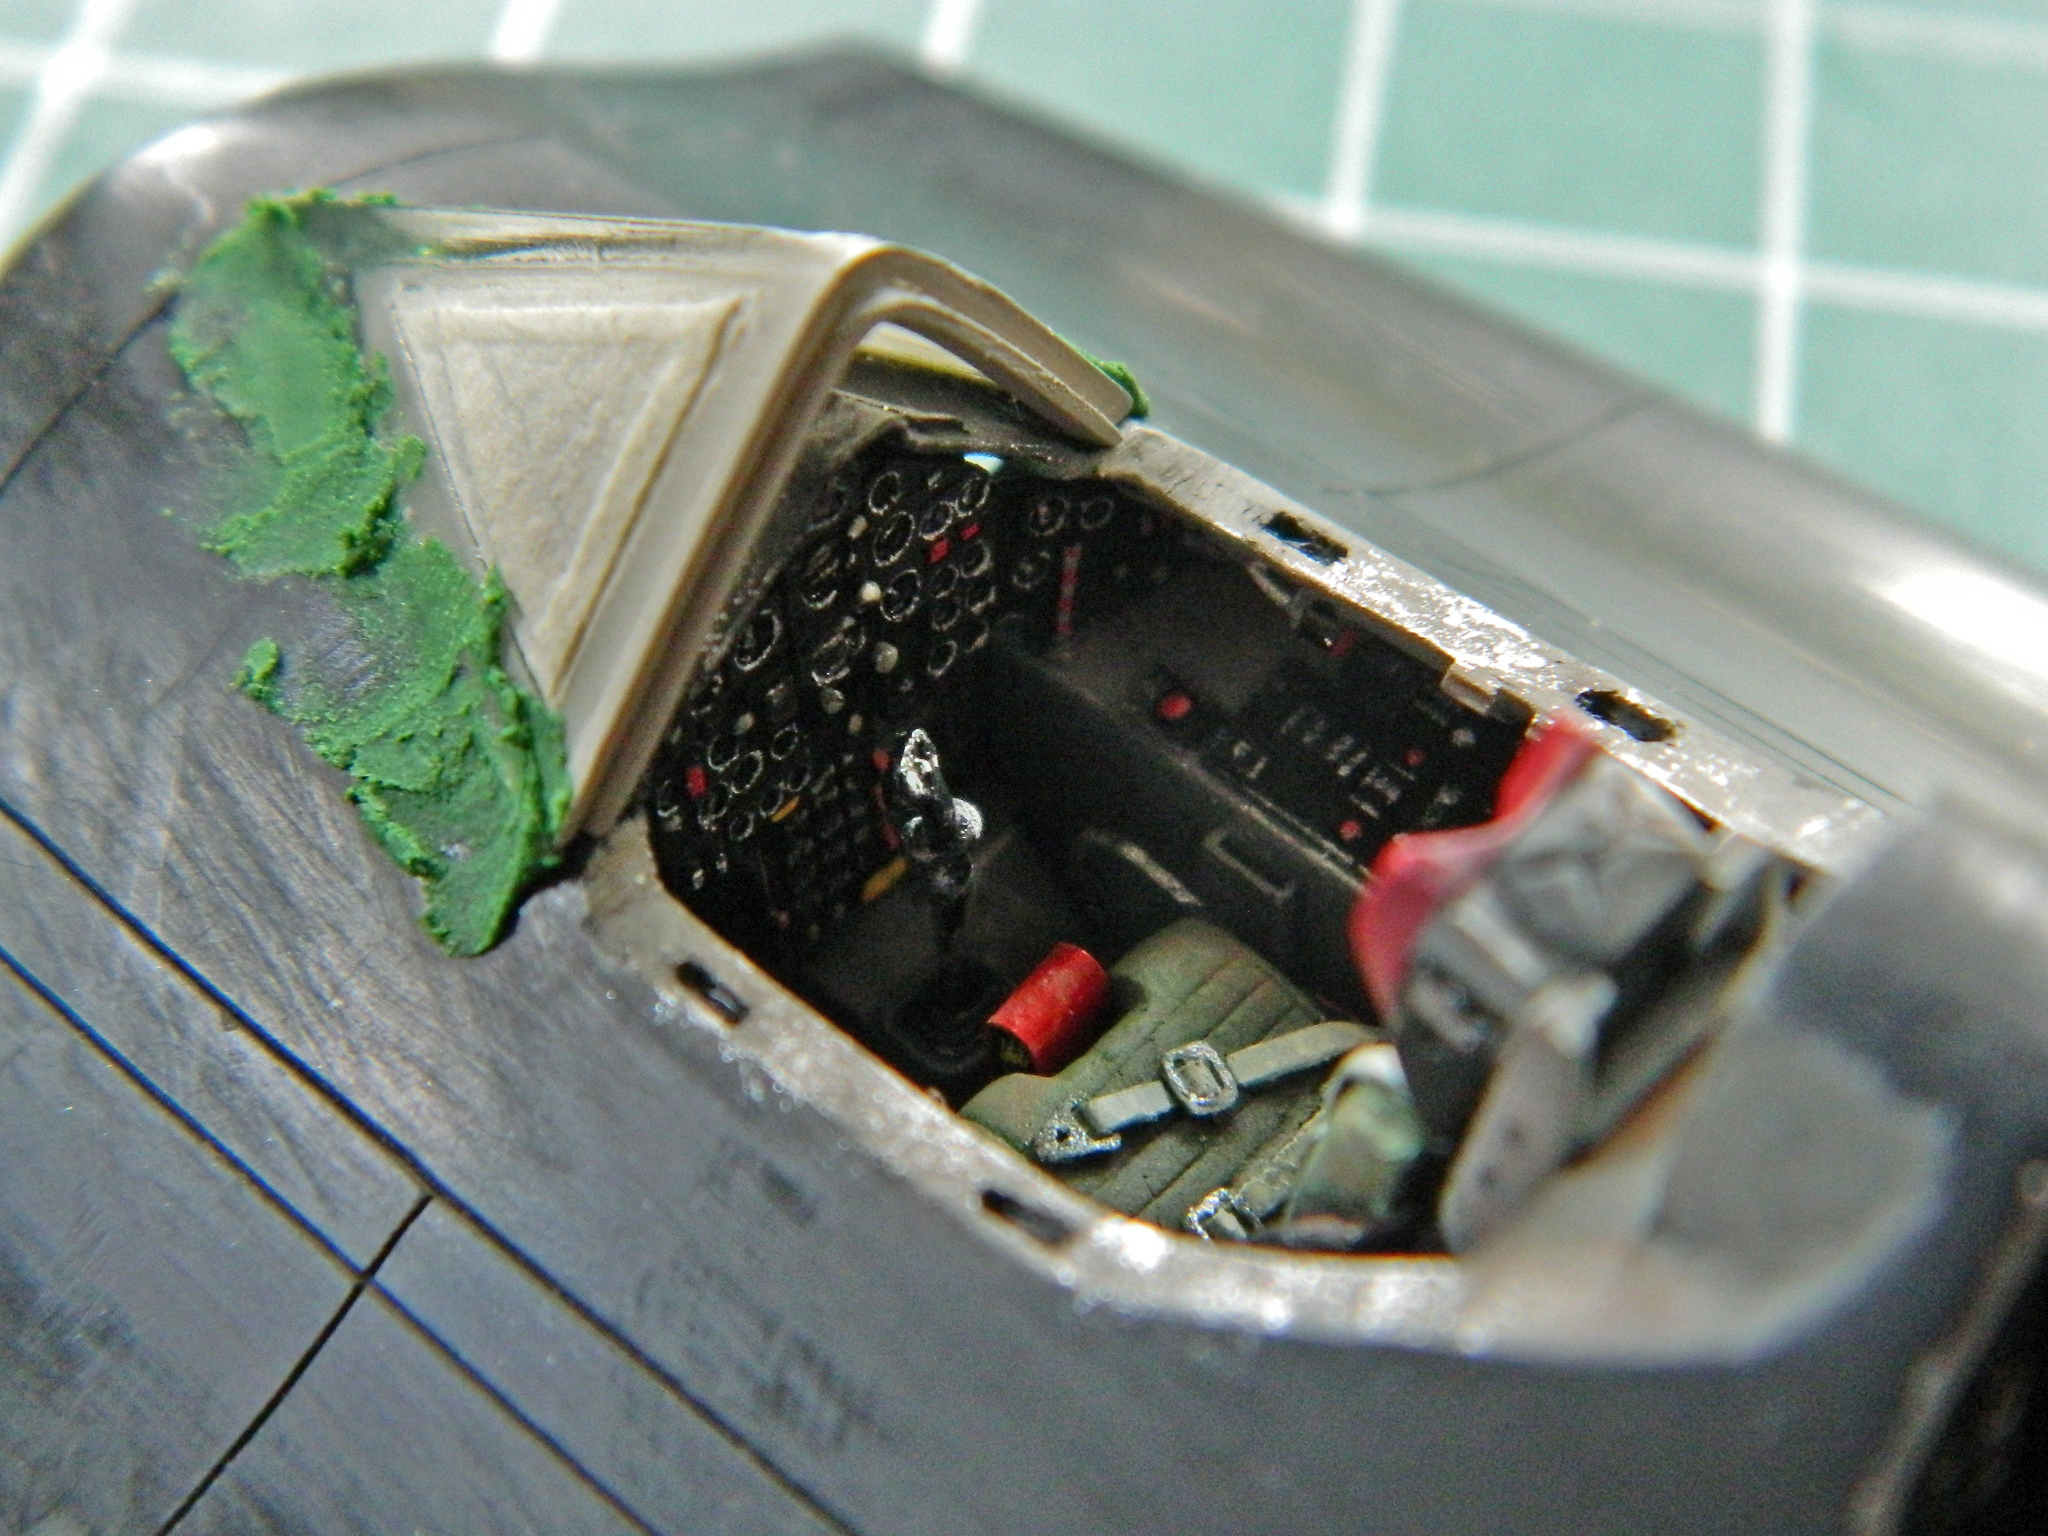


And with that, the cockpits are mostly done. There are a few minor details to add but those will come later. The cockpits will be held in place with white glue to seal the cockpits from the intrusion of paint:

Wow. It came alive.
LikeLike
Thanks! When doing subassemblies, it’s easy to forget how small they really are. And when being SO focused in on small details, it’s also easy to forget the larger picture…what the parts are supposed to look like assembled. Clearly, I have ideas (sometimes good ones) about what I want to do and how I want it to look. I don’t know my idea (and attempts) will work until they’re all playing together. It’s heartening when it turns out as intended. Now…if I can just keep that streak going until I get to the end of this build!
LikeLike