Properly chastised, I made sure things fit this time:


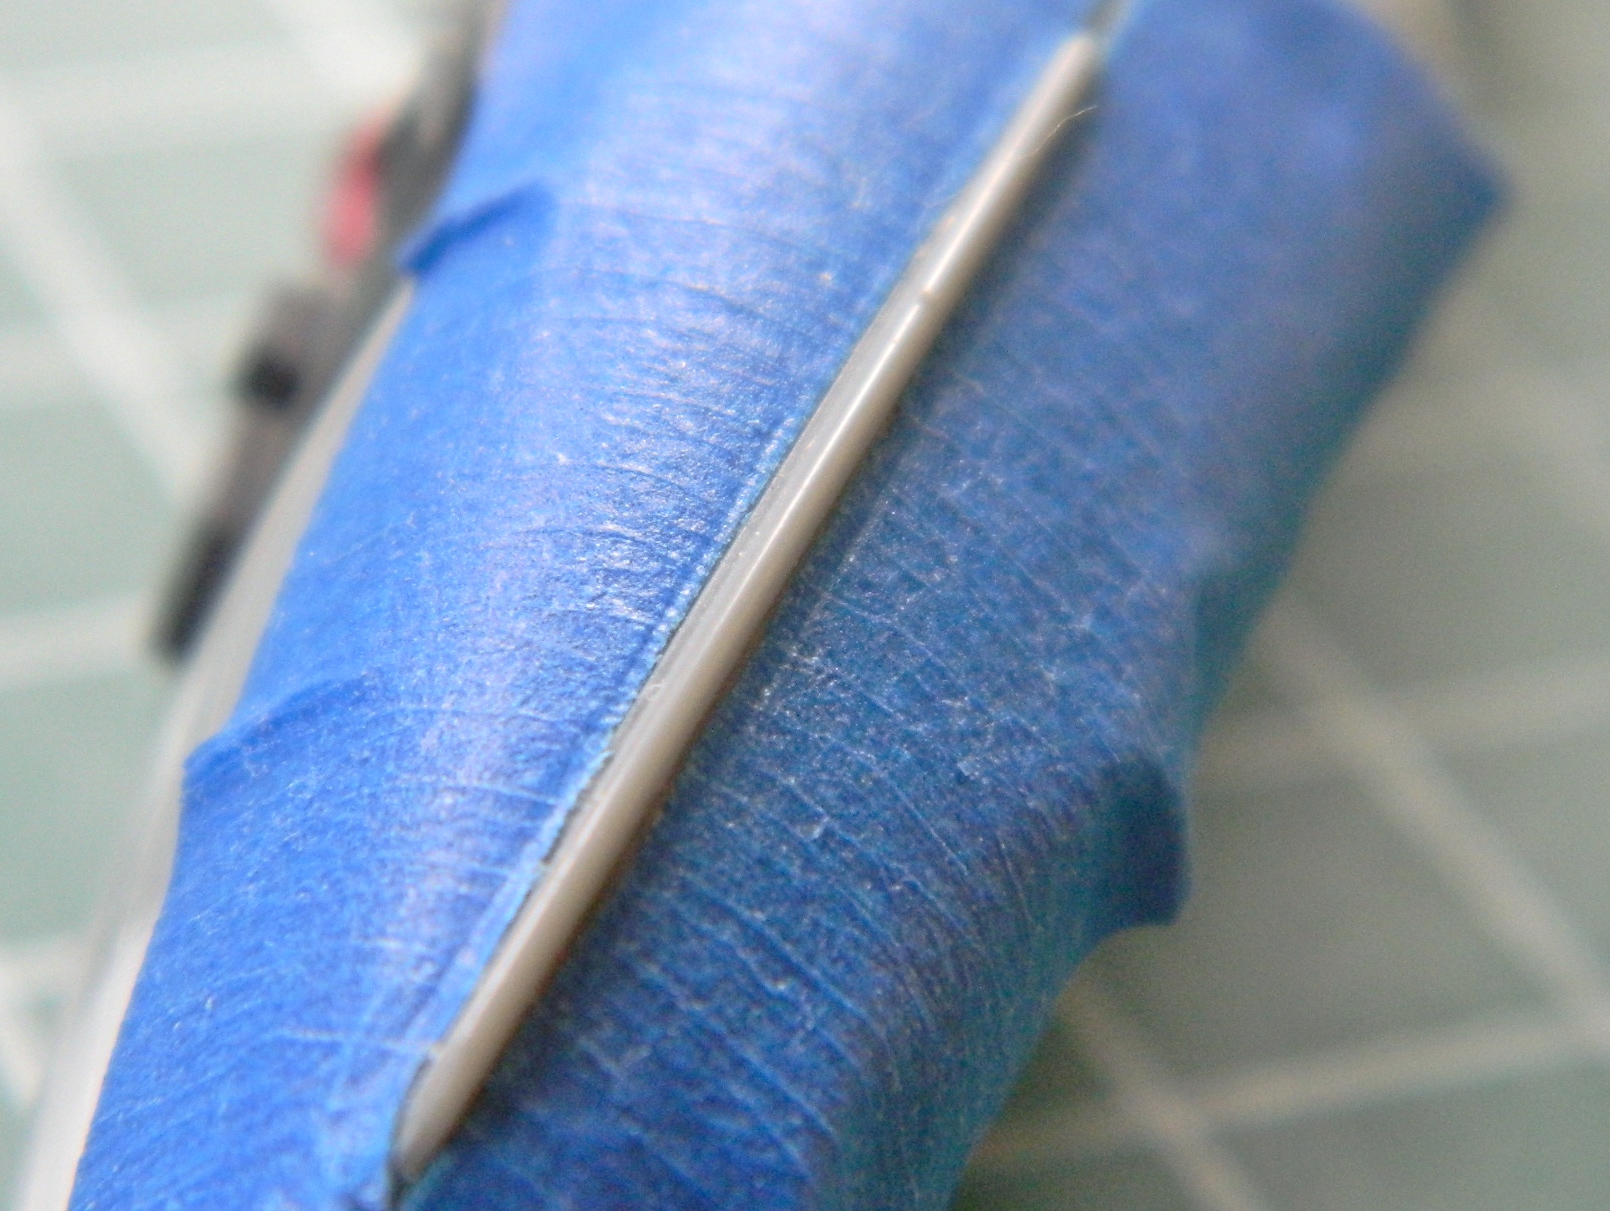
And with that, it was time to glue the upper halves of the wings on and start getting rid of the seams:

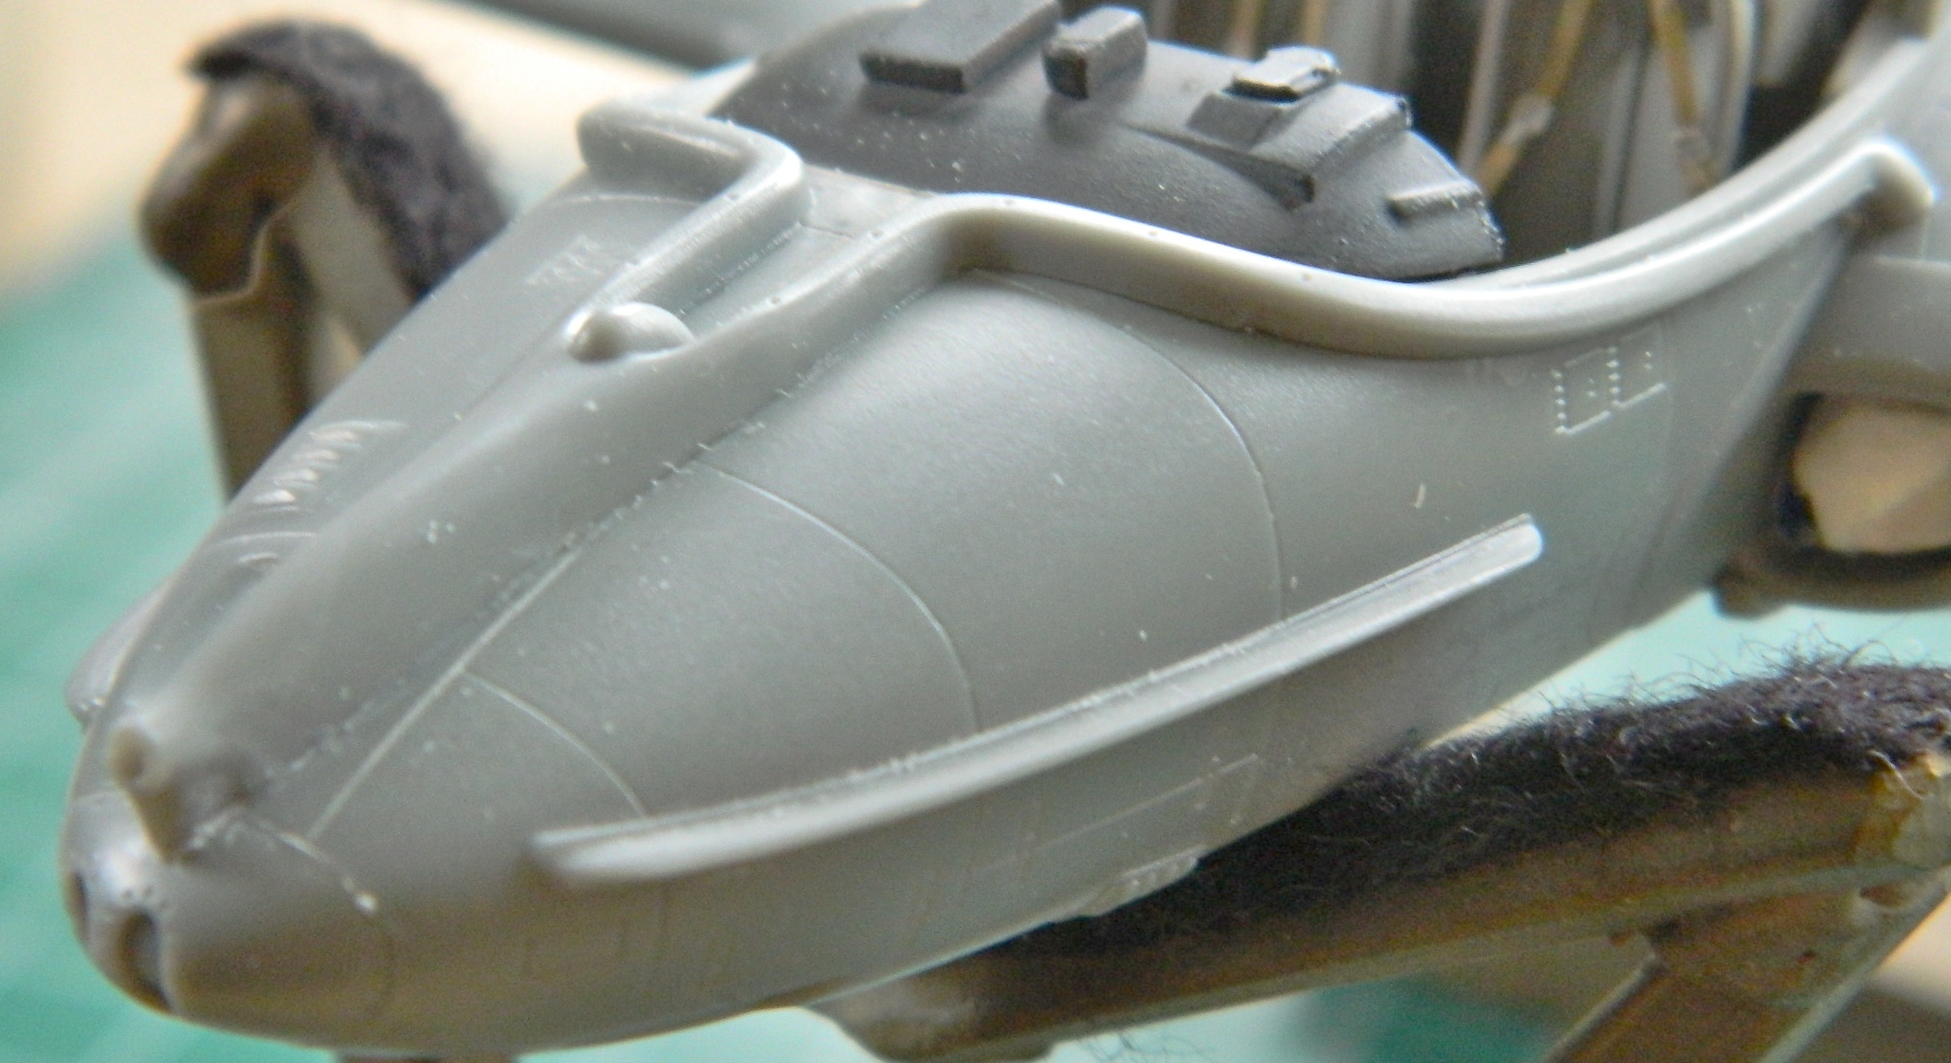
In so doing, I discovered an interesting trick. I was checking a seam with the edge of my fingernail; if I could feel it, I’d be able to see it. I noticed that where I’d slid the edge of my fingernail across the plastic, it removed all the sanding striations. So I tried it all along the wingtip tank and damned if it didn’t do just that:
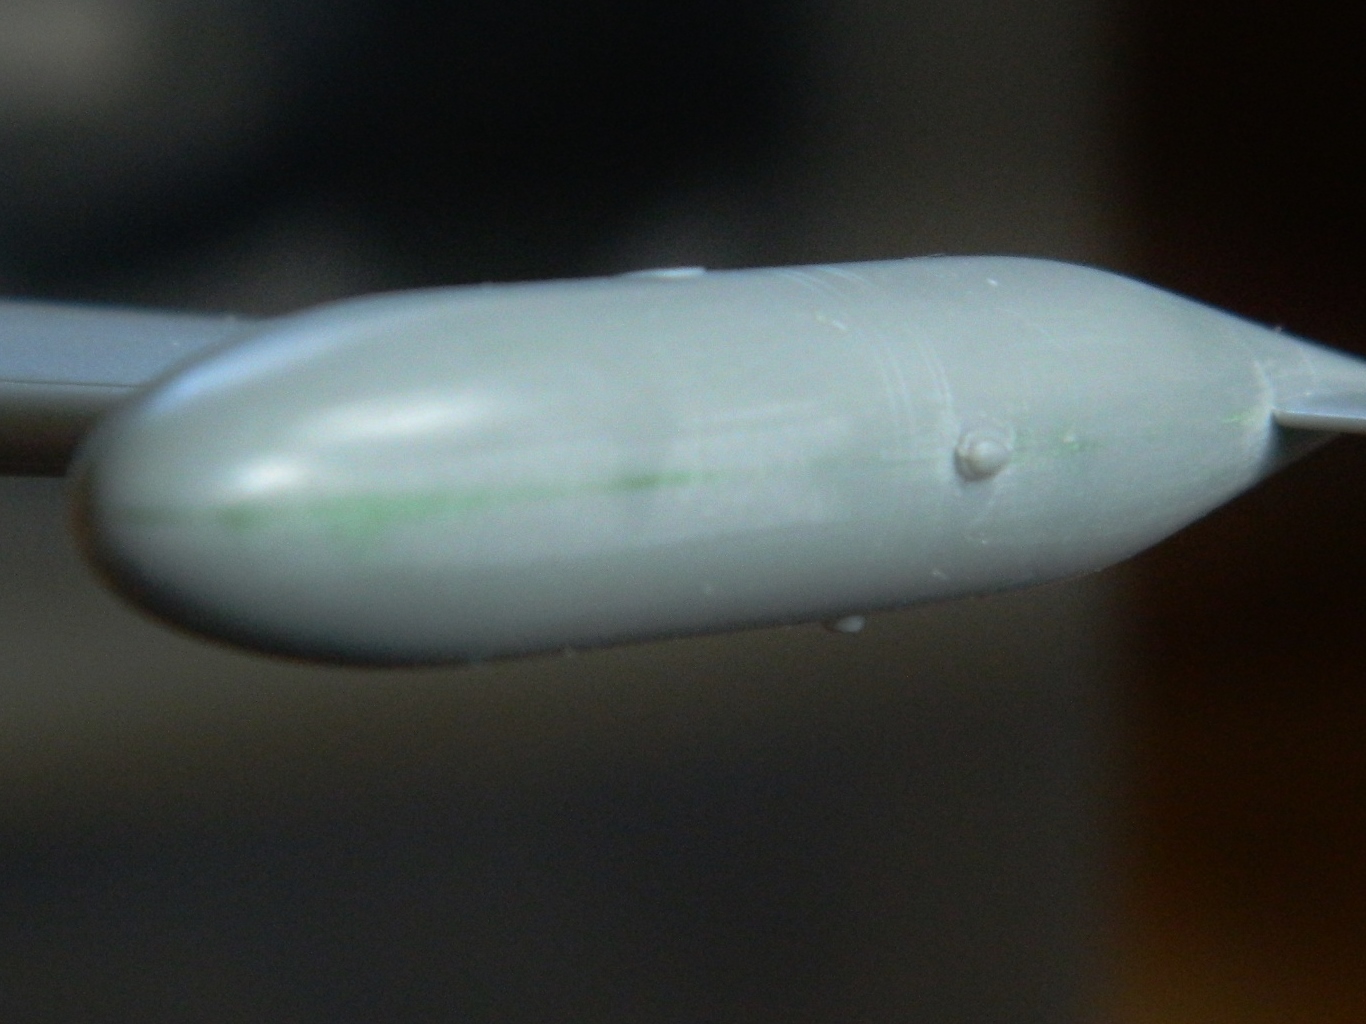
Now that trick will end up being quite useful someday! (Probably tomorrow.)
Done with patting myself on the back, I worked the seams until they were gone:

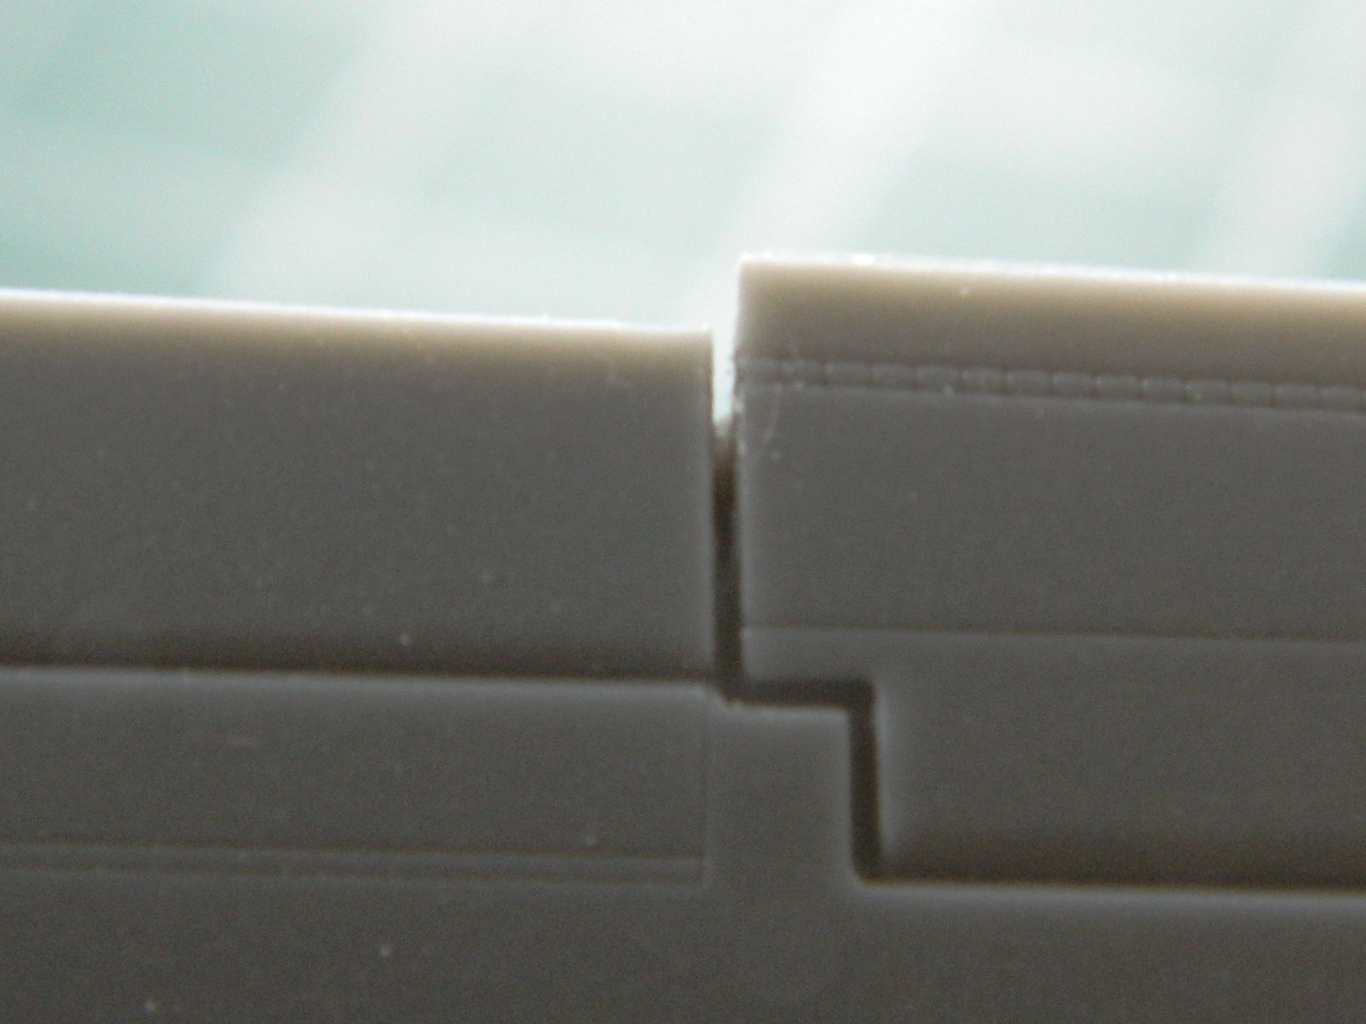
I cut away where the control surfaces should have gaps that the model does not.
Before:

After:
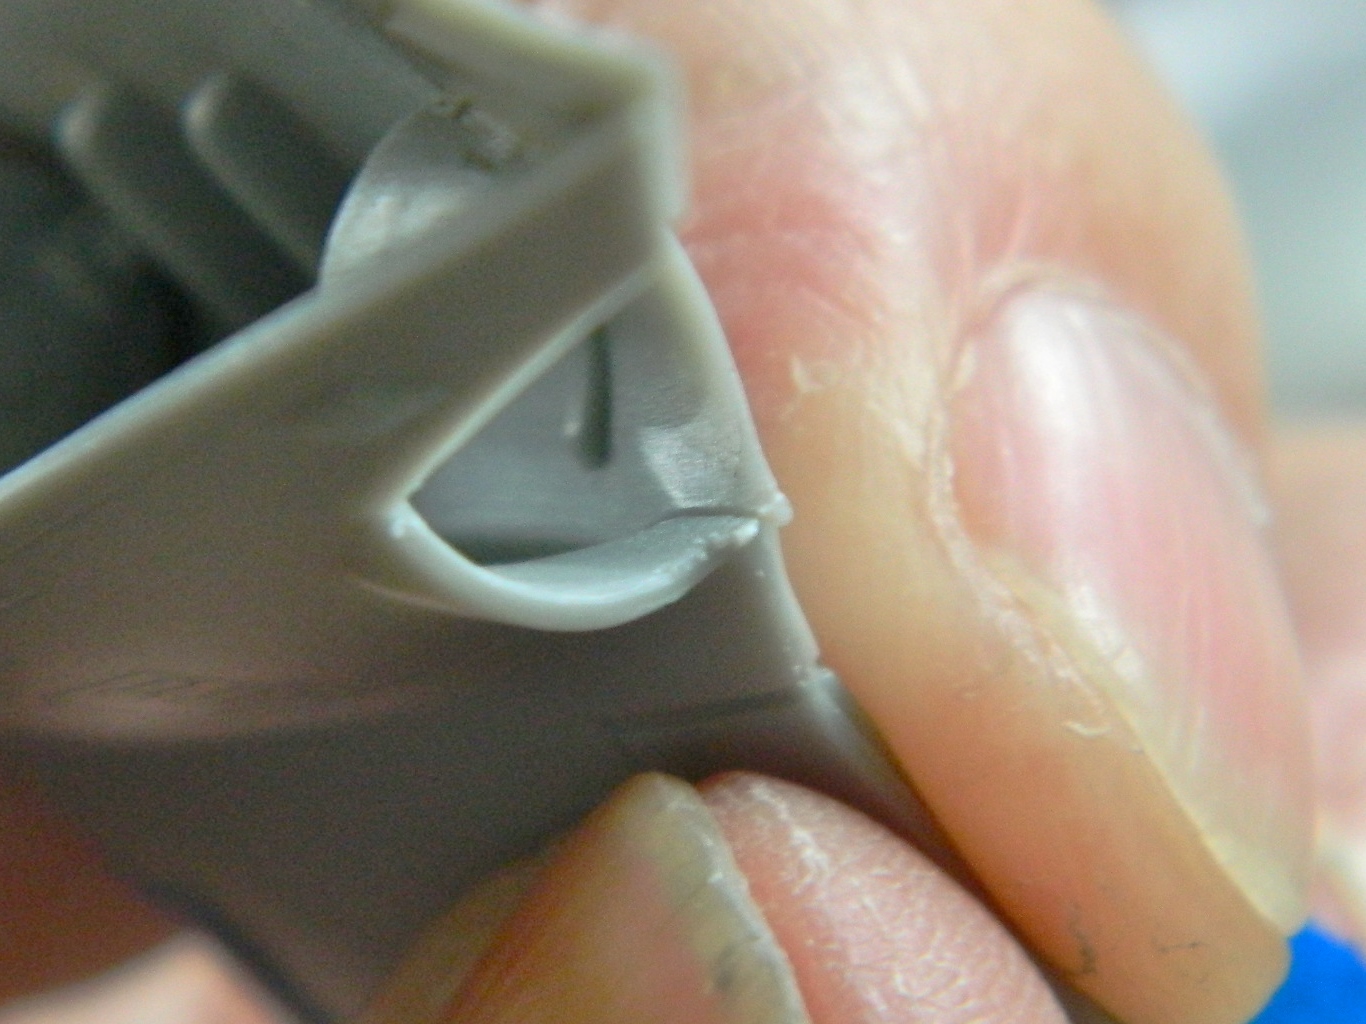
At the end of the nozzles, the wings are supposed to come to a sharp point…but they don’t:


I cut the areas flat to allow for a greater surface for the glue to work on and tried two ways of adding more plastic; a piece of scrap (top) and a piece of stretched sprue (bottom) to see which would work better:


I’ve learned that though the glue seems to set completely in about a half an hour, it doesn’t, really. Trying to work it (shaping or scribing) shows that the plastic is still not completely hardened. I set the wings aside overnight to let it cure completely. The next day I went back at it and ended up with something acceptable. That done, it was time to attach the wings to the fuselage. Fitting showed me an uncharacteristic (for this kit) fit:

I glued .010″ (.254mm) styrene to the face, let it sit for a bit, and once trimmed the fit was much better:

While I was waiting for the glue to set up firmly enough to trim, I touched up the paint on top of the instrument panel coaming:

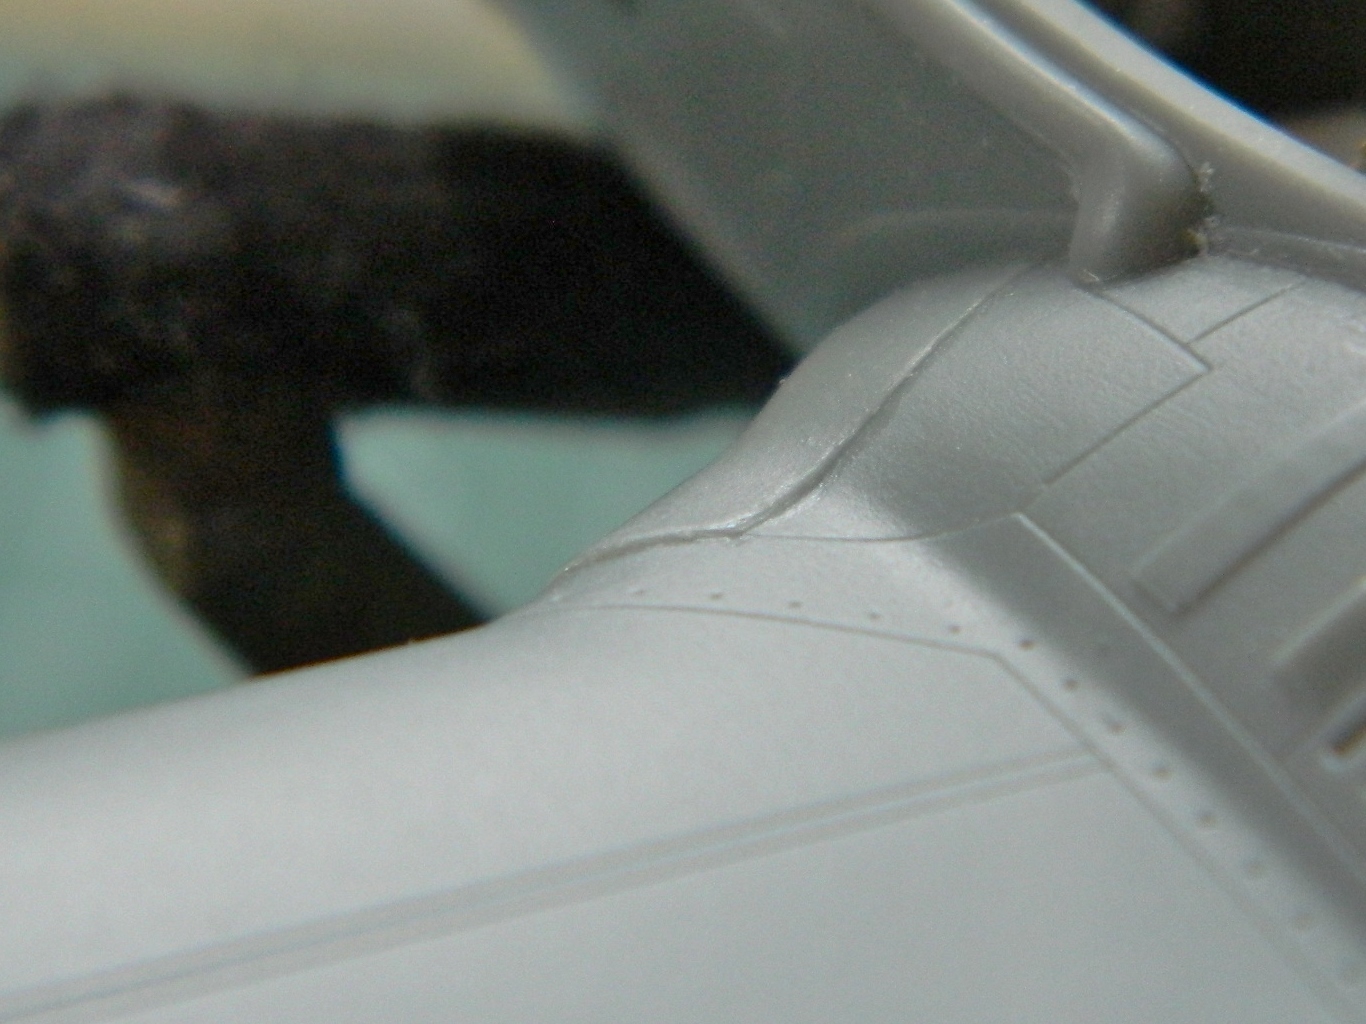
There are strakes on either side of the nose. The kit has them molded a bit too thick and rounded, so I covered the surface to keep from damaging surface details and thinned them a bit and sharpened the edge a little:
I added the nose, elevators, and intake frames:


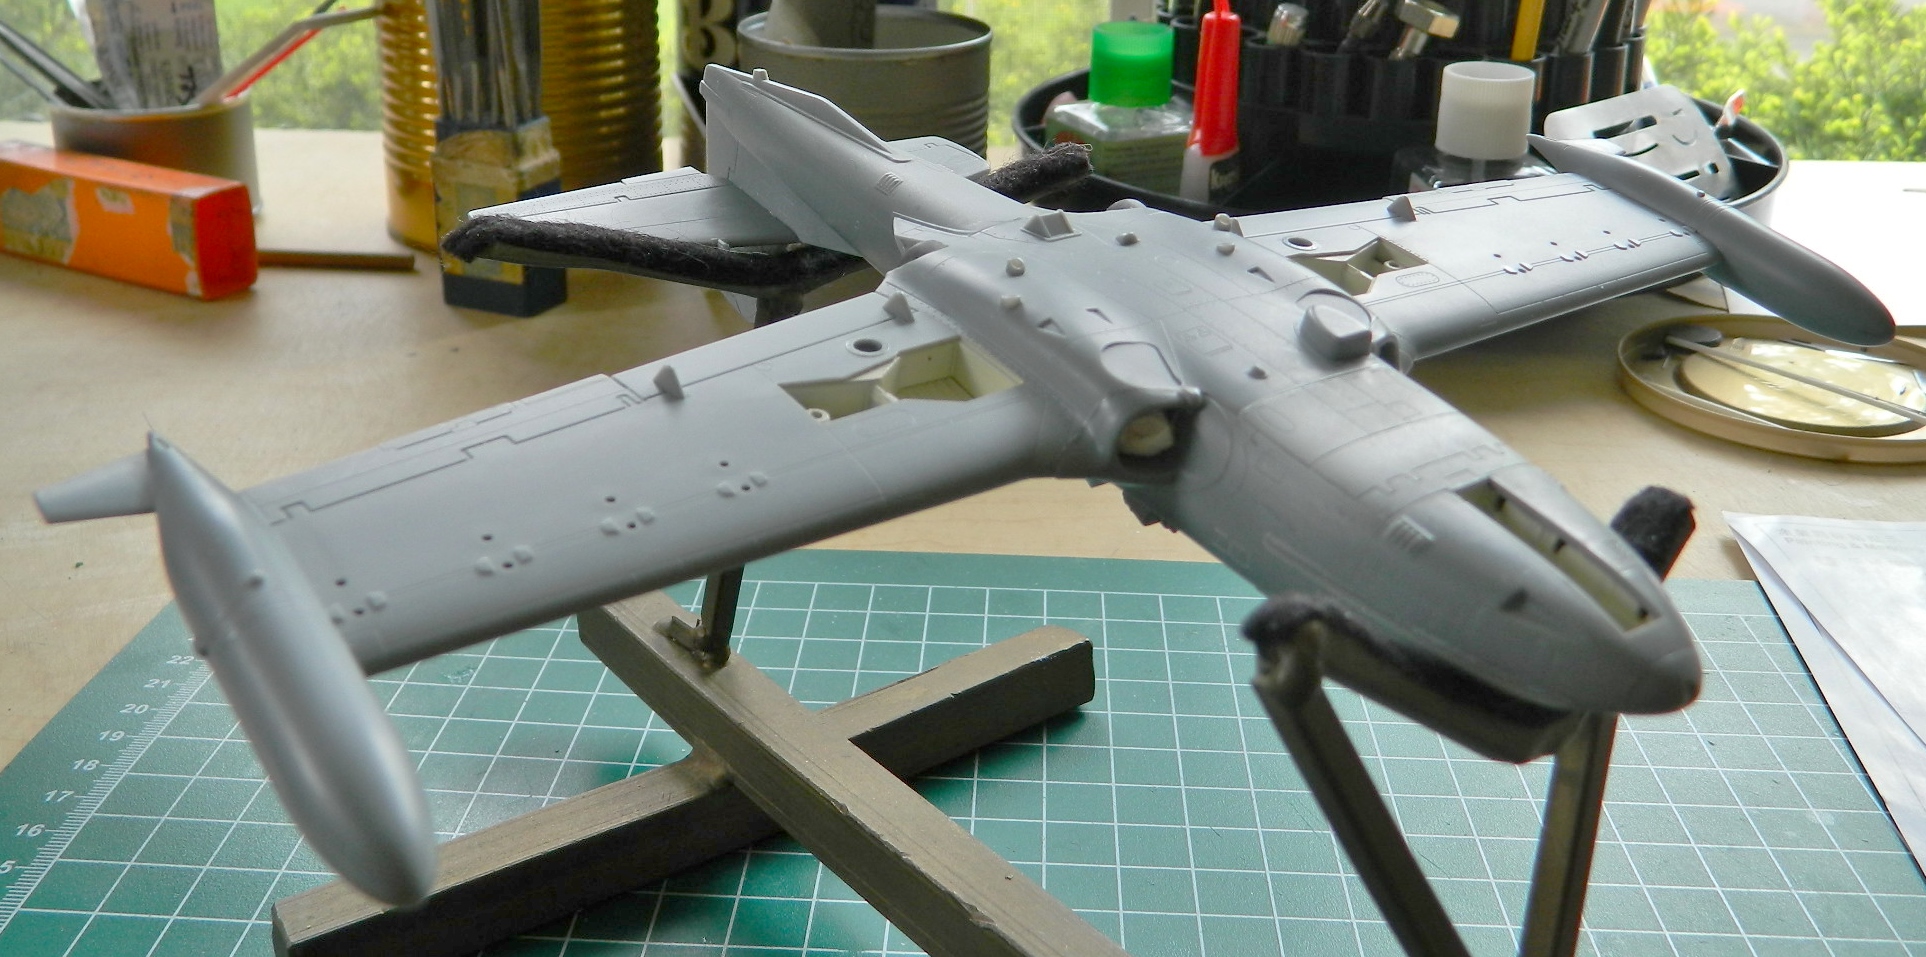
With the wings now on, I started adding other parts that wouldn’t be too fragile to handle during the rest of the assembly. The lines for the in-air refueling probe needed some work and a little shim at the nose to fit but that went on:
As did part of the exhaust deflector assembly:

A lot of work went into very small areas cleaning up where dissolved plastic had bubbled out under pressure. Almost as much work went into making the intake frames fit:
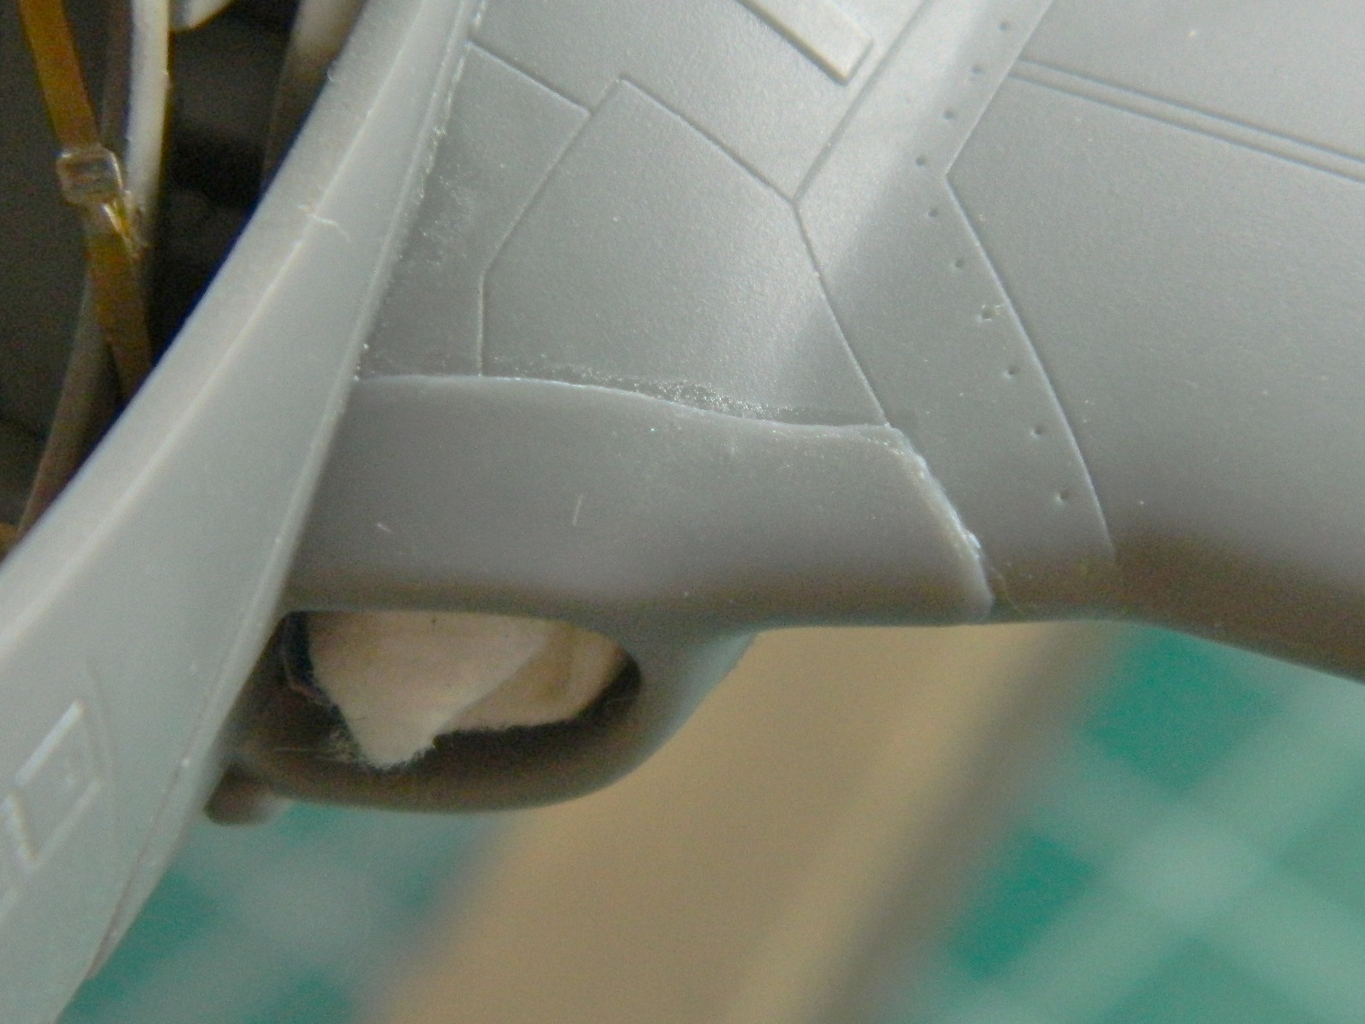
But fit they did:

Since I need to rescribe the lines of the intakes, I’m letting the work sit overnight for the glue to fully cure before I go at these areas with scribers.
