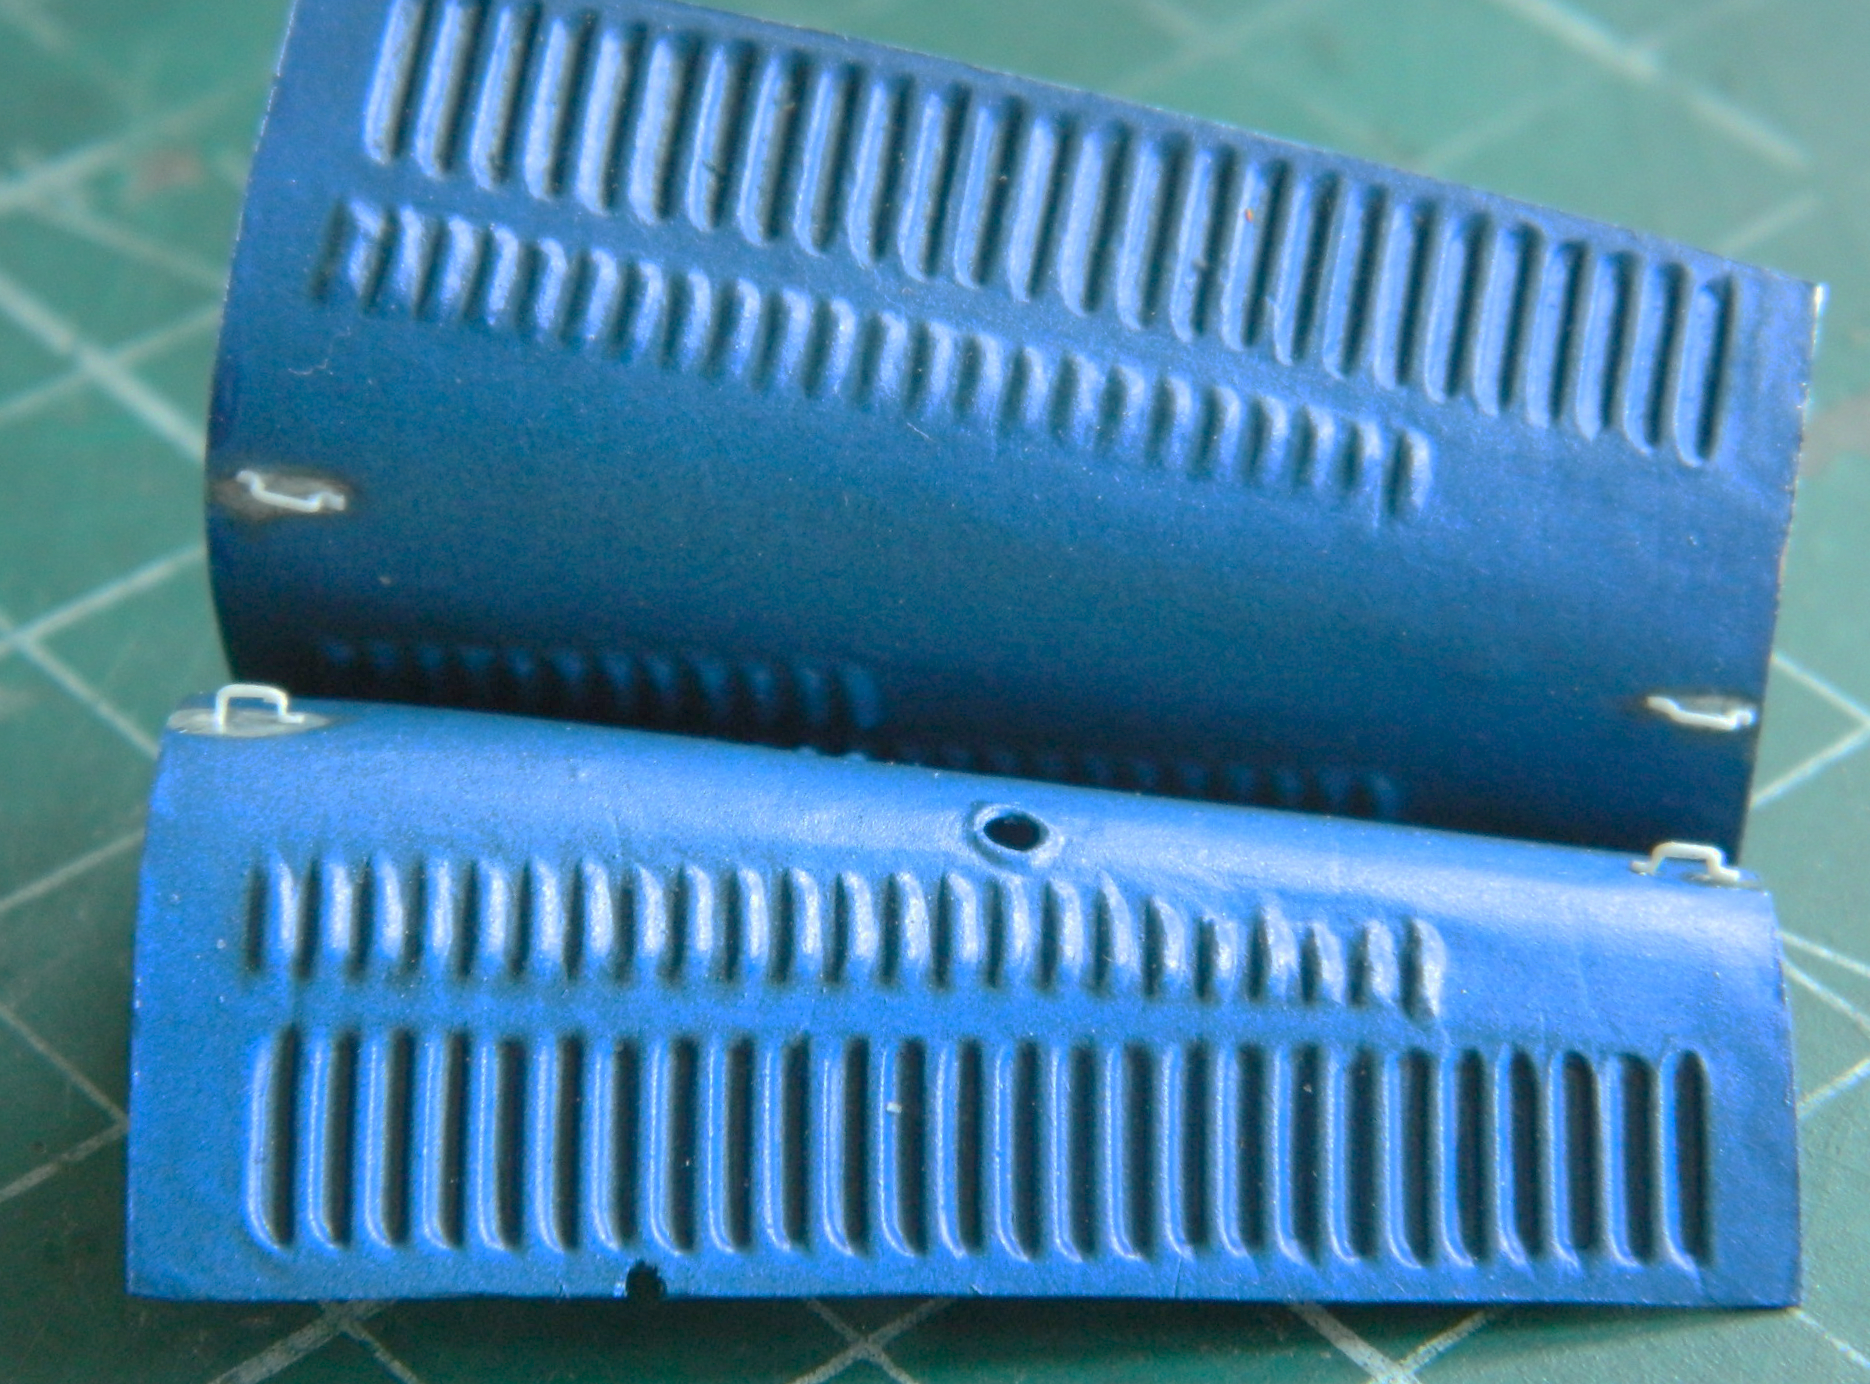
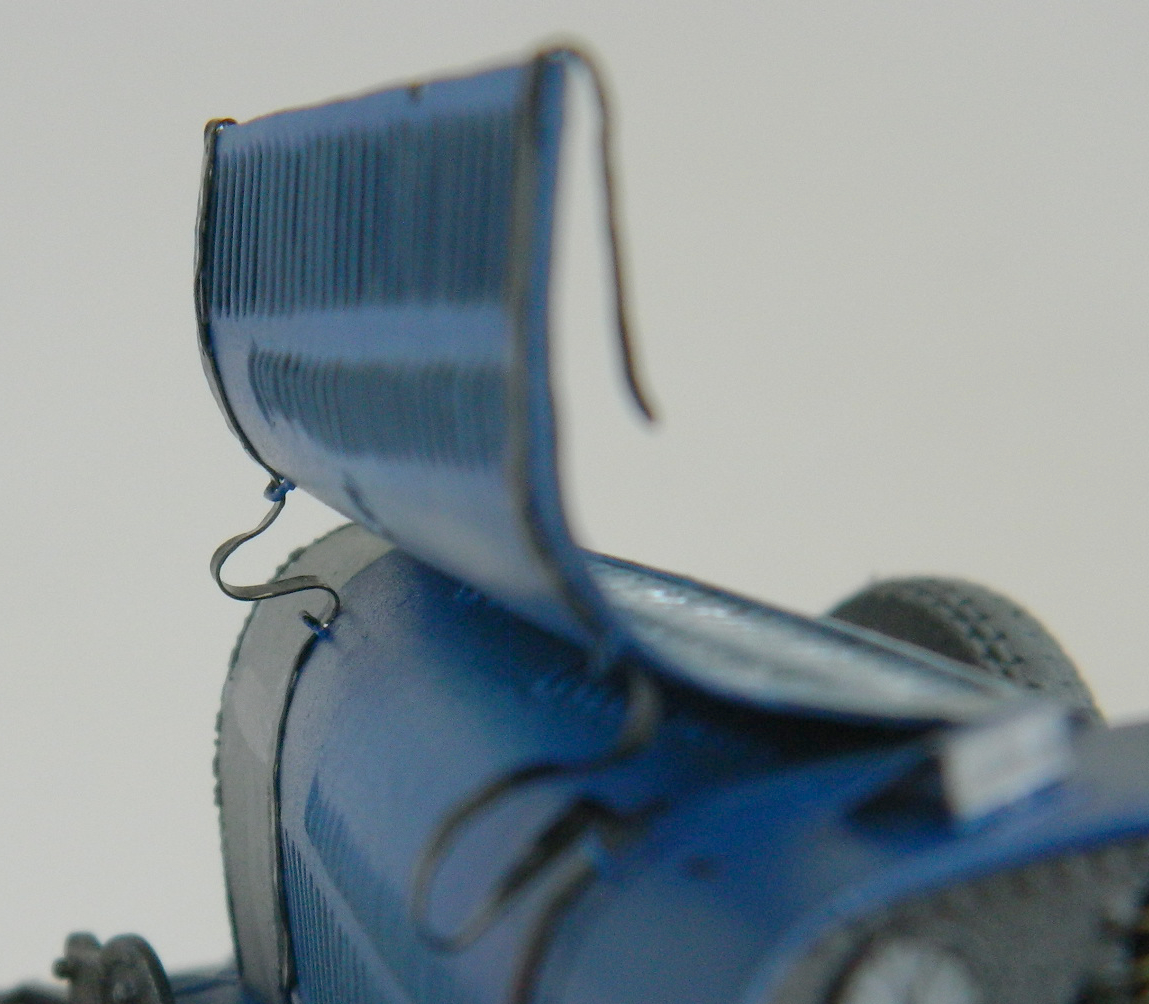
I started by checking fit on the scratch-built engine covers. Seeing that they didn’t exactly fit EXACTLY gave my blood pressure an unneeded boost:

I don’t know how I managed that but I do know how to fix it. Before I did that I wanted to see how the covers these parts were embossed over did fit and these did not. I used a kit-supplied radiator hose (for the only thing it was good for) to see if somehow I managed to bollocks up the copy. Nope…the gap between the radiator and where the location pin ends is almost exactly how far off things are:

I thought I was being so careful to not do what I ended (relatively speaking) up doing. Getting the dimension wrong. Clearly I put the radiator in too far forward, so my first thought was to pop the radiator free and reposition it. And then I realized that a) the plastic in this kit is brittle and b) no…listening to it creak as I started applying pressure was a Bad Idea. I resorted to the horrible kit I’d bought through eBay. That kit came apart with few problems, leaving me with a detached radiator. The gap I needed to close was about .030″ (.762mm) so I traced the shape of the radiator onto a piece of styrene of the appropriate thickness:

I used a compass to transfer the thickness of the lip to the outline by tracing the outline with the pin of the compass and letting the pencil lead do the work:

Then I traced the inner line with a sculpting tool that I could used as the guide for the panel line scriber that I was going to use to cut the inside away:

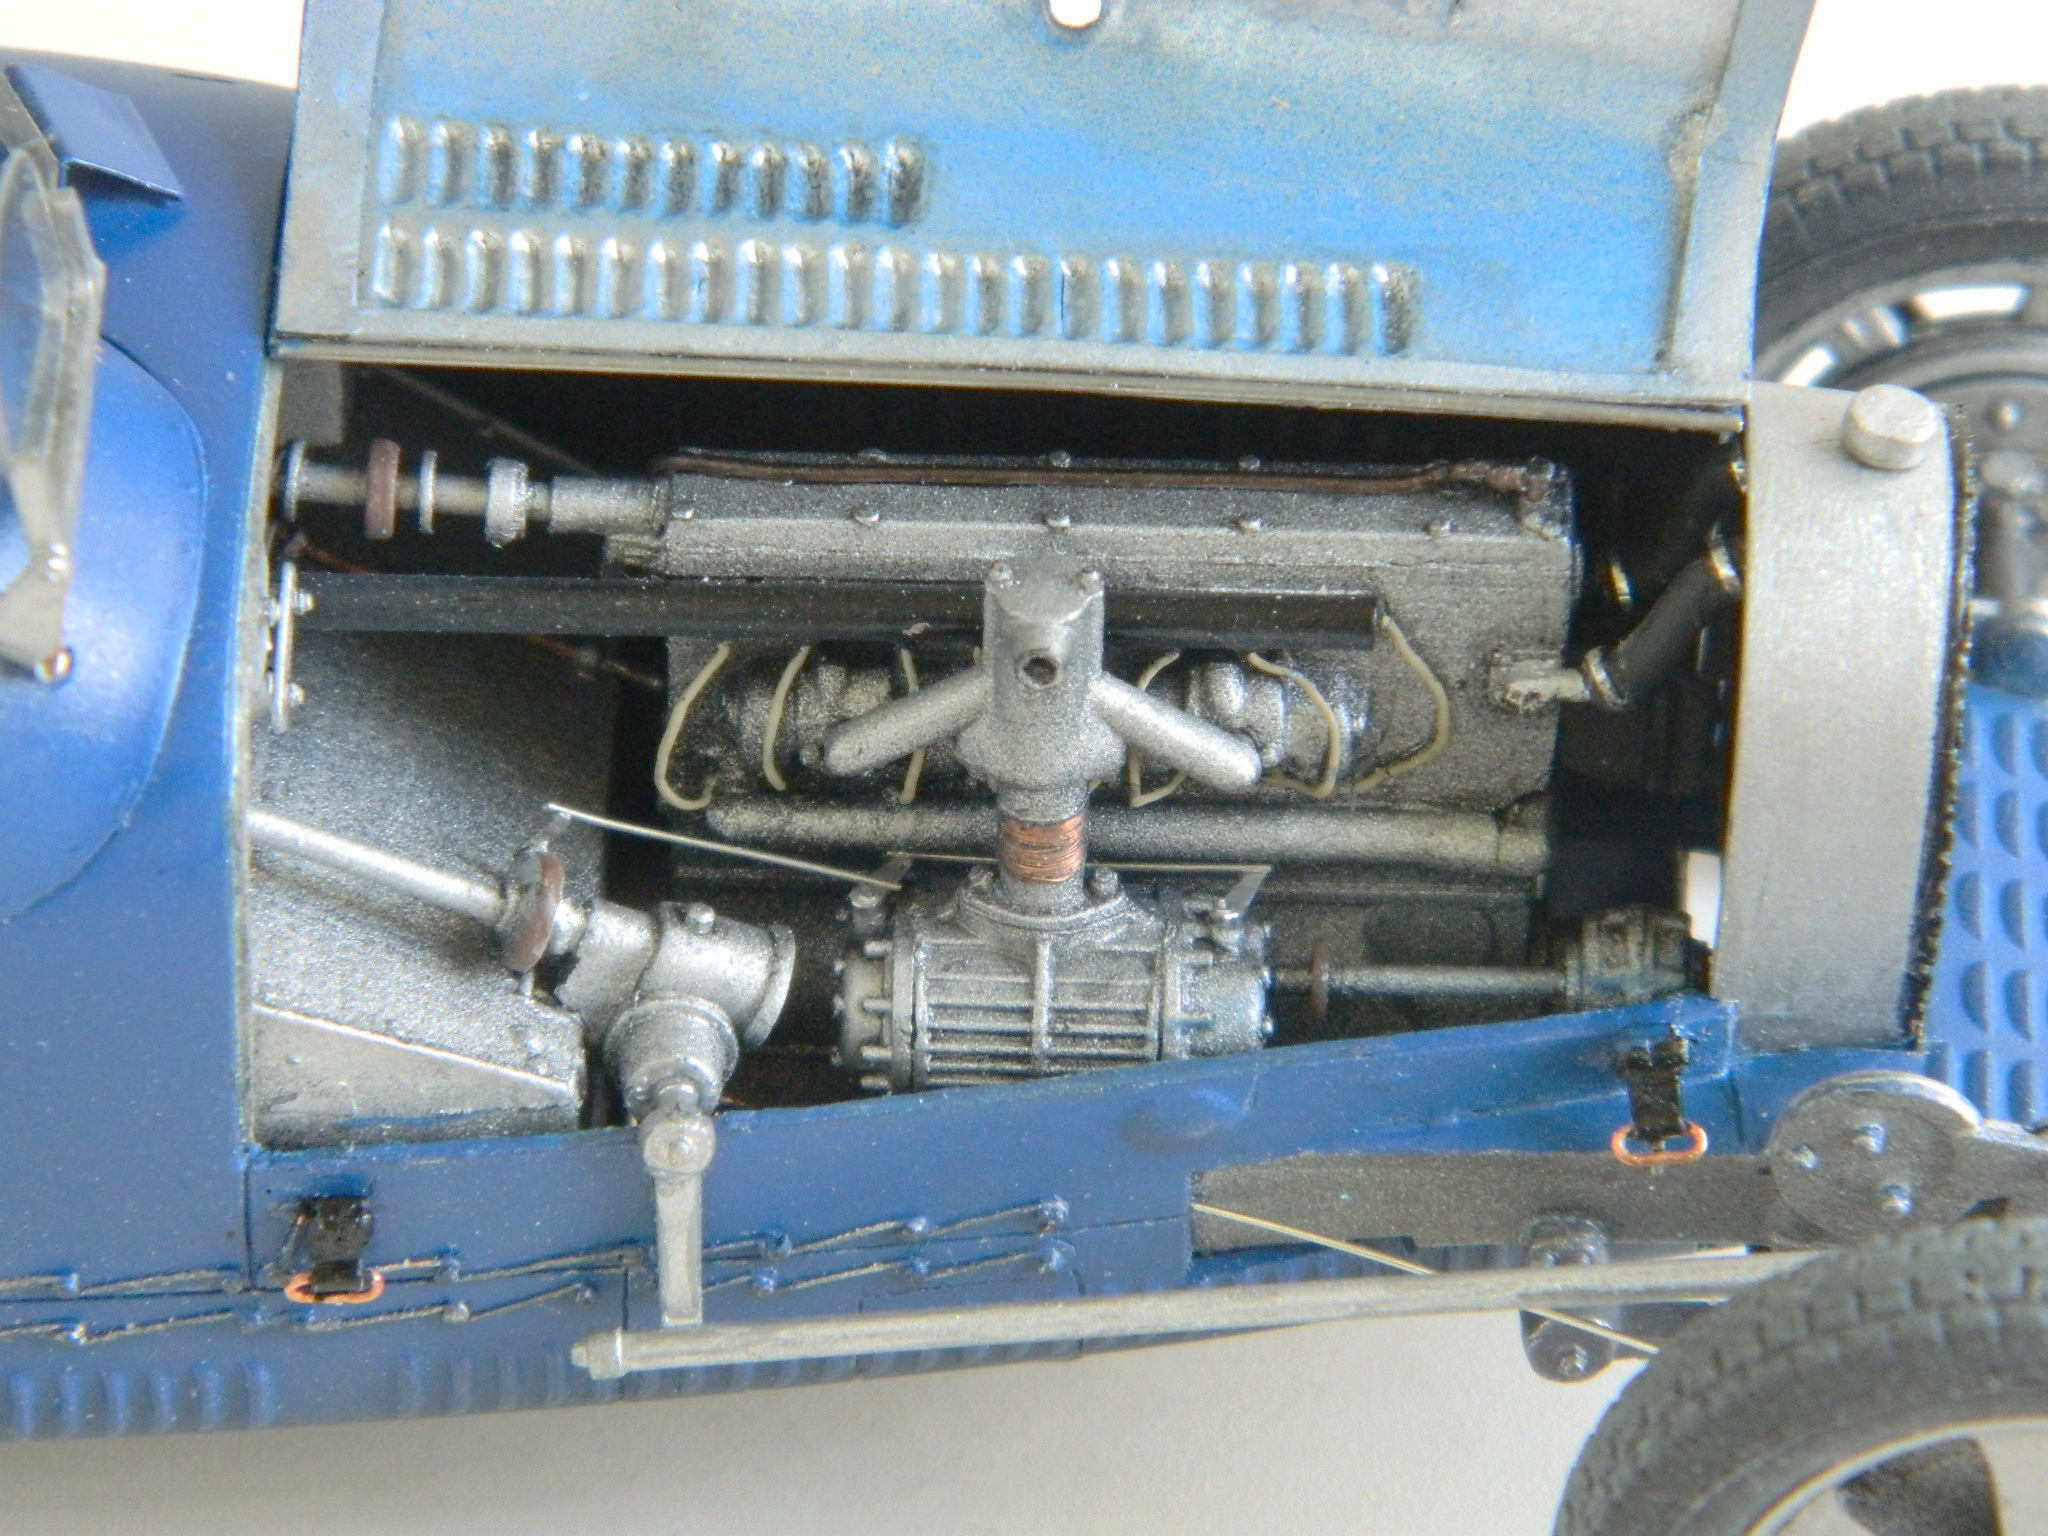
The scribing was…well…scribing and I did my usual poor job of it. This time it didn’t really matter as I intended to sand and file the inner edge to a more accurate curve. That, at least, I could manage. I trimmed away sections of the bottom that I didn’t need, applied glue, and stuck the radiator into a vise to get everything to squidge together firmly. That filled the gap and, minor fitting aside, everything fit as I’d originally intended:


After masking and painting the outside of the radiator, I used a section of 20awg single-strand wire to make better radiator hoses. The insulation was cut off the end of the wire after bending it to the desired shape and then I used Tamiya XF-85 Rubber Black (though one can also use Tamiya XF-69 NATO Black, I like the Rubber Black better) to paint the insulation and then regular aluminum foil as the hose clamps and glued them in place:

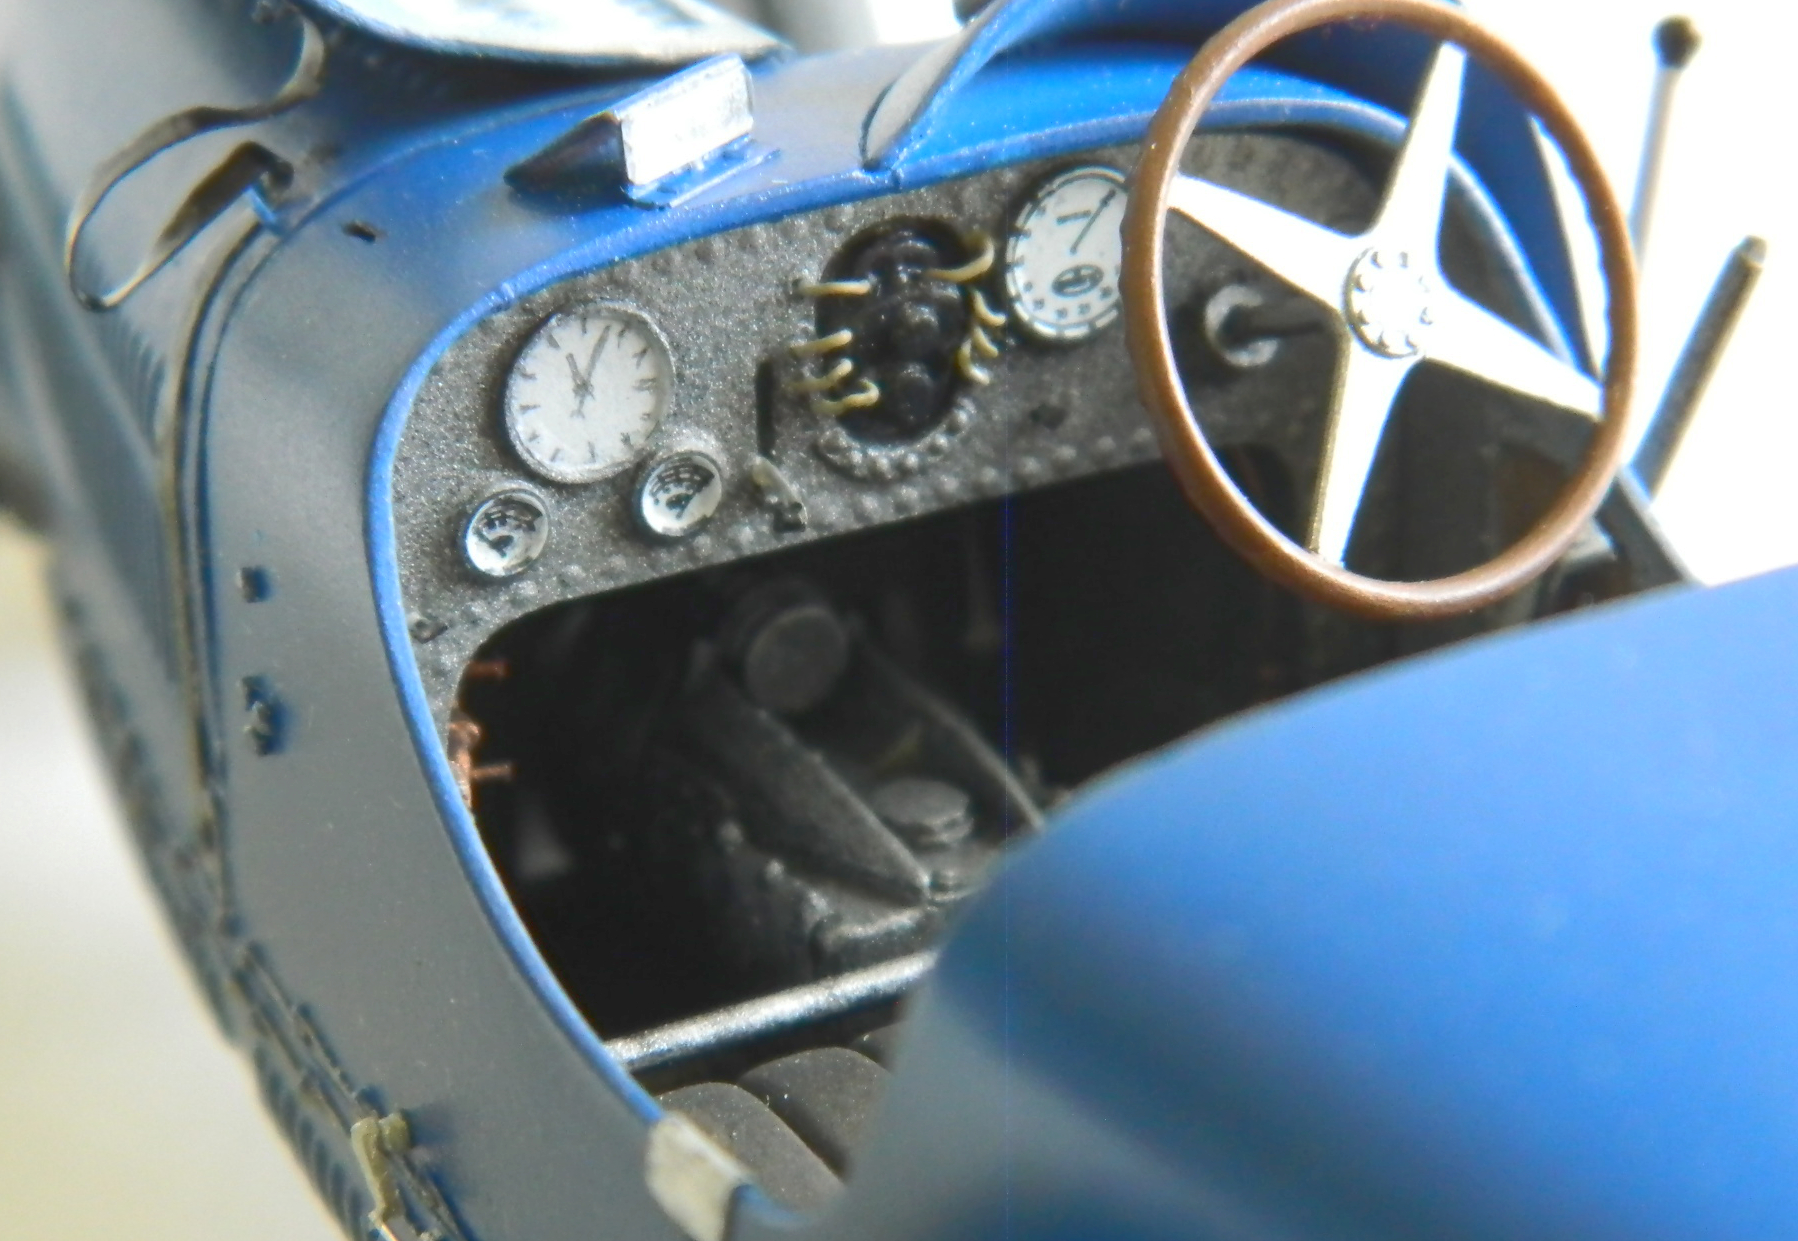
The shifter is located on the outside of the car next to the parking brake. Two flaps of leather fill most of the opening in the body so I painted that. In the photo it shows I also painted the surround aluminum but when I looked at reference photos I saw that I should not have so that was rectified after the photo was taken:

I dry-fitted the engine covers to see how the preshading worked…and it did what I’d hoped for:


I did some touch-up painting on the interior where blue paint has sneaked past the mask and where the mask pulled up a little paint from the seat. I masked the interior and engine area again so that I could throw a coat or two of Tamiya X-35 Semi-Gloss Clear over it. (I’m not modeling a restored classic, all smooth bodied with gloss paint…I’m after a period racer.):

Yeah…that’s the look I wanted. I liked it so much, I glued the front axle assembly in place:


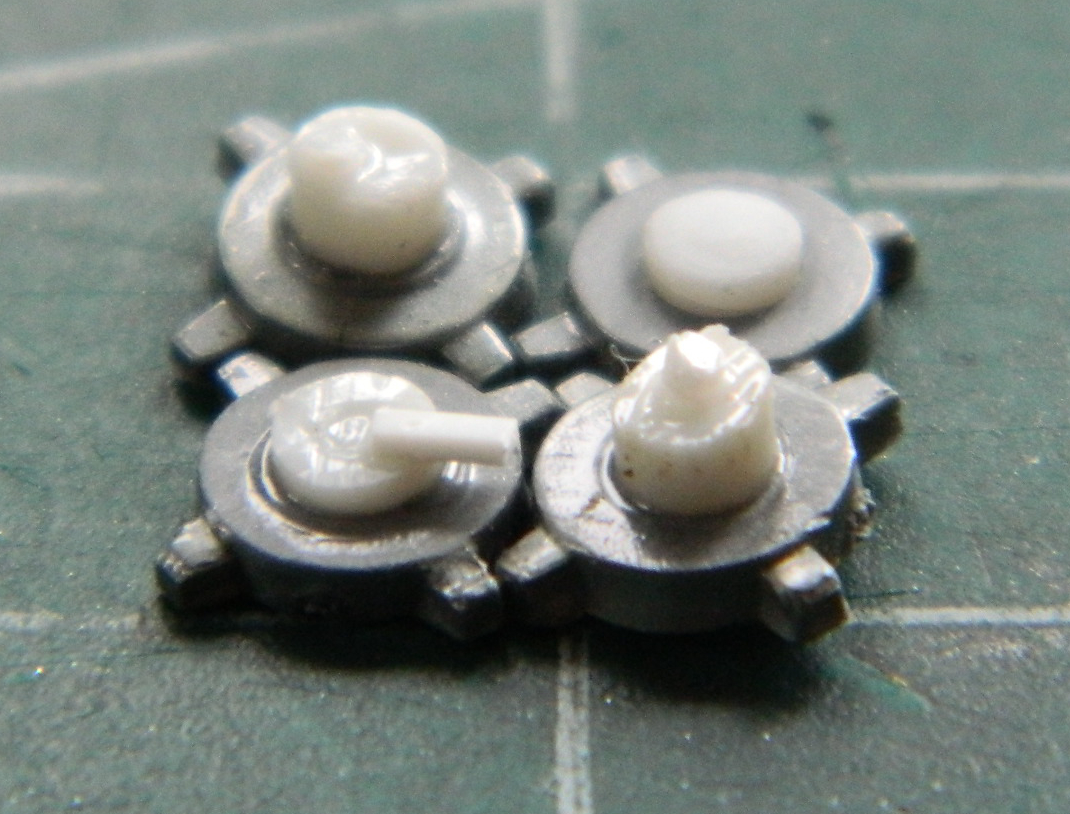
The spinners held the wheels on in place of lug-nuts, so obviously they’re separate parts. The kit molded them with a radius where they meet instead of a sharp angle. That needs to be addressed (the holes are the first step):

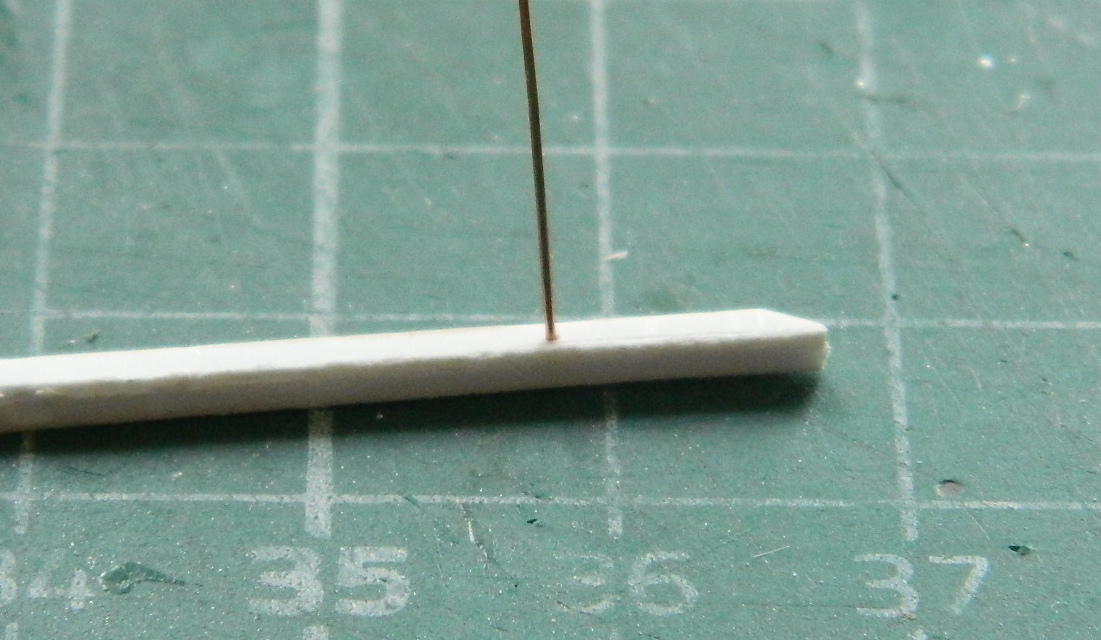
After using a rat tail file to open the drilled hole, I used .093″ (2.36mm) tube to fill it and then added .062″ (1.57mm) rod to fill the hole in the tubing:


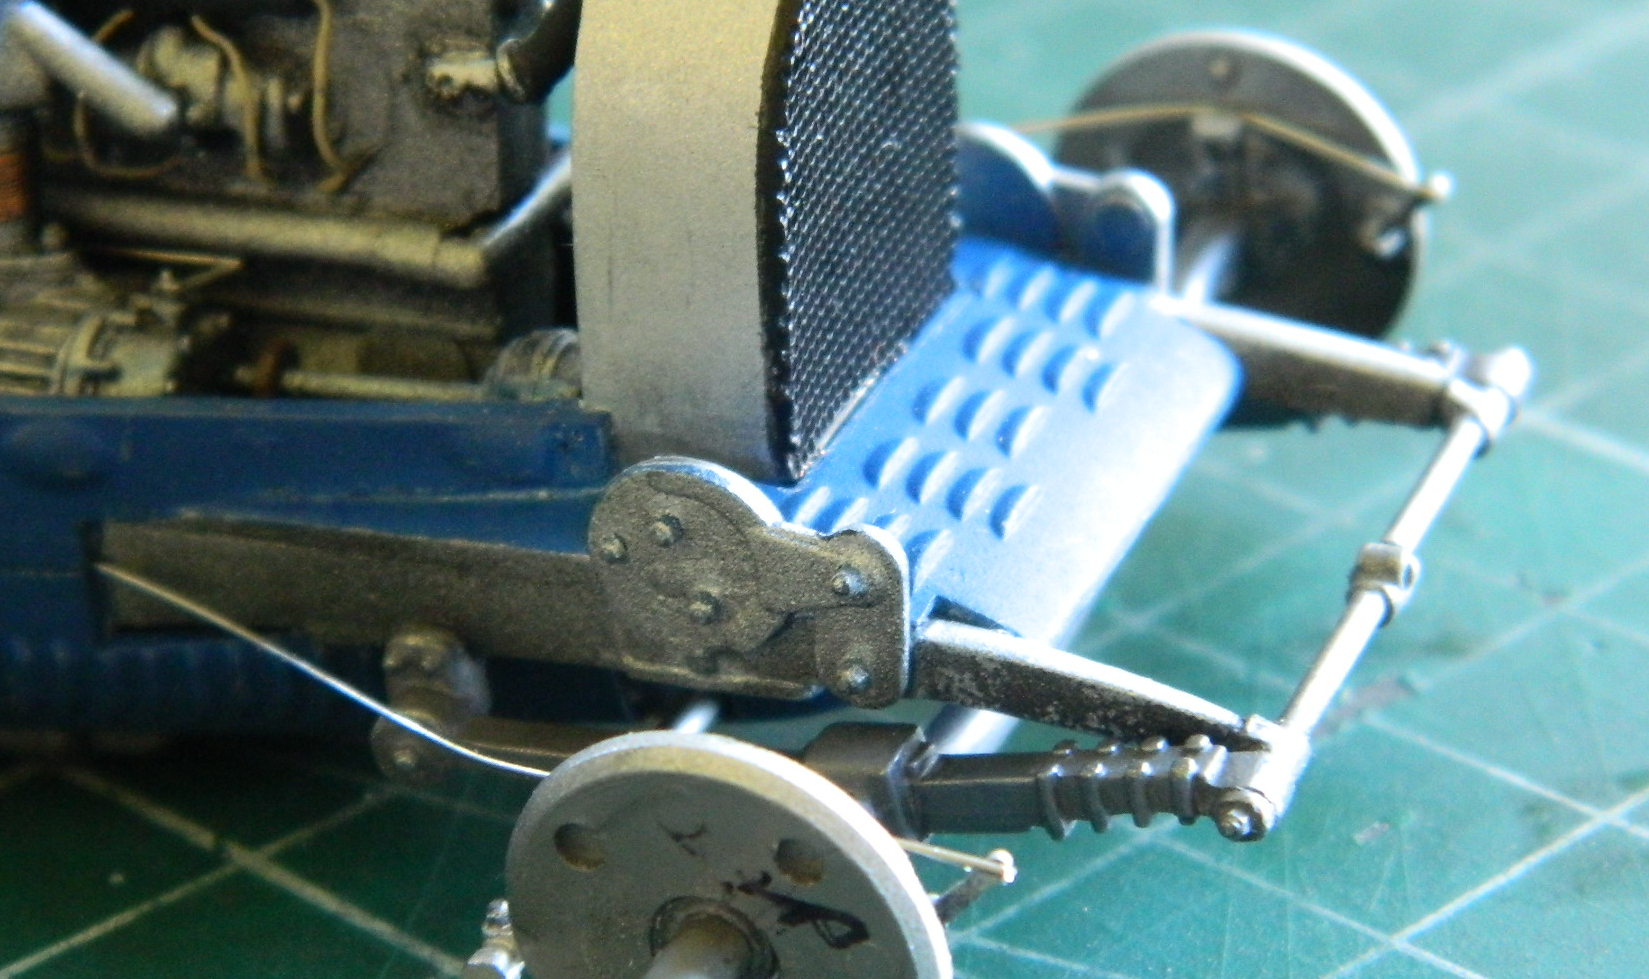
While the glue was curing, I dry-fitted the steering arm and realized that its mounting point didn’t quite reach where it had to. I added some scrap styrene to fix that:

Trimmed them down a bit, added a scrap of styrene where I’d gouged one, and started filing and sanding them down. Then I drilled the centers in back of the spinners to fit the axle stubs:

With the front axle in place, I ran wire to replicate the brake cables:
The next logical thing to add is the front wheels/tires. I’d slipped the rear wheels/tires on to see how it sat. Poorly:
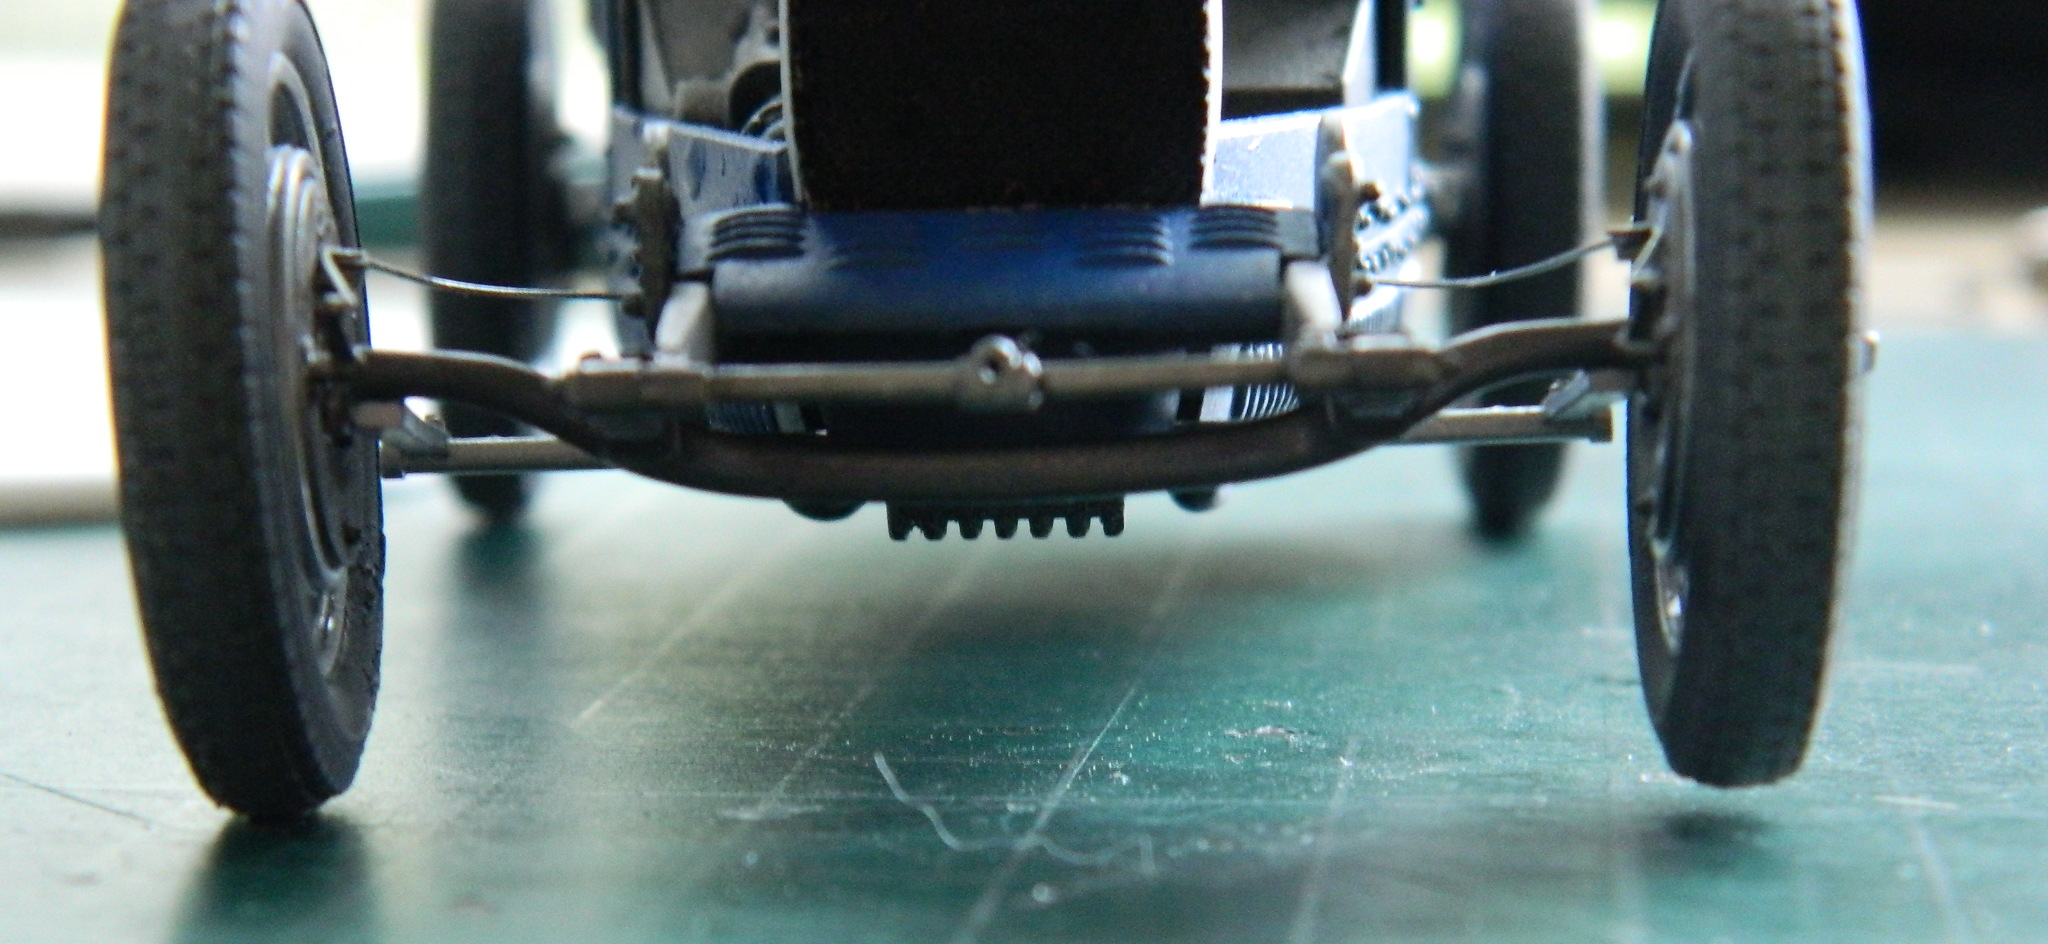
Considering how many times the frame broke (three…just on this one, that is) and the front axle assembly broke (twice), I wasn’t surprised that one of the tires didn’t touch the surface. To untwist the frame I added a styrene block to the right rear which did the trick and now all four tires touch:
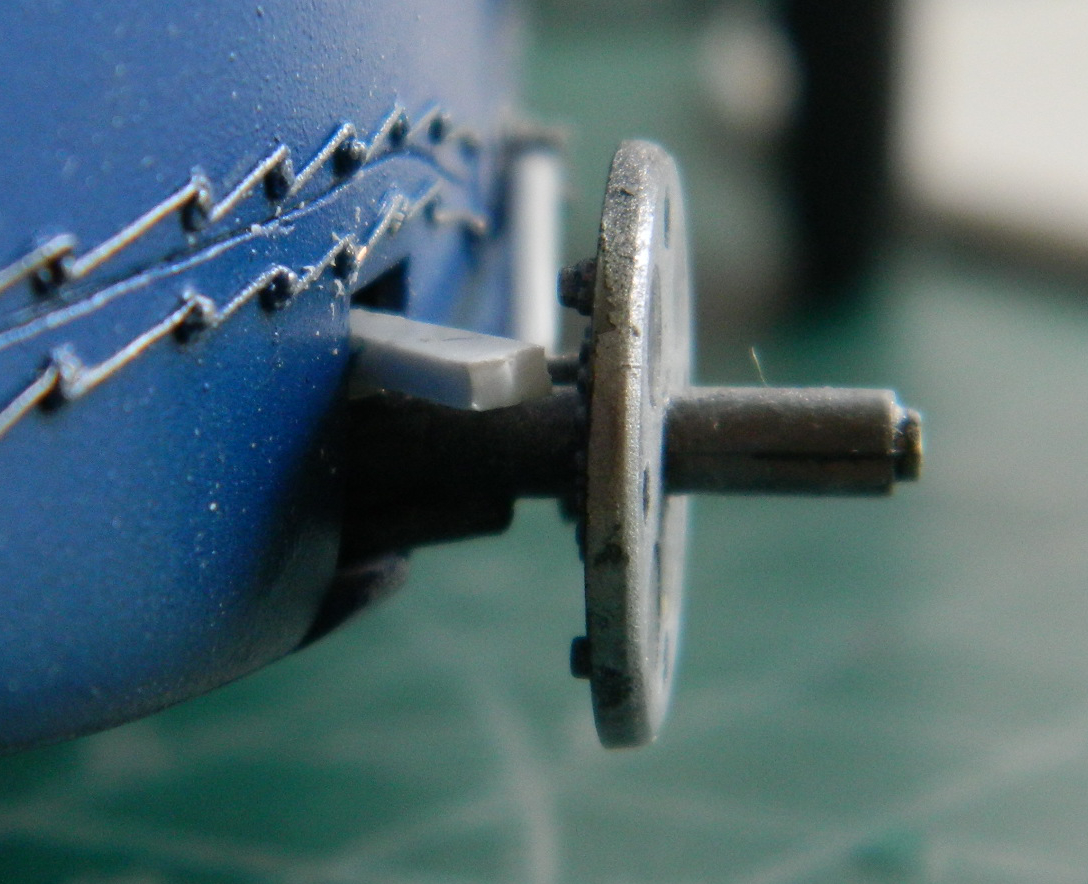
Once the glue cured overnight, I cut most of the stub off and then recessed what was left. A quick coat of flat black paint and though that block is in there, it can’t be seen.
One of the things I forgot to add earlier was the cleats that hold the leather hood straps located, so I used a set of resin castings from Tiger Model Direct (intended for 1/35 armor, but they’re the perfect size, so why not?):
I added both rear axle braces, rear brake cables, shifter, and parking brake…and didn’t take a single photo. Oops.
The cleats were painted and then I broke out the lead foil and started making the hood straps:
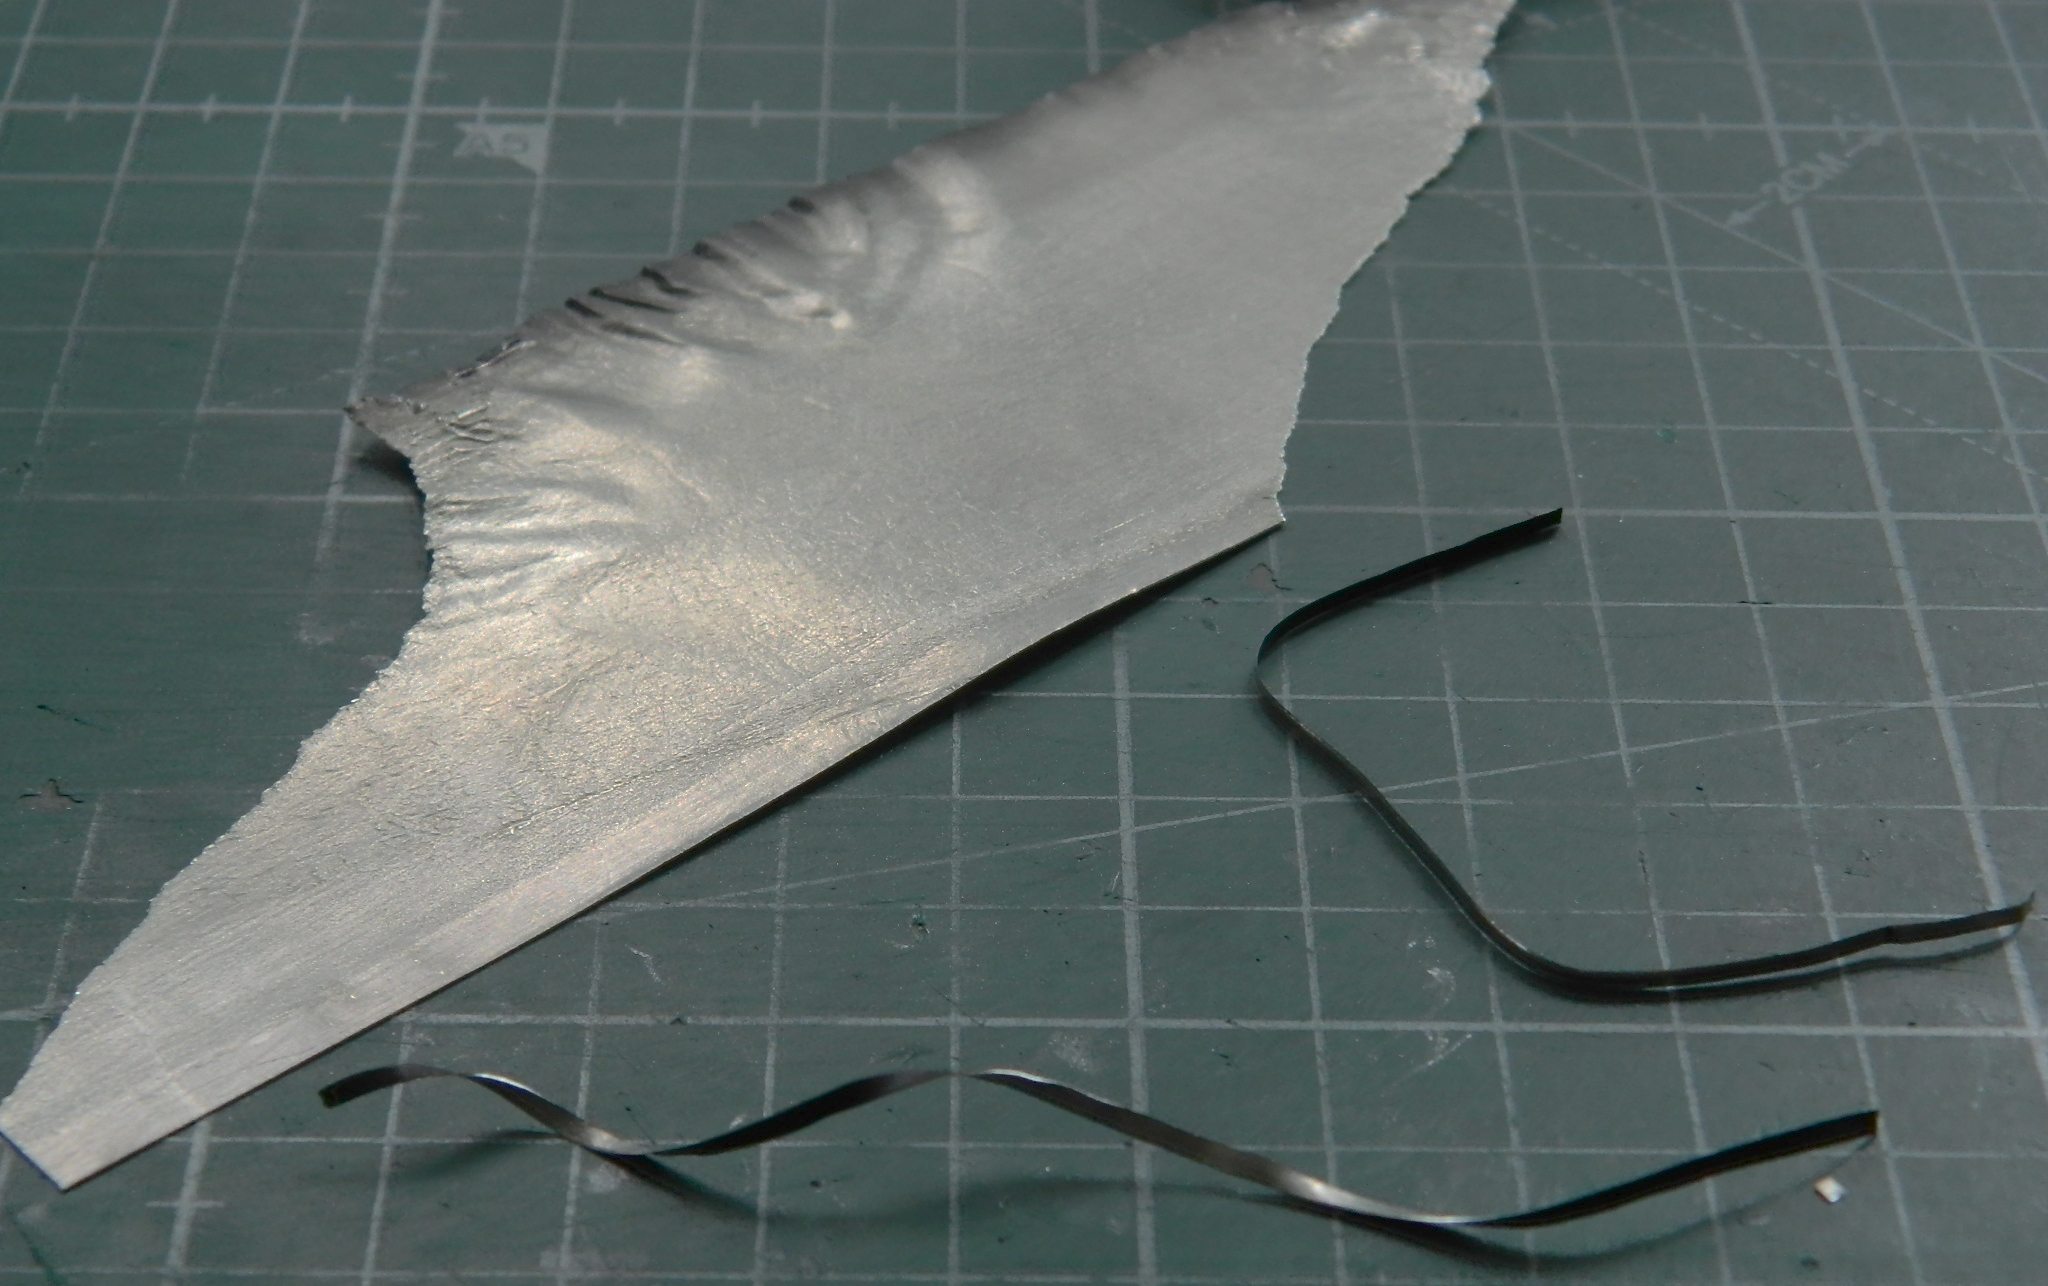
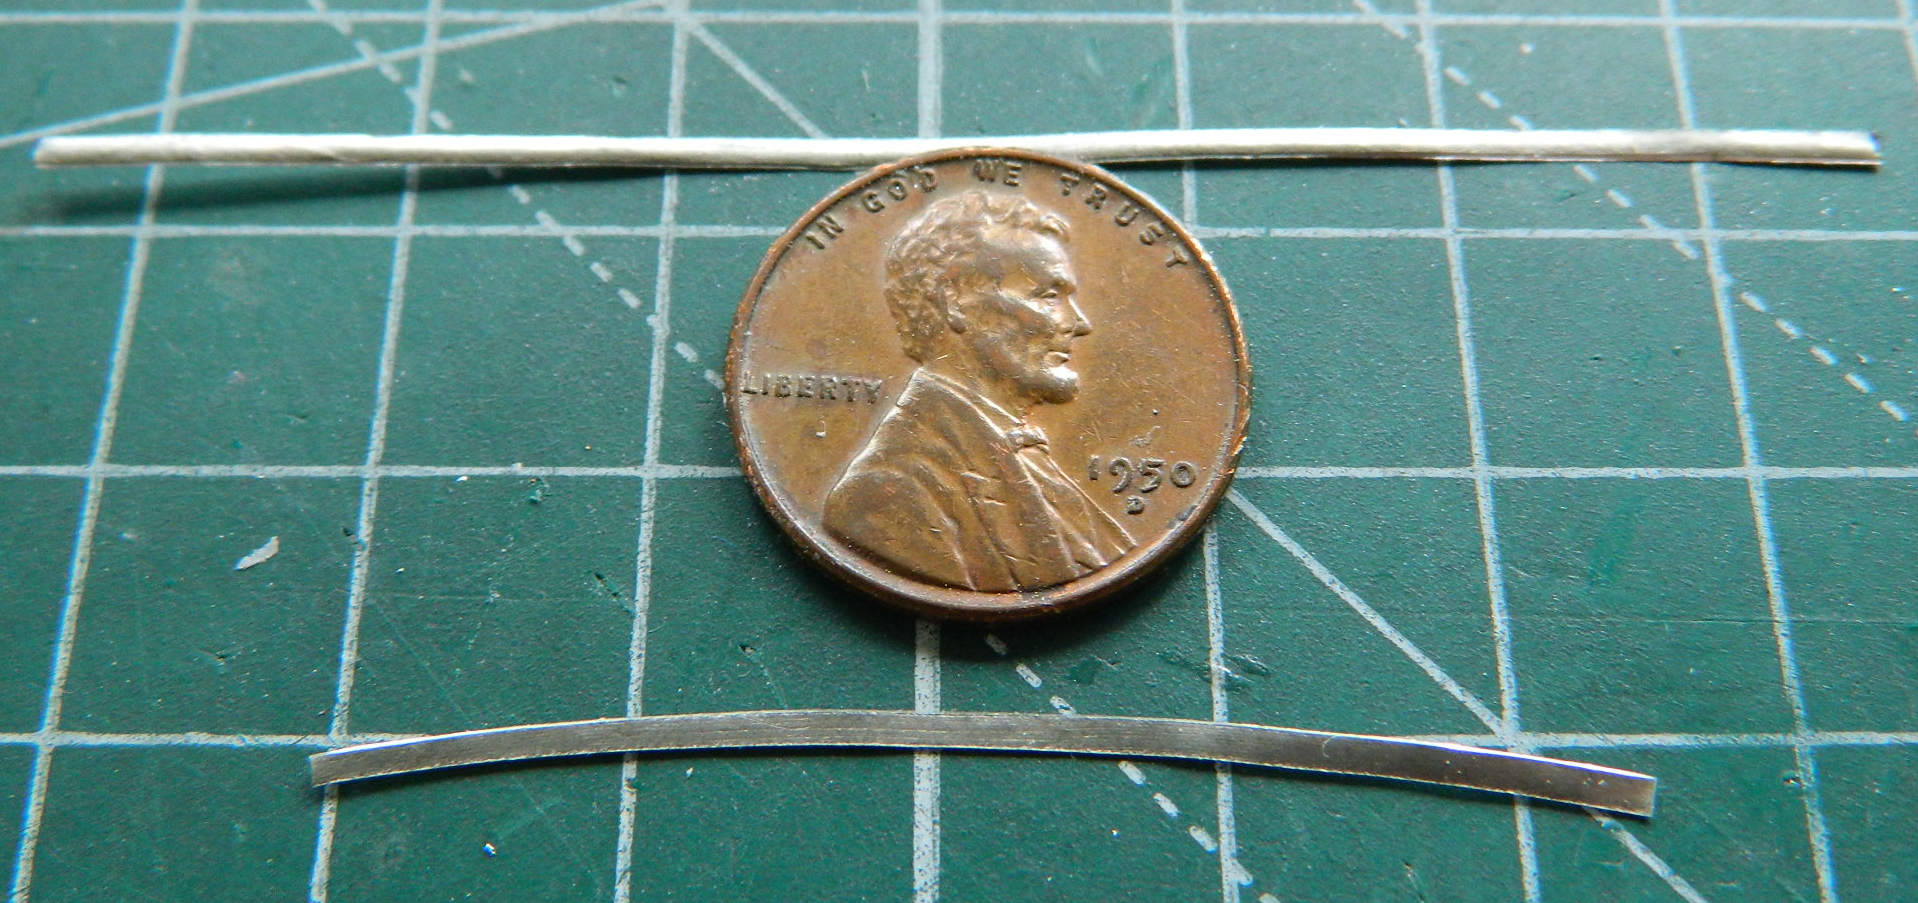
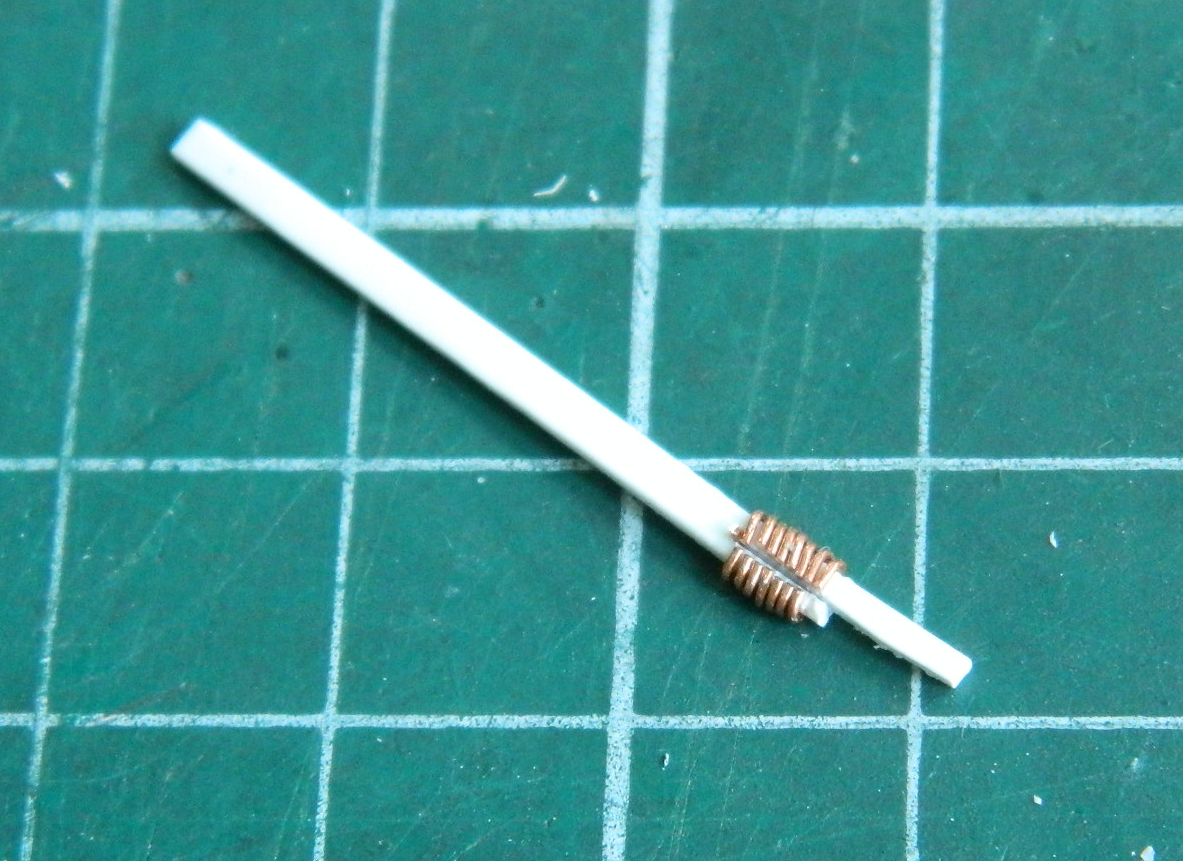
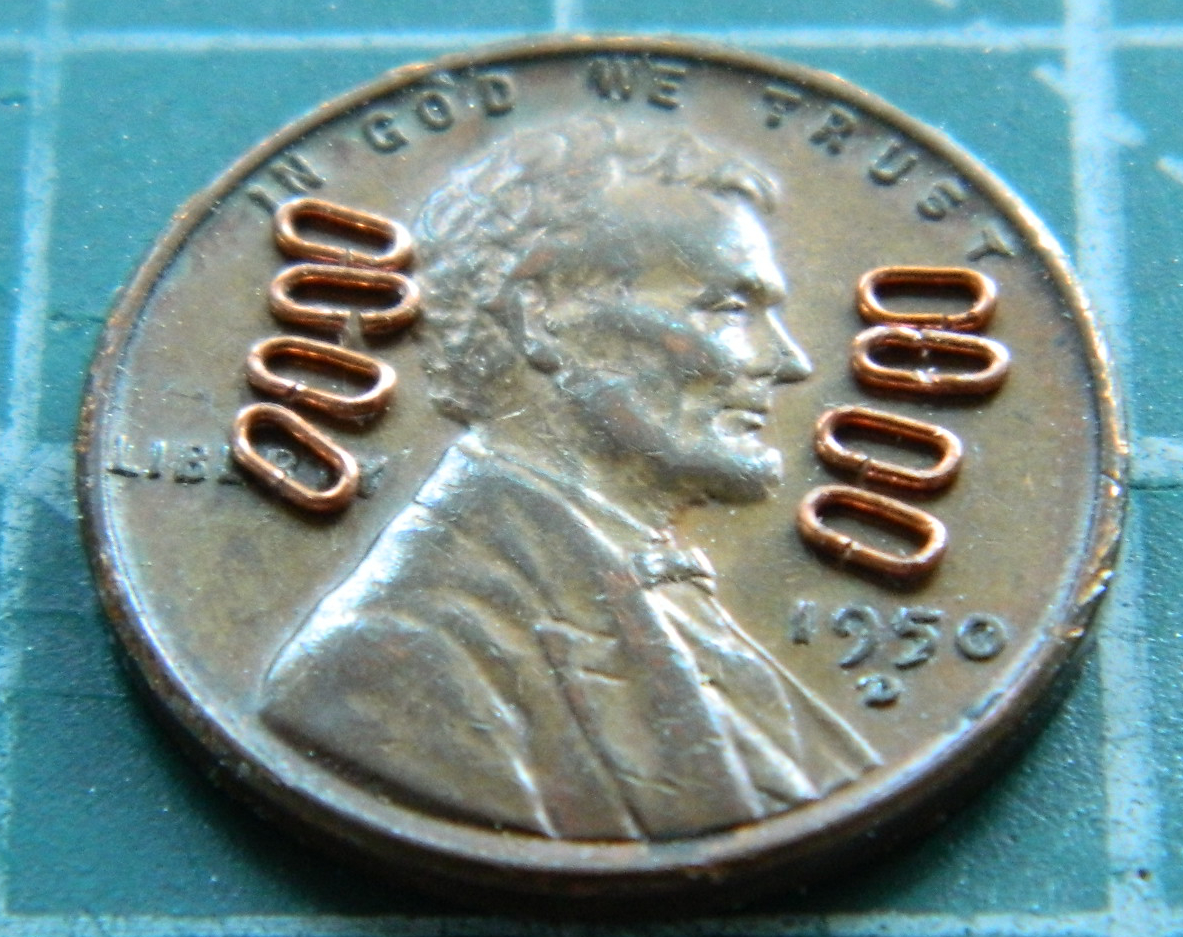
With those made I had the dimensions to start making buckles. The first set was too large so I made a mandrel (scrap styrene) and turned out another eight of them (I only needed two so I got to choose the pair closest to each other in size):


I have a bunch of later photos on my phone. Unfortunately, something went sideways and they’re all blurry enough to be useless. What I can’t show you is the absoLUTE fun I had feeding the lead strips through the PROFOUNDLY DELICATE cleats. I surprised myself when only one of them broke. I surprised myself even more by fixing it. The steering arm was added, the exhaust system installed, the engine covers glued on, the lead painted semi-gloss black, and then final paint touch-ups commenced.
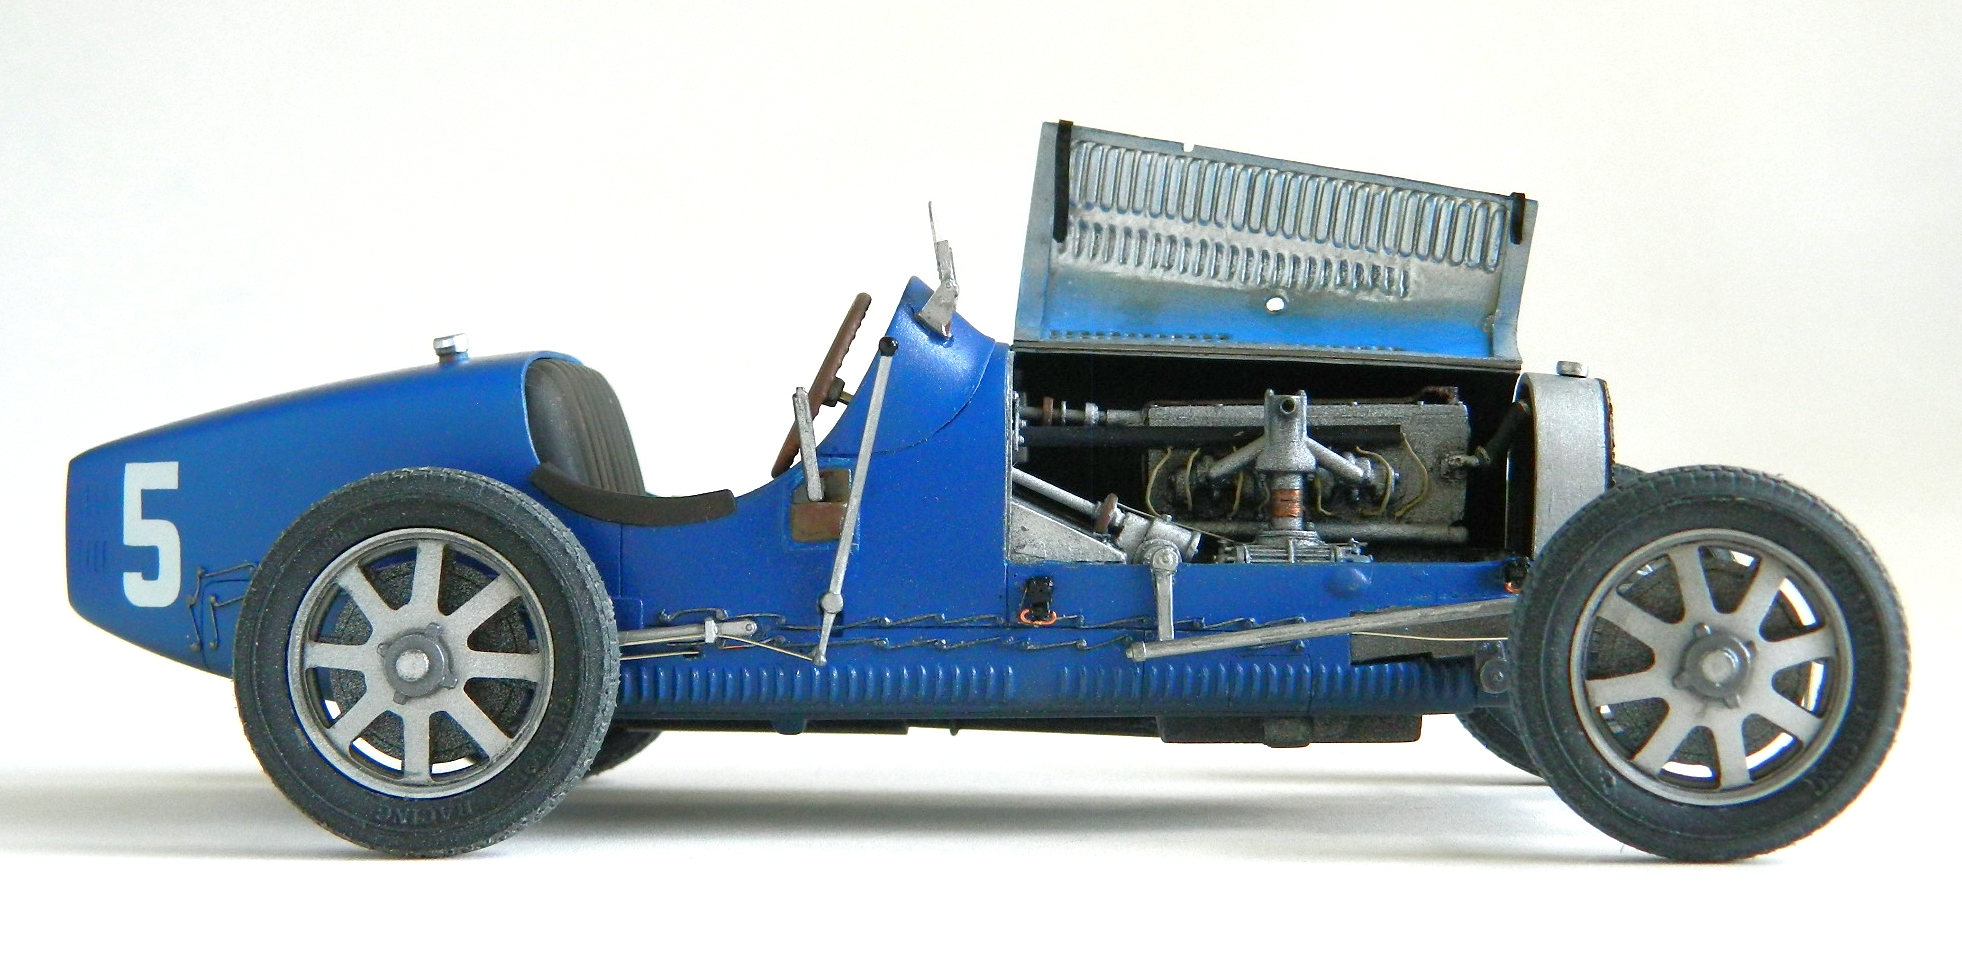
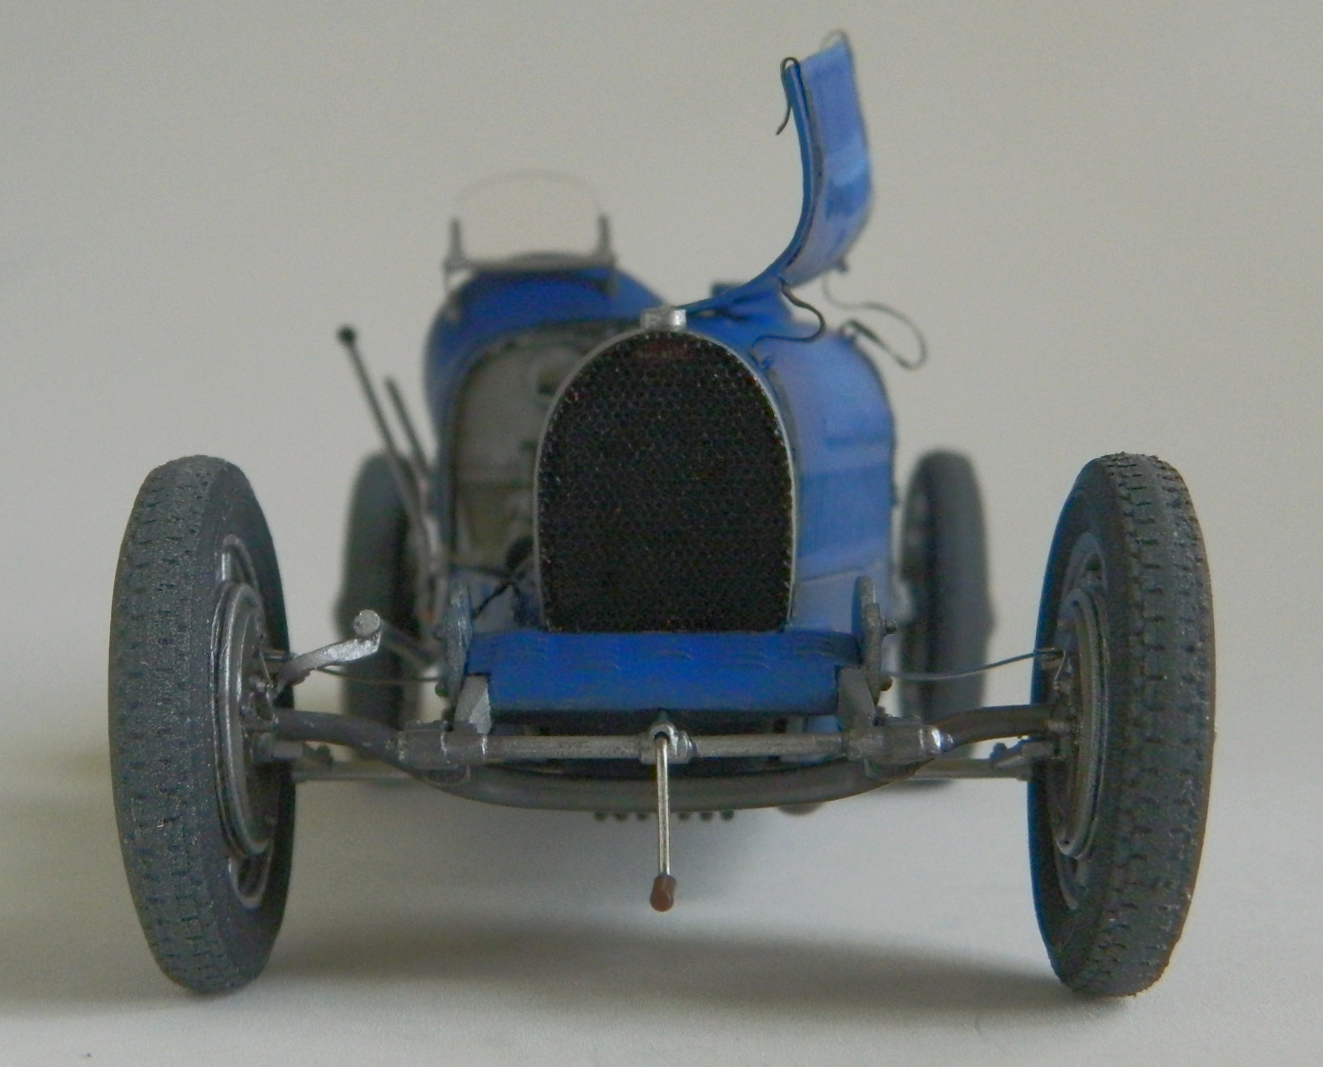
And then it was done:


Wow – well done with that hood fix! Good thinking and execution and proper model building!
LikeLike
Thanks! Though if there had been a video of my initial reaction the soundtrack would have been about ten minutes of bleeping.
LikeLike
How the heck did you attach the front axle assembly? I cannot get it right.
LikeLike
I’ll drop you an email tomorrow and get into it.
LikeLike