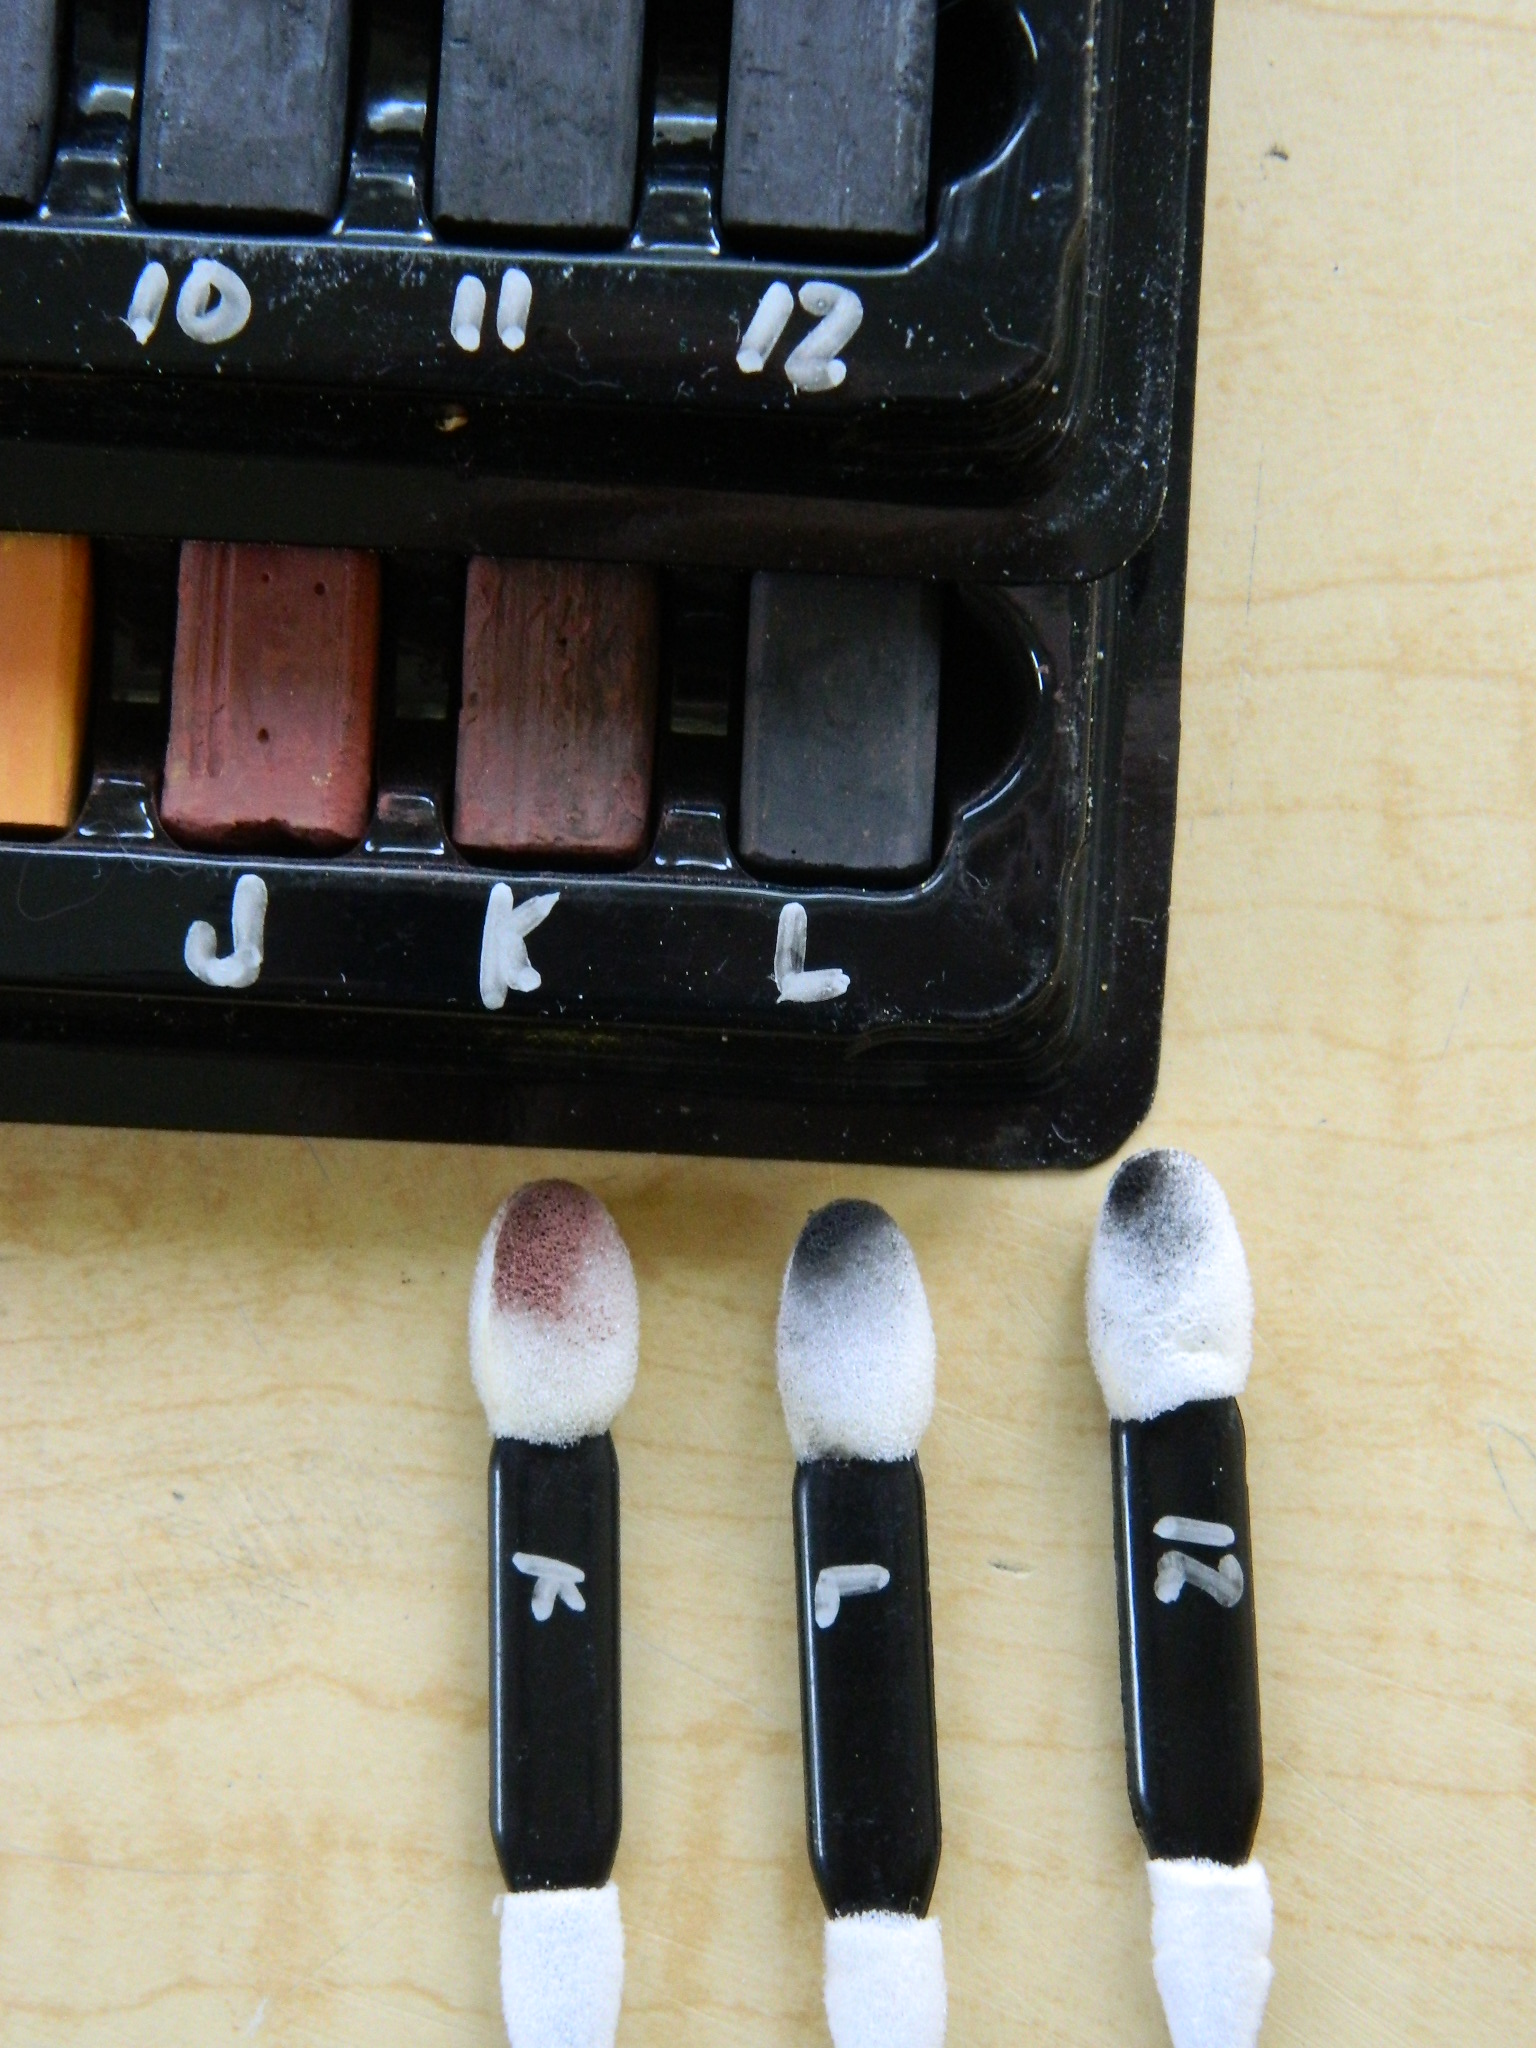
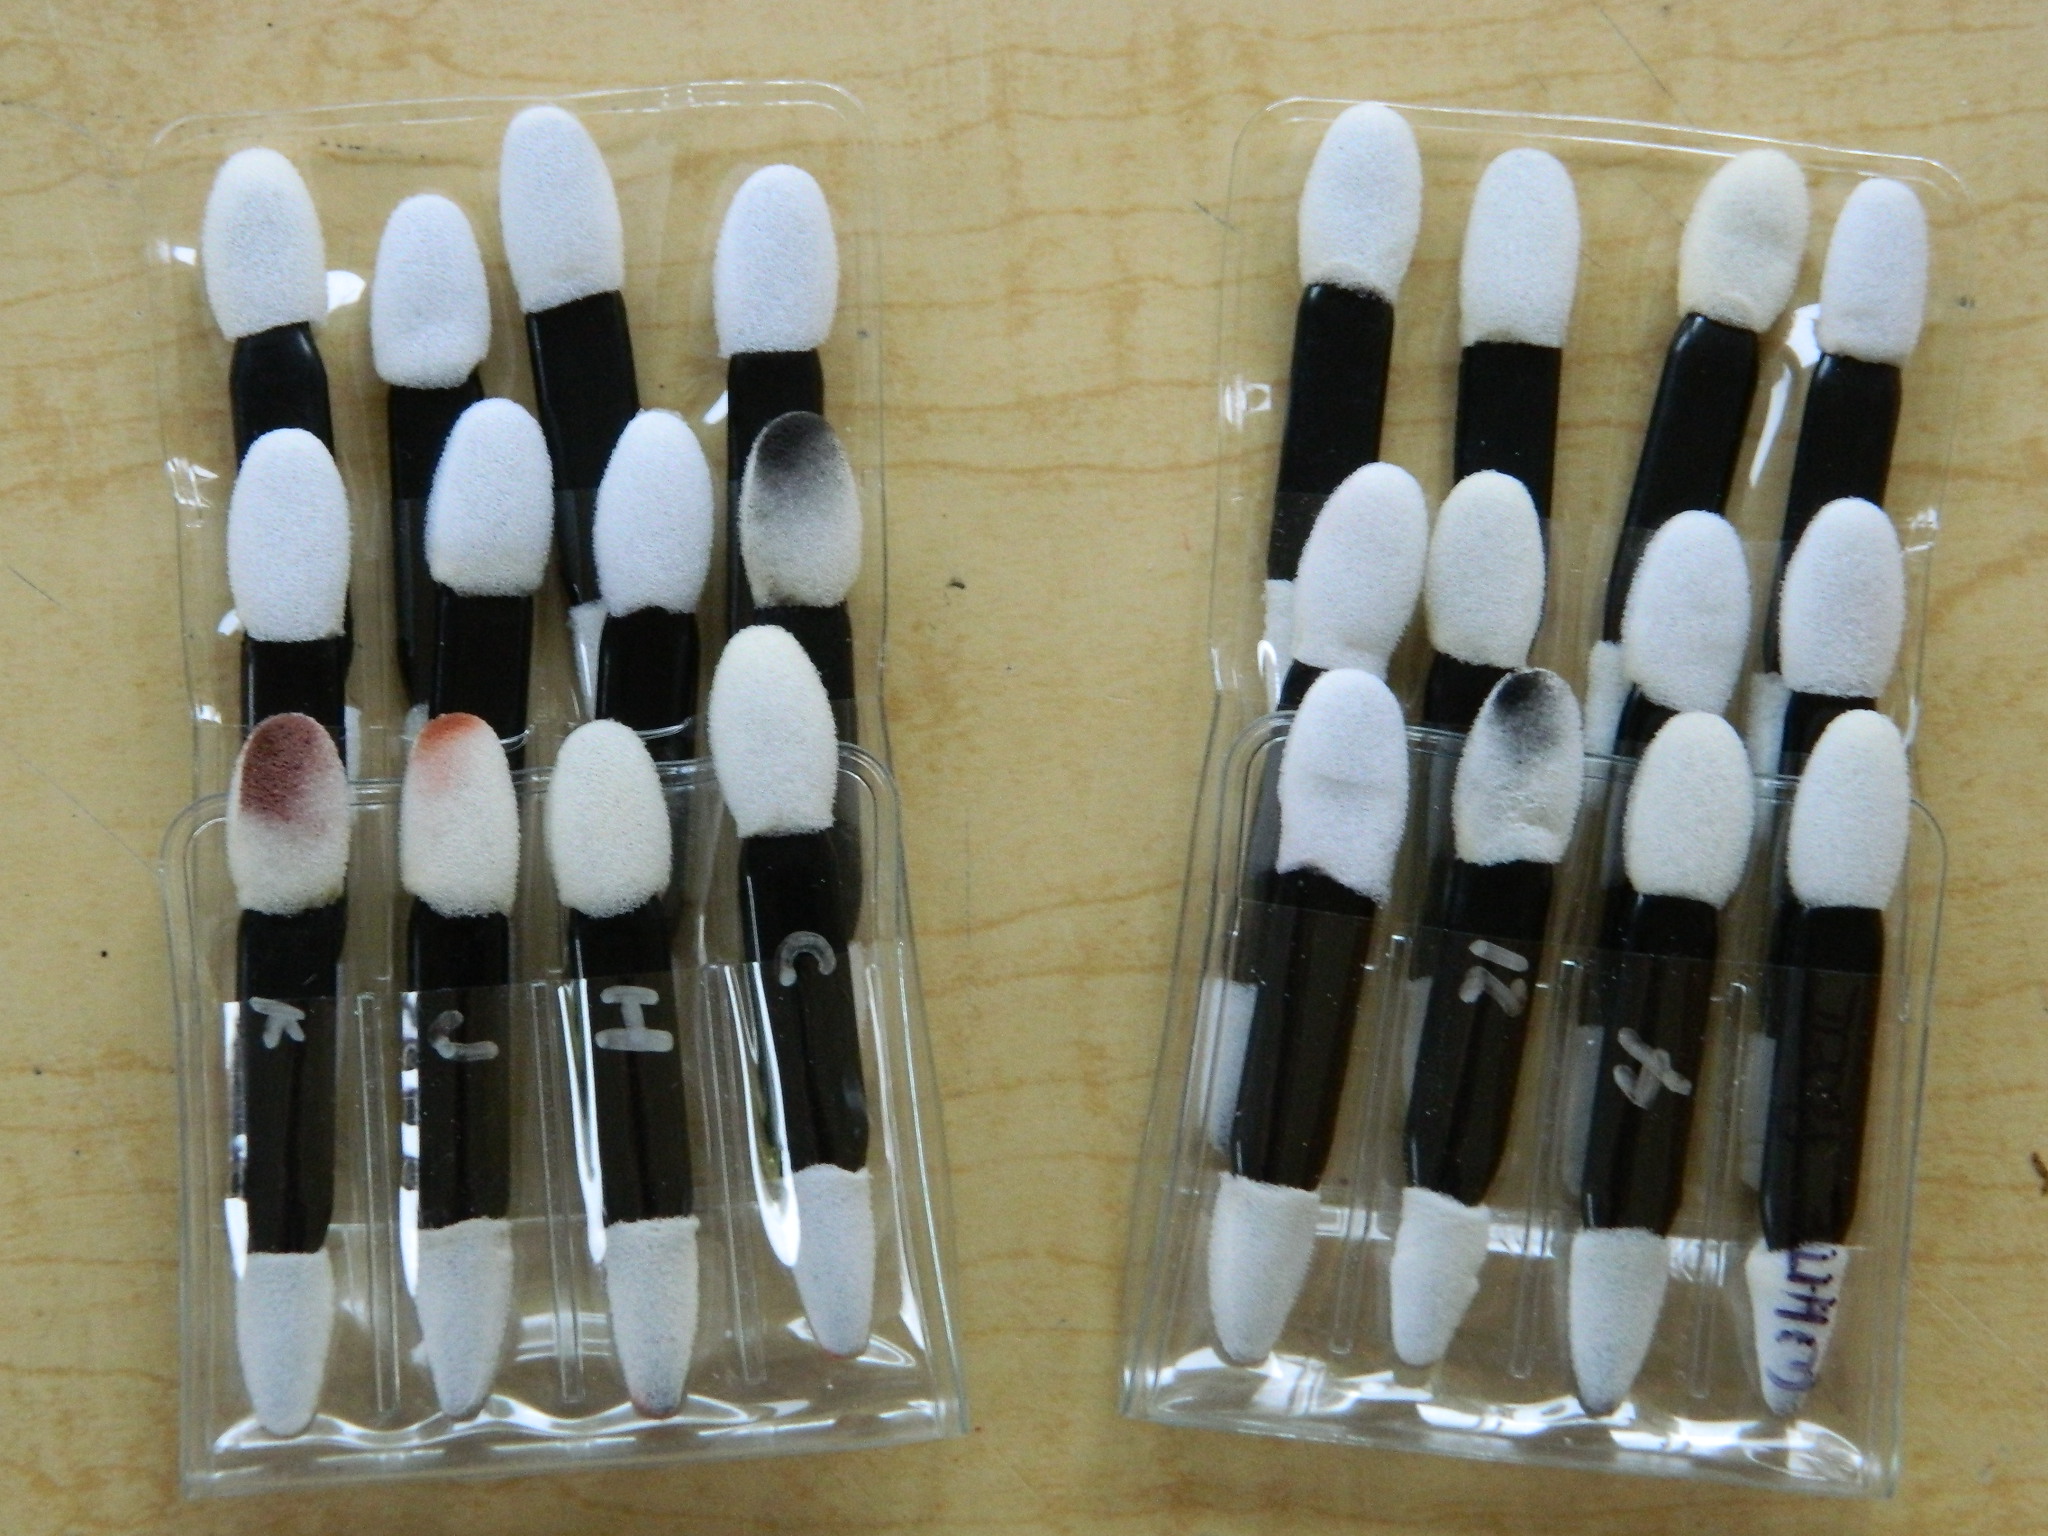
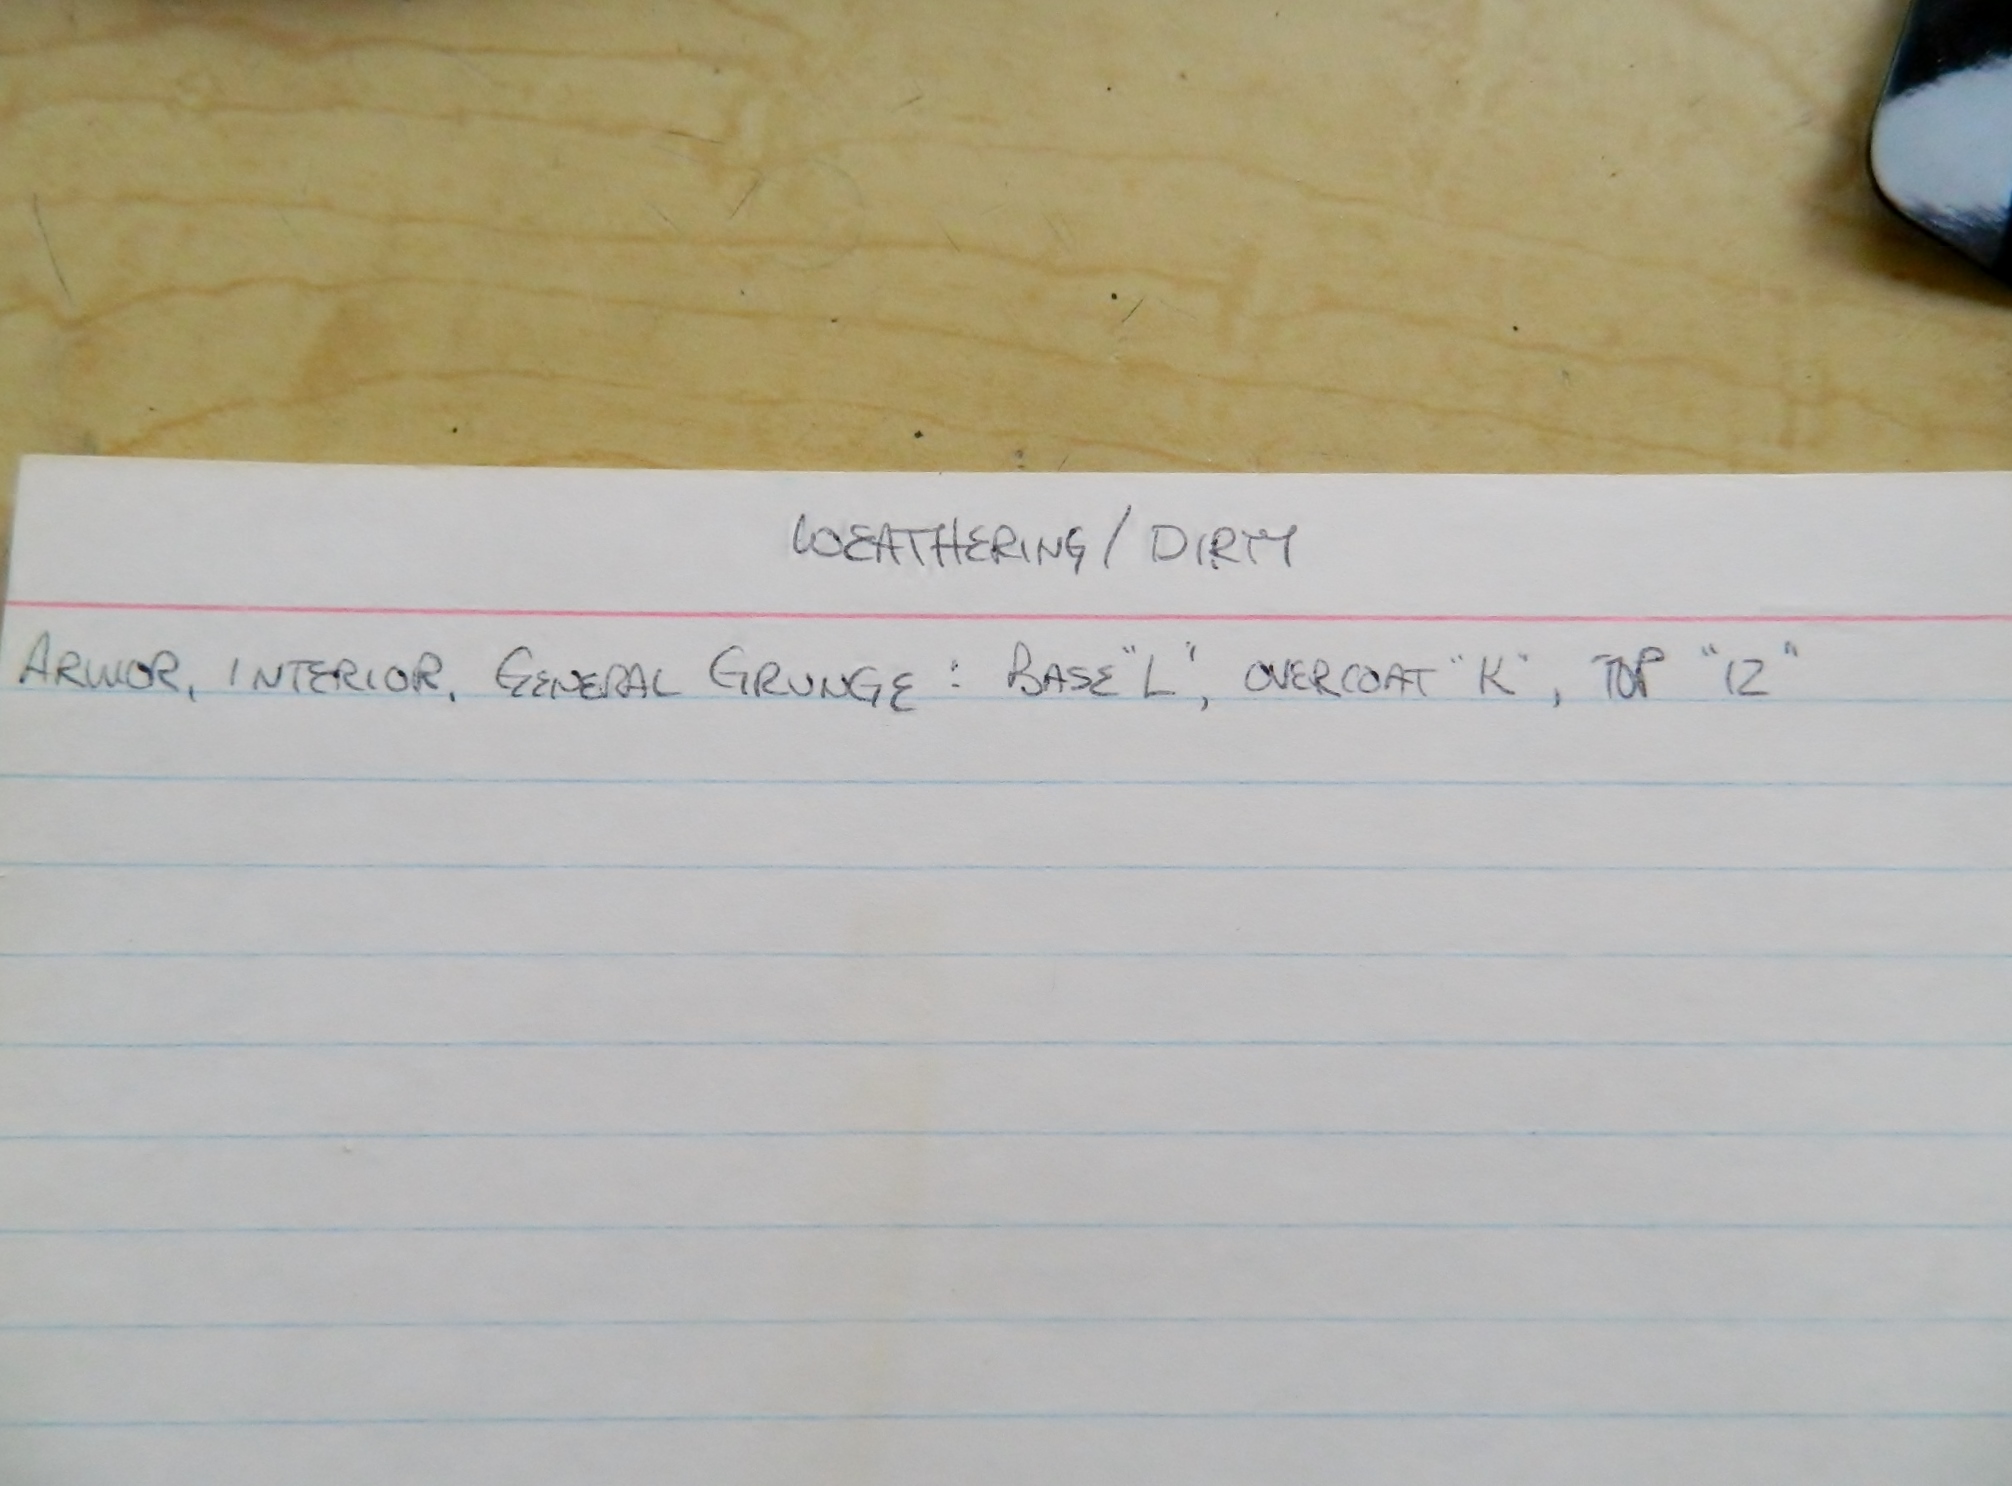
Since I’m looking to model a tank that’s being used, I need to add weathering and wear effects. In my (never) humble opinion, too often modelers get too heavy handed with dry-brushing, washes, and weathering. I’m not trying to model a tank that’s been trashed, just something in use with much more use still in it, so I have to go a bit more subtle with the effects. So that starts with using pastels and sponge make up applicators (and making sure I didn’t mix up applicators on different pastels). I assigned numbers and letters to the pastels so that I can keep track of what I used to create a particular effect in my notes for the next time I want that effect:

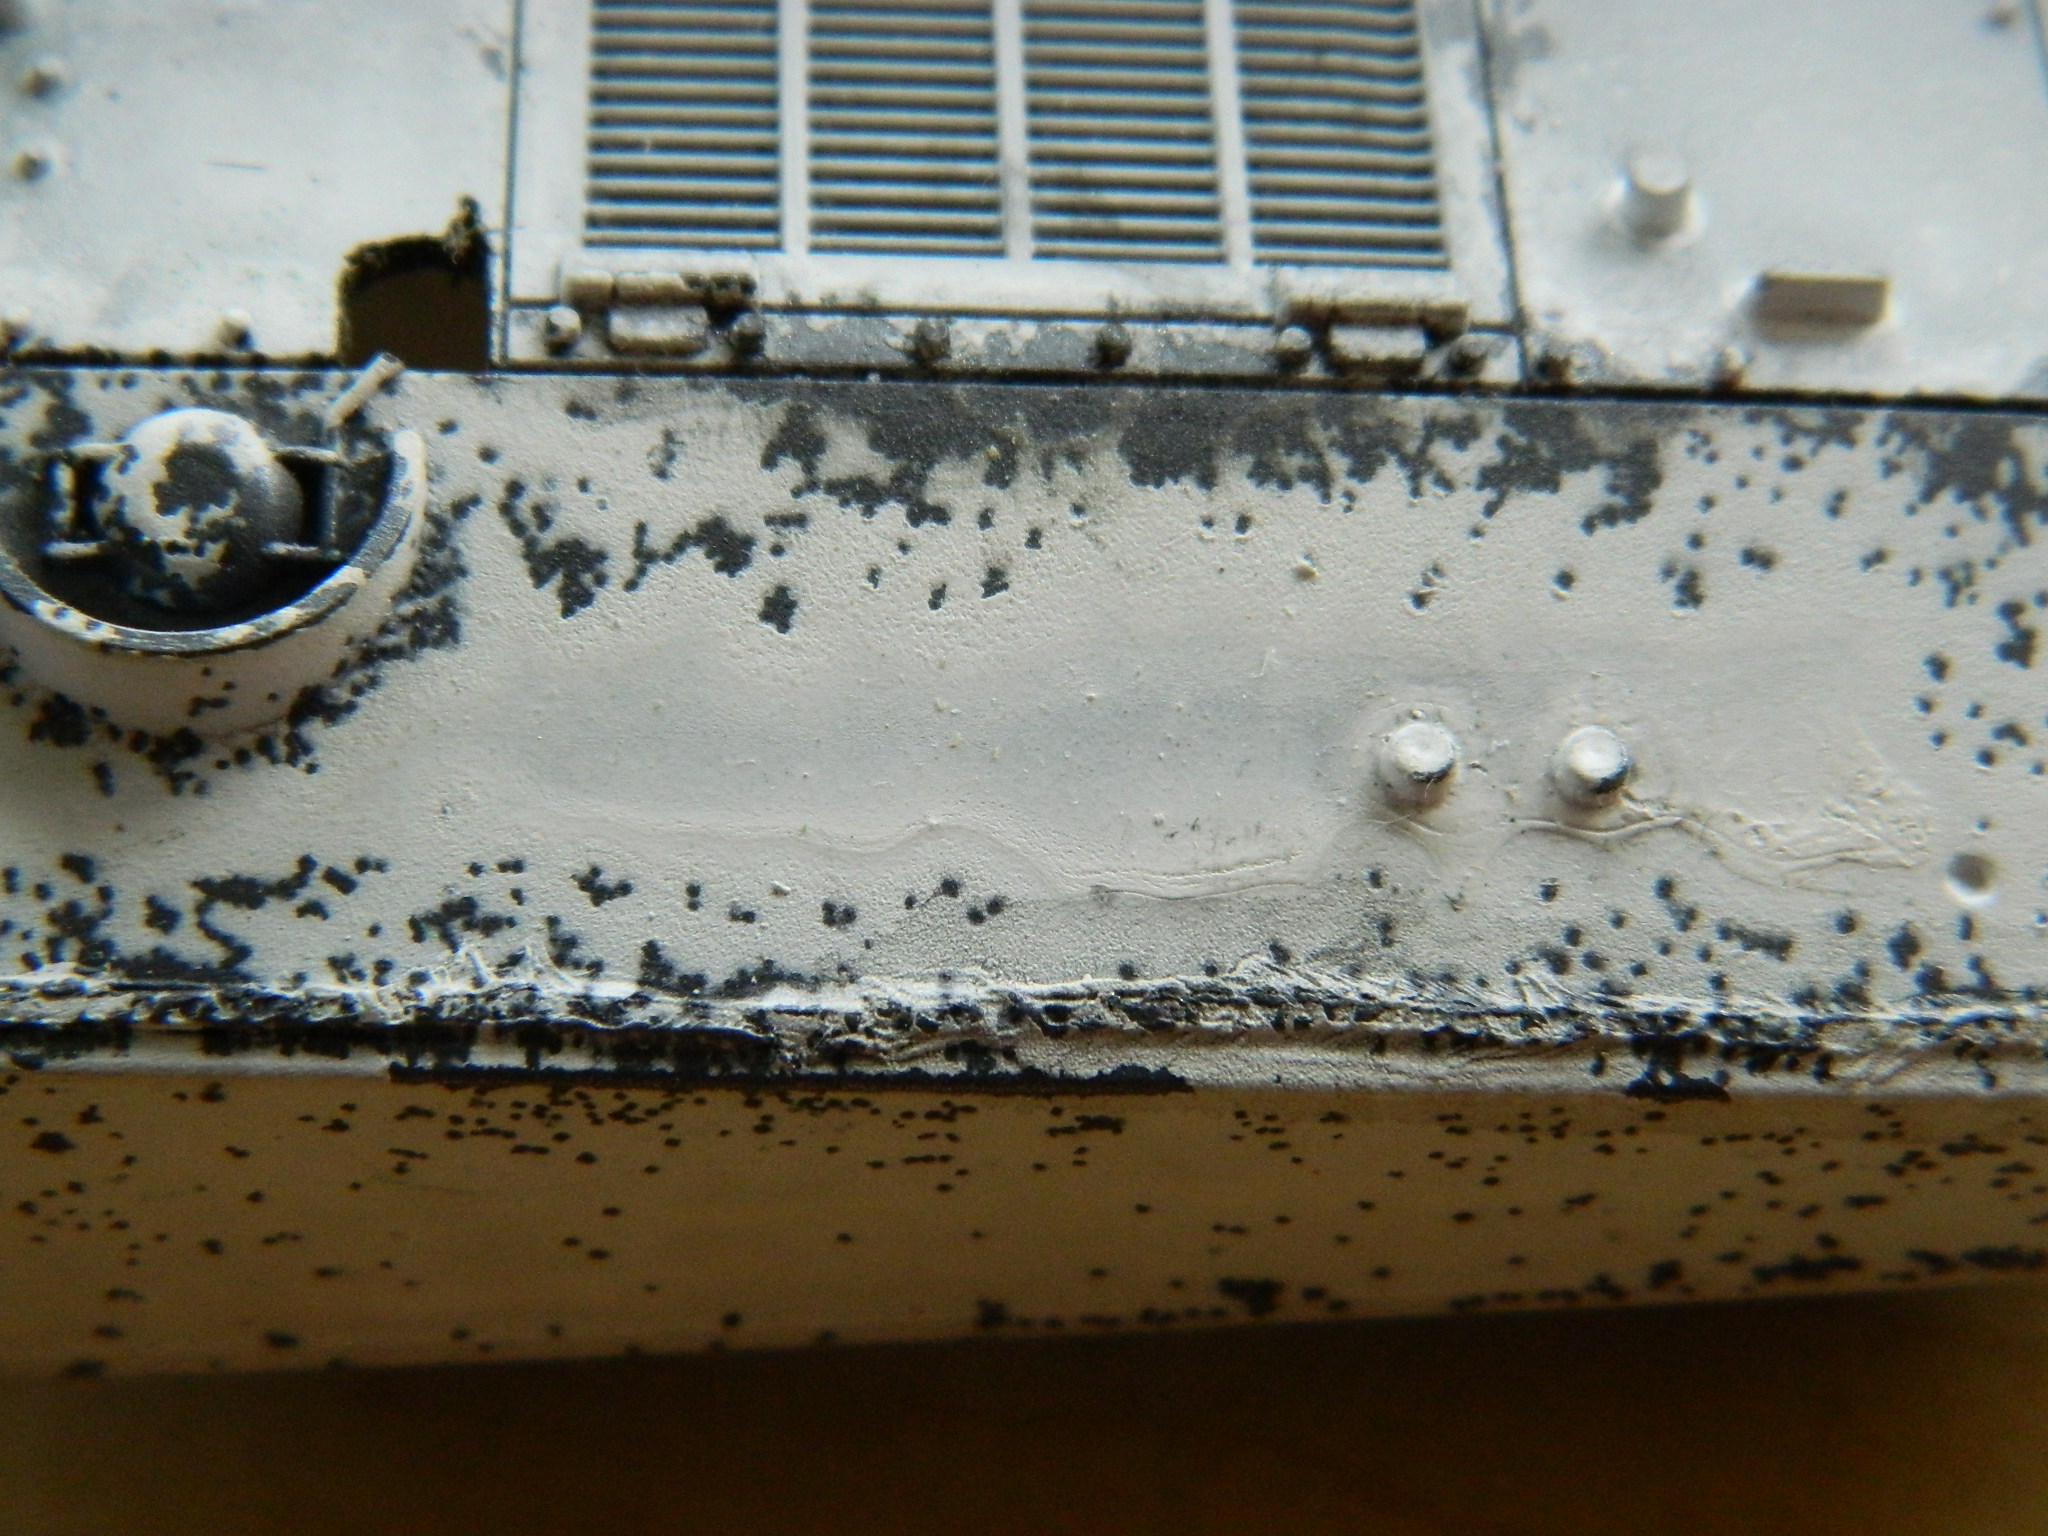
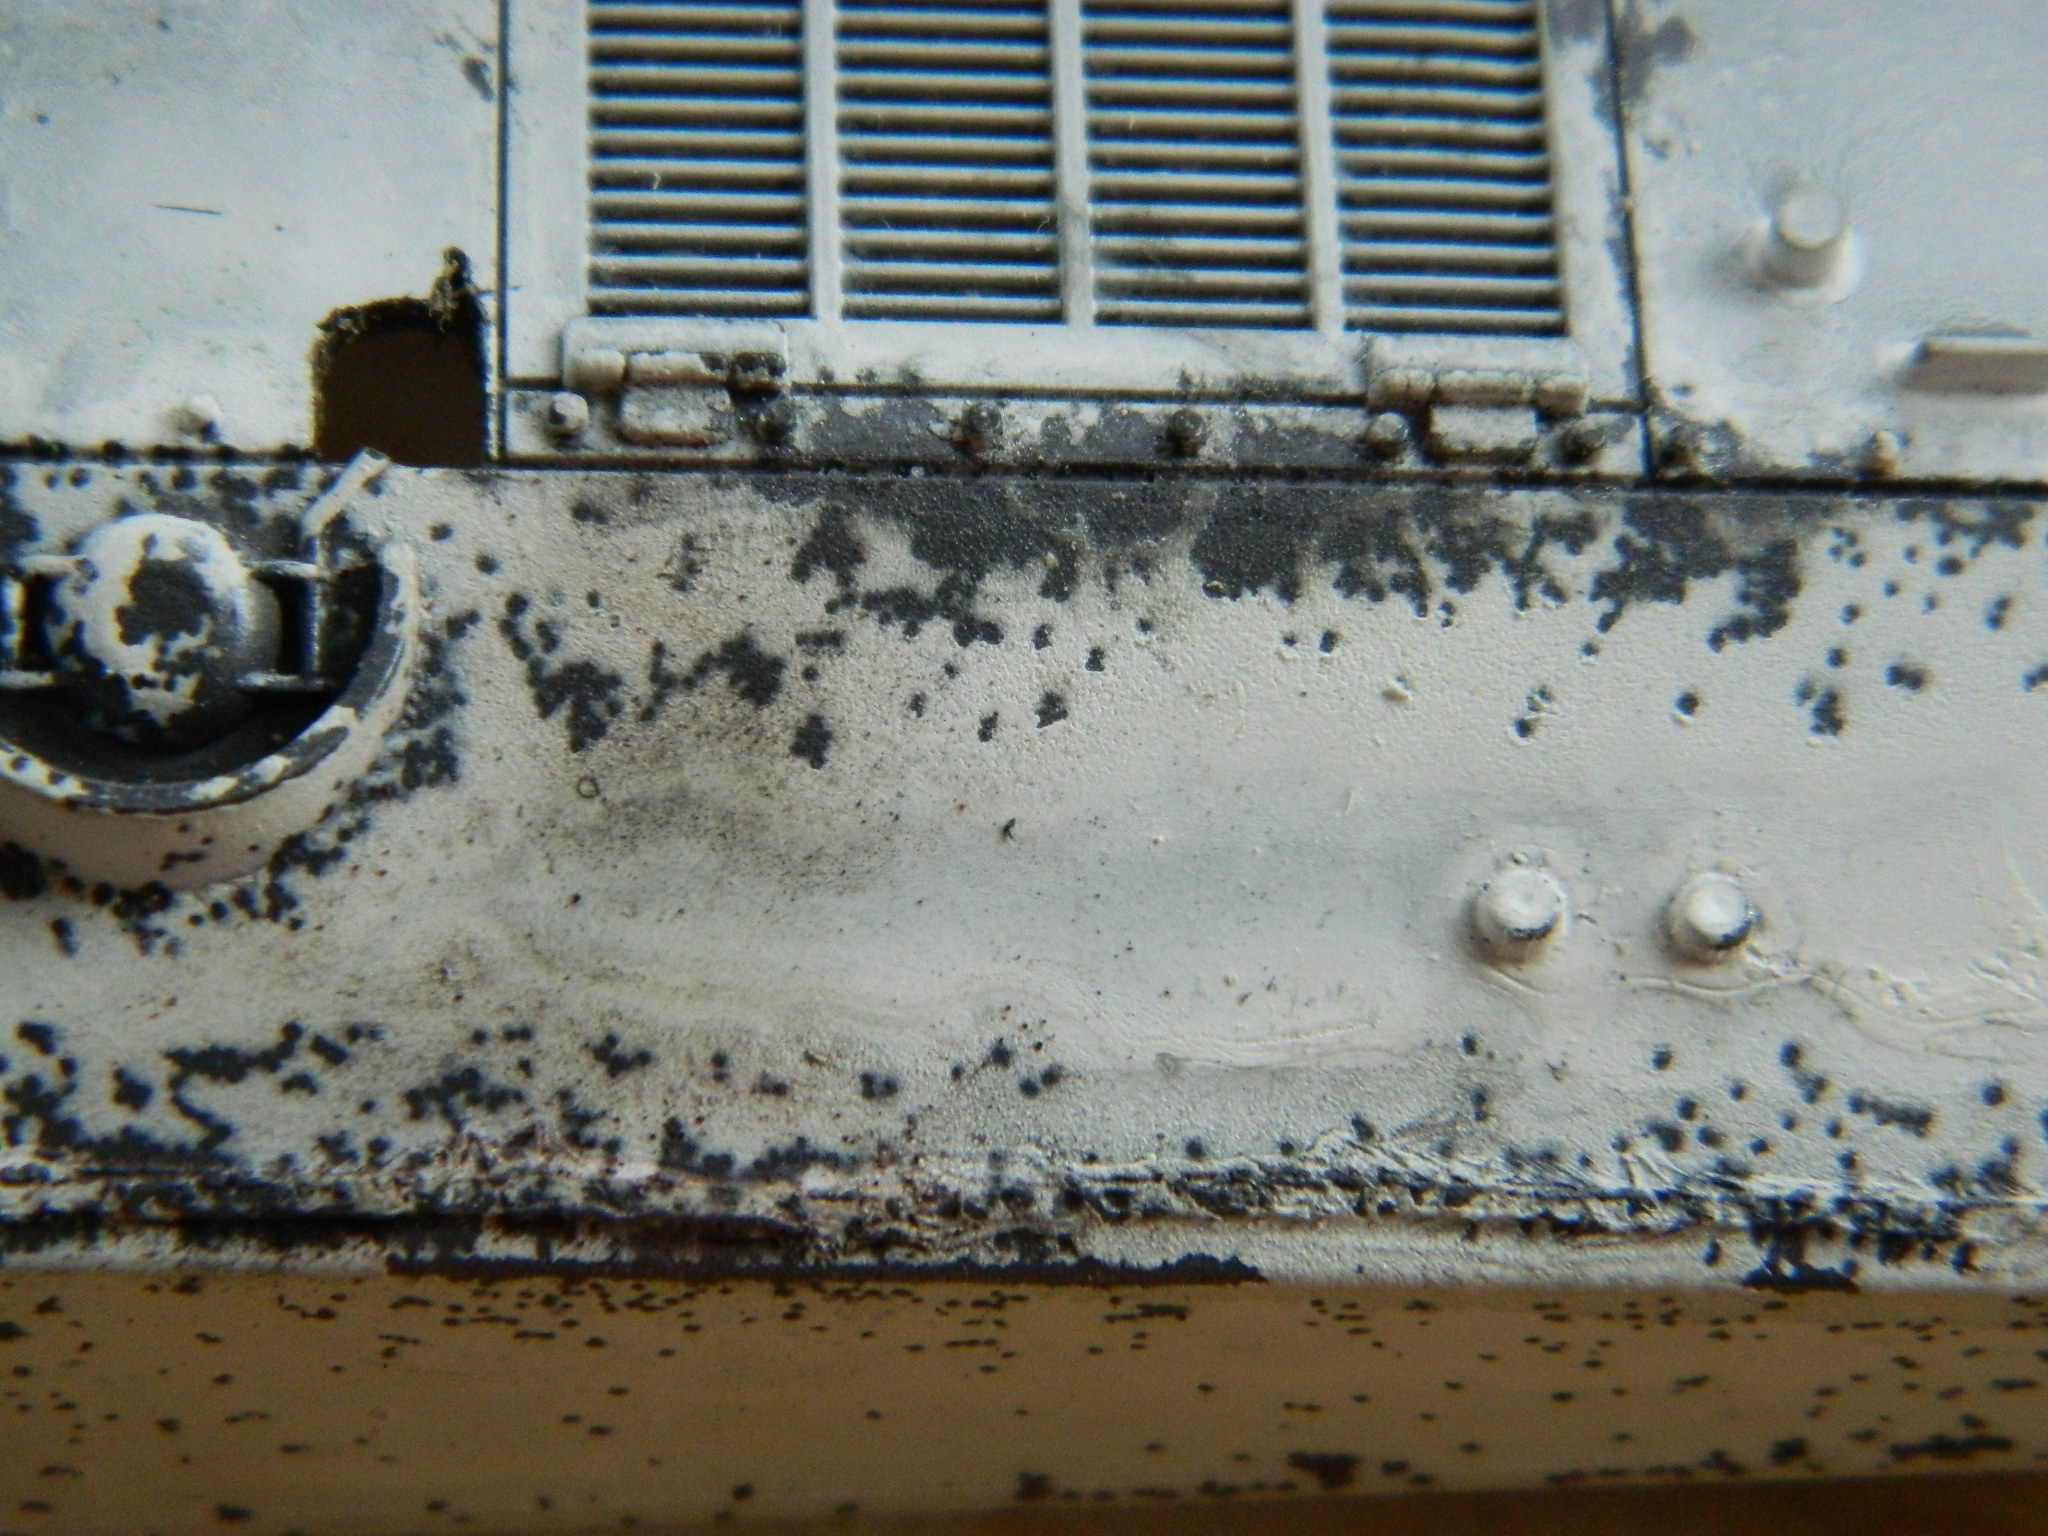
I took my test mule and since I had flat white already on it, tested things out to see what gave me the general grunge I’m looking to use on the interior. On left is “before,” on the right “after,” and the card below are notes so that I replicate that effect later on after I’ve forgotten how I did it:
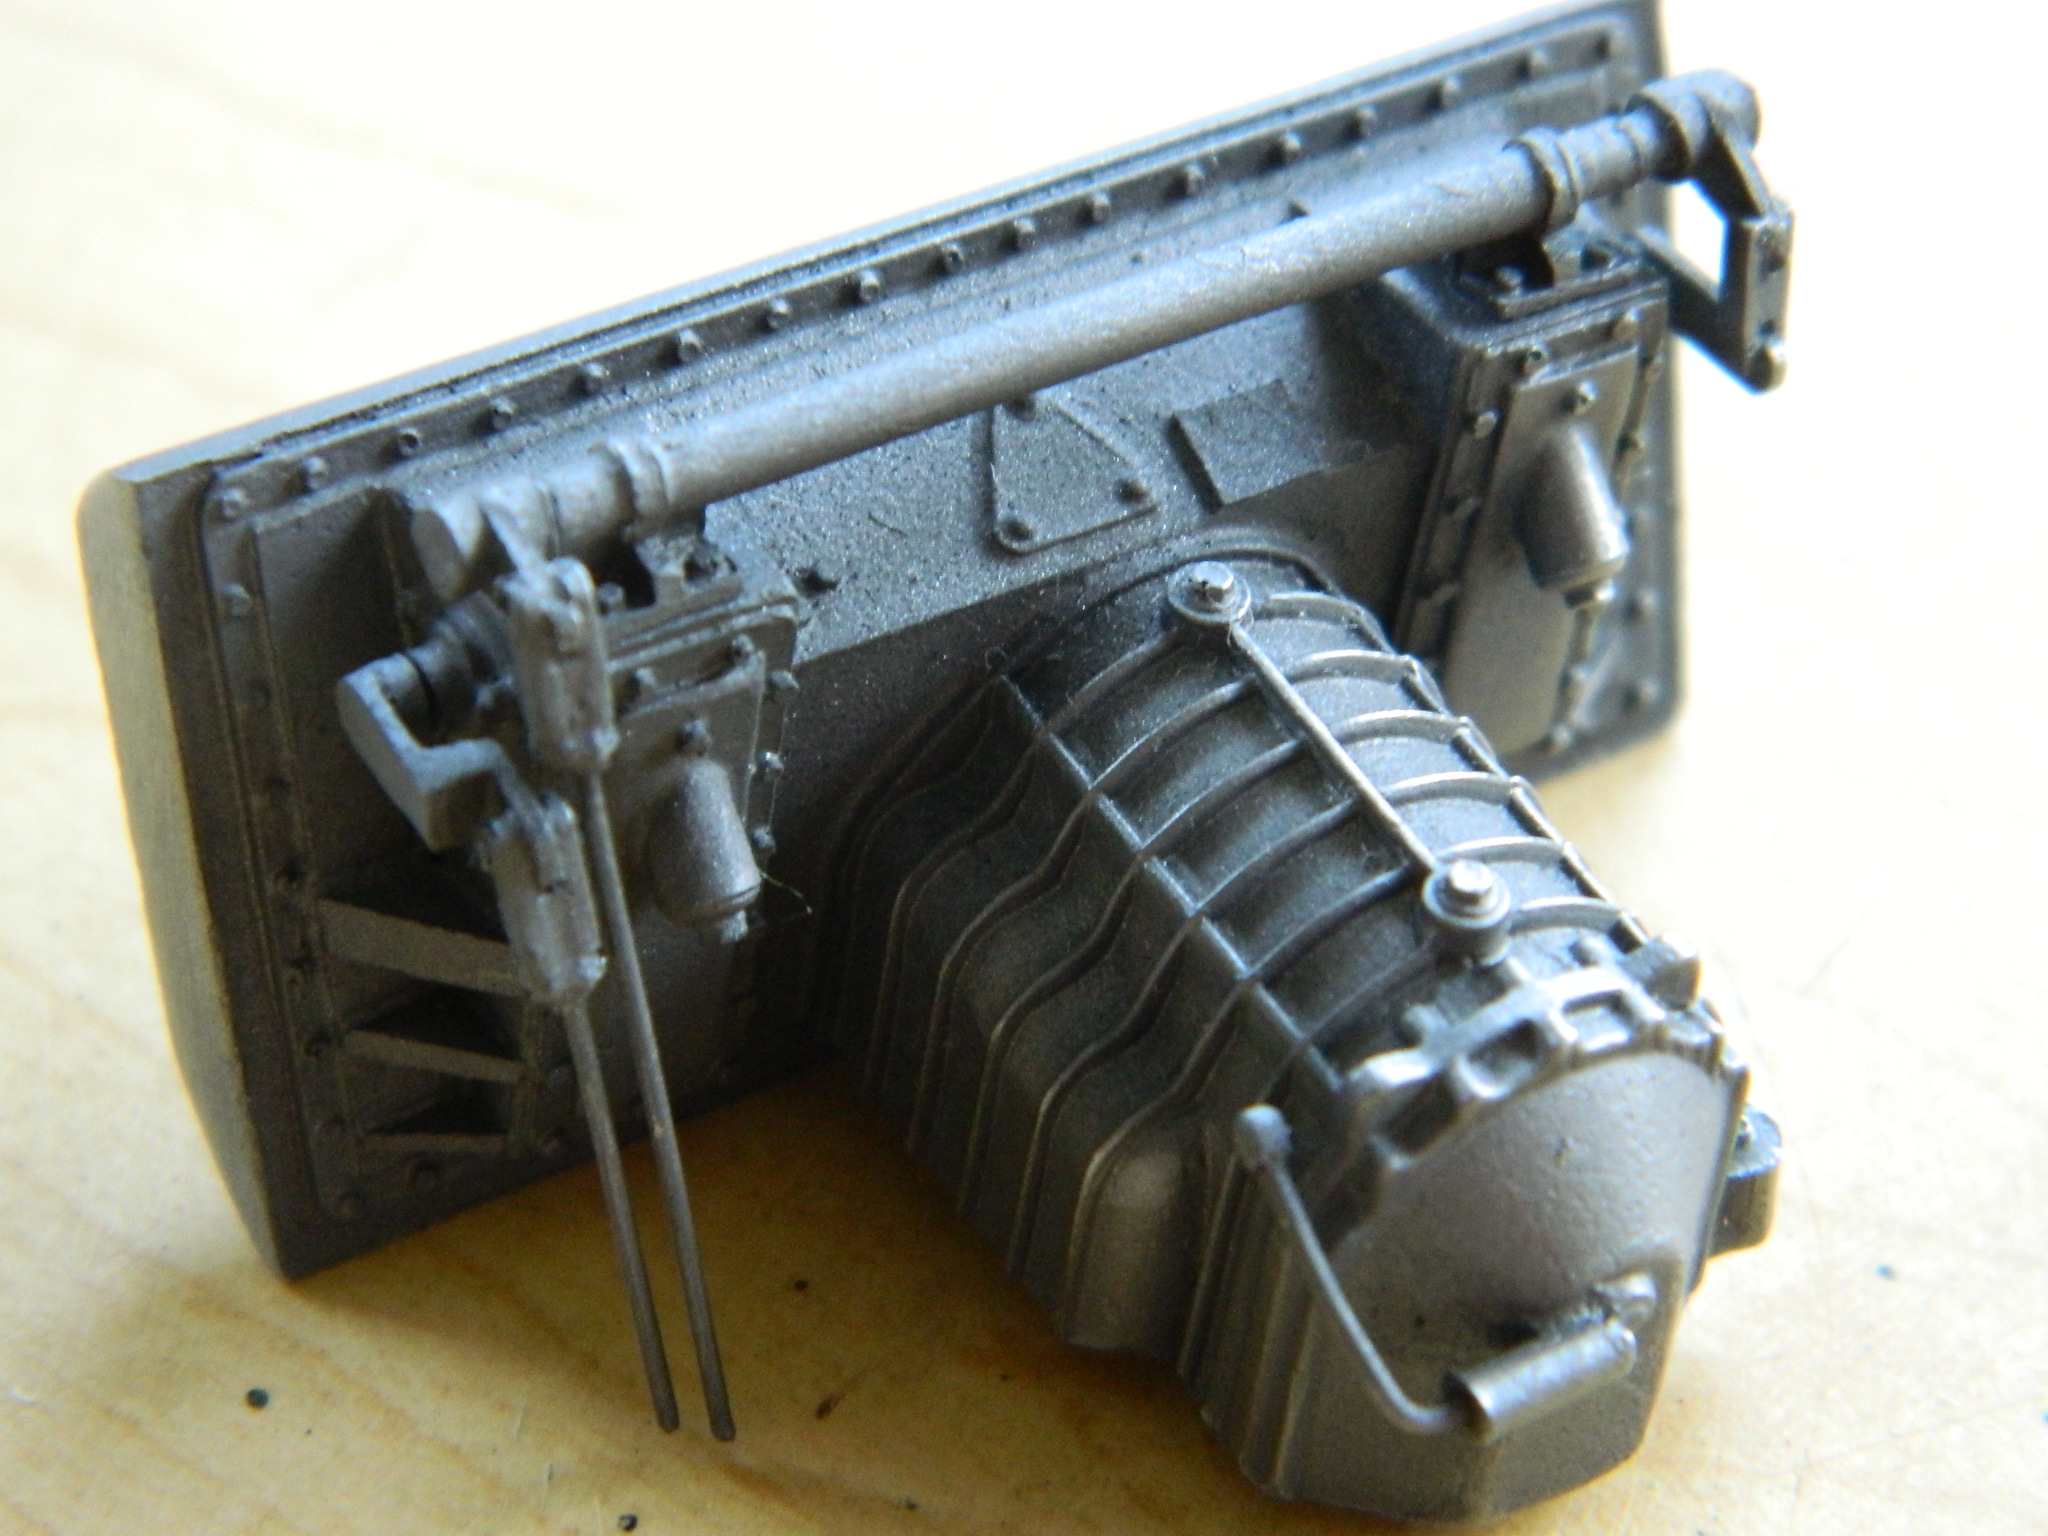
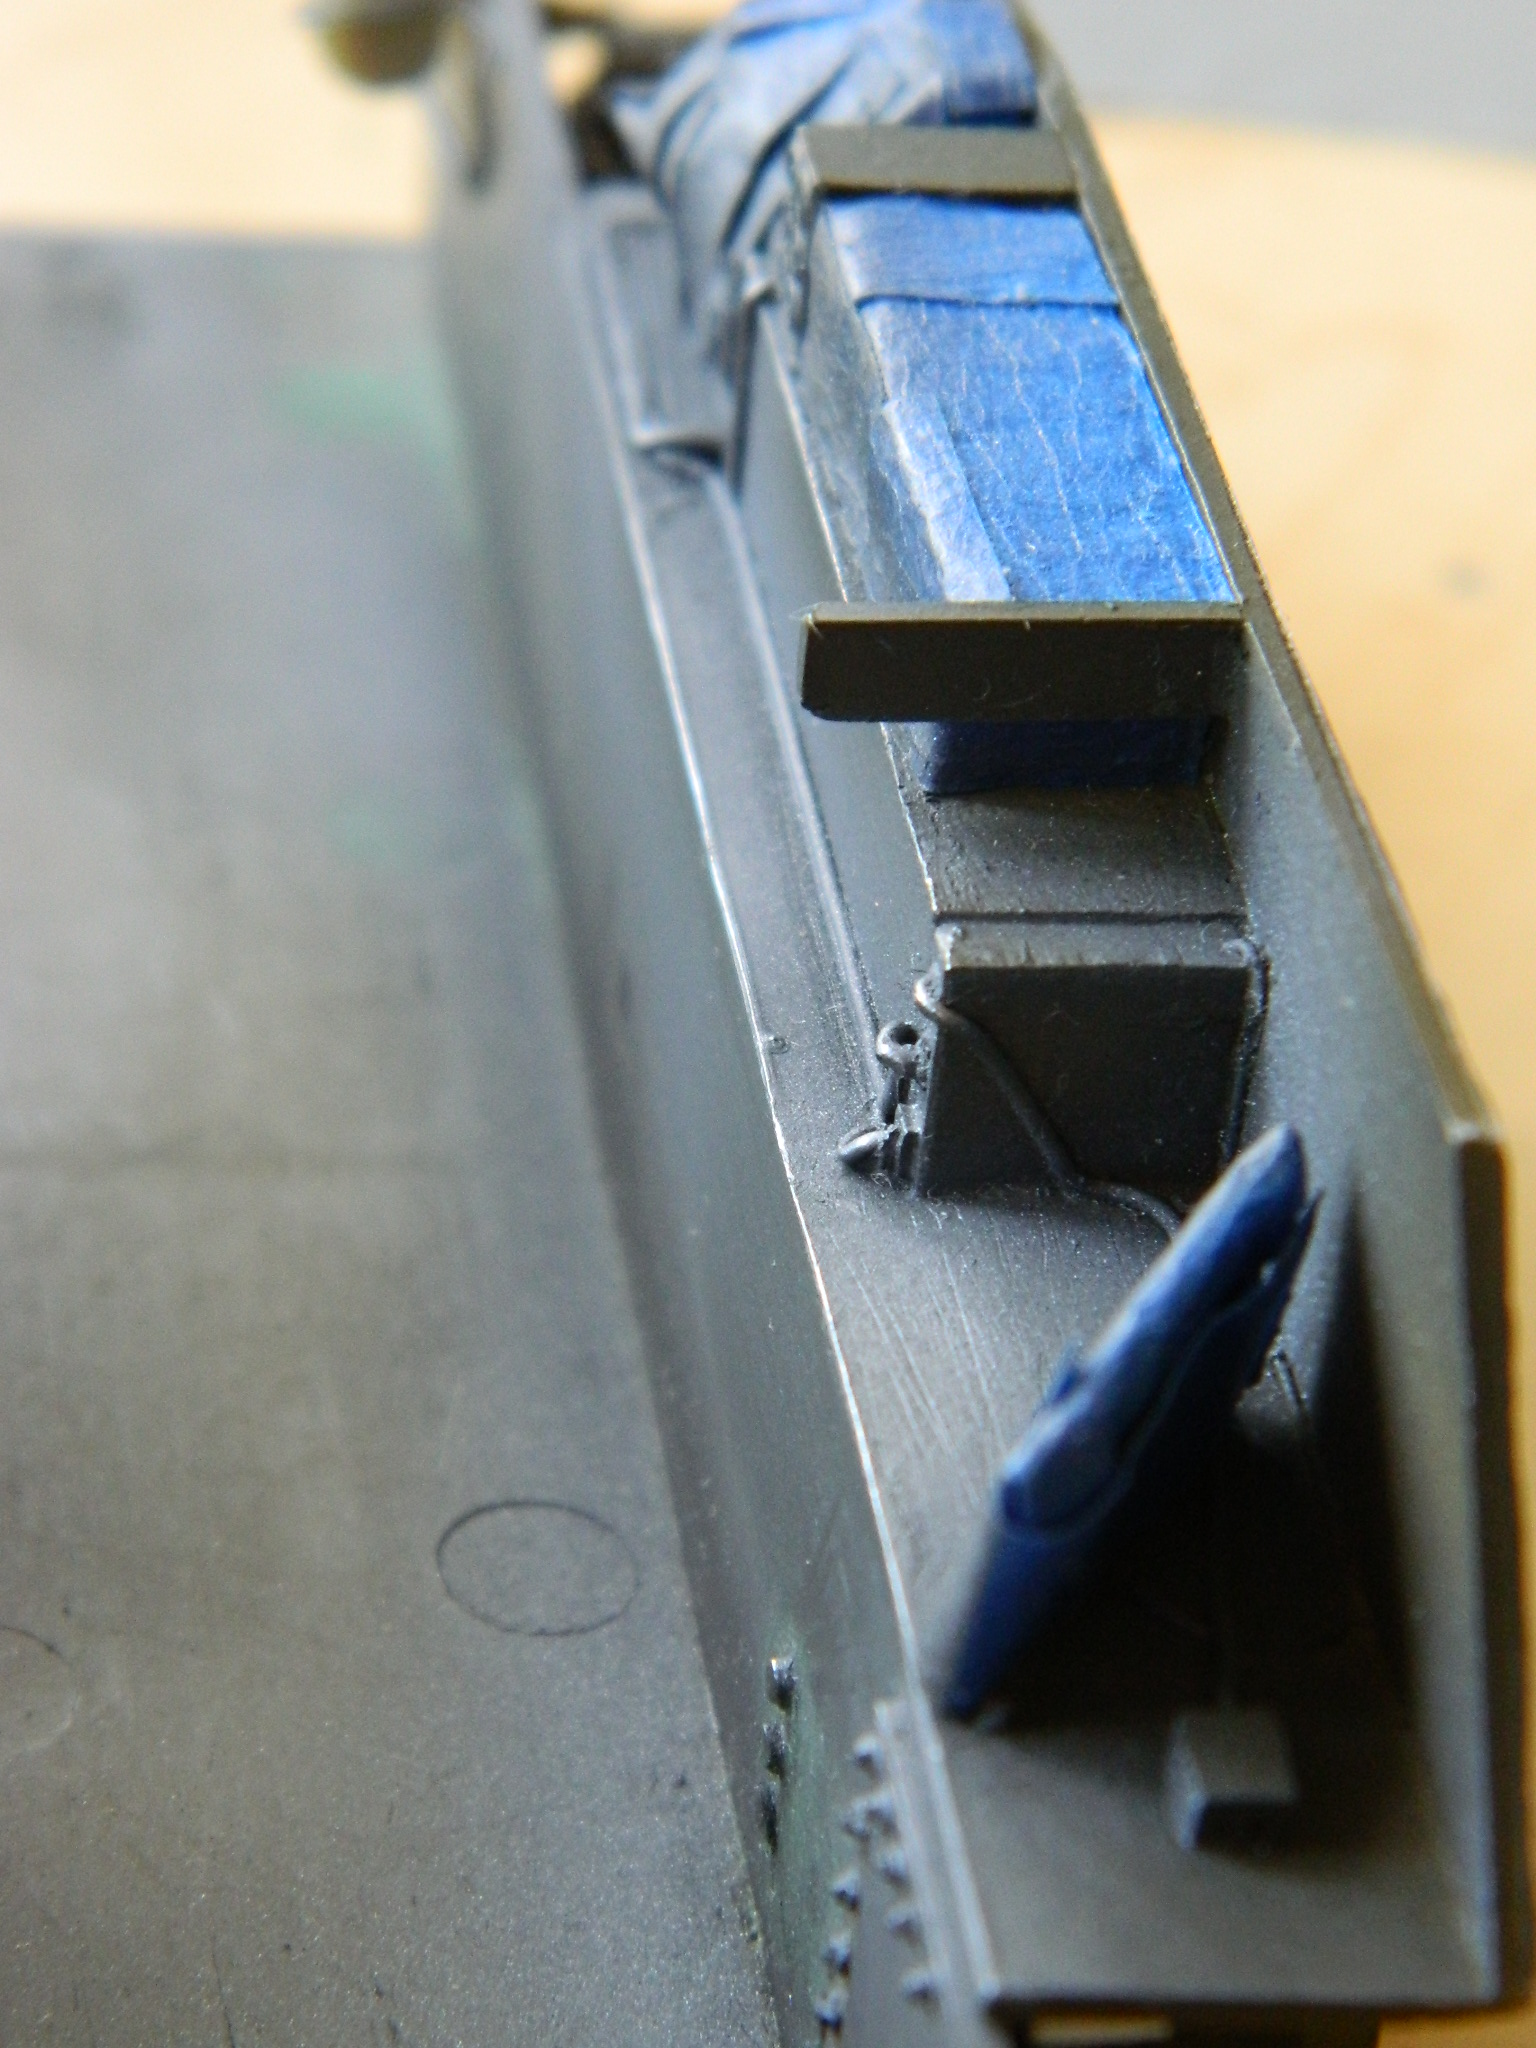
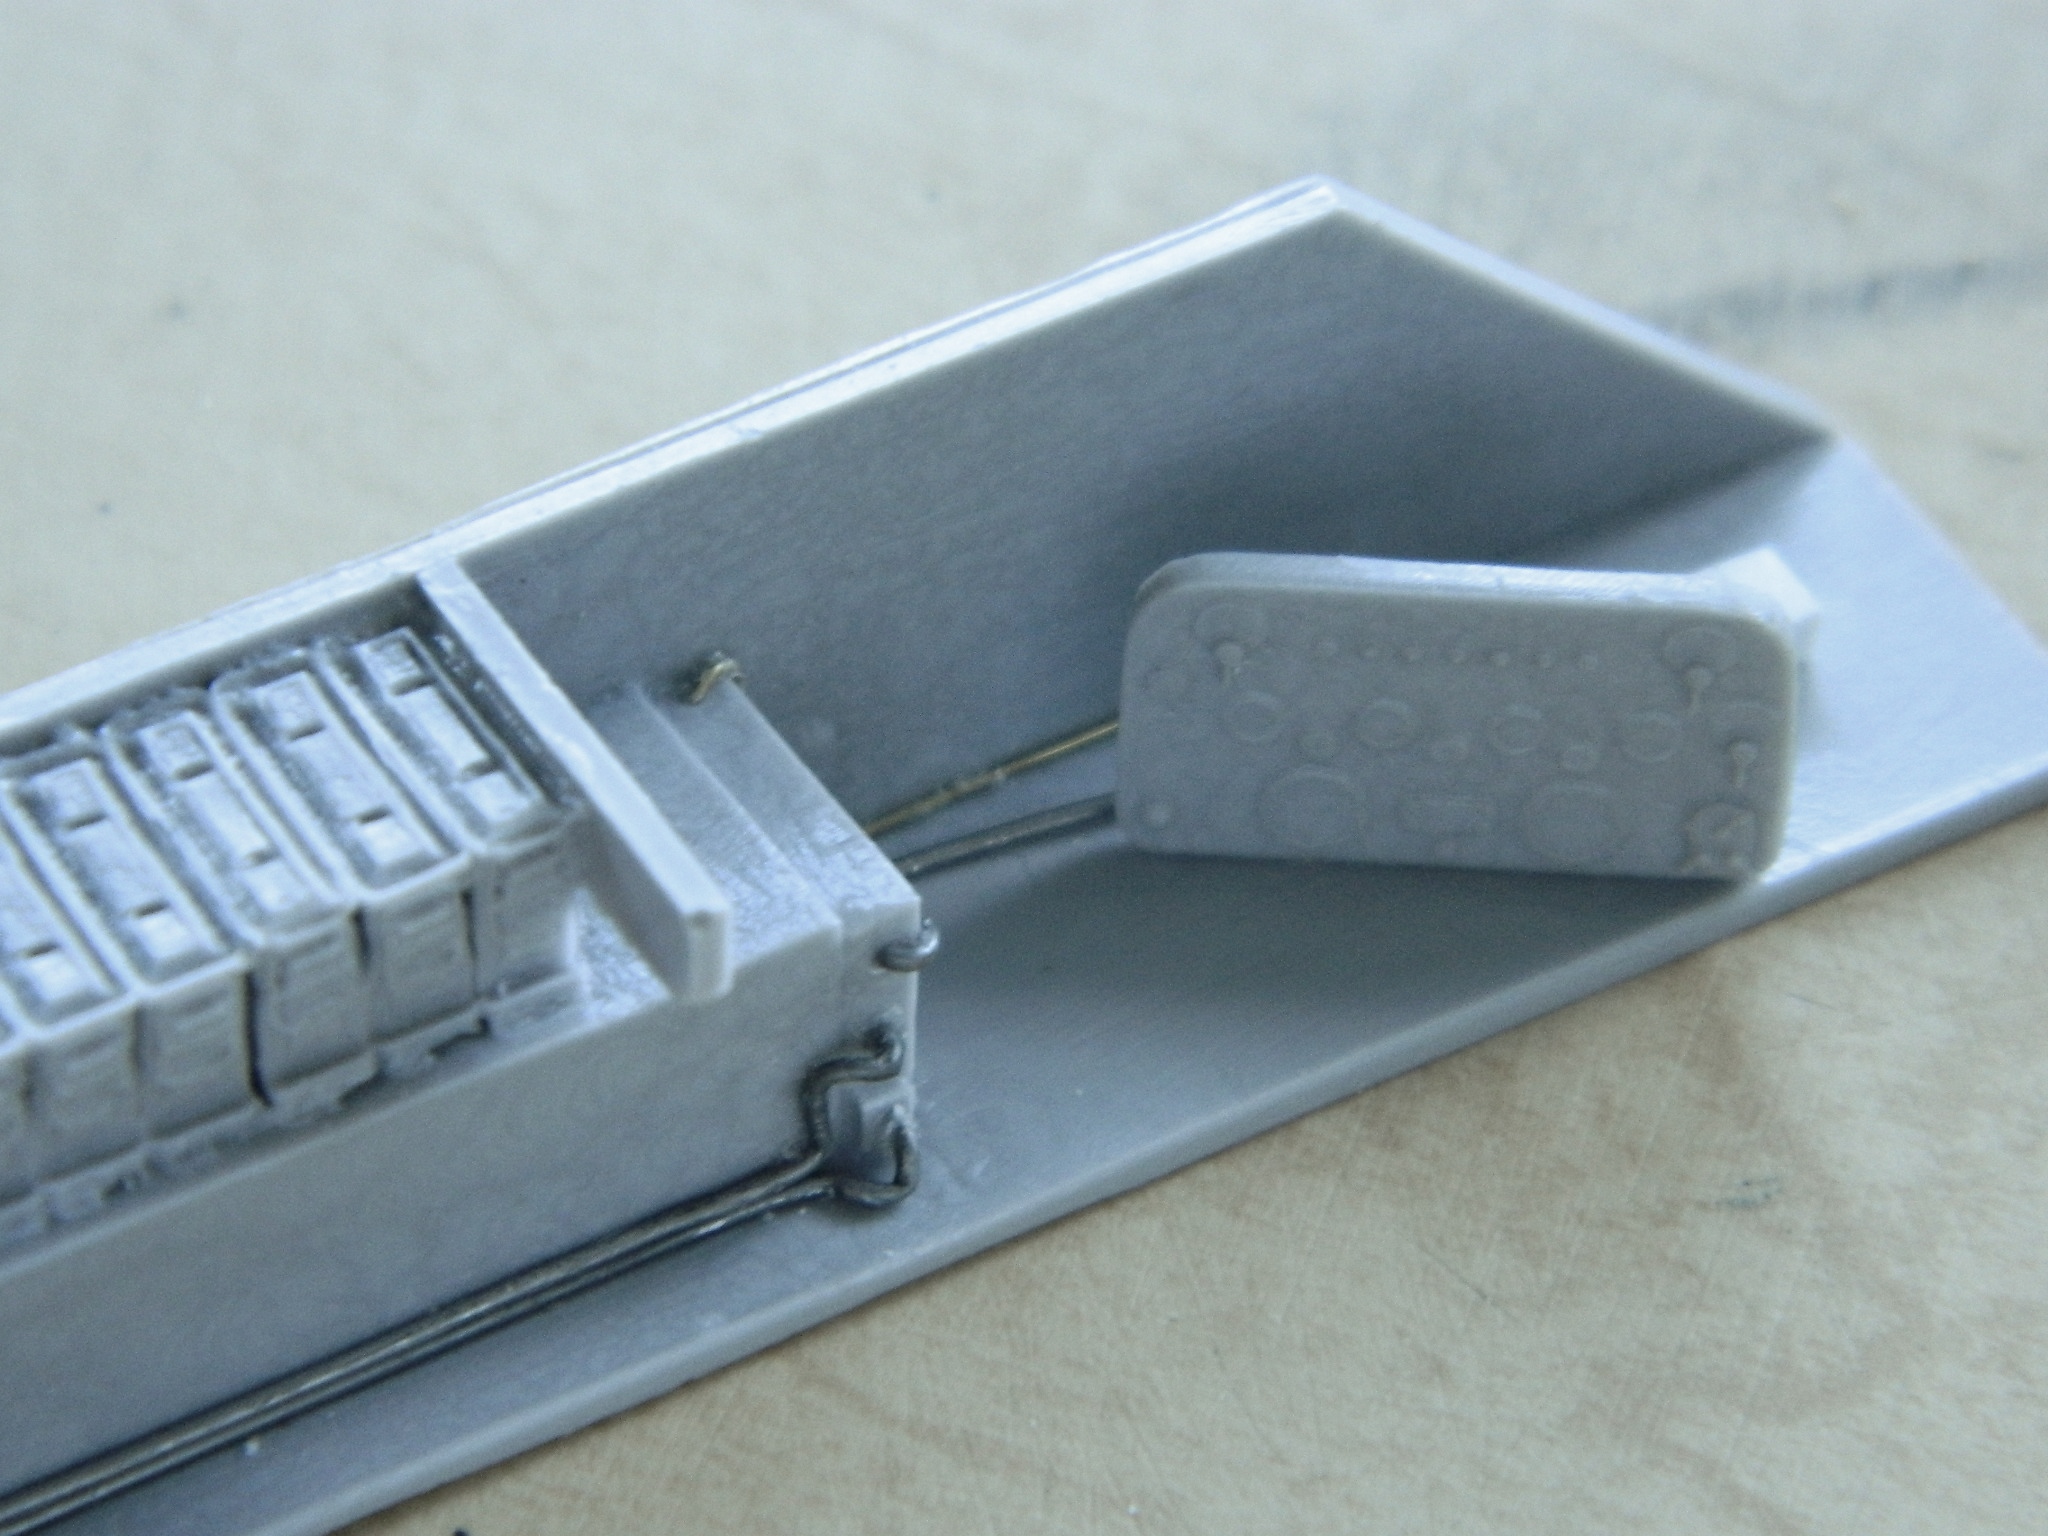
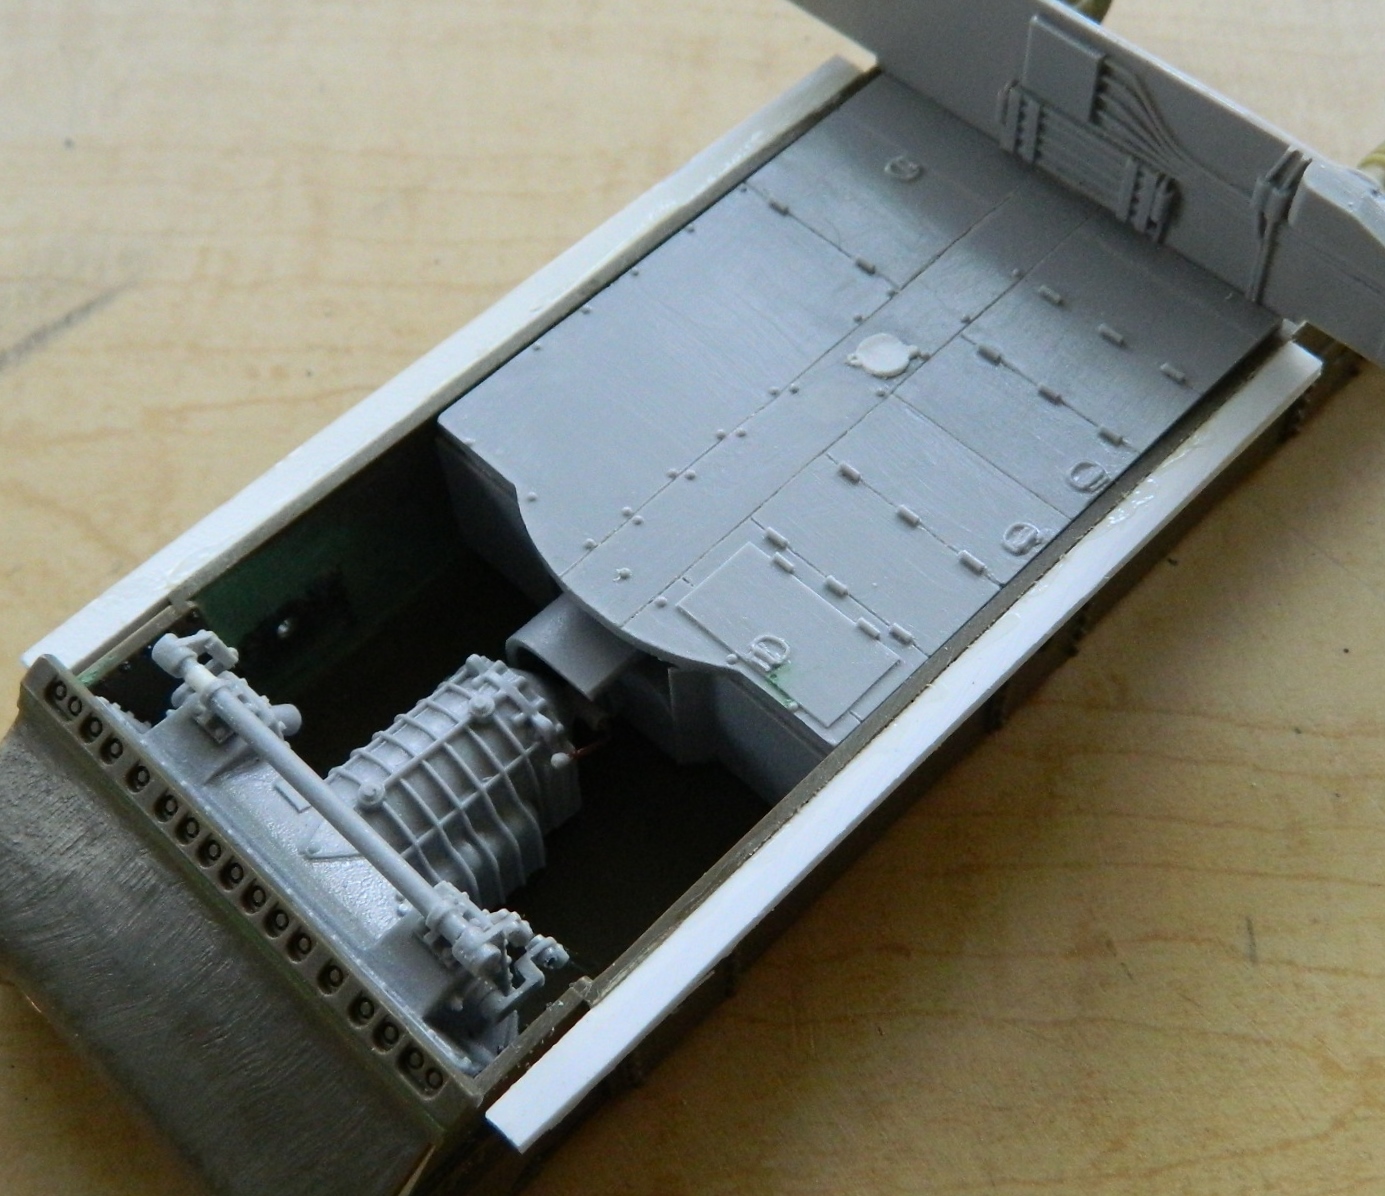
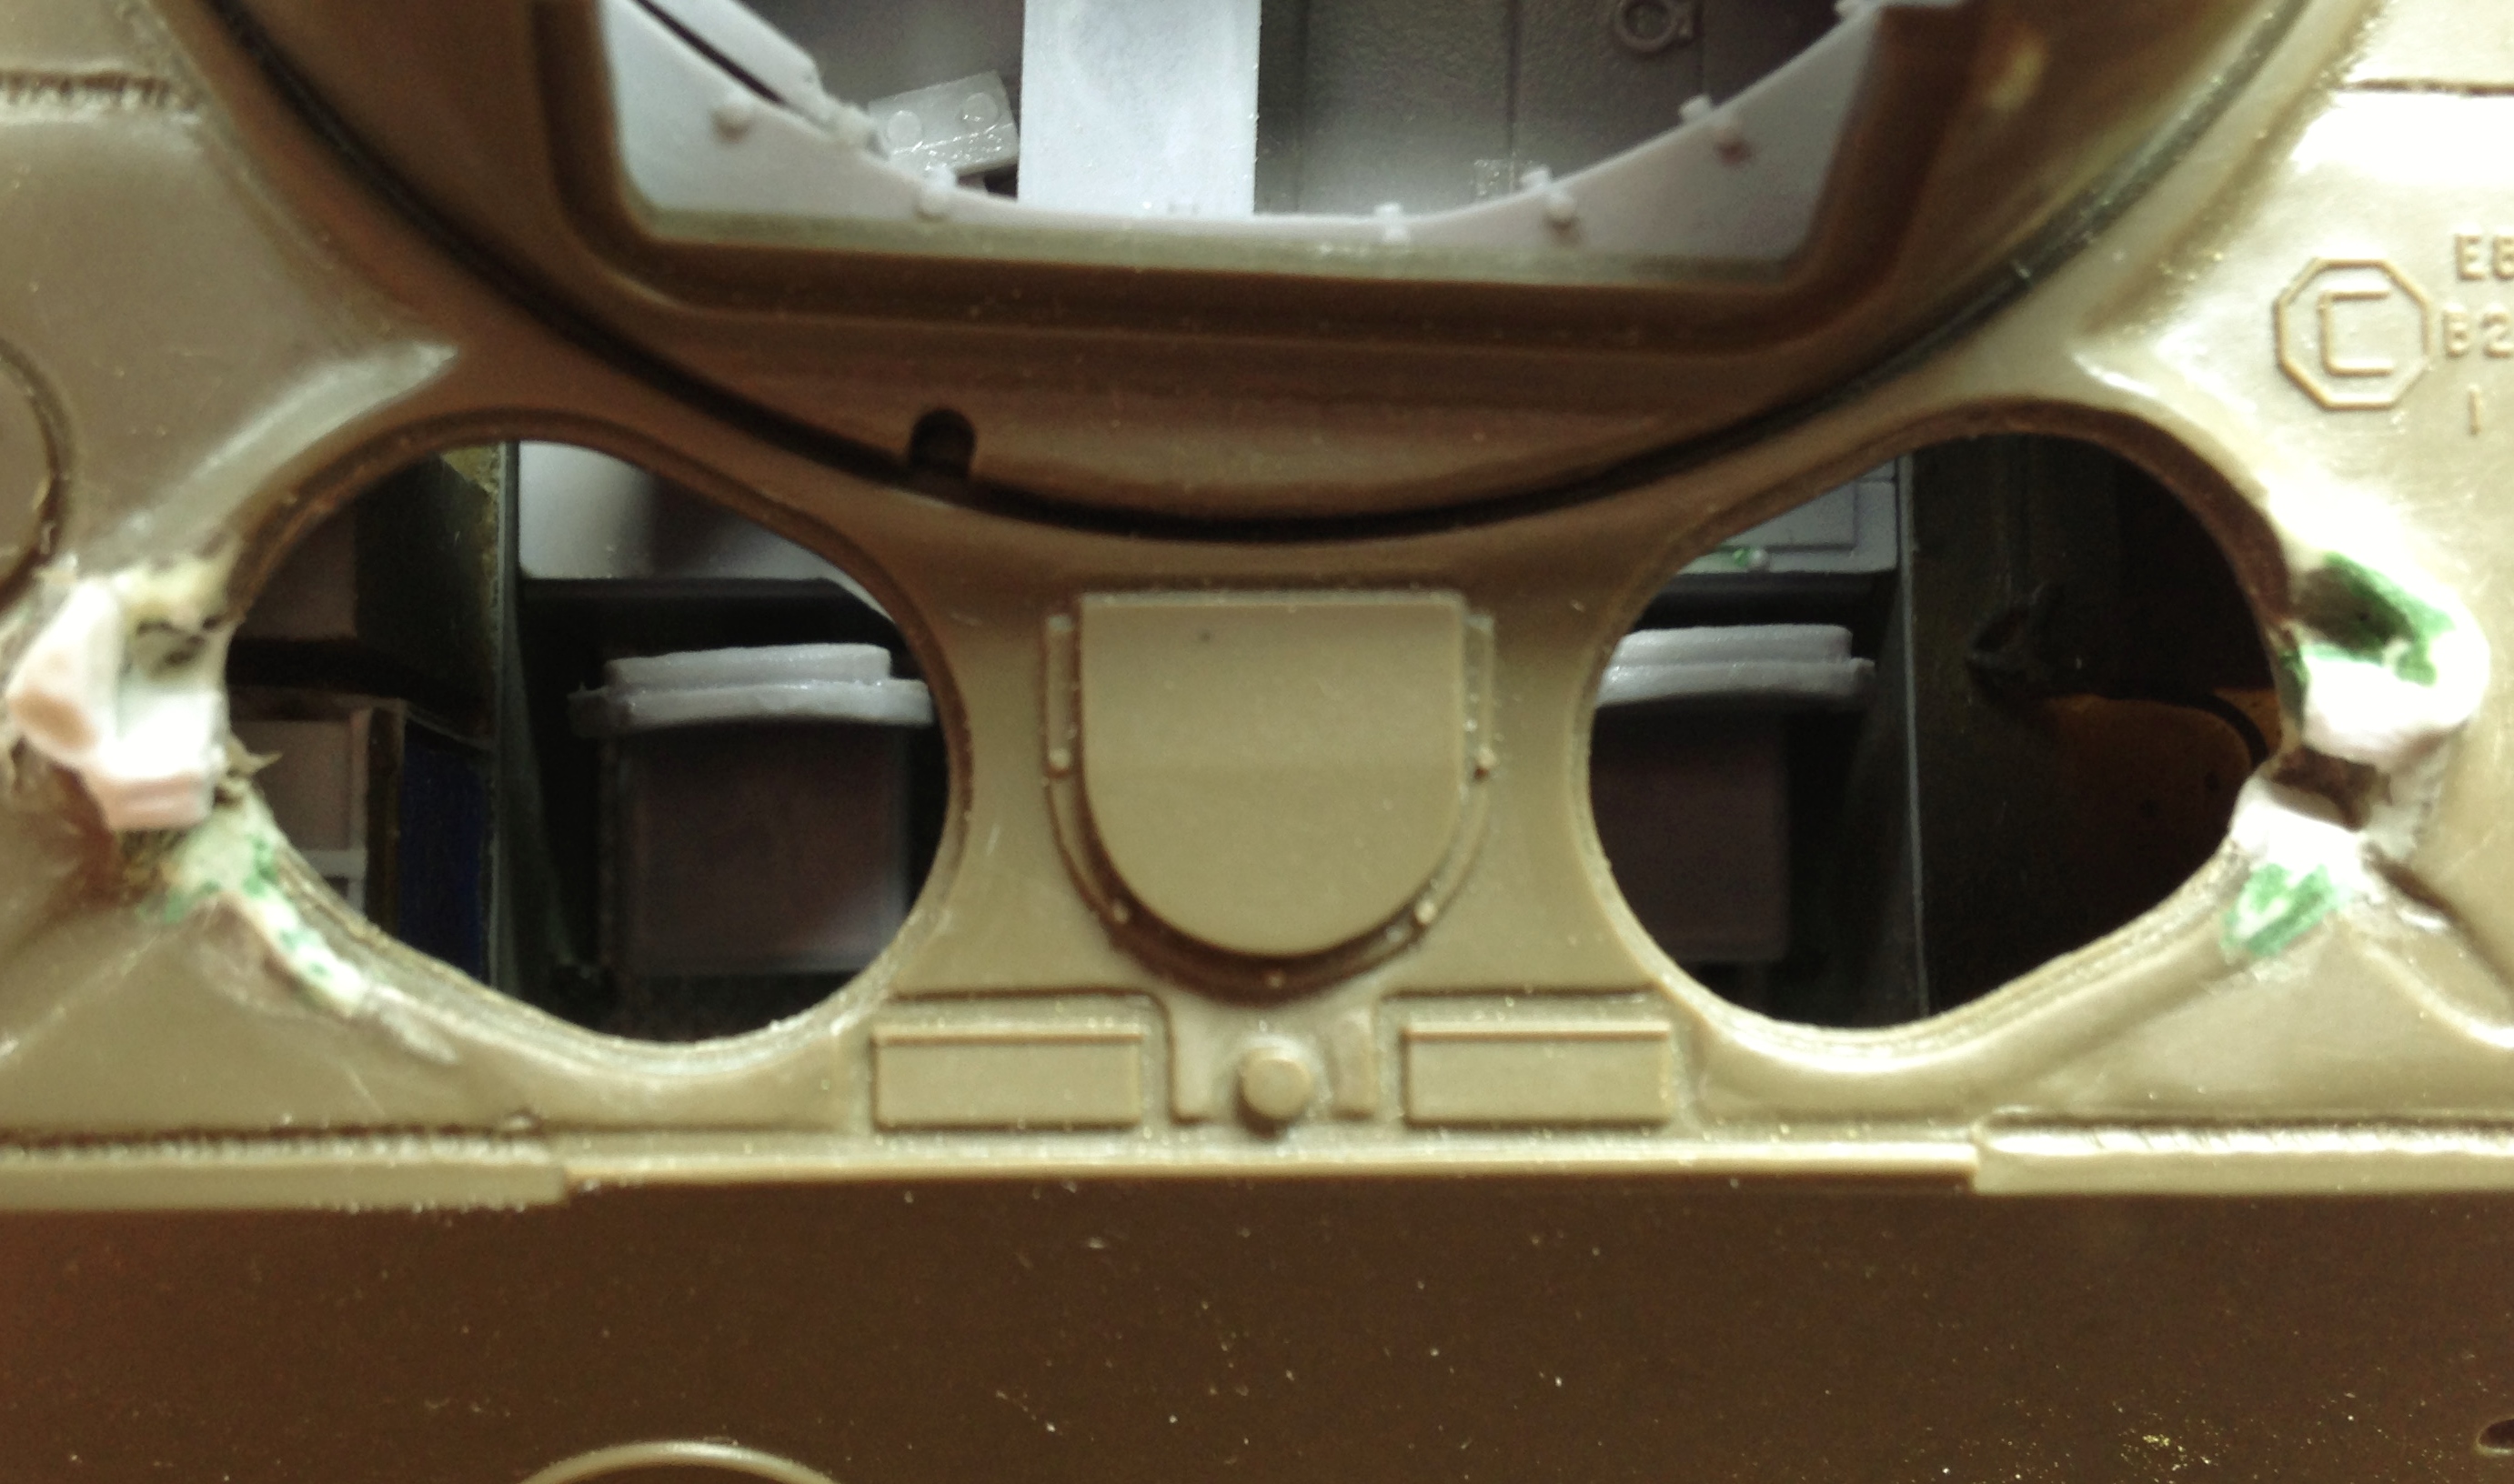
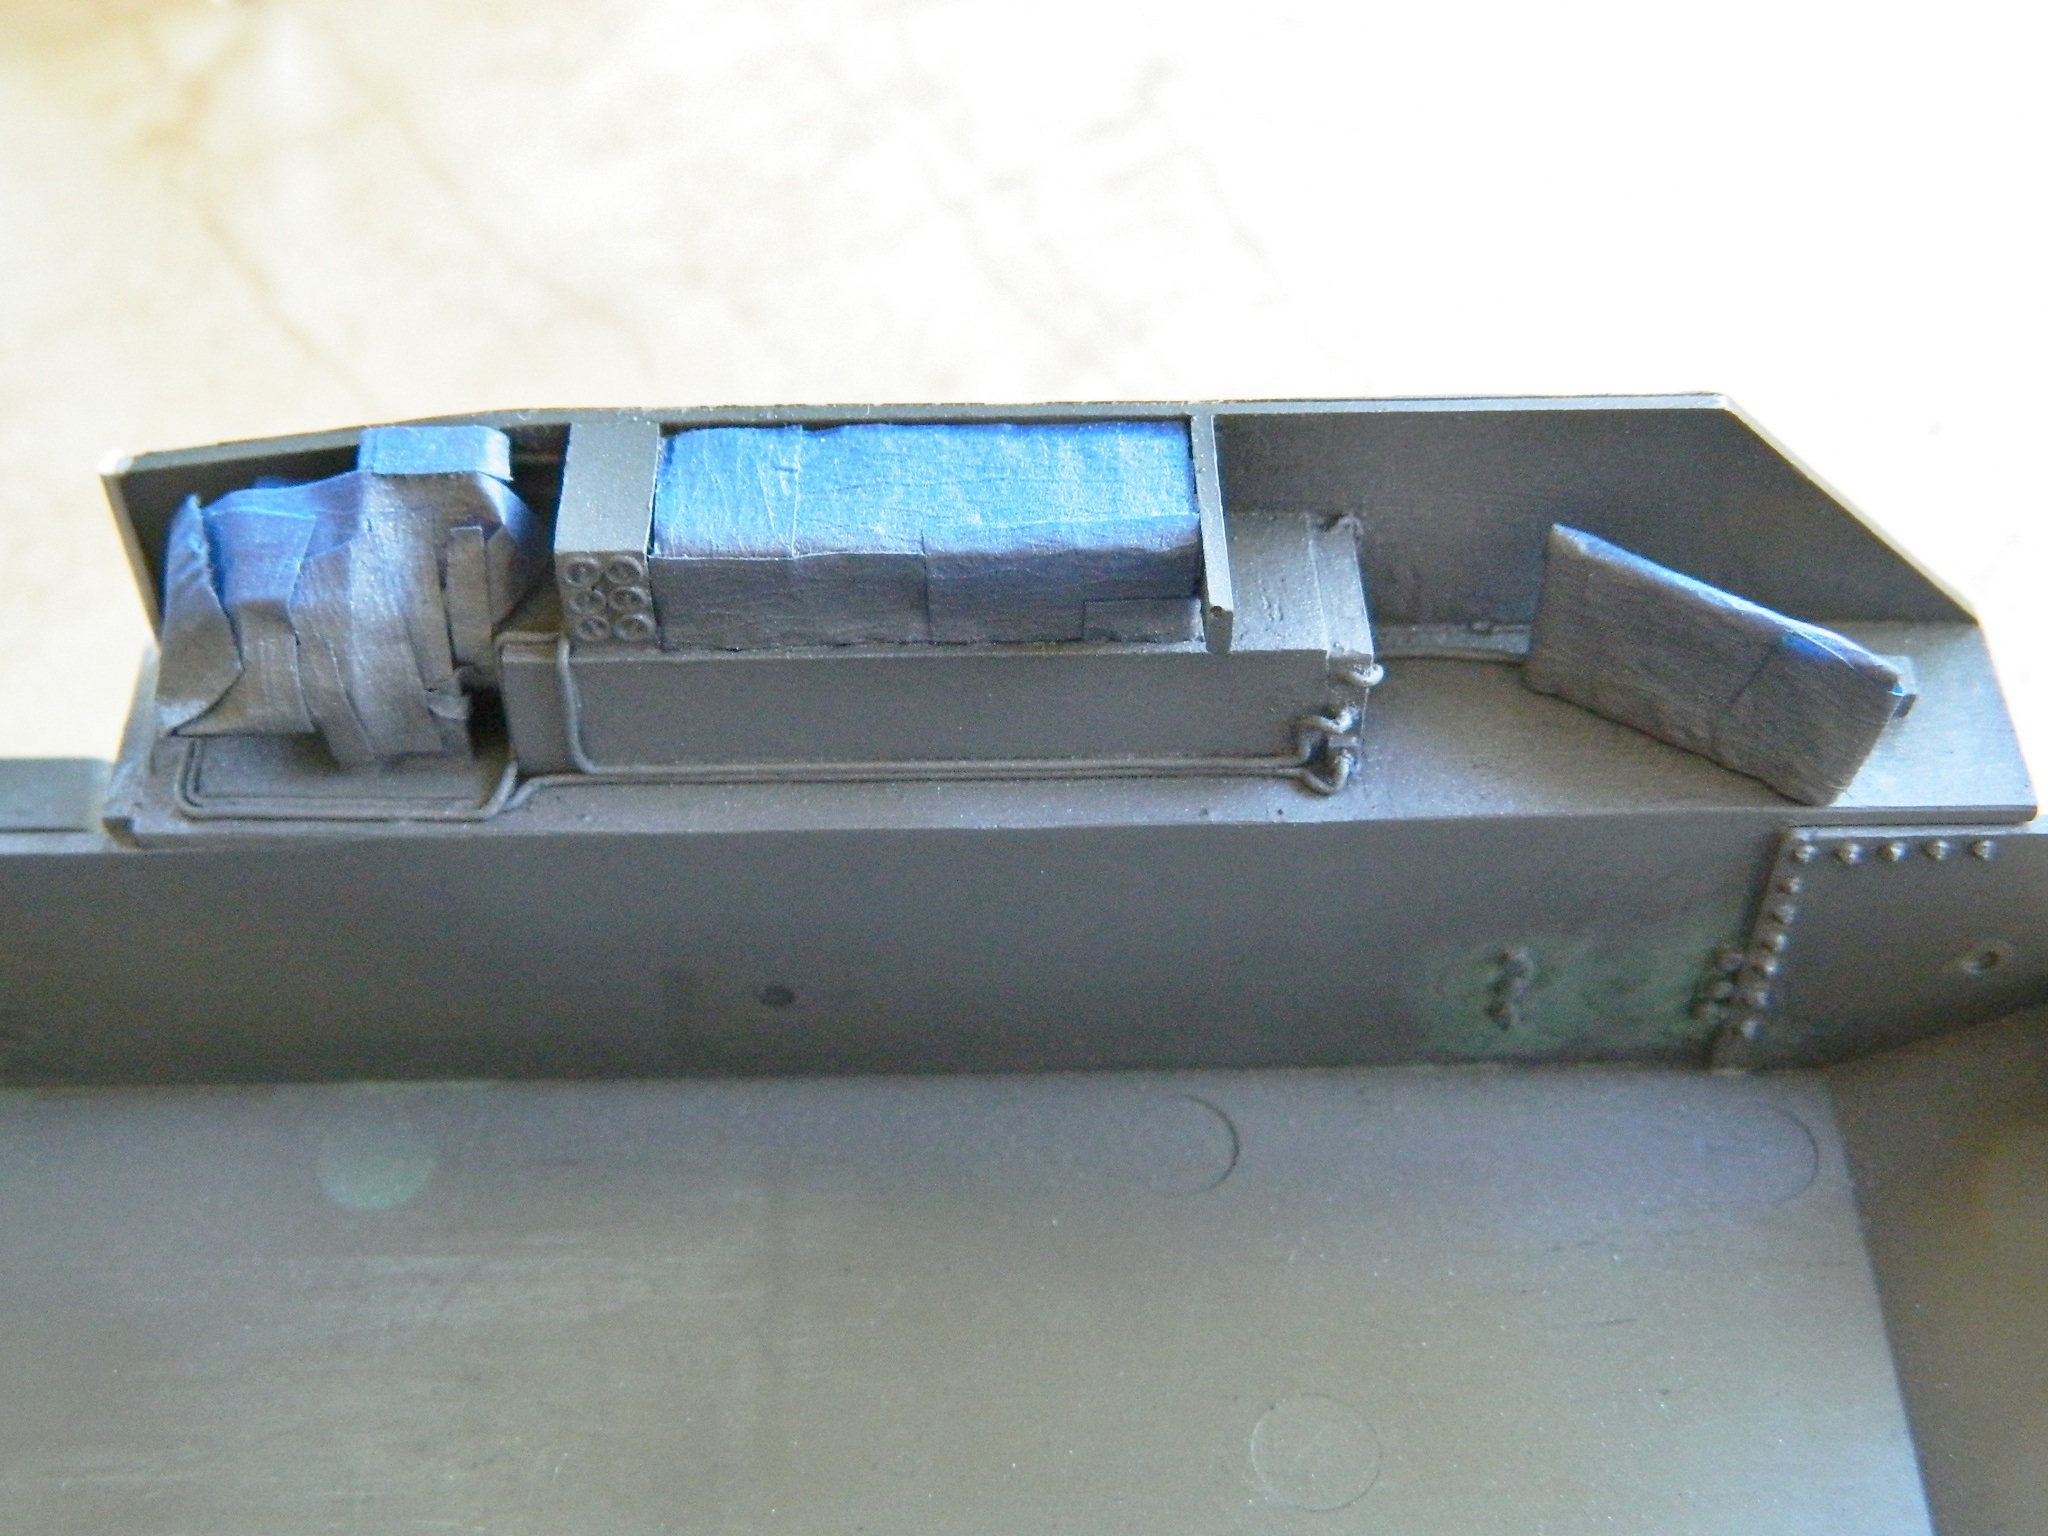
Satisfied that I had an idea of where I was going with the interior paint, it occurred to me that it might not be a bad idea to have an interior to paint. I started with the left sponson detail by gluing the instrument panel in place and then “imagineering” the wiring conduits. I wasn’t able to find any definitive references as to how the interior was wired so I relied on my own mechanical experiences. Originally I thought that the electrical conduits/wiring would be down below the ammo bays, but then I thought, “Those bays are filled with liquid. Would an engineer route all the tank’s electrical lines through there? One leak and sparks start flying.” I know I wouldn’t…so I didn’t.
I like using solder whenever I can because it bends easier than copper wire (sometimes I don’t have any solder in the diameter I want and that’s when I resort to copper) and keeps its shape:


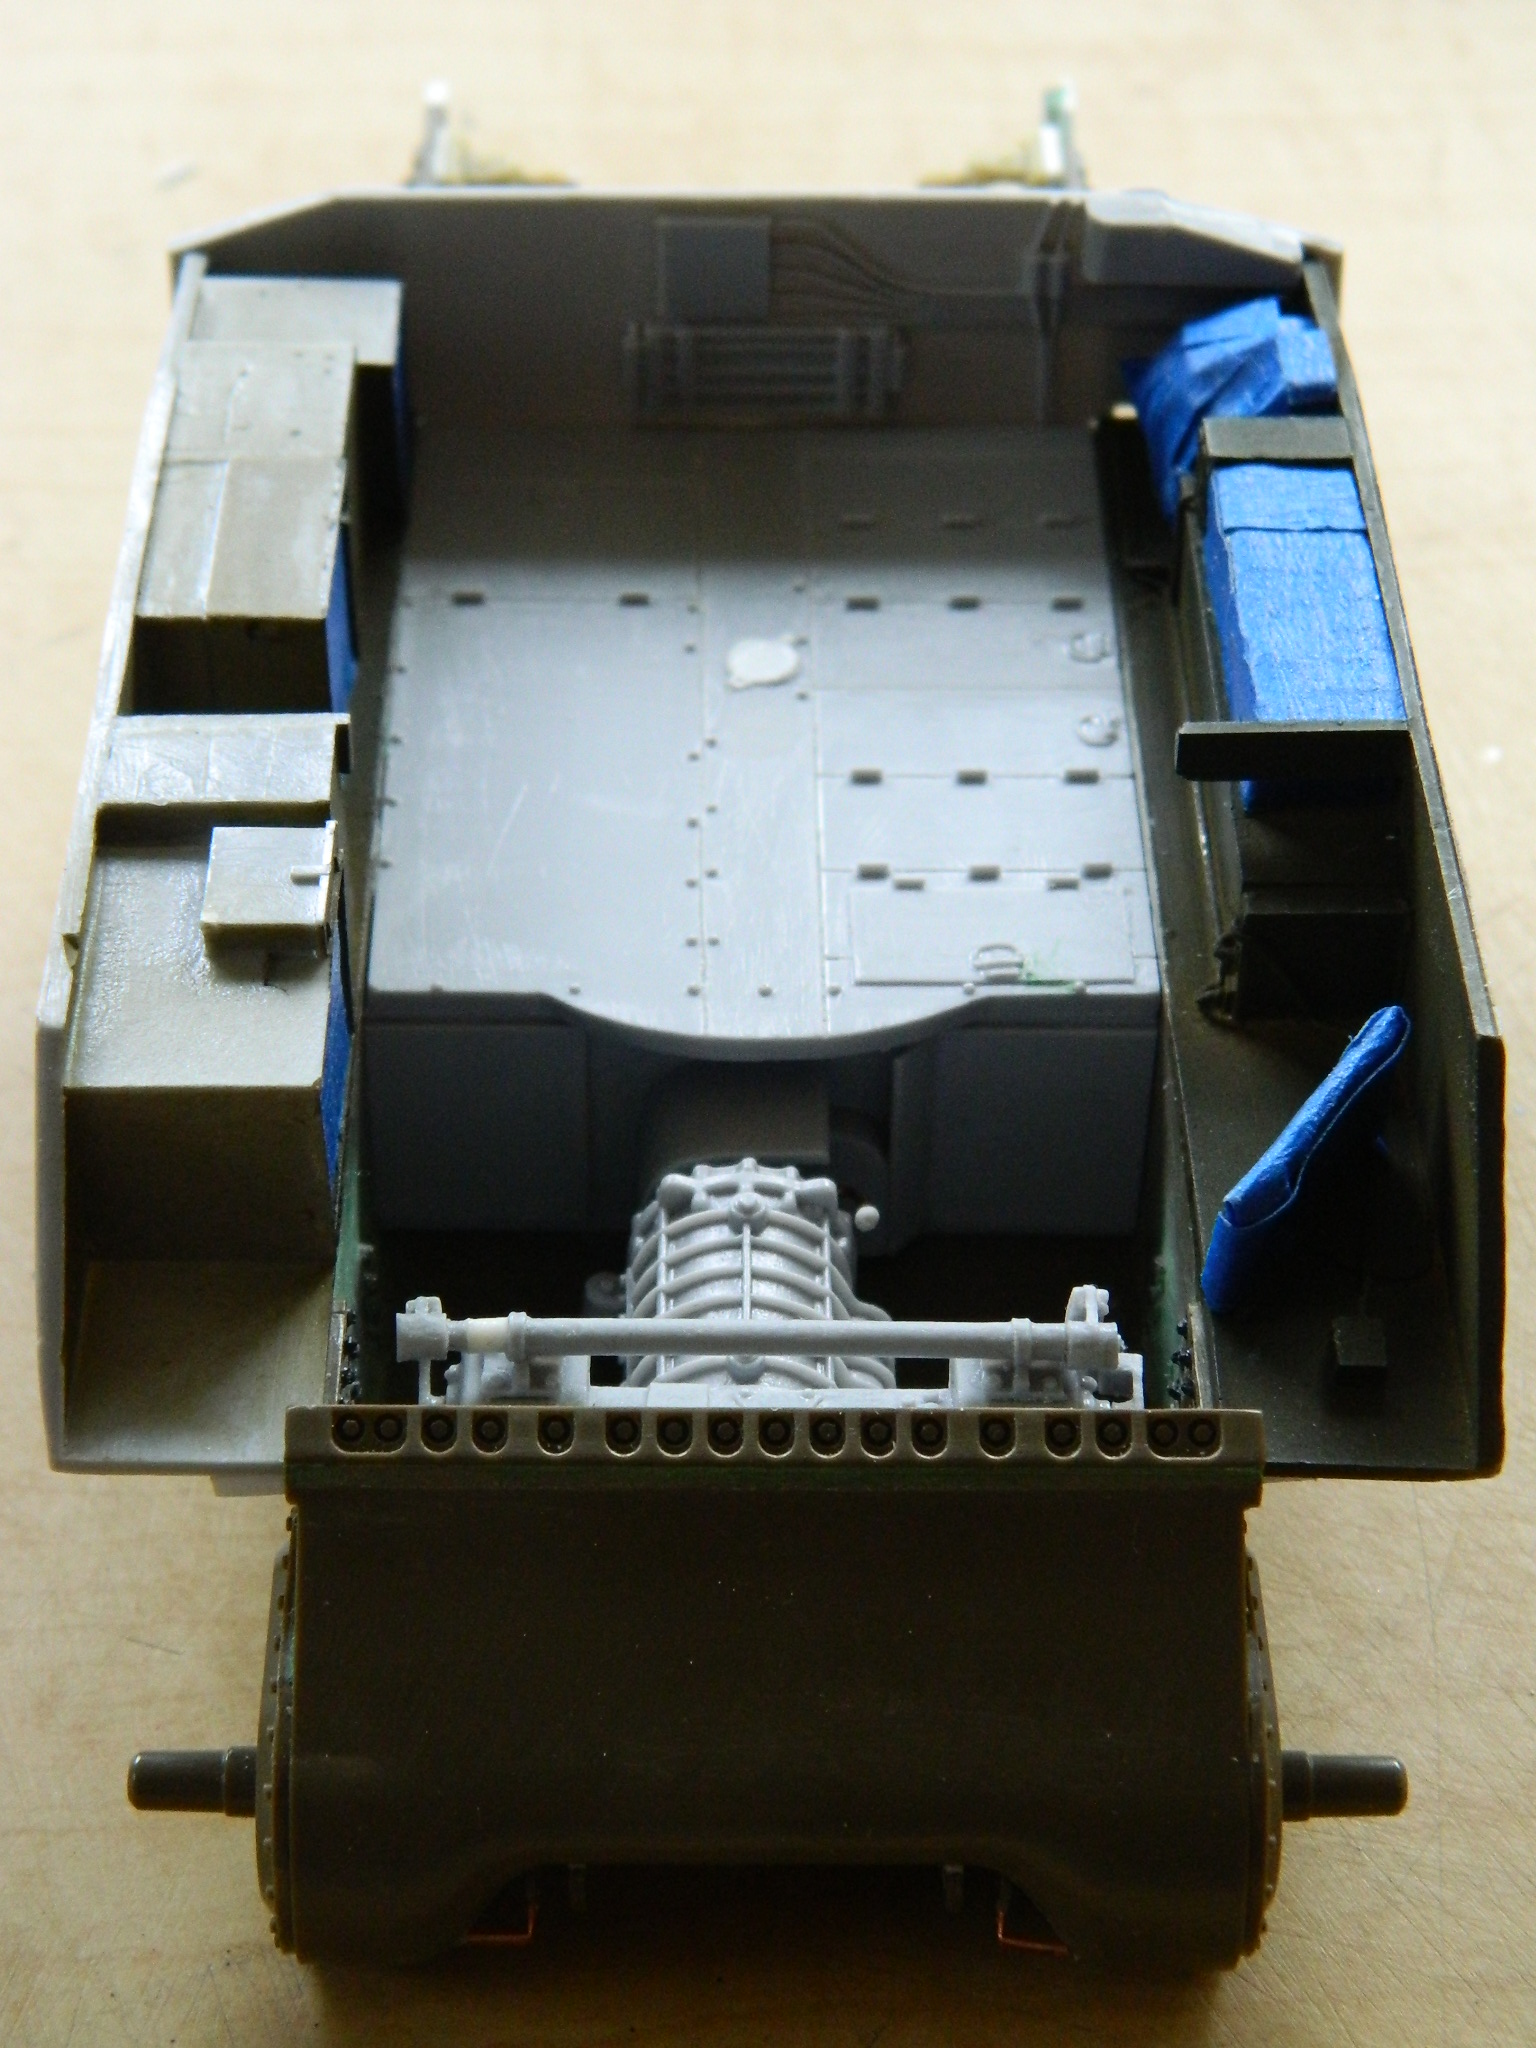
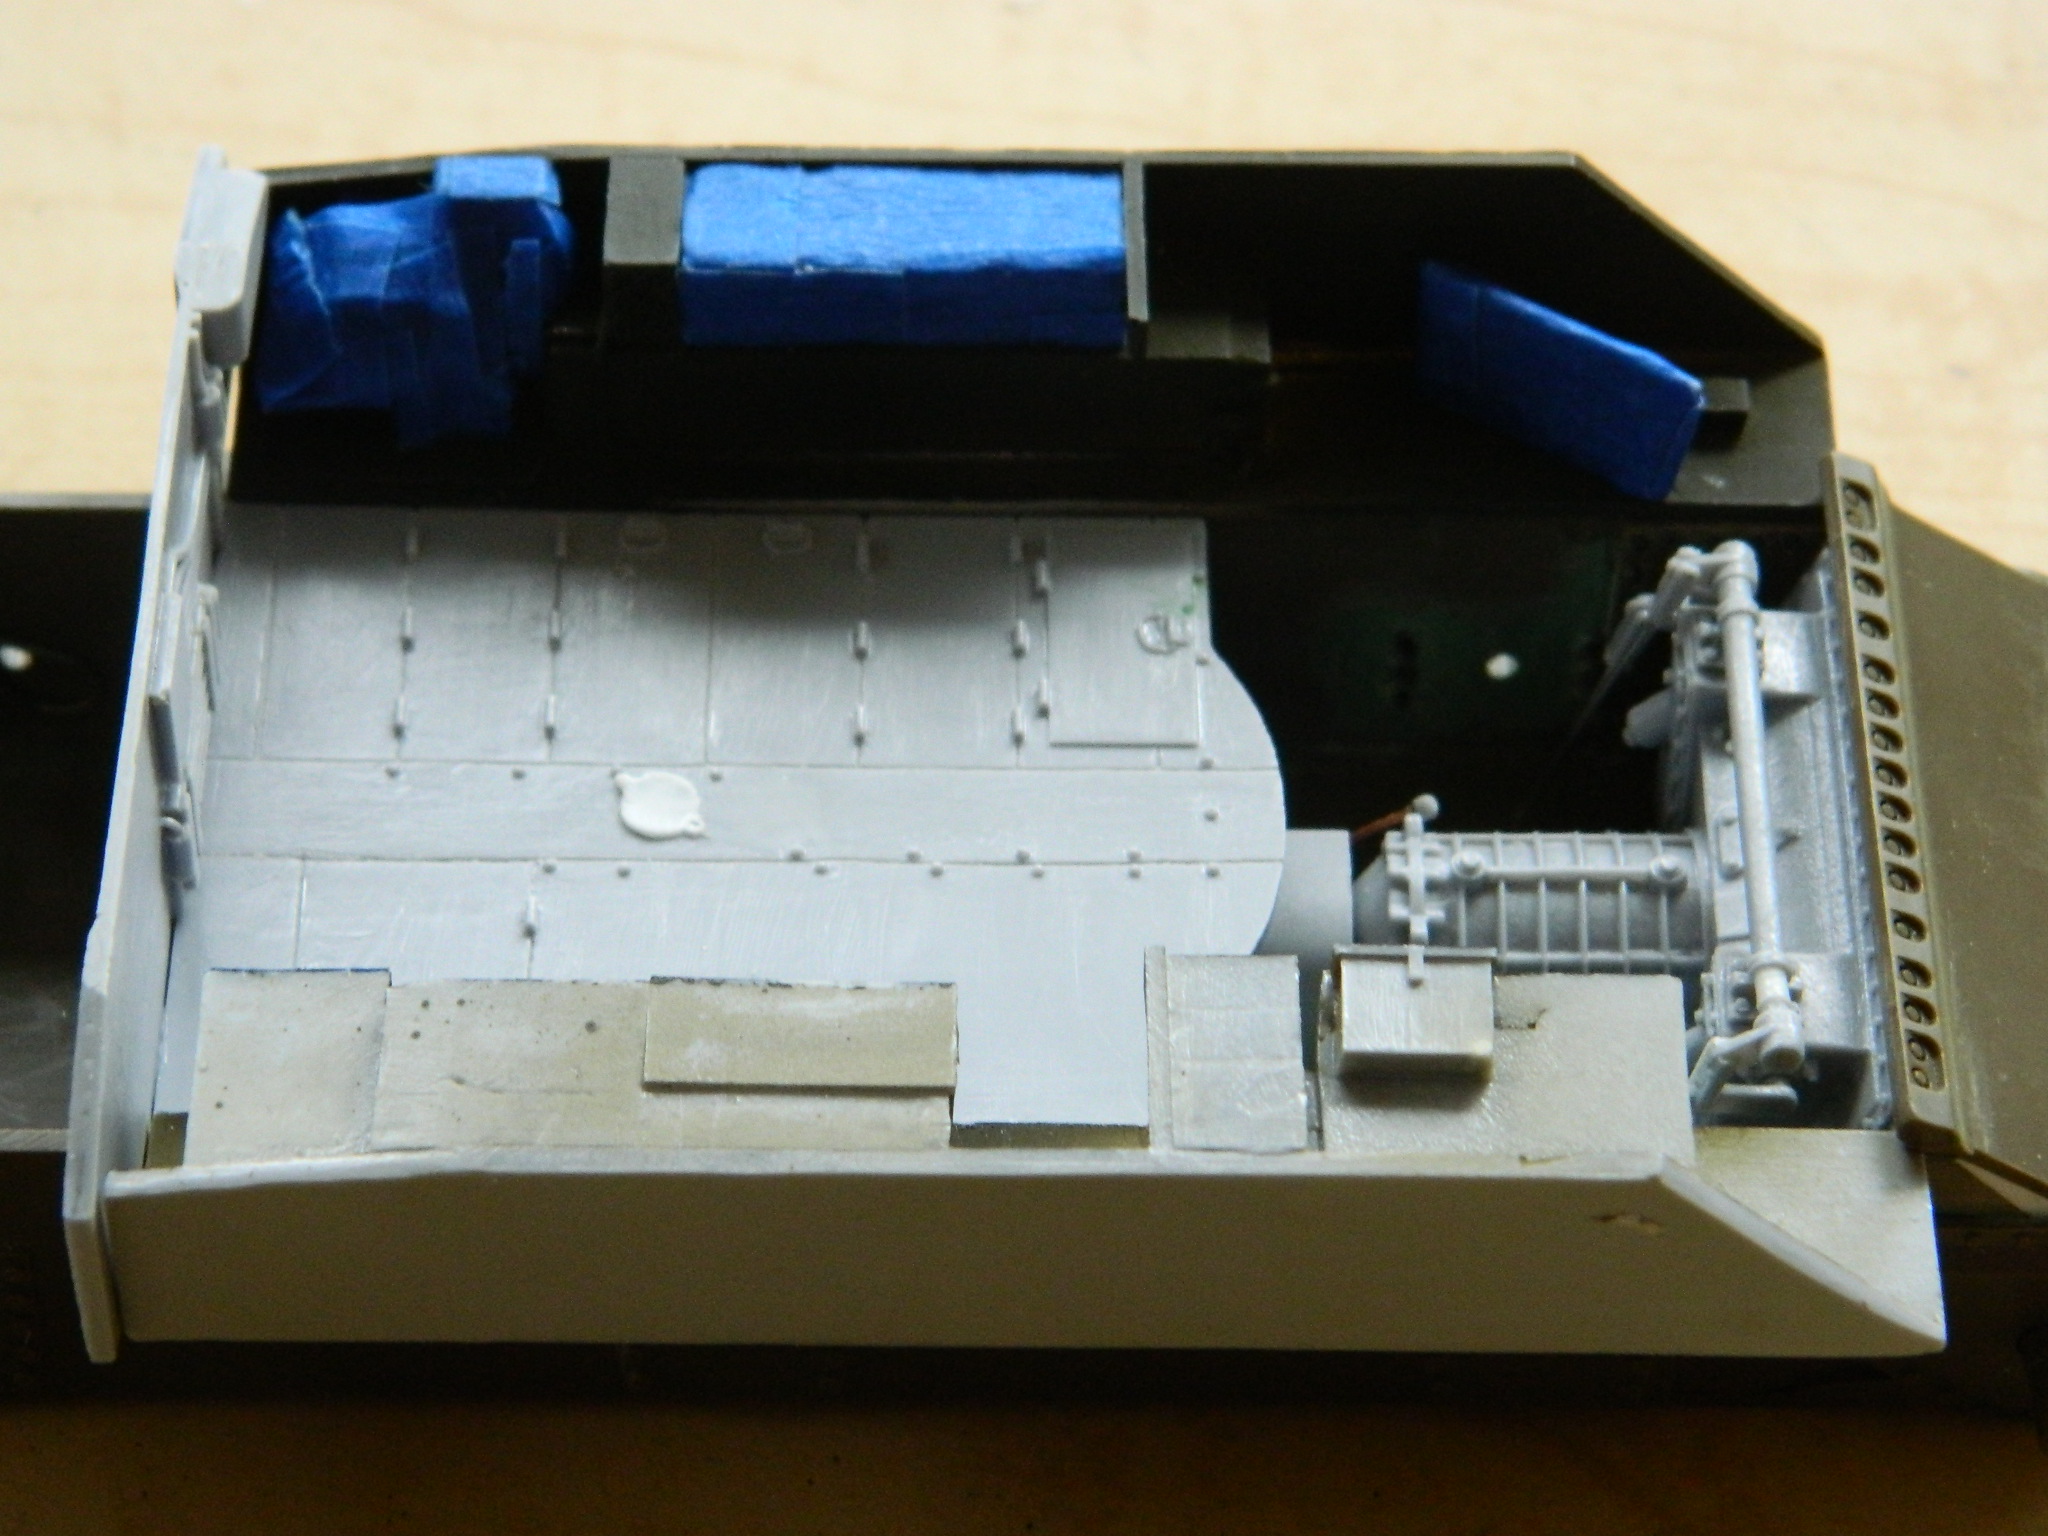
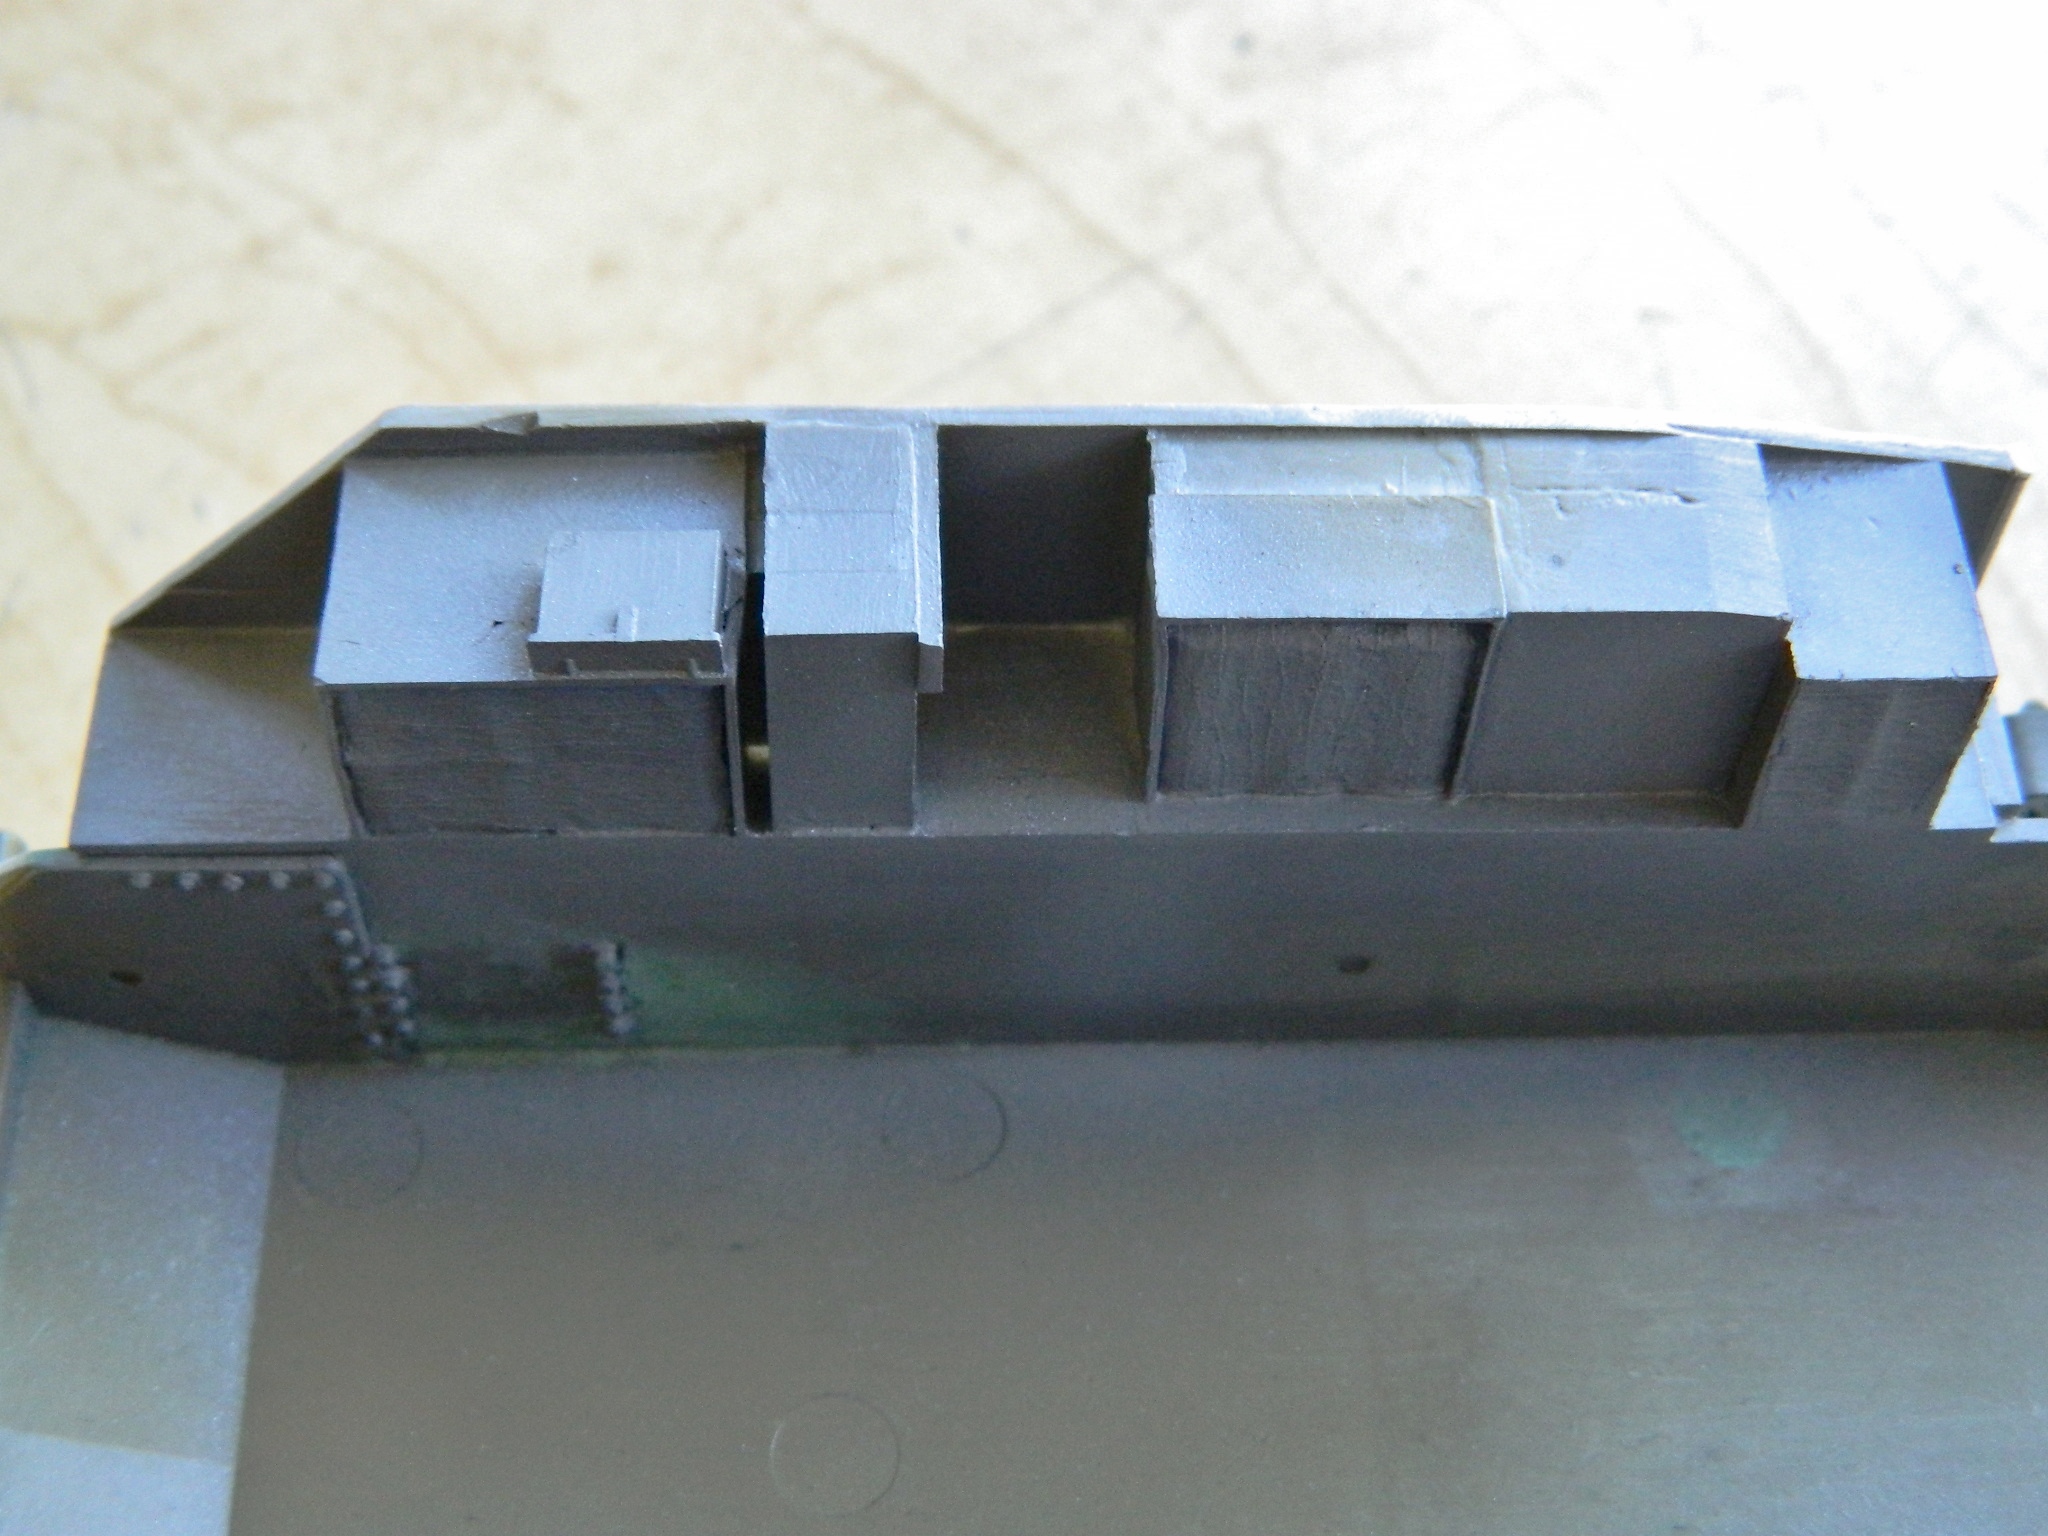
Some of the items, such as the ammo cans and the APU (auxiliary power unit), are OD green, and the rest of the interior is white. I decided it would be easier to mask off the OD sections and then shoot with white (my normal procedure is to shoot the white first and then whatever color comes next as white is easier to cover than to shoot over a darker color). Since I had the airbrush loaded with OD green, I shot some other stuff I knew I wanted that color also. Once I had the areas under OD that I wanted, I added details:
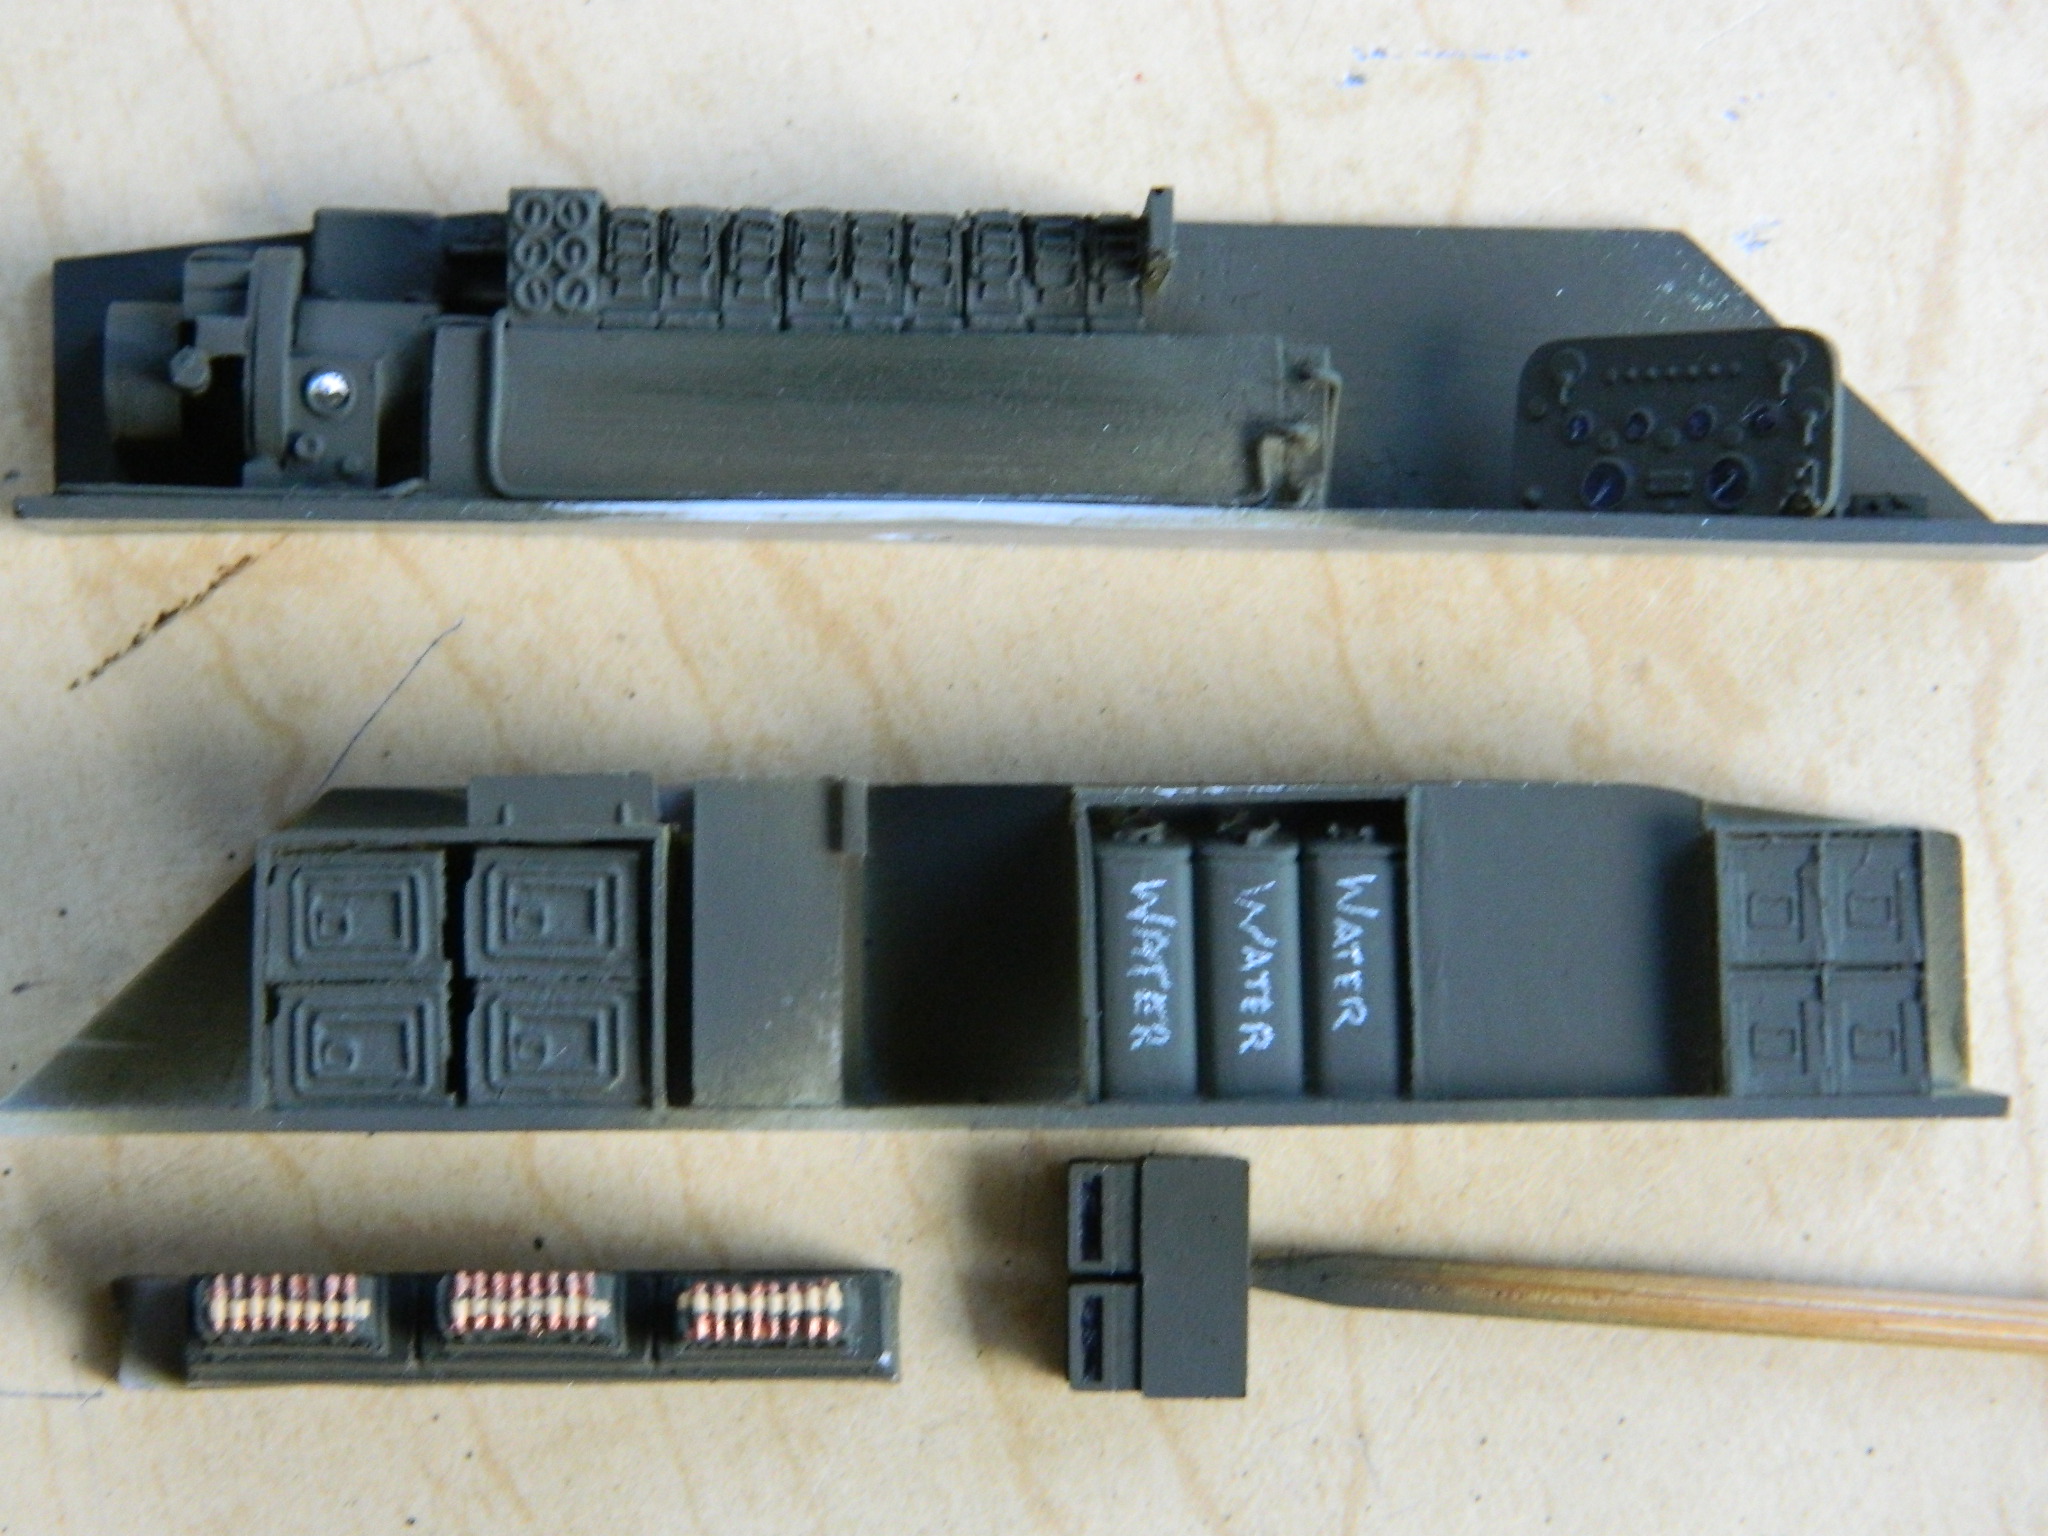
The areas that are going to remain OD were masked off and set aside:

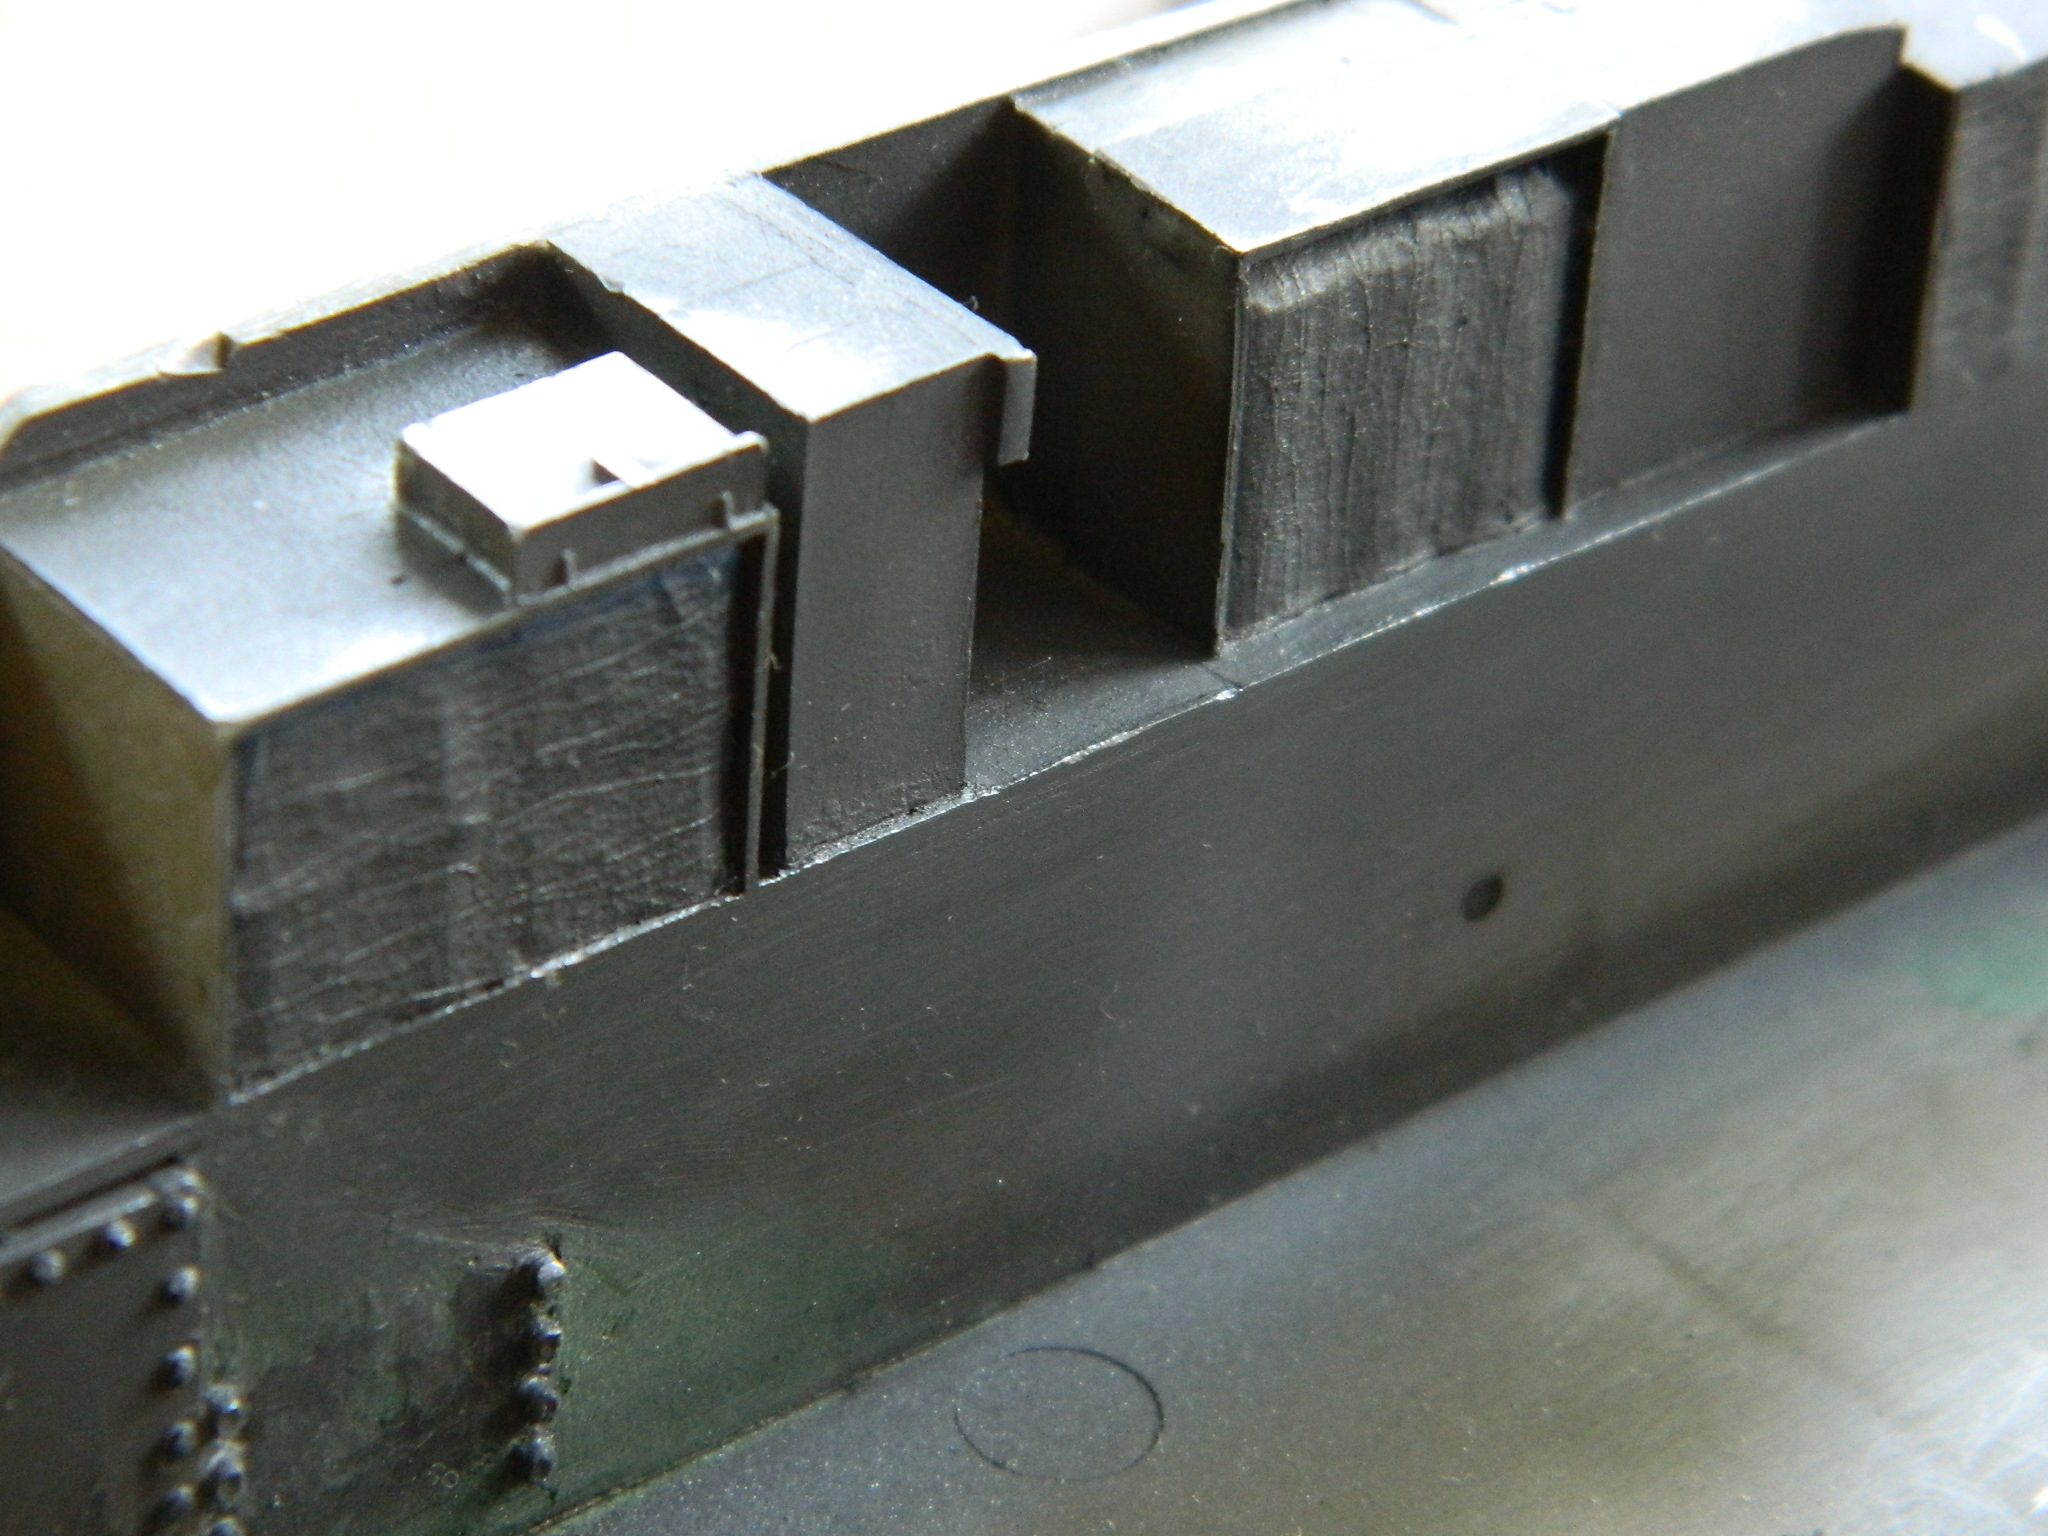
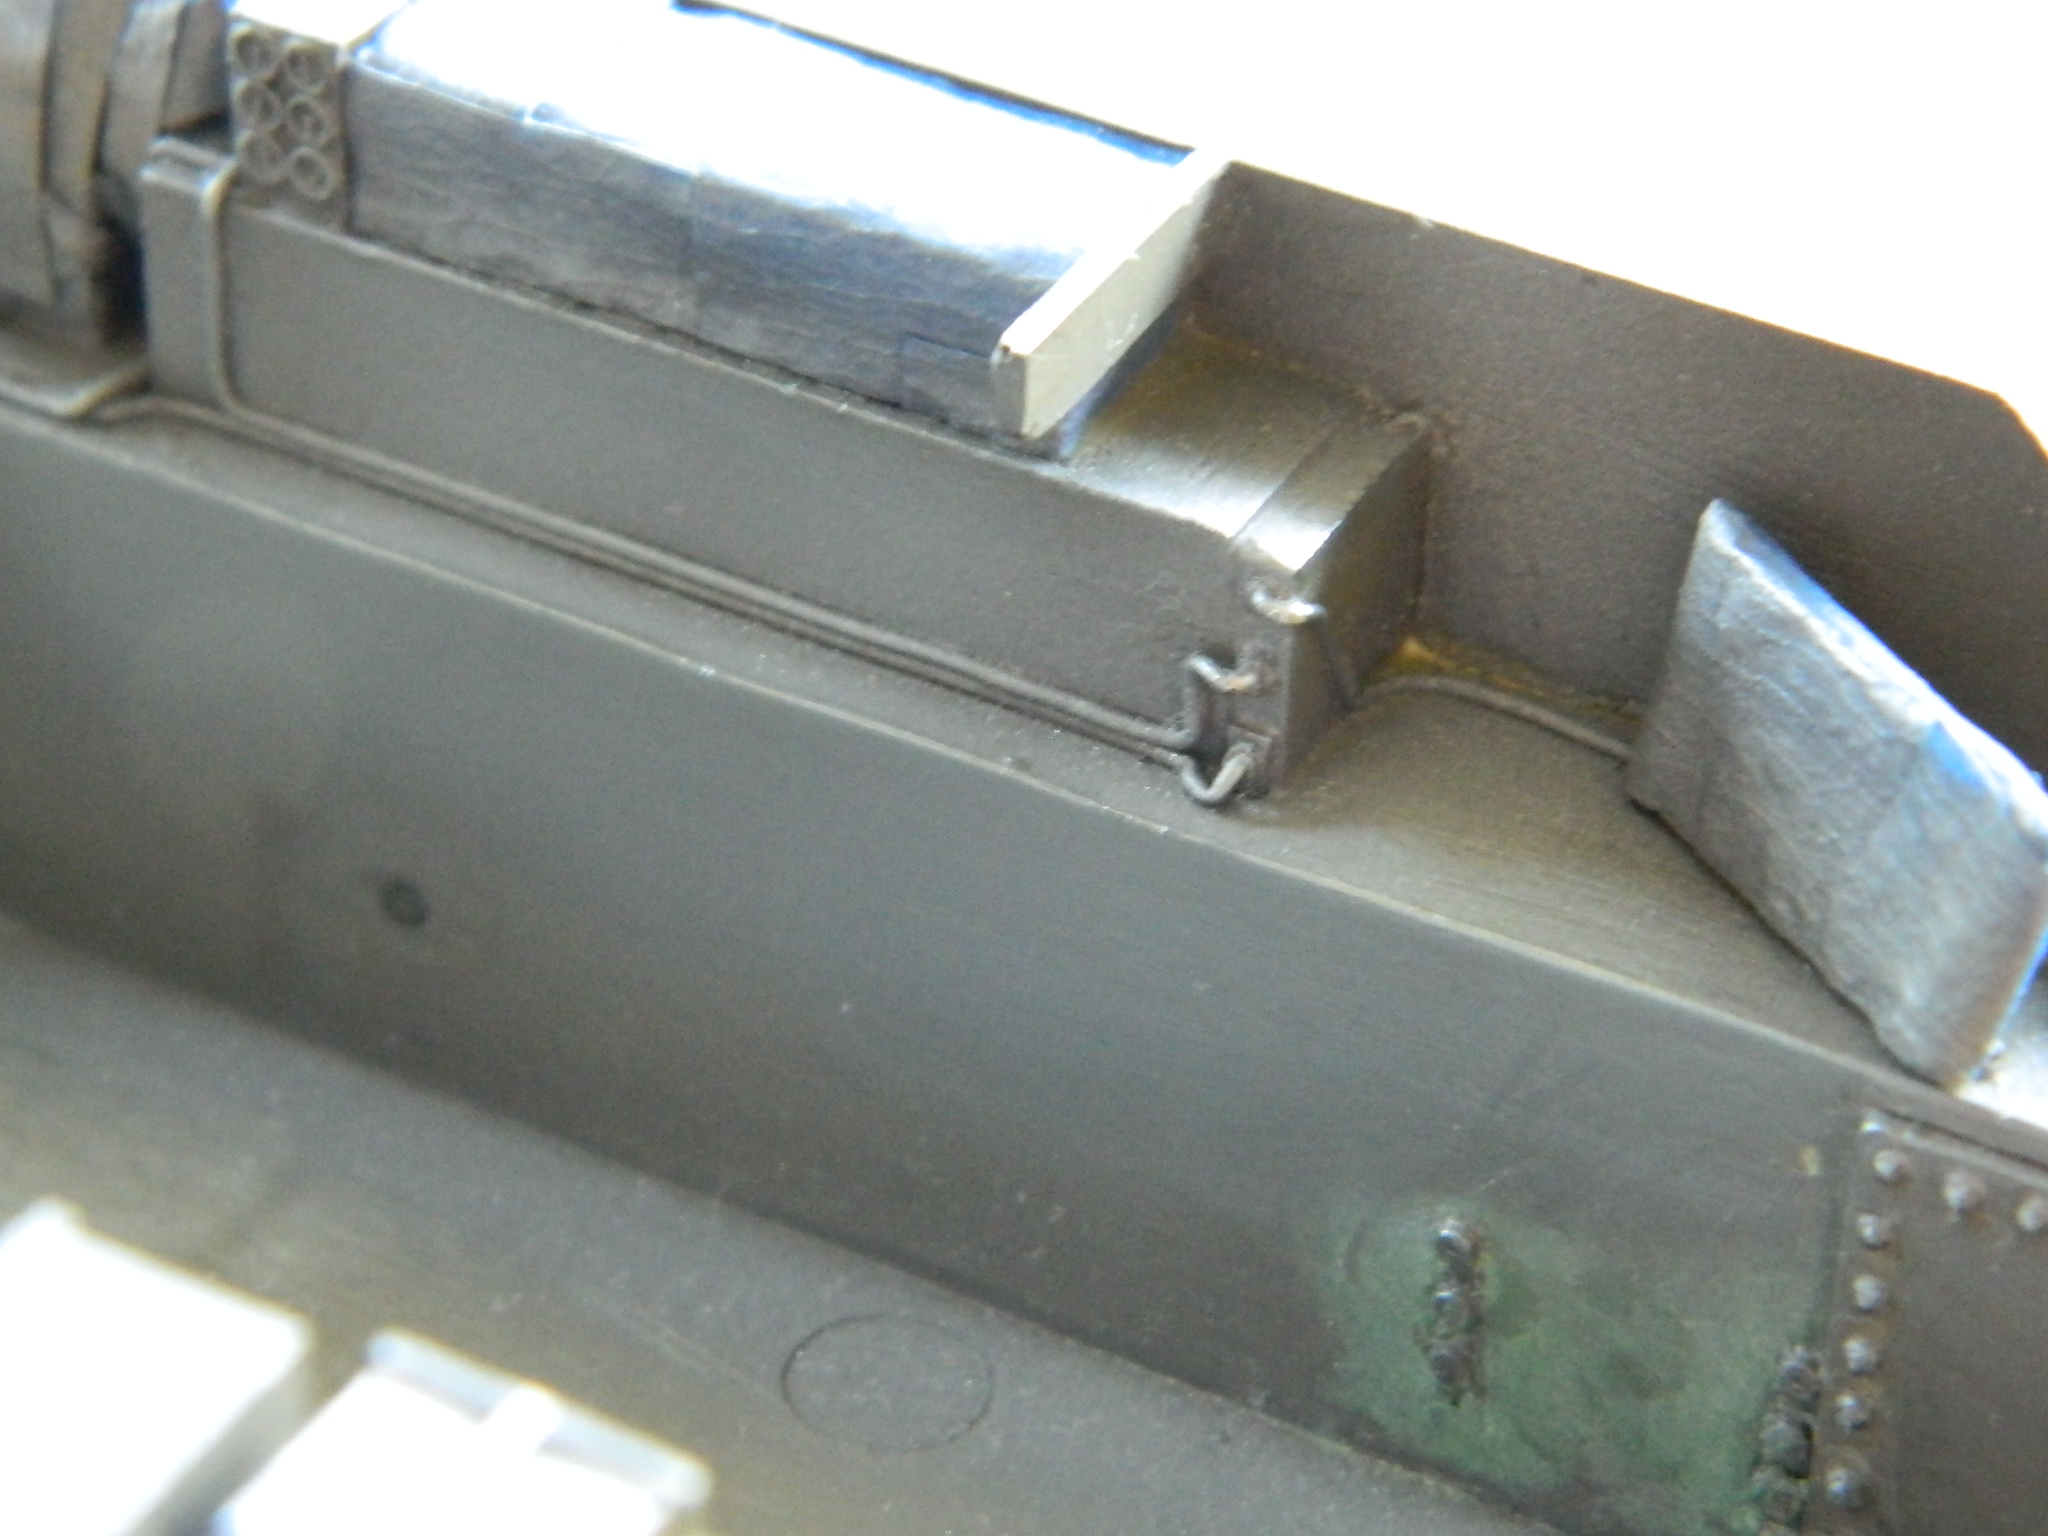
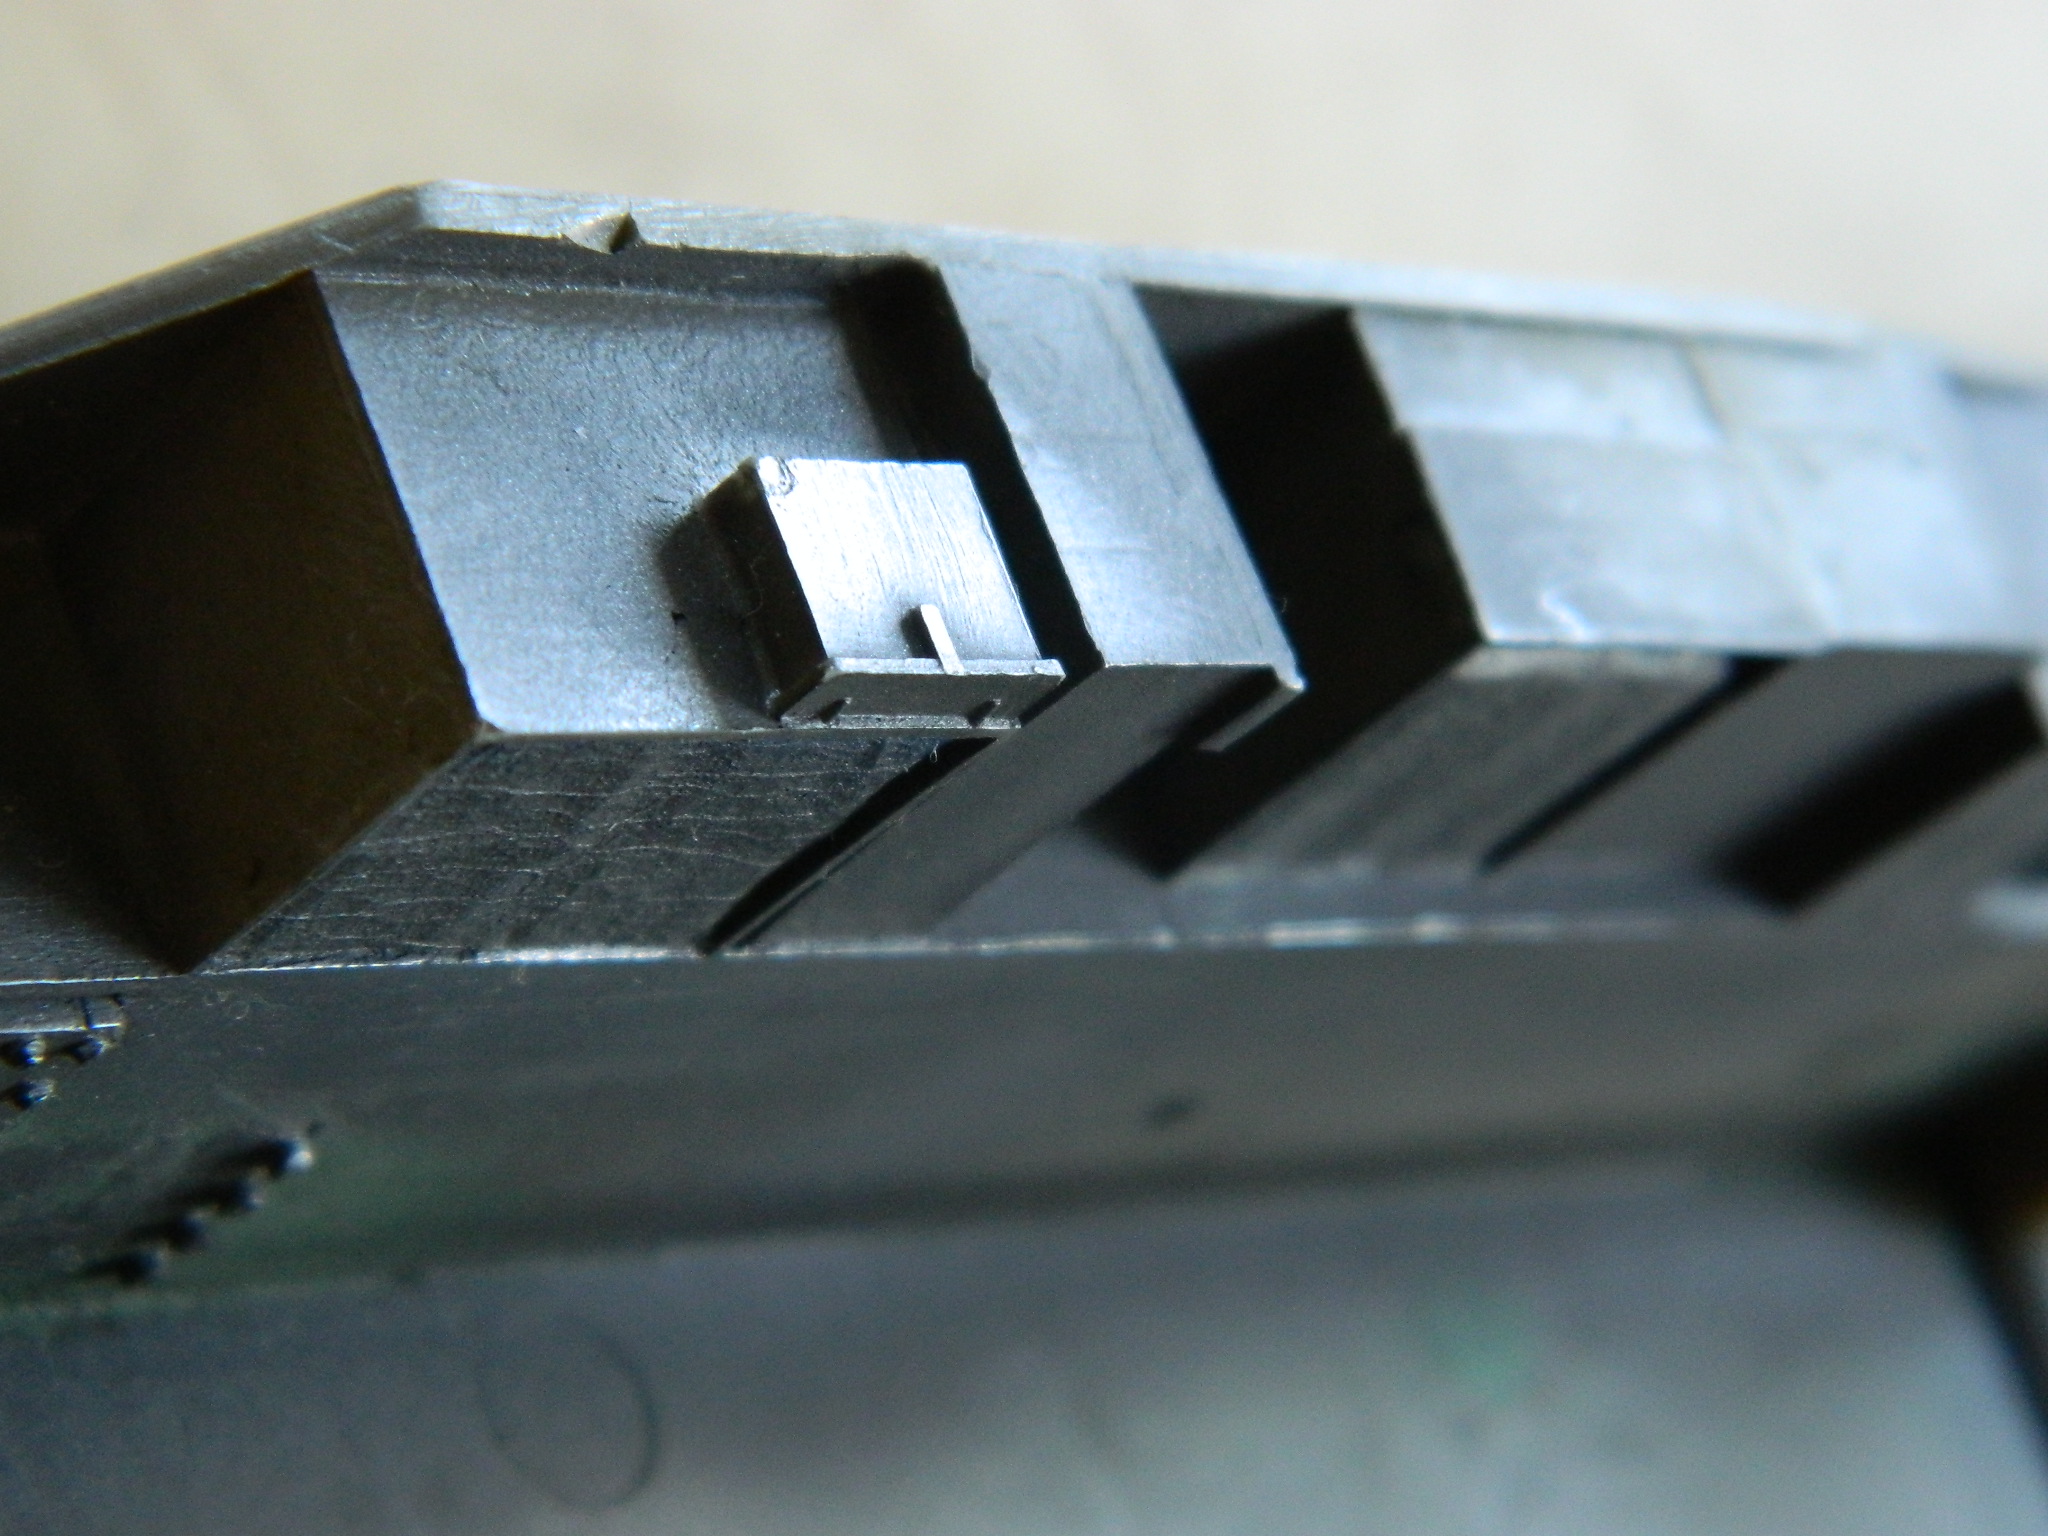
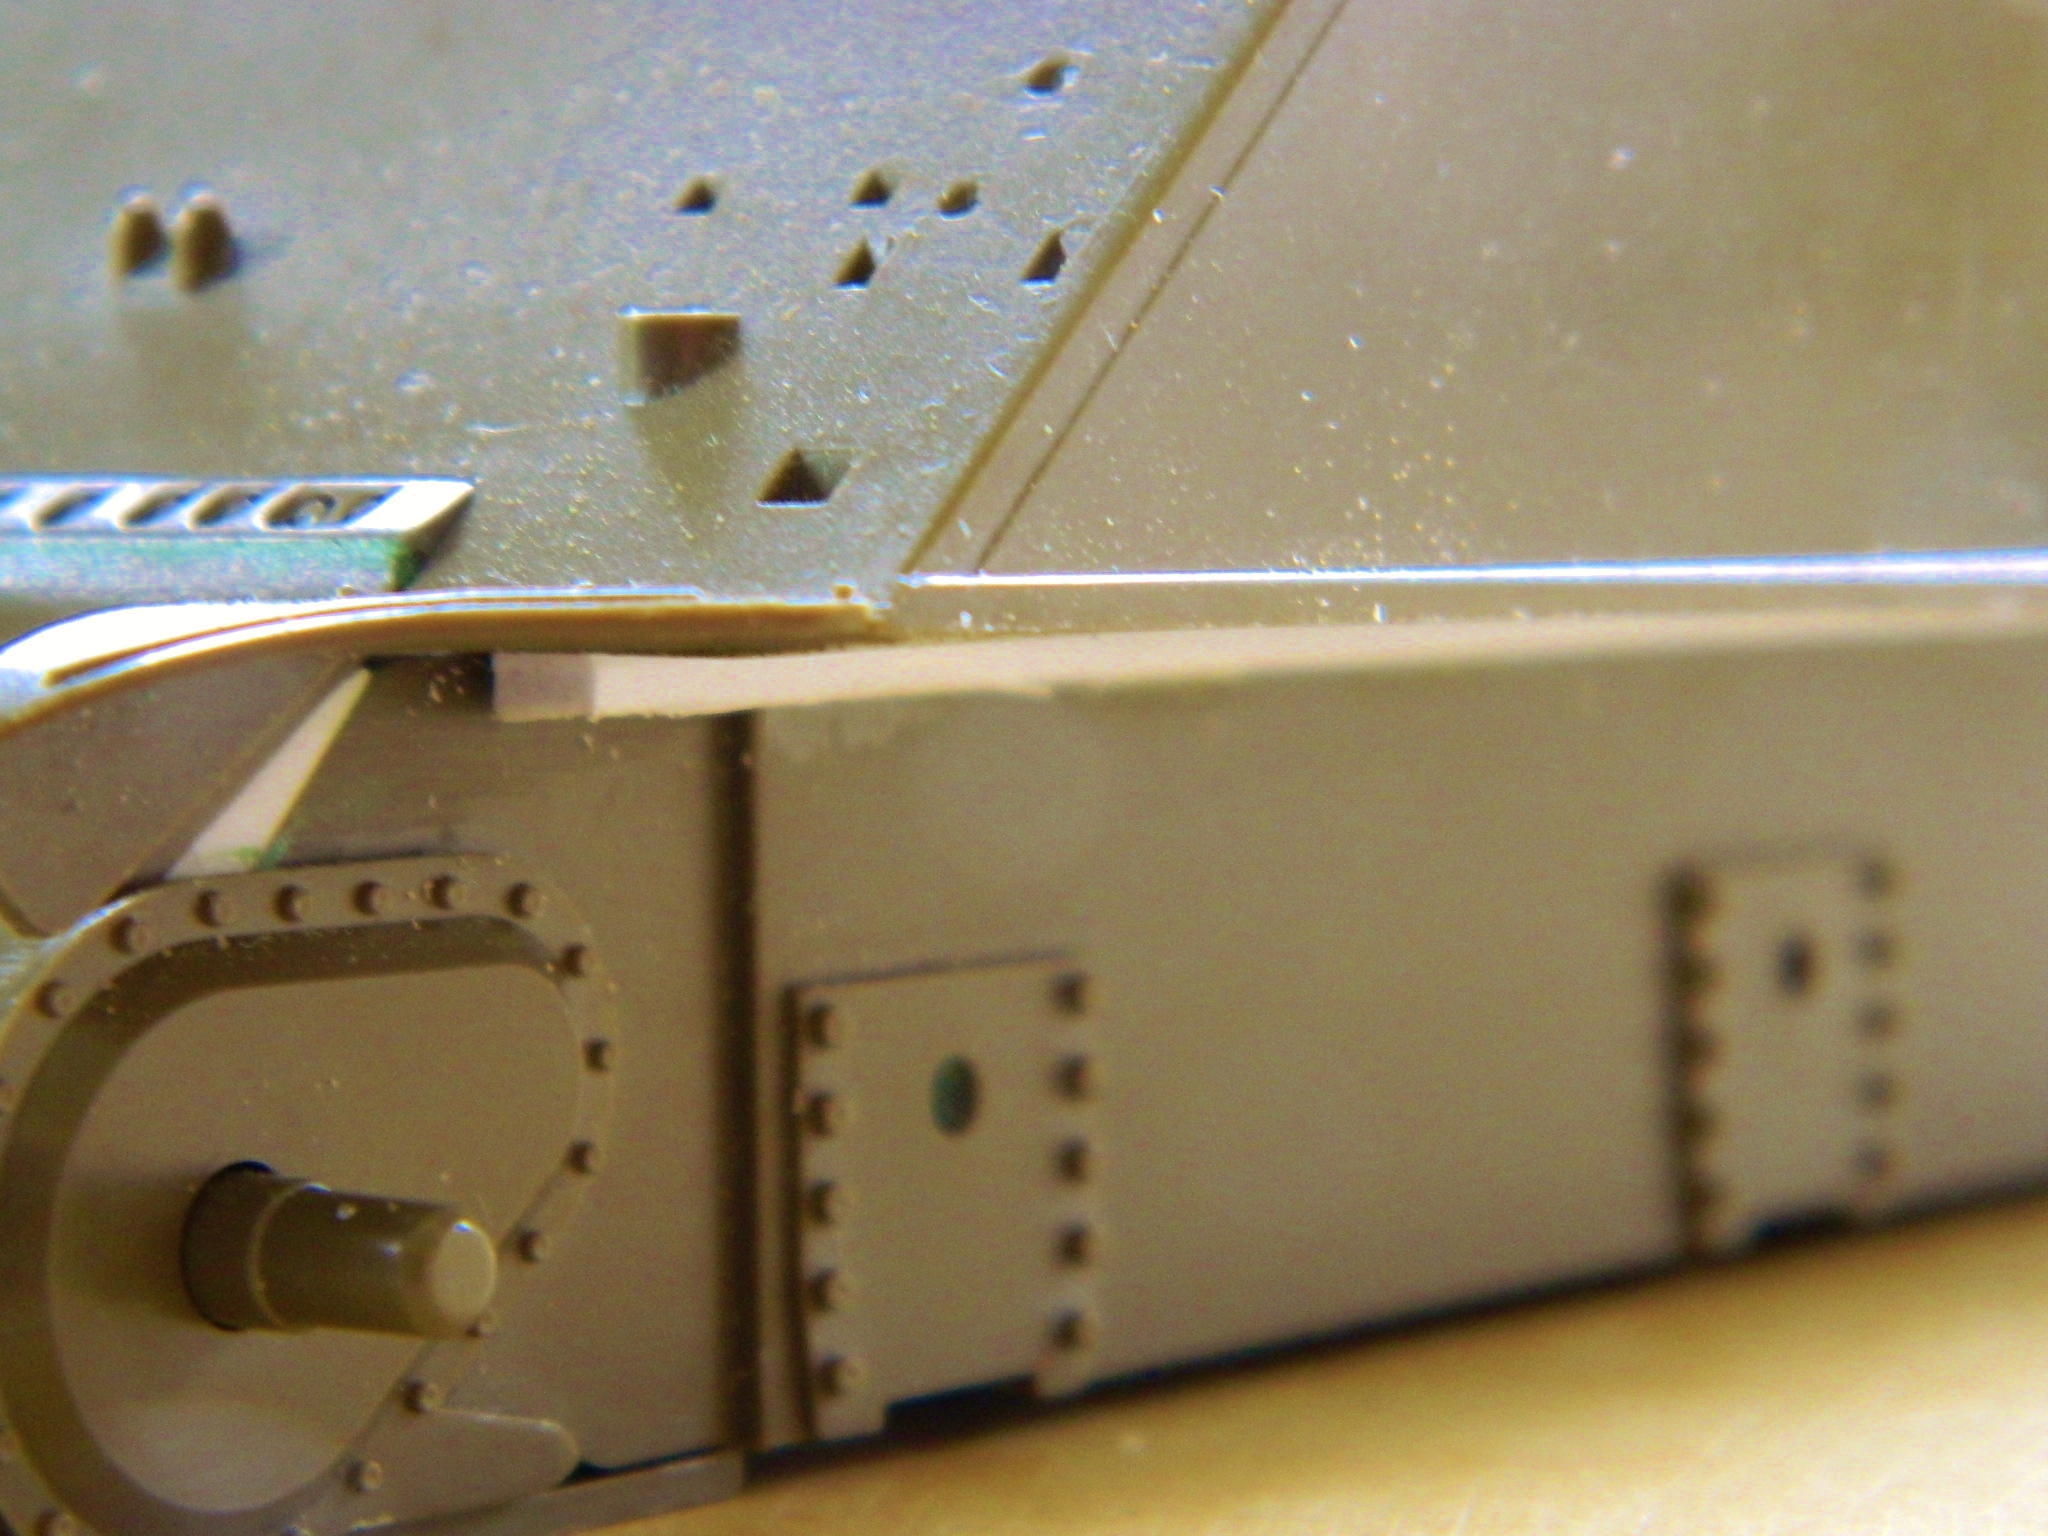
The AM vendor recommended that strips of plastic be added to the sponson attachment points and once done, I checked to make sure that the sponsons would not extend down too far, which they don’t (that error made itself evident a few months later because they actually do). And speaking of errors, remember when I was putting the driver’s control bits together and I mentioned an error I didn’t realize I was making? I found it. The transverse rod that’s above the transmission should have been reversed. That meant I had to add a piece of styrene rod to the end so that the linkages line up properly. Since I knew I was going to shoot the hull sides and sponsons steel, I attached them at this point:

Now I dry fit the upper hull so that I can start mapping in my head where the various wear spots are. Some wear is from friction (rubbing against a surface) or impact (paint chips when something hard is dropped onto it):

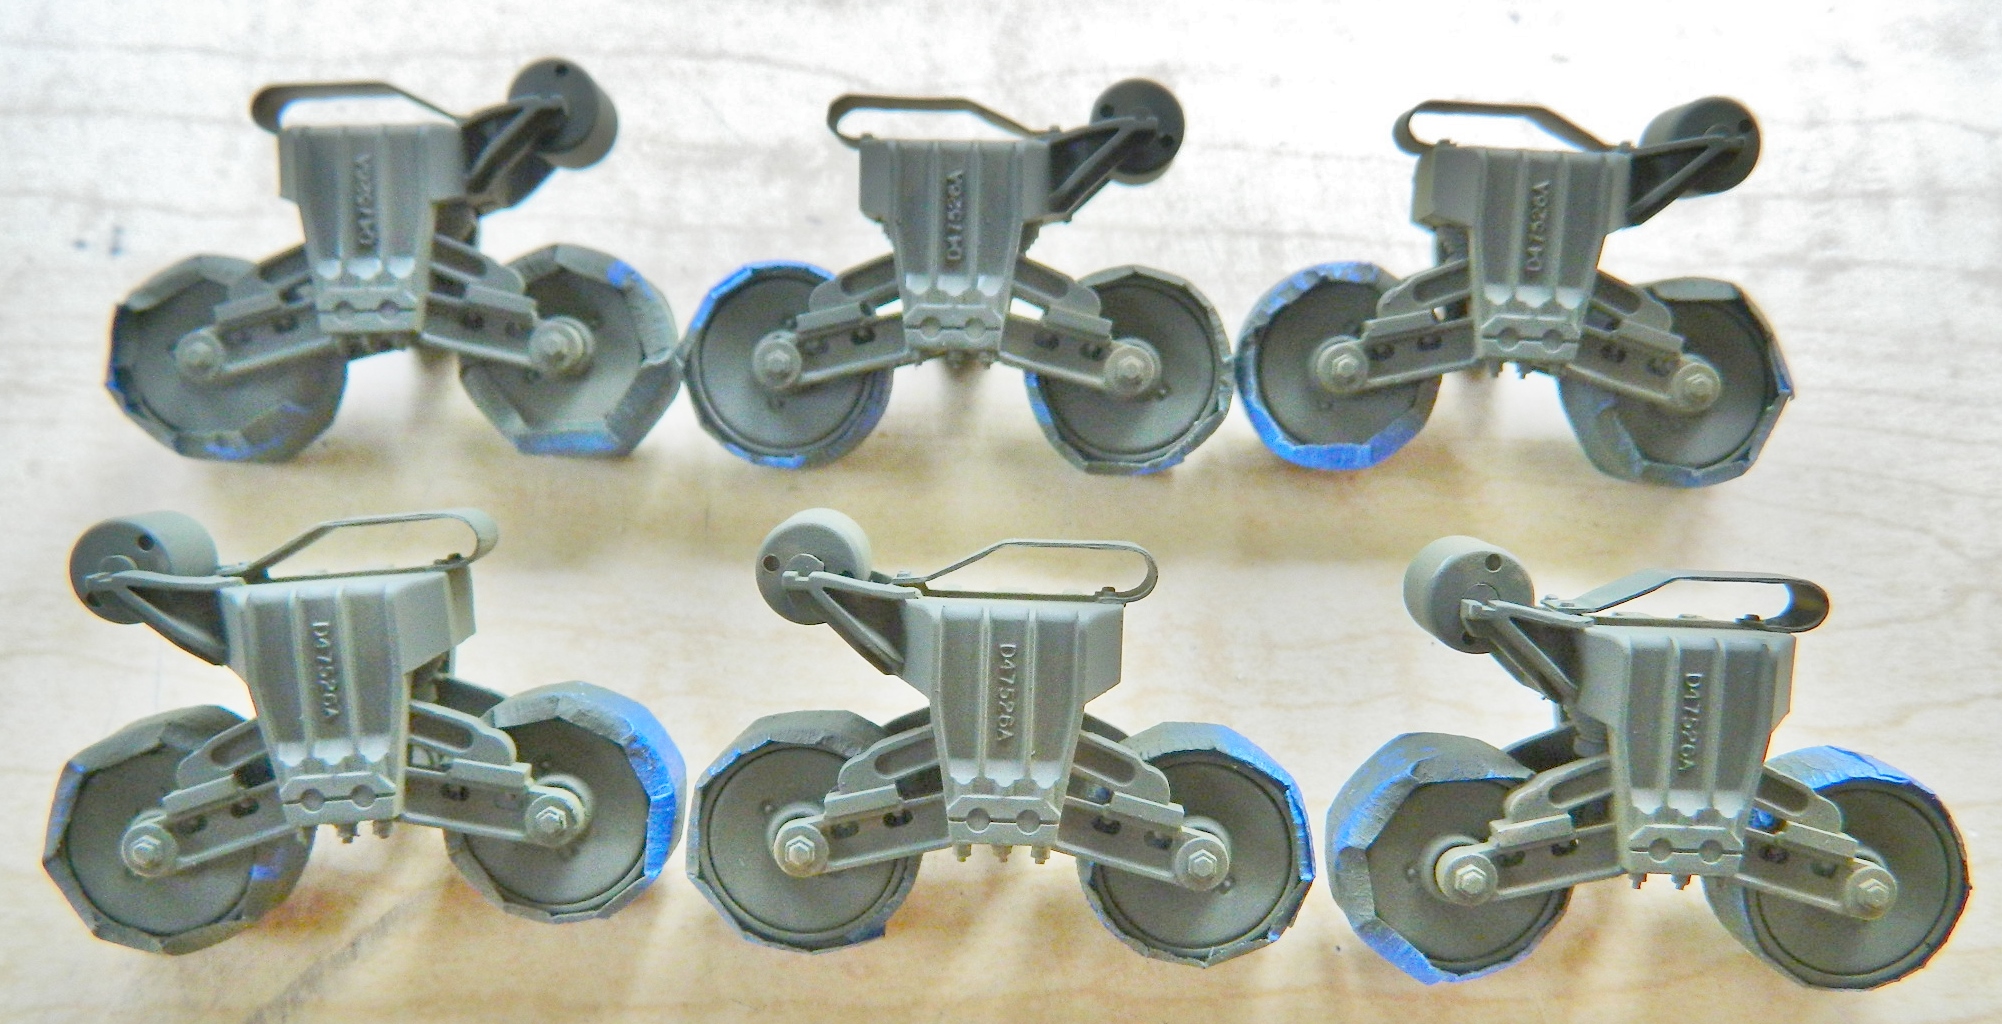
And since I need the suspension holes in the front filled and don’t want too much stress just on the front bogies, it’s time to mask off the rubber portion of the road wheels and paint the bogies and glue them to the lower hull:
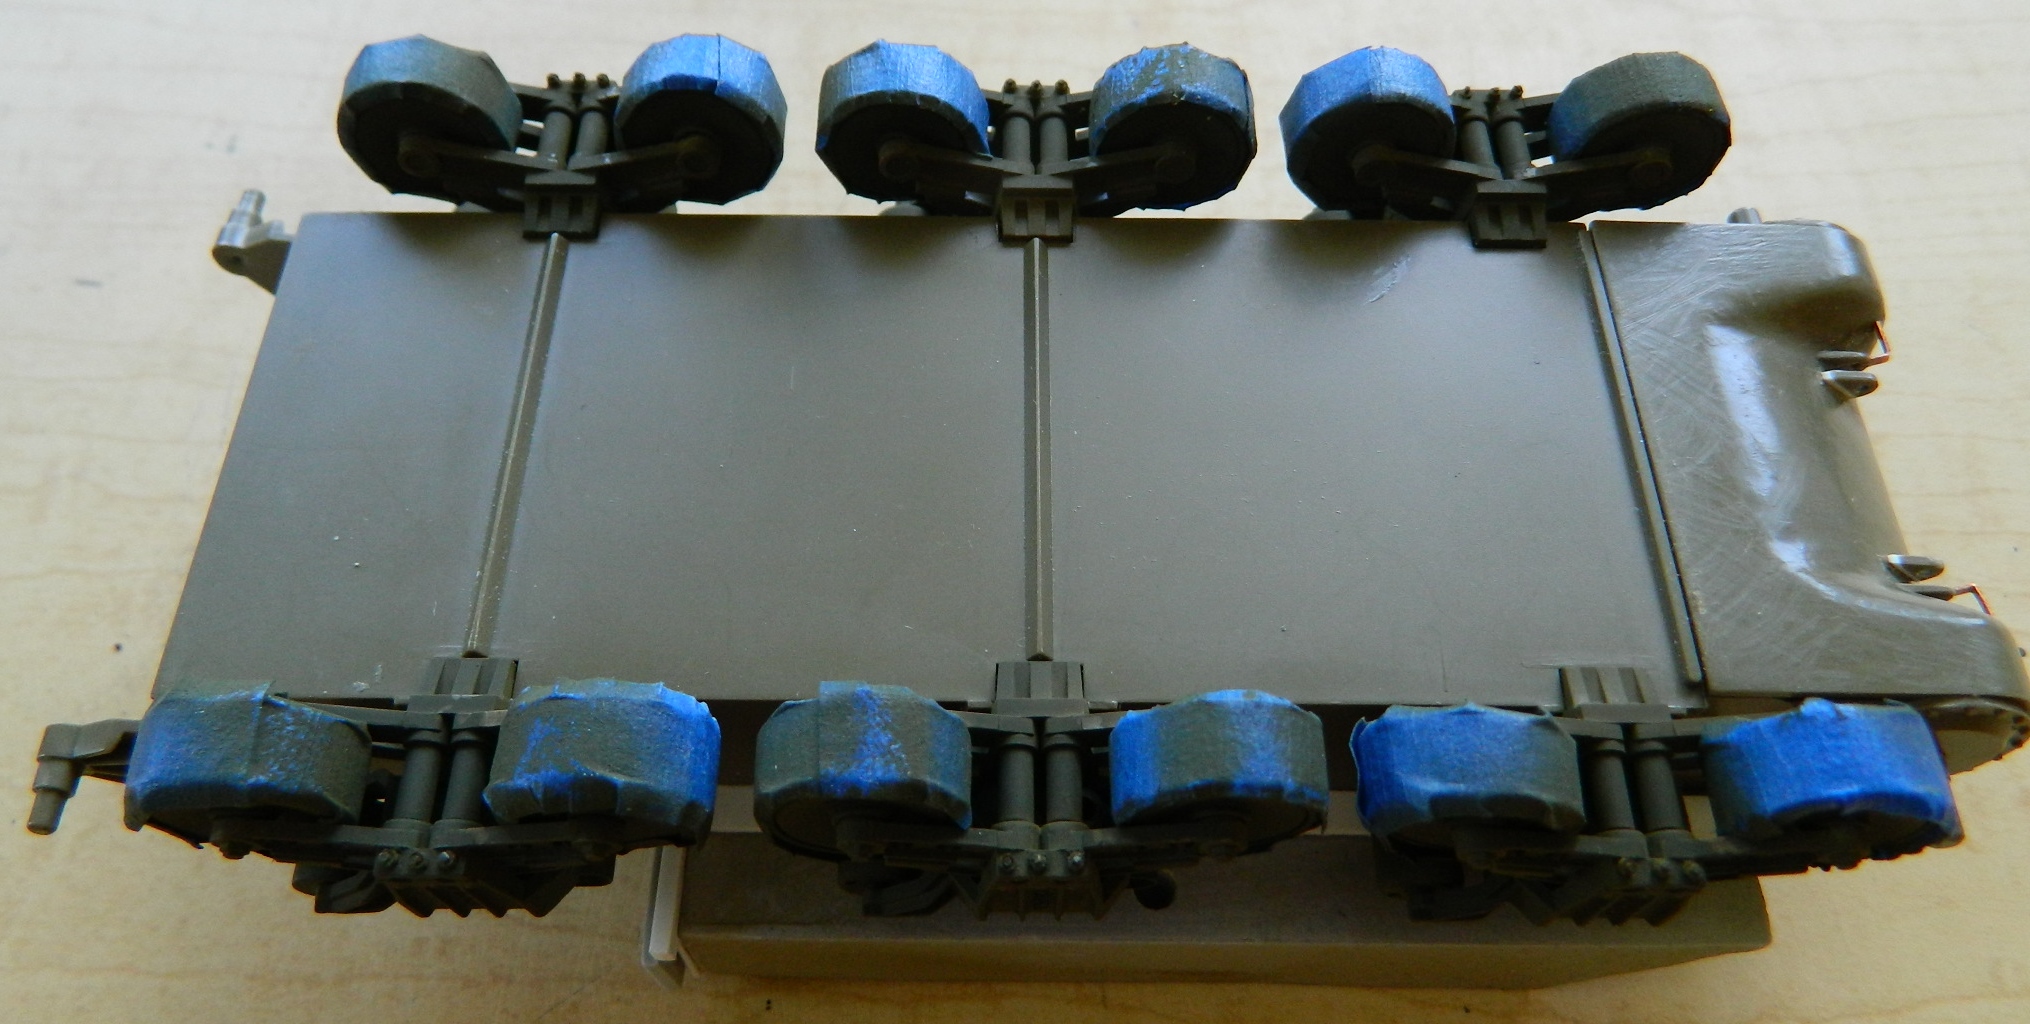
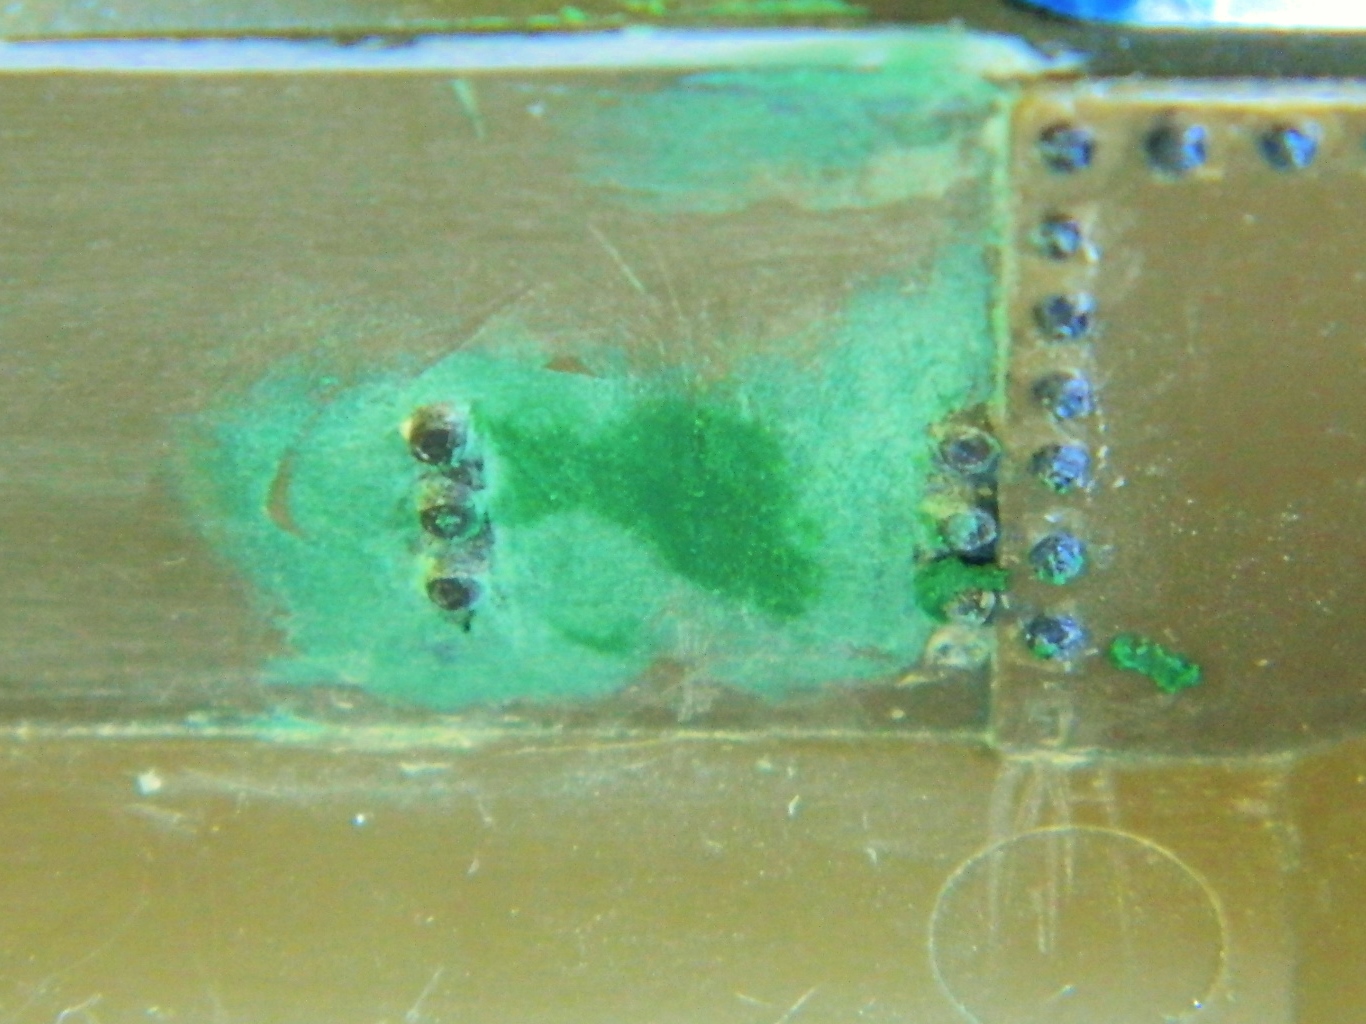
With those mounted, the holes inside the front where they can be seen are filled:
Having liked the effect of the salt chipping technique, I decided to apply it to the interior where impact wear happens. That means the first coat of paint is steel:

Once that’s set up, I buffed the areas that will see more rubbing wear and left the areas more out-of-the-way unbuffed: