My suspicions regarding how well the exterior parts align was optimistic. Thus far it looks like nothing lines up well; it’s a trade-off regarding which area(s) of the surfaces are more difficult than others to add/replace surface details.
Peeling away the masking tape gives me join lines that look like this:

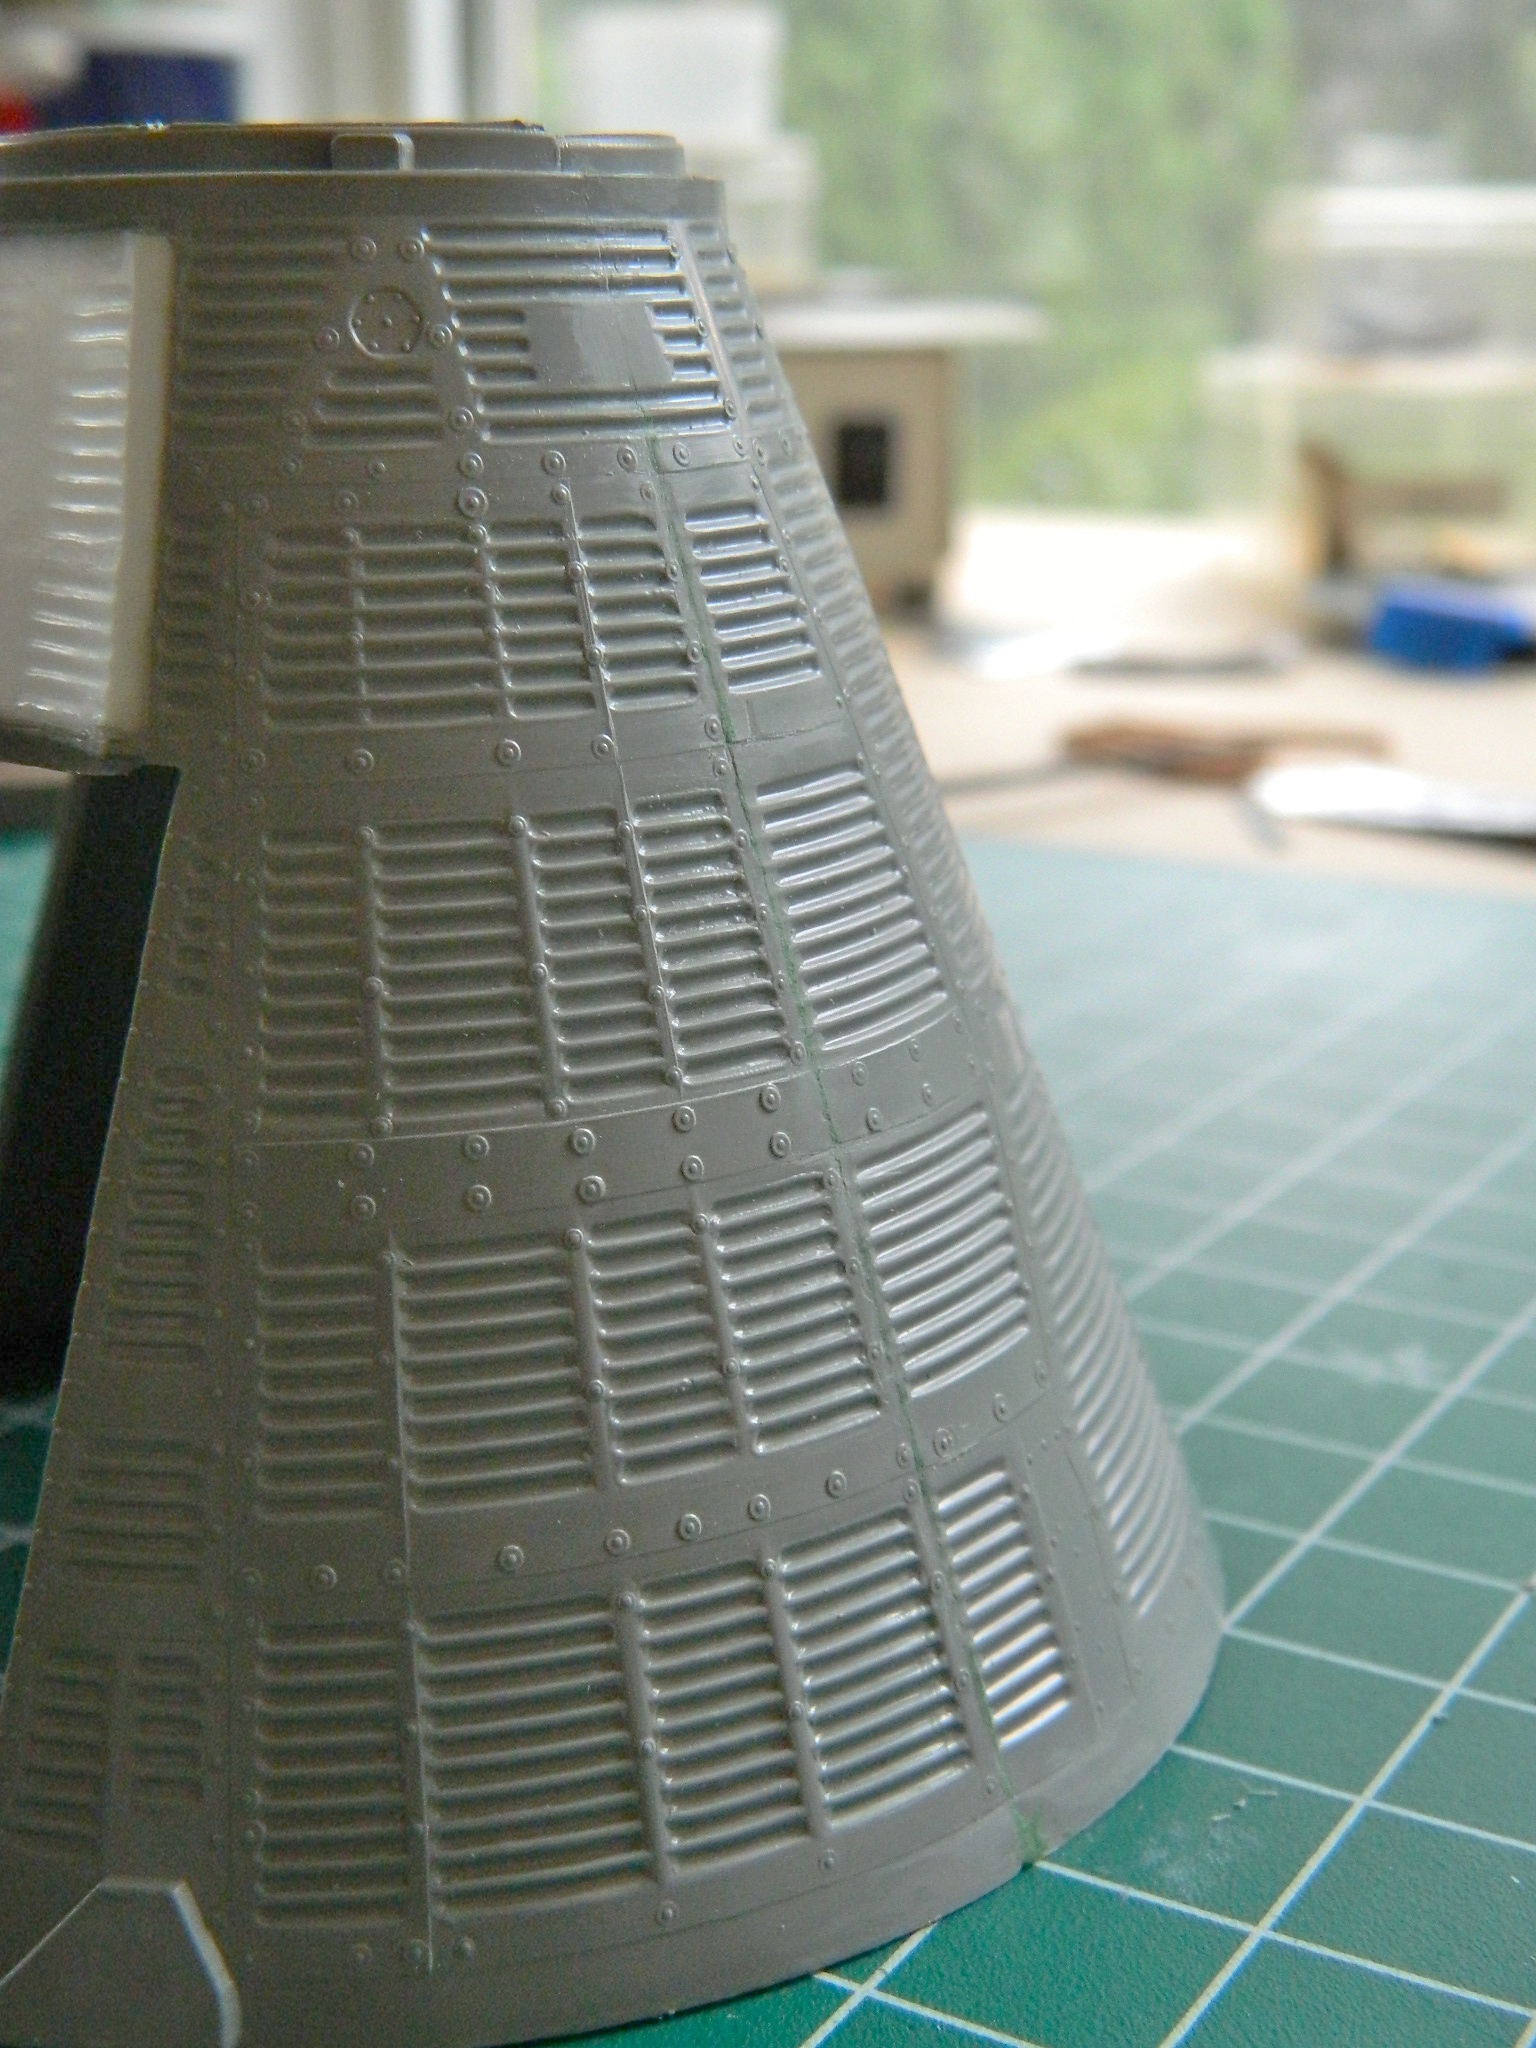
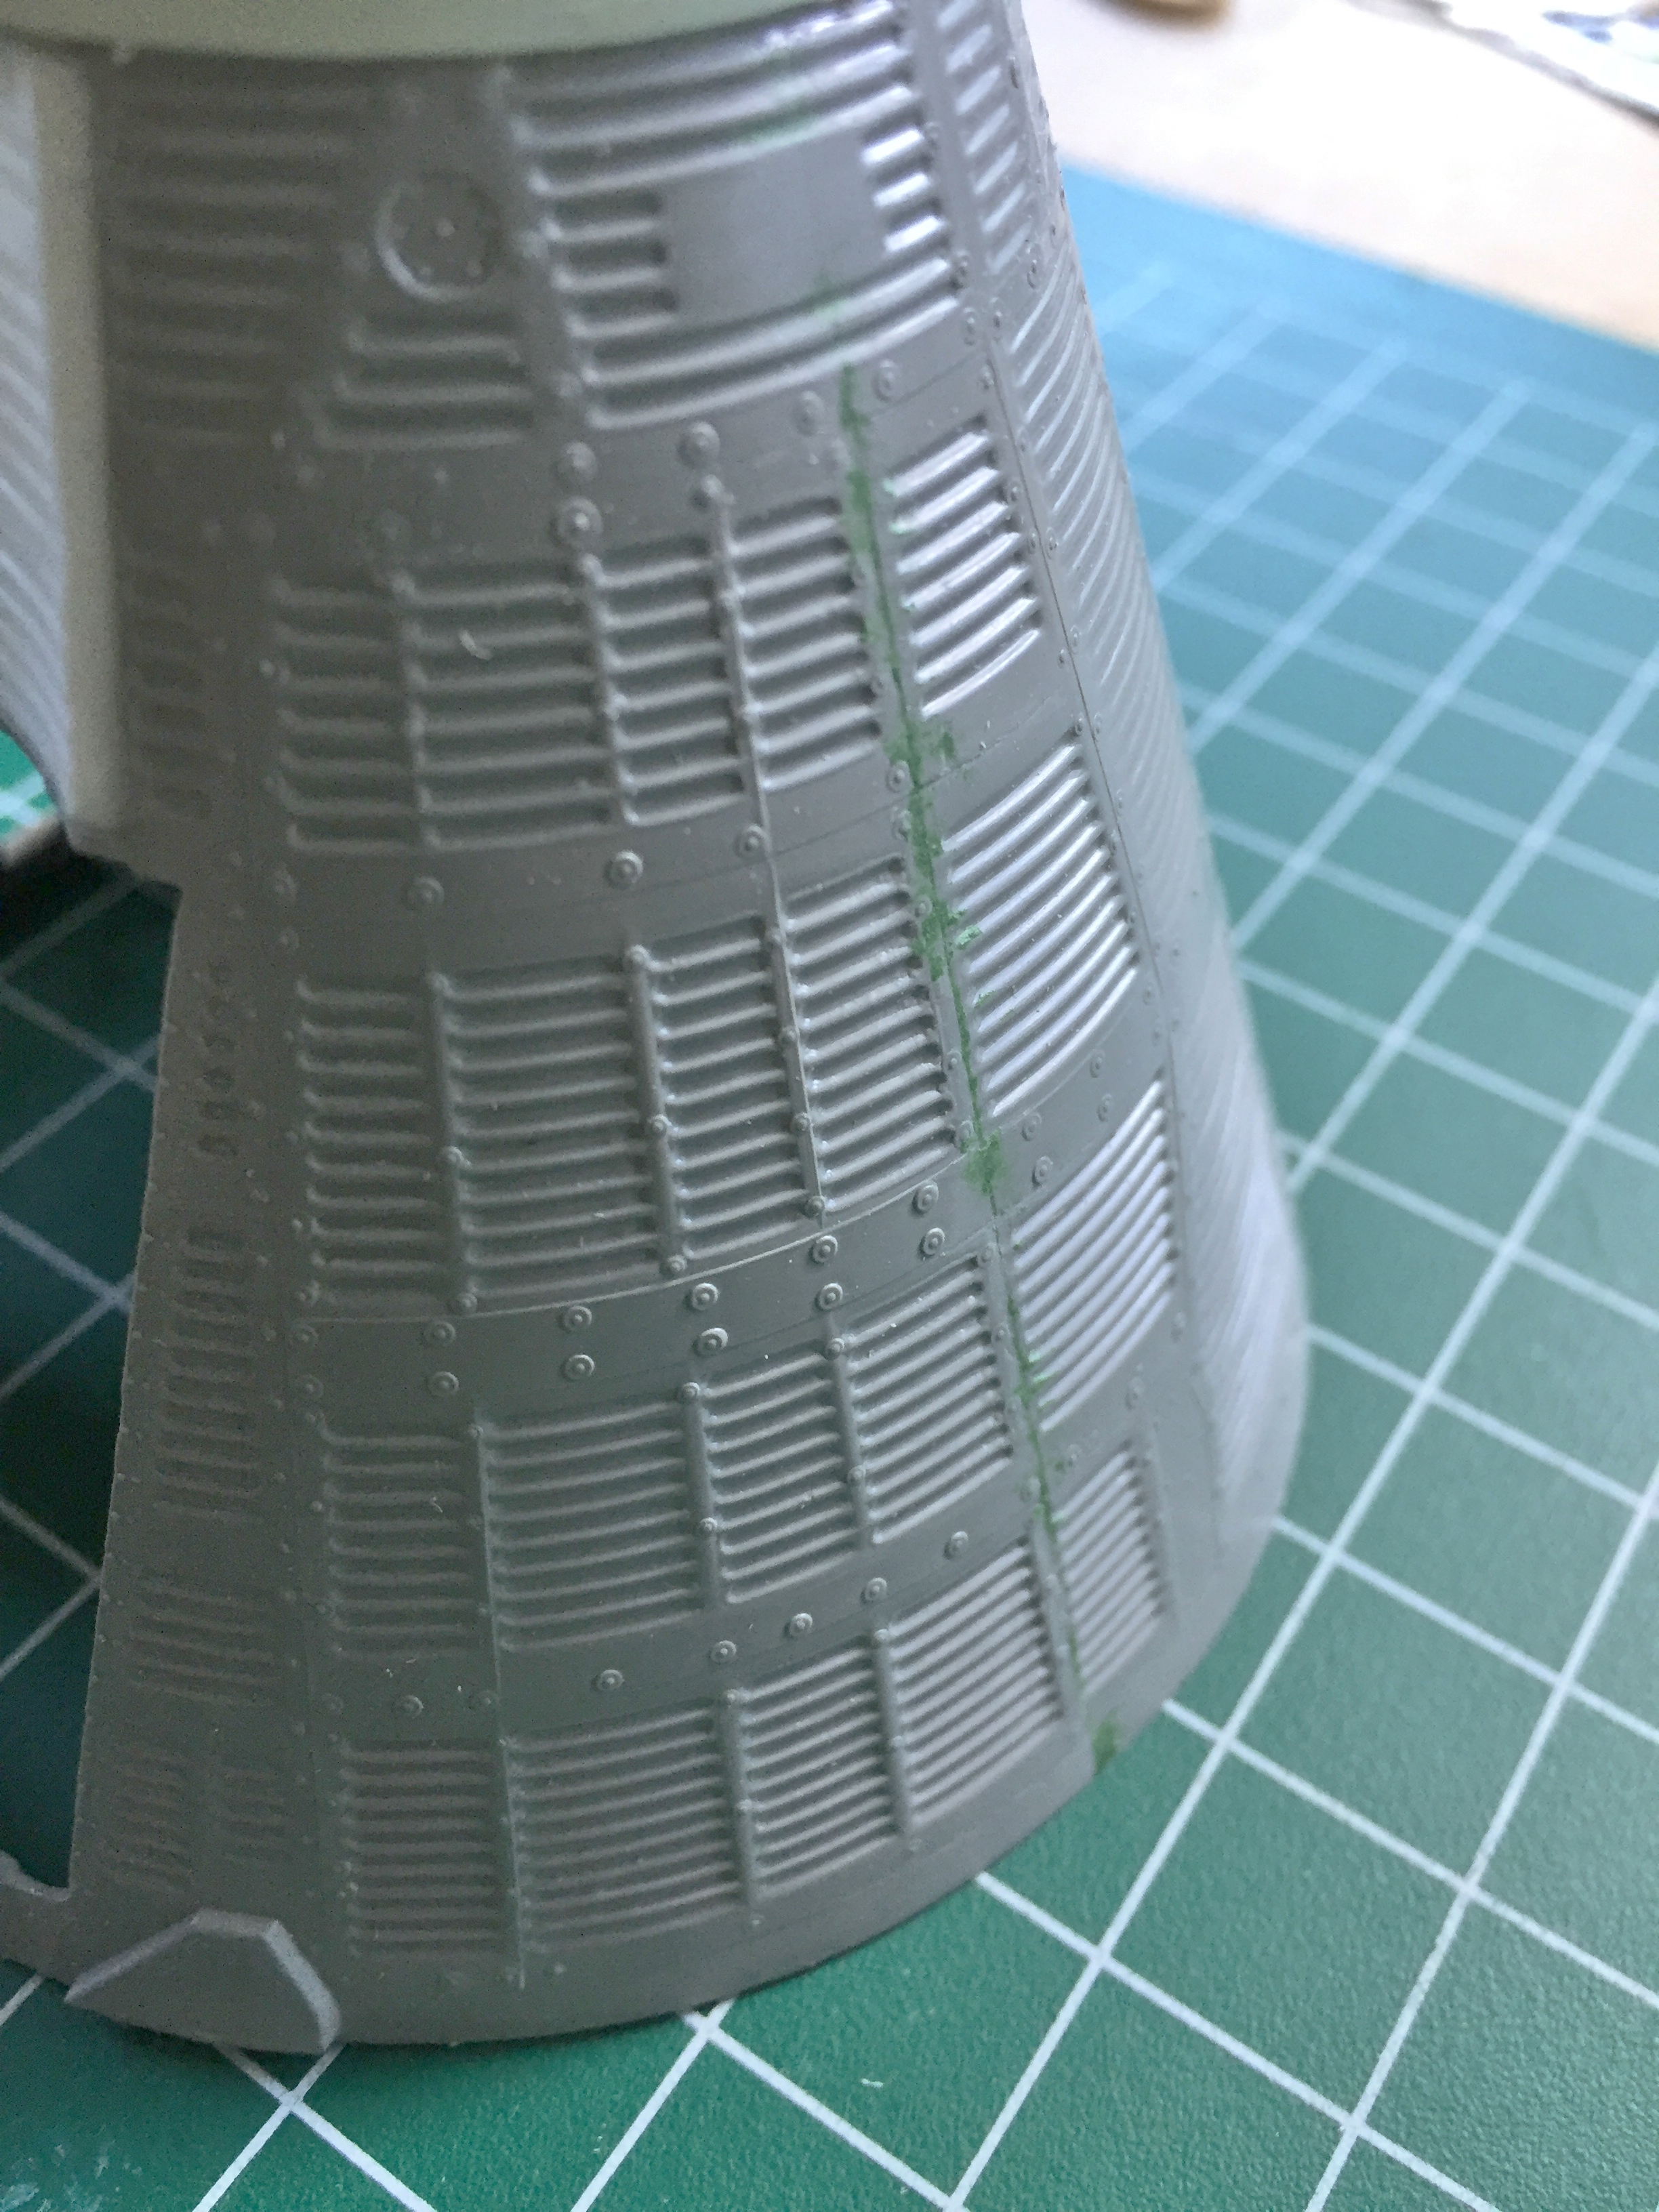

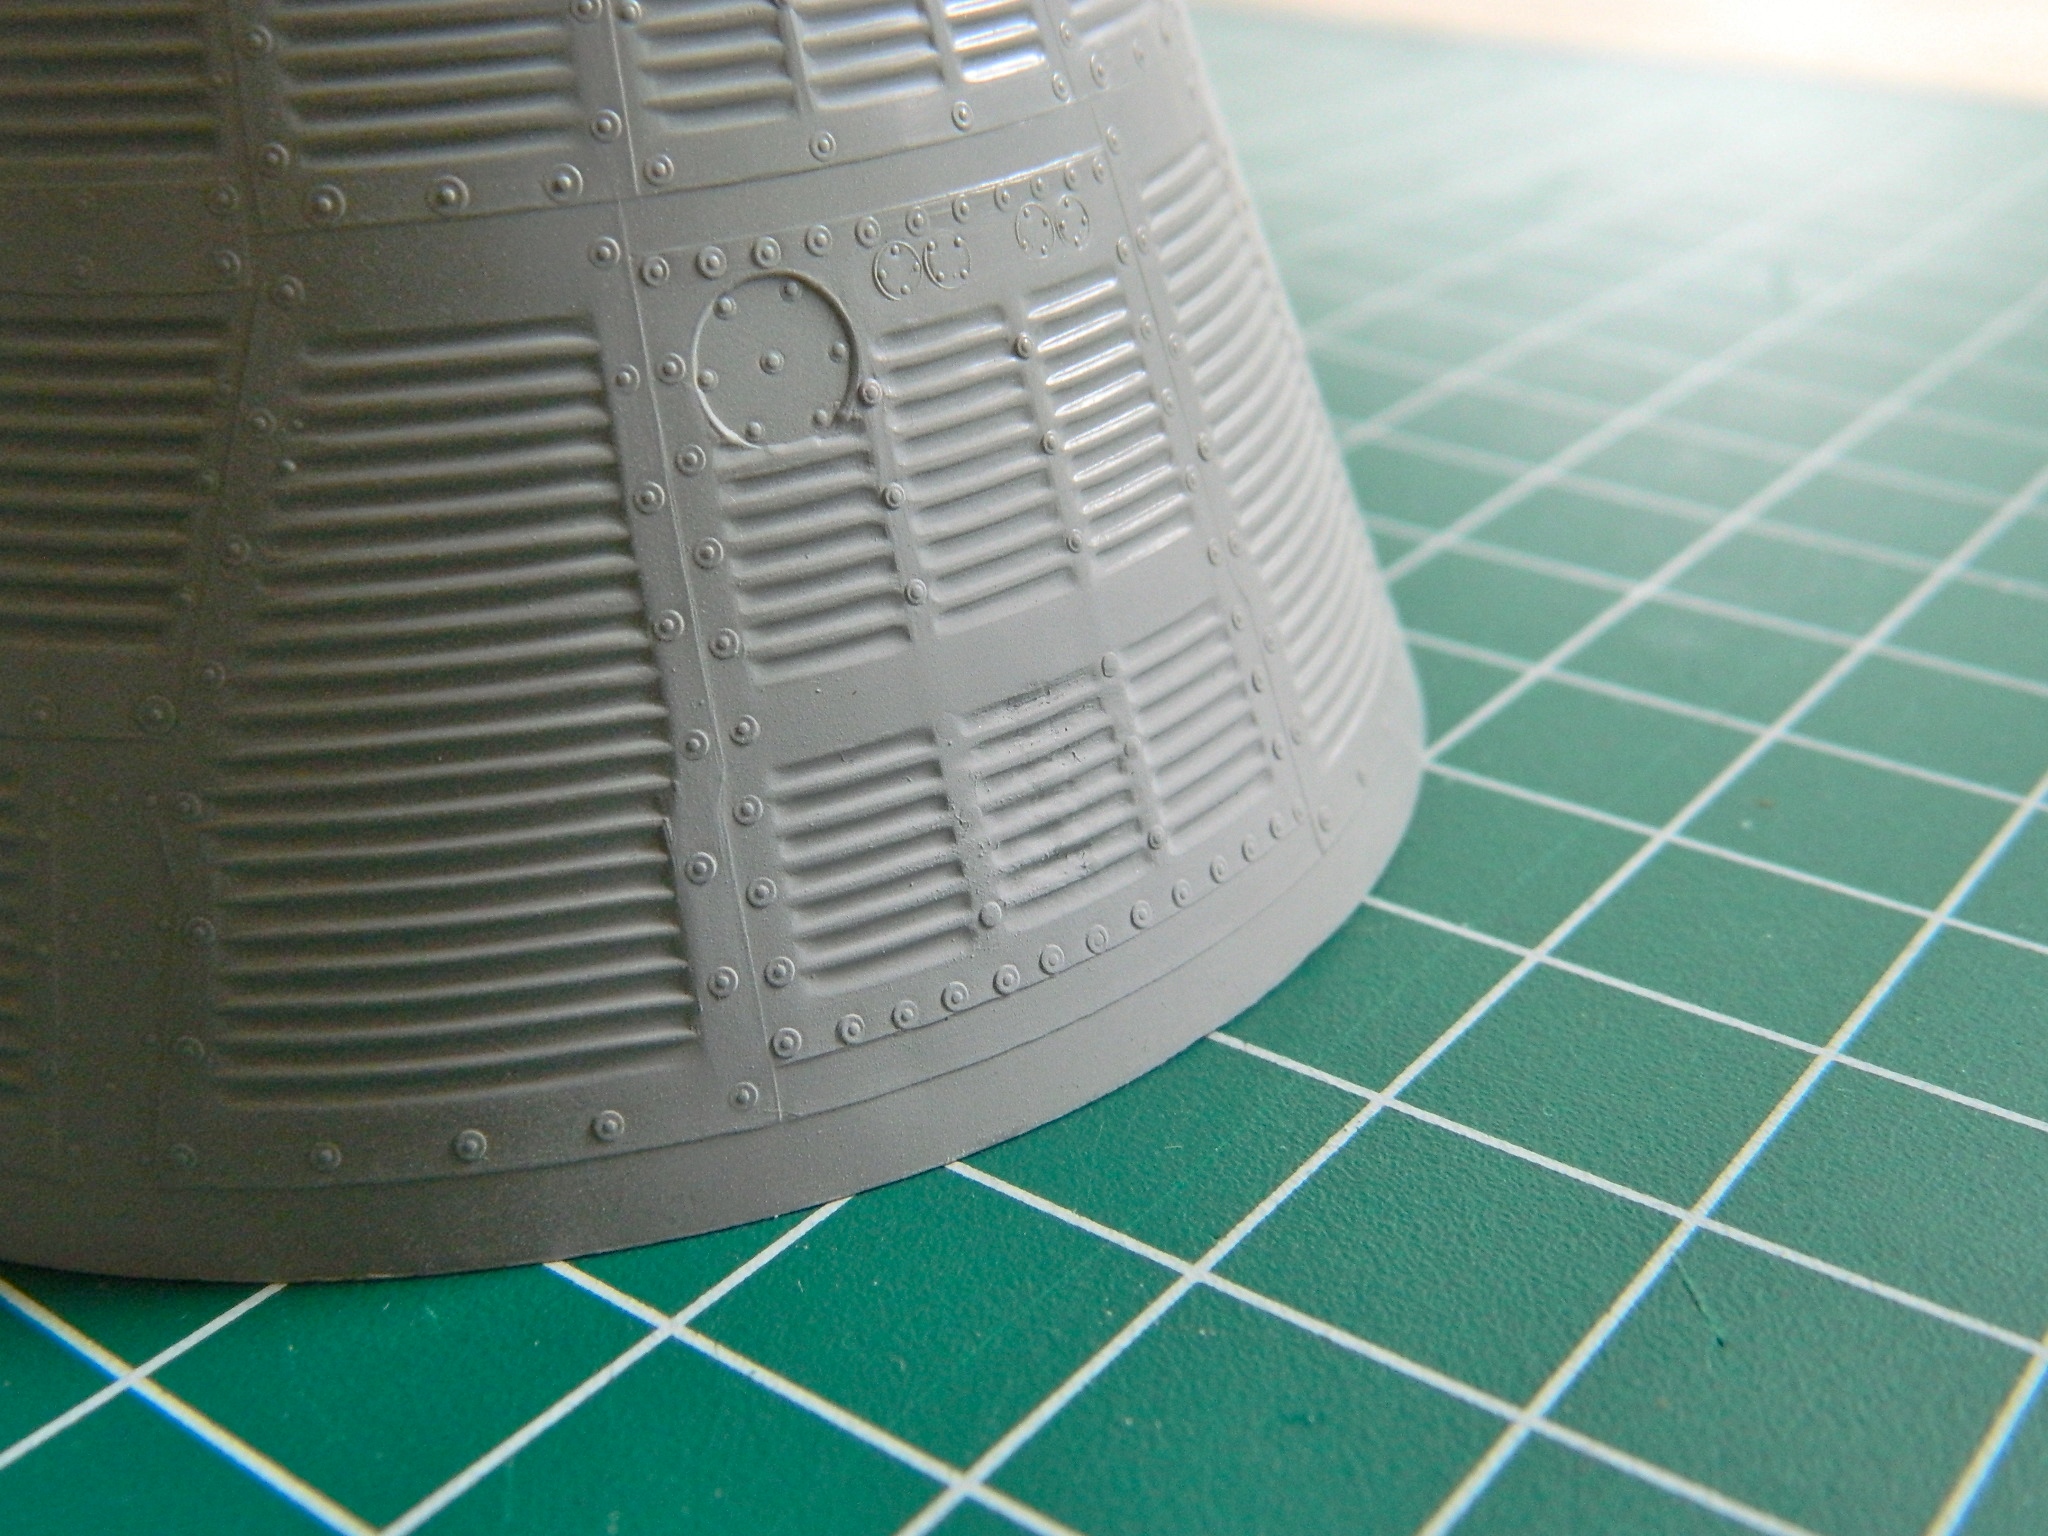
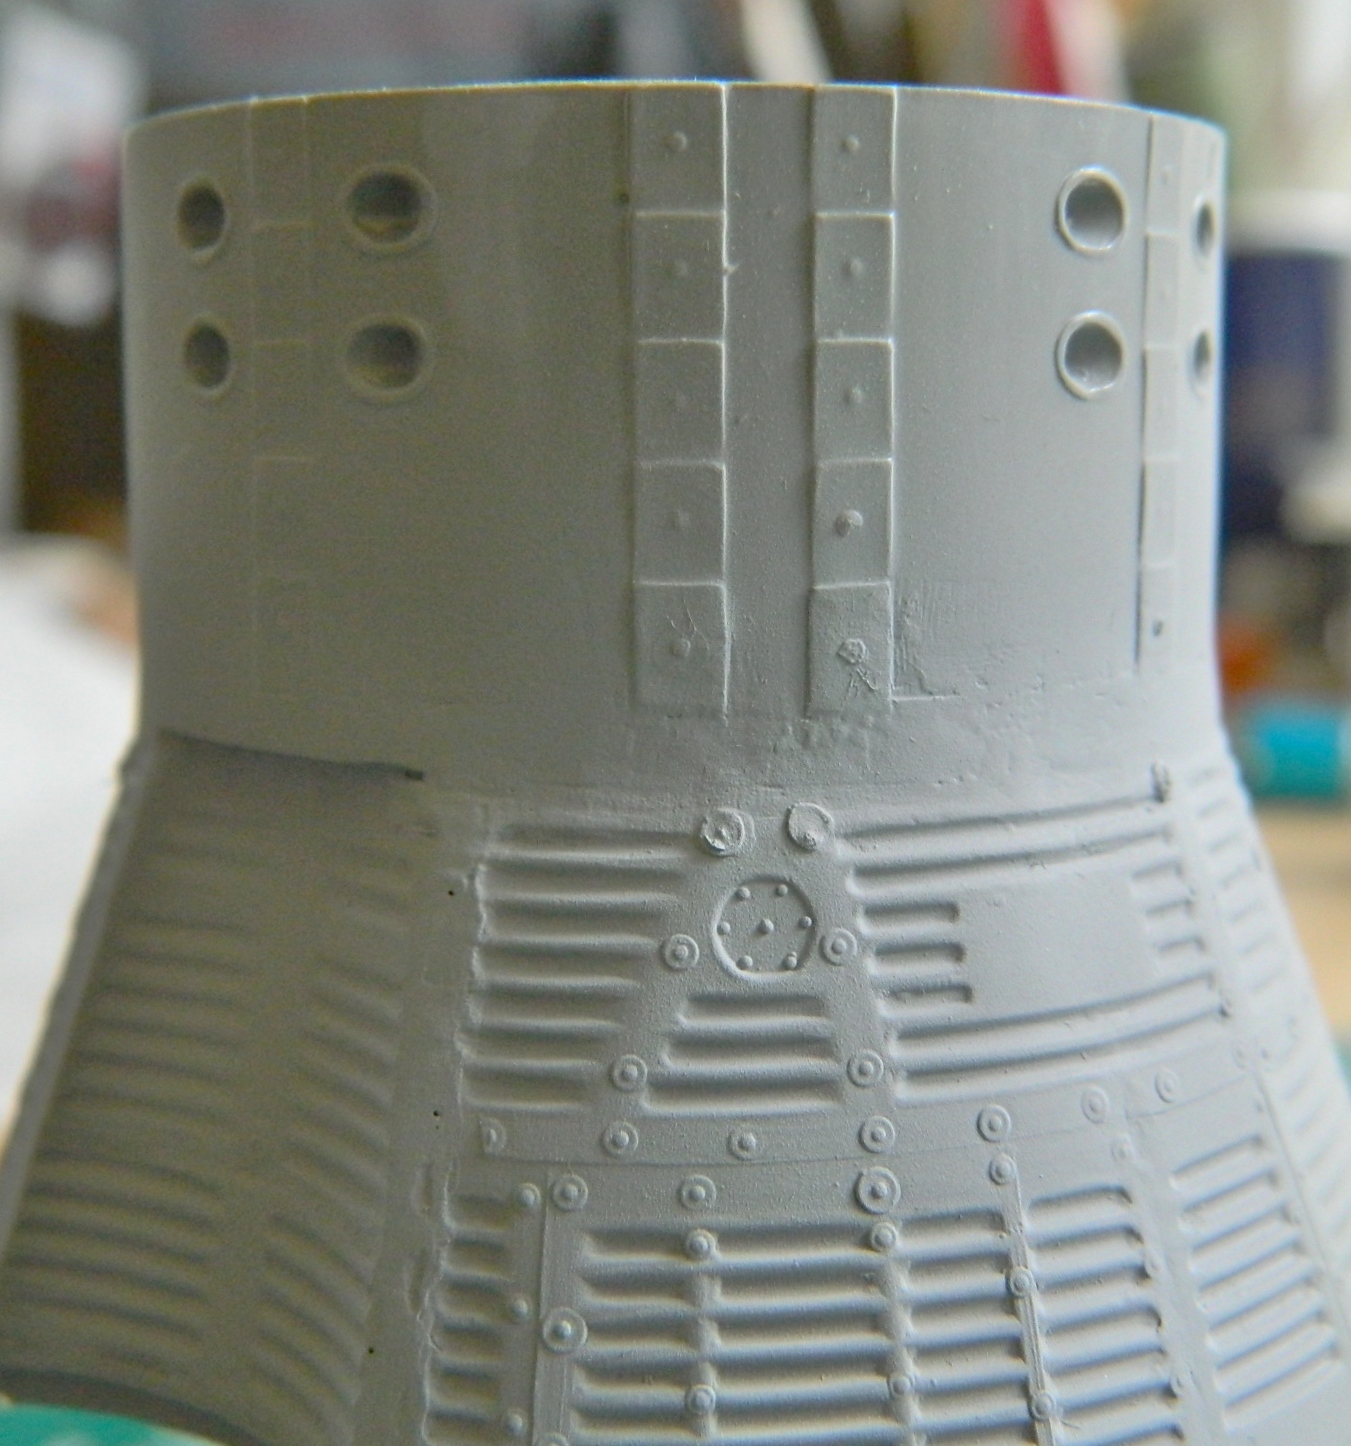
And the section that houses the maneuvering nozzles is too large in diameter where it meets the body parts (note the gap between the ring and body; this will be shimmed with styrene stock). To make up the difference I added a ring of .015″ (.381mm) styrene stock as well and then added putty to fill in gaps and misalignments:
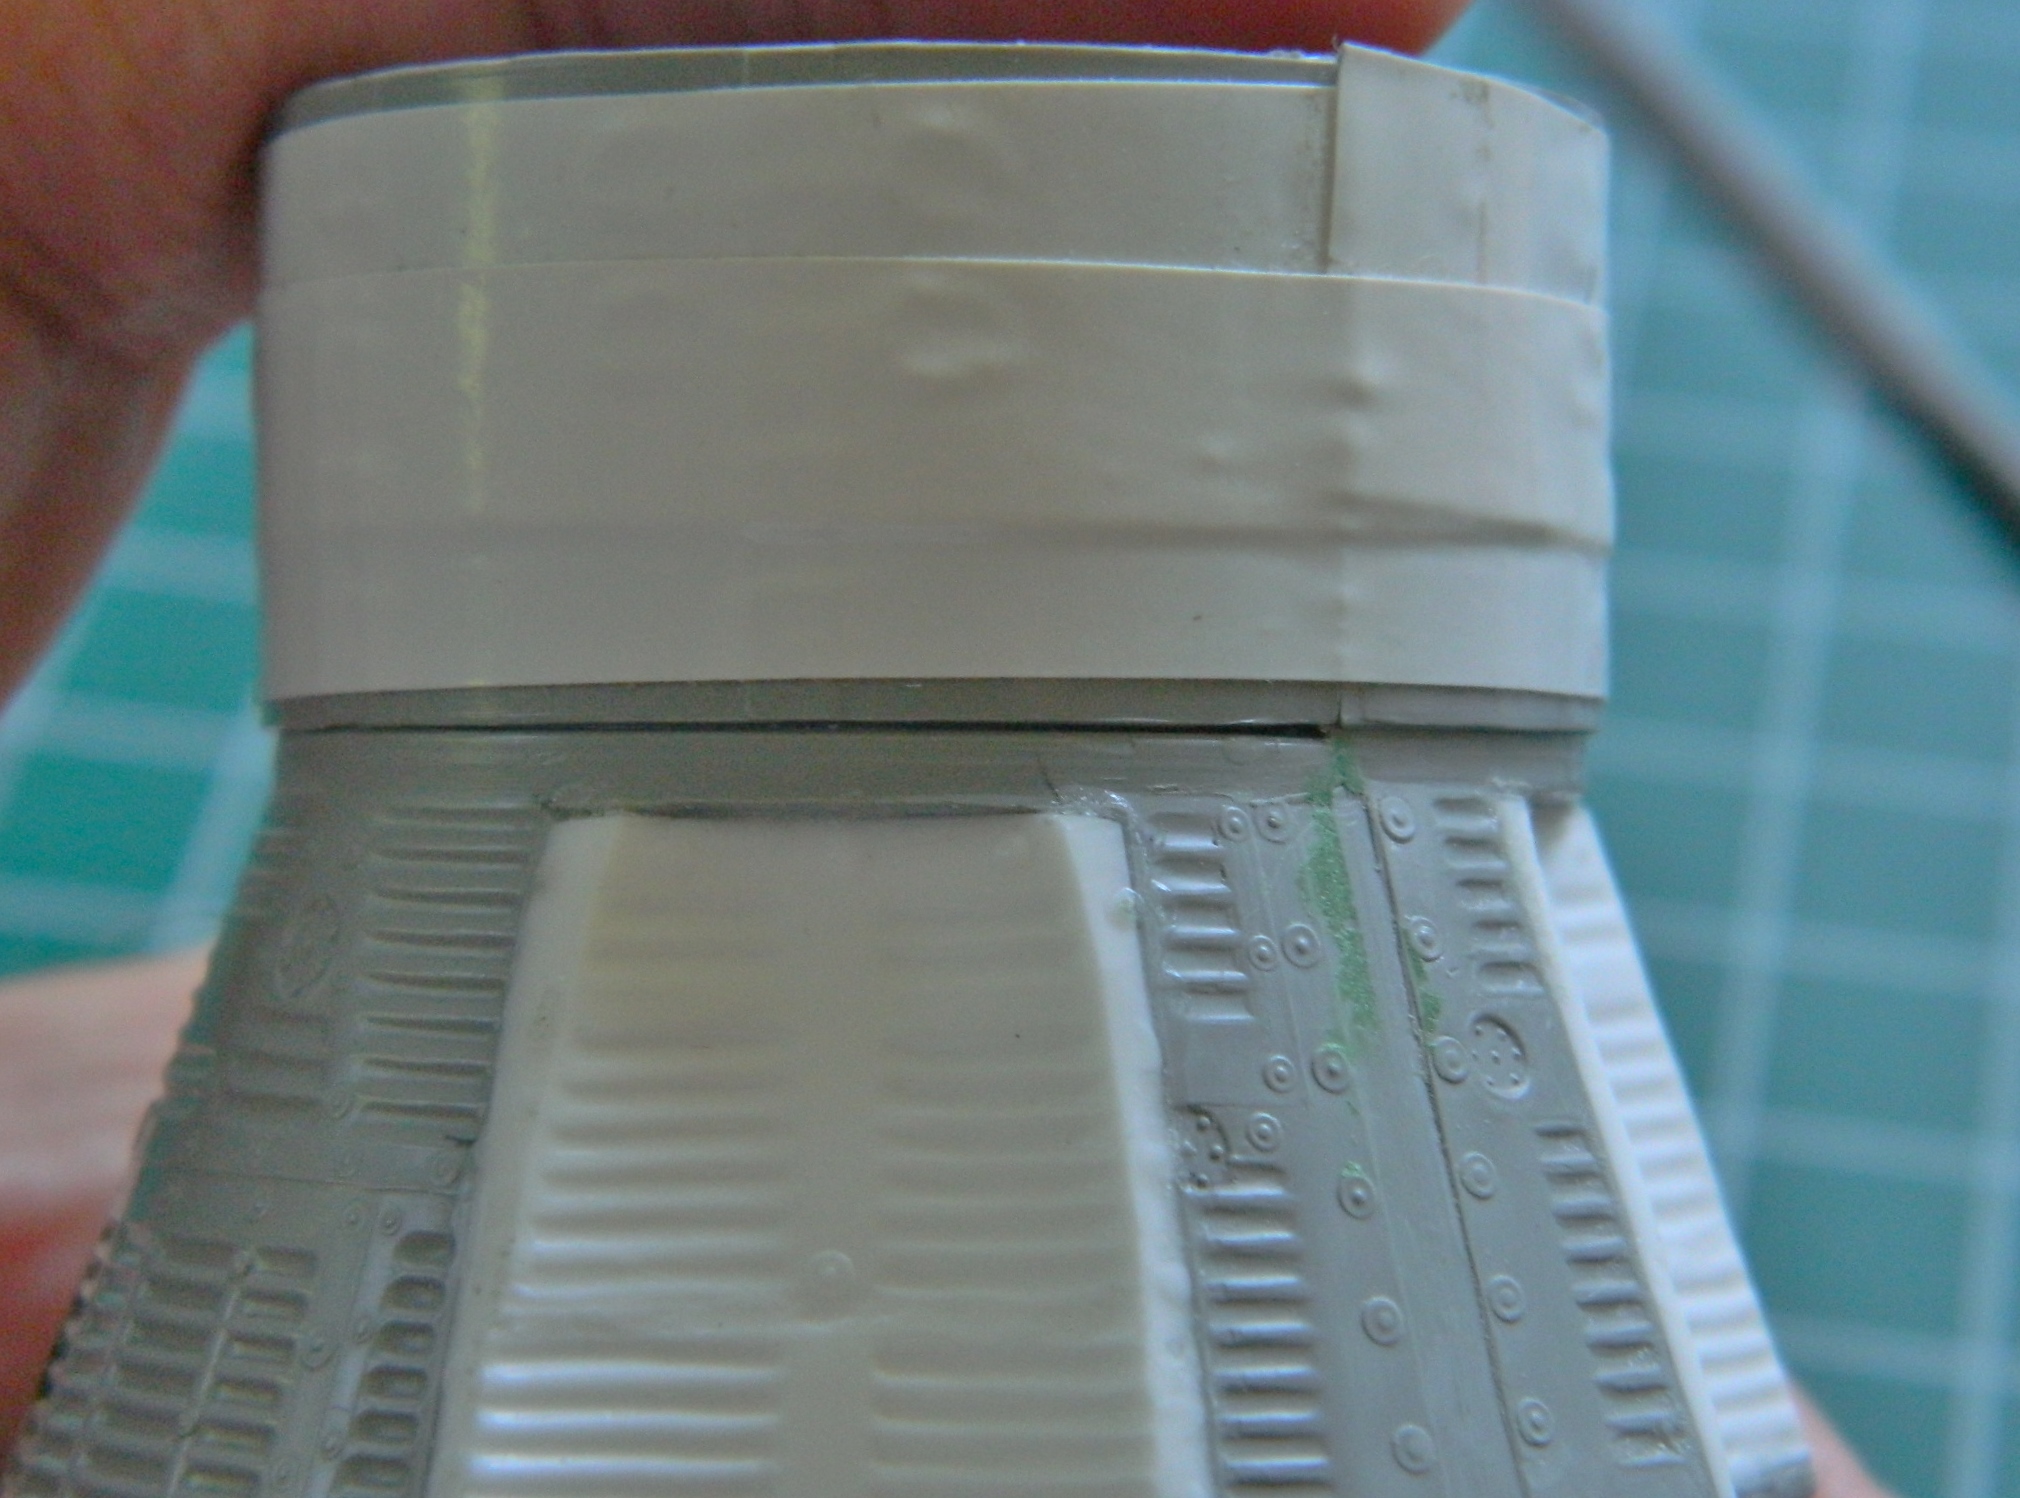


The attachment area was also rather approximate so when I used styrene cement to attach this ring, I added weight to get the tightest fit possible:

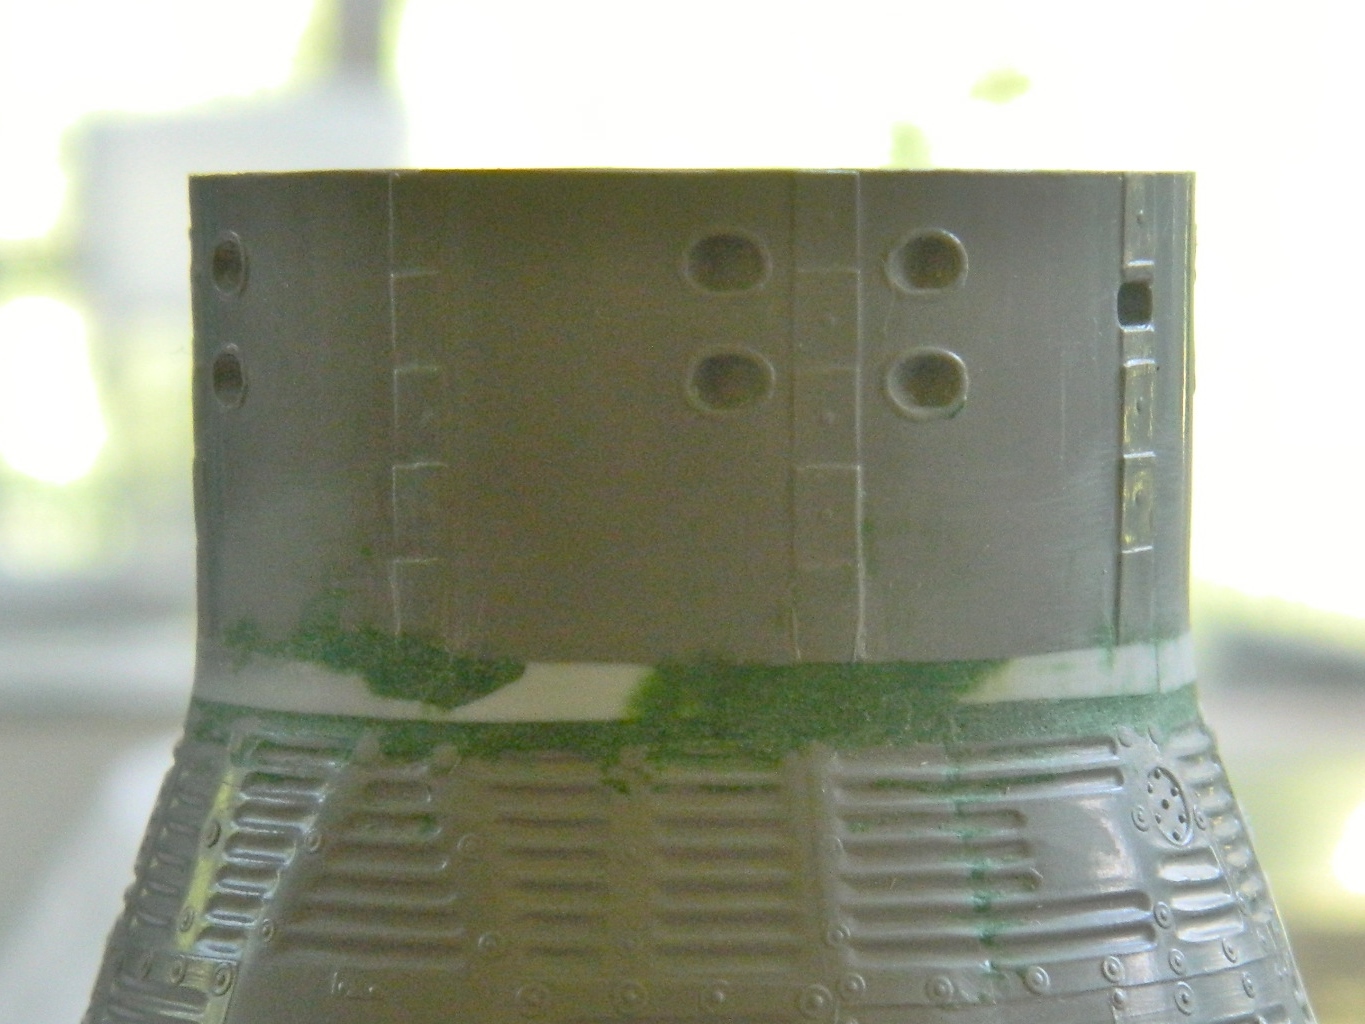
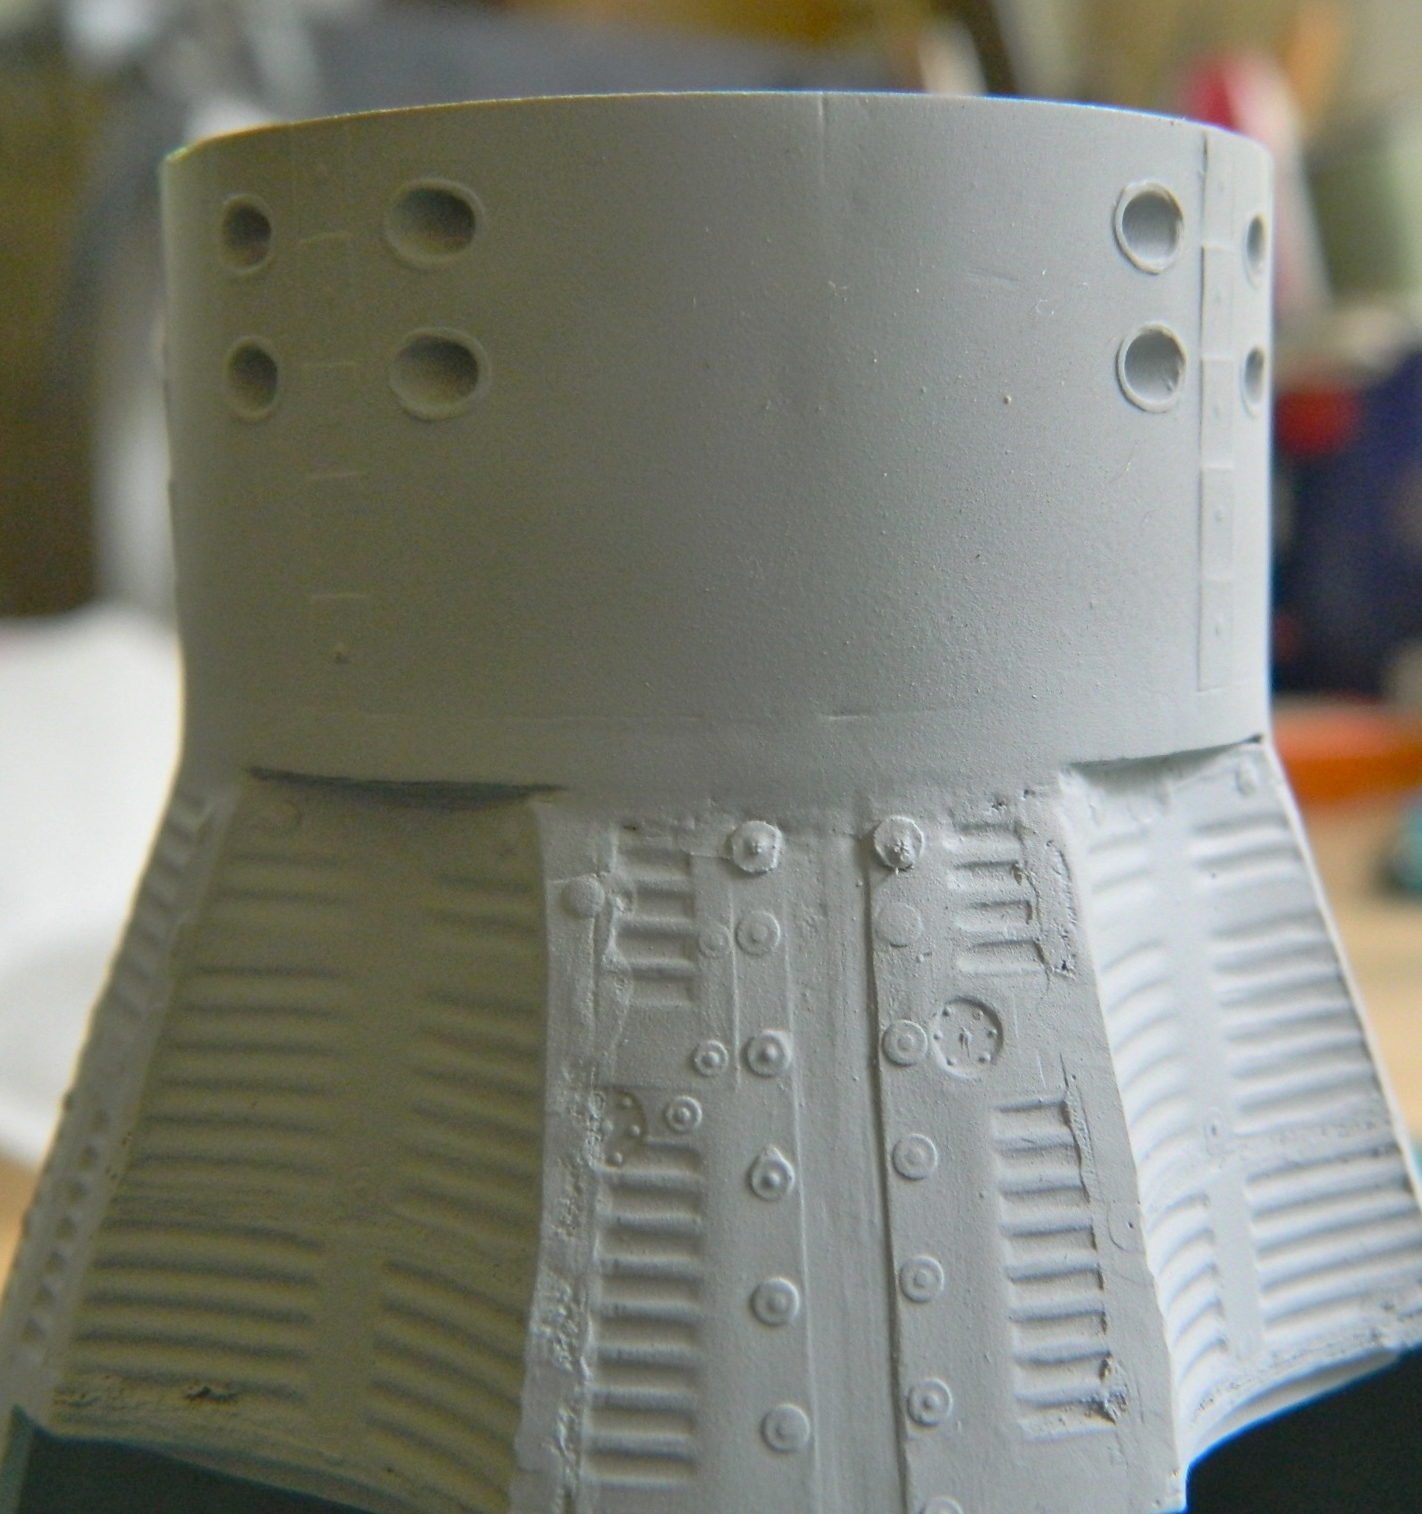
Once the putty hardened, it was time to remove the putty I didn’t want:


The model comes with a display stand (you can see it on the box top in the first post of this series) that I’m not going to use. That means the slot has to be filled in and carved to match the surface detail:


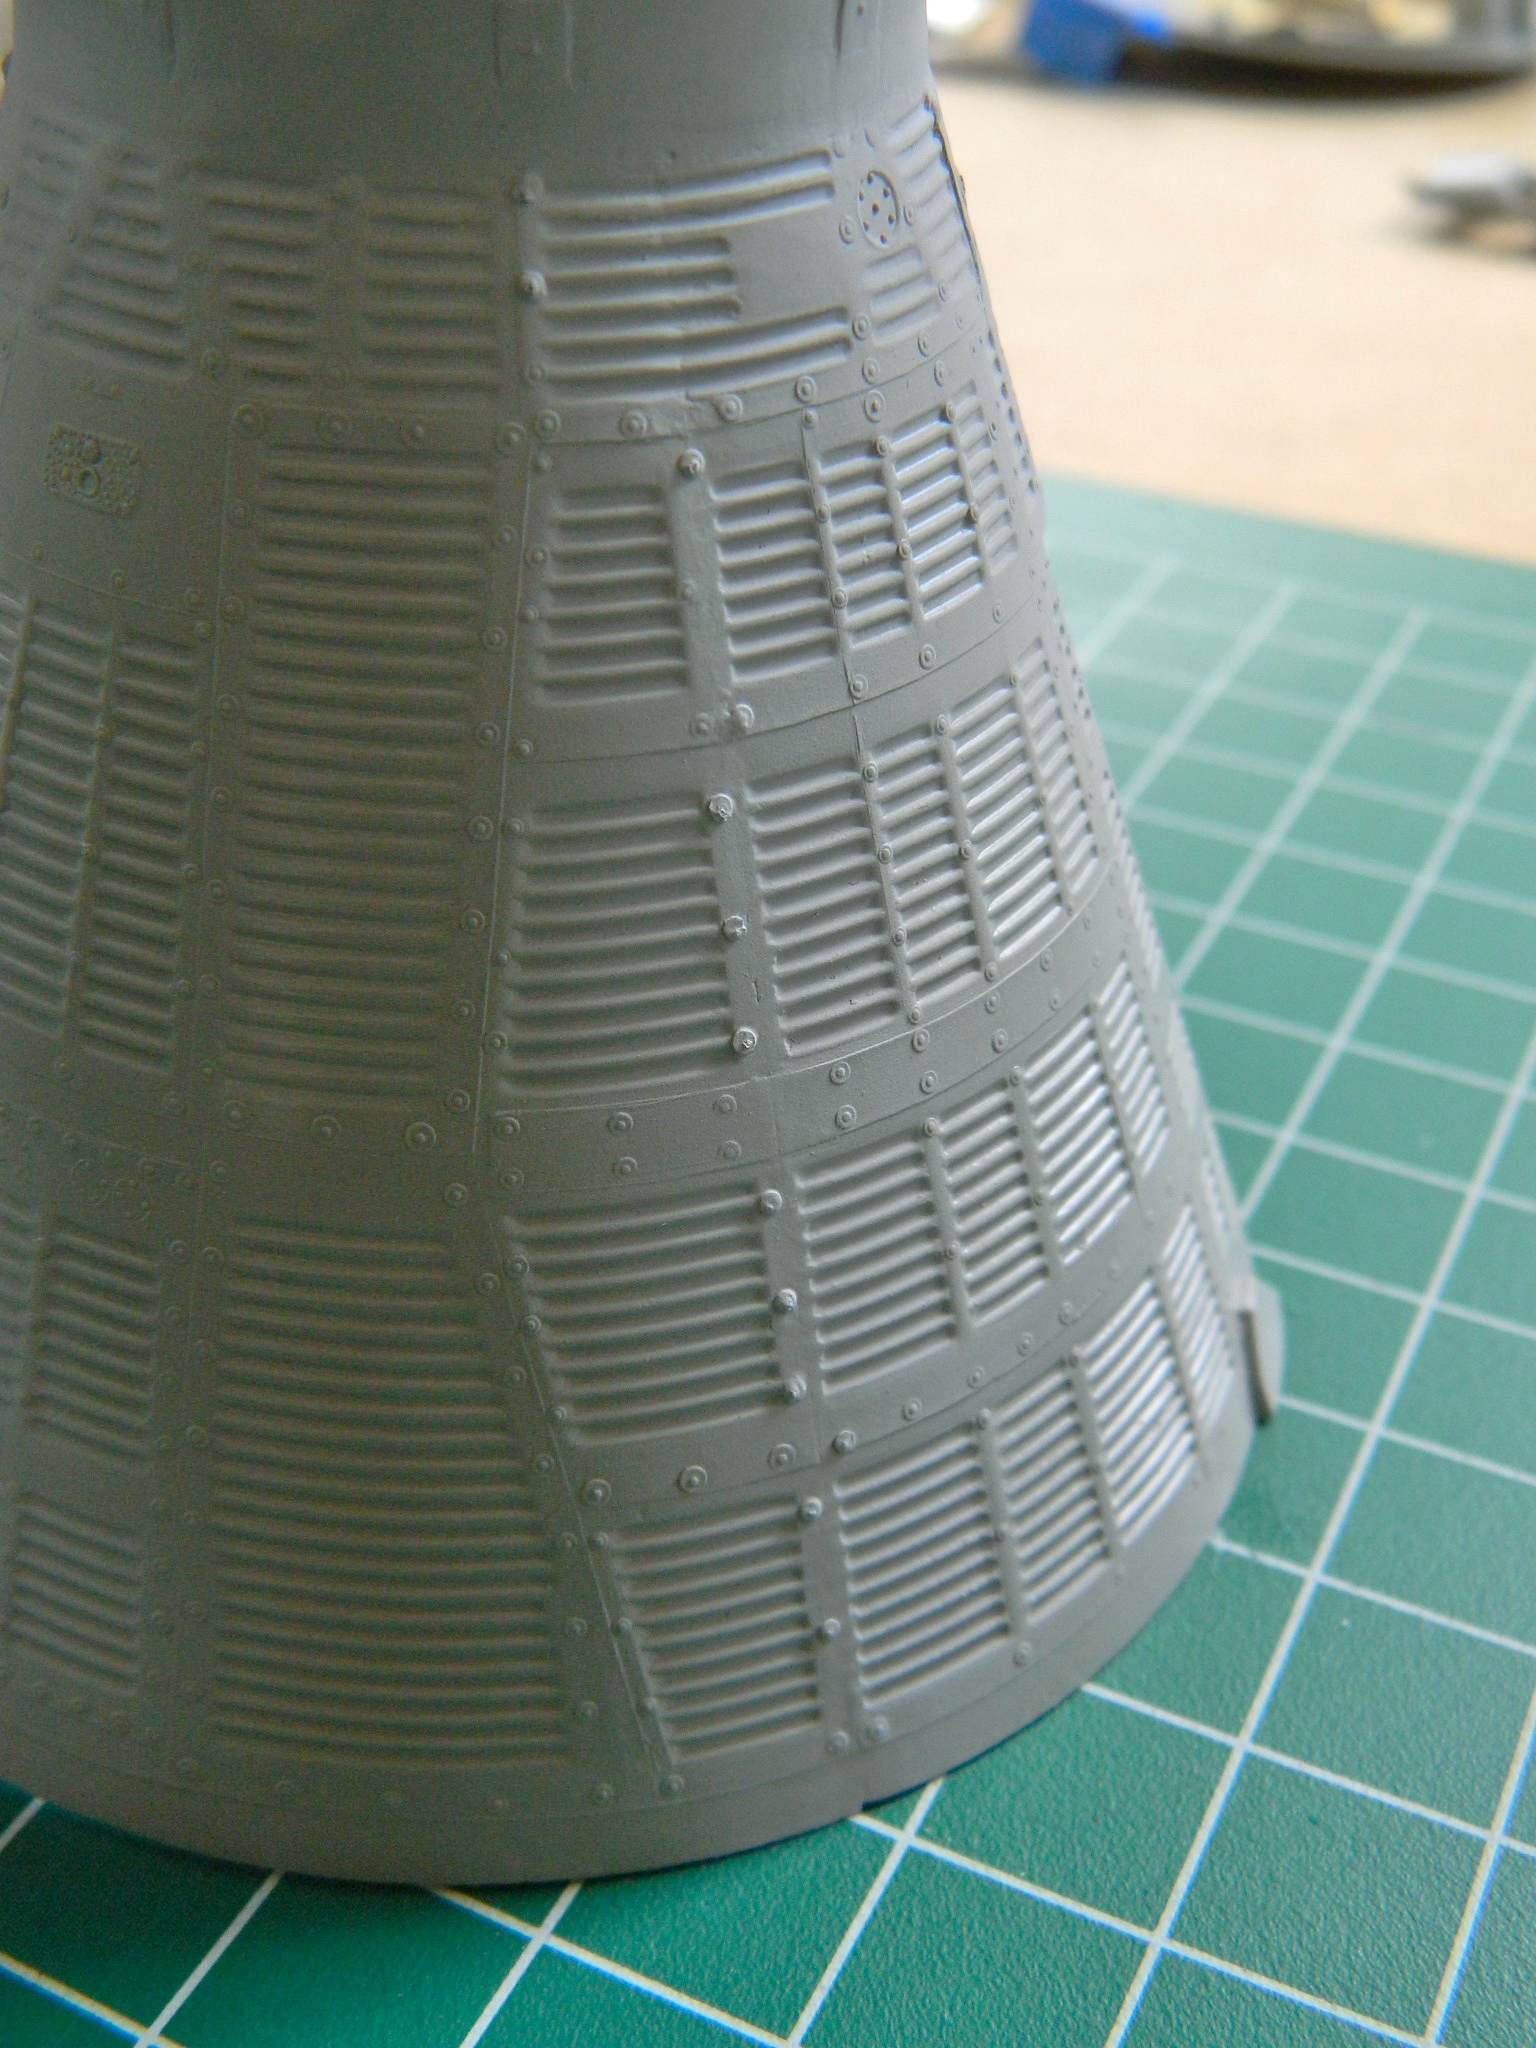
Sanding seams and putty removed surface details that I had to put back. I used my punch/die set to make the washers and a (very) small drop of superglue as the rivet:

At this point I have four different surfaces, each of which bounces light differently, and all of which have to play nicely with each other. I primed the surface so that I could see what areas needed more work (which is pretty much all of them):


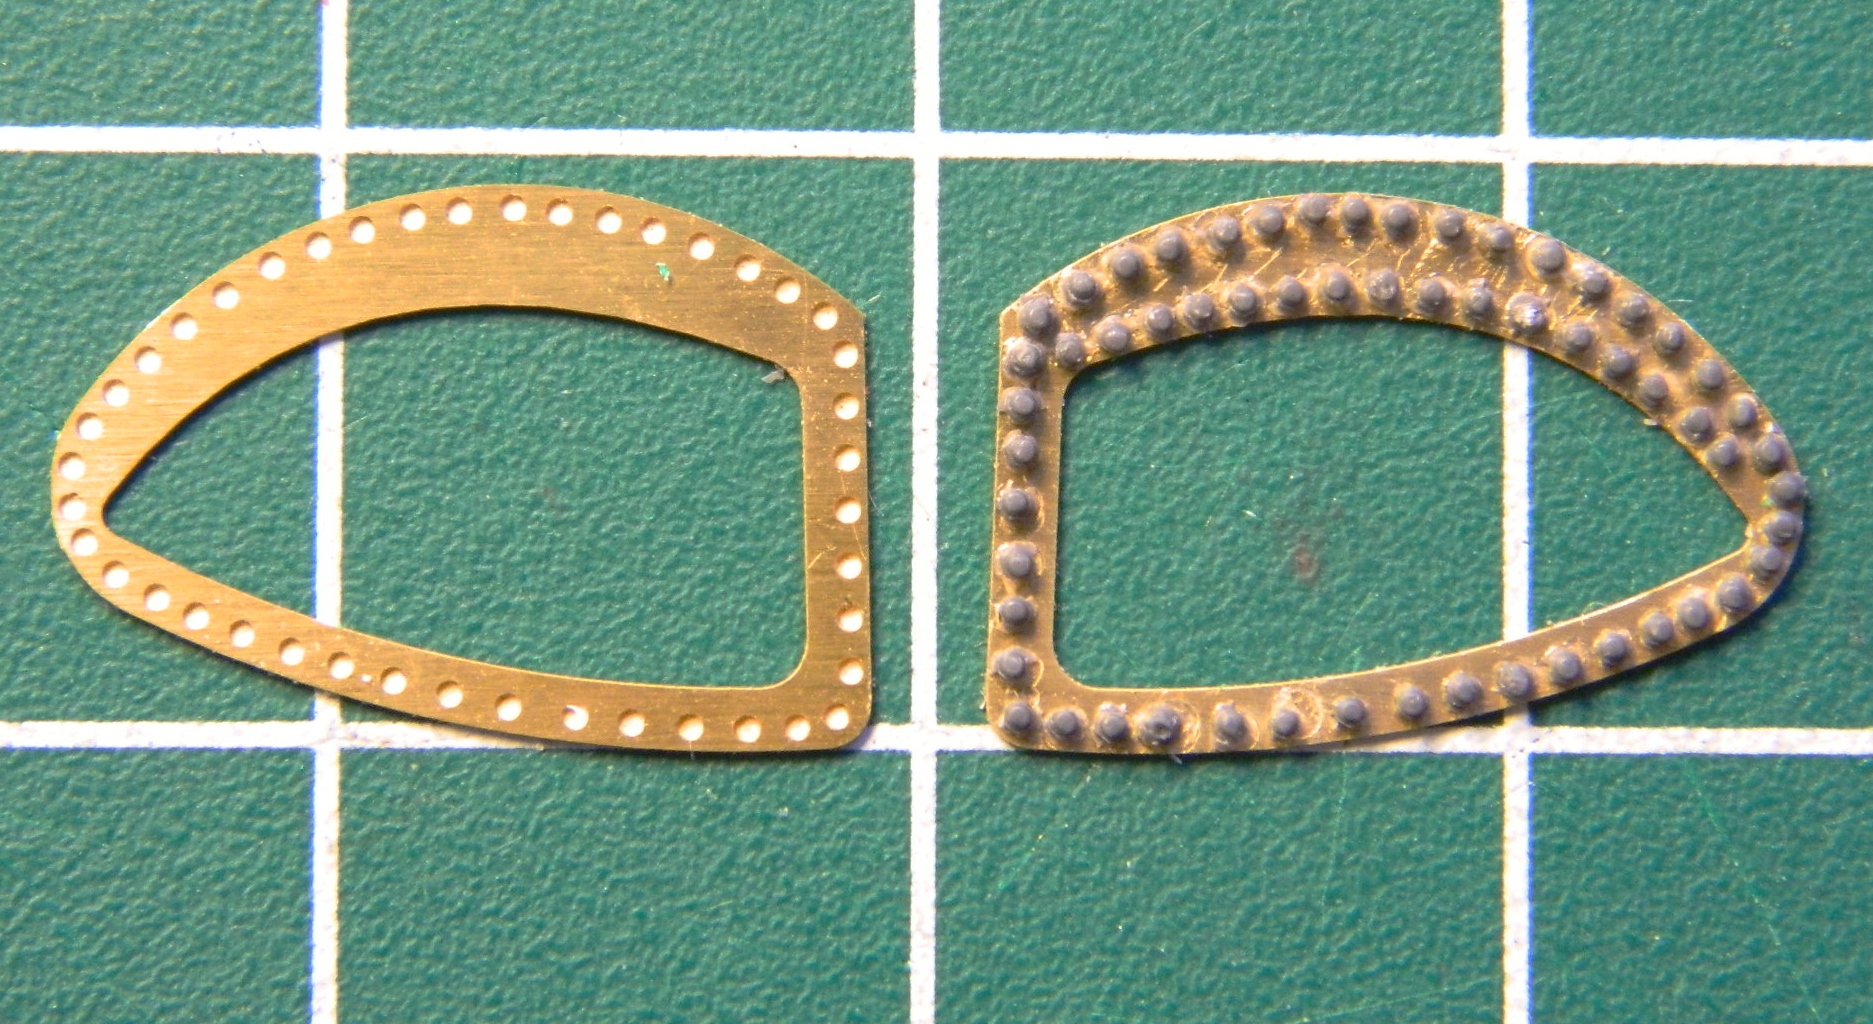
Needing a break from dealing with the surface of the capsule, I decided to do some of the work the hatches need. The PE parts were close but the bolts that hold the ports in place are quite prominent. I used Grandt Line bolts, adding the perimeter bolts and most of the inner bolts (there isn’t enough room to do all of the inner bolts):

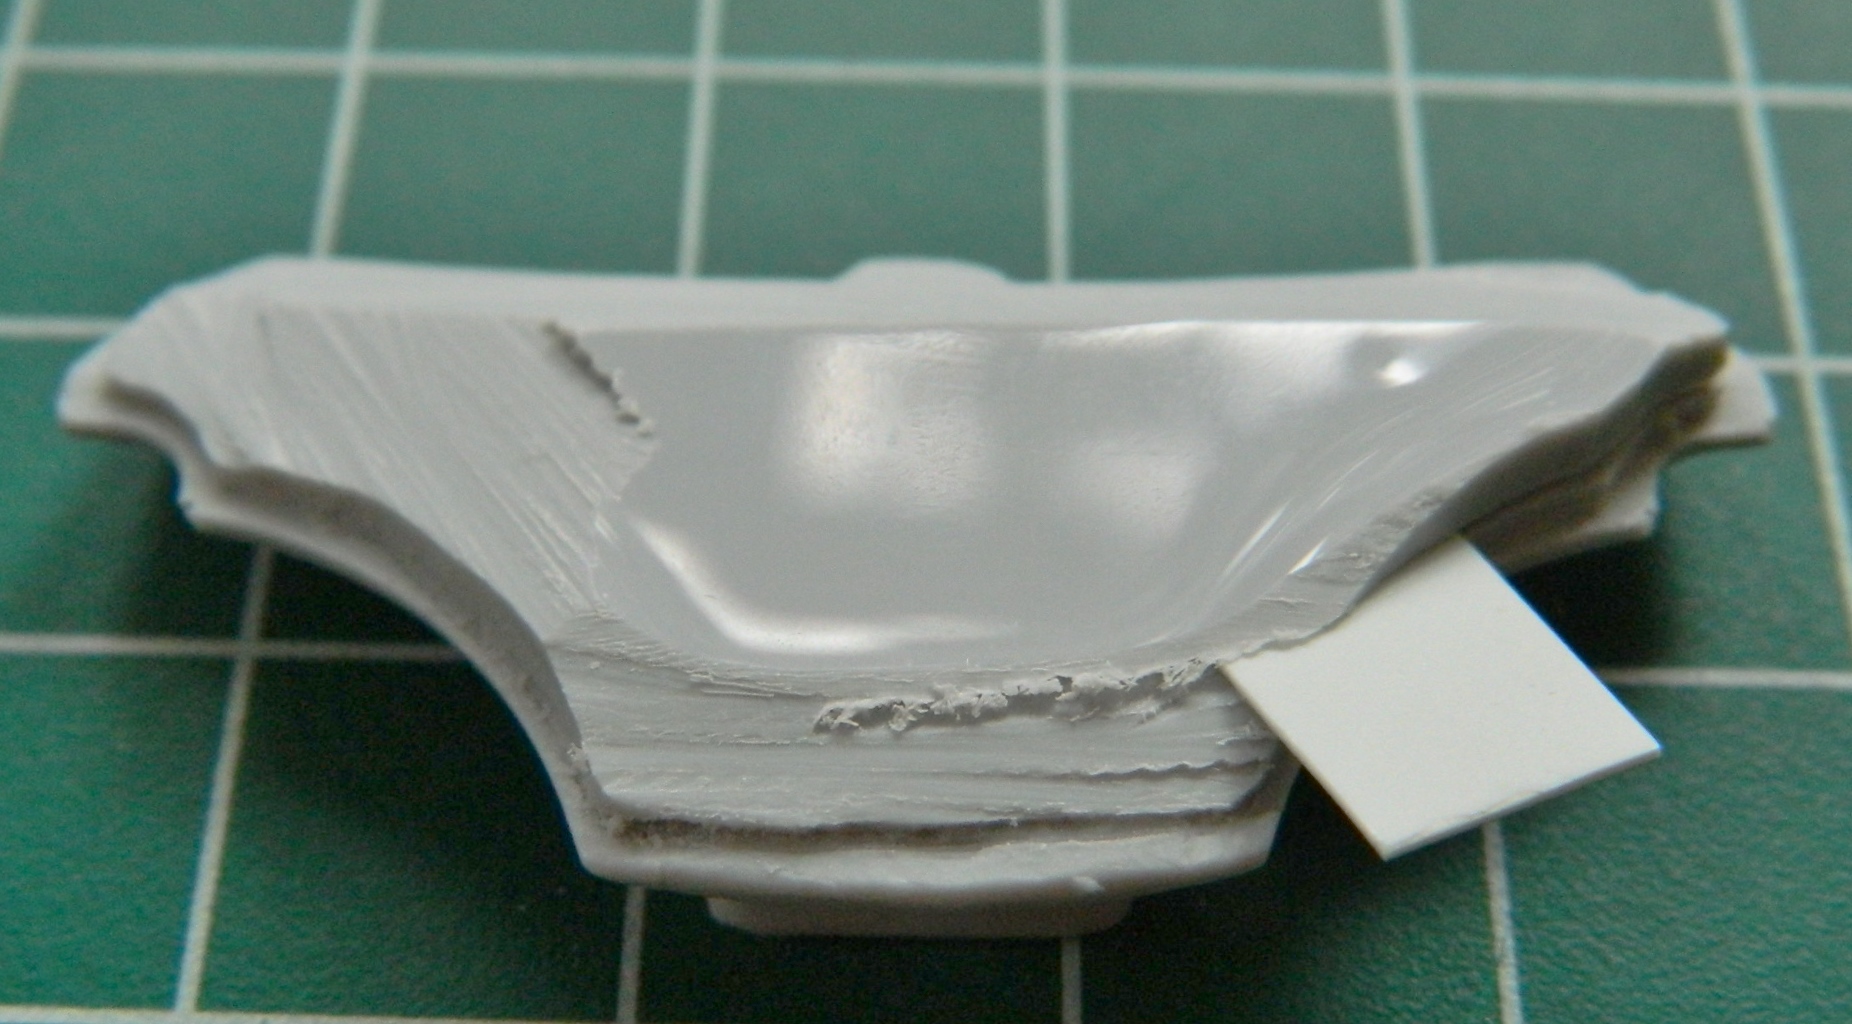
I also removed the ejector pin marks on the inner hatch surfaces (as-supplied on left, mostly finished on right):

Not having enough work to do already, I figured I’d screw up the resin instrument panel by not paying attention to where the saw went. Luckily I stopped and checked my cut, which is when I saw I’d cut into the raised details of the right side instrument panel. I glued in .015 (.381mm) styrene and cut it down to meet the surface:

I didn’t destroy all the raised detail but I did wipe out enough to require some sort of clever fix. My first thought was to modify and use the kit part, but the part is so inaccurate that the amount of work (assuming my skills made it possible) to fix my screw up was too much:
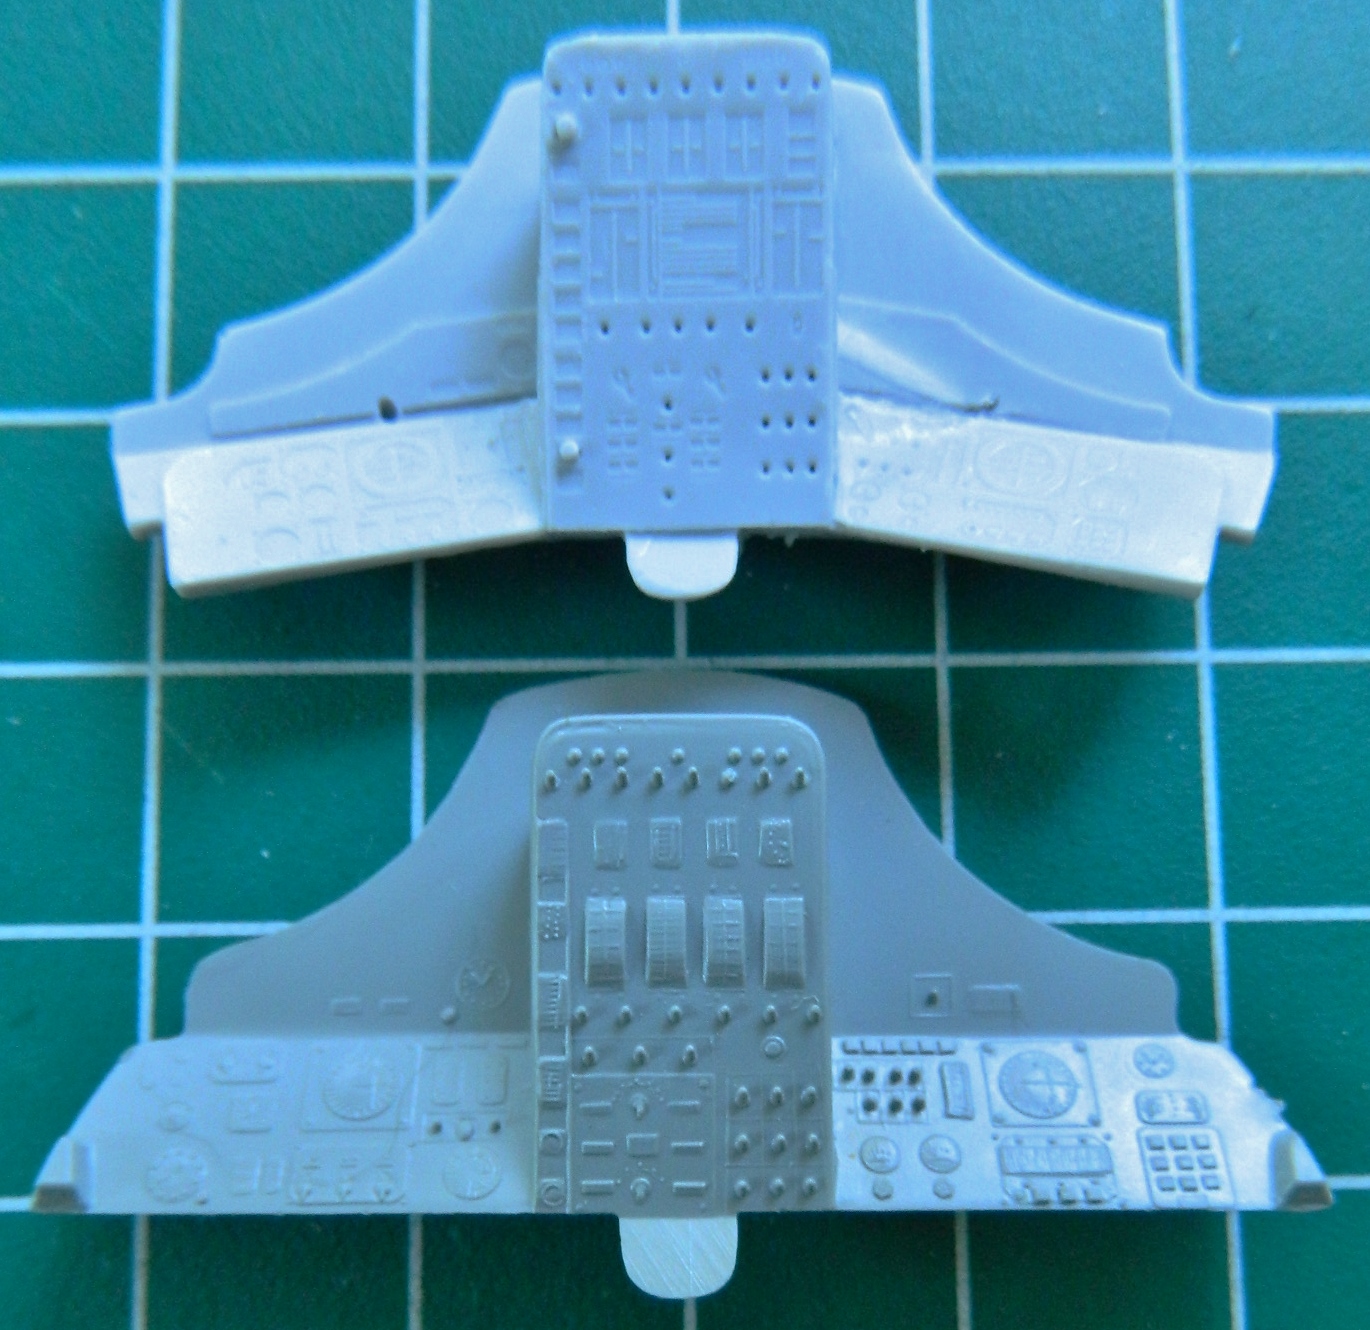
Fortunately the AM set also included PE panels that I will use to cover my mistake:

