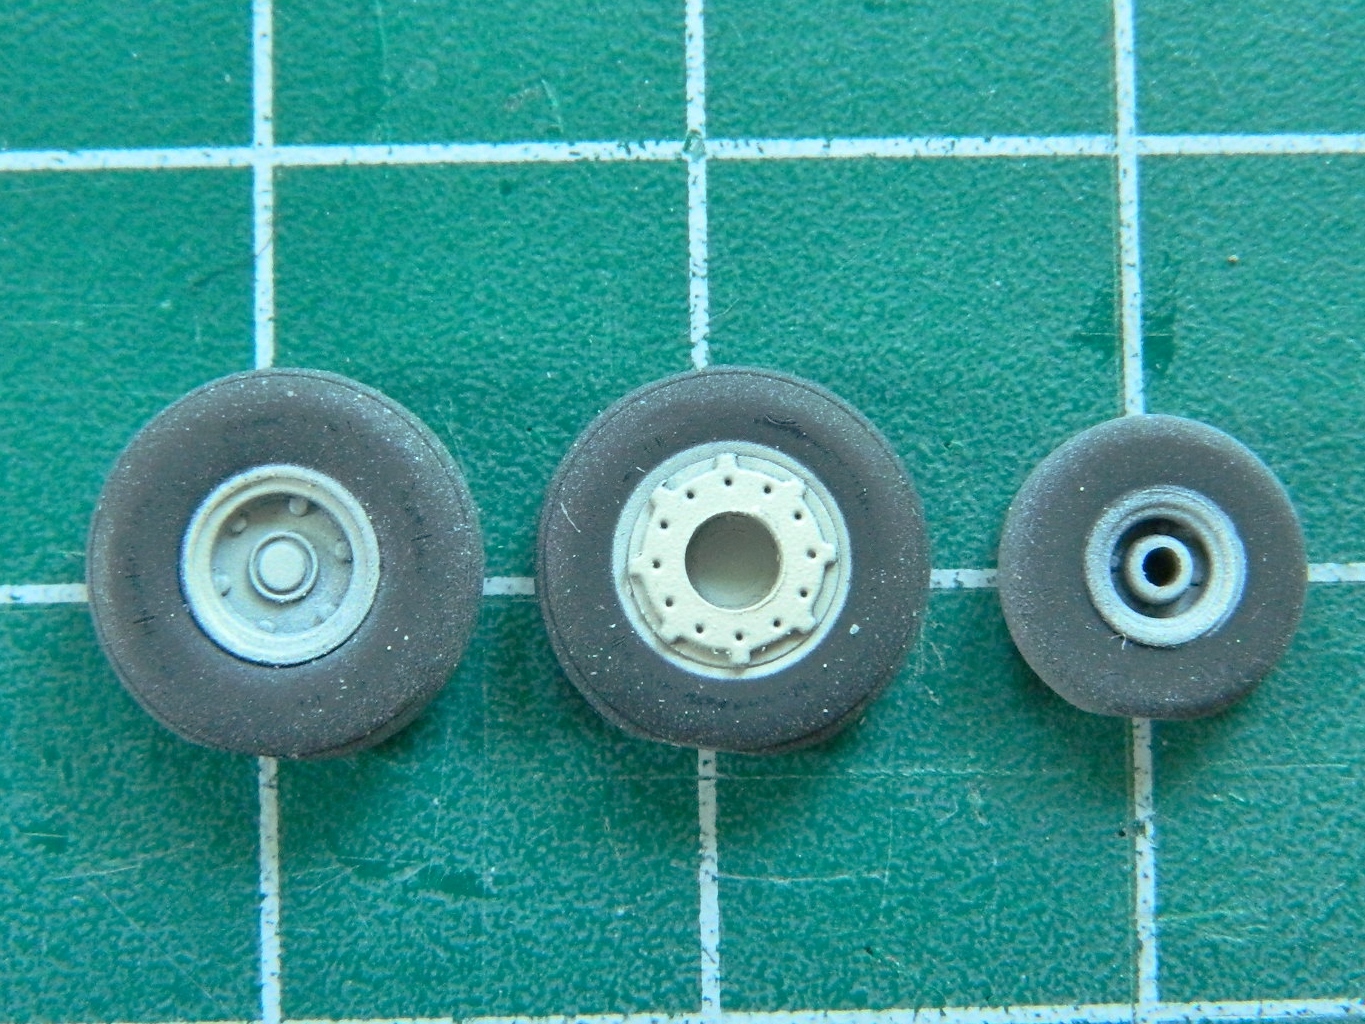
To paint the wheels/tires, I reverse the typical painting procedure where the light color is shot first. I do the entire wheel/tire black, and then use an artist’s circle template as a mask. I find the hole that’s closest to the diameter I need (and I’m constantly surprised how frequently I find the exact size!), center it over the wheel, and shoot the wheel color through it.
Tamiya makes an excellent paint that replicates rubber (XF-85). I’ve used it on other builds and it’s my go-to for “rubber” parts:
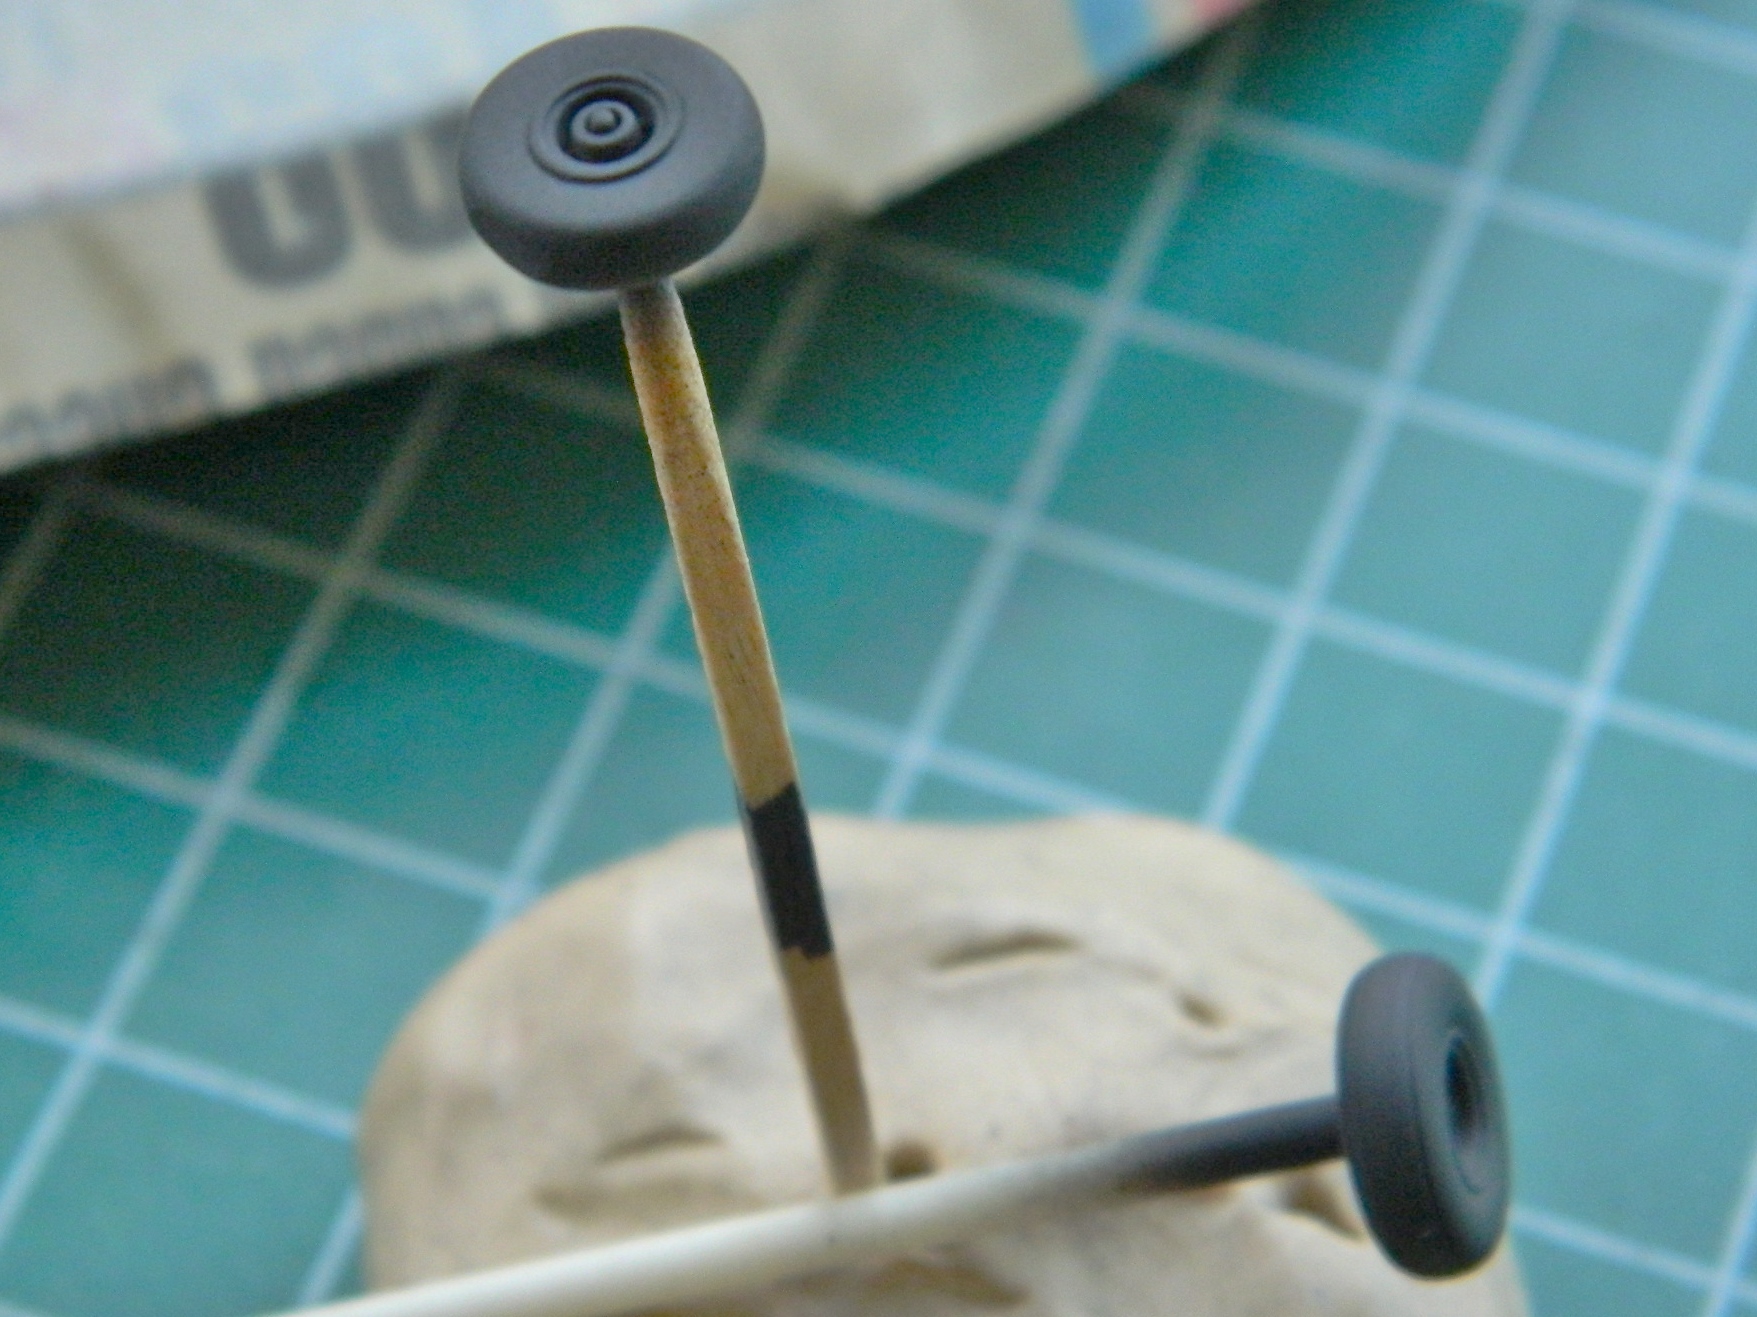
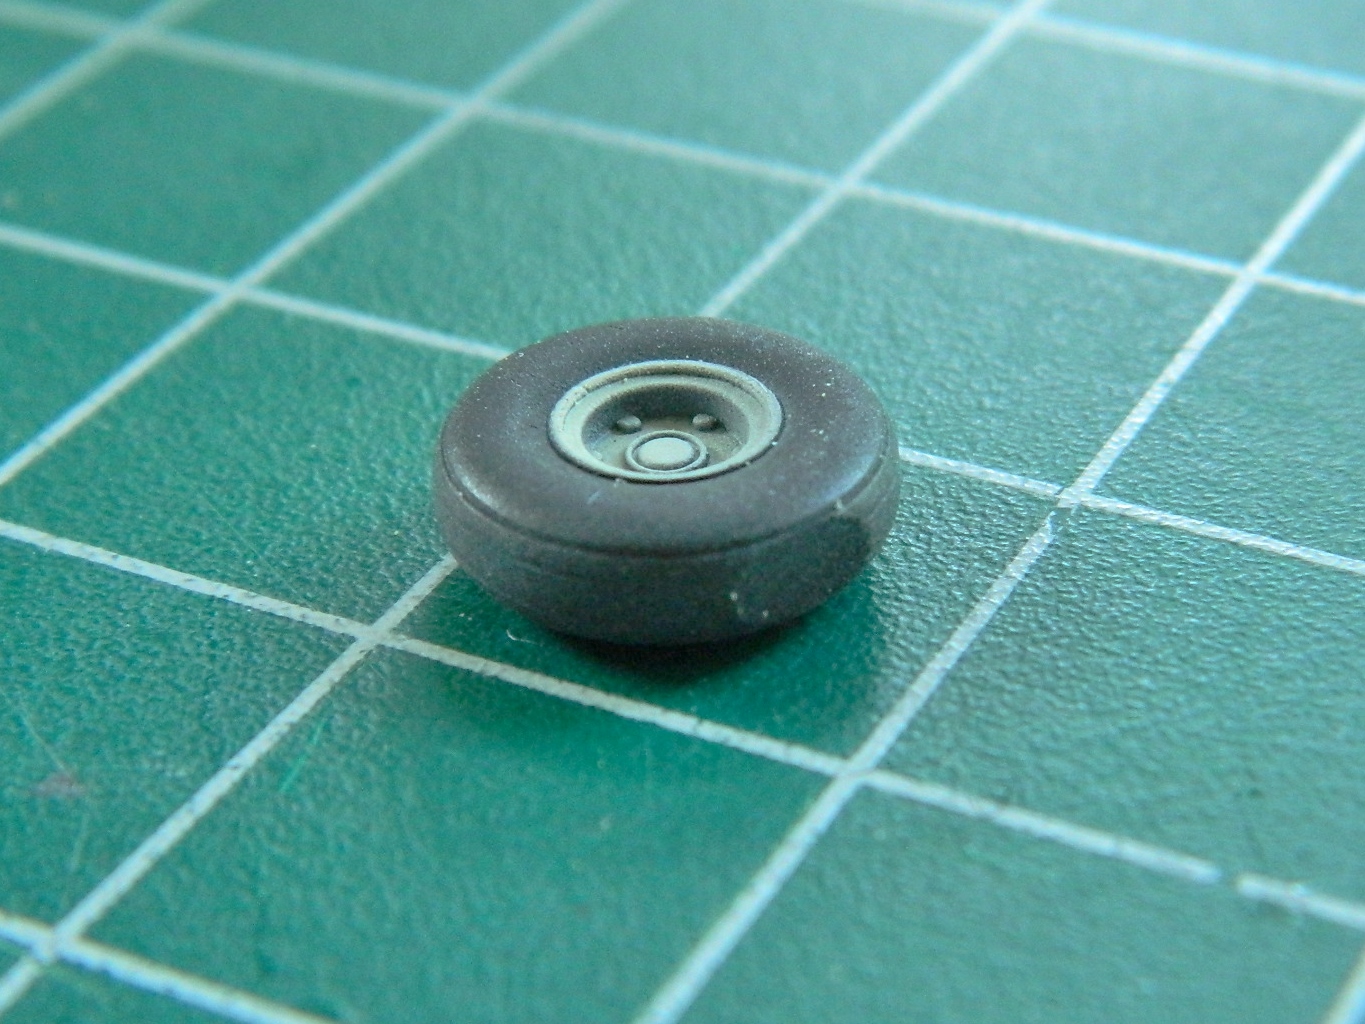
If you look closely at the above photo, you can see where flat spots were filed onto the bottoms of the tires. Unless I do something to replicate the way a tire compresses under load the finished model looks wrong. Here’s a close-up of the nose wheel:
To shoot the undersides of pretty much everything (napalm tanks and bombs excepted), I used Tamiya’s XF-55 Deck Tan color-corrected with 25% XF-2 Flat White:
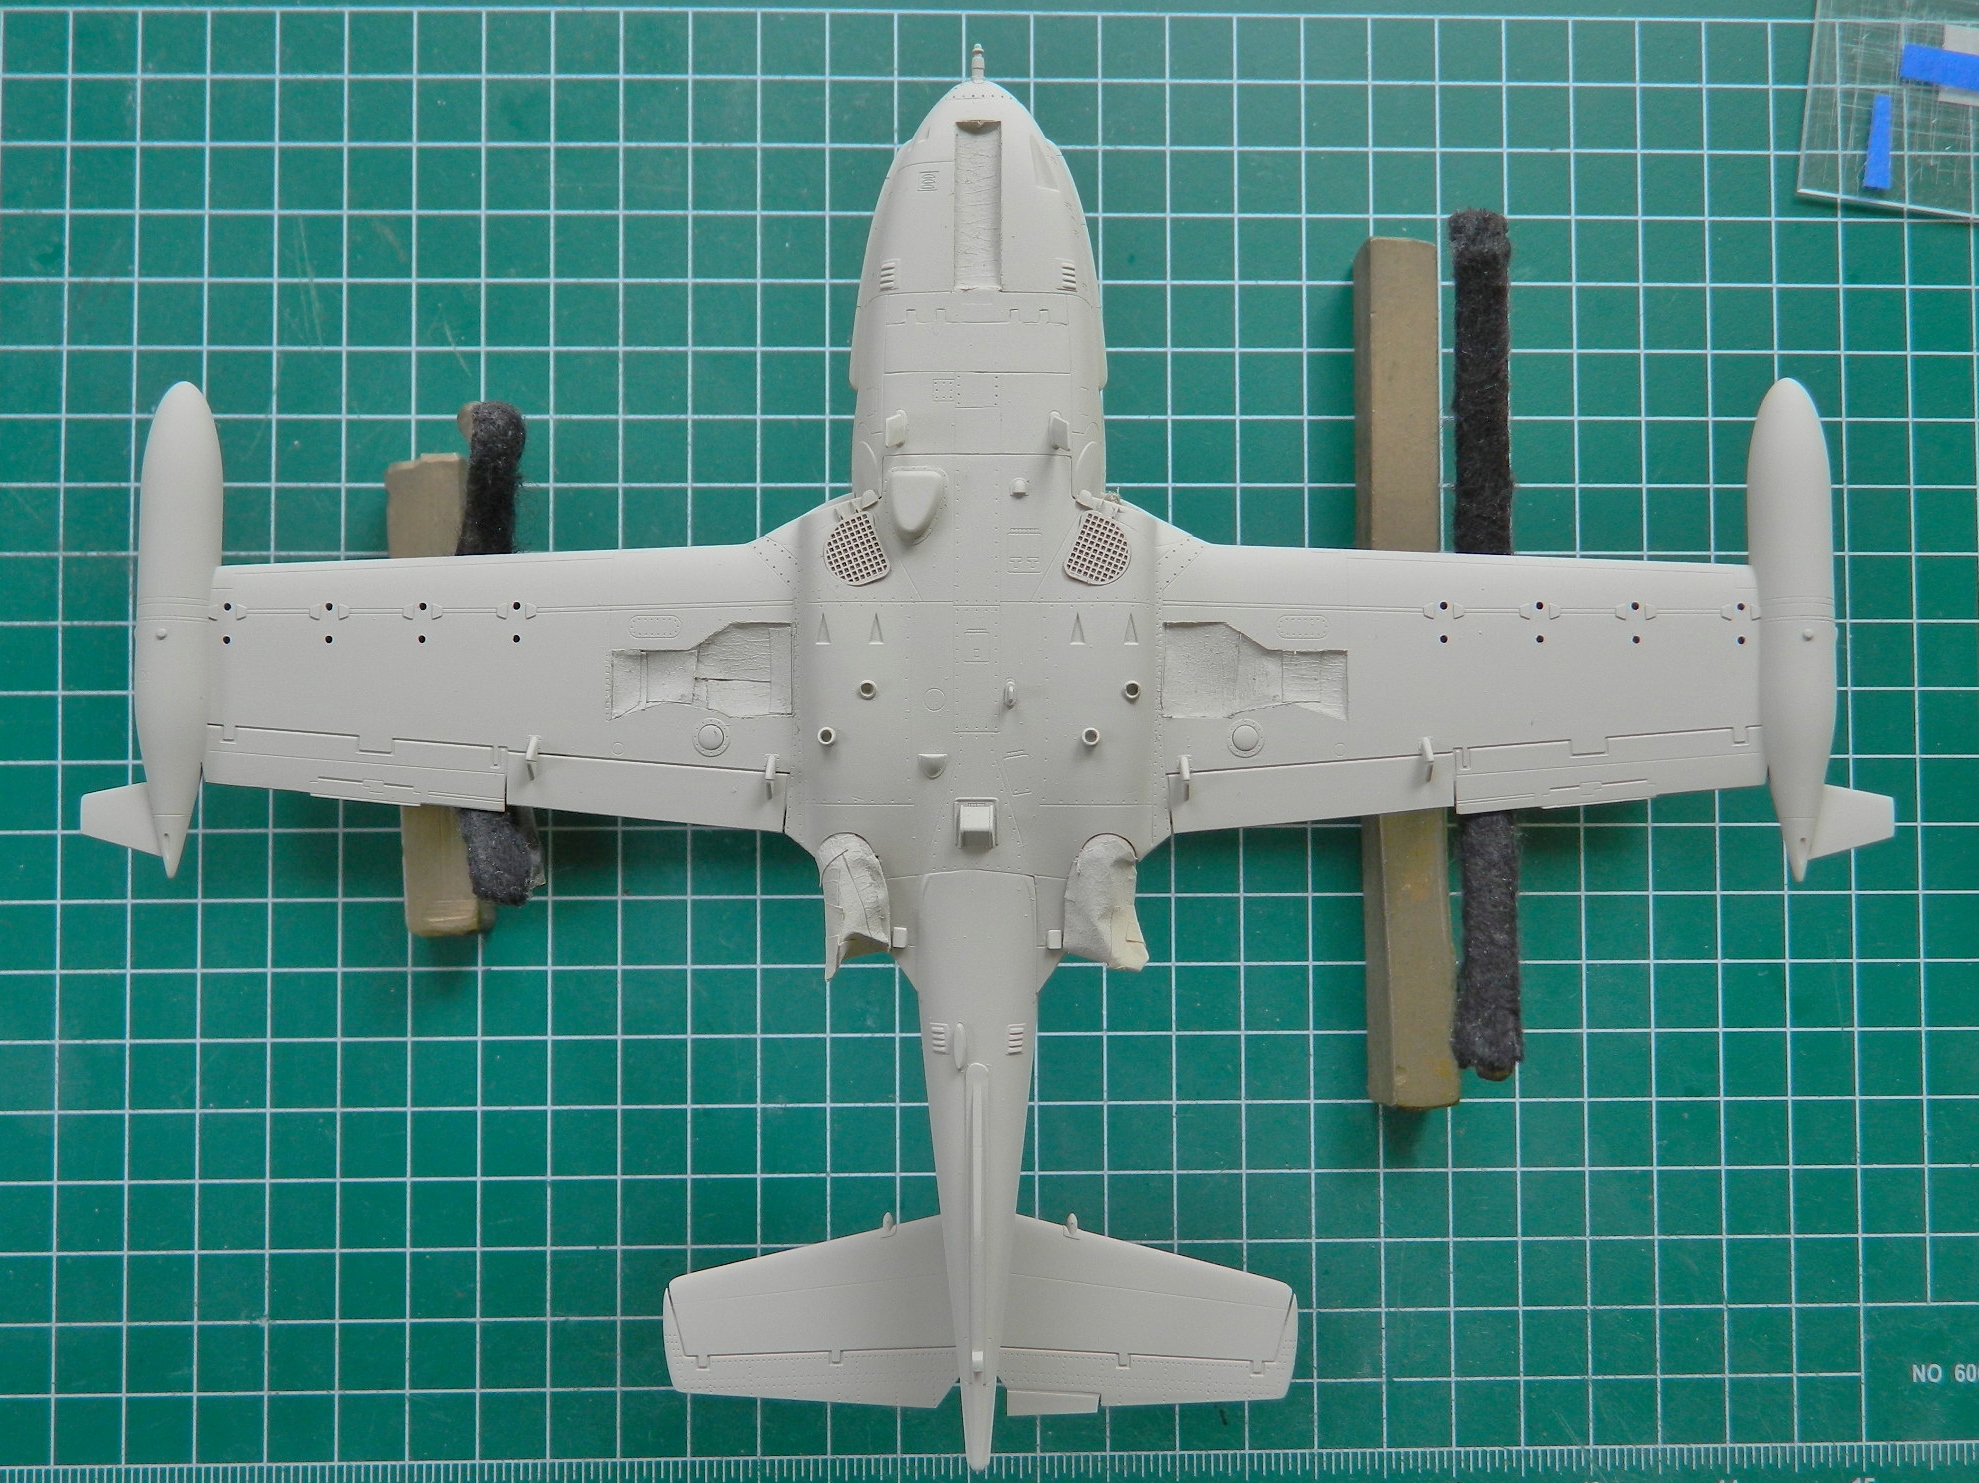

I’ve learned that it’s SO much easier to scrape acrylic paint off a small surface than it is to mask it, so the under-wing lights just got painted over. They won’t be cleaned off until all painting is done:

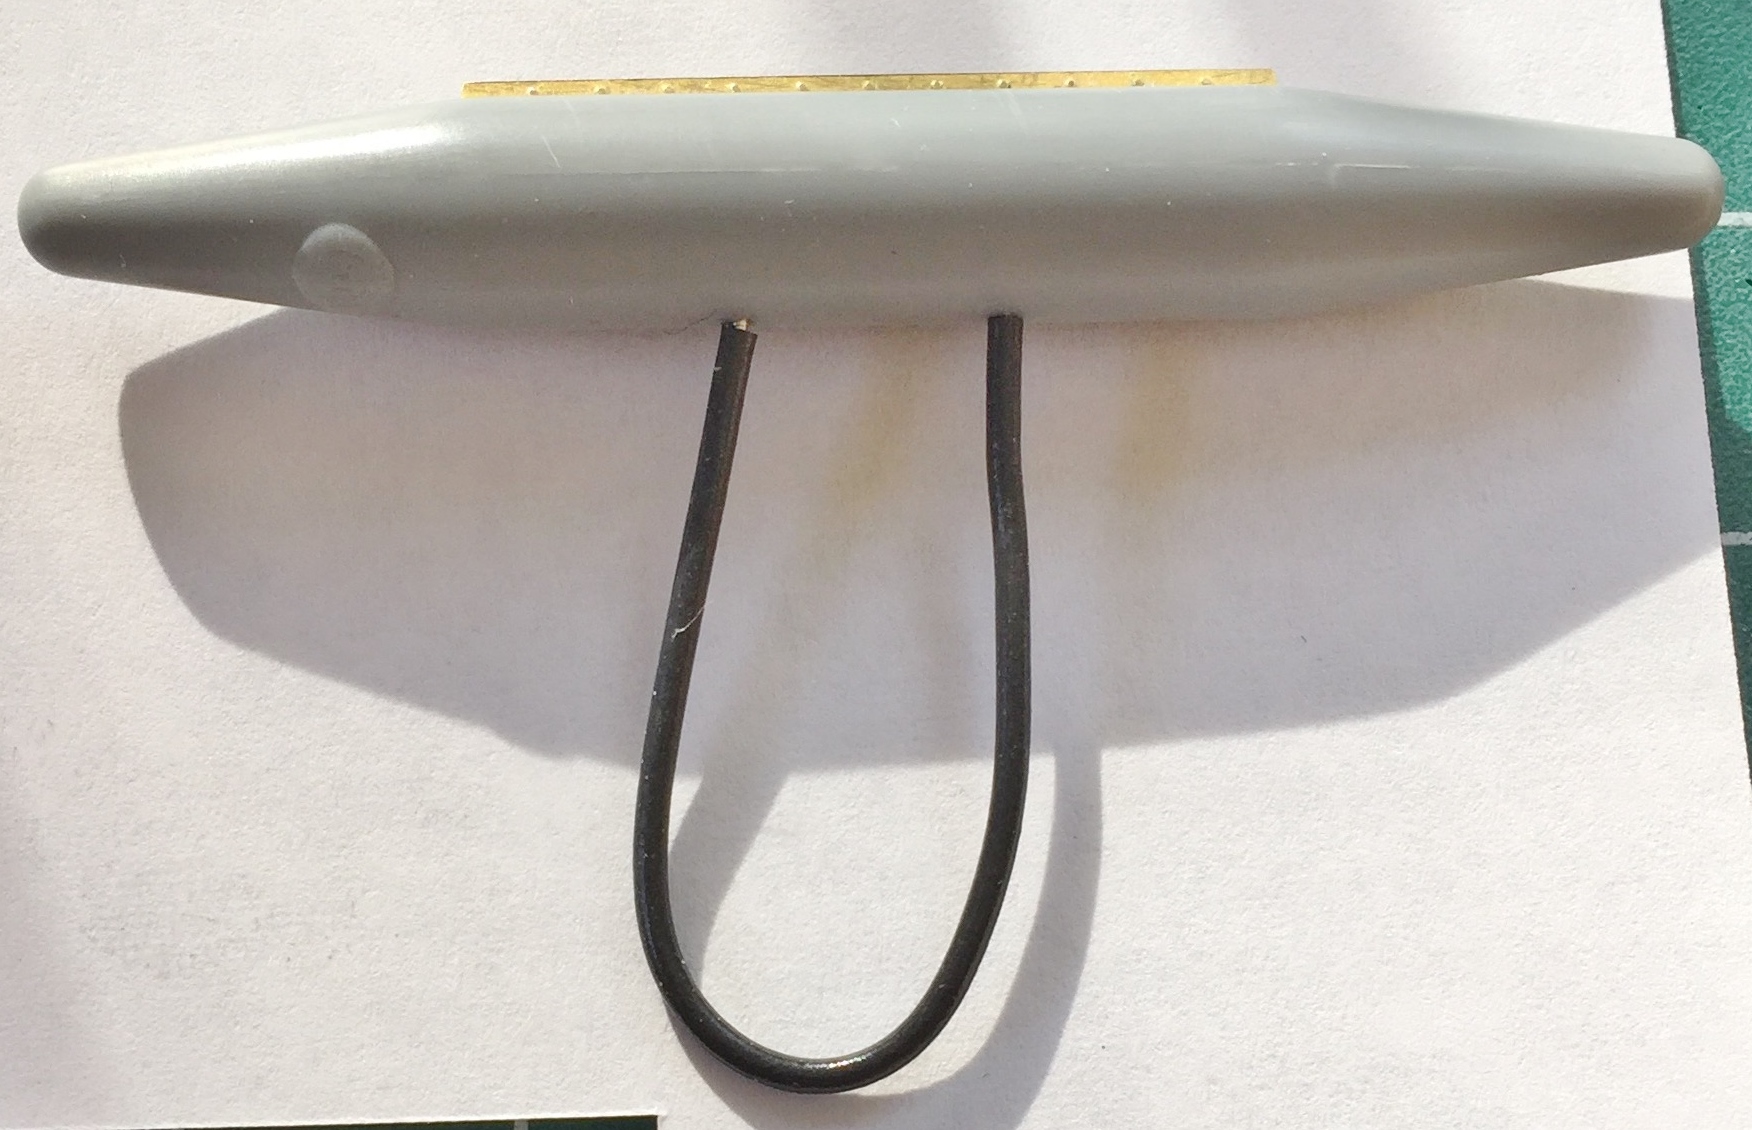
No…this isn’t a homemade IUD. It’s a clever solution to a problem. How do I hold the drop tanks, napalm canisters, and bombs while I paint them:
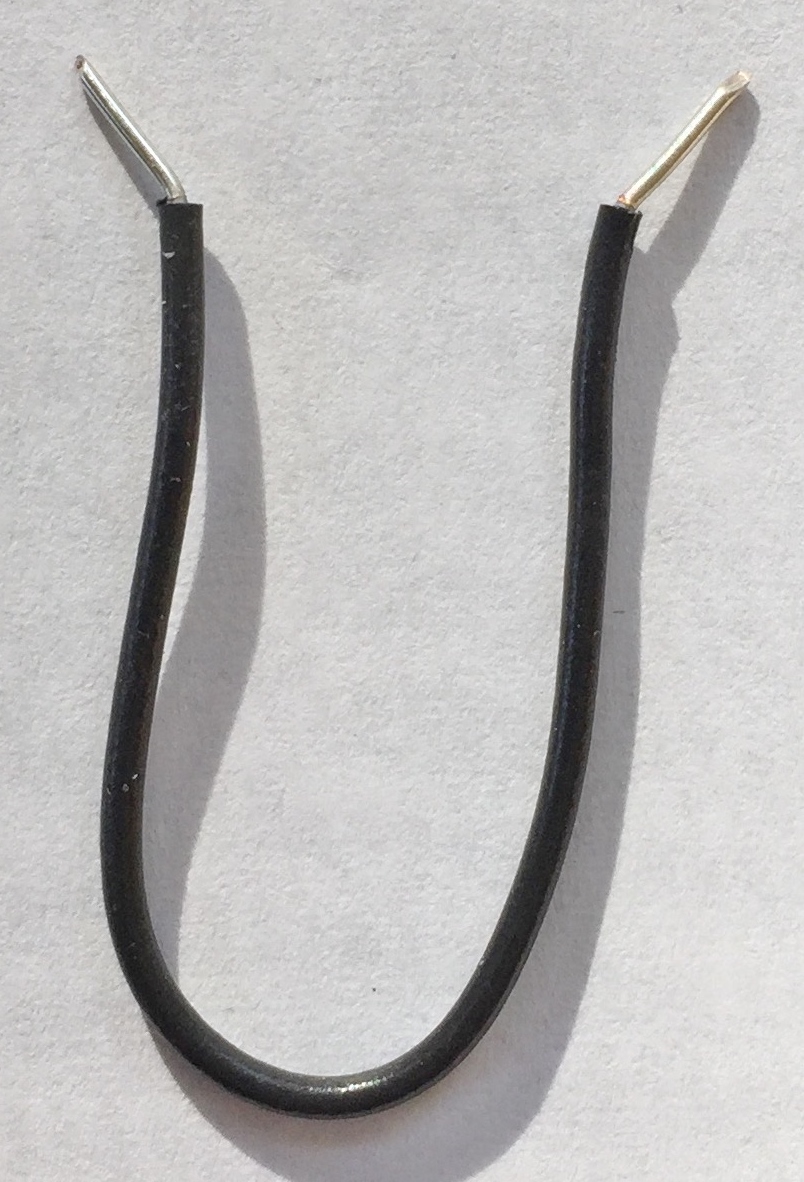
Make a handle (people quickly point out I need to get a grip on things). The bare ends of the wire (22awg) are inserted into the holes used to mount the part to the pylon (turns out I needed to make the bend sharper):
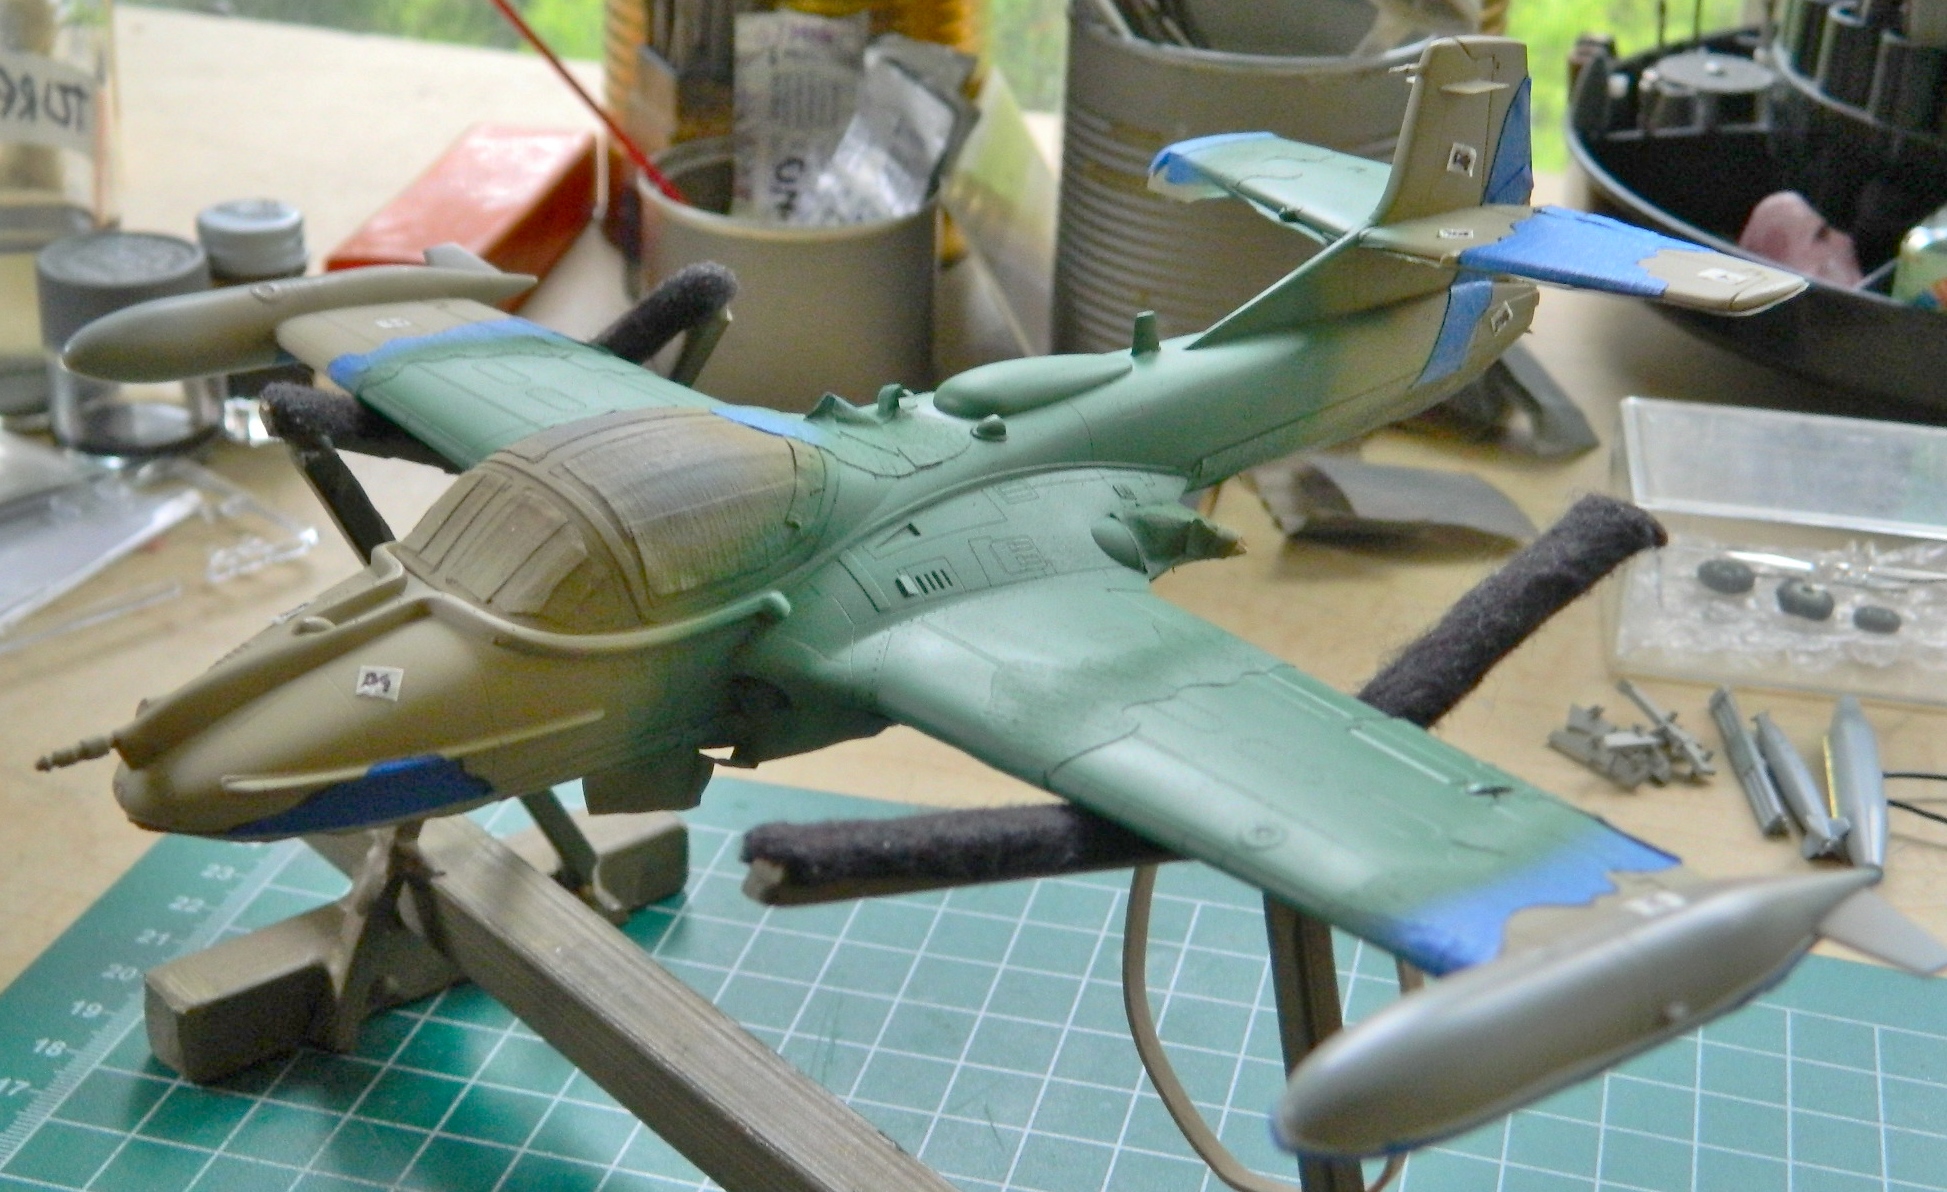
The overall color of the camouflaged paint is tan. So of course I thought simply lightening brown would get me tan. Well…what that got me was this:
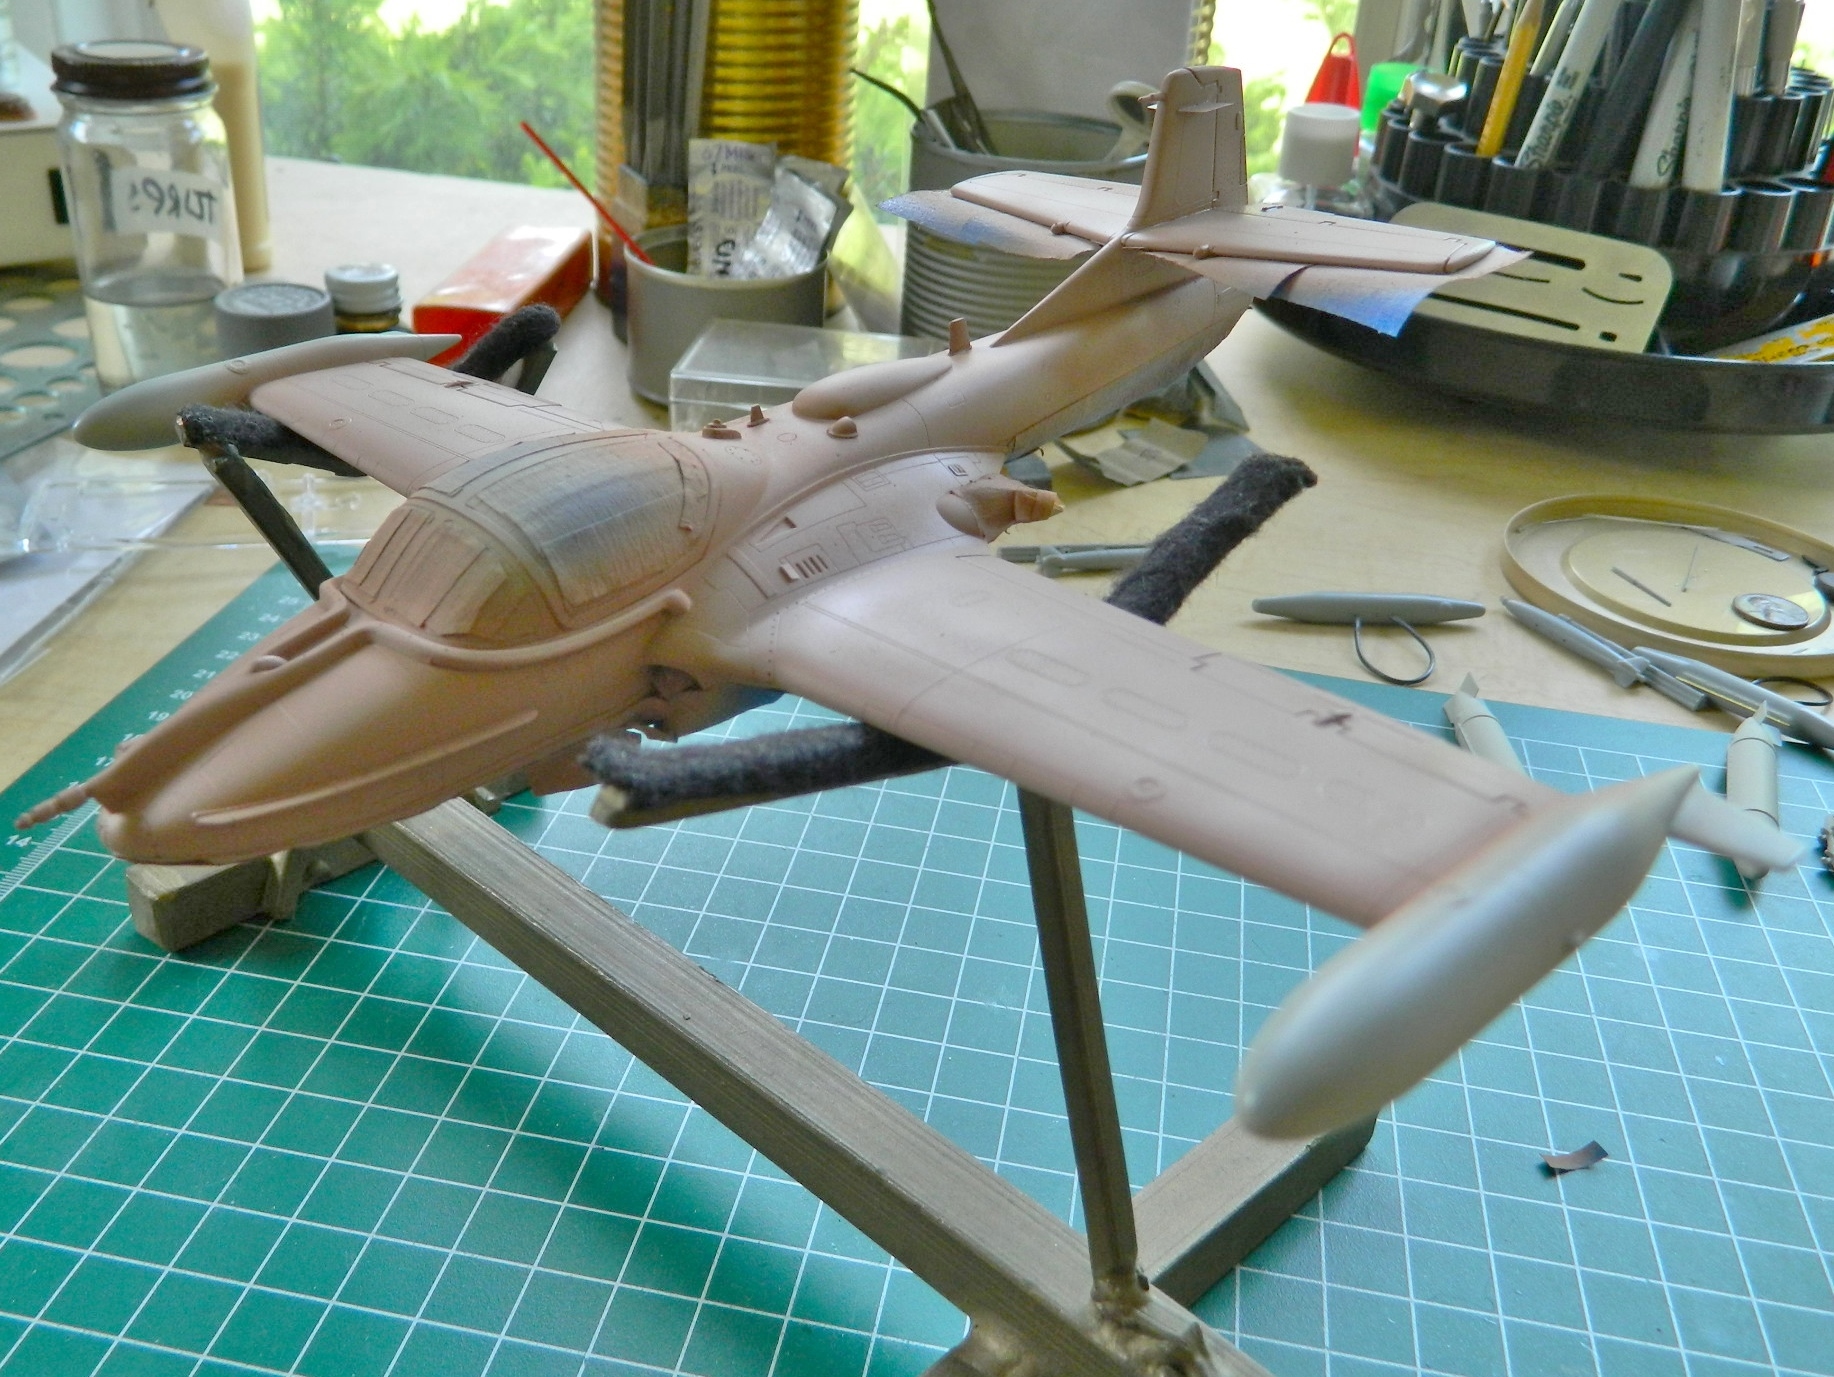

That looks like the aircraft needed sunscreen. I rummaged through my paint stock and ended up using Tamiya’s XF-20 (“Buff”) instead. Looks much better:
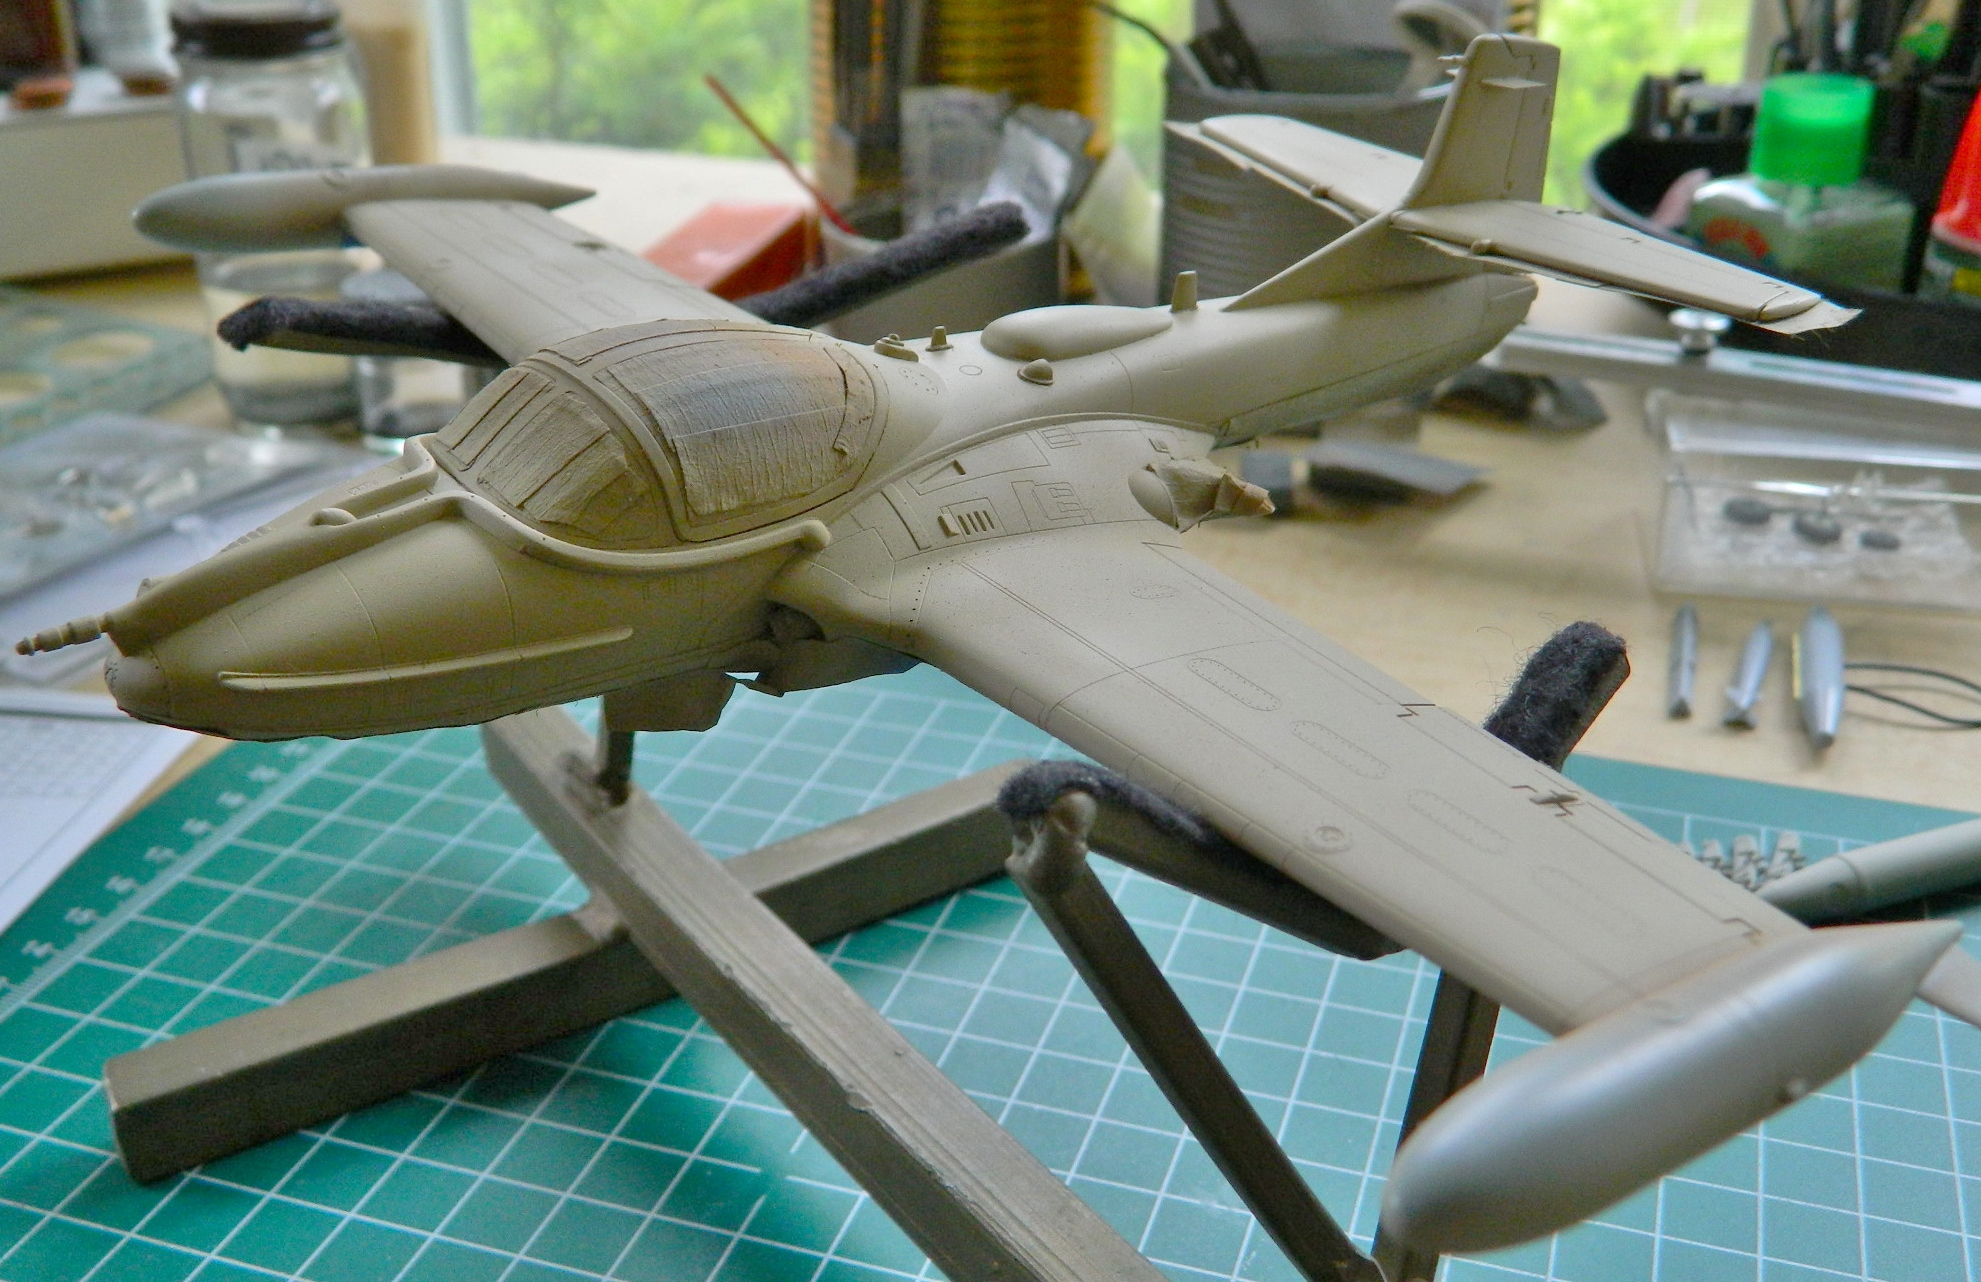
With the overall color down, I started masking it off. All my reference photos show the edges of the colors with sharp demarcations, so that’s what I did also.
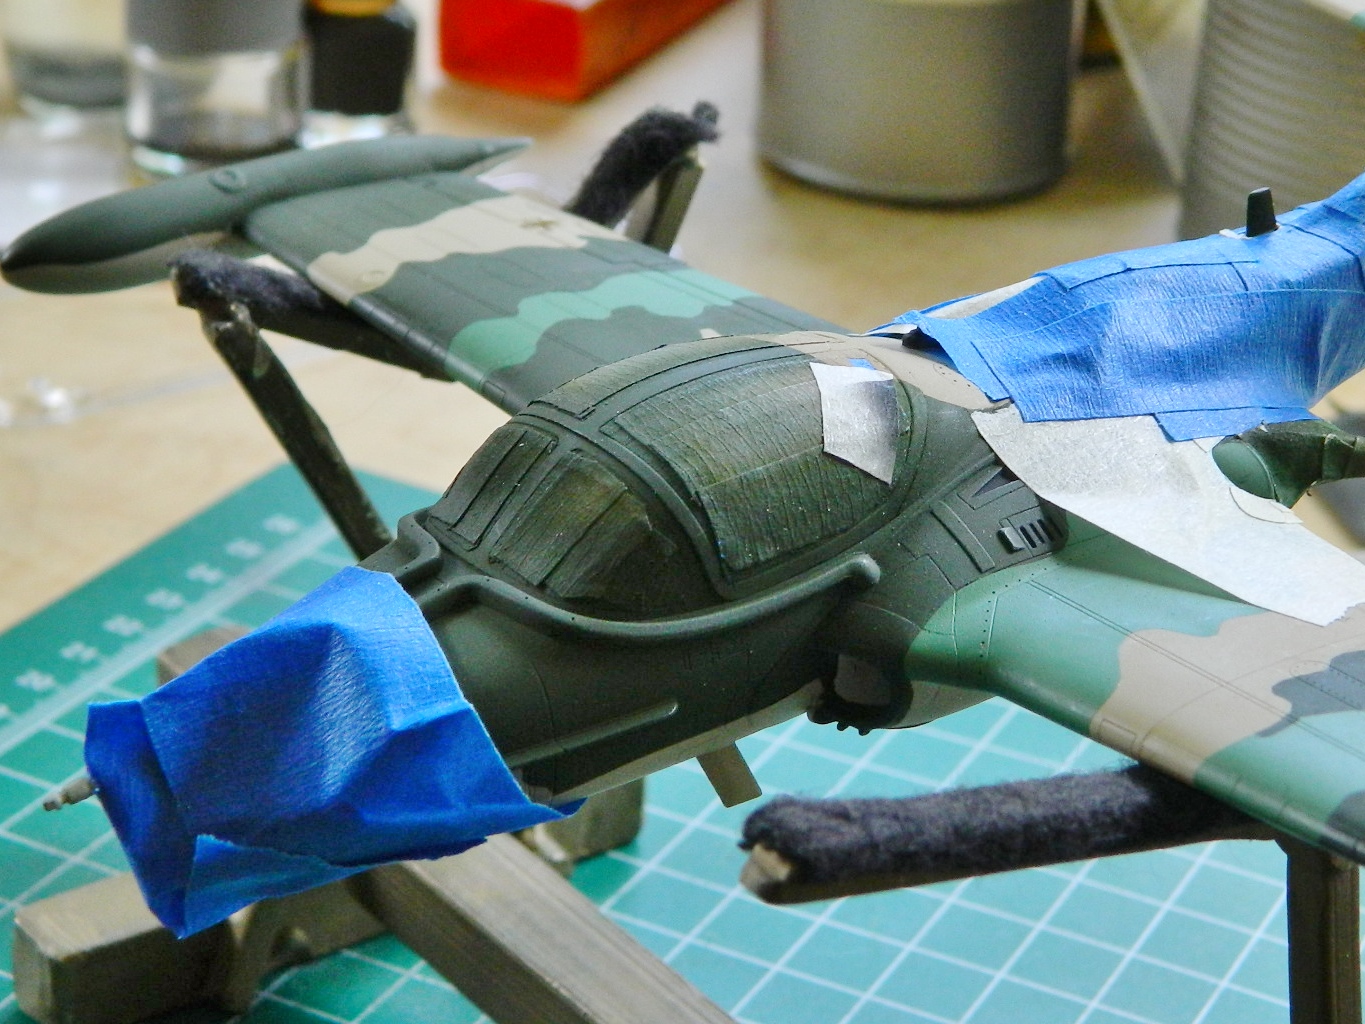
The odd green that was used was a mix of Tamiya’s XF-62 Olive Drab (5 parts), XF-5 Green (4 parts), and XF-2 White (8 parts). The masking goes over the areas I want to stay tan and then I shot the areas that will be green (the little tags are painting cues…I’m easily confused):
Leaving the masks down over the tan, I added more masks over the areas I want to stay green:
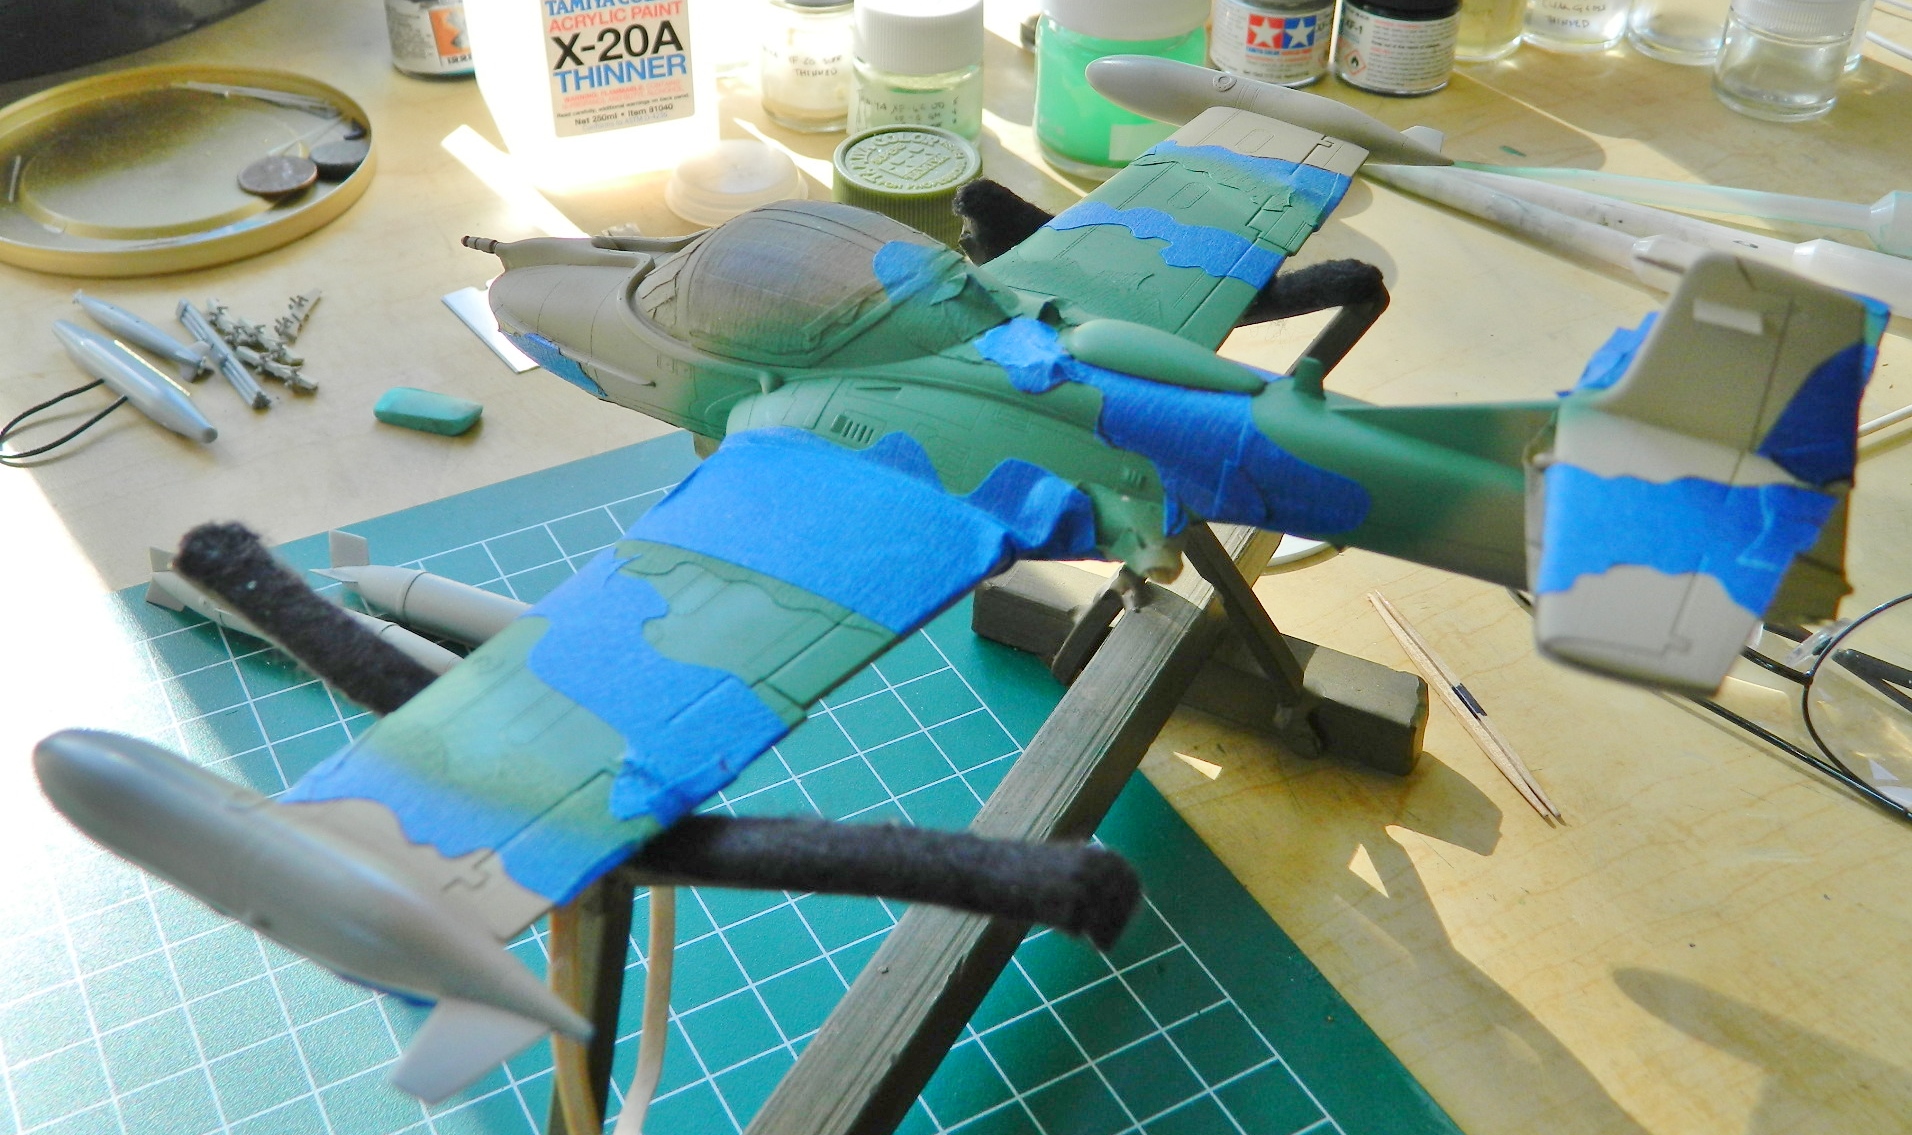
Then it got shot with Tamiya’s XF-58 Forest Green:

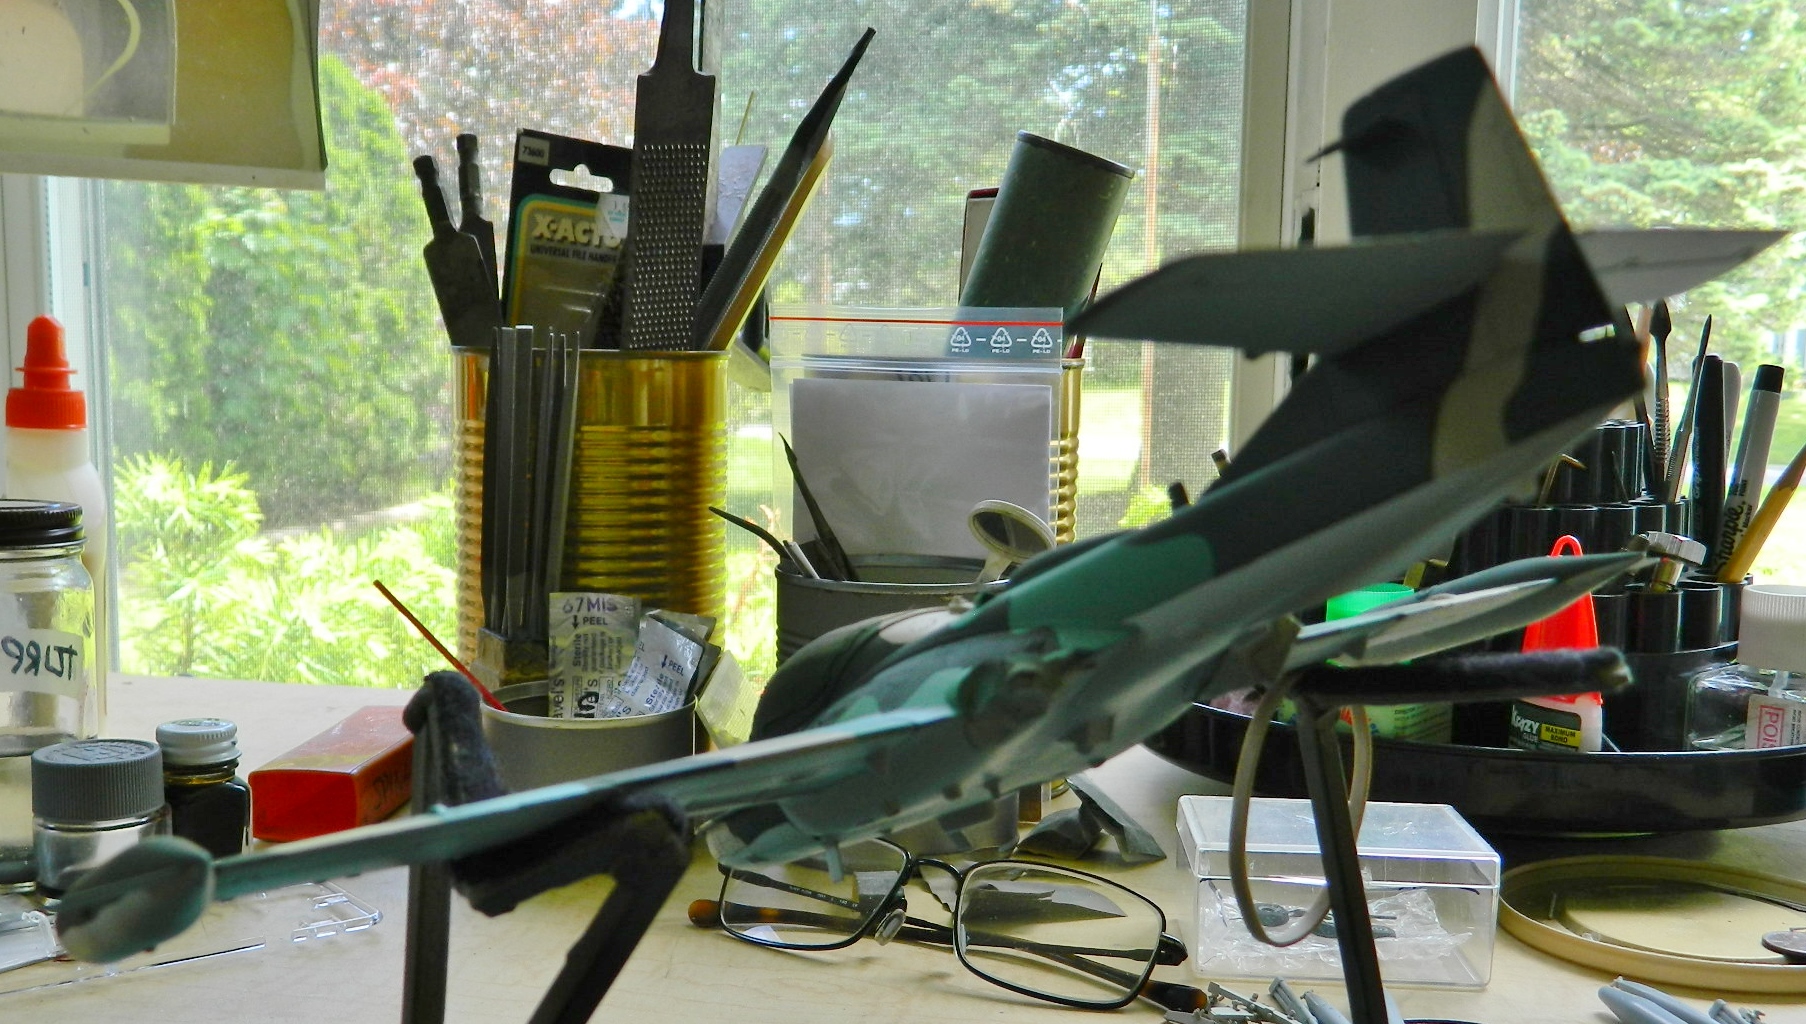
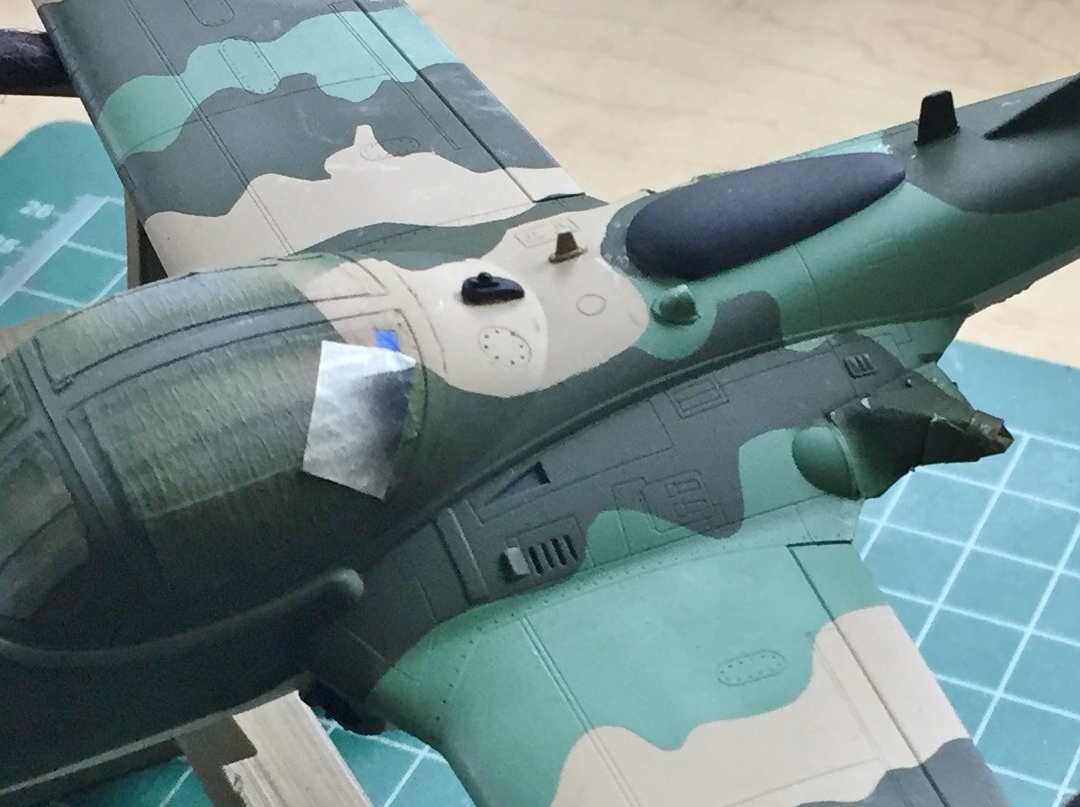
I let the paint set up for a few hours and pulled the tape:


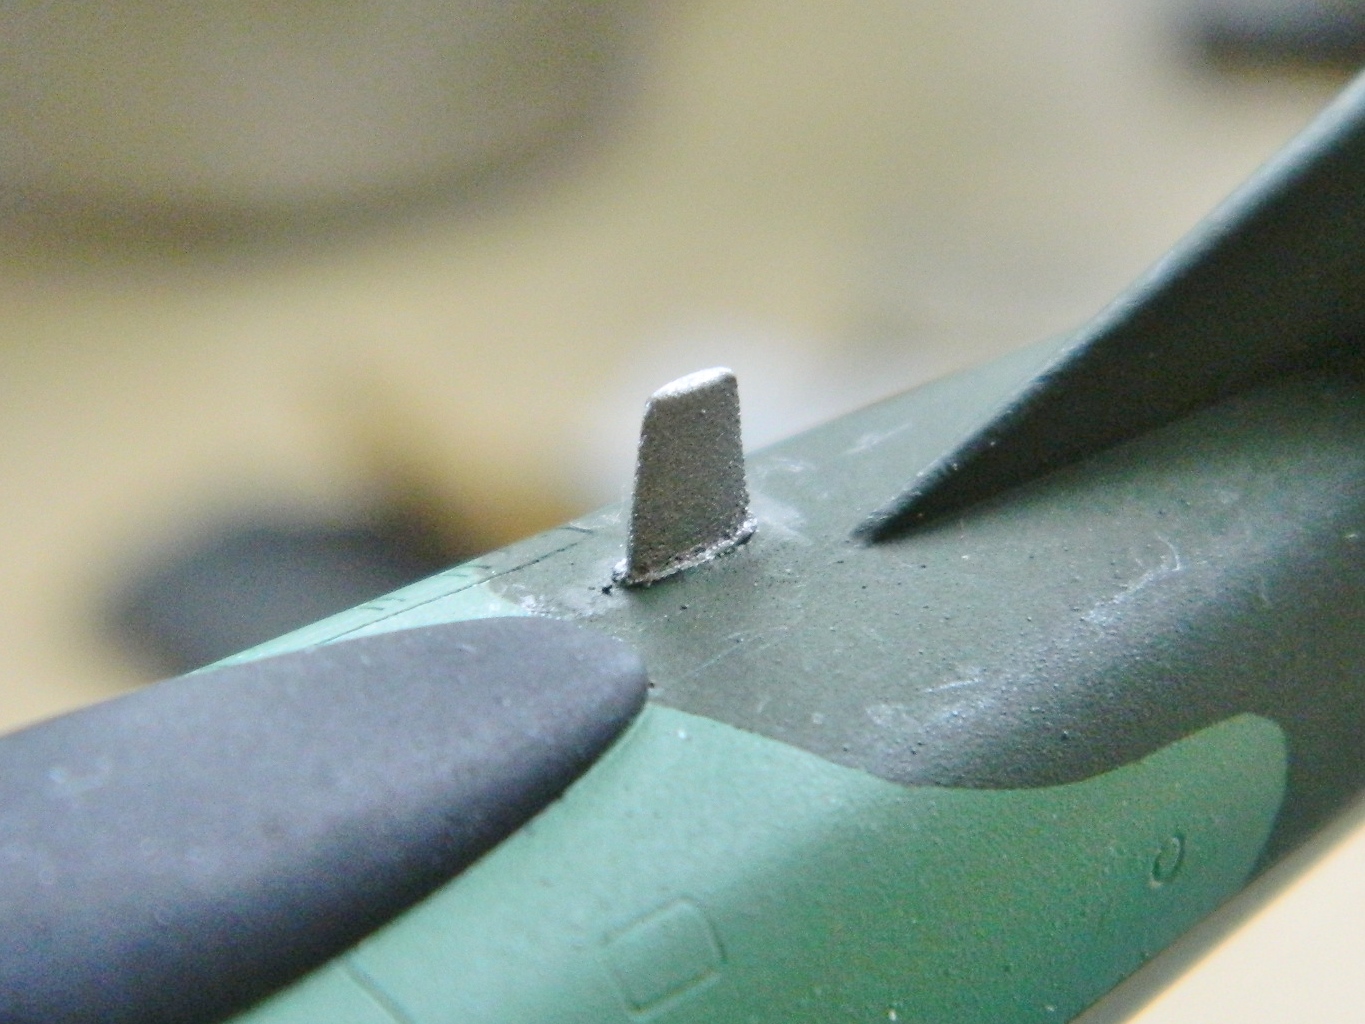
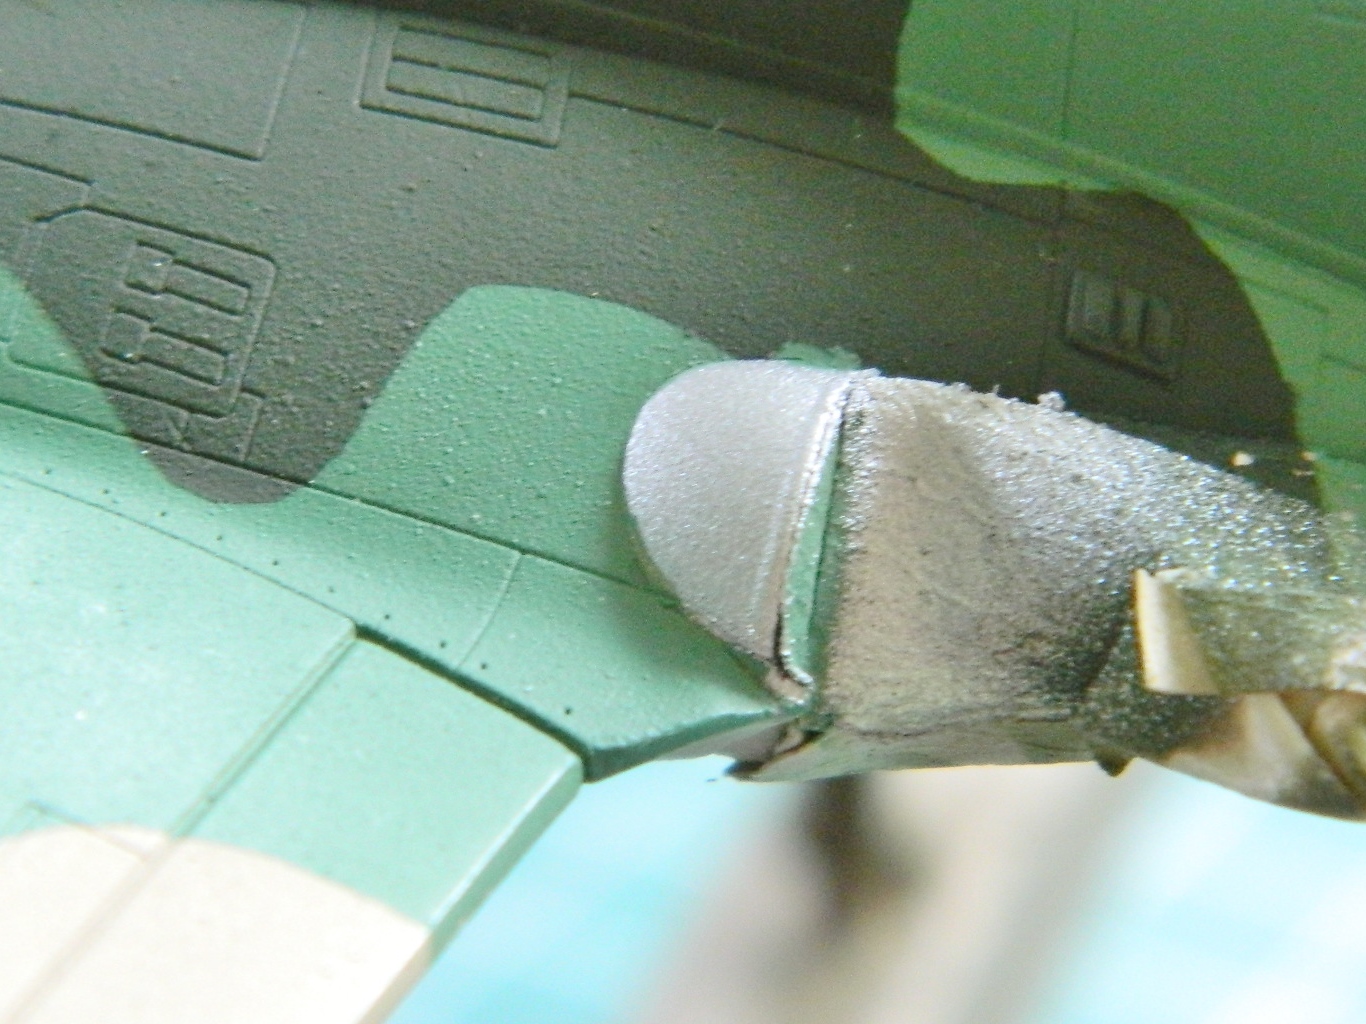
There were a few minor flaws, the largest of which were these two, where the paint pulled up from in front of the port (left…I only used “port” to make myself look more knowledgeable) intake and a gap on the underside where the tape didn’t quite seal around the cylindrical vent:
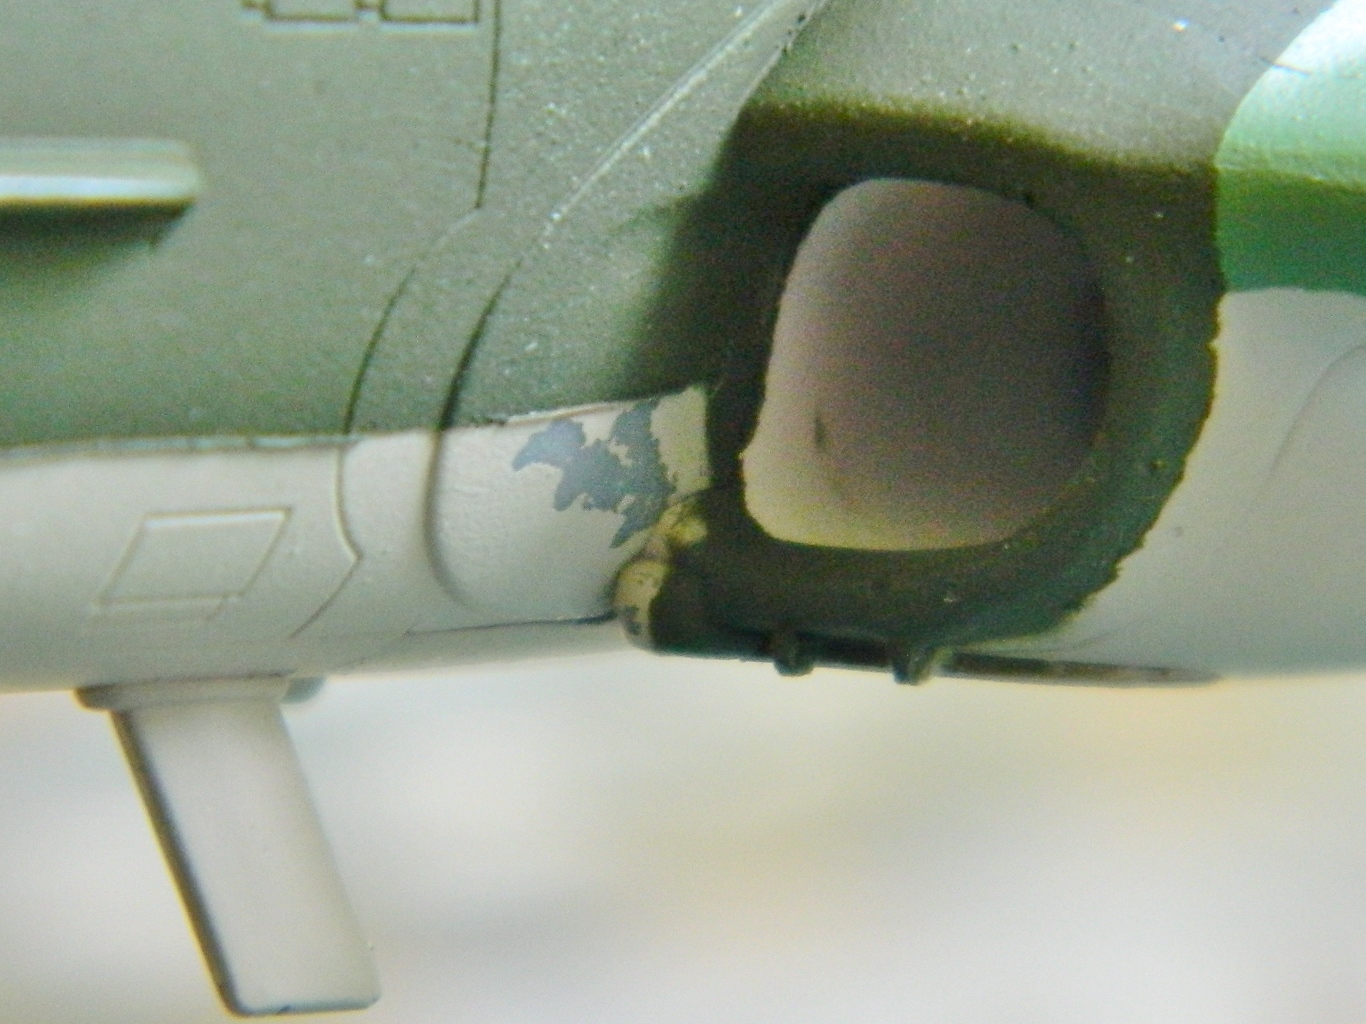

I sanded the peeled area with 2000 grit to get a nice and gentle feathering. If you look at the photo of the intake above, you can see where the green meets the underside color, the line isn’t quite sharp. I masked the green and reshot with the underside color while I was reshooting the area in front of the left (port, if I’m being pretentious) intake and the area where the tape didn’t seal.
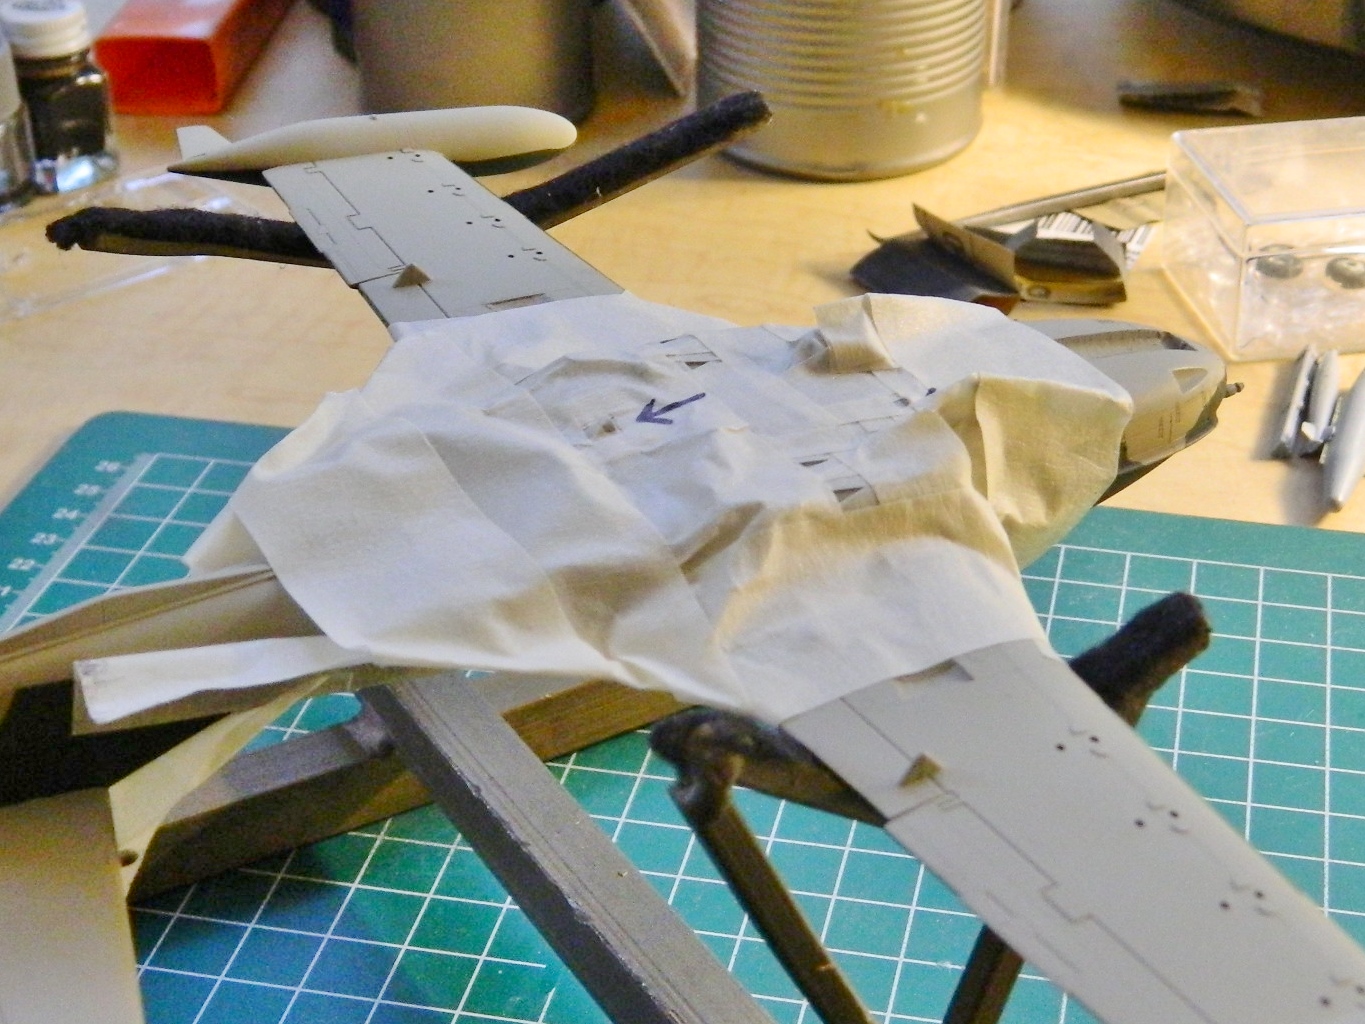
There are areas on both top and bottom that had to be shot flat black, so I started playing tape-Tetris:
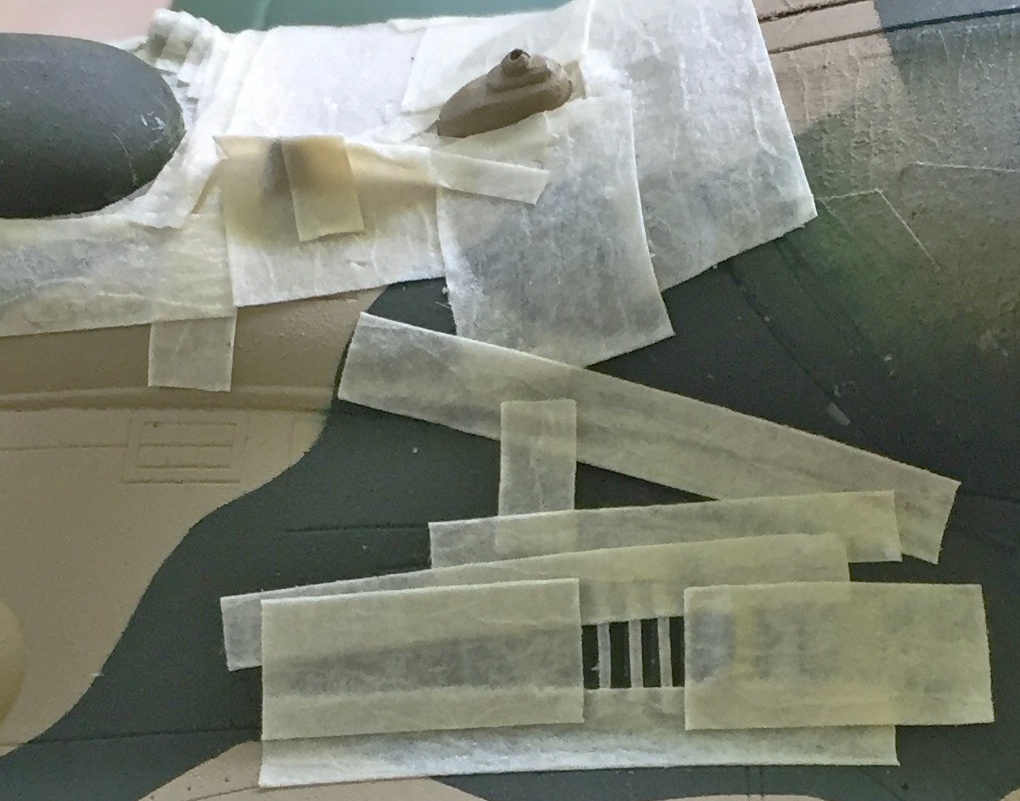
Since that was such fun, I decided to play tape-mummy:

And of course though it looks like it came out well, there were a few areas of overspray. The areas were so minor that instead of masking and spraying…again…I decided that since dry-brushing works so well putting down a very small amount of paint to replicate wear, a very small amount of paint would also deal nicely with minor overspray:

Then it was time to glue the refueling probe back on. Again. Some more. I stopped counting at an even dozen how many times the probe and the pitot tube broke off (I left the damned pitot tube off…I’ll put it back on once I’m done handling this thing). I broke it off many times after I stopped counting. But since I wanted it on there when I painted it…IT WAS ON THERE WHEN I PAINTED IT. Masking complete (I thought), the aluminum parts were sprayed aluminum:


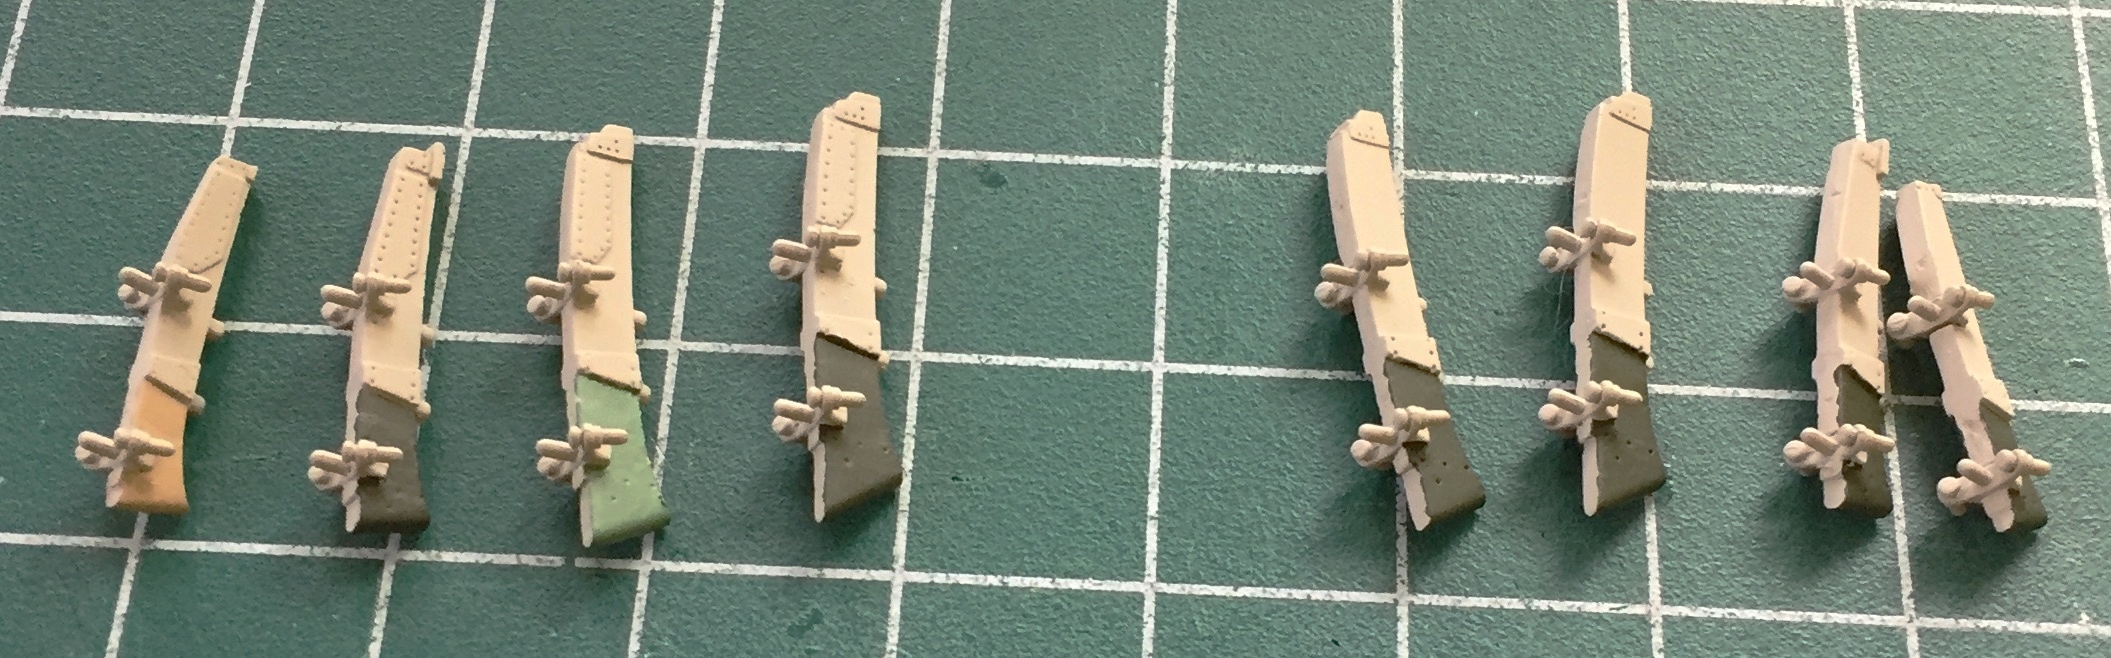
Most of the pylons were painted the same color as the underside, but the leading edges were painted the same color as the camouflage paint on the wing above it:
I had intended on using the SUU-14/A launcher tubes on the outermost pylons. The way the parts went together was a sodding nightmare and I wasn’t able to finish off the seams to my satisfaction. My original intent was to have each wing have a drop tank closest to the fuselage, then a napalm tank, a Mk. 80 bomb (250 lbs.), and then the SUU-14/A launchers. Since I’m not using the SUU-14/A tubes, I’m going to put the Mk. 80s on the outer most pylons and an M117 bomb (750 lbs.) next to the napalm tank. So that means I gotta put the bombs together. At least they were more accurate than the Mk. 80s were and though I had to thin some fins on them, I didn’t have to thin them as much:

The rear of the fins is hollow and the kit molded them solid, so I drilled them out for a more scale appearance:

So. My initial goal was to see if I could build this in 50 hours or less. I can be so funny… My secondary goal was to see if I could build this in 100 hours or less. Sometimes I can be so naive… I’m at about 107 right now (told you not to bet on it) and I’ve yet to add chipping effects, clear coat with gloss, add decals, do a wash, clear coat with flat, and stain/weather with pastels. My tertiary goal was to have this done before my field trip to the National Air Space Museum on June 12. I still may, but had that been a hard goal, I certainly could have done it, even without the various setbacks along the way.
Oh shit. I just remembered that I’d wanted to paint the outside of the landing gear doors and forgot to. ::rolls eyes::
