This is the kit:


To start with, it’s not an M3A1. The back of the upper hull of the M3A1 has a curved section that M3s have angled the way this kit has it. So, literally, right out of the box, decisions have to be made about what I’m going to build. If I want to do an A1, then I have to replace the angled section with a rounded section. But mate…there’s war… The interior of the M3 is DRASTICALLY different from the M3A1. The kit has the M3A1 interior…complete with a turret basket that was not used in the M3. So, do I do an M3 and change the interior or do an M3A1, leave the interior as it is (or will be, it’s in parts presently) and change the outer hull?
Let’s do the M3…it needs more work to represent!
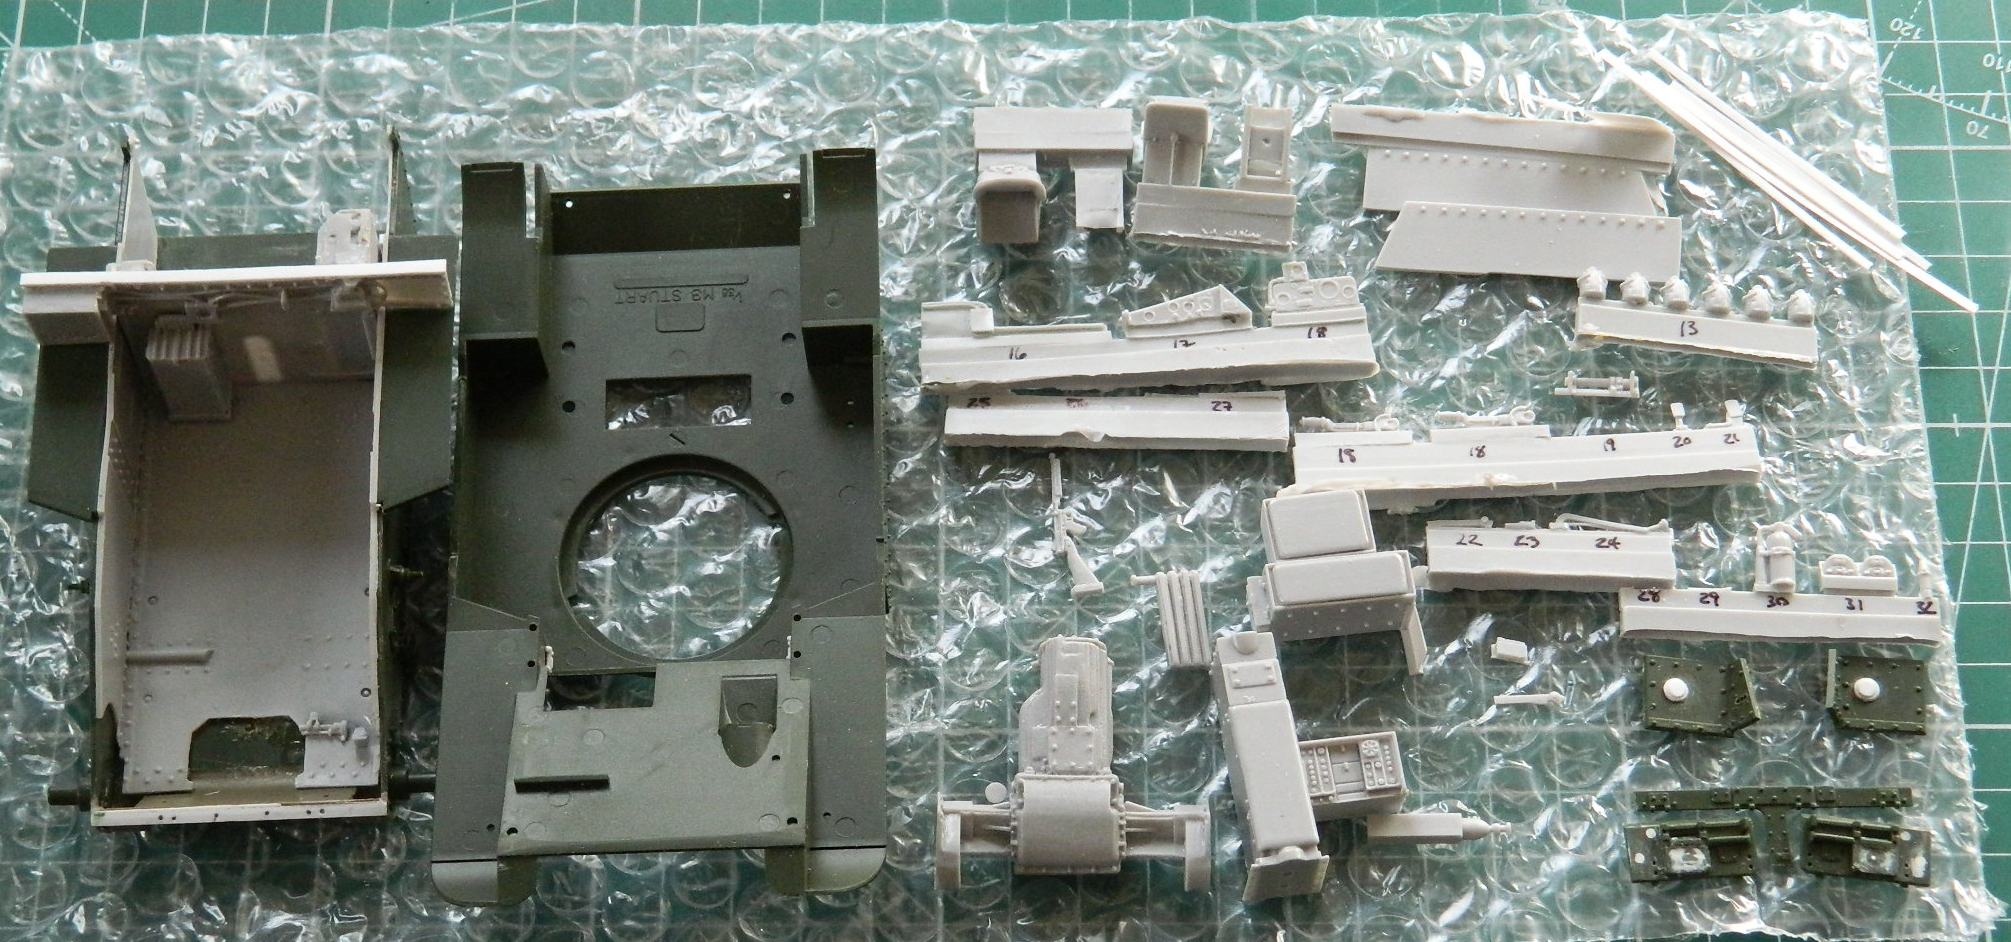
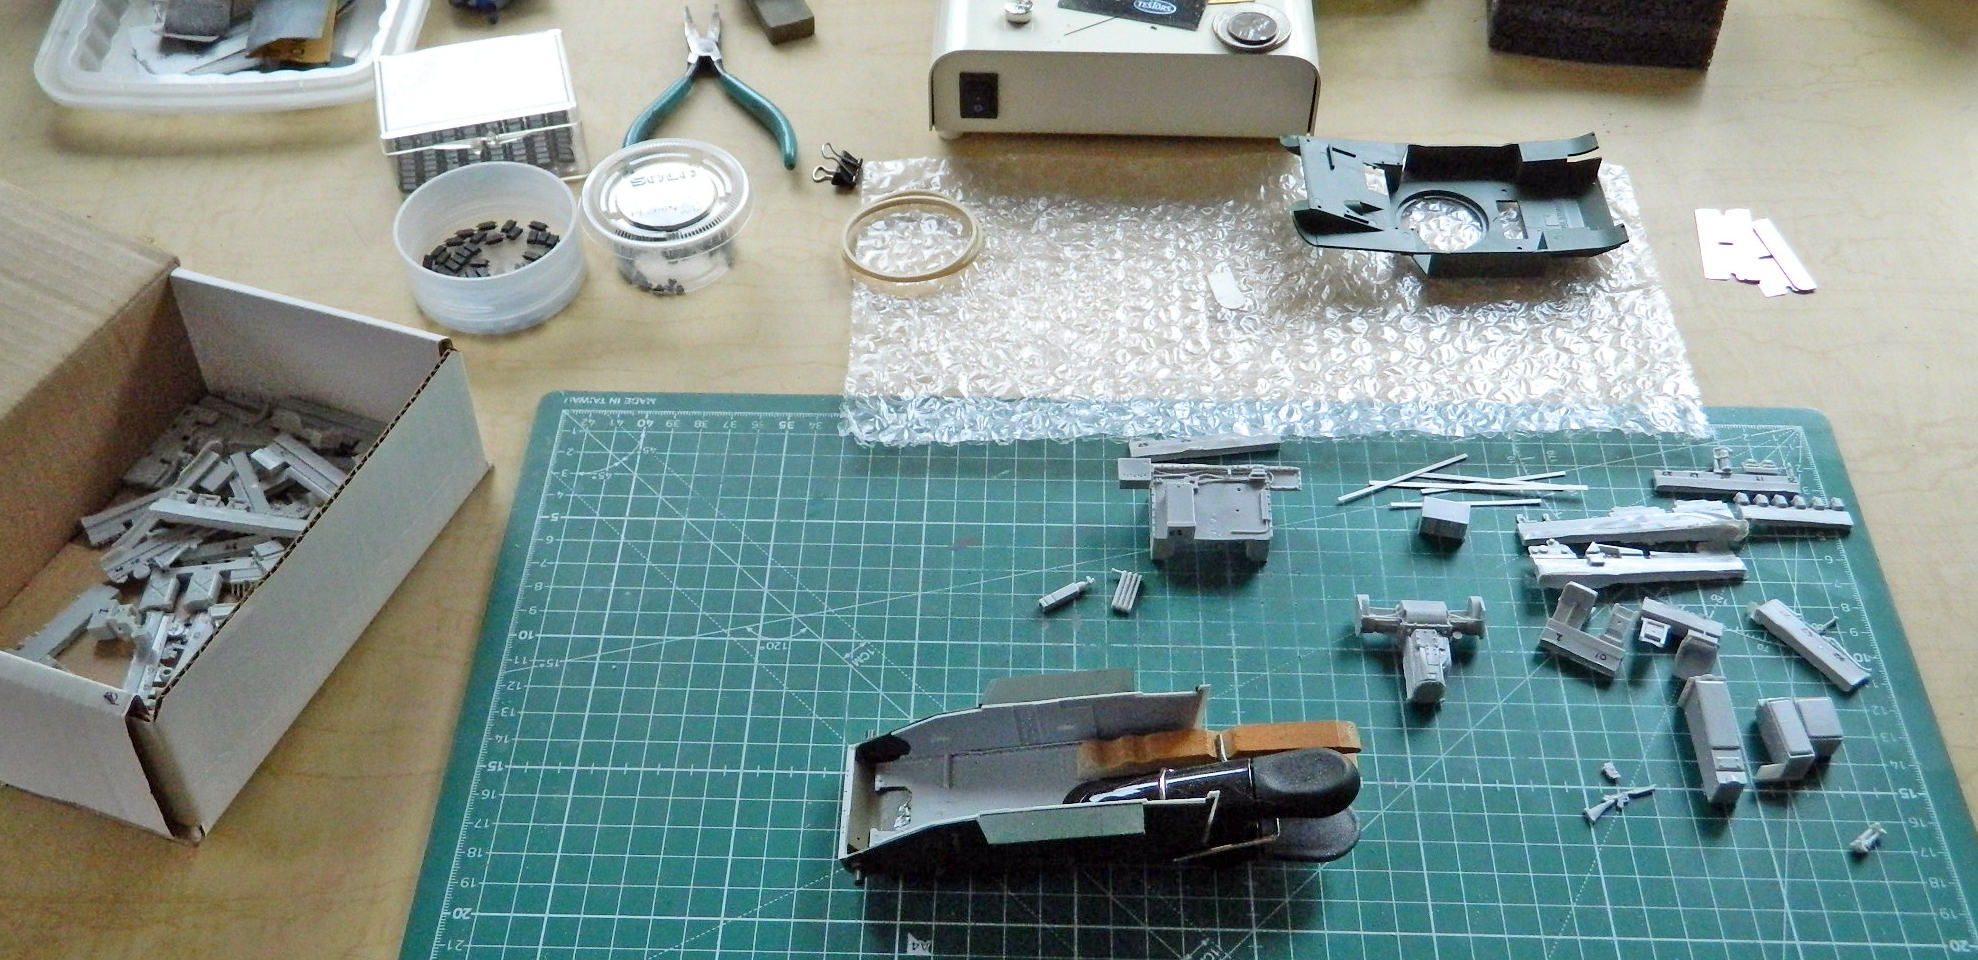
So presently, these are some of the items I’ll be adding to the kit.
The interior is done by Tiger Model Designs:

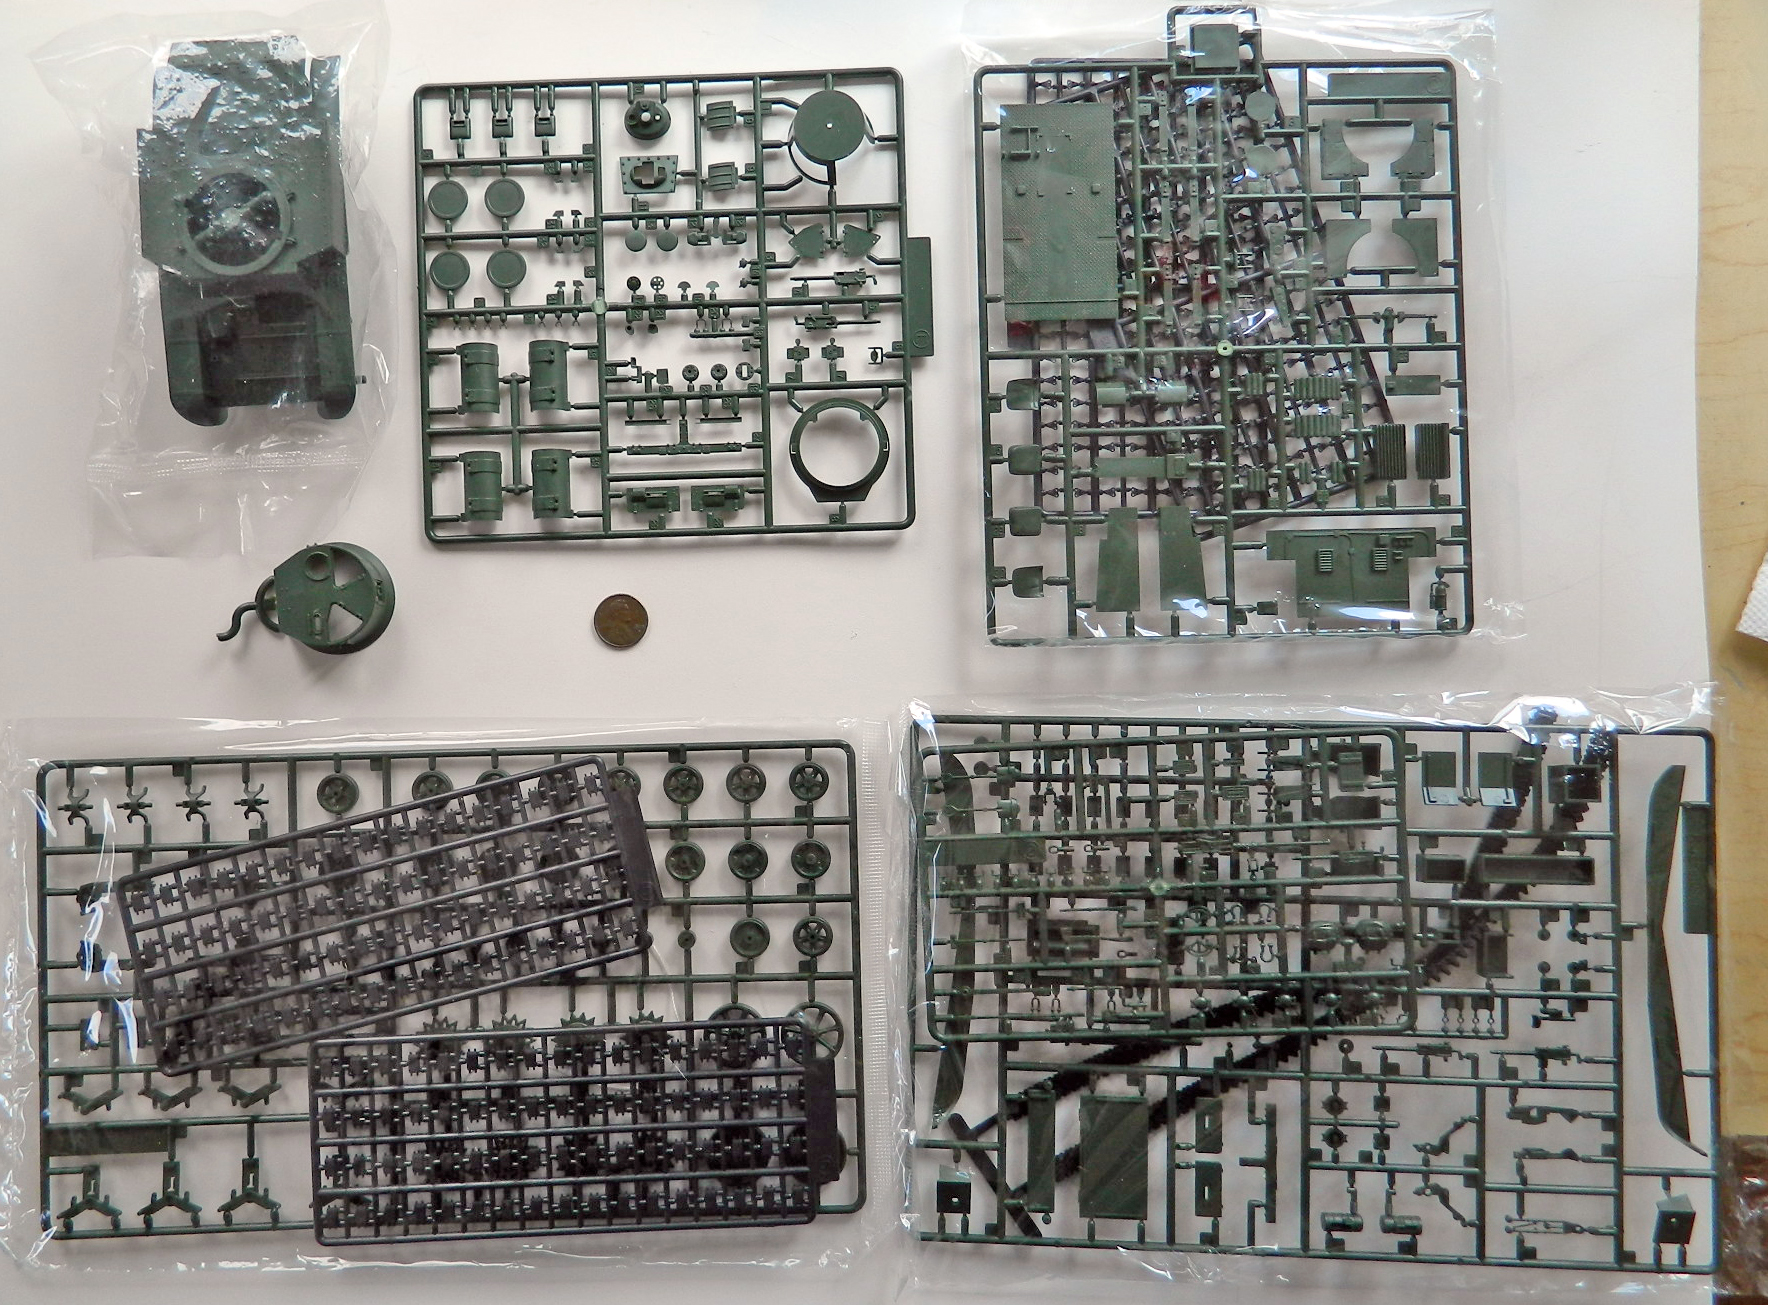
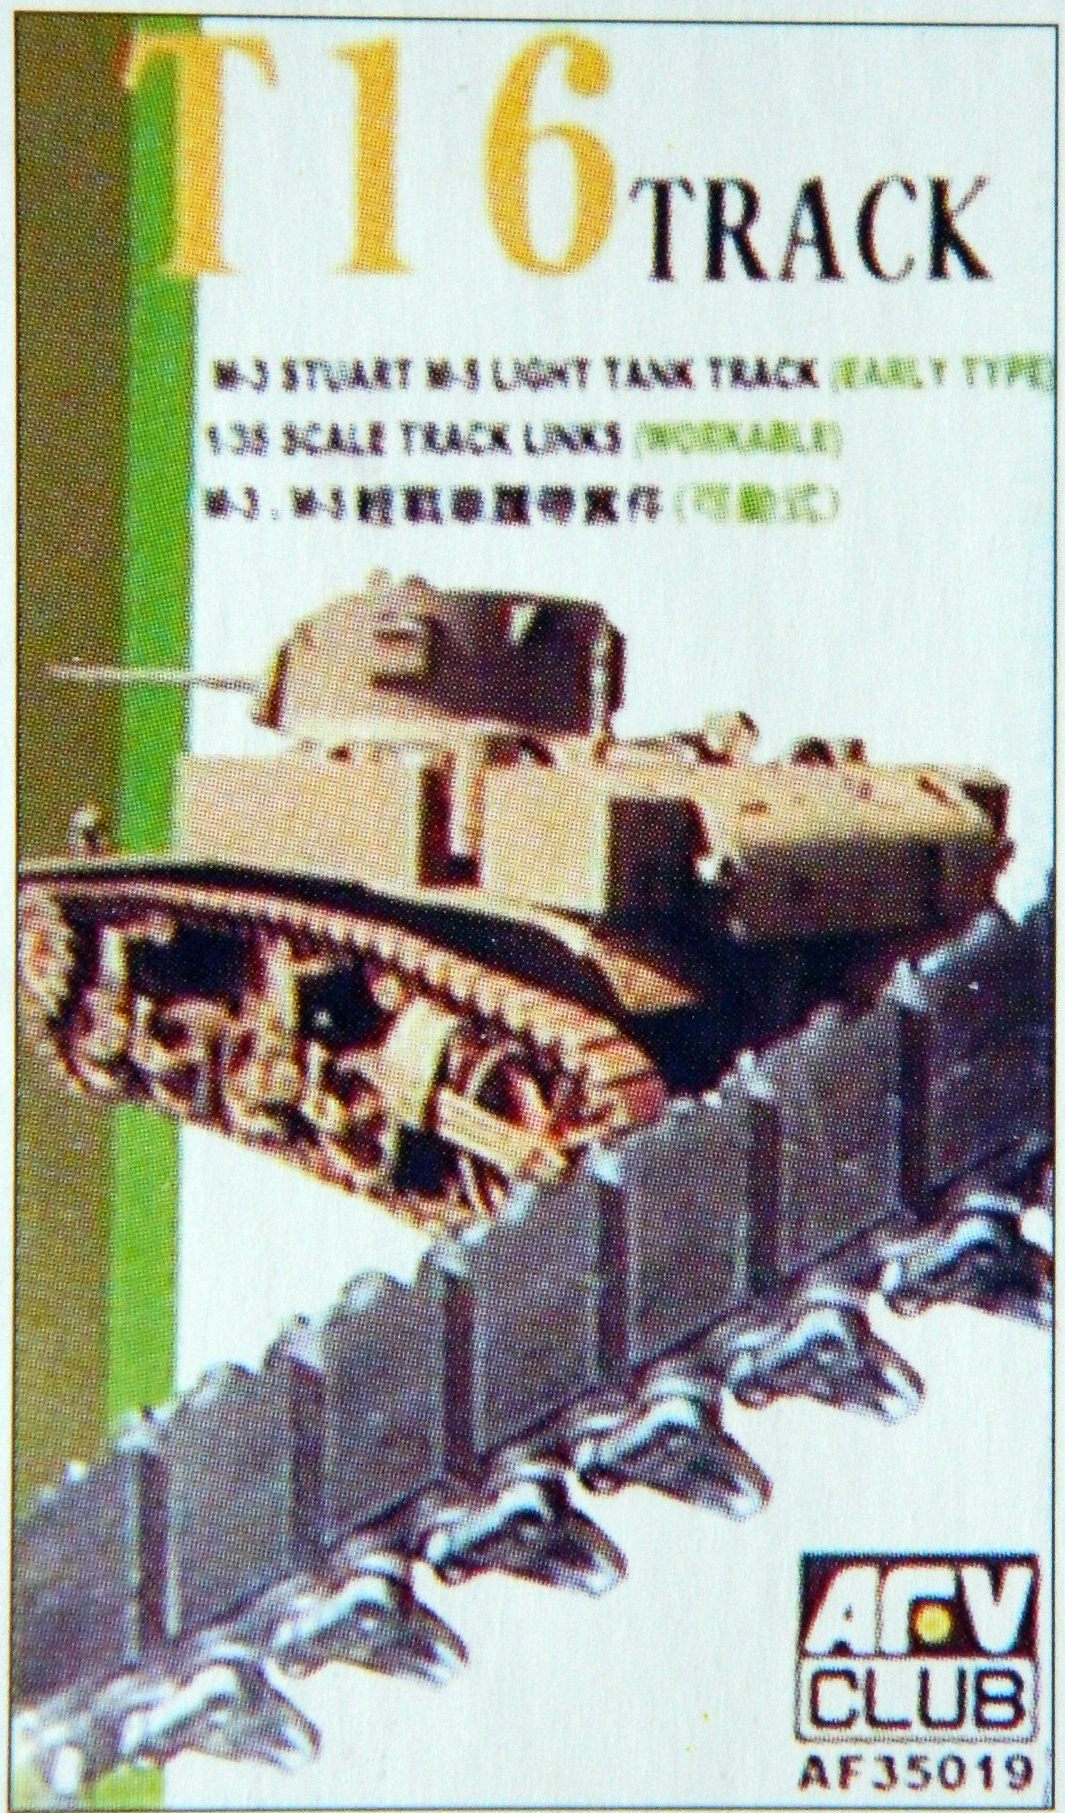
The tracks and suspension by AFV Club:

My intention is to build a representation of a mid to late production M3. That intention rules out two of the four possible turrets that had been fitted to the M3. That leaves two possible turret options to choose from. The different turrets have been referred to by their drawing numbers. The first two turret designs have flat-faced sides, extending up at the left rear corner to form the commander’s cupola (differing only in that the first turret was riveted and the second welded together). The “horseshoe” turrets, so called because instead of having a faceted side have curved sides, are what interest me. The question is do I use the kit’s part, the D58101 turret that has no cupola and two hatches (that’s what’s pictured on the cover of the kit’s box), or do I go with the earlier D39273 turret that has a rounded cupola only.
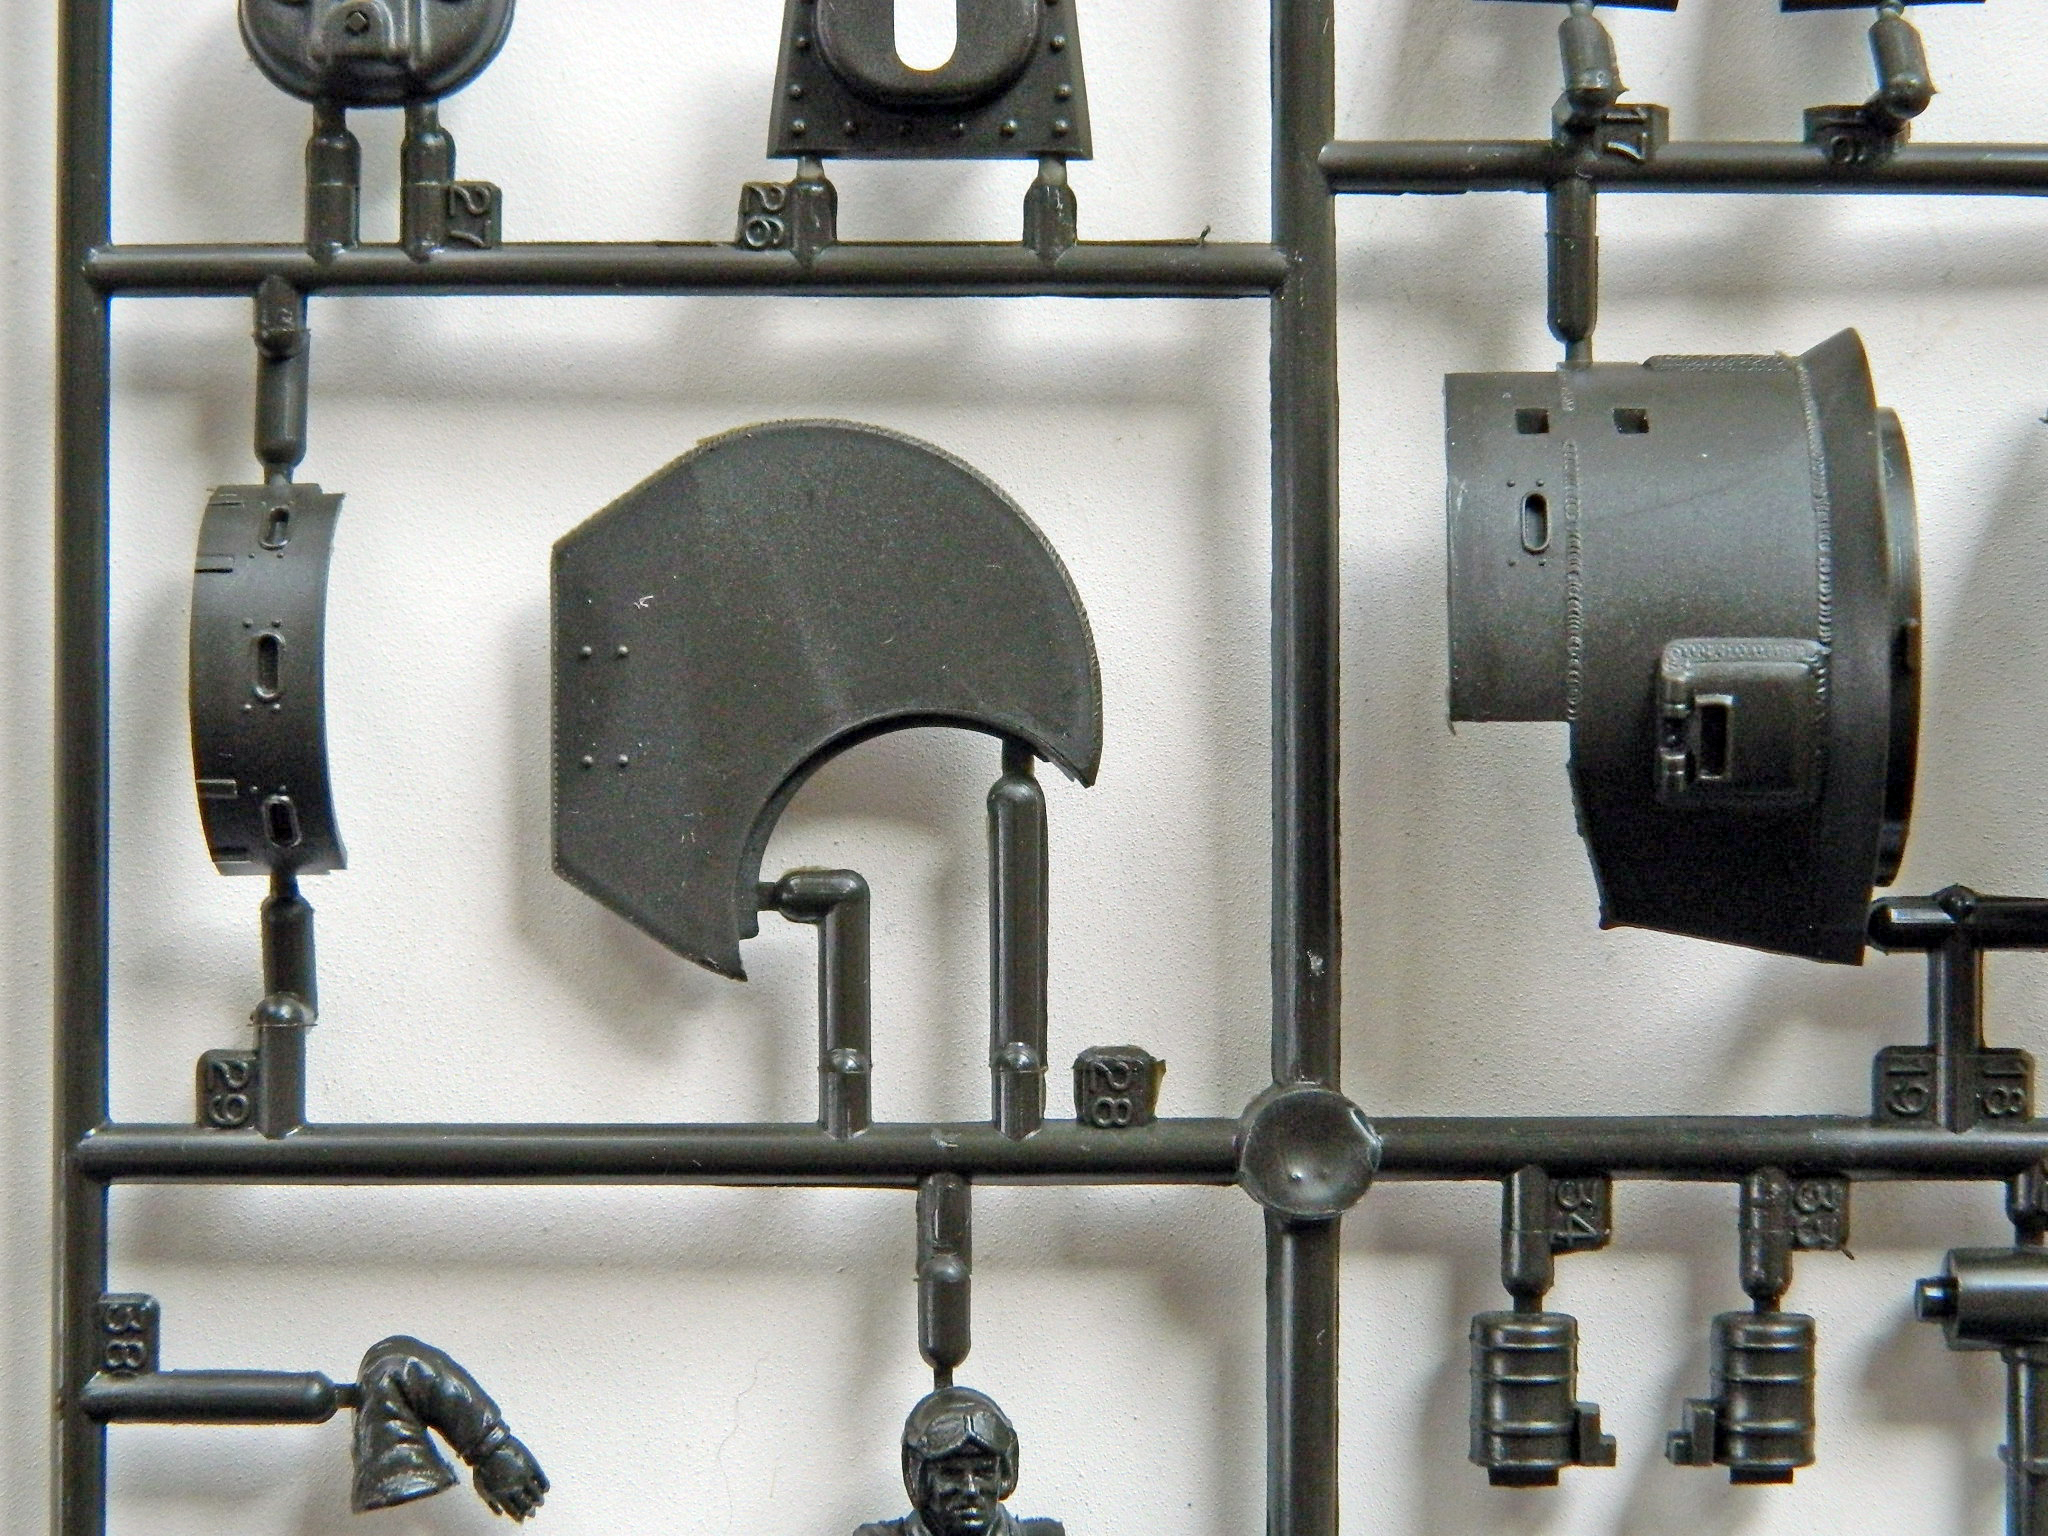
If I go with the D39273 turret, I’ll use a combination of the old Tamiya M3 kit’s turret by removing the top from it and grafting it onto the Academy turret. If I do this, I’ll use (some of) these parts from the Tamiya kit:
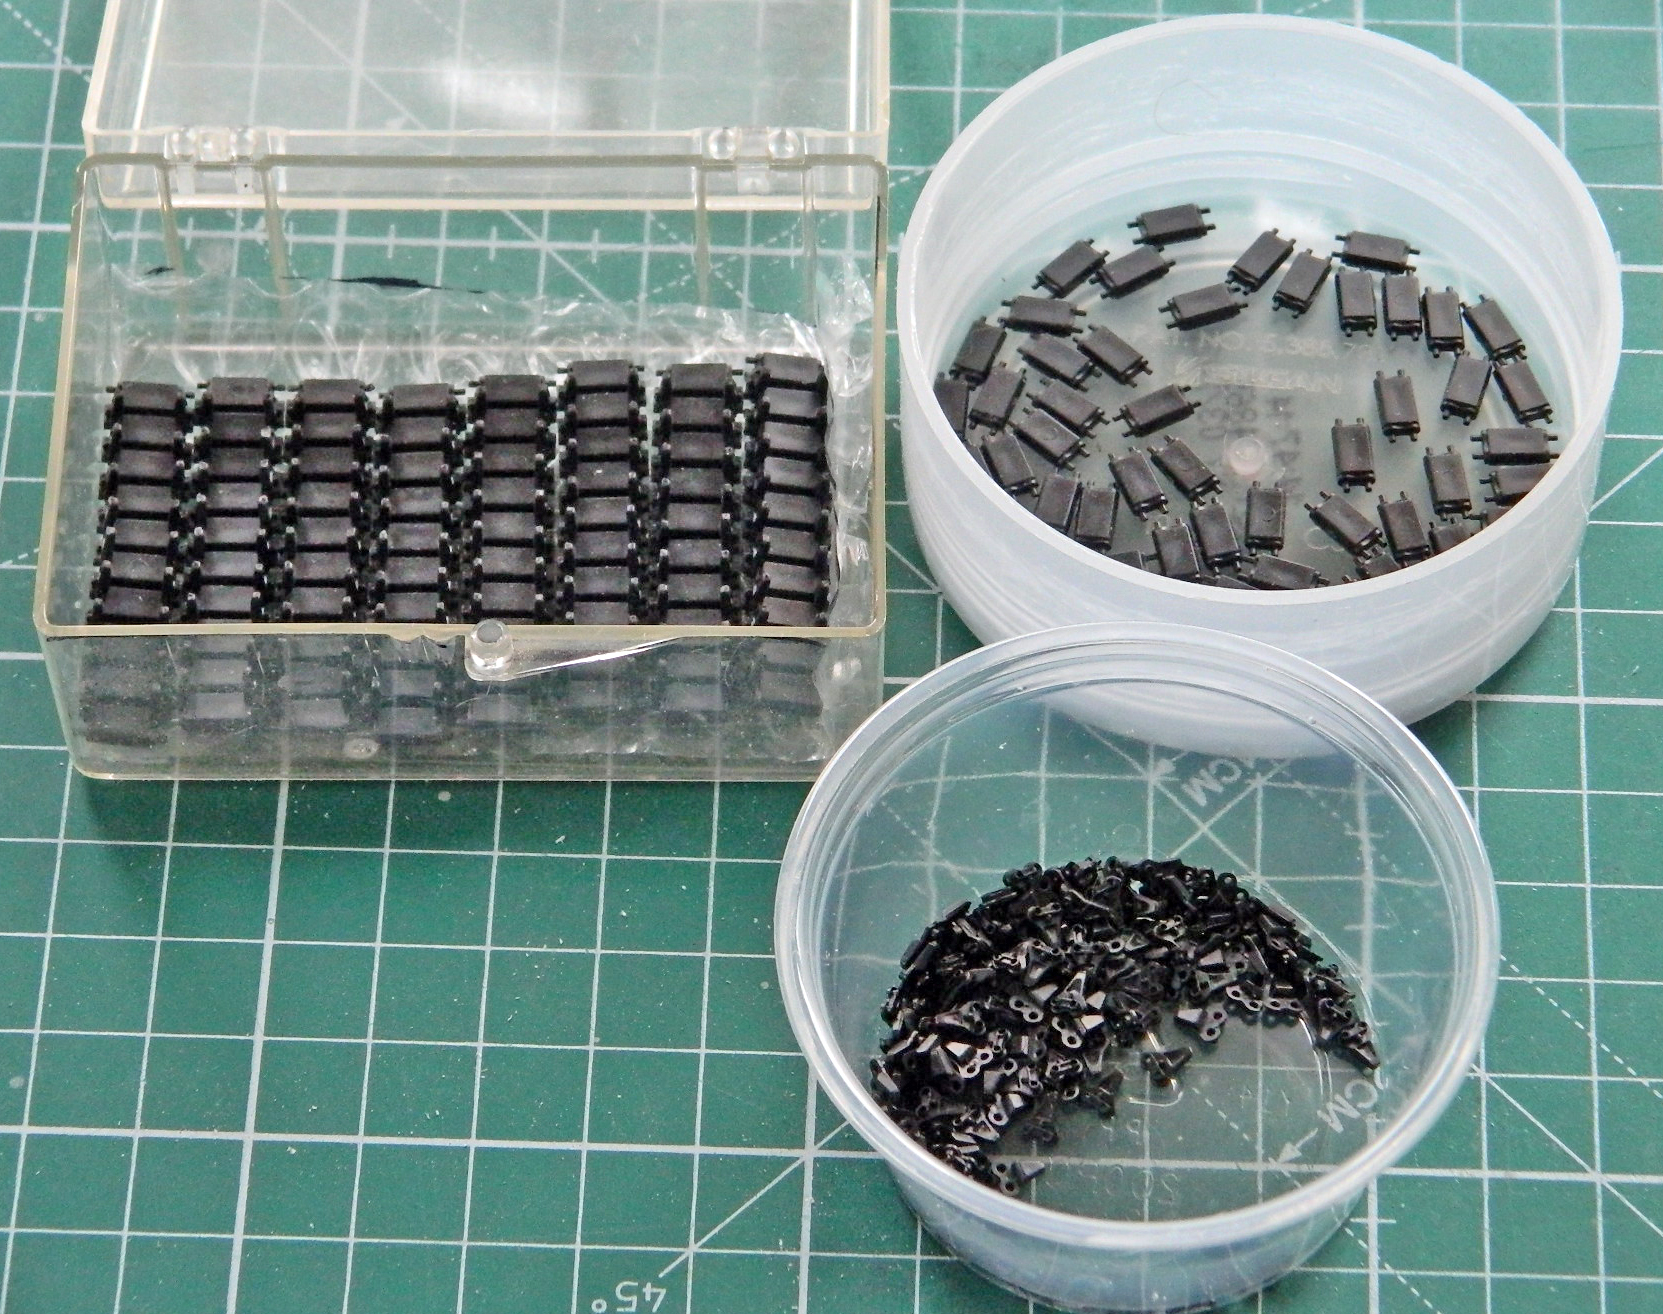
The first time I did individual link tracks was when I did Tamiya’s M4A3. Tedious. I try to learn from errors, so this time, instead of just sitting there for hours and hours putting little tiny track bits together, I’m going to do something different. I’ll do ten links a day:

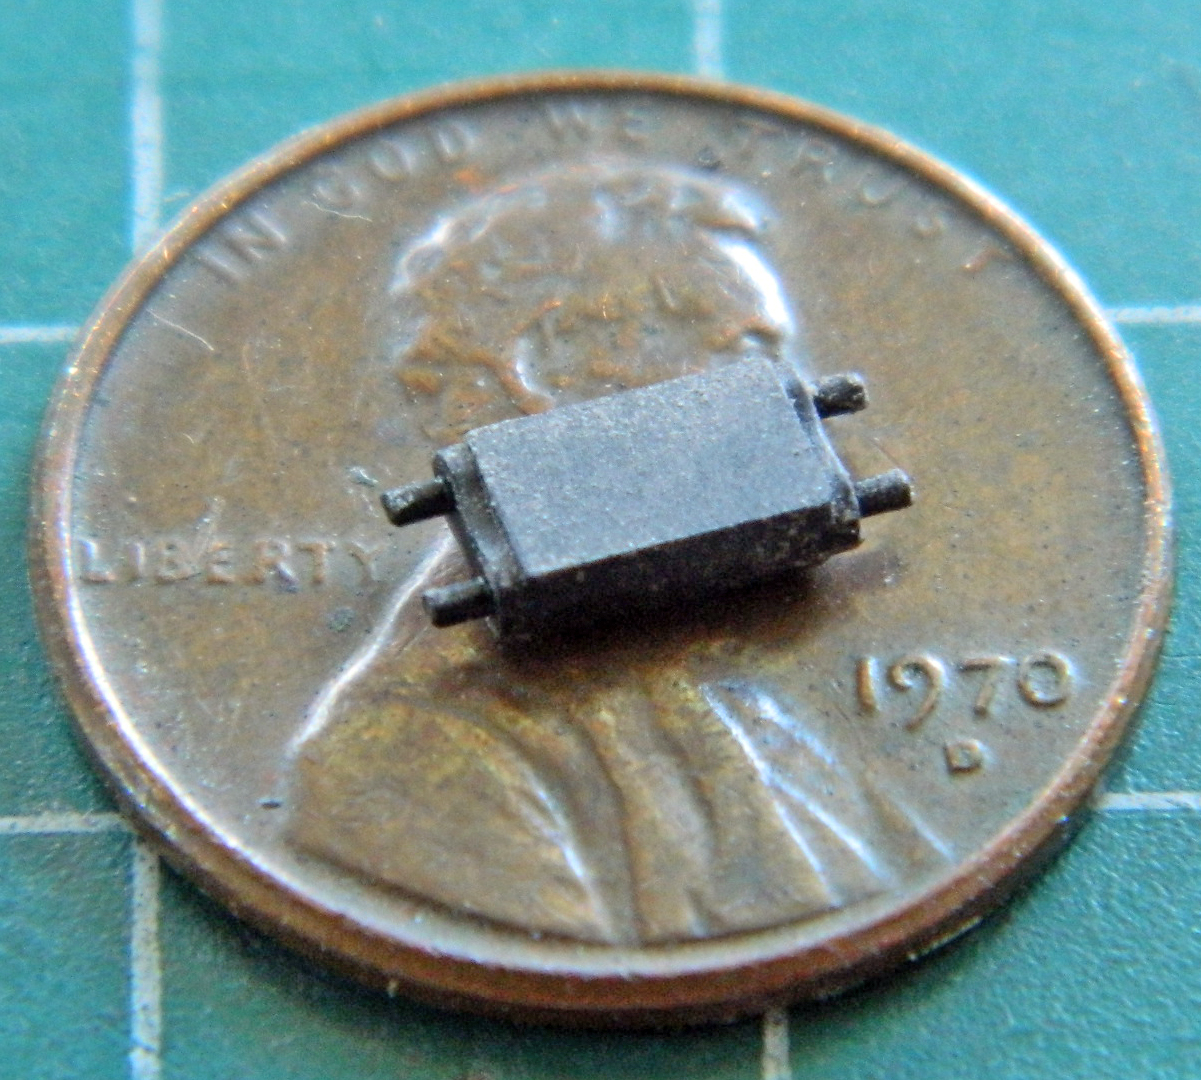
The first thing I noticed as I was removing parts from sprues is that there is a faint ejector pin mark on one face of every track shoe:

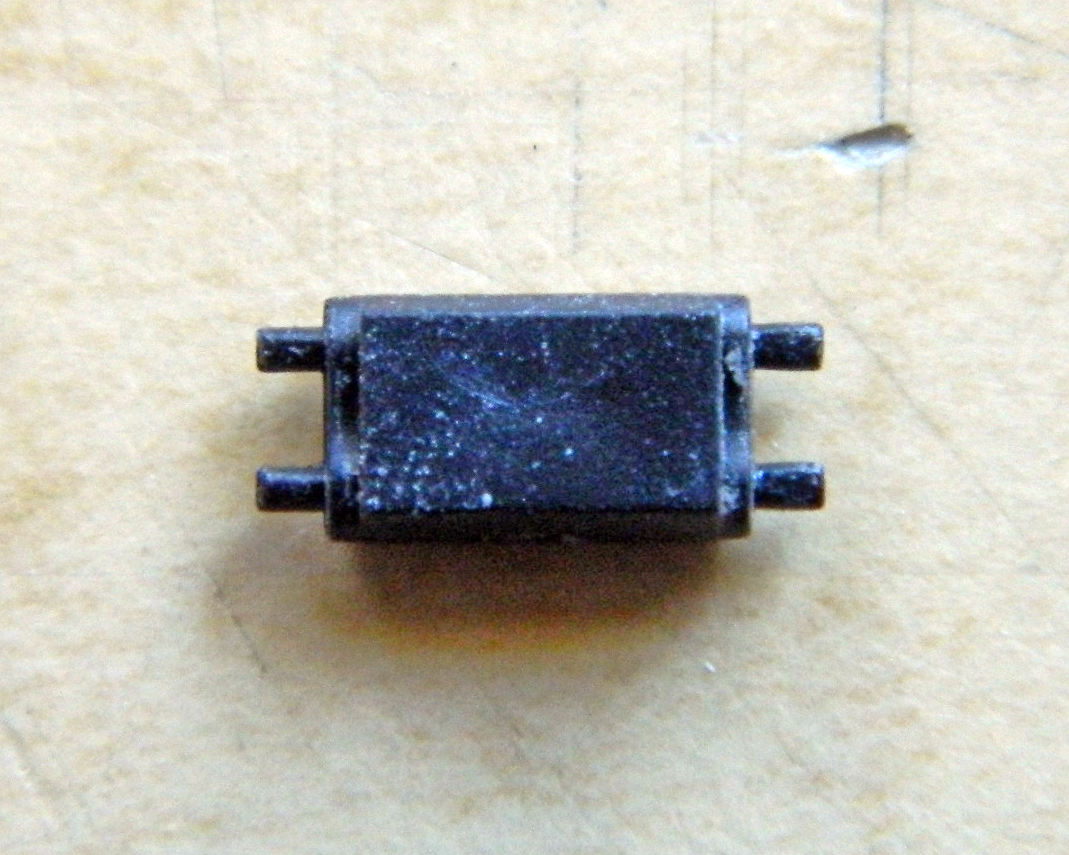
Will it show up after paint? Will it be obvious if I don’t remove them? Dunno. I do know that if I remove them, the answer to both questions will be “no.” I used double-sided tape to stick a piece of 400 grit to the bench and each side with the ejector pin mark is quickly sanded smooth:
Then I noticed that the connectors fit the shoe pins a little too loosely…loosely enough that I had no idea how I could keep the parts assembled short of gluing them. Nope…made that mistake with the Sherman. Instead, I used a set of smooth-jawed pliers to press the pins SLIGHTLY, causing them to go out-of-round which allowed just enough friction (something I’m told I’m good at producing) for the connectors to stay on the pins. If you look closely at the pins in the below photo, you might be able to see where the tops of them have been SLIGHTLY flattened on the right side of the shoe:
Doing the tracks a bit daily is SO MUCH BETTER:
This is what the kit provided for the drive cover at the front of the lower hull:
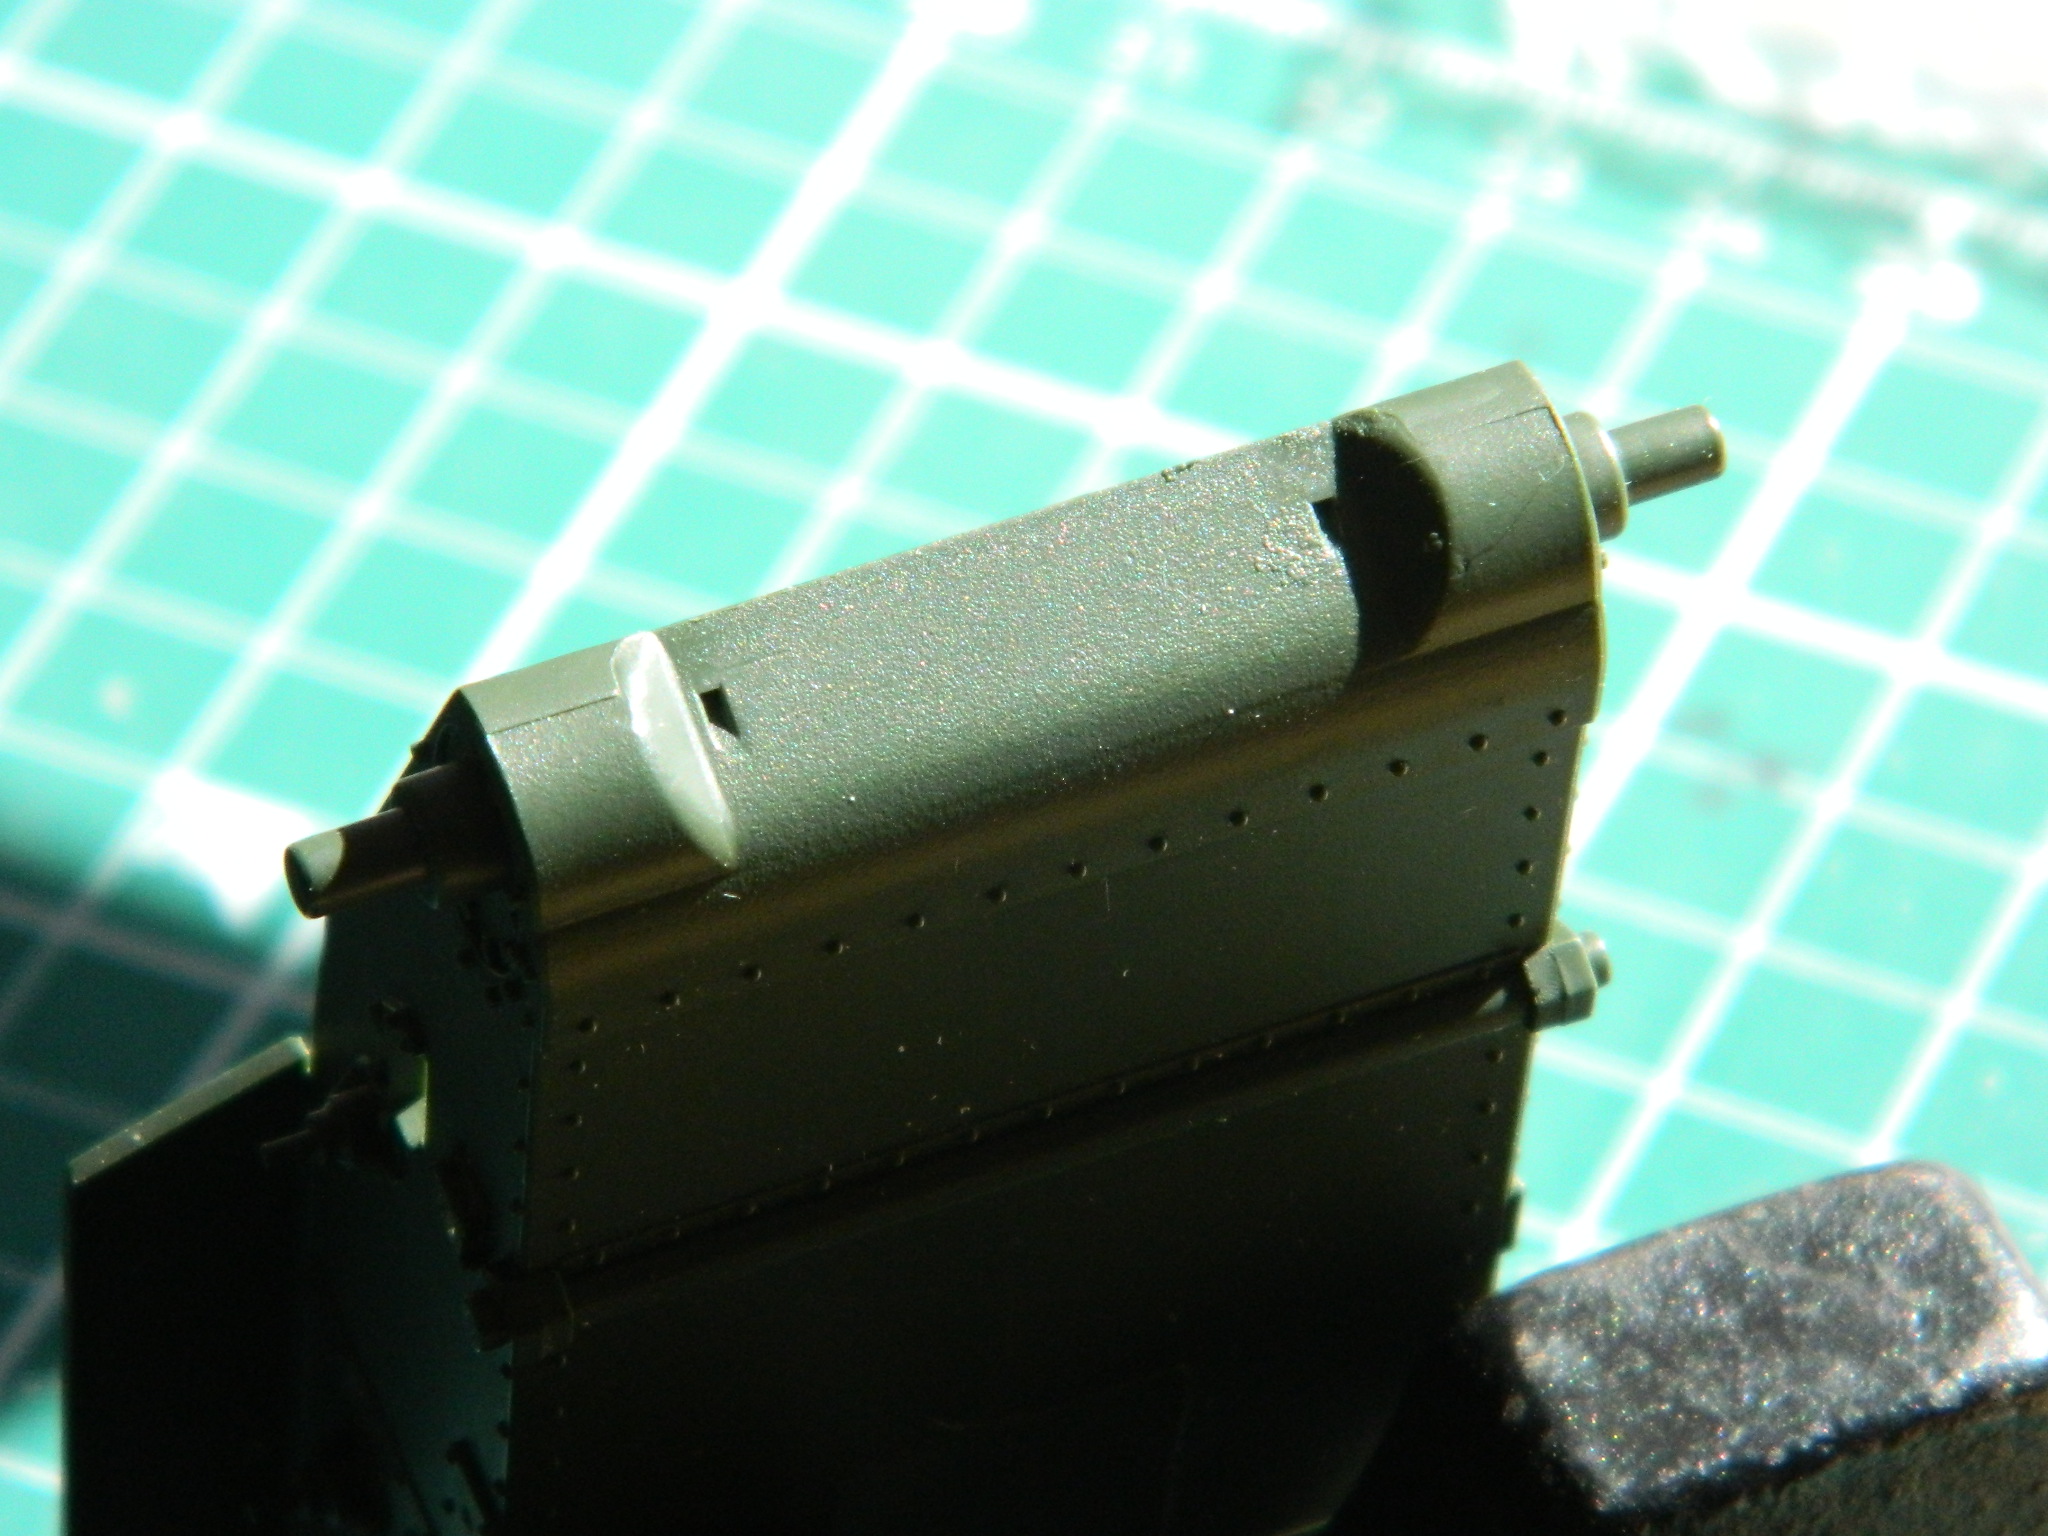
AFV’s suspension kit is obviously taken directly from their M3A3 kit (I think). They just produced the sprues that have the suspension parts, packaged them, and sold them (thankfully!) as an update set. What’s nice about that for me is that this drive cover came with the suspension parts (cat hairs were produced on-site):
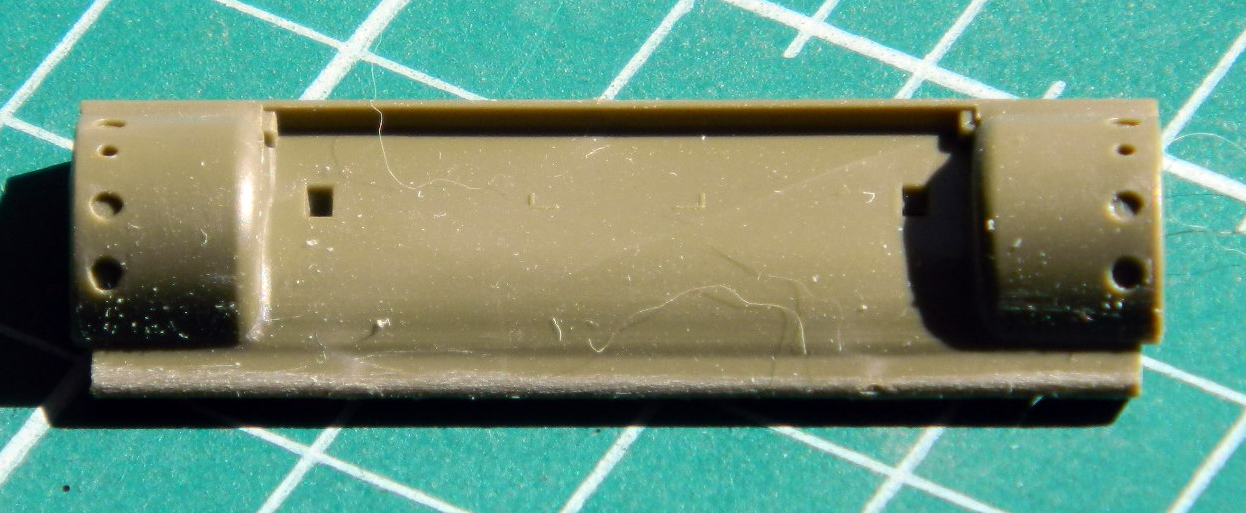
Now I just had to saw off the kit’s nose and graft that one on (later, I added Grandt Line bolts to the circular depressions):

Much more nice better!
Another inaccuracy to the Academy kit is the bottom of the sponsons. The fenders attach underneath them but no attempt was made to blend the fenders to the sponsons. Academy’s engineers missed that and did blend them, so that has to go. First, scribe a line to delineate the bottom of the armor, then cut away what should not be there:

Having accomplished that, I needed to make the sponson bottoms fit the cutouts:
Just have to do the other side…
There is always fitting when using aftermarket parts. Sometimes is just a little tweak or two, sometimes it approaches re-engineering. So I fitted, sawed, filed, sanded and glued…first the sides and floor:

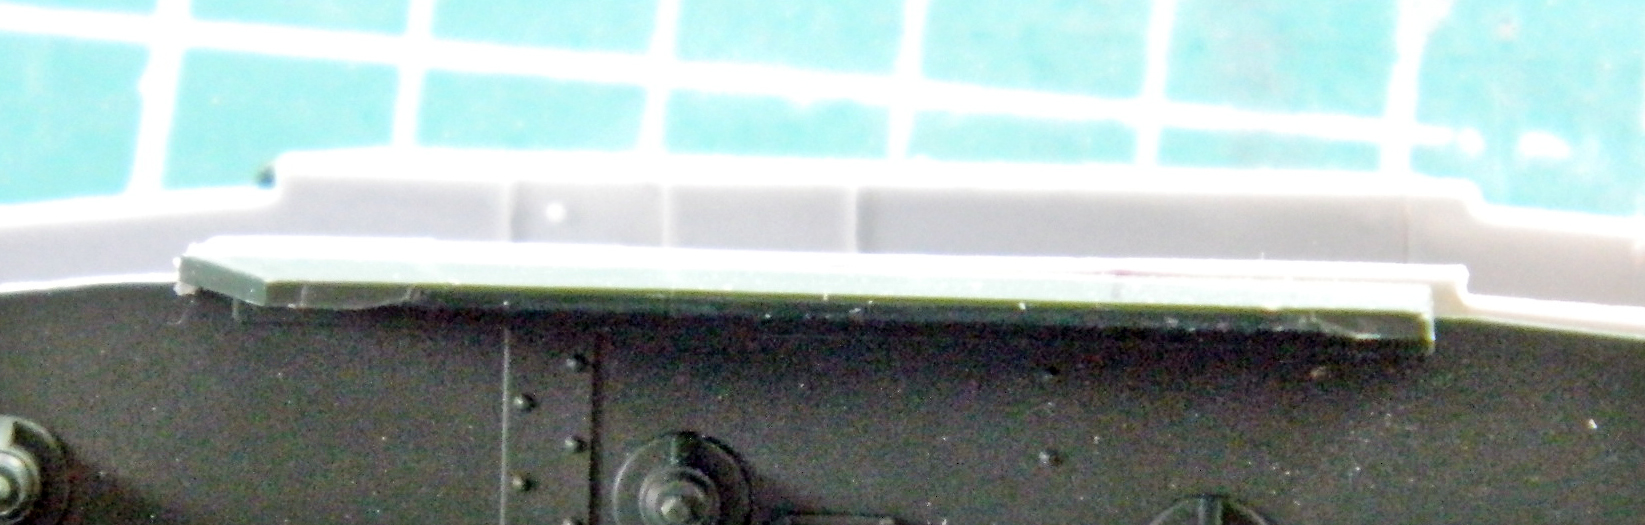
As produced from the factory, .30 caliber (7.62mm) machine guns were installed in the sponsons. As received in the field, those useless things were taken out. It’s pretty useless when it’s removed and empty space is more valuable. (Eventually the factories stopped putting the machine guns in there.) Armor plates were welded over the holes.
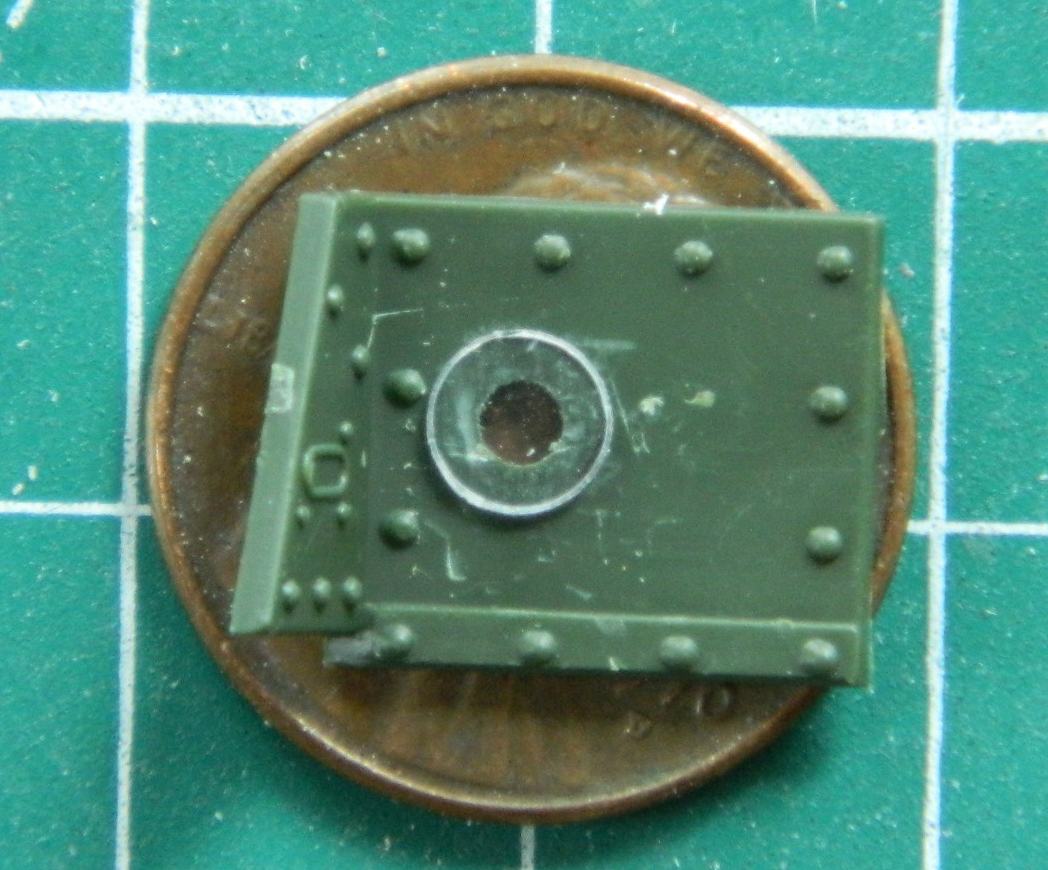
When I have to put plastic over something like this where its placement has to be aligned over something I won’t be able to see with the plastic in place, I use clear plastic (which turned out to be butyrate, so the styrene cement had no effect on them…but the ring left behind allowed me to align it anyway):
There are direct vision slots at the sides of each of the driver and bow gunner positions, so I drilled them out and trimmed them. Then I just put the panel in place to use as an alignment tool because those slots are supposed to go all the way through):


Yep…there’s gonna be LOTS of resin carving and fitting to come (and this is just the fighting compartment…there’s still the turret…whichever one I decide to go with):