The decals from Caracal were worth the waits (more on the use of plural later). They were produced by Cartograph and are freakin’ AWEsome:

So it was with shaky hands and misty eyes (and yes…no small amount of drool on the chin) (mine, this time) that I started getting the ‘Bird ready for its markings. First I had to strip the front landing gear doors (because I forgot to) and repaint them. Again:


This time I figured that maybe I should start with the underside this time, just in case, y’know, something goes awry, so I hit where the decals go with a coat of clear gloss:
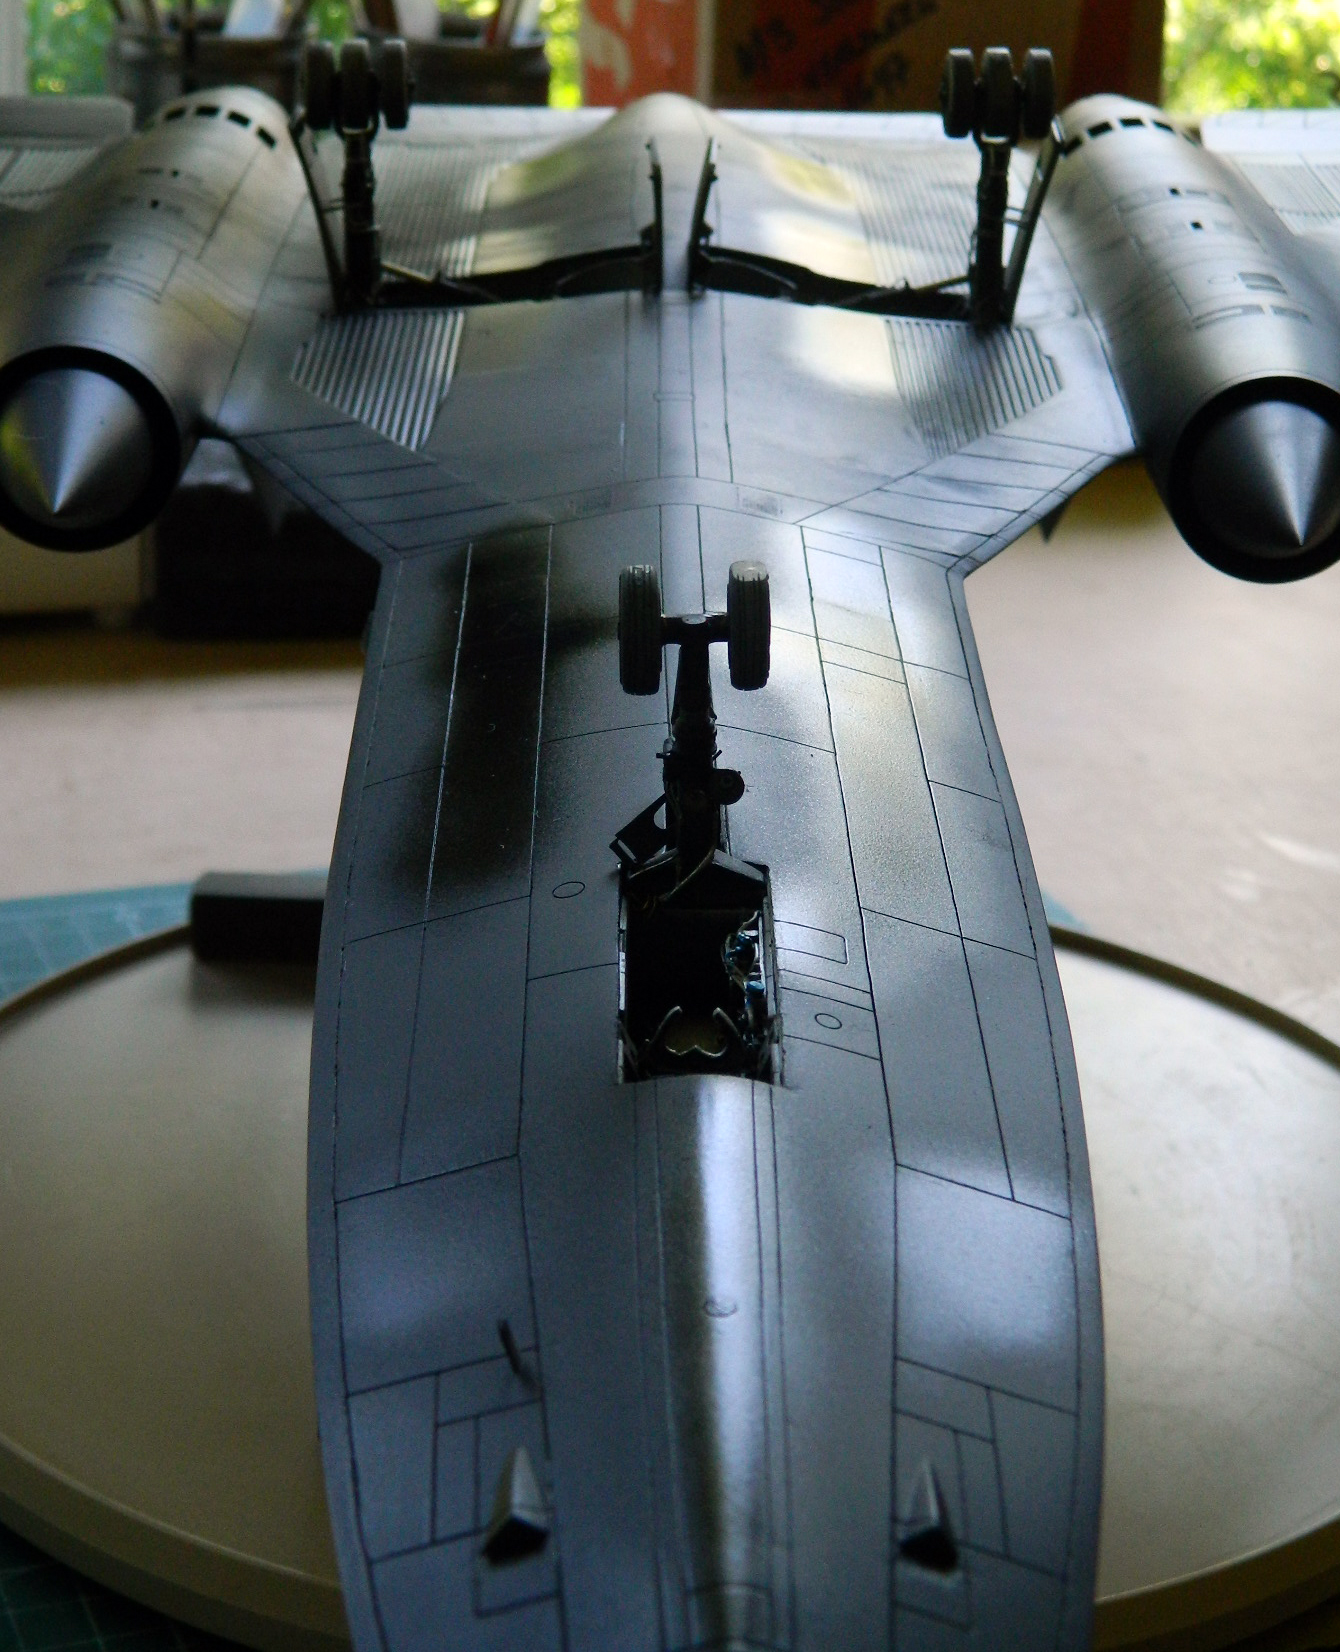
I decided that since I’d just repainted the front landing gear doors (again), I’d try the new decals there before moving up top:

Okay…so far so good! So I starting cutting, dipping, sliding, and setting and dissolving. “So far so good” continued! Had I heart, the process this time would have warmed it. And with all the decals I wanted on the underside laid down, it was time to lay down a coat of clear flat.
I now turn your attention to a phrase I’ve defined in the section, “What the Hell Does That Mean?” The phrase is “Brain Fade.” G’head. Look it up. I’ll wait.
::sound of ticking clock::
Glad you’re back. Now I can continue…
I got lazy and then I had a case of brain fade. The laziness came when I didn’t want to clean my freaking airbrush. I cannot overemphasize the lazy stupidity of that position. I could stand on the sodding roof and scream it until my throat bled and not emphasize it enough.
I didn’t want to clean my freaking airbrush.
Instead, I used a rattlecan of clear flat. A rattlecan only does one thing fairly well. It will cover an area with whatever the intercoursing can is filled with. What a rattlecan will not do is moderate how much paint is thrown at the target and the process cannot be remotely considered “fine.”
THIS lovely little finish is called “orange peel”:
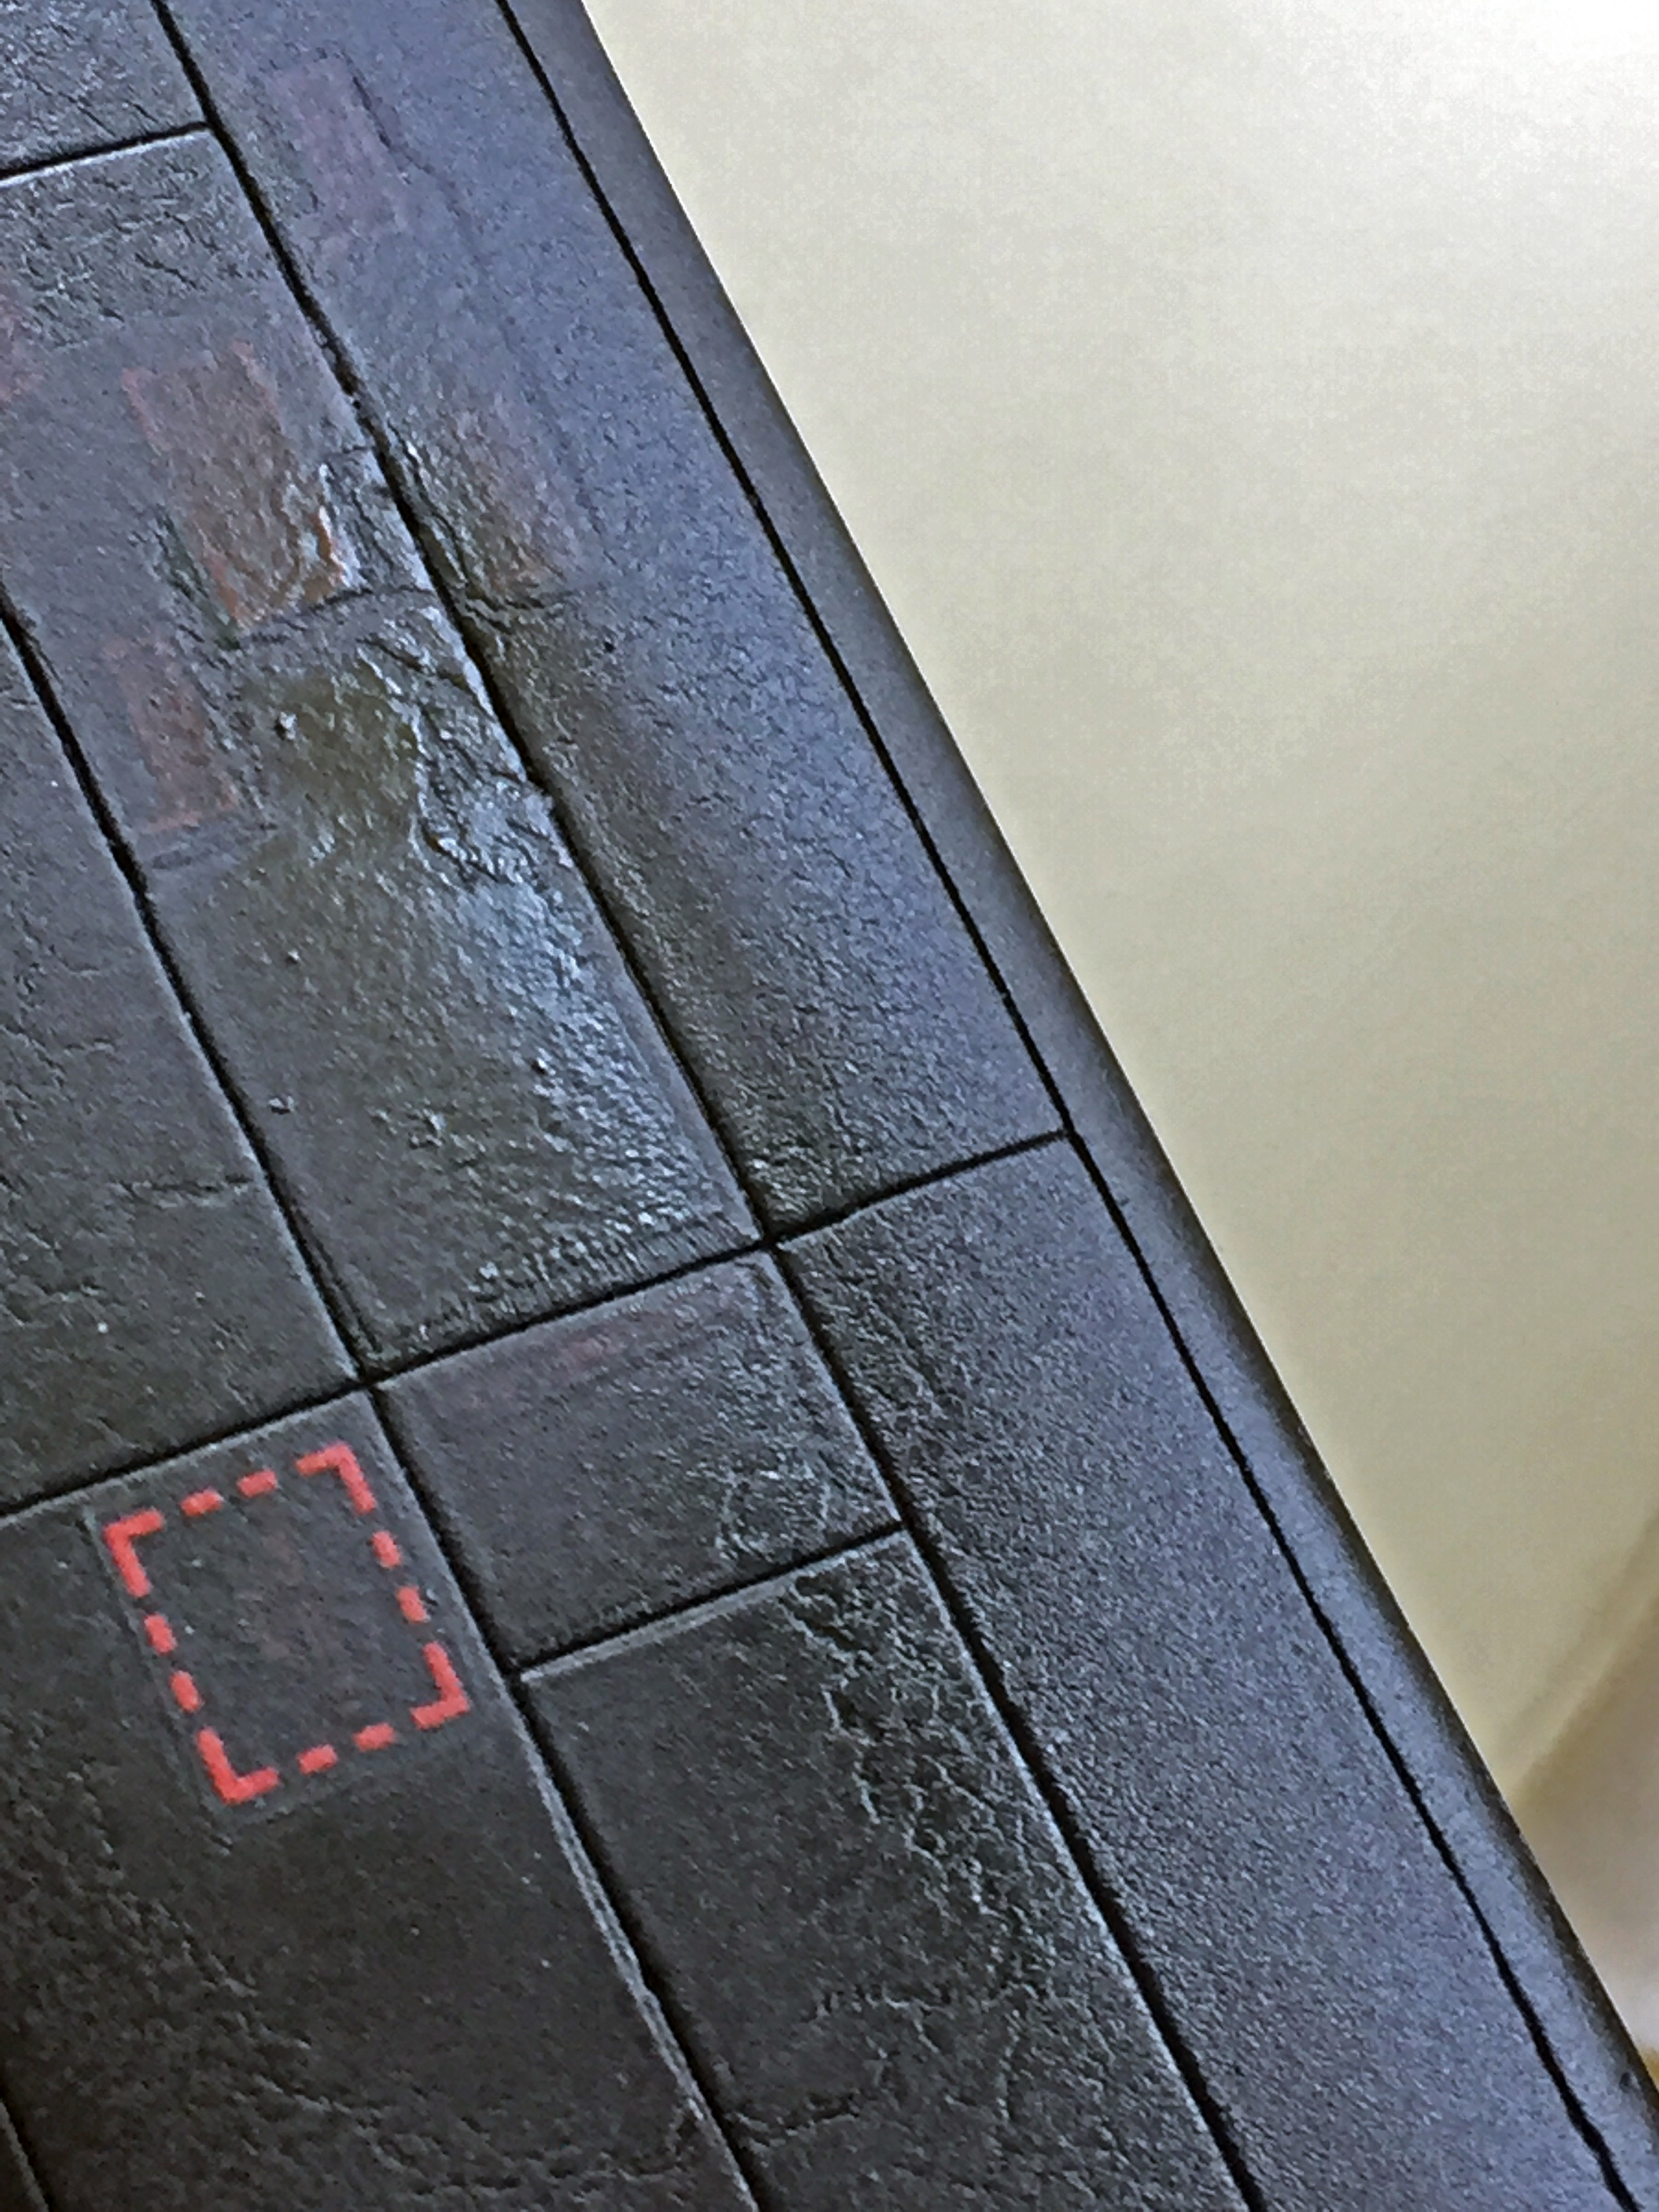
This results from too much paint being put down per pass…y’know…sorta what a rattlecan does. The brain fade part of all this is that I knew this before I popped the cap on the damned can.
How does one fix orange peel? There are a few ways. Smash the sodding thing with a big hammer. Burn it. Take out the shotgun, load it with birdshot, and keep firing until there’s nothing but powdered plastic left to shoot at. Sand the paint away and start over.
Surprising myself with the maturity of my response, I chose the last option. (This is also a testament to how much I admire and respect the guy I’m building this for. In short, he’ll get it…probably in one piece, but at this point I guarantee NOTHING beyond that.) The nice thing about the Internet (aside from the porn) is that no matter what time of day/week one discovers that the bullet hole in ones’ foot was placed there by one, things can be ordered (or porn looked at). I ordered another sheet of decals (which is why at the beginning of this post, “wait” was used plurally).
And so it began. AGAIN:
And continued. AGAIN:
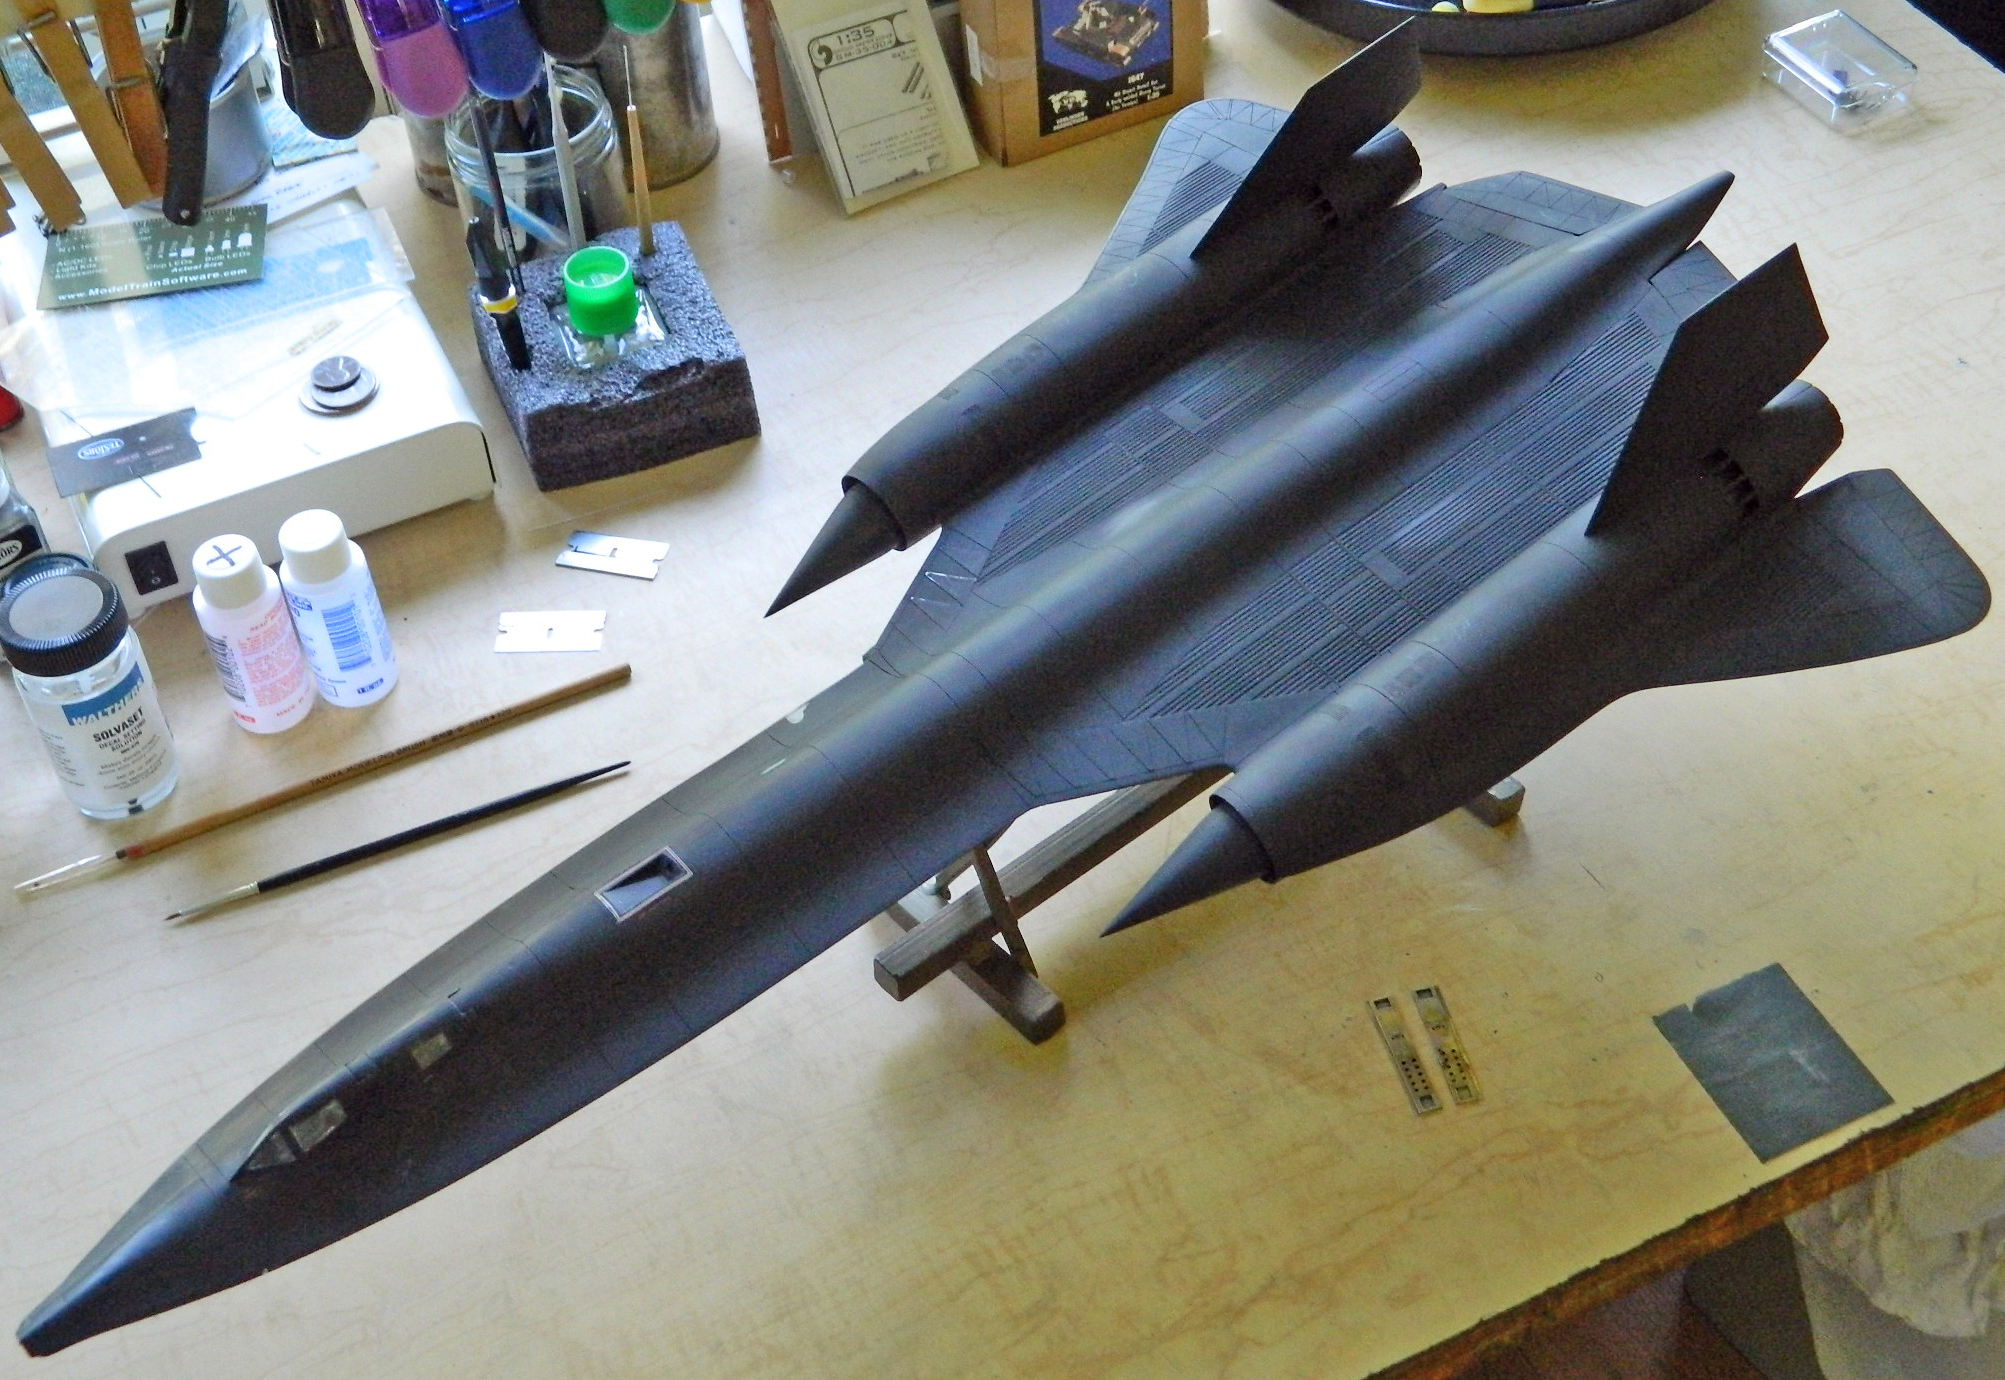
There was a lot of “and continued” (and a couple of oh-goddamn-it moments requiring parts I broke off to be reattached) until I got to this point:


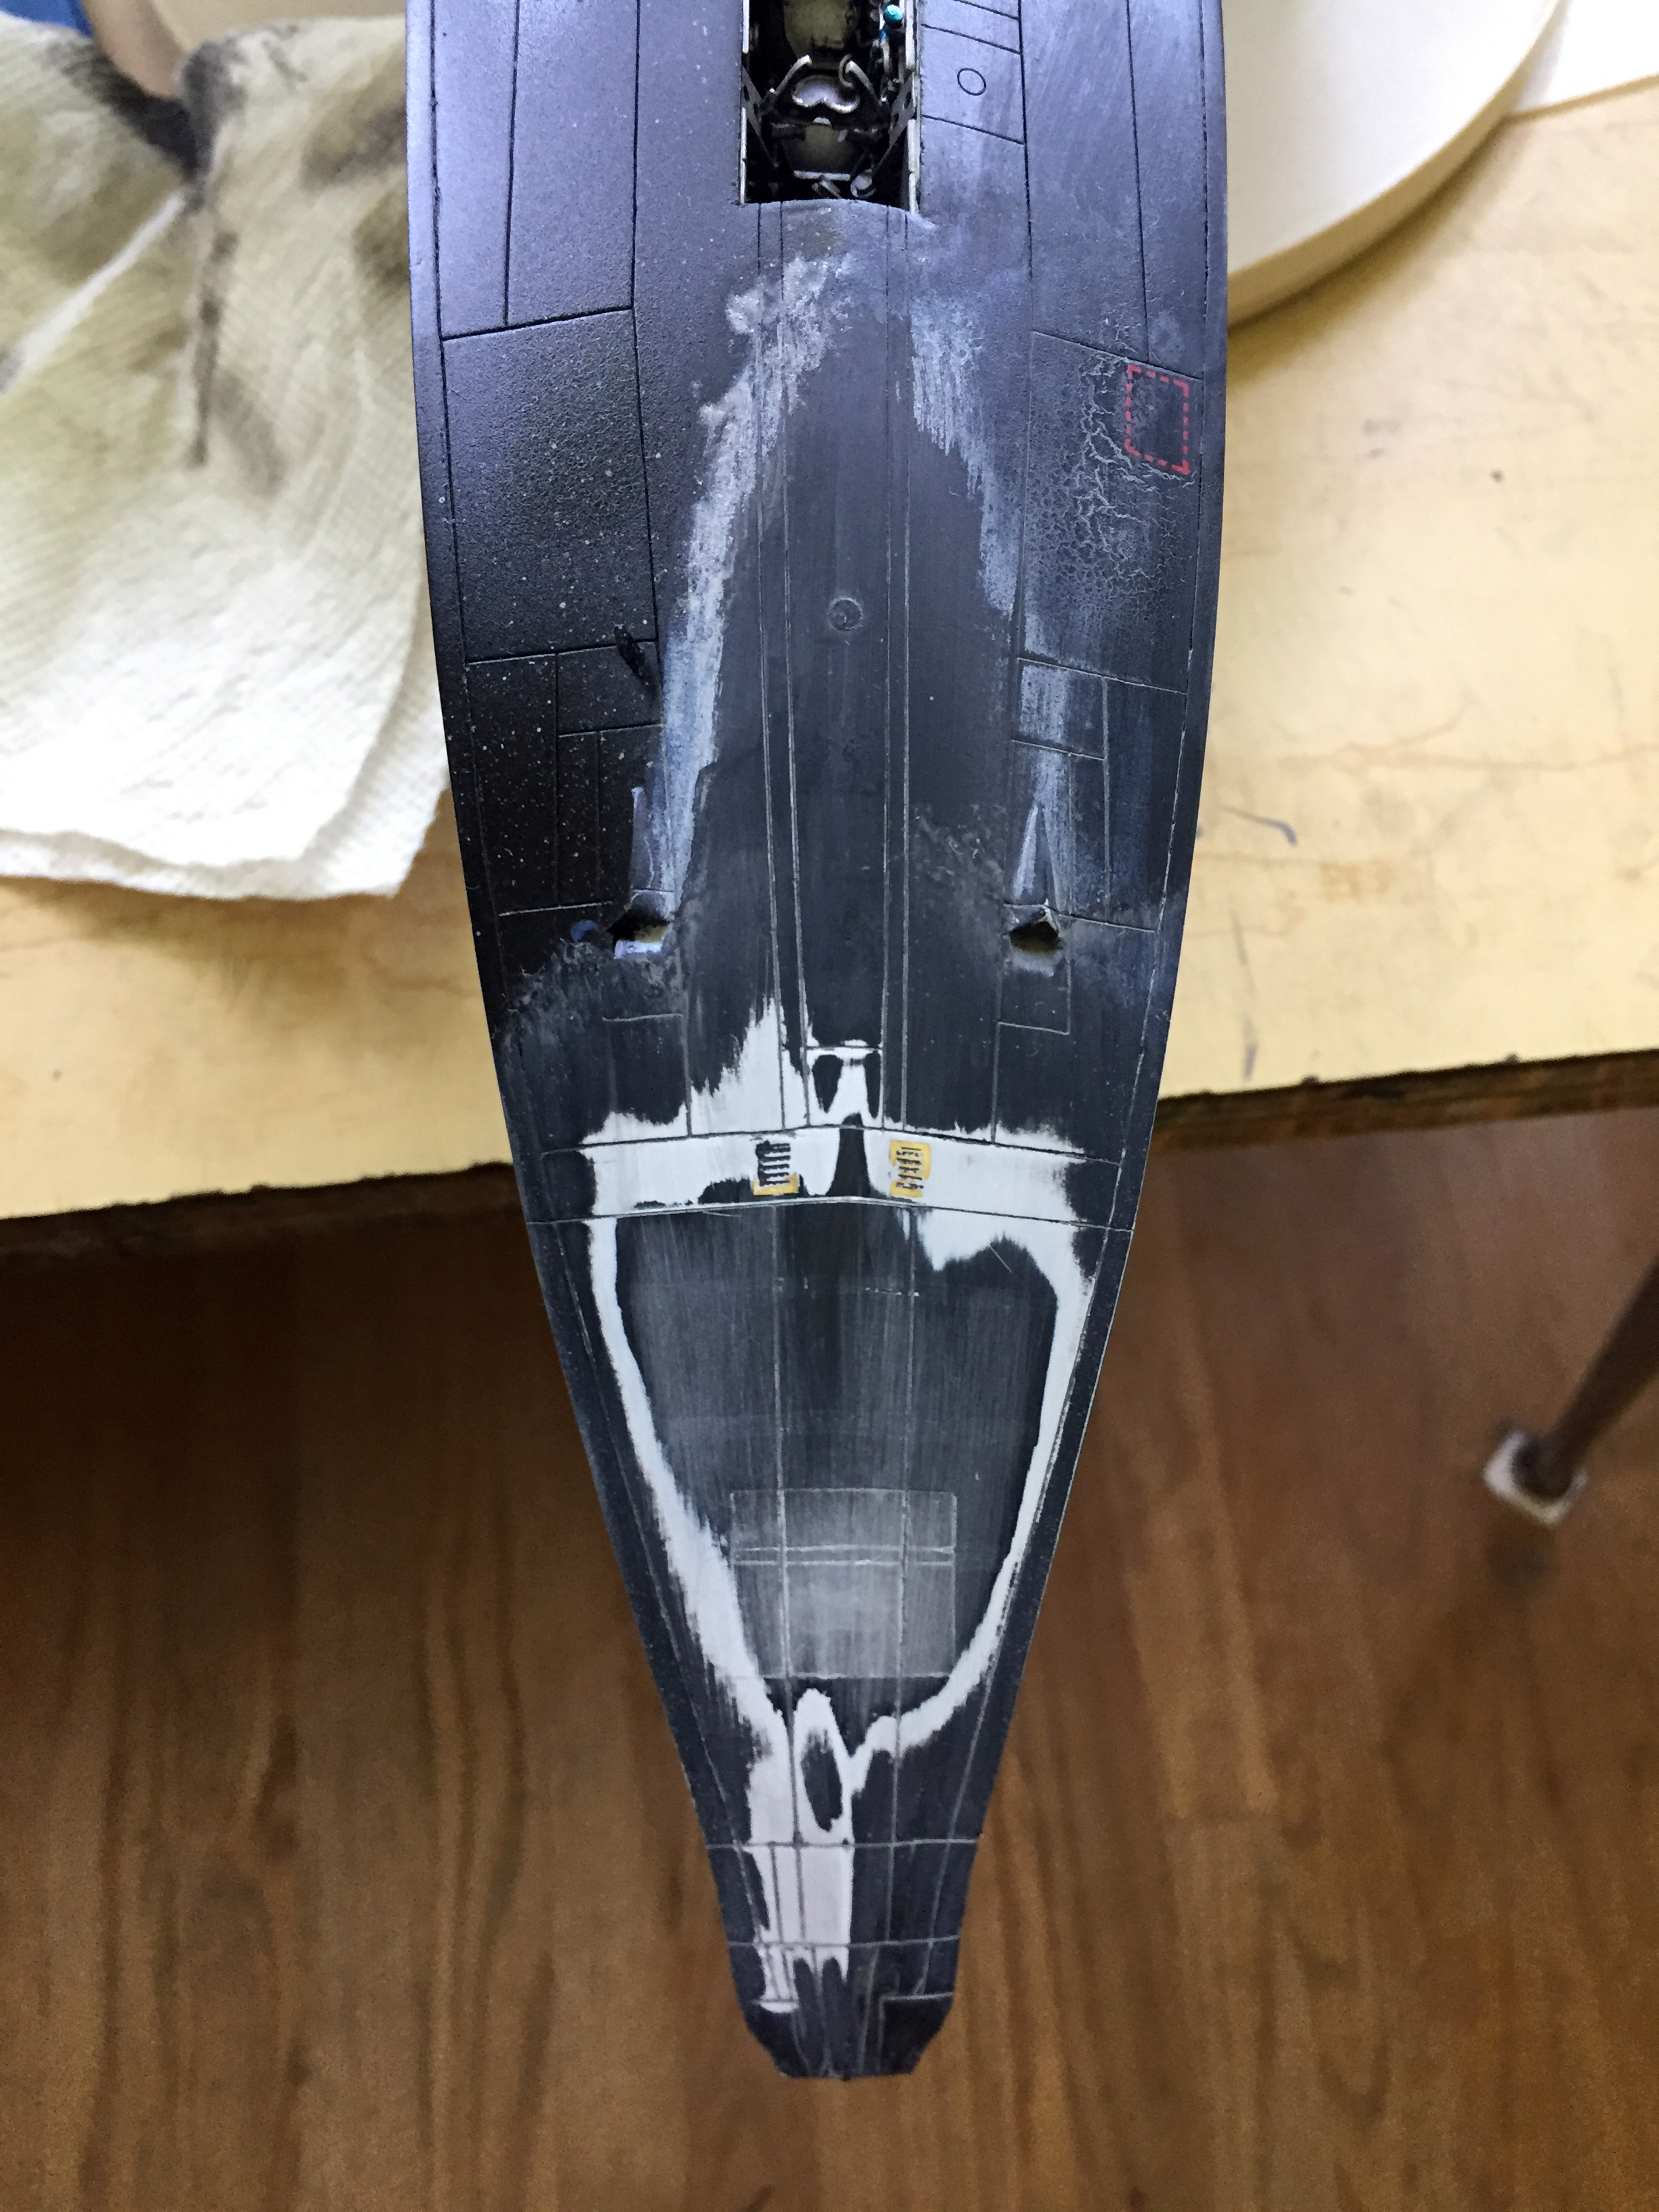
I had started stripping the paint using denatured alcohol (I used plenty of alcohol, single malt and sour mash, to see if sorrows could be drowned…and they can…just not permanently) (assuming that the alcoholic stupor doesn’t kill the imbiber first). Then I realized that some of said denatured alcohol got on the top surface, removed paint, so that will also need the tender ministrations of the airbrush I was TOO FUCKING LAZY TO CLEAN TO BEGIN WITH. So from about the front landing gear bay back, I used sandpaper to get down to bare plastic. AGAIN.
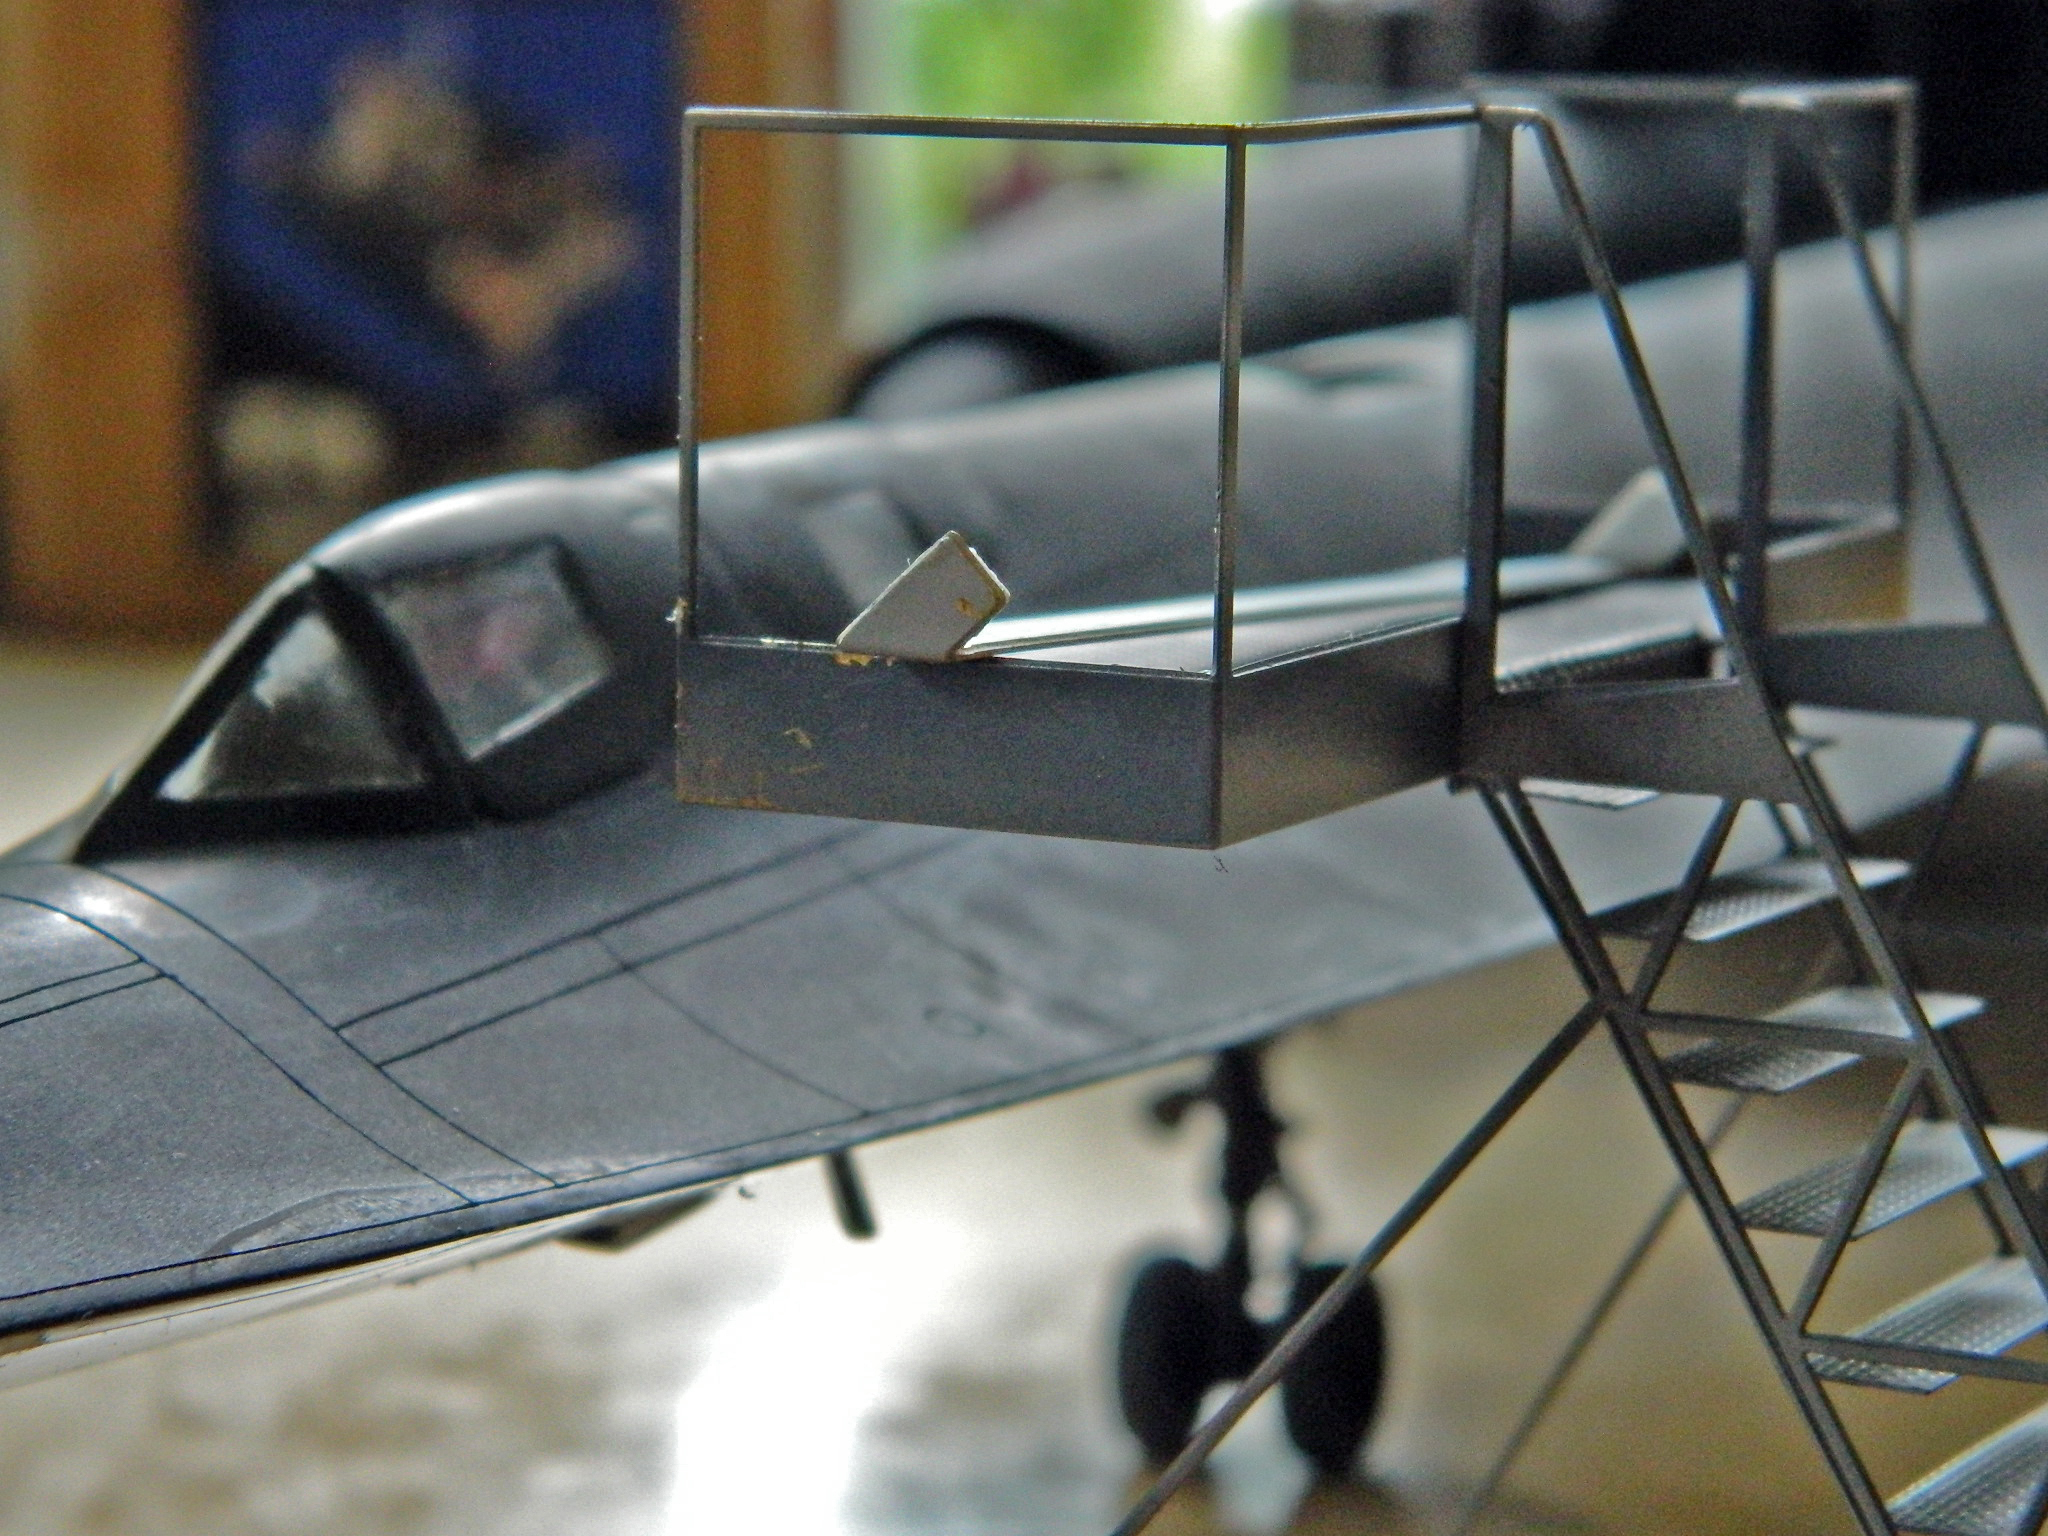
At one point (which was about the time I realized that the alcohol had gotten on the top surface), I put the boarding platform next to the fuselage while it was sitting on its own feet and discovered that it was a colossal waste of money. It was out-of-scale and did NOT come near where it was supposed to rest…which is against the fuselage, even with the cockpits’ sills (and before you mention that maybe this problem is due to the scratch-built landing gear, it’s not; they’re the same length as the kit parts and if out of position, it’s not by more than 1/16th” [1.58mm], if even that much):


I have just the hammer for that.
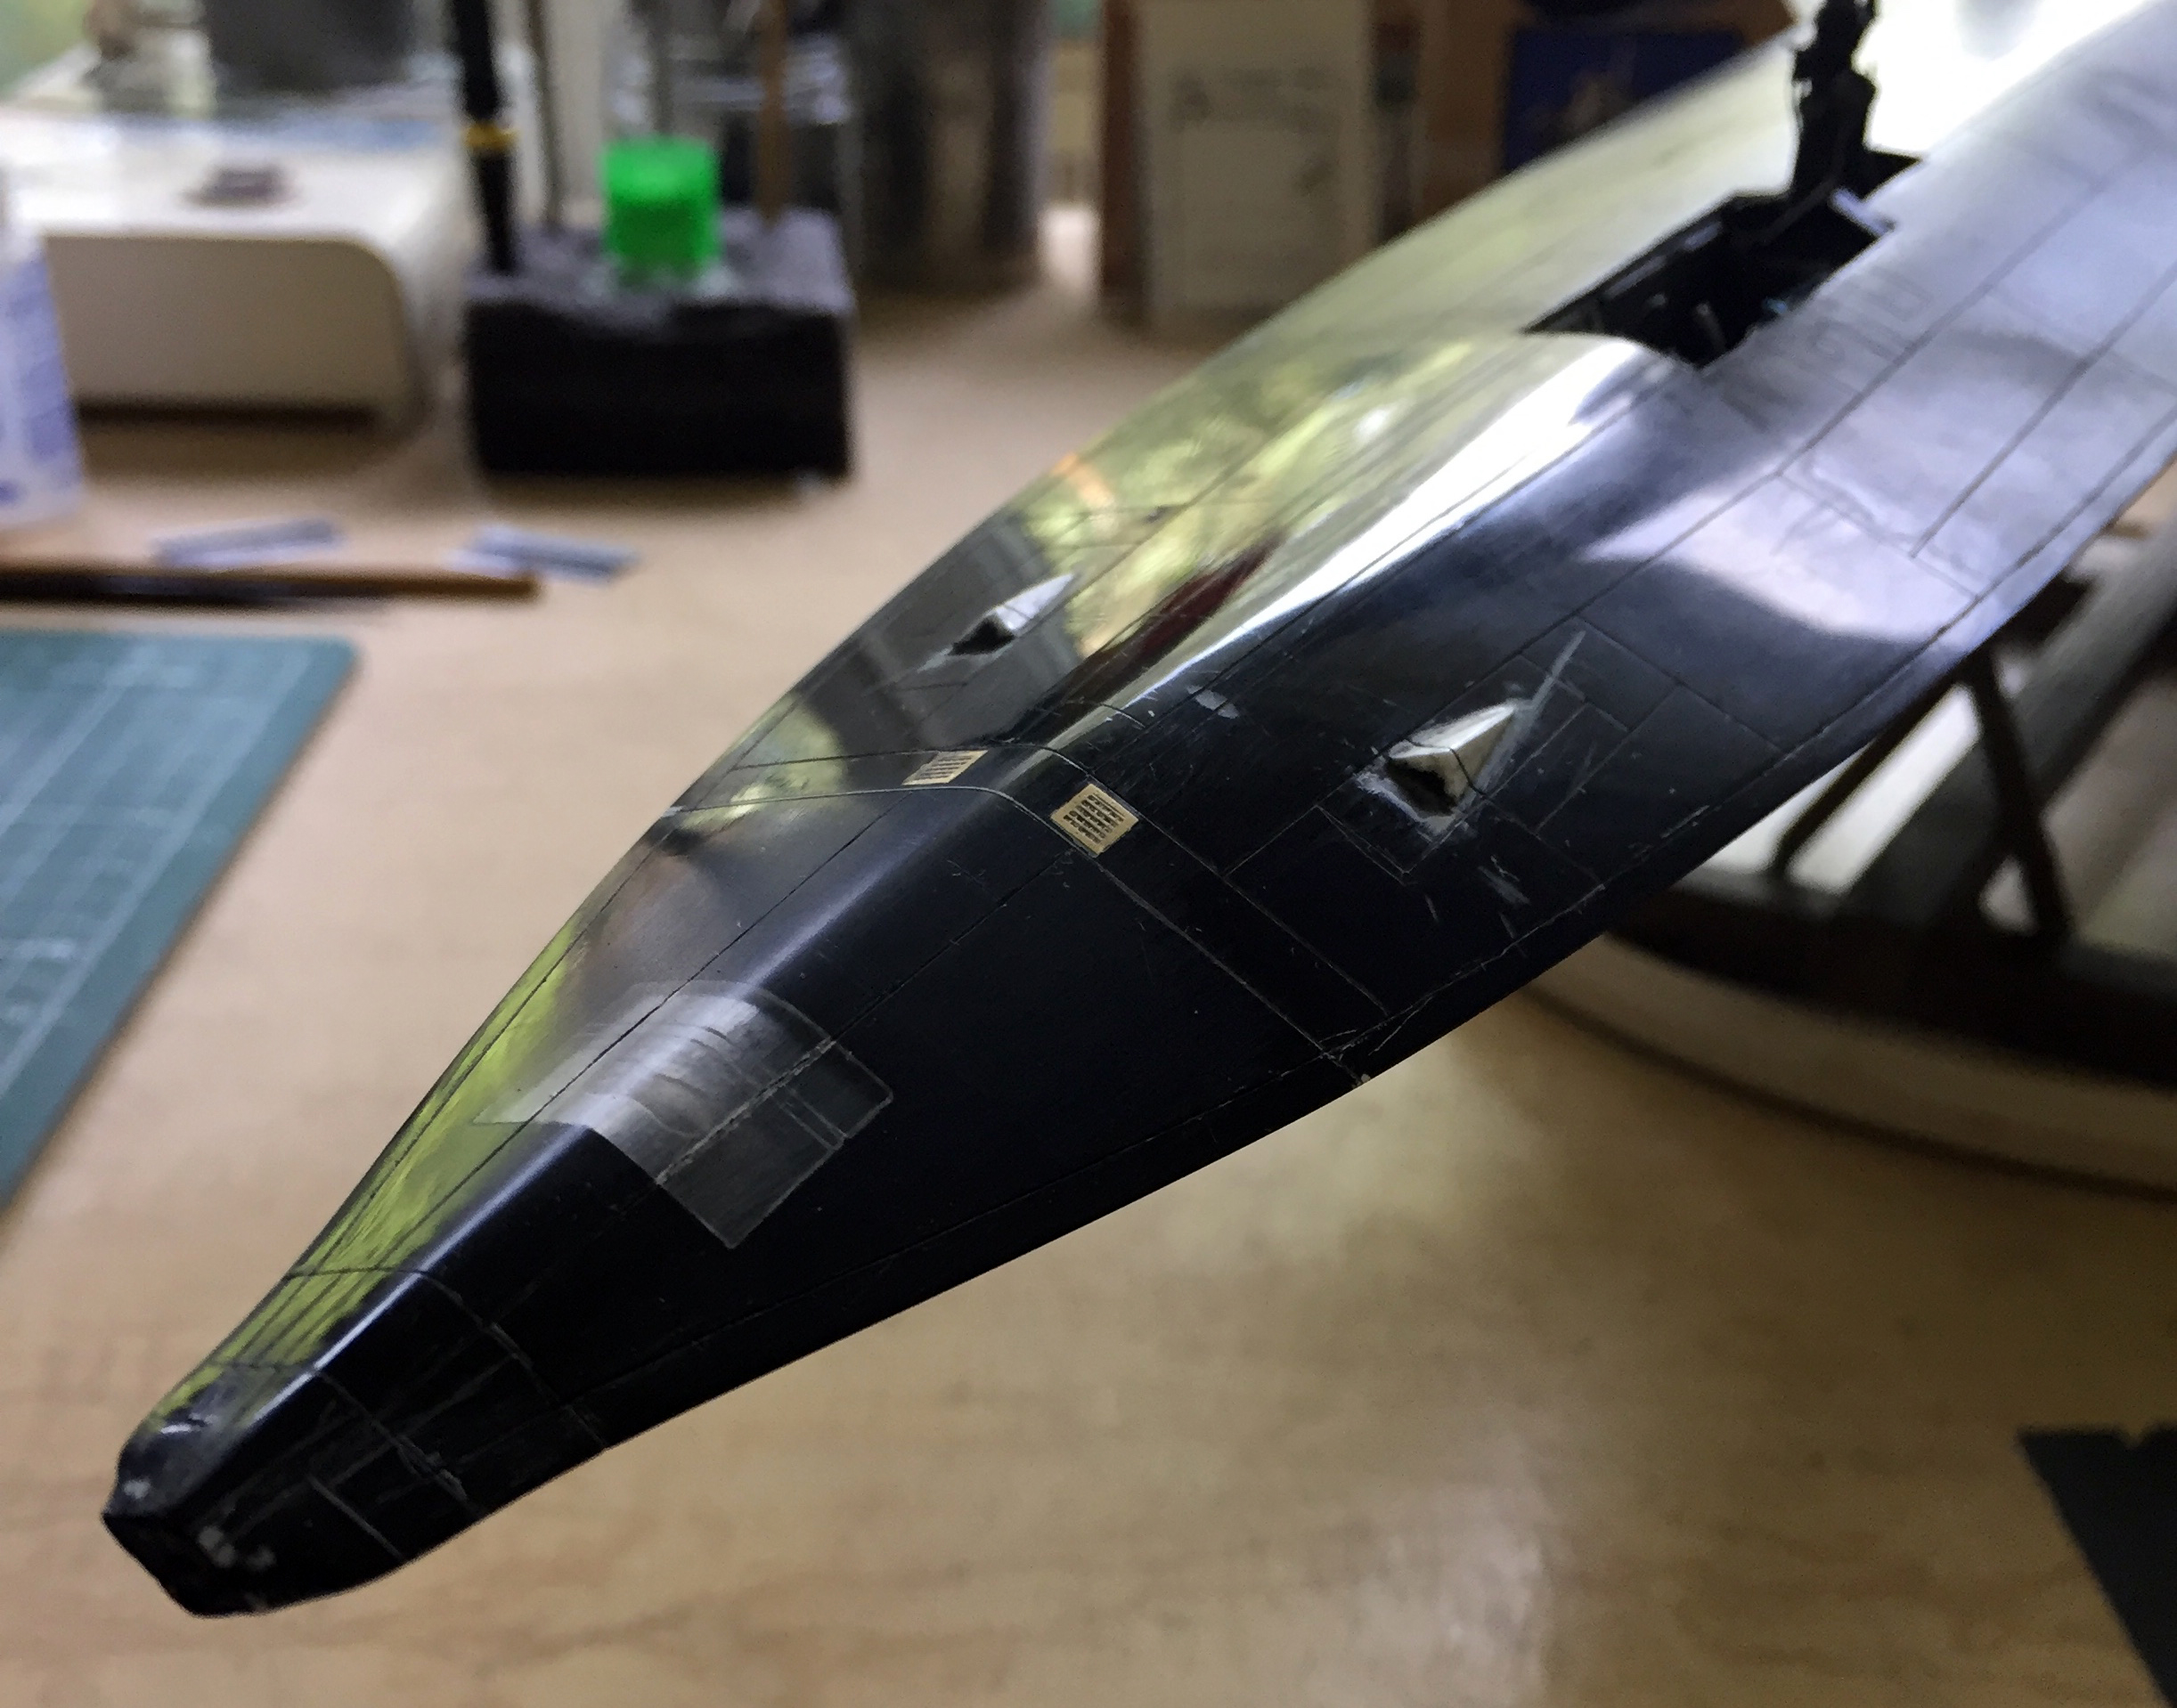
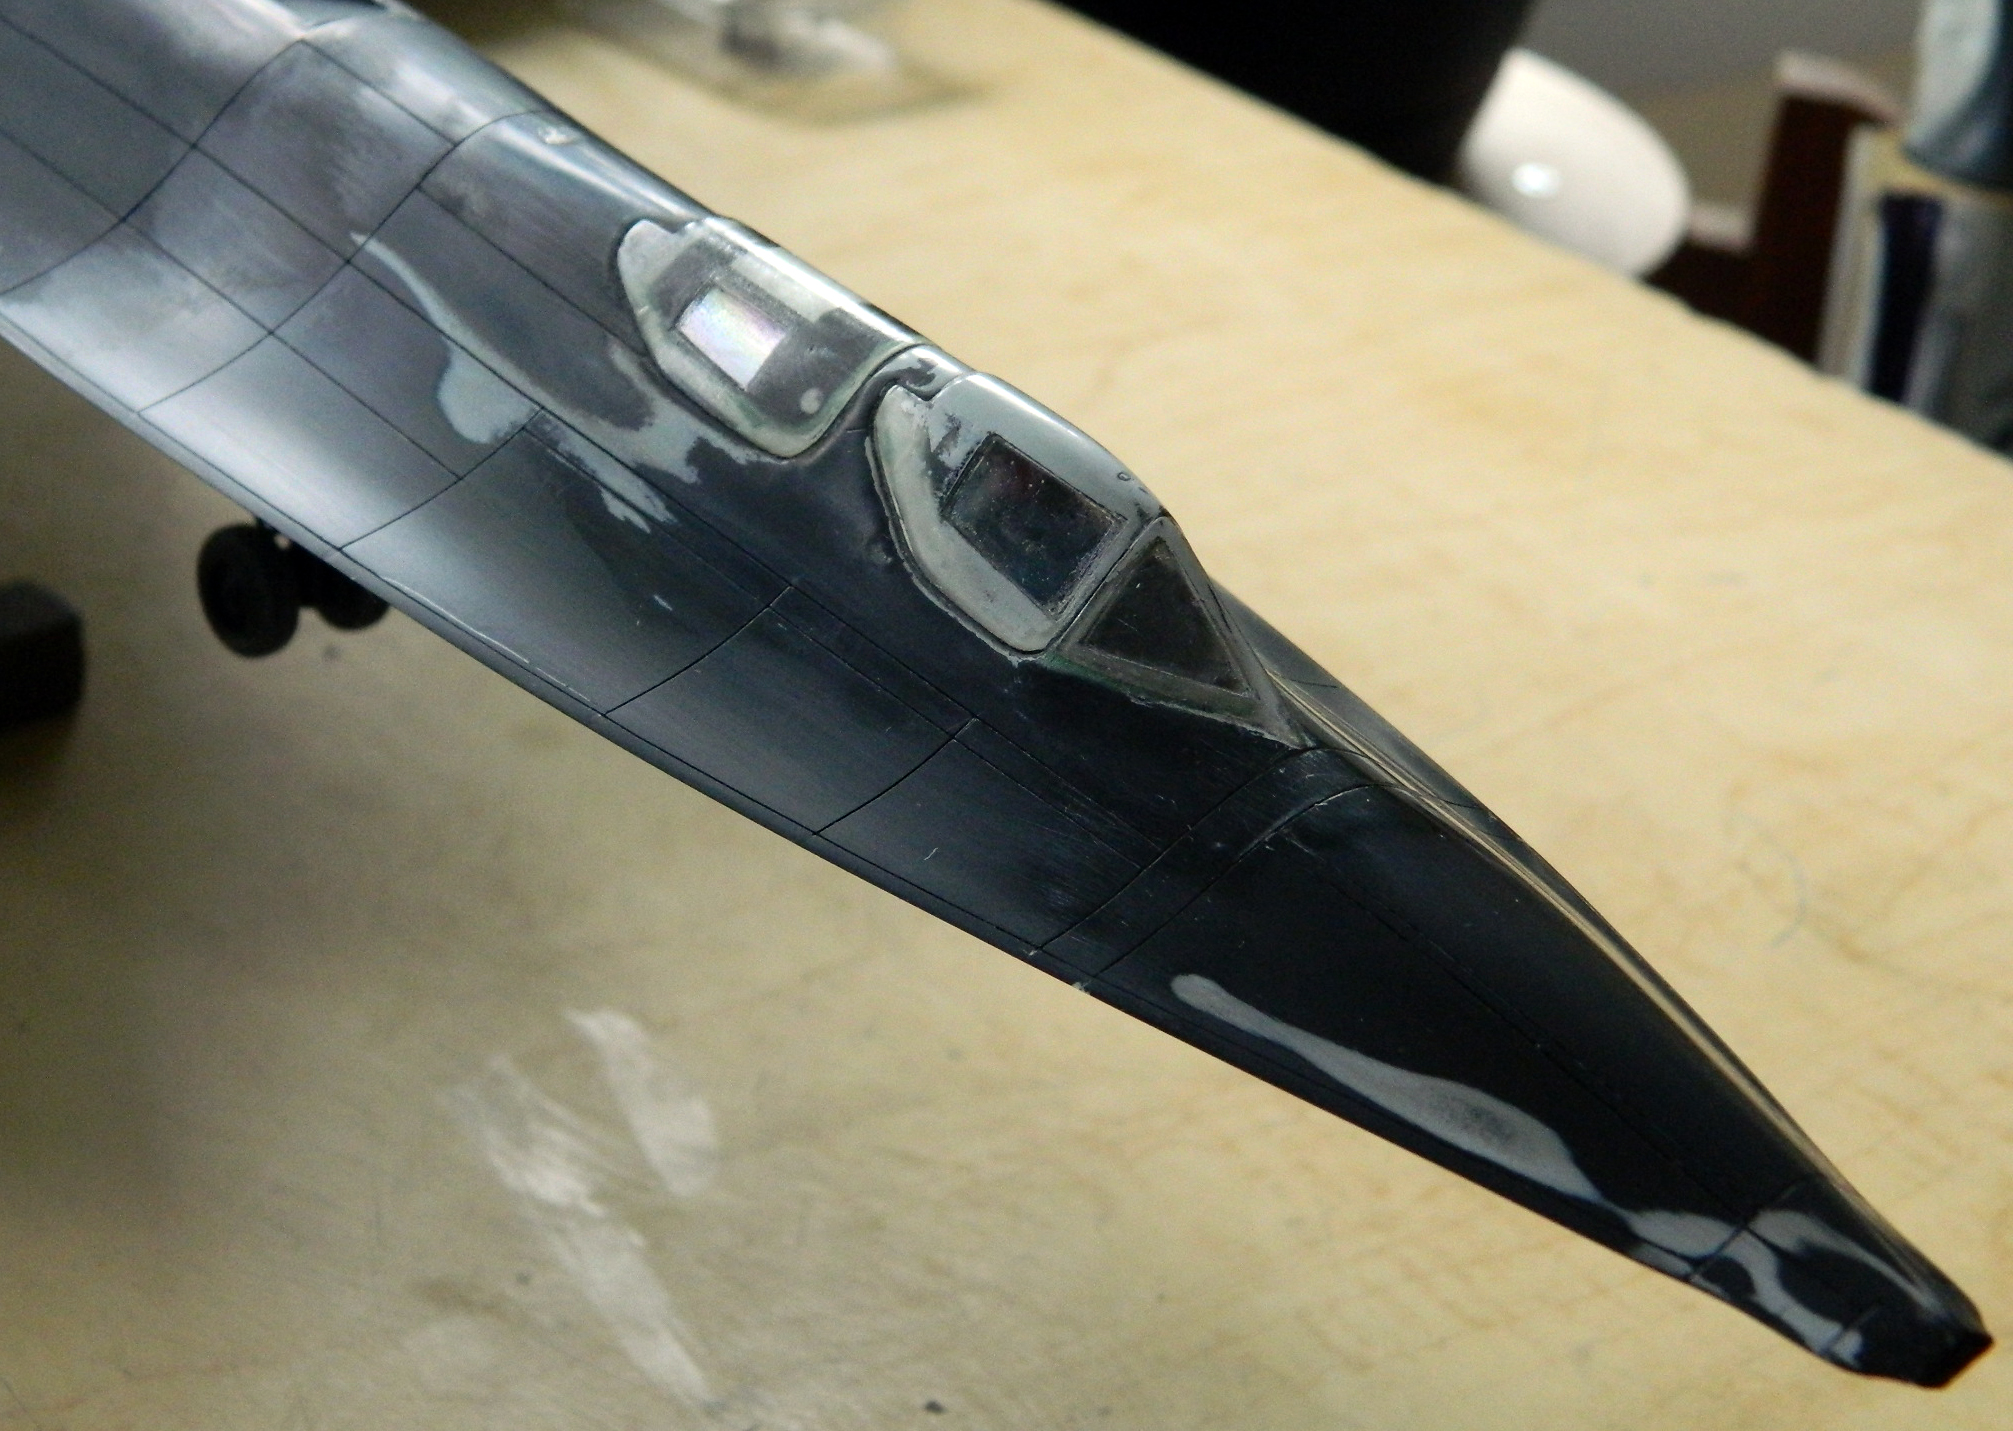
There are a few spots where the paint needs to be feathered and reapplied:
I had removed the masking from the clear areas of the canopy because leaving masking tape too long on a surface doesn’t do good things. The adhesive separates from the paper of the tape and marries itself to the surface being masked. Yeah…it’s removable. It’s just not easily removable. When I set this thing aside pending the arrival of the decals, I didn’t know how long they would take to get here, so I removed the masking. Therefore, step one to repainting this thing is to mask off the canopies again.
Yeah, well, no. Remember how I had trowled the clear flat on to try to get my homemade decals to work? That built up a lot of paint on the canopies…a fact I had overlooked when I stripped the paint off. That means it has to come off now:


And off it has come.
Now to take my airbrush and paint both sides of this thing black, then lay down clear gloss for the decals.
AGAIN.

Yeah, you make mistakes, but I have to admire your honesty about it, and your perseverance.
LikeLike
Well, I dunno as it’s perseverance or not knowing when to quit. They look the same, I’m told.
As far as the mistakes go, I think it’s disingenuous for me not to own up to them. Maybe there are modelers who *can* go from a pile of parts to a scale wonder…but I ain’t one of ’em. If a relative beginner finds this page, I hope they take away from it that though it is important how they get from hello to g’bye, EVERYONE screws up. The oh-goddamn-it moments are learning opportunities. (And frequently blood pressure elevators.)
LikeLike
I am feeling your pain!!!
LikeLike
I was wondering whose hand that was…
LikeLike