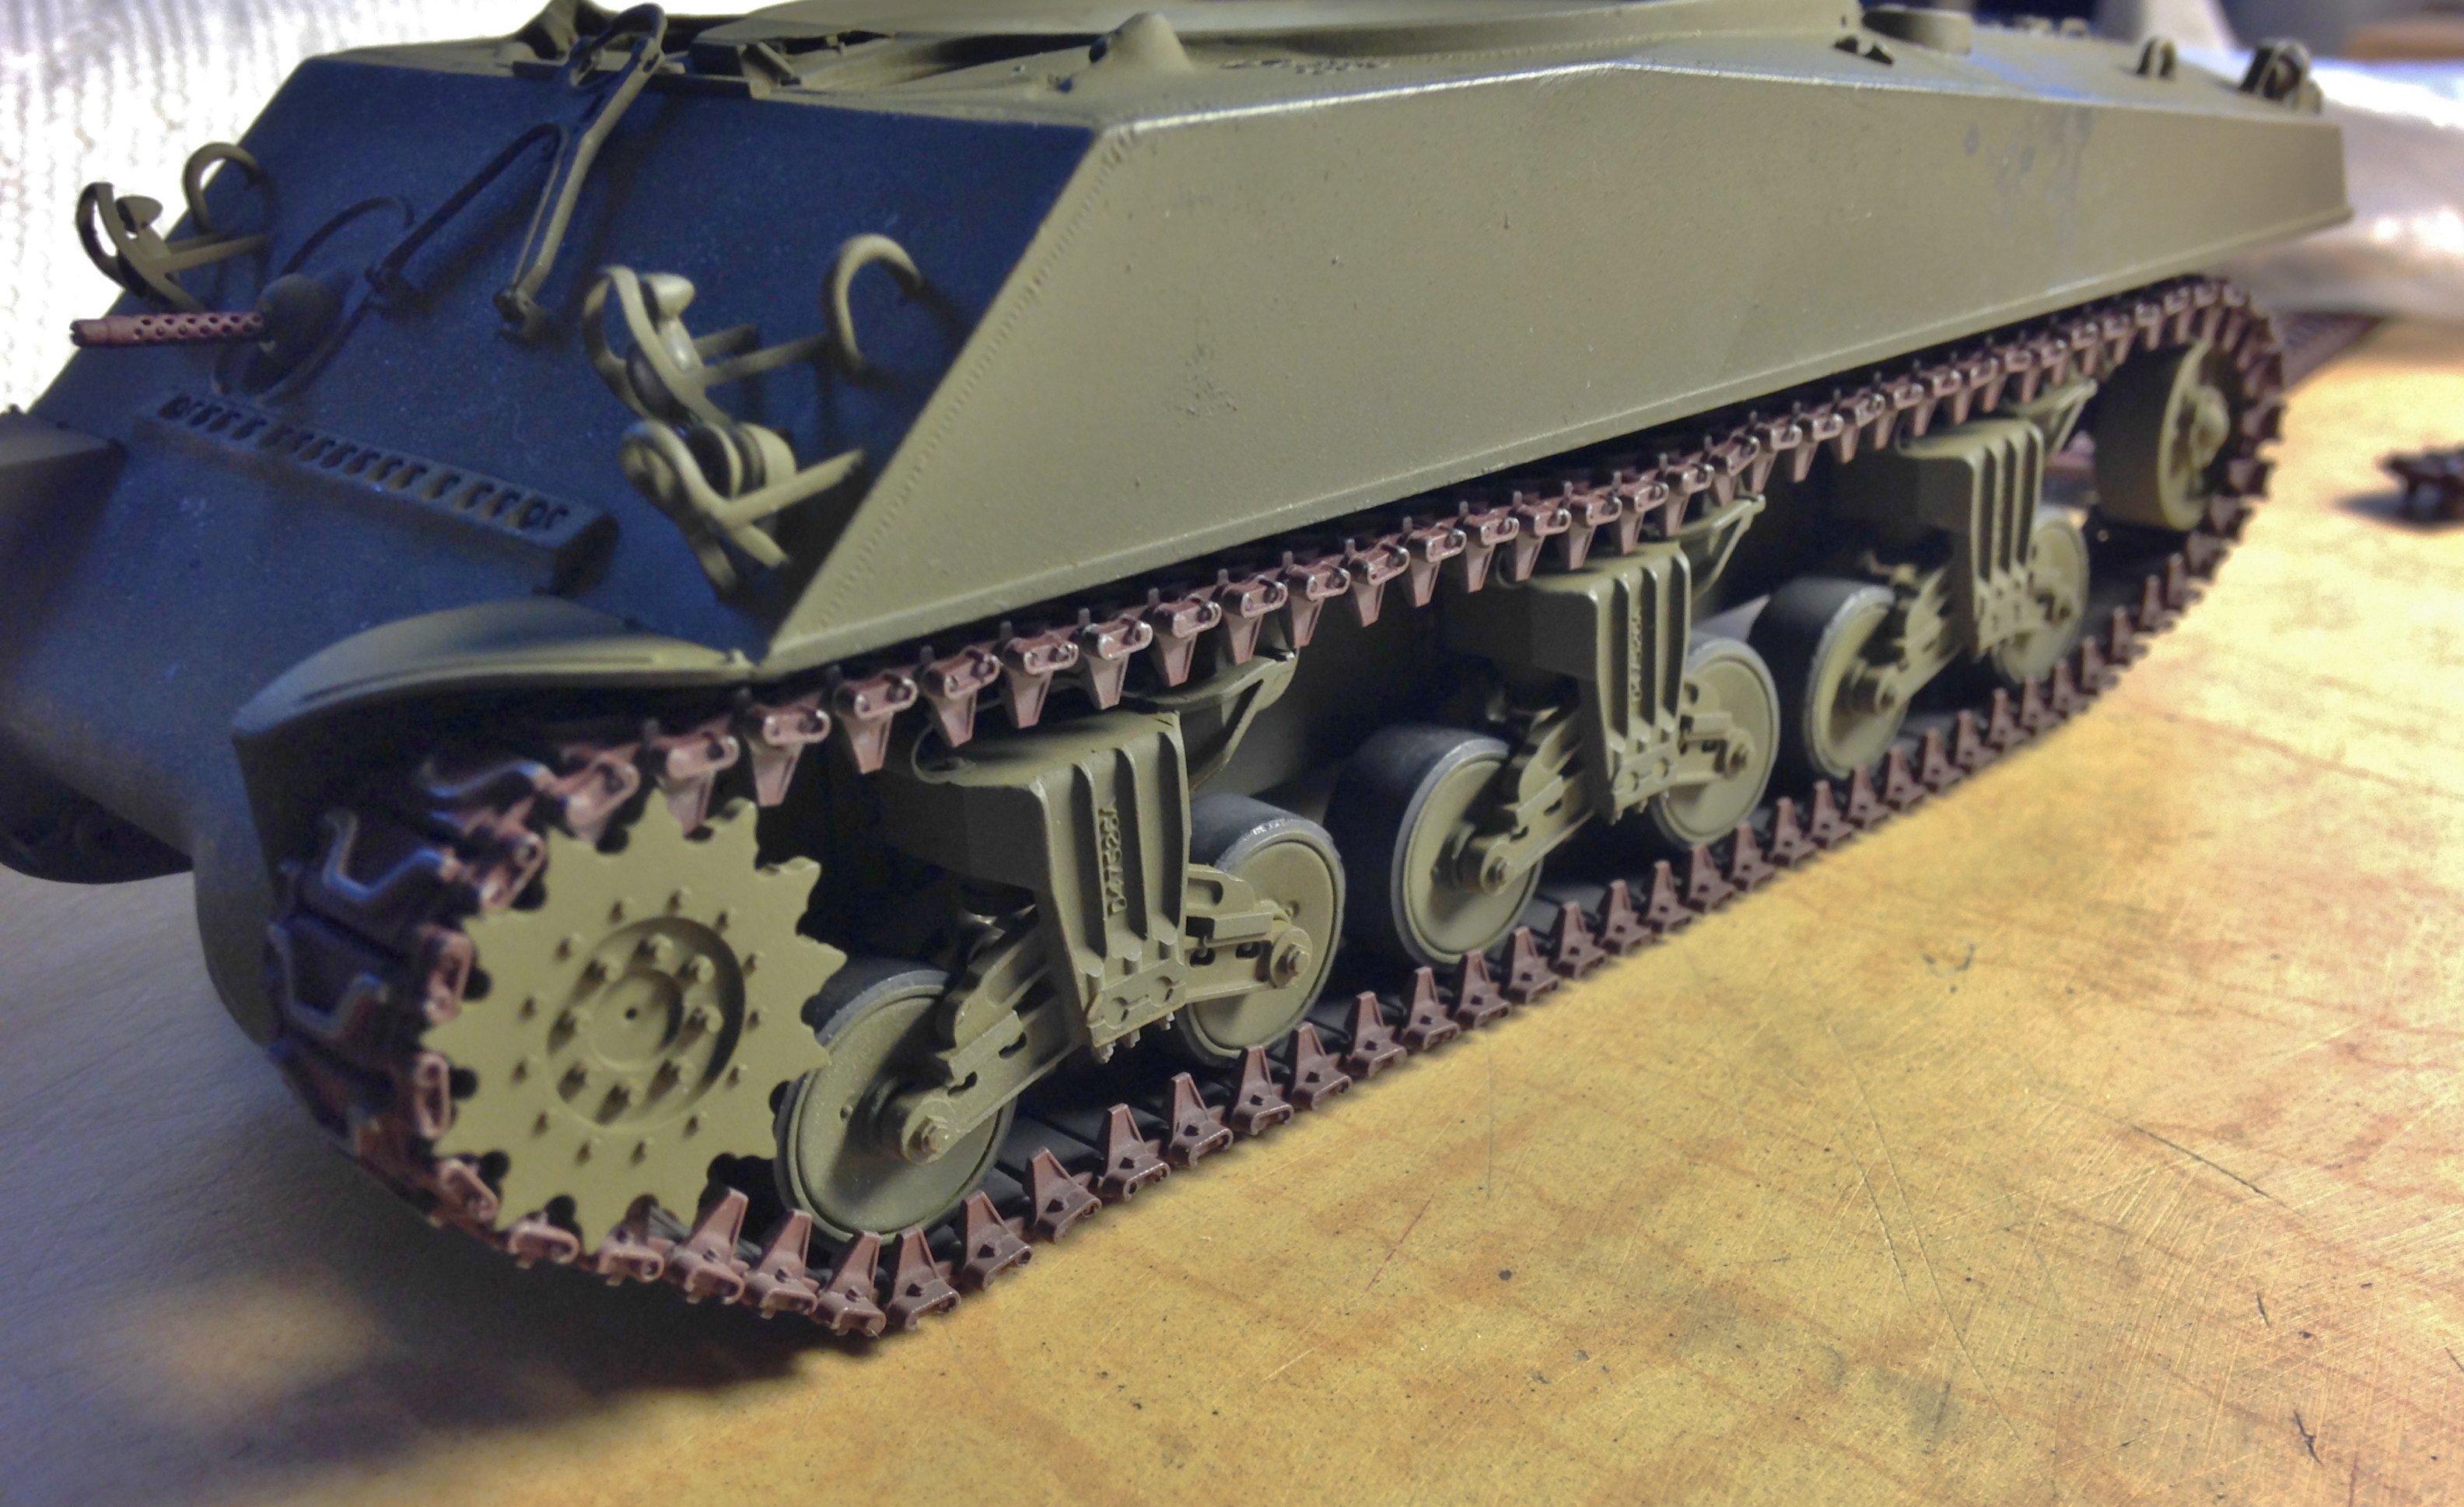
With the tracks assembled (but NOT glued) and painted, it’s time to put them on the tank. The first go-round with the pre-glued tracks was such an ass-pain that I approached the second go-round with a bit of trepidation. Needless. They went on like…well…they belonged there. So that’s the way to go with individual tracks; assemble but hold off on the glue:

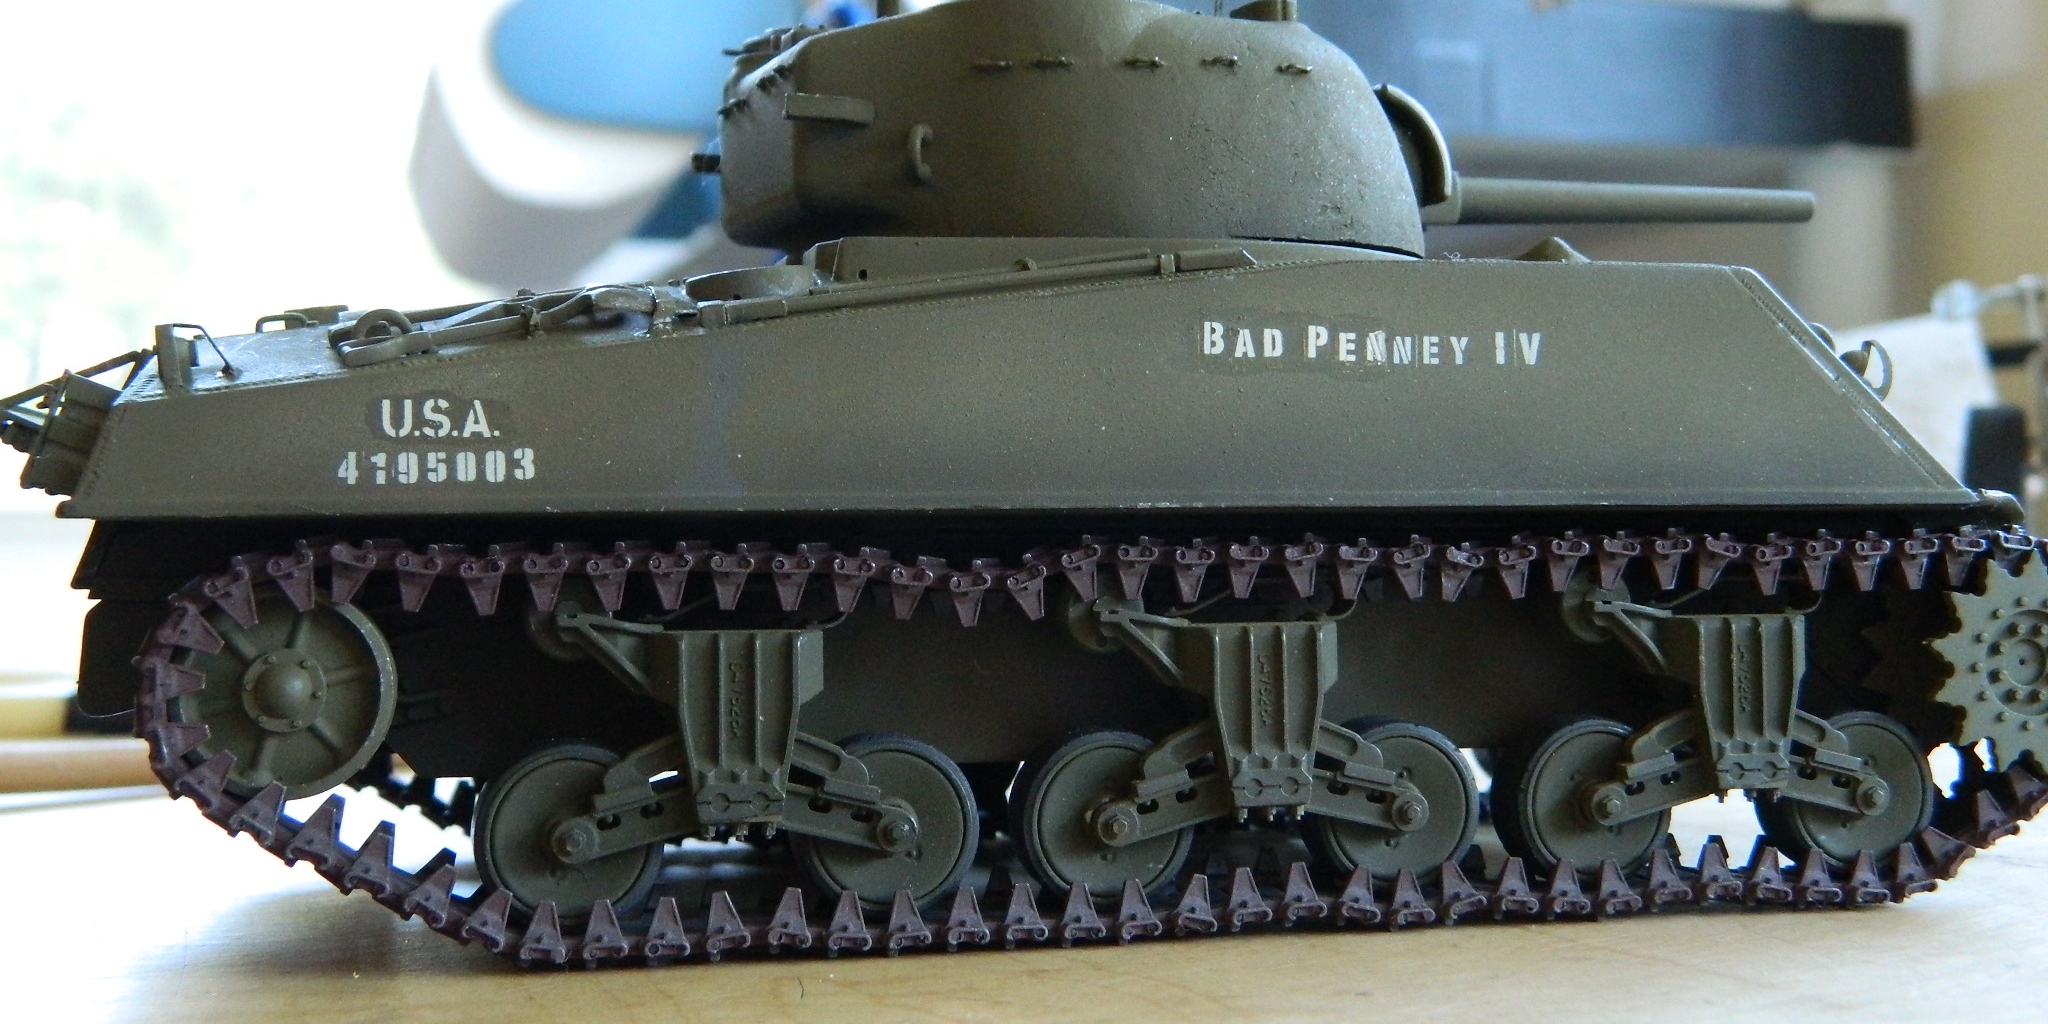
And with the tracks finally on, there really isn’t anything left to do but to start the final paint! I’m modeling a fictitious tank, so I cobbled together a serial number. I had intended on either doing dry-transfers or cutting up decals but instead found some really nice stainless steel PE stencils so decided to go that route:

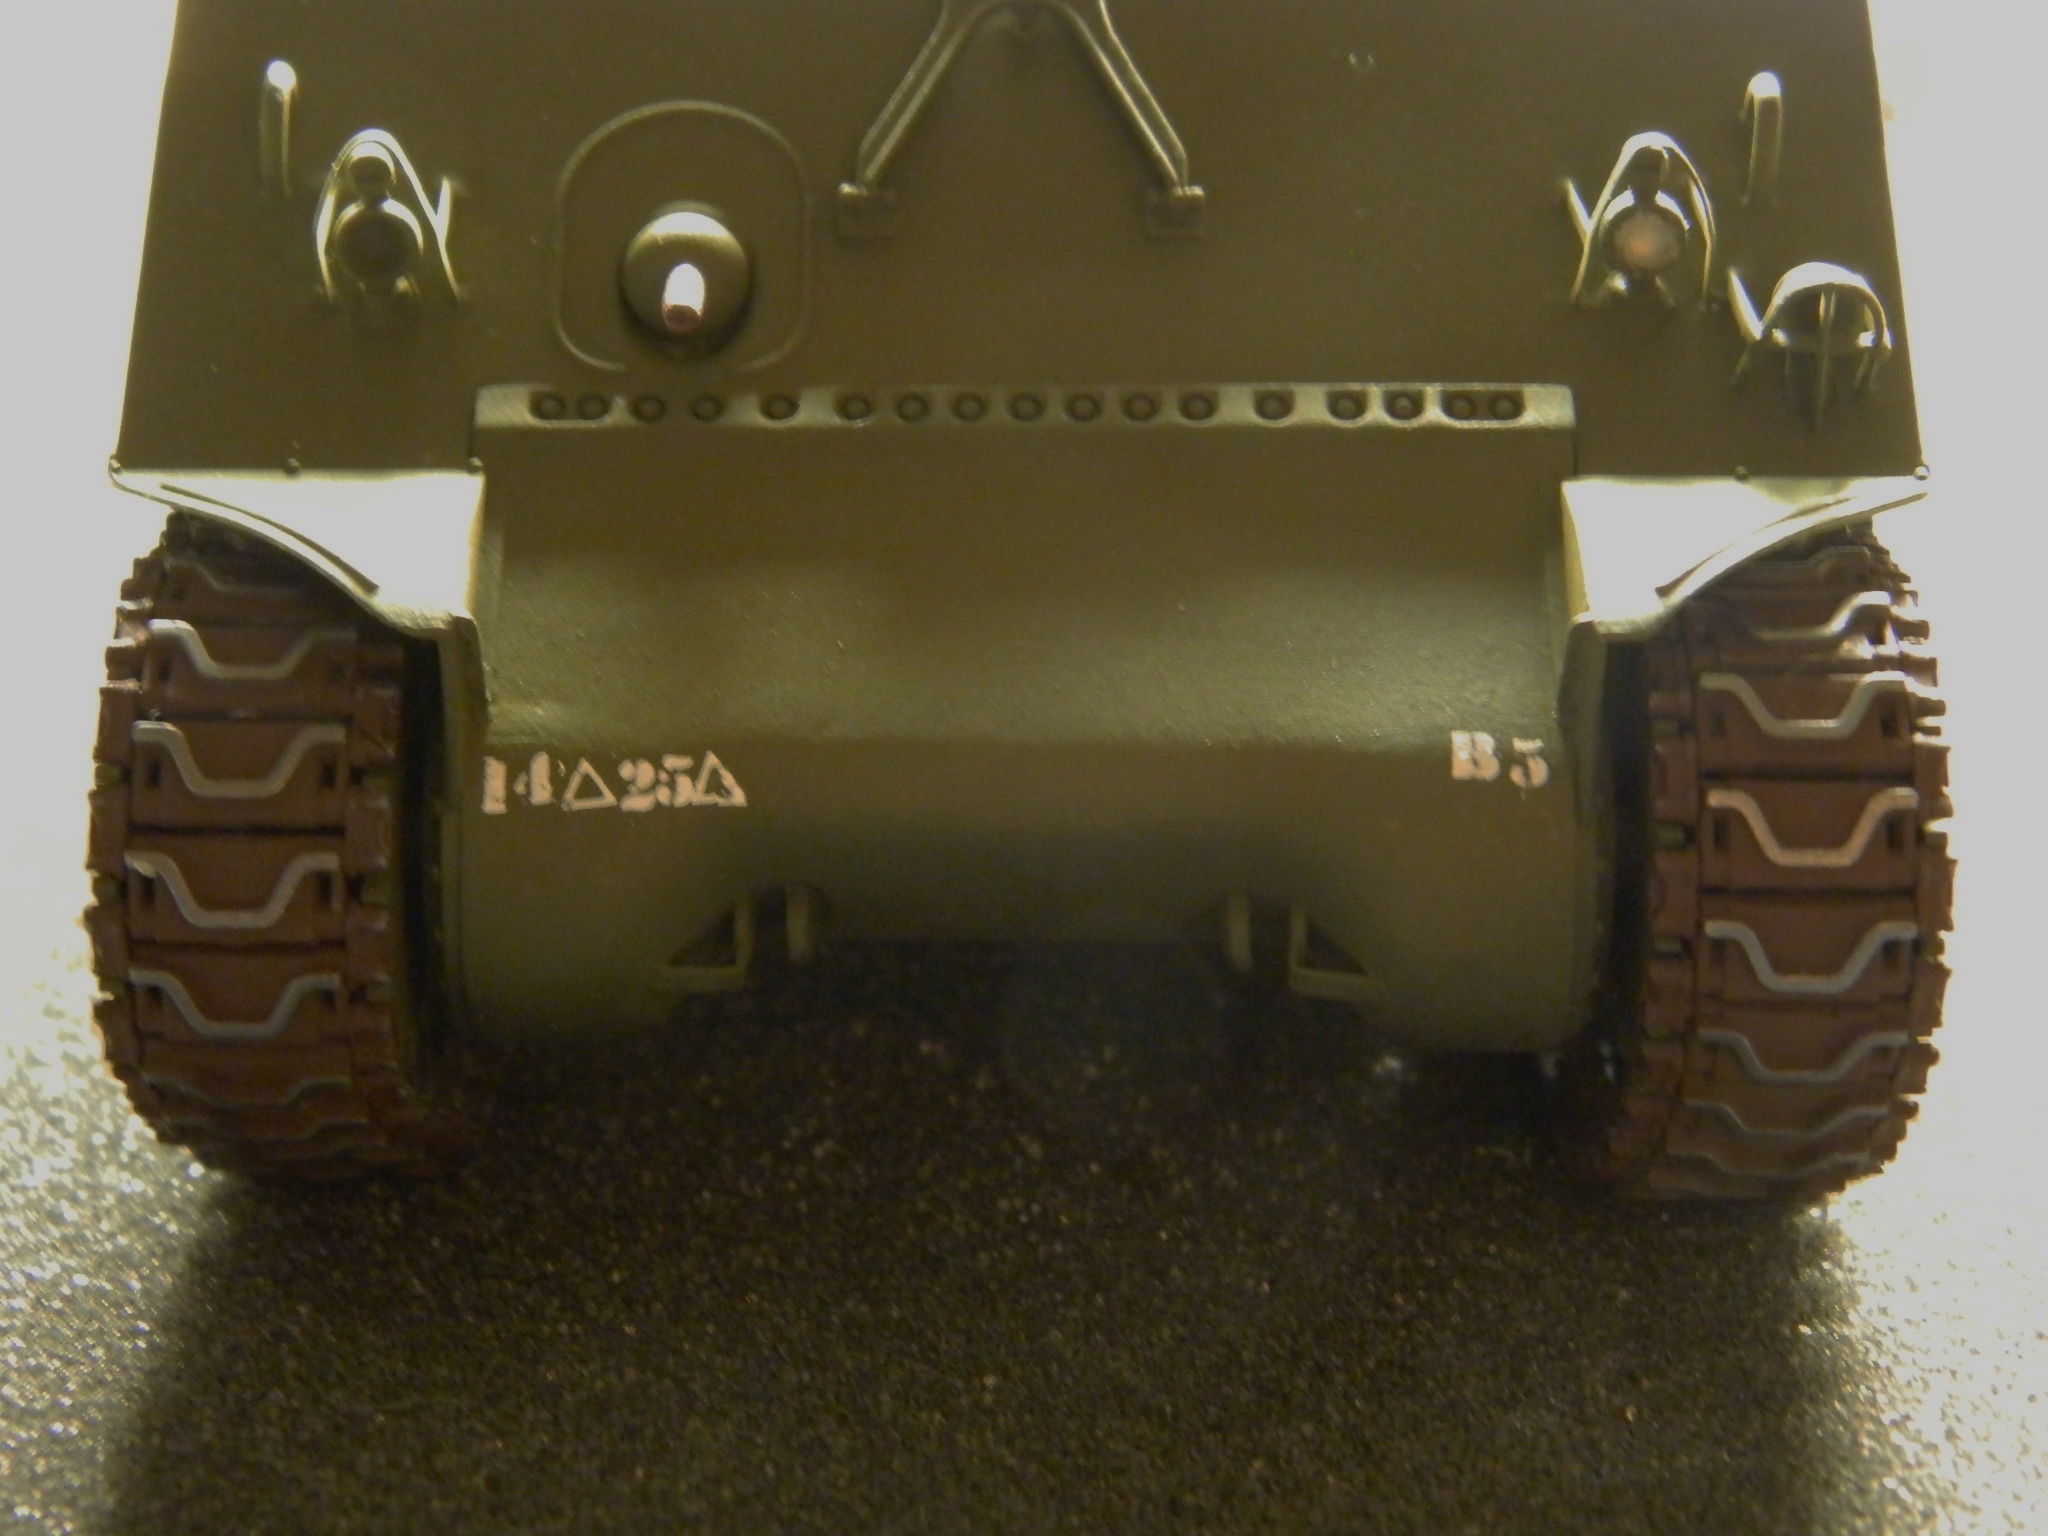
I used the same “aged white” for exterior numbers and letters that I used in the engine bay; it isn’t quite as glaringly white and I like the effect:

However, when using acrylic paints, it’s best to be sure the airbrush doesn’t have any water left in it from the previous cleaning, otherwise, the paint is far too thin and you’ll end up with what I did:
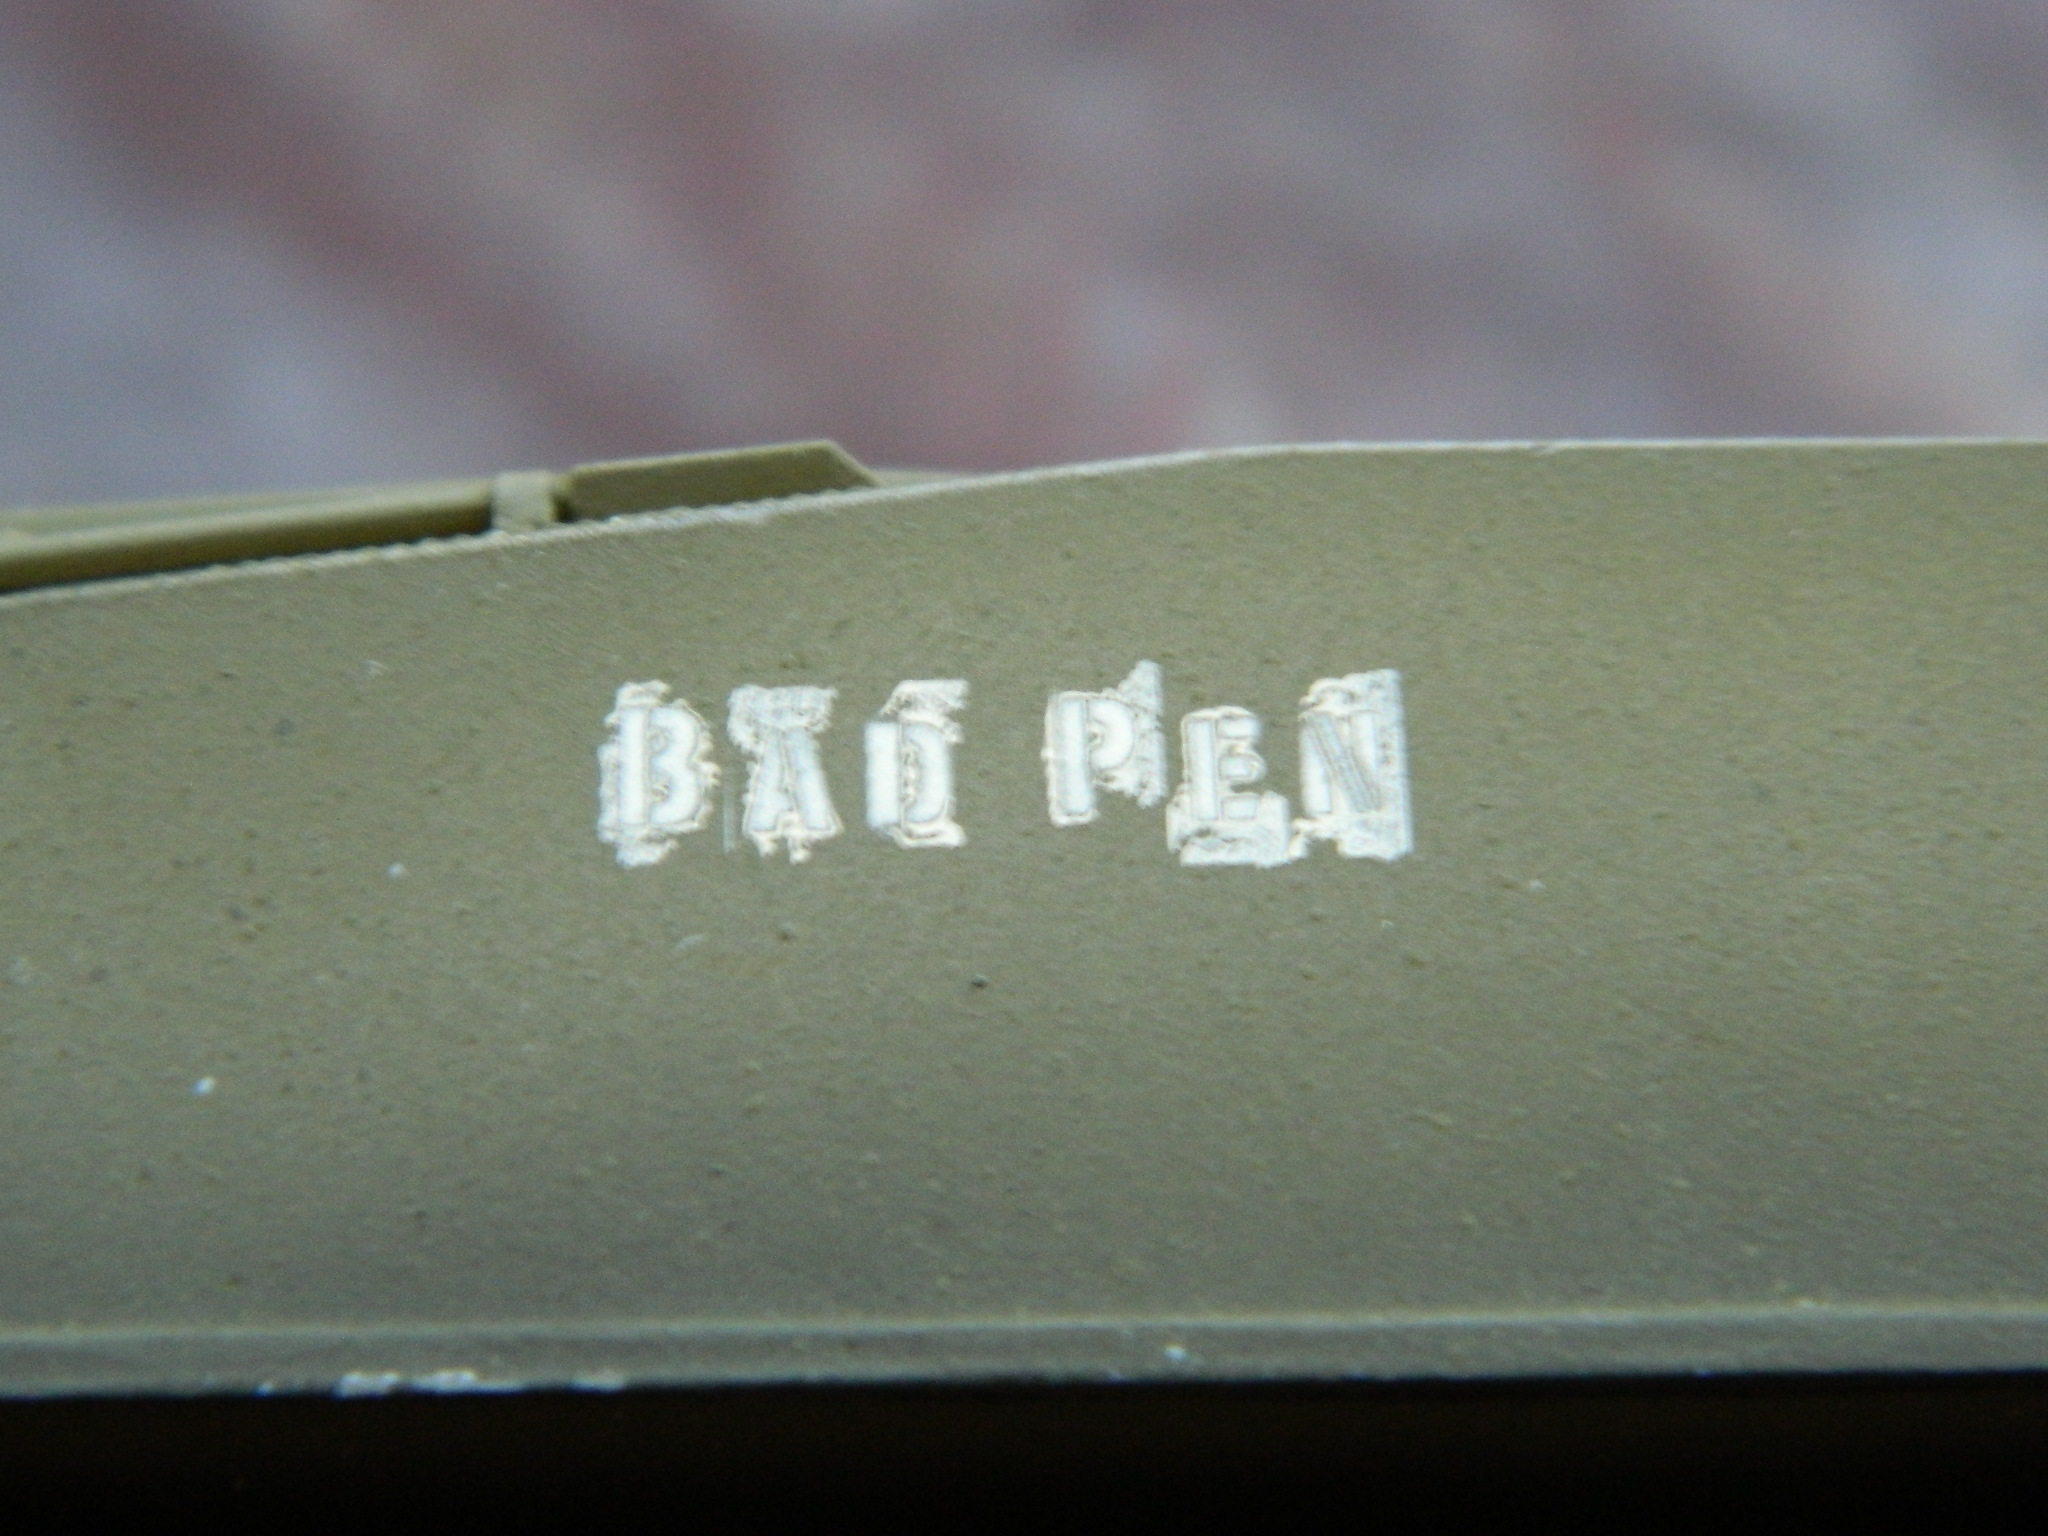
So that got painted out and I tried again. Yeah…that does what I want it to, not look like it was done by a professional:
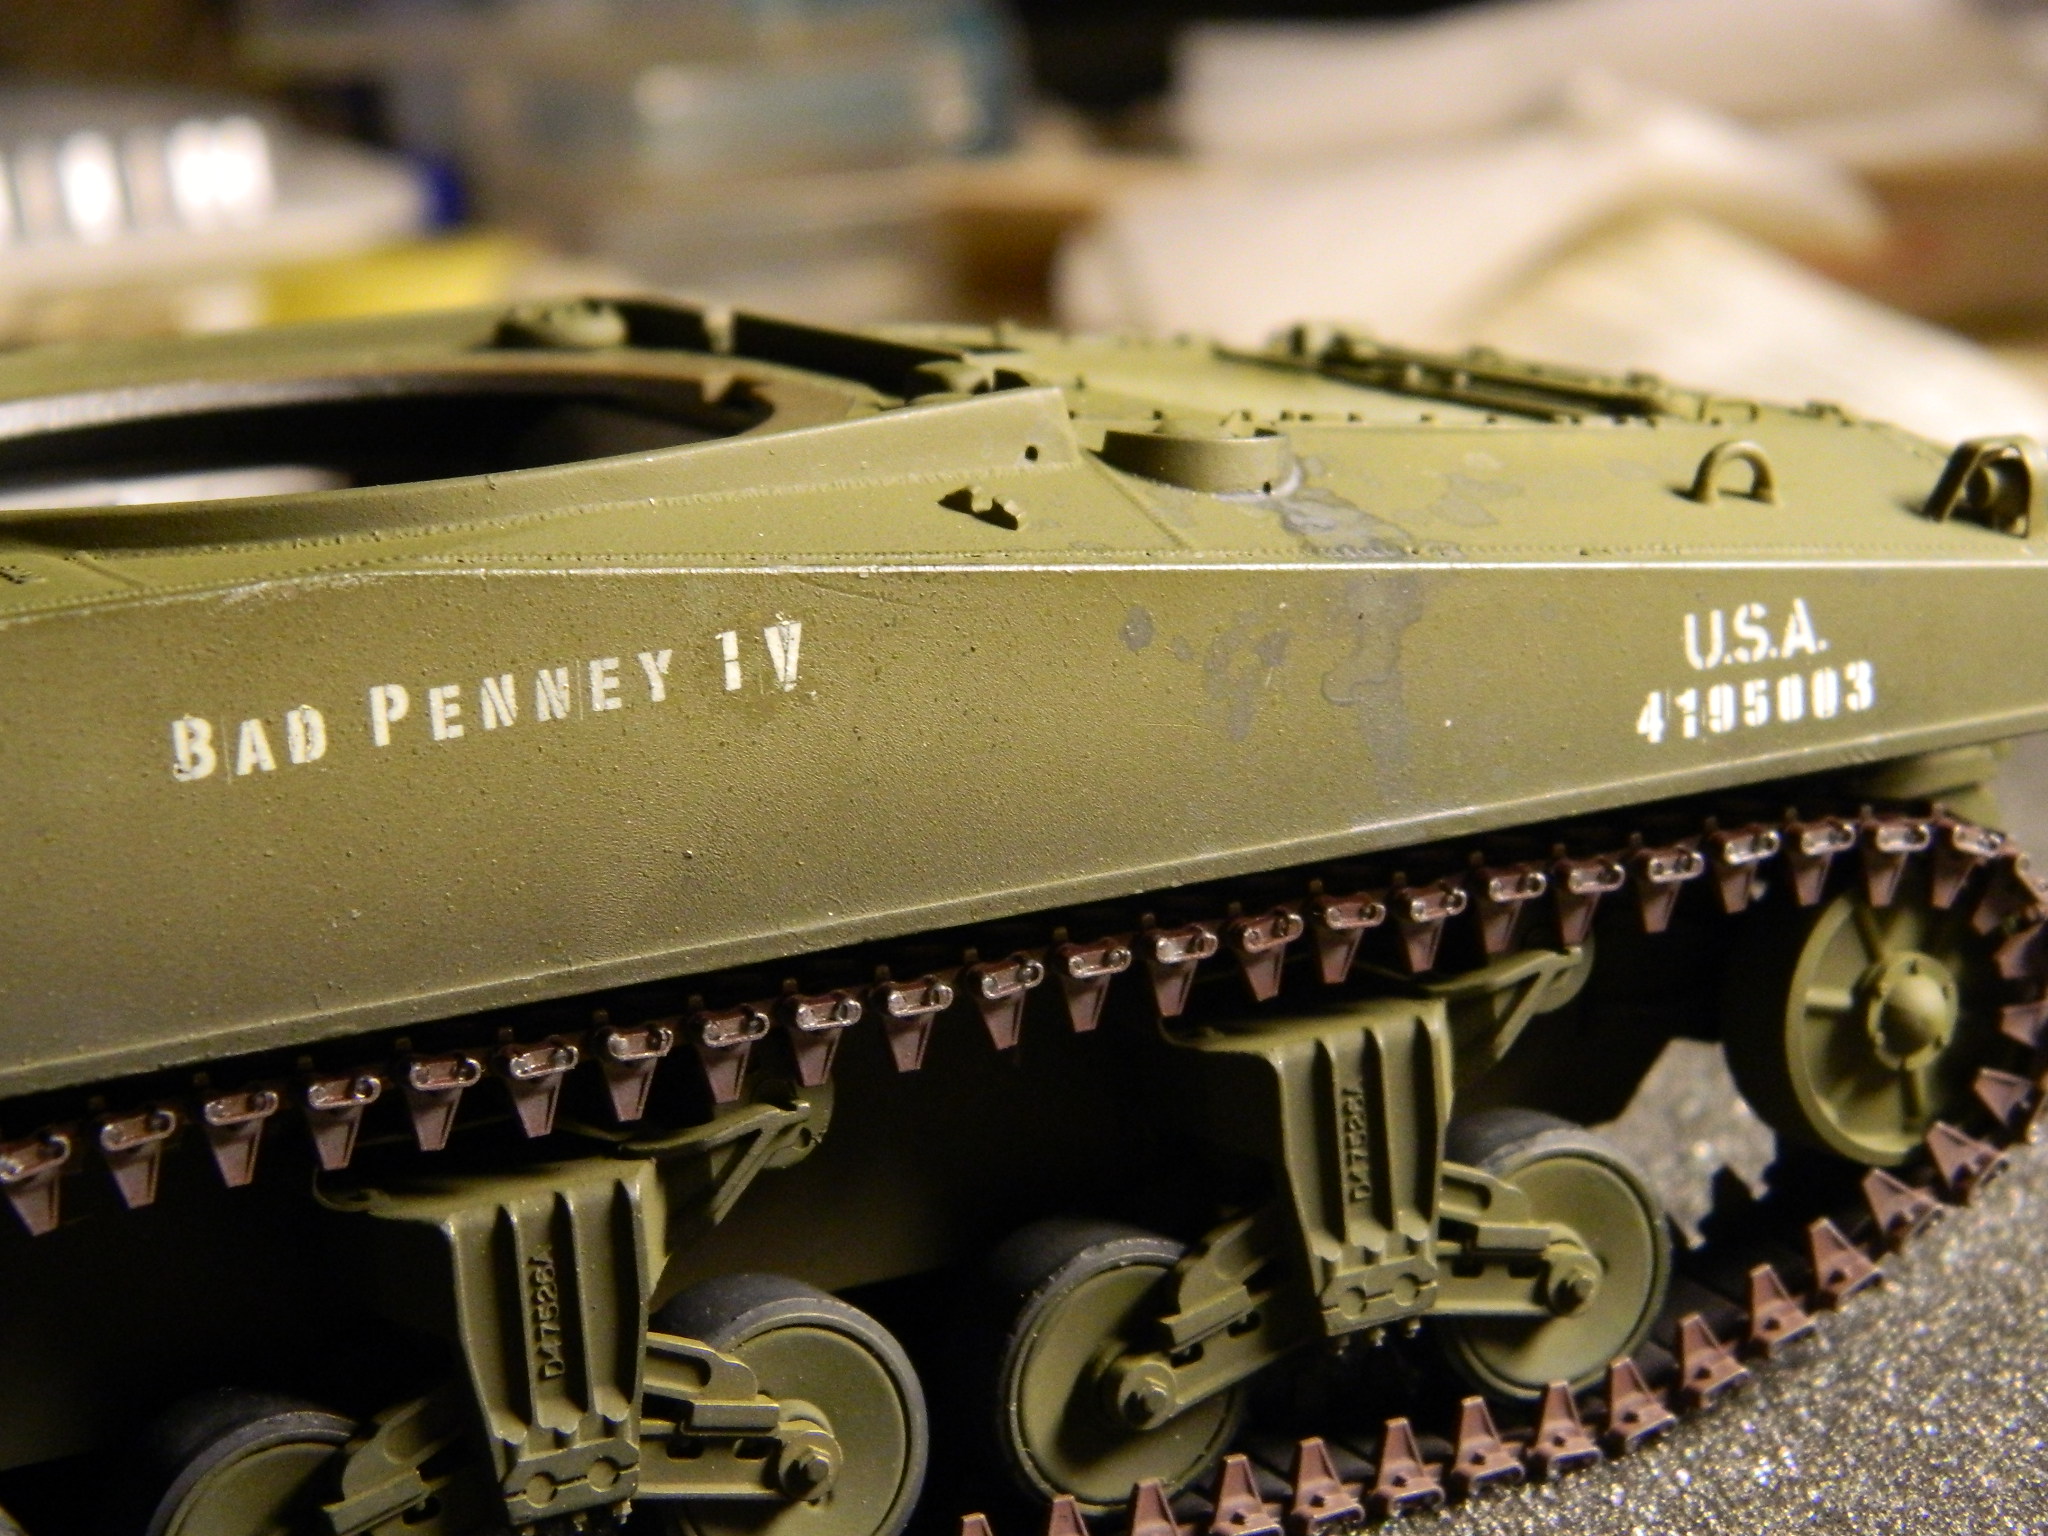
I did the vehicle markings using dry-transfers. Believe it or else…er…not, when very tiny transfers are combined with a curved surface, this was the best my 65-year-old hands could manage. I went through a lot of transfers to get this. No, I’m not 100% satisfied with them, and perhaps tomorrow (or the next day), I’ll peel them off (cellophane tape does it nicely) and try one more time:
And with that, there’s nothing left to do but the final assembly.
